Kulinary Adventures of Kath

Food Photography, Recipes & Baking
  • home
  • About
  • Work with Kath
  • Shop
  • Blog
    • The Blog
    • Recipe Archive
  • Newsletter
  • Contact
  • home
  • About
  • Work with Kath
  • Shop
    • The Blog
    • Recipe Archive
  • Newsletter
  • Contact
Raspberry Pistachio Rose Cake (23 of 25).jpg

The Blog

Recipes and Food Photography by Kath Vincent.

  • The Blog
  • Recipe Archive
  • All
  • Biscuits/Cookies
  • Breads Etc.
  • Breakfast
  • Cakes & Slices
  • Confectionary
  • Drinks
  • Events
  • Food Photography Tips
  • From The Mailing List
  • Heirloom Recipes
  • Holidays
  • Ice Cream
  • Jams Preserves & Spreads
  • Muffins
  • Off the Shelf
  • Other Desserts
  • Savoury Dishes/Meals
  • Scones
  • Tarts & Pastry
  • Travel
Caramel Ice Cream (Egg Free)

Caramel Ice Cream (Egg Free)

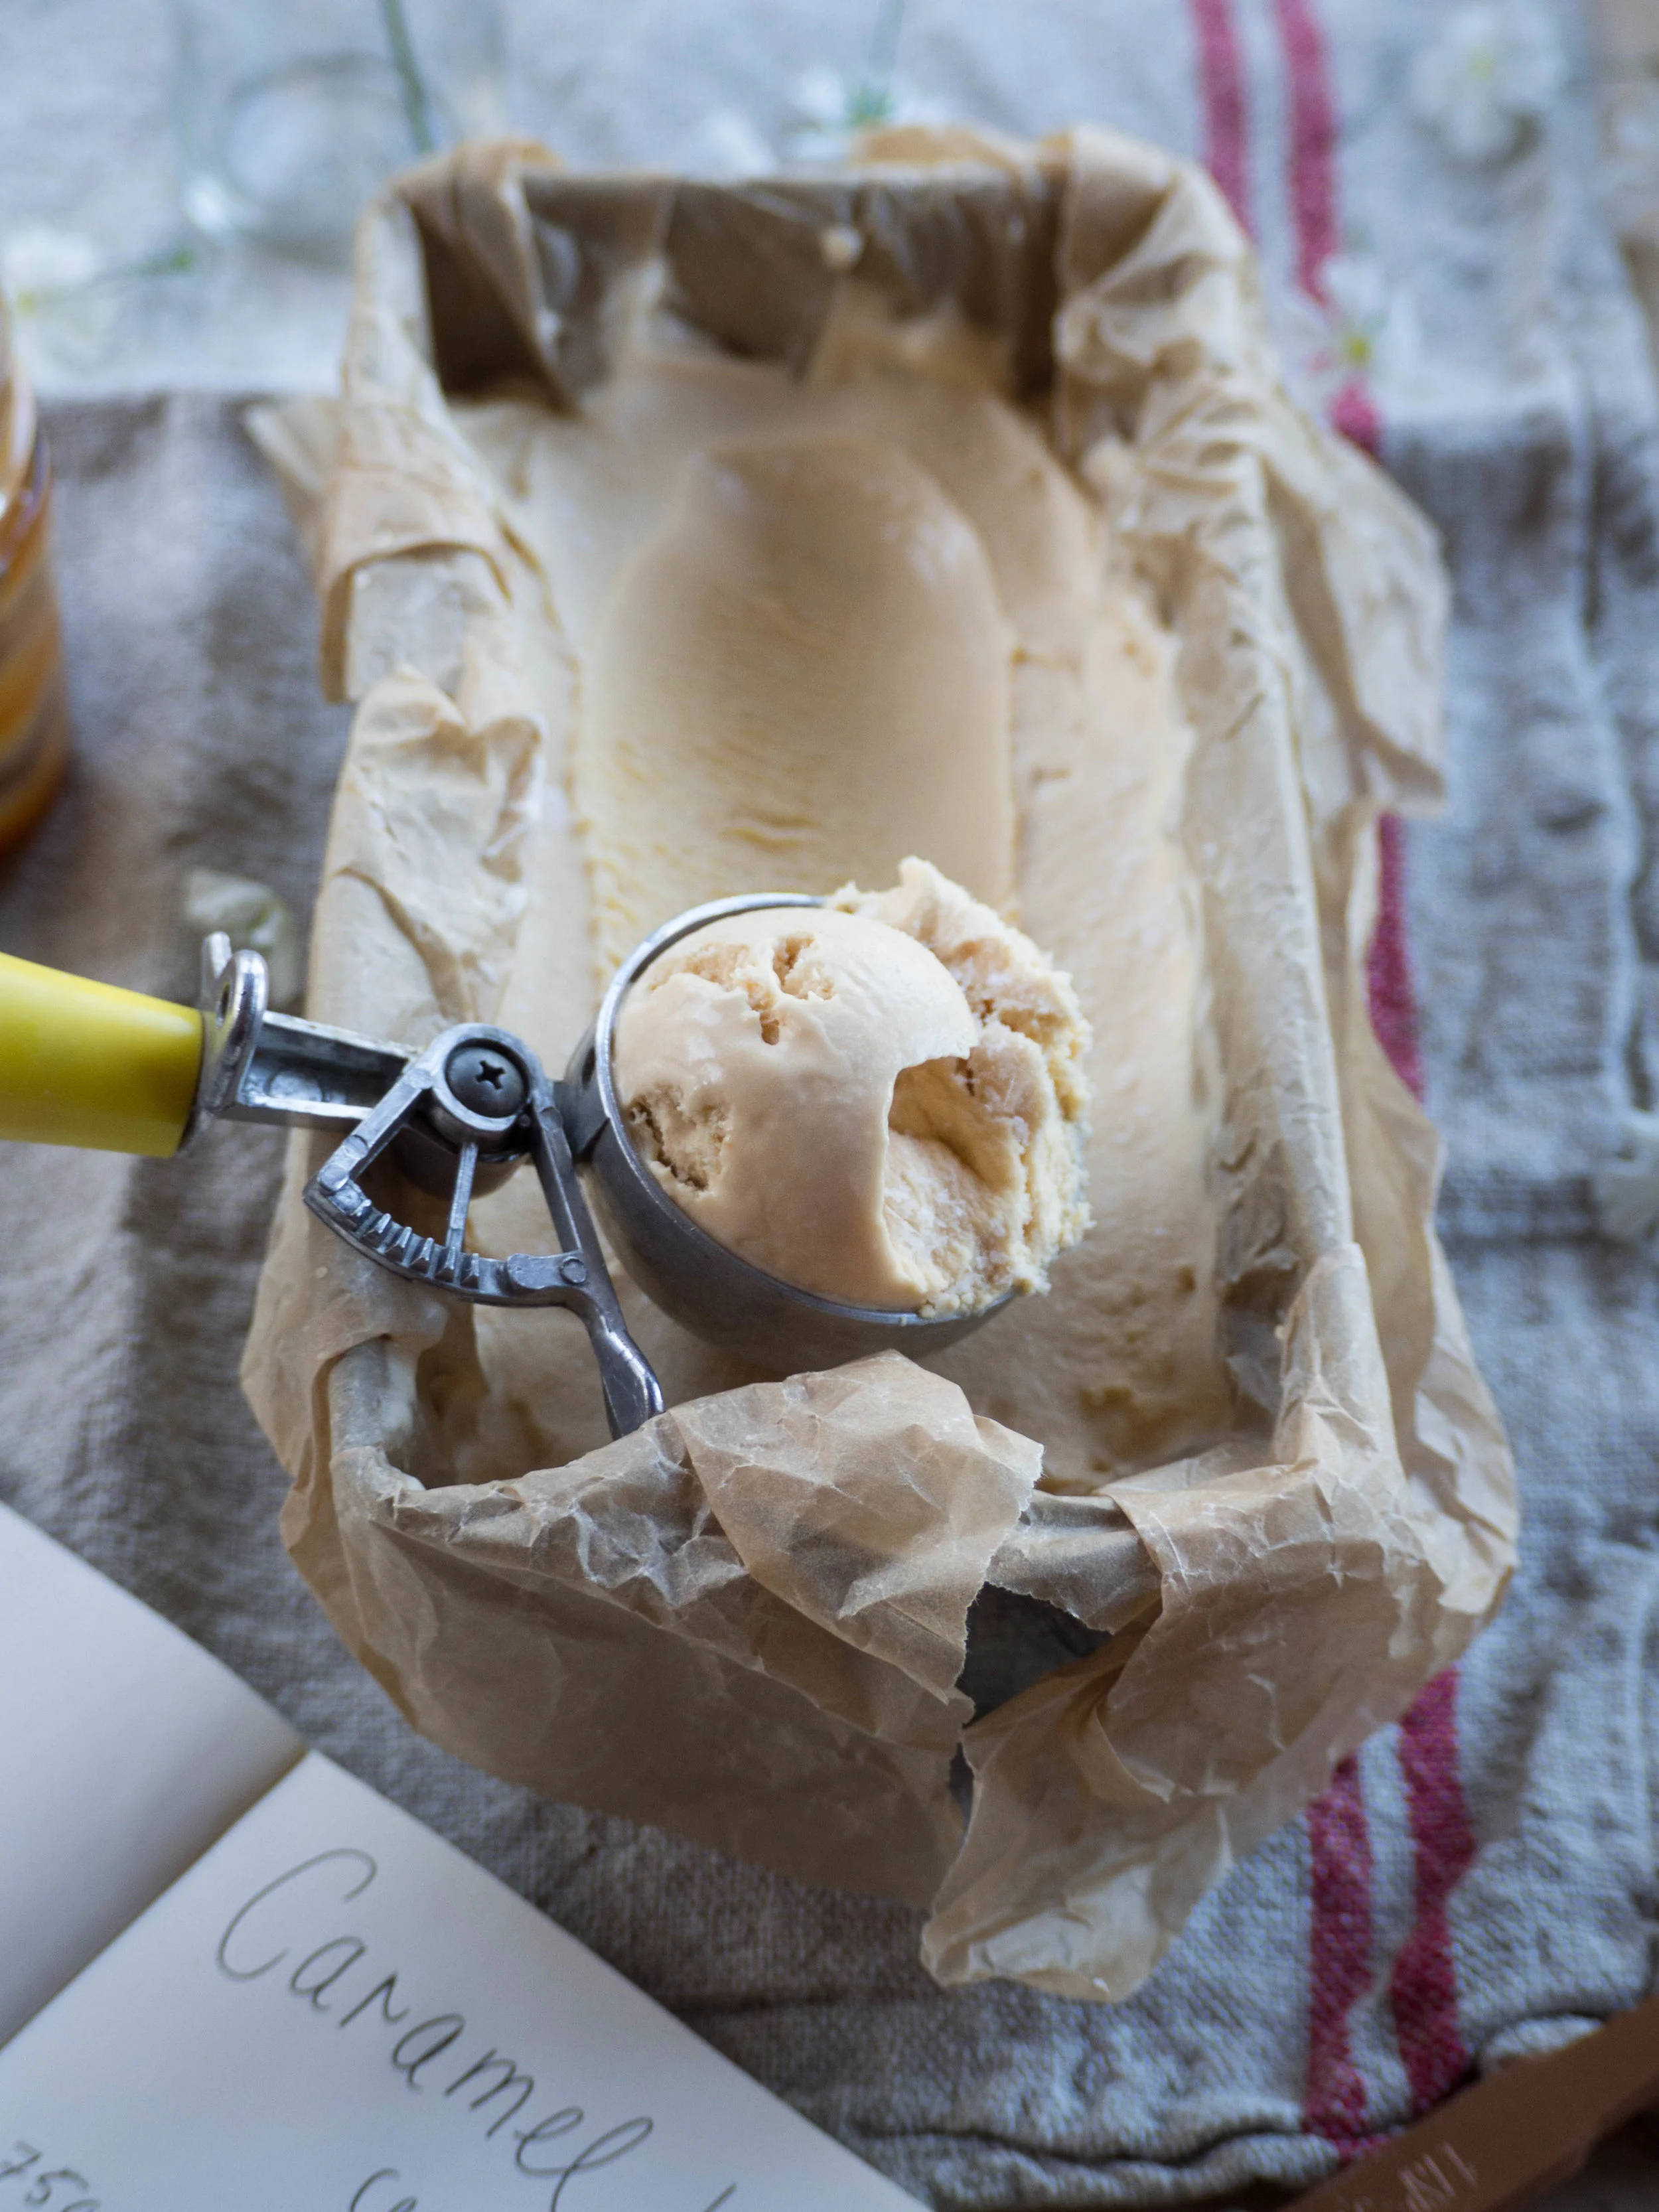
How to Make Homemade Caramel Ice Cream (Egg Free)

Kath November 17, 2017

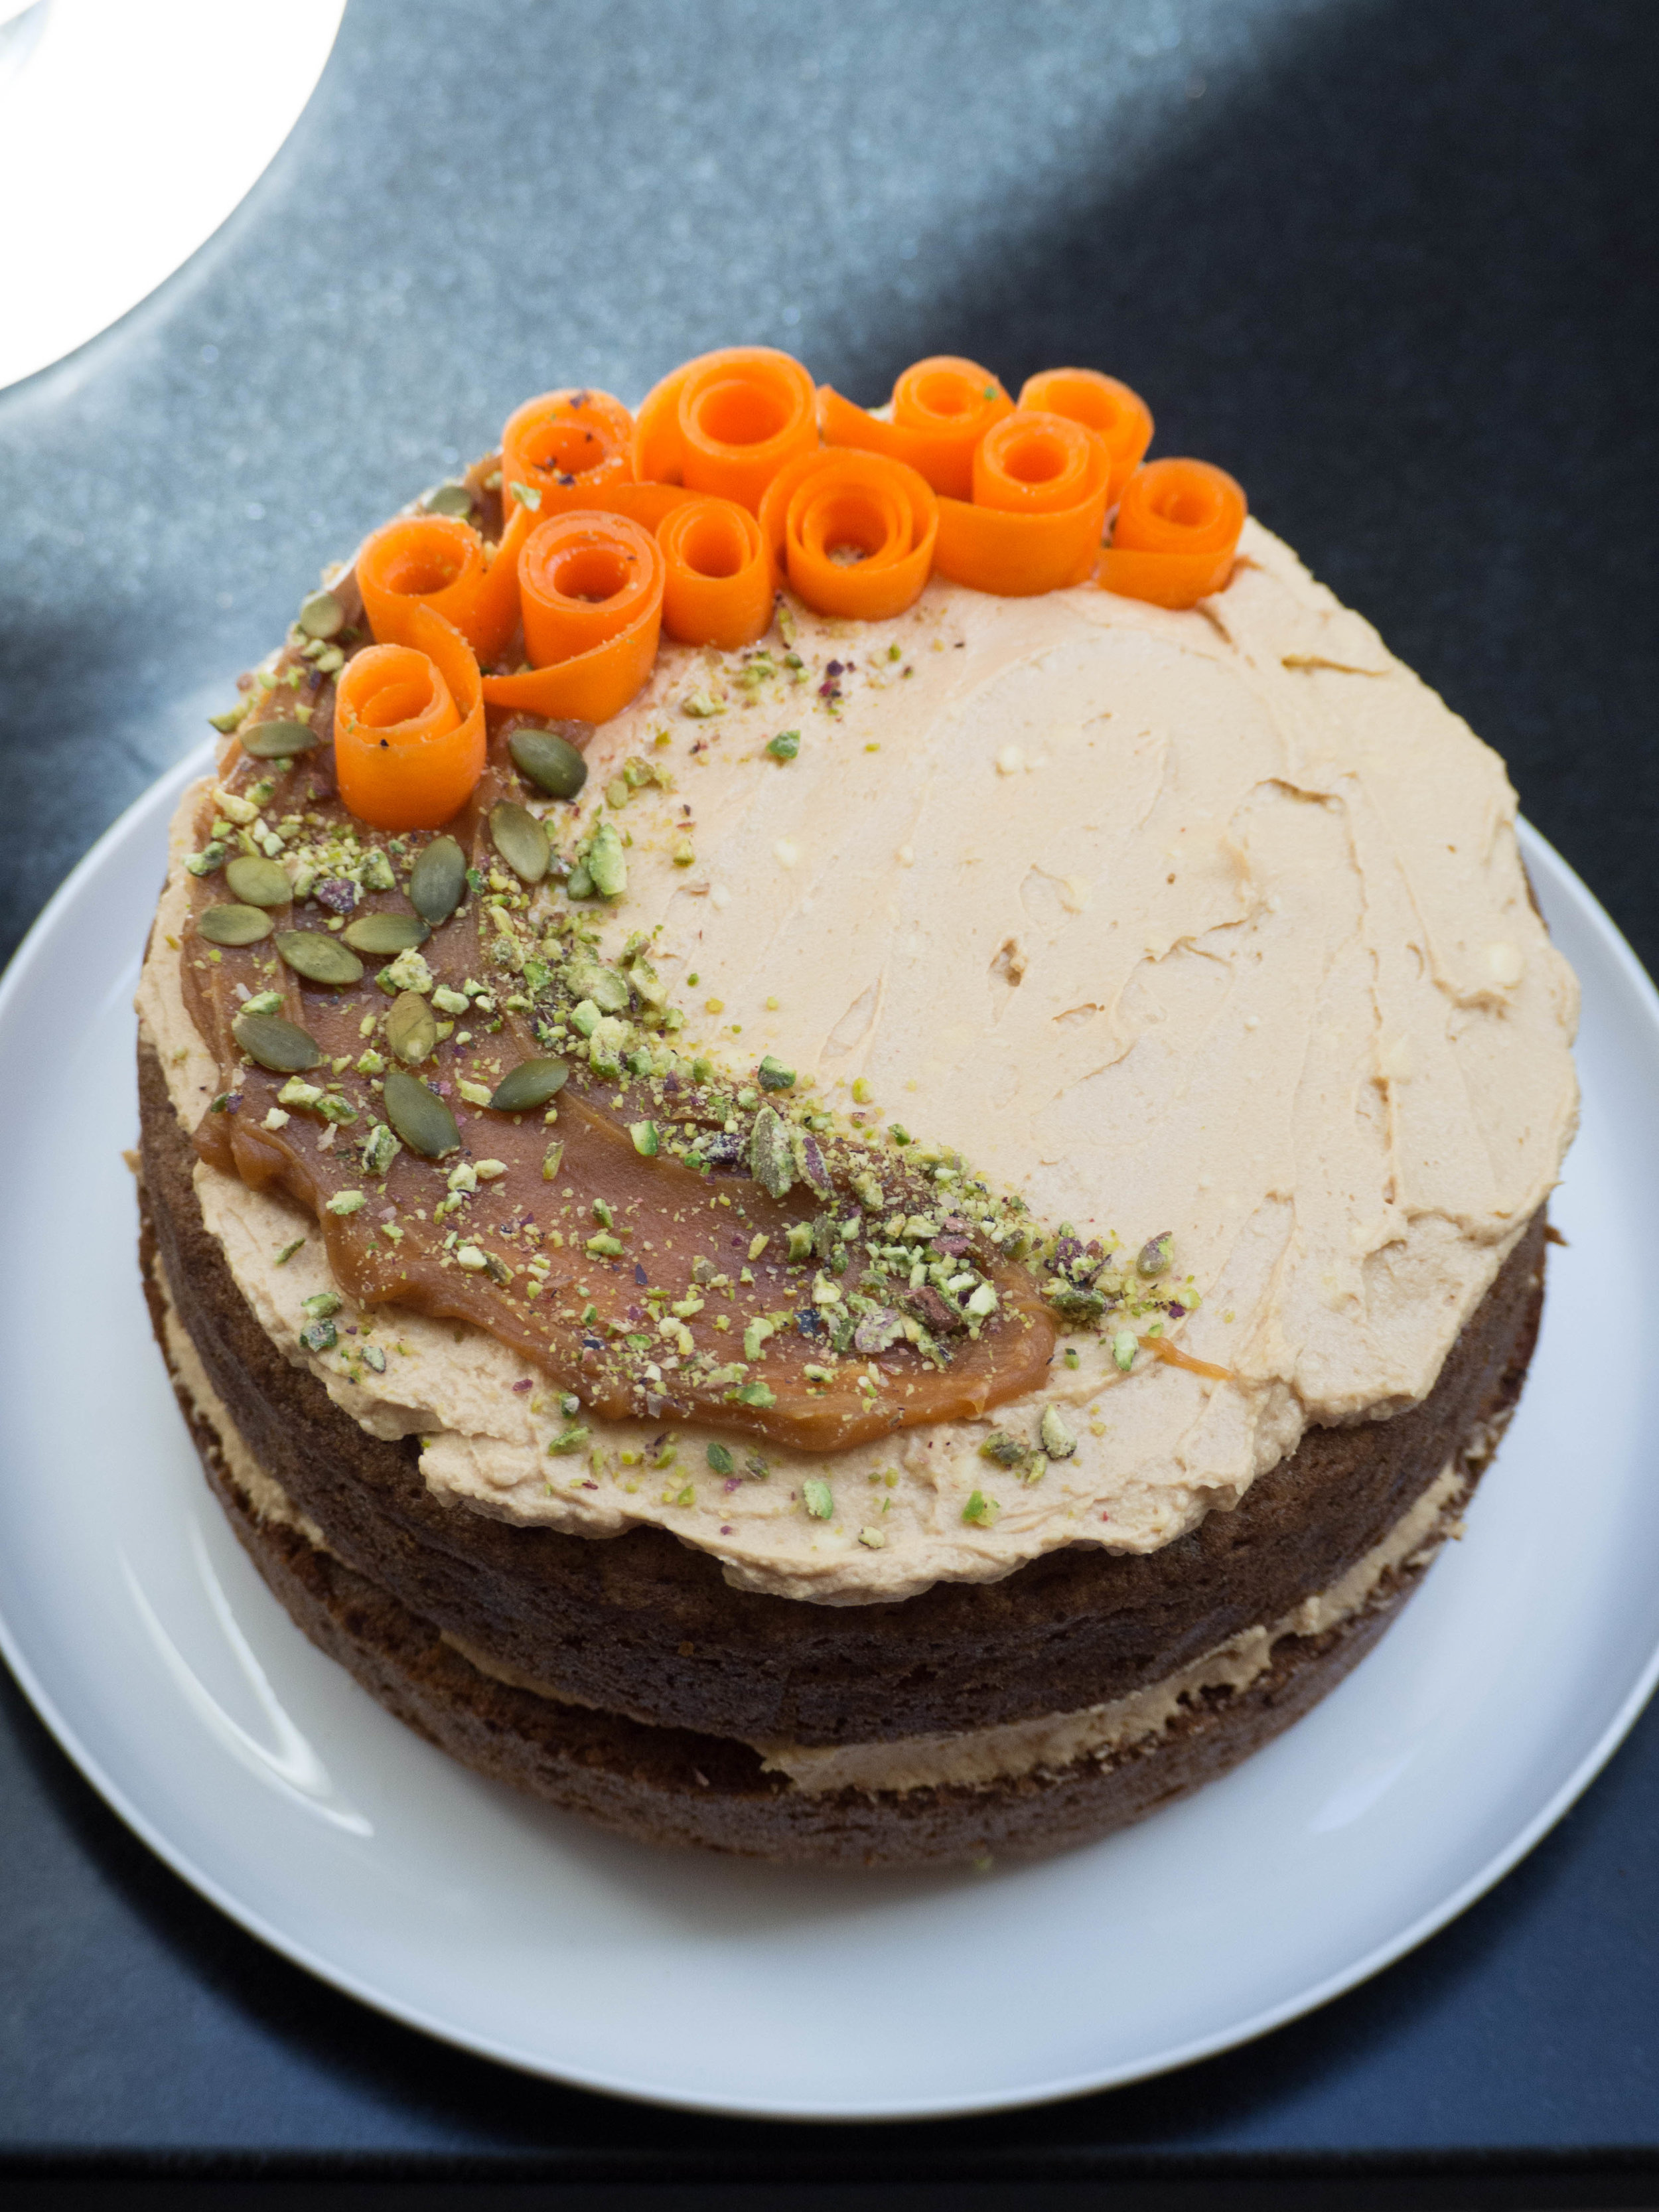
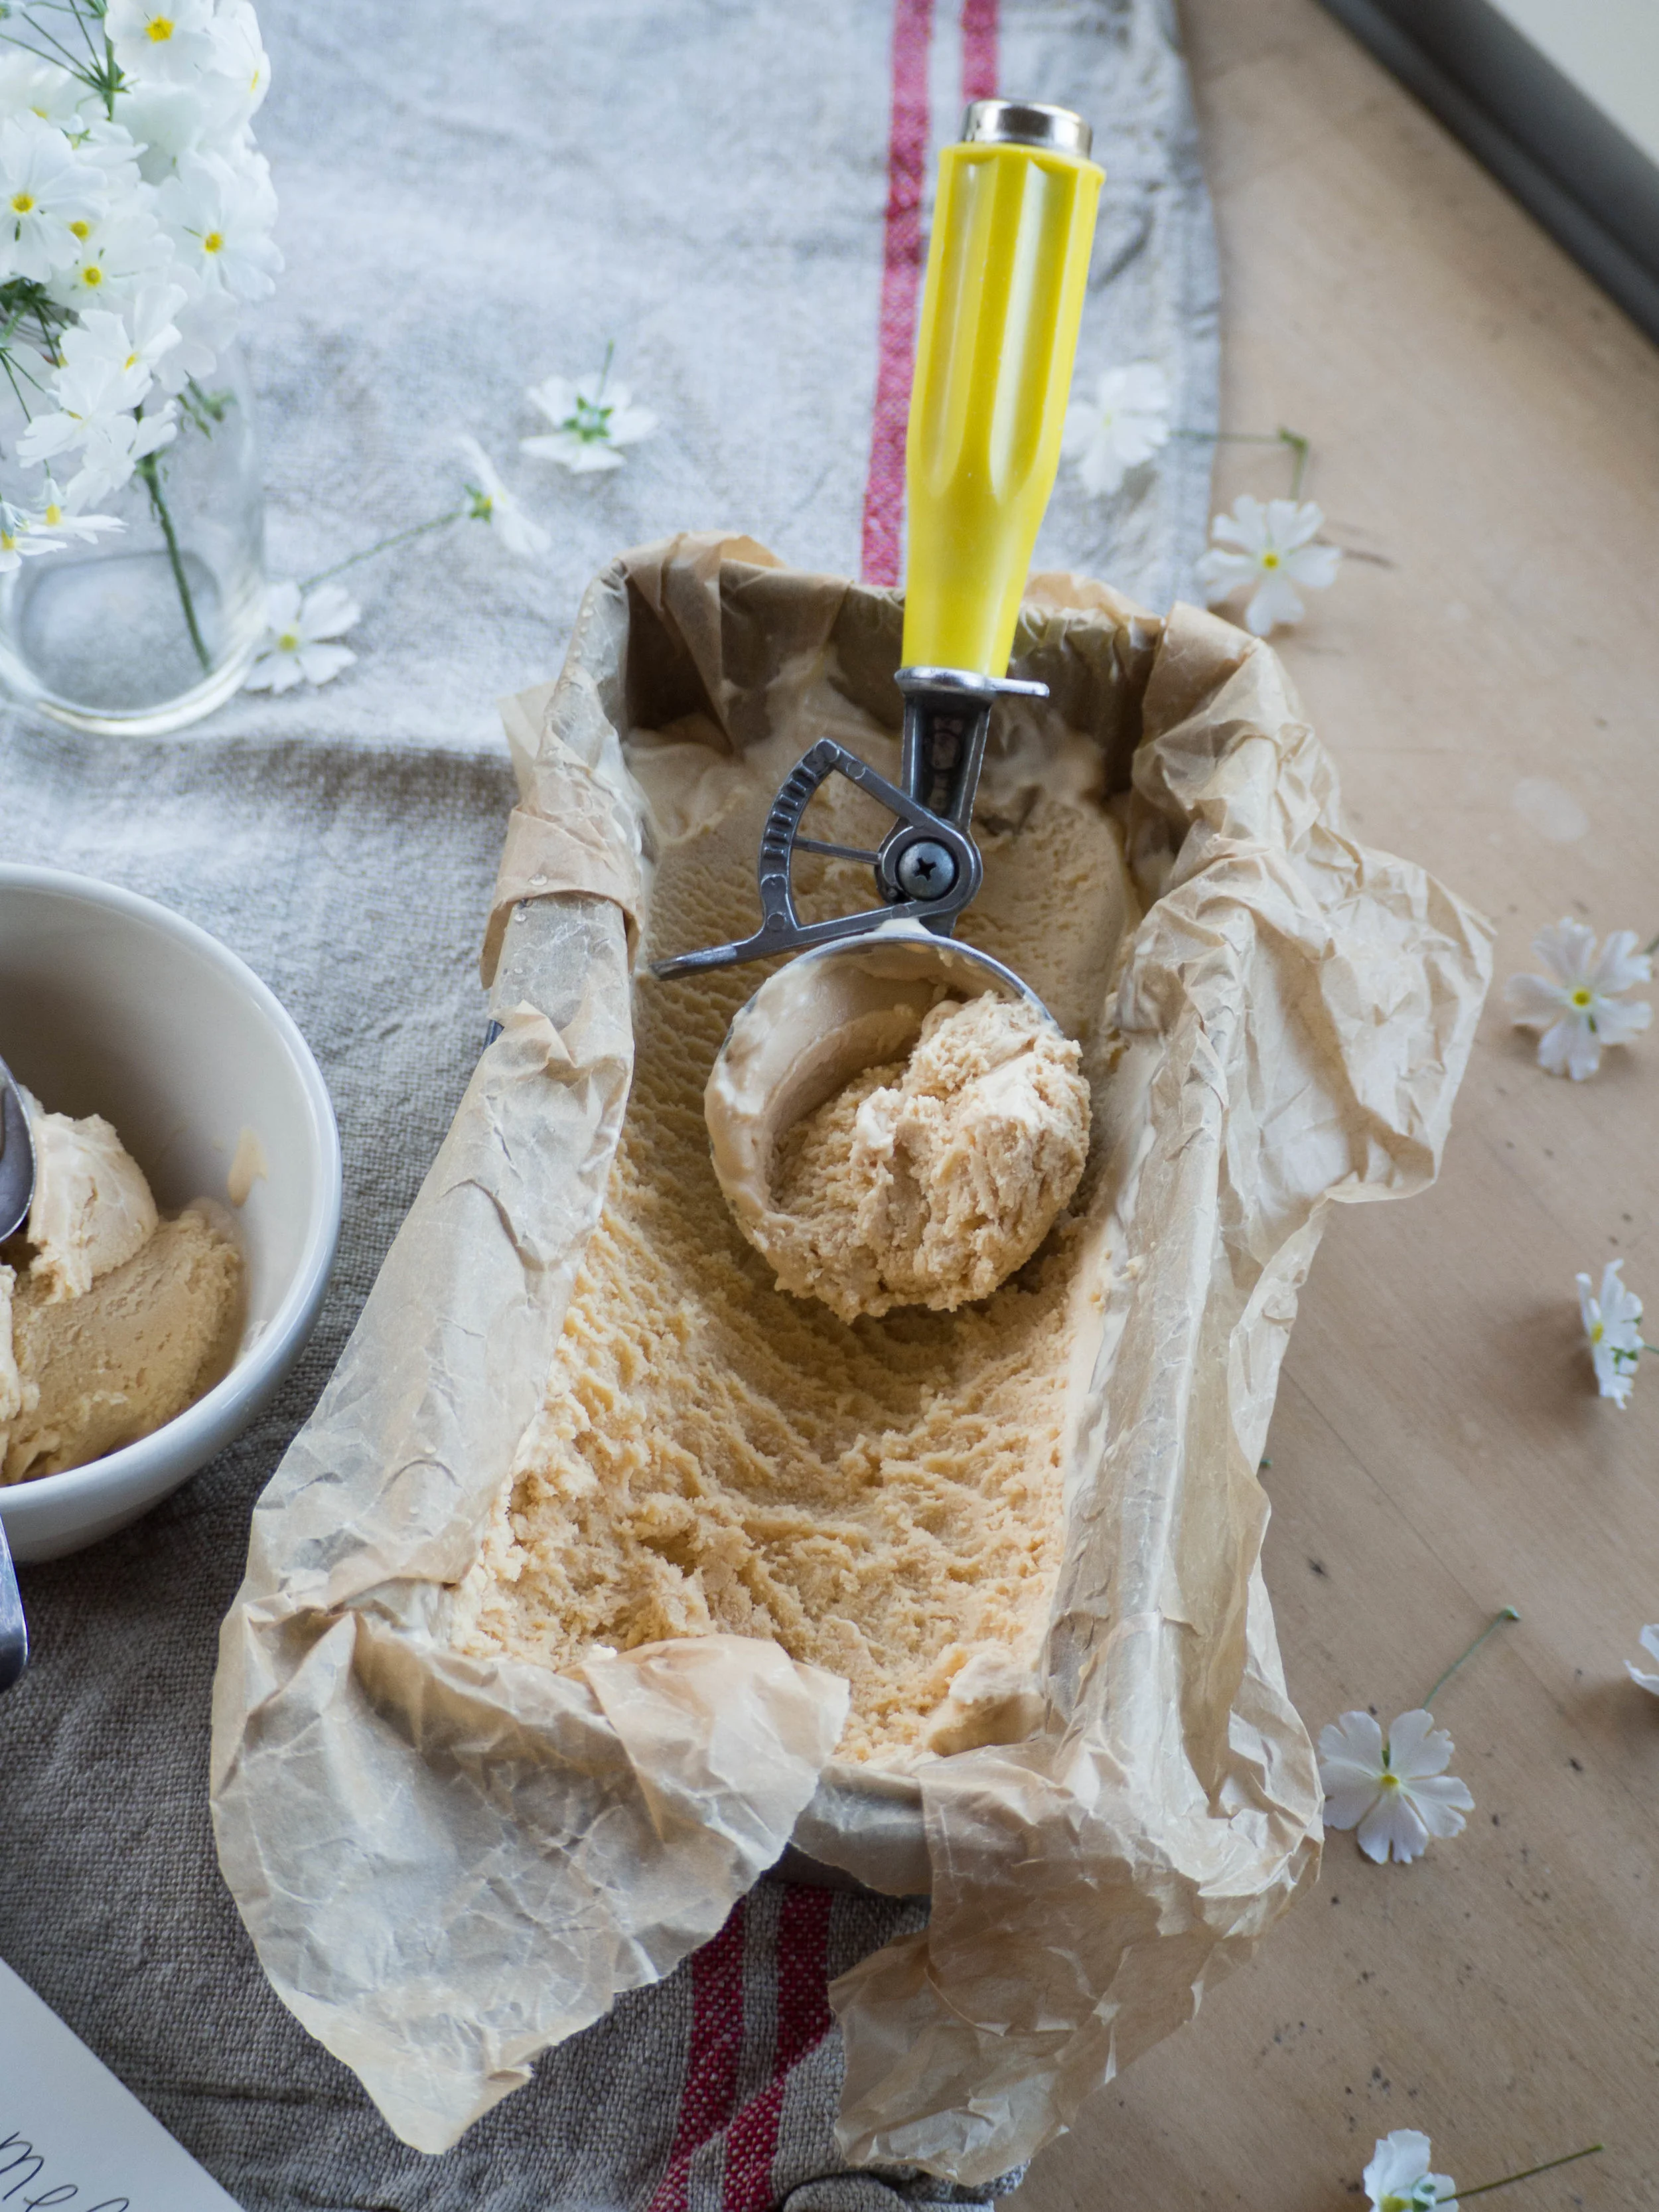
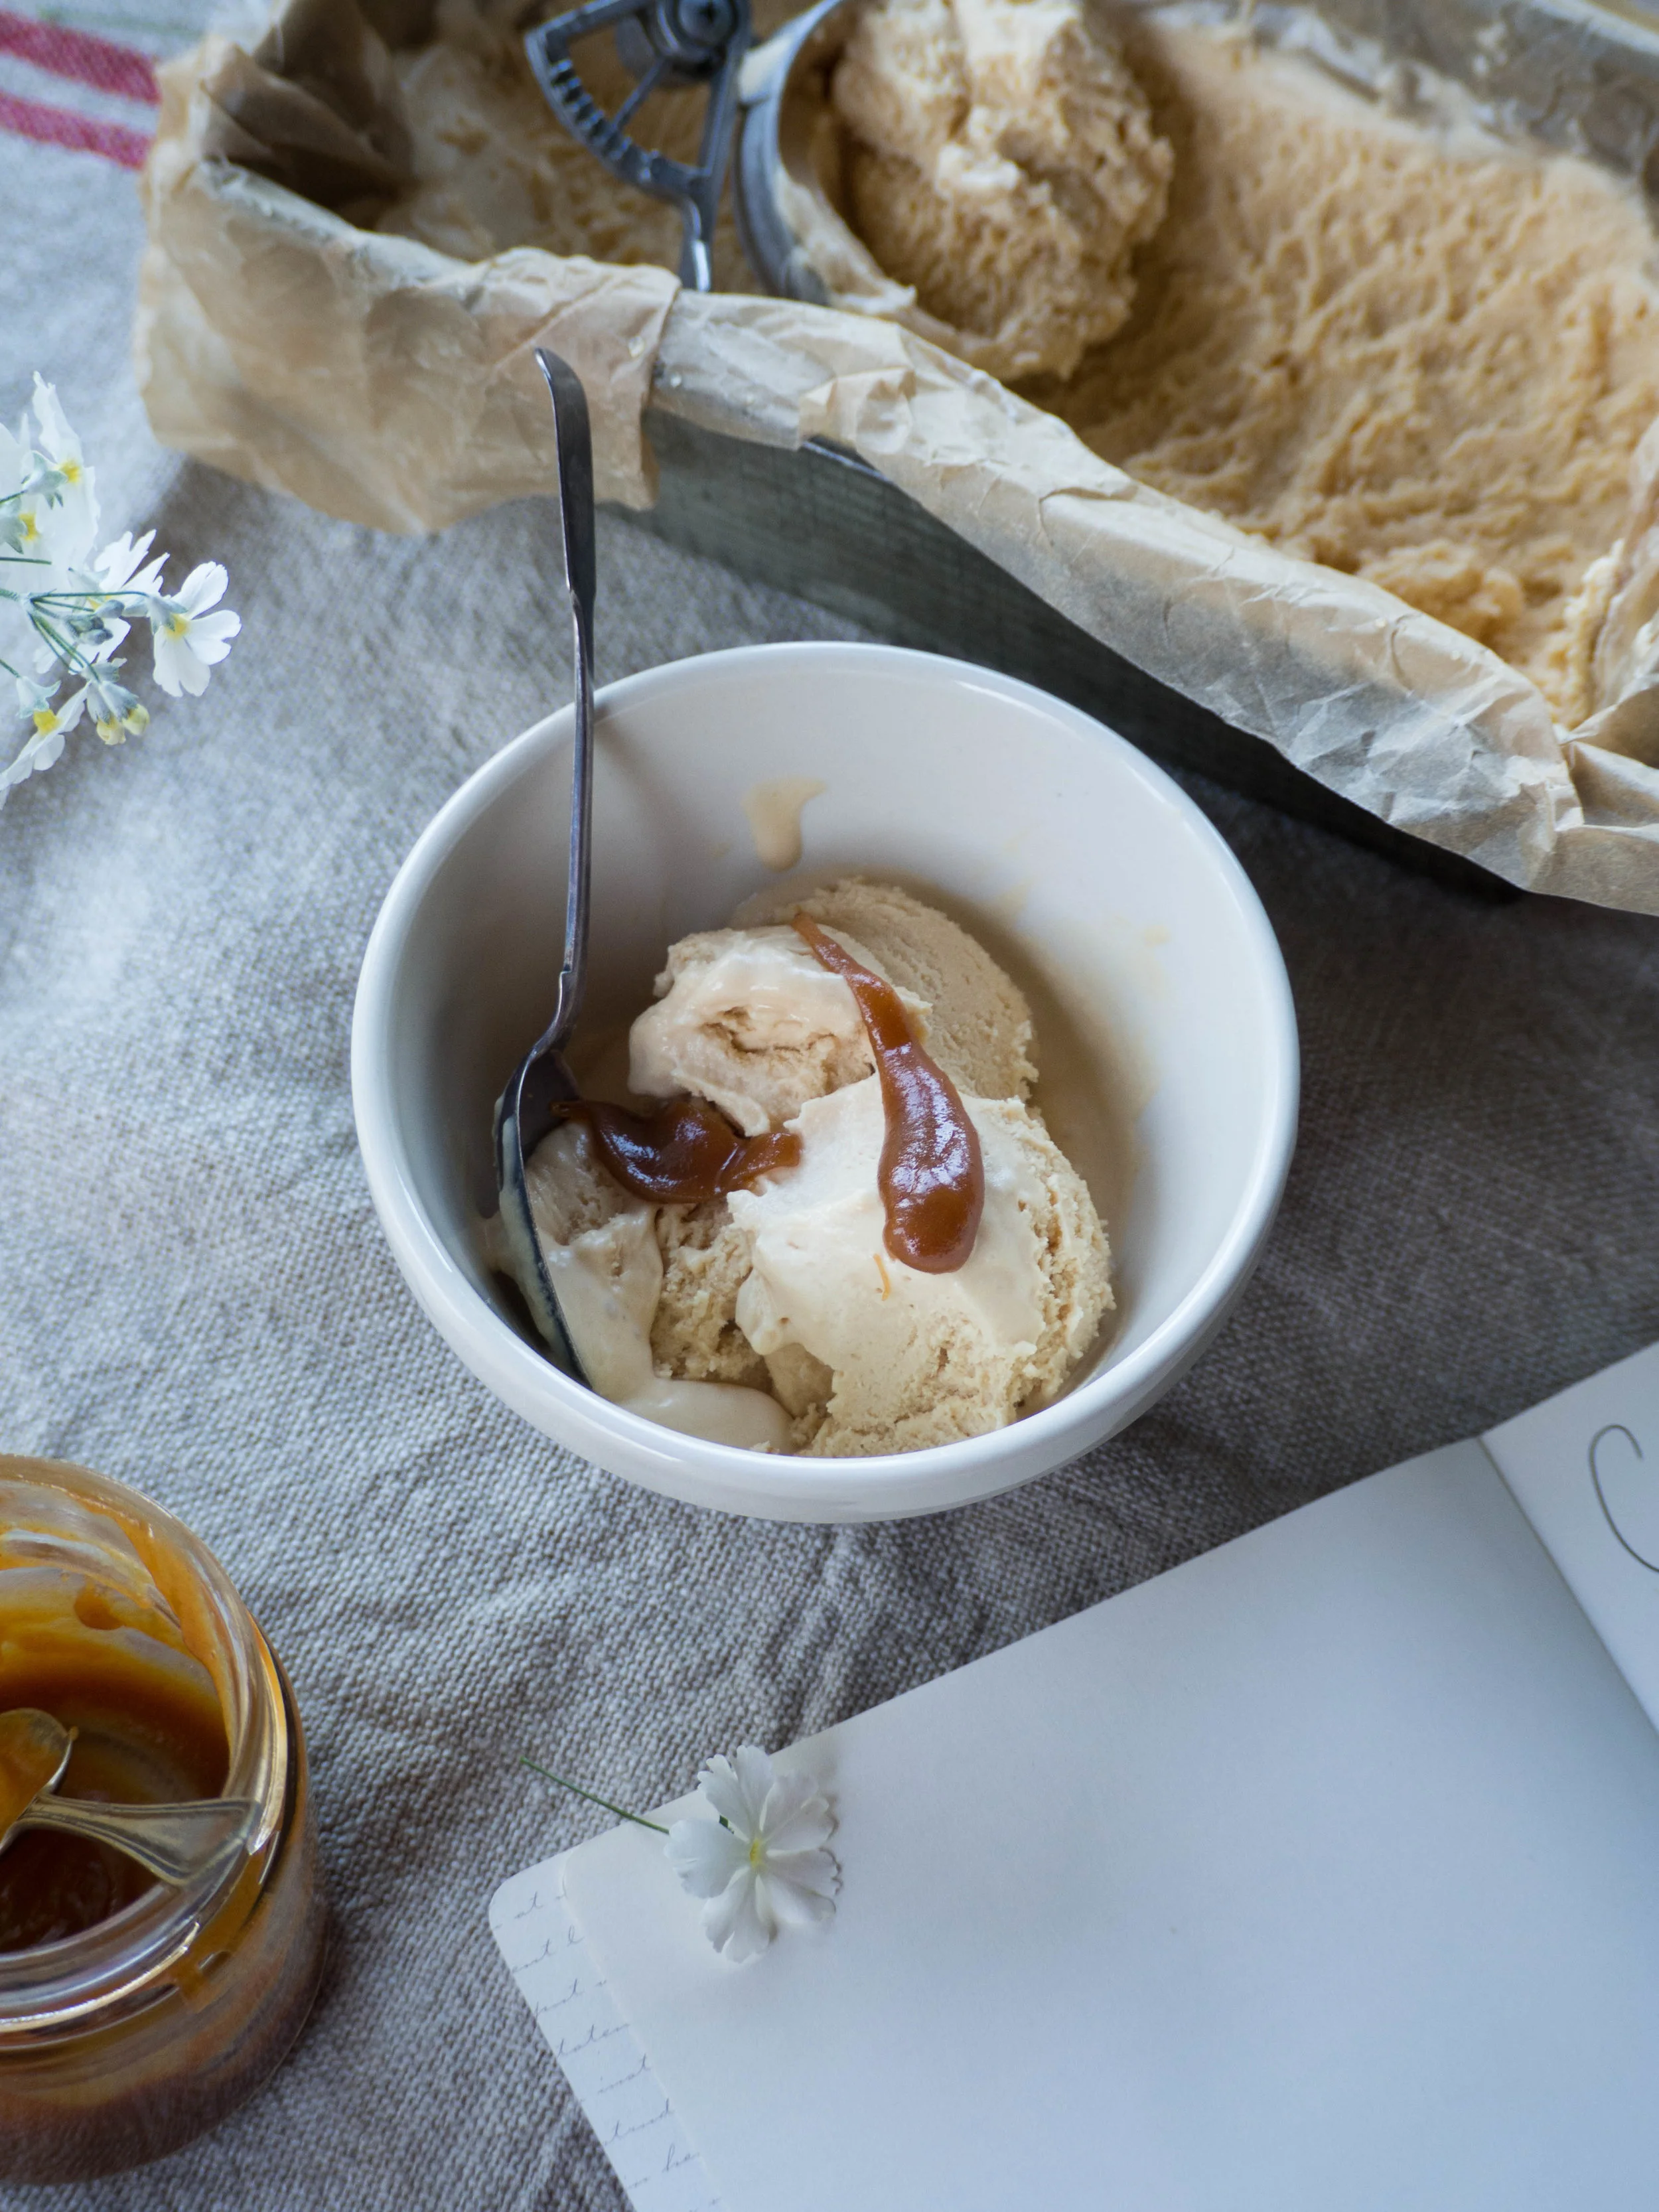
Since I have been using this simple ice cream recipe, there seems to be no end to the number of adaptations I can make with it. This caramel version came about when I was making a Carrot Cake for my Dad’s birthday in August, the recipe coming from the blog My Name is Yeh. 

The carrot cake called for making caramel. I can’t say I make caramel that often, it’s one of those things I feel can go wrong so easily. But after making it for this cake, and finding it went much more smoothly than I remember, I decided to make some more and add it to my favourite ice cream recipe to serve with the cake. 

I have made it again since then, and I am so enjoying making (and eating) this new adaptation of my favourite ice cream recipe. And with the holiday season coming up soon, I am thinking this may need to be on our Christmas menu. 

Speaking of Christmas, I am currently working on a festive baking e-book, filled with our family favourites for the holiday season. Anyone who is already a subscriber to my email list will receive a copy once the e-book is released - so if you aren’t a subscriber sign up now so you don’t miss out!
Caramel Ice Cream (Egg Free)
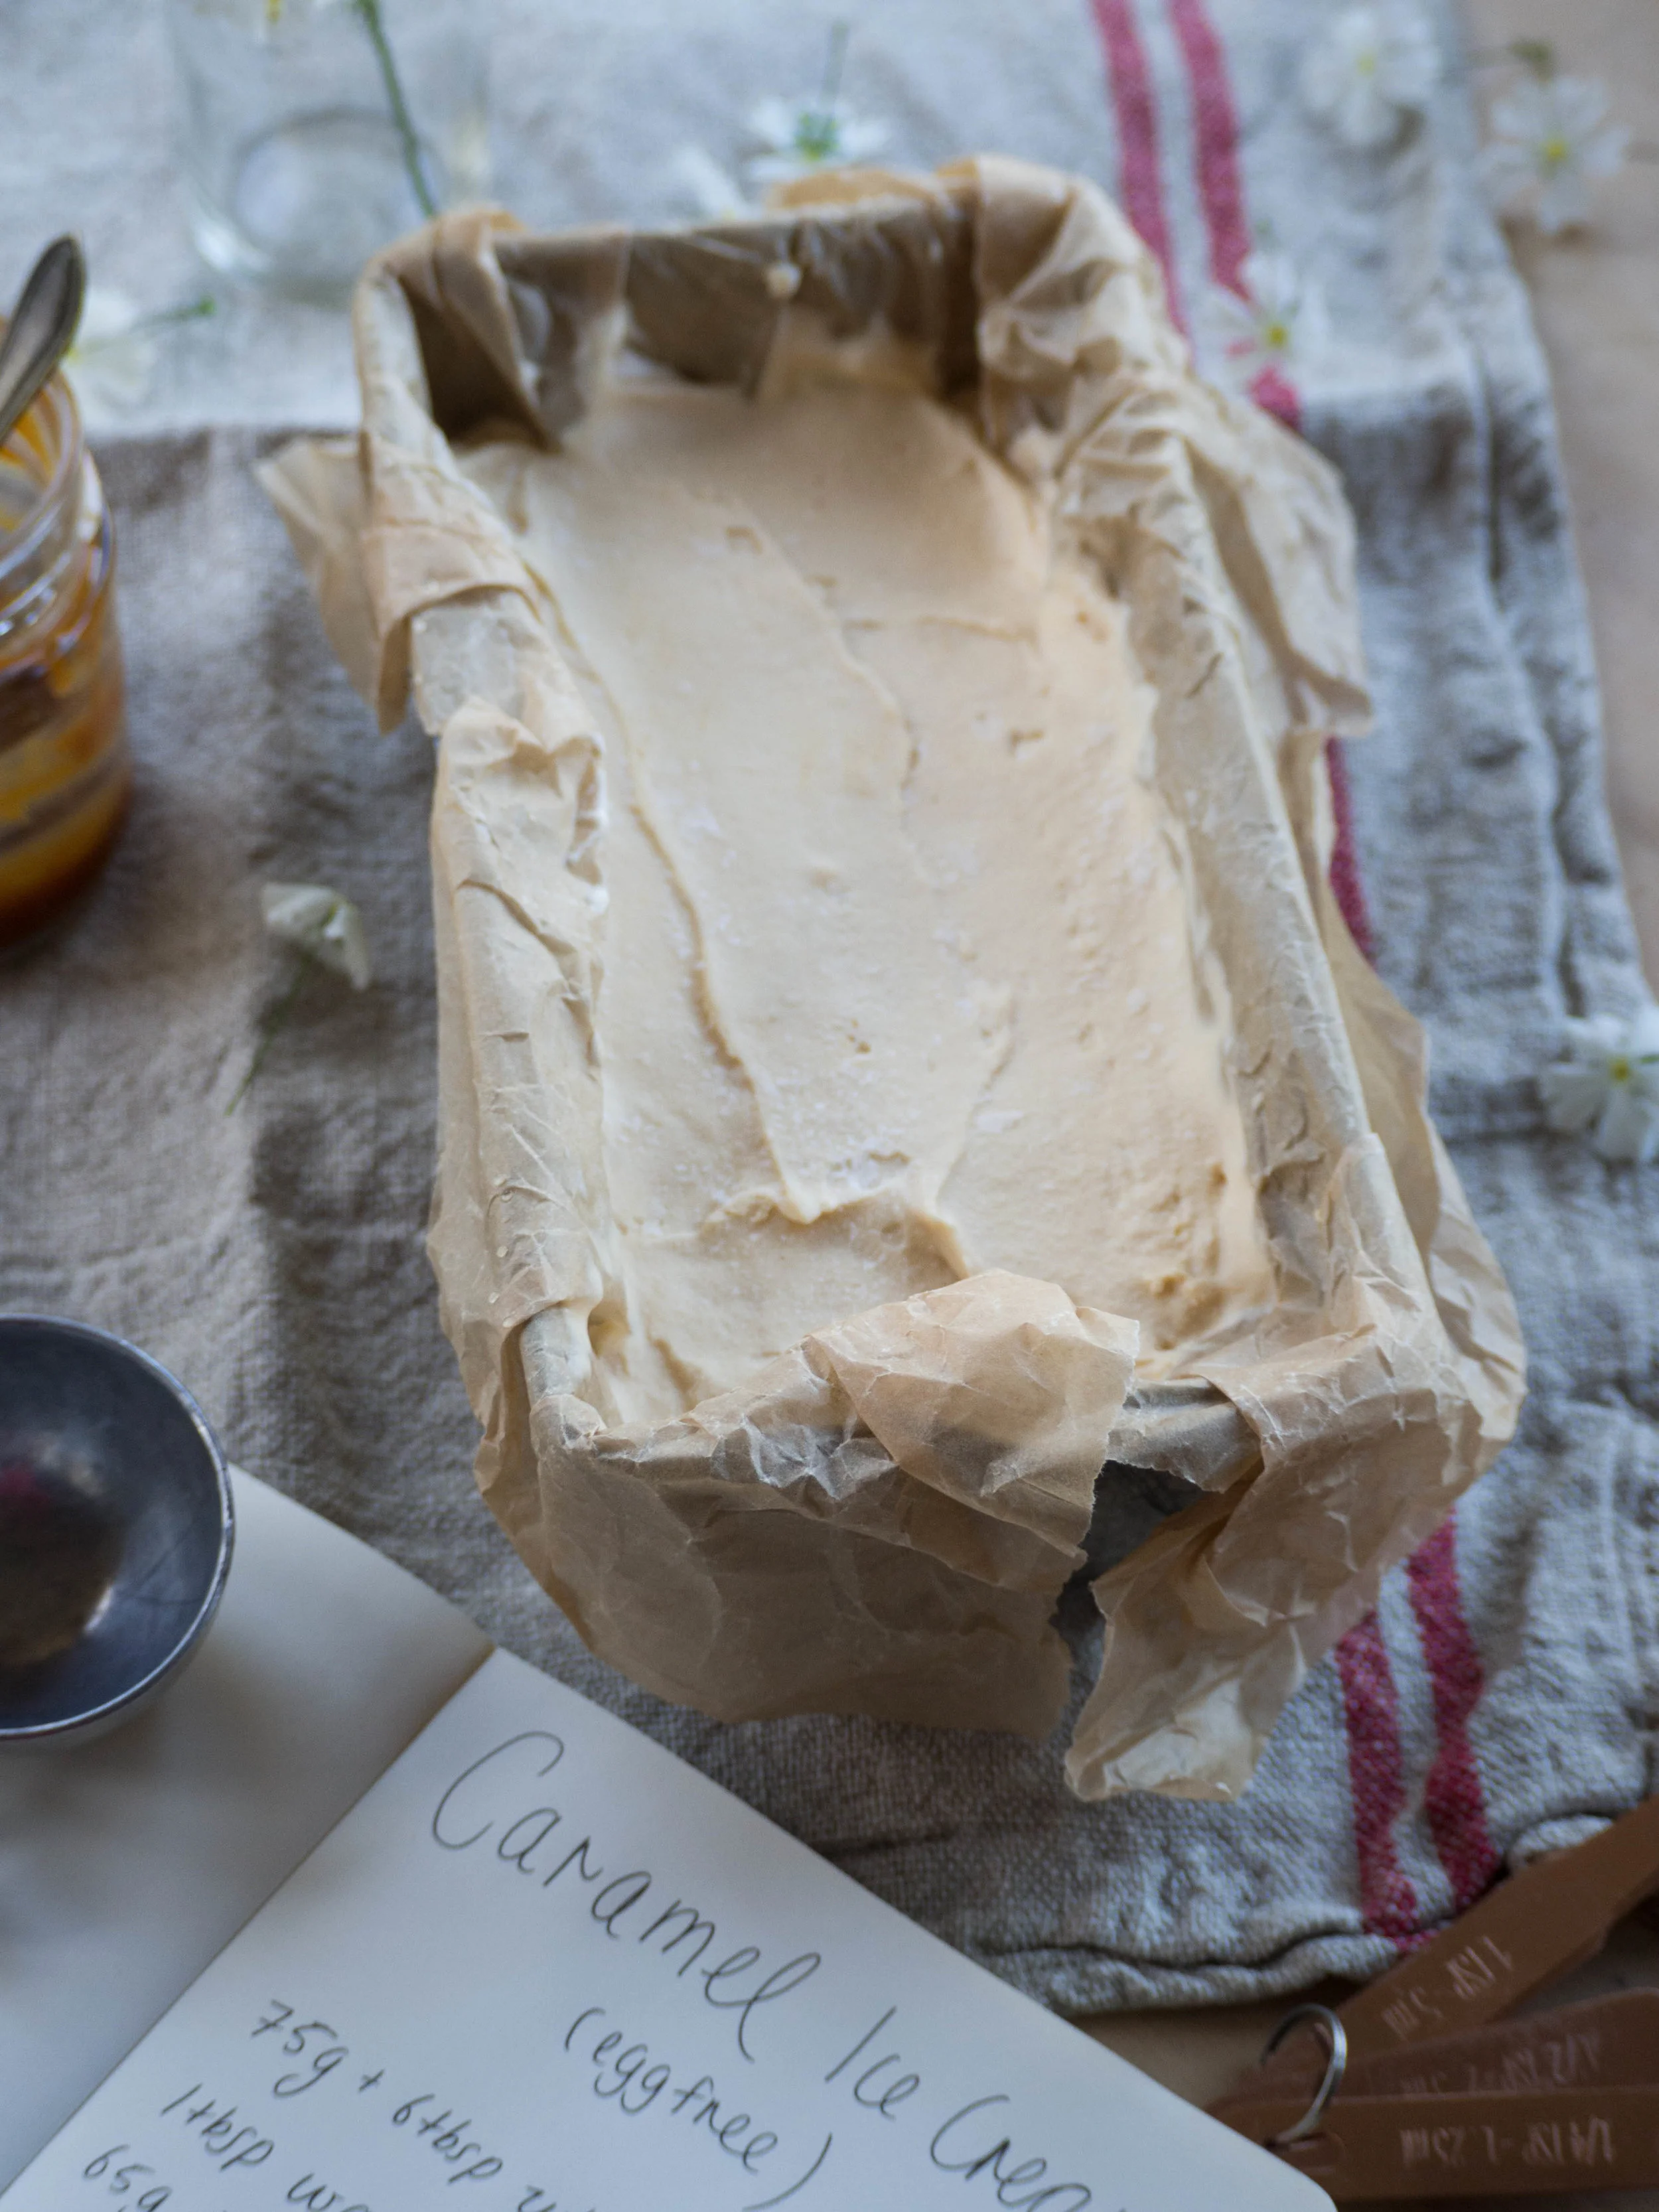
Caramel Ice Cream (Egg Free)
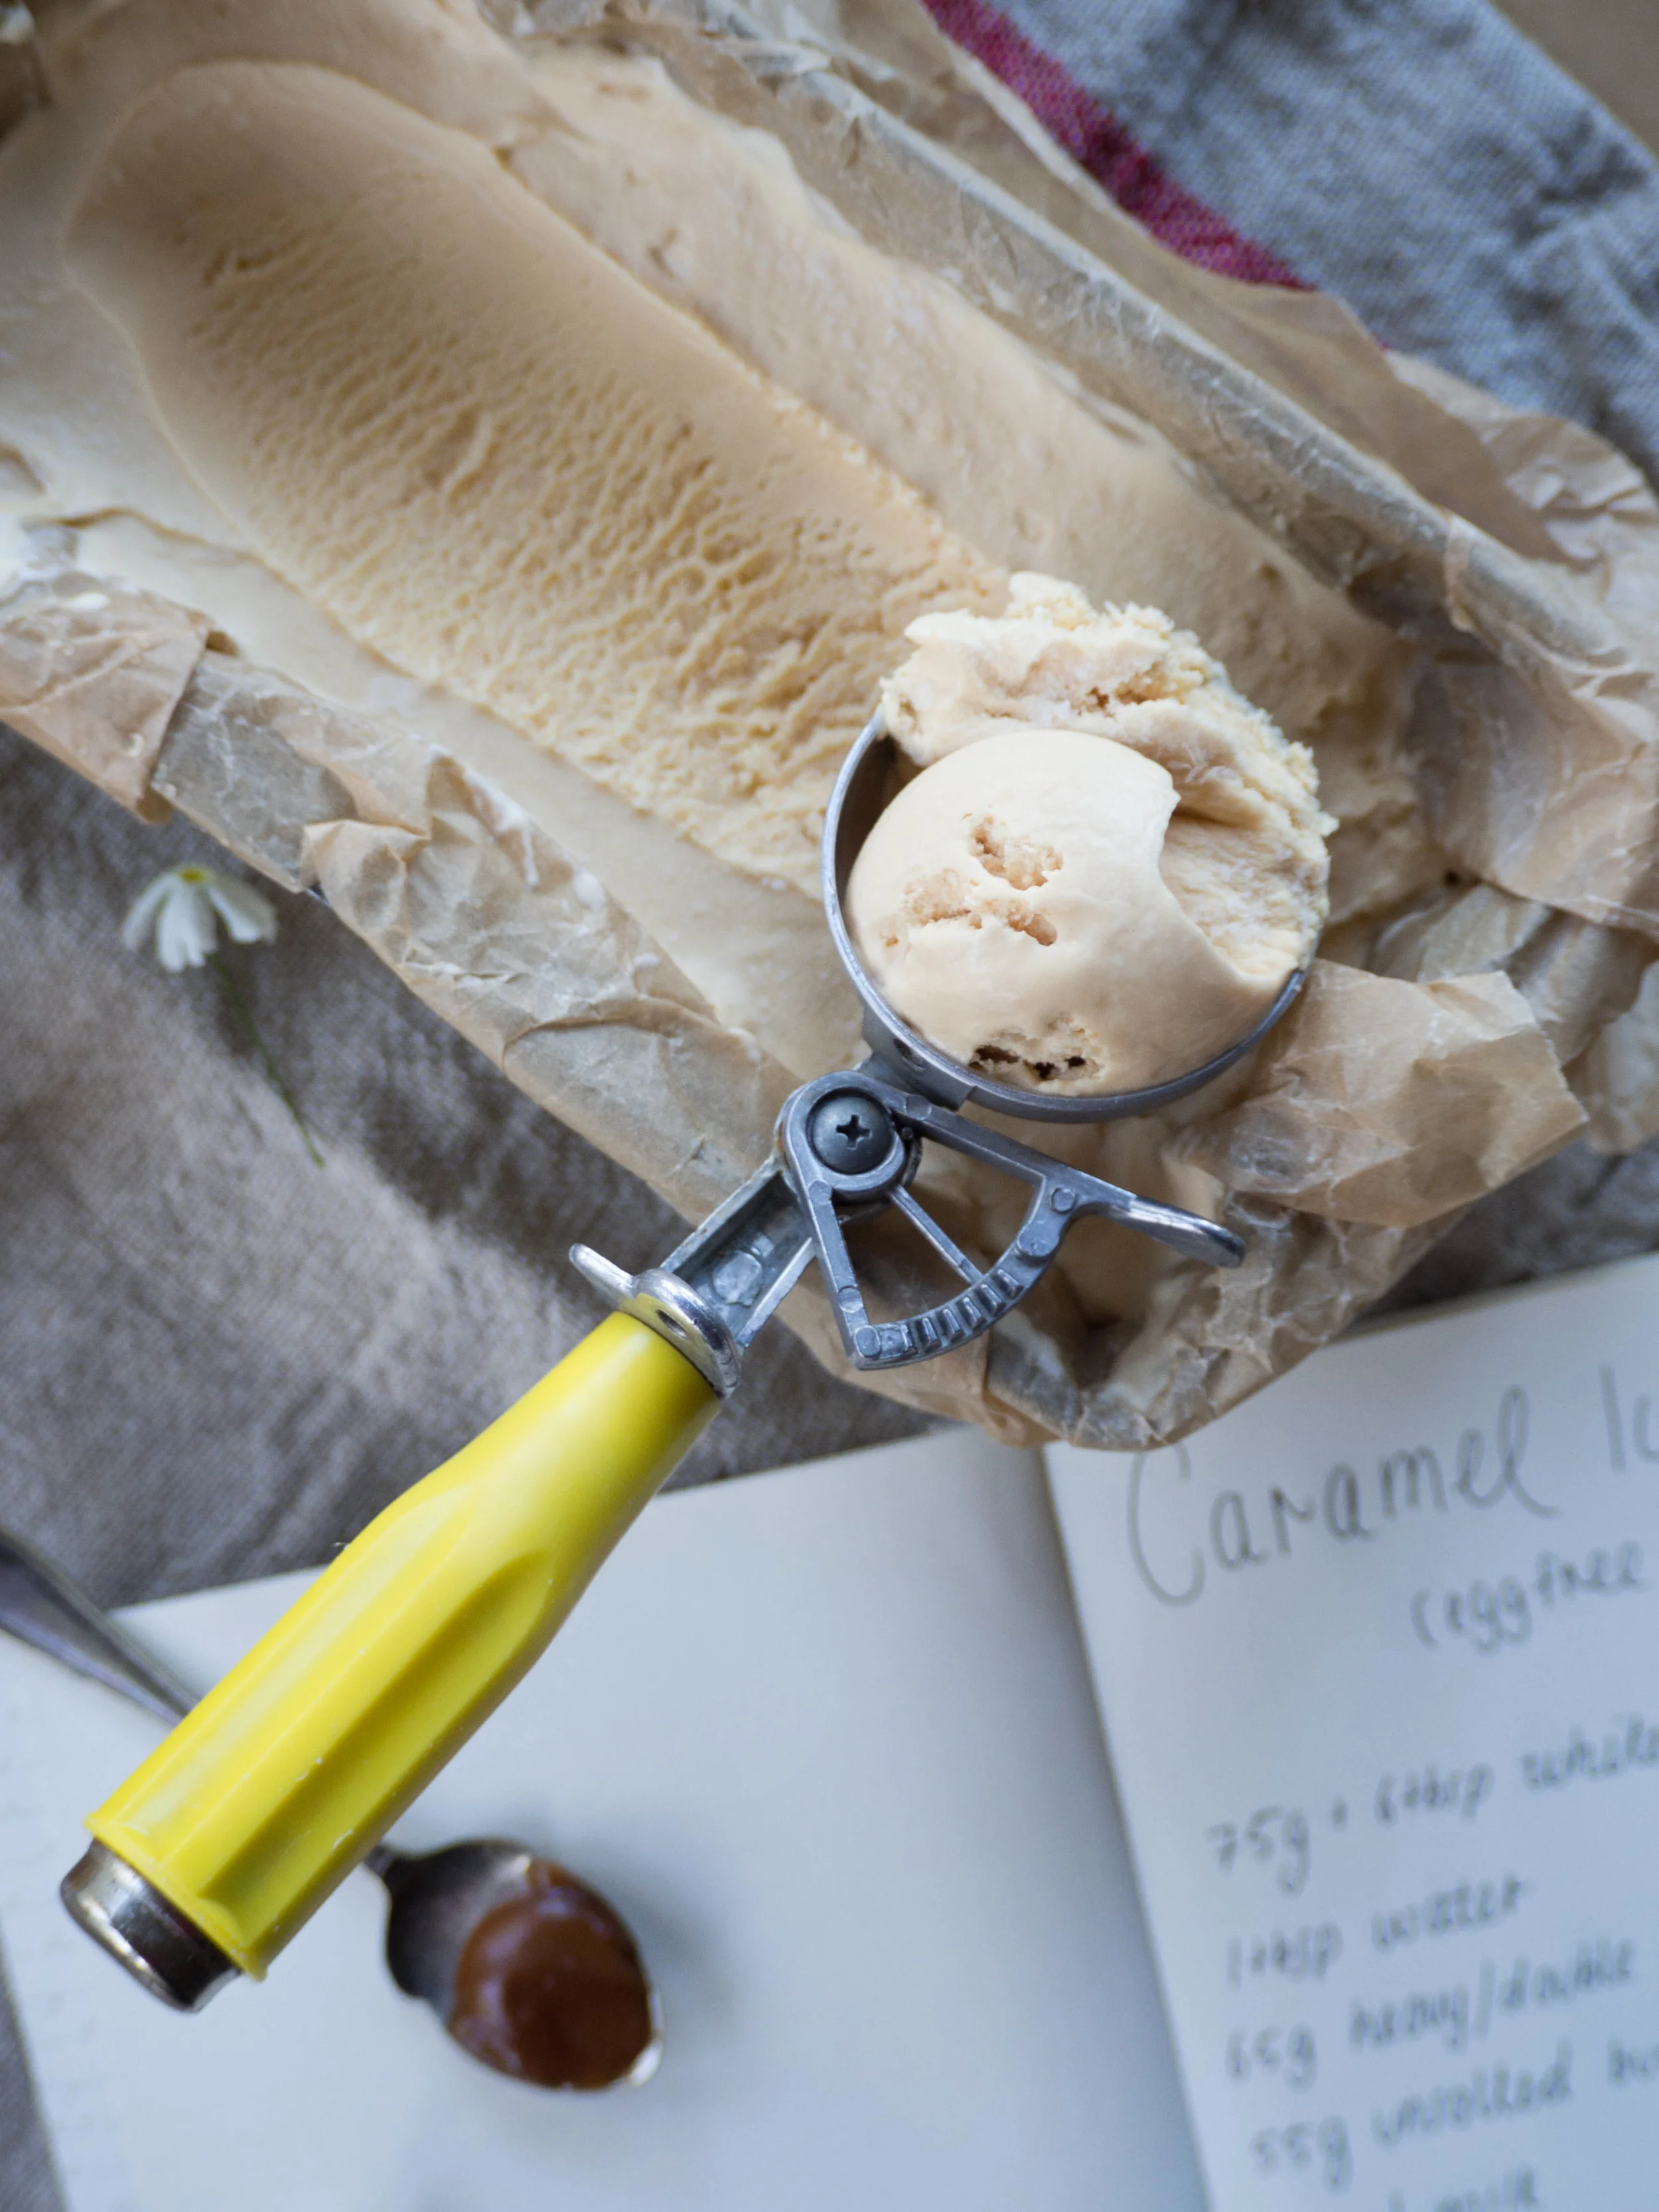
Caramel Ice Cream (Egg Free)

Caramel Ice Cream (Egg Free)

Caramel Ice Cream (Egg Free)

Caramel Ice Cream (Egg Free)

Caramel Ice Cream (Egg Free)

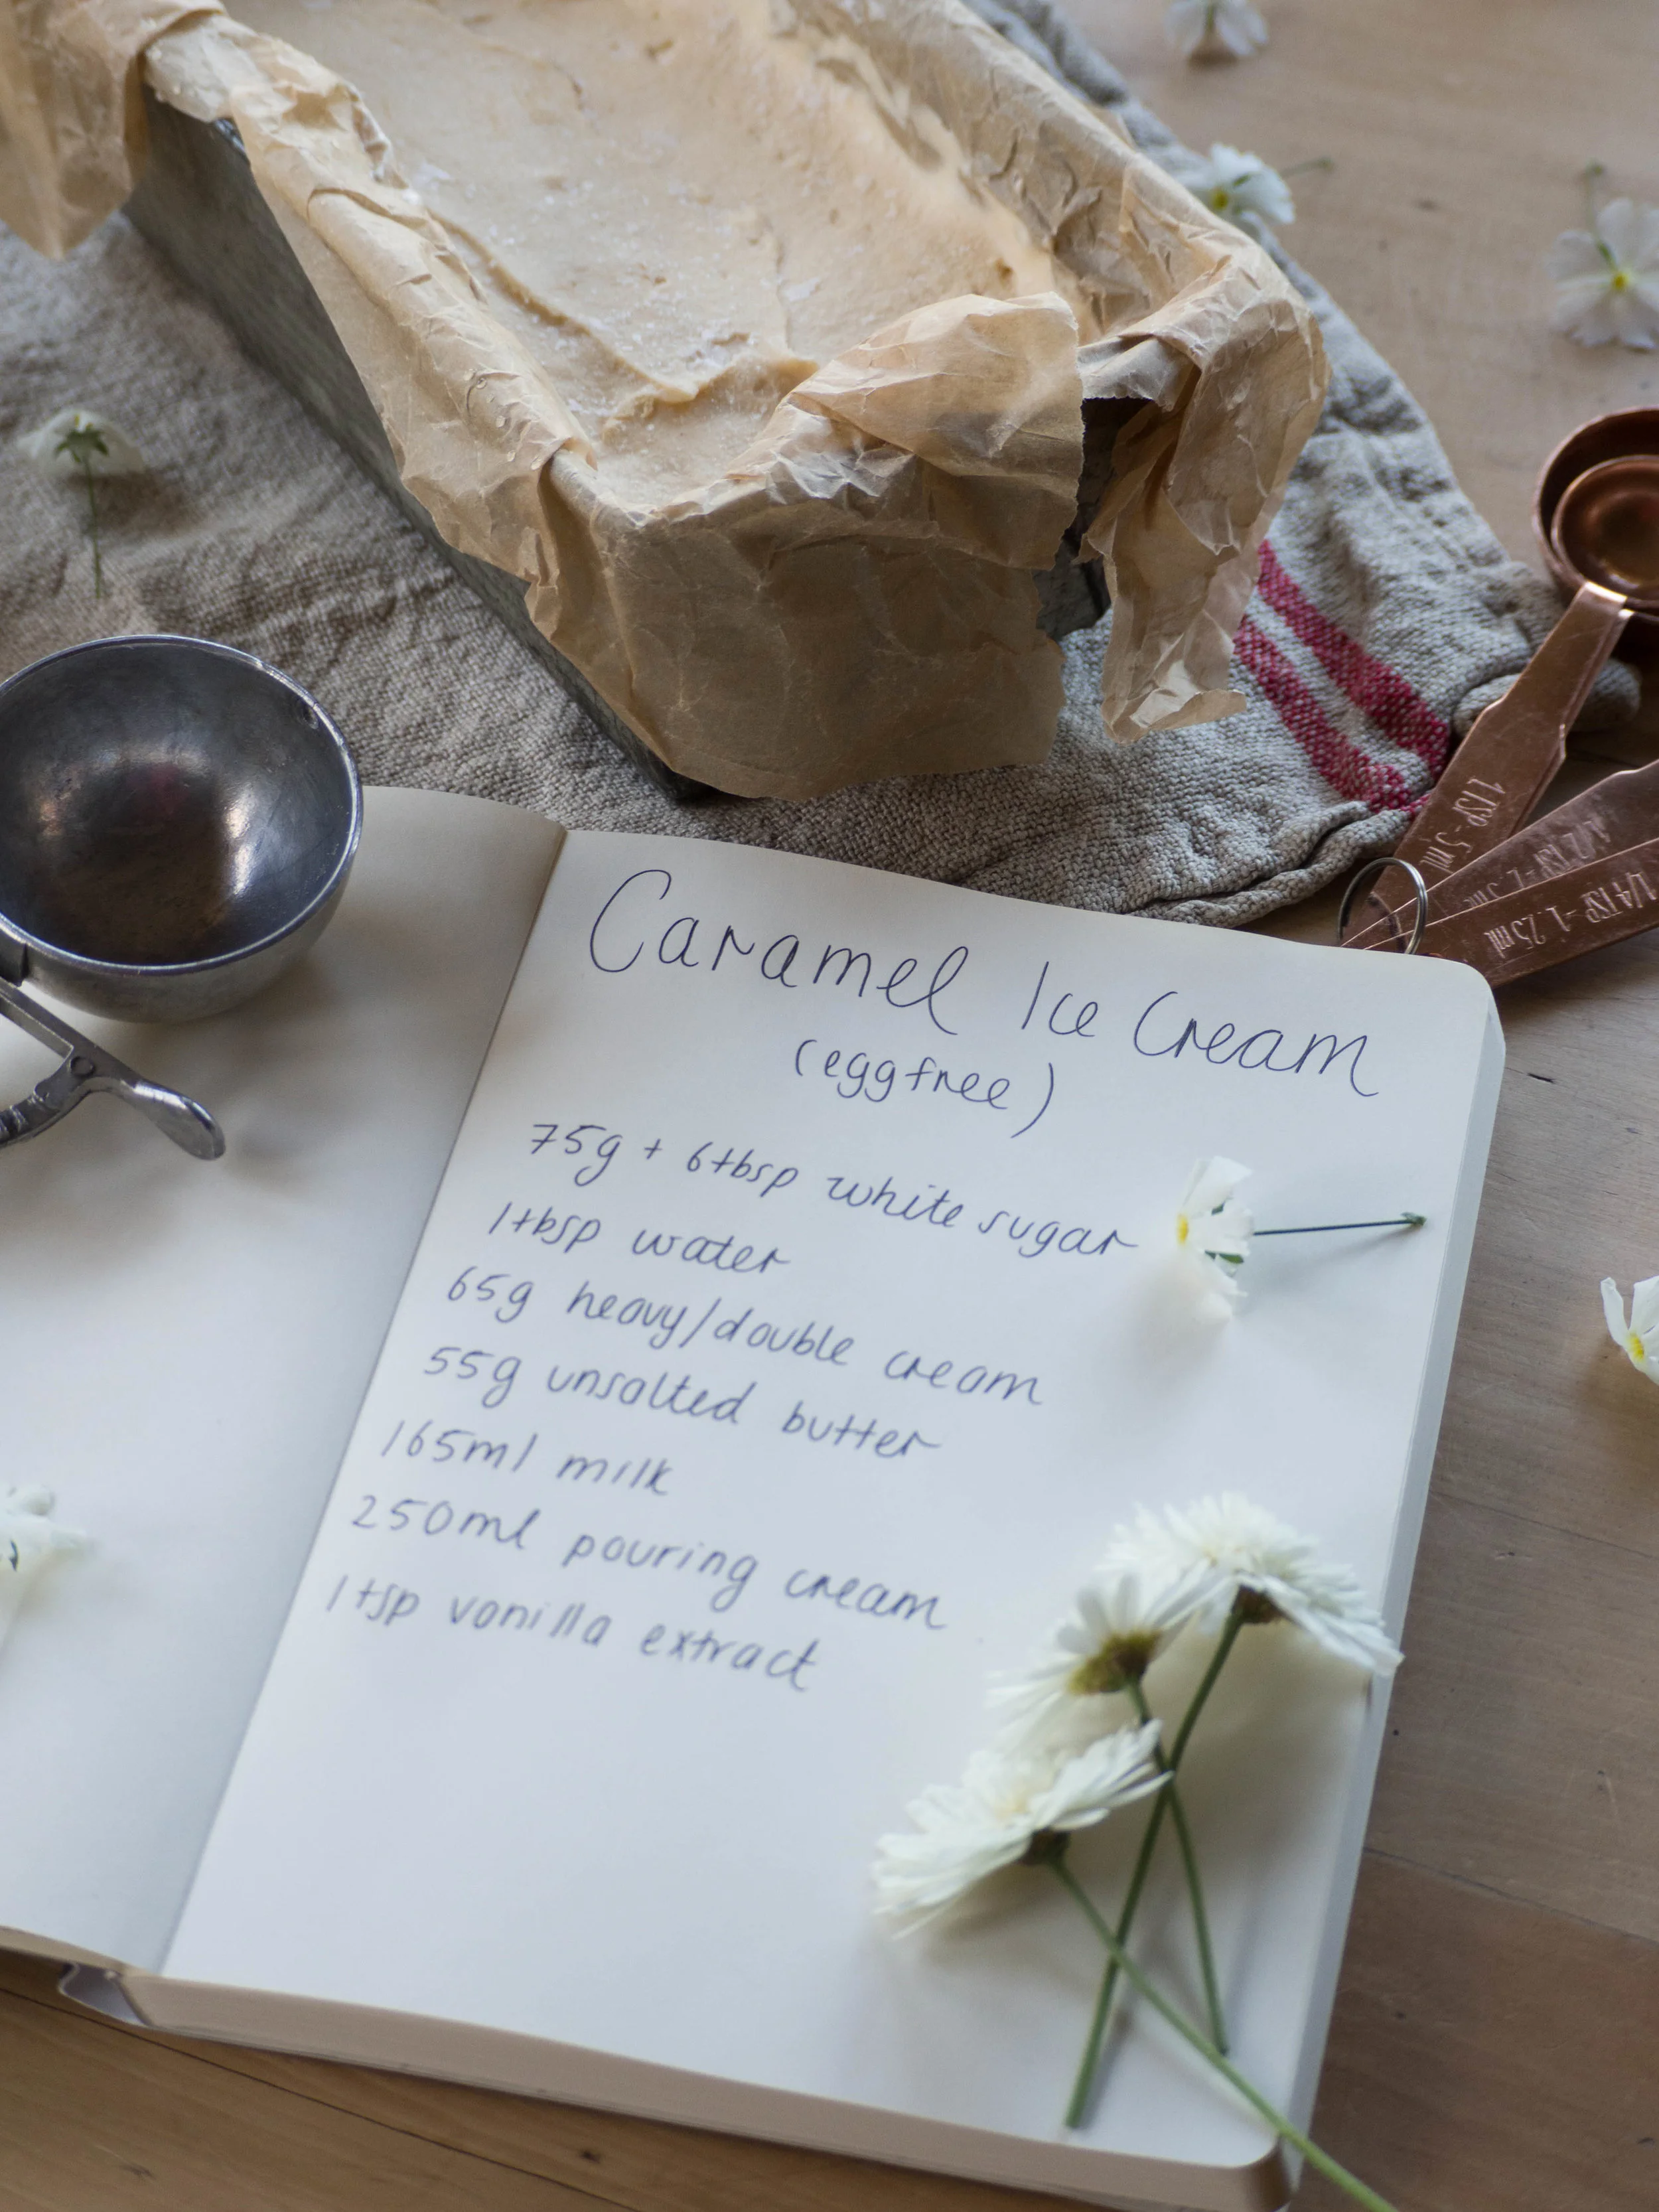
Ingredients for the Caramel: 

75g white sugar

1 tbsp water

65g heavy/double cream

55g unsalted butter cubed, at room temperature


Ingredients for the Ice Cream: 

165ml milk 

6 tbsp white sugar

250ml pouring cream 

1 tsp vanilla extract 


Method: 

To make the caramel, place the sugar into a small saucepan, and stir in the water. Cook over high heat, stirring to dissolve the sugar until it starts to bubble. Then stop stirring (and don’t stir again or the caramel will crystallise), and leave to cook for a further couple of minutes or until the caramel has turned amber in colour. If the caramel isn’t cooking evenly, swirl the pan to encourage the caramel to colour evenly. 

Reduce the heat to low, and add the cream. Stir until the cream has combined with the caramel. Continue to stir and add the butter little by little so each piece has time to melt before the next is added. 

Once all the butter has been added and is well combined, remove the caramel from the heat and allow to cool. 

Ensure the caramel has cooled right down before using to make the ice cream. Alternatively, make the caramel the day before, store in the fridge and bring down to room temperature before using to make the ice cream. 

To make the ice cream, whisk the milk and sugar together until the sugar has dissolved and the milk has become frothy. Then add the cream, the vanilla, and the caramel. Whisk until combined and the mixture has thickened a little. 

Transfer mixture into the bowl of an ice cream machine, and process according to machine instructions. I found the churning process took about 10-15 minutes. When ready, the ice cream should have thickened, be softly frozen like a soft serve ice cream, and be clinging to the paddle of the ice cream machine. When ready, transfer ice cream into a freezer safe container (at least 1L capacity) and freeze overnight. 
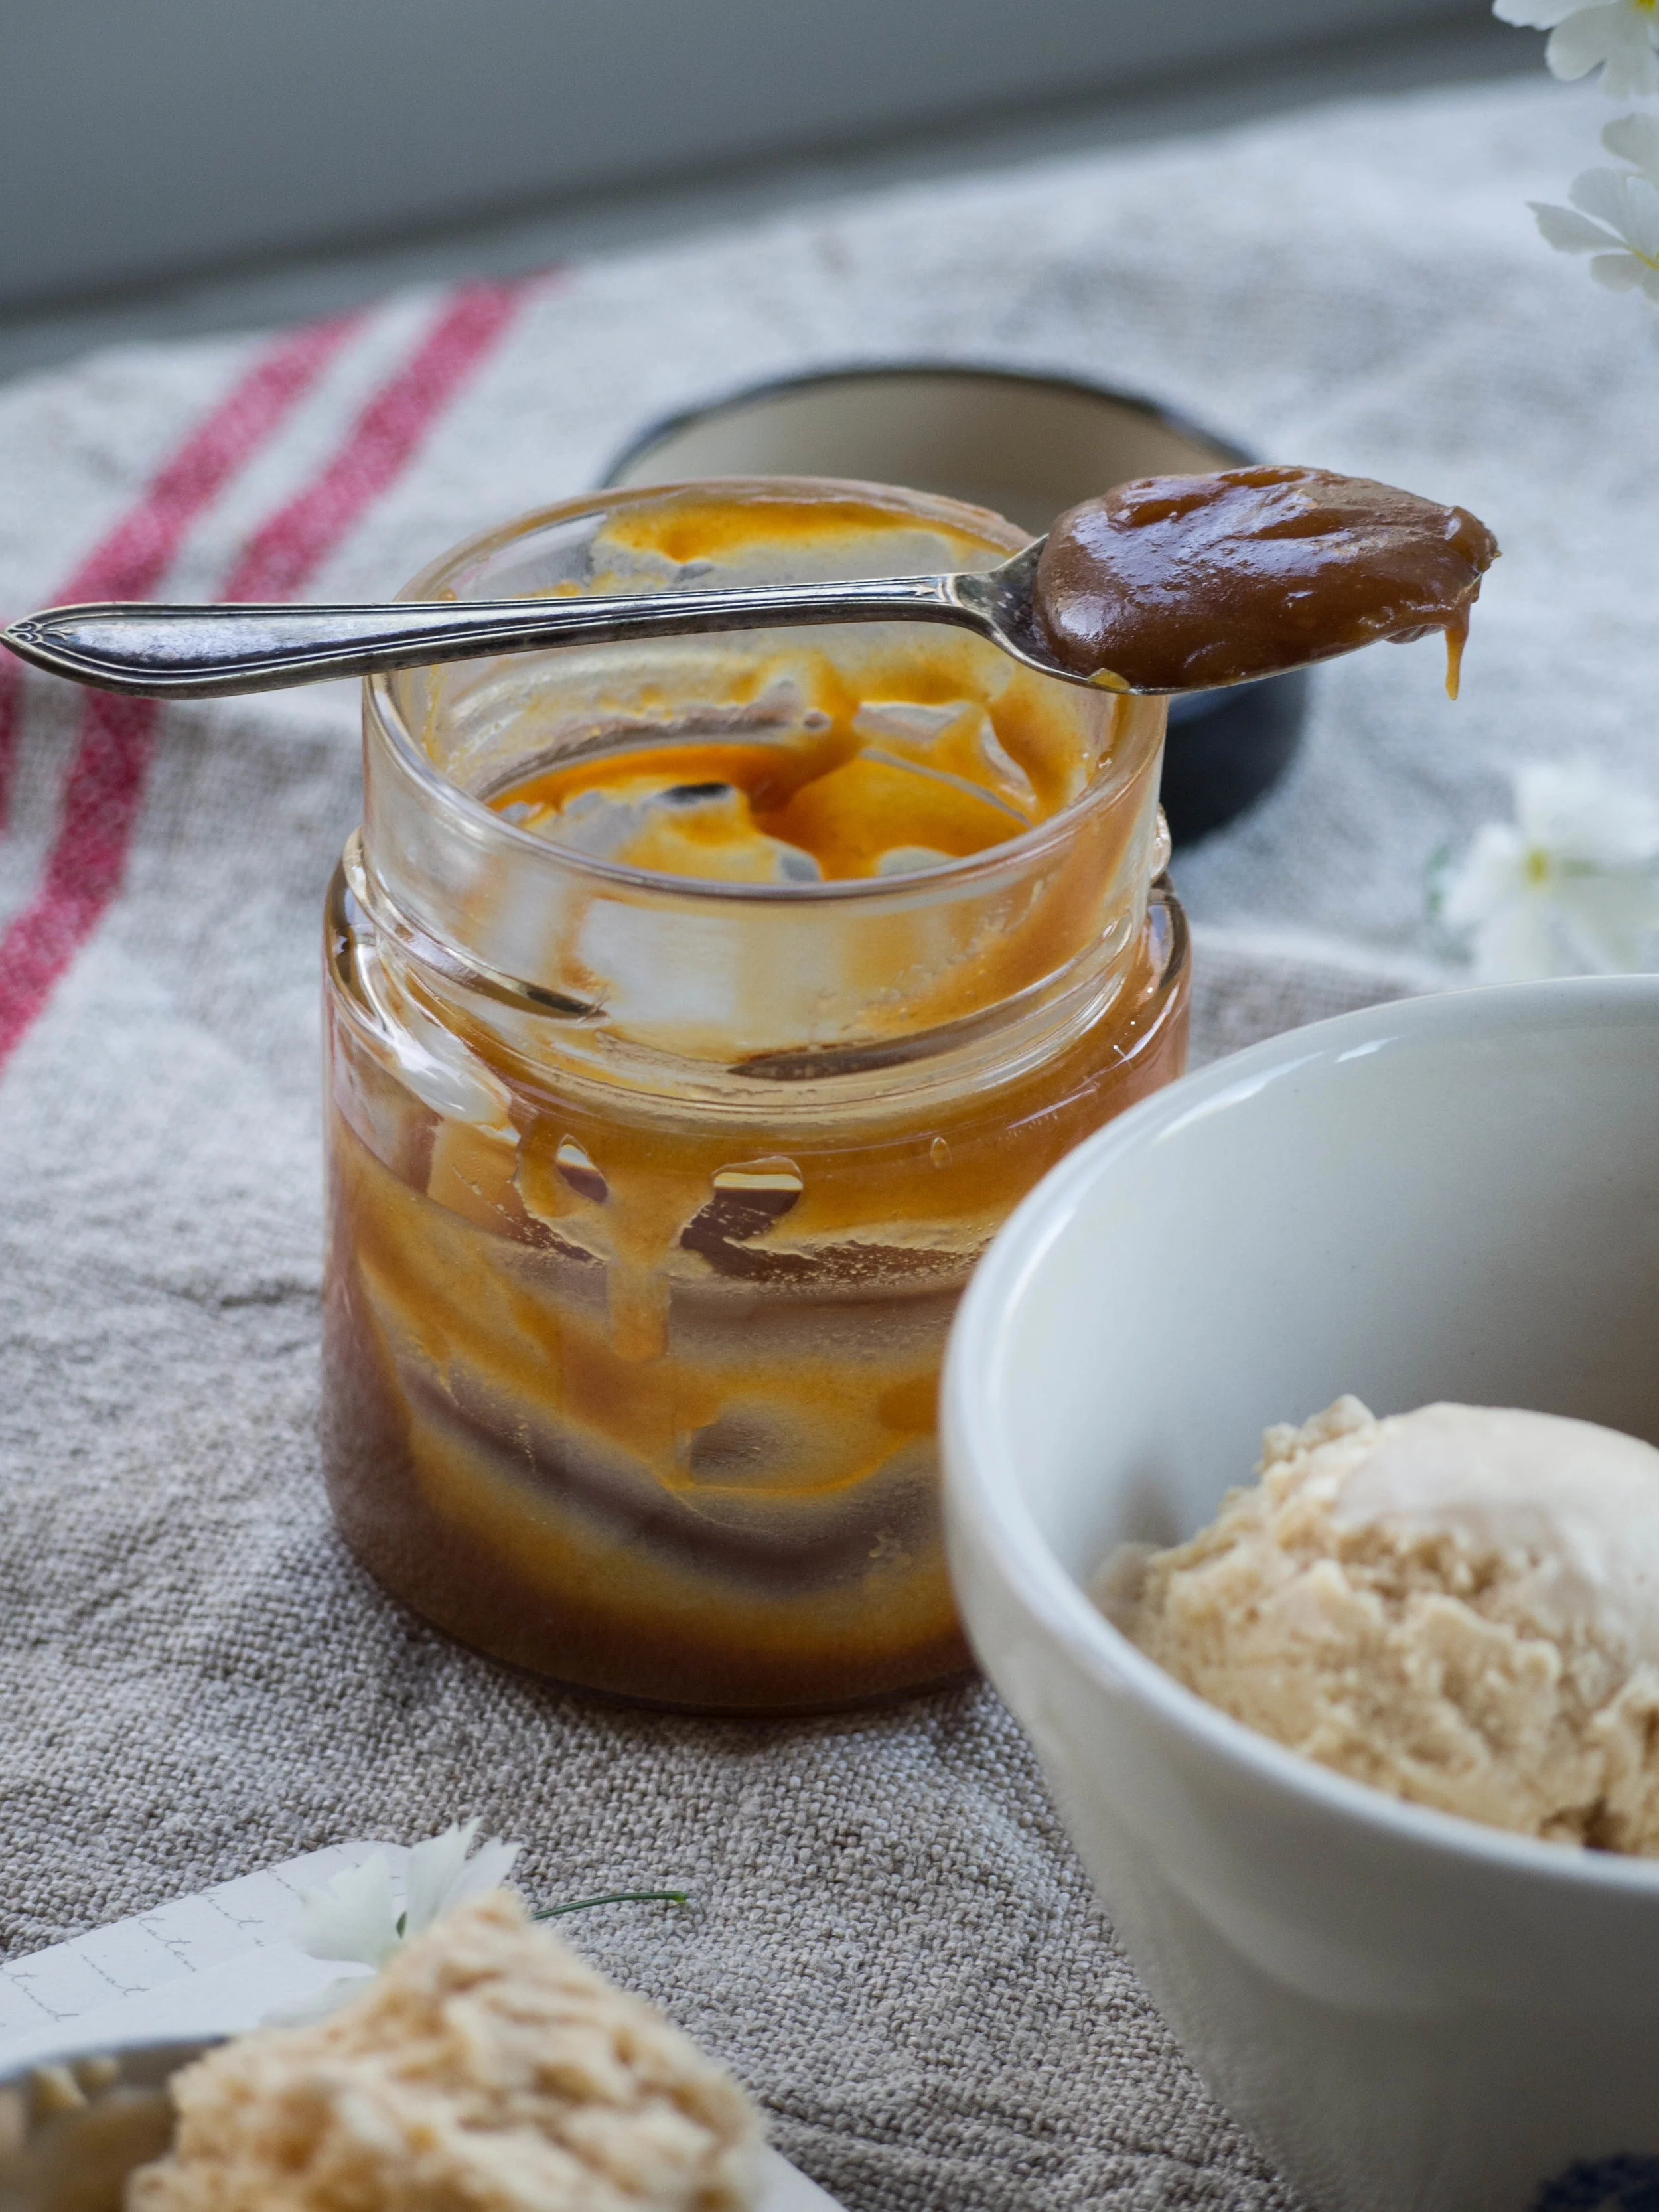
Caramel Ice Cream (Egg Free)
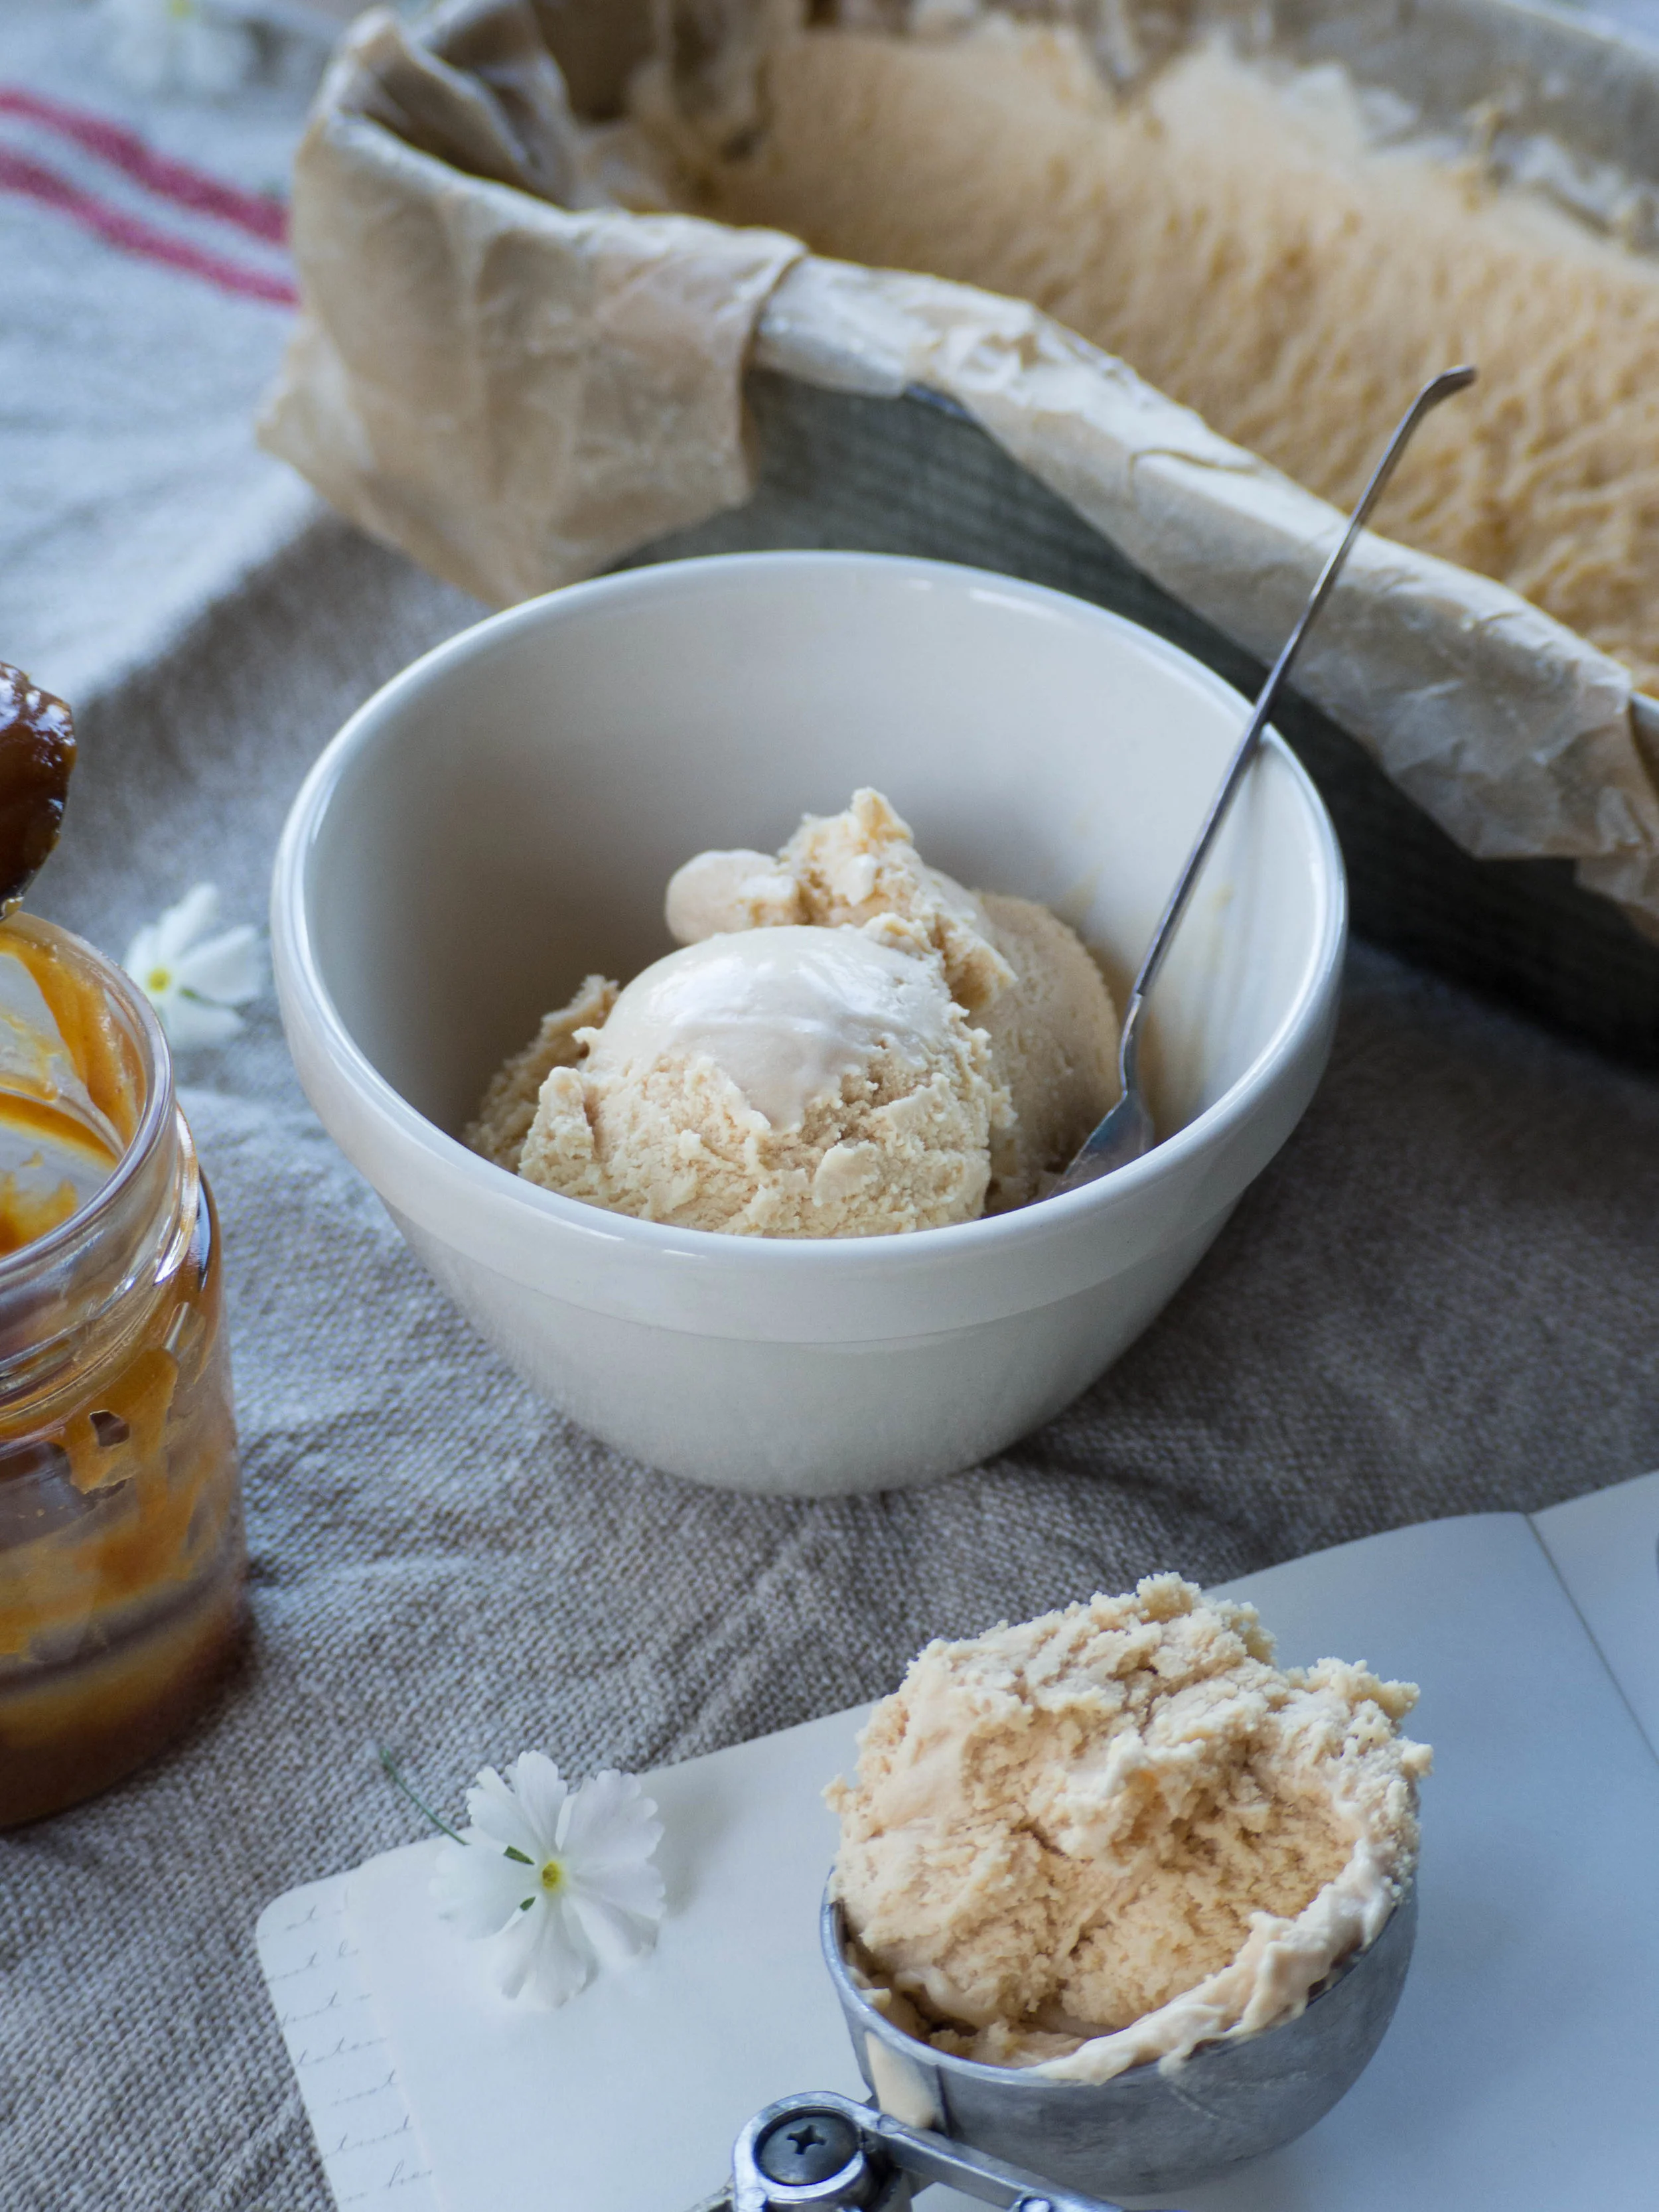
Caramel Ice Cream (Egg Free)

Caramel Ice Cream (Egg Free)

Caramel Ice Cream (Egg Free)

Reference: ‘Lomelino’s Ice Cream’ by Linda Lomelino (Roost Books, 2015), p.13; Carrot Cake with Hawaij and Tahini Caramel by My Name Is Yeh.
Caramel Ice Cream (Egg Free)
Caramel Ice Cream (Egg Free)
Caramel Ice Cream (Egg Free)

Caramel Ice Cream (Egg Free)

In Other Desserts, Ice Cream Tags Ice Cream, Caramel, My Name is Yeh, E-Book
Comment
Panela Sugar Shortbread

Panela Sugar Shortbread

Panela Sugar Shortbread + How to Make Homemade Vanilla Extract

Kath October 27, 2017

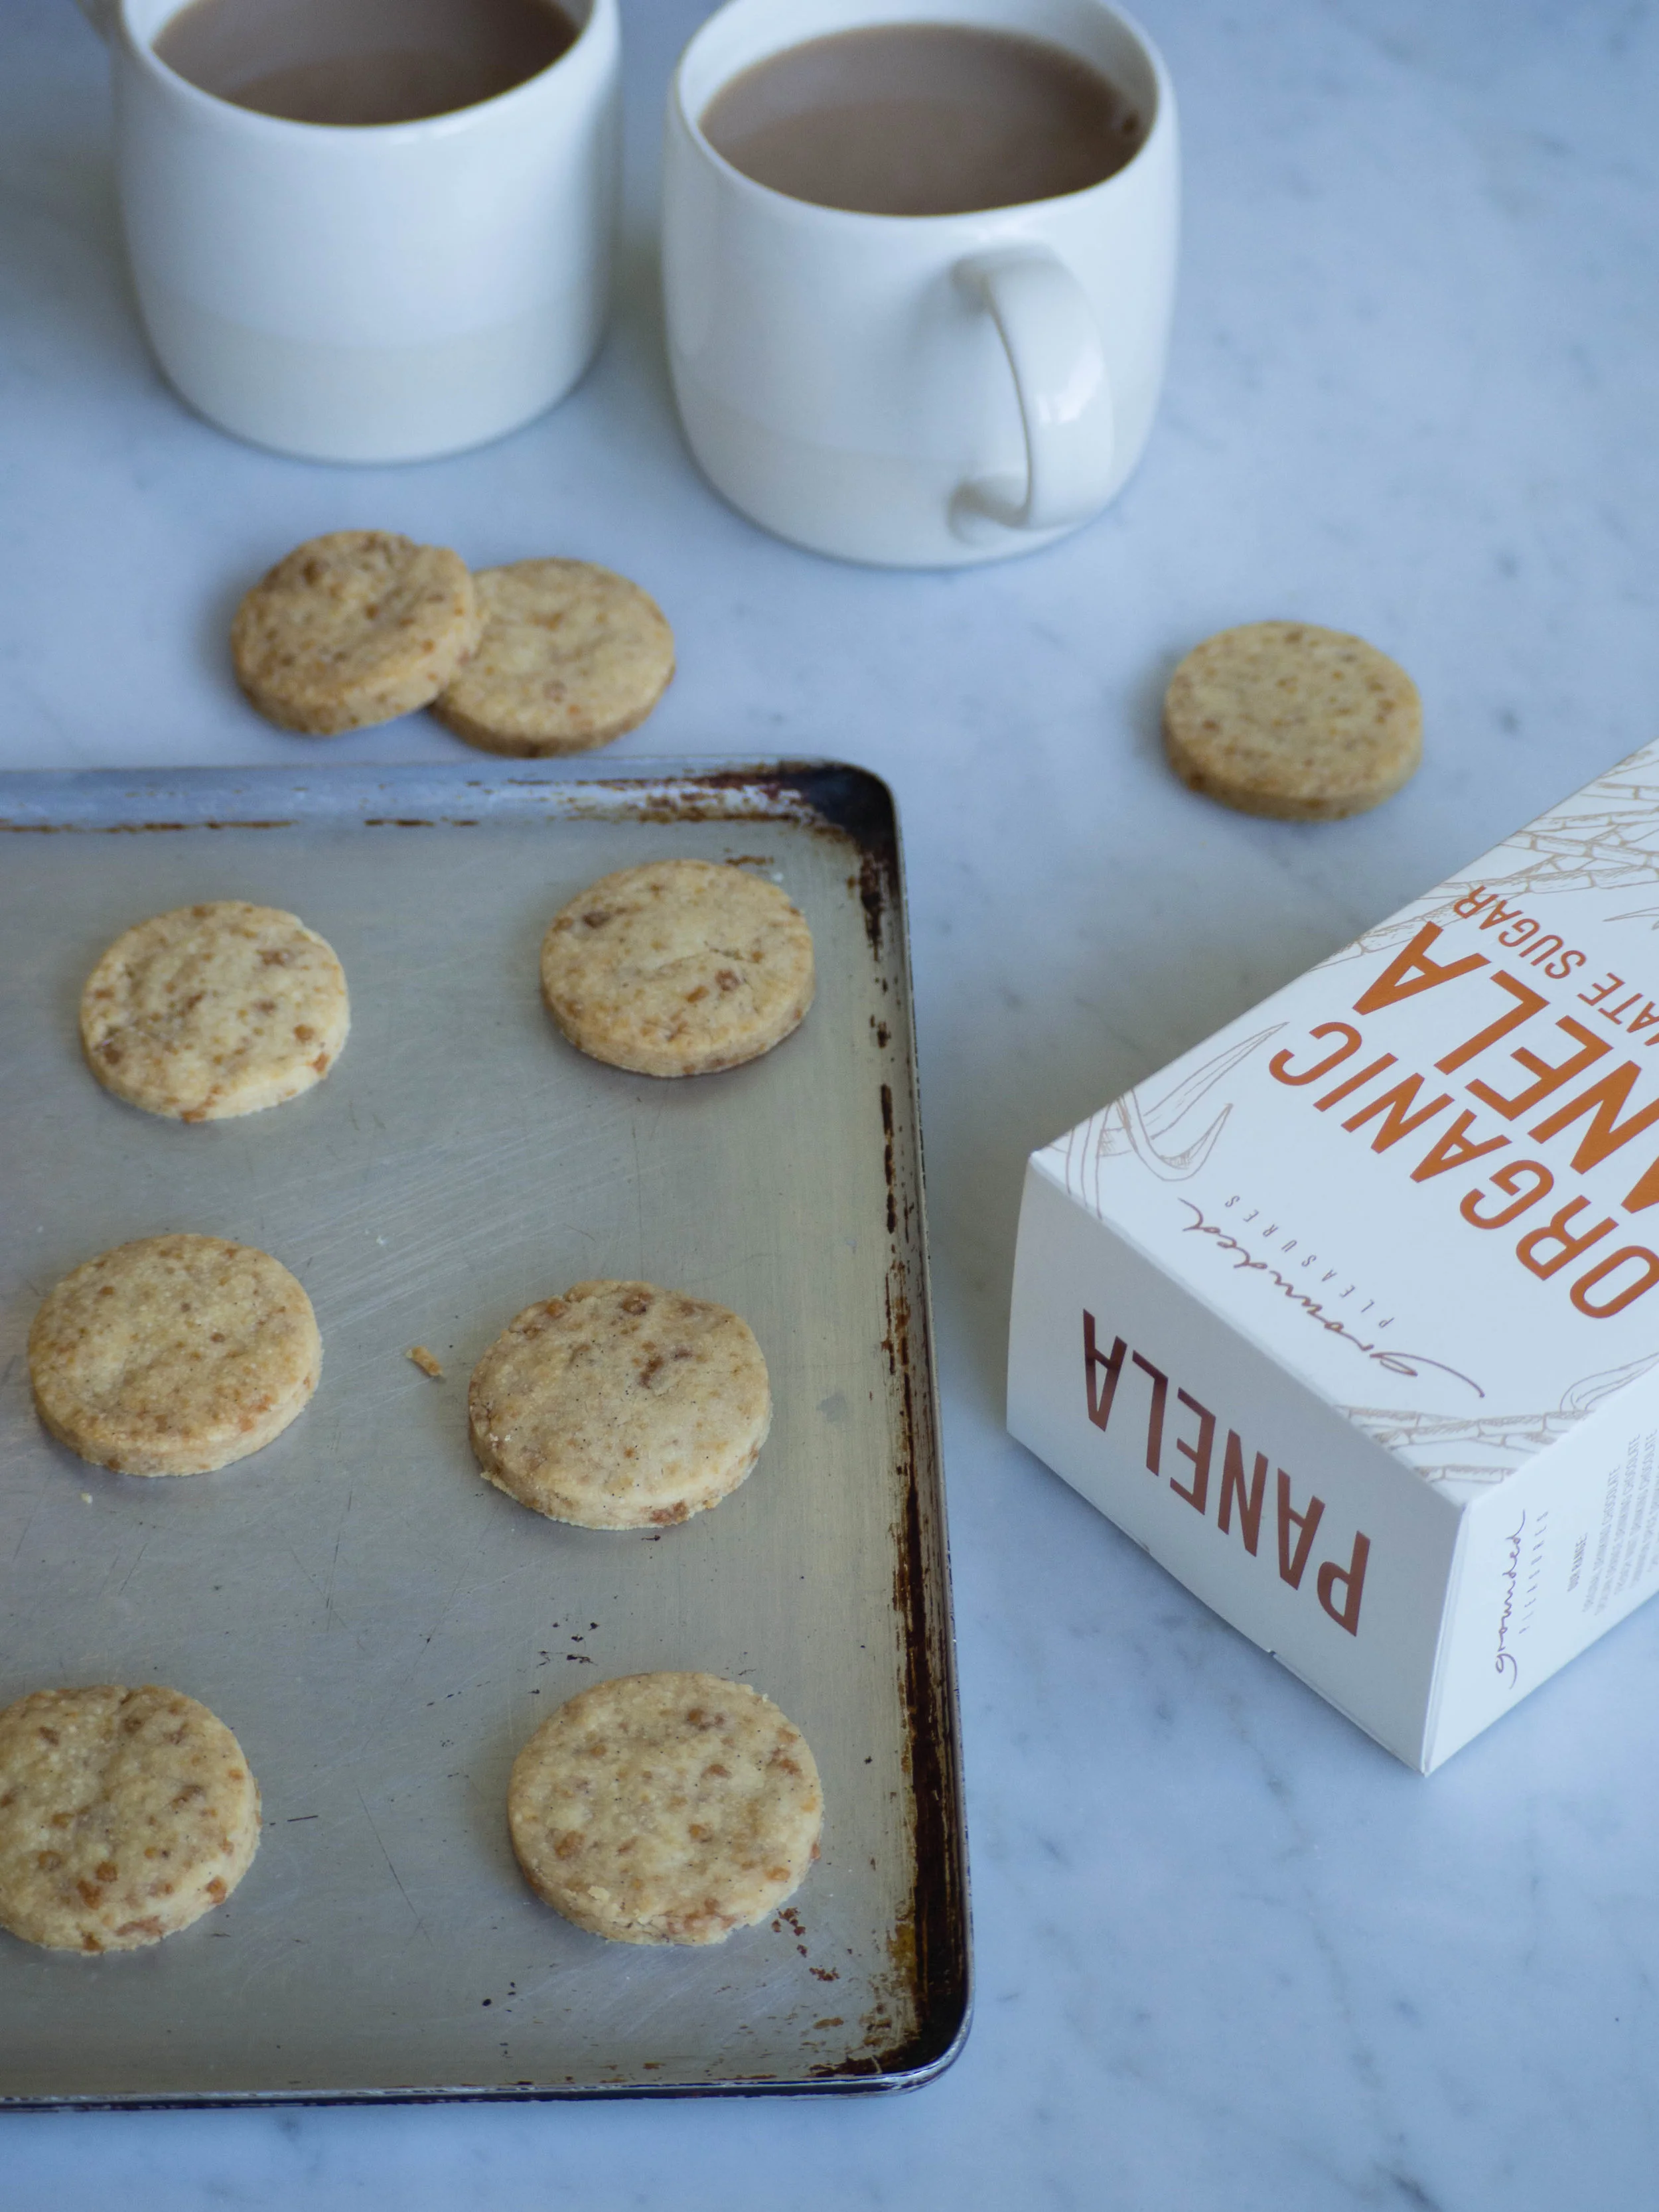
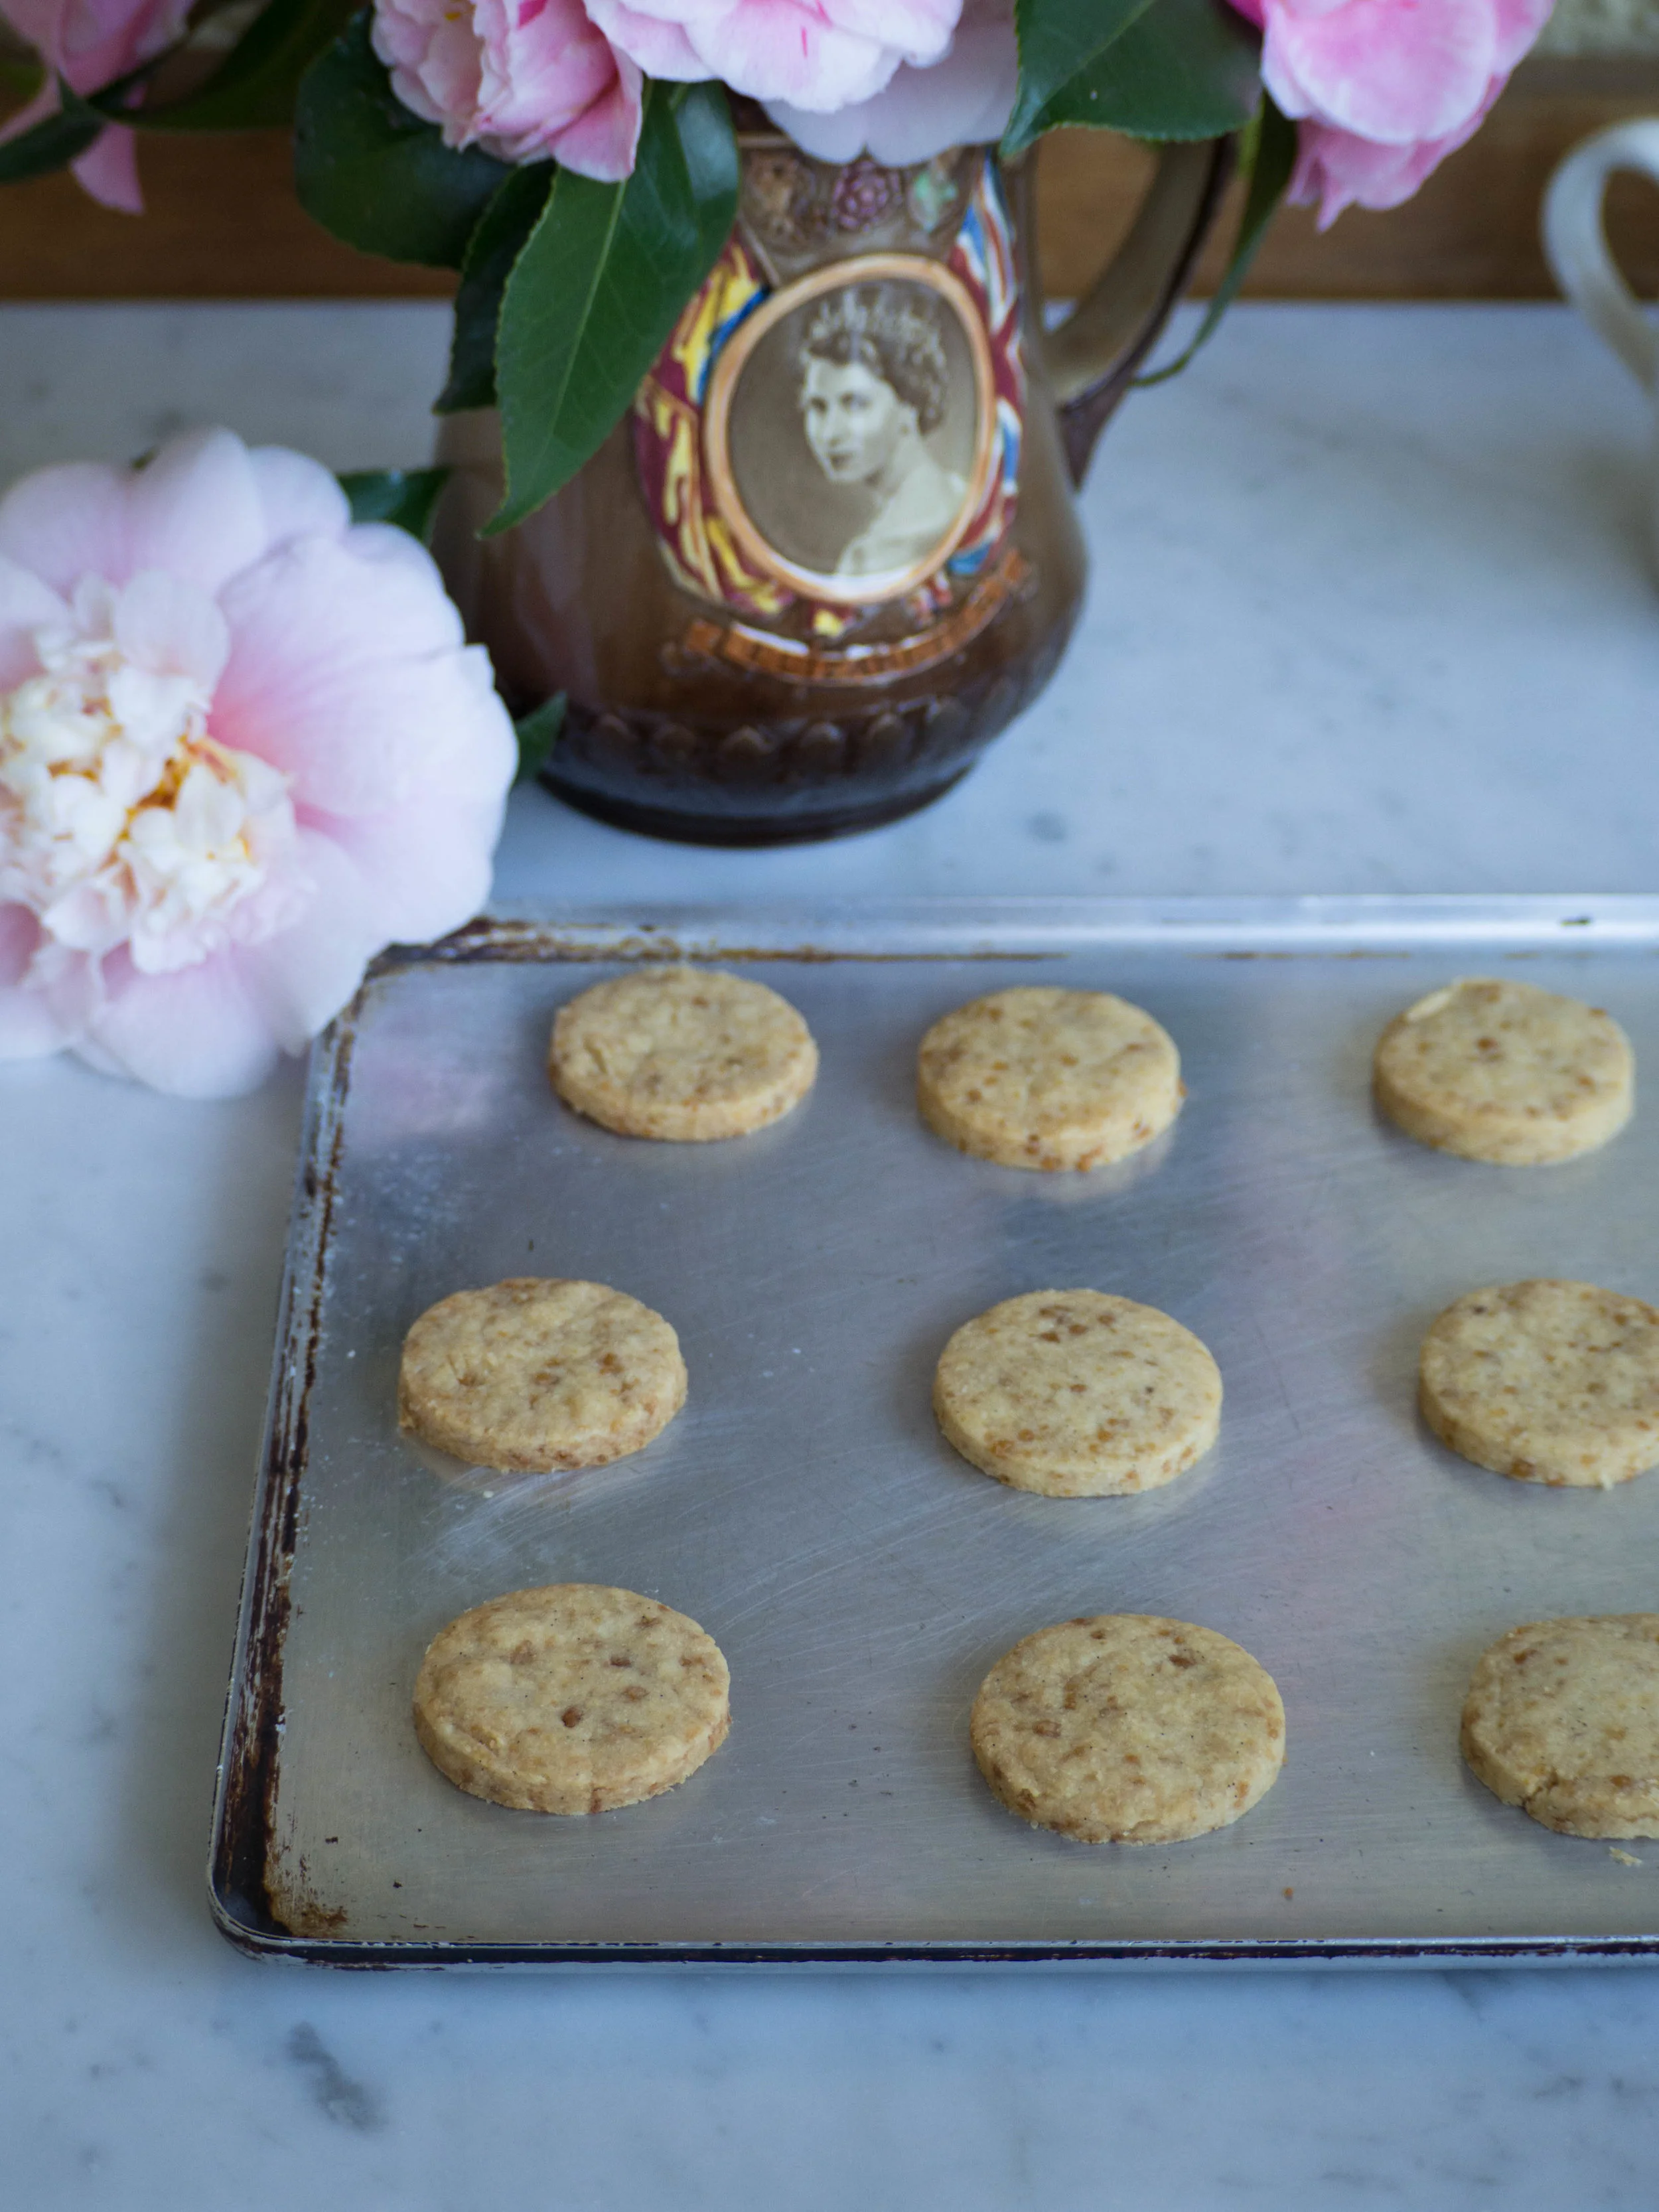
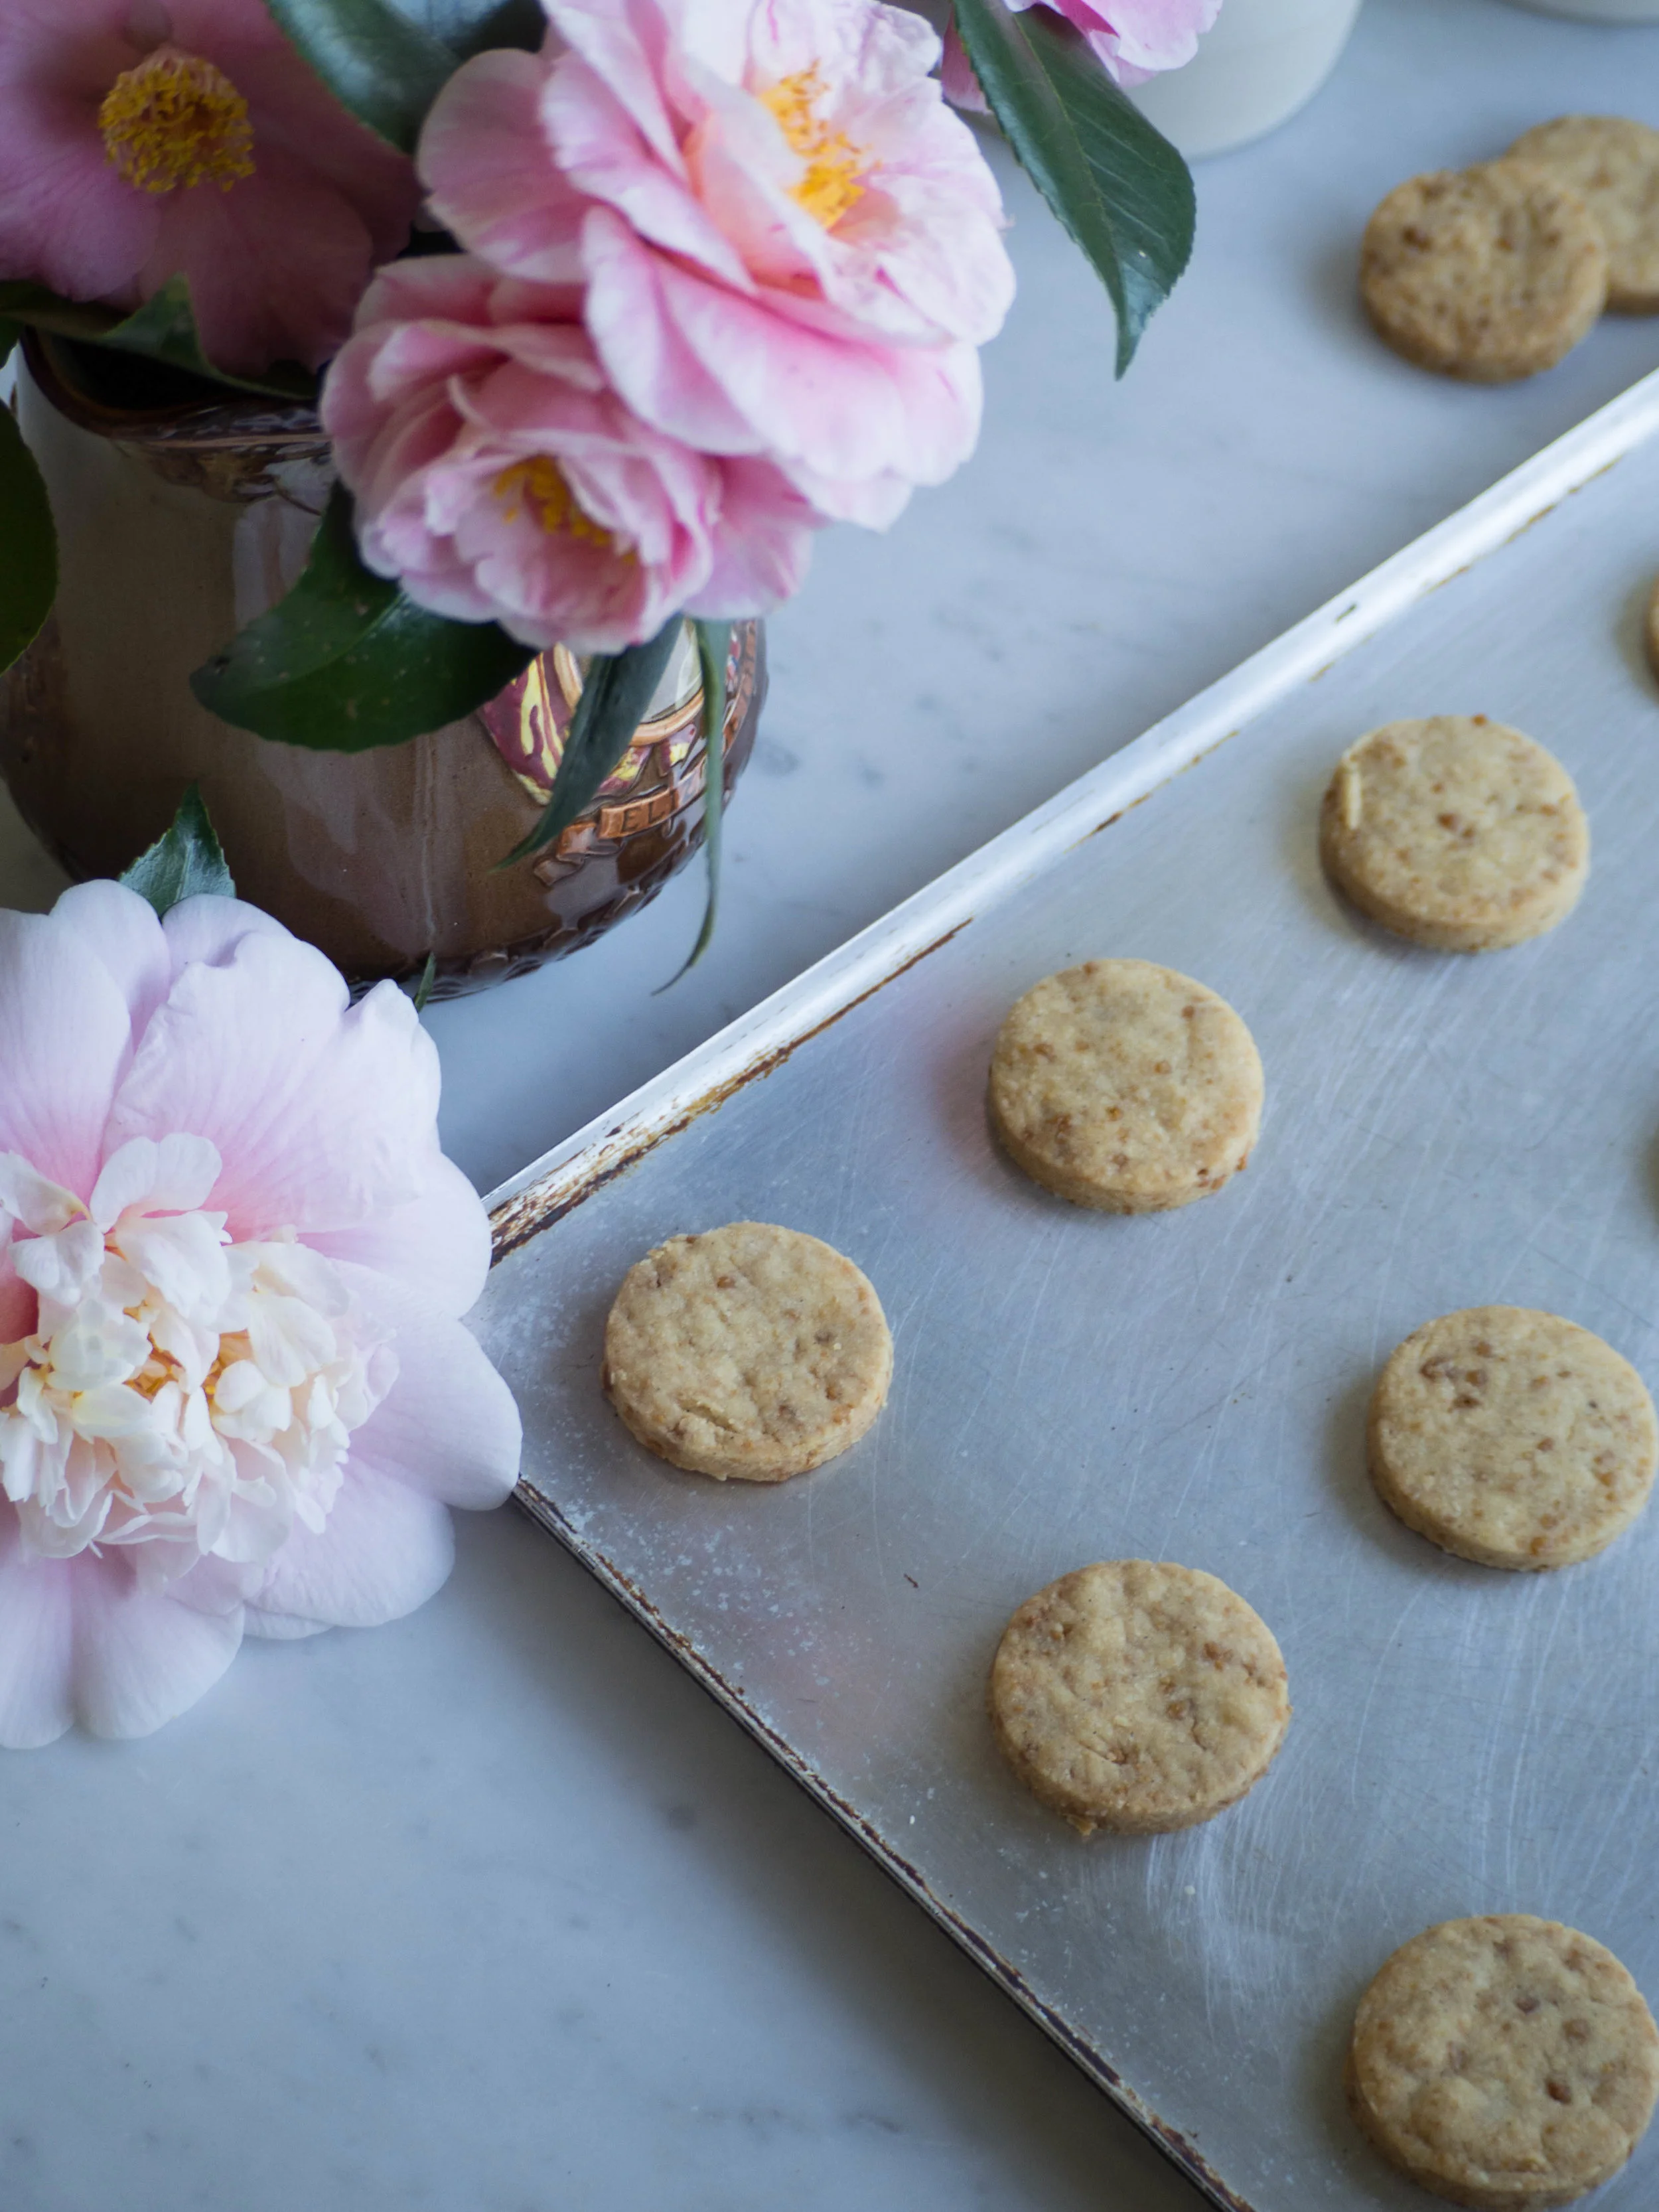
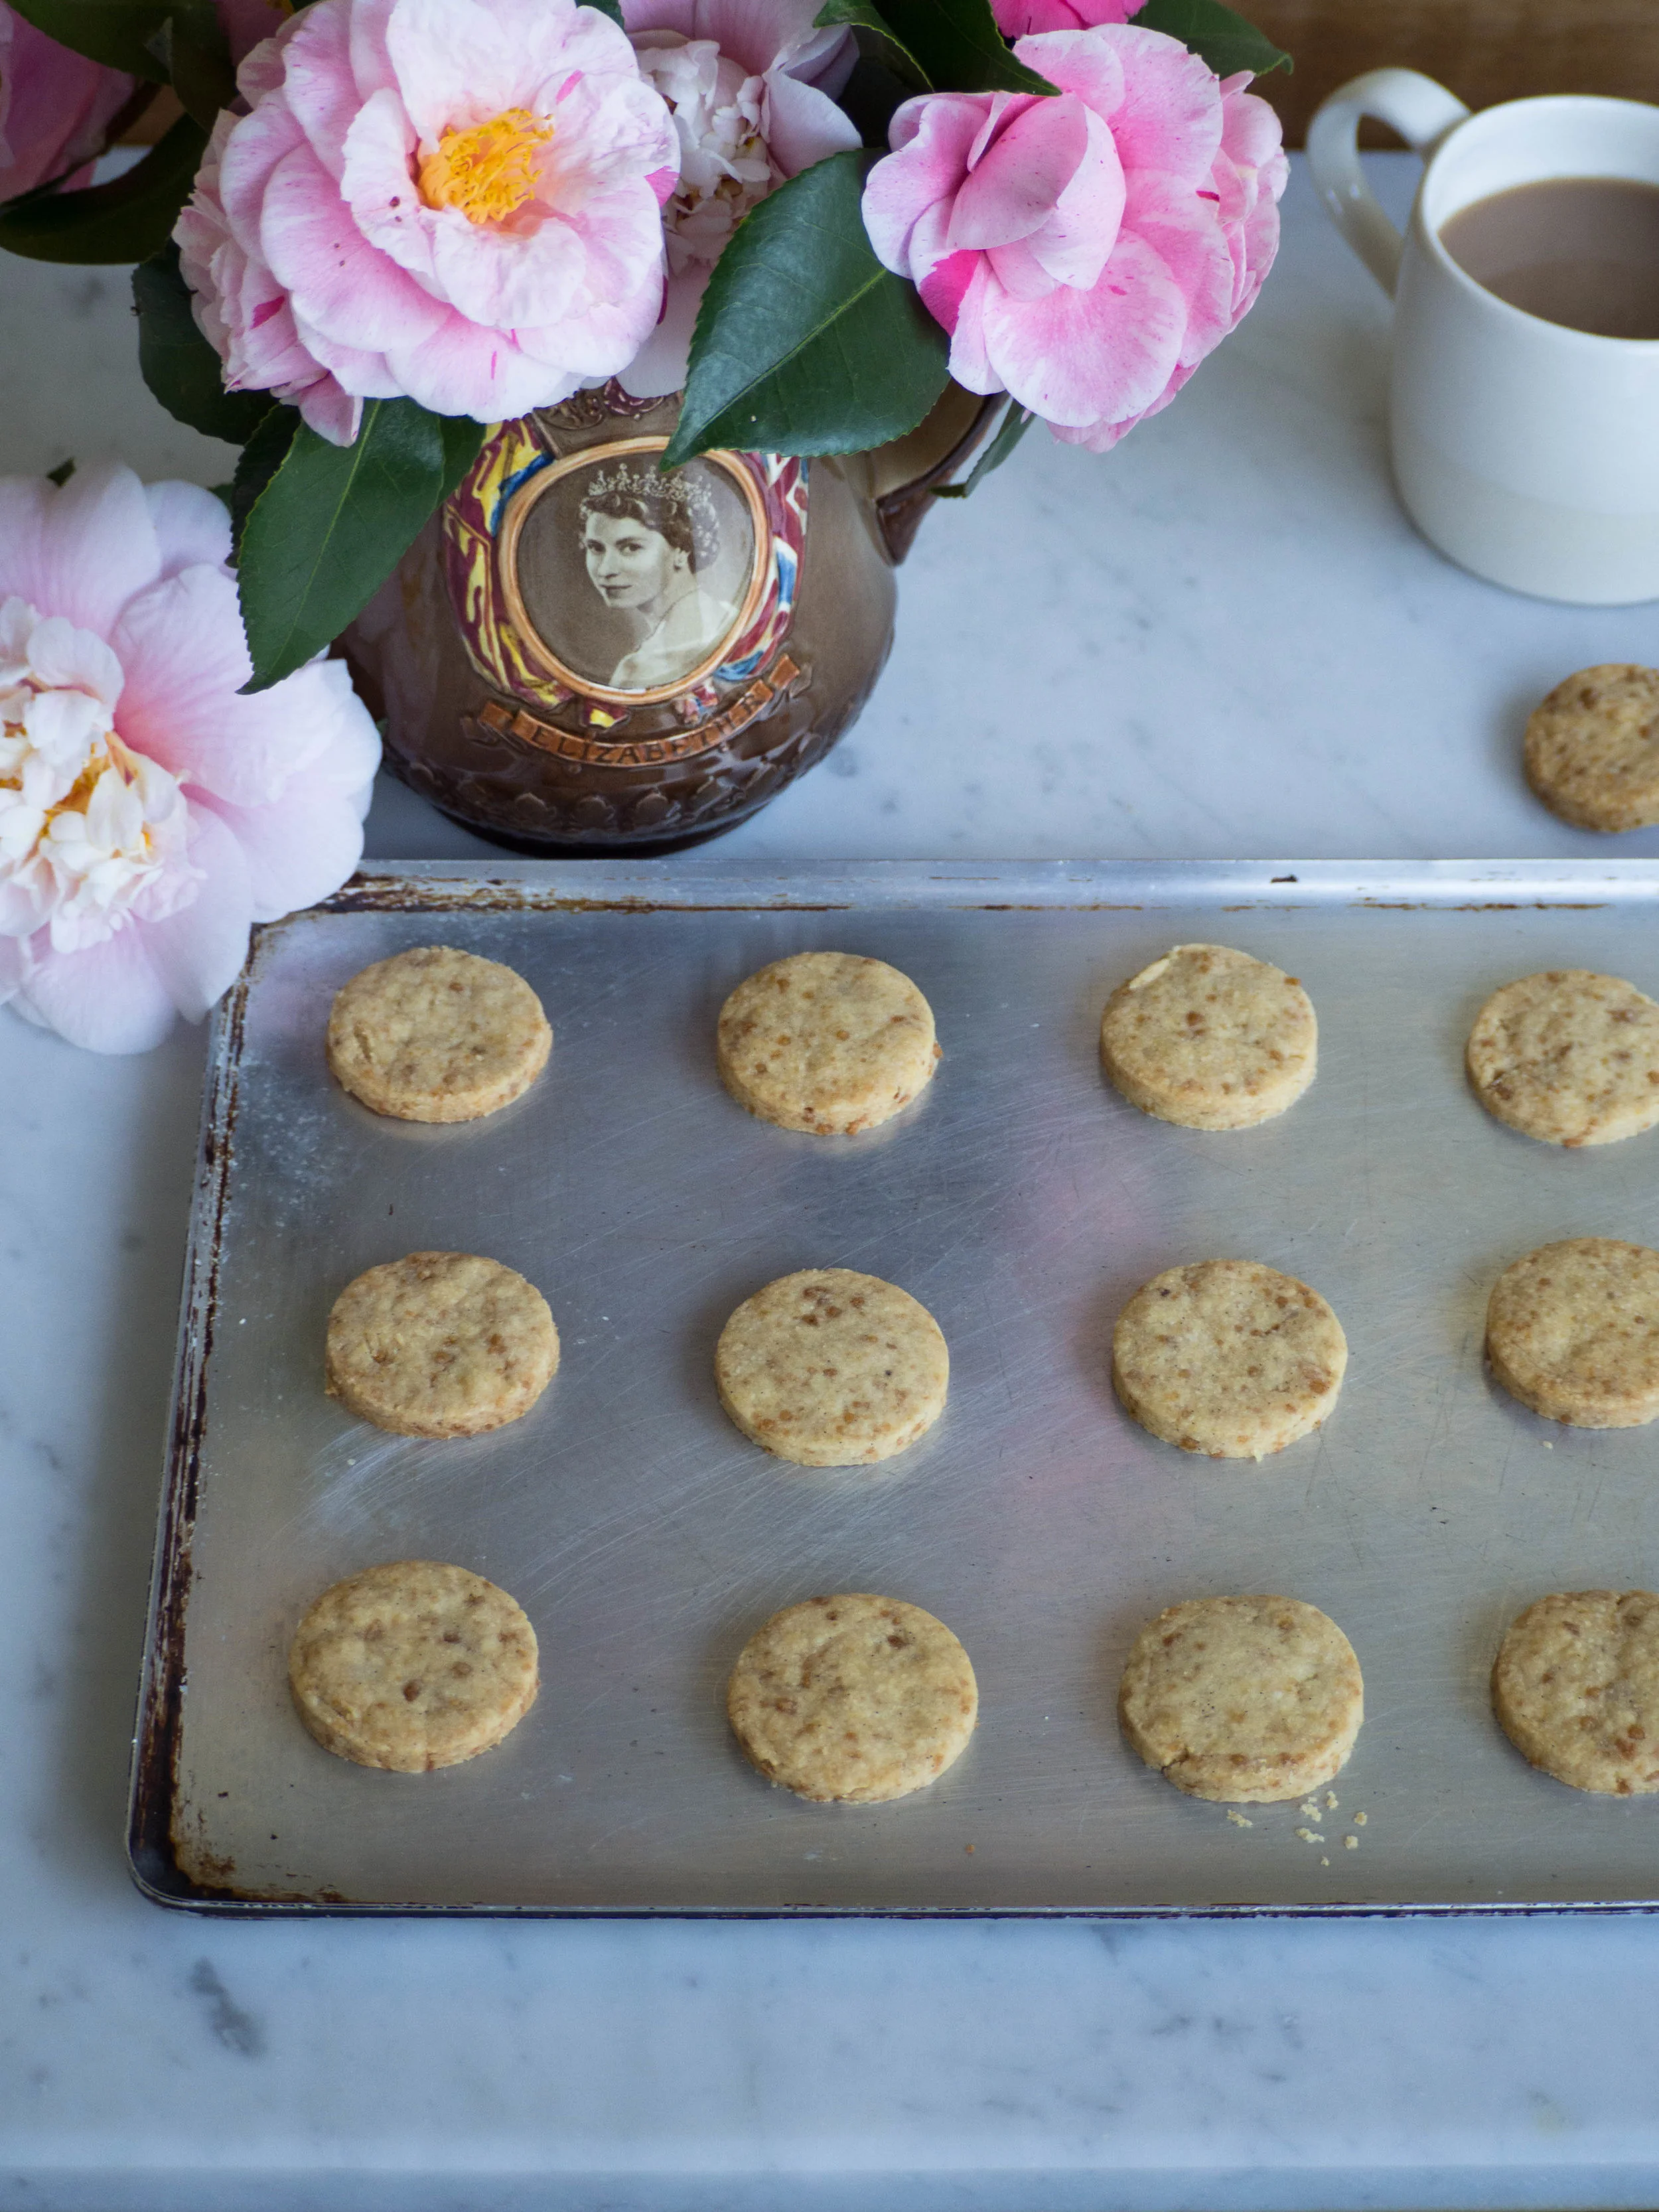
Now that I am well accustomed to using Panela Sugar, I am testing it out in almost every tried and tested recipe I have! And my latest discovering is that Panela Sugar Shortbread is like making a super easy version of a caramel shortbread! The bigger crystals of Panela stay whole within each biscuit, and once cooked they caramelise even more and taste like small pieces of caramel in each bite. 

And as Panela sugar is unrefined, it makes me feel a little less guilty about eating a few of these! Other unrefined sugars, such as rapadura, would probably work well too and give a similar caramel flavour to the shortbread.

I made these a little while ago as my contribution for an afternoon tea, and the leftovers were eaten at the host’s work the next day. I am told they went down really well, with one person commenting that they tasted like Irish Shortbread. Now, I had no idea the Irish had their own version of shortbread, so now I think I need to do a little research and brush up on my shortbread knowledge!

Panela Sugar Shortbread

Panela Sugar Shortbread

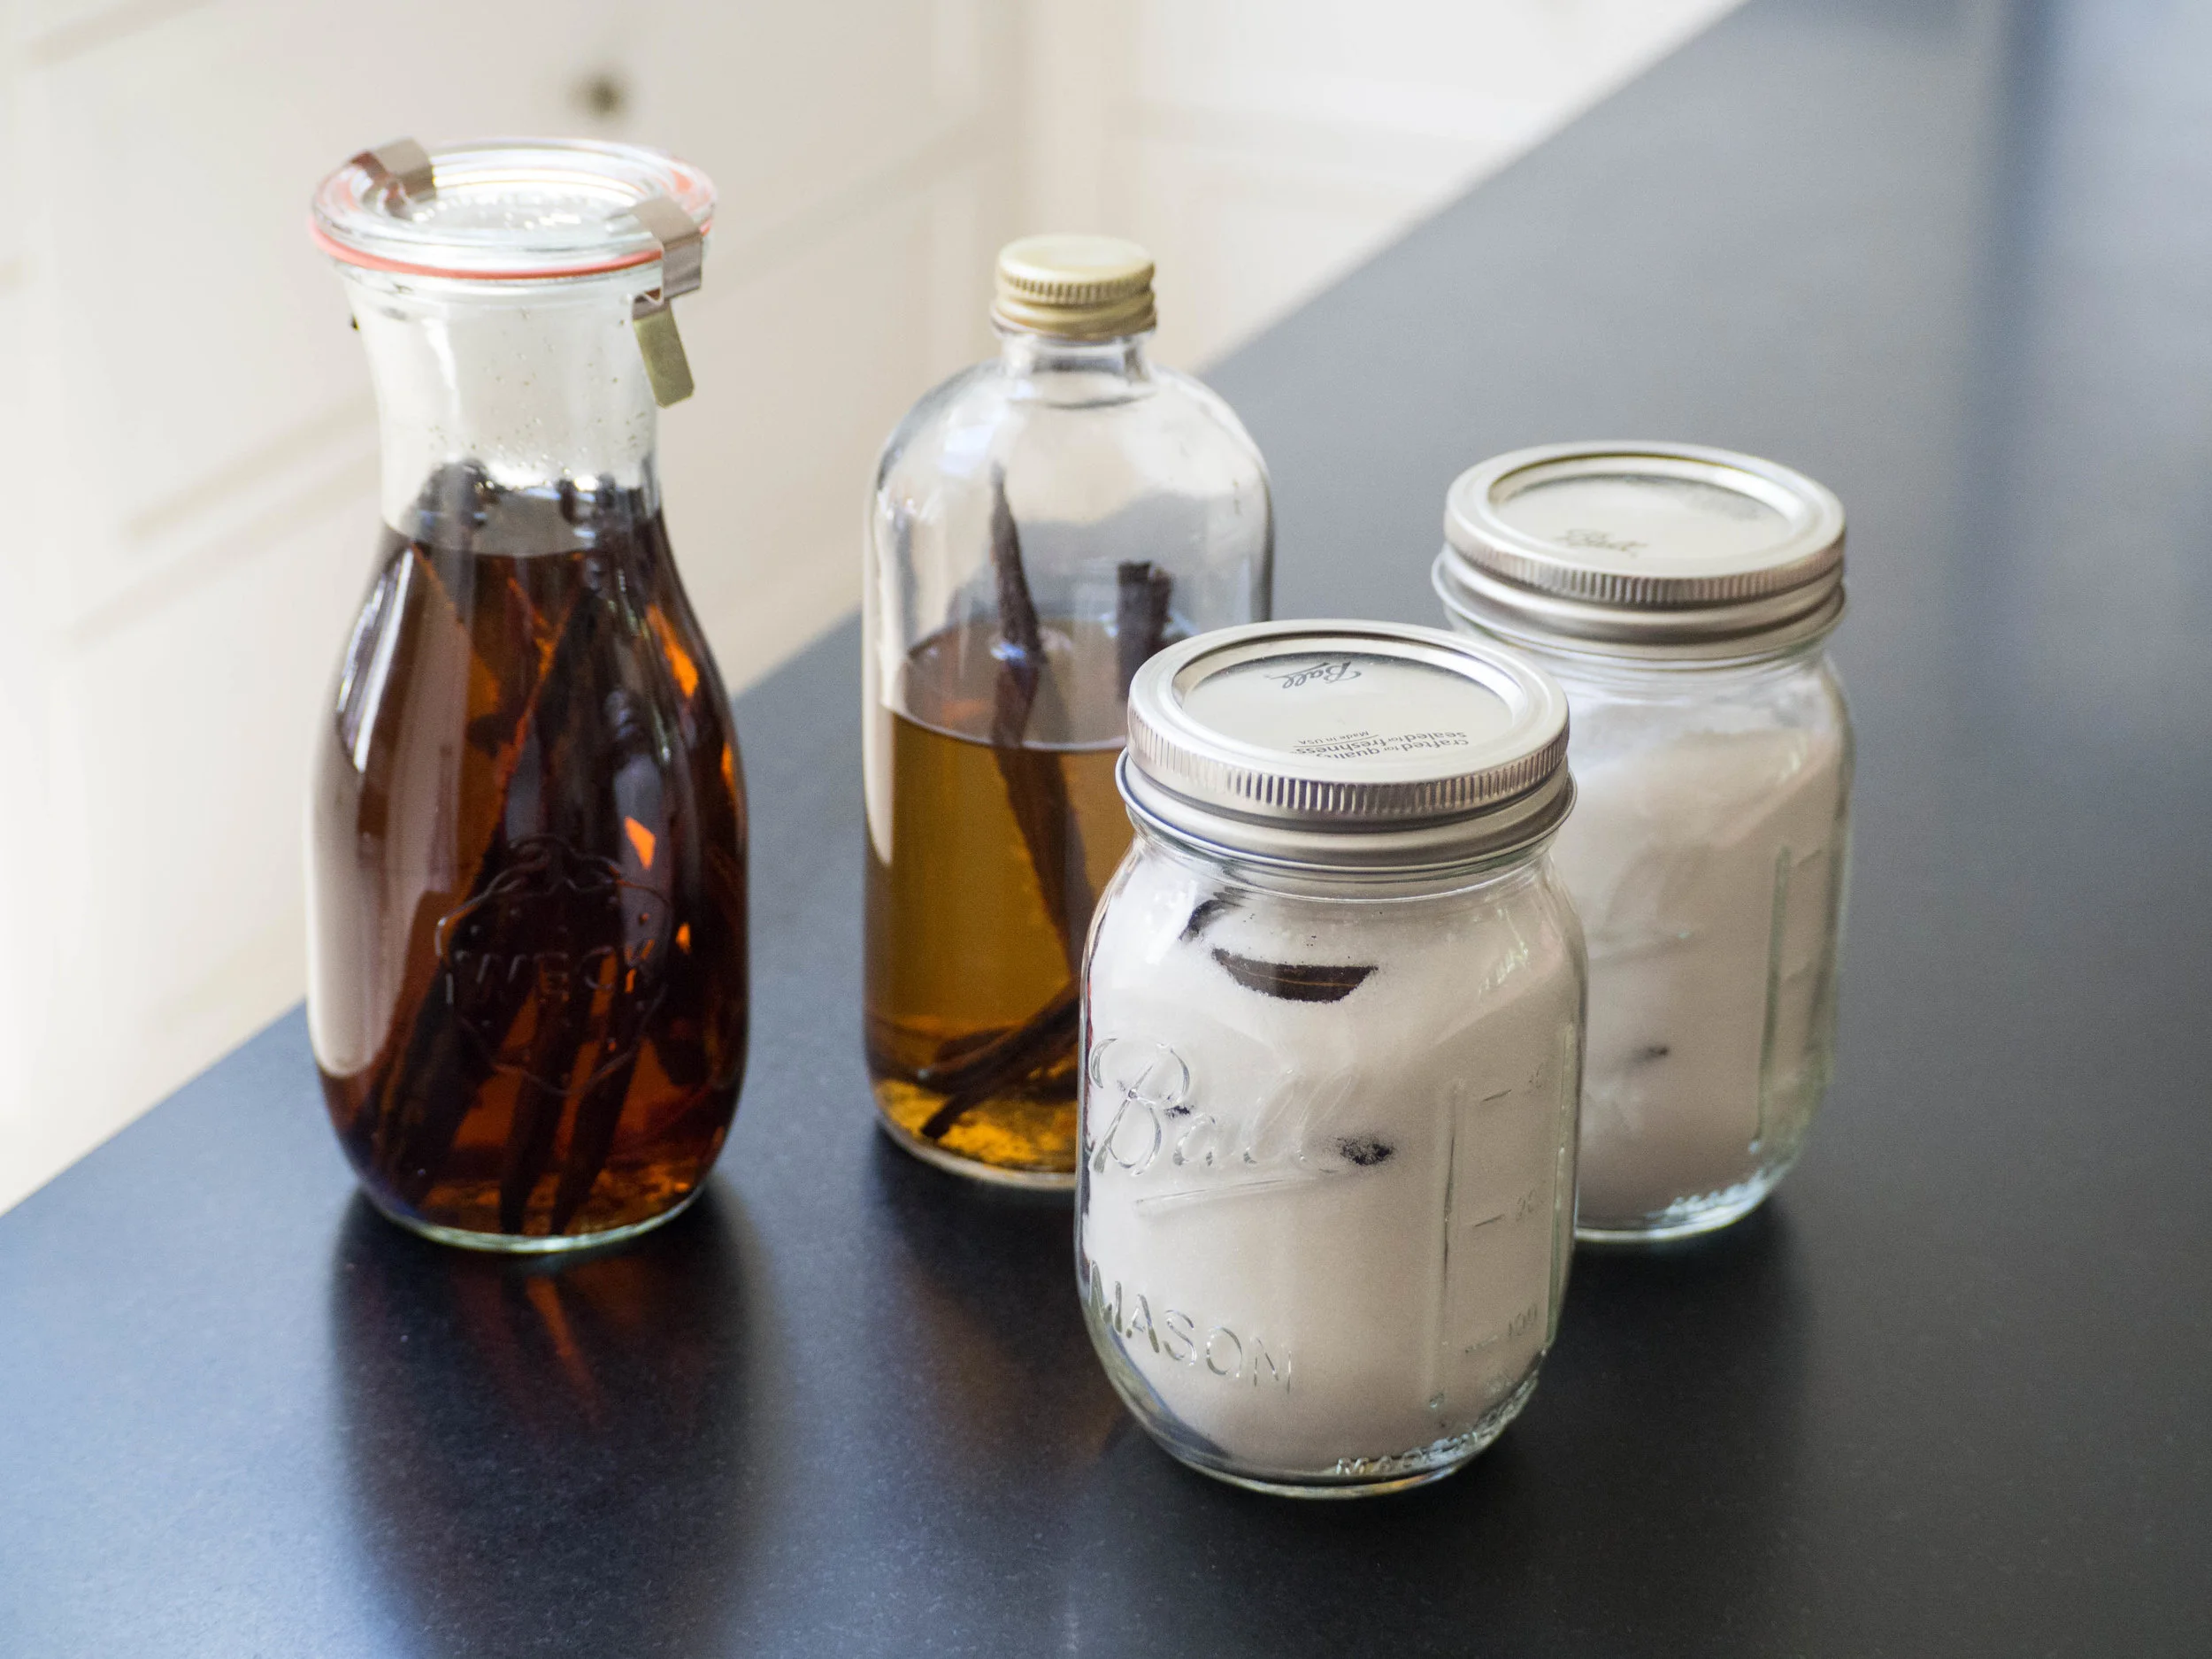
How to Make Vanilla Extract

  • If using vanilla beans for this recipe (or any other!), don’t throw out the pods after the seeds have been used. Fill a small/medium jar or bottle with vodka and add the pods to it as you use them.

  • Shake the bottle now and then, and keep stored at room temperature. The more pods you add to the vodka the deeper the colour and the better the flavour you will get.

  • Depending on how many pods are infusing, expect to wait at least two-three months before using the vanilla extract. You can judge it by the colour of the extract and the aroma. I think the deeper the colour the better - I’d rather wait longer to use it and have a more intense vanilla flavour. See below for progress shots of making vanilla extract from day one to four months.

  • I have mentioned before that vanilla pods can also be used for vanilla sugar, and now that I am using my vanilla sugar I have been rinsing the pods off from that and adding them to the extract too - they still have lots of flavour and it would be such a shame to waste them!

  • If you are looking for a good bought vanilla extract, I would of course recommend the one made by Grounded Pleasures! It has a rich colour and really wonderful intense flavour, and each tube comes with a vanilla pod inside - and you don’t have to wait a few months to use it!

View fullsize Vanilla Extract Day One
View fullsize Vanilla Extract One Month
View fullsize Vanilla Extract One Week
View fullsize Vanilla Extract Four Months
Homemade Vanilla Extract and Vanilla Sugar

Homemade Vanilla Extract and Vanilla Sugar

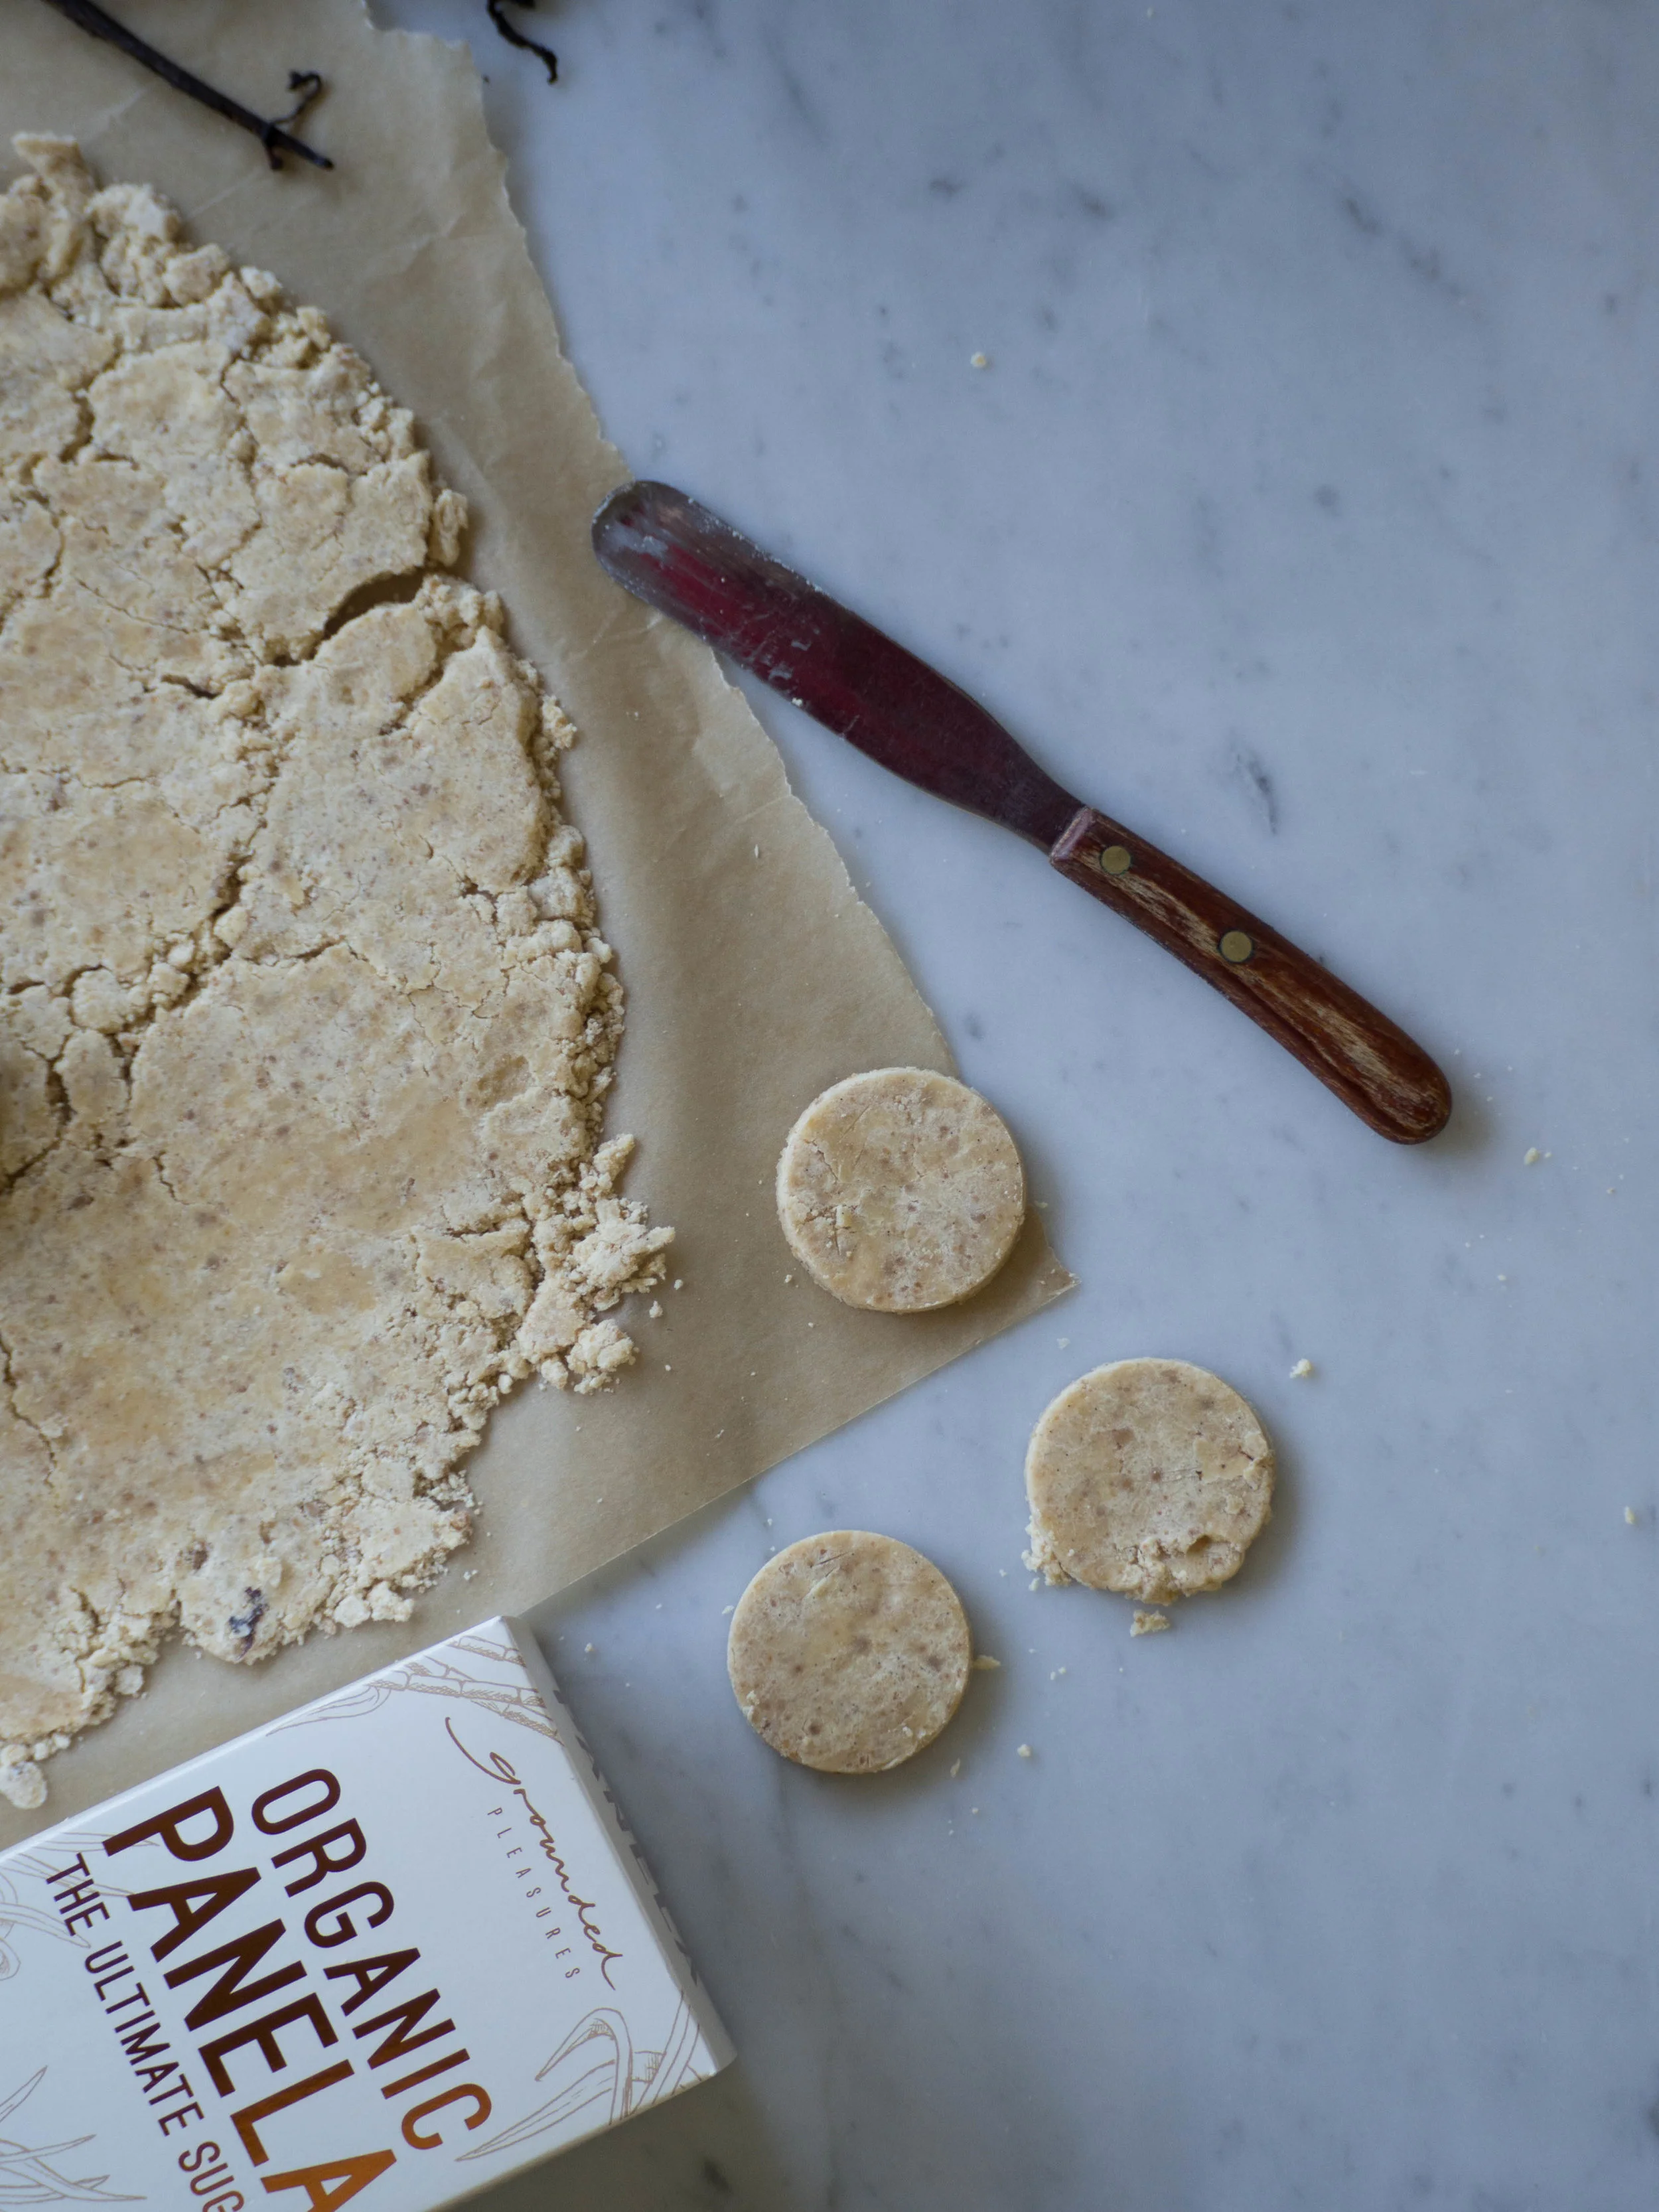
Panela Sugar Shortbread

Panela Sugar Shortbread

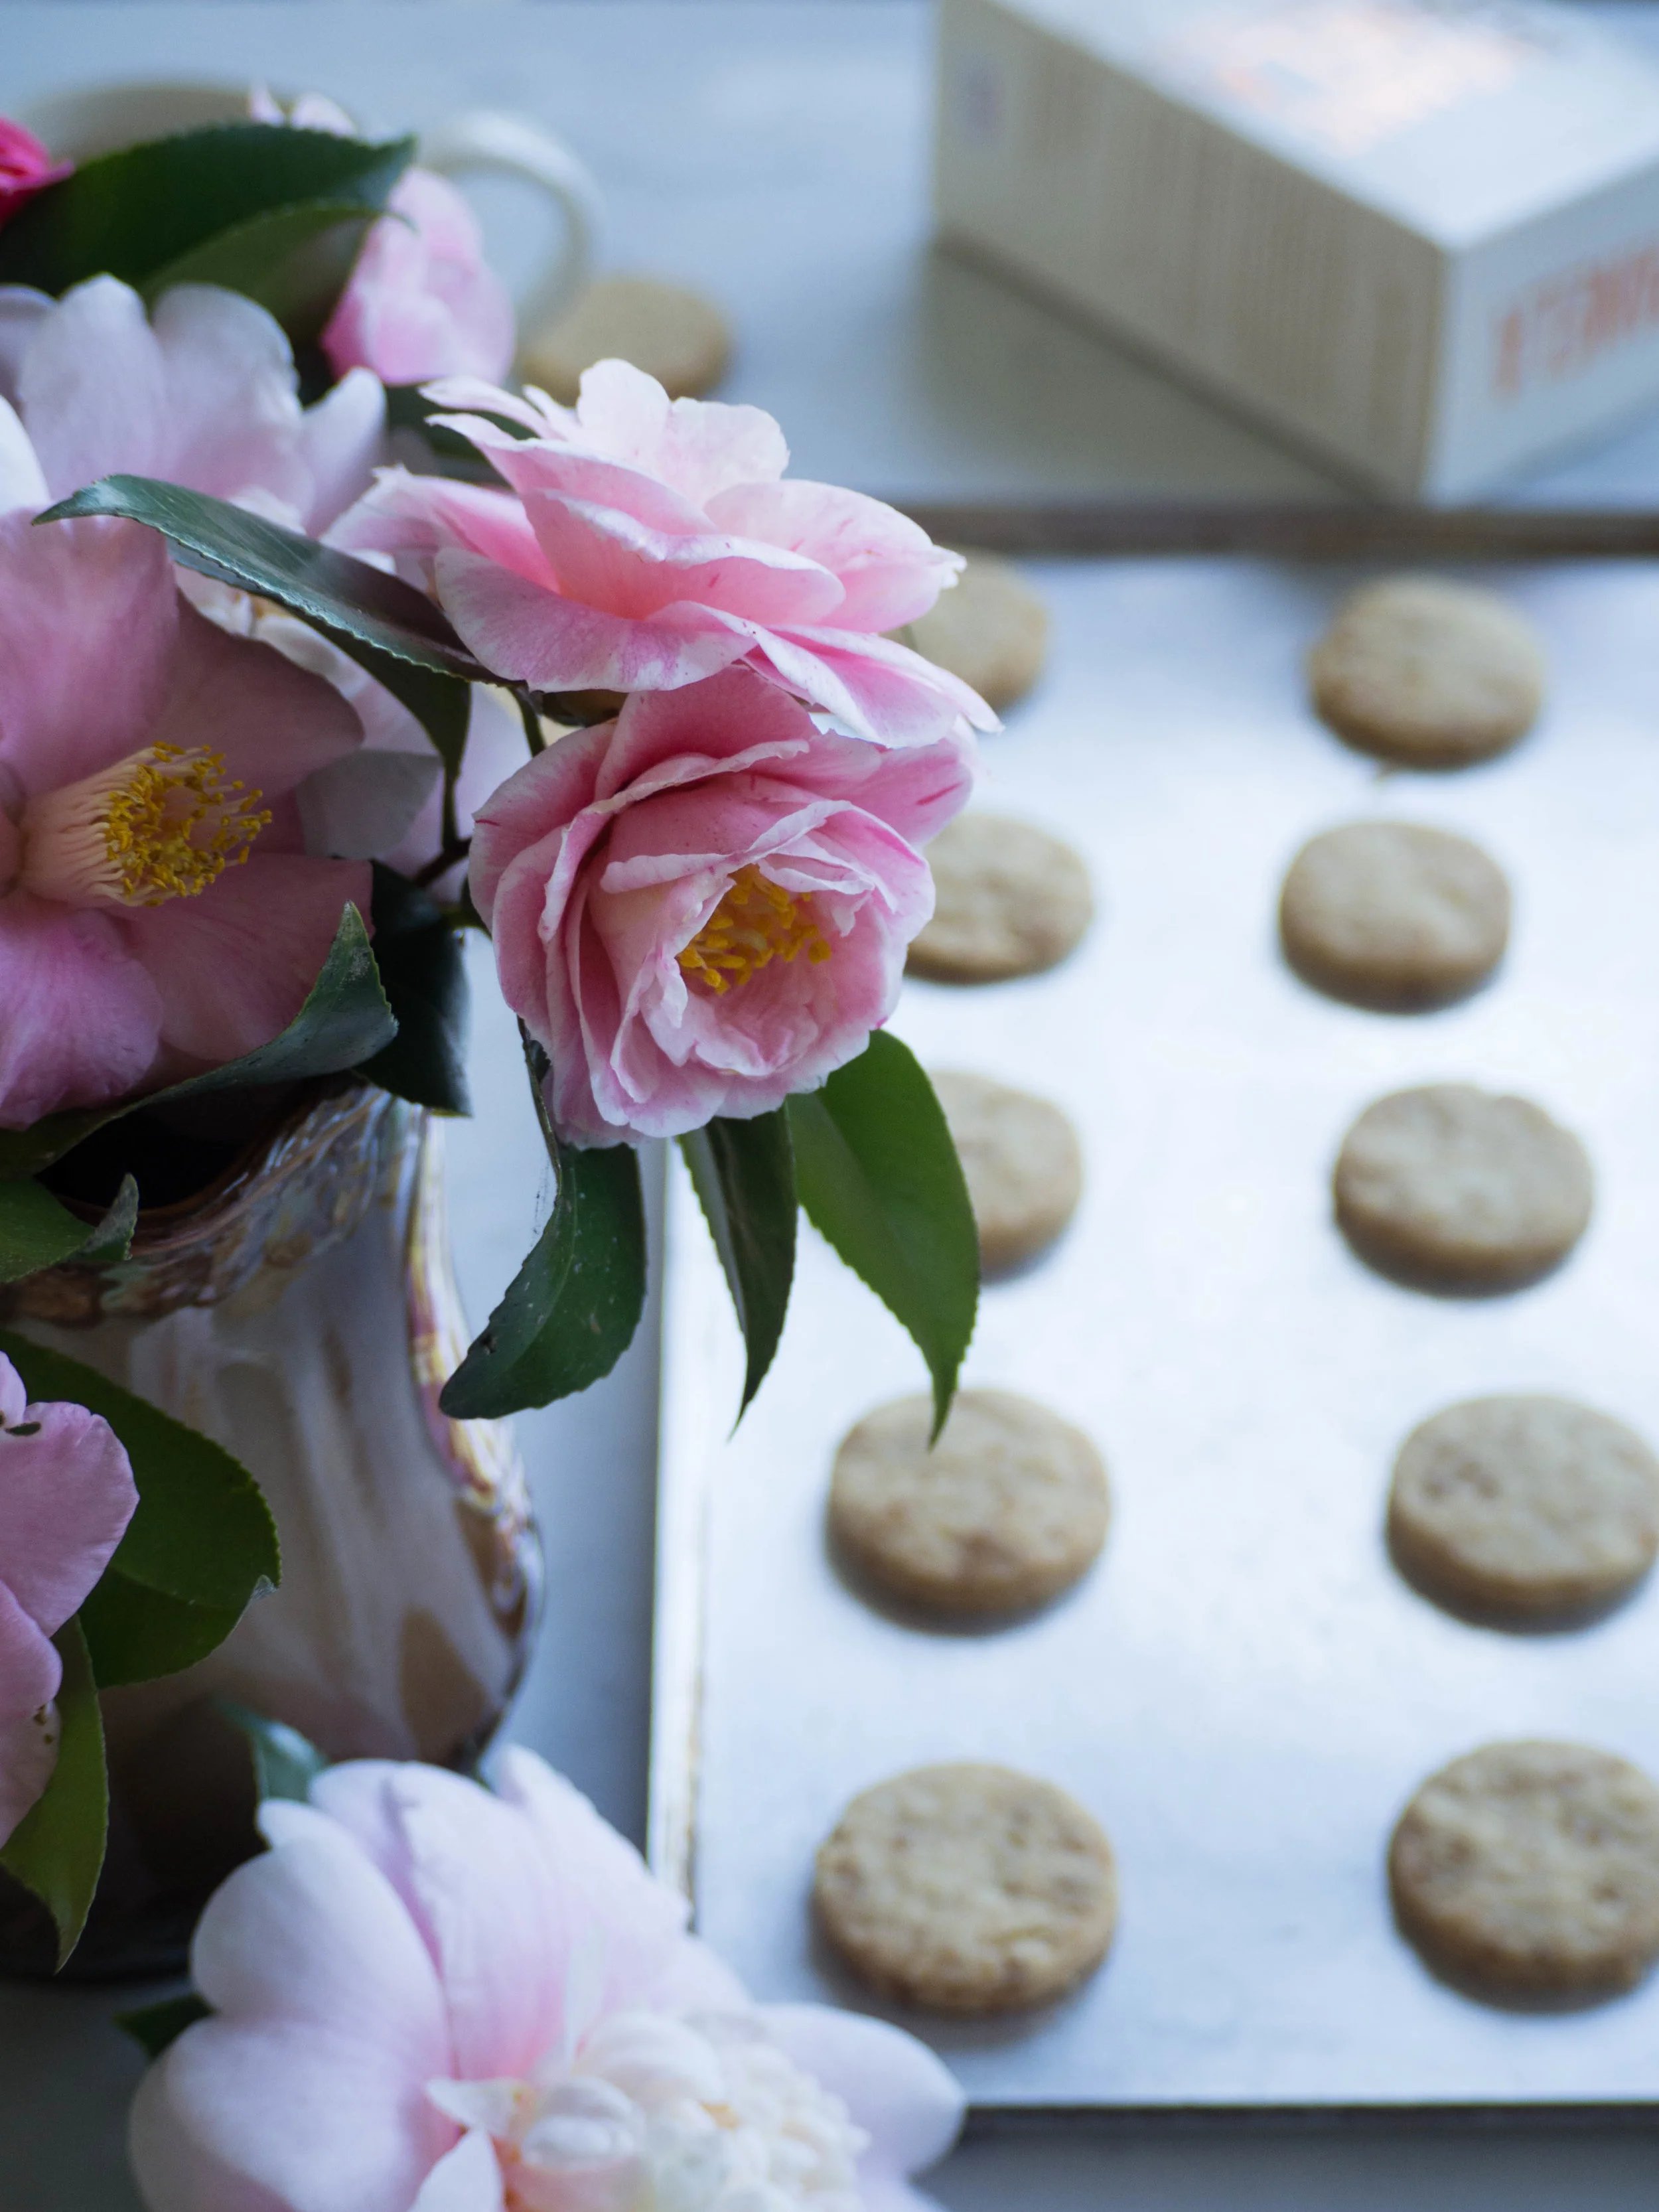
Panela Sugar Shortbread and Homegrown Camellias

Panela Sugar Shortbread and Homegrown Camellias

Panela Sugar Shortbread

Panela Sugar Shortbread

Panela Sugar Shortbread

Ingredients: 

160g unsalted butter, at room temperature

60g Grounded Pleasures Organic Panela Sugar

1 Grounded Pleasures Organic Vanilla Bean, seeds scraped 

250g plain flour


Method: 

Pre-heat oven to 150 degrees Celsius and line two large baking trays with baking paper.

In the bowl of a stand mixer fitted with a paddle attachment, place the butter (135g), Panela sugar and the vanilla bean seeds. Beat until well combined. 

Add the flour and mix on low speed until the flour has incorporated. Mix on a low-medium speed until a dough starts to form. If the mixture remains too crumbly, add the remaining butter and mix well.

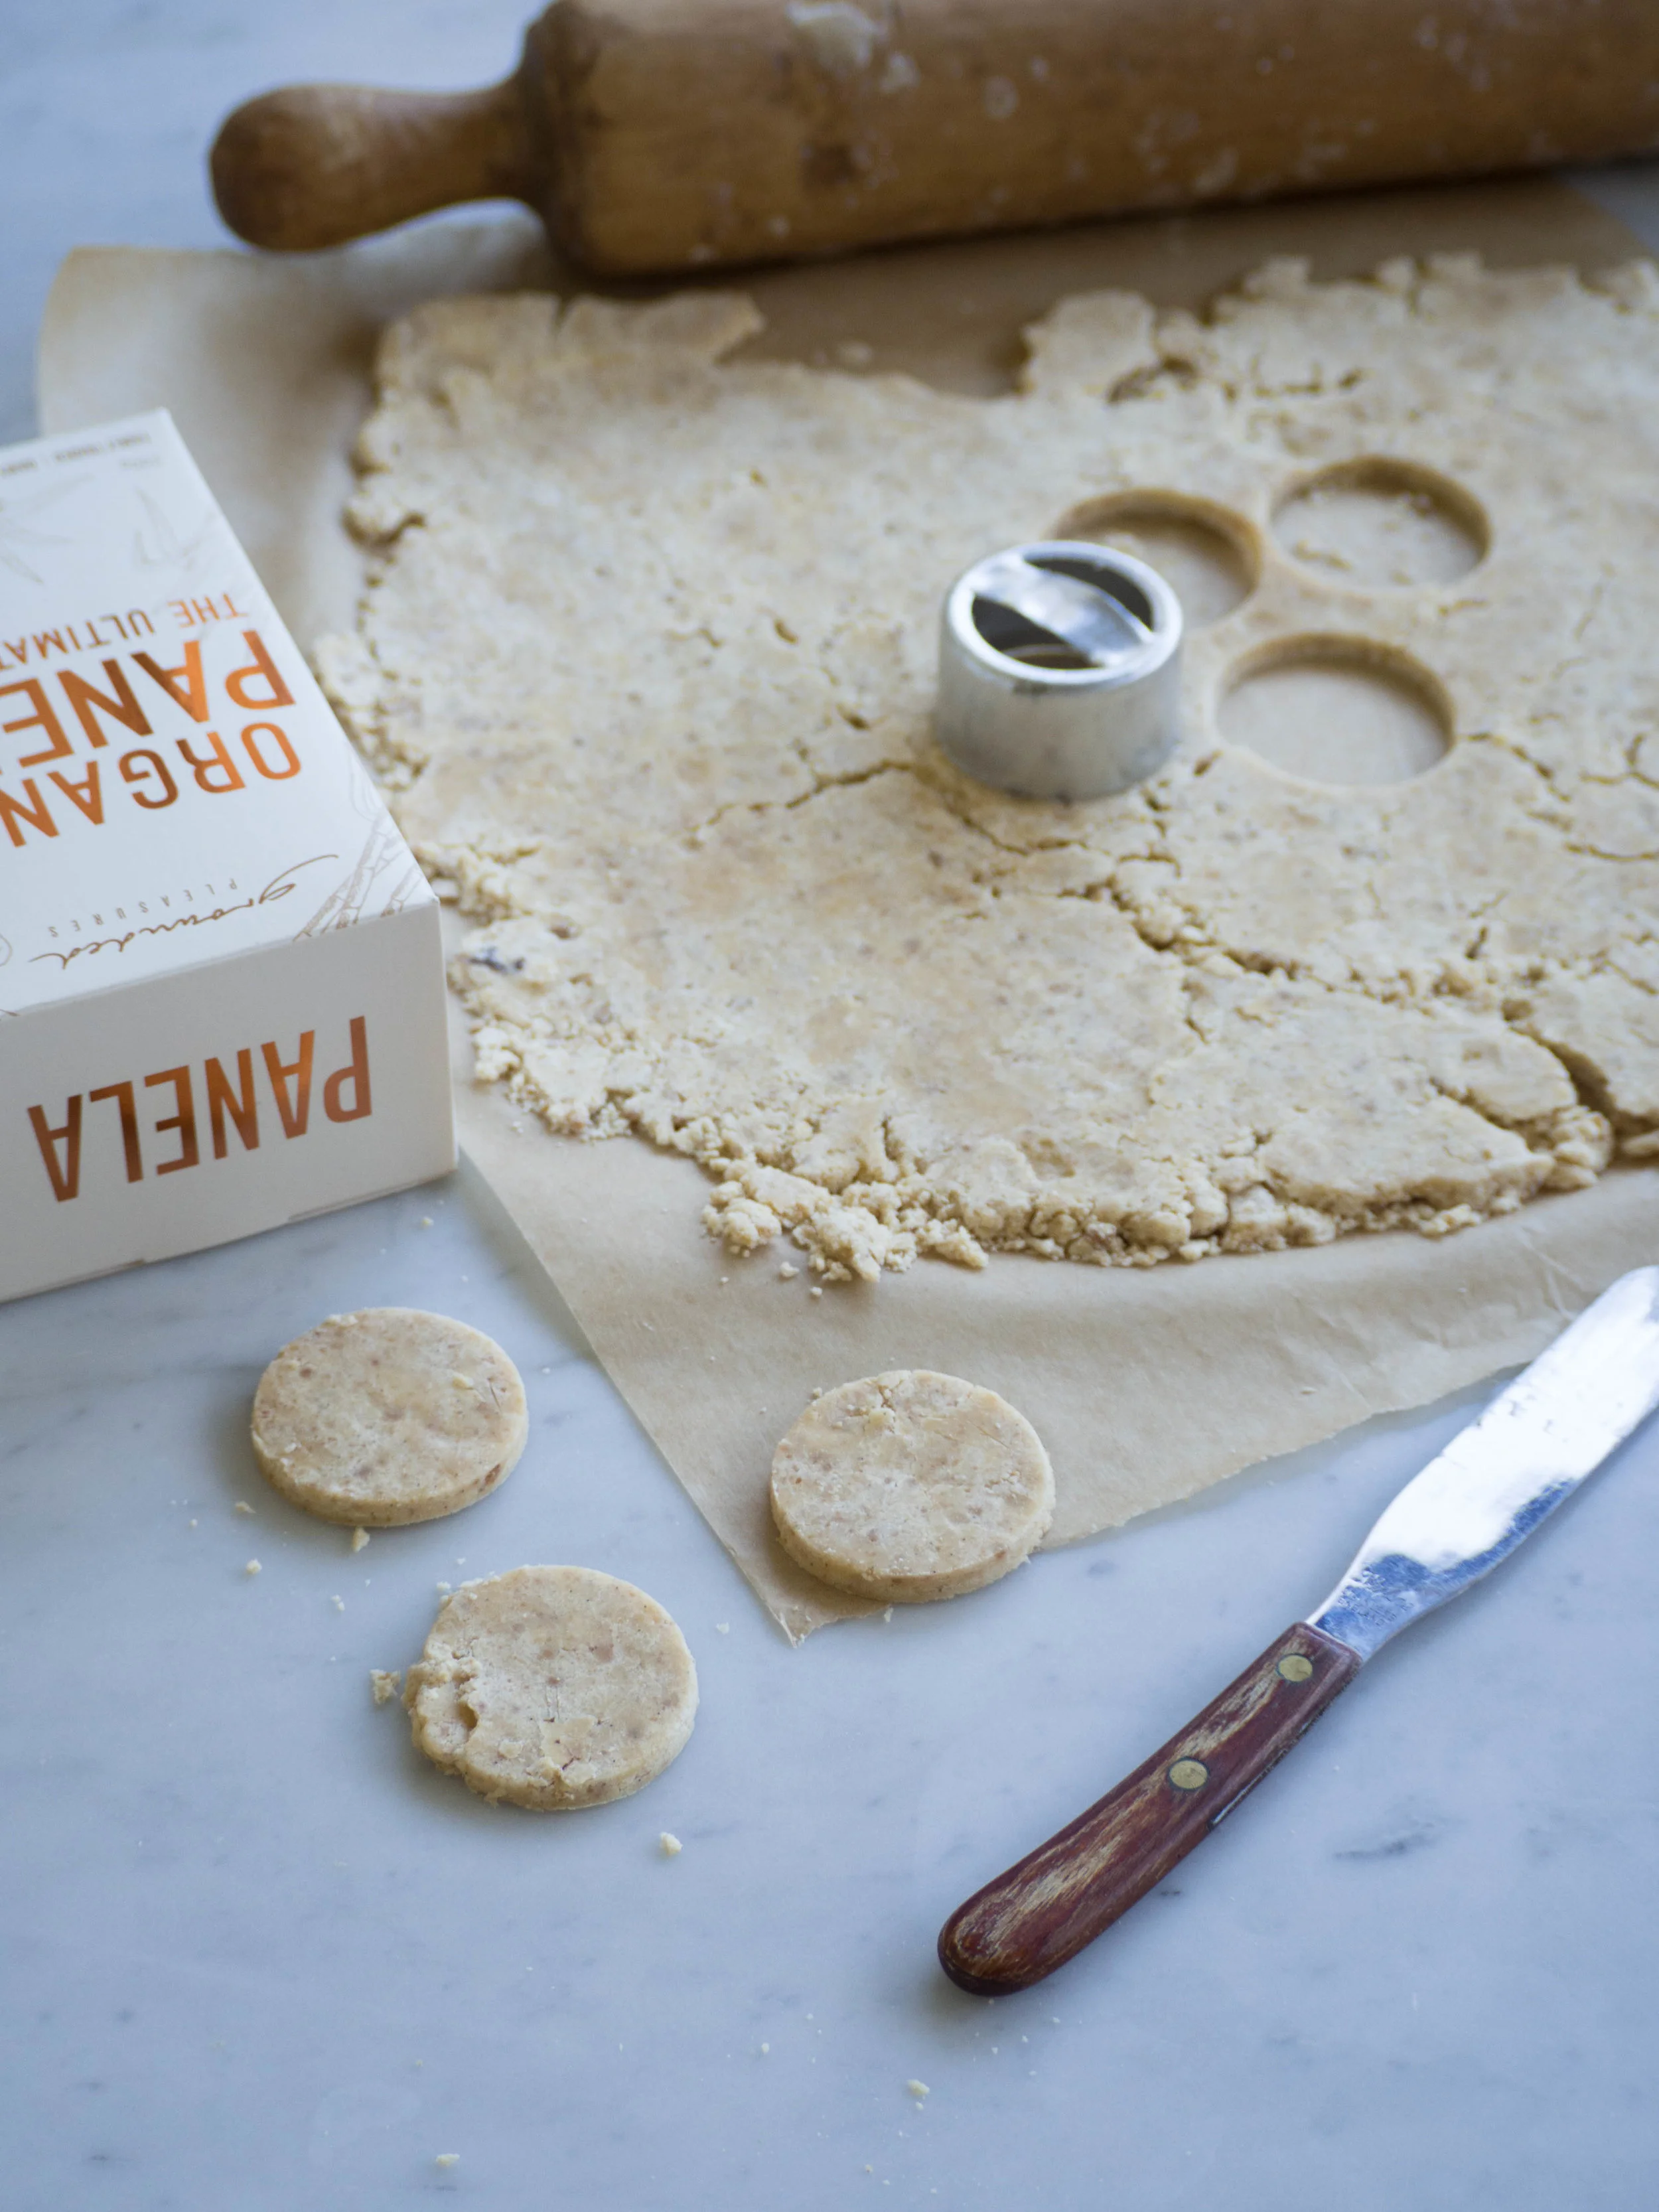
Sprinkle some flour on your work surface, bring the dough together with your hands, then turn onto the floured surface. Using a rolling pin, roll the dough out, dusting with more flour as needed, so it is flat and and about 2mm thick. 

Cut the biscuits out using a small round biscuit cutter (mine is 4.5cm), using a small spatula to lift them over to the prepared tray. 

Bake biscuits for about 15 minutes, or until the edges are slightly golden. I like the check the underneath of a couple of biscuits too, if that is a little golden then the biscuits are definitely cooked. 

Cool the biscuits on the trays and store in an airtight container. 

Makes about 45 small biscuits.

Panela Sugar Shortbread

Panela Sugar Shortbread

Panela Sugar Shortbread

Panela Sugar Shortbread

Panela Sugar Shortbread

Panela Sugar Shortbread

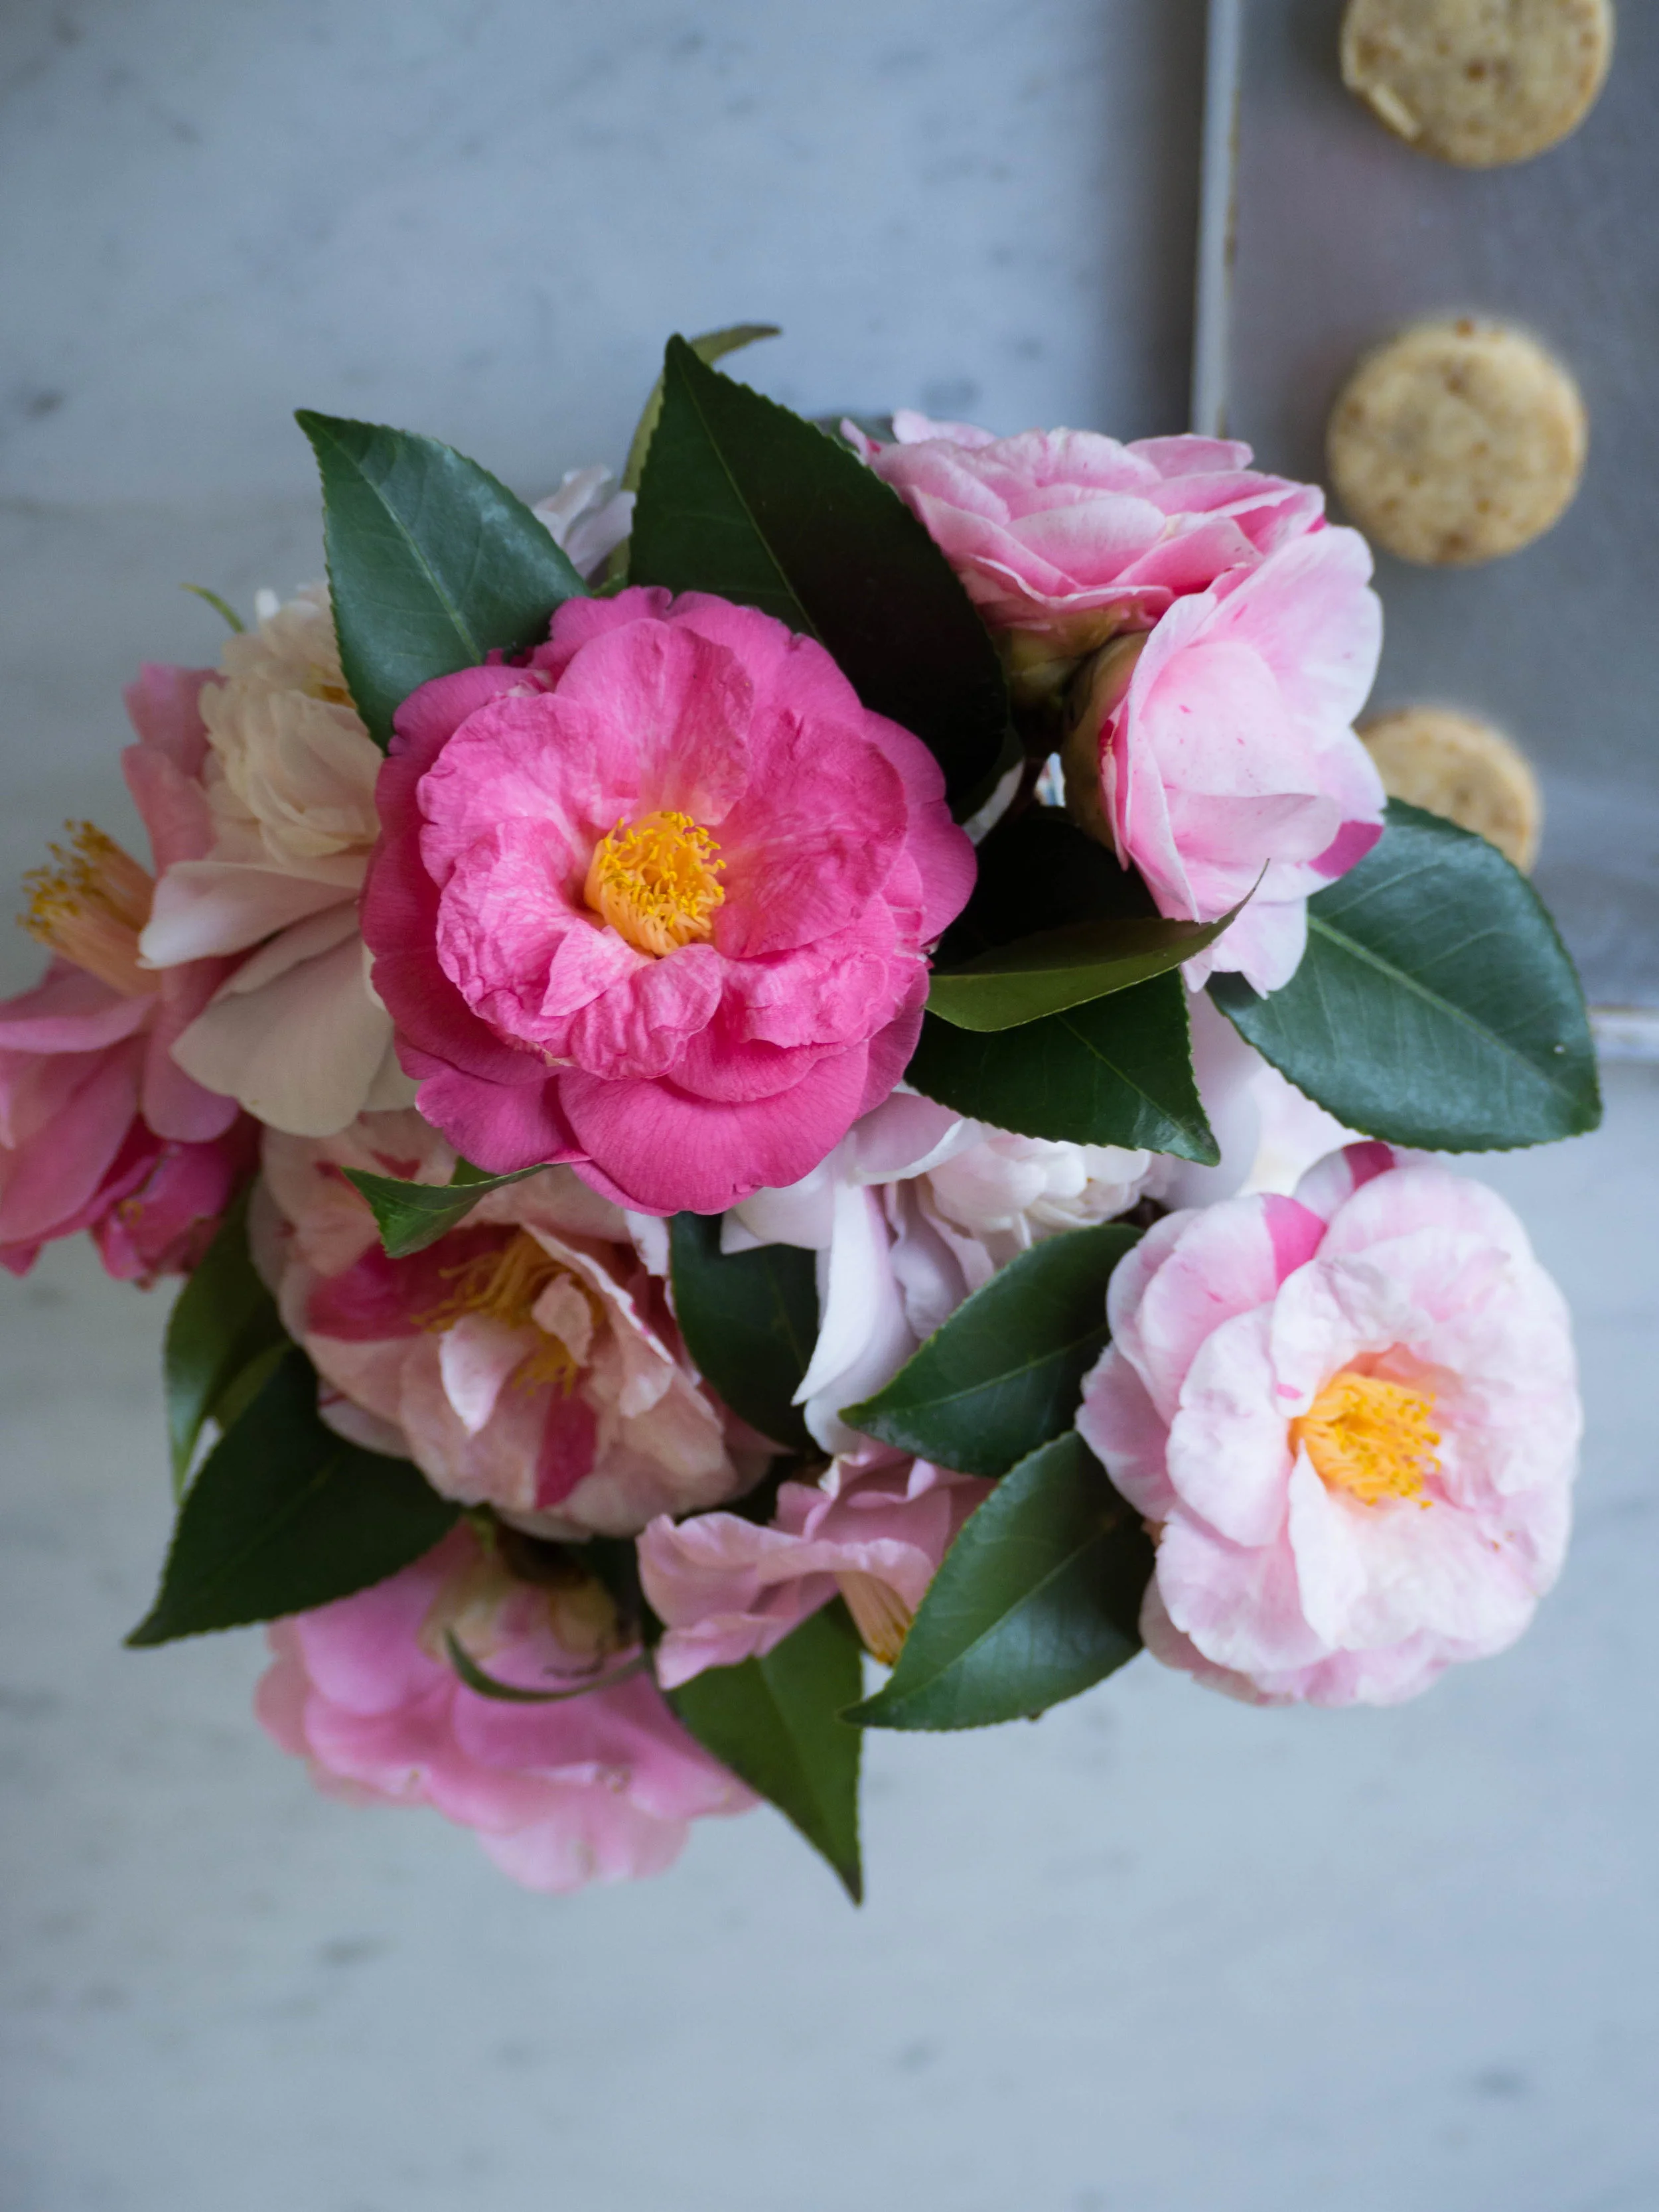
Homegrown Camellias

Homegrown Camellias

Thanks to Grounded Pleasures for sponsoring this post and providing the yummy Panela Sugar & Vanilla Beans!

In Biscuits/Cookies Tags Shortbread, Panela Sugar, Grounded Pleasures, Sponsored Posts, Vanilla, vanilla sugar, Vanilla Extract
Comment
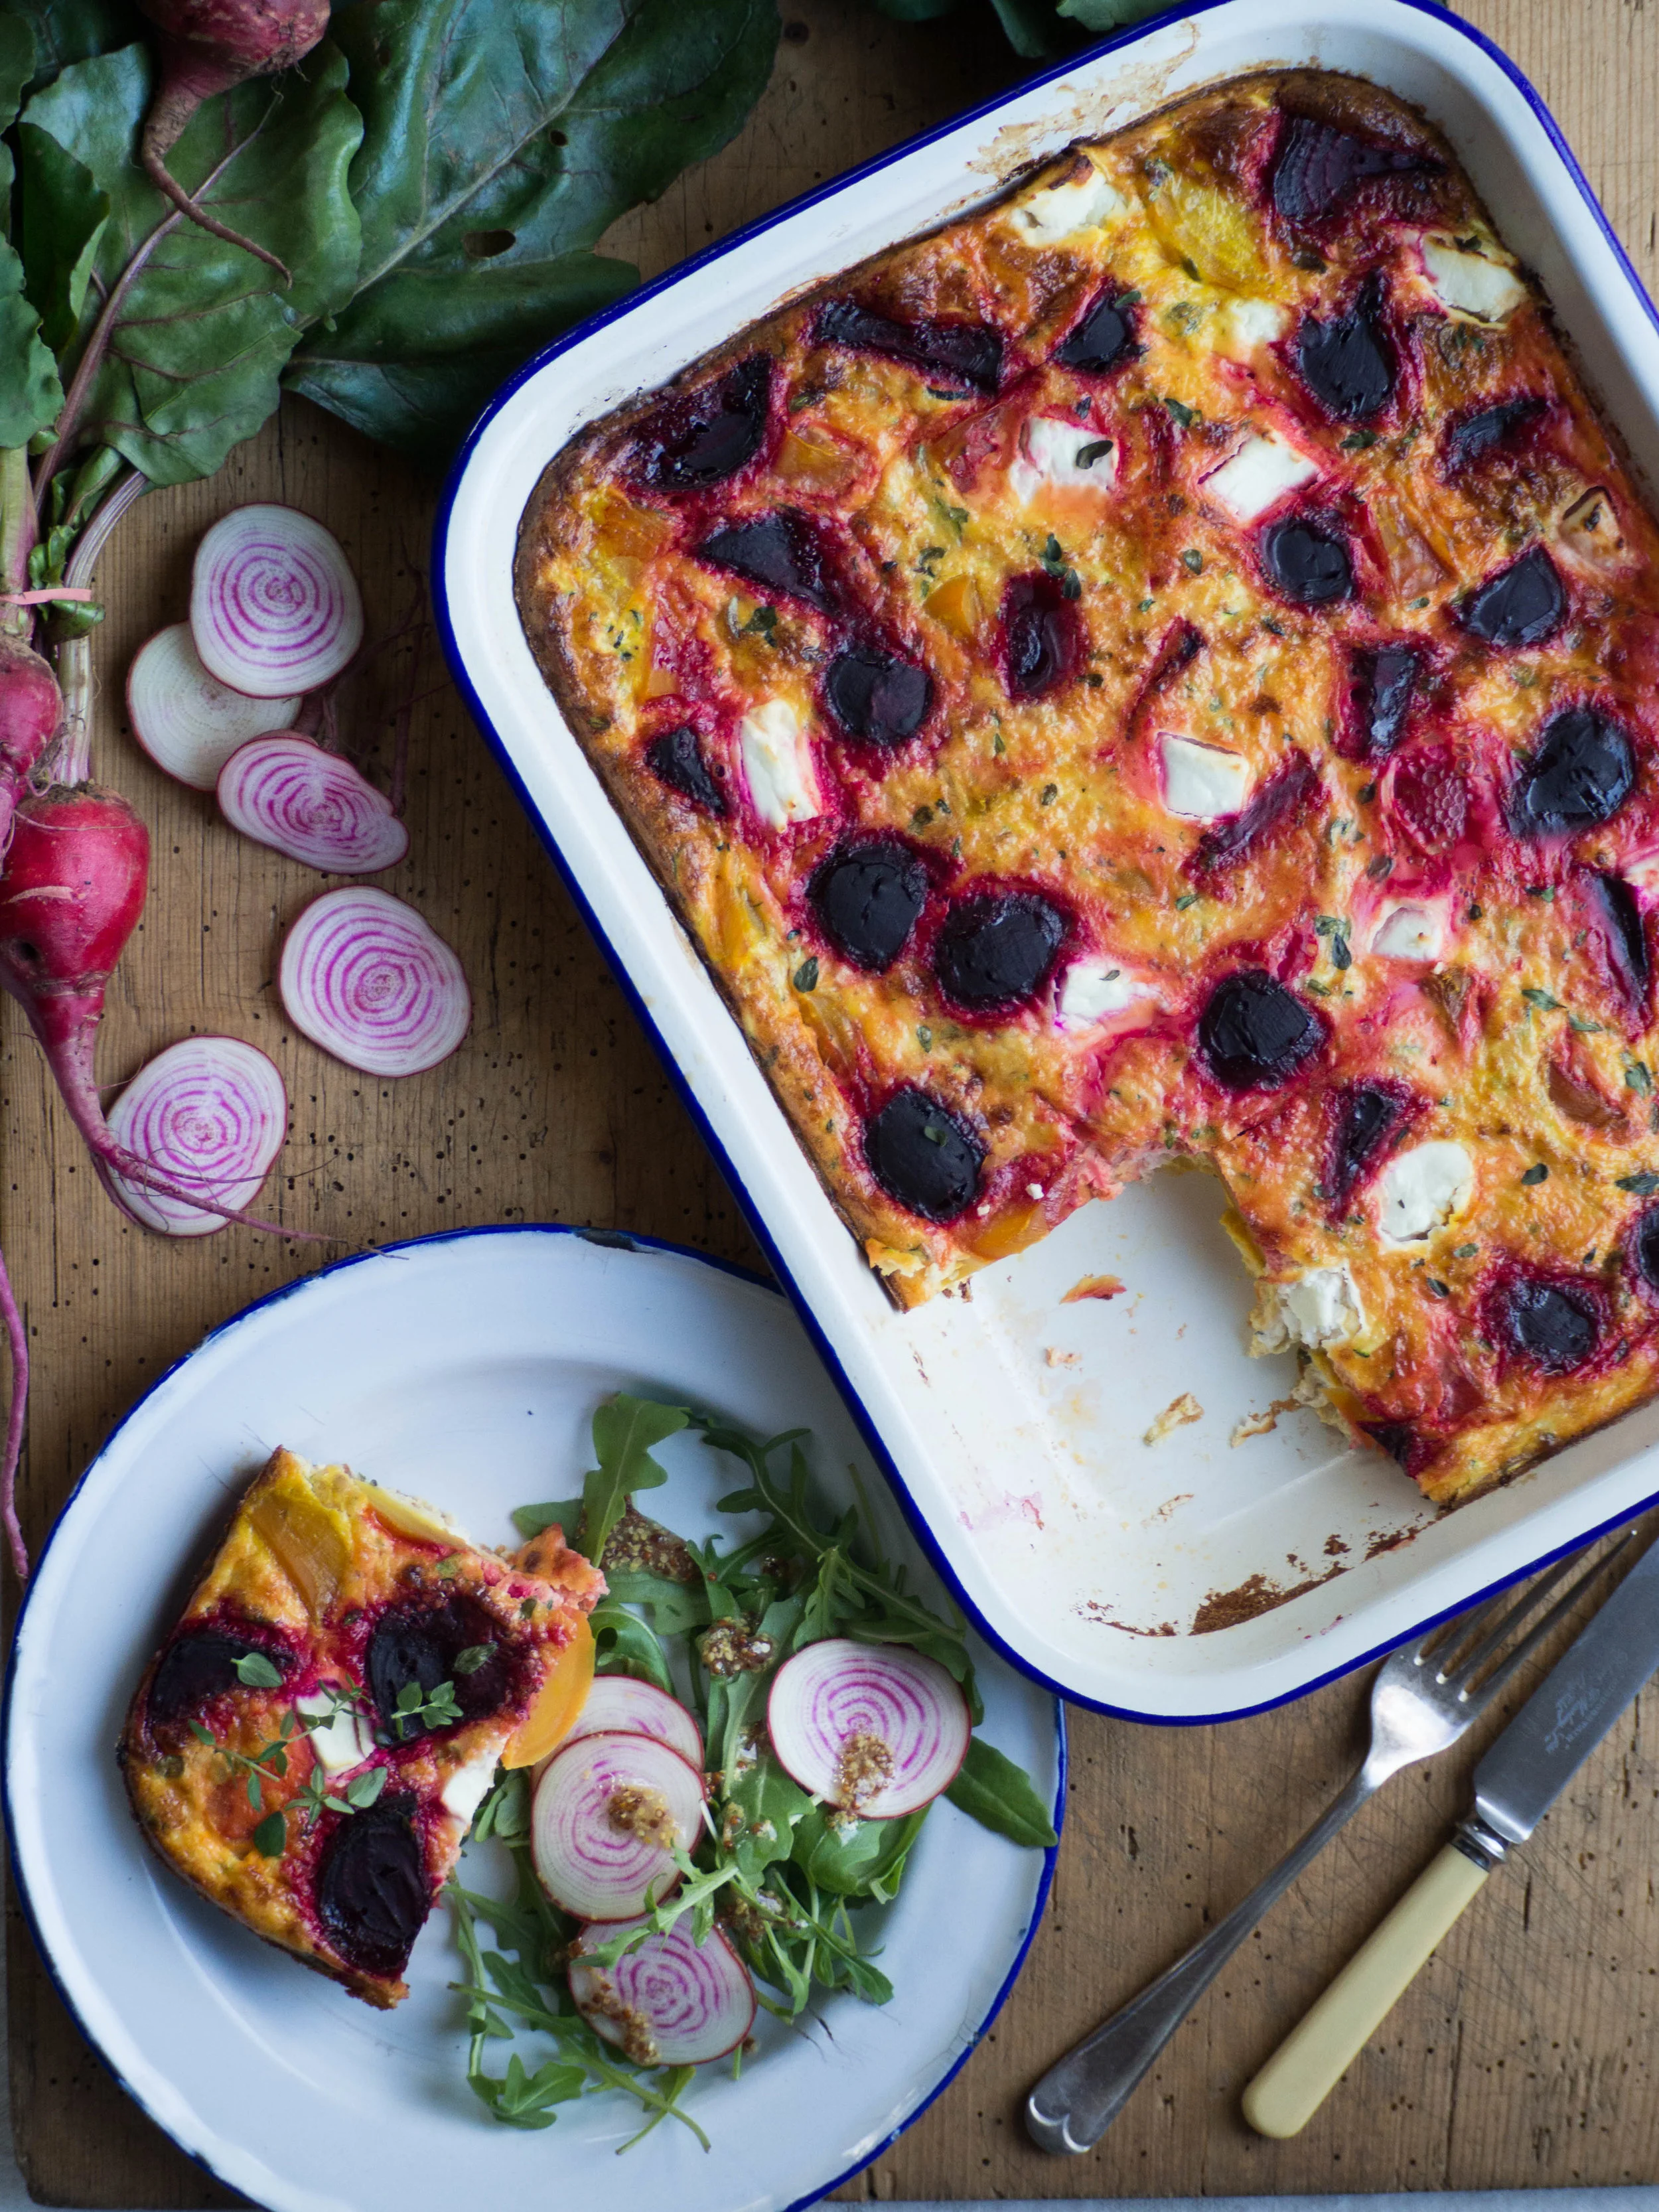
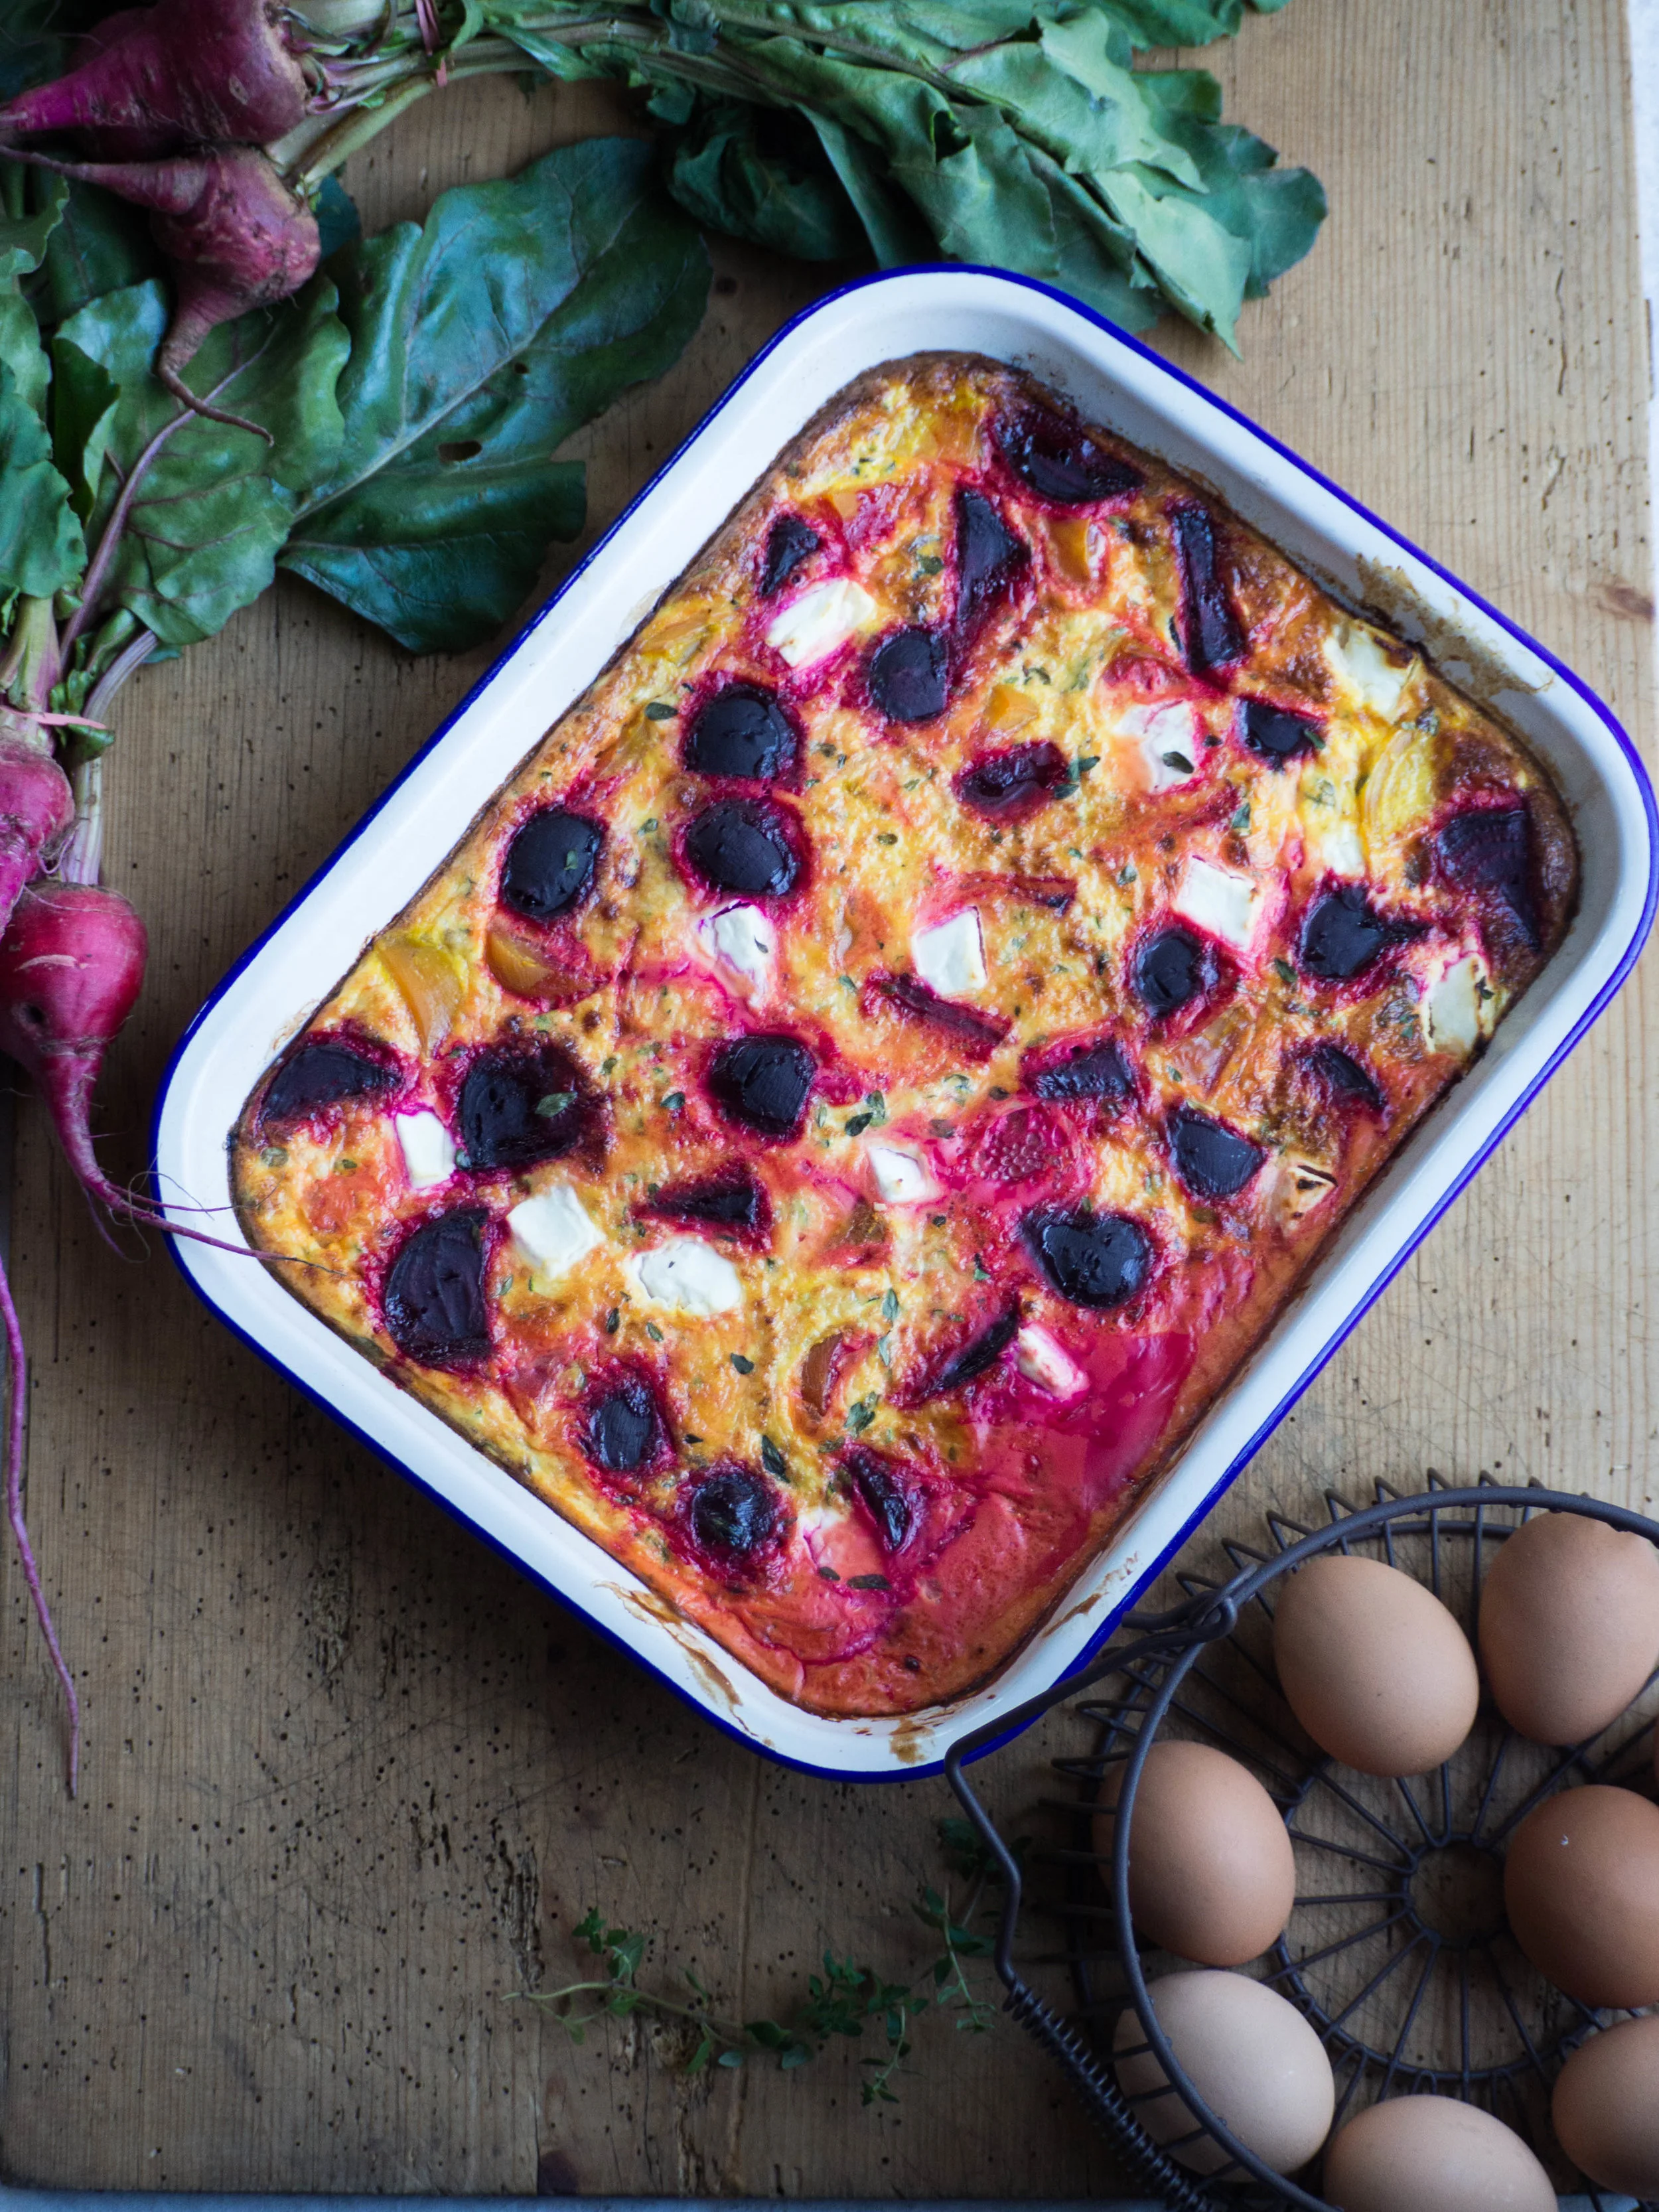
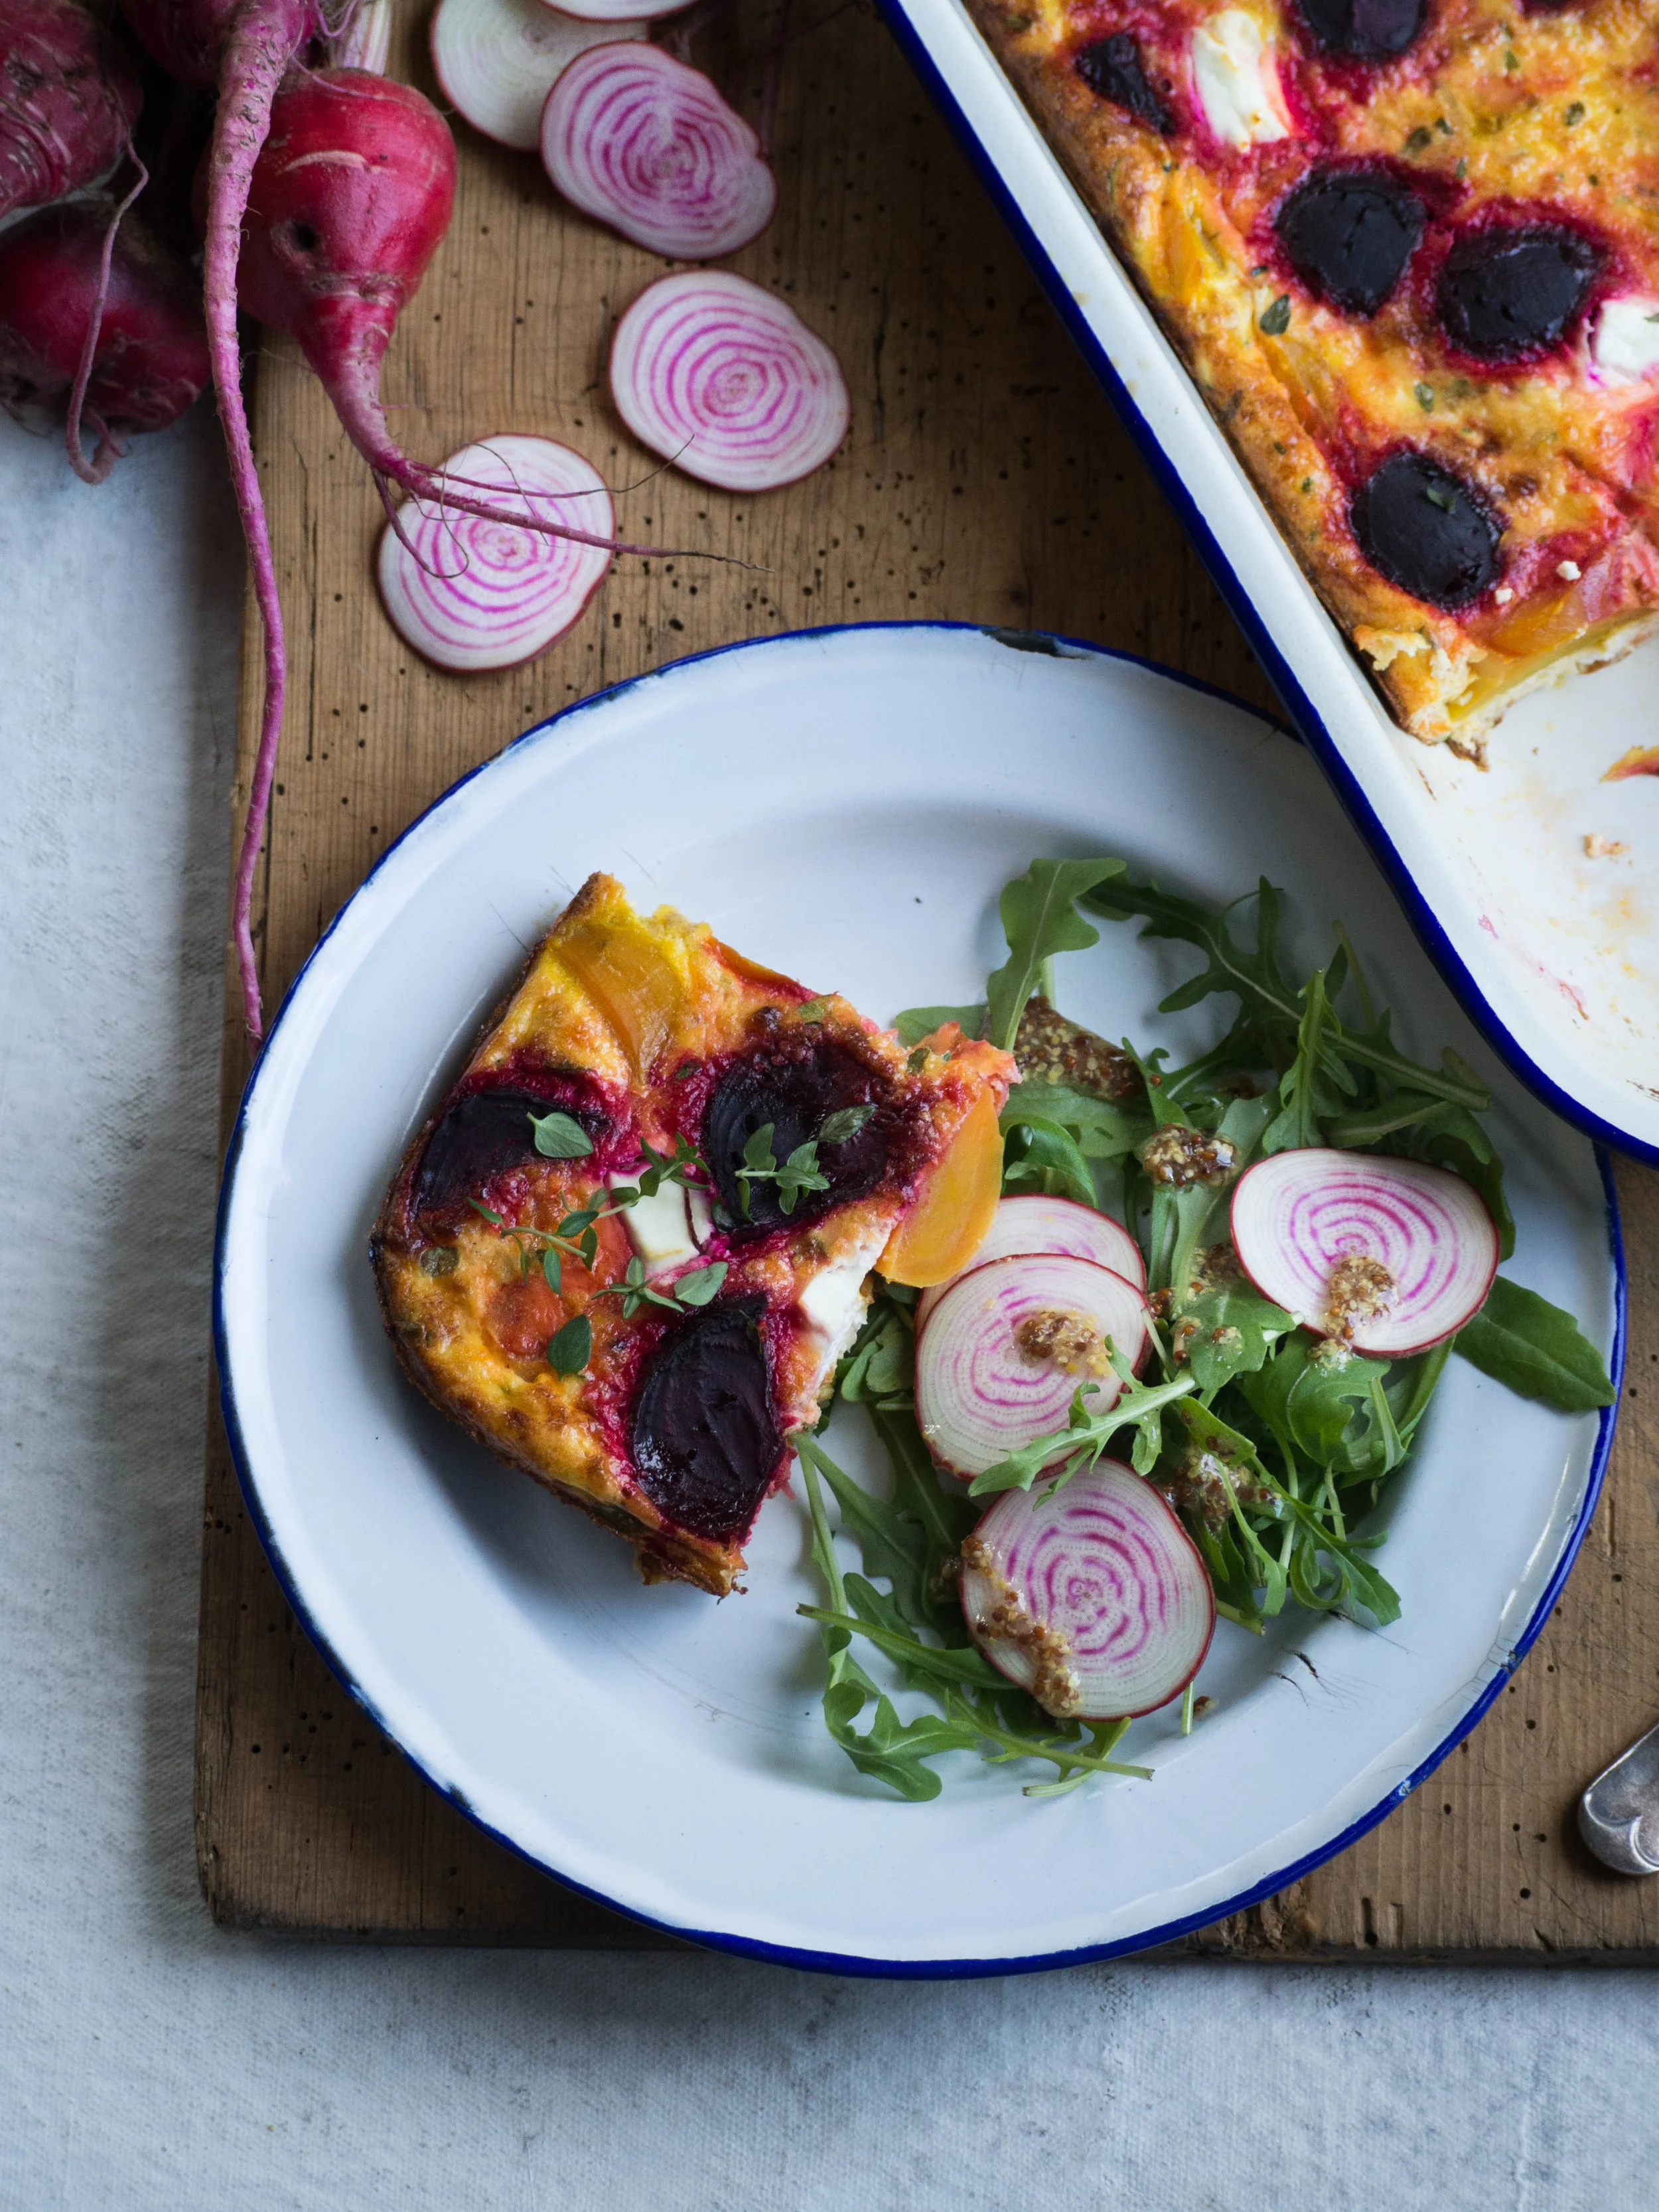
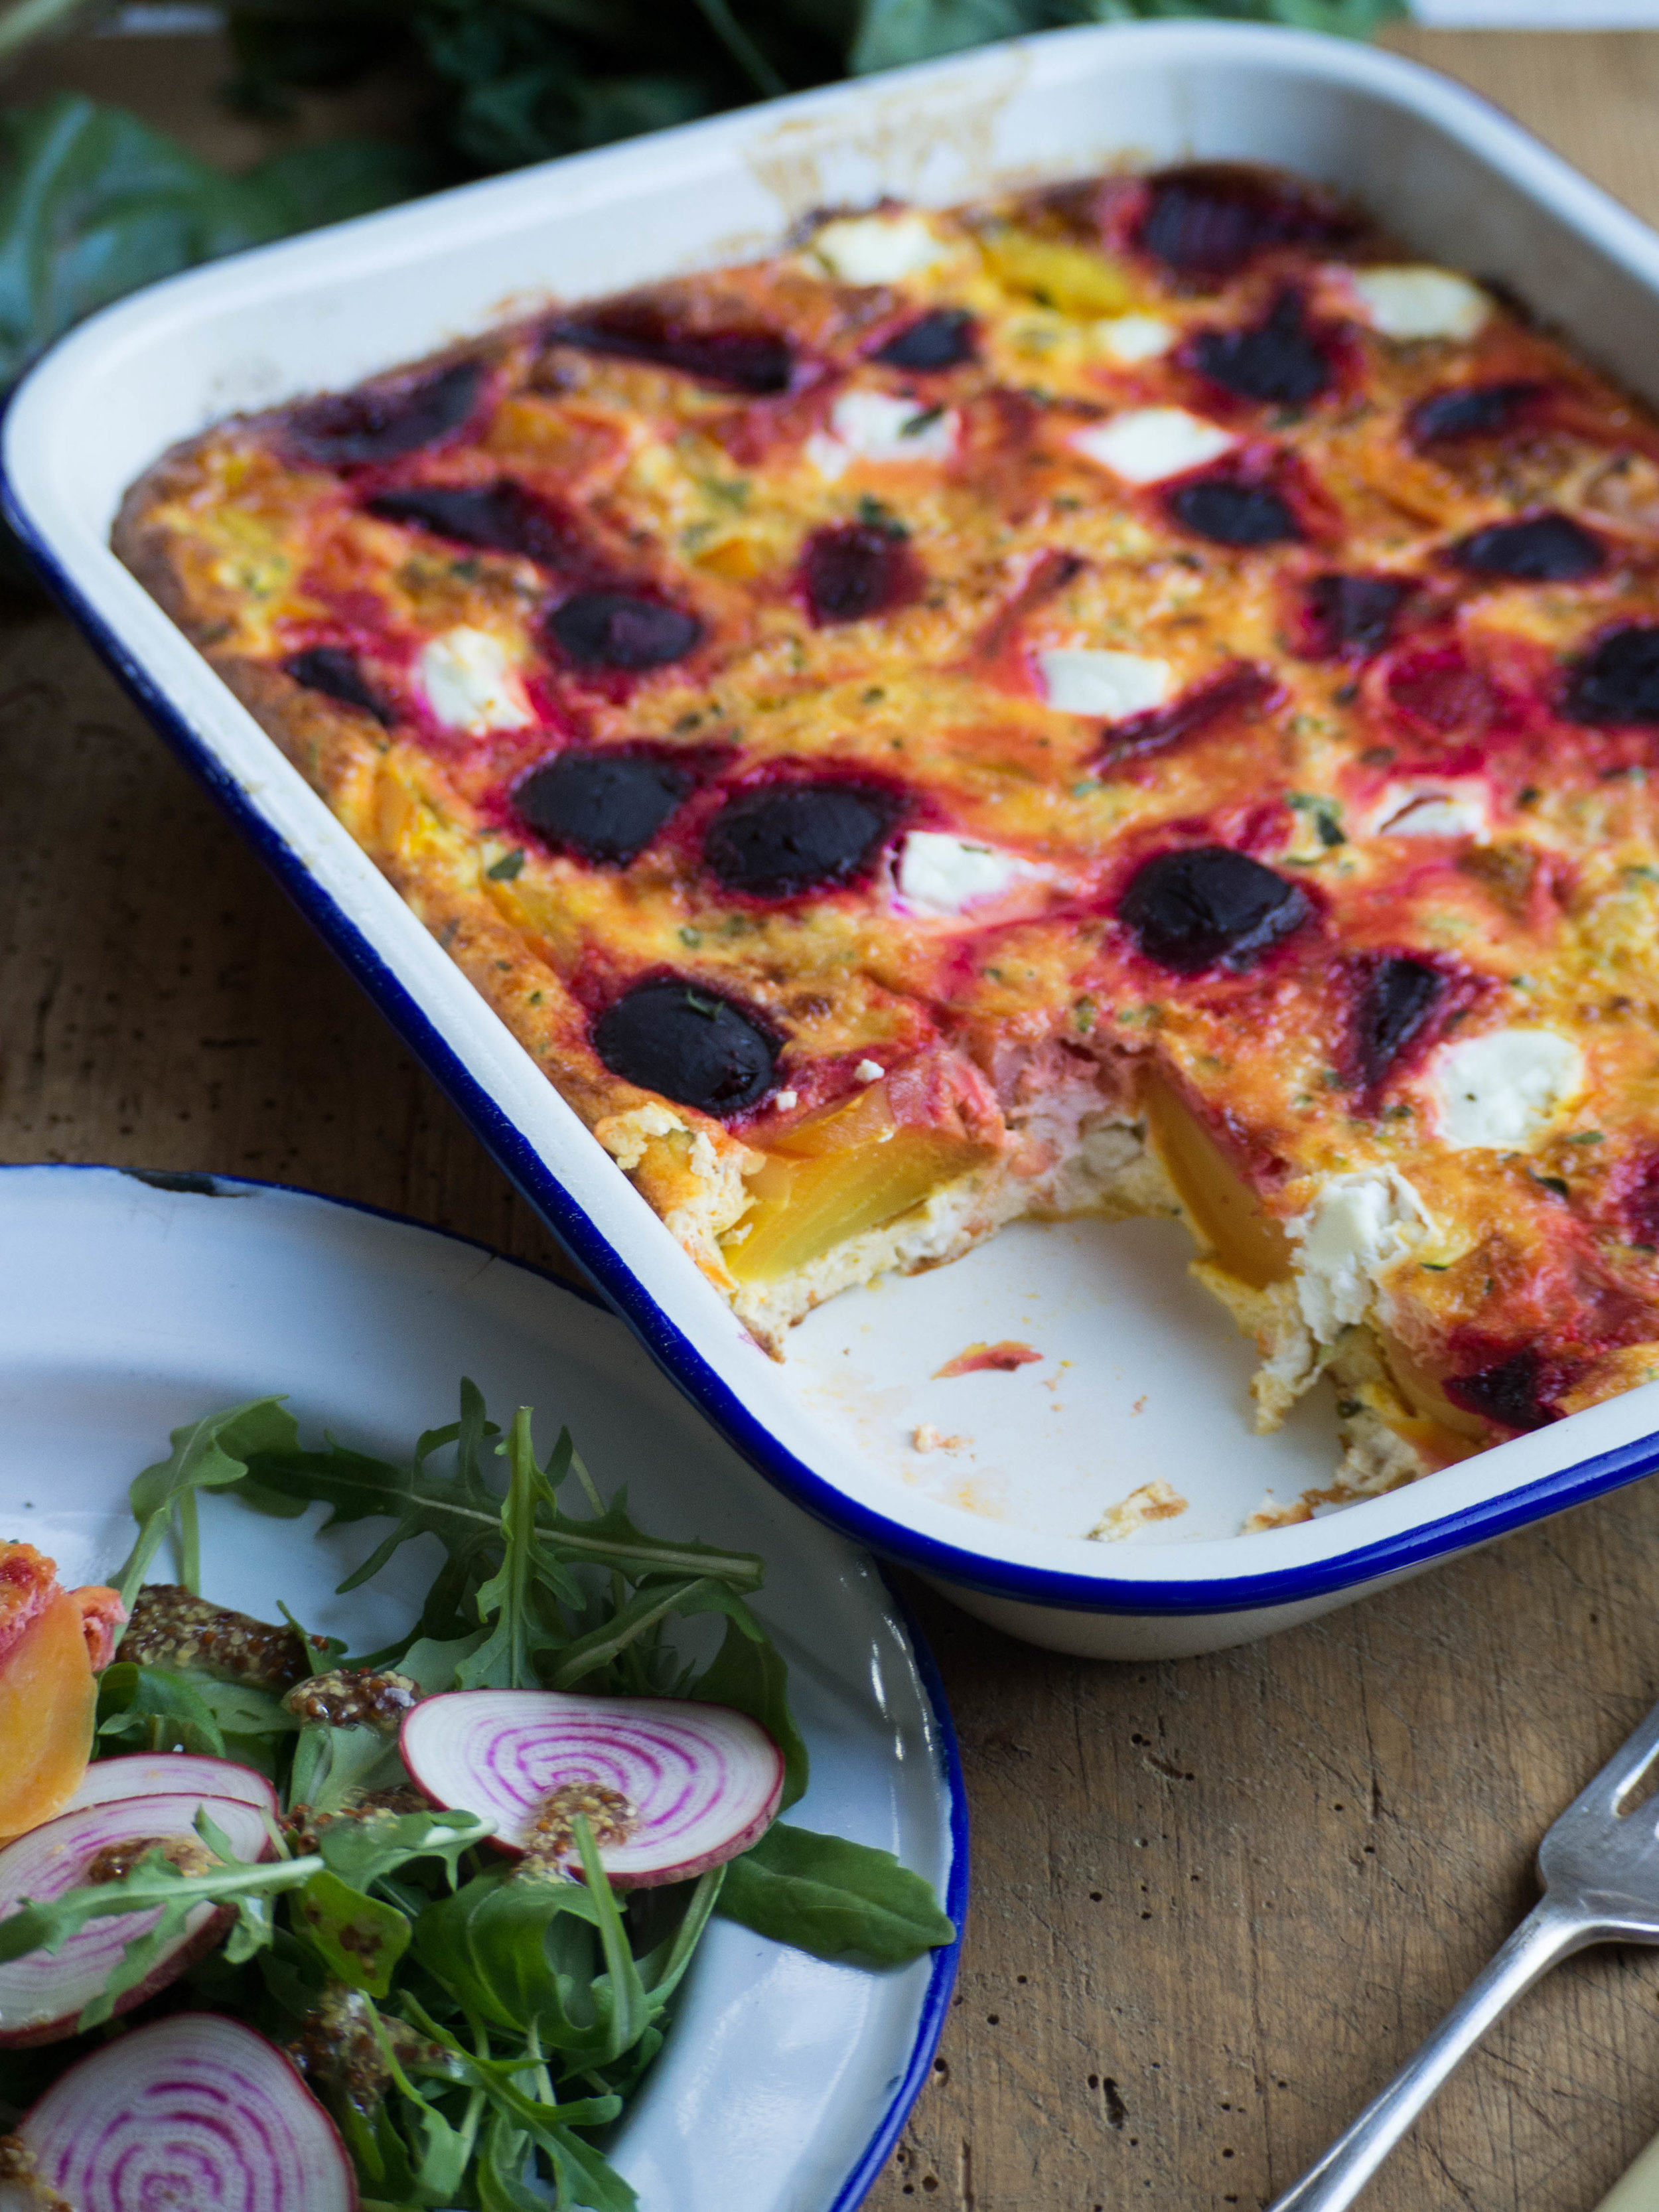
Beetroot, Goats Cheese & Thyme Frittata

Beetroot, Goats Cheese & Thyme Frittata

Beetroot, Goats Cheese & Thyme Frittata

Kath October 20, 2017

Here are some things I have been enjoying this month: 

  • Wandering around Wooloomooloo in Sydney and stopping in at Flour and Stone, and buying pretty flowers from Petal Met Sugar.
  • Sewing some vegetable seeds and planting some tomato plants - we’ll see how they go! I bought some interesting varieties of beetroot and carrot seeds from this website. 
  • I am on a quest to find the best banana bread recipe, and this one is next on my list. 
  • I received a care package as part of the My Open Kitchen E-Course (which I am really enjoying so far), and the stand out from the package has been the Rainwater Mint Tea from Scullery Made. 
  • The October issue of Jamie Magazine arrived this week, and there is a feature on making sourdough. I have attempted homemade sourdough before, so maybe this will prompt me to try again! 
  • I really enjoyed this podcast episode from Radio Cherry Bombe. 
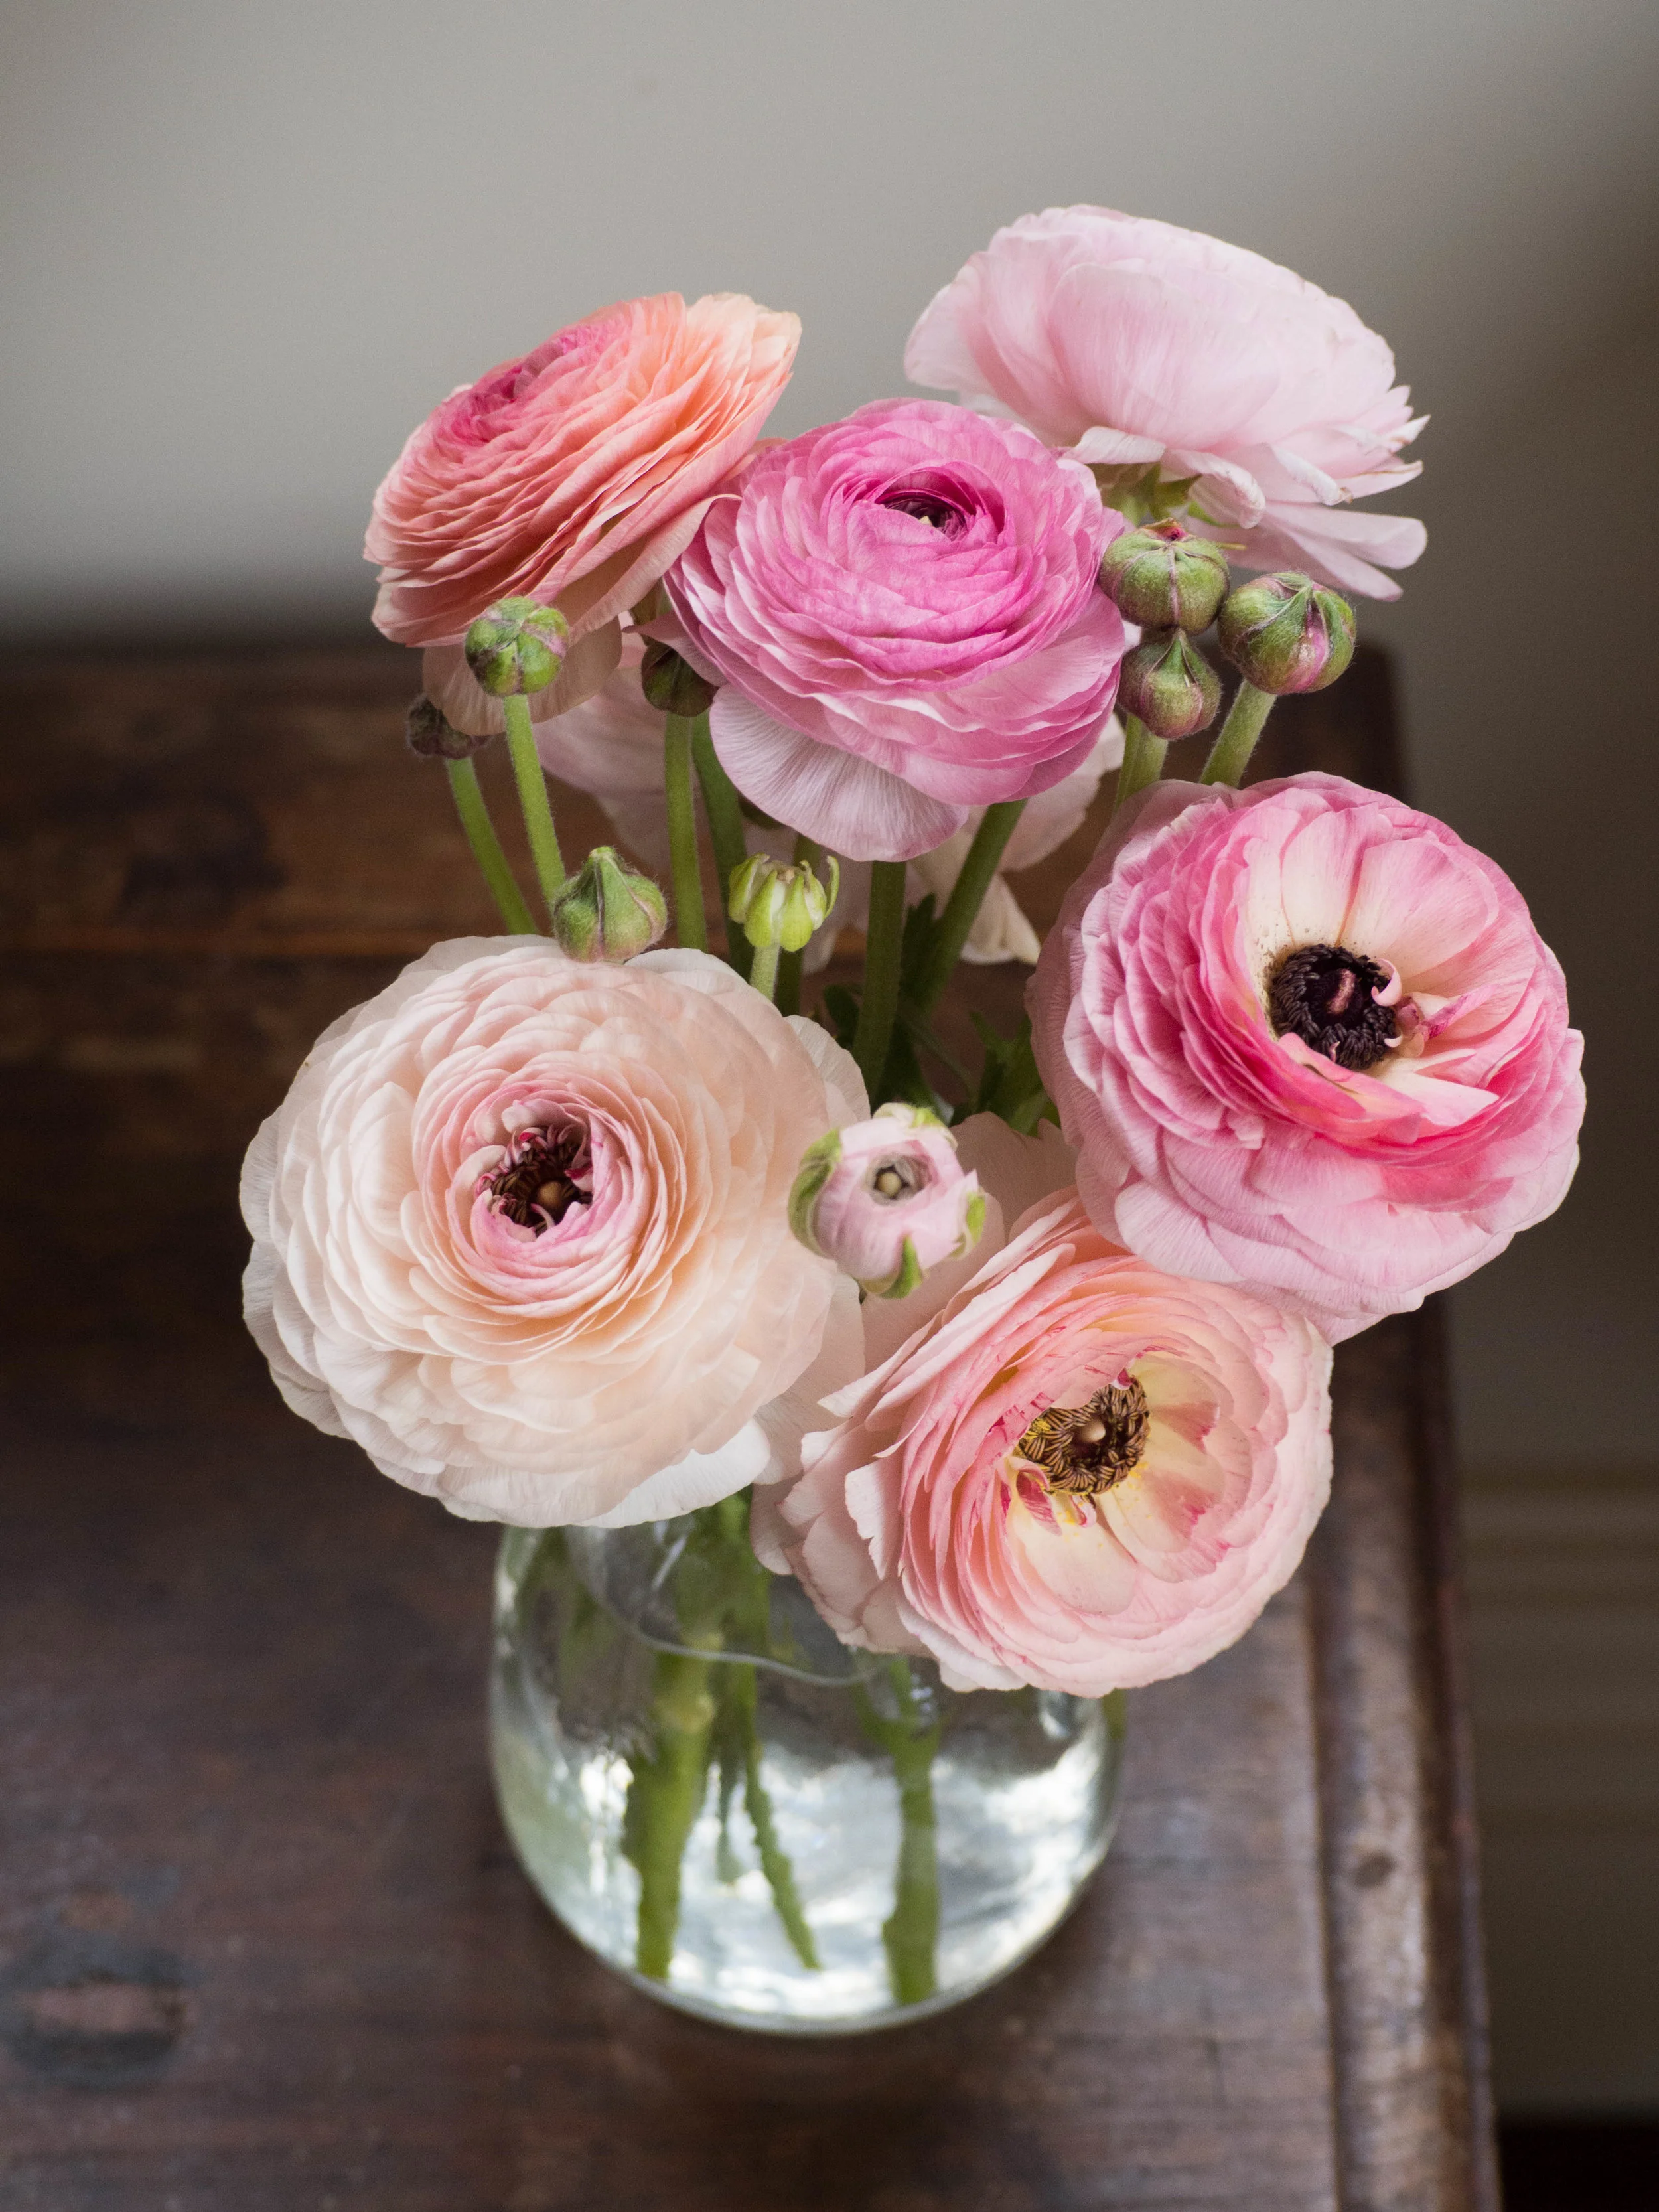
Beautiful ranunculus from Petal Met Sugar

Beautiful ranunculus from Petal Met Sugar

View fullsize Ranunculus from Petal Met Sugar
View fullsize Jamie Magazine & Scullery Made Tea

But now to the frittata. 

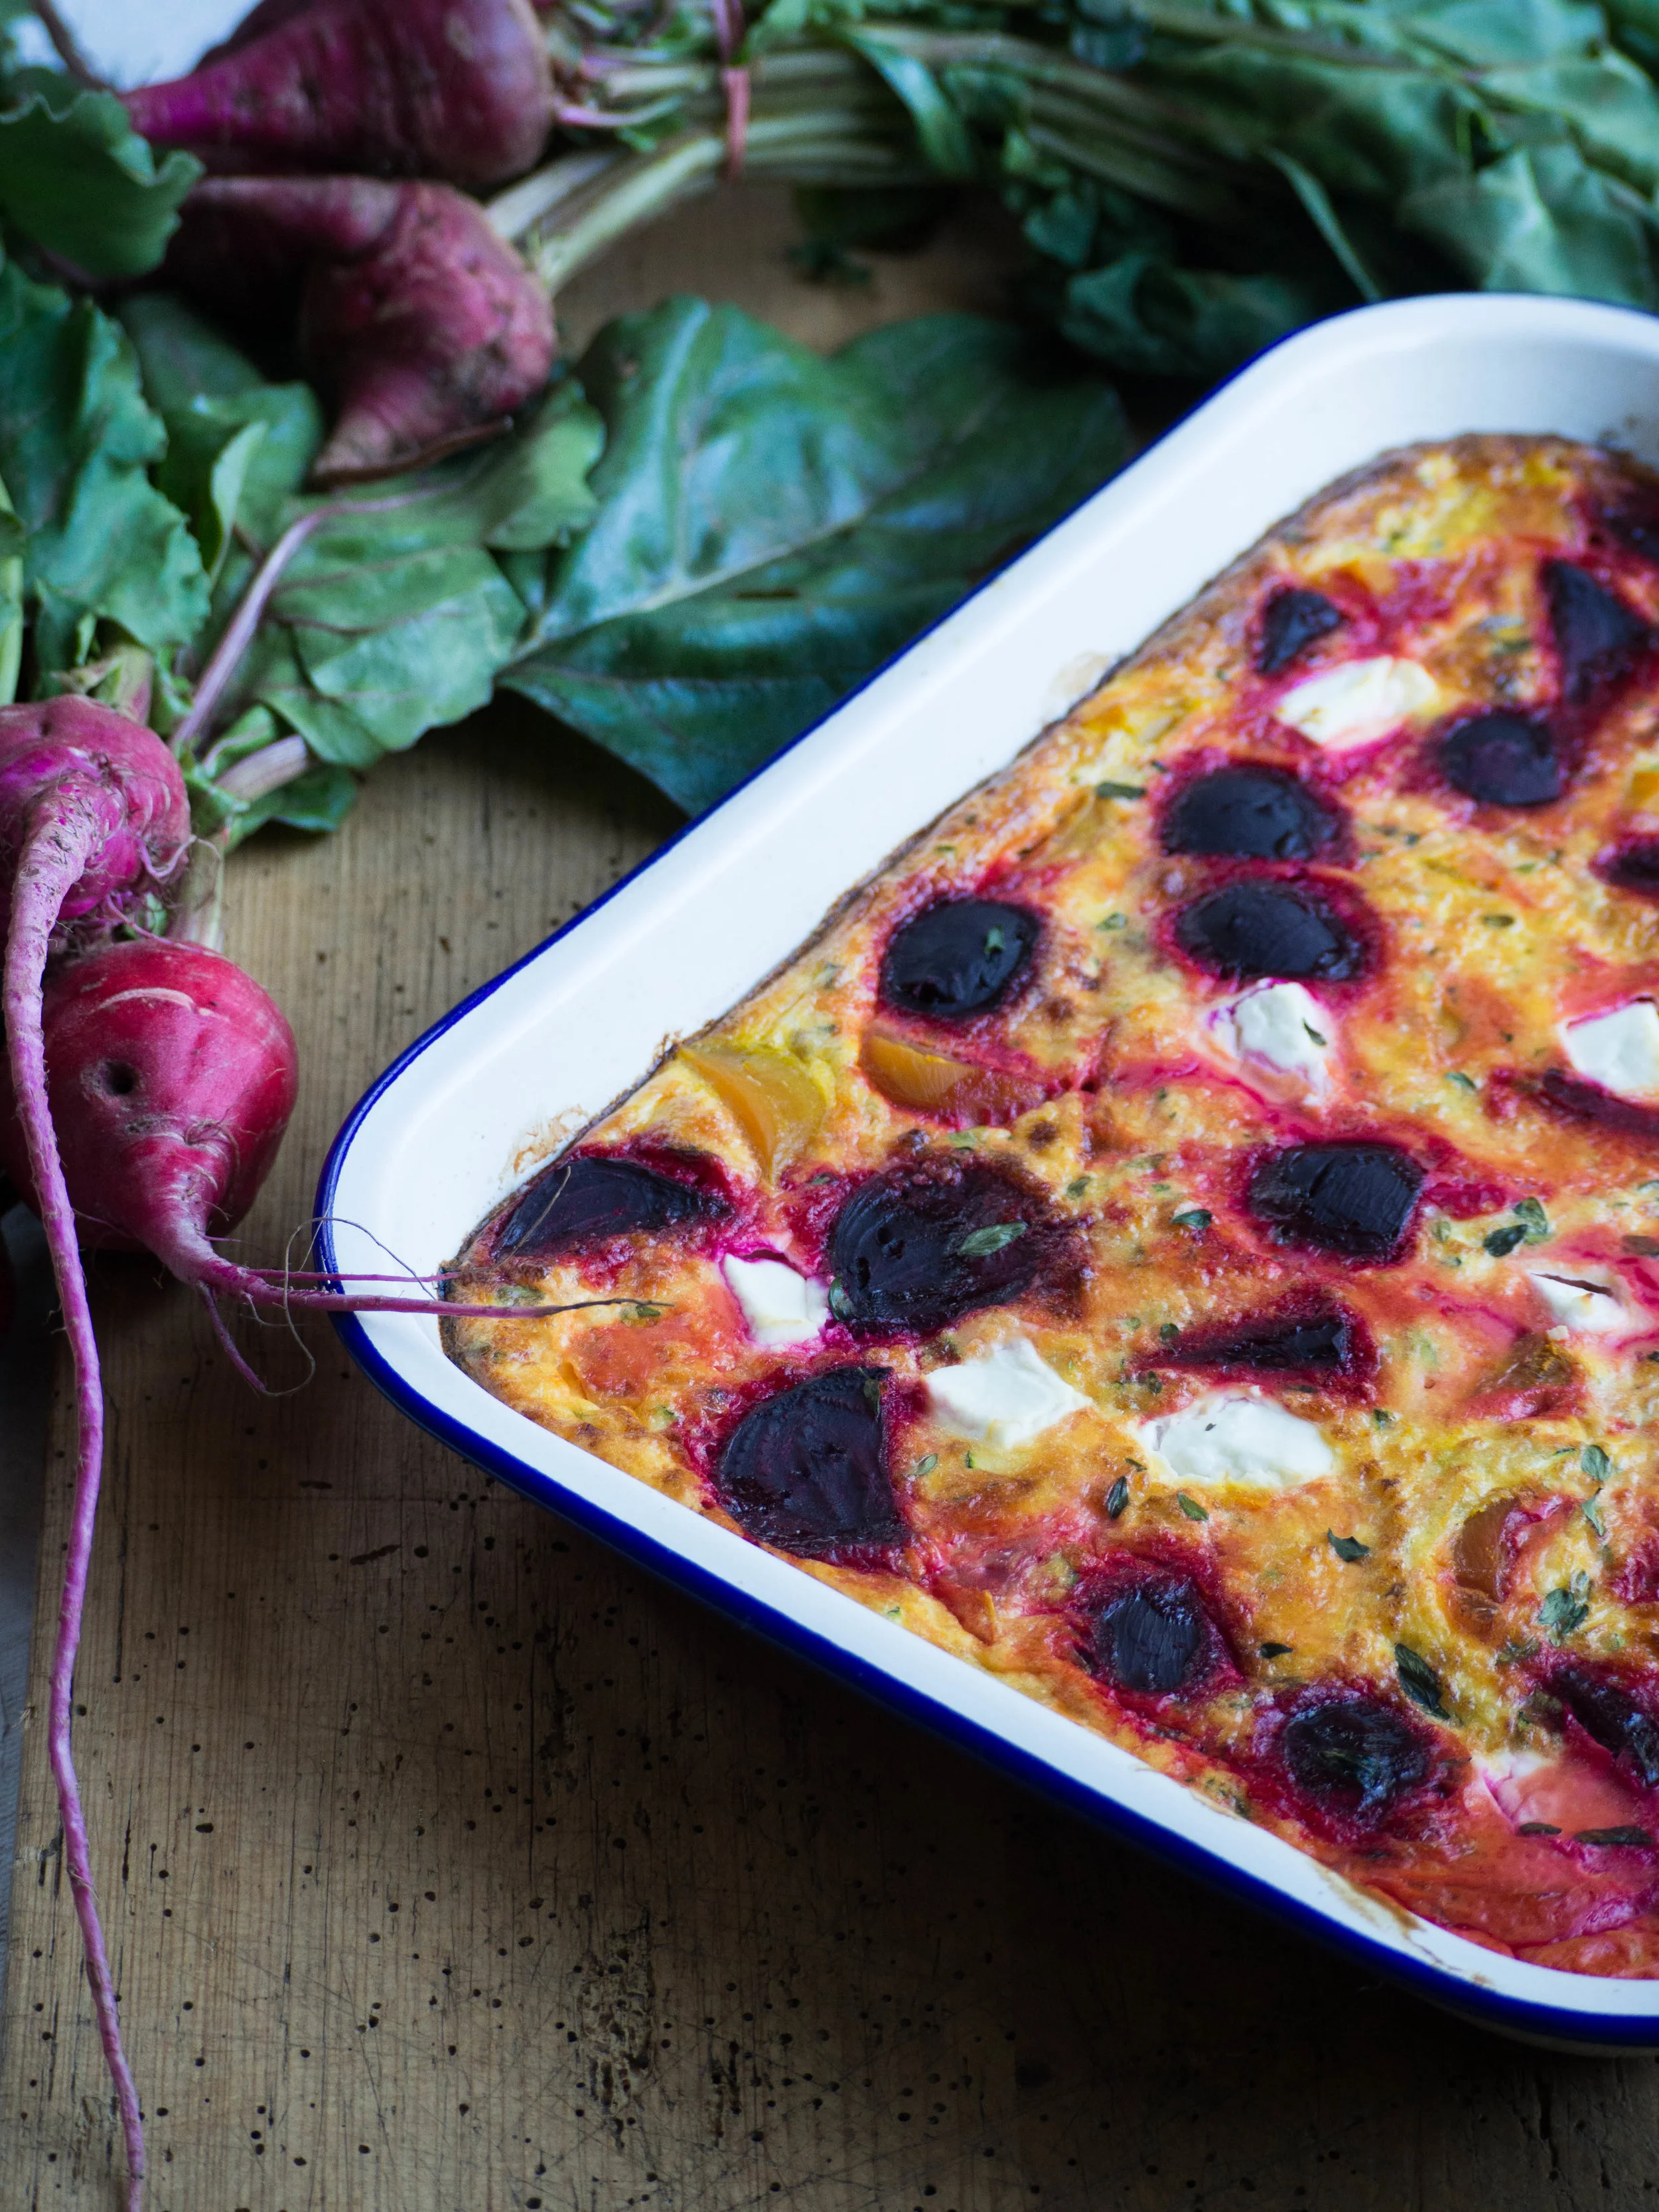
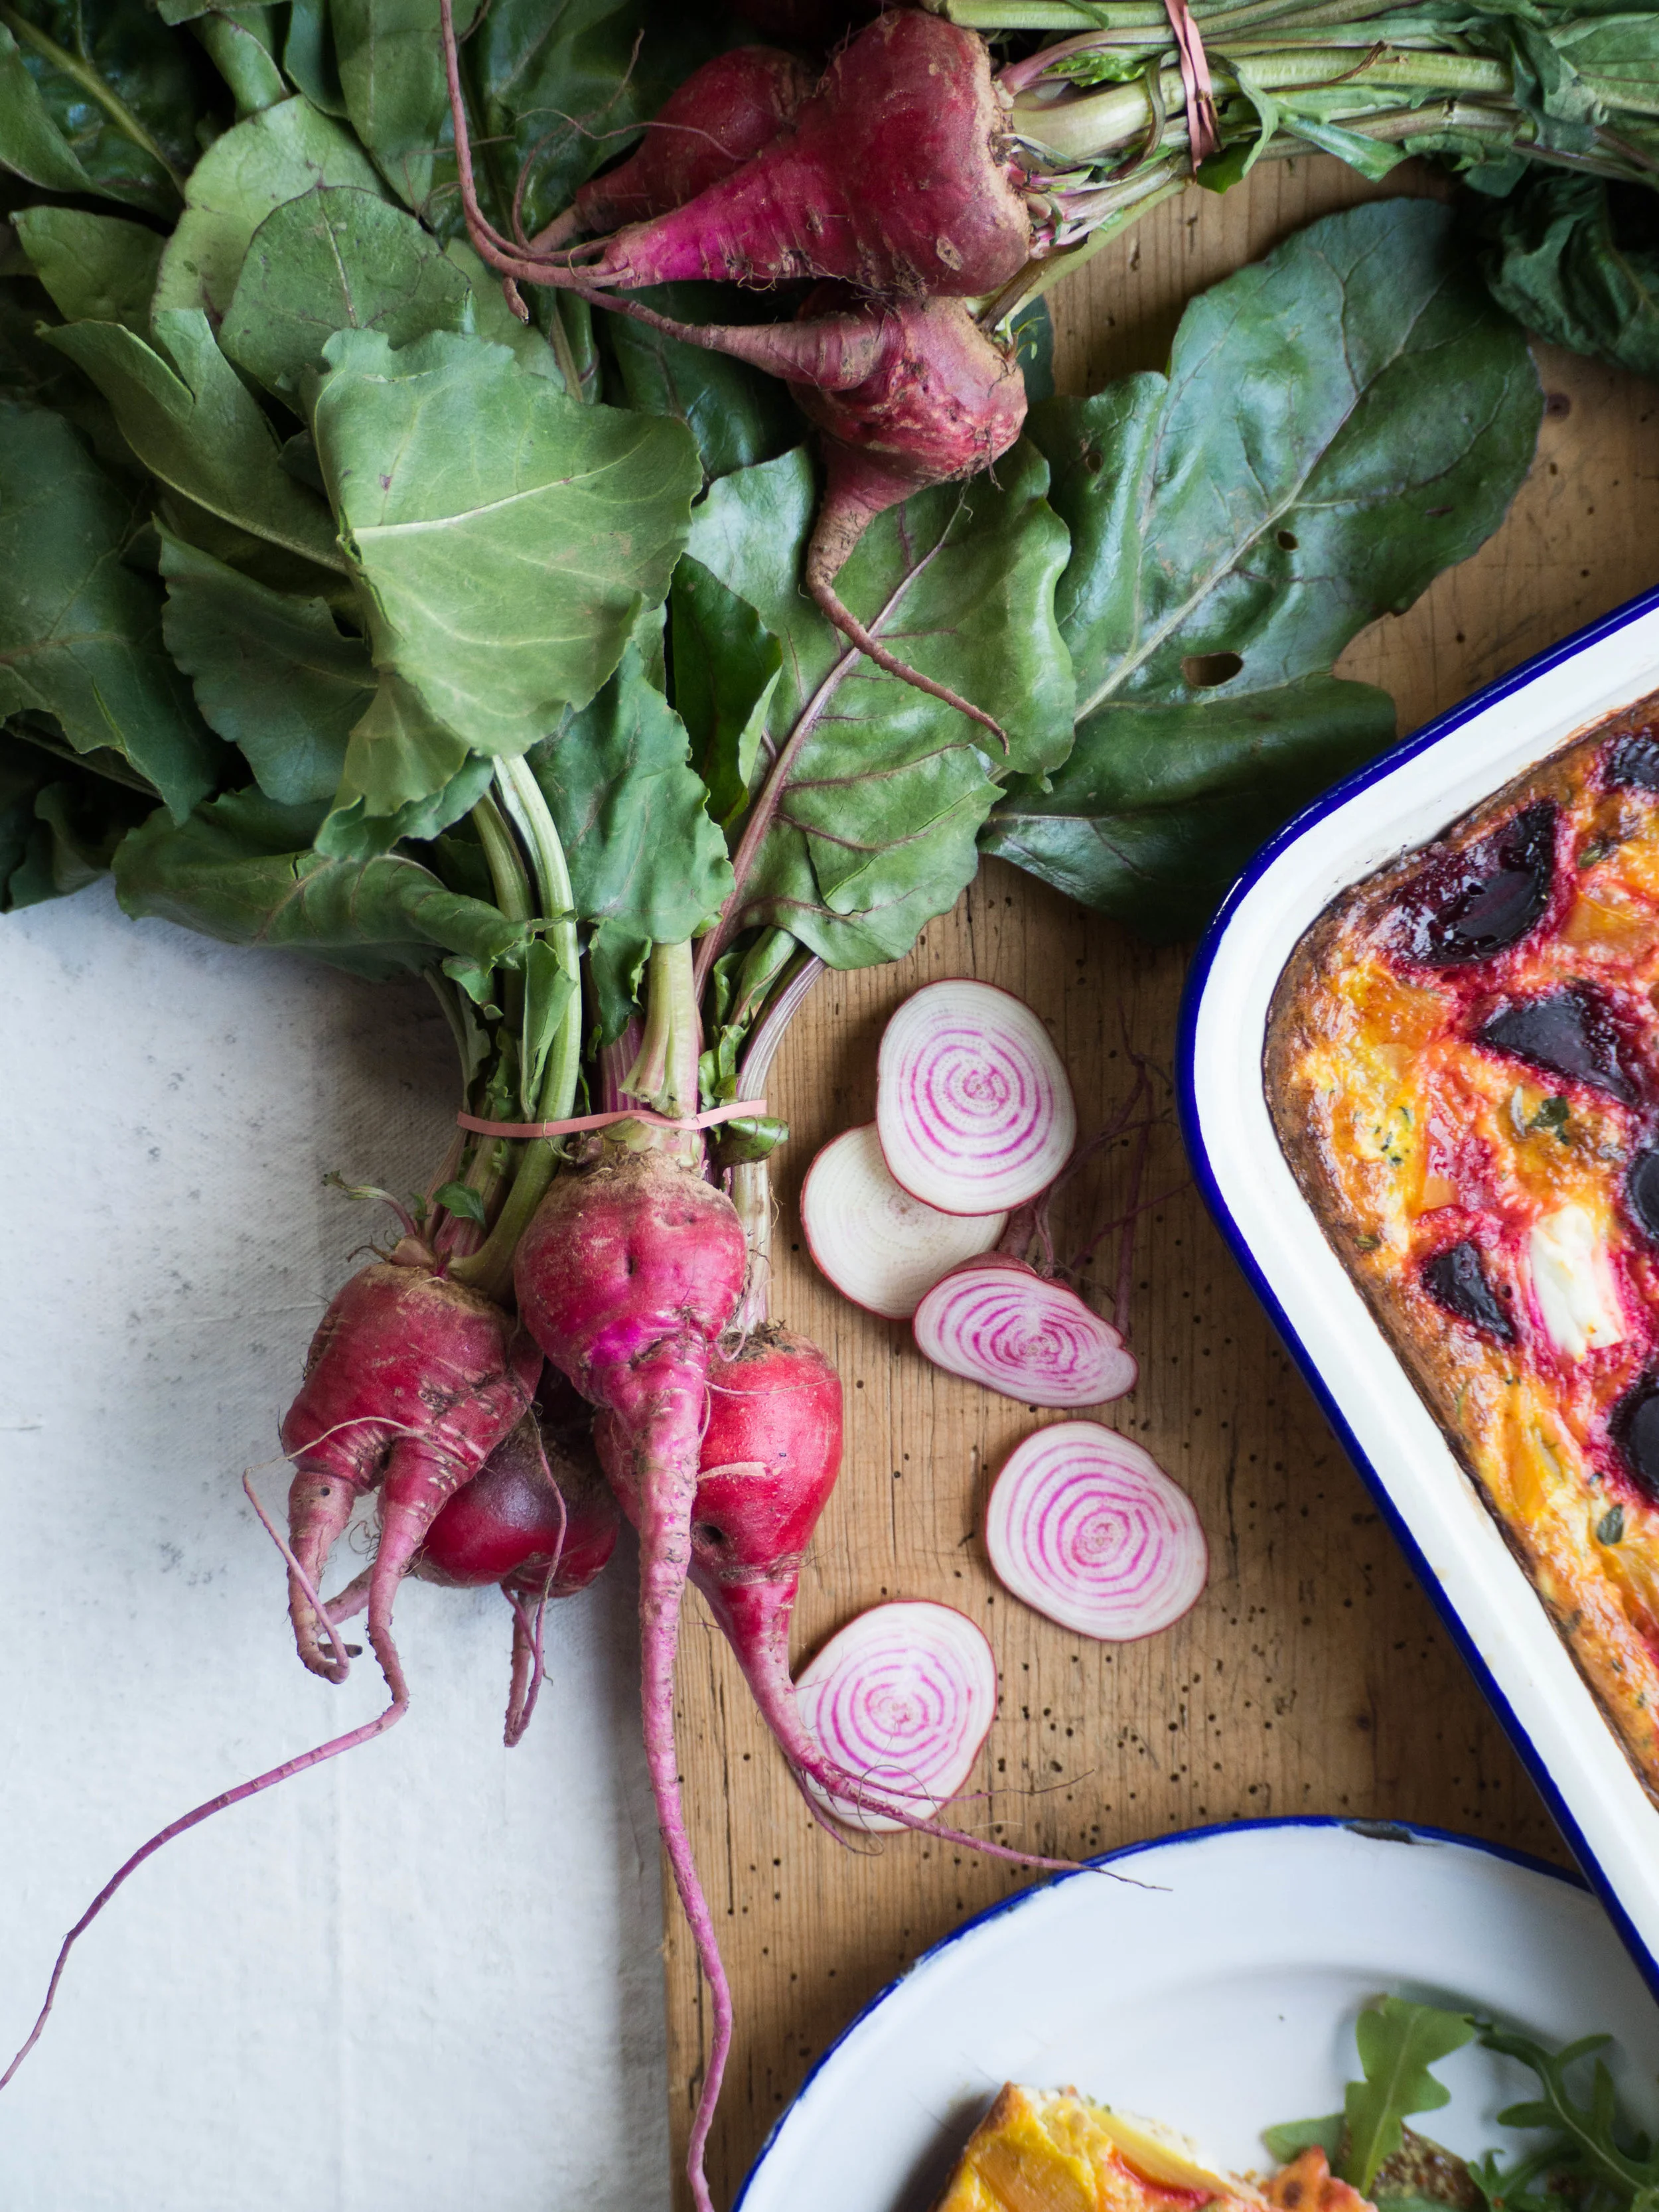
Frittatas are easy to make, and you can really add anything you like to them. I really love beetroots, especially the golden or chioggia varieties. Now that I have attempted to cook chioggias myself, rather than rely on the views of others as I did in this previous post, I have found they do keep some of their colour once boiled. They aren’t quite as pretty as they are raw, but they still look pretty good (and taste really good) once cooked. 

Frittatas are a really great way to have some meals prepared for the week, and are super easy to take to work and heat up at lunch. Add a salad on the side and you’ll have a work lunch better than anything you could buy! Making the frittata in advance won’t take too much time out of your weekend or weeknight, and using leftover veggies from dinner (like sweet potato, carrot, broccoli etc), will make the whole process even quicker and make use of things that might have otherwise gone to waste. 

Beetroot, Goats Cheese & Thyme Frittata

Beetroot, Goats Cheese & Thyme Frittata

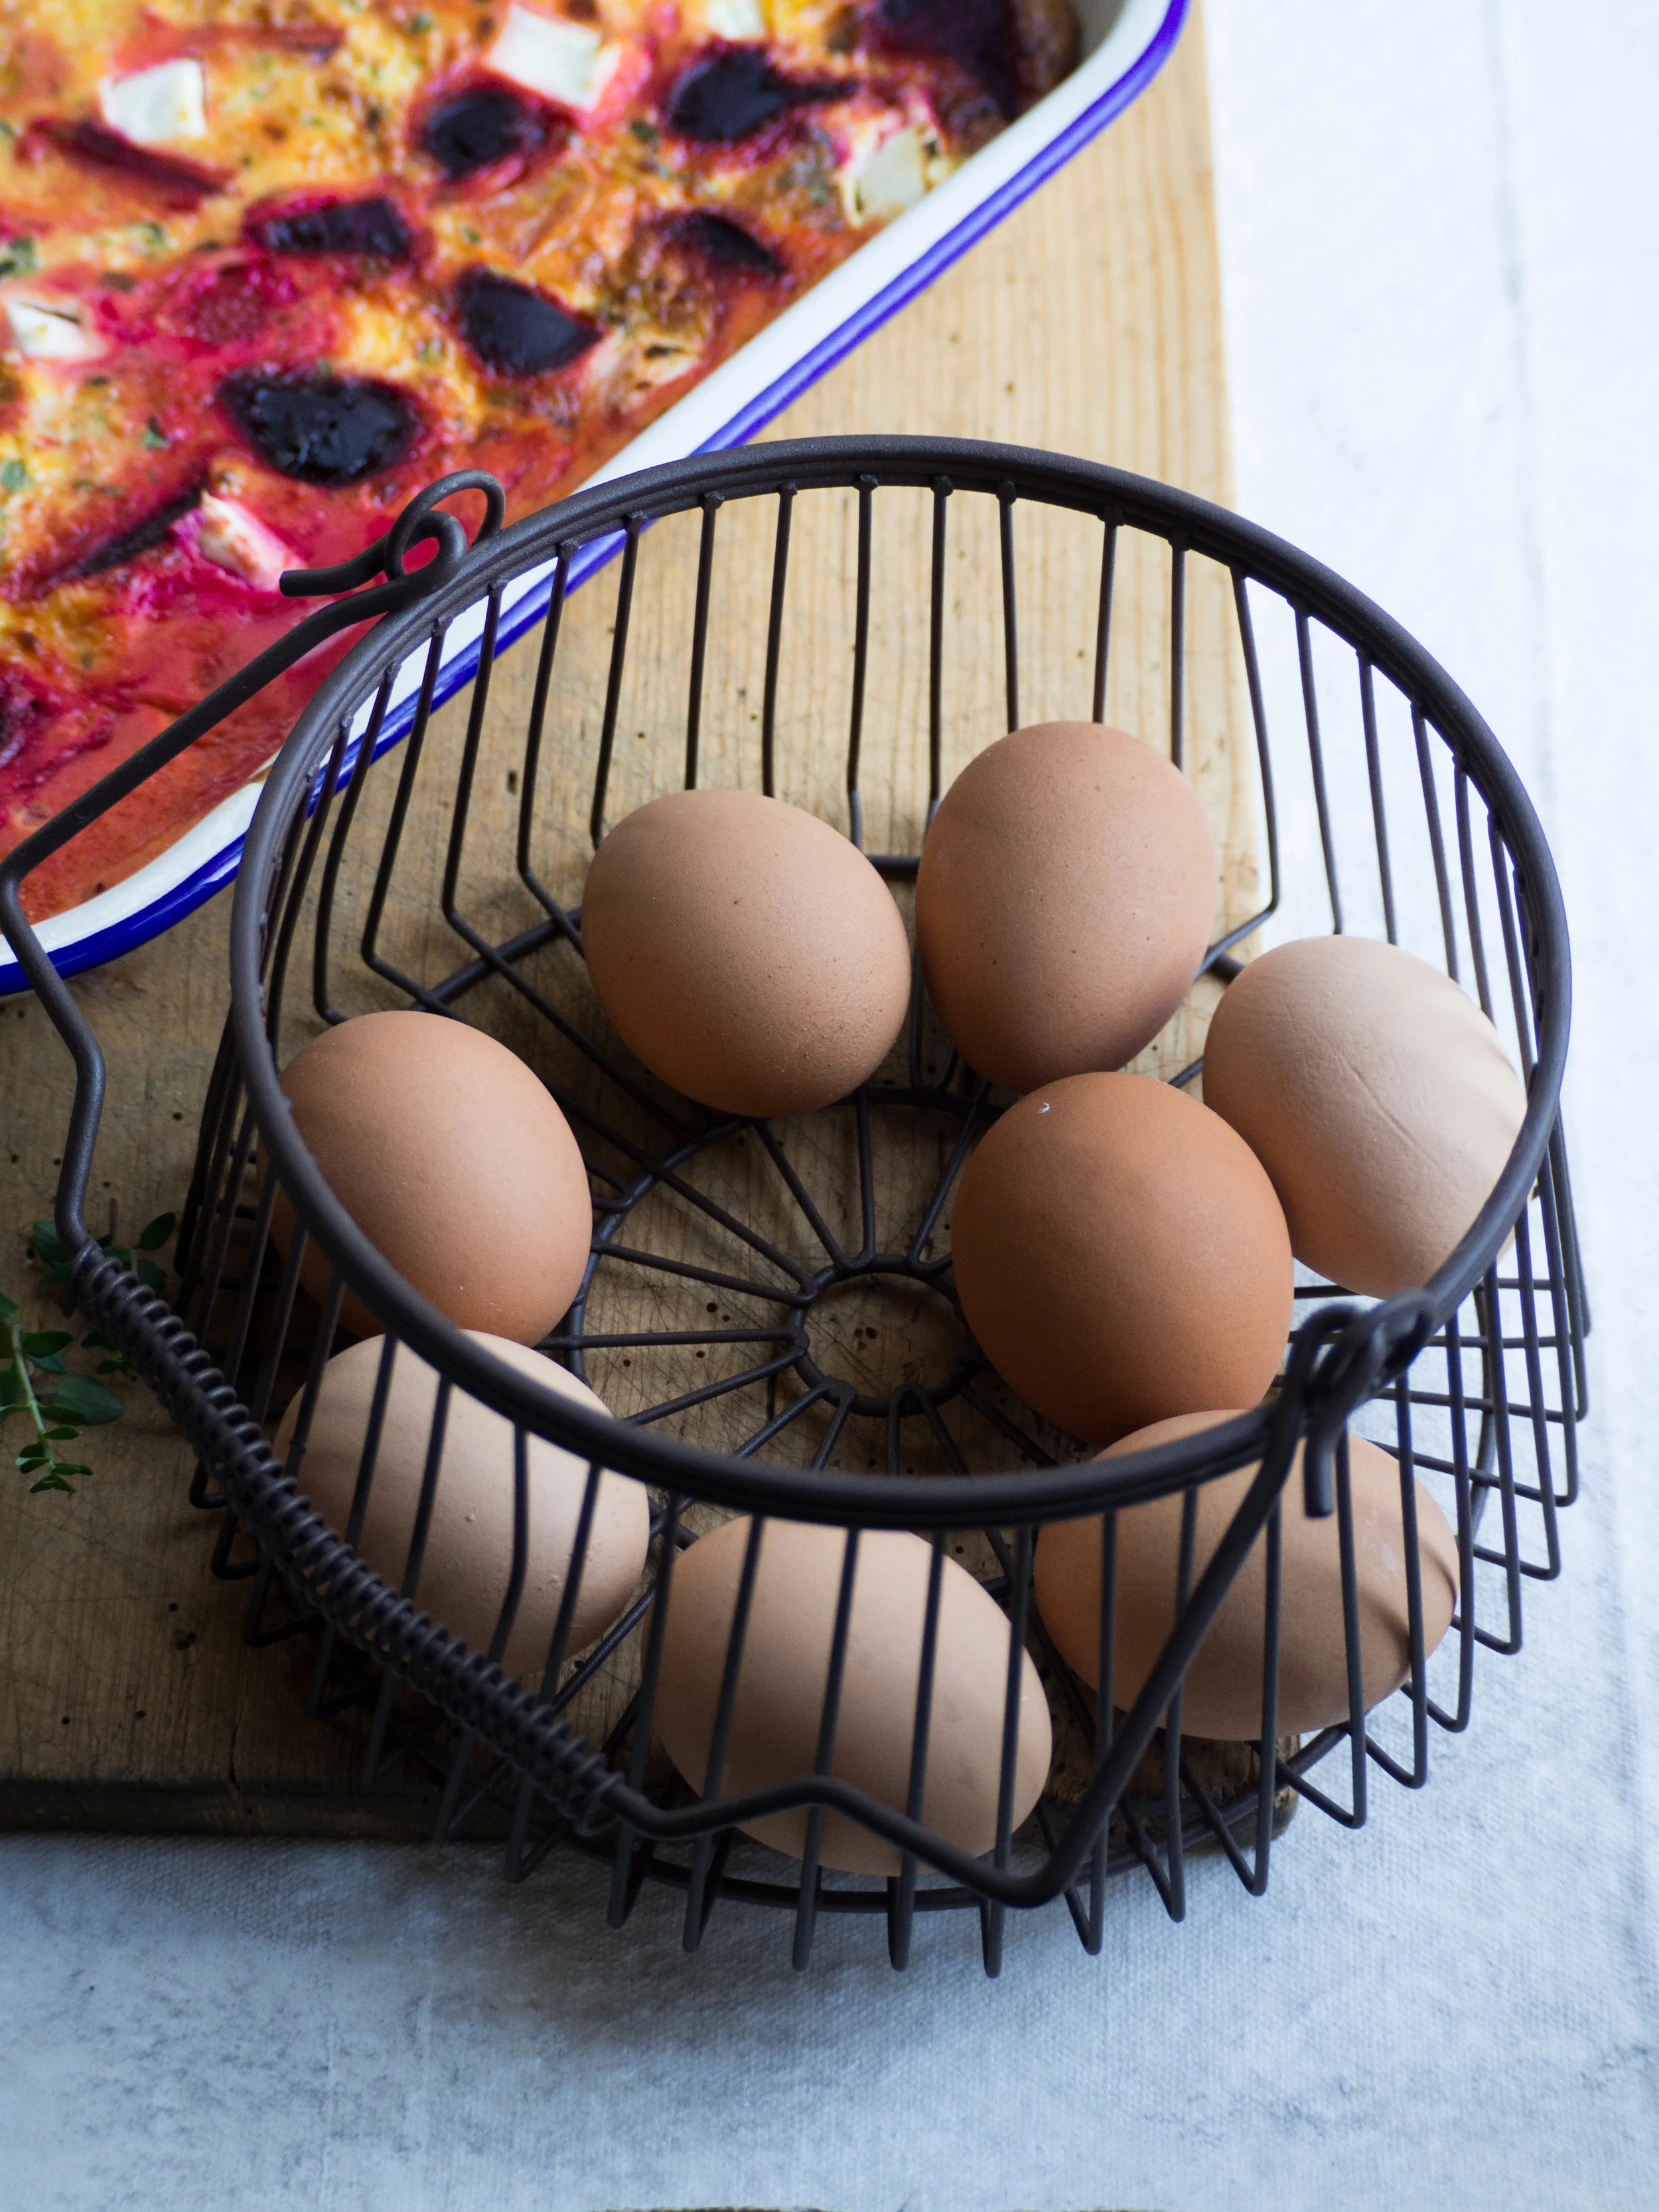
Farm fresh eggs 

Farm fresh eggs 

Beetroot, Goats Cheese & Thyme Frittata

Beetroot, Goats Cheese & Thyme Frittata

Beetroot, Goats Cheese & Thyme Frittata

Ingredients:

850g mixed golden and purple beetroot

150g sour cream (reduced fat sour cream works well)

75g cheese e.g. cheddar, parmesan etc, grated 

8 eggs 

150g goats cheese

1 small or half a large carrot, grated

1 zucchini, grated 

8 sprigs of fresh thyme 

Canola oil spray


Method:

To cook the beetroot, cut away any stems or leaves, and wash off any dirt. Place beetroot in a large pot, and cover with water. Bring to the boil and cook for 20-30 mins or until the beetroot are tender (use a fork to check). If using different varieties or colours of beetroot, have a separate smaller pots of water for each variety. 

Once cooked, drain and allow to cool a little for a few minutes. Once they are cool enough to handle, peel away the beetroot skin - the skin should gently peel away if you pull it with your fingers (wear gloves for this!). Chop the beetroots into halves or quarters depending on their size, and set aside, keeping the different colours separate if you are using different beetroot varieties.

Pre-heat oven to 180 degrees Celsius, and spray a baking dish (I use an enamel one that is approx. 28 x 20 cm) with the canola oil spray. 

In a large bowl, whisk together the sour cream, grated cheeses, eggs, carrot, zucchini and most of the thyme. Whisk until all the ingredients are well incorporated. Pour the egg mixture into your prepared baking dish, and place the cooked beetroot evenly though out the tin. Then cut up the goats cheese into chunks and do the same. 

Bake for 25-30 minutes, or until the frittata is gently browned on top and is cooked through. Serve warm sprinkled with remaining thyme, with a simple salad or as a side to a main meal.

Beetroot, Goats Cheese & Thyme Frittata

Beetroot, Goats Cheese & Thyme Frittata

Chioggia Beetroot from the market

Chioggia Beetroot from the market

Beetroot, Goats Cheese & Thyme Frittata

Beetroot, Goats Cheese & Thyme Frittata

In Savoury Dishes/Meals Tags Beetroot, Chioggia Beetroot, Frittata, Easy Weeknight Meals, Easy Work Lunches, Flour & Stone, Petal Met Sugar, My Open Kitchen, Scullery Made Tea, Jamie Magazine, Radio Cherry Bombe
Comment
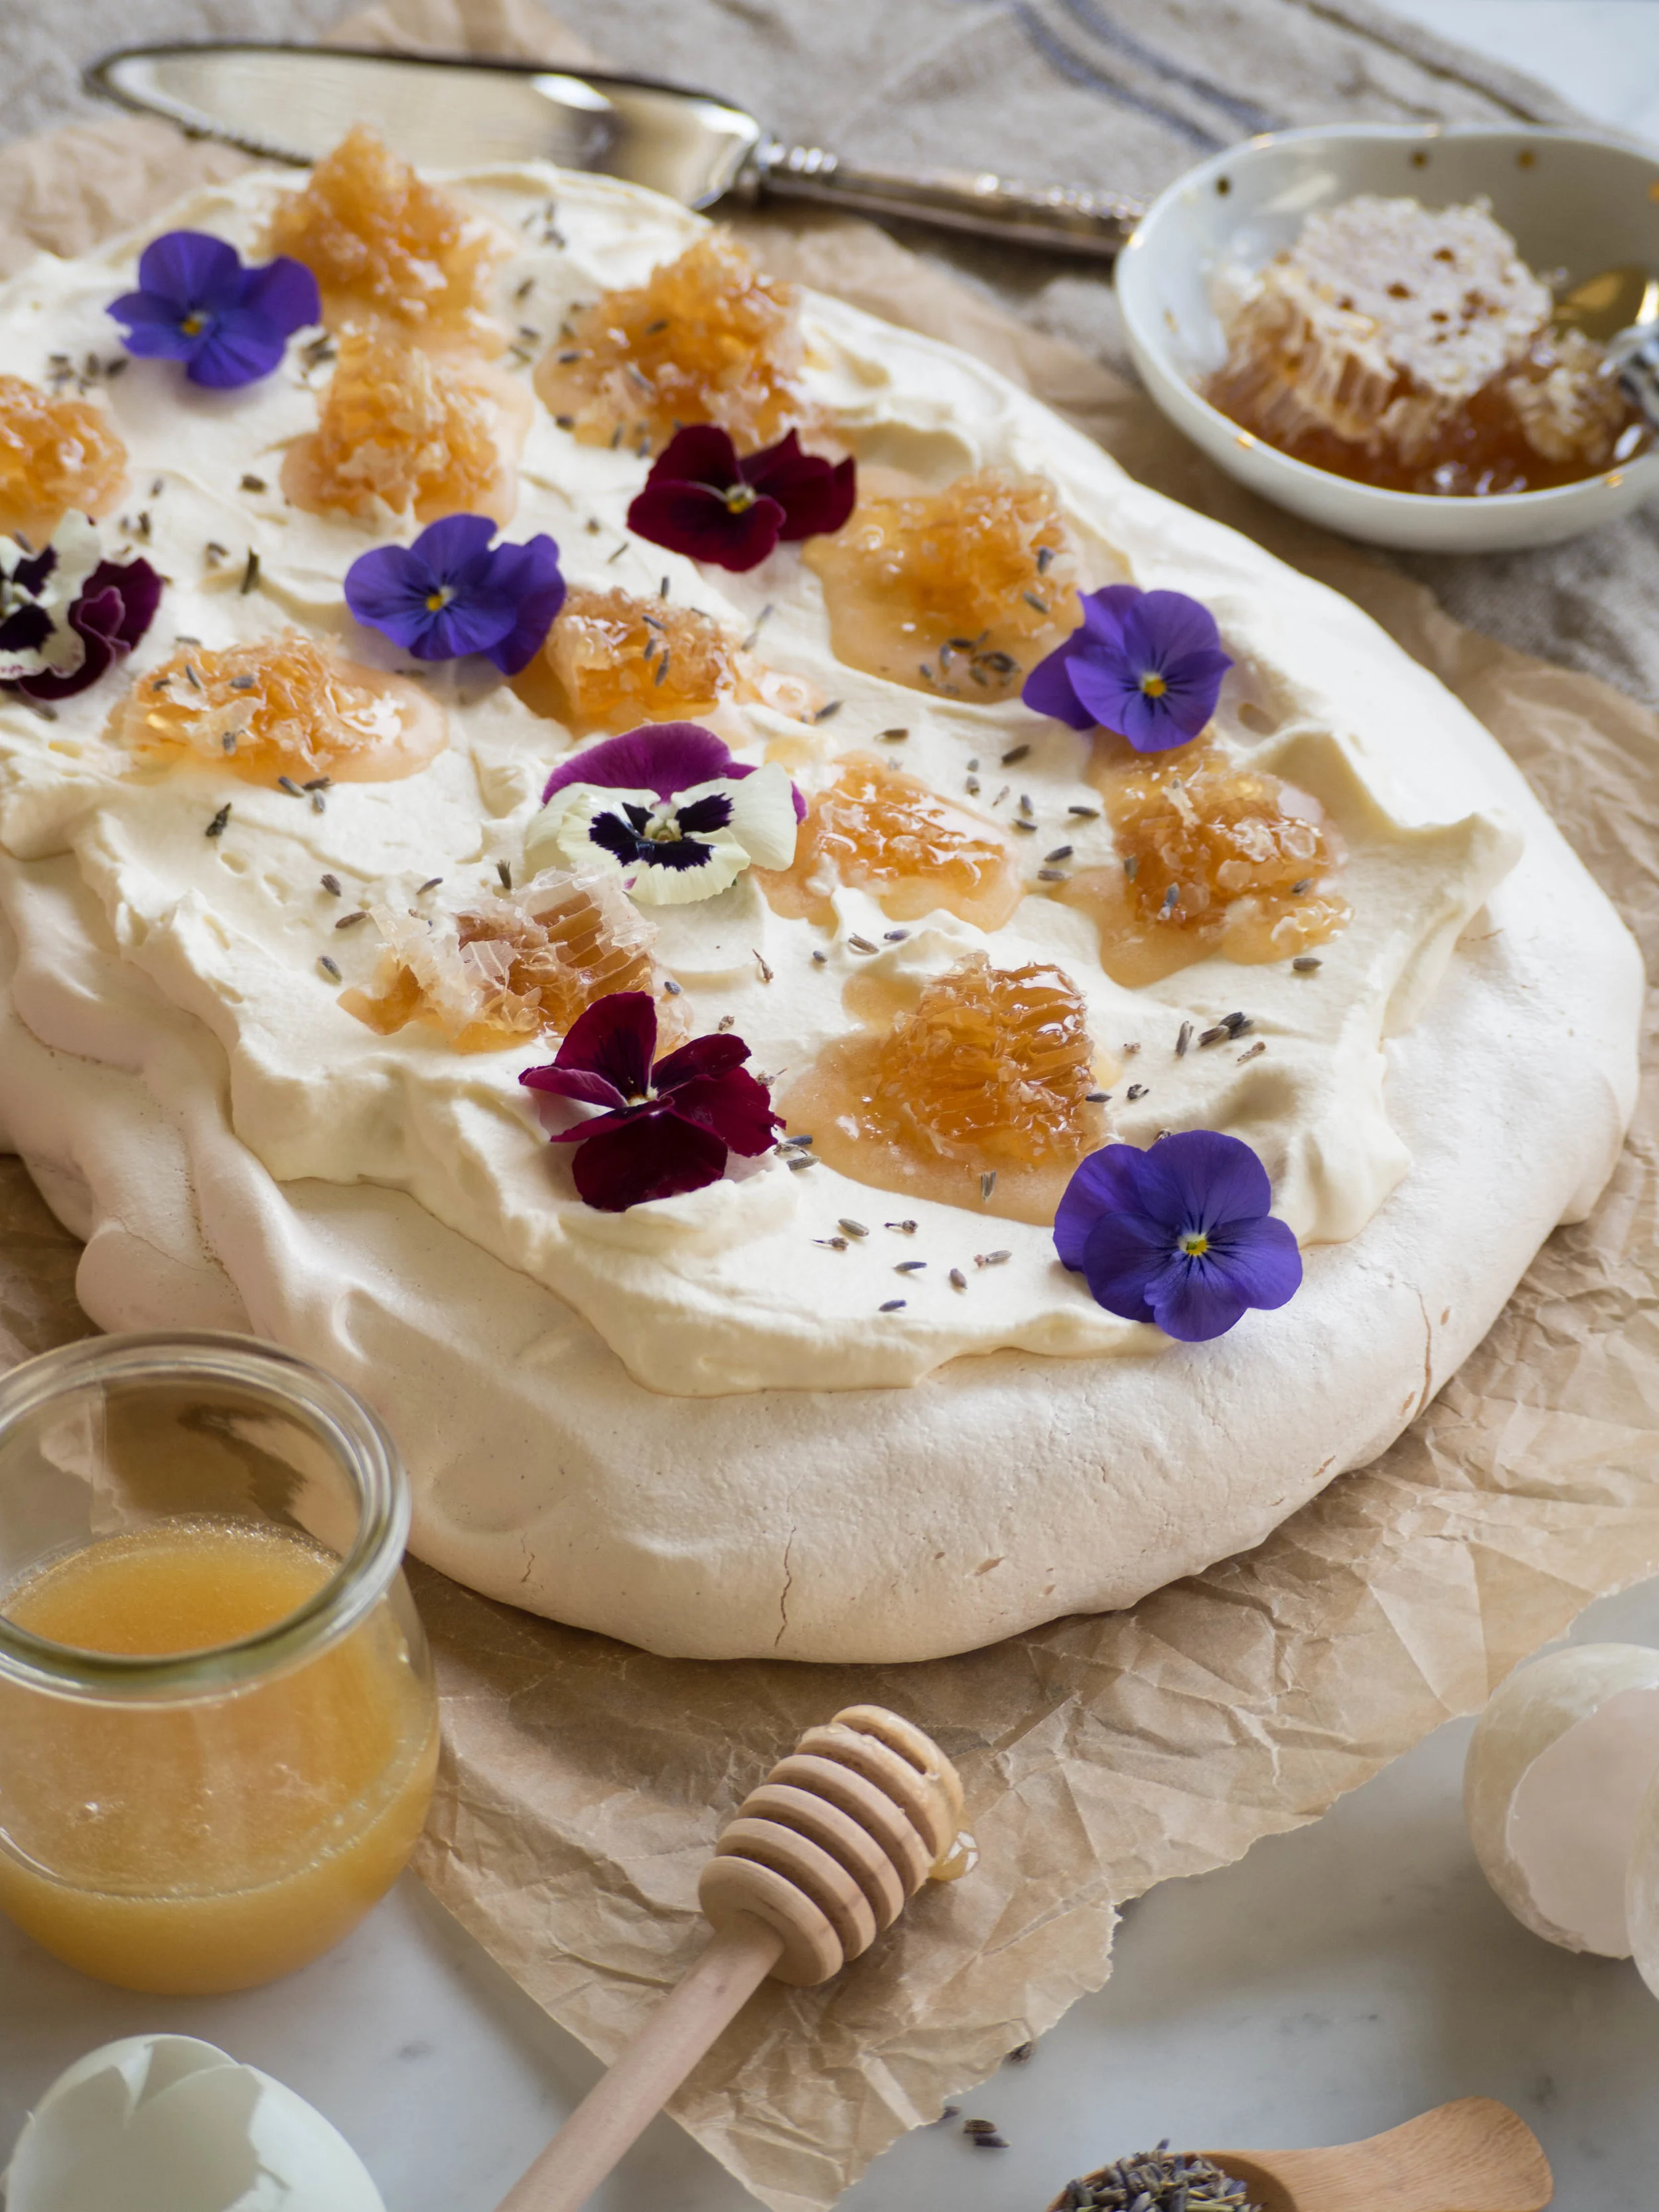
Duck Egg Pavlova with Fresh Honeycomb

Duck Egg Pavlova with Fresh Honeycomb

Duck Egg Pavlova with Fresh Honeycomb

Kath October 13, 2017

As you may have noticed from the number of times I have posted a recipe for Pavlova on this blog, I love Pavlova! It was my favourite thing my Grandma made, and I seem to be unable to stop coming up with new adaptations to it. 

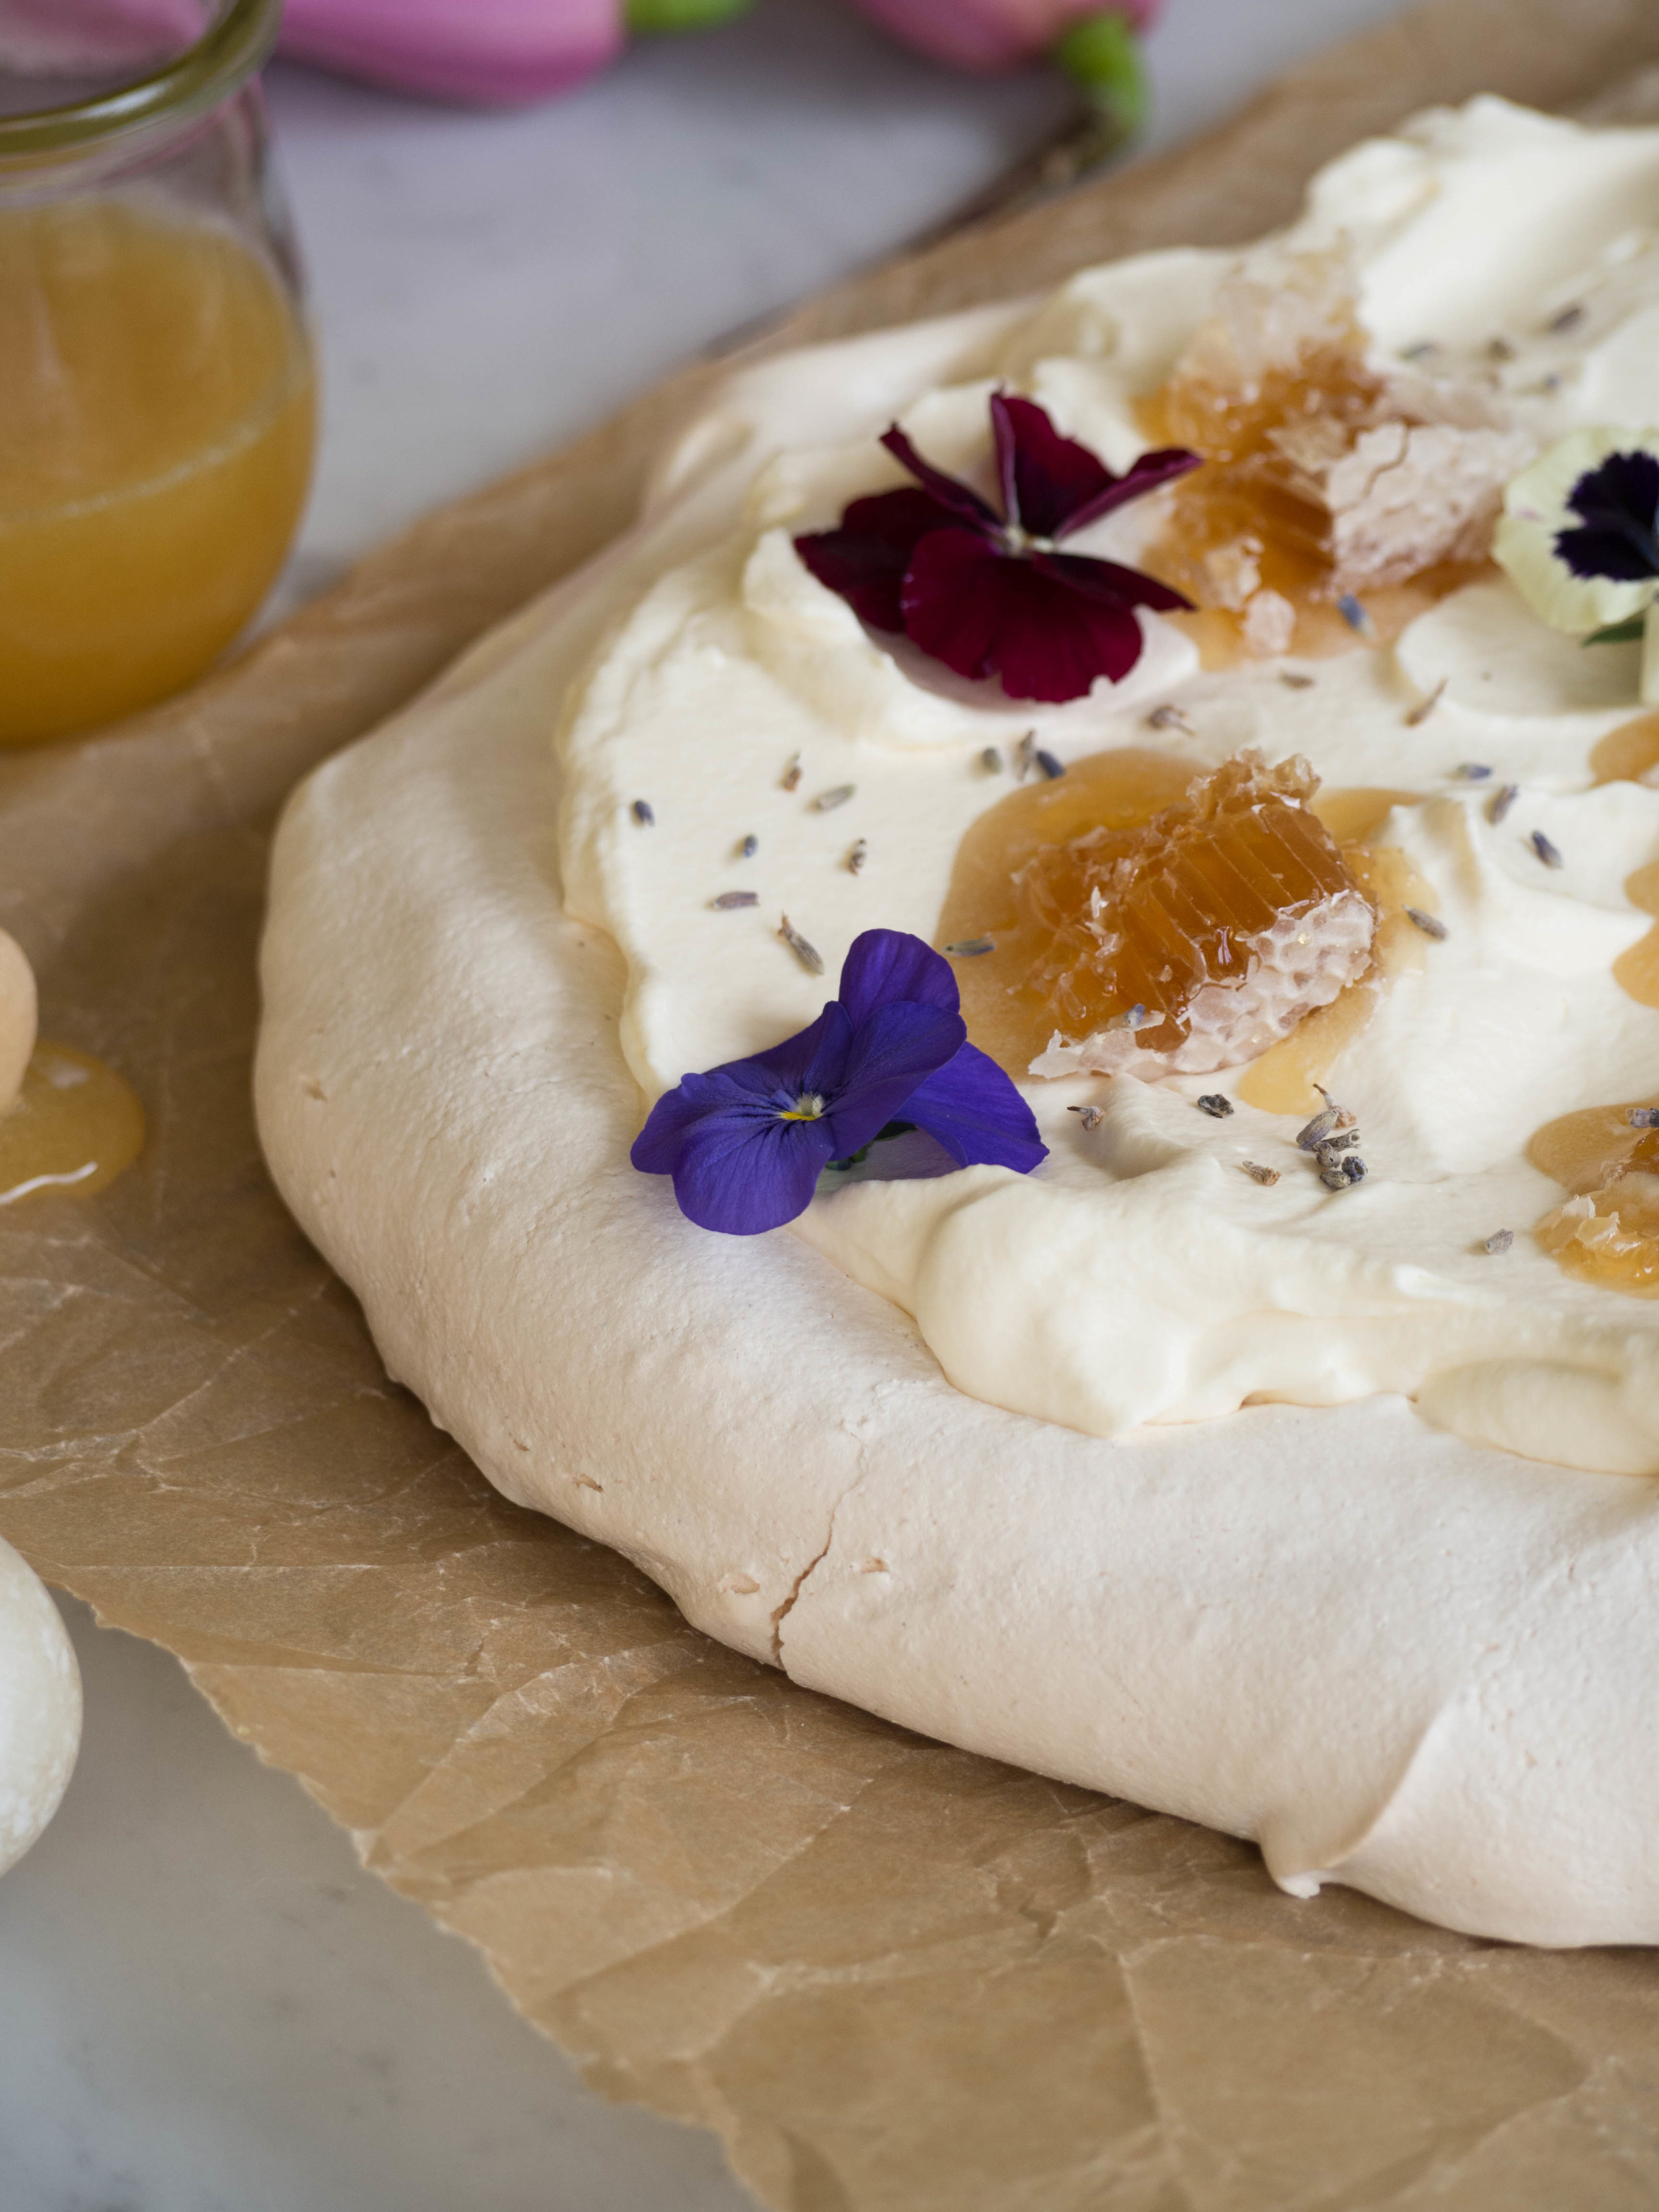
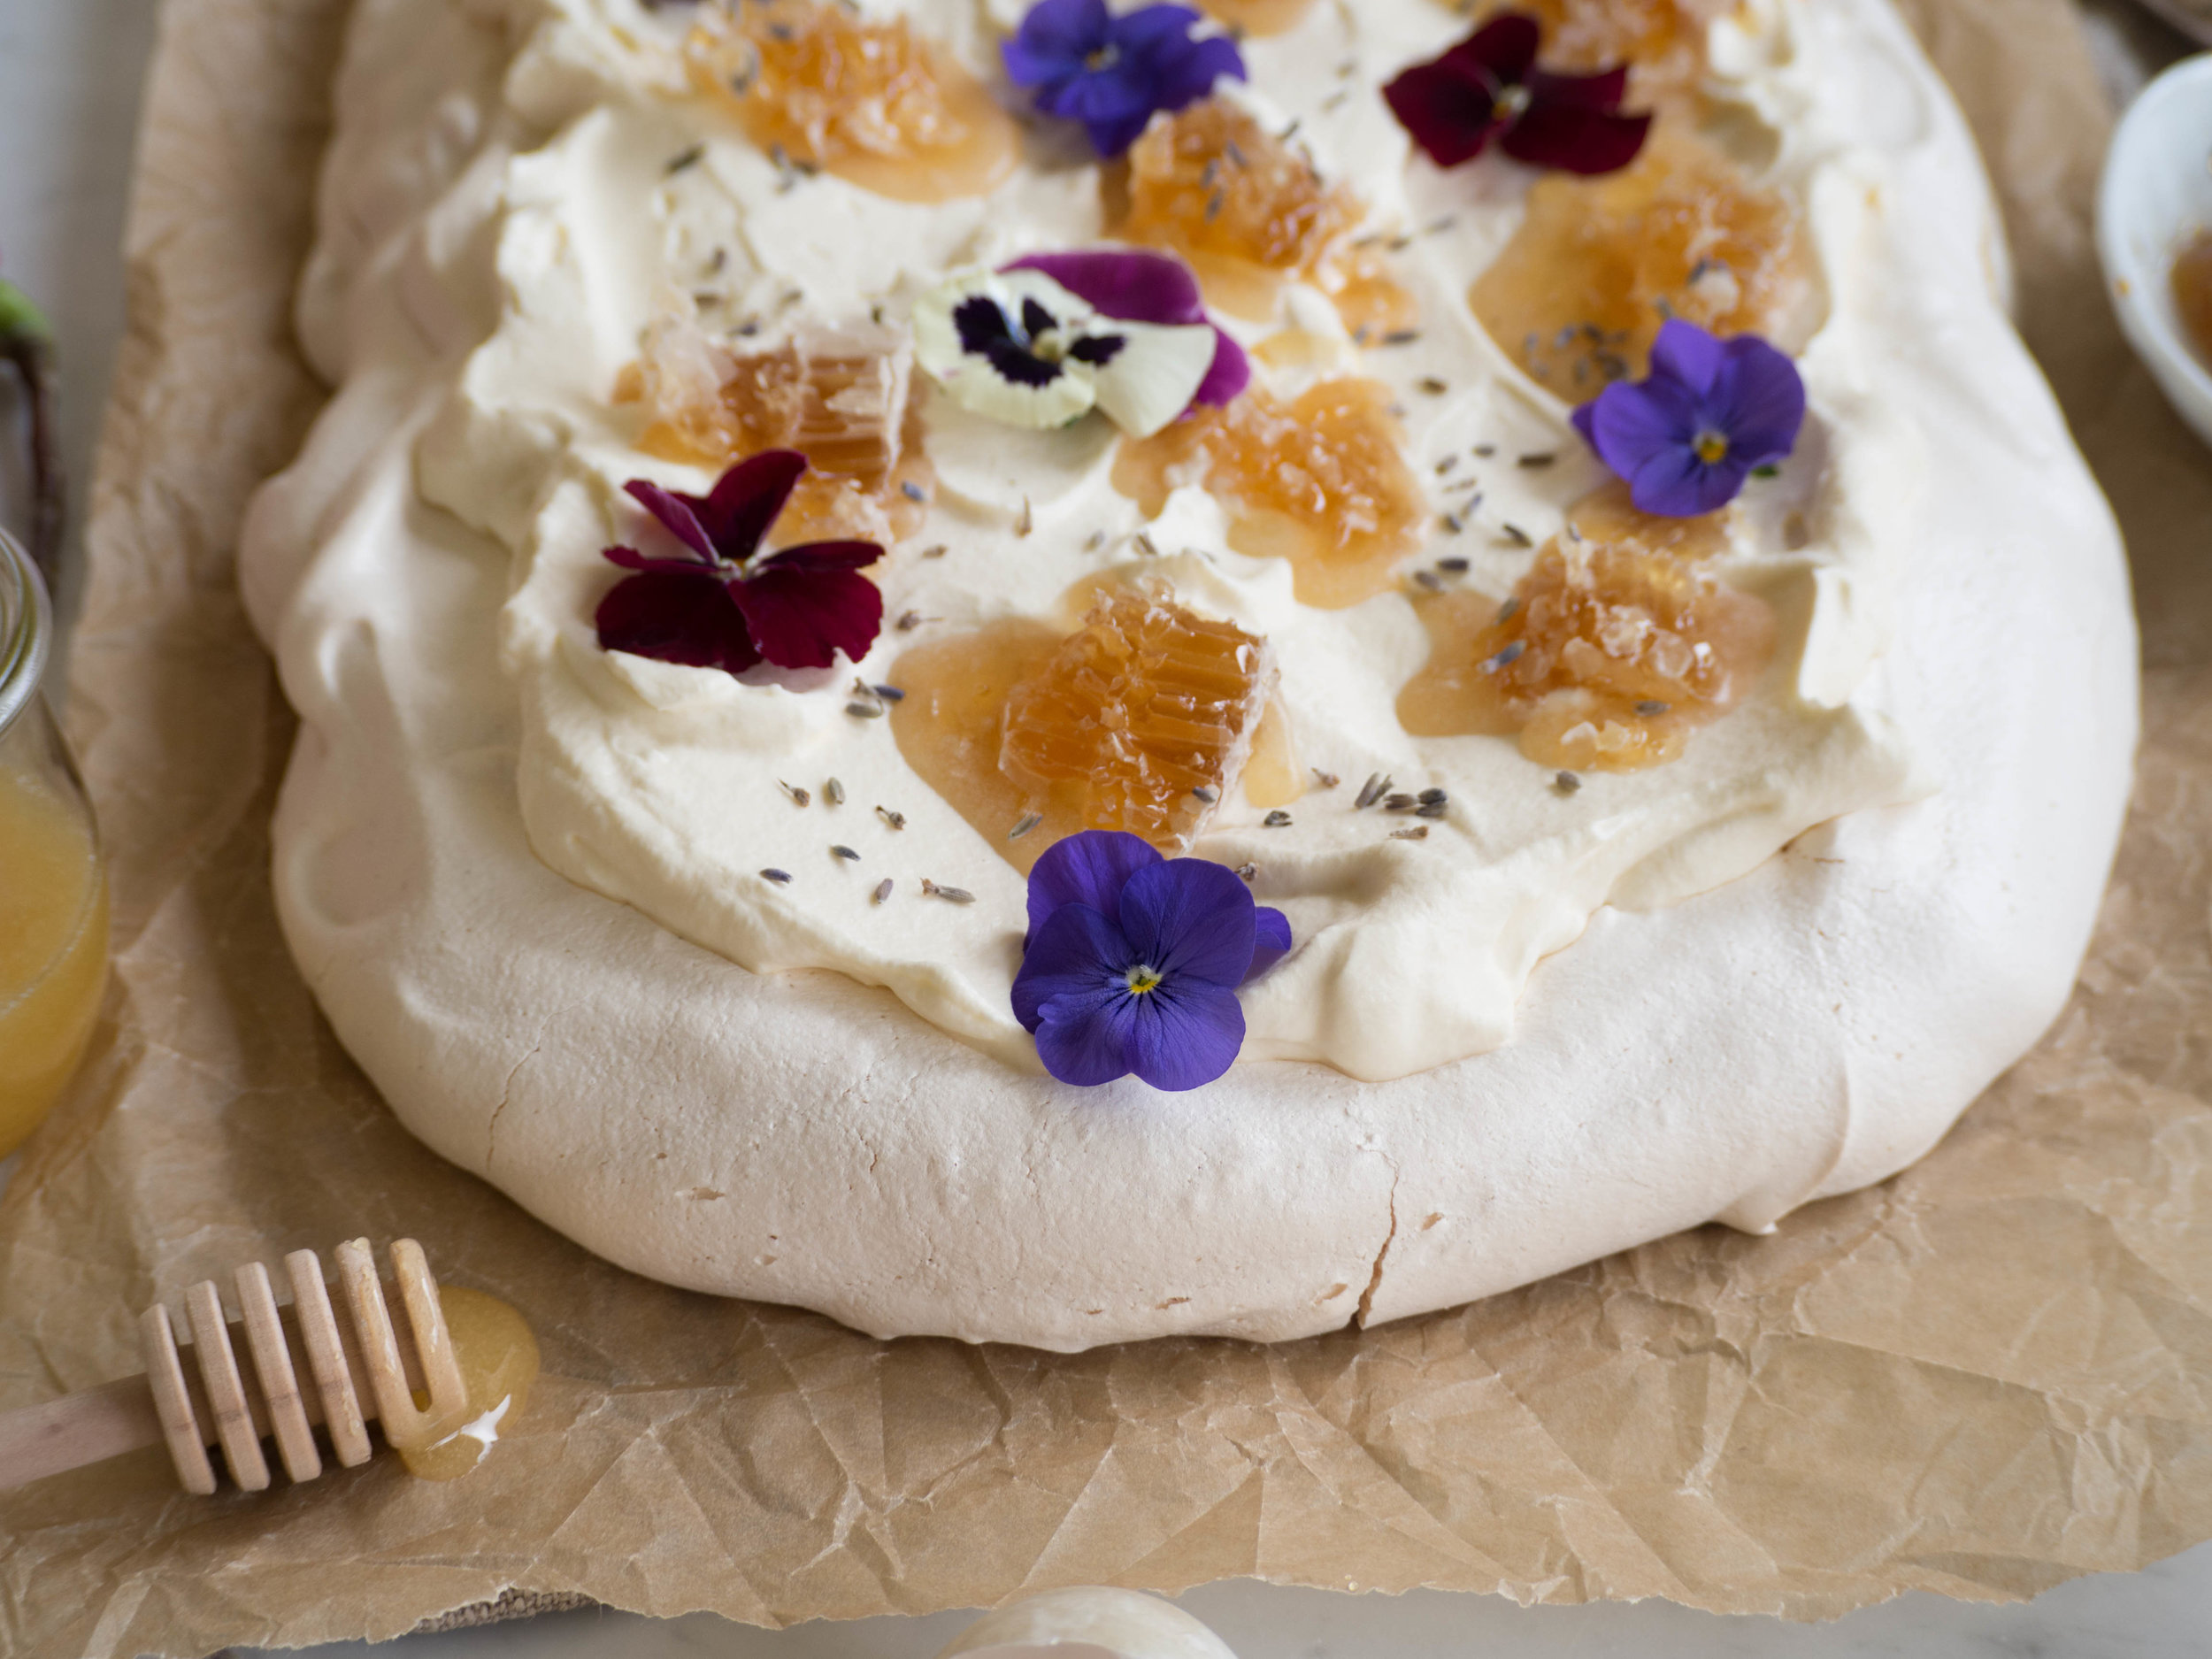
After making a Duck Egg Sponge a little while ago, I knew that next time I was able to find duck eggs I would try and bake something different. So when I finally found them again, I decided to make a duck egg Pavlova! A quick Google told me that duck eggs make great Pavlovas so I was keen to try it out. The flavours for this Pavlova are inspired by the honeyed cream from the Duck Egg Sponge I made. Adding honey to whipped cream is just about the most simple thing to do, but it tastes so good! I also love fresh honeycomb, so I couldn’t resist using some to decorate the Pavlova. 

I buy my honeycomb from a farm stand in the north western suburbs of Sydney, and it is super fresh, and not too expensive ($15 for 500g). Fresh honeycomb is the purest form of honey you can eat as it has not gone through any filtering processes. The comb of the honey is fine to eat, and actually contains many beneficial properties. The honey this particular farm stand sells is amazing as well, and is also raw so all the good things are left in the honey rather than being striped out. 

I have found these types of honey’s have a more complex and interesting flavour than the honey sold at supermarkets, and buying it straight from the producer means you can buy it in larger quantities and at a better price than honey’s sold at gourmet food stores. Depending on where you live, you might even be able to find fresh duck eggs at farm stands or farmers markets, its always worth keeping an eye out!

Duck Egg Pavlova with Fresh Honeycomb

Duck Egg Pavlova with Fresh Honeycomb

Duck Egg Pavlova with Fresh Honeycomb 

Duck Egg Pavlova with Fresh Honeycomb 

Duck Egg Pavlova with Fresh Honeycomb

Duck Egg Pavlova with Fresh Honeycomb

Duck Egg Pavlova with Fresh Honeycomb

Duck Egg Pavlova with Fresh Honeycomb

Duck Egg Pavlova with Fresh Honeycomb

Ingredients: 

6 duck egg whites

375g caster sugar

1.5 tsp white vinegar 

1.5 tsp vanilla bean paste 

30g cornflour 


To decorate: 

300ml pouring cream

90ml honey

fresh honeycomb

dried edible lavender

edible flowers, to decorate, optional


Method: 

Pre-heat oven to 200 degrees Celsius. Line a large baking tray with baking paper.

Separate the duck eggs adding the whites to the bowl of a stand mixer. Duck egg shells are tougher than chicken eggs, and take a little more effort to crack, and I have found in the process the shells won’t crack ‘cleanly’. I suggest cracking each over a glass then separating the yolk and the whites over another glass or small bowl so you keep as many shell fragments contained and away from the pavlova mixture as possible! 

Beat the egg whites for 5-6 minutes, whilst gradually adding the sugar. Add the vinegar and vanilla and beat until the mixture is stiff, glossy and holds its peak (for an example of what this looks like see this video on my Facebook page).

Sift cornflour over the mixture, and gently fold to combine. 

Use a little of the mixture to help keep the baking paper in place. Spread the mixture into a rectangle, approximately 20 x 35 cm (this will depend on the size of your tray). If you want a pavlova with a more marshmallowy centre, make the rectangle smaller than 20 x 35 cm, so it will be thicker rather than wide. Try to keep the edges a little higher than the middle so any filling can sit comfortably later. 

Turn the oven down to 125 degrees Celsius, and cook undisturbed for 1.5 hours. 

After 1.5 hours, turn the oven off and leave the pavlova to cool completely in the oven (or overnight). 

Just before you are ready to serve your pavlova, whip the cream until it has thickened and is forming soft peaks. Add the honey and whisk until combined. Spread the cream over the centre of the pavlova. Decorate with a small sprinkling of dried edible lavender, small chunks of fresh honeycomb and some edible flowers. 

Note: If you are preparing the pavlova in advance of serving it, or know you will have left overs, I suggest serving the honeycomb on the side as the honey from the honeycomb will start to drip away when stored in the fridge.

Duck Egg Pavlova with Fresh Honeycomb

Duck Egg Pavlova with Fresh Honeycomb

Duck Egg Pavlova with Fresh Honeycomb

Duck Egg Pavlova with Fresh Honeycomb

Duck Egg Pavlova with Fresh Honeycomb

Duck Egg Pavlova with Fresh Honeycomb

Duck Egg Pavlova with Fresh Honeycomb

Duck Egg Pavlova with Fresh Honeycomb

In Other Desserts Tags Duck Eggs, Pavlova, fresh honeycomb, Edible Flowers
Comment
Pistachio Loaf Cake

Pistachio Loaf Cake

Pistachio Loaf Cake

Kath September 29, 2017

I really love this cake. It is something I crave and always want to make. It comes from Molly Yeh’s (of the blog My Name Is Yeh) book ‘Molly on the Range.’ And I think the fact that it is so good and moorish is a testament to her cake making and recipe creation skills (but if you have seen her blog you’d never doubt those anyway!). The first time I tried this cake however, someone else made it for me. 

In February my Grandpa died, and one of my friends made this cake for me. It was really special as I had given her a copy of ‘Molly on the Range’ a few months before, for her birthday. This same friend made a cake when my Grandma died four years earlier, a chocolate vanilla marble cake. It was at that time that I learnt that giving flowers when someone is grieving was not a universal custom. Often, giving food is. And as a great lover of food, I think this particular tradition is something I can get behind. Food is one of the greatest comforts we can give one another, and I think that is why it is so fitting to receive food during times of grief, and why it is customary for some. 

On both occasions I was so humbled by my friends generosity, and the knowledge that she had gone to so much effort. The pistachio loaf cake was so good, I’m pretty sure I ate most of it myself. My friend made some alterations to the recipe, substituting the almond extract for vanilla extract (thankfully, as unbeknownst to her I hate almond extract, and always leave it out of every recipe that asks for it), and that is what I have done each time I have made this cake as well, so I have included that in the recipe below. 

Unfortunately I was able to return the cake making favour only a couple of weeks after my friend made this cake for me. Needless to say February wasn’t a great month, or start to the year for either of us. However for me, feeling the support of such friends and having a tangible (and edible) measure of my friend’s support made that time just that much easier. 

Pistachio Loaf Cake

Pistachio Loaf Cake

Pistachio Loaf Cake

Pistachio Loaf Cake

Pistachio Loaf Cake
Homegrown Daffodils

Homegrown Daffodils

Pistachio Loaf Cake

Ingredients: 

220g pistachios

75g plain flour

45g almond meal

225g margarine/softened unsalted butter

335g caster sugar

4 eggs

zest of 1/2 a lemon

1 tsp vanilla extract


For the icing: 

75g icing sugar

1 tbsp lemon juice, approx. 


Method: 

Preheat oven to 170 degrees Celsius, and grease and line (allow some of the baking paper to hand over the edges, this will help later when you are removing the cake from the tin) a loaf pan - mine is 31 x 7.5 x 8cm so it’s quite long and thin, you can use a loaf tin that is shorter and wider just keep in mind that the middle of the cake might take longer to cook than the timings mentioned in this recipe. 

Grind the pistachios down (using a food processor is best for this) until you have an almond meal like texture. Measure out 1.5 cups of the pistachios and reserve any left overs to use when decorating the cake later. Add the pistachio meal, flour and almond meal to a bowl and whisk to combine and get rid of any lumps. 

Add the margarine and sugar to the bowl of a stand mixer, and cream using the paddle attachment until it is light and fluffy. Add the eggs separately, mixing in between each addition. Then mix in the vanilla extract and the lemon zest. Add the flour mixture with the mixer on low speed, and mix until everything is just combined. 

Transfer the batter to the prepared tin and bake for about 45 minutes, or until a skewer inserted into the centre comes out clean. 

Allow the cake to cool in the tin for 10 minutes, then carefully remove on to a cooling rack. 

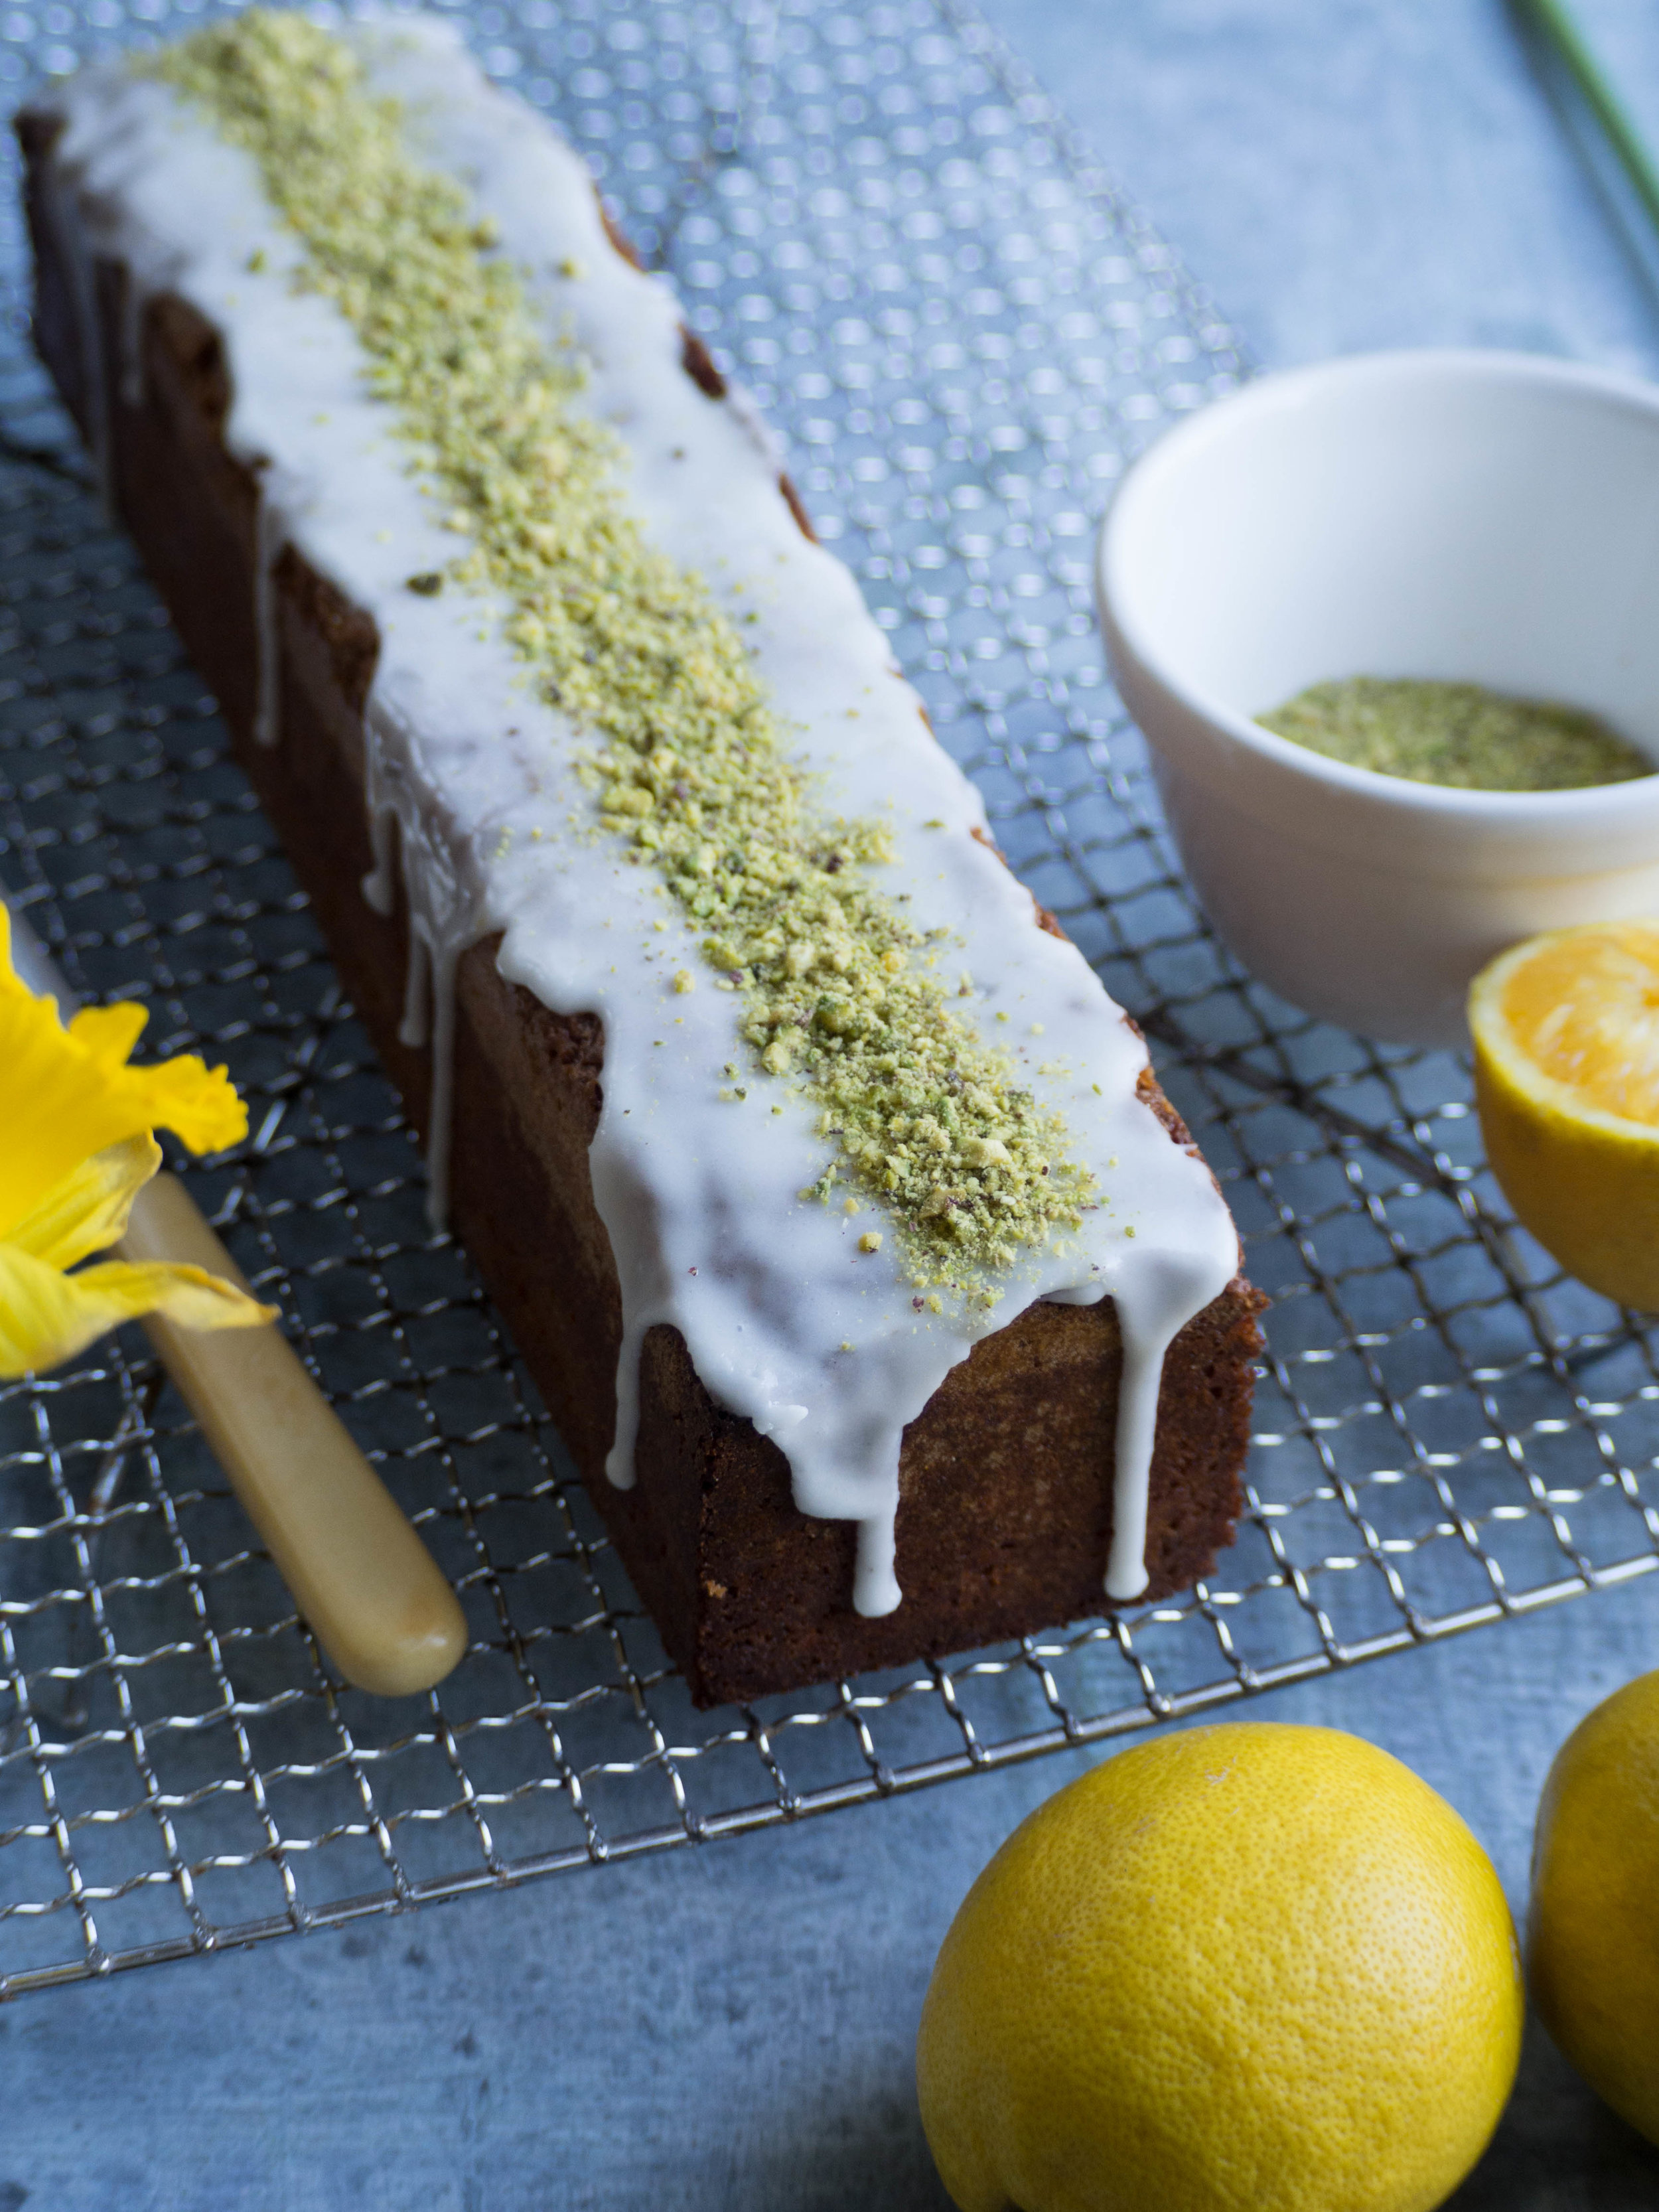
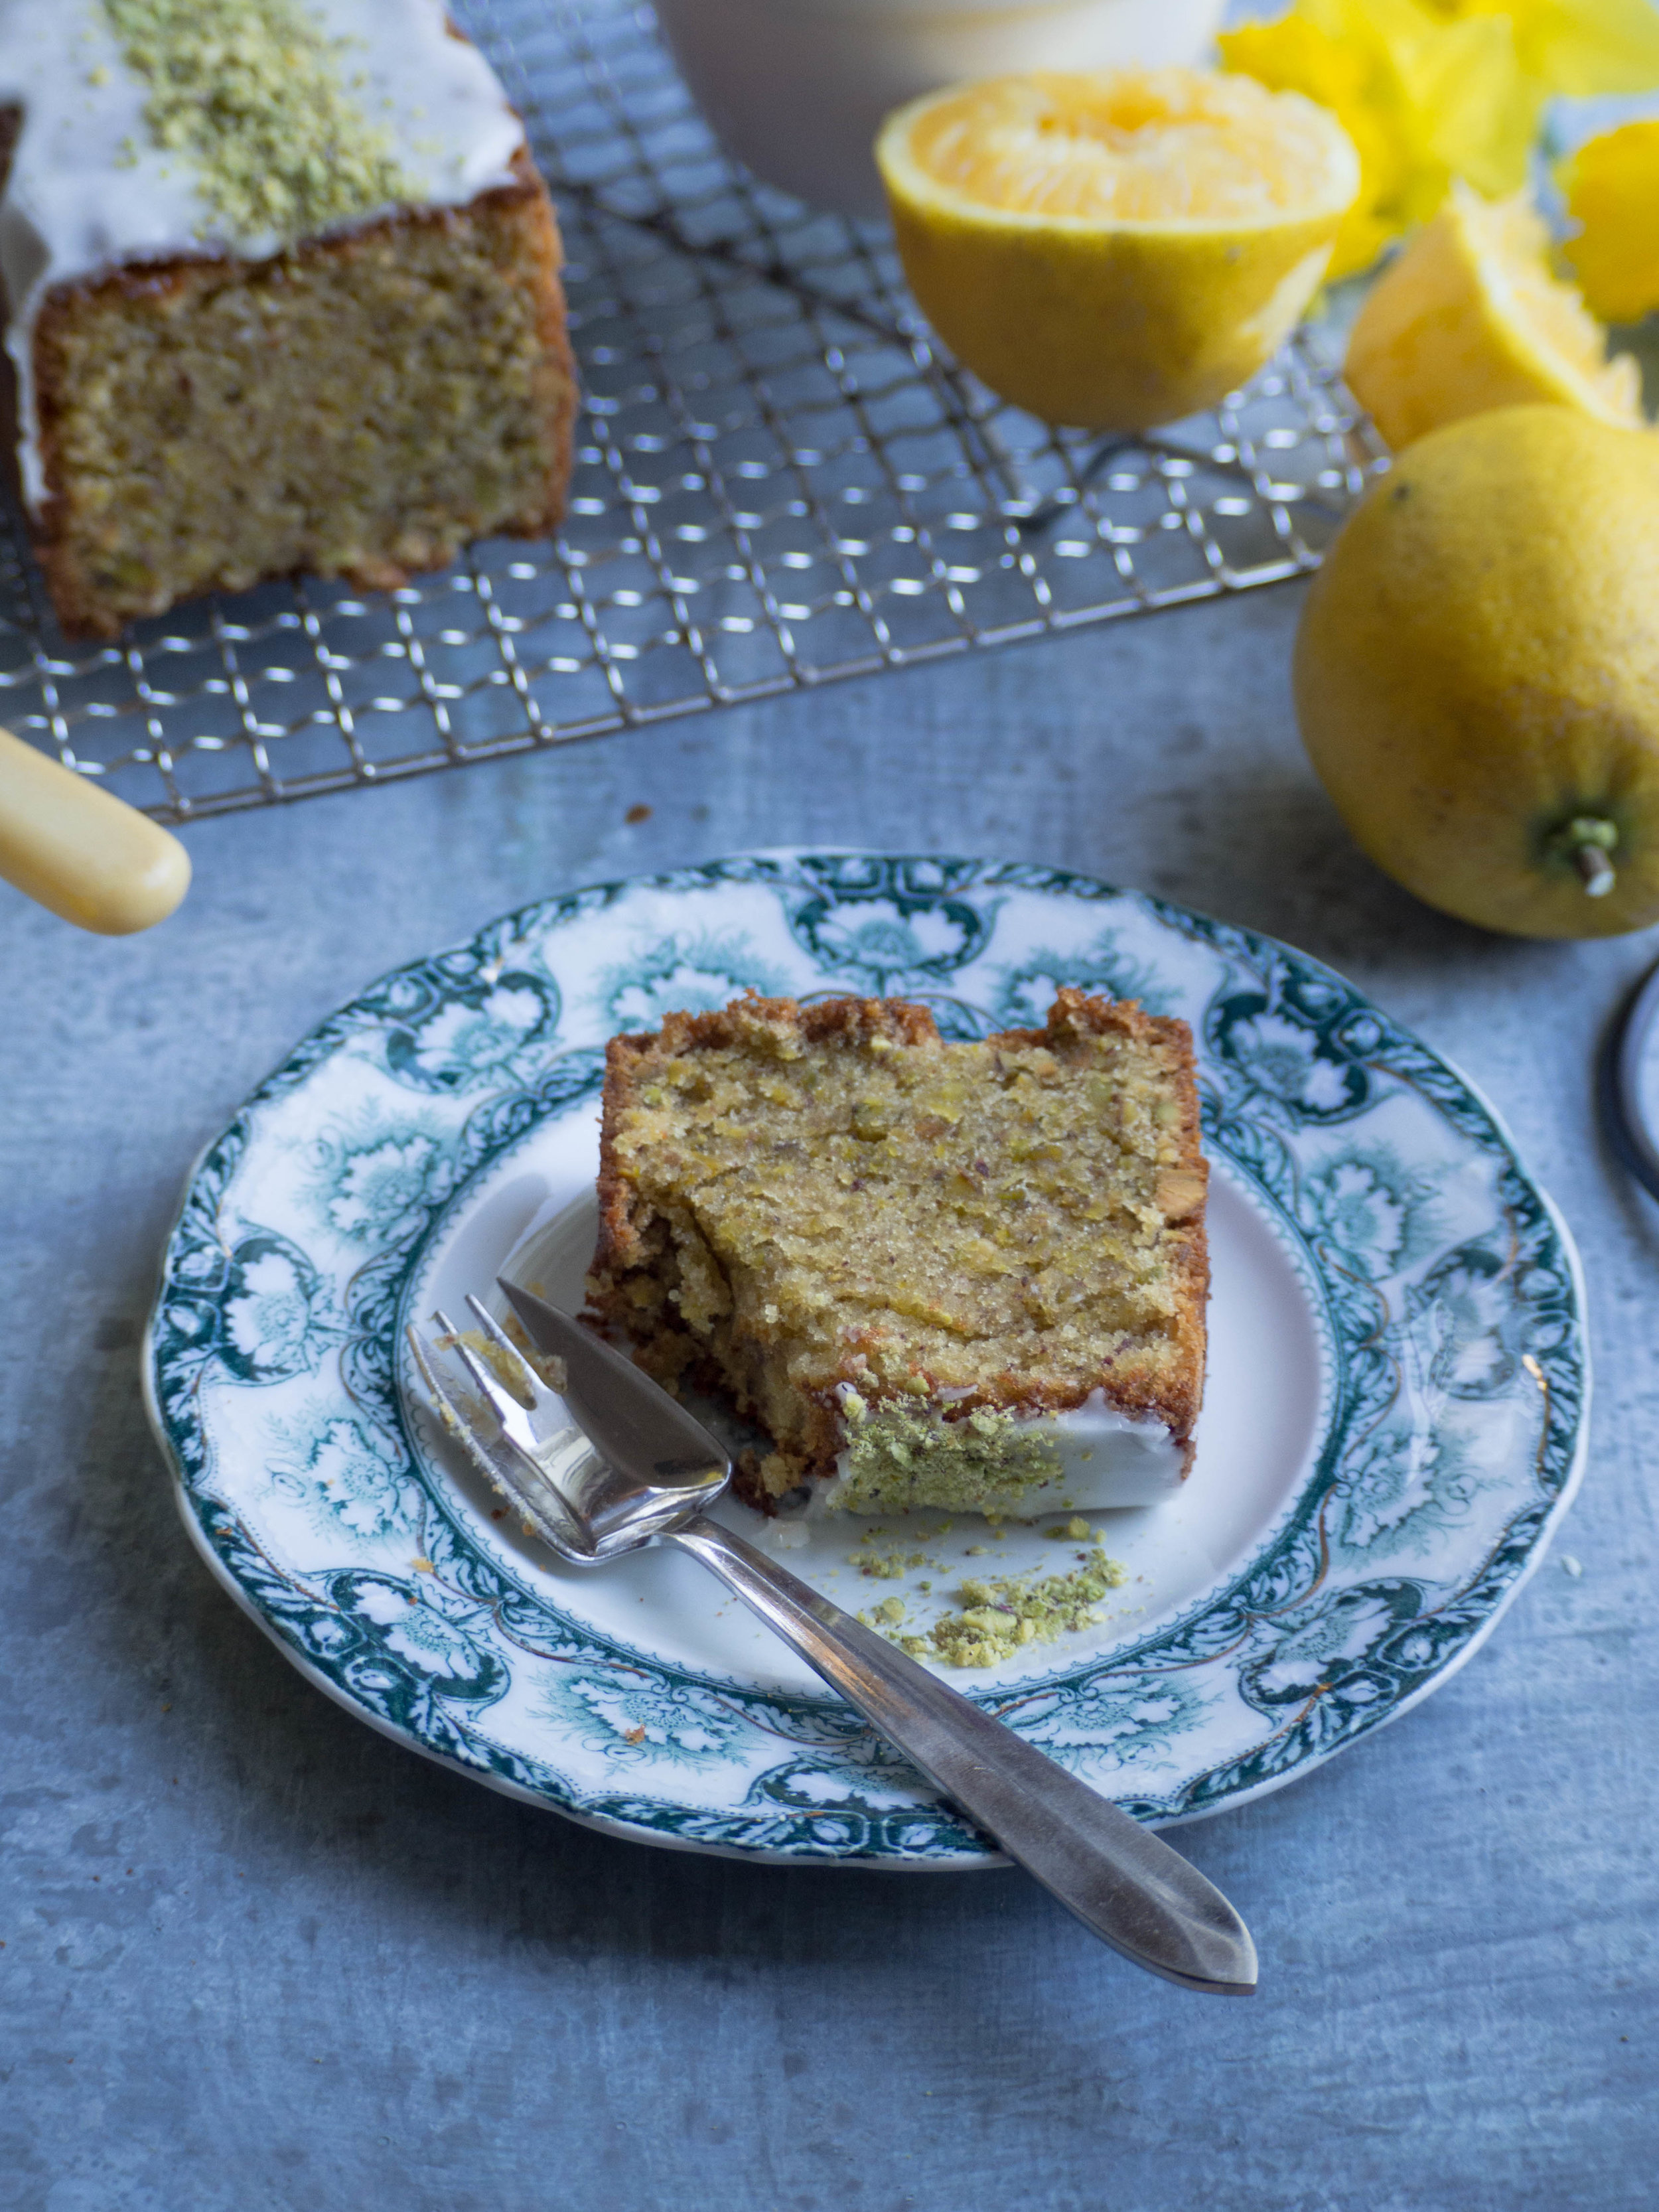
Once the cake has cooled, make the icing by whisking together the icing sugar and lemon juice. Add a little more lemon juice if the icing is too dry, more icing sugar if it is too runny. Spread the icing over the cake, allowing it to drip down the sides. Decorate with the remaining pistachio meal. 

Pistachio Loaf Cake

Pistachio Loaf Cake

Pistachio Loaf Cake

Pistachio Loaf Cake

Reference: ‘Molly on the Range’ by Molly Yeh (Rodale, 2016), pp.220-221.

Pistachio Loaf Cake

Pistachio Loaf Cake

Pistachio Loaf Cake

Pistachio Loaf Cake

In Cakes & Slices Tags Pistachio, Molly Yeh, Molly On The Range, Loaf Cake
2 Comments
Baked Vanilla Doughnuts with Blood Orange Icing

Baked Vanilla Doughnuts with Blood Orange Icing

Baked Vanilla Doughnuts with Blood Orange Icing

Kath September 22, 2017

Since I really enjoy reading other people’s favourites lists, I thought I would start my own and post some here on the blog or in my newsletter now and then. I find I discover new blogs, recipes, books and podcasts through other bloggers lists, or through similar round ups on podcasts, so I hope you can find the same here! 

  • This new blog post from Beth Kirby of Local Milk - I love Beth’s honesty, and acceptance around the fluidity of her blog and it’s changing focuses over time, and her talk of slow living as “deciding what really matters to you and saying no to everything else”.

  • This Carrot Cake from My Name is Yeh - I made this (sans tahini) for my Dad’s birthday last month. It is now my favourite carrot cake, as the combination of the hawaij spices, carrot and caramel were just perfect!

  • A Bookish Baker’s blog post on why she is no longer niching her blog - In all the noise around monetising blogs, being an expert on one thing and there only being one path to follow for all this to be successful, sentiment such as that expressed in this post are so welcome and necessary.

  • Courage & Spice Podcast: The Podcast for Humans with Self-Doubt - This is a fairly new podcast from Sas Petherick, who has done extensive research on self-doubt. I am loving hearing Sas’ advice and interviews so far, they often feel like they are great personal pep talks letting me know that self doubt isn’t just something I experience, and there are things I can do to alleviate these feelings and start to boost my confidence.

  • ‘Not Just Lucky’ by Jamila Rizvi - I can’t stop recommending this book (sorry to those who have already heard my insistent arguments on why they should read it!). If you are female you will probably be able to relate to this book. Jamila focuses on women and the work environment, and I can honestly say I related to so much more than I ever thought I would. There were so many moments where I thought, ‘Oh other women feel this way too?’, ‘I’m not the only one?’, and ‘OMG it’s like Jamila knows me’. It’s good to know you aren’t alone in how you feel, particularly in the work environment, and Jamila gives some great advice on how to deal with the gender inequalities that plague our workplaces.

View fullsize Carrot Cake with Hawaij and Caramel Icing
View fullsize 'Not Just Lucky' by Jamila Rizvi

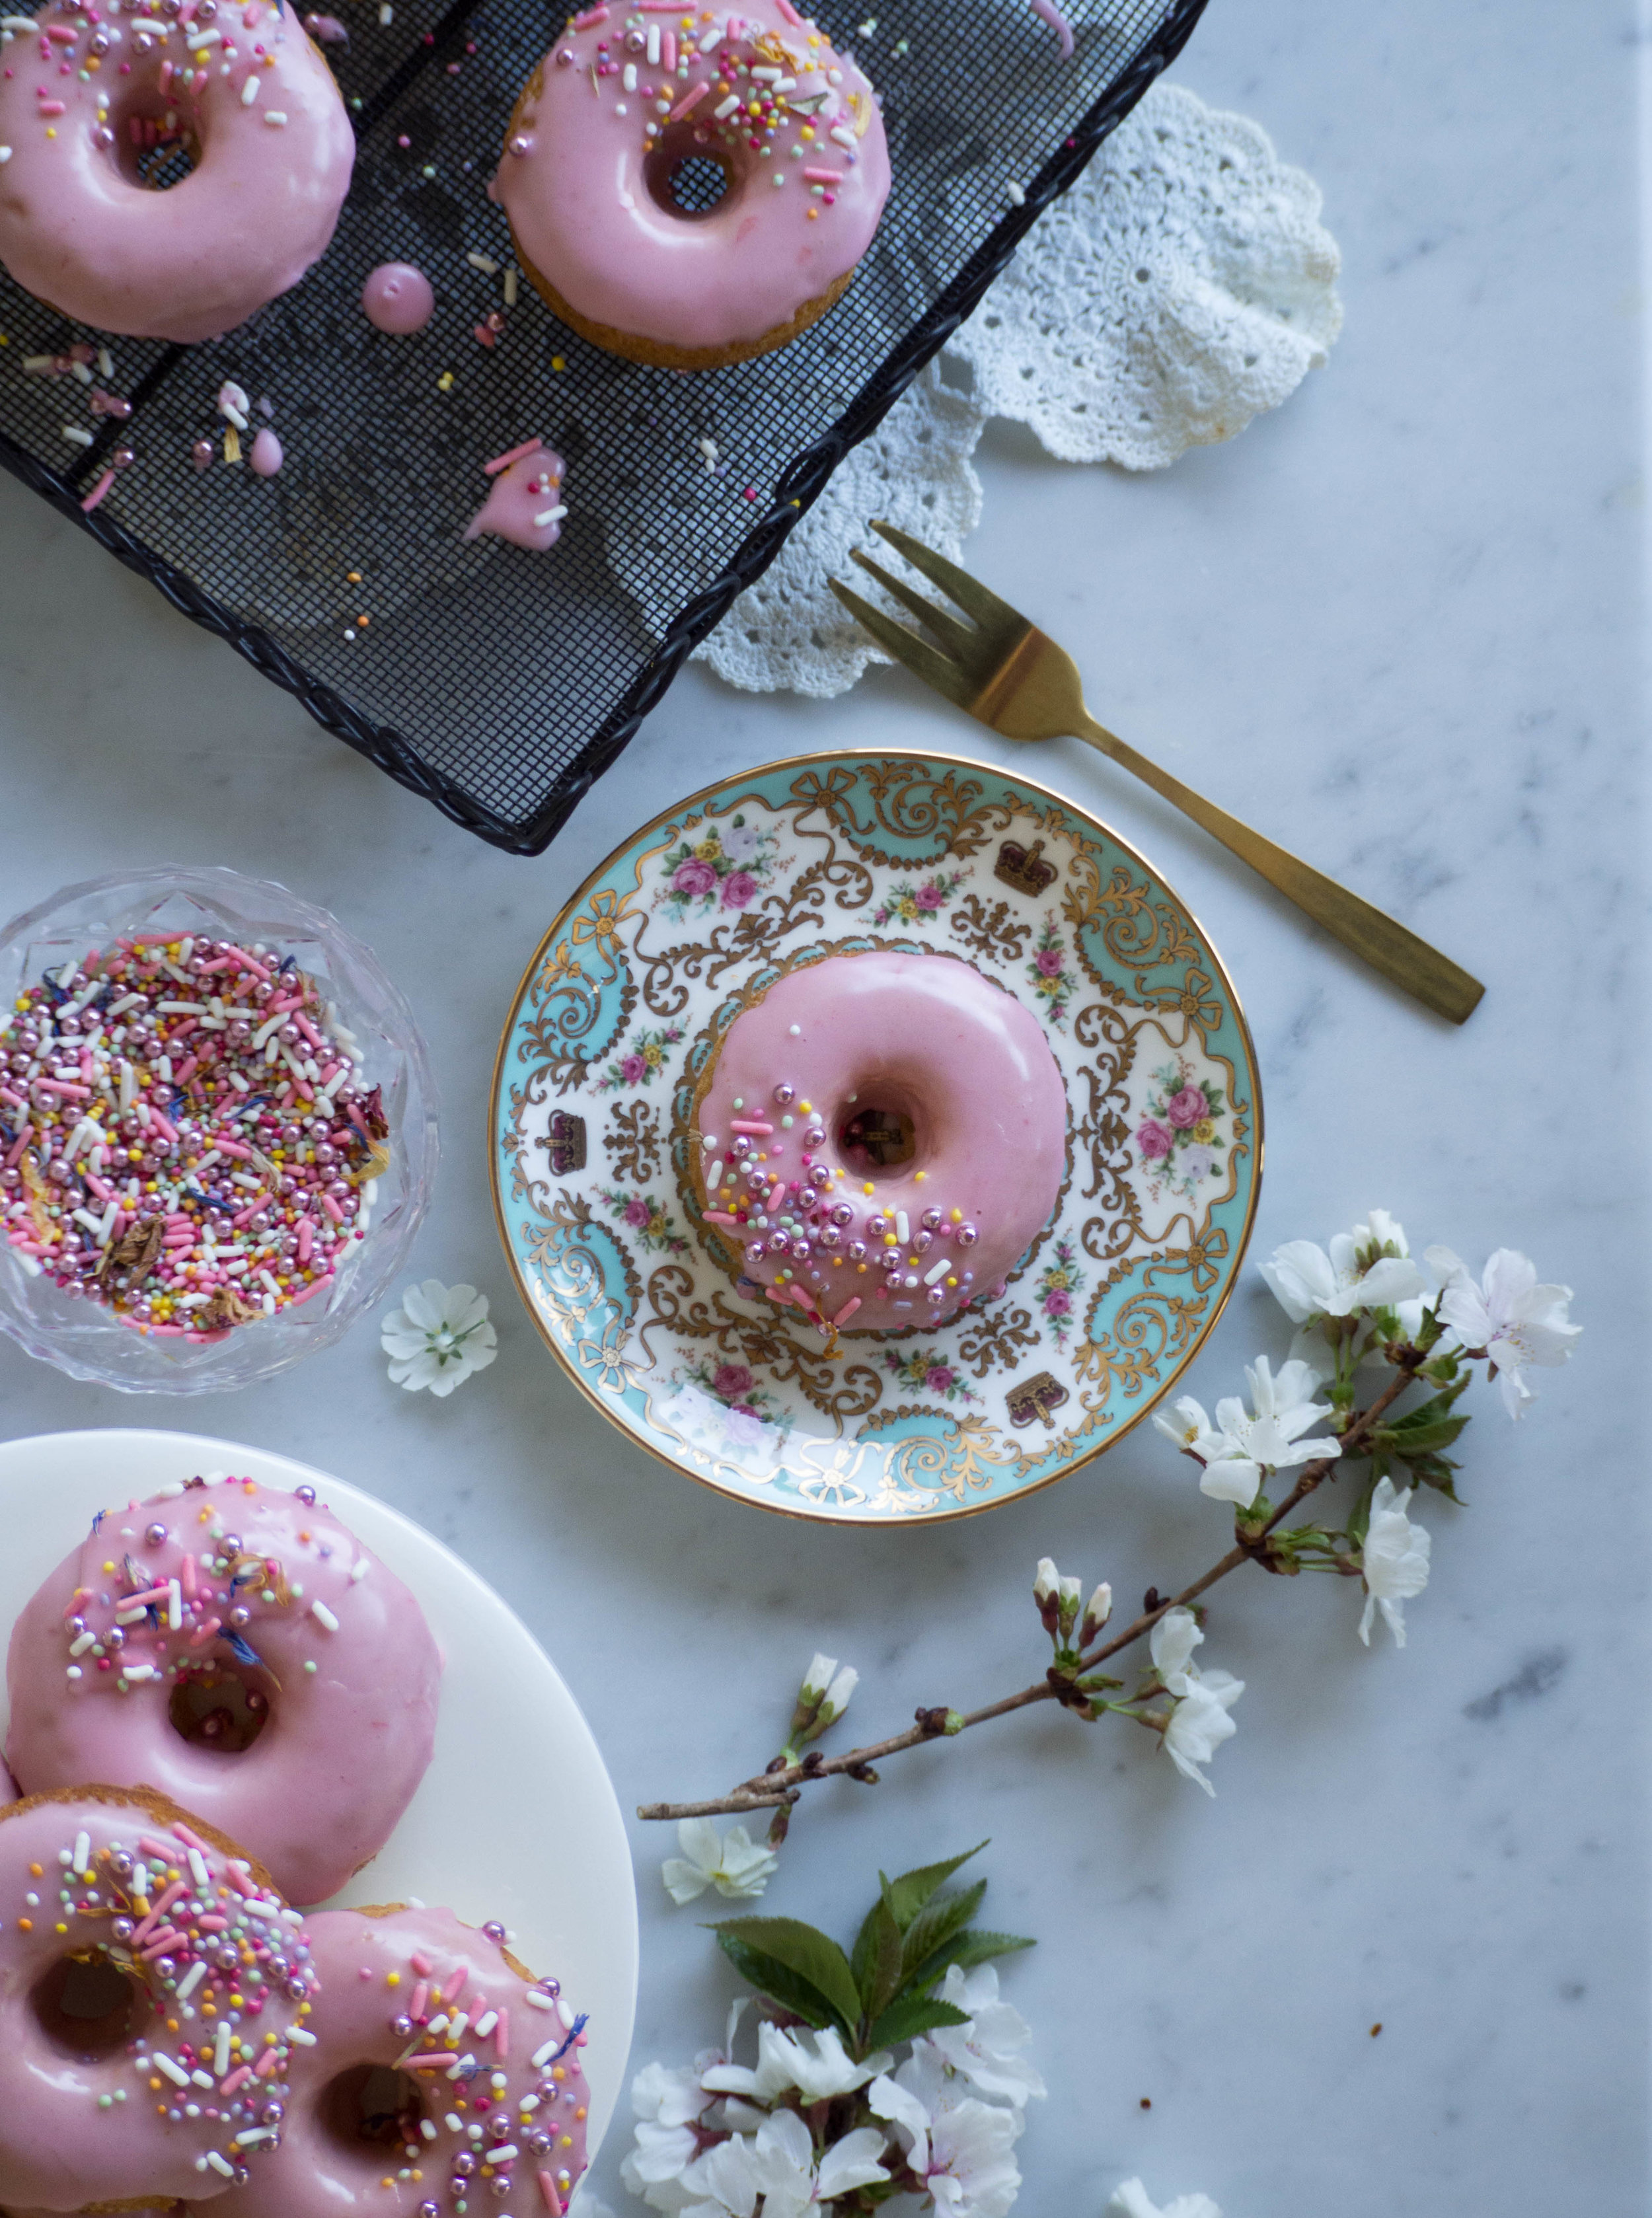
But now on to the doughnuts (or donuts? 🤔I never know which). They are extremely simple to make - they take about 10 minutes to cook, which makes them not only slightly healthier than the traditional fried doughnuts but also much quicker to make. To intensify the vanilla flavour a little, you could use some vanilla sugar instead of the white sugar. I used blood orange juice in the icing, because I love the colour, and I still have lots of blood orange juice frozen from last season!

Baked Vanilla Doughnuts

Baked Vanilla Doughnuts

Baked Vanilla Doughnuts with Blood Orange Icing

Baked Vanilla Doughnuts with Blood Orange Icing

Baked Vanilla Doughnuts with Blood Orange Icing

Baked Vanilla Doughnuts with Blood Orange Icing

Baked Vanilla Doughnuts with Blood Orange Icing

Baked Vanilla Doughnuts with Blood Orange Icing

Baked Vanilla Doughnuts with Blood Orange Icing 

Ingredients: 

135g plain flour

1 tsp baking powder

1/4 tsp bicarb soda

65g white sugar

60ml milk 

60g Greek yoghurt

1 egg

40g margarine/unsalted butter, melted

2 tsp vanilla bean paste 

canola oil spray


For the Icing: 

200-250g icing sugar 

2 tbsp blood orange juice, approx. 

selection of sprinkles, 100s & 1000s, dried edible flowers etc, to decorate 


Method: 

Preheat oven to 180 degrees Celsius, and spray a 12 hole doughnut pan with canola oil spray. 

In a medium bowl whisk together the flour, baking powder, bicarb soda and sugar. If your bicarb soda is a bit lumpy, sift to remove the lumps - there’s nothing worse than biting into a baked good to find a lump of baking soda in there! 

In a jug, whisk together the milk, yoghurt and the egg. Ensure the egg has been fully mixed into the other ingredients. Add the melted margarine and the vanilla bean paste and whisk until combined. Pour this into the flour mixture and mix until just combined - don’t over mix. Similar to muffins, these will toughen up if over mixed. 

Place a medium/large piping bag or zip-lock bag over a large glass to it is easy to fill. Spoon in the batter, then pipe into the donut pan, ensuring you only fill each about three quarters the way up - there is plenty of raising agent in the batter so they will rise and expand, and if each doughnut is overfilled the hole in the centre will disappear! 

Bake for about 10 minutes, or until the doughnuts are slightly golden and spring back to the touch. 

Allow the doughnuts to cool in the tin for a few minutes, then transfer to a cooling rack, using a small icing spatula to gently prise the out if necessary (don’t use a knife as you may scratch your tin in the process). 

Once the doughnuts have cooled, make the icing by mixing the 200g of the icing sugar and 1 tbsp of the blood orange juice together. If the icing is too runny add more icing sugar, if it is too dry add a little more blood orange juice. You don’t want to the icing to be very runny or it will all run off the donuts, and take any decoration with it! 

To ice the doughnuts, dip the top side of each (the side that was facing down in doughnut pan), into the icing and twist to ensure it is evenly coated. Remove and allow any excess icing to drip off. Leave each doughnut to sit with the icing on for a minute or two, then decorate with the sprinkles etc. 

Baked Vanilla Doughnuts with Blood Orange Icing

Baked Vanilla Doughnuts with Blood Orange Icing

Baked Vanilla Doughnuts with Blood Orange Icing

Baked Vanilla Doughnuts with Blood Orange Icing

Reference: ‘Sally’s Baking Addiction’  by Sally McKenney (Race Point Publishing, 2014), p.27. 

Baked Vanilla Doughnuts with Blood Orange Icing

Baked Vanilla Doughnuts with Blood Orange Icing

Baked Vanilla Doughnuts with Blood Orange Icing

Baked Vanilla Doughnuts with Blood Orange Icing

In Cakes & Slices Tags Blood Orange, Vanilla, vanilla sugar, doughnuts, donuts, Local Milk Blog, My Name is Yeh, Courage & Spice Podcast, A Bookish Baker, Jamila Rizvi, Favourites List, Sally's Baking Addiction
2 Comments
  • The Blog
  • Older
  • Newer
No results found

recipes

  • Biscuits/Cookies 40
  • Breads Etc. 9
  • Breakfast 7
  • Cakes & Slices 68
  • Confectionary 5
  • Drinks 6
  • Events 14
  • Food Photography Tips 3
  • From The Mailing List 24
  • Heirloom Recipes 12
  • Holidays 45
  • Ice Cream 9
  • Jams Preserves & Spreads 9
  • Muffins 4
  • Off the Shelf 54
  • Other Desserts 25
  • Savoury Dishes/Meals 15
  • Scones 4
  • Tarts & Pastry 9
  • Travel 13

Sign up to Friday Food Chat with Kath, a weekly newsletter for more food, baking, cookbook chat and more!

Sign Up Here!
instagram-unauth pinterest facebook url

Website Accessibility: To enable text to speech function on the blog, click the sound button to the right of each blog post.

All images & content are the property of Kathryn Vincent, unless stated otherwise. Please do not use without permission.

Kulinary Adventures of Kath

Food Photography, Recipes & Baking

instagram-unauth pinterest facebook url