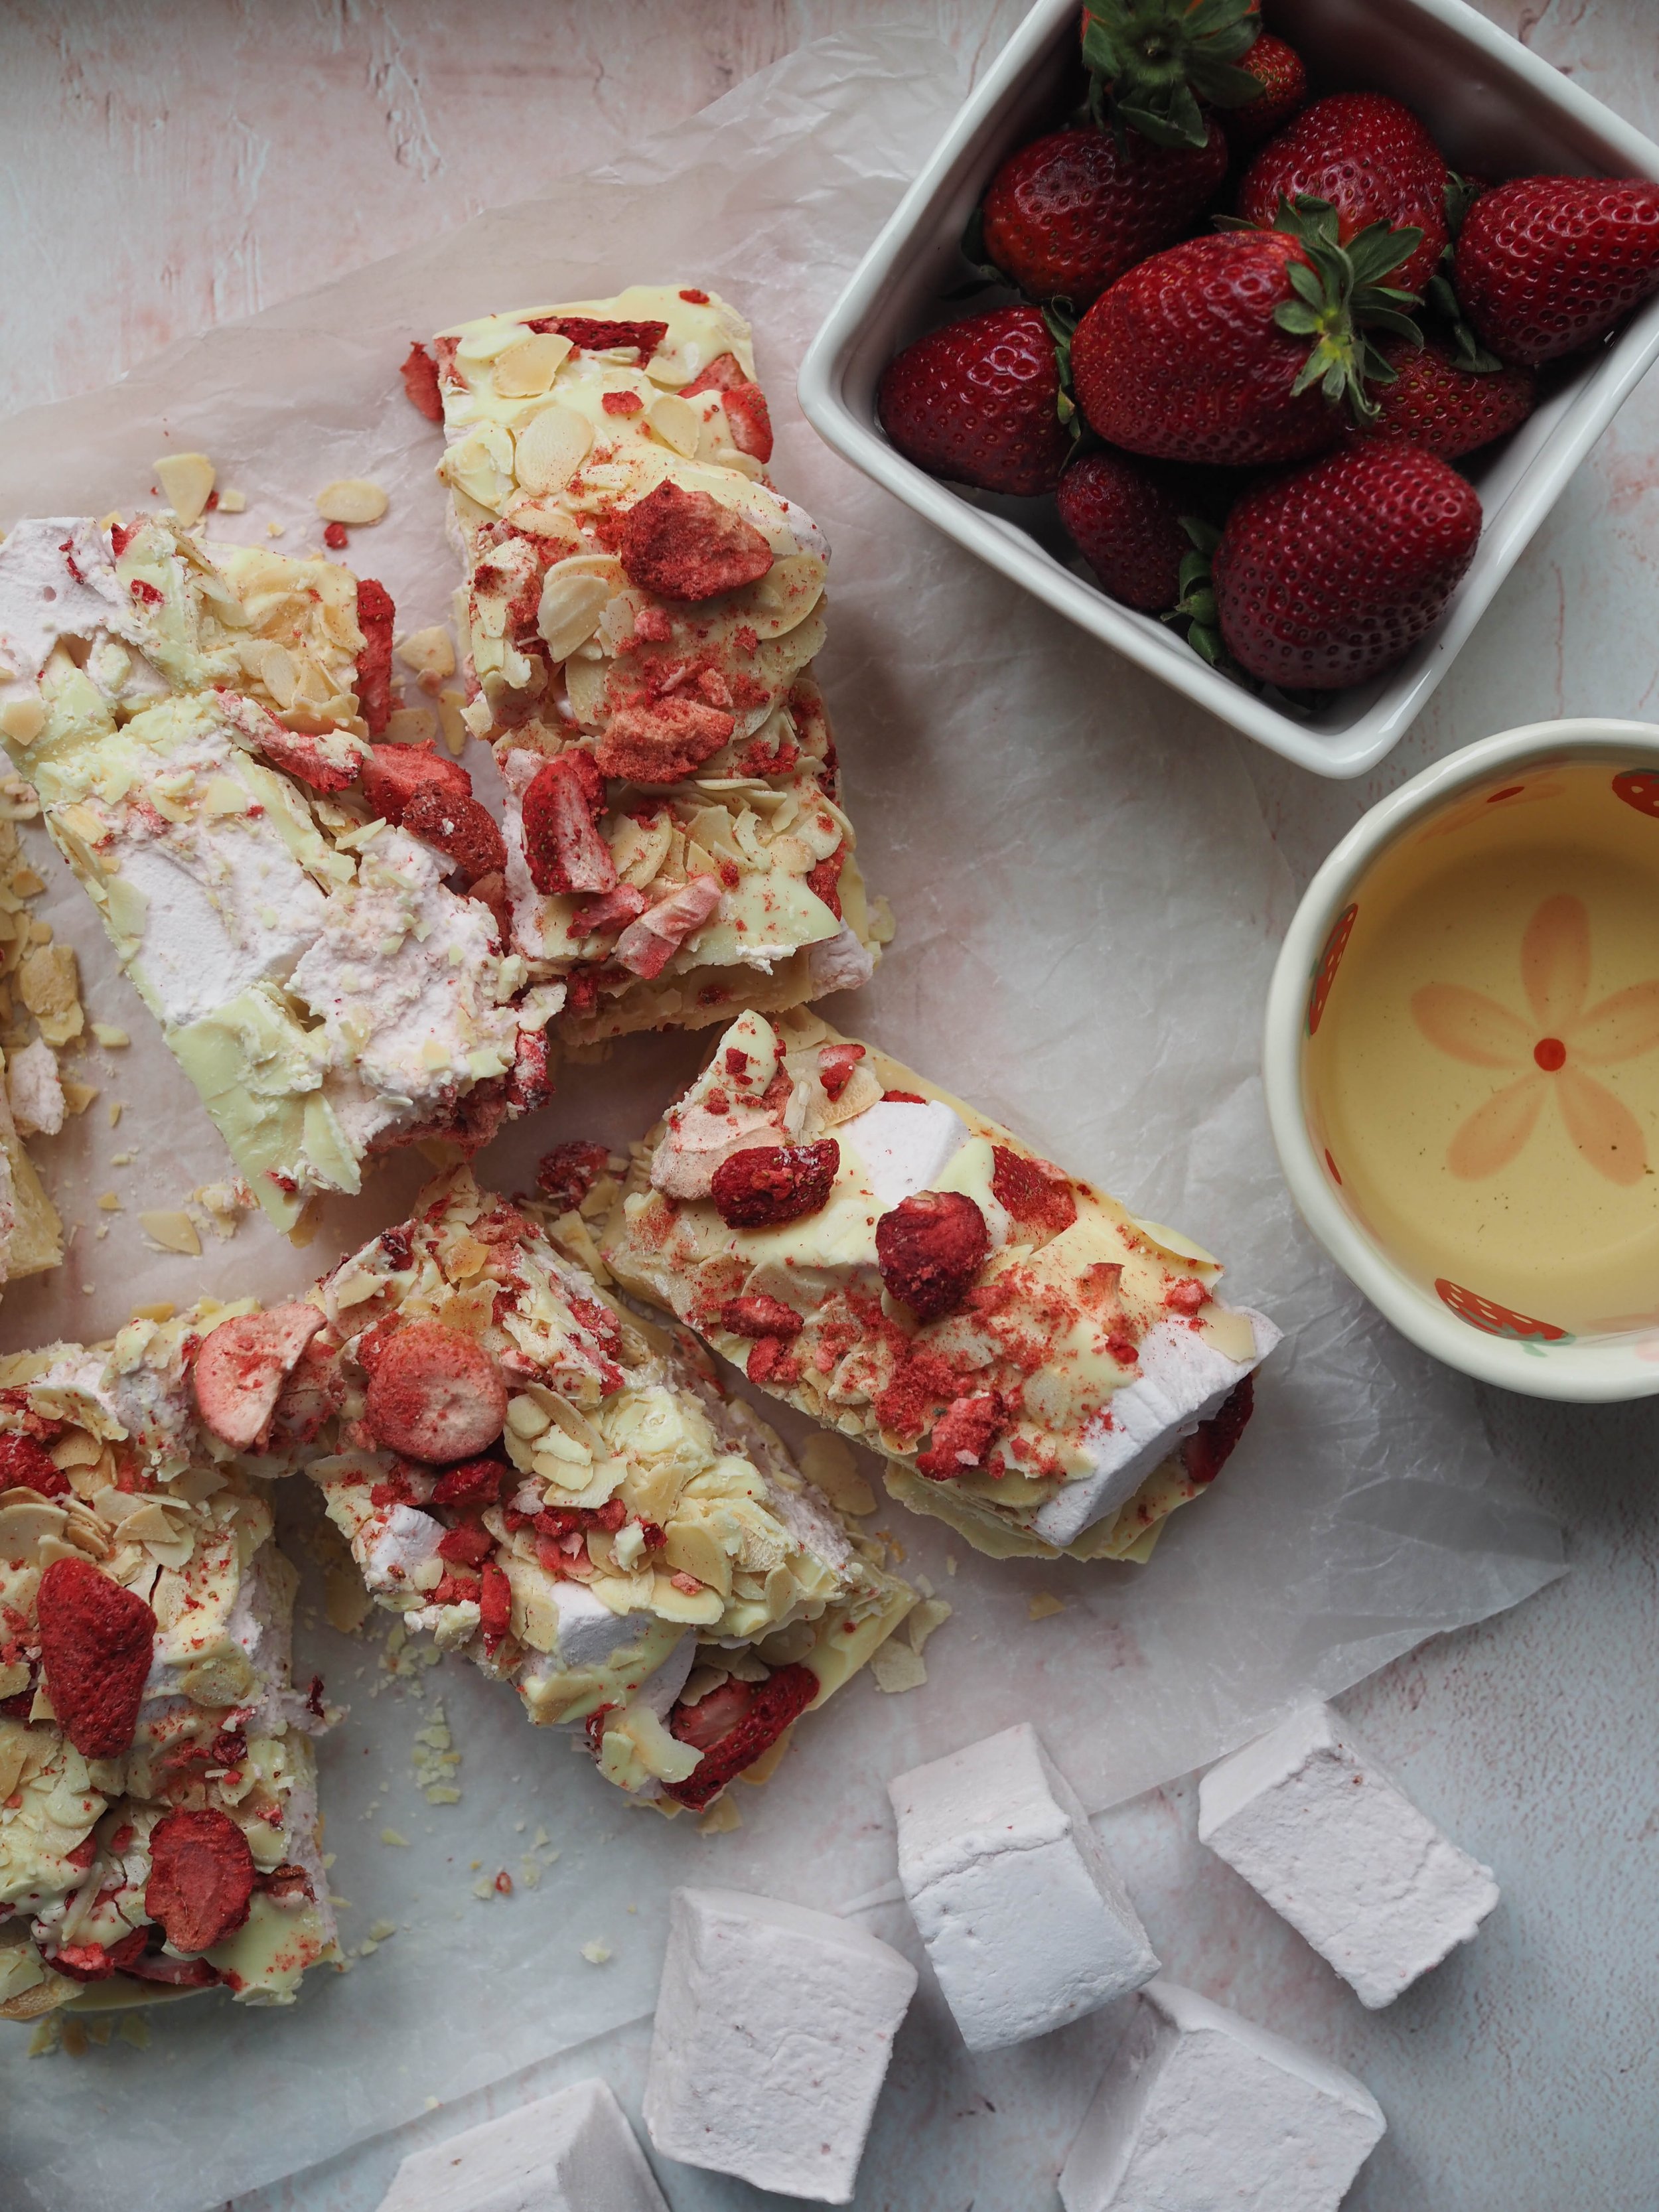
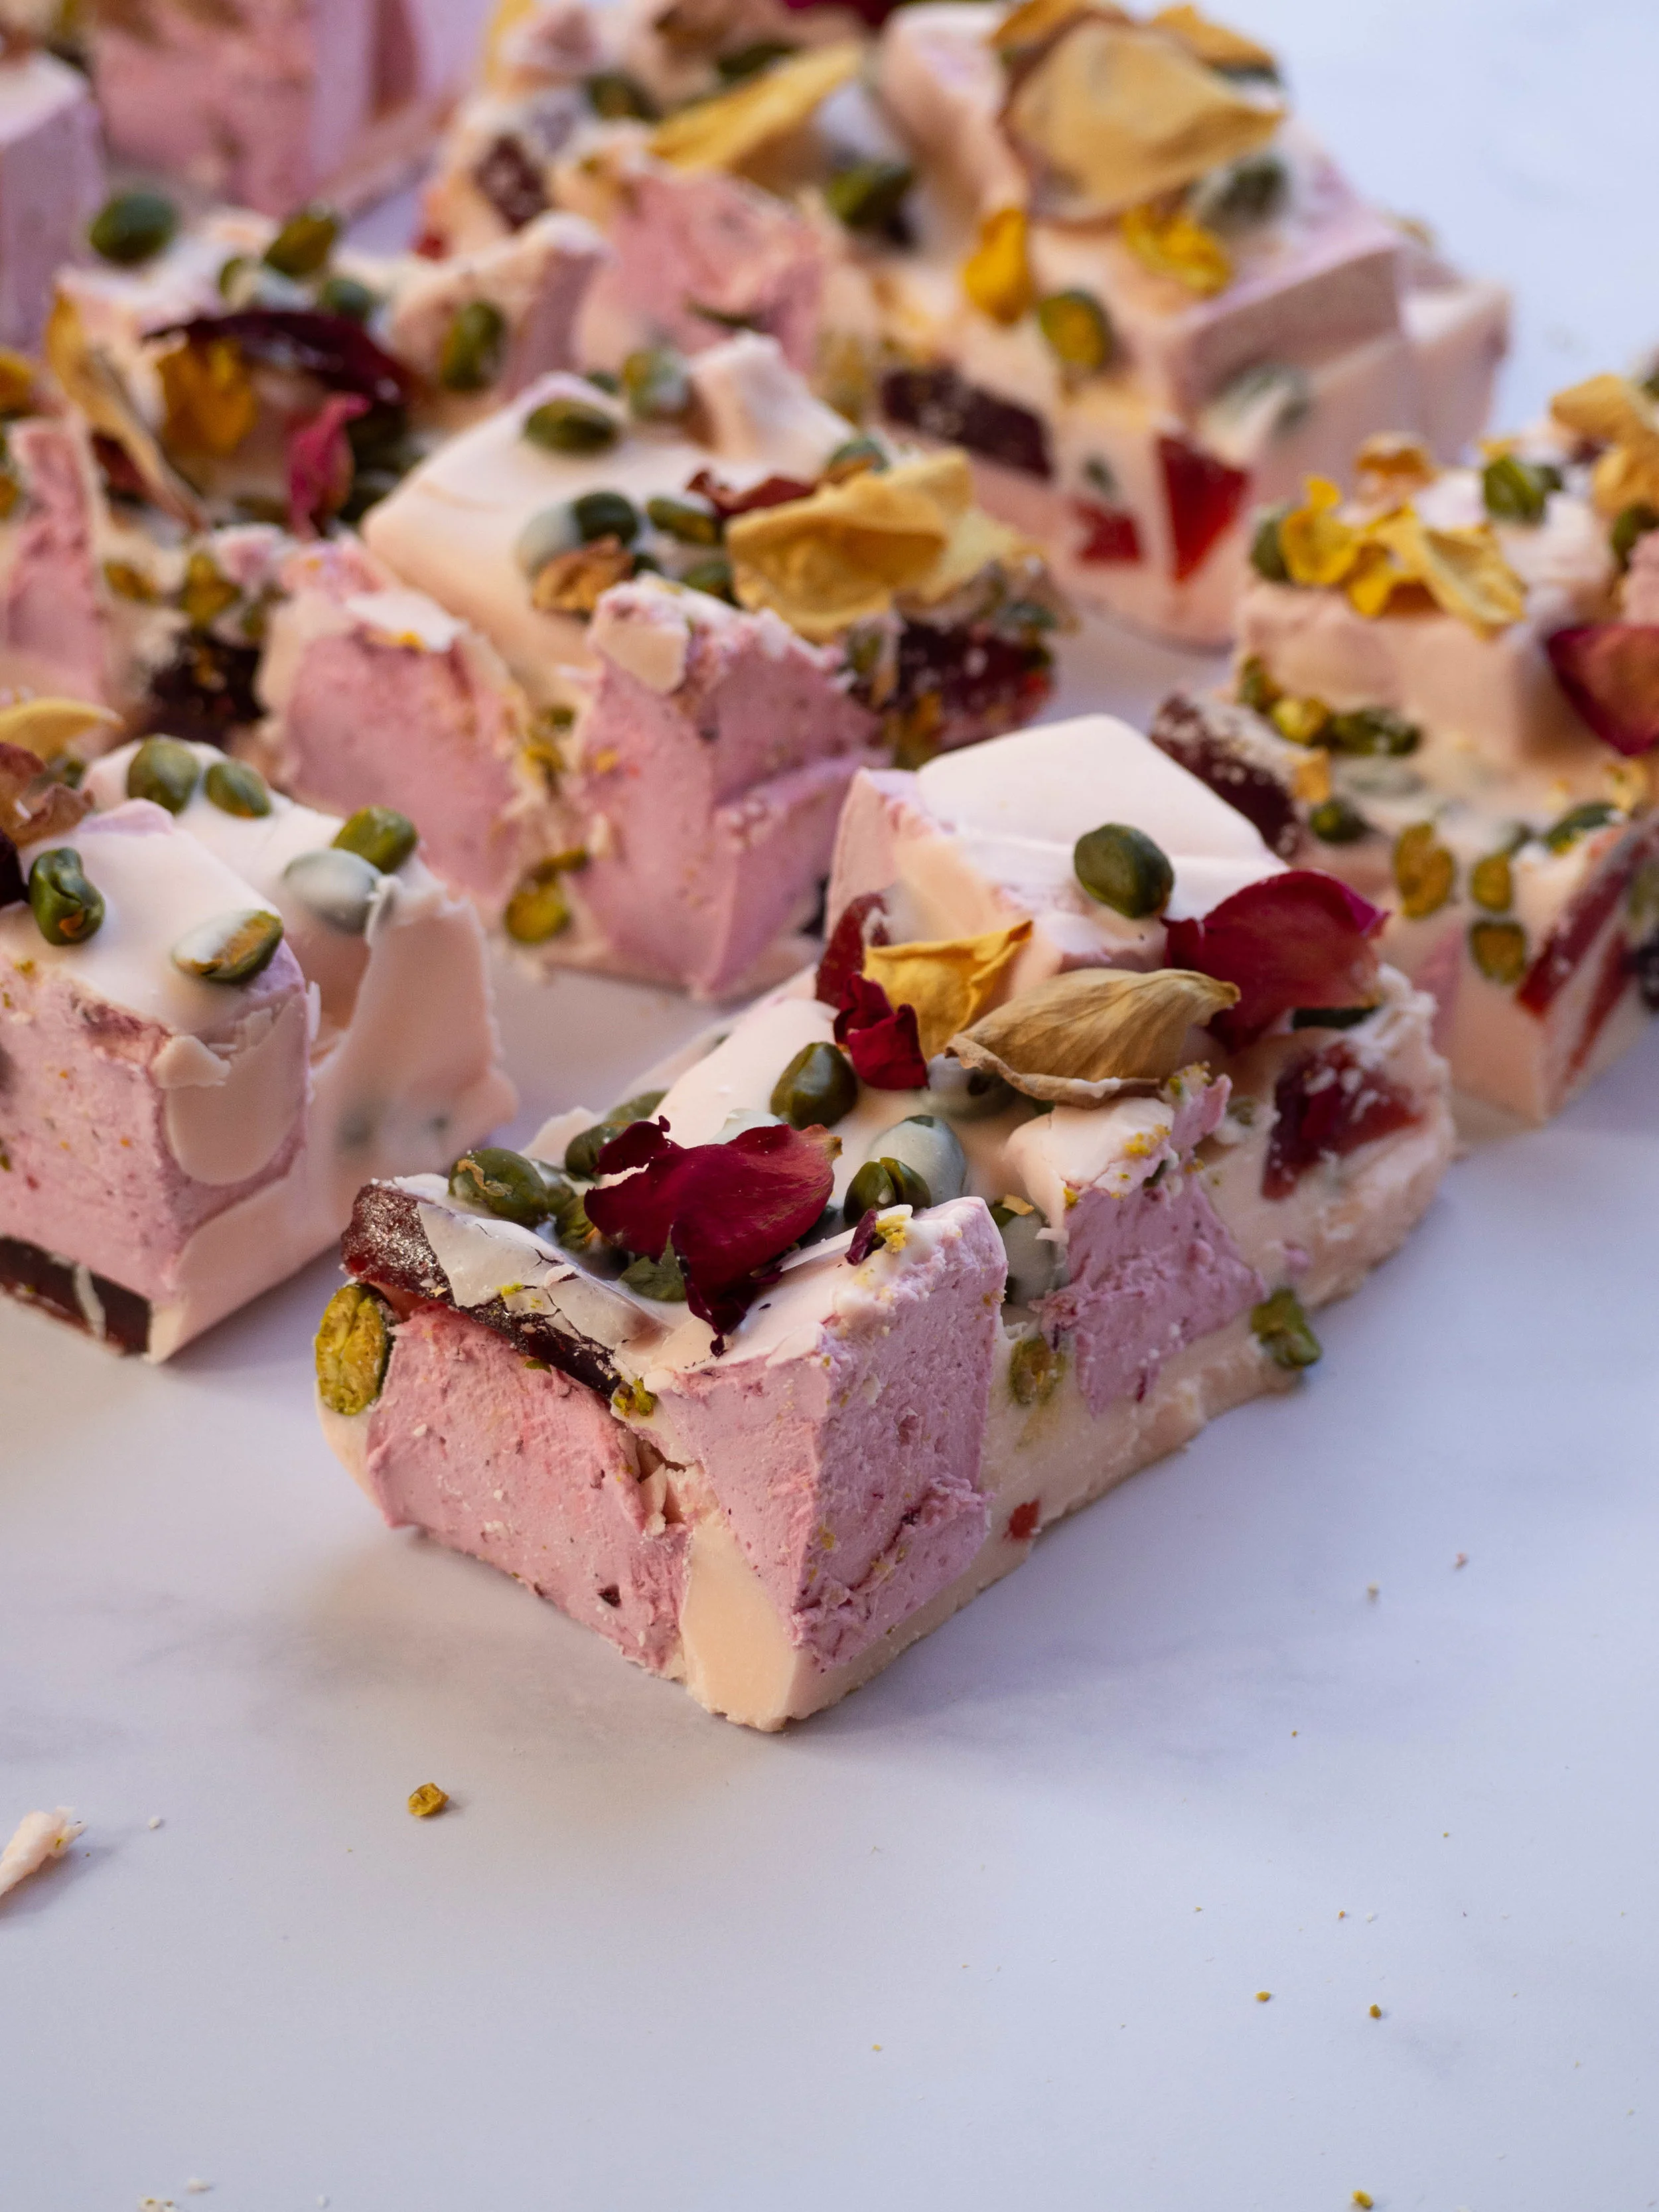
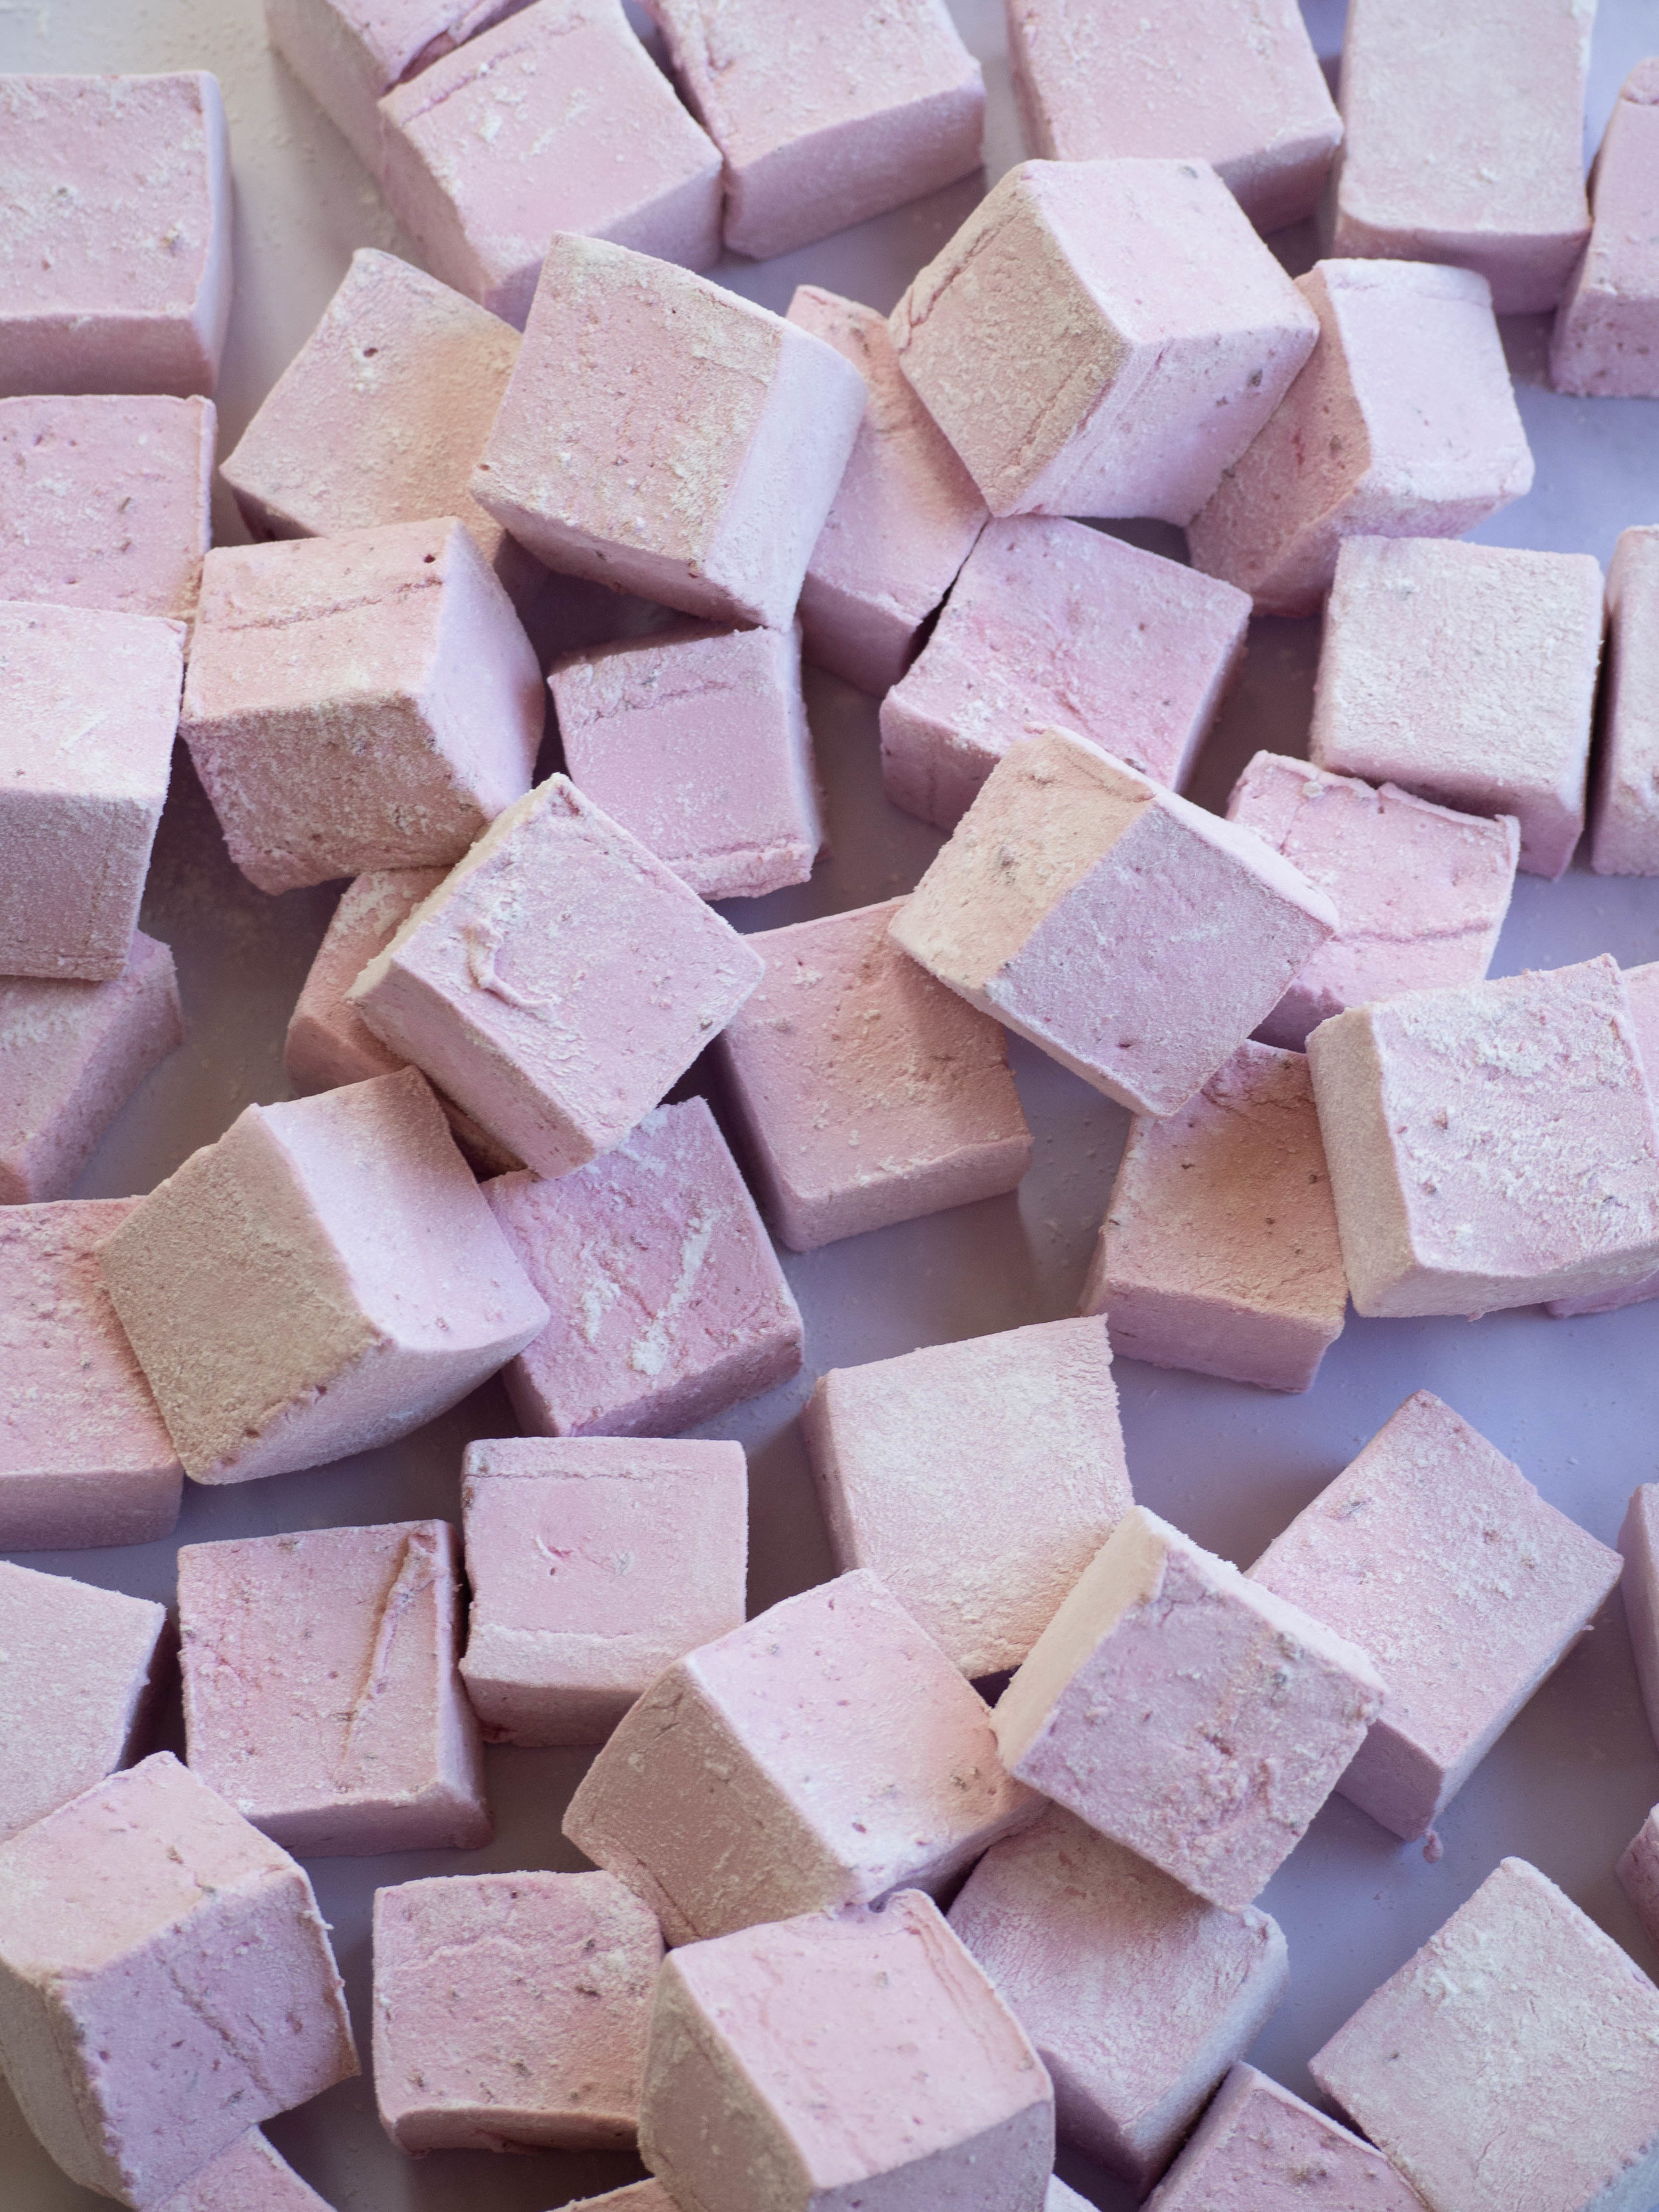
I really enjoy a good white chocolate rocky road, so when the idea came to me for a strawberries and cream version I knew I had to make it ASAP. The strawberry element comes from homemade strawberry marshmallows (made using fresh strawberries) and some freeze dried strawberries too. The cream element comes from the white chocolate,
I have written before that I love marshmallows. I know they can be a divisive thing, people have strong opinions about them. Most of these opinions are formed by the marshmallows found on supermarket shelves. Those marshmallows pale in comparison to homemade ones as are used in this recipe, so please don’t judge them before you try them! Everyone I know who says they don’t like marshmallows has liked these homemade ones, and been very surprised at how different they are to bought ones and how fresh the flavour is (as they are made with fresh fruit not artificial flavourings).
You can make the marshmallows a few days in advance and make the rocky road another day, this recipe can’t be done in one day anyway as the marshmallows need time overnight to set.
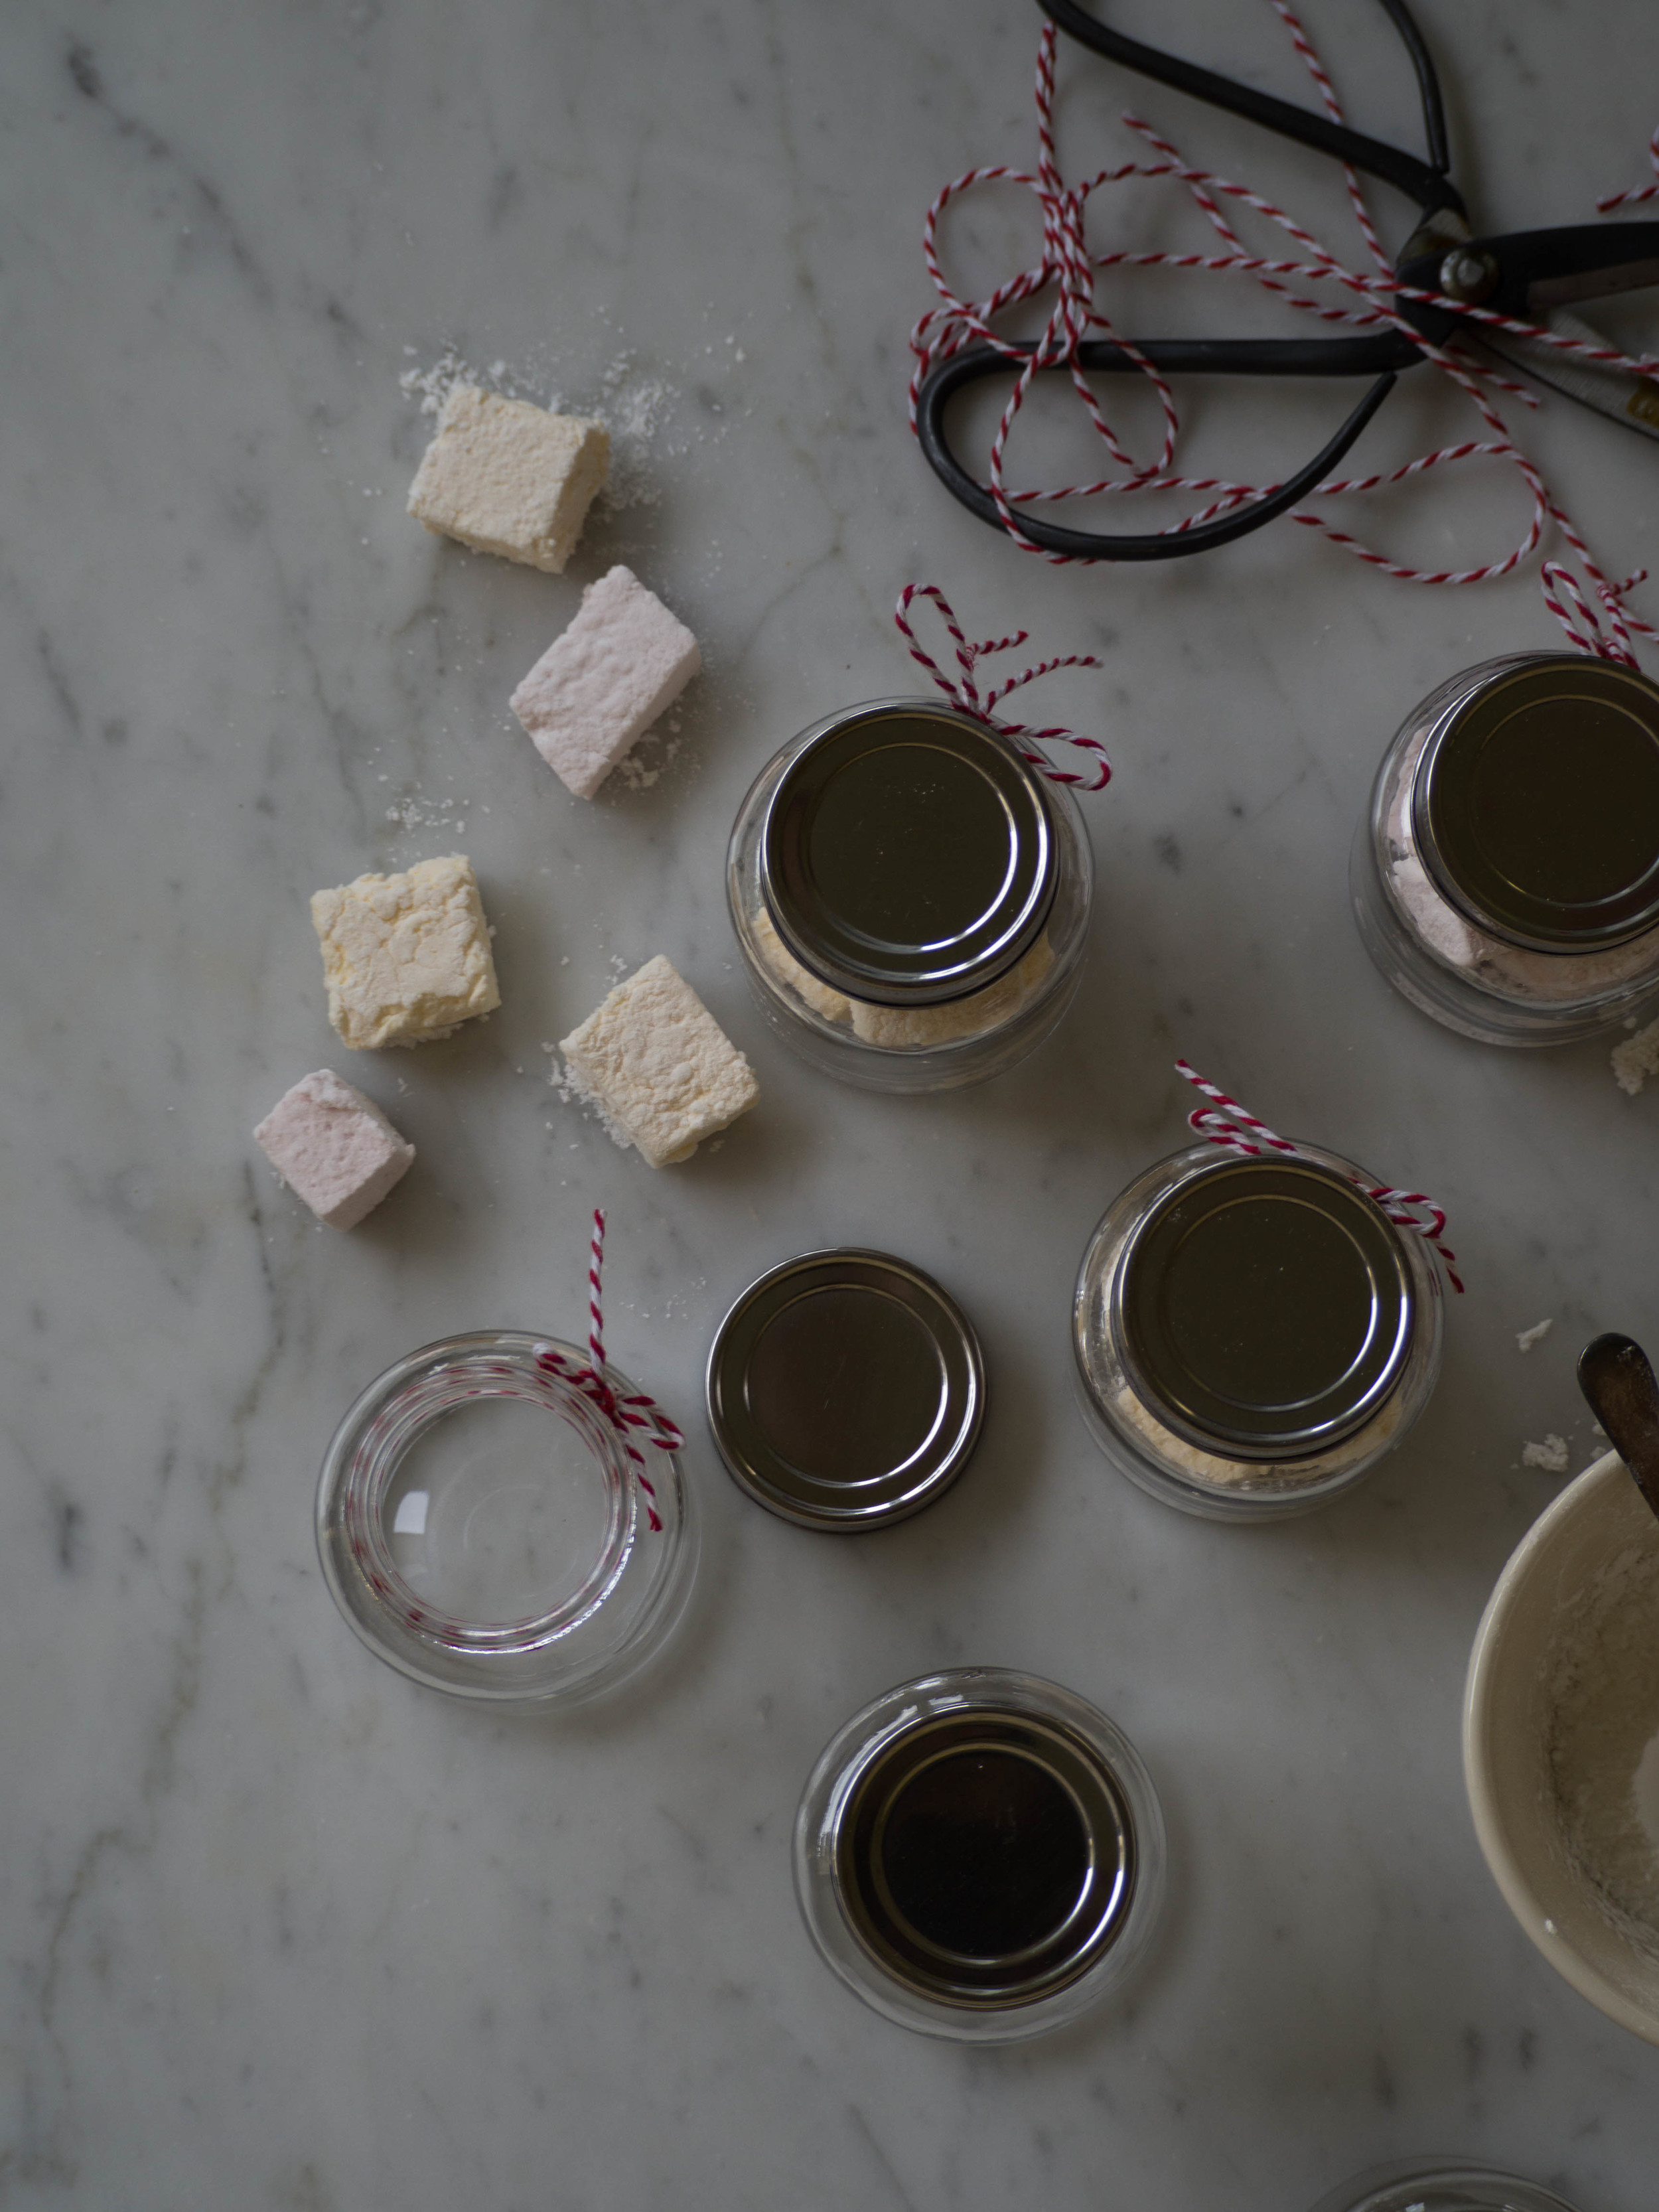
You won’t need all the strawberry marshmallows for the rocky road (or you could probably make a double batch of rocky road if you were thinking of using them as gifts), however they are superb on their own, and last around 3 weeks in an airtight container. The marshmallows make wonderful gifts on their own too.


Strawberries & cream Rocky Road
Ingredients for the Marshmallows:
275g pureed fresh strawberries (the seeds can be strained if you wish, however the total weight still needs to be 275g)
50g gelatine powder
115ml water
820g white/granulated sugar
320g glucose
50g potato flour/starch
50g icing sugar (pure or confectioners)
cooking spray
Method:
Spray a slice tin or lamington tray (at least 30x20cm) with the cooking spray and set aside. A slighly deeper tin will work well for this. If your tin is quite shallow, you may wish to prepare a second smaller tin) or grease some baking paper for any excess marshmallow that doesn’t fit into your main prepared tin.
In the bowl of a stand mixer, briefly mix together the strawberry puree and the gelatine powder. Leave for now, ensuring the whisk attachment is fitted and everything is ready to go once your sugar syrup is ready.
In a medium/large saucepan place the water, then the sugar, then the glucose. Place over high heat and cook until the syrup reaches 120 degrees Celsius on a candy thermometer.
With the mixer on low, gradually pour the sugar syrup into the strawberry mix. Whisk on medium speed for about 3 minutes, until the mixture turns a more opaque colour. The mixture will also start to thicken. Then increase mixer to high speed for about 8 minutes, until the marshmallow has tripled in volume and has thickened.
Pour marshmallow into the prepared tray, tapping it down on the bench to remove any air bubbles and to ensure it is sitting in the tray evenly.
Leave to set overnight before cutting (room temperature is best, preferably covered with a food net or cover).
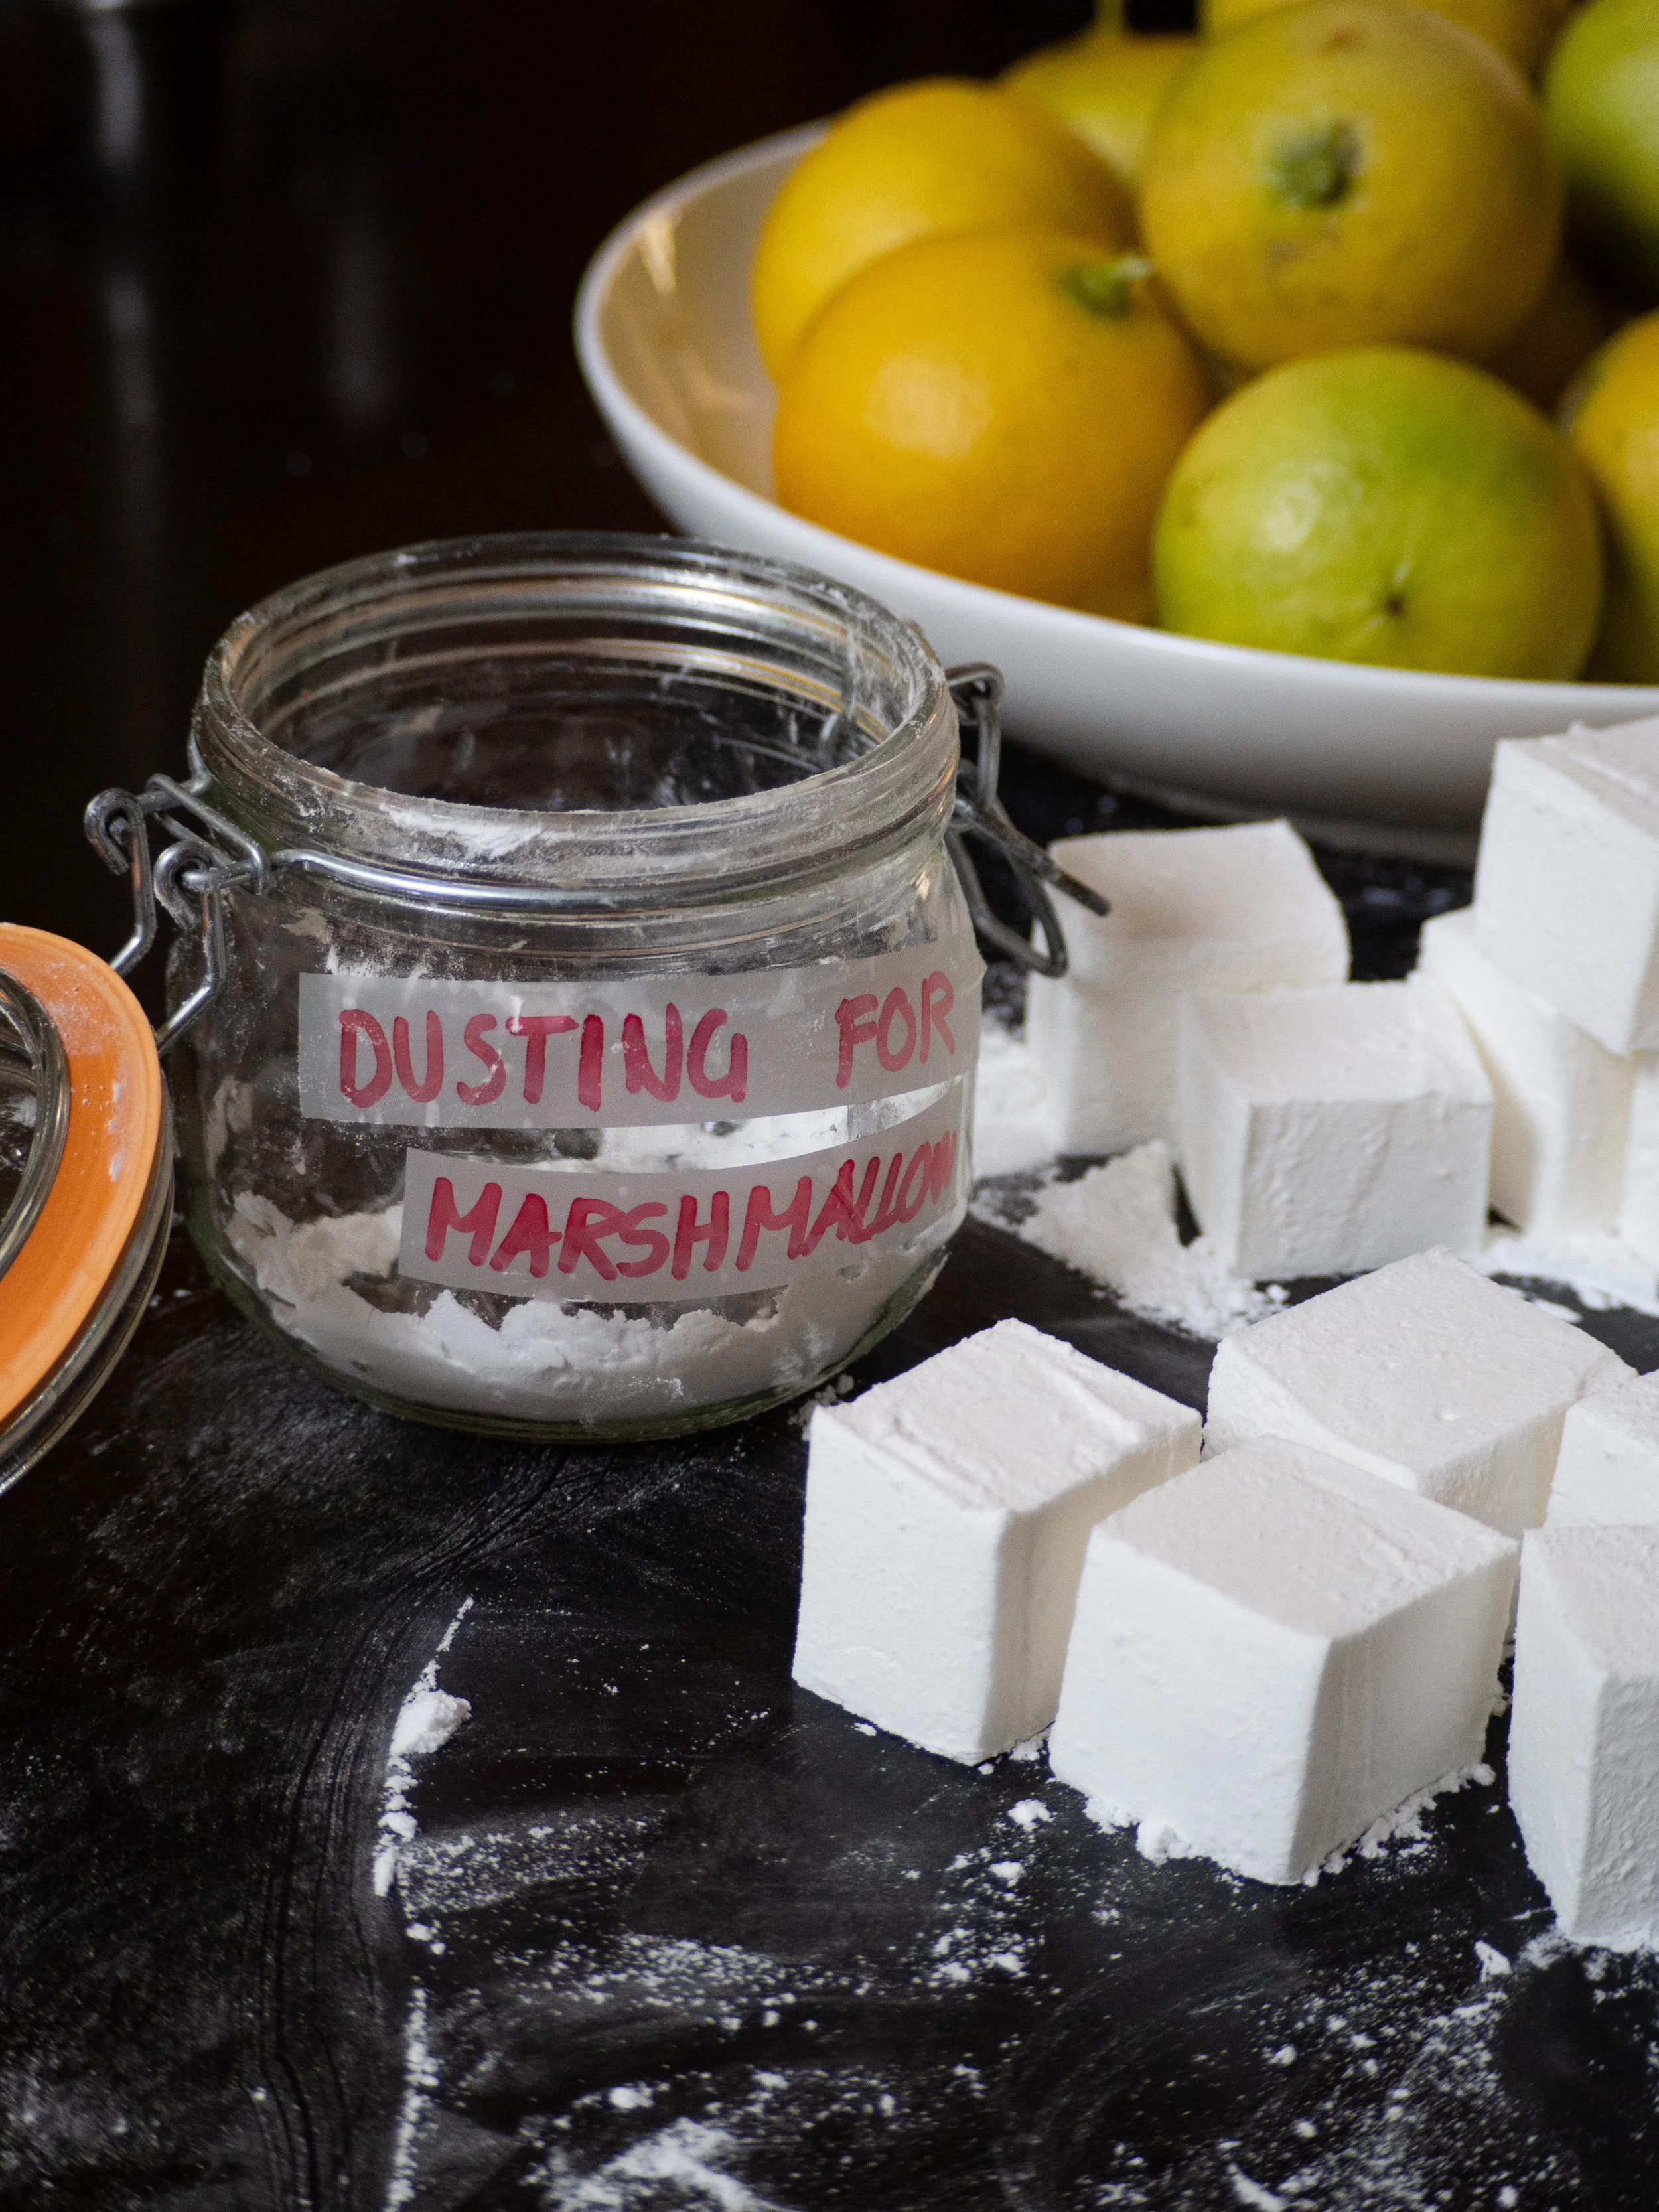
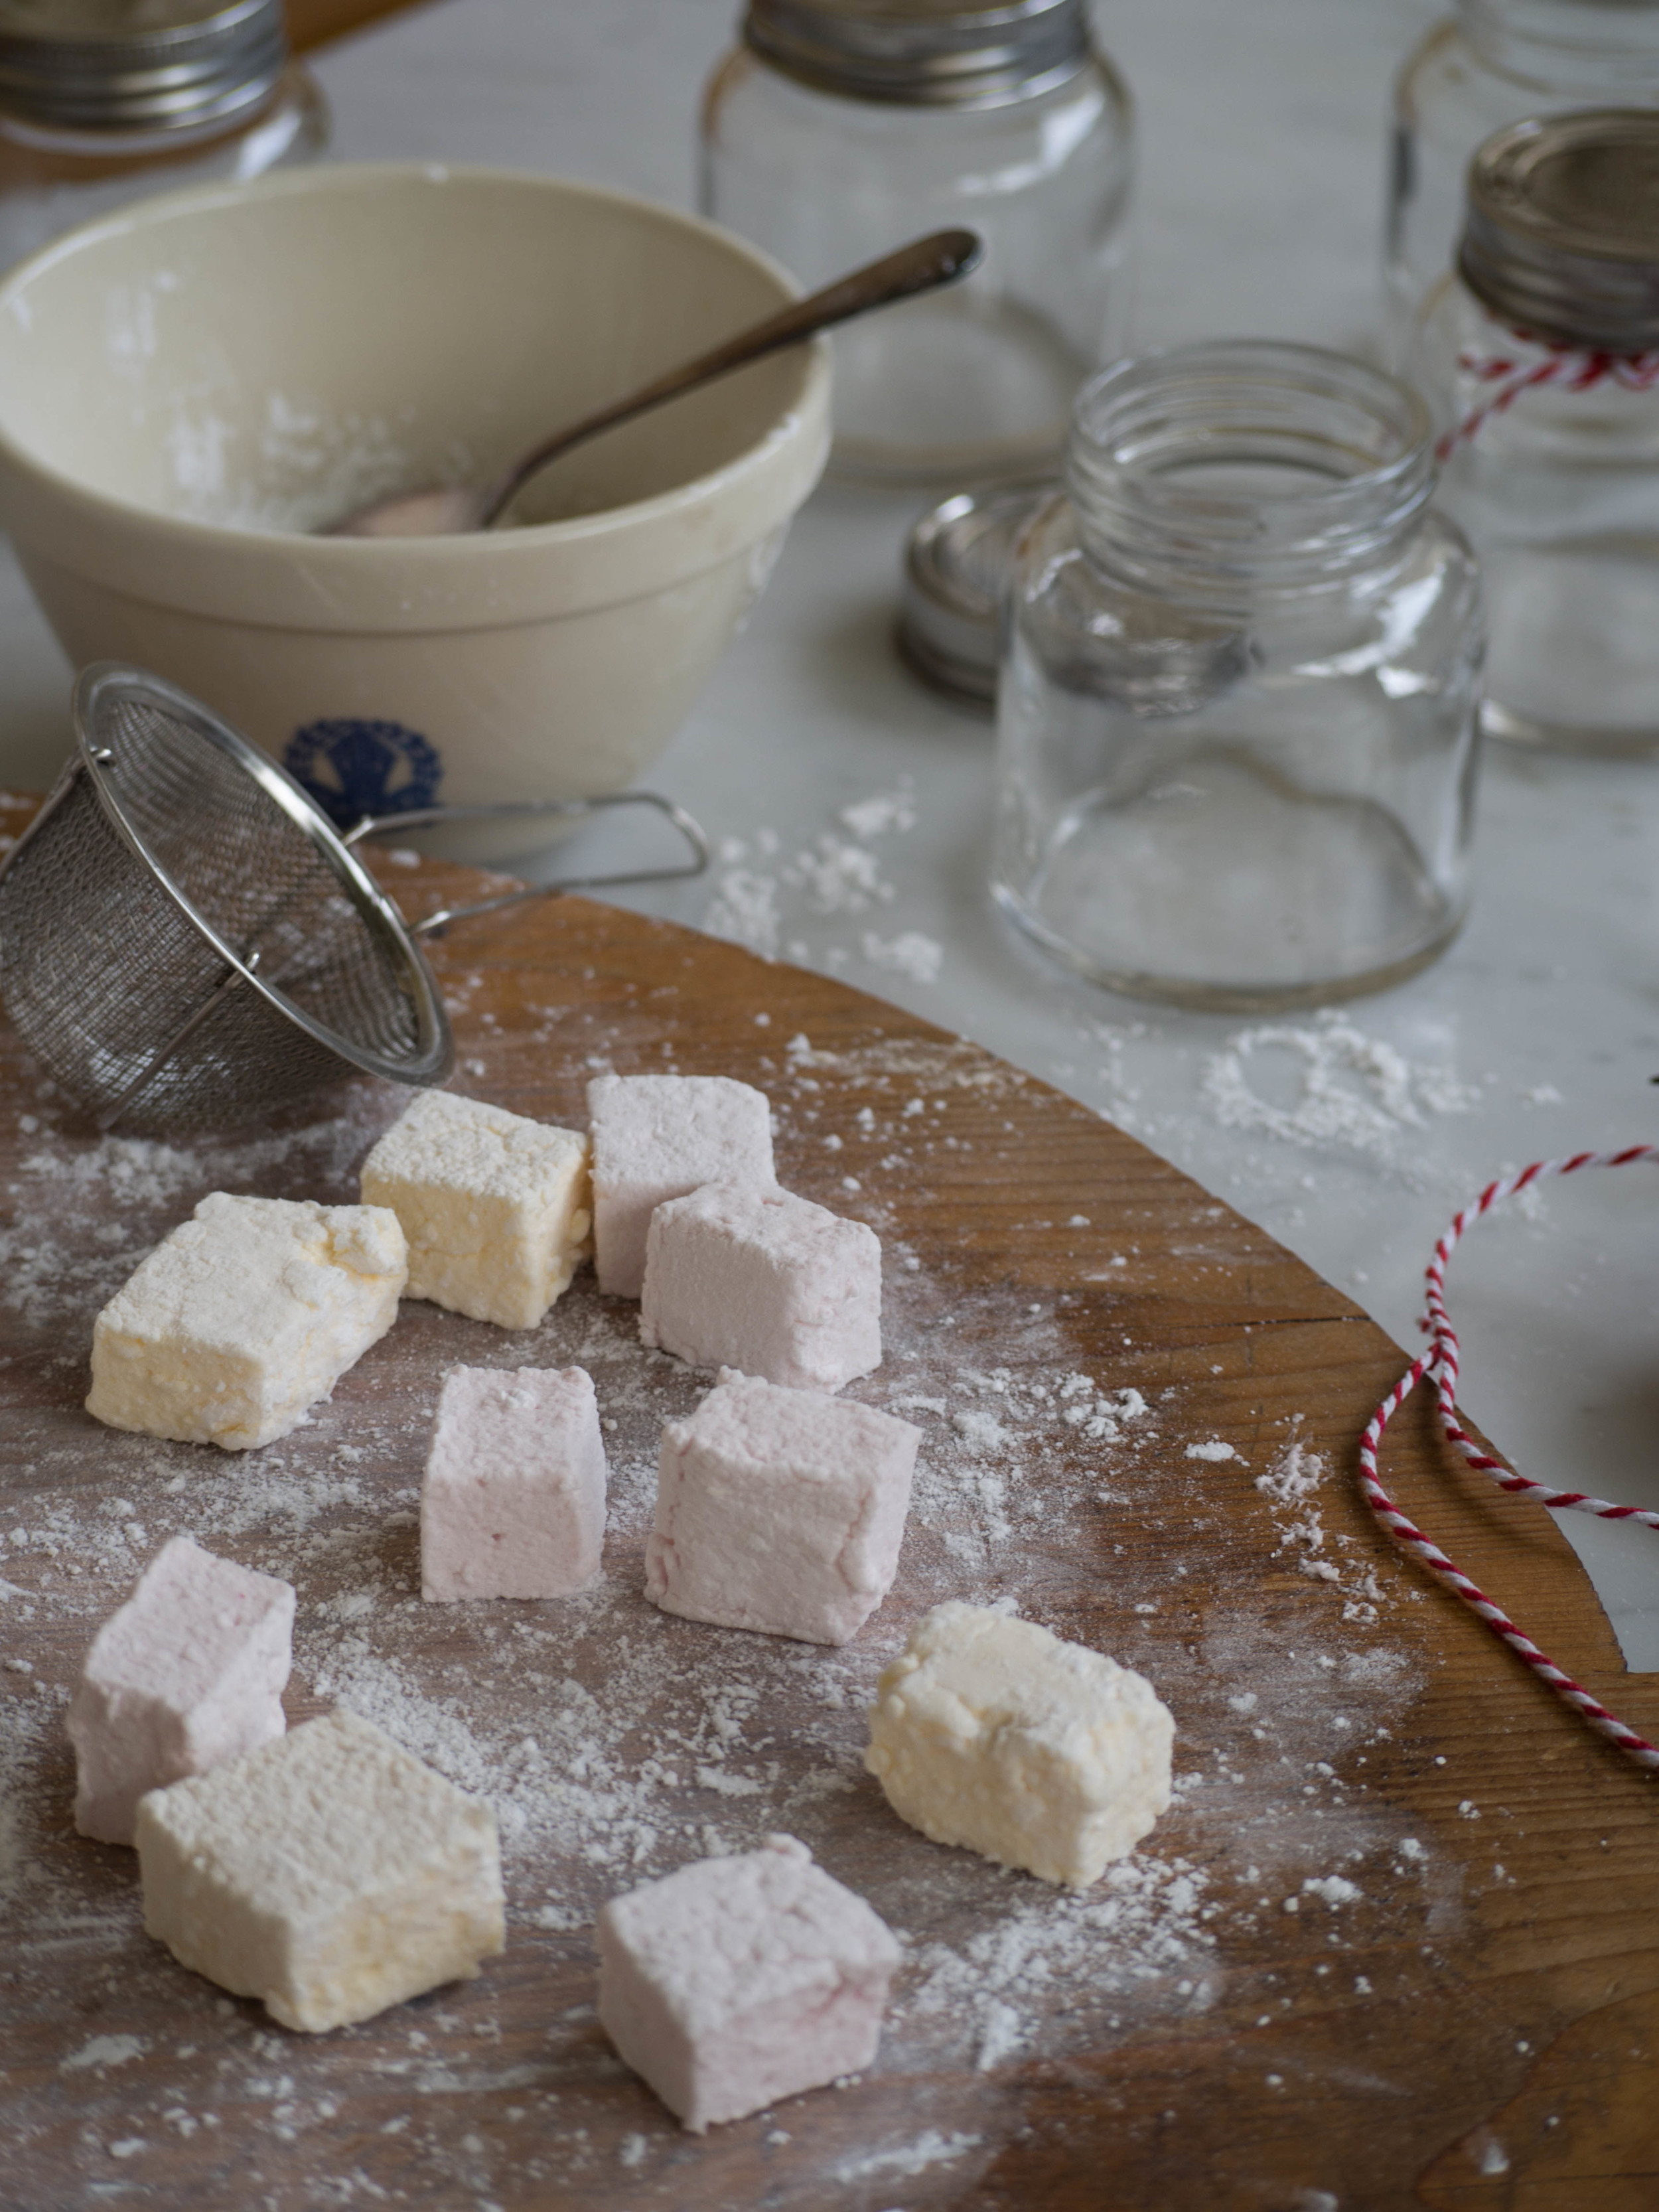
Once the marshmallow is ready to cut, in a small bowl whisk together the potato flour and the icing sugar (sift if necessary).
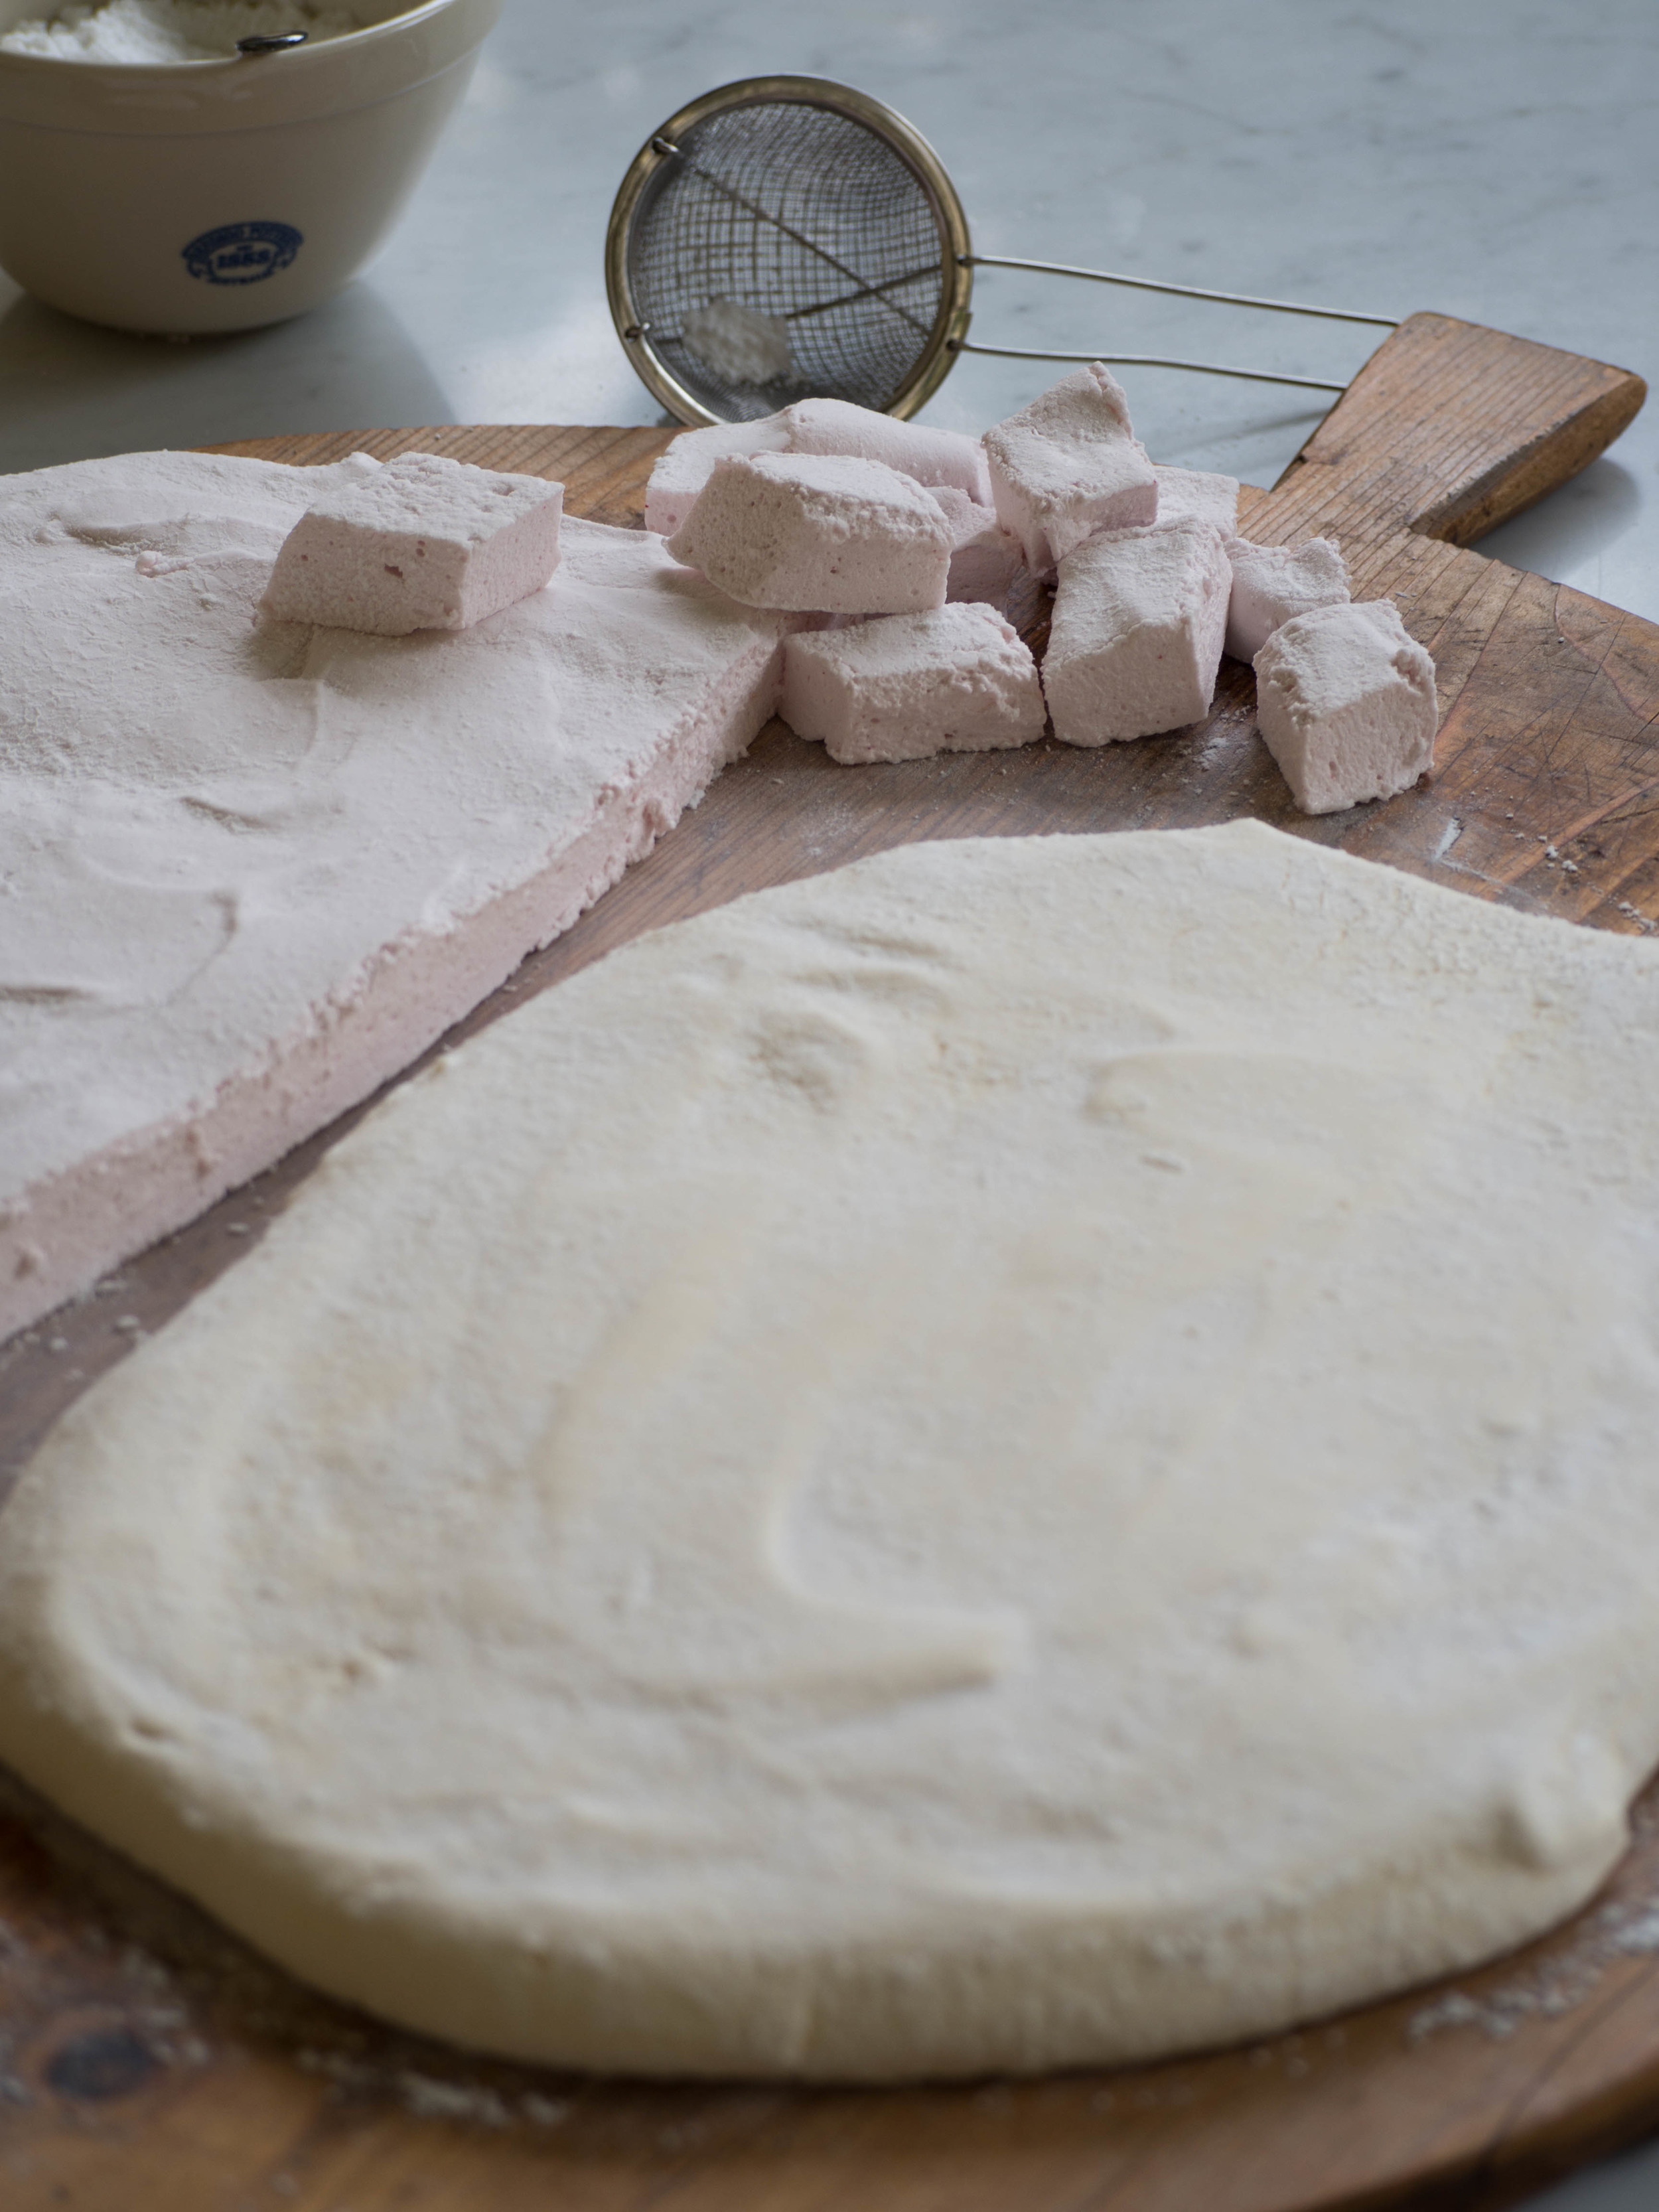
Dust some of this mixture onto your clean work surface. Remove the slab of marshmallow from the tin, use a spatula to pull the sides away from the tin and tip it onto the dusted work surface.
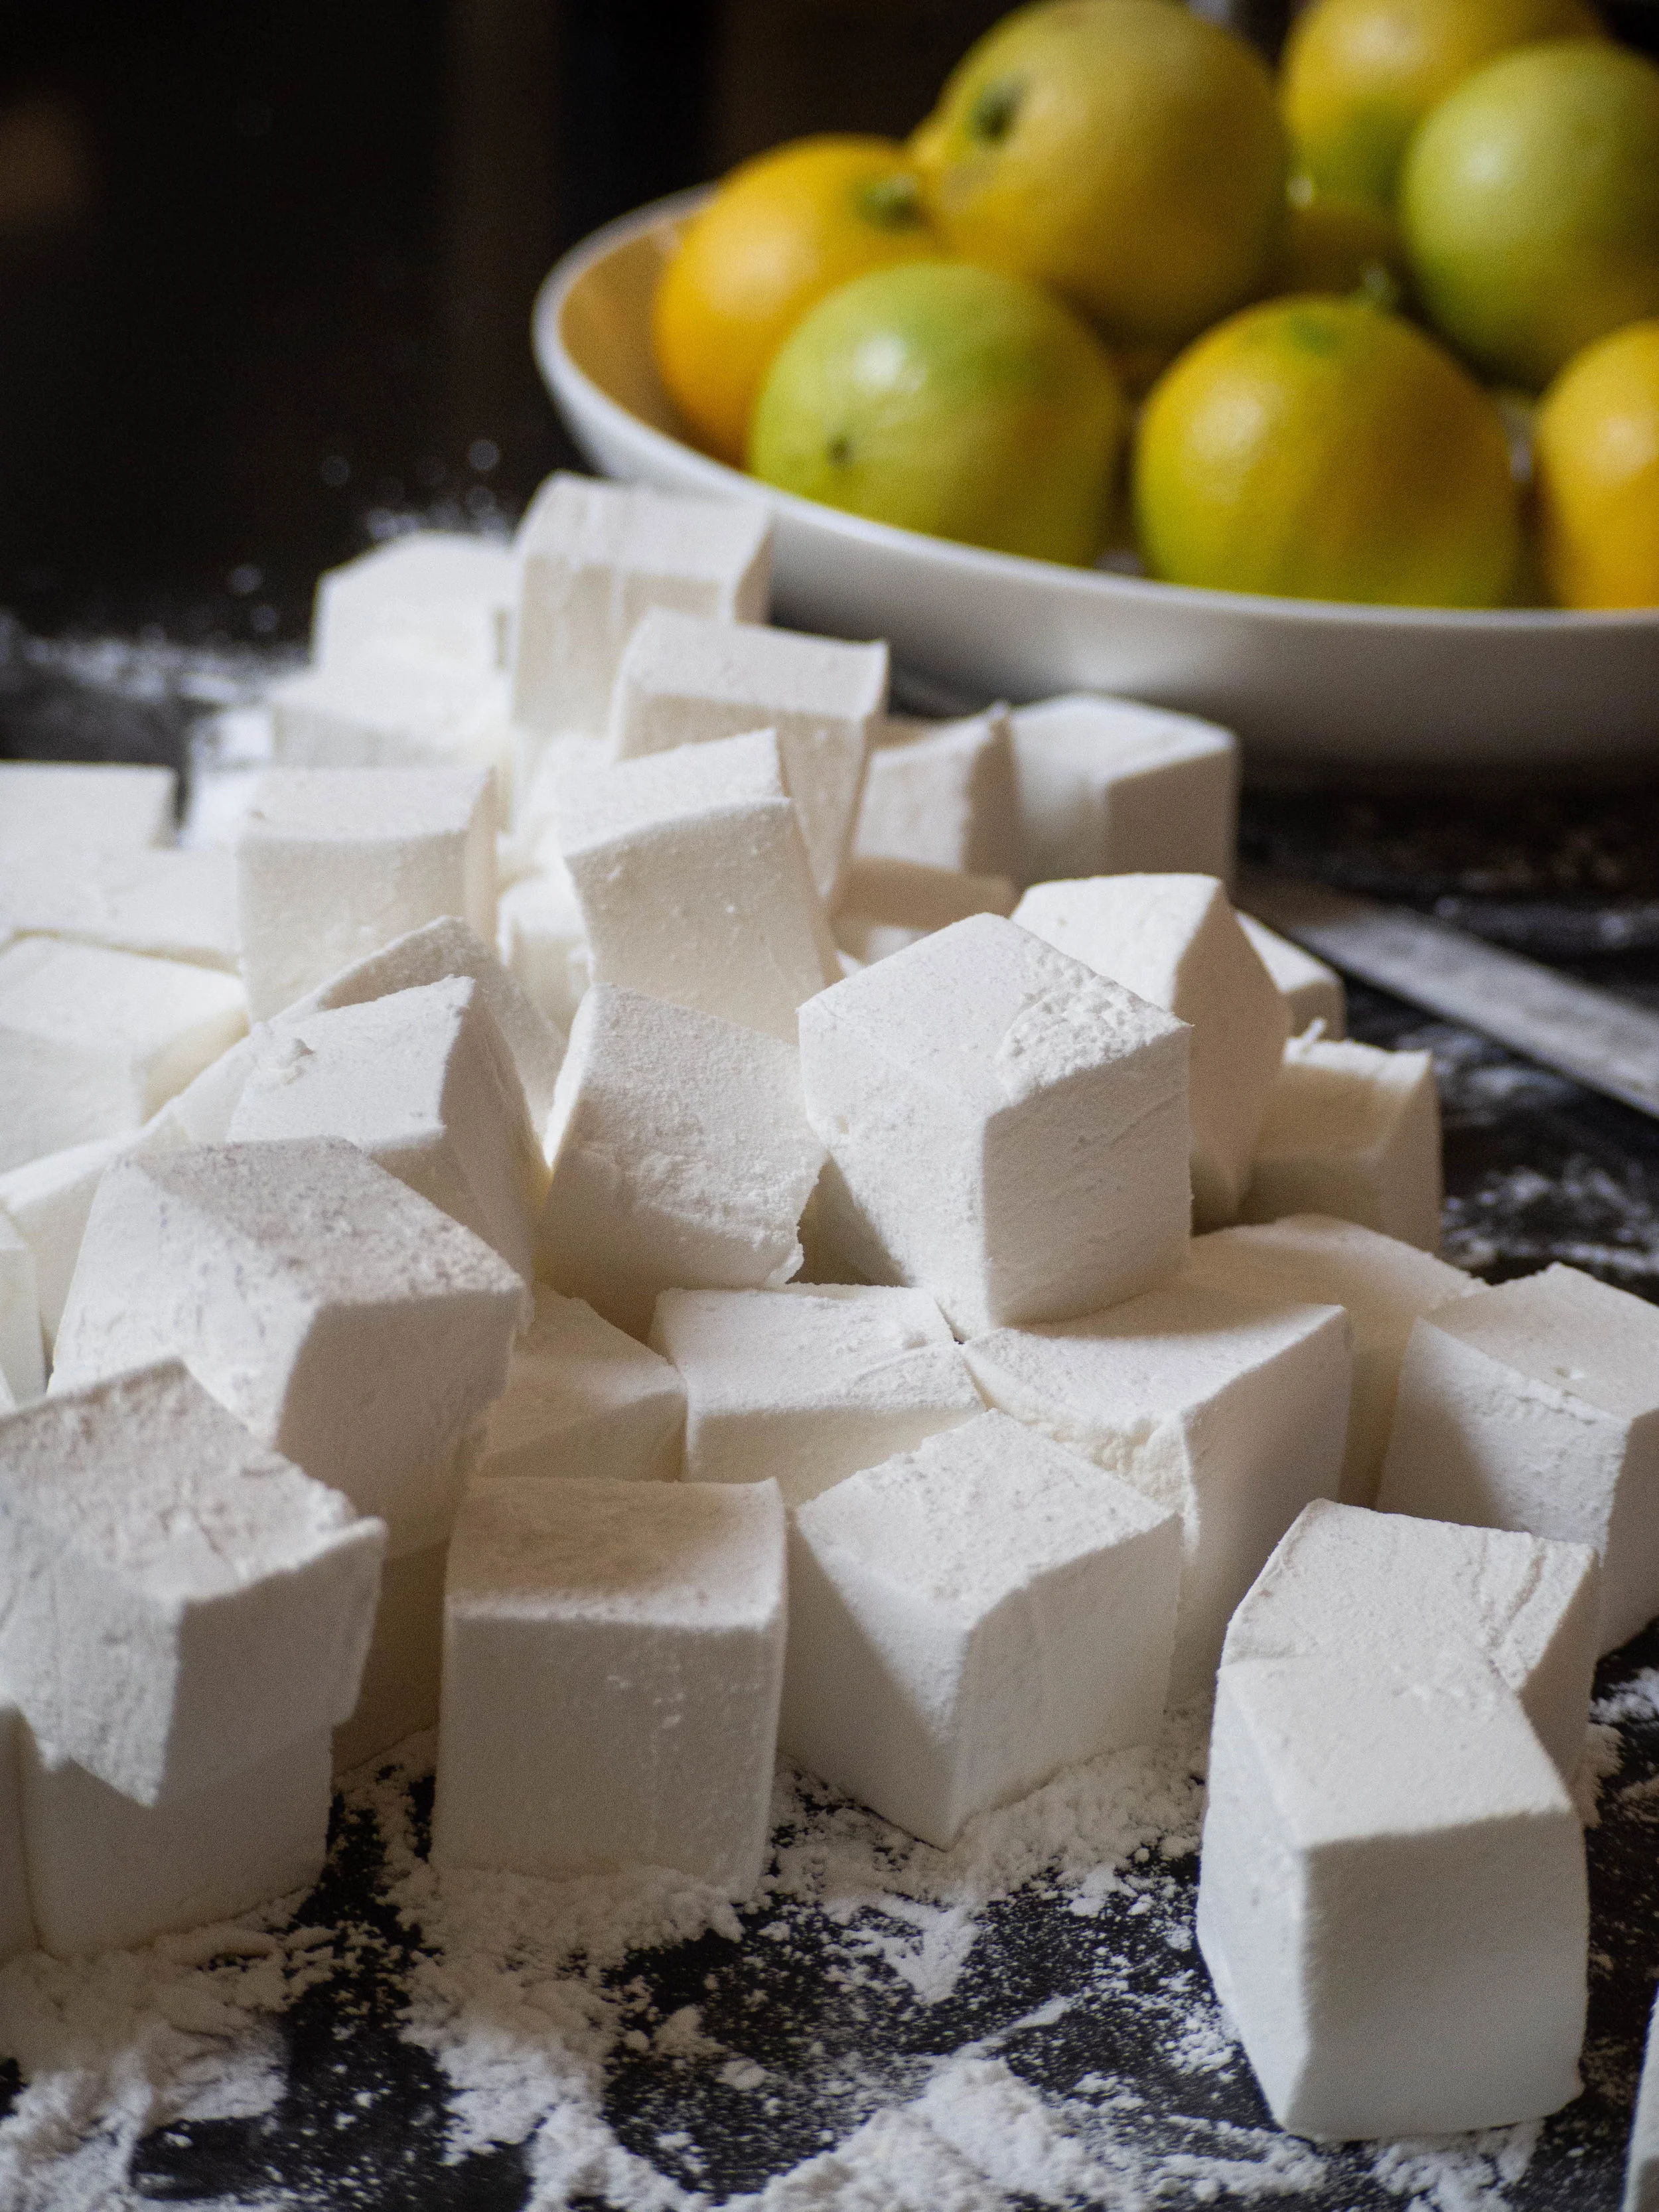
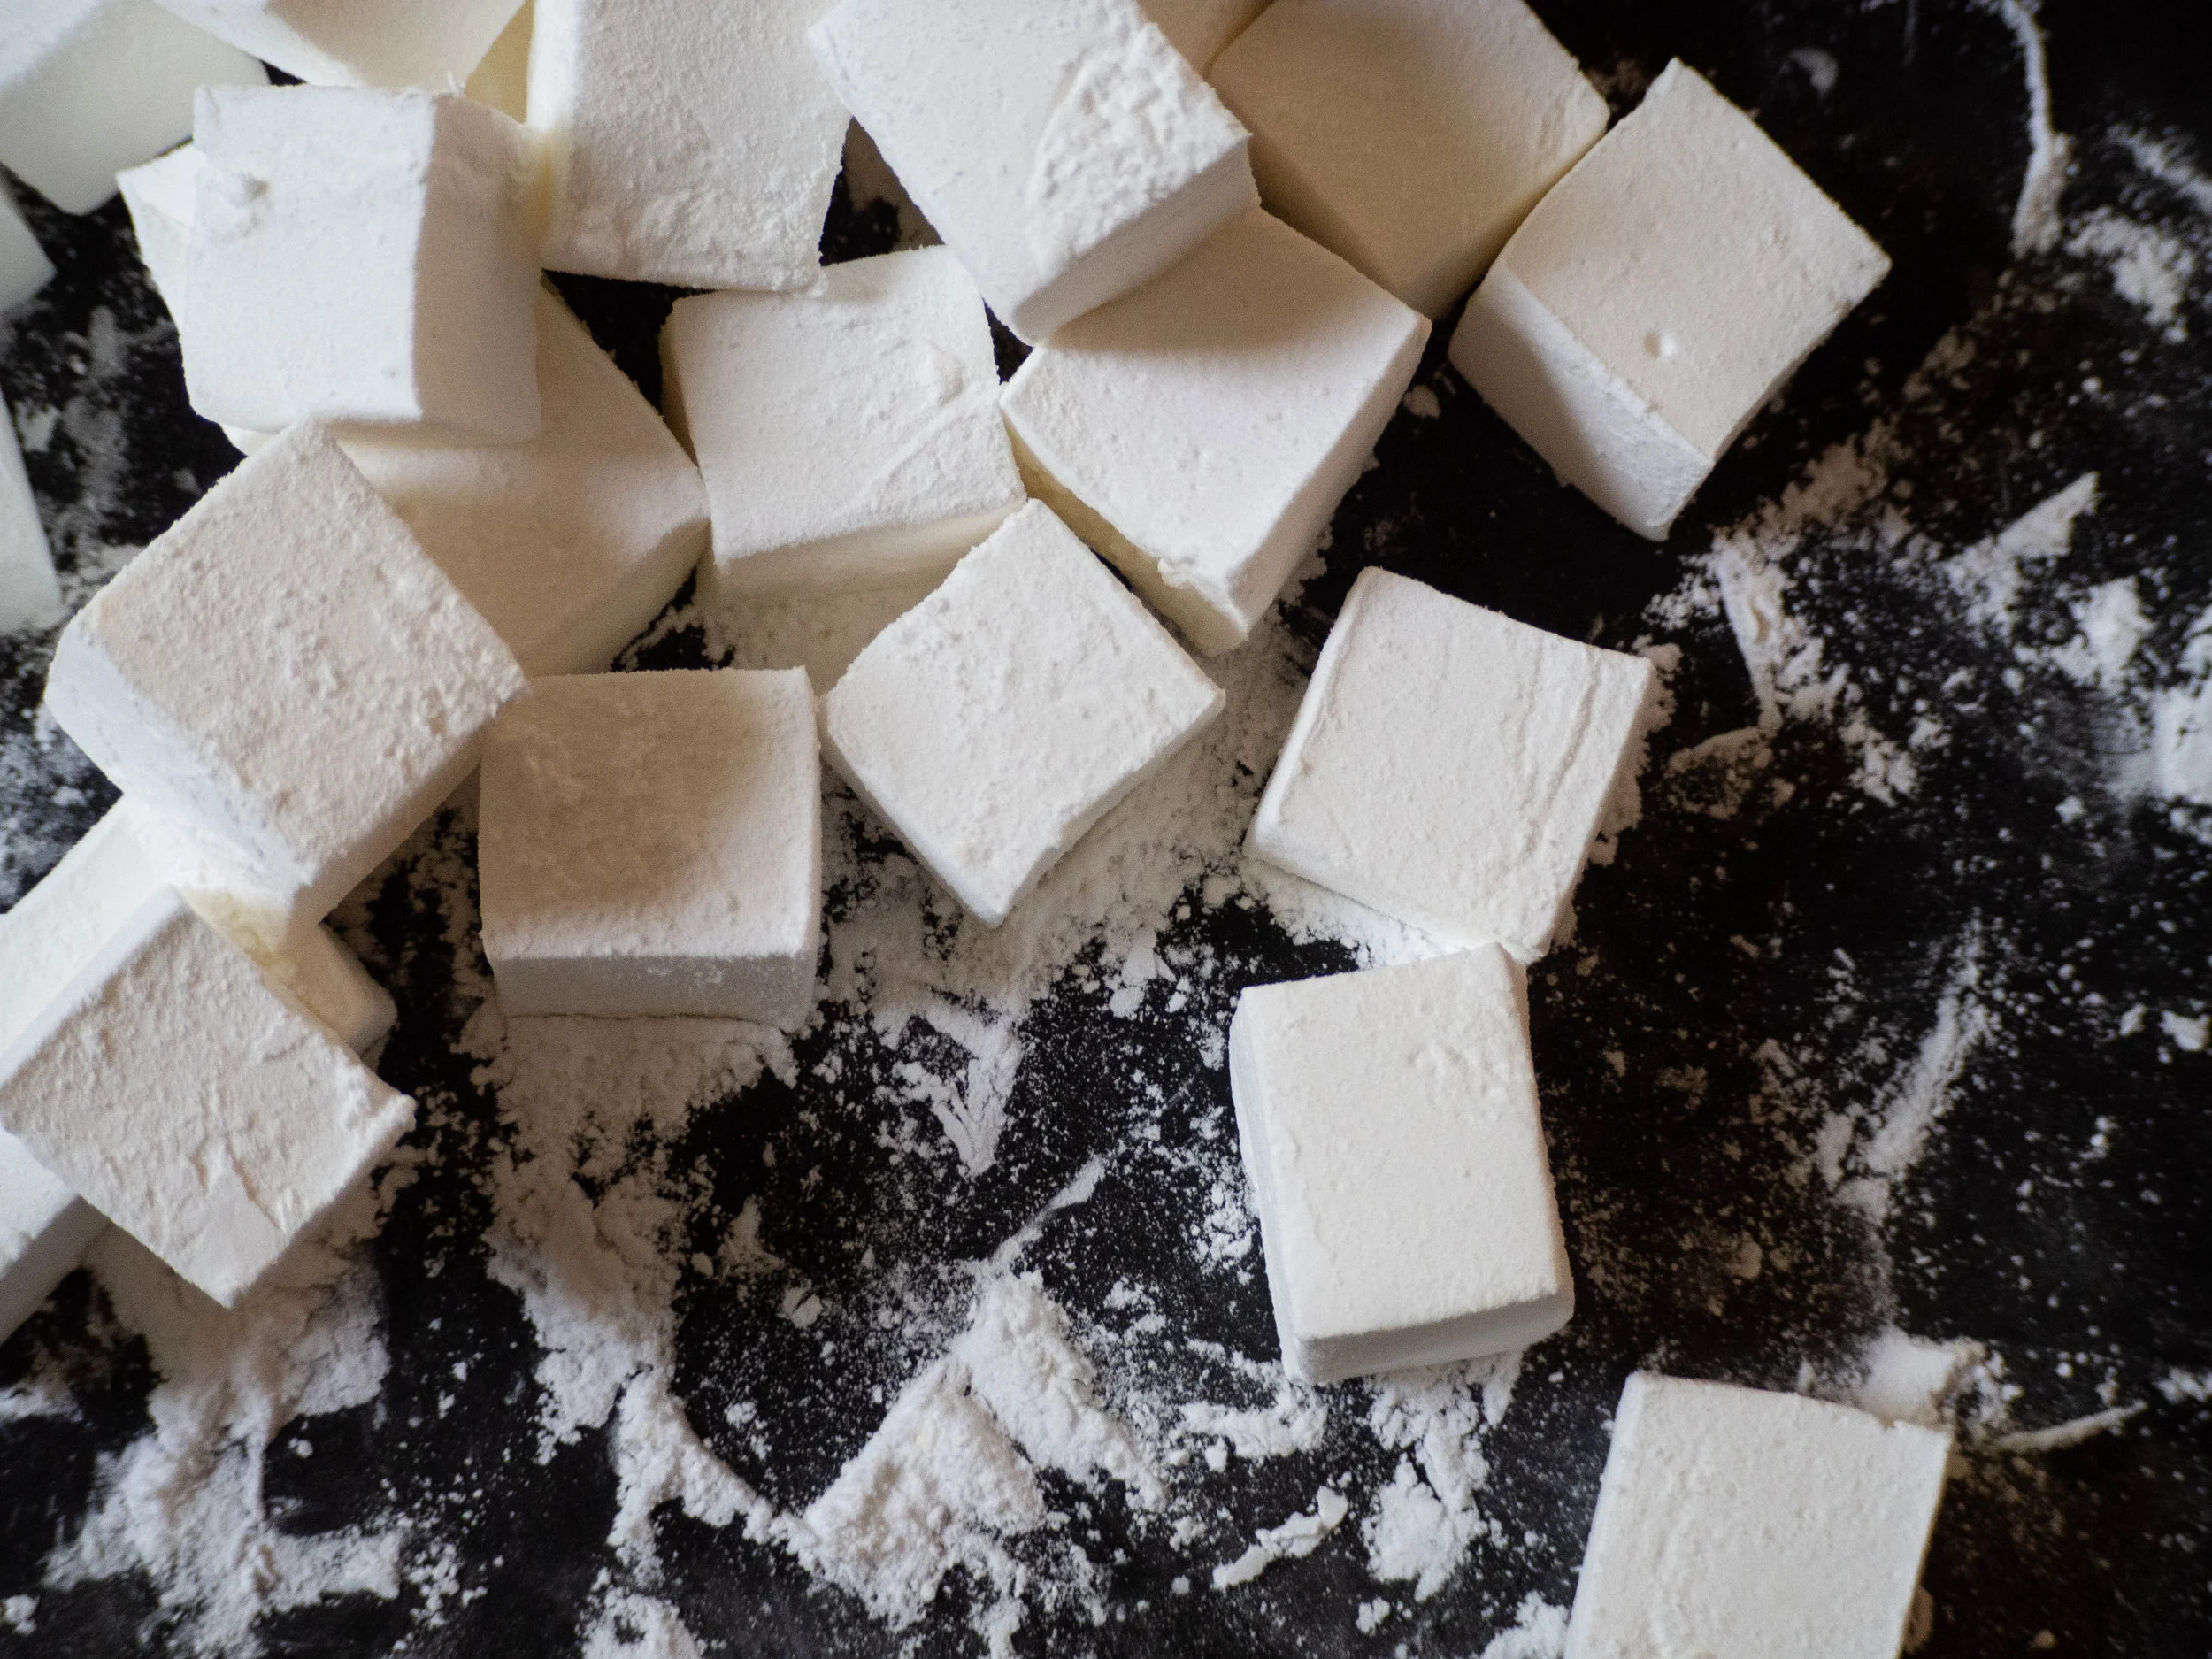
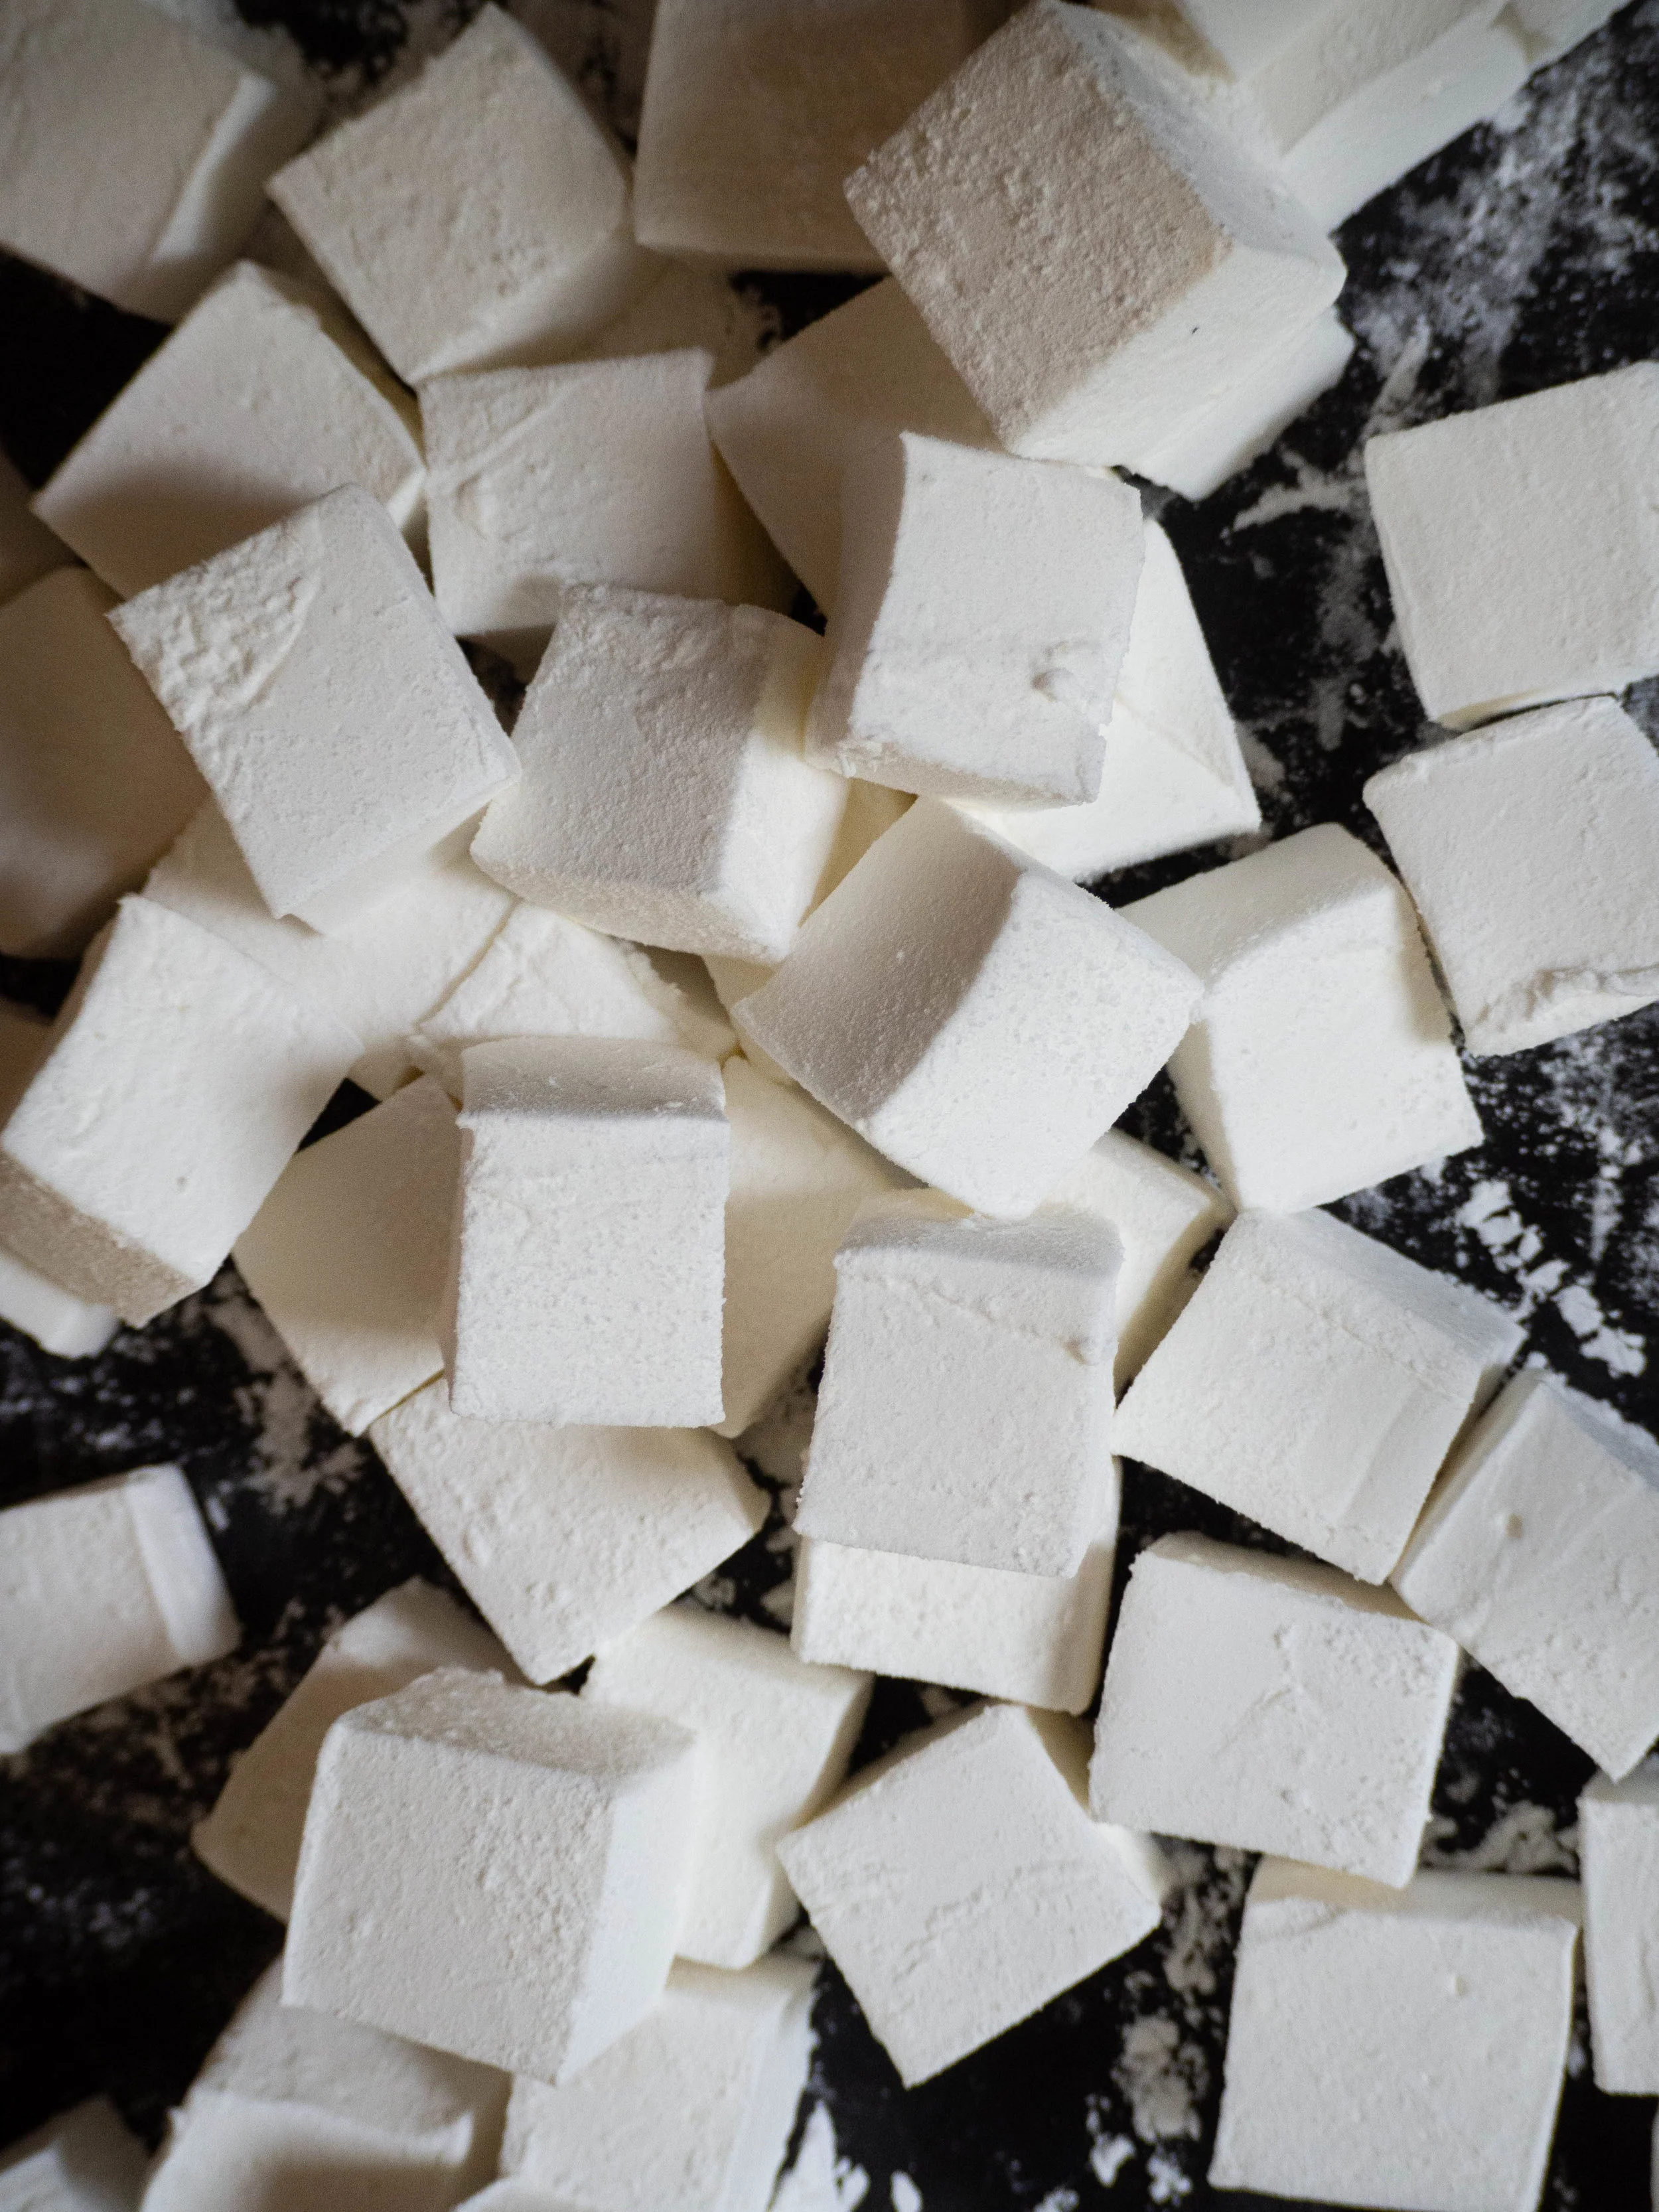
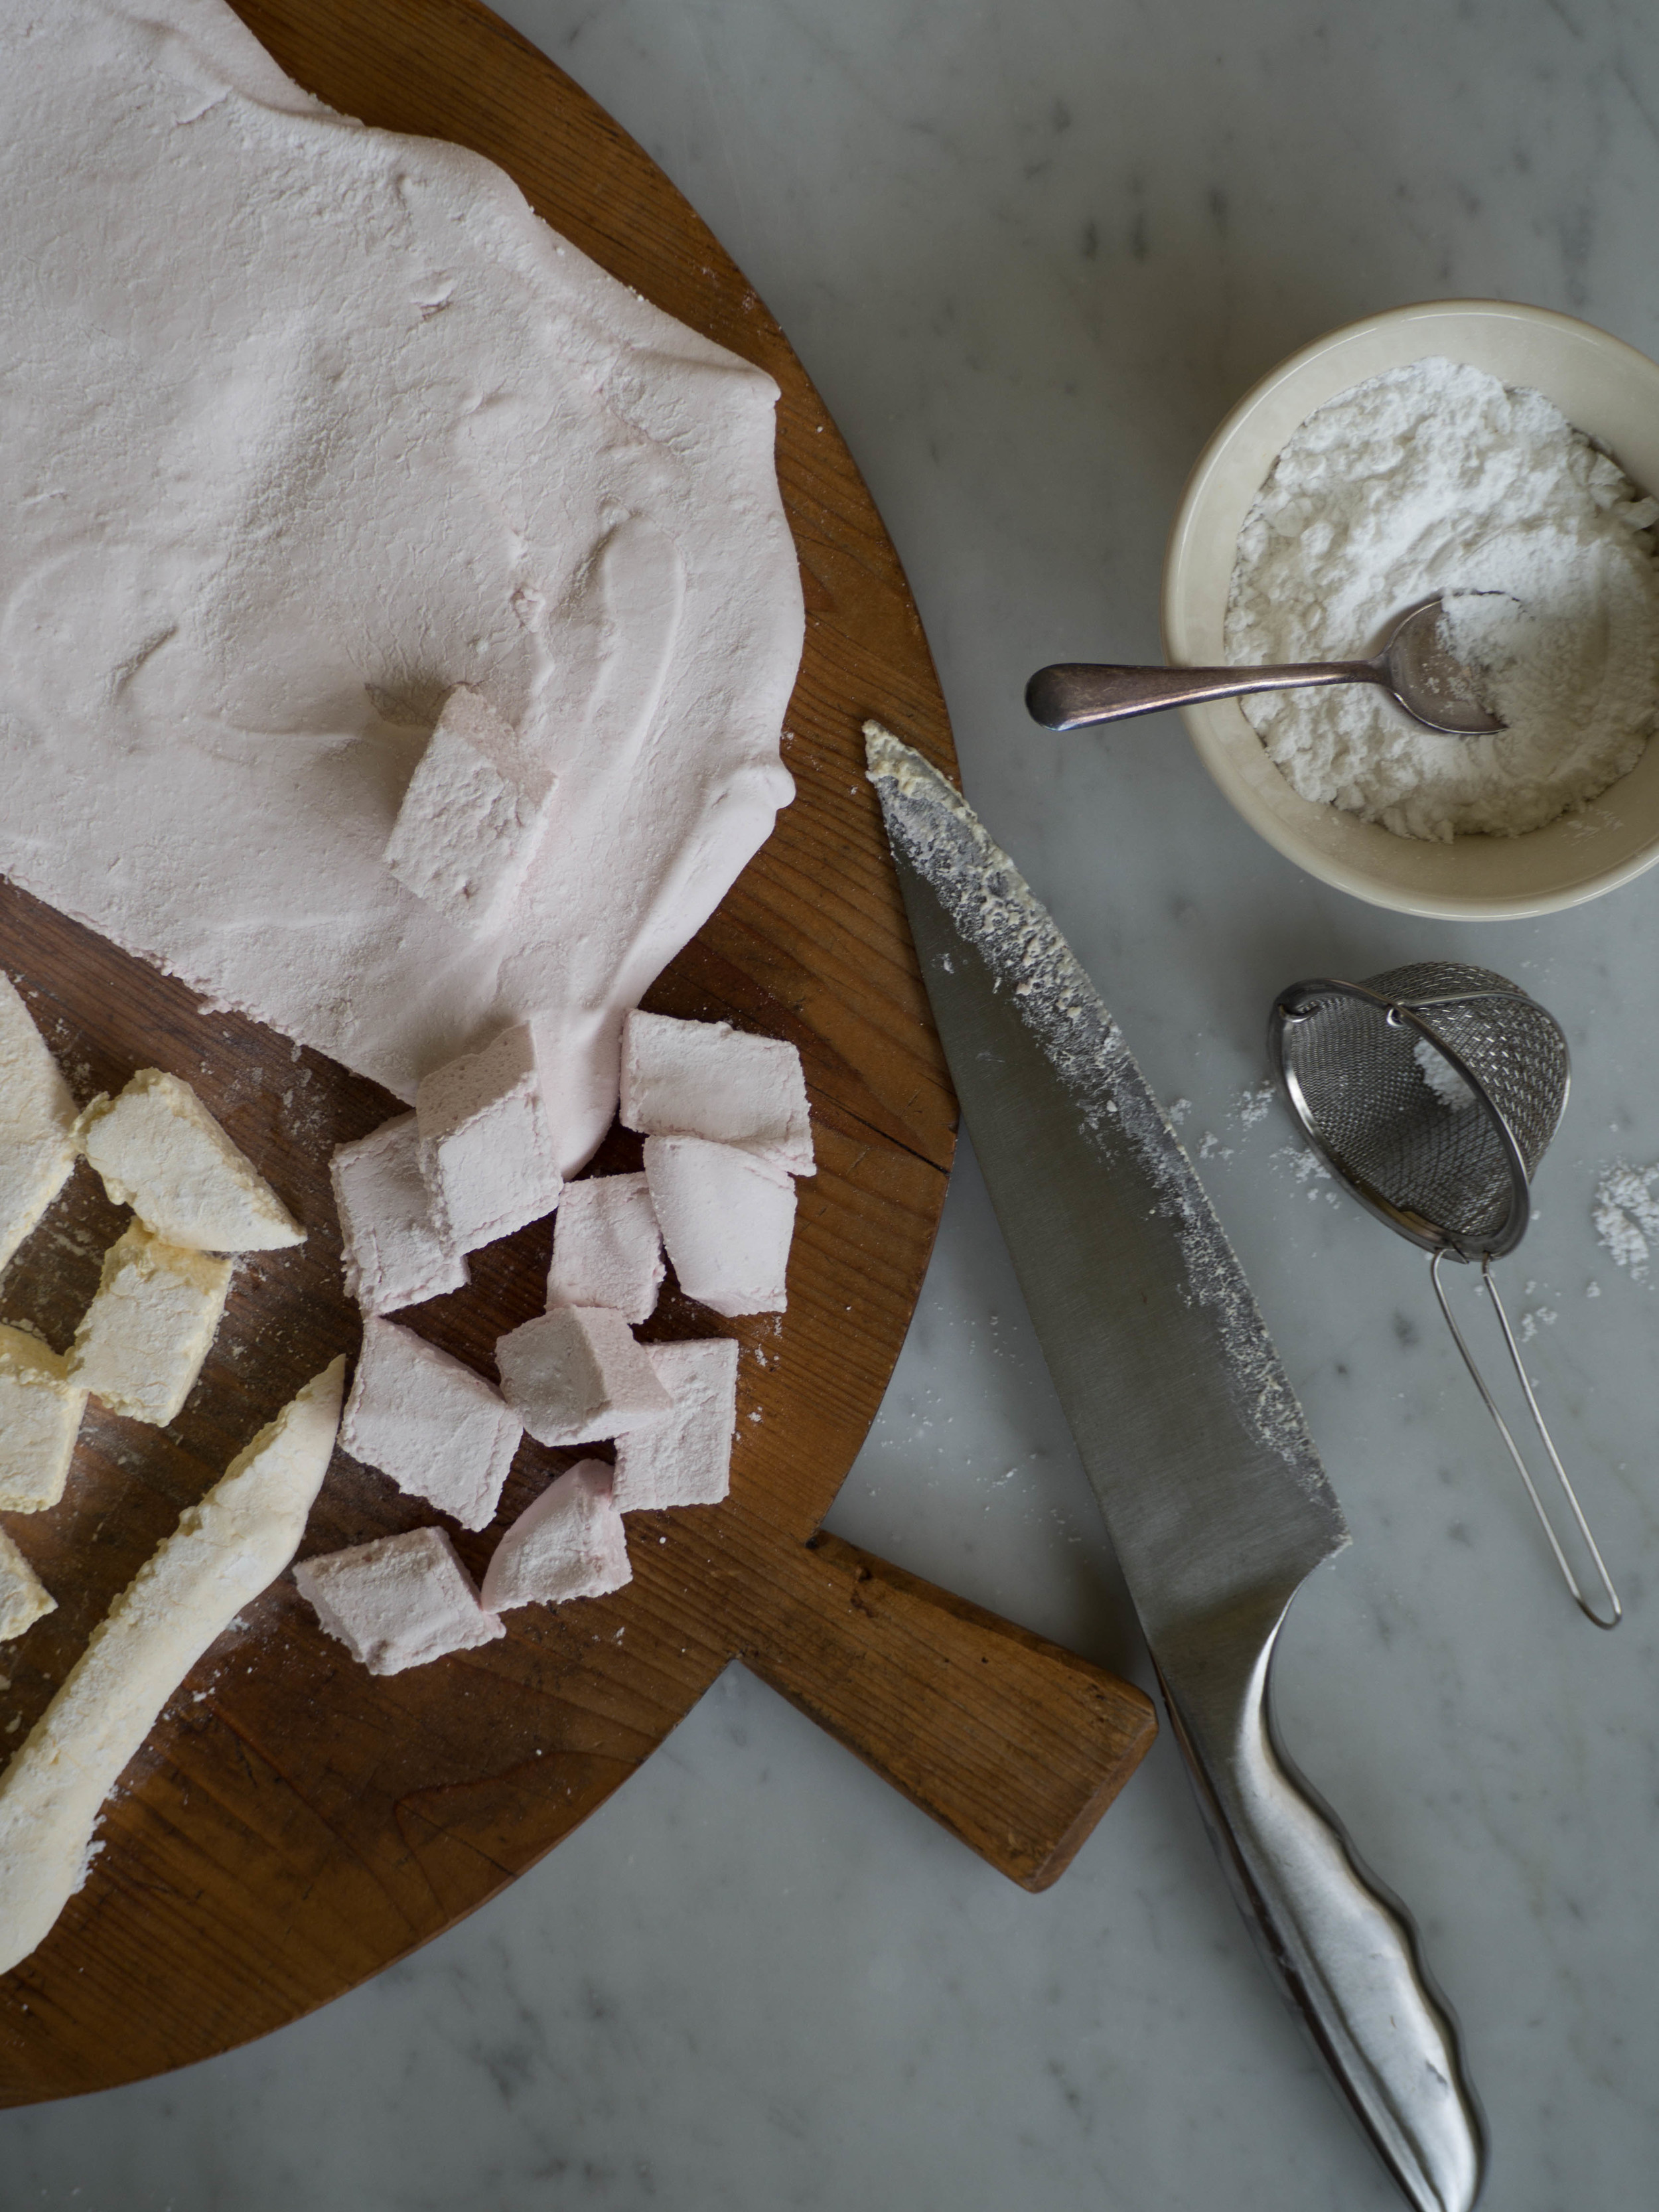
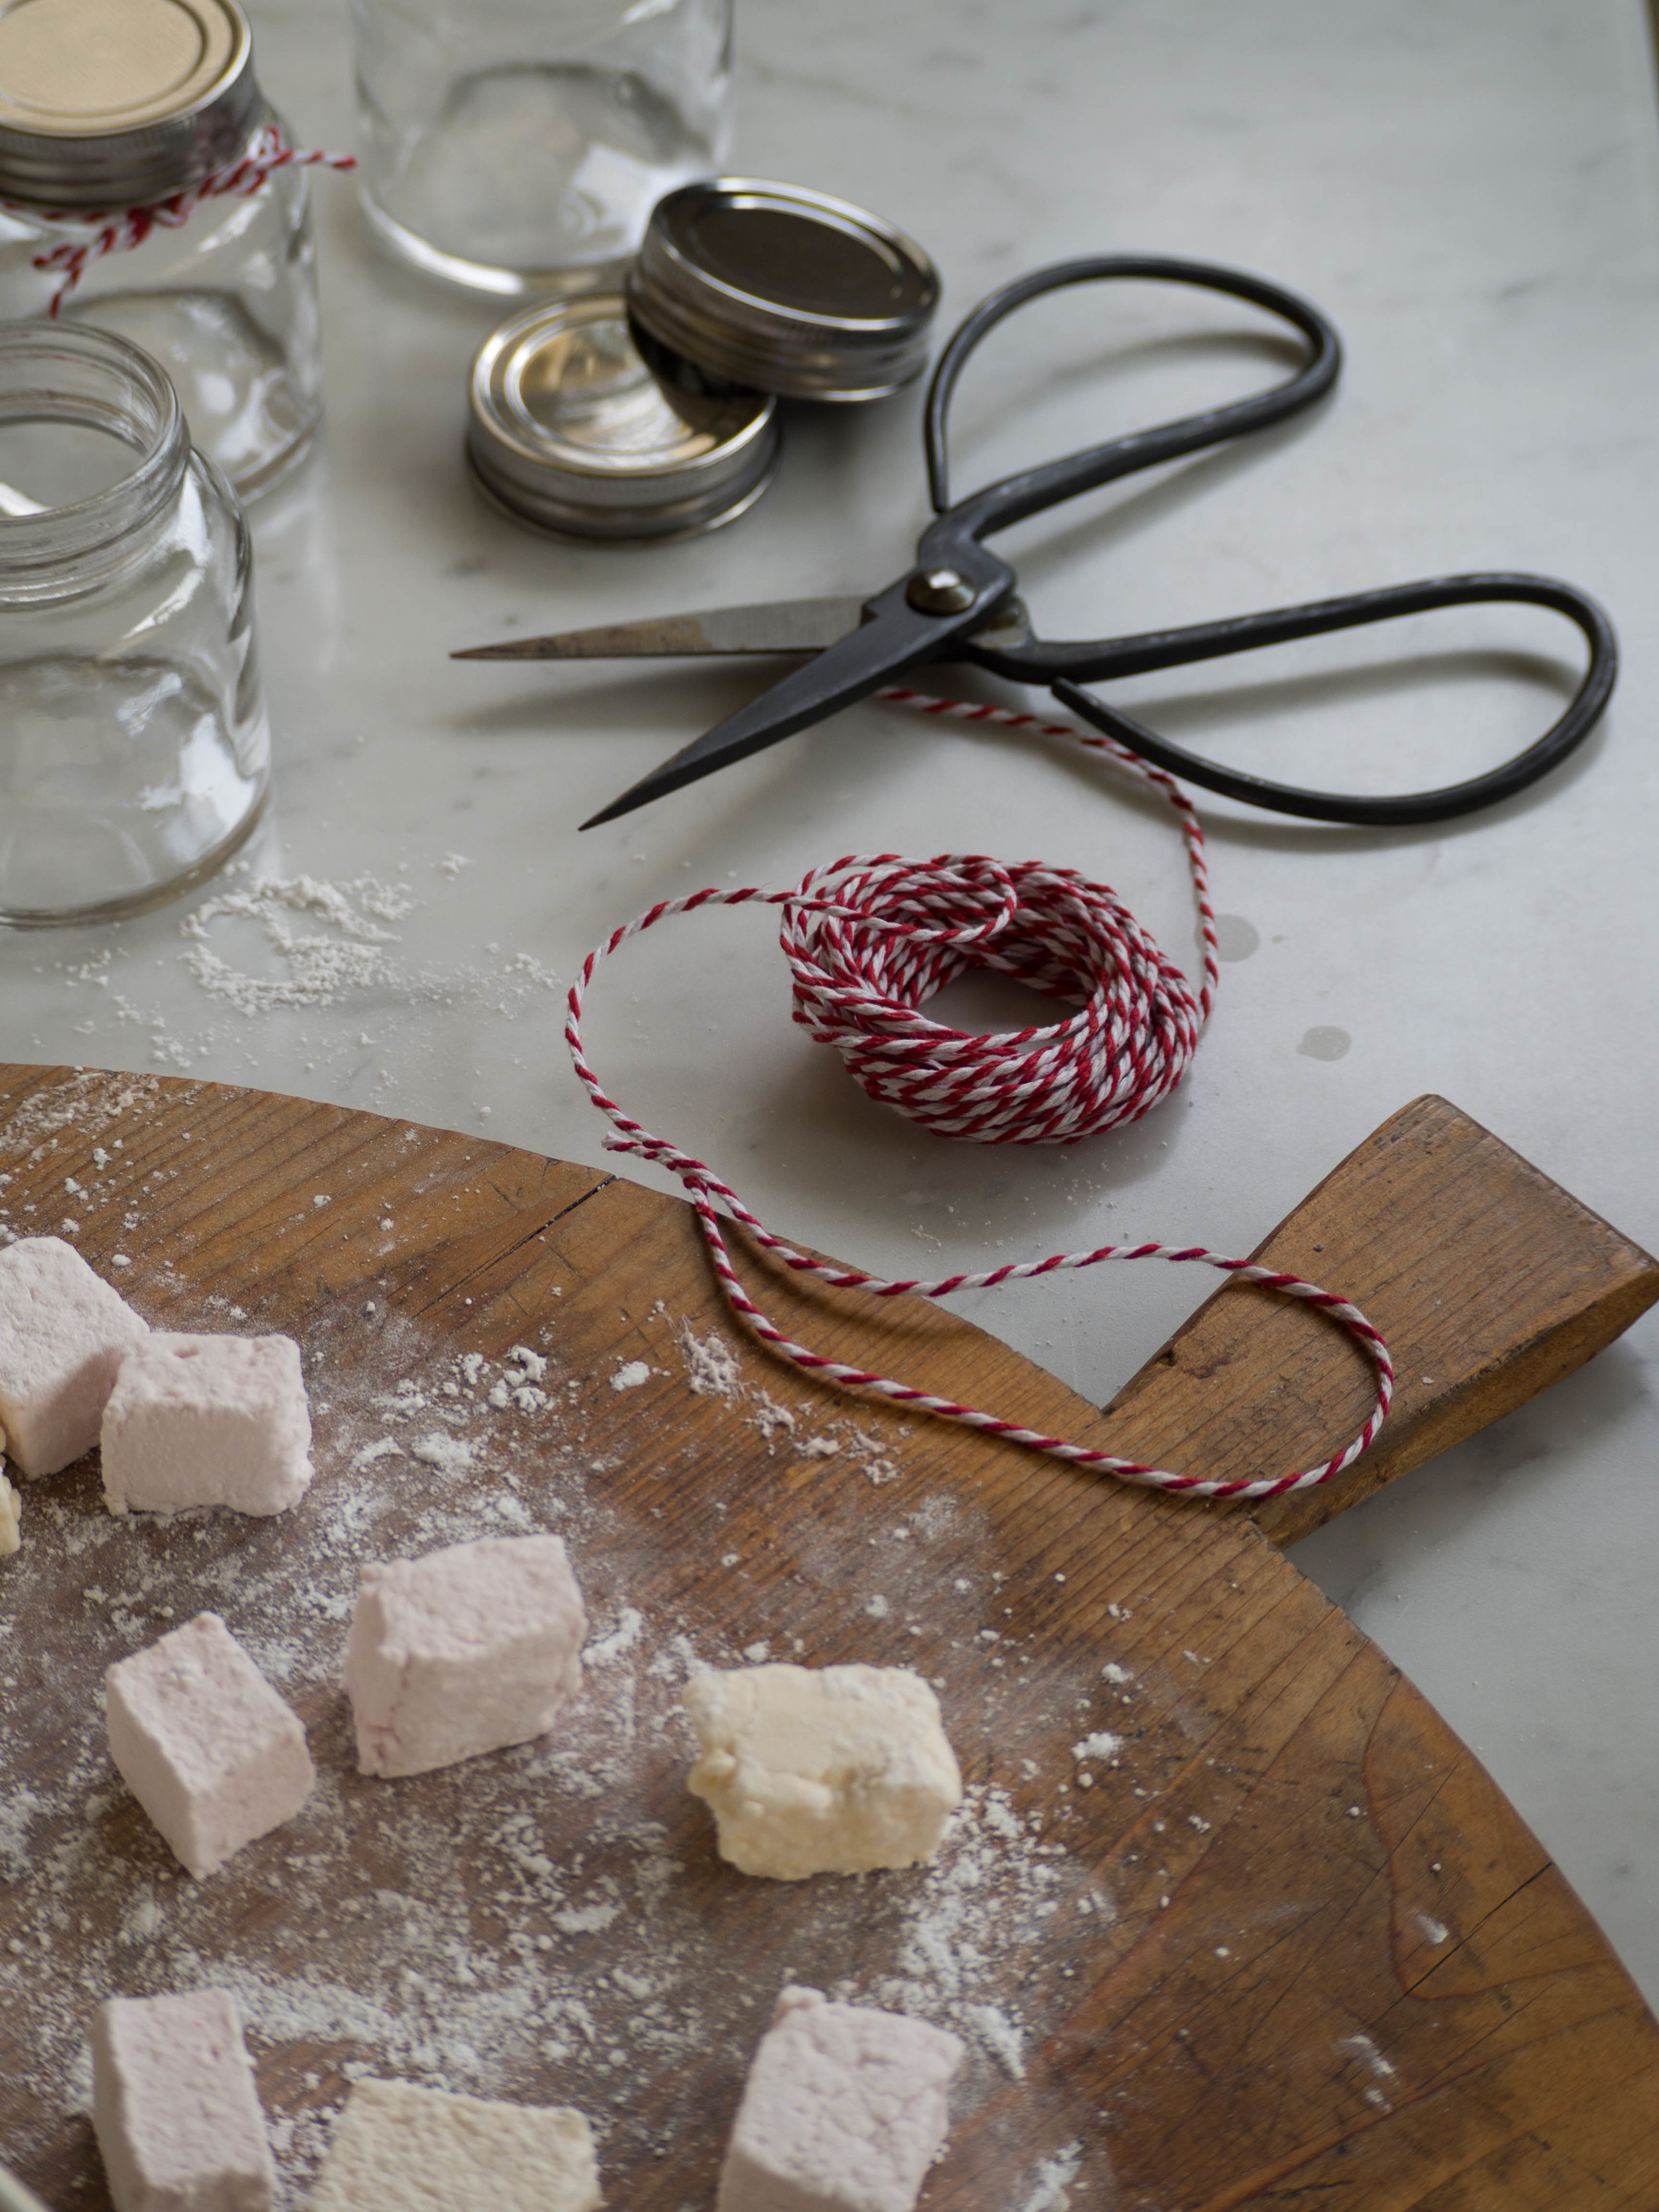
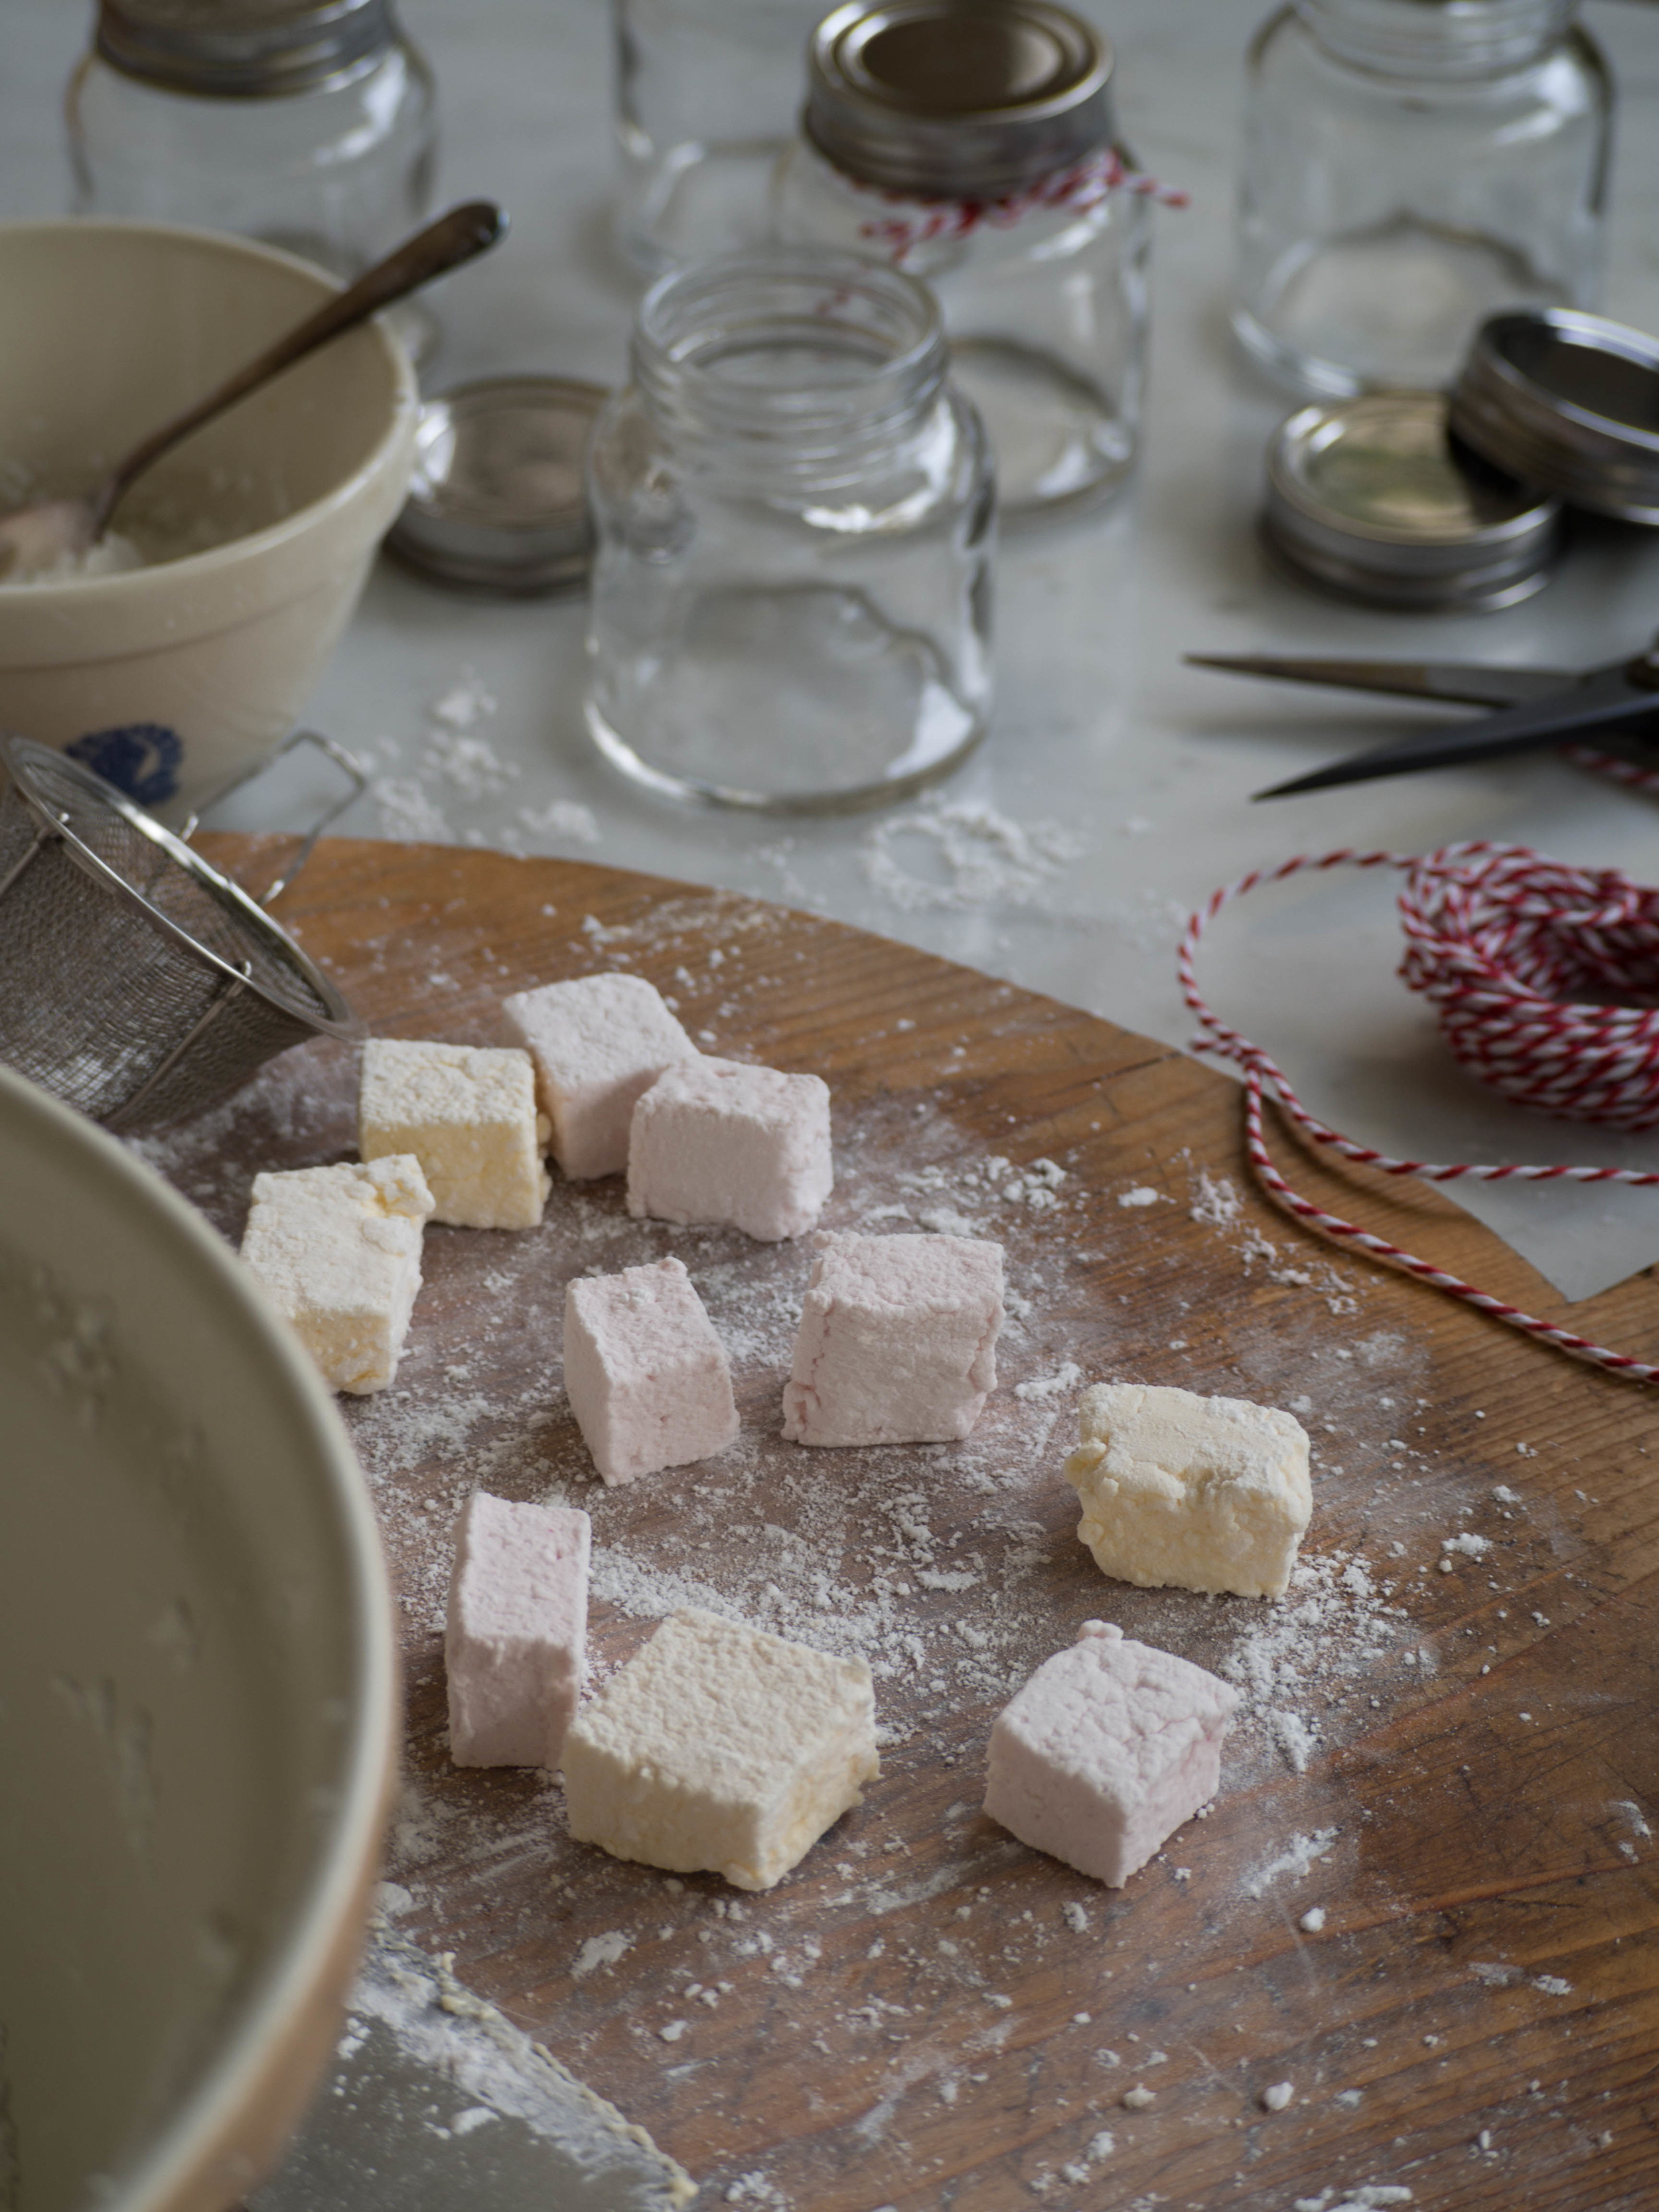
Dust more of the icing sugar mix over the top of the marshmallow slab, and around the sides. Using a large sharp knife, cut into cubes, by cutting the slab into rows, then cutting rows in the other direction. Dust your knife regularly with the icing sugar mix, and continue to dust the marshmallows as they are cut. The size you cut the marshmallows is completely up to you, I like cutting them into larger cubes (as pictured).
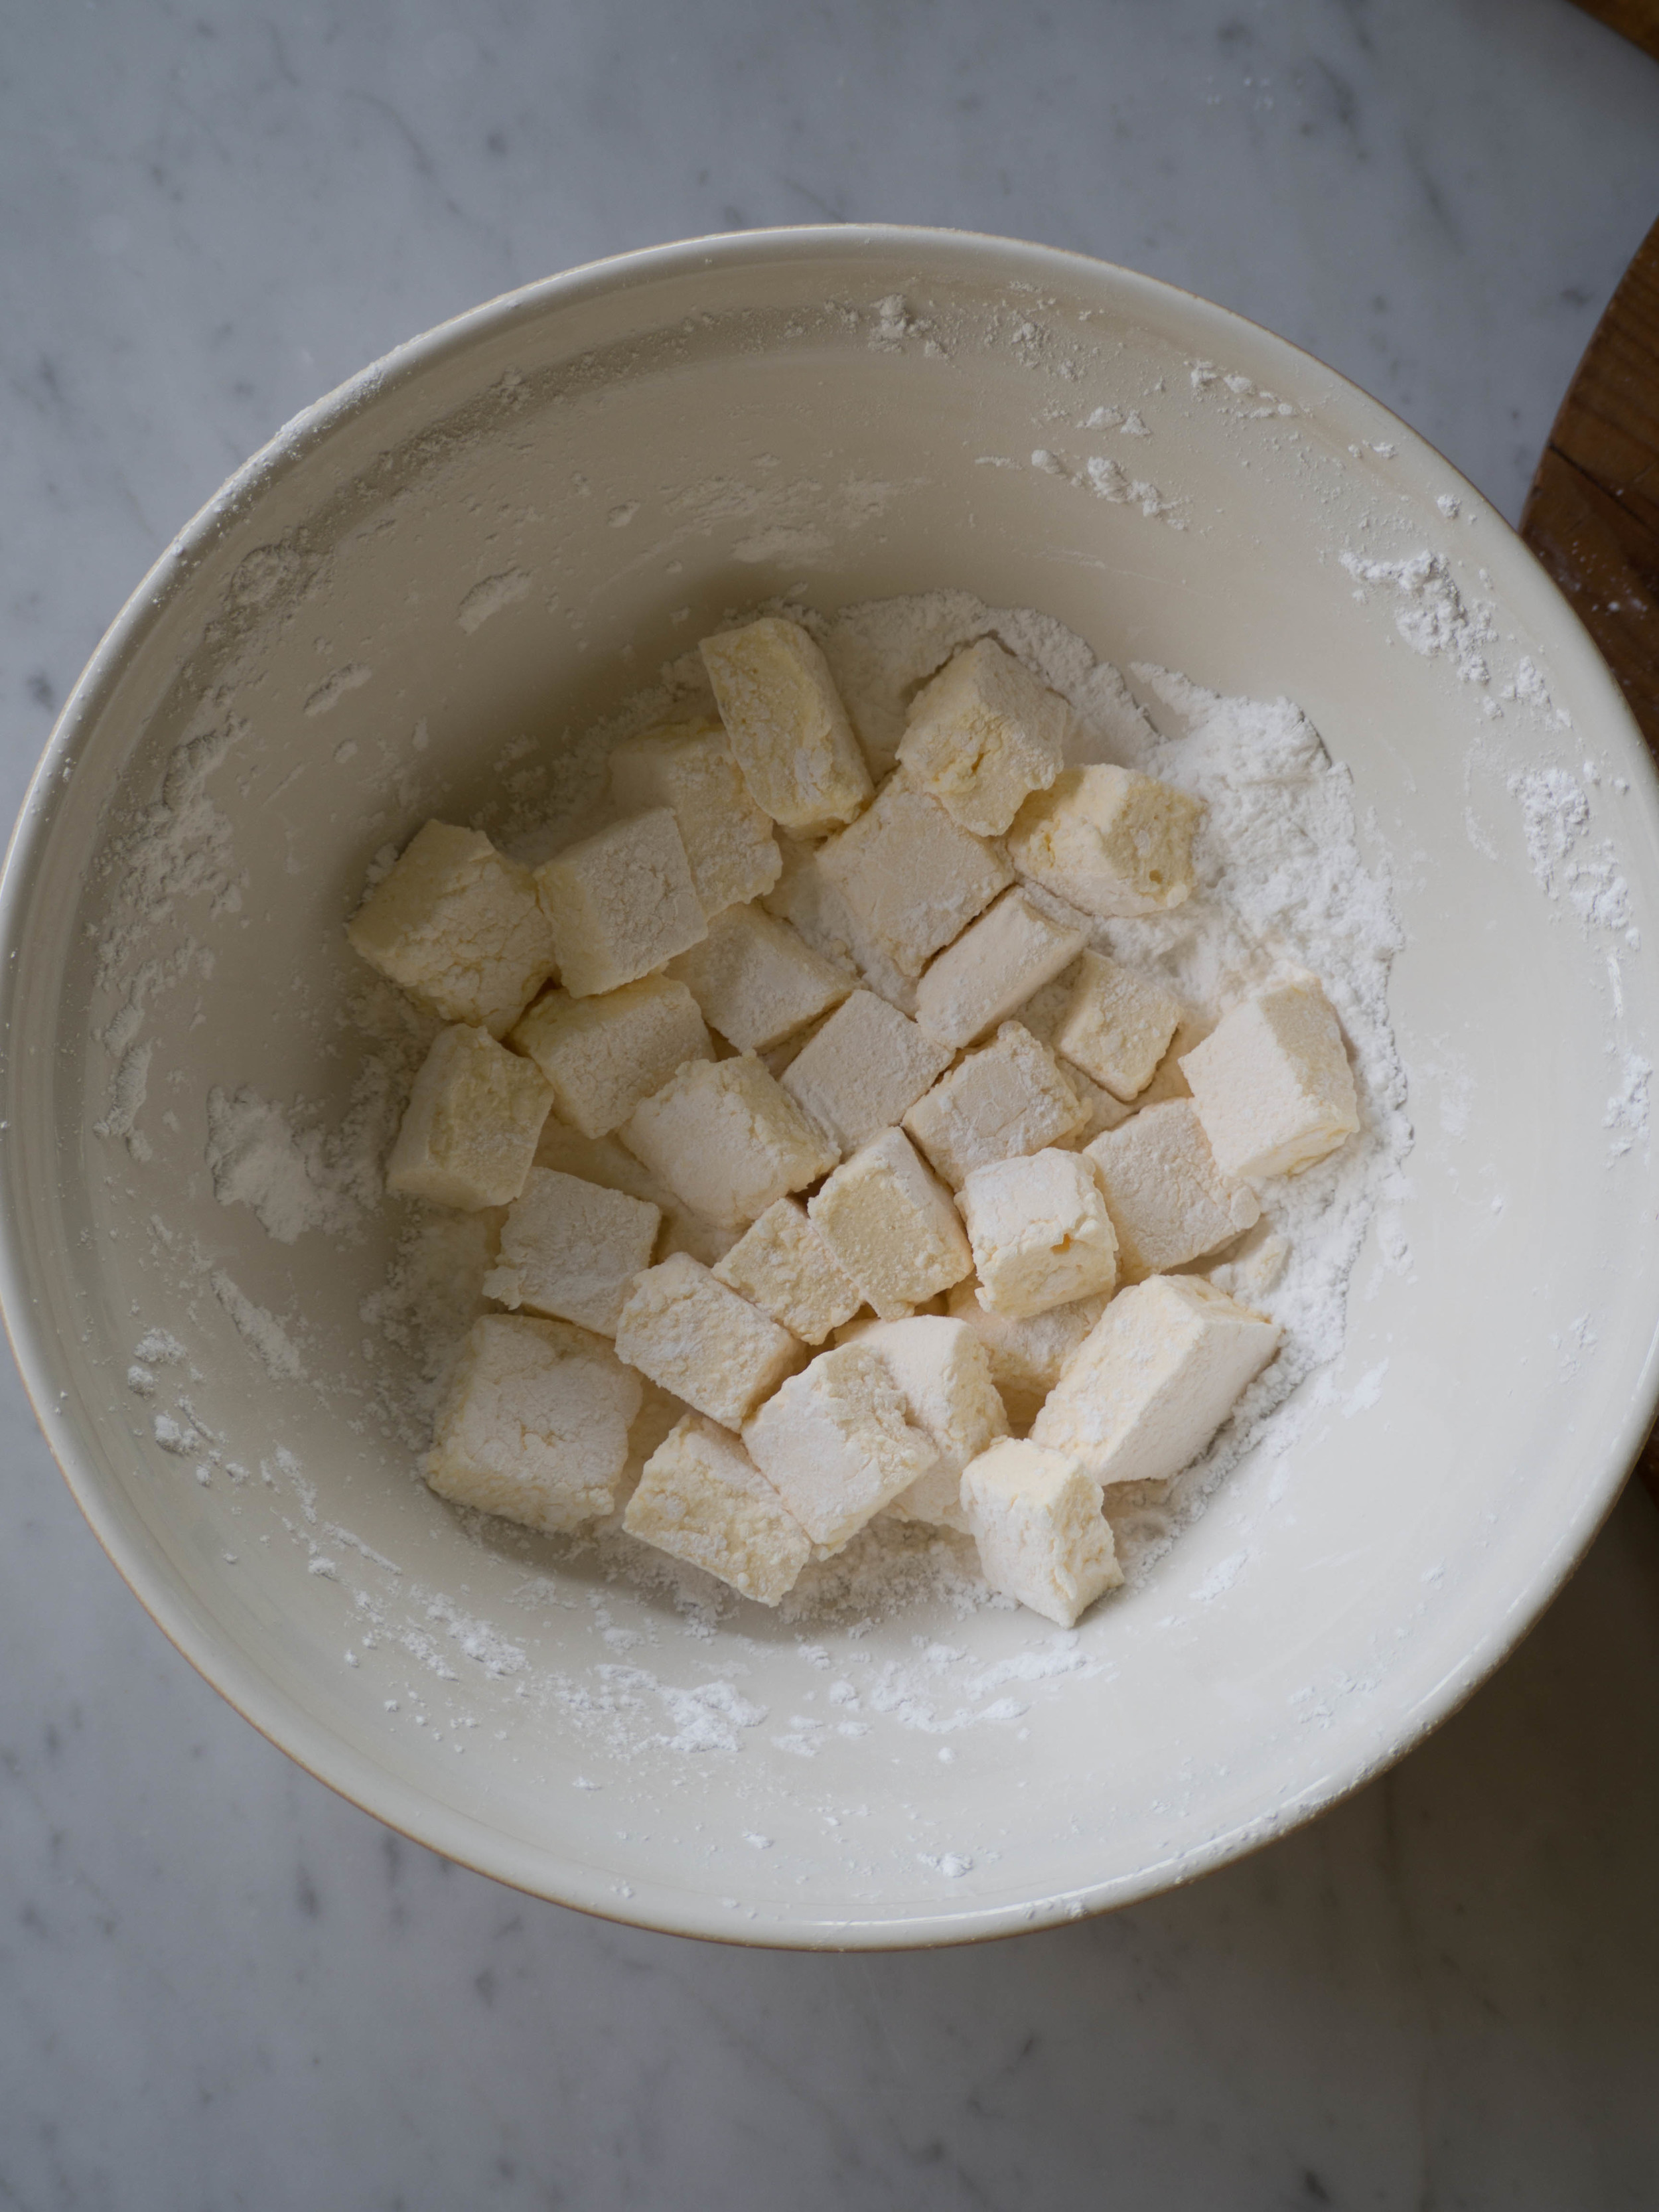
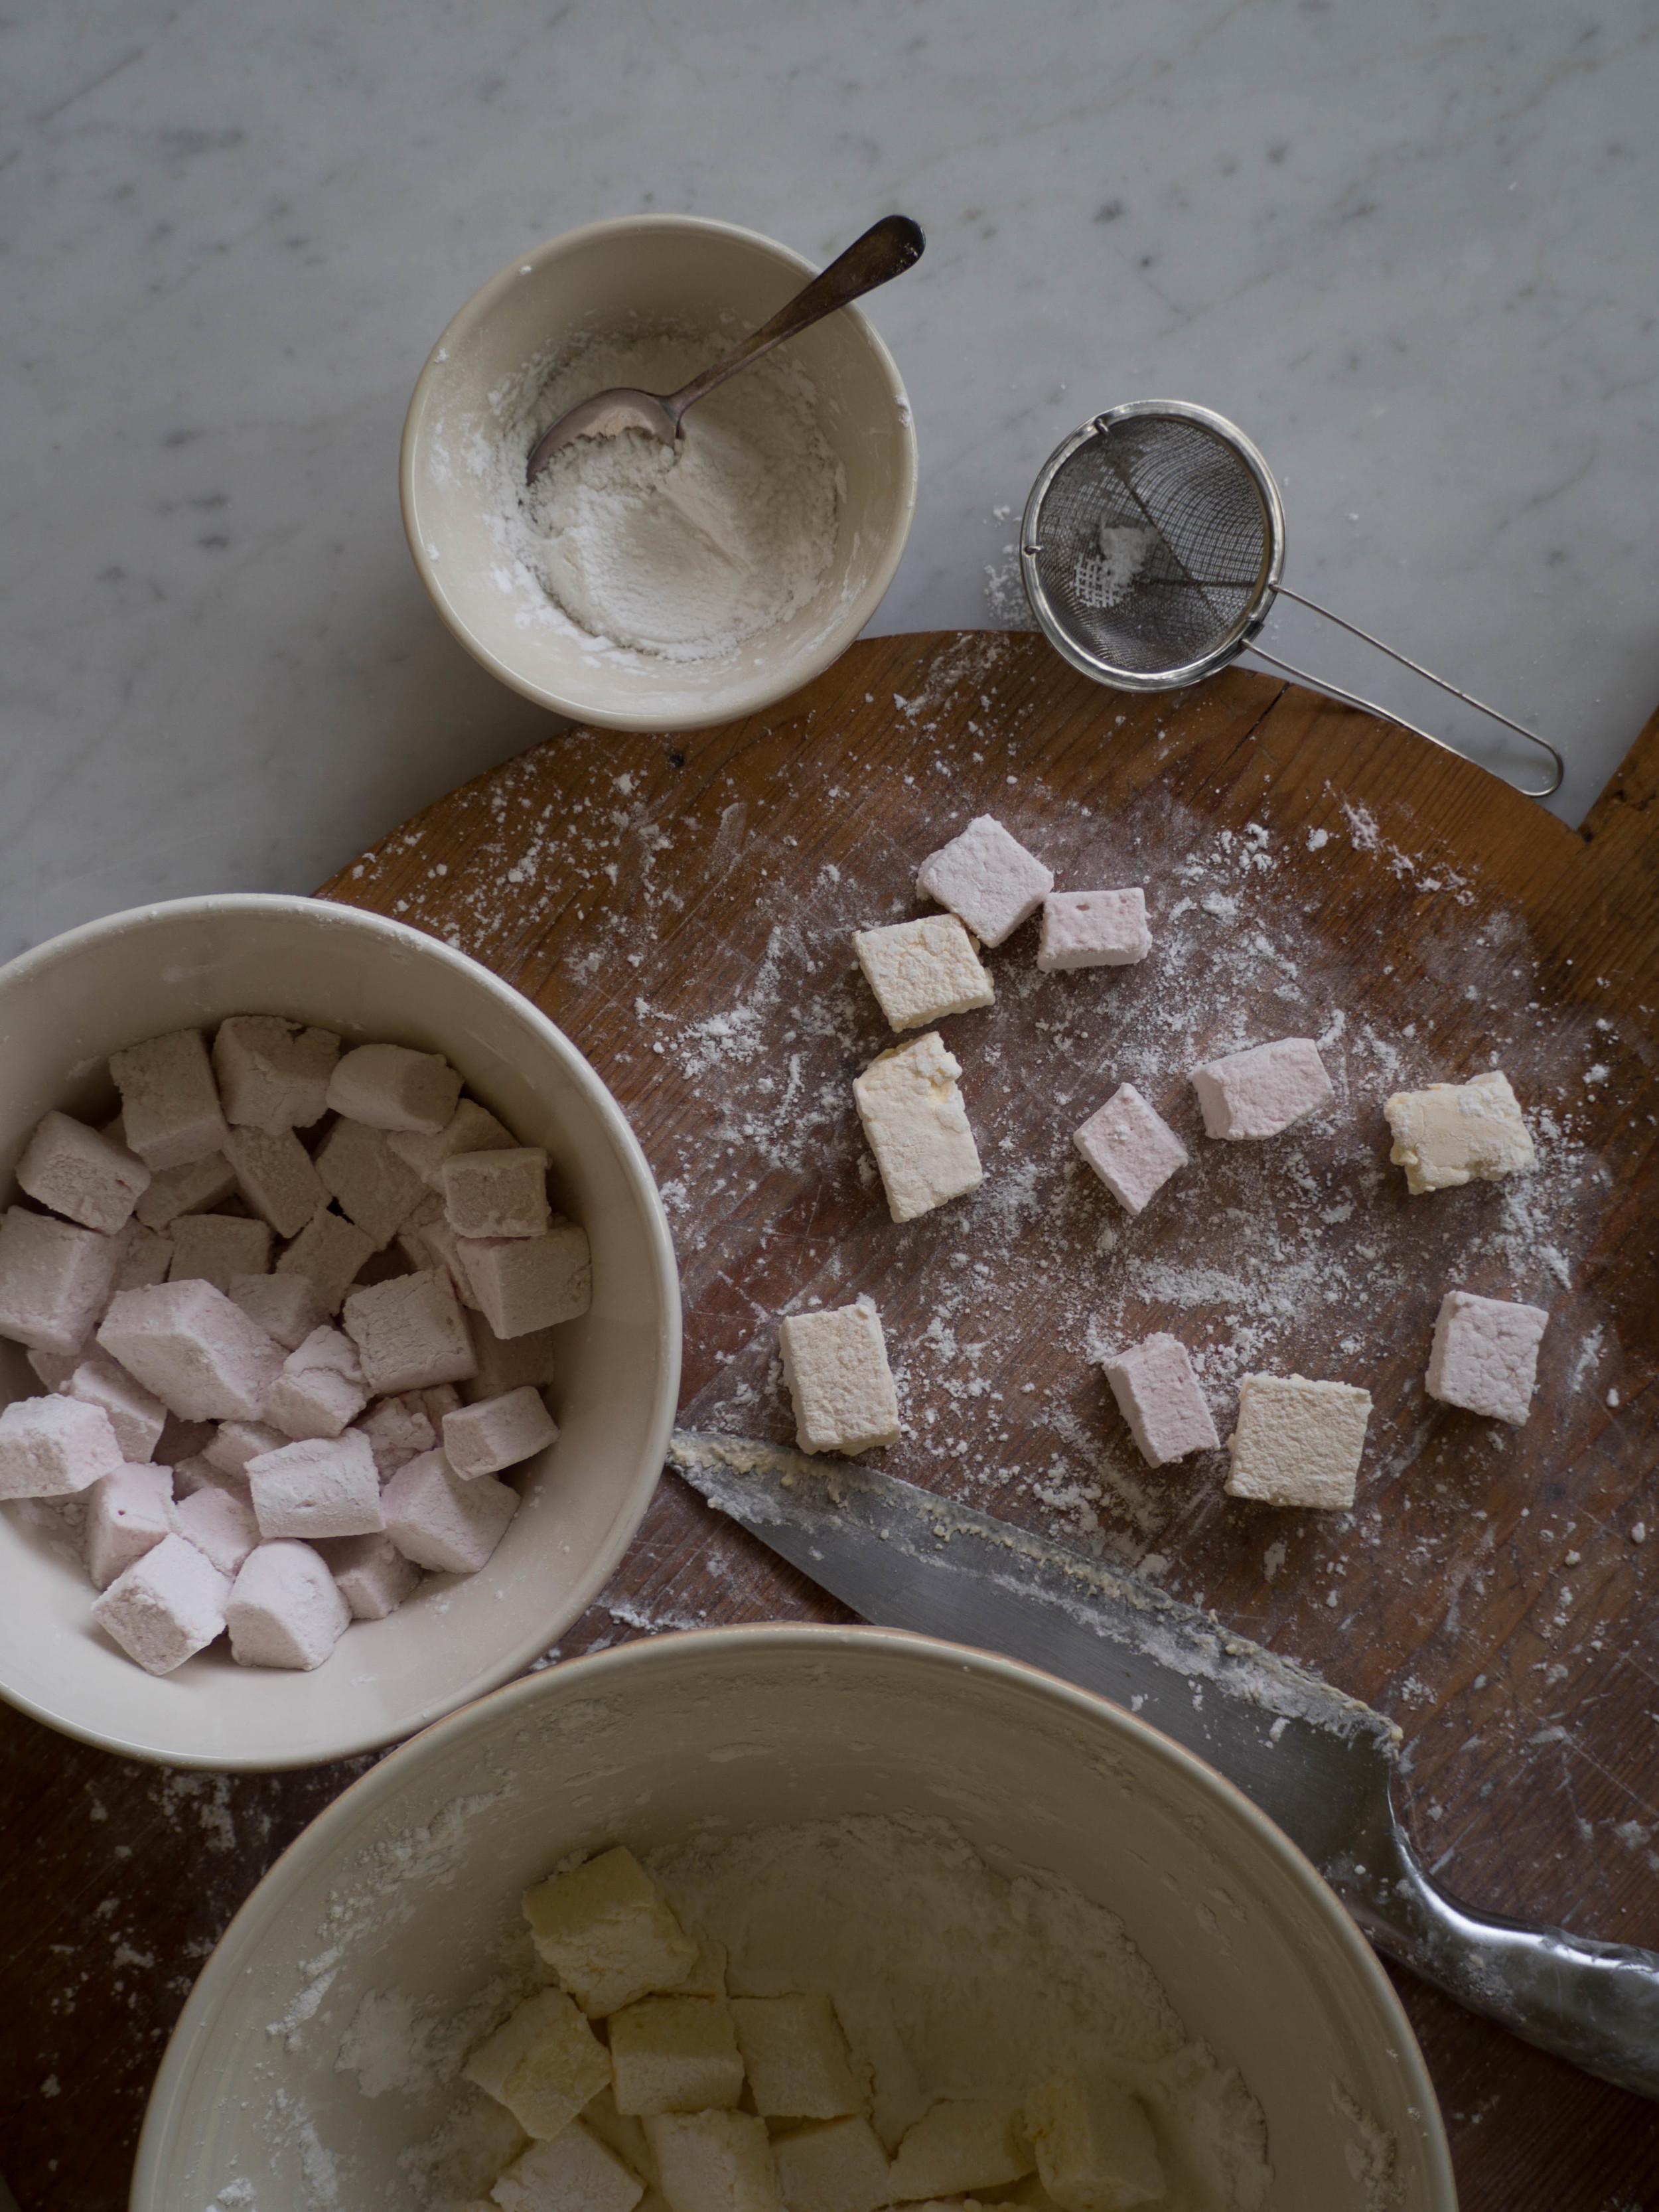
Ensure every part of the cut marshmallows are covered in the potato flour and icing sugar mix. Toss them around on the bench to remove any excess.
Store in an airtight container. The marshmallows will keep for about 3 weeks.
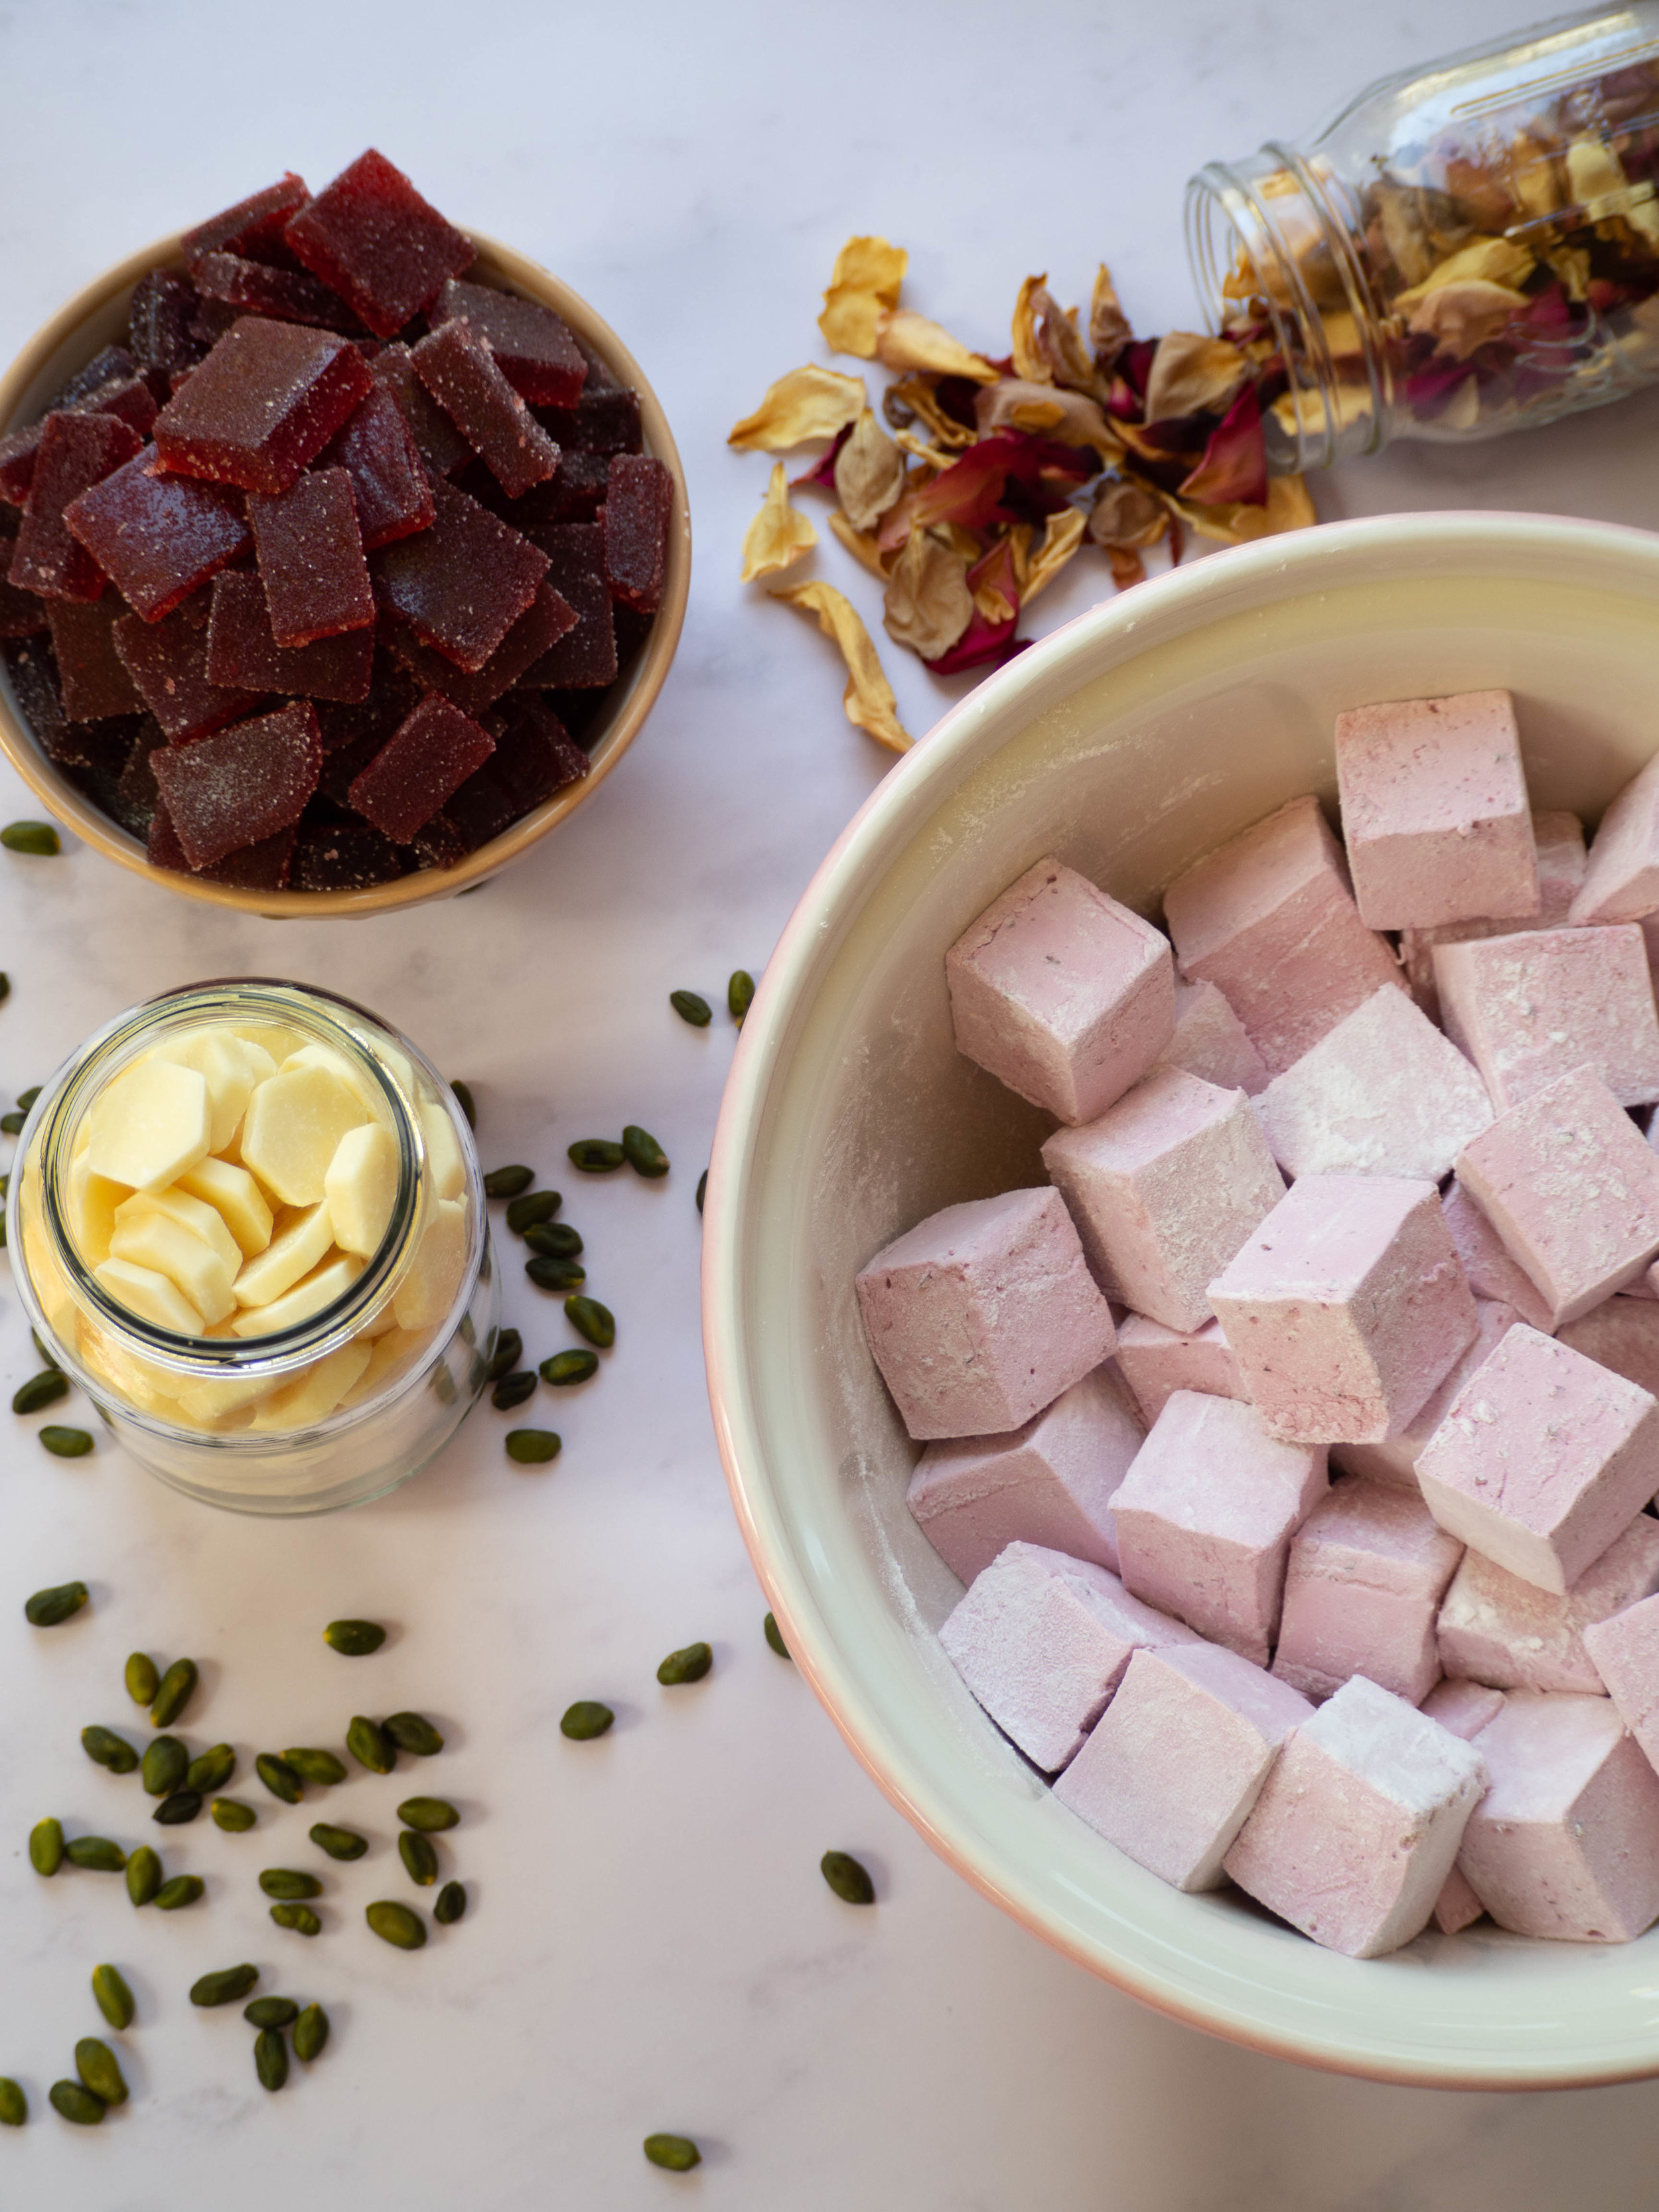
Ingredients for the Rocky Road:
700g white chocolate - choose one you like to eat (I used Cadbury Dream)
80g flaked or slivered almonds, lightly toasted
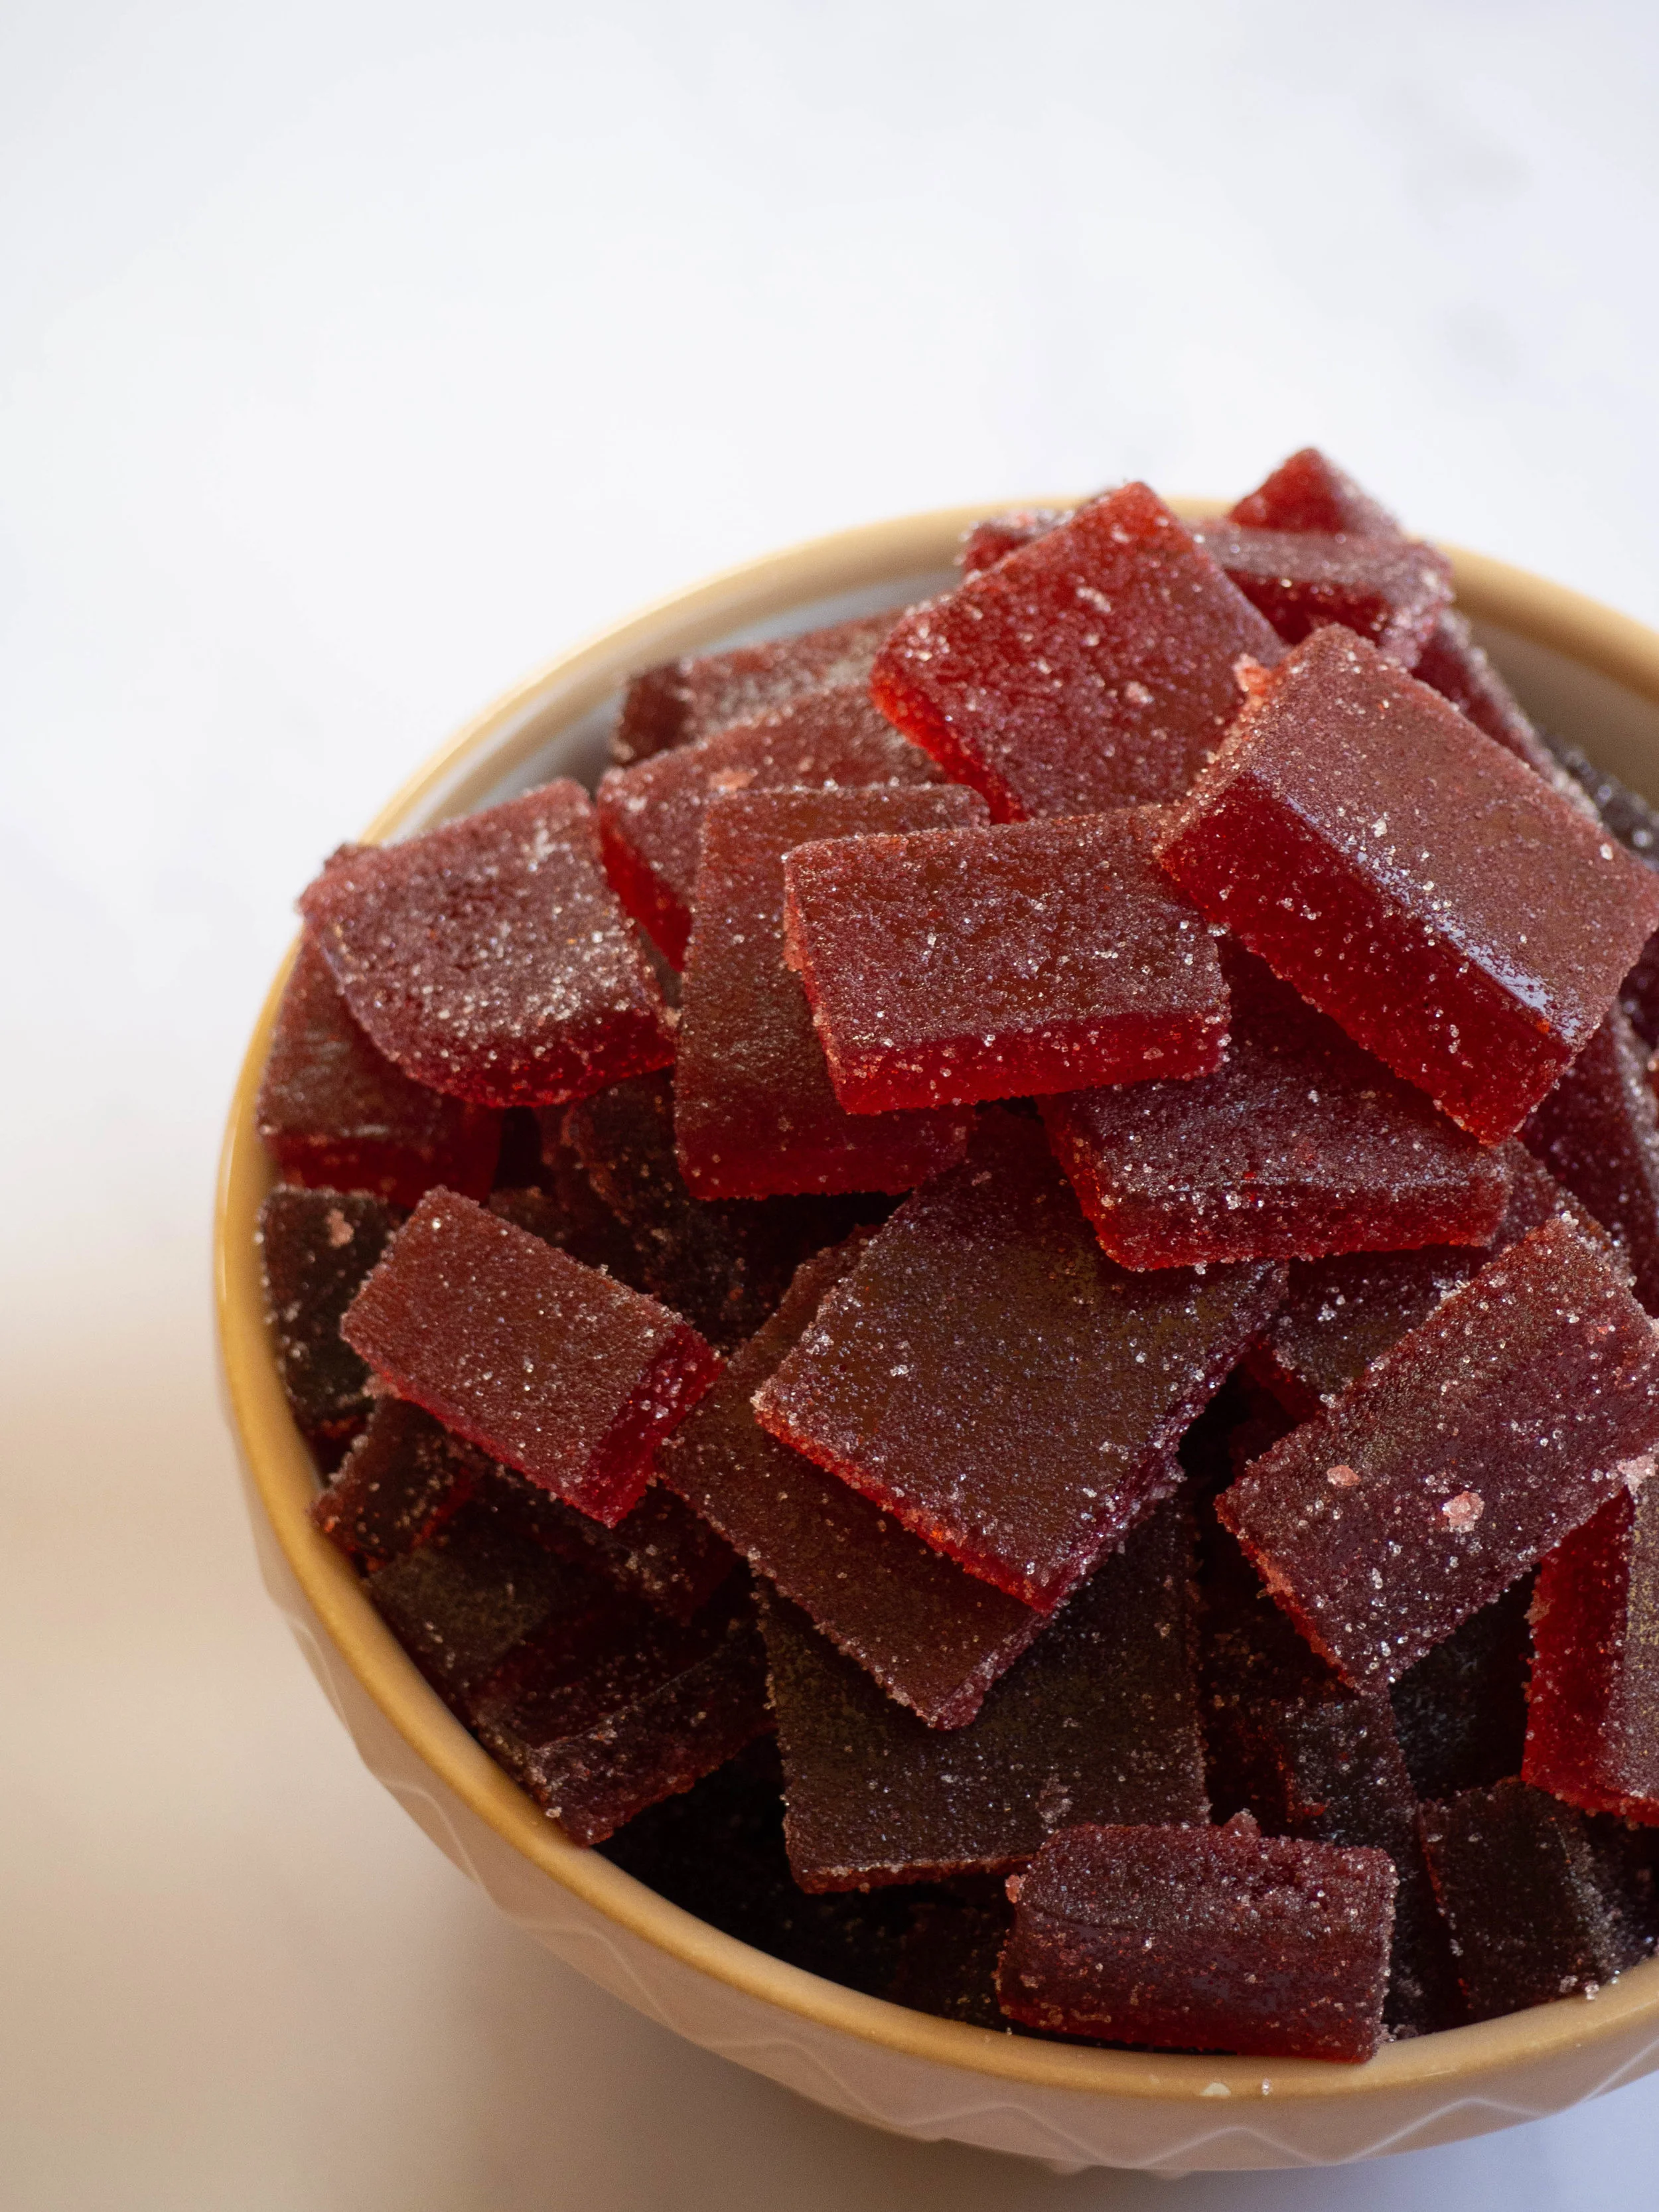
20g (approx.) freeze dried strawberries (sliced or roughly chopped whole strawberries)
500g homemade strawberry marshmallows
Method:
Line a square baking tin (approx. 22-23cm) with baking paper - I like to use small bulldog clips to hold the paper in place.
Have all the rocky road elements ready to go next to your prepared tin.
Melt the chocolate by placing a small pot with a little water on the stove and allow to simmer. Plate another pot or bowl that will comfortably sit over the top of the water pot, on top of the smaller pan, and add the chocolate to this pot/bowl. Gently mix the chocolate until completely melted.
Pour about a third of the chocolate into the base of the prepared tin and allow it cover the base completely. Scatter in half the marshmallows, and one third of the almonds and freeze dried strawberries. Cover with another third of the chocolate, then place the remaining marshmallows and another third of the almonds and freeze dried strawberries. Cover with the remaining chocolate, and scatter over the remaining almonds and freeze dried strawberries.
Place in the fridge for at least 30 minutes to set (especially if you are working in warm or humid conditions), however you can prepare this in advance and cut the next day.
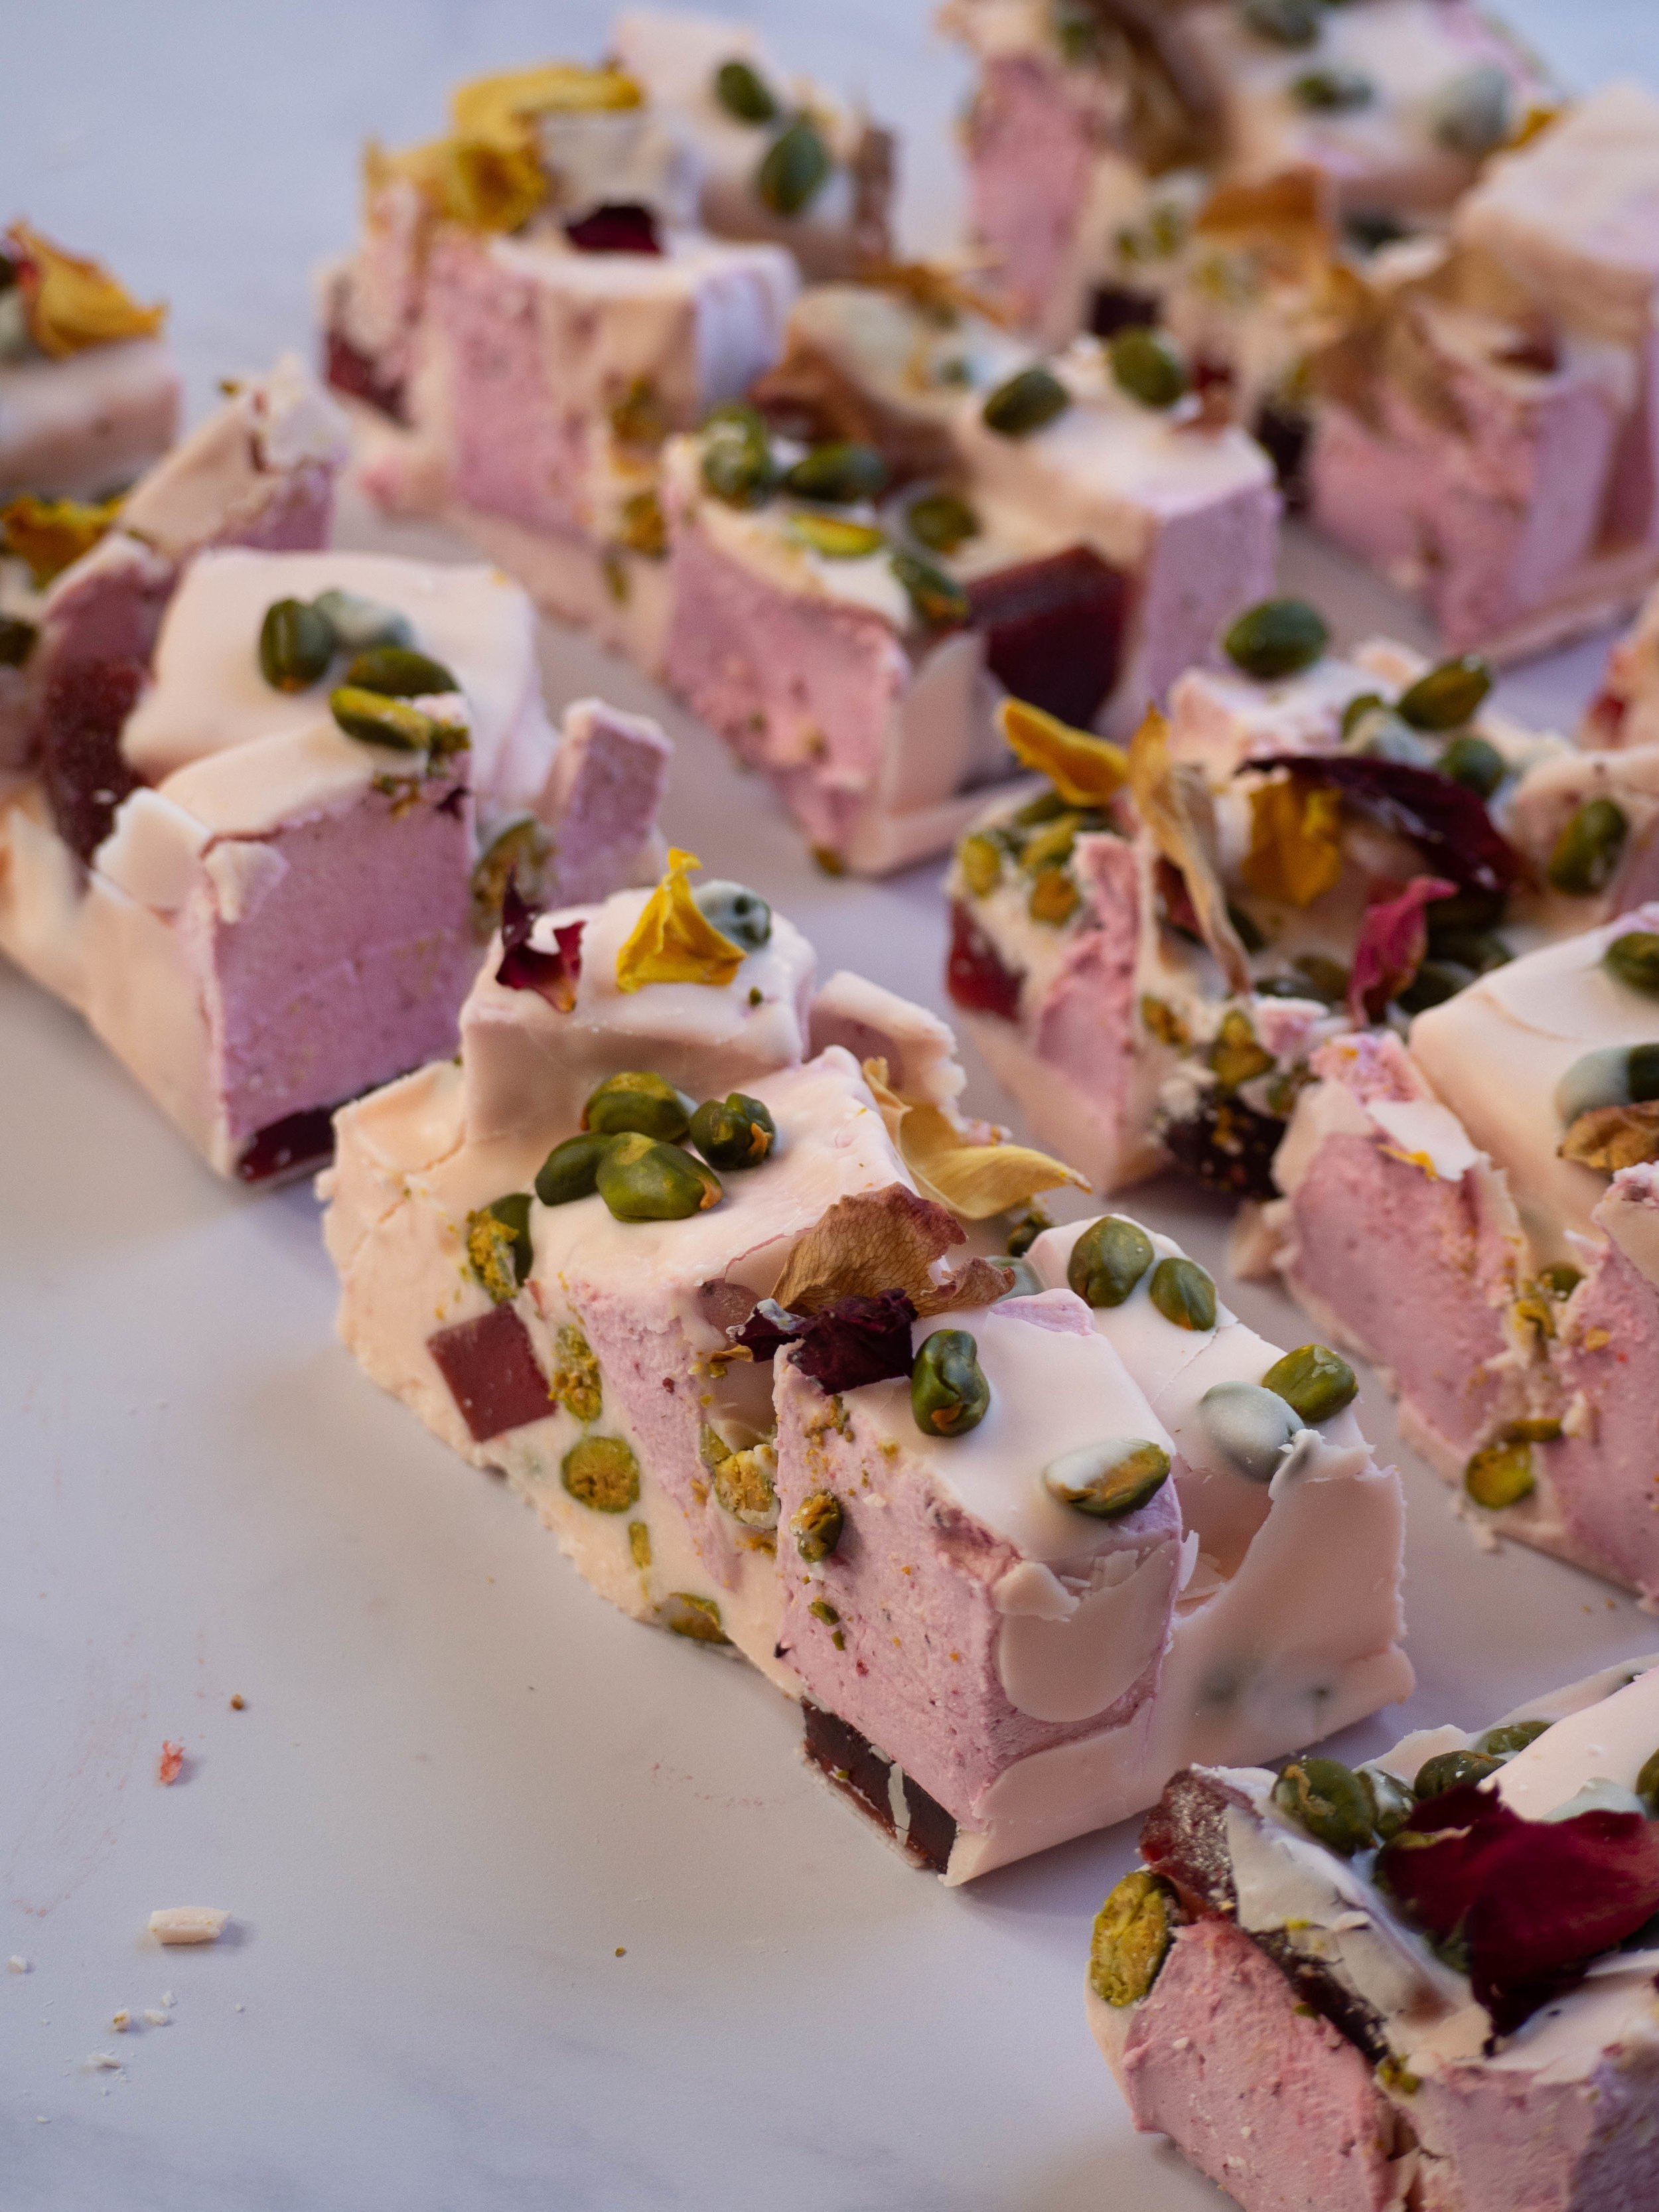
Once set use a large sharp knife to cut the rocky road into desired sizes.
I prefer to keep the rocky road in the fridge. Keeps for about 2-3 weeks.
Makes 8 generous blocks of rocky road.