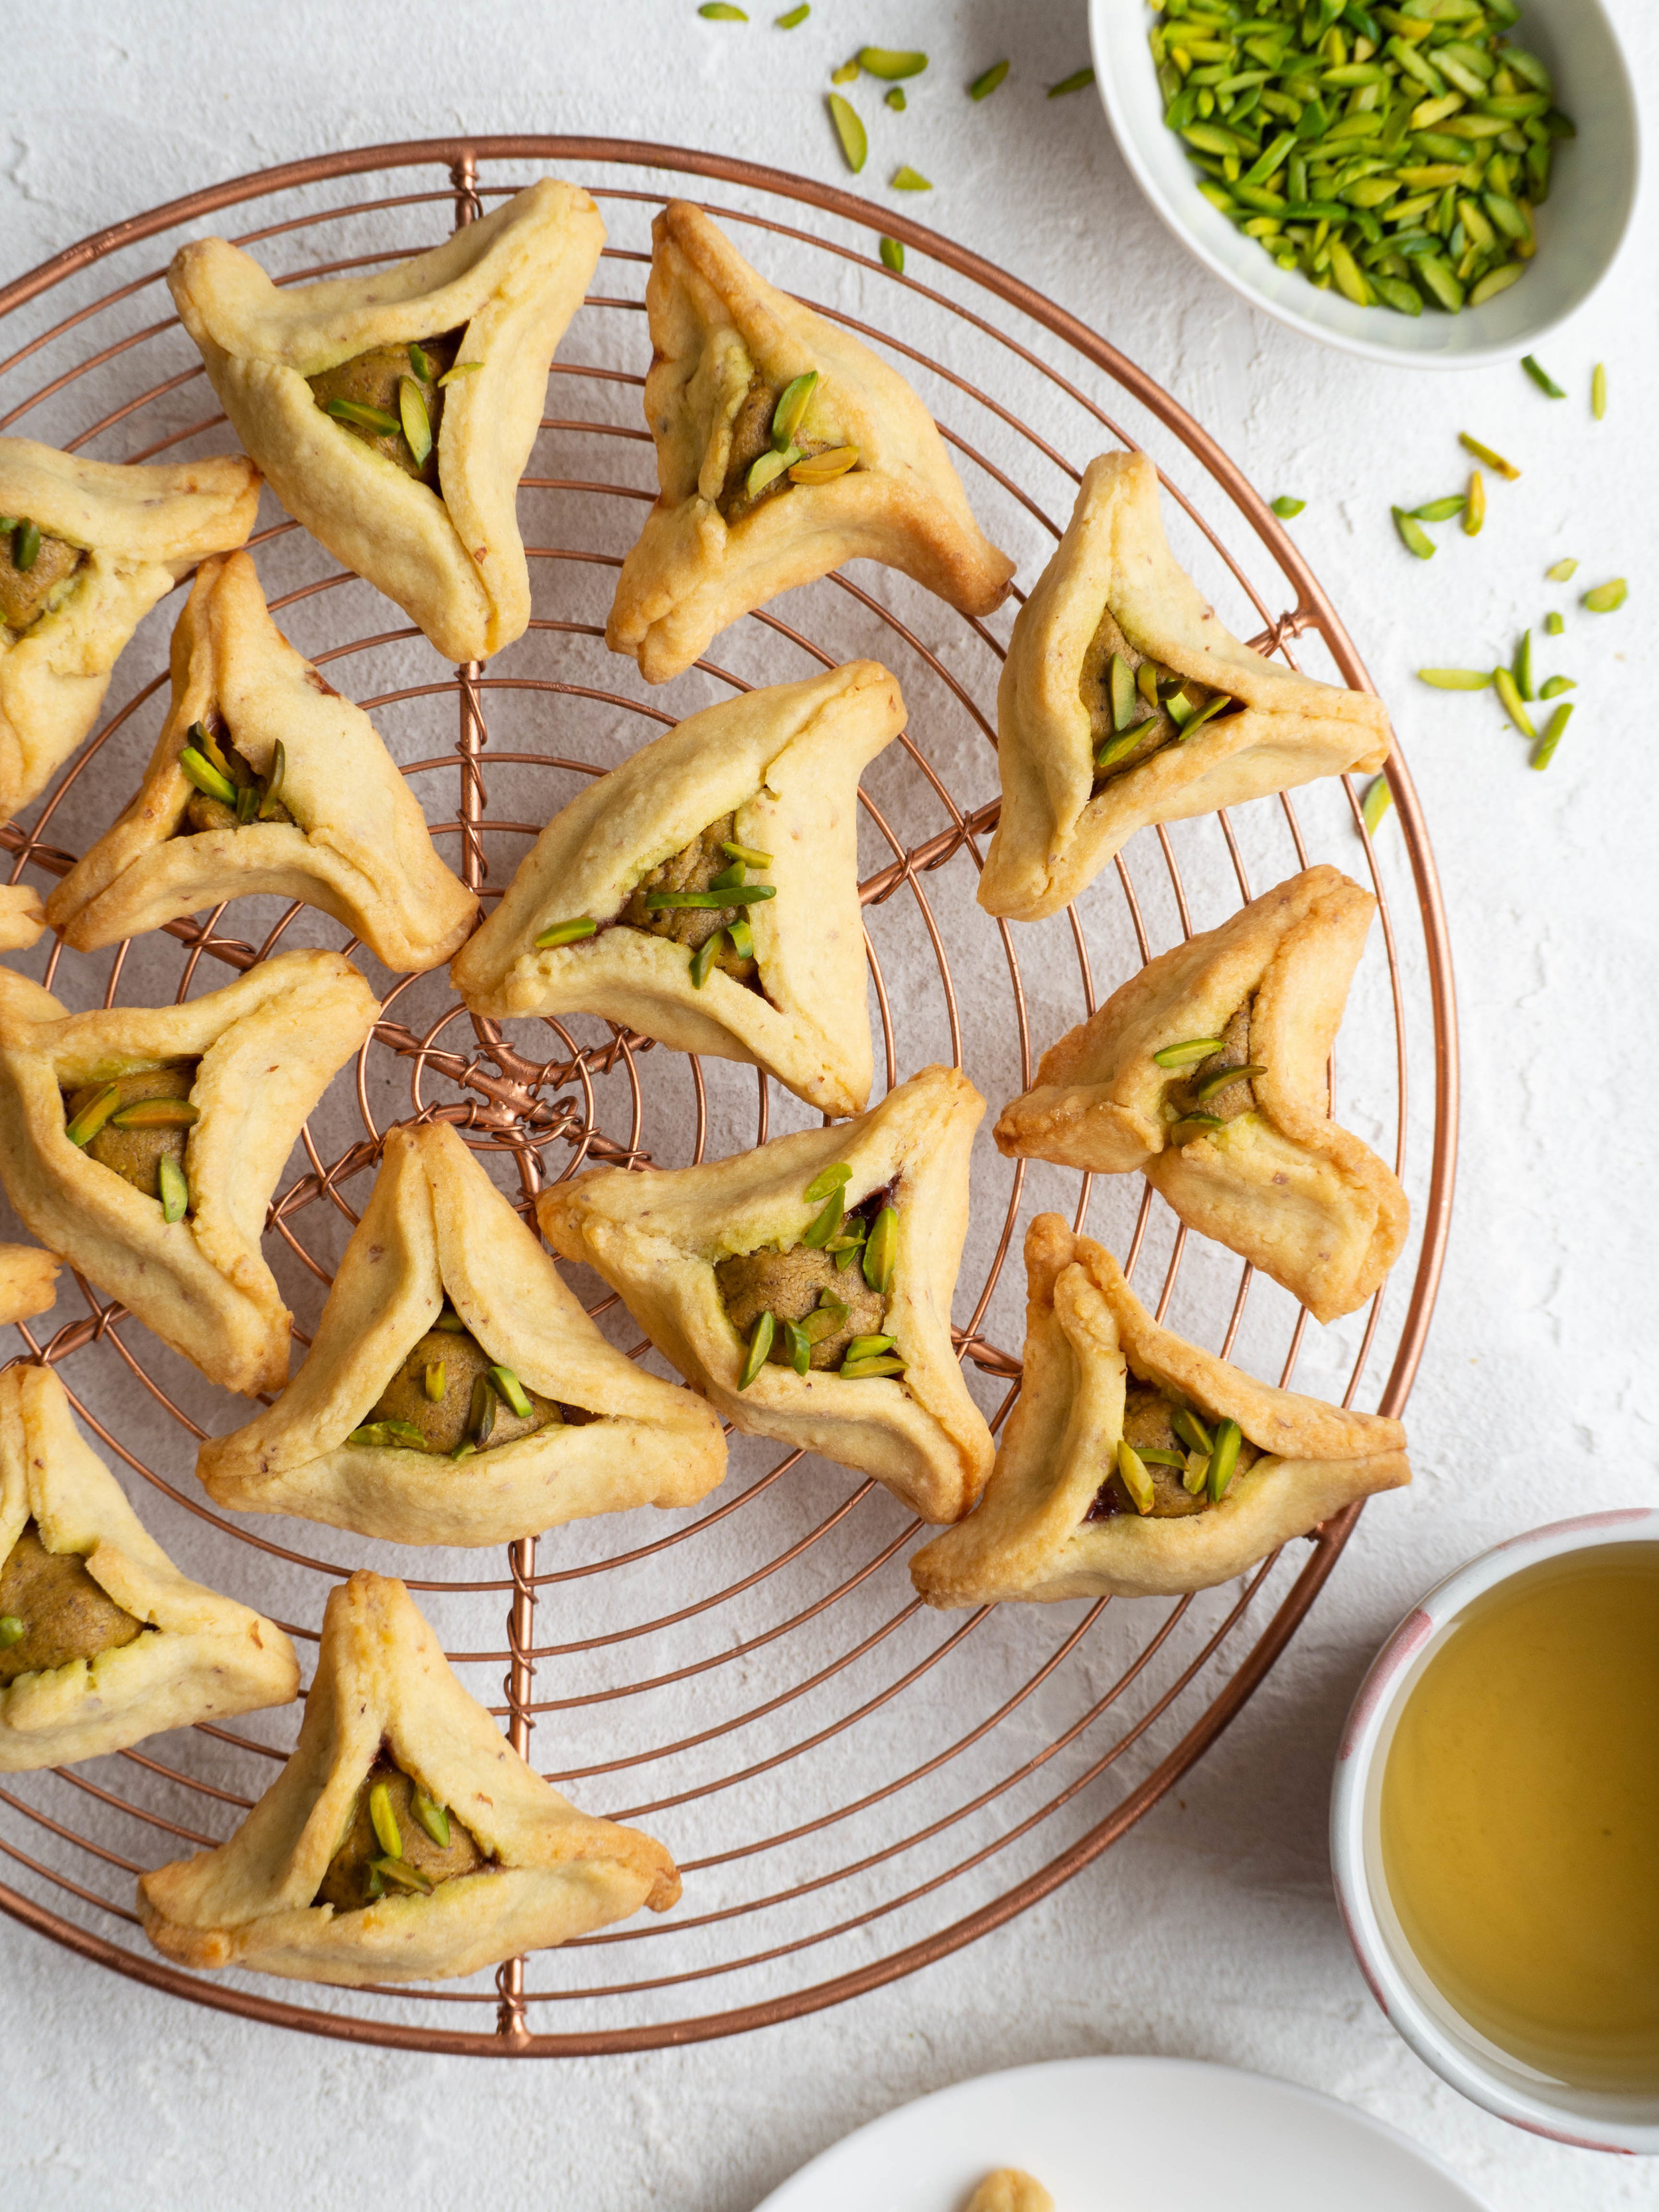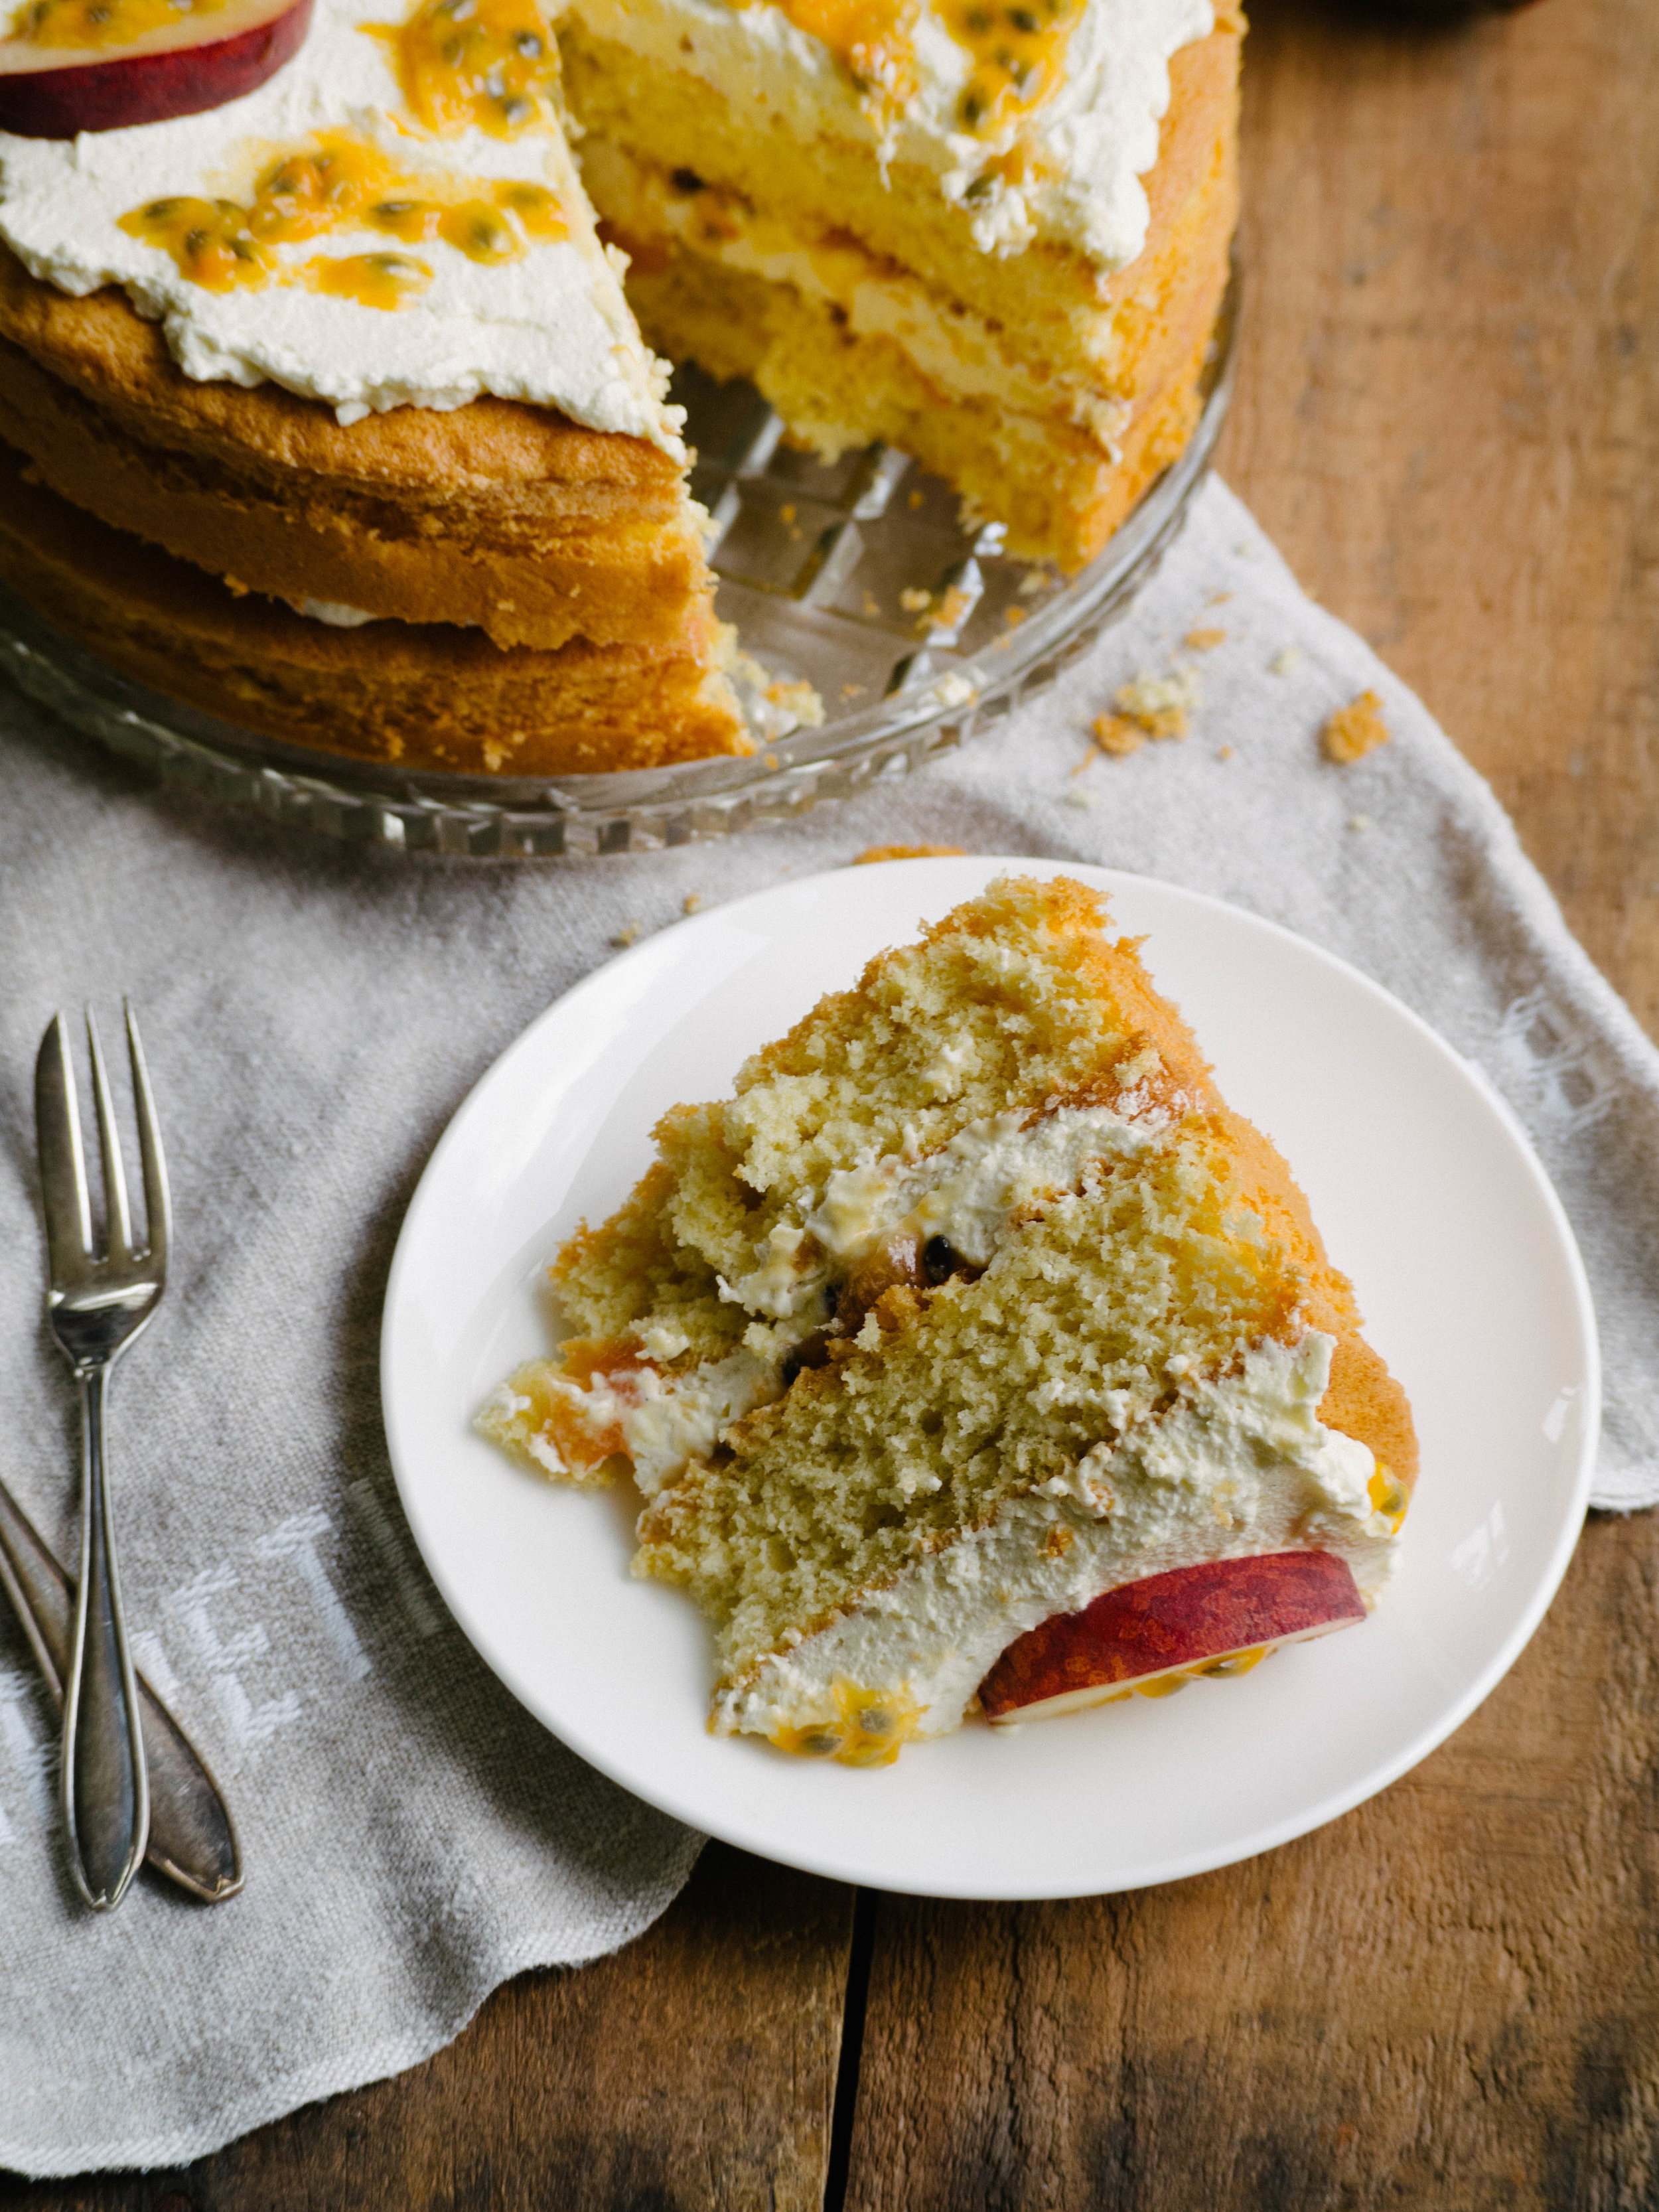
This year I was determined to make hamantaschen again, but this time with the more traditional yeasted dough. I loved my Pistachio Hamantaschen I made last year, but I really wanted to have a comparison with a more traditional hamantaschen.
For those who have never heard of hamantaschen before, they are made to celebrate the Jewish holiday of Purim (see links at the end of this post to find out more). They are kind of like a cross between a biscuit and a pastry with a sweet tasty filling, and the triangular shape has great symbolism for the holiday. Check out my post from last year to find out a little more.
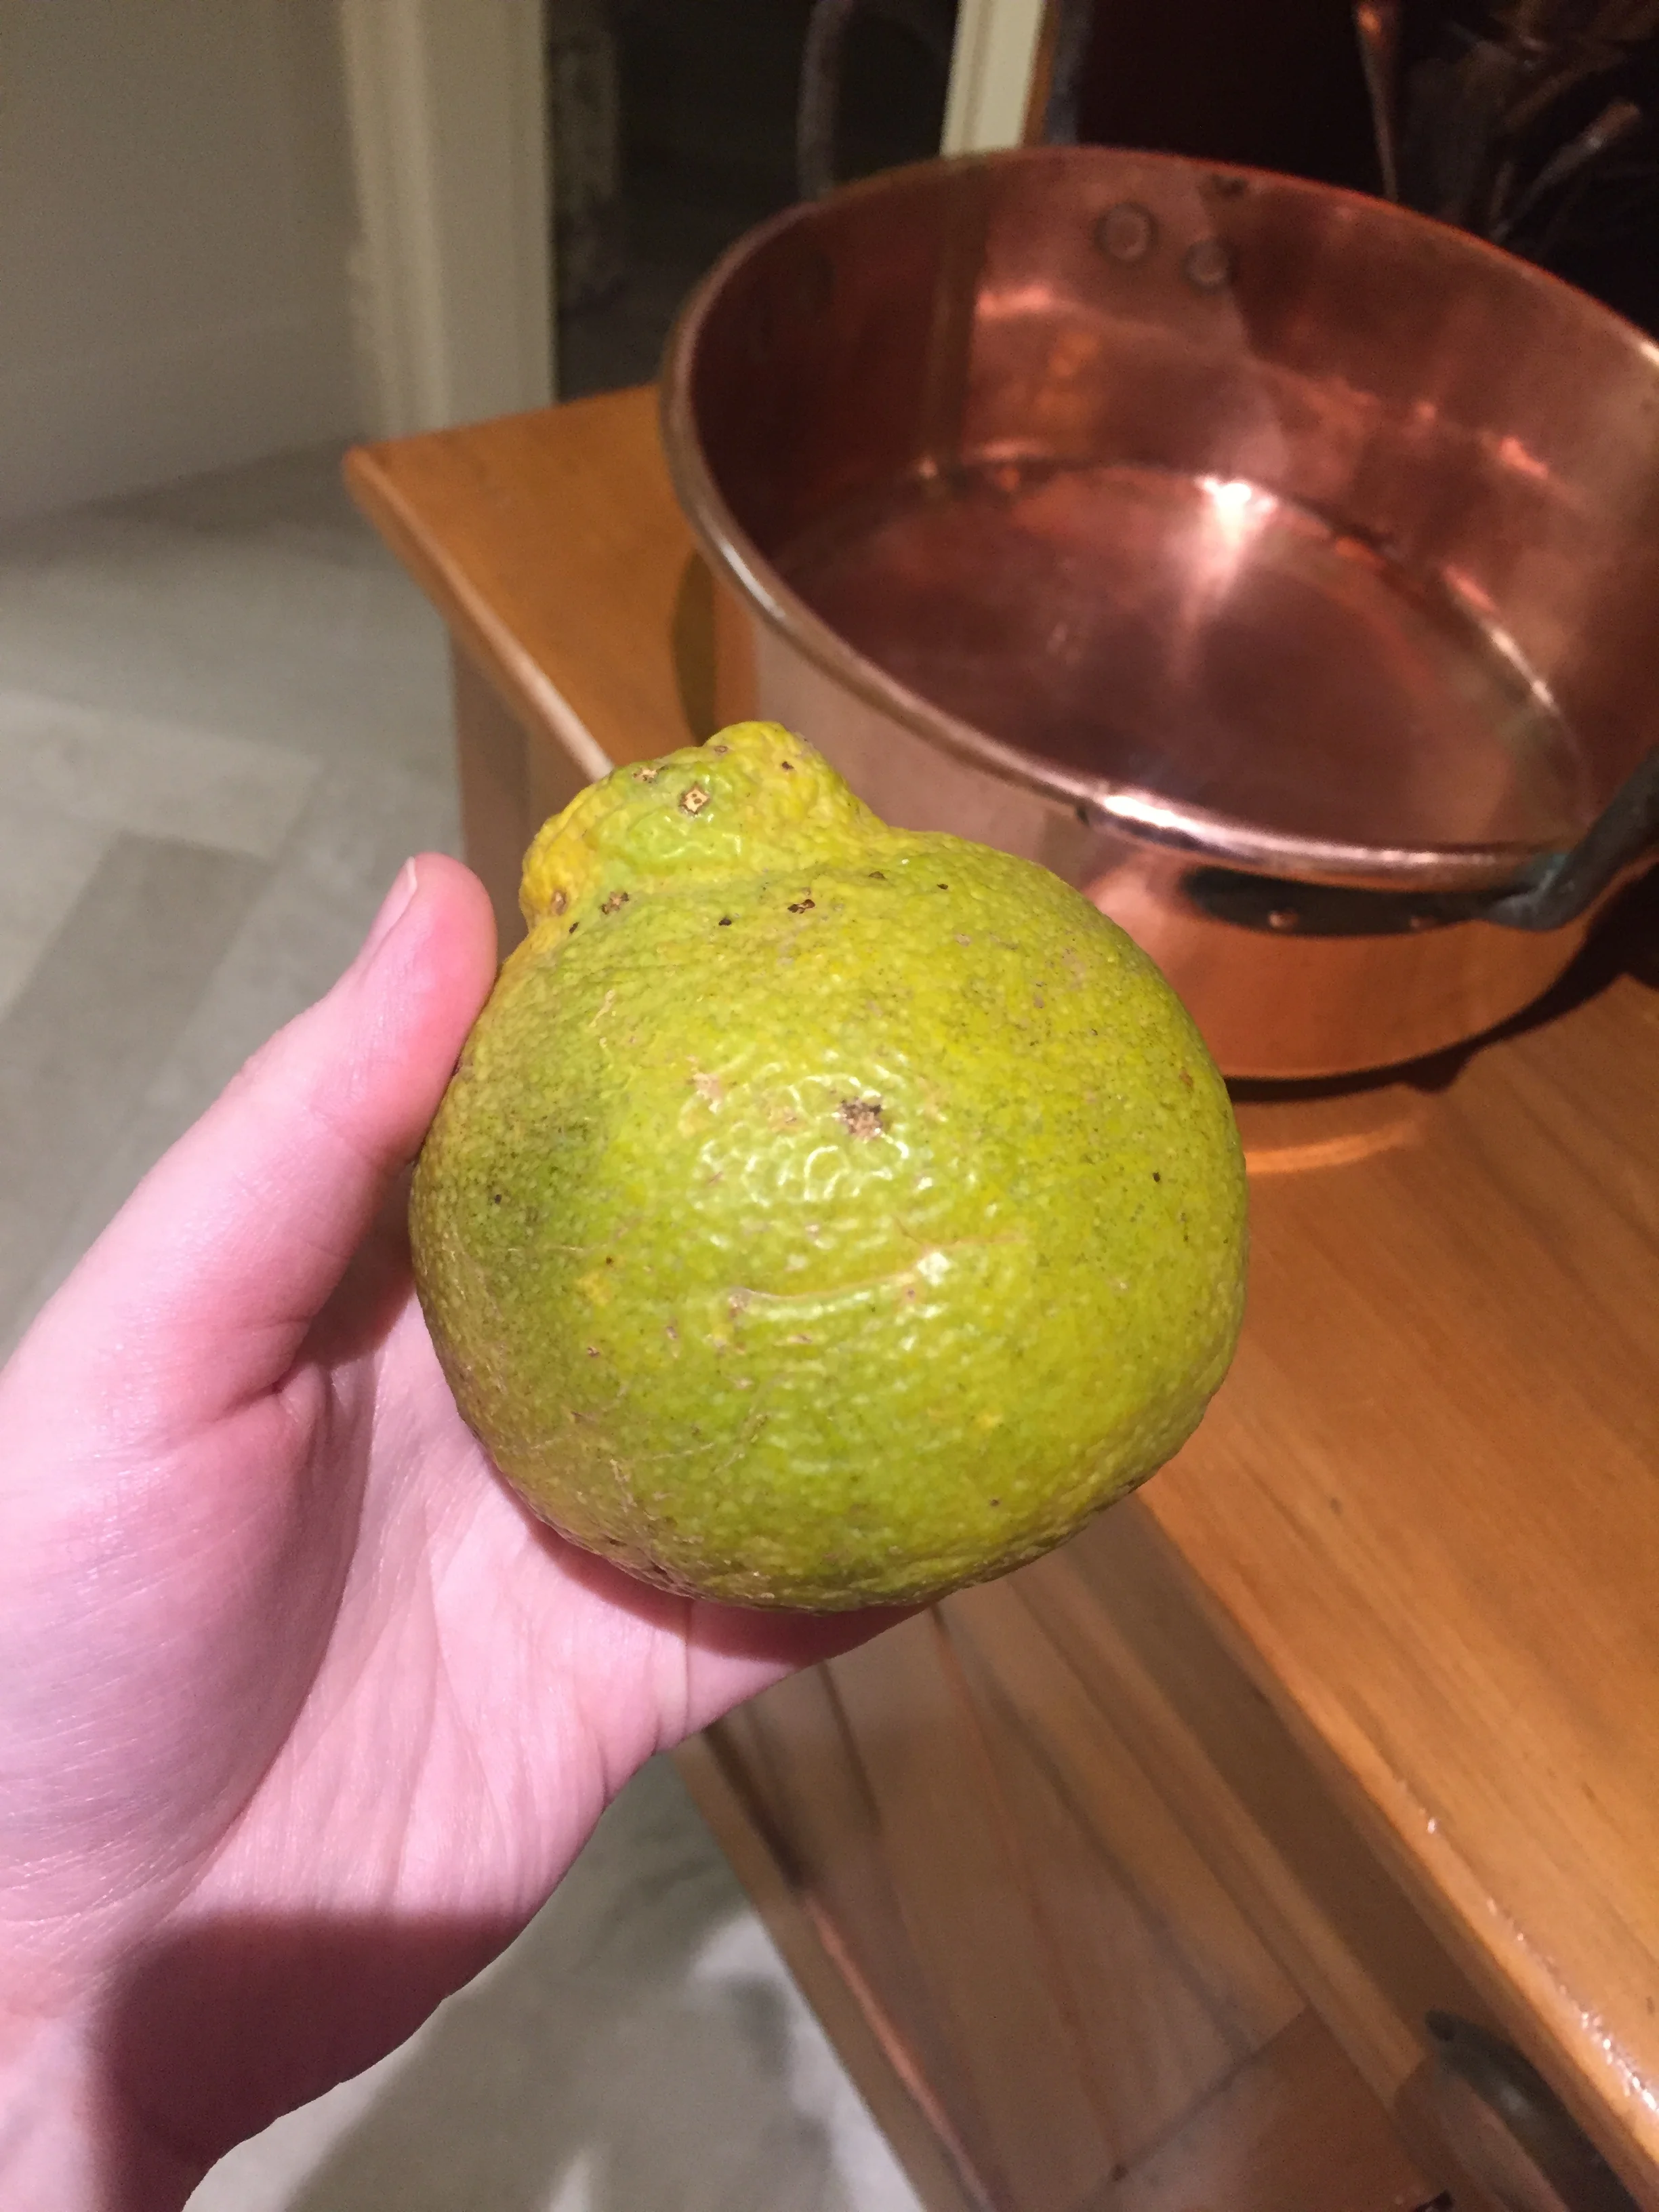
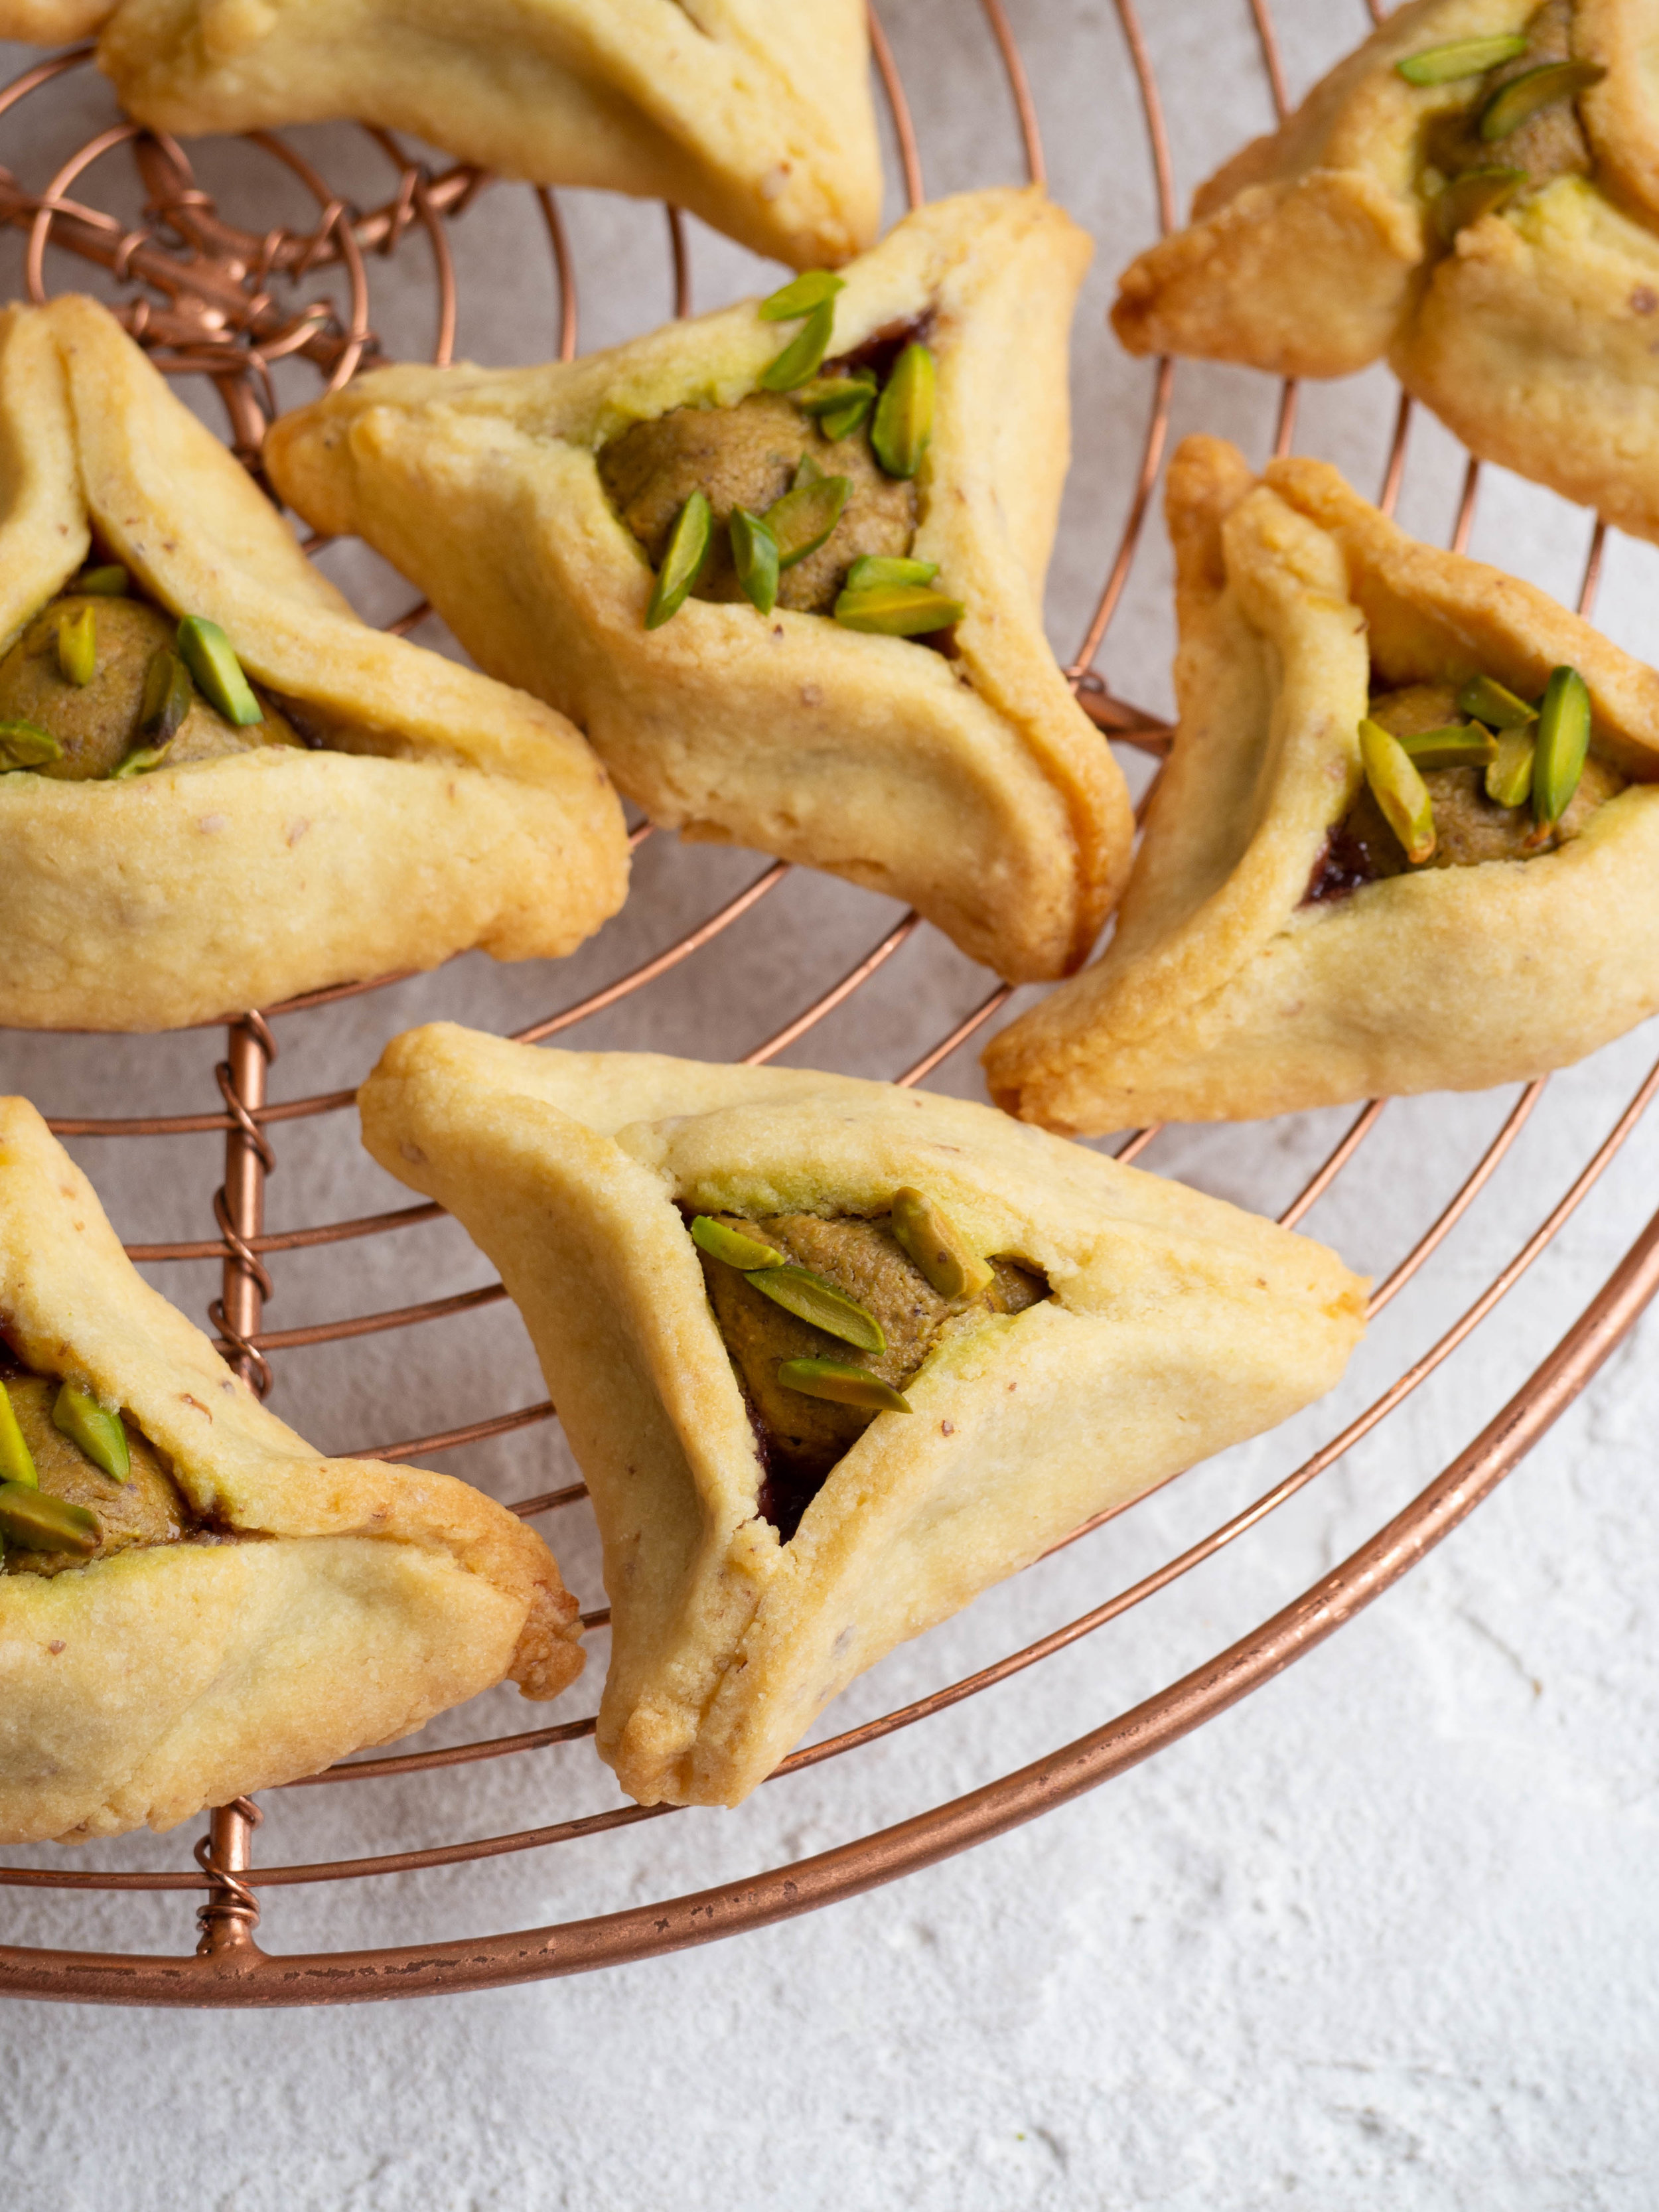
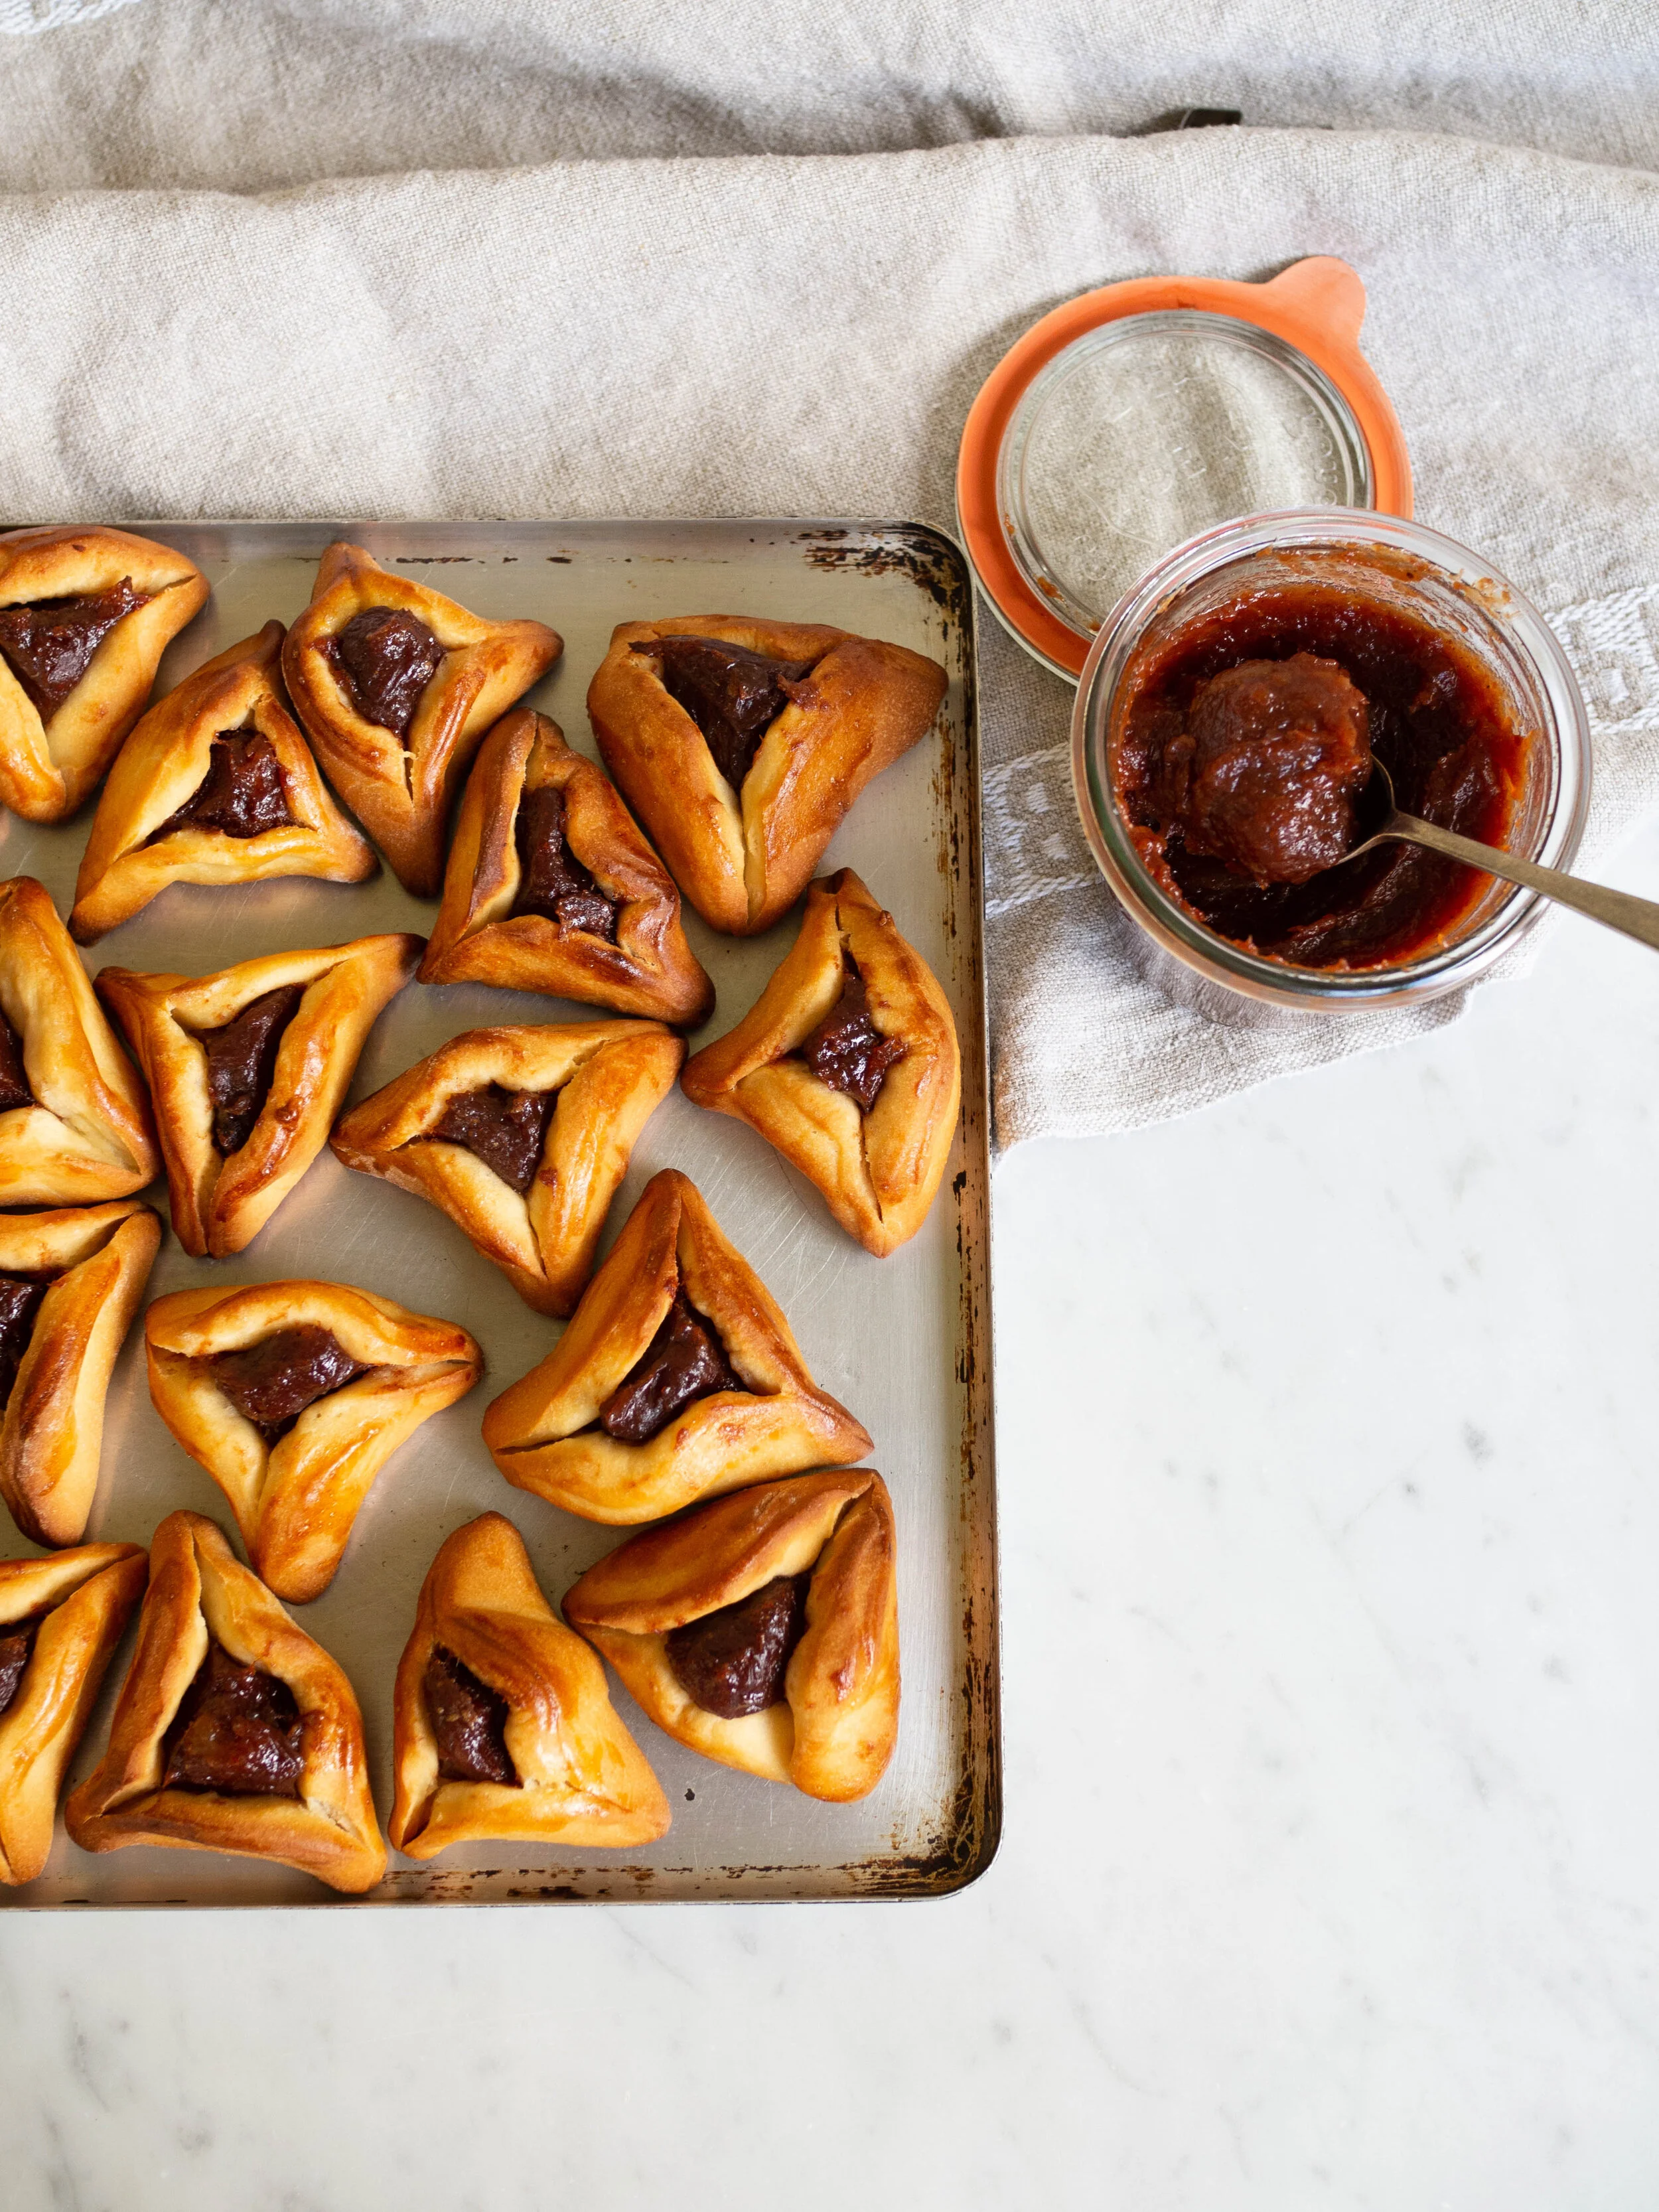
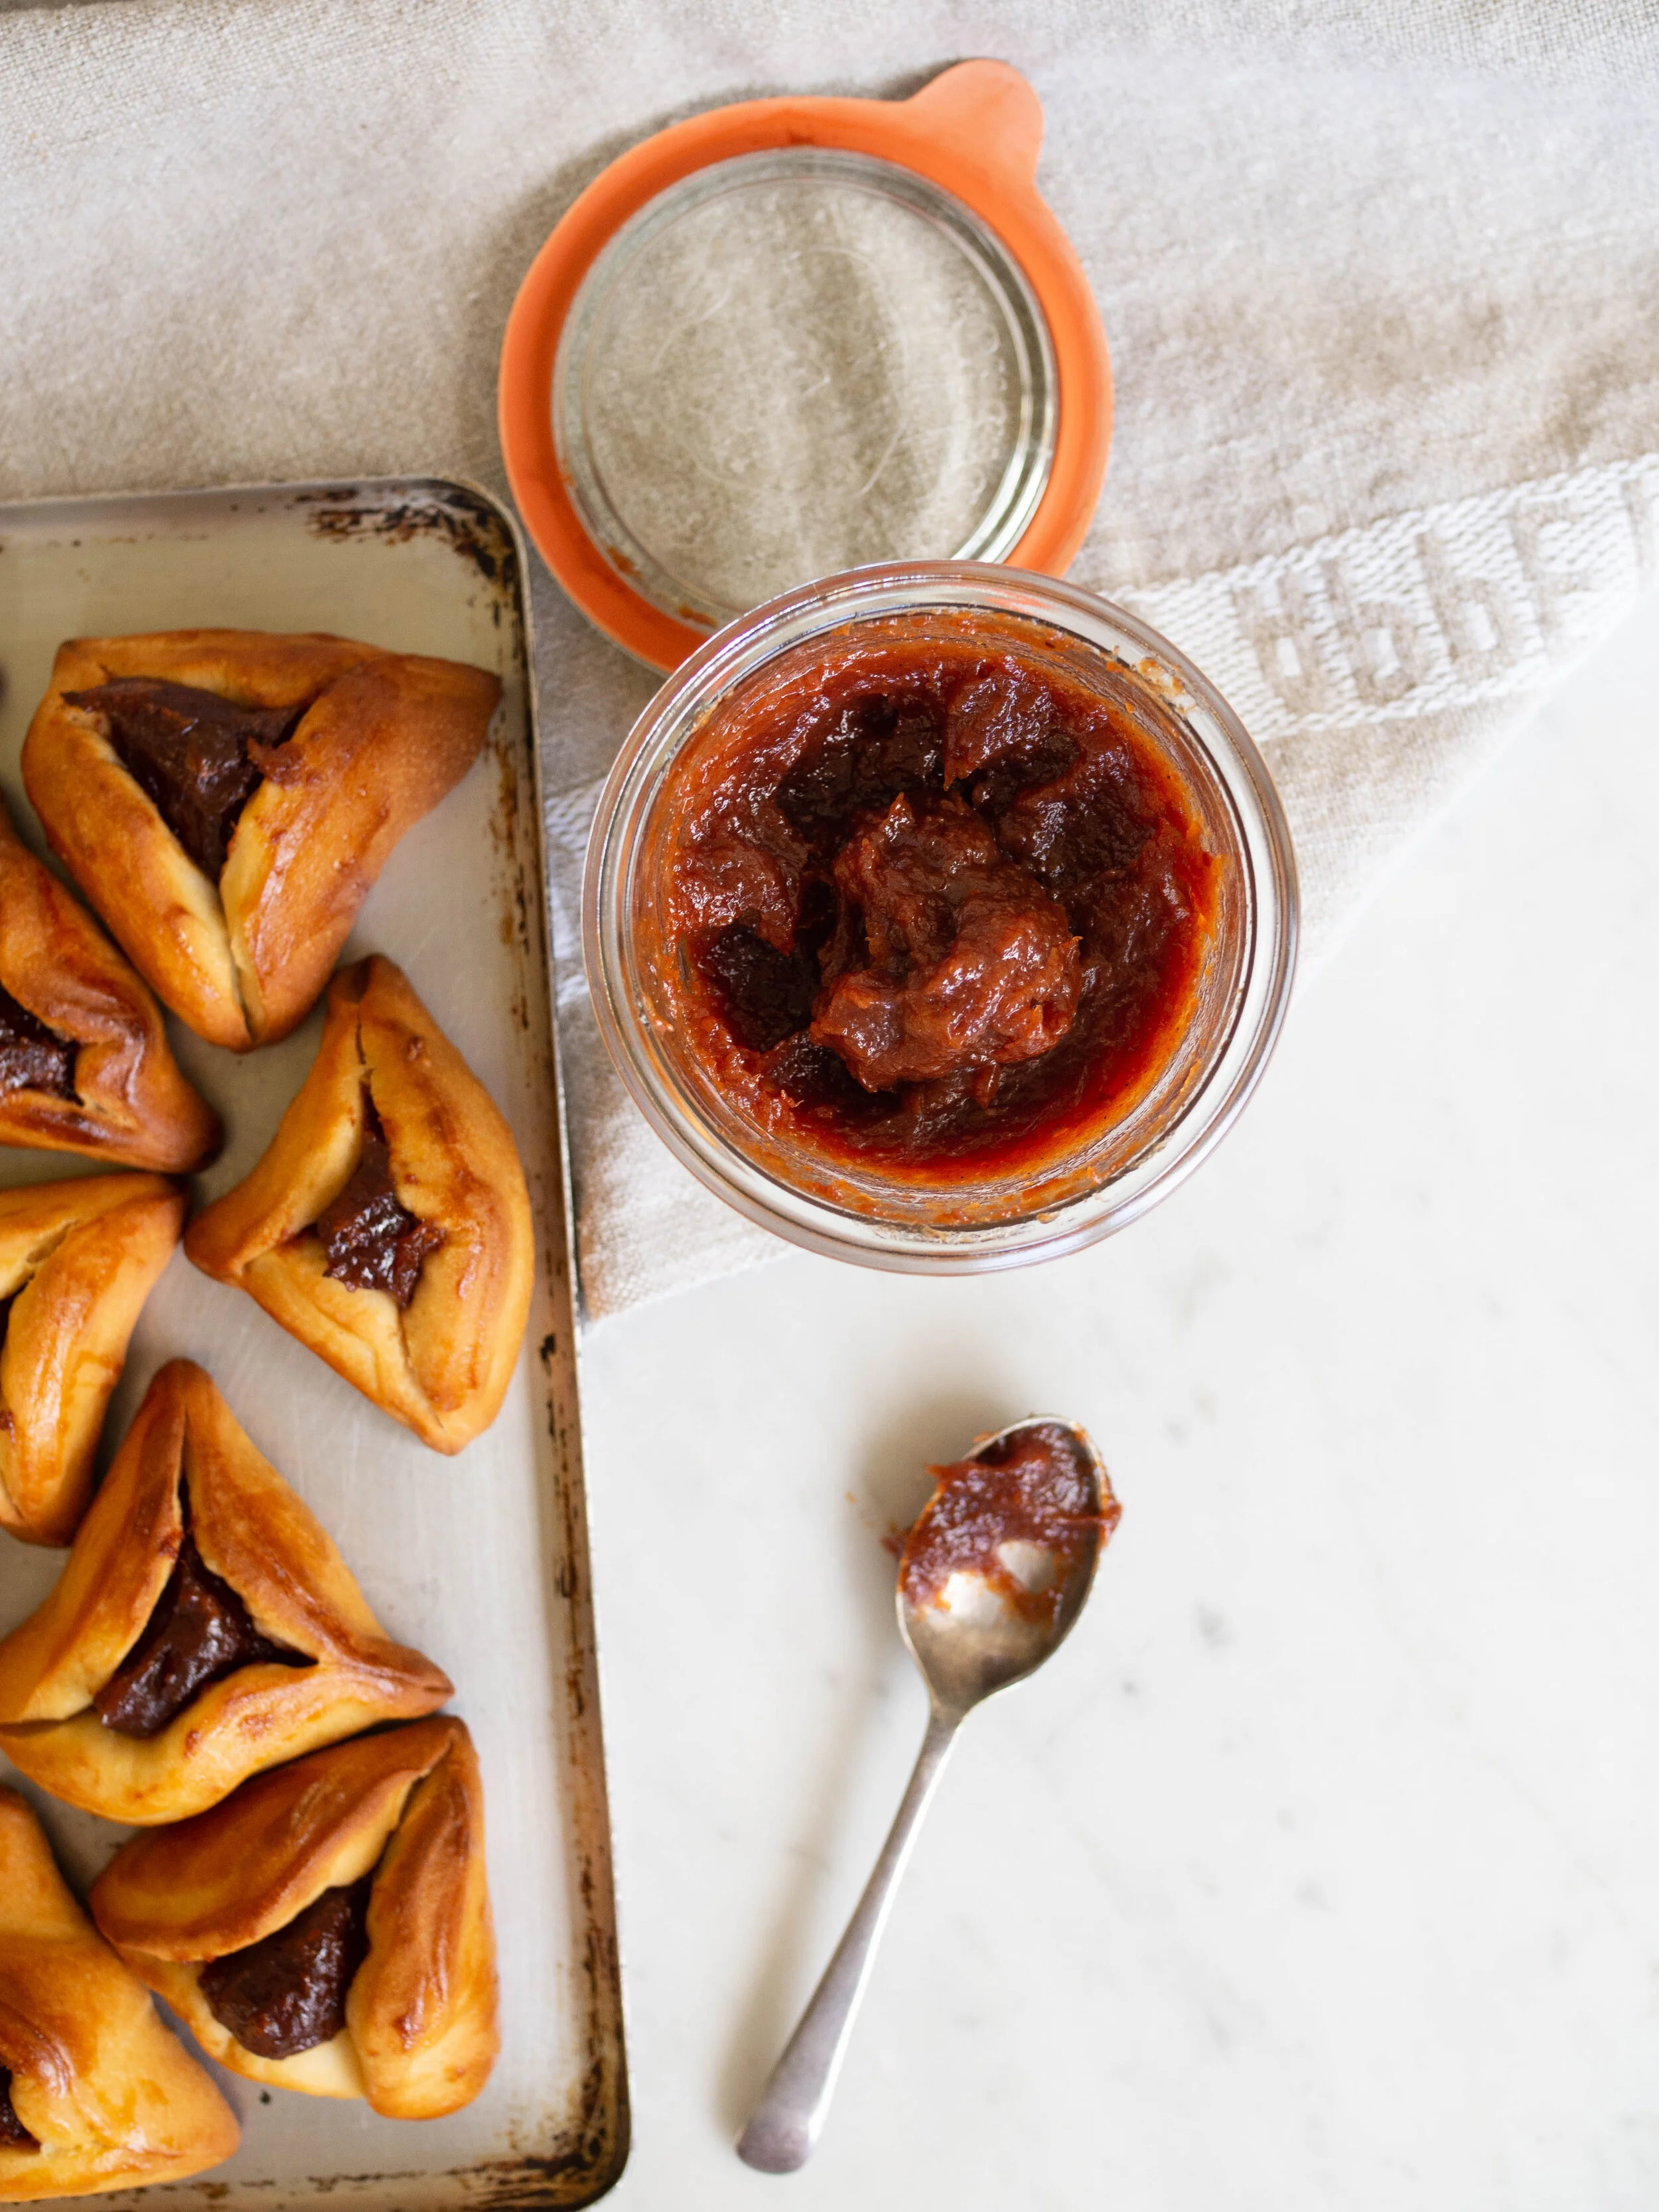
I tried to stay as traditional as I could with this, but me being me, and not being bound by any Purim traditions of my own, I altered a prune filling (or Lekvar) recipe to include dried quince and dried pears. Mostly because quince is my third favourite flavour (coming in close after rose and pistachio which alternate between spots one and two), and I have access to amazing dried quince from Singing Magpie Produce, which I knew would taste amazing cooked into a lekvar.
I heavily leaned on Leah Koenig’s new book ‘The Jewish Cookbook’ to produce this hamantaschen recipe. Leah’s book is my new ultimate resource on Jewish cooking, spanning all diasporas and nationalities and all types of meals and holidays. If you just want one book to show you the ways of Jewish cooking and baking, this is it. I (somewhat ironically I admit) received this book as a gift for Christmas, and it has maintained its spot as my most looked at cookbook since then.


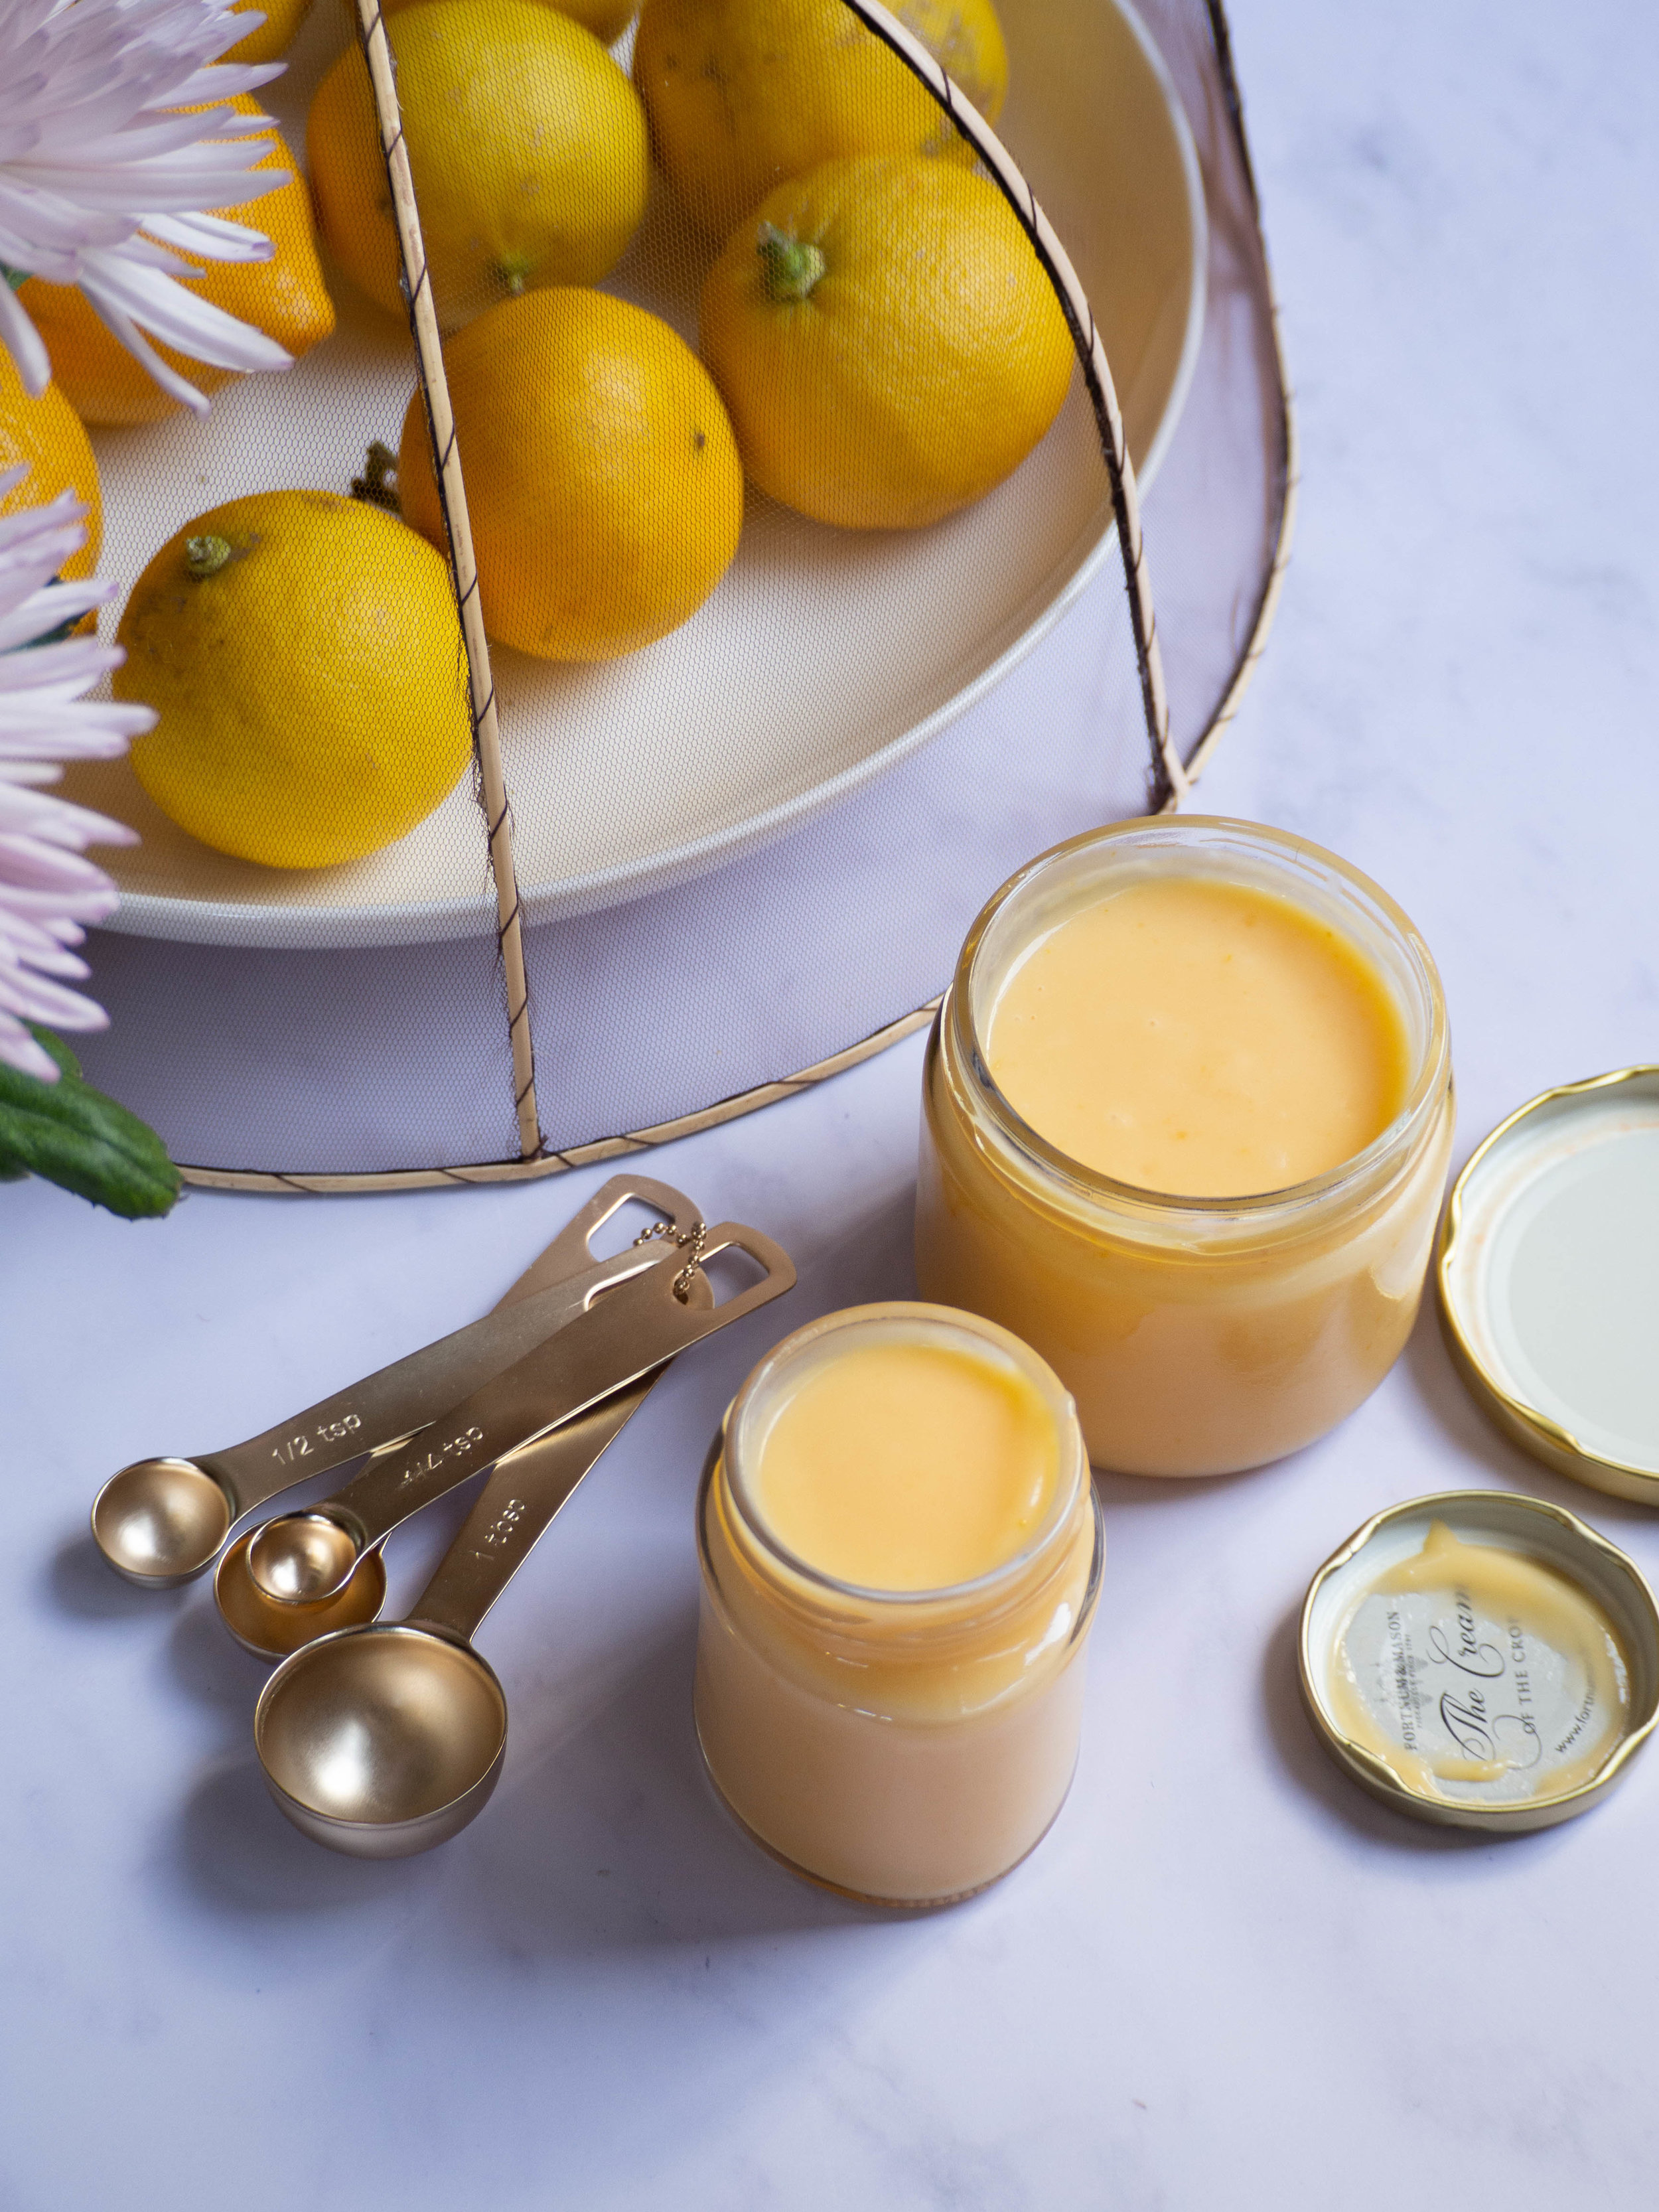
I was delighted to find a yeasted hamantaschen dough in Leah’s book, as I had already decided I wanted to try this type of dough for my next hamantaschen attempt! And out of the many cookbooks I own, it is the only one to contain such a recipe. Leah also provides many hamantaschen filling options, and I was particularly intrigued by the fruit lekvar traditional to Central and Eastern Europe. Lekvar is a thick jammy paste made using dried fruits and juice. I adapted Leah’s Prune Lekvar recipe to create my Quince Lekvar, but you could stick to prunes if you can’t find any dried quince. If you can get your hands on fresh quince, a quince butter would also make a great substitute for the lekvar (see my Cosy Winter Bakes eBook for a Quince Butter recipe).
A yeasted hamantaschen definitely takes a bit more time and effort than a more shortbread pastry hamantaschen (see my recipe last year for a good one), but it is worth the effort. I found my first dough attempt didn’t work, I think because I am baking in a more humid climate and my dough just became unbelievably sticky and wet and barely rose at all. I have slightly altered the quantities of flour in the recipe, and continue to generously add more flour as I knead the dough. This is quite an intuitive recipe (which is why I suggest kneading by hand rather than using a stand mixer), and depending on your climate, you may not need nearly as much flour as I did. For reference the original recipe says to start with 350g, and up to 70g more if needed. On my second attempt I added that total amount (420g), then I added more when I was kneading and my dough worked out much better.
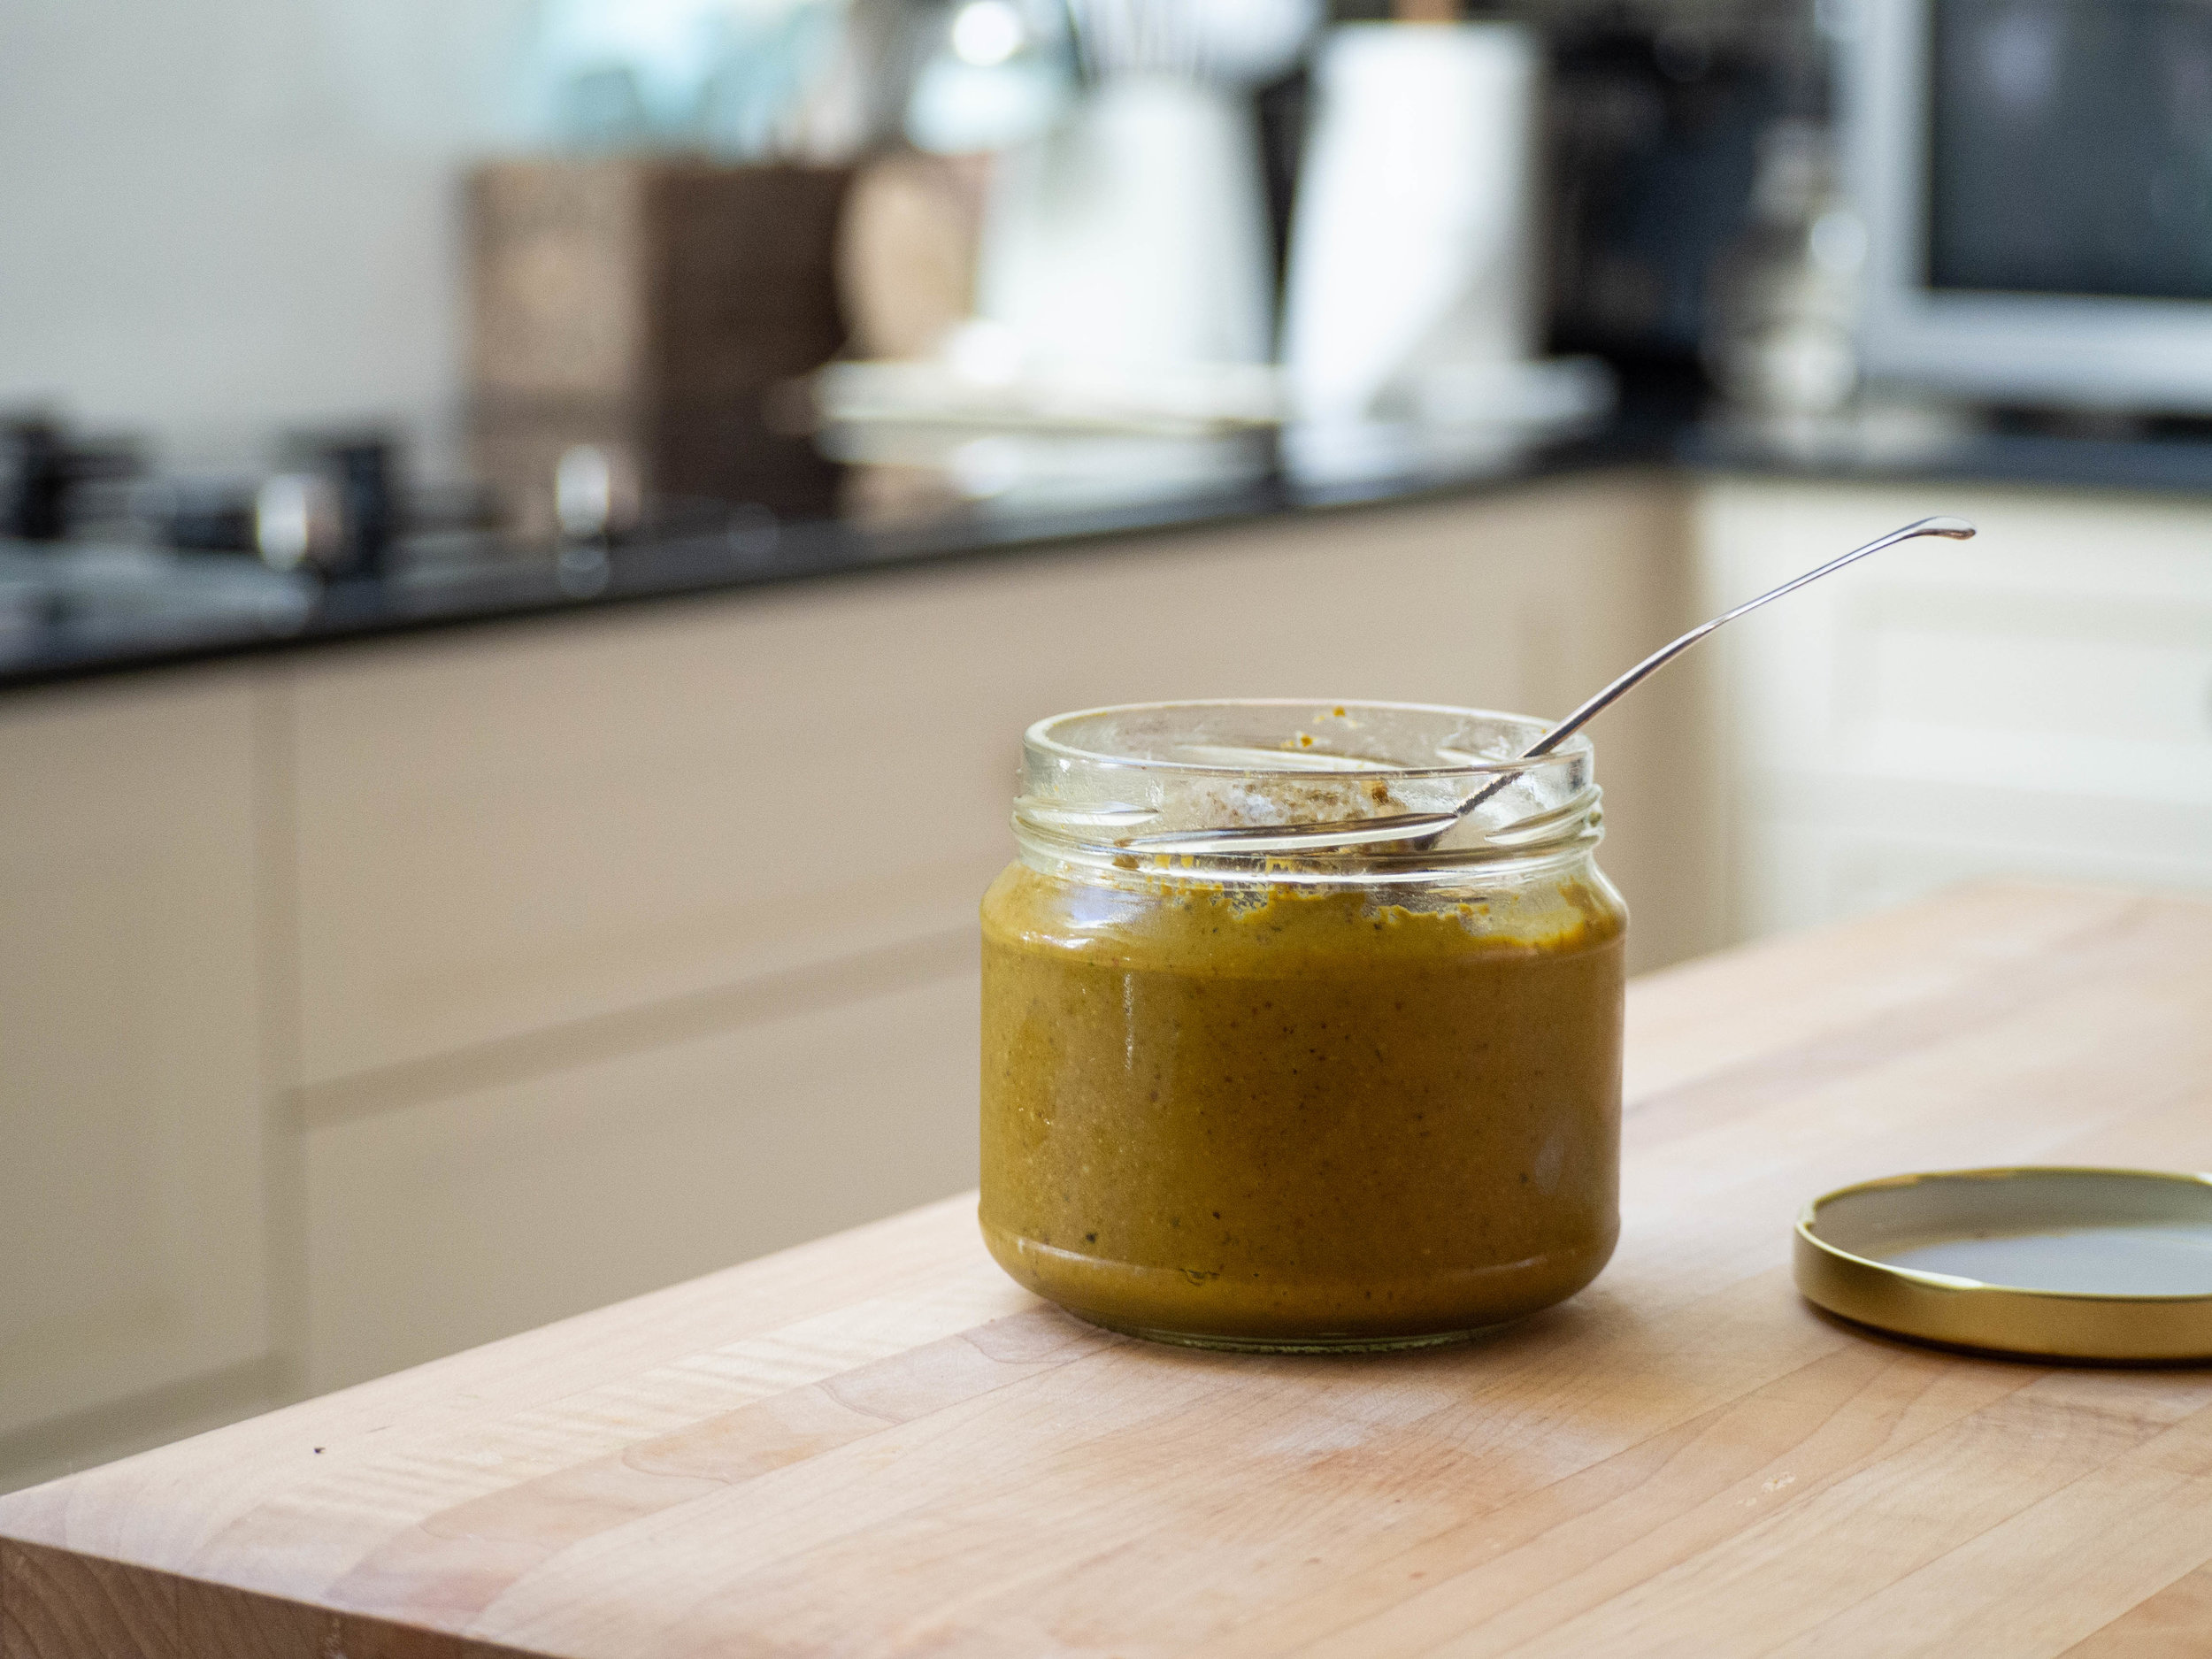
Quince Lekvar (or thick jam)
Quince Lekvar
Ingredients:
200g dried quince
100g dried pears (or dried apple)
120ml cloudy apple juice
175ml water
4 tbsp panela sugar
1 tbsp honey
1/2 tsp ground cinnamon
1/2 tsp ground cardamom
1 tsp vanilla extract
Method:
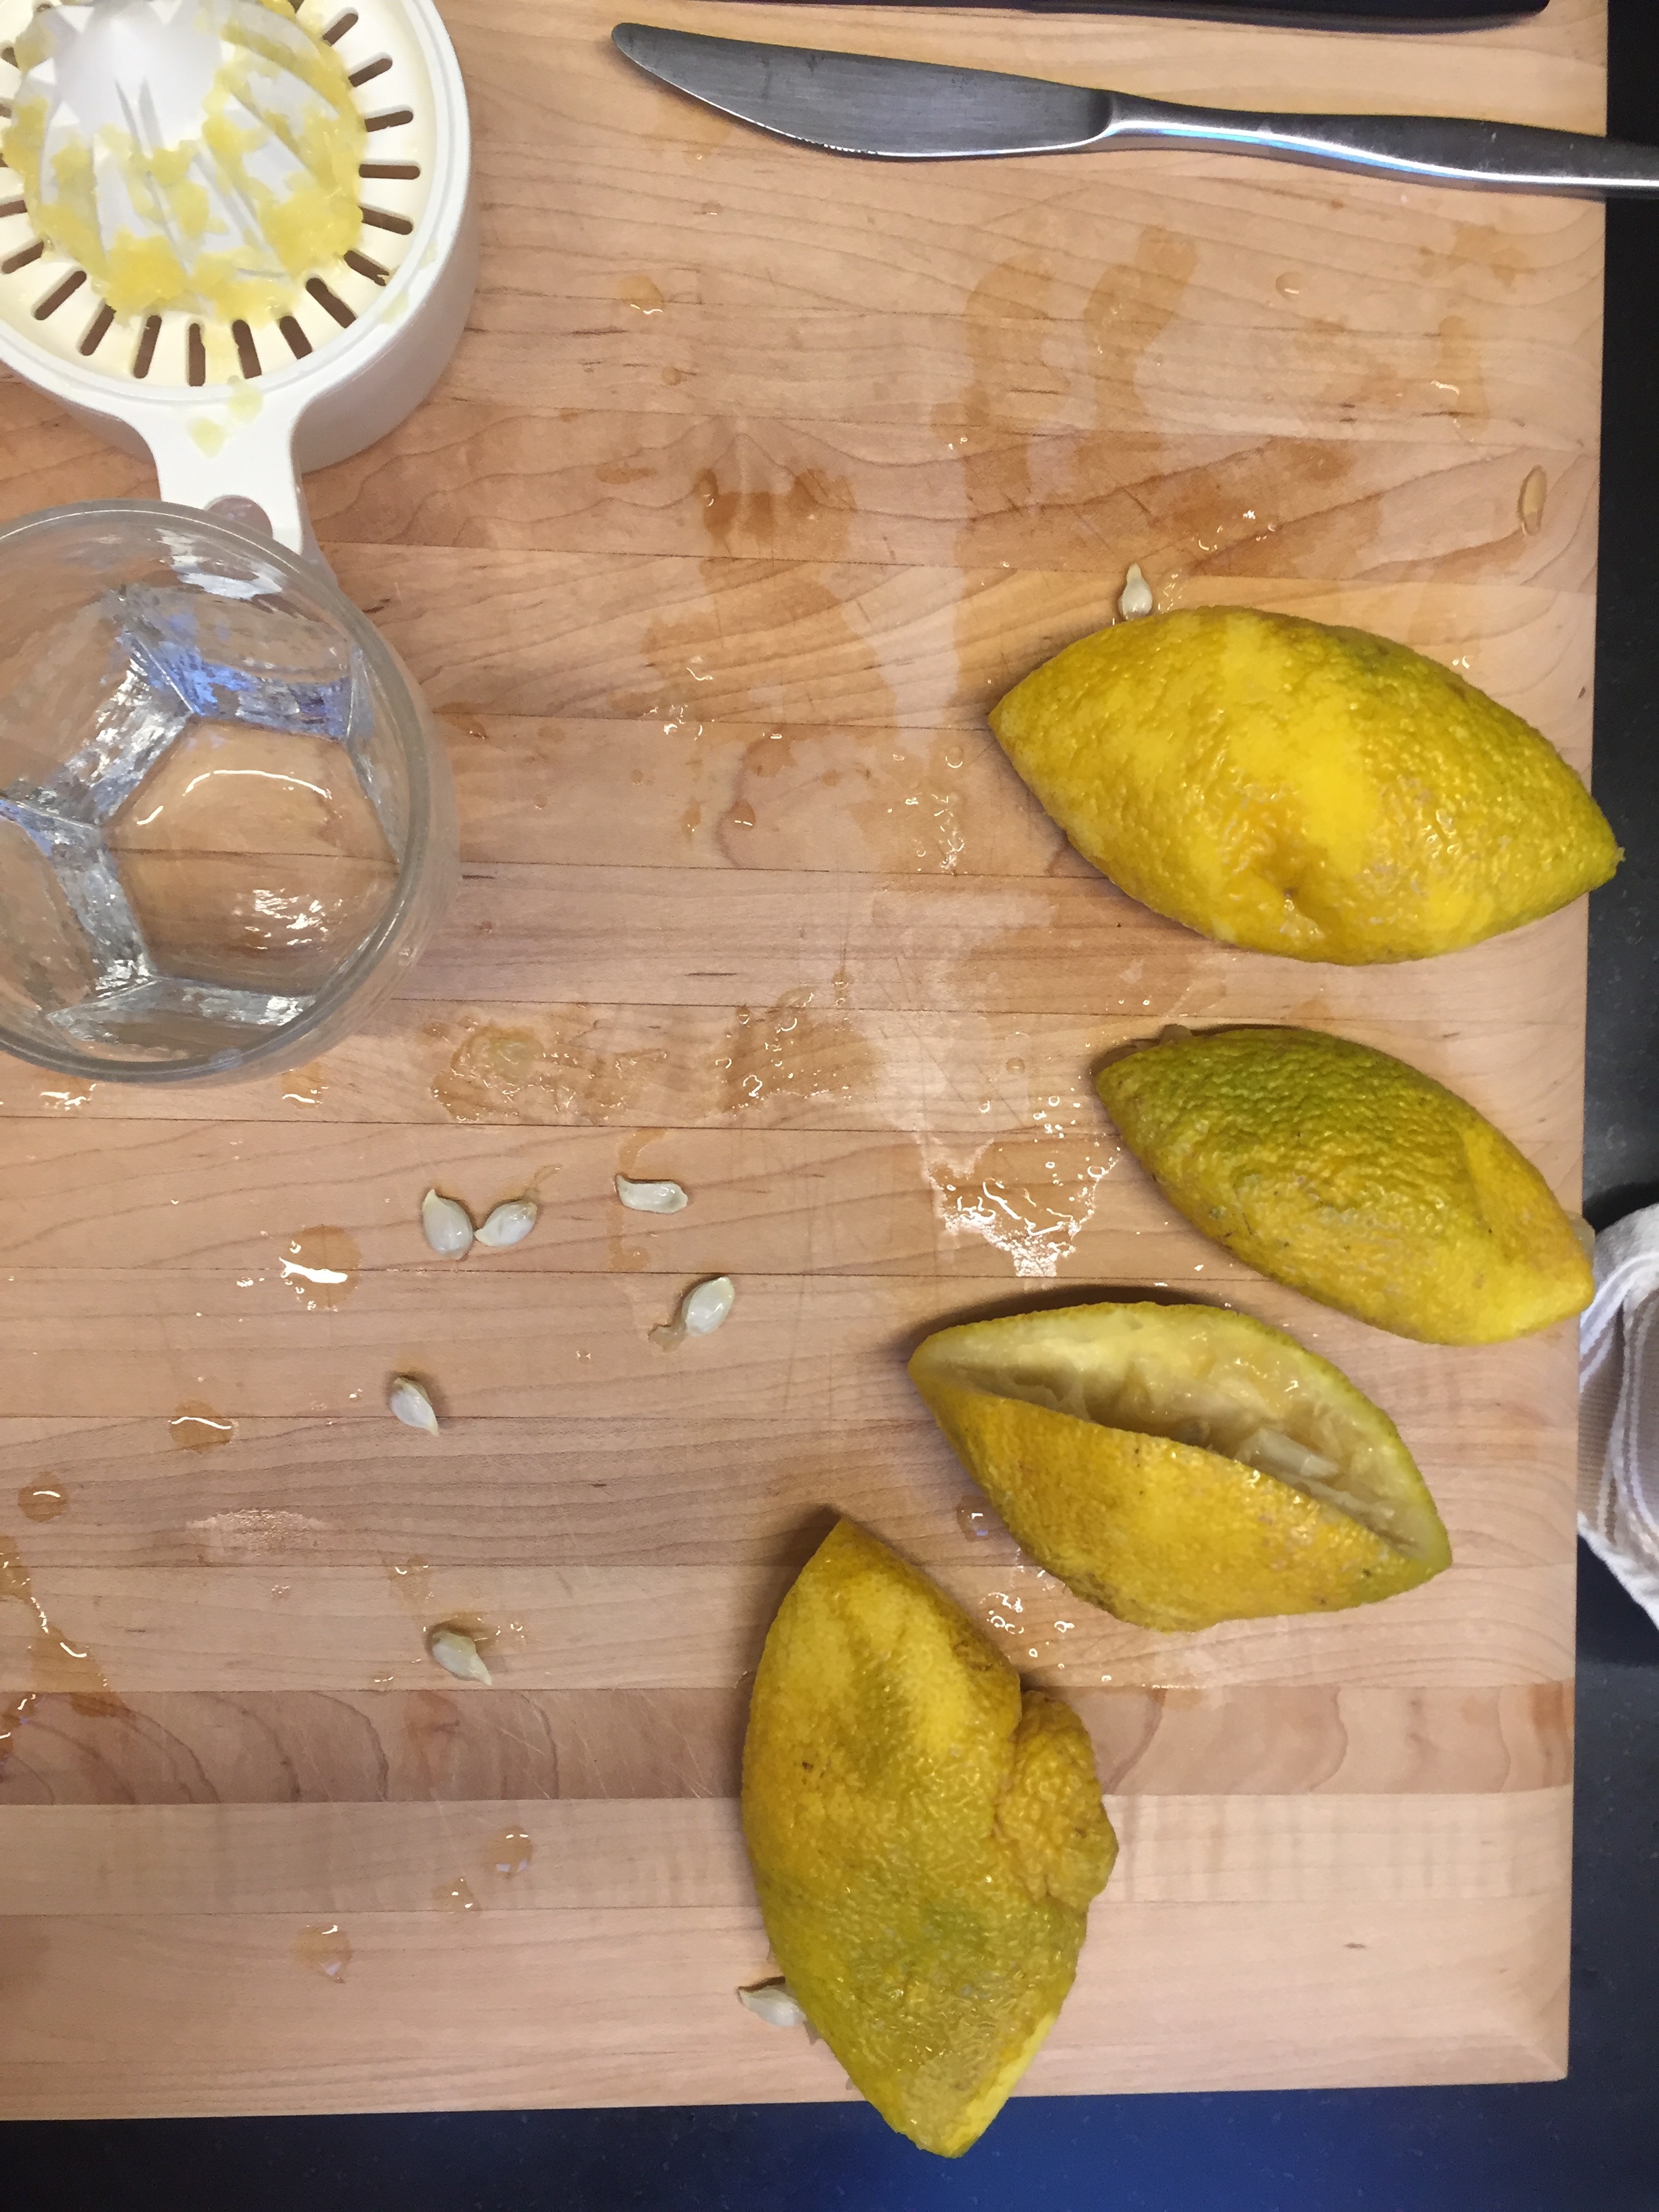
Place the quince, pears, apple juice, water and panela sugar in a small saucepan. Over low-medium heat bring to a gentle boil, then reduce the heat to low and cover the saucepan with its lid. Cook the fruit, stirring every now and then, for about 25-35 minutes or until the fruit has softened and most of the liquid has been absorbed.
Take the pan off the heat, and puree the fruit with a stick blender. Stir in the honey, cinnamon, cardamon and vanilla then allow to cool completely before storing covered or in an airtight container in the fridge.
Makes approx. 580g.

Yeasted Hamantaschen
Ingredients:
7g dried yeast
150g + 1 tsp caster sugar
120ml warm water
420g plain flour, plus extra
pinch of salt
60ml canola oil, plus extra
3 eggs
1 tsp vanilla extract
360g (approx.) Quince Lekvar
Method:
In a large bowl stir together the yeast, warm water and the 1tsp caster sugar. Leave for 5-10 minutes until it has become frothy.
In a smaller bowl, whisk together the remaining 150g caster sugar, flour and salt.
Add two of the eggs, oil and vanilla extract to the activated yeast and whisk to combine.
Add the flour, and mix.
Generously dust your work surface with more flour, and tip the dough out. Dust the dough with flour, and begin to knead. This dough can be quite sticky, so continue to knead and add flour until the dough becomes more manageable and elastic. Knead for about 10 minutes, the dough will still be a little sticky, but once it becomes smoother and more elastic it will be ready to prove.
Lightly oil a large bowl with a little more of the canola oil, and place the dough in. Cover with cling film and leave in a warm spot for 1.5-2 hours or until the dough has doubled in size. This dough won’t rise as dramatically as a traditional bread dough, but if the size has at least doubled during the proofing time, then it will be ready for the next step.
Once the dough as proofed, line two to three trays with baking paper, and preheat oven to 180 degrees/170 degrees Celsius fan.
Lightly dust your work surface with more flour, and roll out half the dough (leave the other half covered in the bowl). Using a 7-8cm round cutter, cut out rounds of the dough and place in the prepared trays. Keep the scraps of dough and place to the side for now. Roll out the remaining dough and cut out with the cutter. Re-roll all the scraps, and cut out as before. The dough will become harder to work with now as it is becoming overworked. Discard any remaining scraps now, especially if you have cut out close to 30 rounds, and your trays are filled.
Place a teaspoon of the quince lekvar in the centre of each round. Shape the rounds of dough into the characteristic triangle shape by pinching one side into a corner, then folding the other side up to form two more corners. Ensure the corners are well sealed and stuck together. If you need some more tips on how to fold hamantashen take a look at this graphic made by The Nosher.
Loosely place some cling over the trays and leave to rest for 30 minutes.
Crack the remaining egg into a glass and beat with a fork. Brush the tops of the hamantaschen with the egg, then place in the oven for about 18 minutes to cook. Rotate the trays in the oven about half way through to ensure the hamantaschen cook more evenly. The hamantaschen will be ready when they have puffed up a little and are golden.
These are best eaten the day they are made, but will keep in an airtight container for a few days.
Makes about 30 hamantaschen.

Reference: ‘The Jewish Cookbook’ by Leah Koenig (Phaidon Press Limited, 2019), pp.342 & 410. For more info on yeasted hamantaschen check out this post on the blog Poppy & Prune and this recipe on kosher.com.