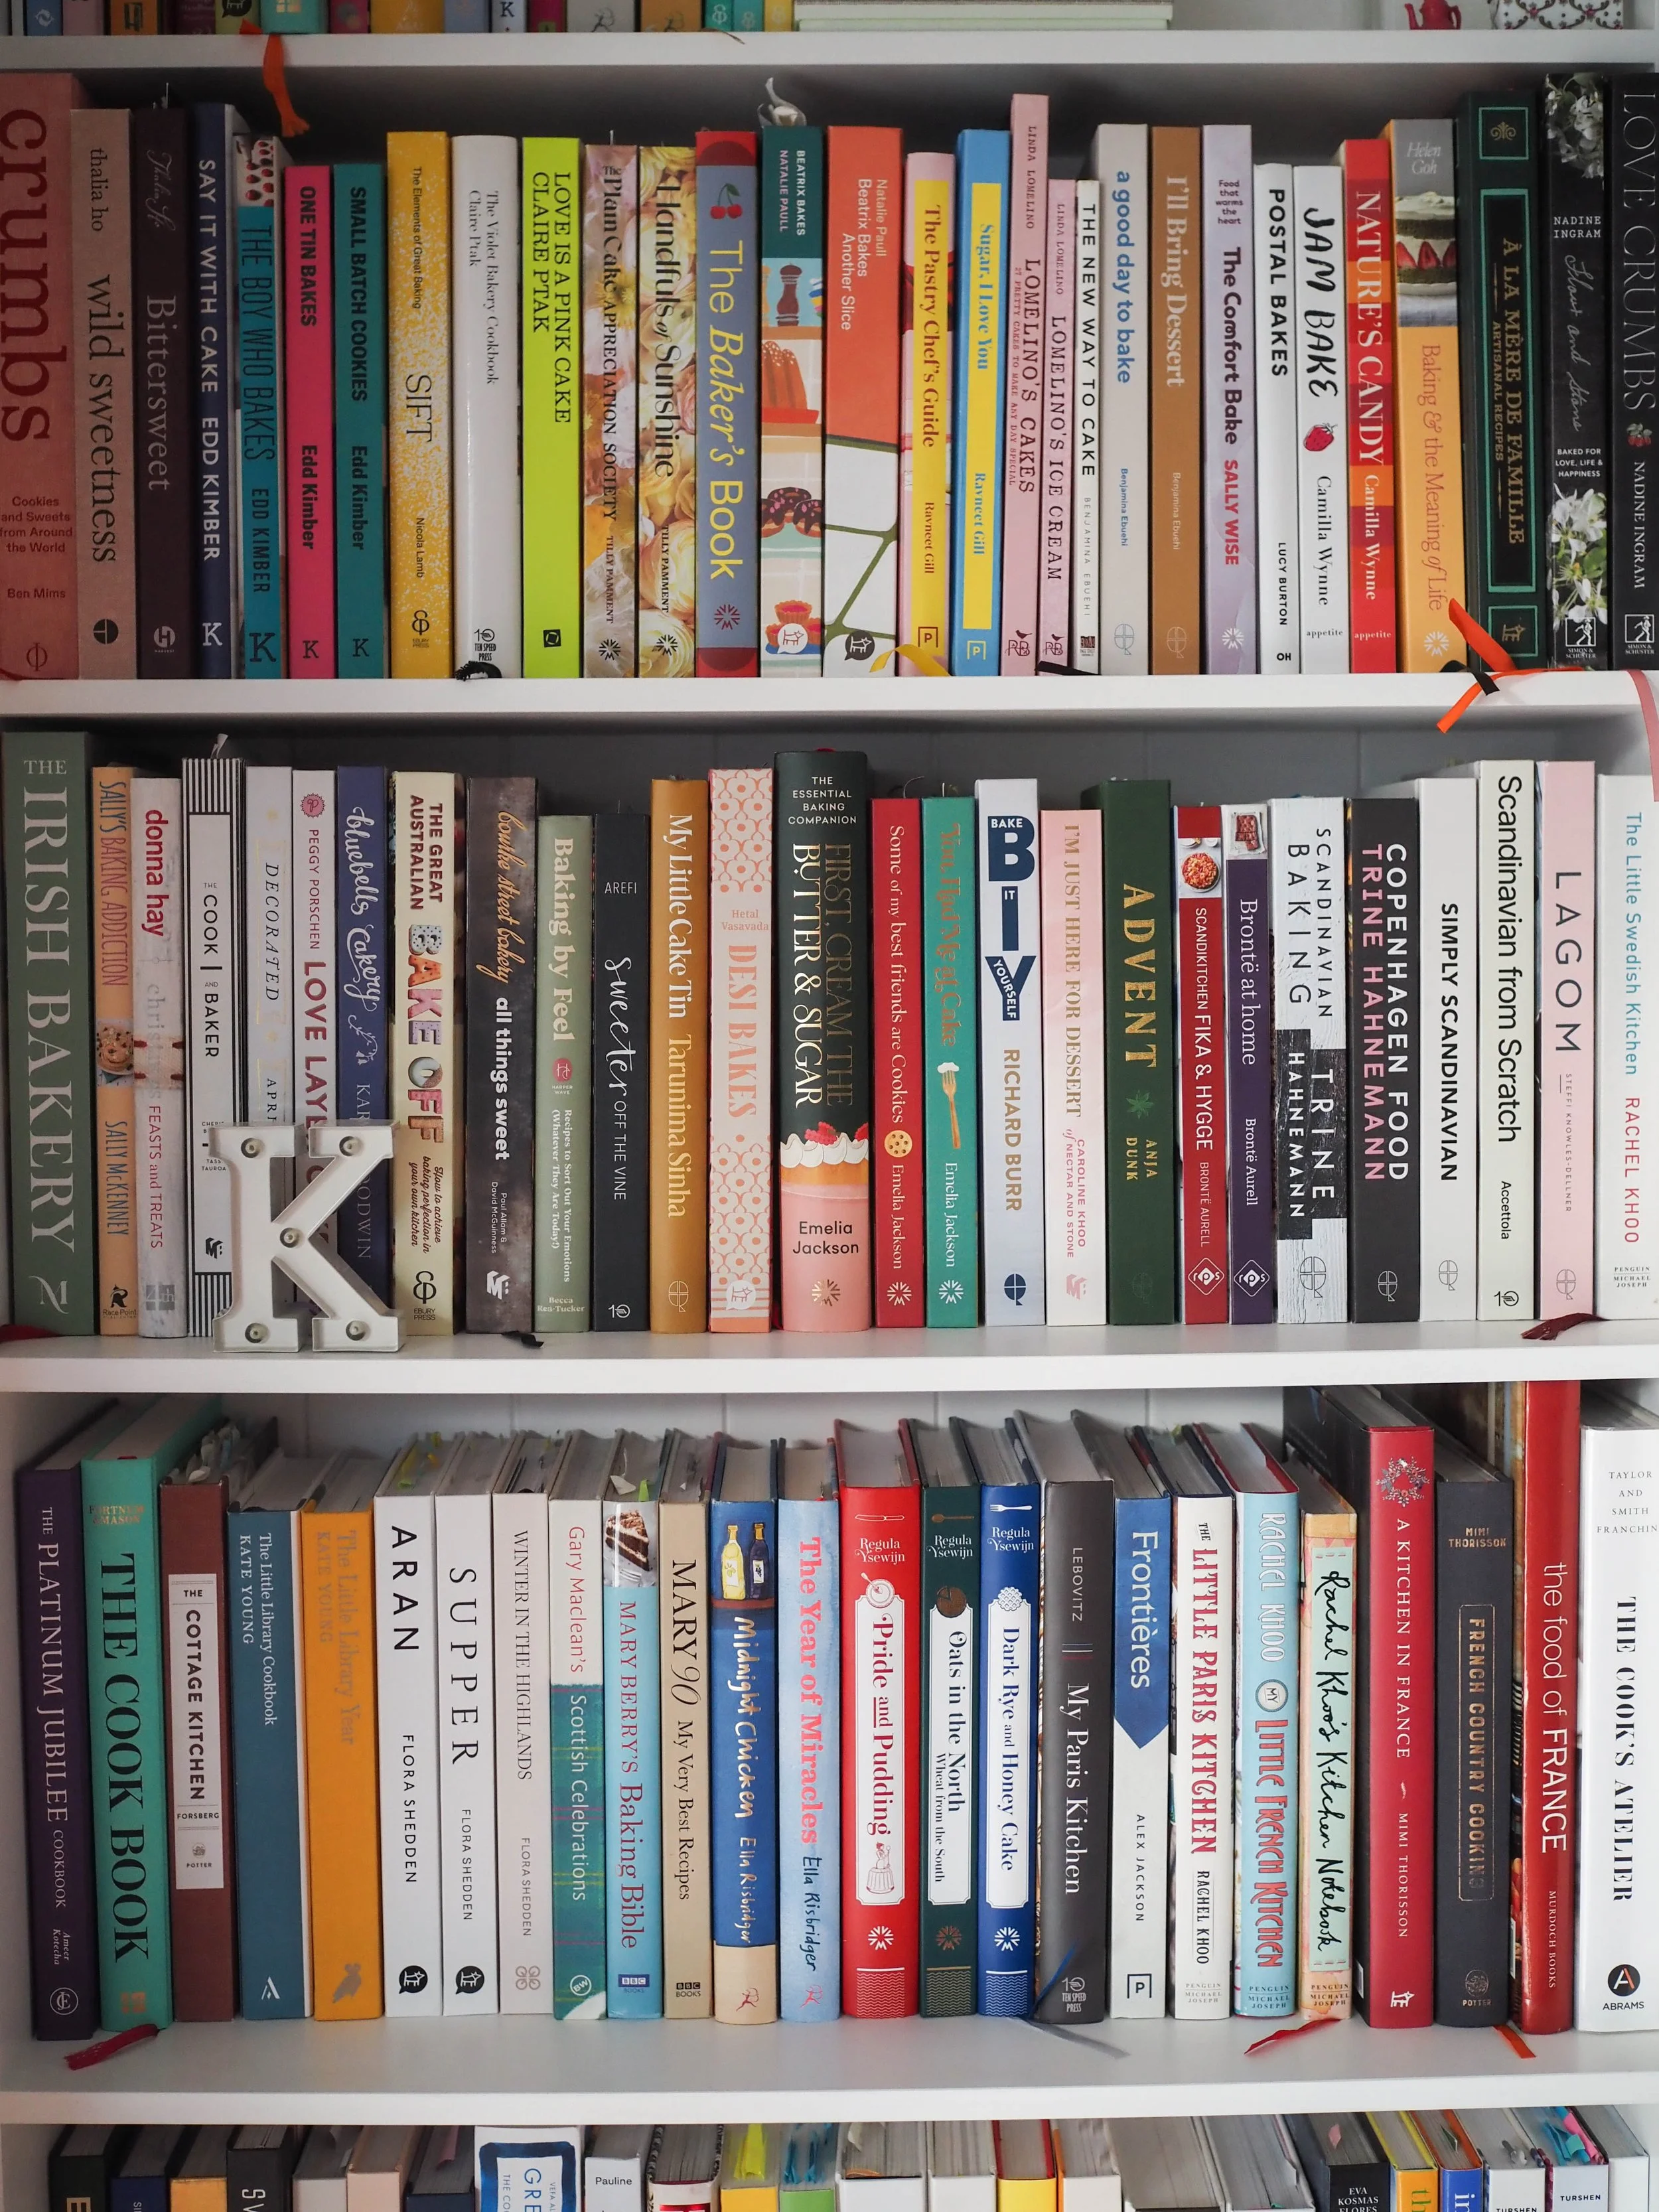
Somehow we are fast heading towards the end of the year, I’m not sure where the time has gone but this passage of time does mean there are more cookbooks to look forward to.
Below are my top picks from the upcoming cookbook releases for the second half of this year. I’m hoping they will be worth the wait!
Native Ingredients Everyday by Nornie Bero (June 30) - This is Nornie’s second book, and it looks like it will be a great addition to our cookbook collections. Native Ingredients Everyday focuses on everyday home cooking with native ingredients. This sounds like the perfect follow up to Nornie’s first book Mabu Mabu, and already I can see the design and colour scheme follow the same bright and inviting feel that Mabu Mabu had. I’m really looking forward to seeing more of this book when it is released later this month.
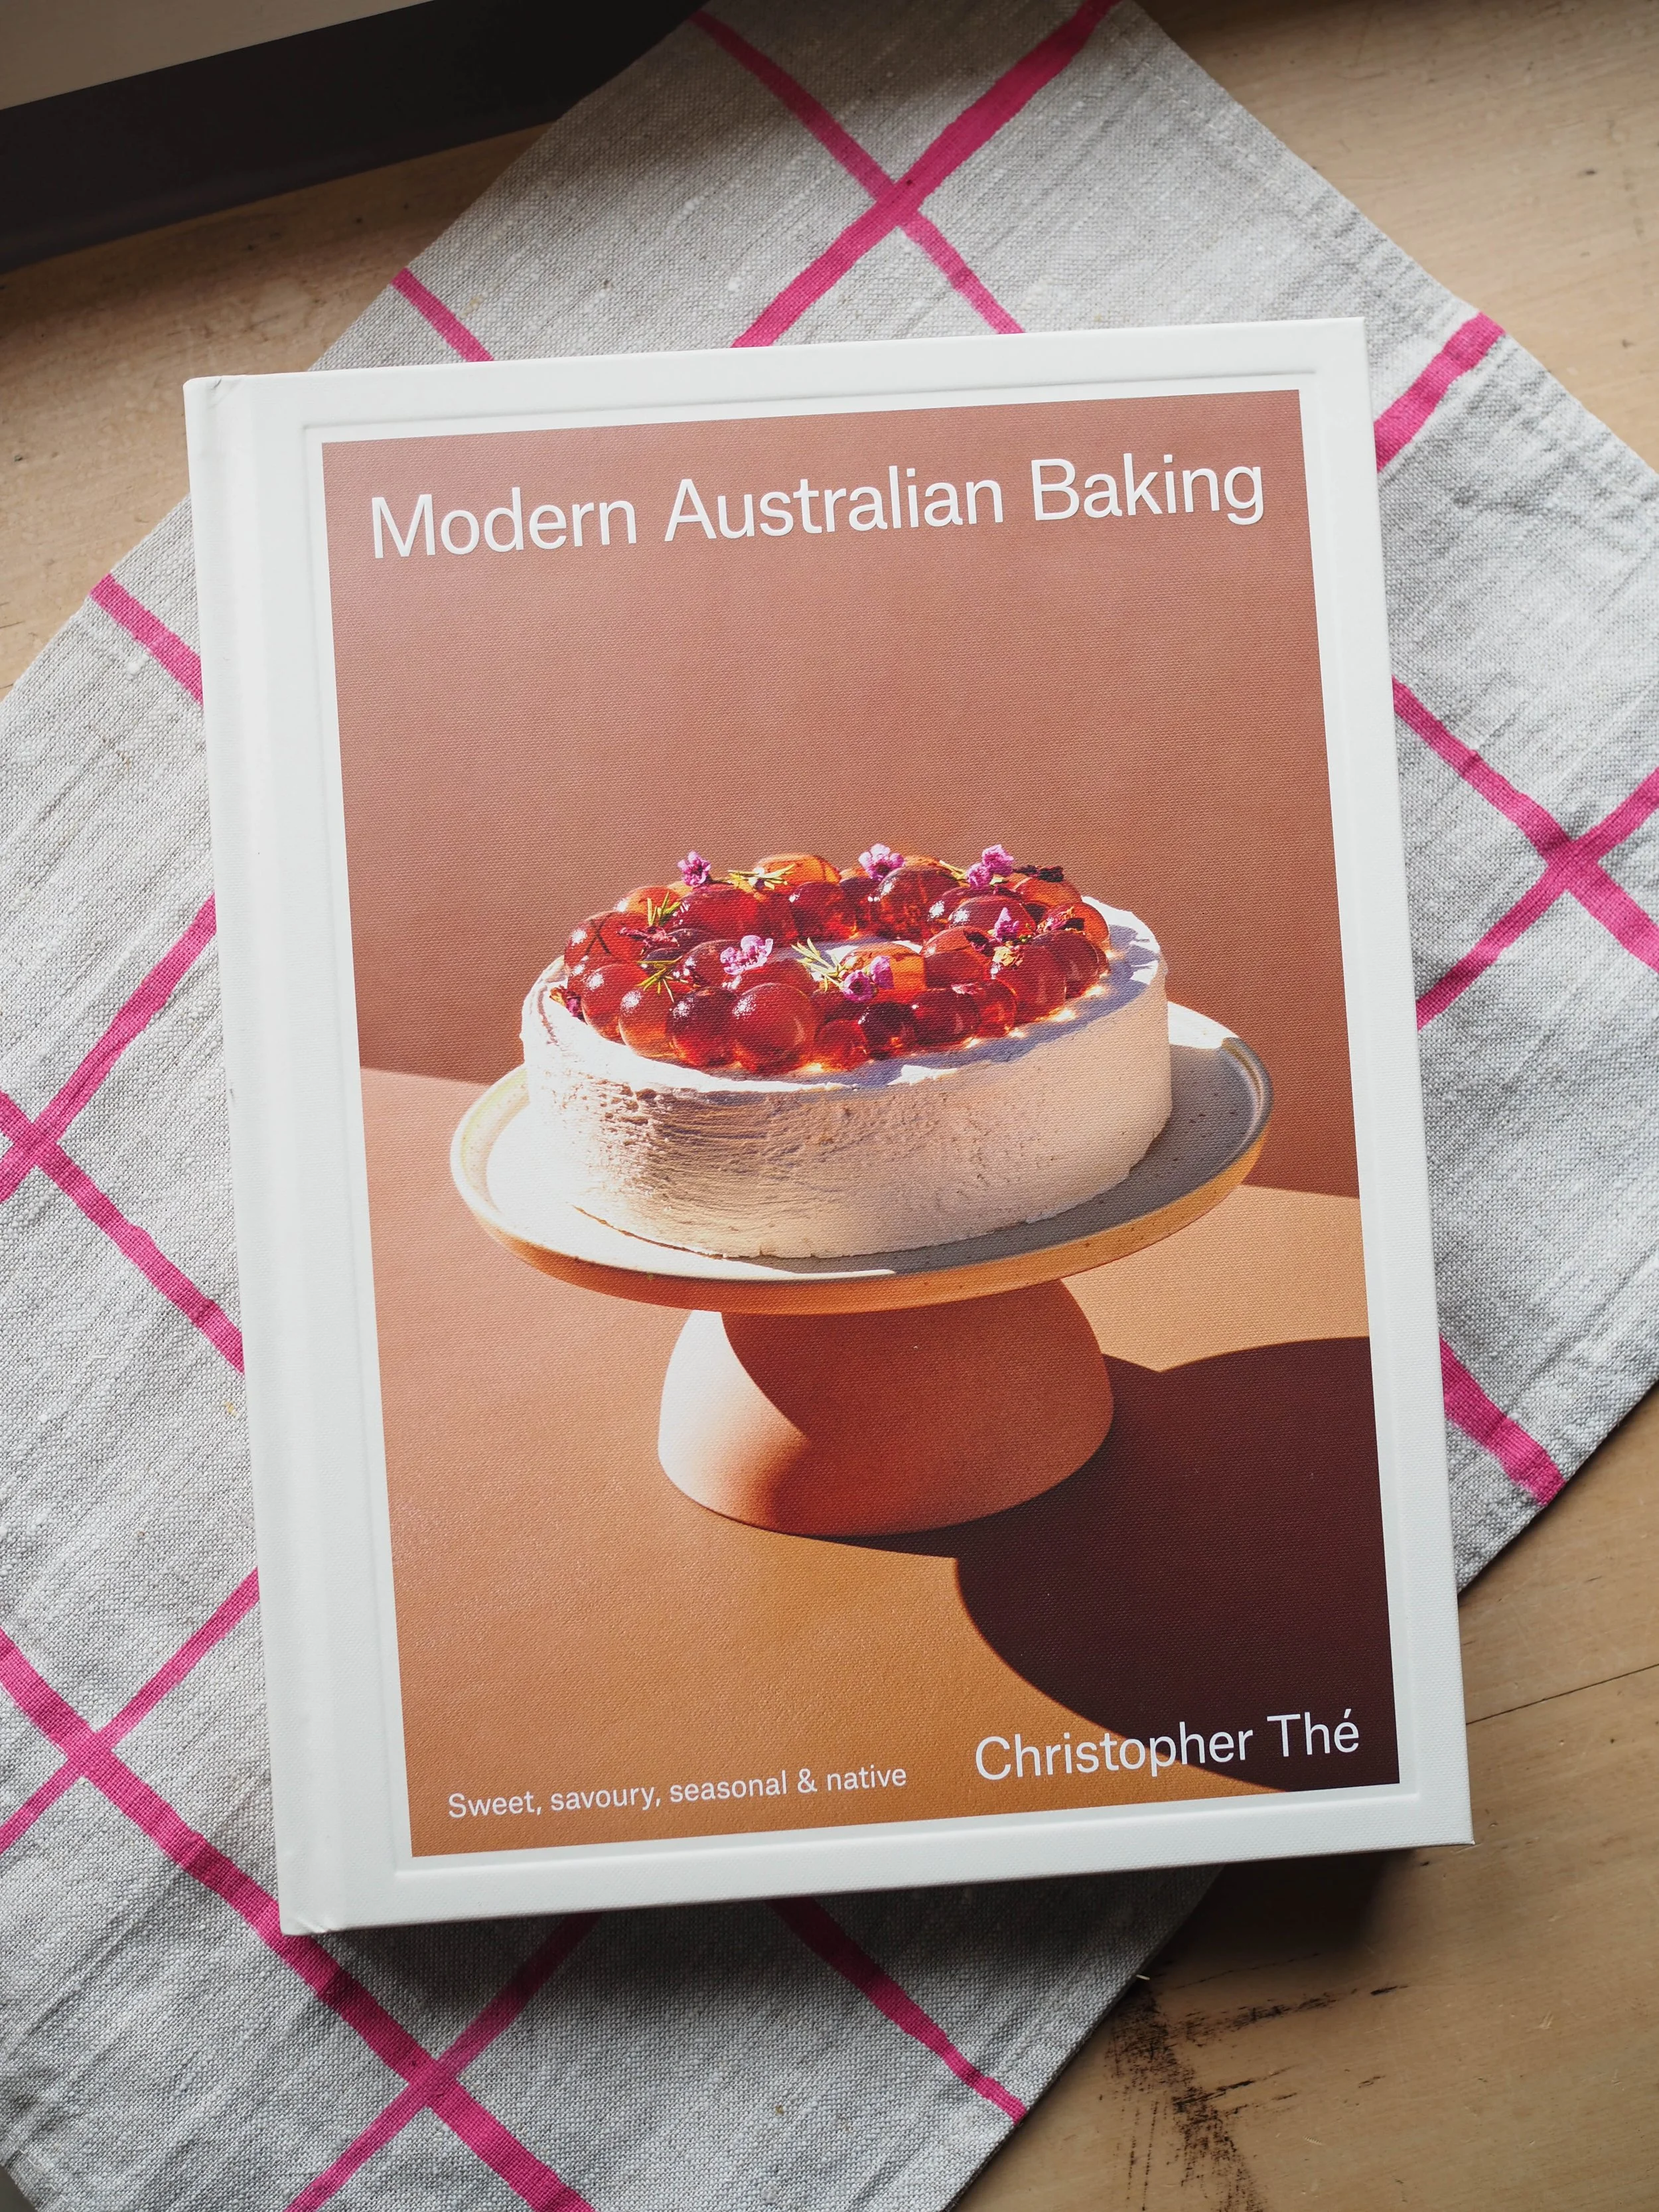
Sweet Heart by Natalie Paull (September 1) - Another baking book from Natalie Paull? Yes Please! There’s something so comforting and reassuring about the way Natalie writes recipes, like a gentle encouraging guide, even when the recipe is a bit more complex, she’s got you, and you can do this. I love the title of this one, the cover and design look amazing too, I can’t wait to see more. The concept of the book looks like its based on cravings, and what you feel like baking or eating, then the chapters will help you narrow this down. I really like the idea of baking based on cravings, mostly that’s how I bake. I feel like eating X, so I bake it. I’m sure this one will be worth the wait and satisfy all the baked good related cravings.
Pasta Grannies: Eat Everything by Vicky Bennison (September 1) - I’ve really enjoyed the previous two Pasta Grannies books by Vicky Bennison, so I am keen to see what this third instalment will bring. By the looks of it a greater variety of recipes will fill the pages of this one, not just pasta. The recipes are all ‘Nonna approved’, which we would expect nothing less from Pasta Grannies!
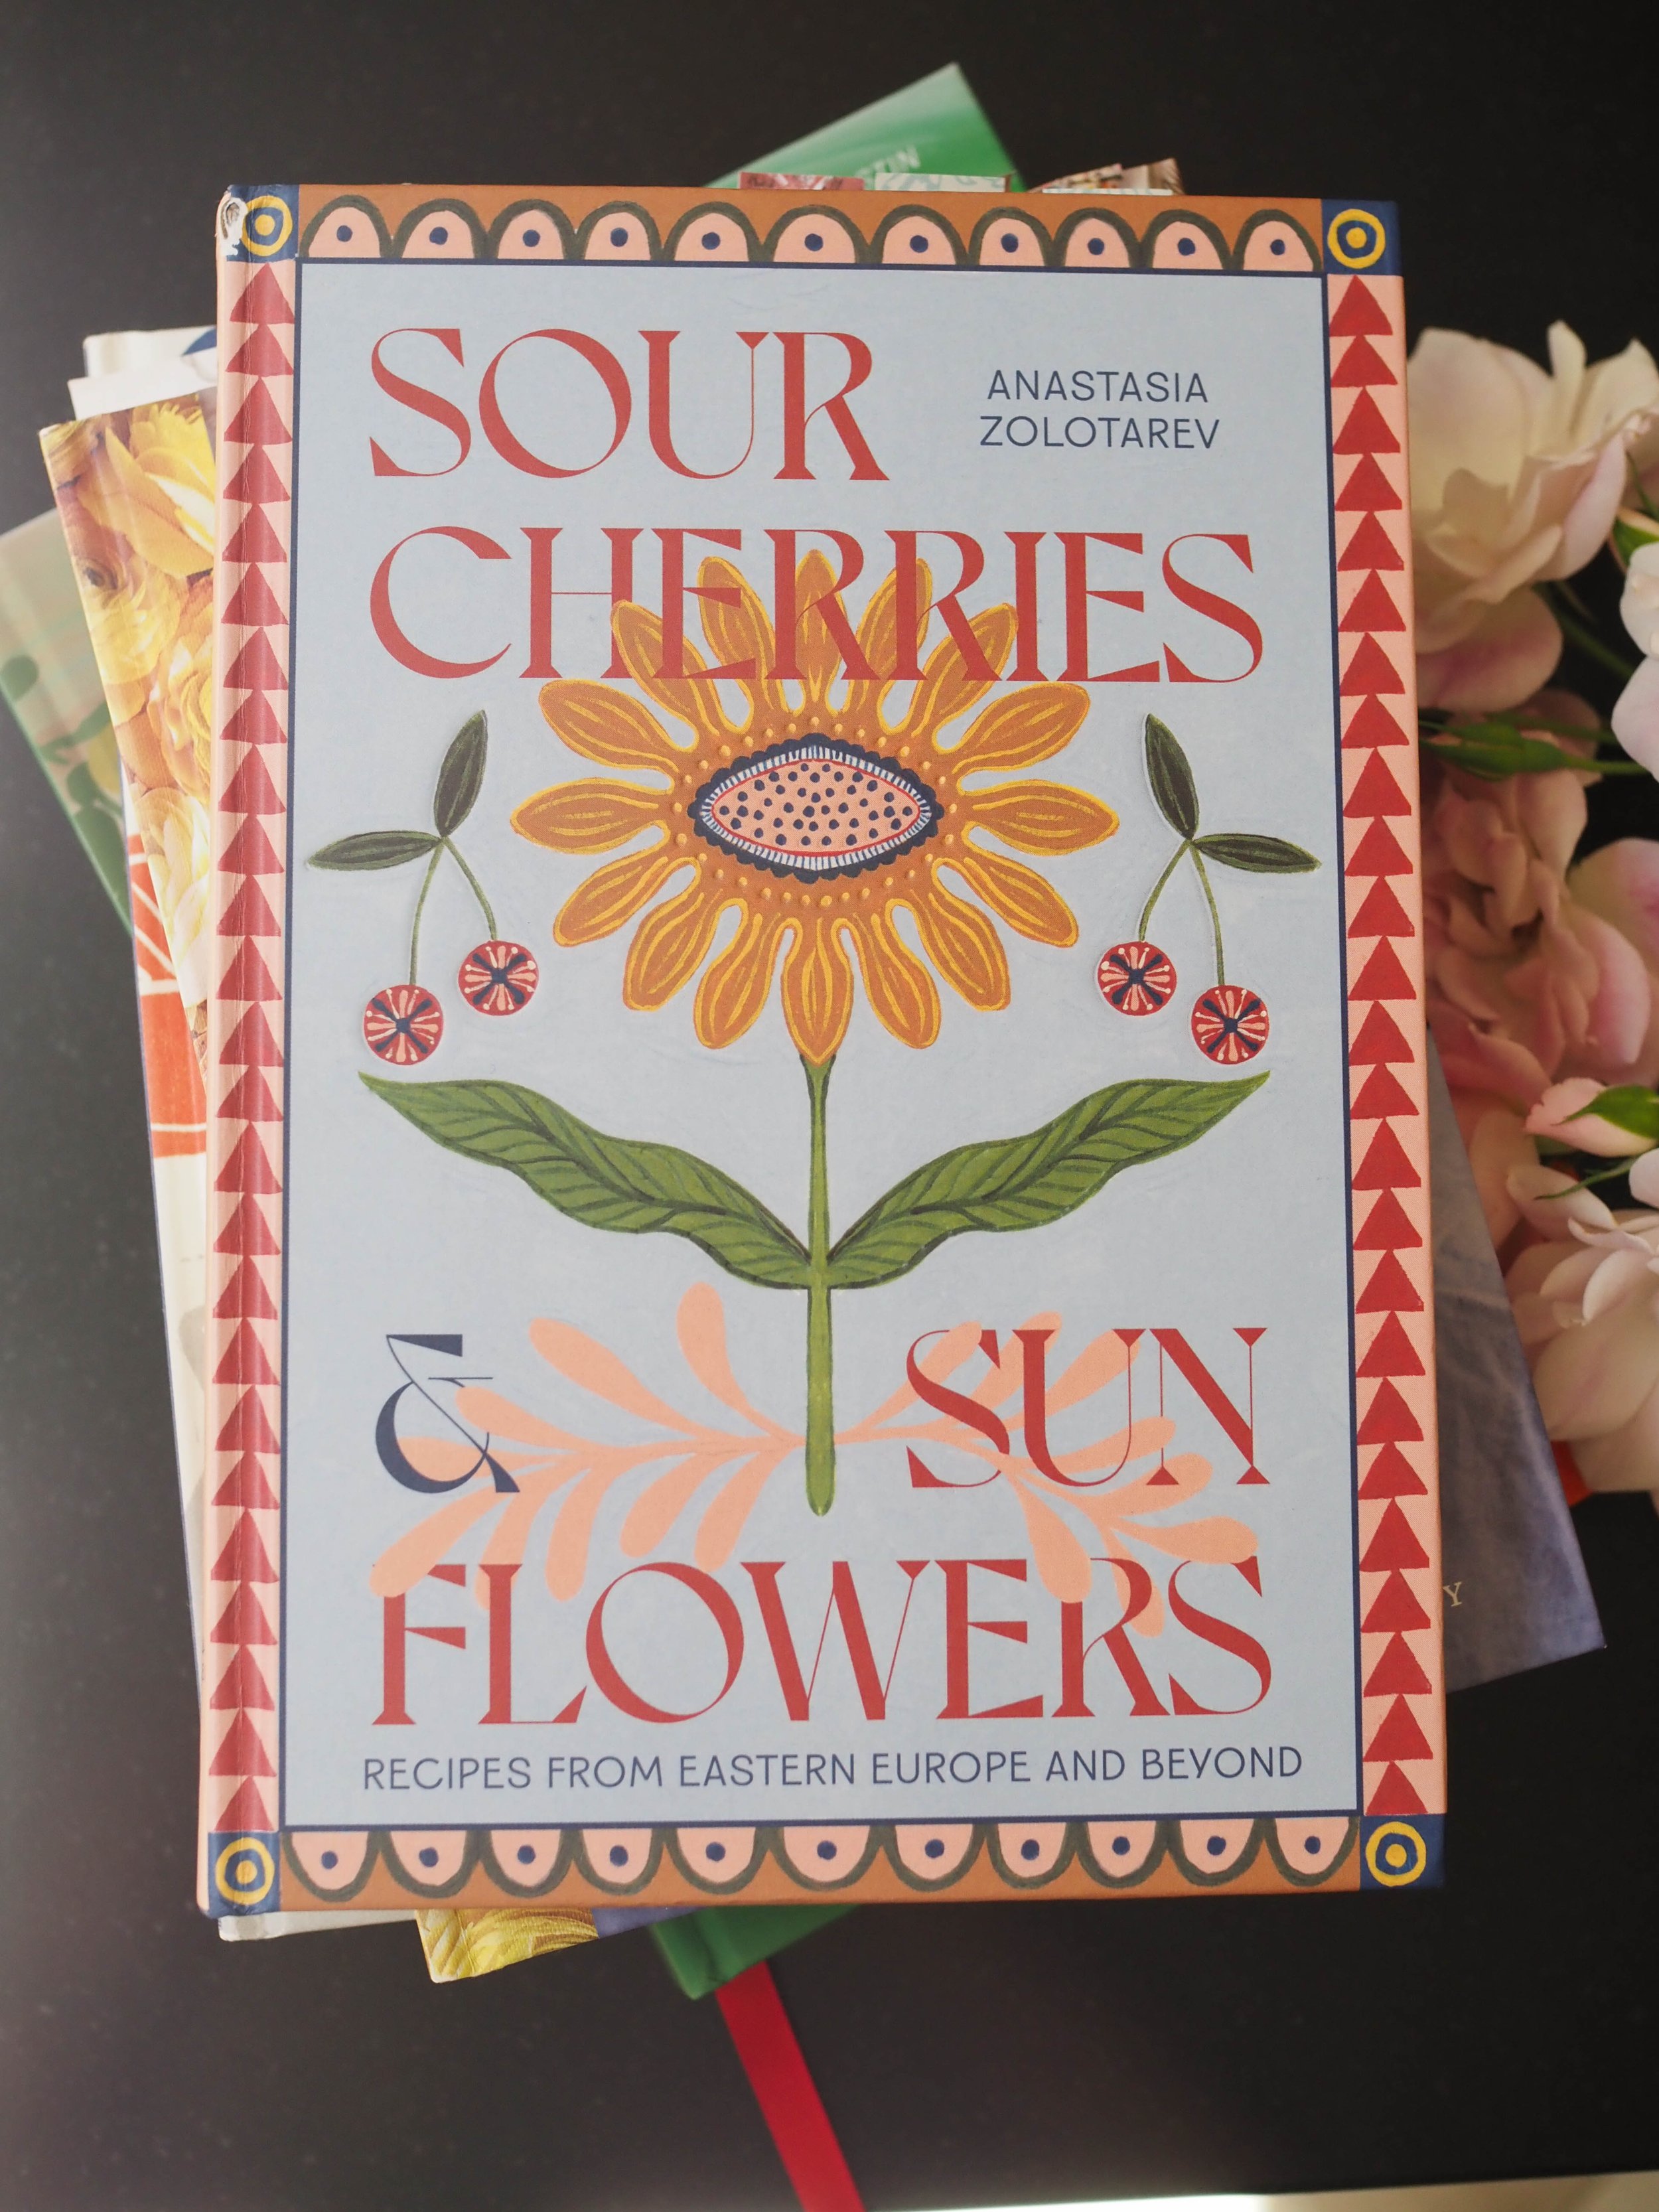
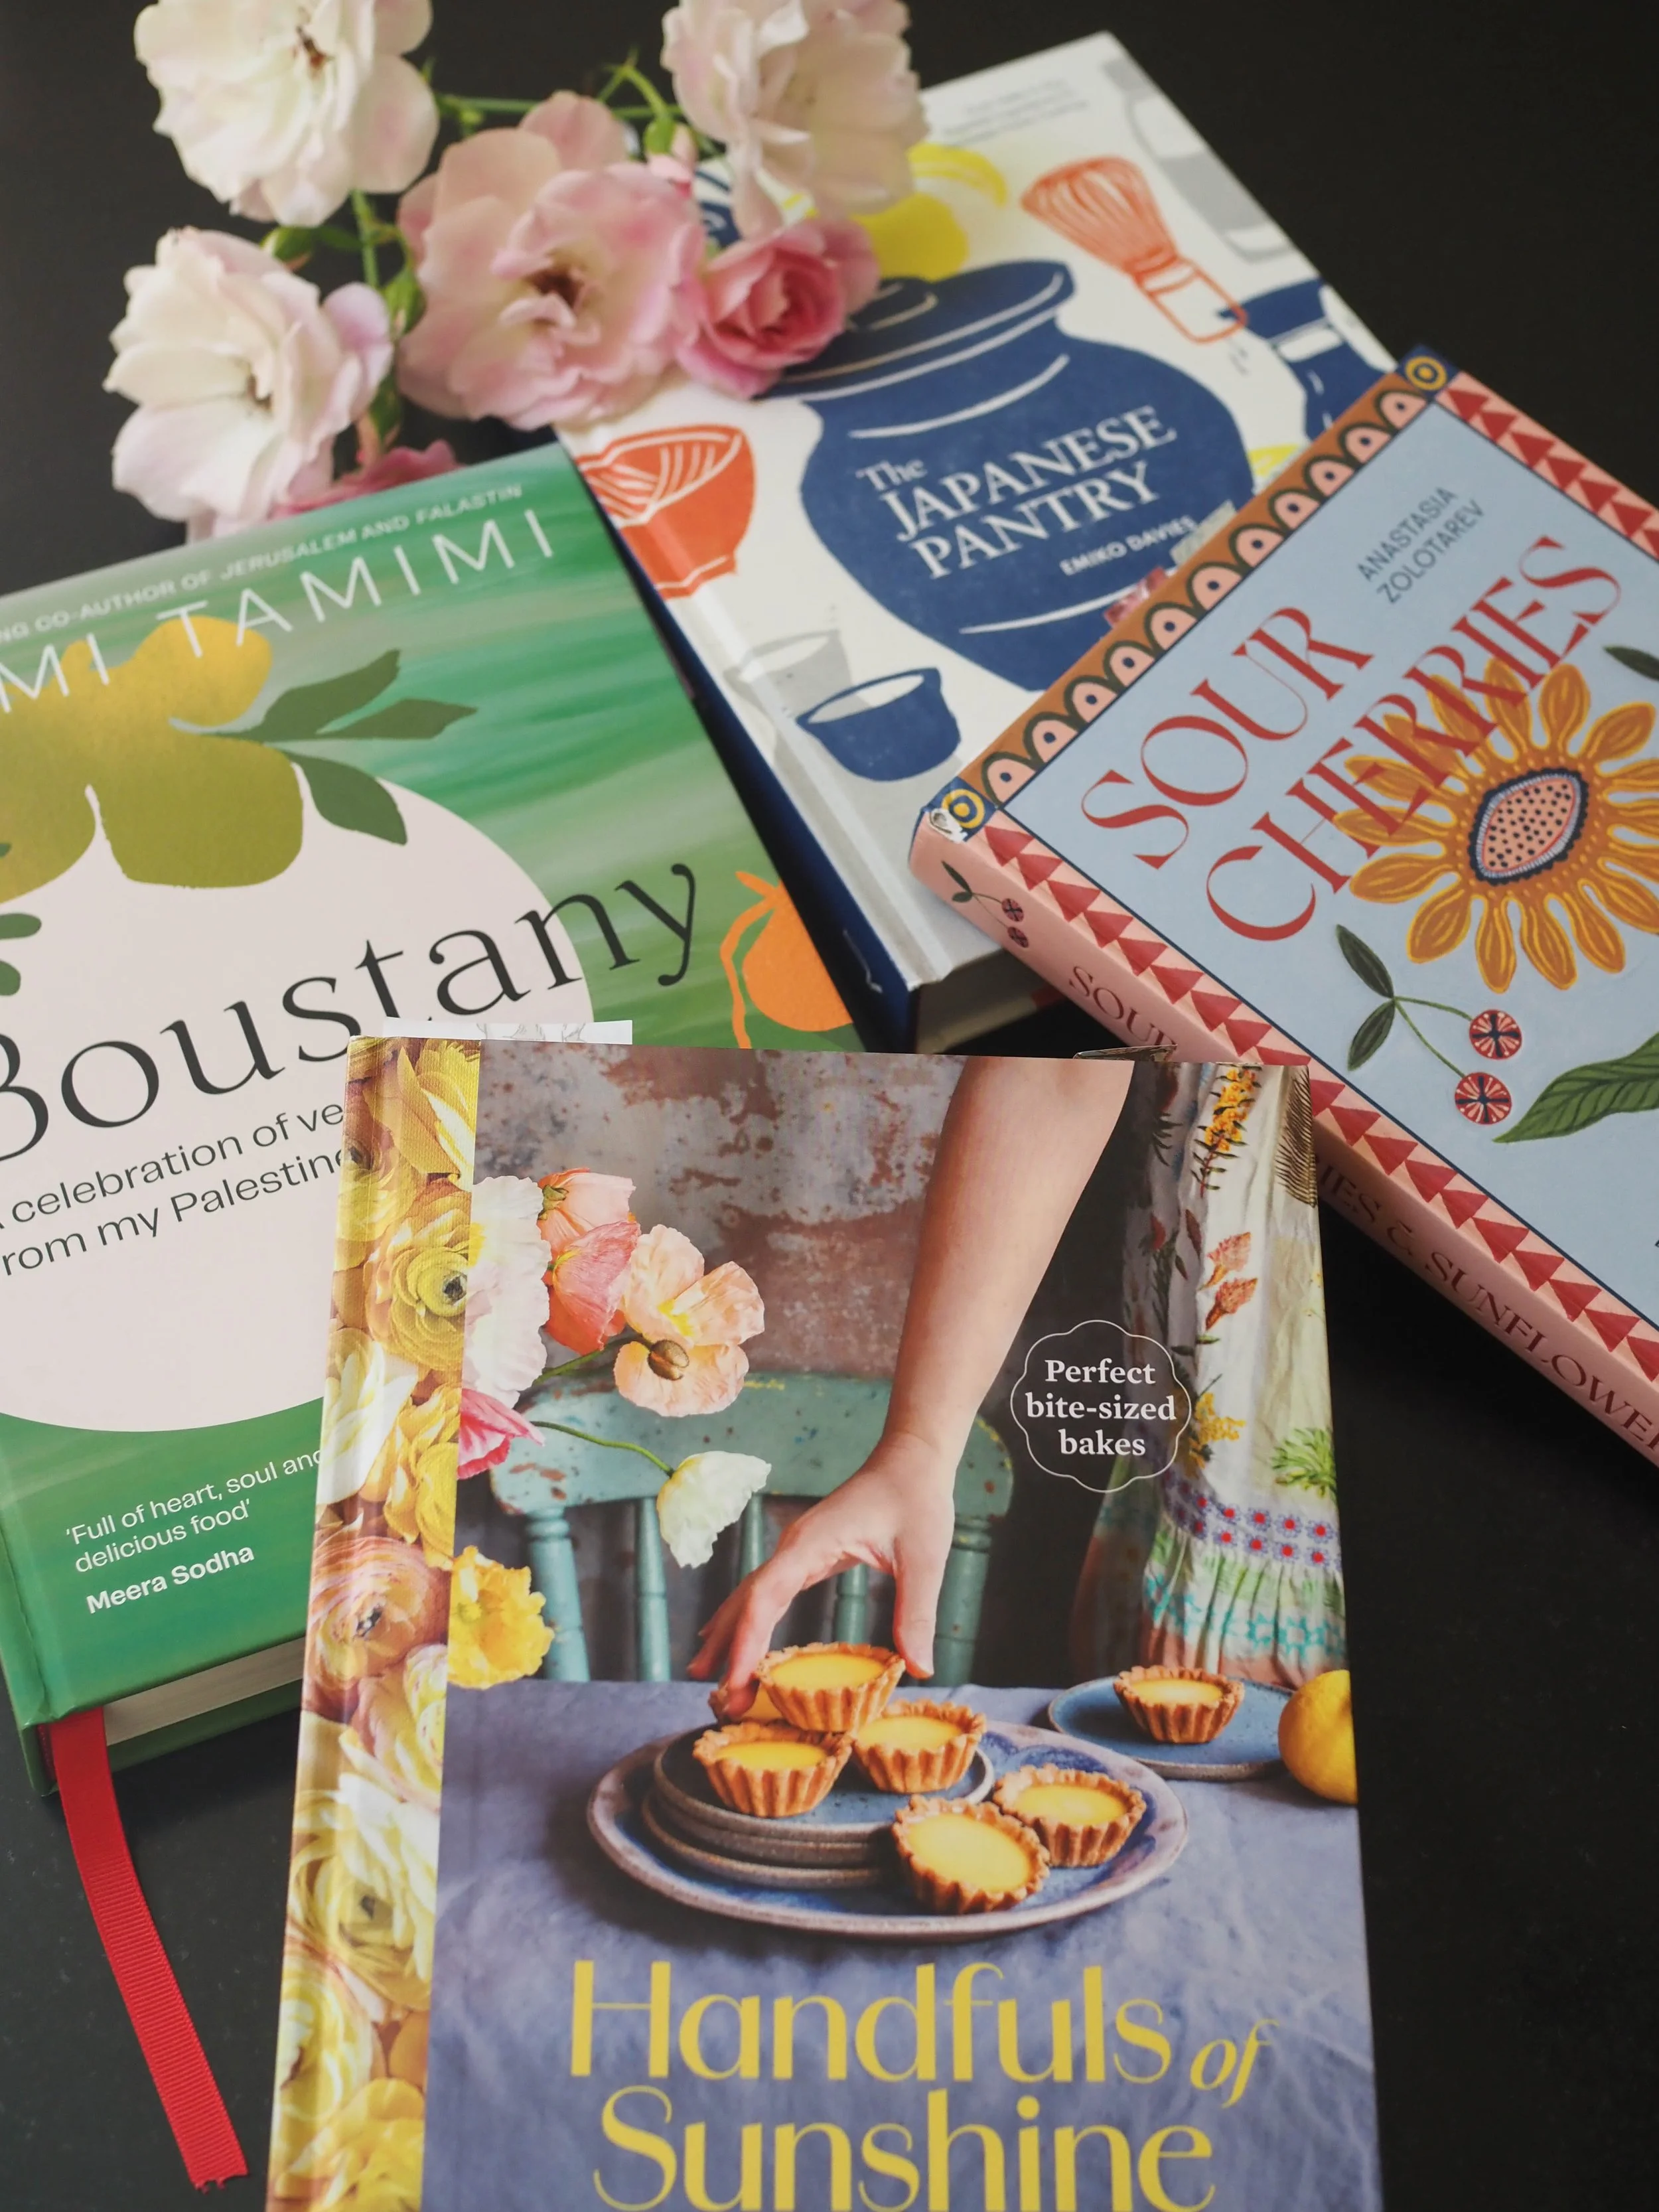
Ukraïne: Recipes and Stories from Kyiv to the Black Sea by Anna Voloshyna (October 20) - This book covers a wide variety of Ukrainian recipes, with Anna travelling to parts of Ukraine despite the ongoing war, to collect recipes, hear the stories of Ukrainian people and learn how to make various dishes and recipes. I tested a few of the recipes for Anna, so I’ve already had a little sneak peek of what to expect (lekvar, homemade sauerkraut and other ferments will feature in the book), however there will still be lots more to discover once it’s released. I’m interested to see how this book will differ from others I have already that focus on Ukraine, or Eastern Europe generally. I’m hoping the fact that Anna was able to travel to Ukraine during the making of this book will provide a more personalised human centric touch that we haven’t seen in Ukrainian focused books for a few years now due to the war and travel to Ukraine being difficult and often very unsafe.