Kulinary Adventures of Kath

Food Photography, Recipes & Baking
  • home
  • About
  • Work with Kath
  • Shop
  • Blog
    • The Blog
    • Recipe Archive
  • Newsletter
  • Contact
  • home
  • About
  • Work with Kath
  • Shop
    • The Blog
    • Recipe Archive
  • Newsletter
  • Contact
Raspberry Pistachio Rose Cake (23 of 25).jpg

The Blog

Recipes and Food Photography by Kath Vincent.

  • The Blog
  • Recipe Archive
  • All
  • Biscuits/Cookies
  • Breads Etc.
  • Breakfast
  • Cakes & Slices
  • Confectionary
  • Drinks
  • Events
  • Food Photography Tips
  • From The Mailing List
  • Heirloom Recipes
  • Holidays
  • Ice Cream
  • Jams Preserves & Spreads
  • Muffins
  • Off the Shelf
  • Other Desserts
  • Savoury Dishes/Meals
  • Scones
  • Tarts & Pastry
  • Travel
Ginger Date & Rose Cupcake - recipe from my eBook ‘Baking with Rose’

Ginger Date & Rose Cupcake - recipe from my eBook ‘Baking with Rose’

Ginger Date & Rose Cupcakes + Baking with Rose eBook is Here!

Kath May 1, 2019

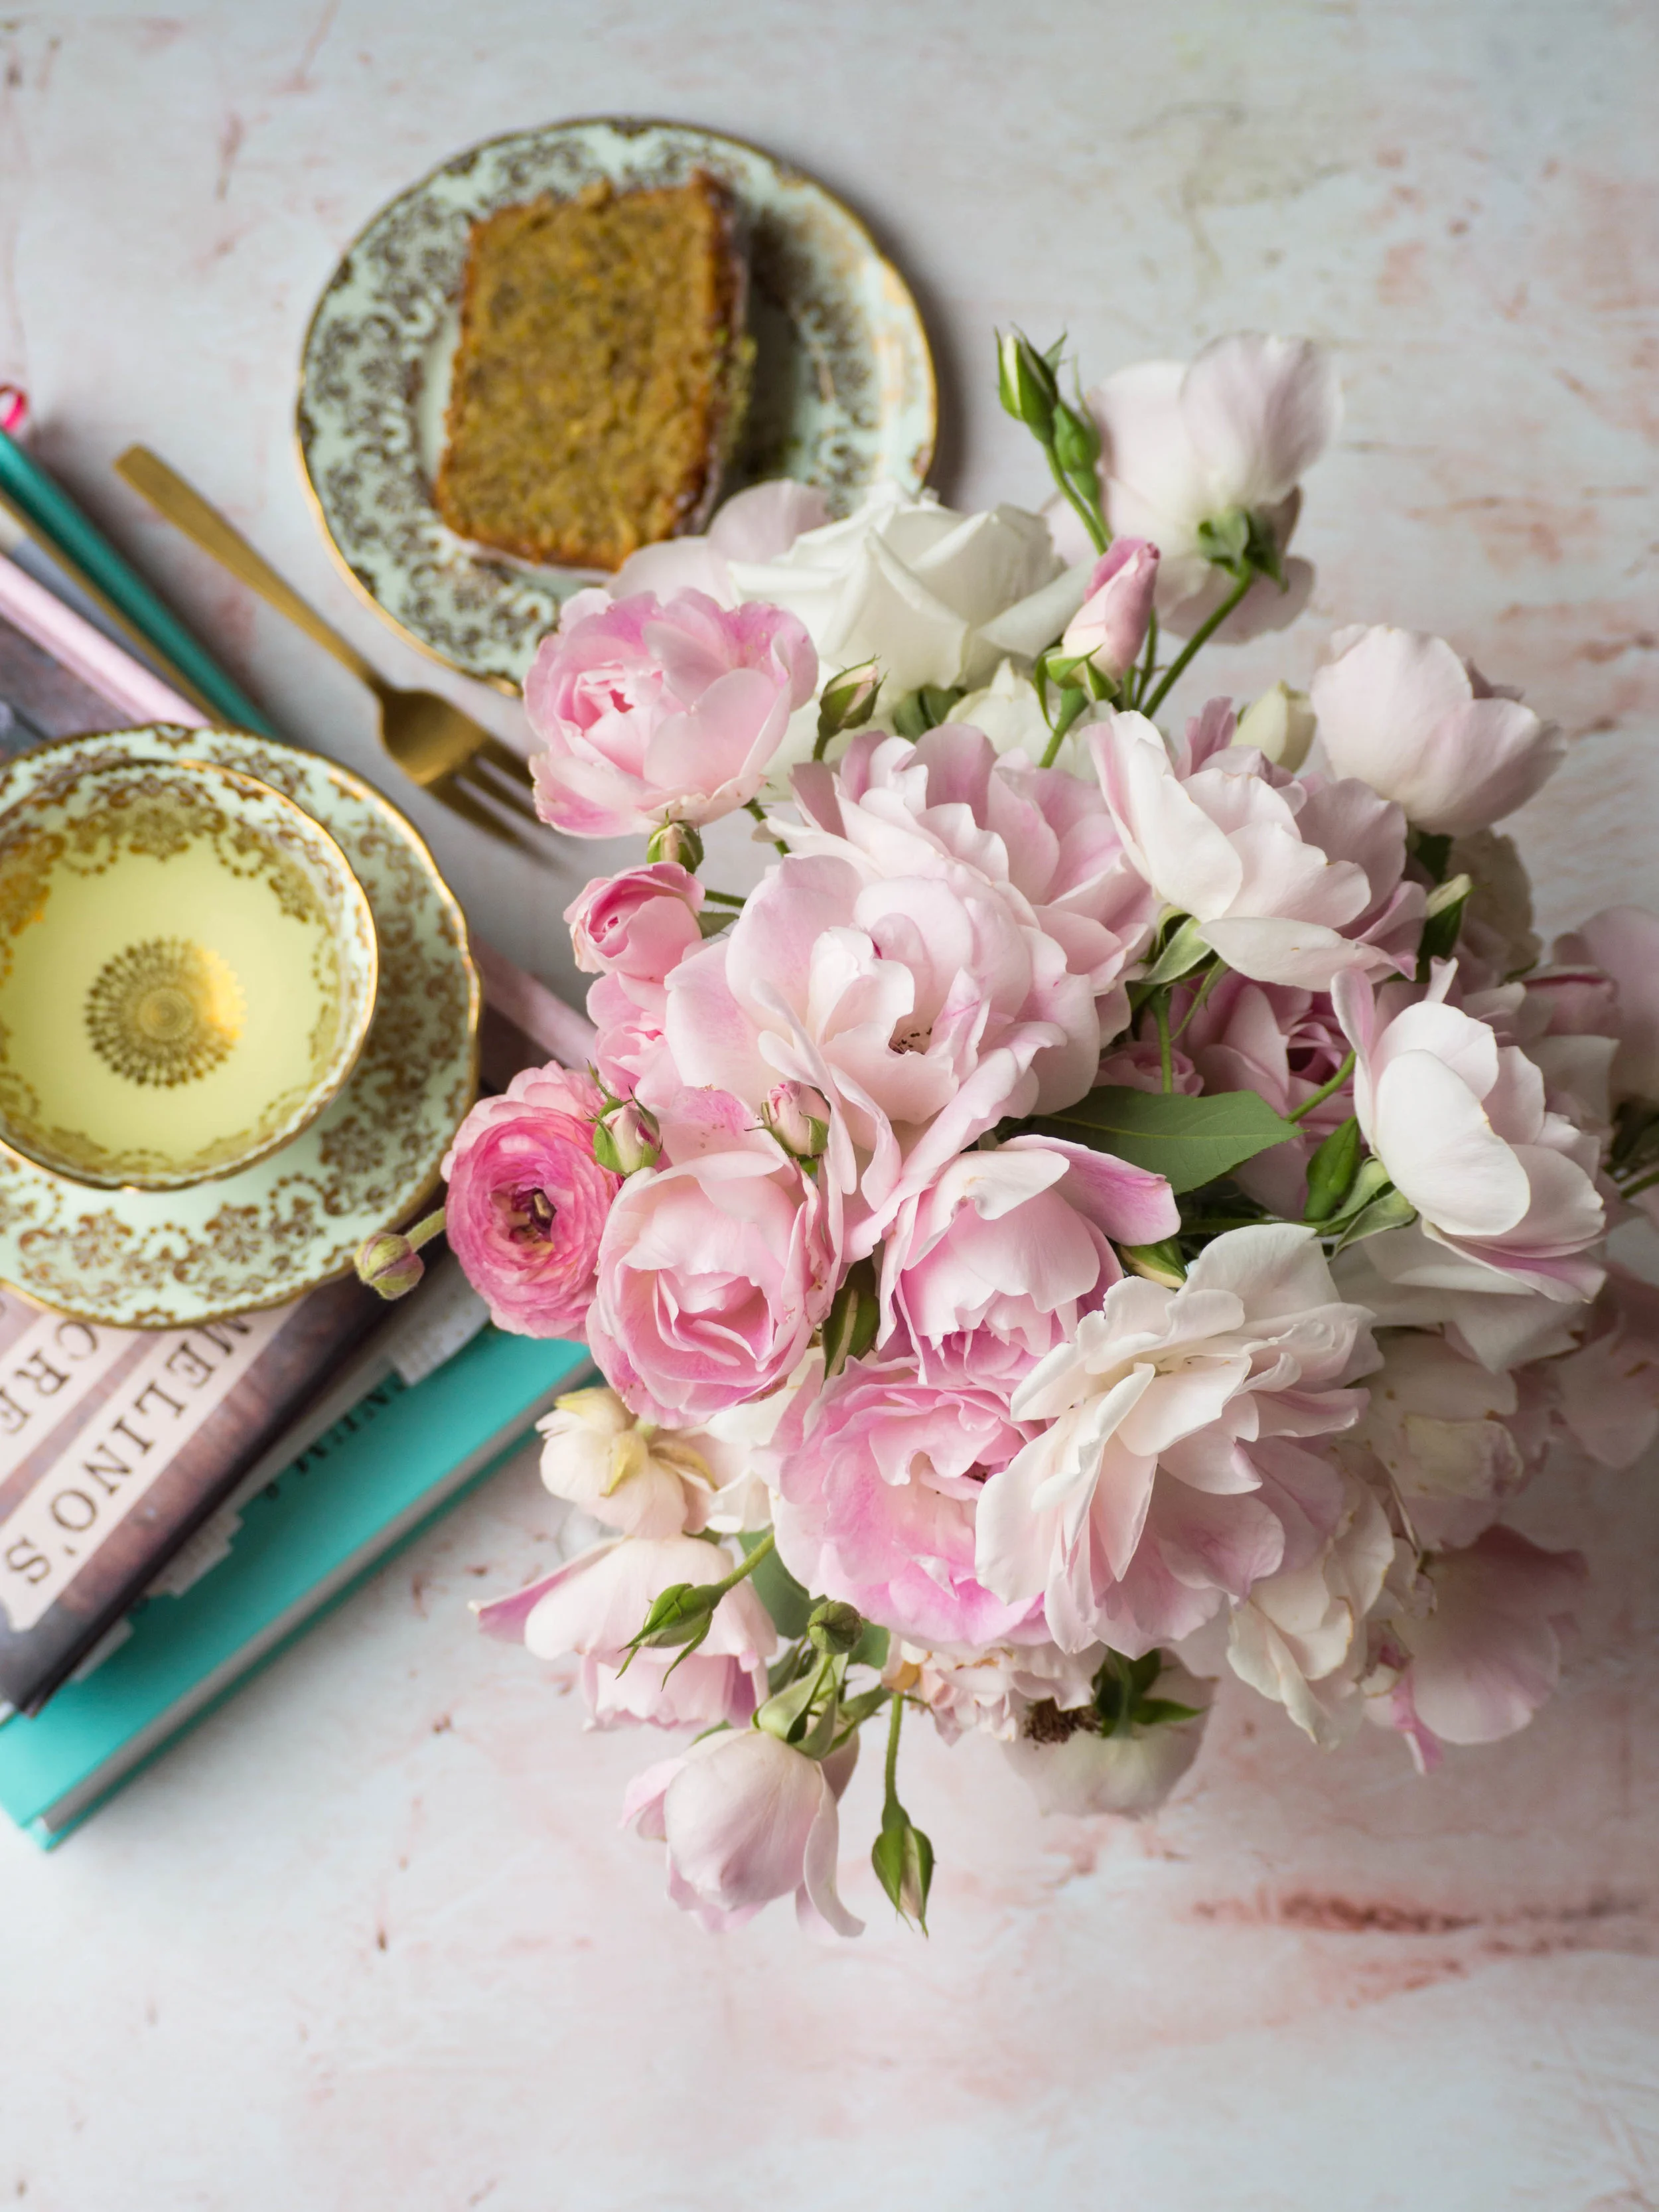
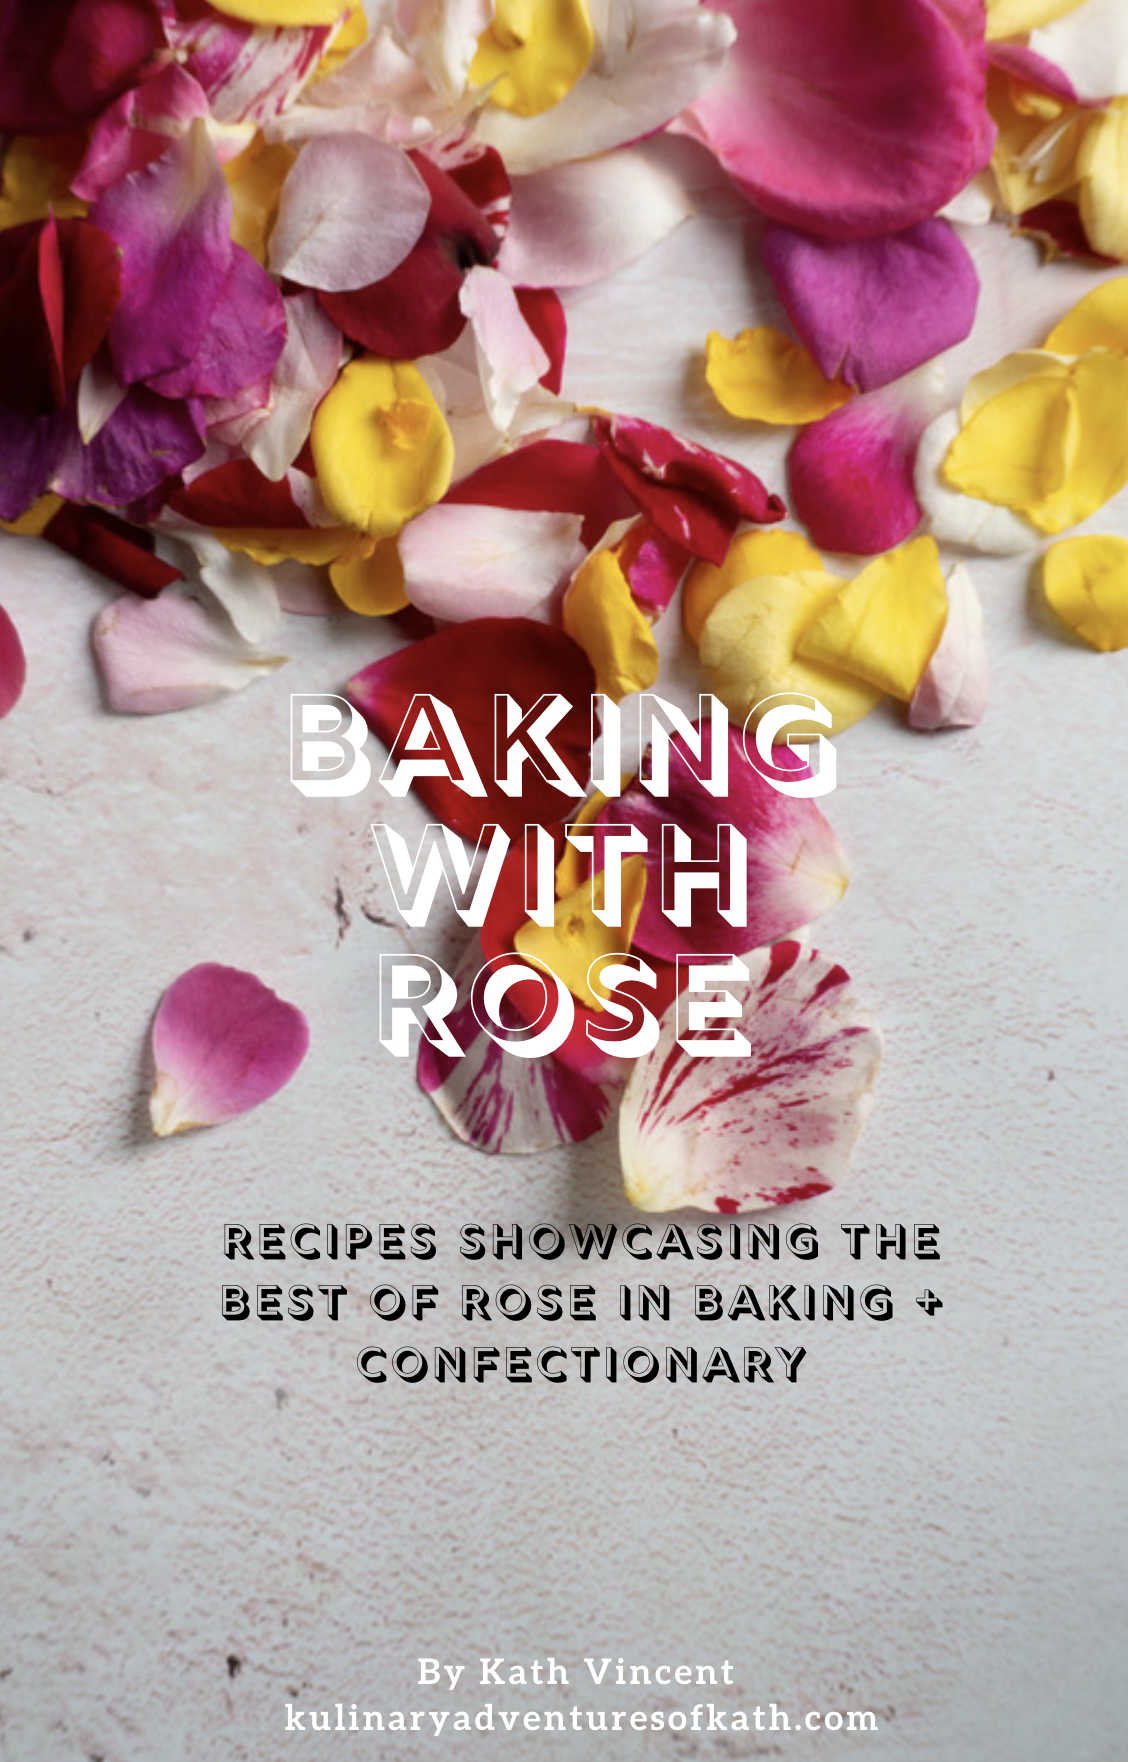
My new eBook, ‘Baking with Rose’ is here! And to celebrate I am sharing one of my favourite recipes from the book, these Ginger Date and Rose Cupcakes.

It wasn’t until recently I discovered rose and ginger go really well together. While I like both flavours a lot, I had never thought to put them together. That changed when I saw this recipe for Gingersnaps with Rose icing. I made them, and loved them! I then began to think of all the other ways I could use ginger and rose together and these cupcakes are one of the ideas I came up with.

I love the flavour combination of these cupcakes, and the rose is fairly subtle as it’s only in the icing. The date molasses and panela sugar add a gentle sweet flavour, however regular molasses or brown sugar would be good substitutes if you don’t have date molasses or panela.

For more rose recipes like this, check out my new eBook ‘Baking with Rose’!

View fullsize Ginger Date and Rose Cupcakes
View fullsize Baking with Rose eBook
purchase ebook!
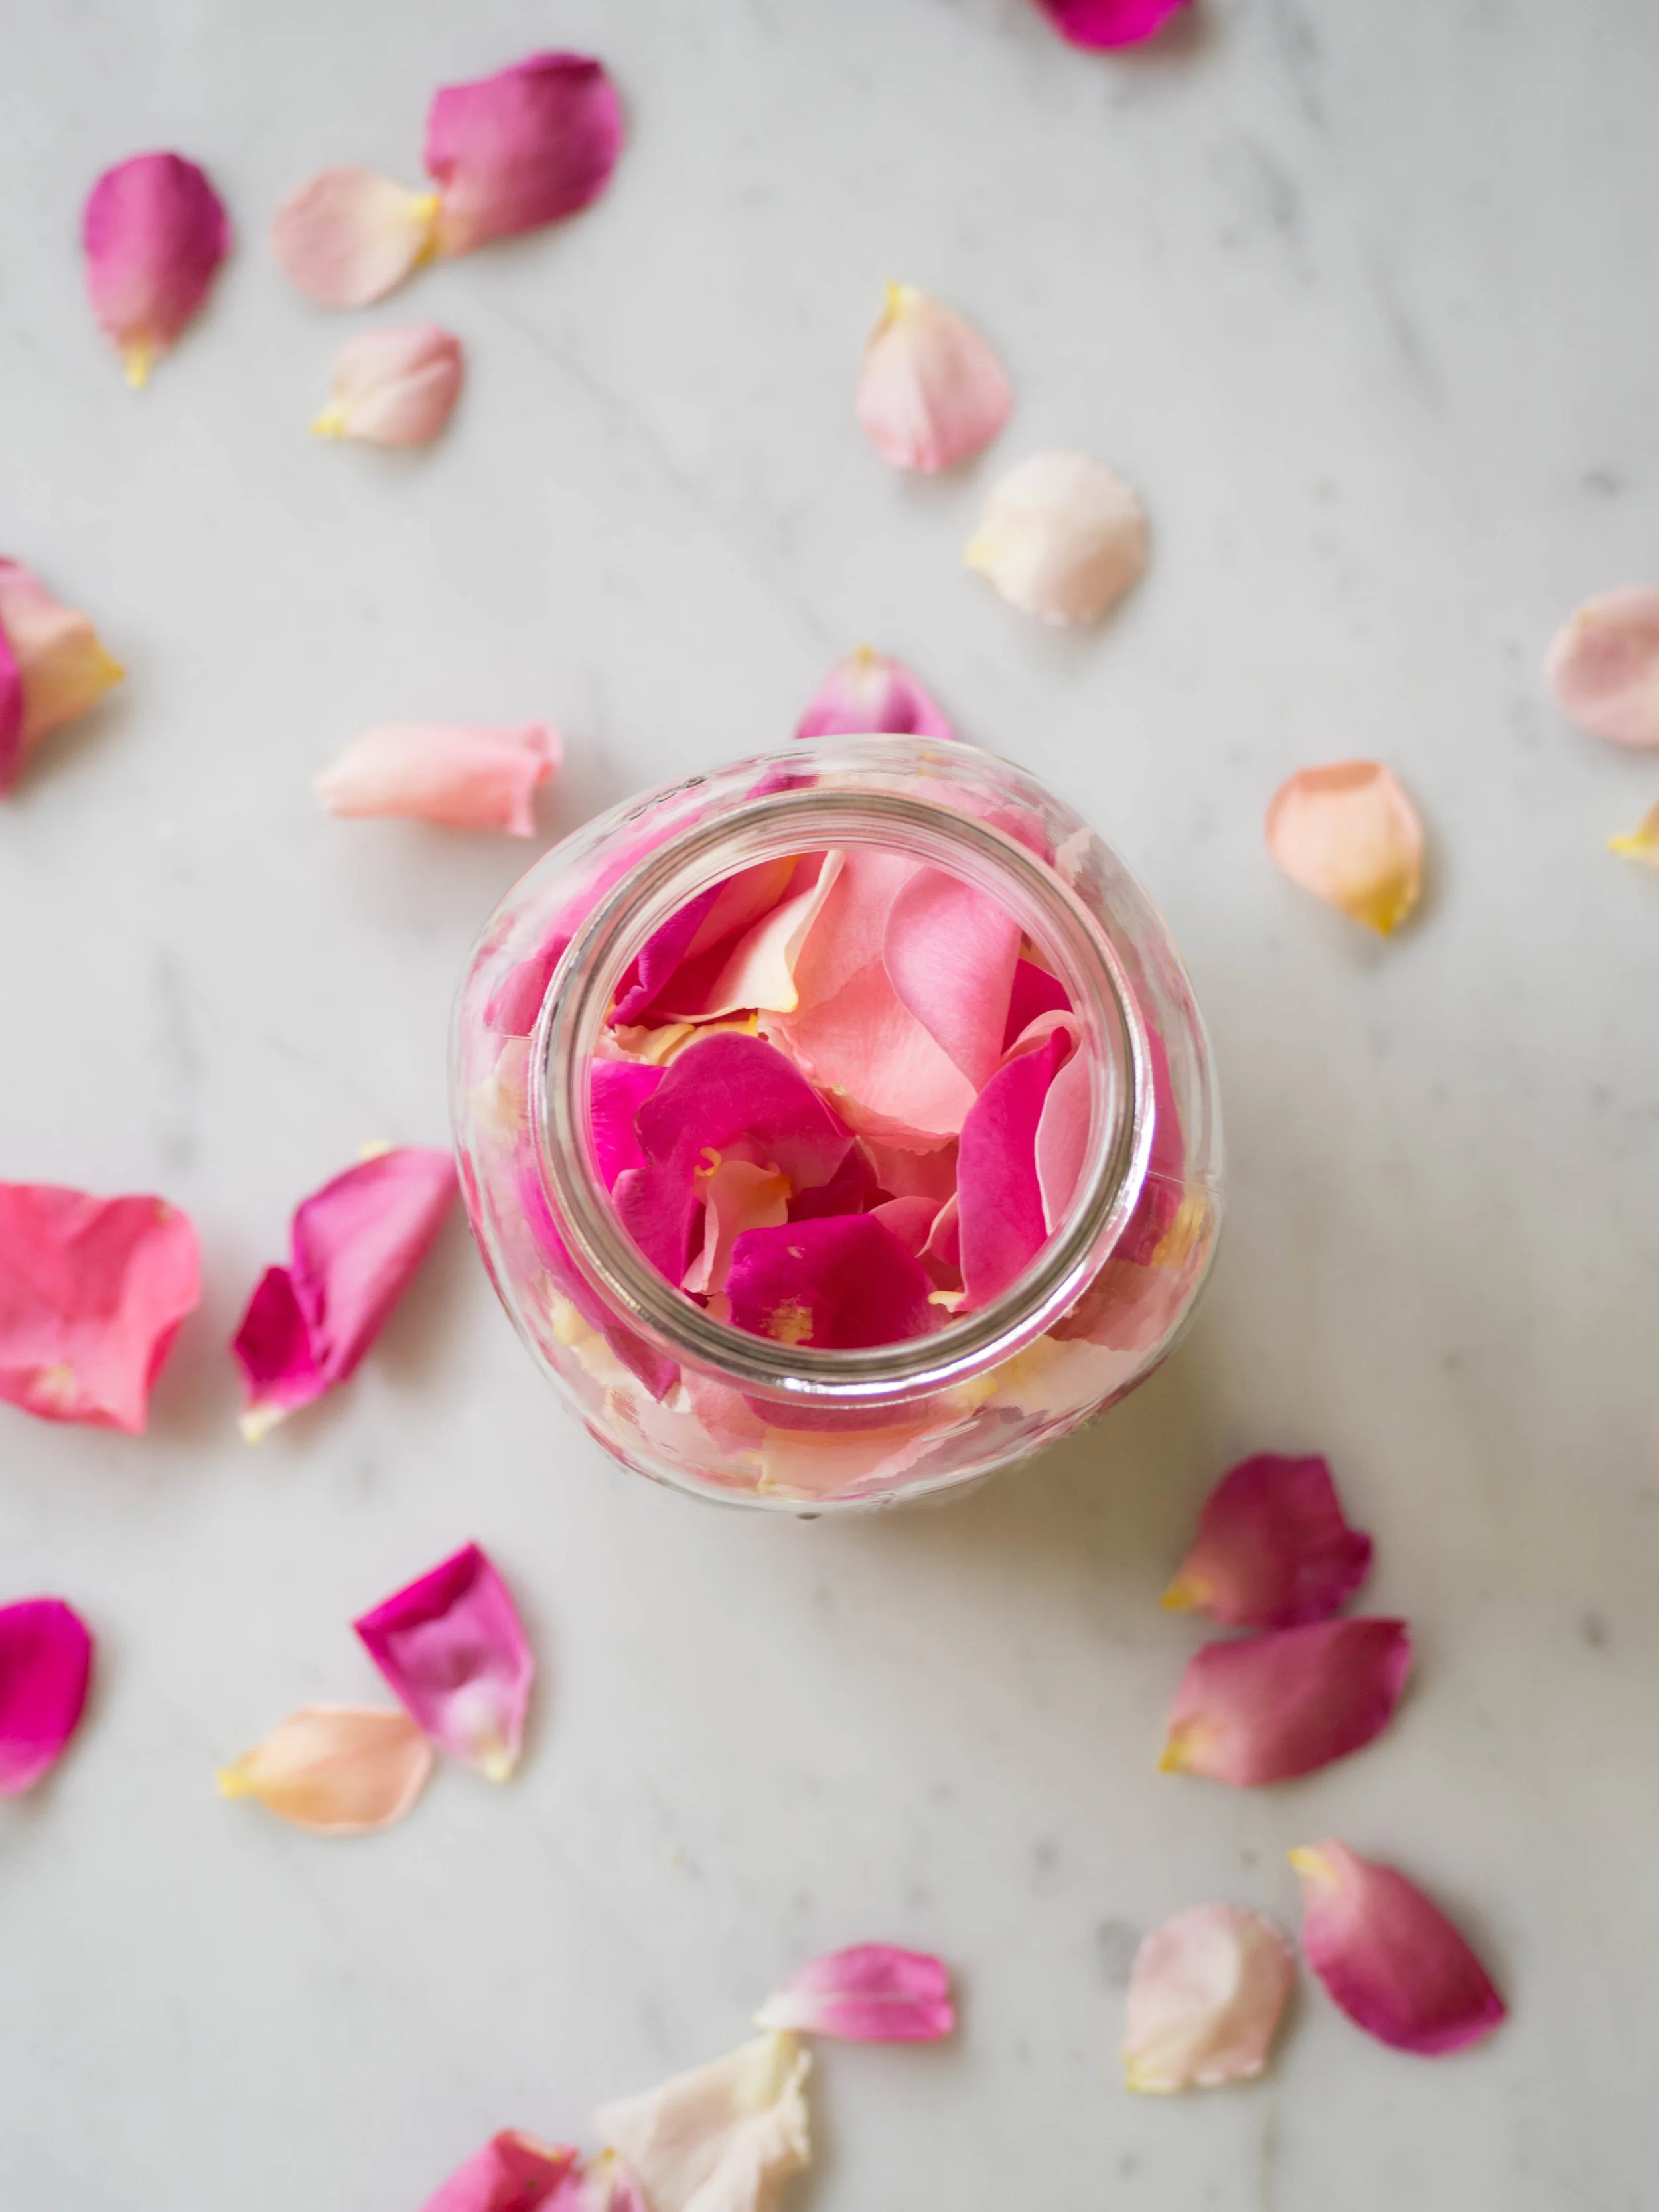
Fresh Edible Rose Petals

Fresh Edible Rose Petals

Ginger Date and Rose Cupcakes

Ingredients: 

250g softened unsalted butter

200g panela sugar 

2 eggs

310g date molasses

230ml water

410g plain flour 

1 1/2 tsp ground cinnamon 

1 tsp baking powder

1 tsp bicarb soda

1 tsp ground ginger

1 tsp ground nutmeg

1/2 tsp ground all spice 

1/2 tsp ground cardamom 

2cm piece of fresh ginger, finely grated

Ingredients for Icing: 

170g icing sugar

1.5-2tbsp rosewater

fresh edible rose petals to decorate, optional

Method: 

Line two 12 capacity cupcake trays with cupcake cases and pre heat oven to 160 degrees Celsius. 

In a large bowl, cream butter and panela sugar until light and fluffy. Beat in the eggs. Then beat in the water and date molasses. 

Sift flour, baking powder, bicarb and the spices and add to the mixture. Add the fresh ginger. Beat on a low speed until the flour begins to combine, then beat on a medium speed for 2 minutes or until mixed well. 

Pour the batter into the prepared cupcake tins and bake for 20-30 minutes or until cupcakes are cooked through and are springy to the touch. Remove from the oven, and remove cakes from the tins and allow to cool on a cooling rack. 

To make the icing, mix together the icing sugar and 1 tbsp of the rosewater in a medium bowl, to form a paste. If the icing is too thick gradually add a little more rosewater. Spread icing over each cake, allow to dry a little before decorating with the rose petals. 

Makes 24.

Ginger Date and Rose Cupcakes
Fresh Edible Rose Petals

Fresh Edible Rose Petals

Recipe is an extract from ‘Baking with Rose - Recipes Showcasing the Best of Rose in Baking and Confectionary’ by Kath Vincent (kulinaryadventuresofkath.com, 2019), p.7.
purchase ebook!
In Cakes & Slices Tags Rose, Dates, Ginger, Cupcakes, E-Book
Comment
How to Bake with Rose

Tips for Baking with Rose + A New eBook!

Kath April 27, 2019

I am very excited to announce that I have a new eBook coming out on April 29th! This book is all about baking with rose, since it is a flavour I absolutely love. I also spent such a long time working out how to make all the various recipes, and basics (like crystallised rose petals) that I thought it would be a great idea to put all that information in one place. 
In the next few days I will share a recipe from the eBook here on the blog, though if you are on my mailing list this recipe will be emailed to you on Monday morning (April 29th), along with a special subscribers discount code to use when you purchase your copy. If you would like to join my mailing list please click here. 

The below are a few tips for baking with rose, which I have found helpful over the years and will assist you in creating some great bakes with rose. If you have any further questions, leave them in the comments below and make sure you check out my new eBook ‘Baking with Rose’ on April 29th! 

‘Baking with Rose’ eBook - release date 29/04/2019 - sign up to my mailing list for more information

‘Baking with Rose’ eBook - release date 29/04/2019 - sign up to my mailing list for more information

How to Store Rose Petals

To store fresh rose petals, line a tupperware container with a piece of damp paper towel and seal with a lid. Place in the fridge (preferably in the crisper), for a shelf life of at least a week. 

For storage of dried rose petals, ensure they are in a well sealed container, preferably glass, away from direct sunlight. If the rose petals have been dried correctly, they will last for years stored like this. 

Tips for Baking with Rose Petals

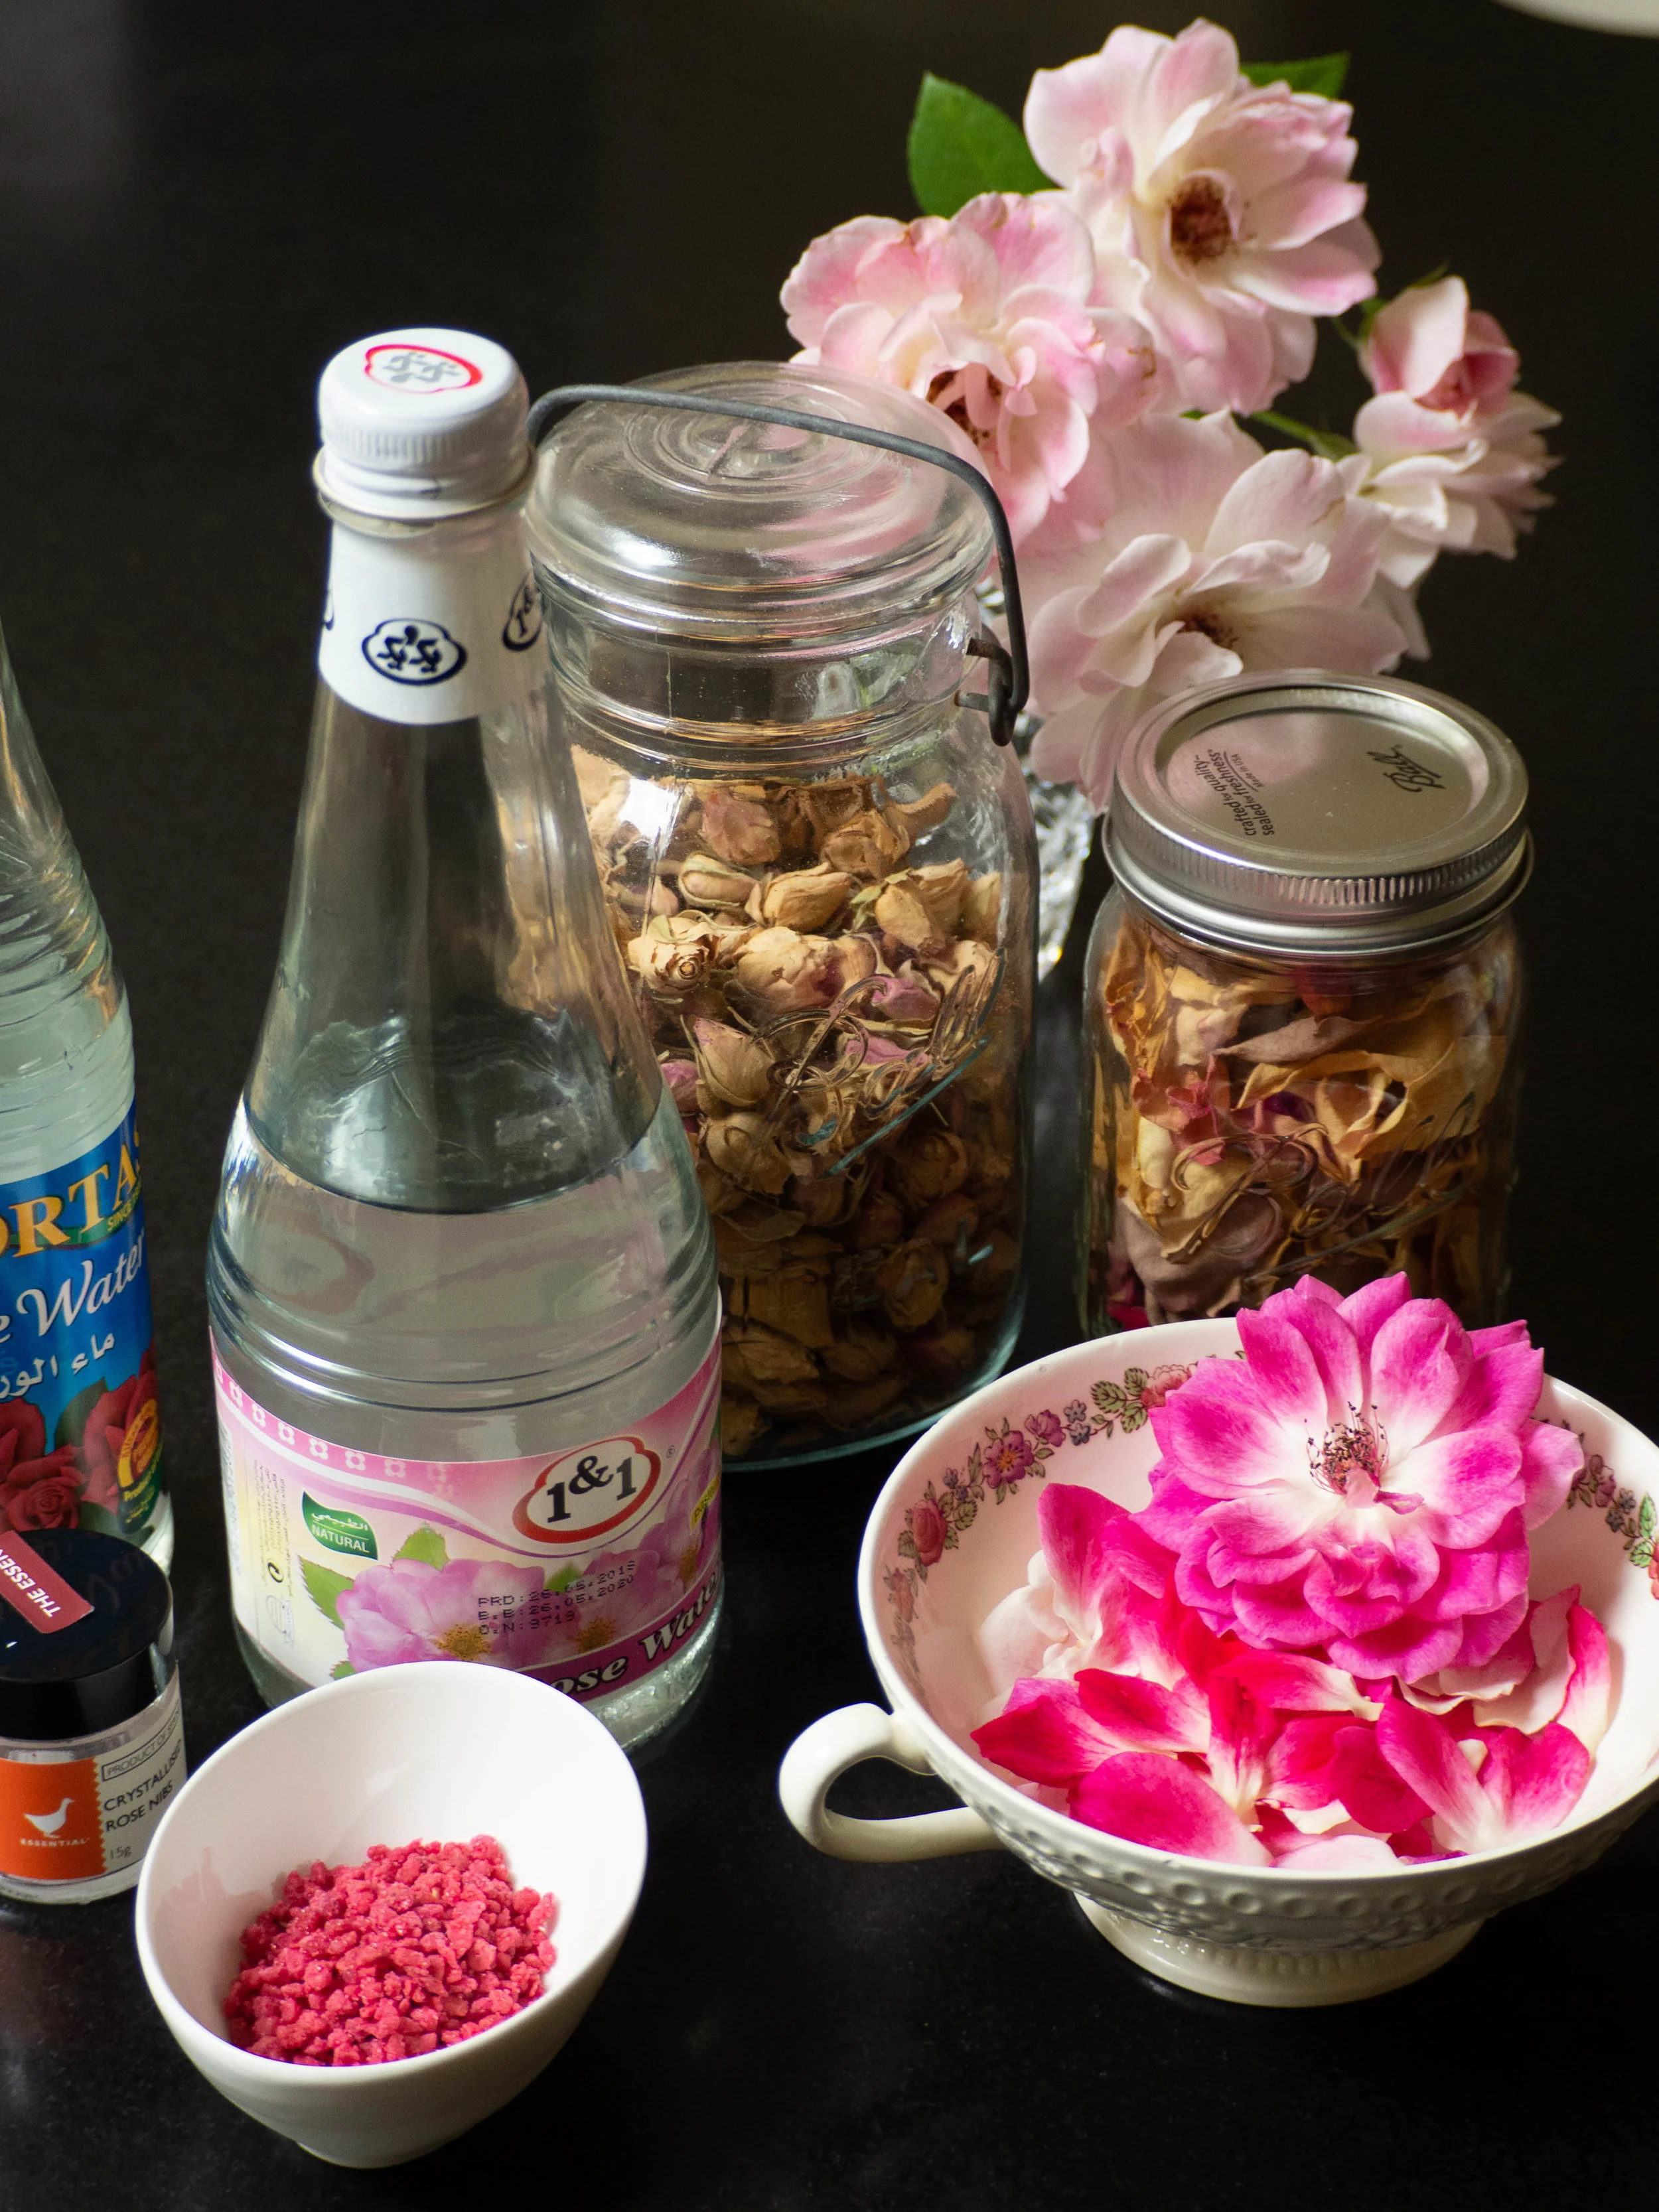
Where to Buy Rose Ingredients

Sometimes ingredients such as fresh rose petals can feel very elusive, but it helps to know where to look! If looking for fresh rose petals, I recommend looking at smaller more gourmet green grocers, or ask around friends and family to see if anyone has roses that aren't sprayed. If based in Australia, Petite Ingredient will ship them when in season. They can also sometimes be found at Harris Farm Markets.

I would recommend buying rosewater from Persian grocers. You know it's the real deal, and you can often get bigger bottles of it for more reasonable prices than delis etc. 

Dried rose petals are more readily available in gourmet grocers, delis as well as Persian grocers. Pariya brand has a good range of products, that are also available in many stores and online.

In Australia crystallised rose petals have been very hard to find, however they are now sold via The Essential Ingredient and Petite Ingredient online! 

Of course if you have access to fresh unsprayed rose petals you can make many of these ingredients at home. The recipes for how to make crystallised rose petals, rose syrup, dried rose petals (see recipe below also) and rose petal sugar can be found in my new eBook ‘Baking with Rose’. 

How to Bake with Rosewater

Substitutes for Rose in Baking

I know not everyone loves the flavour of rose. If you are undecided or have had a bad experience with it in the past, I would definitely recommend making something with rose yourself at home. This way you can control how much rose is added to the dish and you can taste test along the way to ensure it suits your palate. Start with small quantities (even smaller than a recipe states) and work your way up until you are happy. 

If you would prefer to use another flavour, lemon often works really well. Any recipe with a rose glaze icing (one made with icing sugar and a liquid like rosewater, like the one used in this Rose Cake) can easily be substituted with fresh lemon juice, or even water for a more simple icing. Rosewater or rose syrup used in cakes can often be substituted for vanilla extract or some citrus zest, or if you like violet or orange blossom they can often be good substitutes too.

To get started with baking with rosewater, I would recommend making these Cardamom and Rosewater Macaroons. Both the cardamom and rosewater quantities can be reduced, and the rosewater can be left out of the biscuit entirely. For a subtle hint, wet your hands with some rosewater before rolling the macaroons into balls rather than adding it to the main mixture.

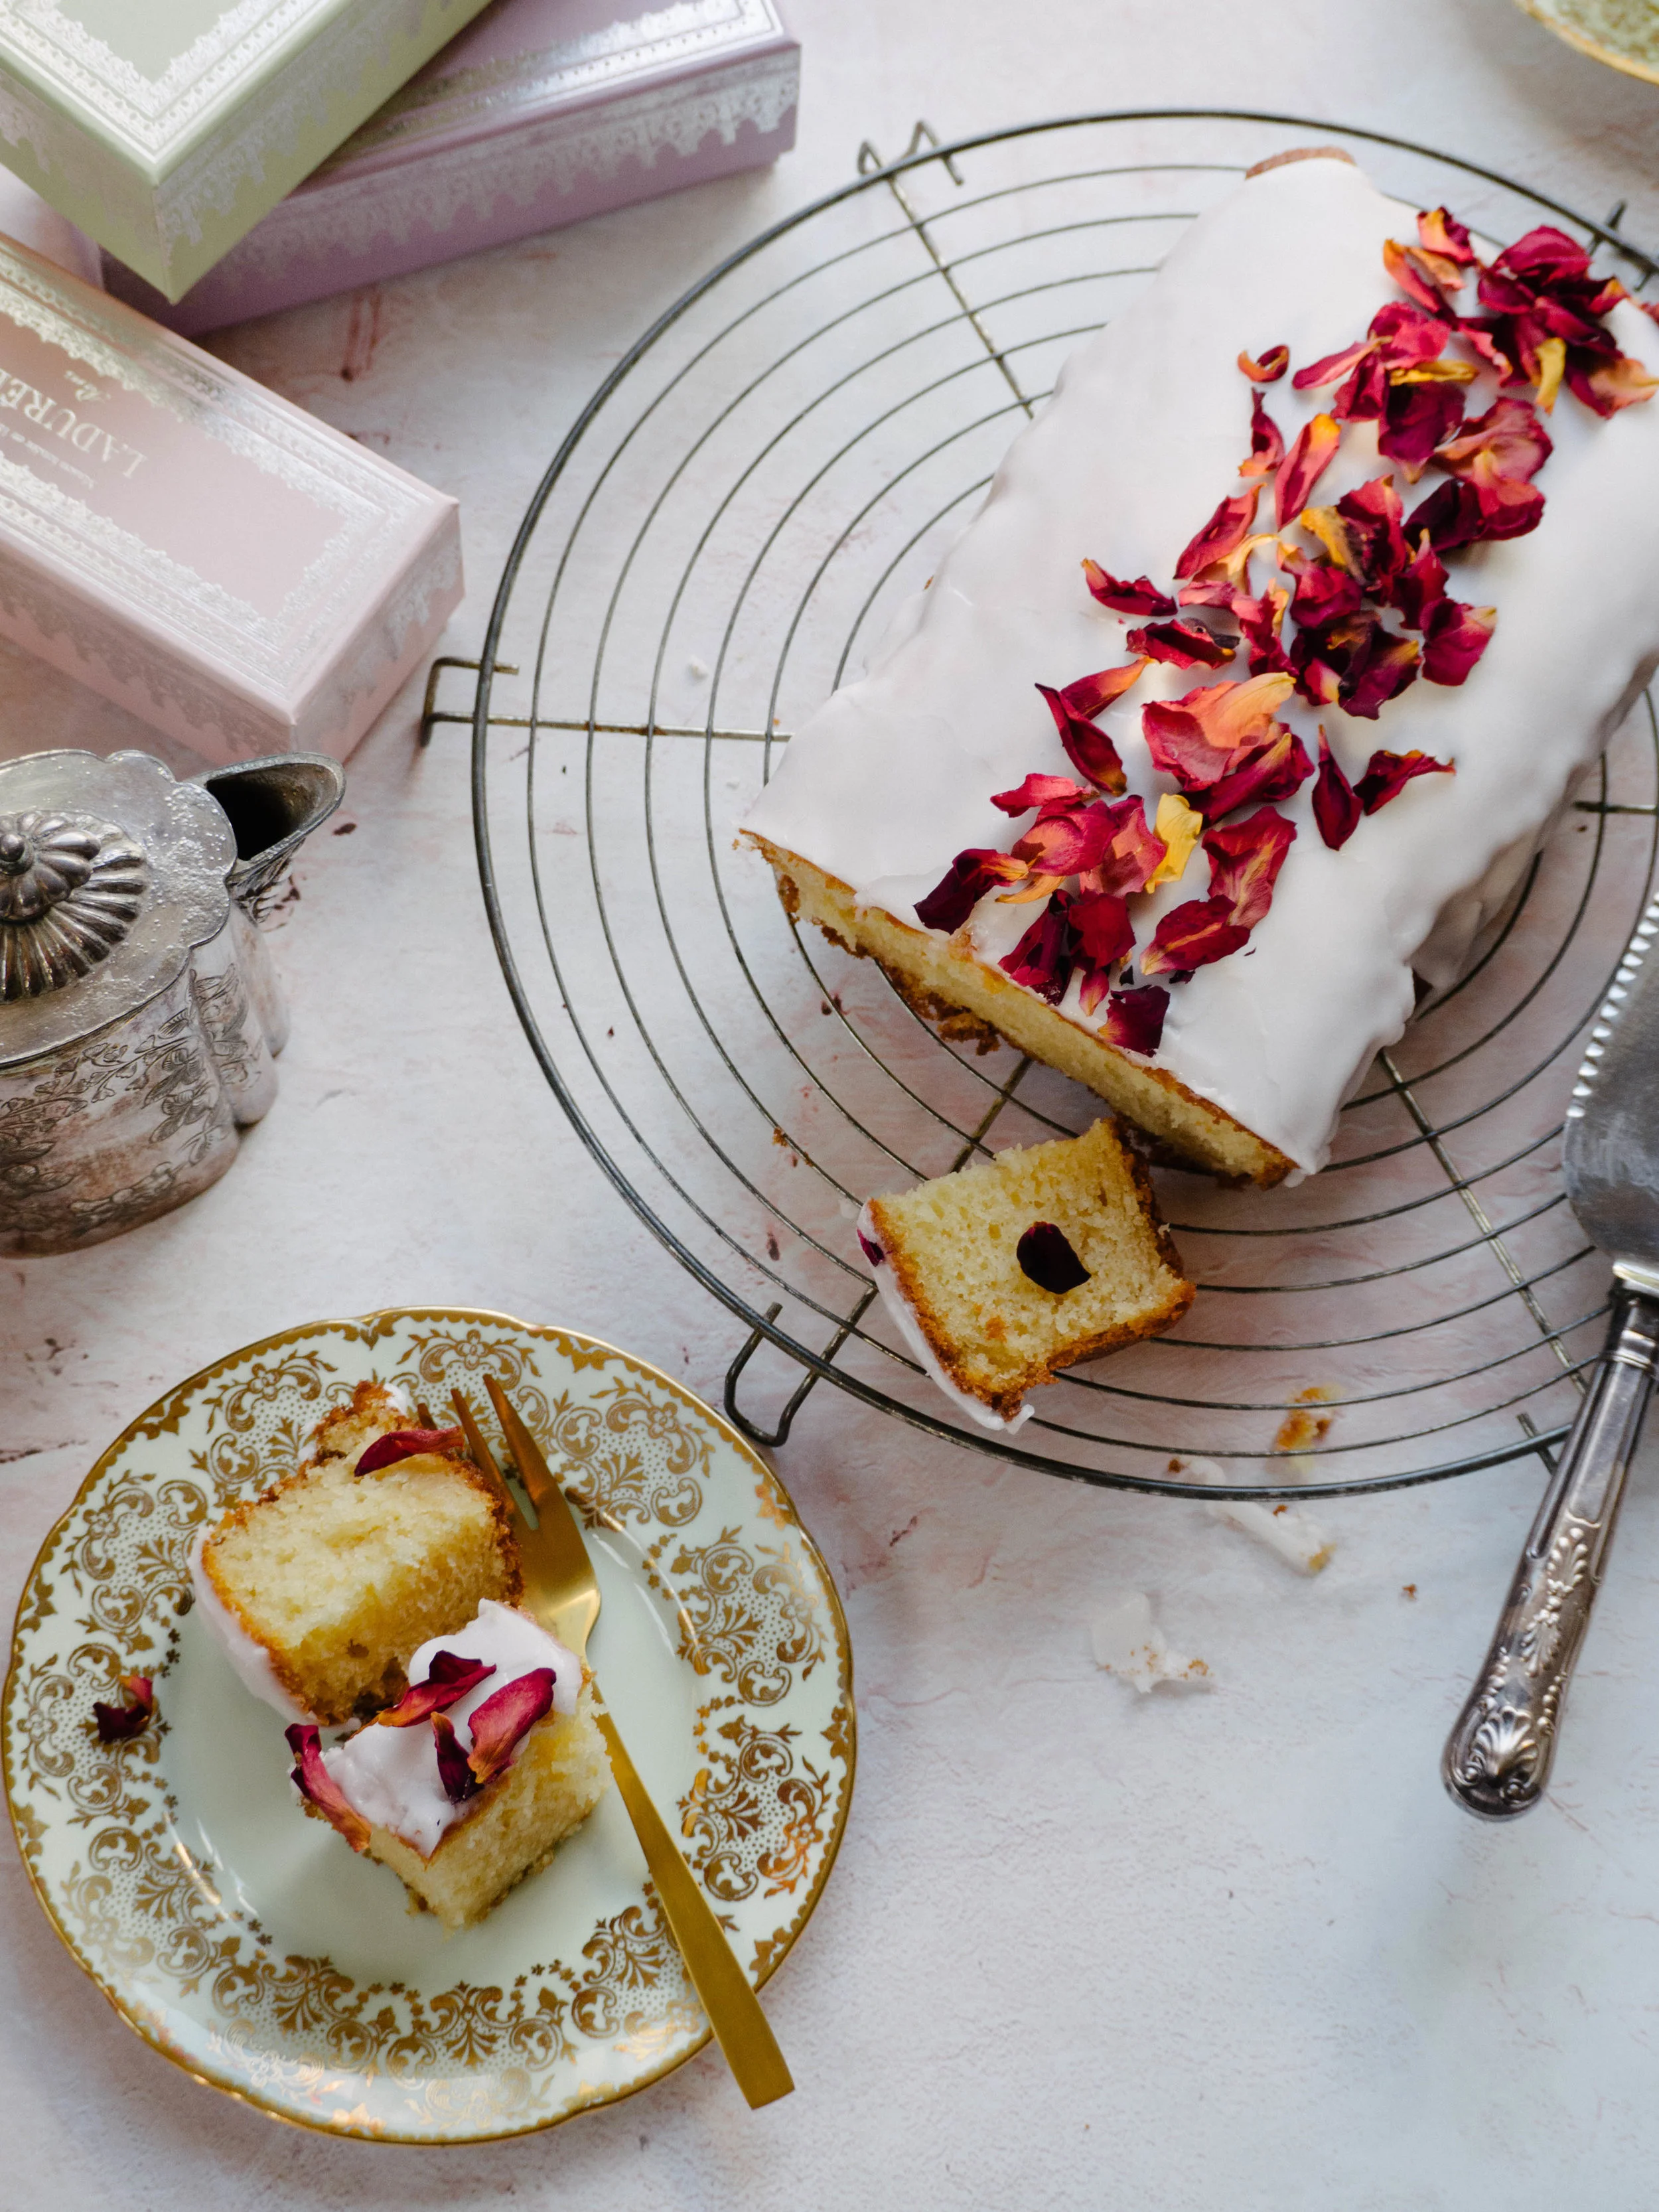
The icing of this Rose Cake could be substituted for lemon juice

The icing of this Rose Cake could be substituted for lemon juice

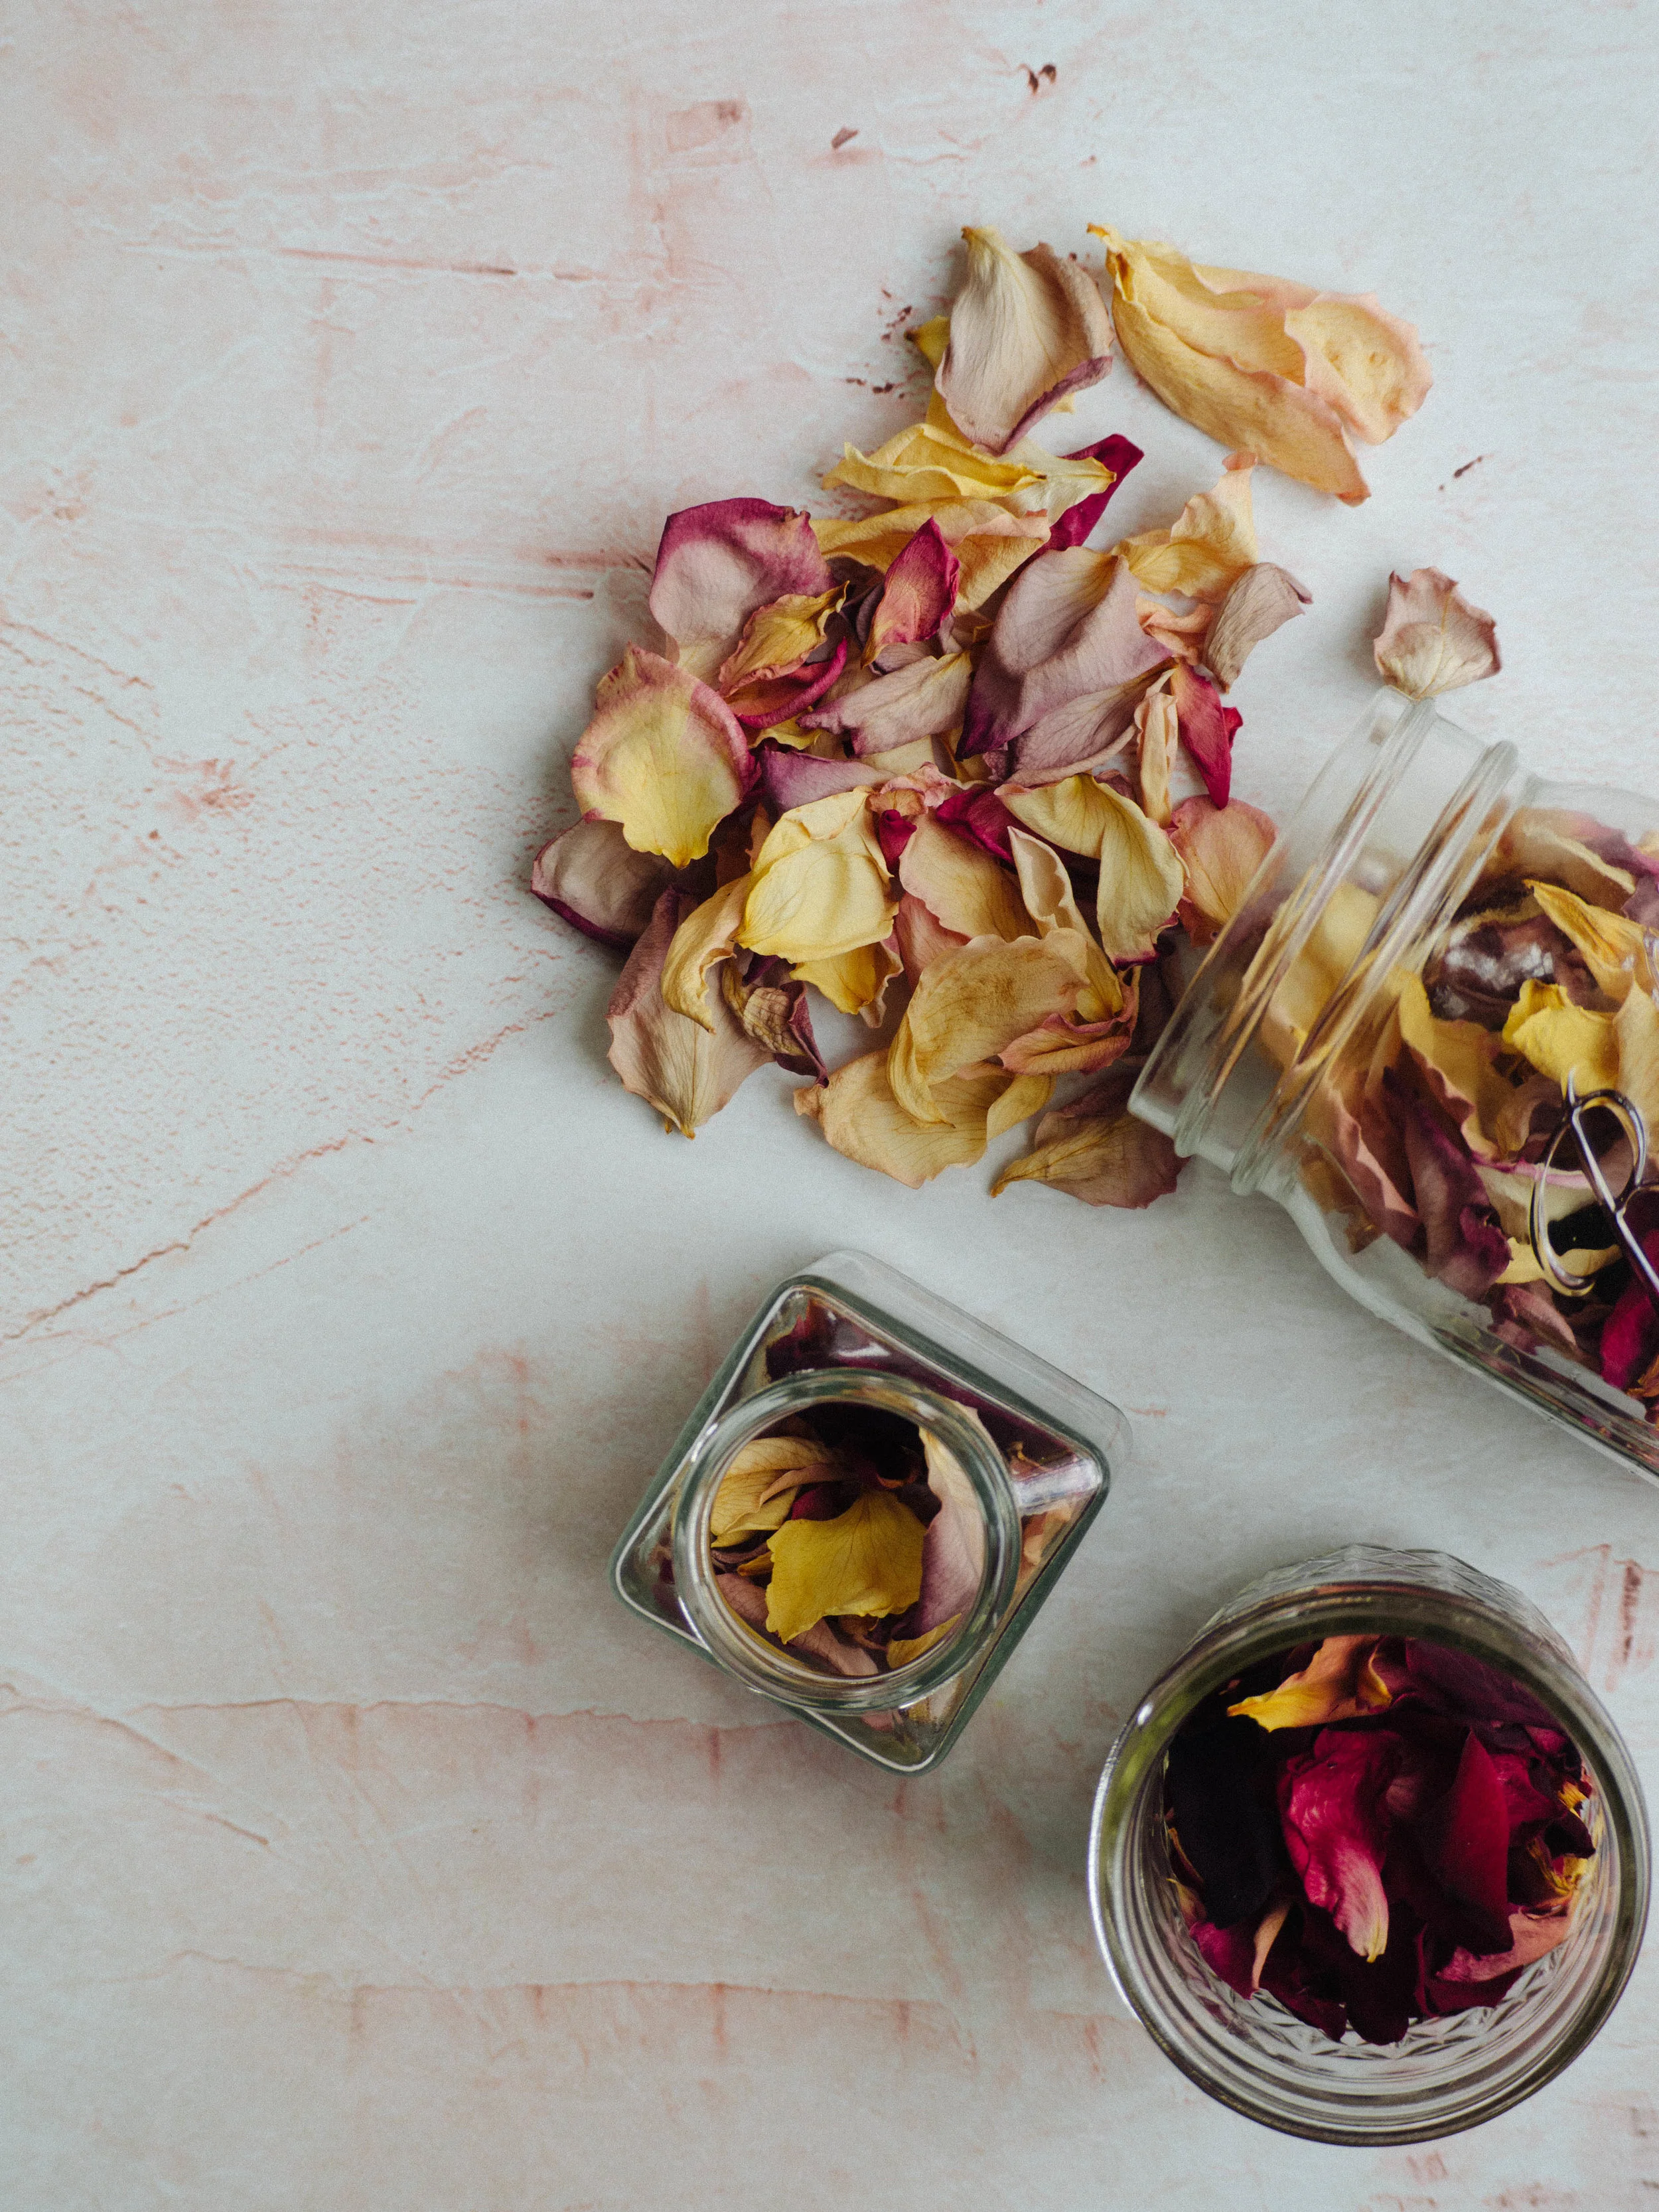
How to Dry Rose Petals at Home 

Preheat oven to 80 degrees Celsius, and scatter rose petals on a baking tray. Try to ensure they aren't sitting on top of each other too much. Place in the oven and allow to dry for about 20 minutes, checking every 5 minutes or so. The petals will be done when their colour has darkened, they have shrivelled, and they are completely crunchy in texture. Store in an airtight container (preferably glass) away from direct sunlight. If stored correctly they should last for years.

How to Dry Rose Petals for Baking

To grab your copy of my Baking with Rose ebook click the link below!

Ebook!
In Other Desserts Tags Rose, E-Book
Comment
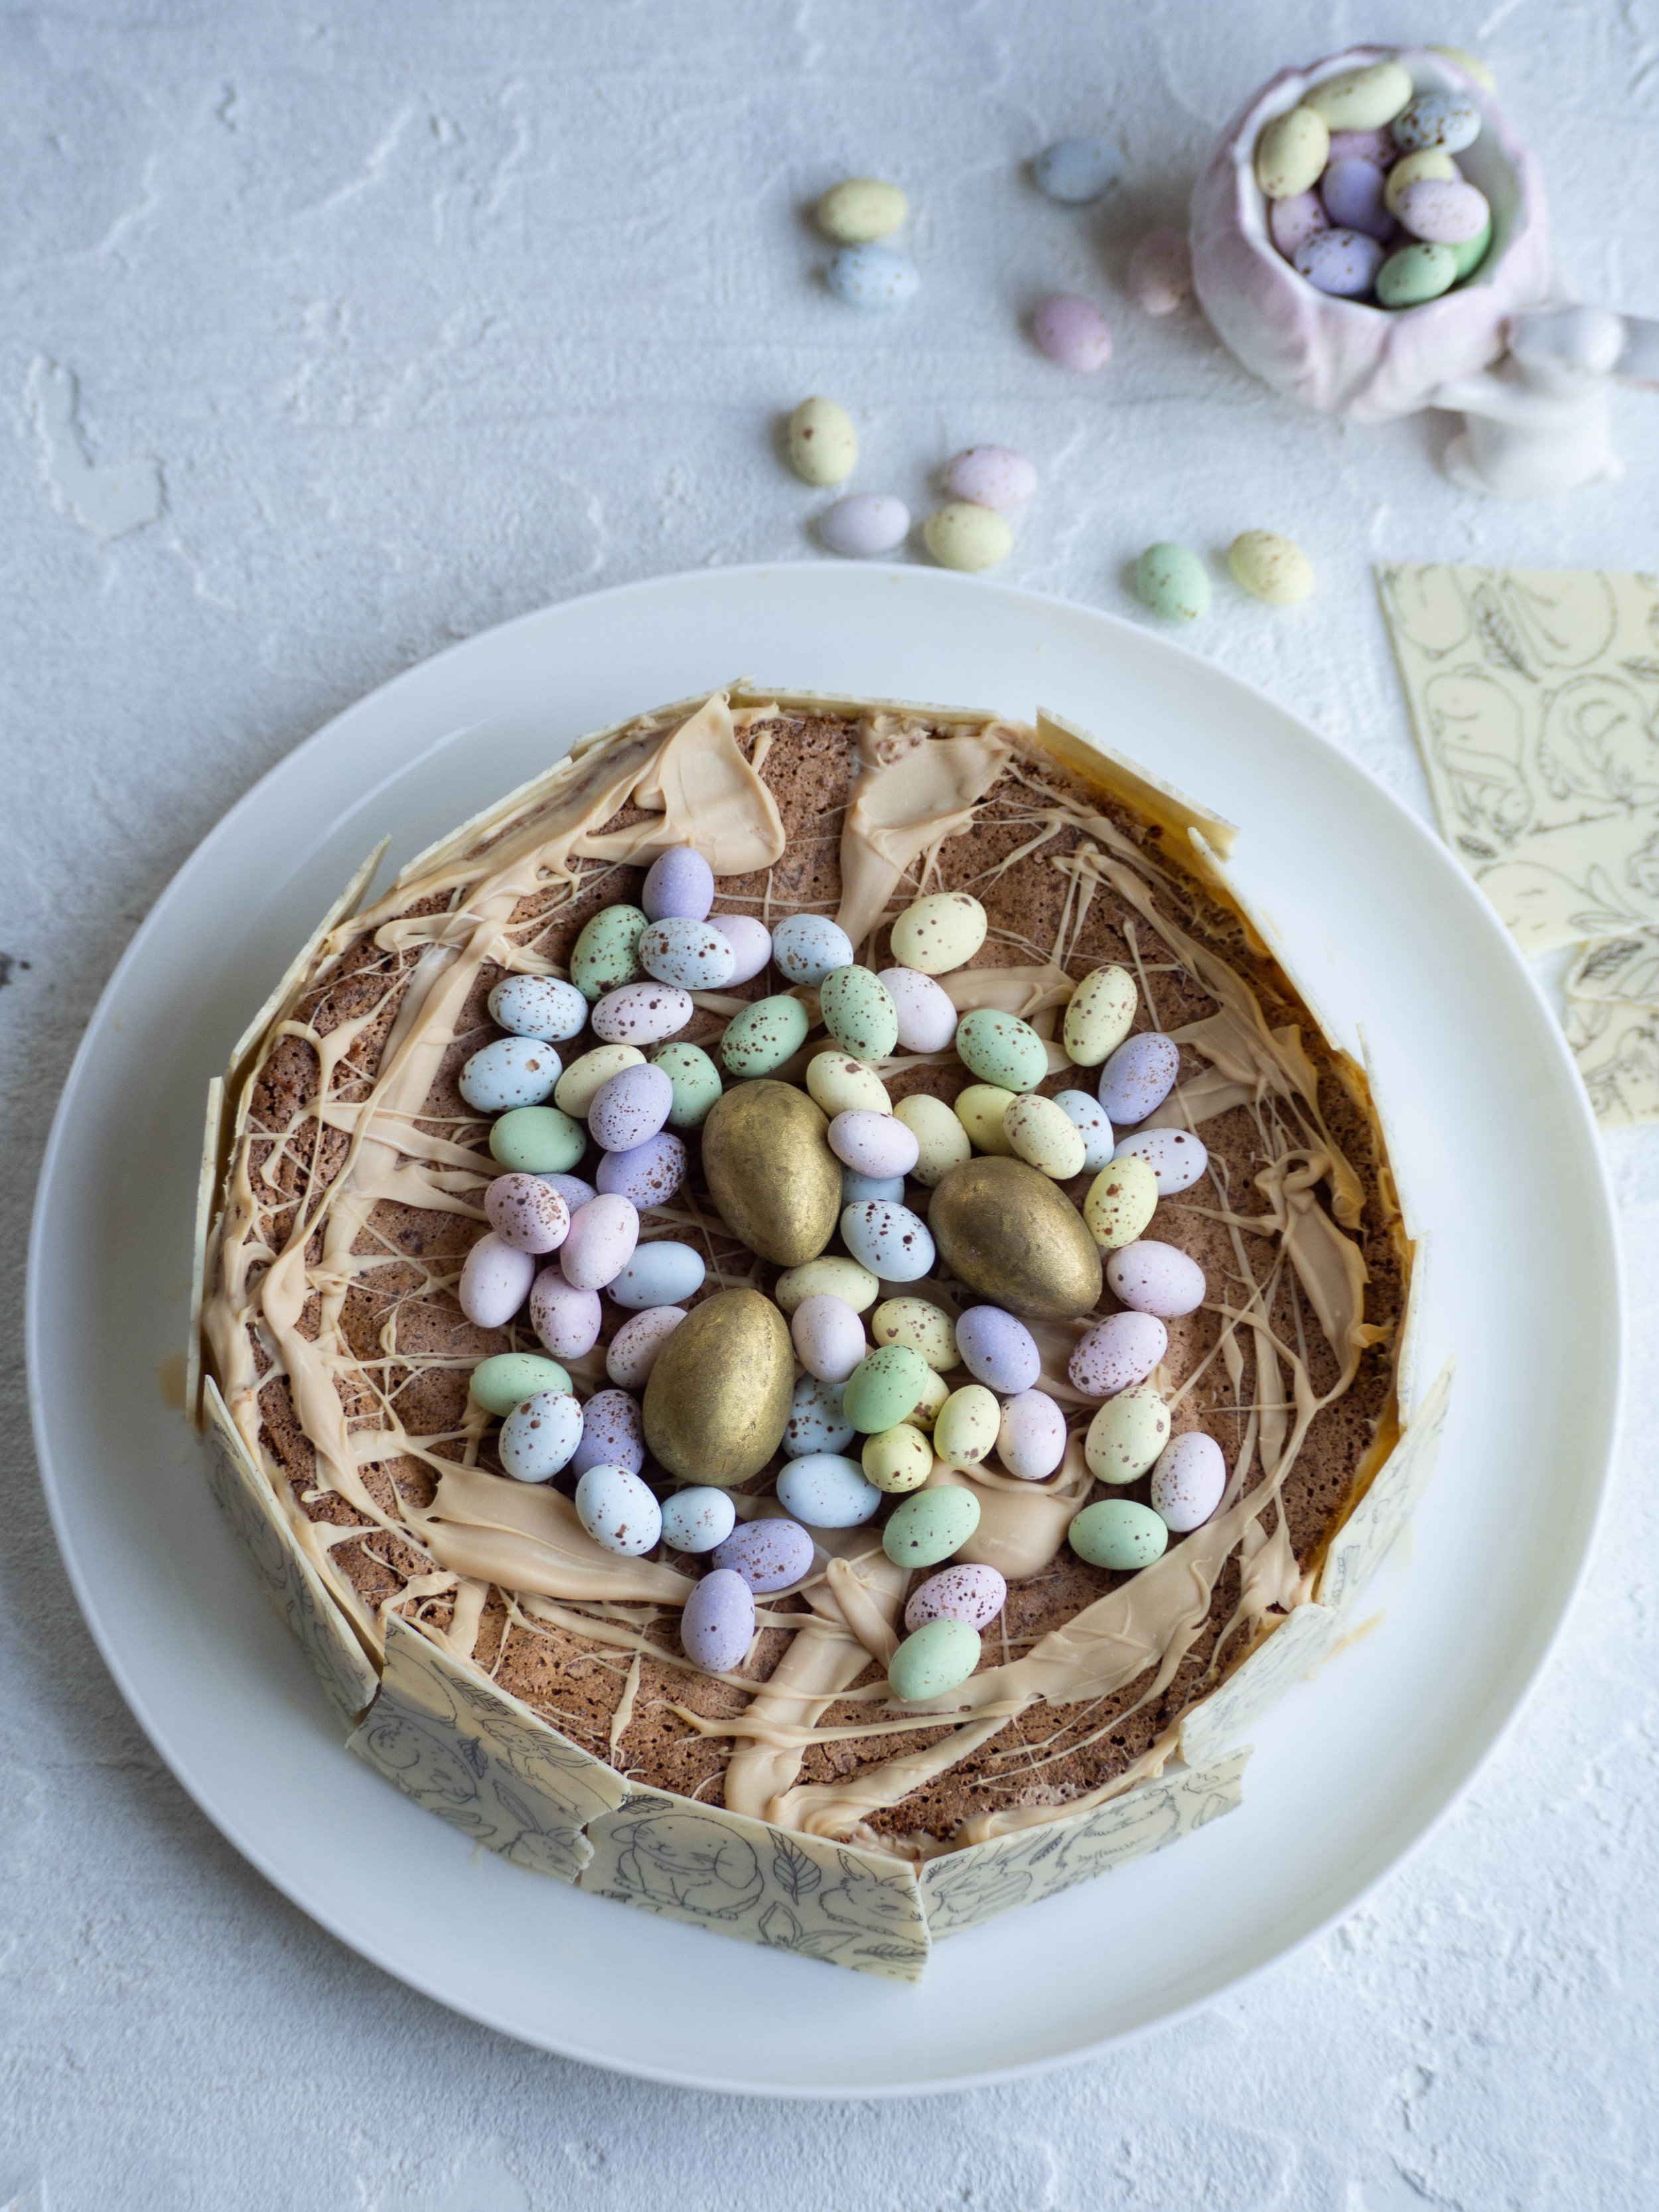
White Chocolate Easter Torte (Passover Friendly)

White Chocolate Easter Torte (Passover Friendly)

White Chocolate Easter Torte (Passover Friendly)

Kath April 14, 2019

Since Easter and Passover again fall at the same time this year, I thought I would make a dessert that observed both holidays. My immediate thought was a variation of a Lithuanian Nut Torte I had made a couple of years ago. The recipe uses nuts, grated chocolate and whipped egg whites to make a light cake. 

The time I first made this cake, I made it with dark or milk chocolate, however always thought I should try a white chocolate version of it. Now two years later I am finally doing it! 

The idea to make this cake again reappeared in my mind late one night when I was trying to fall asleep. That day a friend and I had visited Bakedown Cakery in St Leonards, as I was really keen to get some of the new Easter range. We both bought some chocolate, and as we walked home got caught in the worst downpour! We were absolutely saturated once we got back, but our Bakedown goodies had been well protected and survived the journey. 

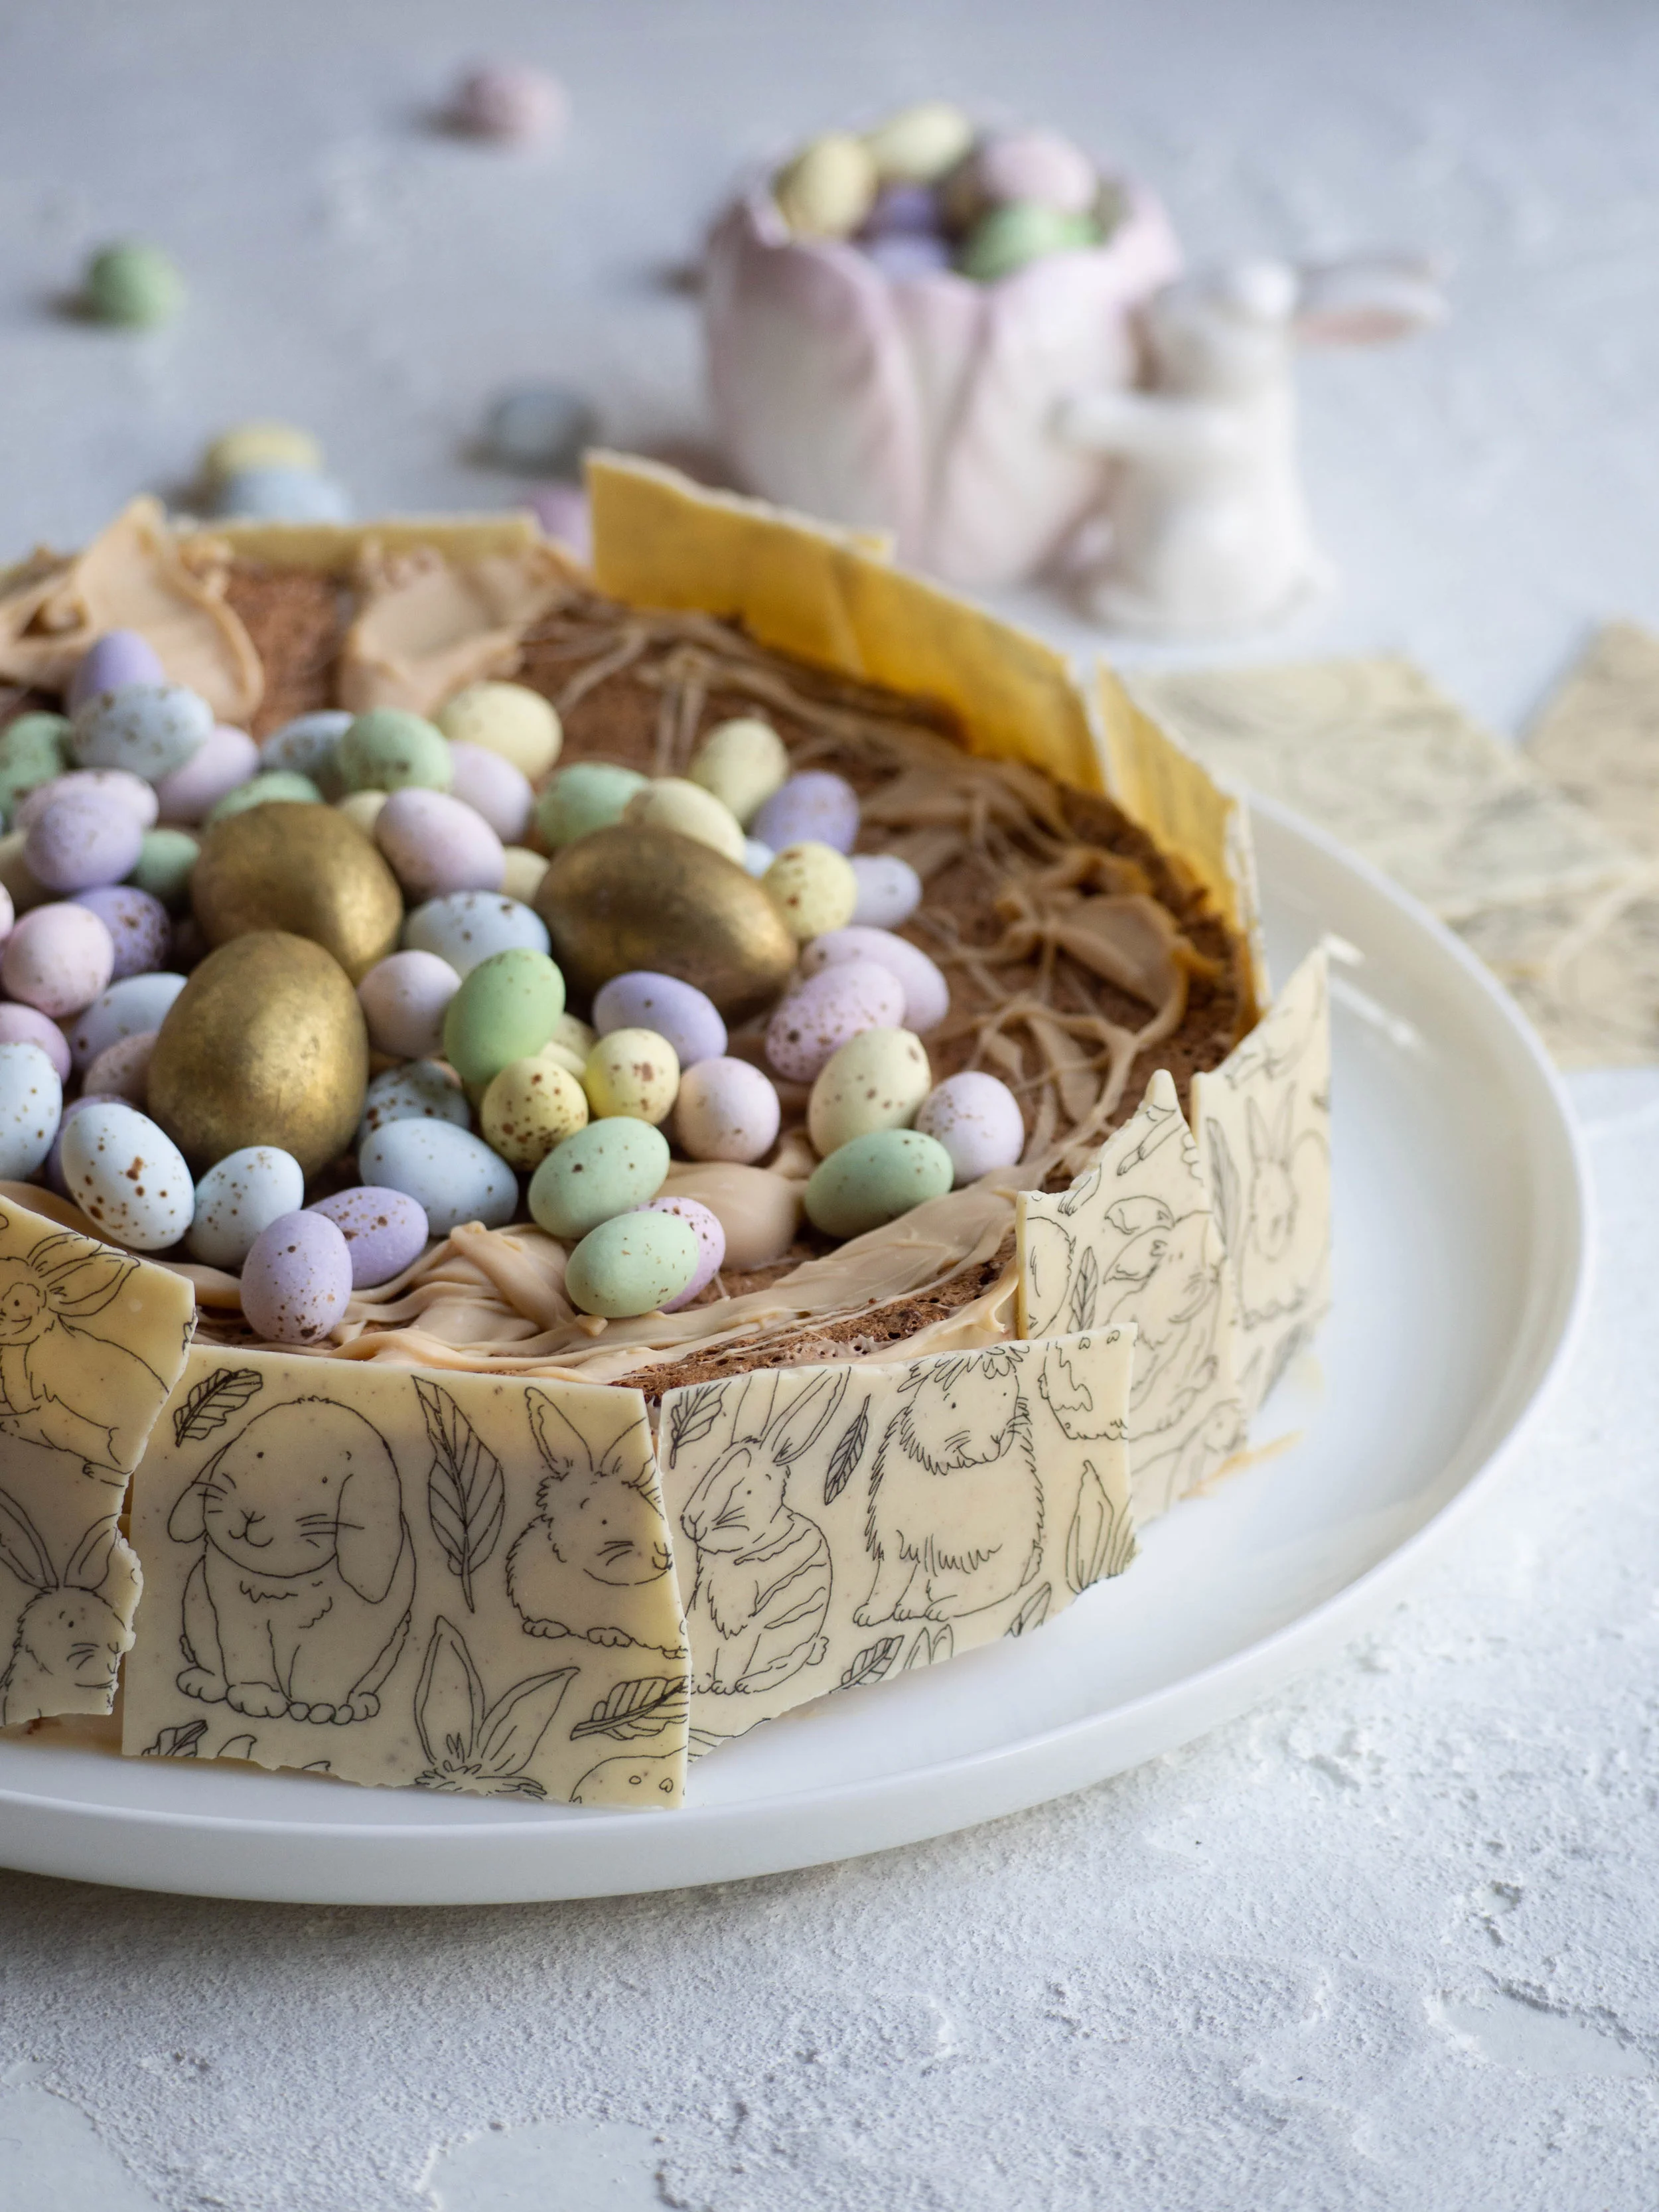
I had bought some of the Golden Almond Eggs (caramelised white chocolate filled with almond praline - as delicious as it sounds), and some of the Hot Cross Bunnies chocolate bark (white and caramelised white chocolate with Easter spices with cute bunny illustrations printed on top). These chocolates, particularly the bark got me thinking about how it could be used to decorate a cake. 

The Nut Torte I had made so long before popped into my head as the perfect Easter dessert, which could also double as dessert for Passover. I decided I needed to visit Bakedown again to get more of the Hot Cross Bunnies bark, and a couple of blocks of Toasty (Bakedown’s caramelised white chocolate) to use for the torte. Jen at Bakedown also had Toasty Easter Bunnies ready when I went in the second time, and my gosh I was excited! Caramelised white chocolate is one of the best things I have ever tasted, and as someone who can’t eat ‘normal’ chocolate it was so nice to have an Easter treat I could actually enjoy! 

For this Easter Torte, I used Bakedown’s Toasty to grate into the torte, and the Hot Cross Bunnies bark to decorate the outside. I also used a combination of Toasty and regular white chocolate to melt down and decorate the top and use to stick the bark to the sides of the torte. You can of course use any type of chocolate you wish to make this torte, and decorate with your favourite Easter eggs, or just leave the decoration at the chocolate drizzle if you are making this cake for Passover (some toasted nuts scattered over the top would also be lovely). 

White Chocolate Bark from Bakedown Cakery, illustrations by Dawn Tan.

White Chocolate Bark from Bakedown Cakery, illustrations by Dawn Tan.

Hot Cross Bunnies white and caramelised white chocolate by Bakedown Cakery

Hot Cross Bunnies white and caramelised white chocolate by Bakedown Cakery

Caramelised White Chocolate Torte

White Chocolate Easter Torte (Passover Friendly)

Ingredients: 

100g macadamias or almonds, ground

3 tbsp fine matzo meal (or fine dry breadcrumbs if not making for Passover)

100g good quality white chocolate (the kind you would buy to eat) 

3 eggs (large), separated

125g golden caster sugar

1 tbsp lemon juice 

To Decorate: 

50-100g white chocolate 

Easter eggs/chocolate to decorate or some extra toasted nuts (macadamias or almonds) 

Method: 

Pre heat oven to 170 degrees Celsius and line a round 20cm loose bottomed or springform tin with baking paper. 

Grate the chocolate into a medium bowl, then add the ground nuts and matzo meal. Mix to combine then set aside. 

Place the egg whites in the bowl of a stand mixer, fitted with the whisk attachment. Whisk the egg whites until stiff peaks form, then gradually add the sugar. Continue to whisk until the sugar has just incorporated. Briefly whisk in the egg yolks, then fold in the chocolate nut mixture. 

Tip into the prepared tin, and gently smooth the top. 

Bake for 35-45 minutes or until the torte is golden in colour and a skewer inserted into the centre comes out clean. The torte will rise up then sink down a bit as it cooks. 

Leave to cool on a wire rack, removing from the tin once cooled. 

To decorate, melt the chocolate either in the microwave or over a double boiler. If sticking chocolate bark or similar around the edges of your torte use 100g of chocolate, drizzle some over the top, then spread the remaining chocolate around the sides of the cake then sick on the bark. If not, use 50g chocolate to drizzle over the top. Decorate with Easter eggs or toasted nuts. 

Easter Eggs
White Chocolate Passover Torte

Reference: ‘100 Best Jewish Recipes’ by Evelyn Rose with Judi Rose (Pavilion, 2016), p.149. 

Caramelised White Chocolate Torte
Easter Eggs
In Cakes & Slices, Holidays Tags White Chocolate, Caramelised White Chocolate, Bakedown Cakery, Passover, Easter
Comment
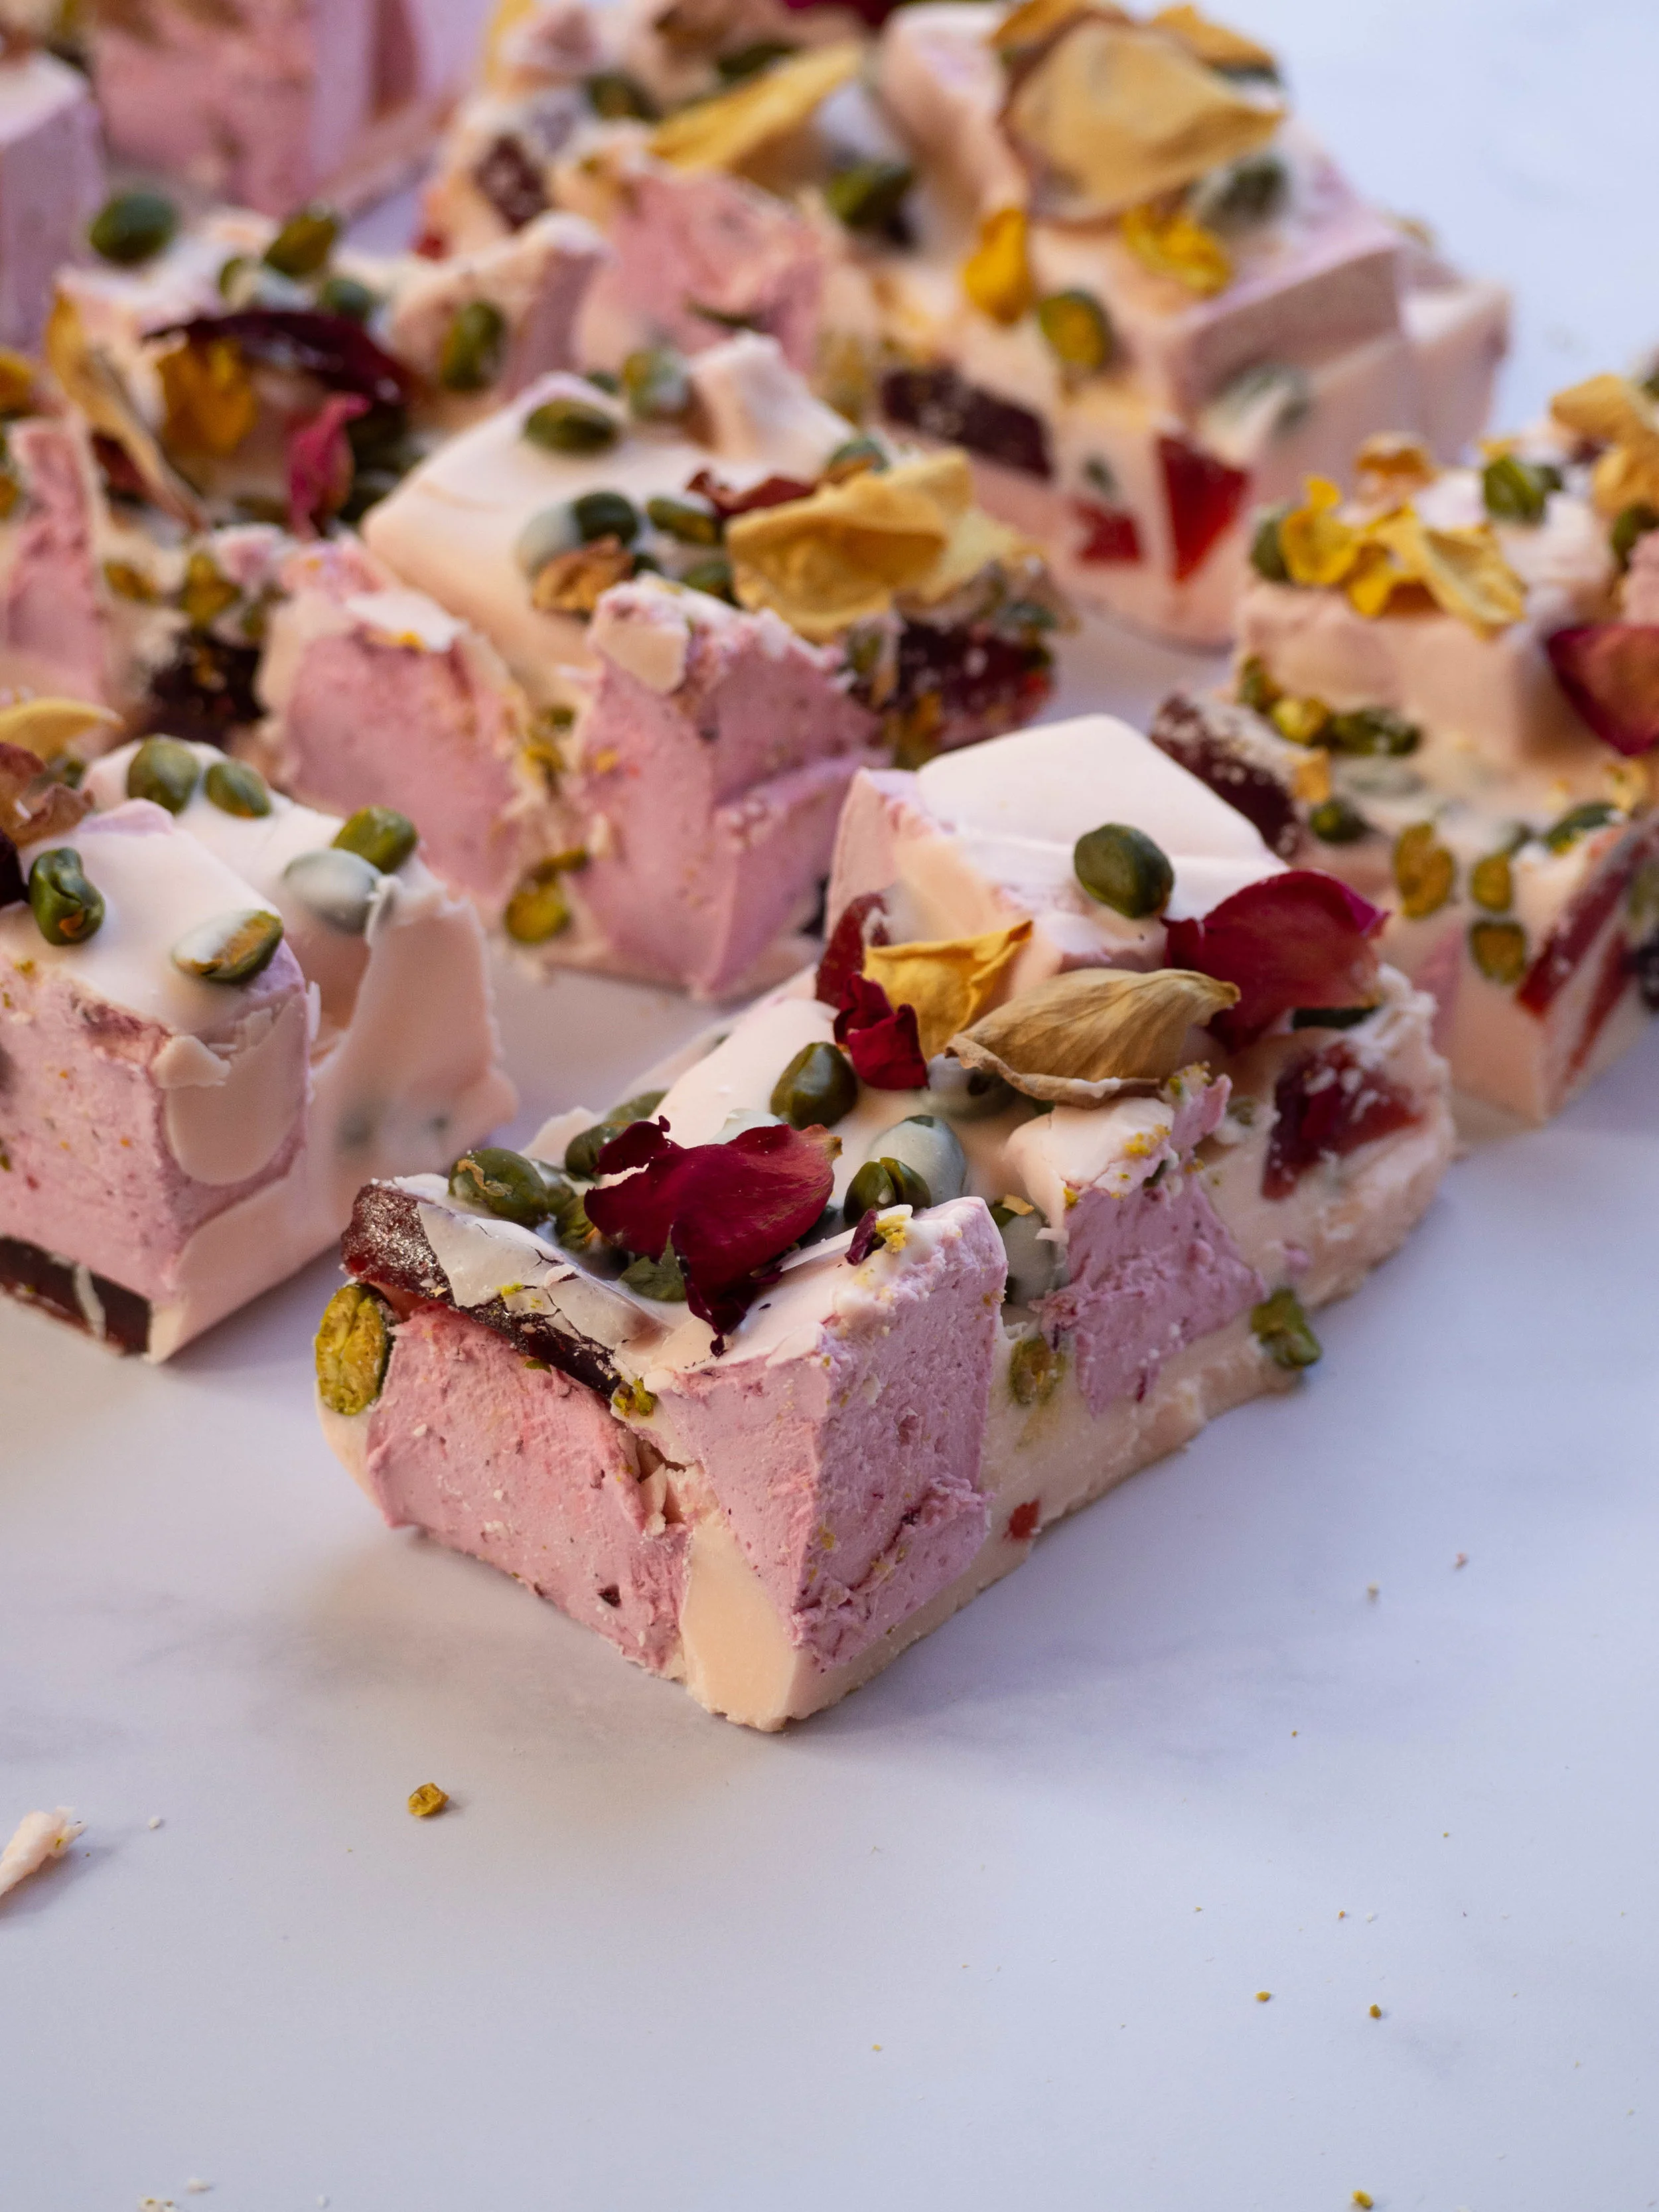
Pink Rocky Road with Blackberry Marshmallows and Raspberry Jubes

Pink Rocky Road with Blackberry Marshmallows and Raspberry Jubes

Pink Rocky Road with Homemade Blackberry Marshmallows + Homemade Raspberry Jubes for Easter

Kath April 8, 2019

This recipe has been a long time coming for me. 

I have always been obsessed with marshmallows, so making them myself was always going to happen. I used to melt bowls of them in the microwave as a kid and eat them (sometimes with rice bubbles added too!). 

After enjoying the white chocolate rocky road by Sweetness The Patisserie (now owned by Adora Handmade Chocolates), for years and gifting many a milk or dark chocolate rocky road, I really wanted to make a good rocky road at home. Years ago I bought marshmallows and patê de fruits from Sweetness and assembled it myself. But after having made my own marshmallows for quite a while, I really wanted to do the whole thing myself. 

I have been keeping an eye out for a good patê de fruits or jube recipe for a while now. And I finally found one, that actually looked achievable in Bourke Street Bakery’s book ‘All Things Sweet’. I immediately put the book on my wish list, and luckily was gifted it for Christmas last year. 

Now I had the marshmallows and the jubes covered, I had to tackle the chocolate! I don’t eat chocolate, unless its white chocolate, so I don’t have a lot of experience with tempering etc. The main thing I can say about it now I’ve done it is, buy good quality chocolate with a high cocoa butter content, and get yourself a chocolate thermometer. I made the mistake of thinking I could use my candy thermometer, only to realise it doesn’t read temperatures under 40 degrees Celsius, which is not helpful for tempering chocolate! 

I bought this thermometer from Peter’s of Kensington, which is great as it’s a thermometer and spatula in one. If you want to know more about tempering chocolate I would recommend the above Bourke Street Bakery book and Katherine Sabbath’s pop up book ‘Greatest Hits’. 

This recipe does look a bit daunting I know, but I found making the marshmallows and the jubes on one day quite achievable. They both need to set overnight at least, so the next day all you need to do is temper the chocolate and assemble the rocky road. I add a very small amount of pink colouring and rose flavouring which is suitable for use with chocolate, however this is completely optional. You could of course use any type of chocolate you like (I think ruby chocolate would be great here!). 

Along with the chocolate thermometer, a candy (sugar) thermometer is also necessary to make the marshmallows and jubes. 

I hope you have a go at this recipe (or one of the elements of it!), I think homemade rocky road would make great gifts to give this Easter - and if you can’t fathom all that effort I would recommend checking out the Easter ranges at Adora Handmade Chocolates (who also make a stellar rocky road!) and Bakedown Cakery for any Easter gifts you may need.

Rose Rocky Road
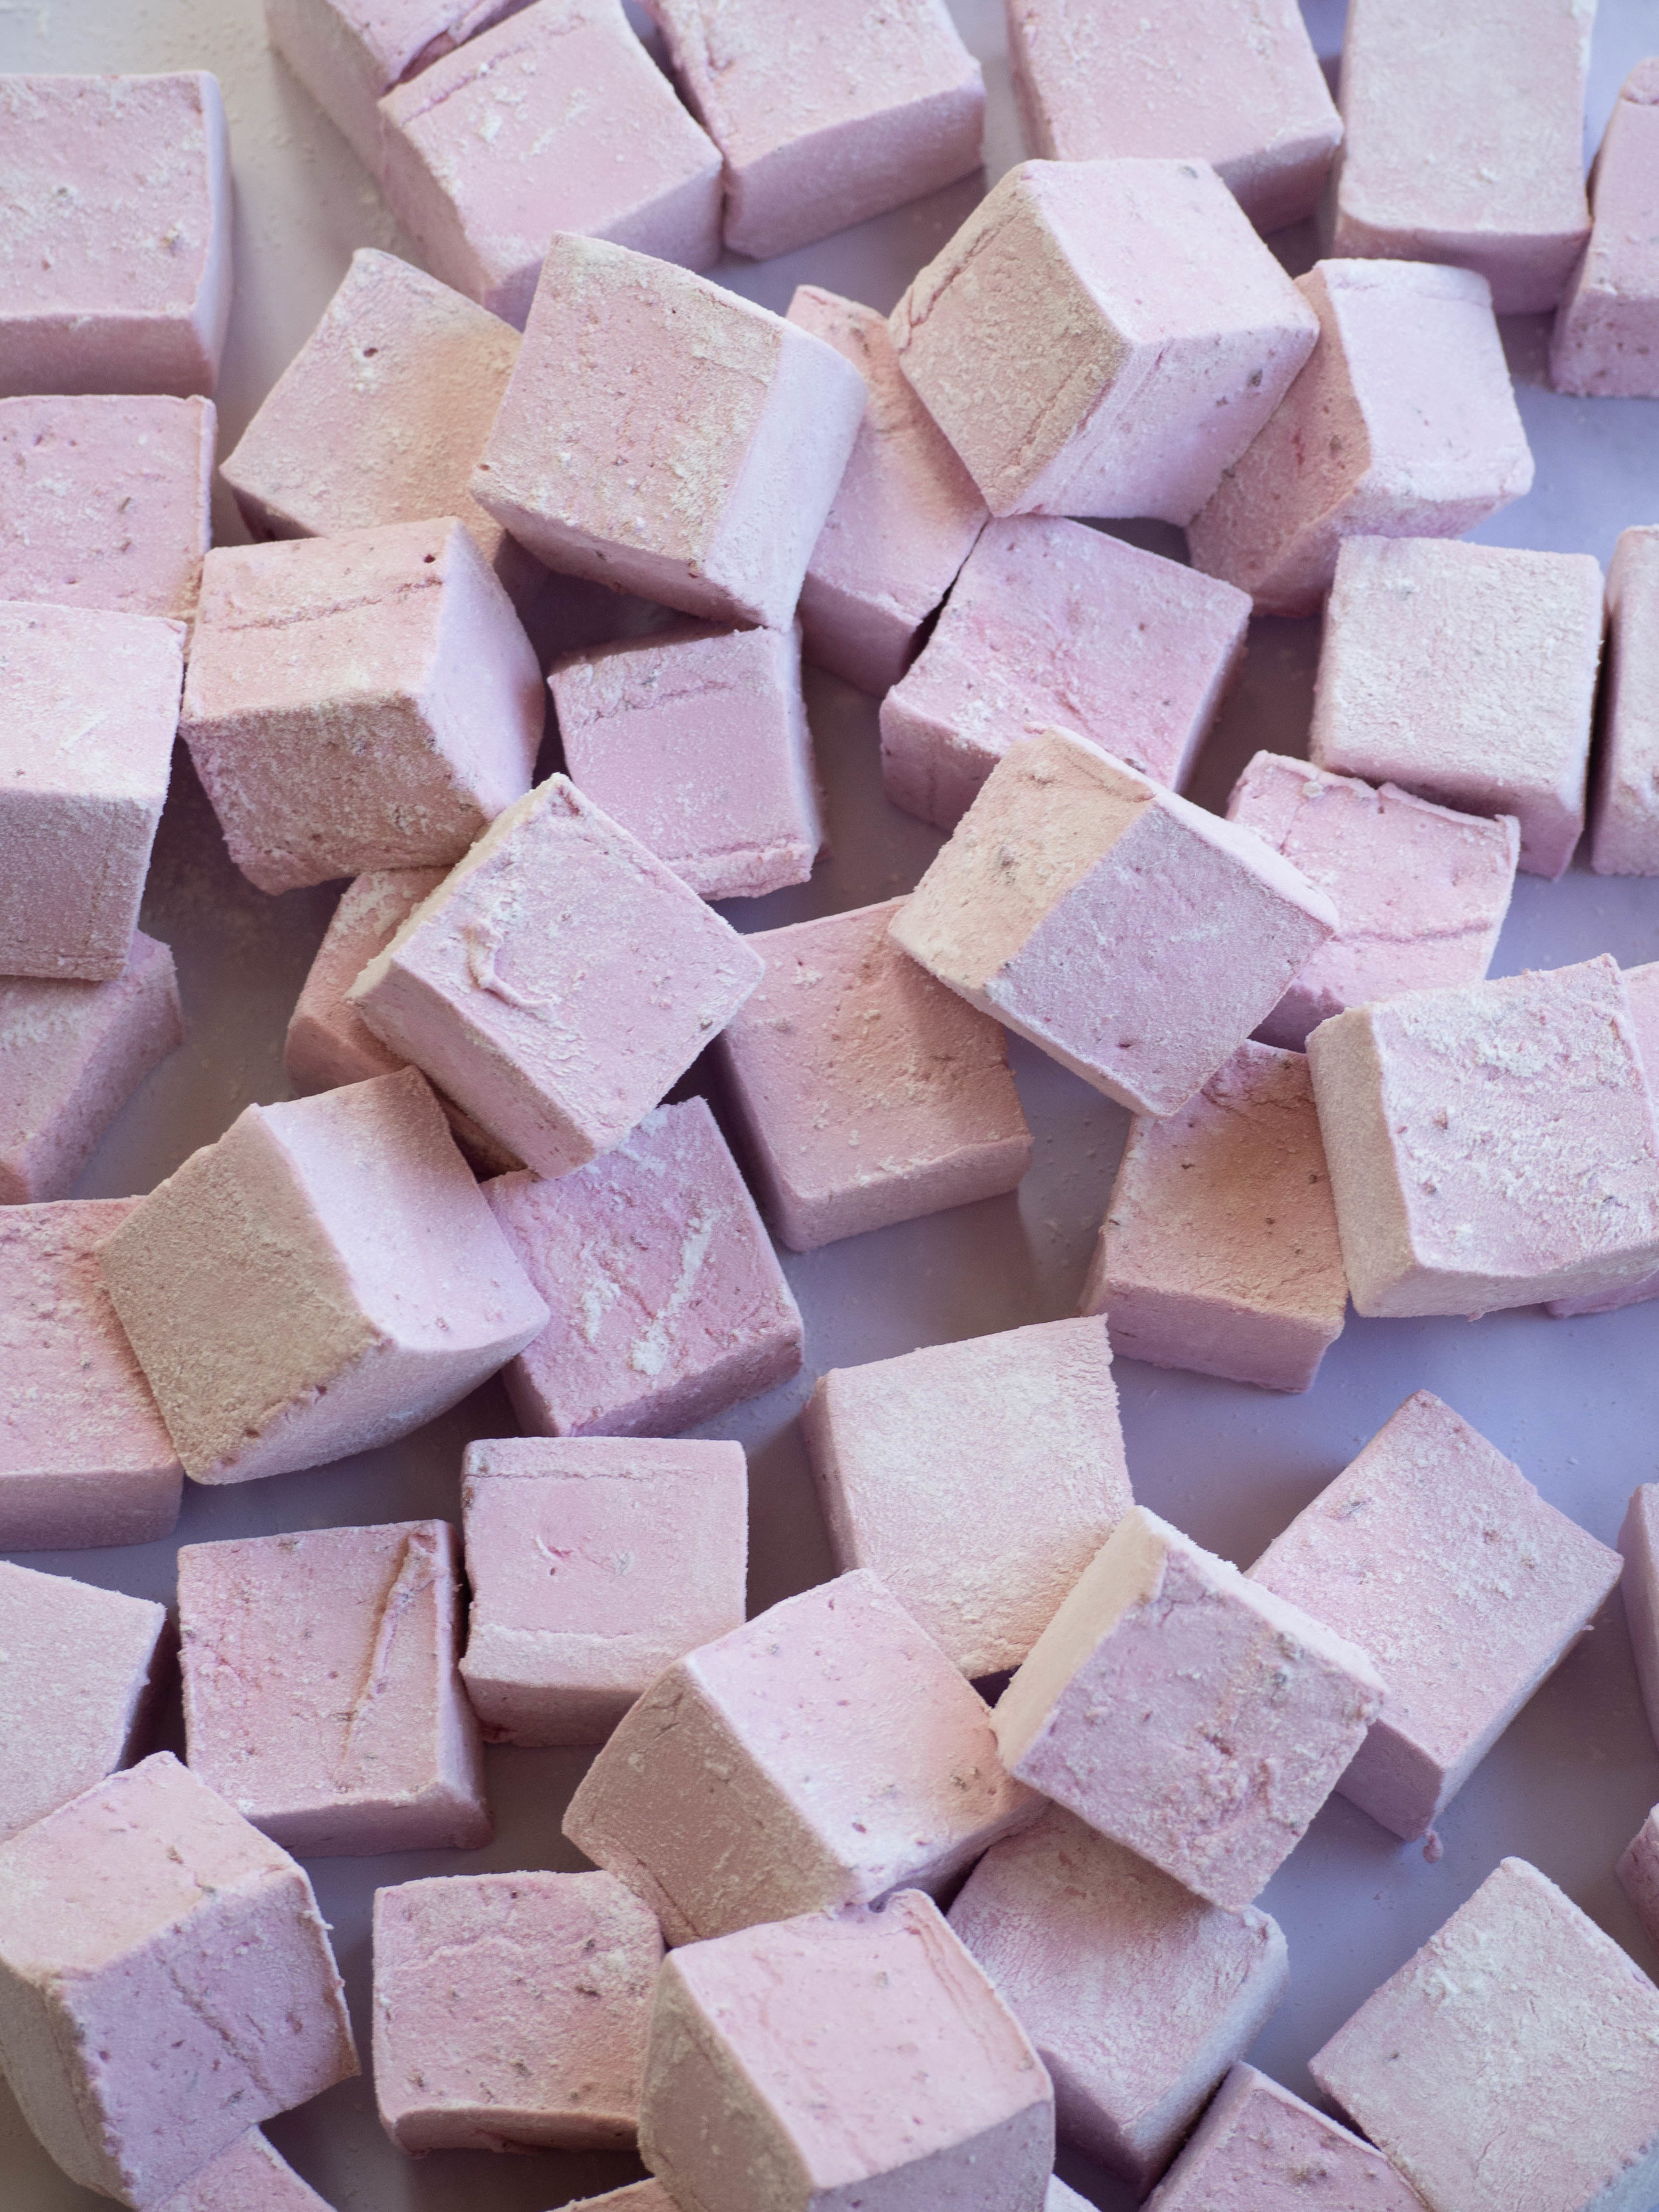
Blackberry Marshmallows

Blackberry Marshmallows

Homemade Blackberry Marshmallows

Ingredients: 

275g pureed fresh blackberries (the seeds can be strained if you wish, however the total weight still needs to be 275g)

50g gelatine powder

115ml water

820g white/granulated sugar 

320g glucose 

50g potato flour/starch

50g icing sugar (pure or confectioners)

cooking spray

Method: 

Spray a slice tin or lamington tray (at least 30x20cm) with the cooking spray and set aside.

In the bowl of a stand mixer, briefly mix together the blackberry puree and the gelatine powder. Leave for now, ensuring the whisk attachment is fitted and everything is ready to go once your sugar syrup is ready. 

In a medium/large saucepan place the water, then the sugar, then the glucose. Place over high heat and cook until the syrup reaches 120 degrees Celsius on a candy thermometer.

With the mixer on low, gradually pour the sugar syrup into the blackberry mix. Whisk on medium speed for about 3 minutes, until the mixture turns a more opaque colour. The mixture will also start to thicken. Then increase mixer to high speed for about 8 minutes, until the marshmallow has tripled in volume and has thickened. 

Pour marshmallow into the prepared tray, tapping it down on the bench to remove any air bubbles and to ensure it is sitting in the tray evenly. 

Leave to set overnight before cutting (room temperature is best, preferably covered with a food net or cover).

Once the marshmallow is ready to cut, in a small bowl whisk together the potato flour and the icing sugar (sift if necessary). 

Dust some of this mixture onto your clean work surface. Remove the slab of marshmallow from the tin, use a spatula to pull the sides away from the tin and tip it onto the dusted work surface. 

Dust more of the icing sugar mix over the top of the marshmallow slab, and around the sides. Using a large sharp knife, cut into cubes, by cutting the slab into rows, then cutting rows in the other direction. Dust your knife regularly with the icing sugar mix, and continue to dust the marshmallows as they are cut. The size you cut the marshmallows is completely up to you, I like cutting them into larger cubes (as pictured). 

Ensure every part of the cut marshmallows are covered in the potato flour and icing sugar mix. Toss them around on the bench to remove any excess.

Store in an airtight container. The marshmallows will keep for about 3 weeks. 

Homemade Blackberry Marshmallows
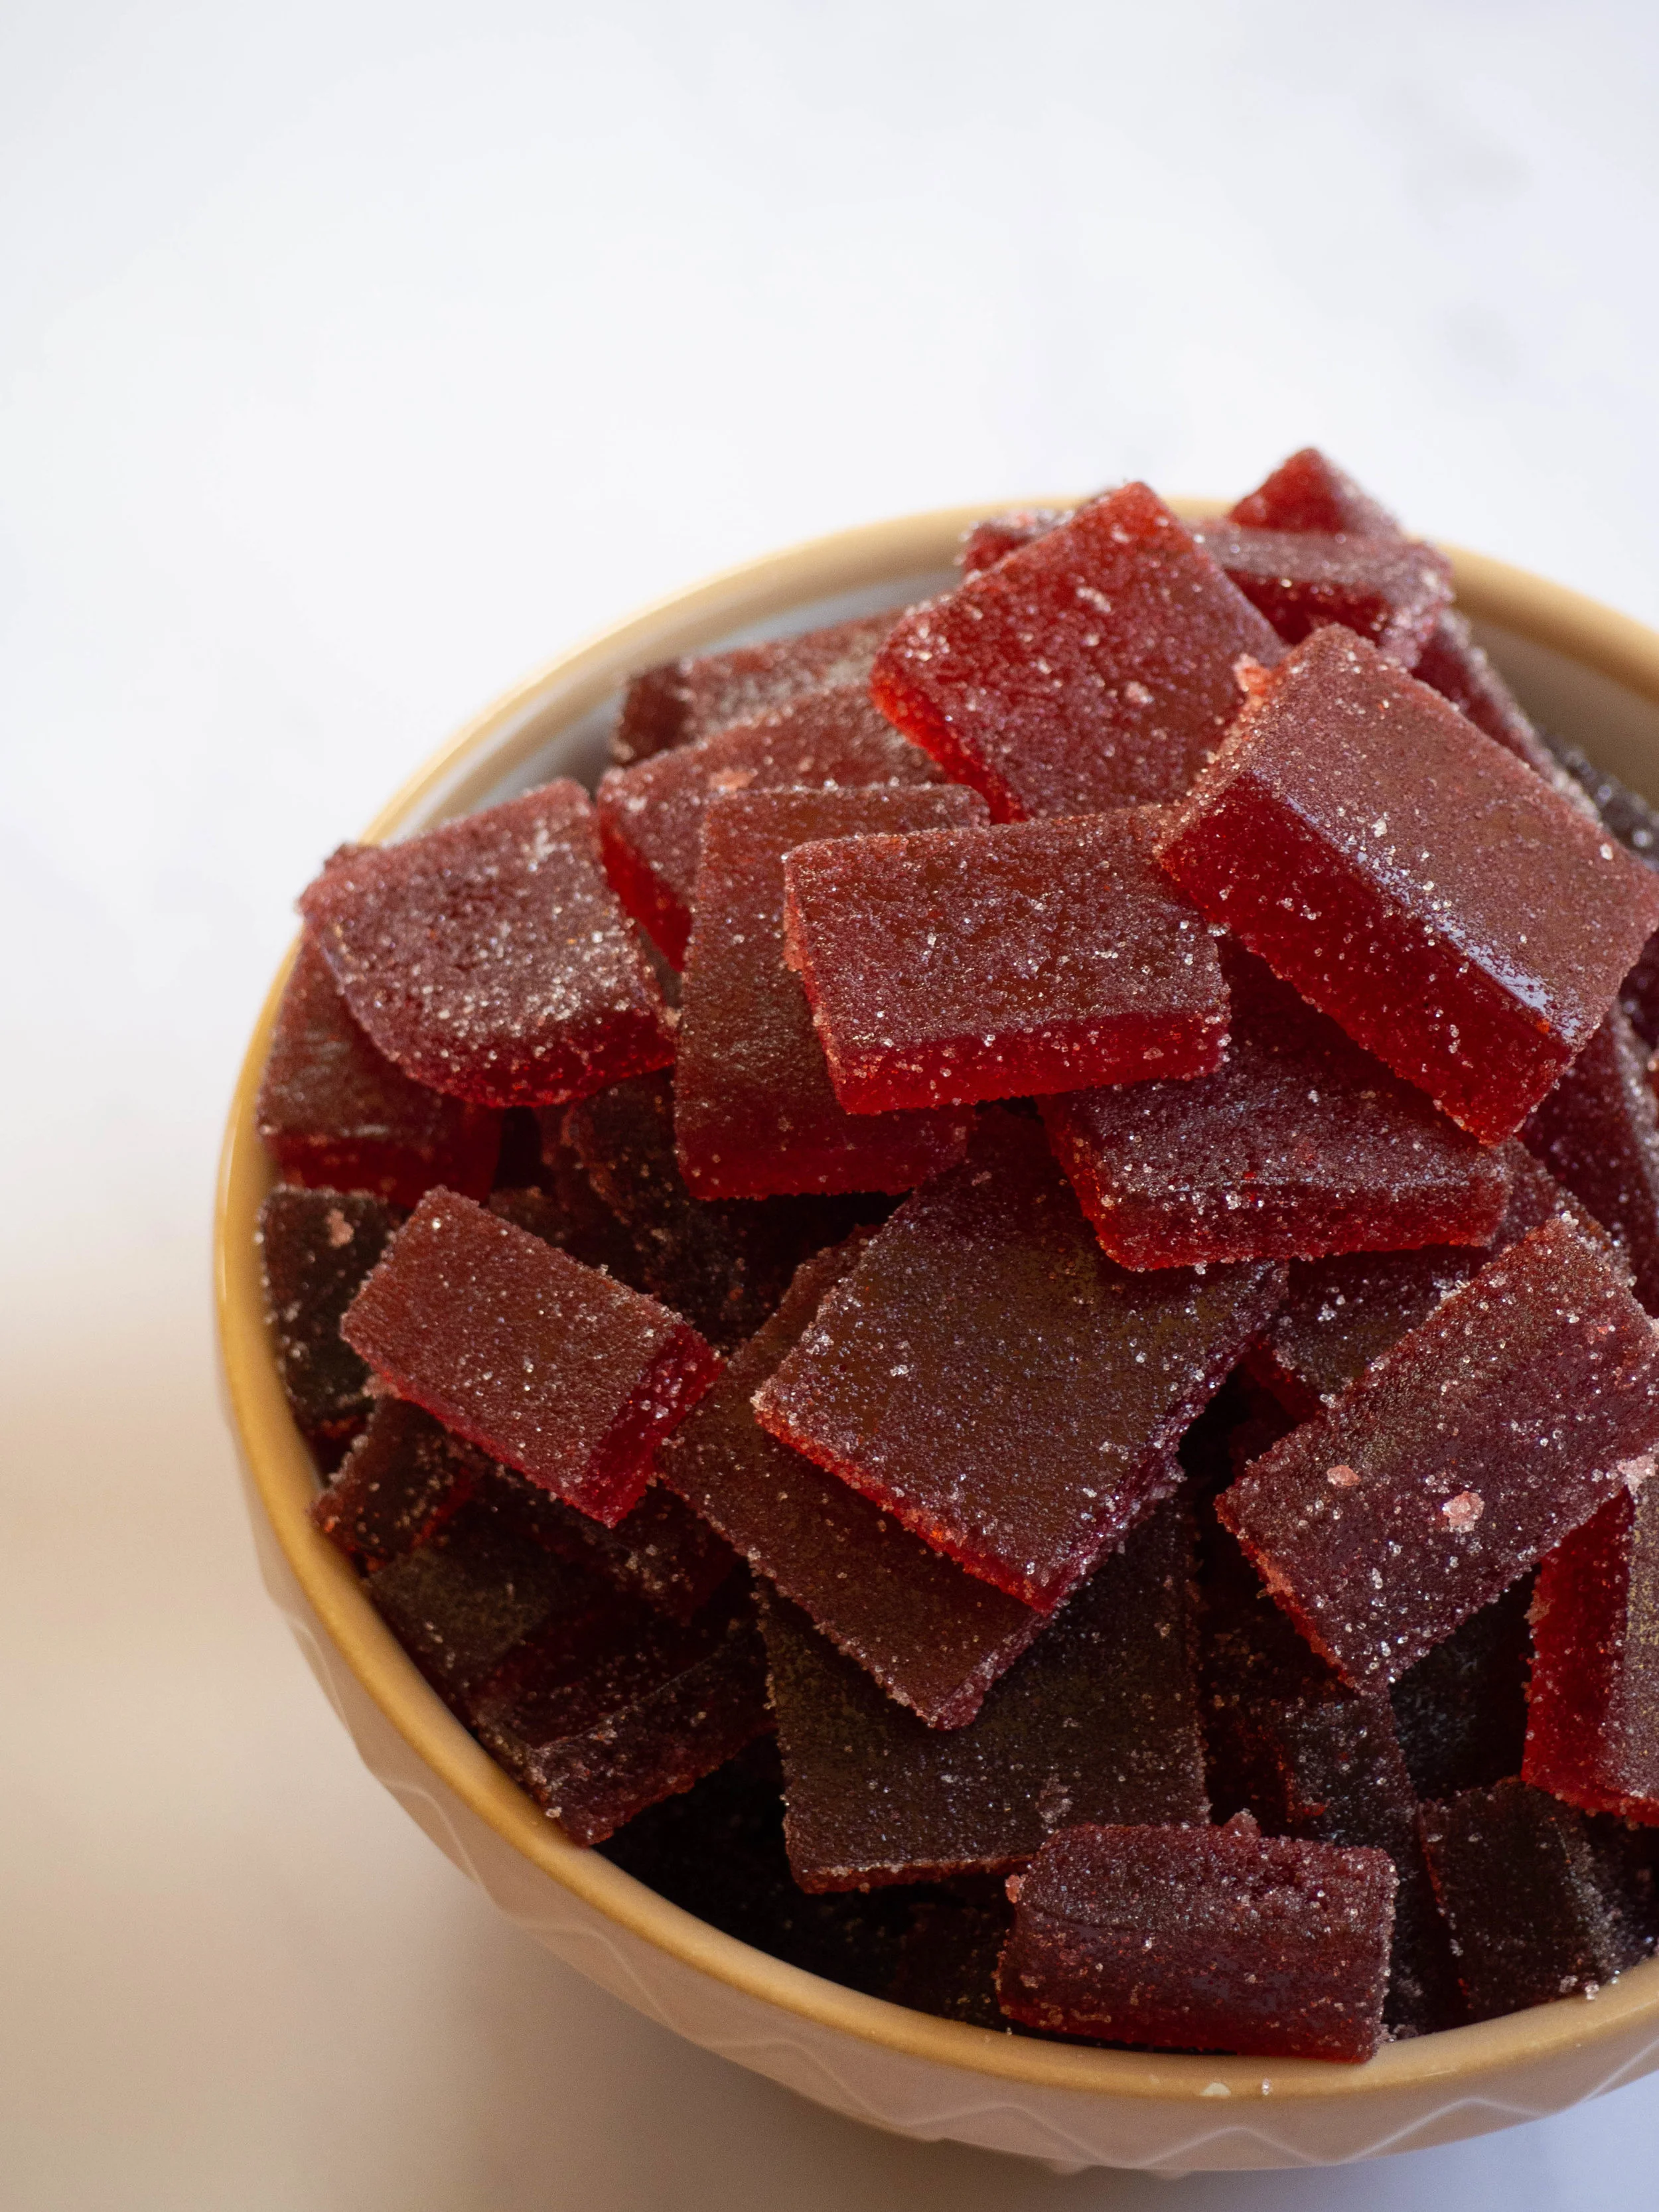
Raspberry Jubes

Raspberry Jubes

Homemade Raspberry Jubes 

Ingredients: 

550g caster sugar, plus extra

15g pectin (citrus pectin)

15g citric acid

300g pureed raspberries, seeds removed (from about 400g fresh/frozen raspberries)

75g raspberry or mixed berry jam (sieved if lumpy)

juice of 1 lemon

1 tsp vanilla bean paste

75g glucose

80ml water

Method: 

Line the base of a large baking tray with baking paper (approx. 30x20cm) 

In a small bowl combine 50g of the sugar, with the pectin and citric acid. 

In a medium saucepan, place the pureed raspberries, jam, lemon juice and vanilla bean paste. Place on medium to high heat and bring to the boil. Add the pectin mixture and stir to combine. Allow the mixture to come back to the boil, the remove from the heat and set aside (keep near your stove as you will need it again soon). This fruit mixture should have thickened up by now, and will continue to do so as it cools. 

Place the remaining sugar (500g), along with the glucose and water, in a large saucepan and bring to the boil. Allow the mixture to continue boiling until it reaches 121 degrees Celsius on a candy thermometer. 

Once this point is reached, add the raspberry mixture and whisk to combine. Leave on the heat until it reaches 108 degrees Celsius. Once this point is reached, pour into the prepared tray, ensuring the mixture sits evenly in the tray. 

Leave to set overnight, at room temperature (preferably with a food net or cover sitting over it). 

When ready to cut, dust your clean work surface with some of the extra caster sugar, and tip the jube slab out of the tin. Cut into desired shapes, it’s really up to you. Sprinkle with more caster sugar until they are all well coated. 

Store in an airtight container. Will keep for about 2 weeks. 

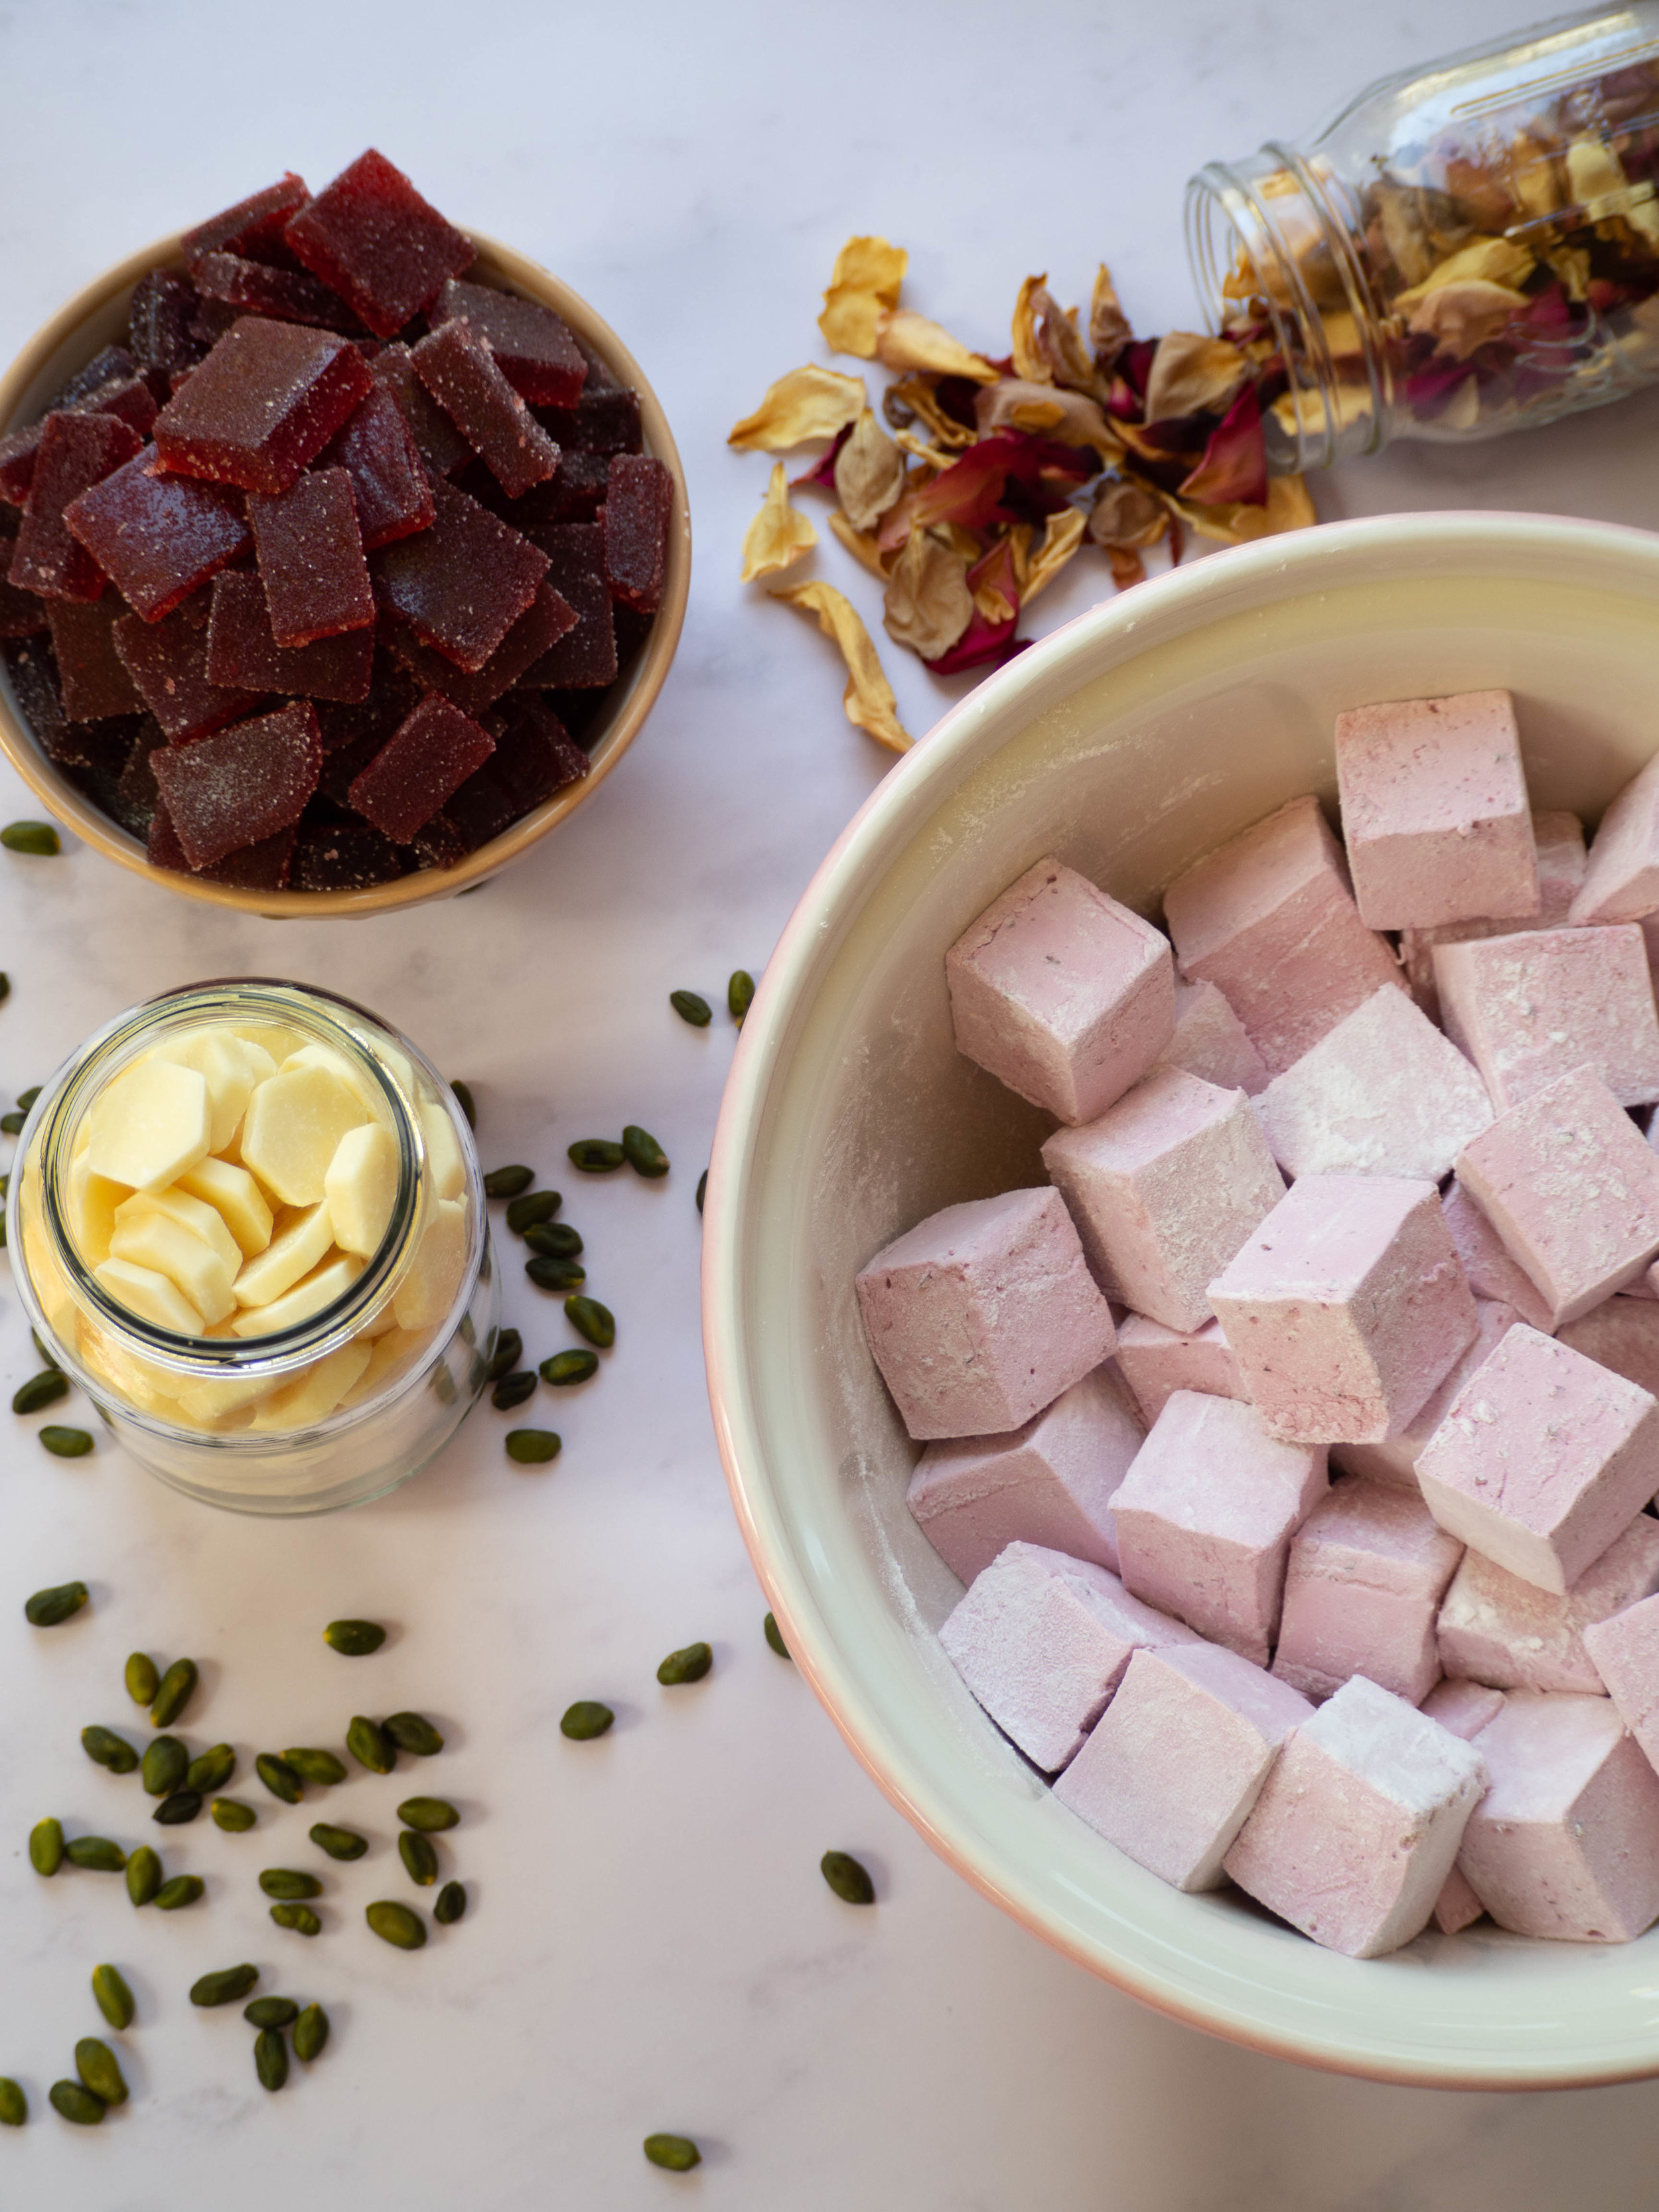
Rocky Road Ingredients

Rocky Road Ingredients

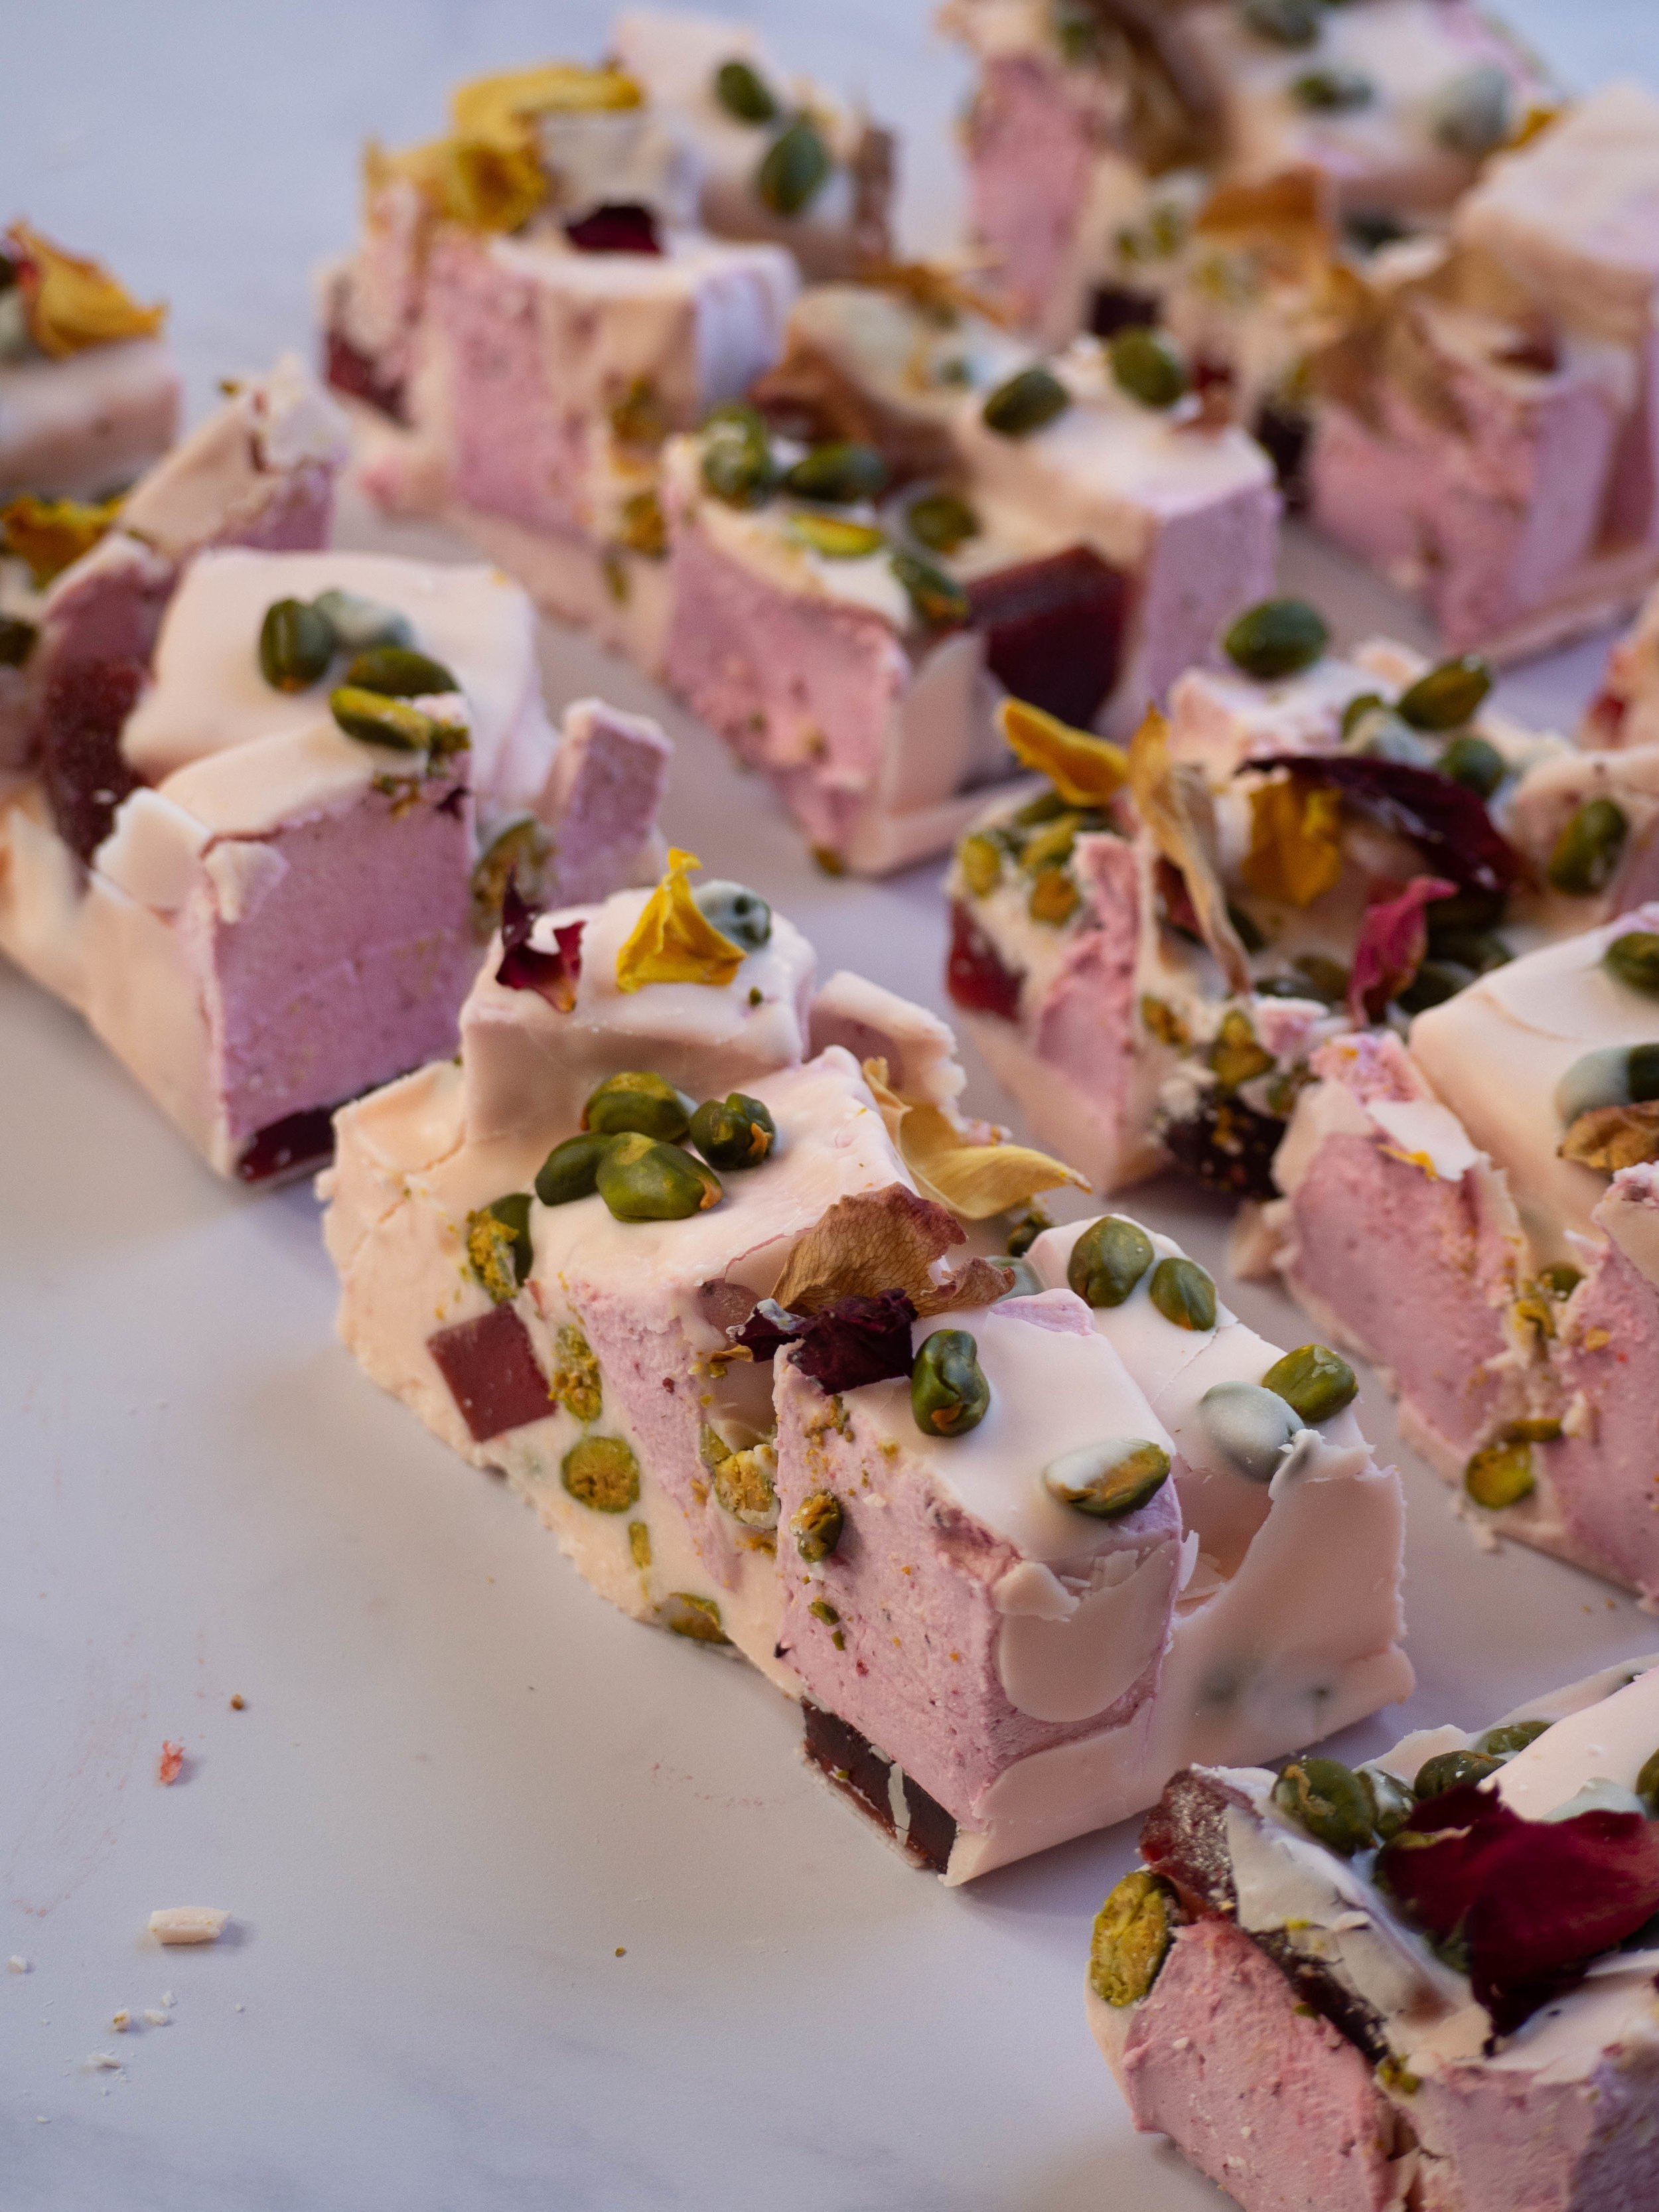
Pink Rocky Road

Pink Rocky Road

Rose Rocky Road

Pink Rocky Road

Ingredients: 

700g good quality white chocolate

pink colouring (suitable for use with chocolate)

rose flavouring (suitable for use with chocolate)

80g raw or blanched pistachios

265g homemade raspberry jubes

500g homemade blackberry marshmallows 

dried edible rose petals, for decoration

Method: 

Line a square baking tin (approx. 22cm) with baking paper - I like to use small bulldog clips to hold the paper in place. 

Preheat oven to 160 degrees Celsius. Roast the pistachios on a lined baking tray for 10 minutes. Remove from the oven and set aside to cool.

Have all the rocky road elements ready to go next to your prepared tin. 

Place a small pot with a little water on the stove and allow to simmer. Using another pot or bowl that will comfortably sit over the top of the water pot, measure out 450g of the white chocolate. 

Place this pot over the simmering water (ensuring the water does not touch the base of the pot above) and melt the chocolate. Ensure the chocolate is constantly stirred. Once the chocolate reaches 45 degrees Celsius on chocolate thermometer, remove from the heat and continue stirring while gradually adding the remaining 250g of white chocolate. Add a little at a time and allow to melt before adding more. 

Continue to check the temperature of the chocolate, once it has fallen to 34 degrees Celsius, the remaining chocolate should have all been added. Continue stirring to allow the chocolate to cool further to 32 degrees Celsius. Add a little pink colouring at this point, and a few drops of the rose flavouring. Start small with both and add more if you think it’s necessary. 

Once the chocolate has reached 32 degrees Celsius, it is ready to use. 

Pour about a third of the chocolate into the base of the prepared tin and allow it cover the base completely. Scatter in half the marshmallows and half the jubes. Scatter in a third of the pistachios. Cover with another third of the chocolate, then place the remaining marshmallows and jubes in, and another third of the pistachios. Cover with the remaining chocolate, and scatter over the remaining pistachios. Decorate with some dried edible rose petals. 

Place in the fridge for about 30 minutes to set (especially if you are working in warm or humid conditions). 

Once set use a large sharp knife to cut the rocky road into desired sizes. 

I prefer to keep the rocky road in the fridge. Keeps for about 2-3 weeks. 

Makes 8 generous blocks of rocky road. 

Rose Rocky Road
Rose Rocky Road

References: ‘Bourke Street Bakery All Things Sweet’ by Paul Allam and David McGuinness (Murdoch Books, 2017), pp.104-105 + 119; ‘Greatest Hits - The Pop Edition’ by Katherine Sabbath (Katherine Sabbath, 2017) Recipe Card #40; Heilala Vanilla SWEETNESS Vanilla Bean Marshmallow. 

Rose Rocky Road

For more recipes showcasing the best of rose, check out my ebook Baking with Rose by clicking the link below!

get your ebook!
In Confectionary, Holidays Tags Rose, Homemade Marshmallows, Jubes, Rose Chocolate, White Chocolate, Sweetness by Adora, Rocky Road, Easter
2 Comments
Syrian Inspired Sesame and Pistachio Biscuits

Syrian Inspired Sesame and Pistachio Biscuits

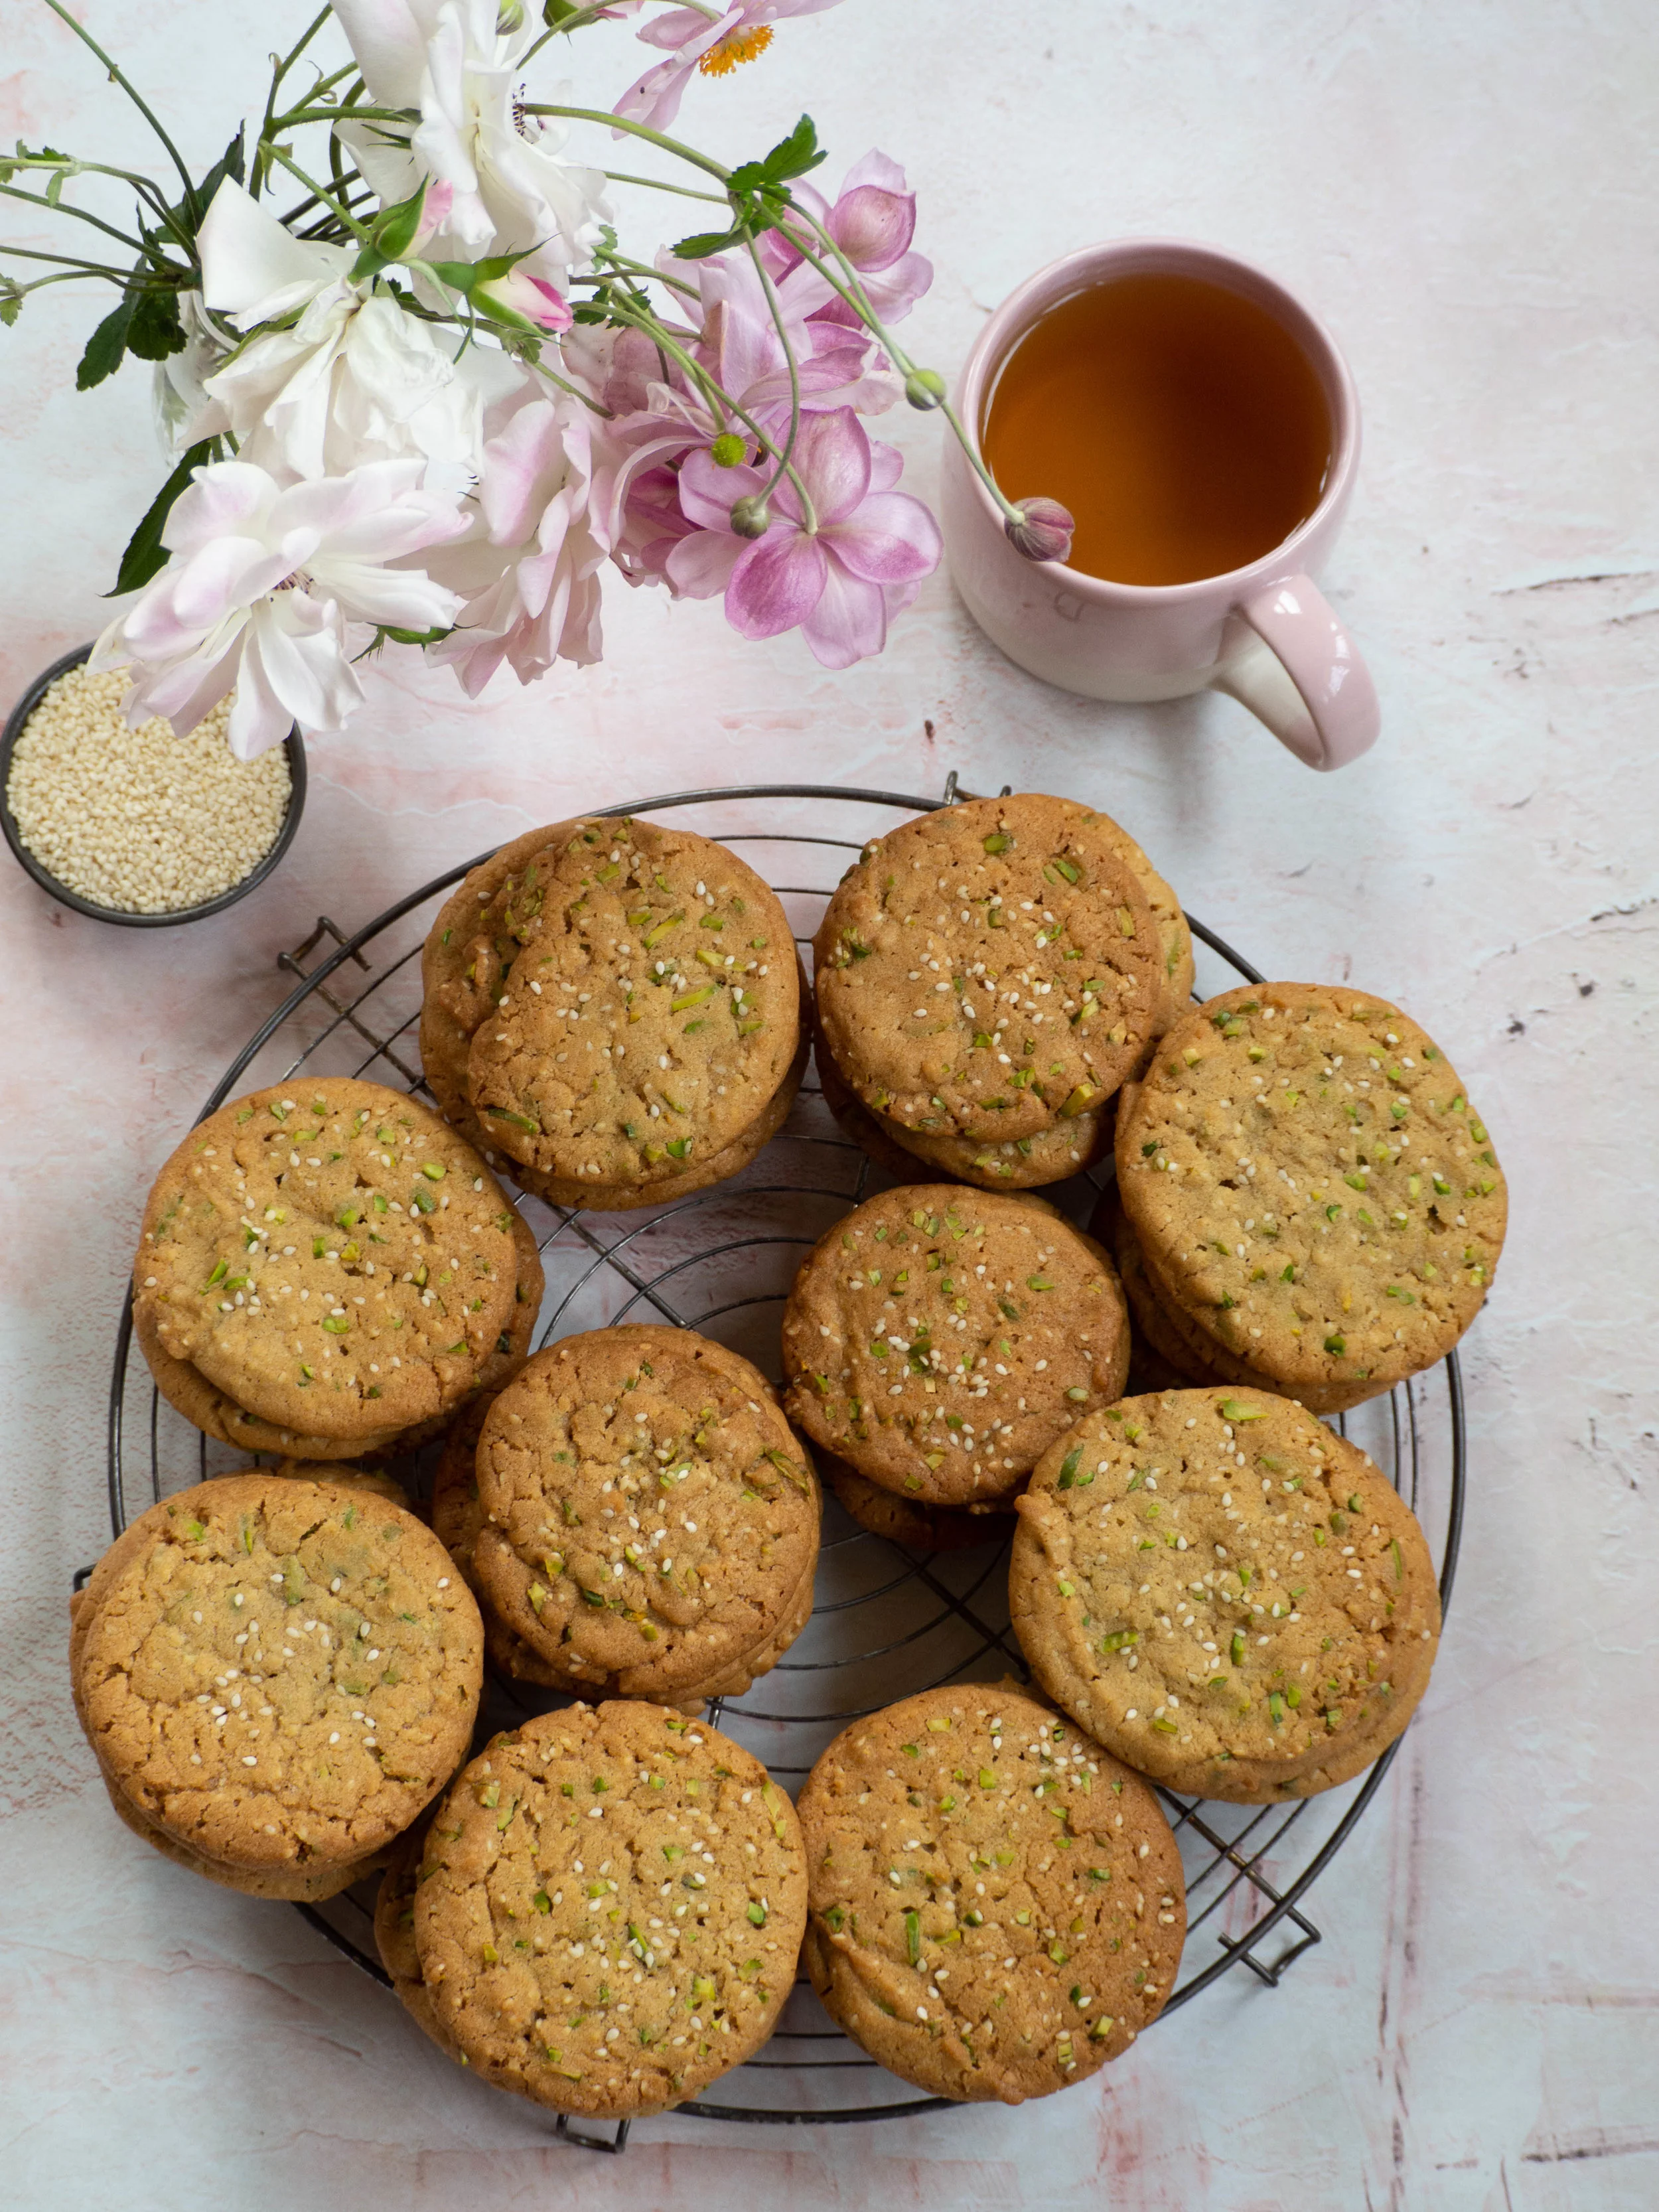
Syrian Inspired Sesame & Pistachio Cookies

Kath March 27, 2019

Late last year I started a new job, and in the first couple of weeks one of my co-workers had a birthday. It was her 21st, and some of the others bought her a cake. She also brought in some Syrian Barazek cookies. These biscuits are native to my co-workers homeland and I was really excited to try them. I also thought it was so sweet of her to bring something in to share on her own birthday! 

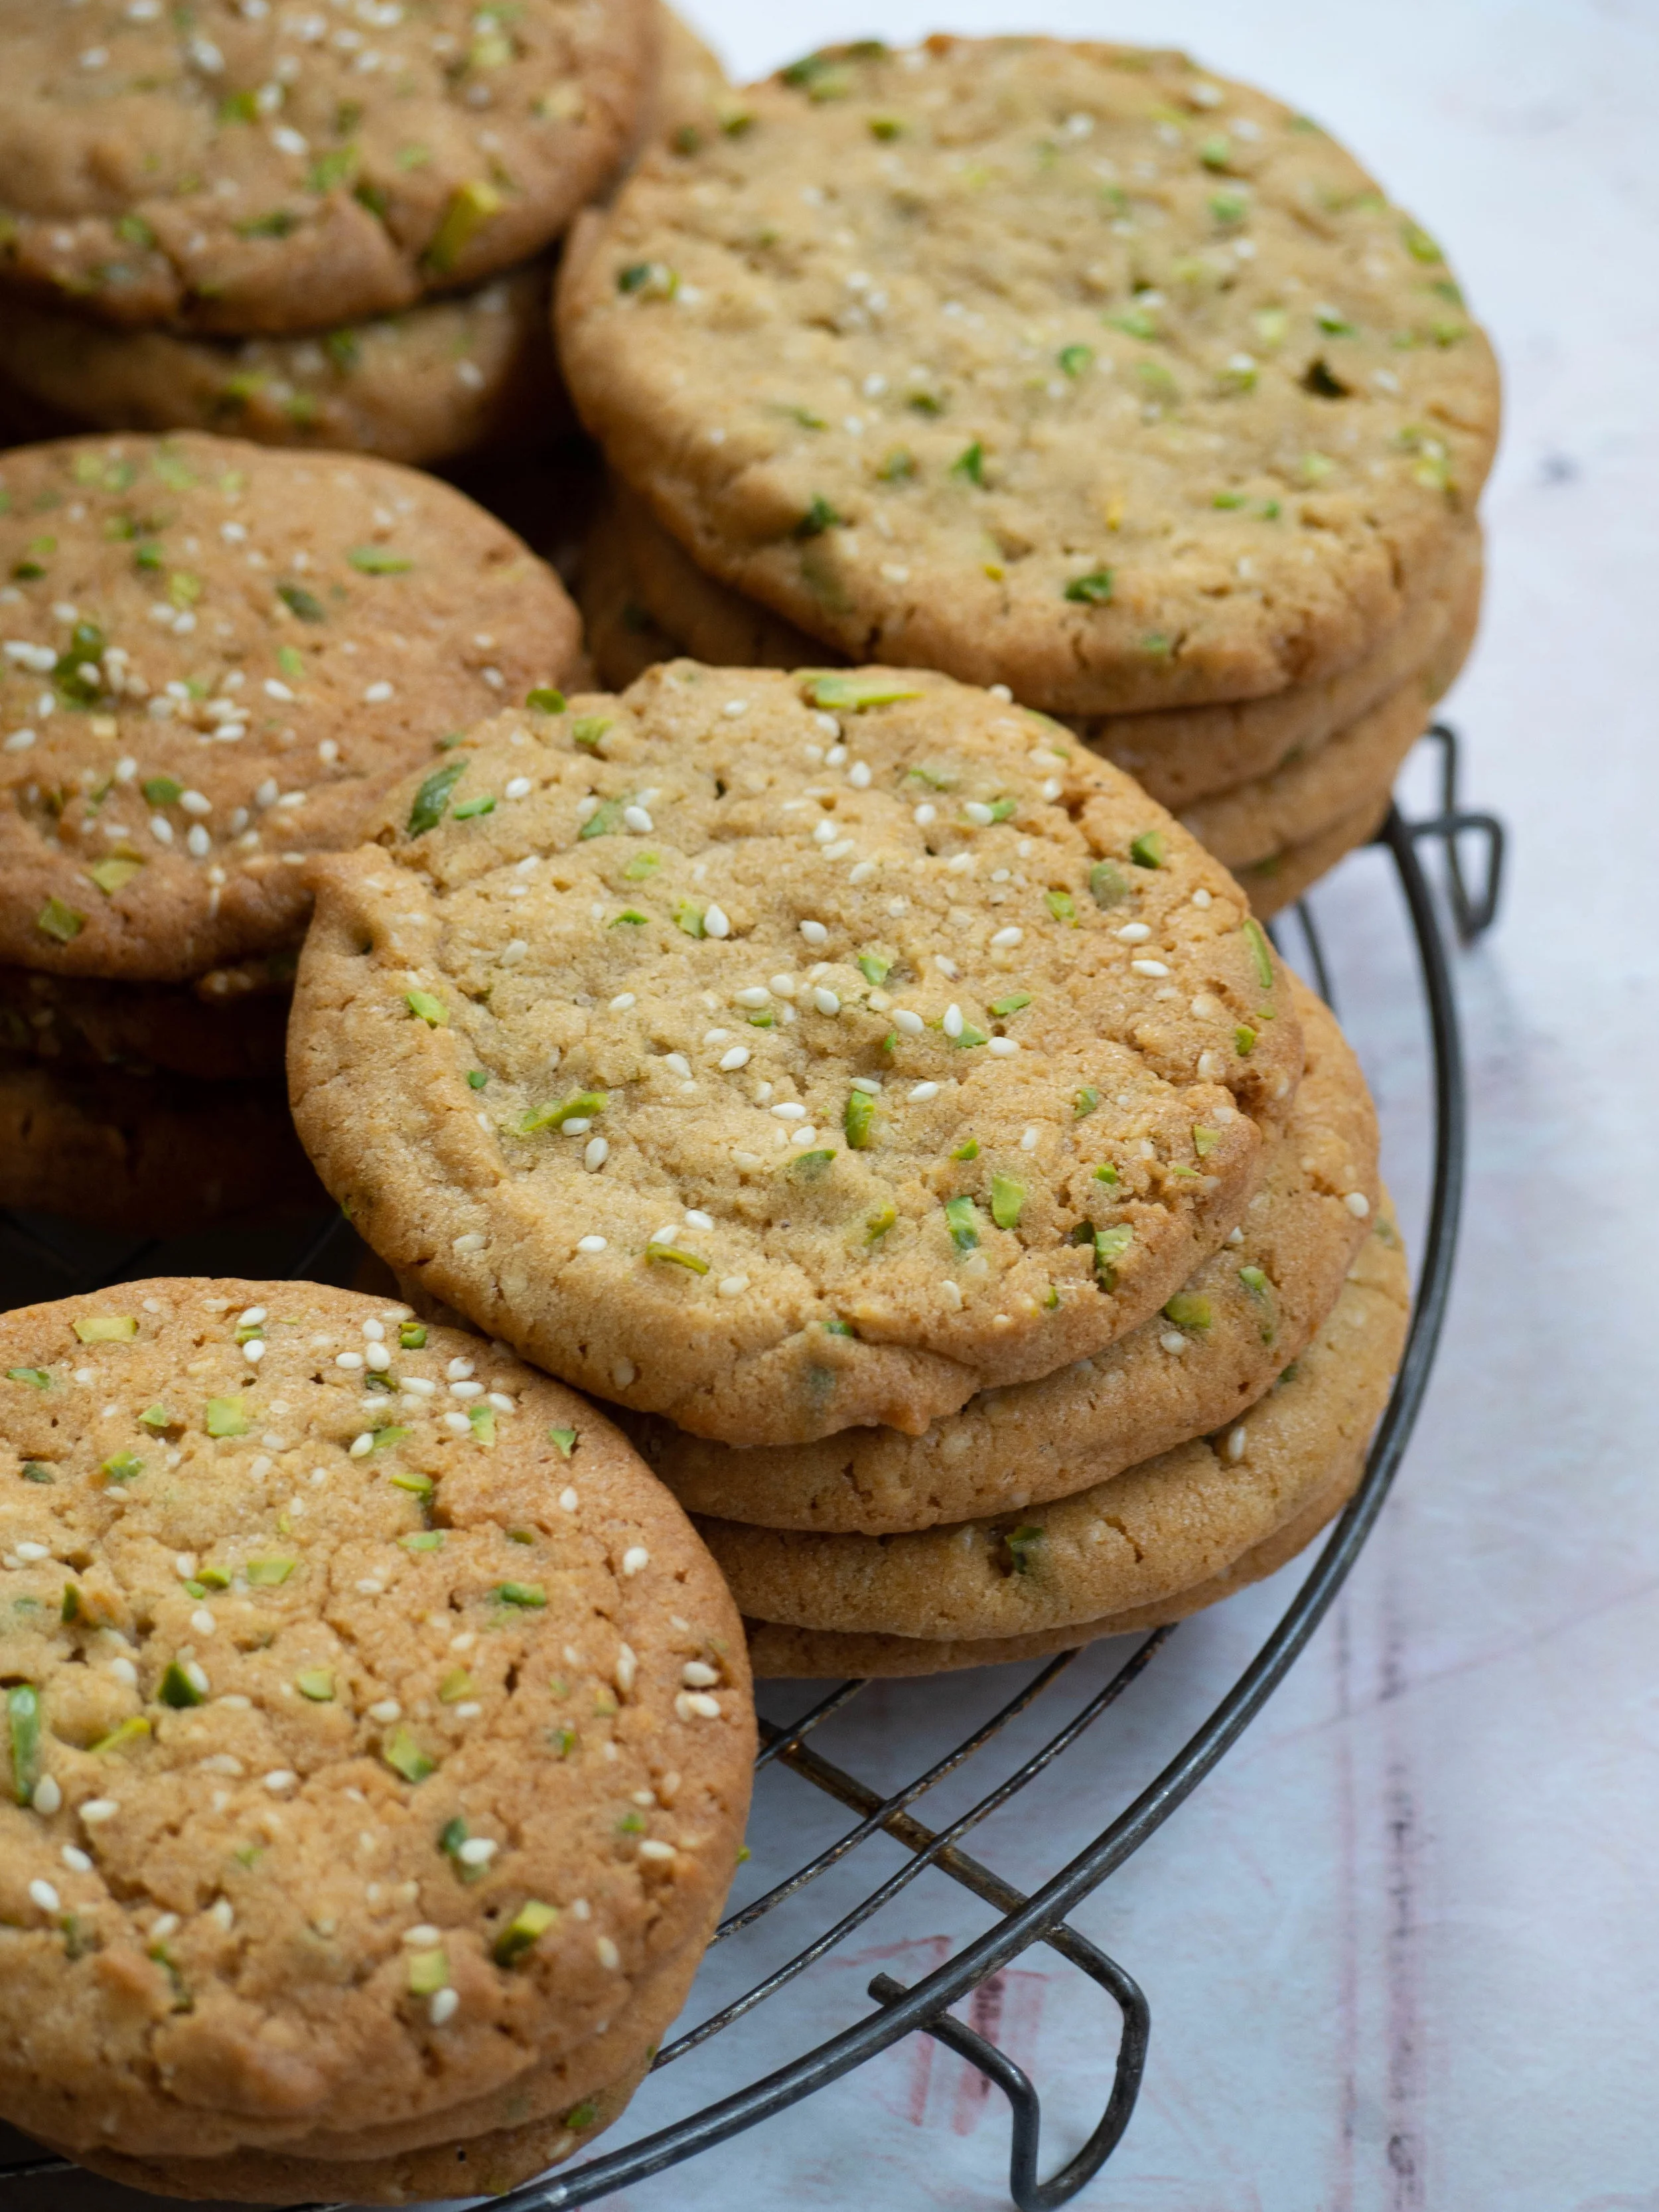
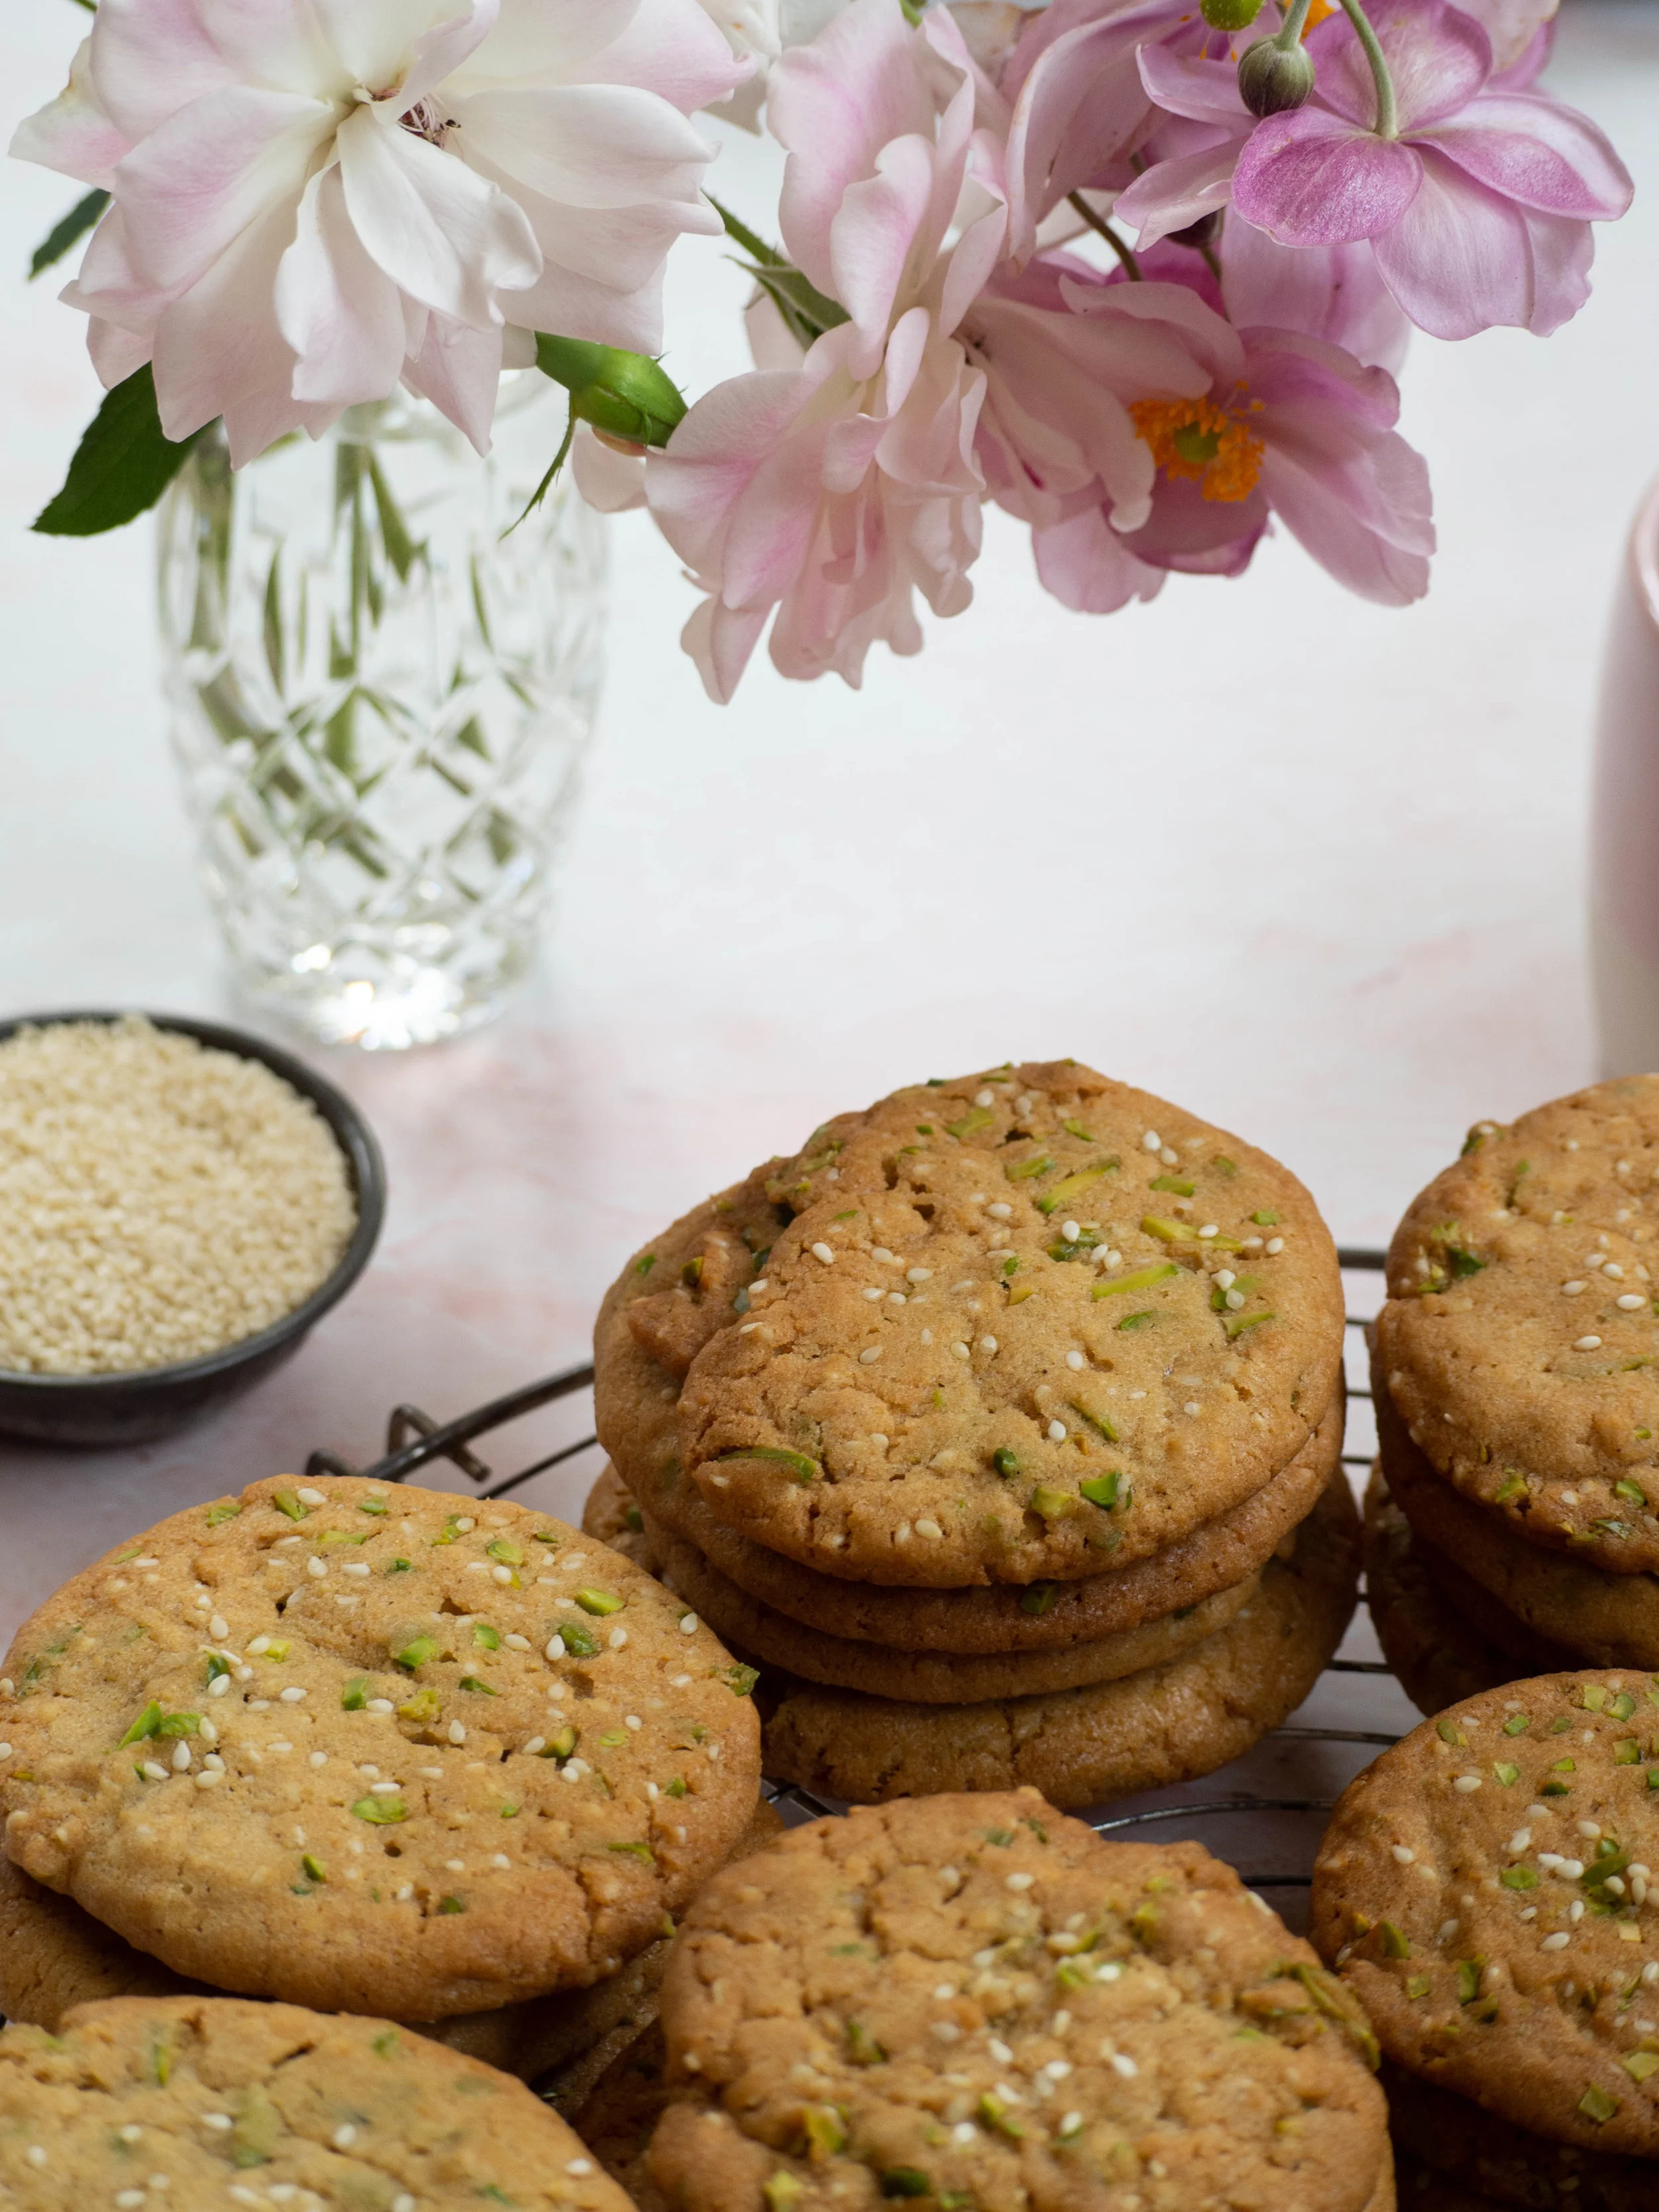
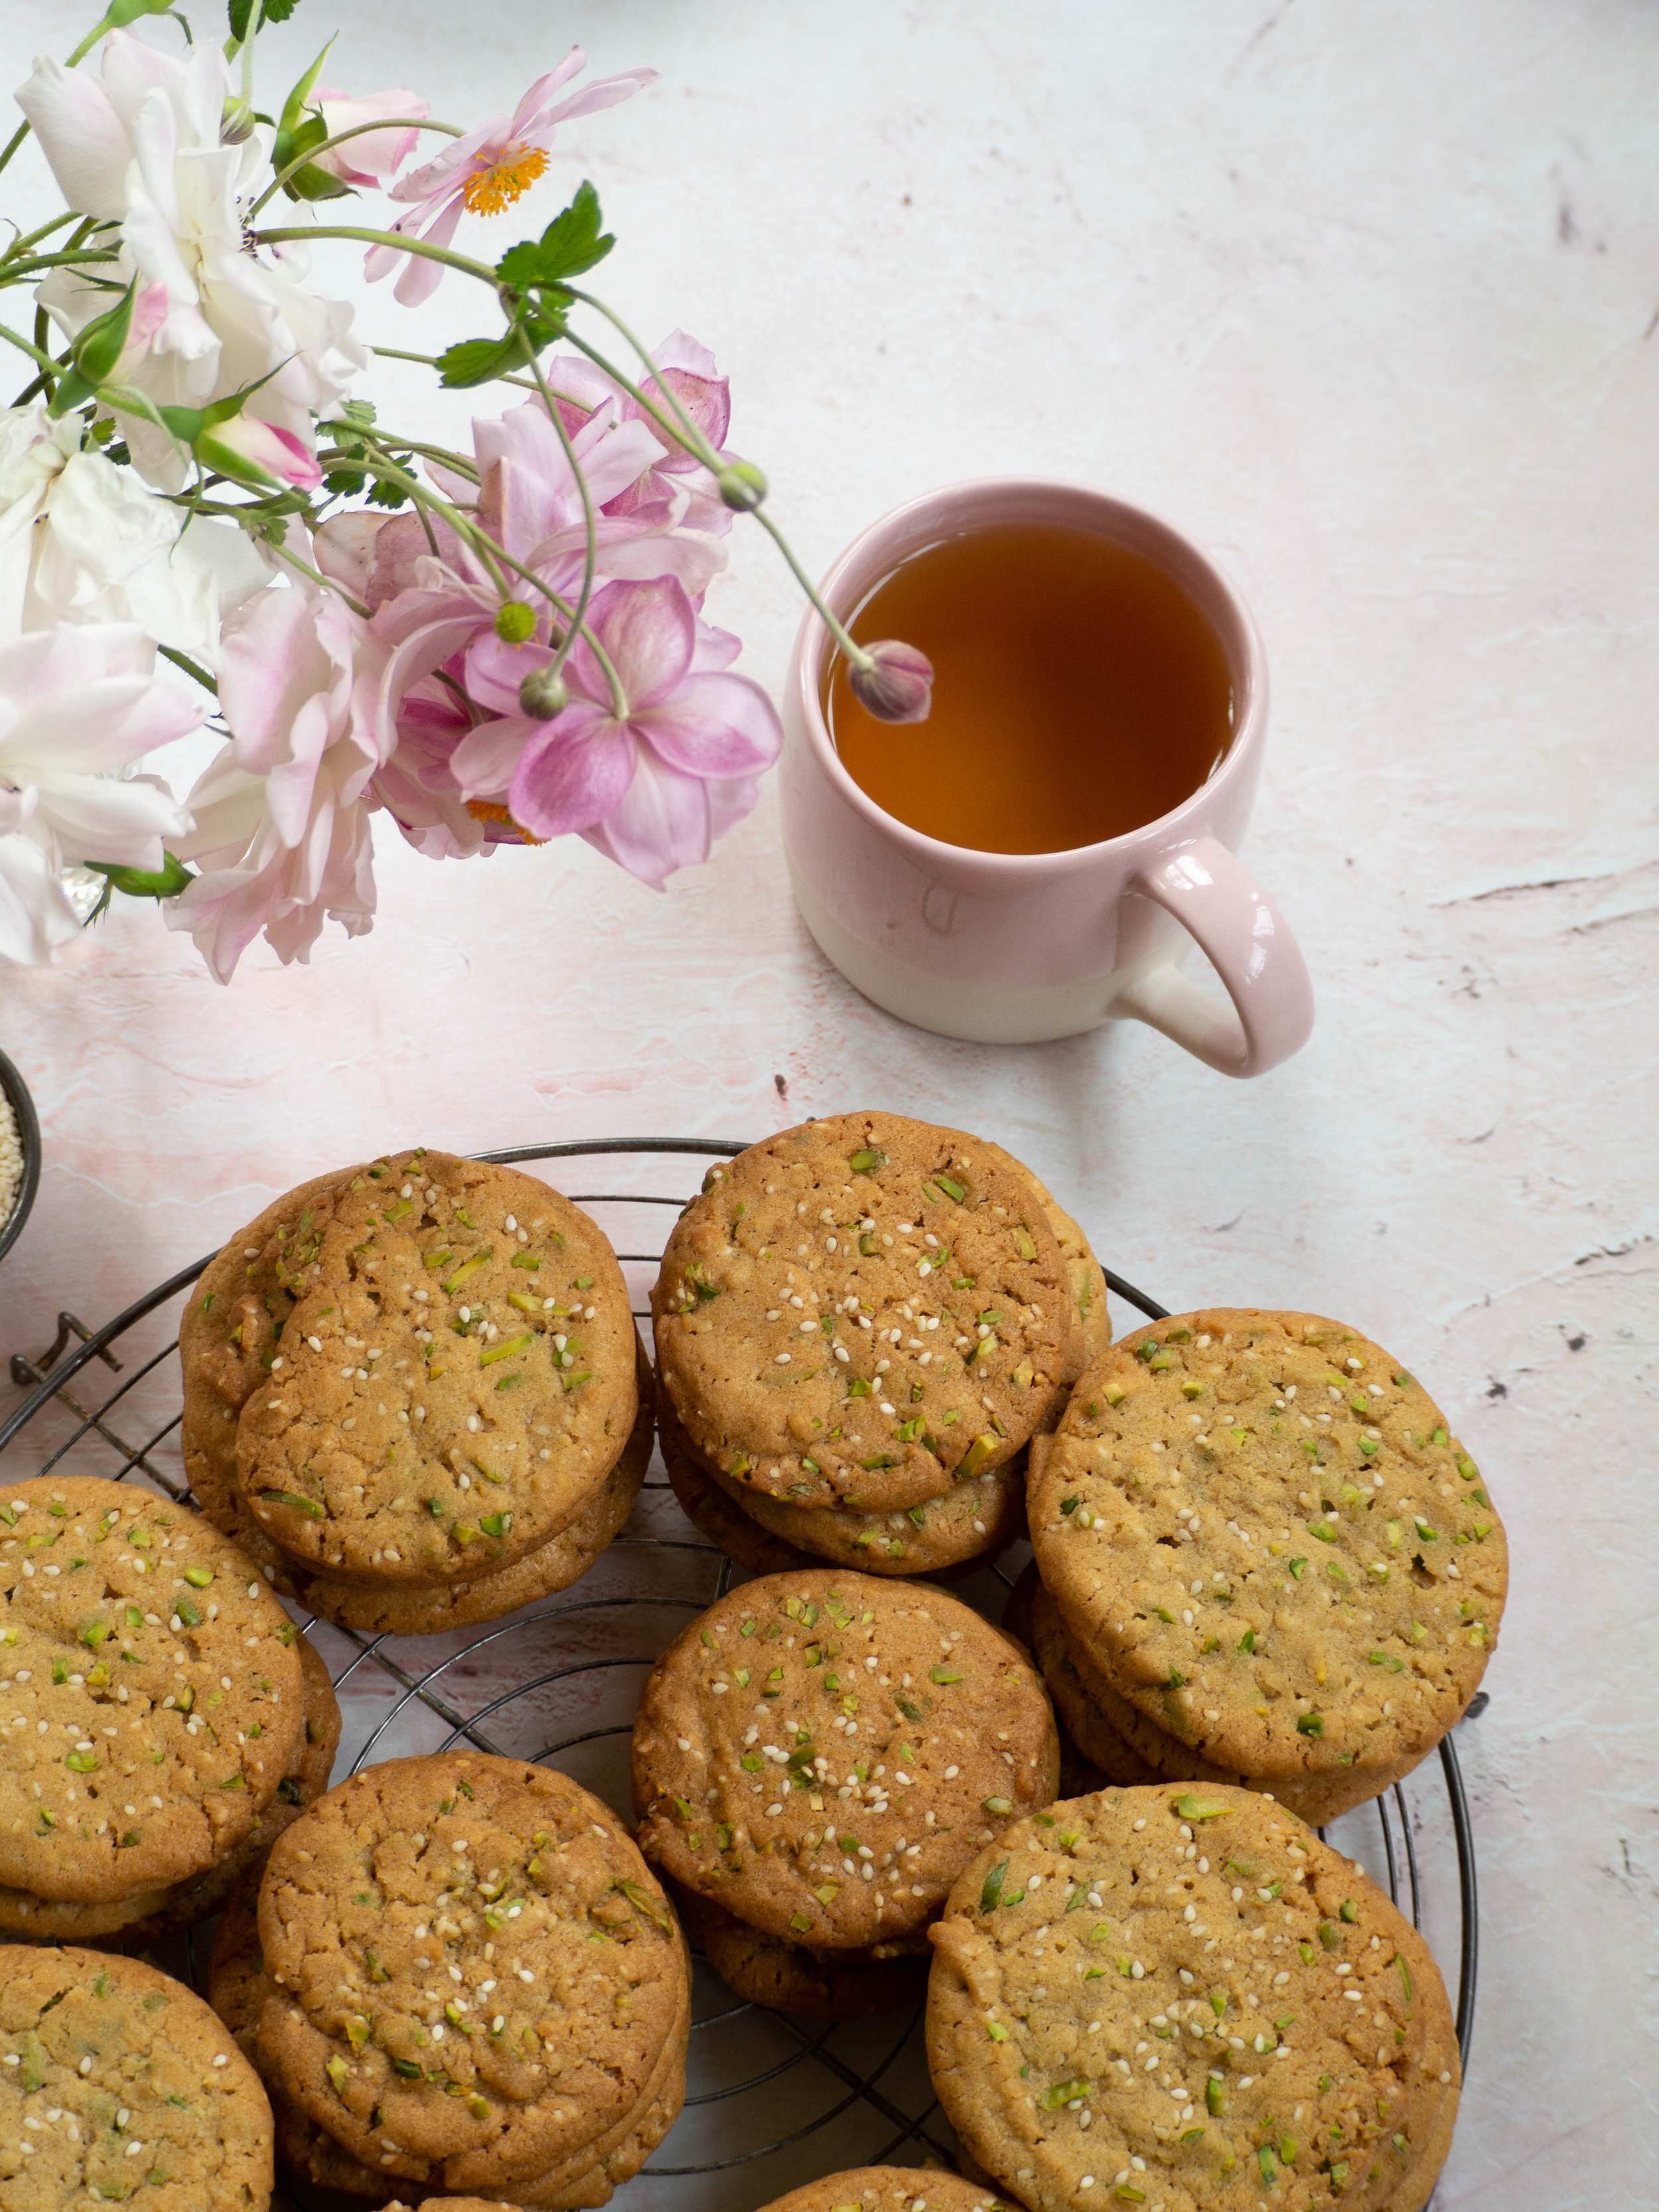
Syrian Barazek cookies are thin crunchy biscuits that have pistachios on the base and their tops are covered with sesame seeds. After trying them at work, I immediately knew I must try and make them myself. Unfortunately, I tried and failed miserably! The recipe I tried seemed simple enough, but maybe that was the problem. These cookies are not simple, and I feel only someone who has made them for a long time could teach me how to perfect them. 

I asked my co-worker and another who is also from Syria, and they said that most people would by Barazek cookies rather than make them. Even the ones I tasted at work had been imported from Syria. I was beginning to think I wouldn’t be able to replicate these delicious biscuits! 

A month or so passed, and I still couldn’t get the idea of making some of my own Barazek style cookies out of my head. I then stumbled upon a recipe in Greg and Lucy Malouf’s book ‘Suqar’ for a Lebanese version of Barazek with sour cherries added. Reading the recipe it was quite different from the other Barazek cookies I had tried to make, and looked more reminiscent of a shortbread or sugar cookie than the others. 

This gave me an idea. I didn’t need to perfect a traditional Barazek recipe, I could use those flavours and ingredients to create my own Syrian inspired cookie.

The below recipe is what I came up with. I adapted my favourite chocolate chip cookie recipe to include the two main ingredients of a Barazek cookie - sesame seeds and pistachios. I am very happy with the result, despite my biscuits being quite a departure from a traditional Barazek cookie. 

I took some into work, and one of my colleagues said it reminded her of the Syrian Barazek cookies, even though they were different. I took this as a great compliment, and am so happy others have not only inspired my baking but also enjoyed it! 

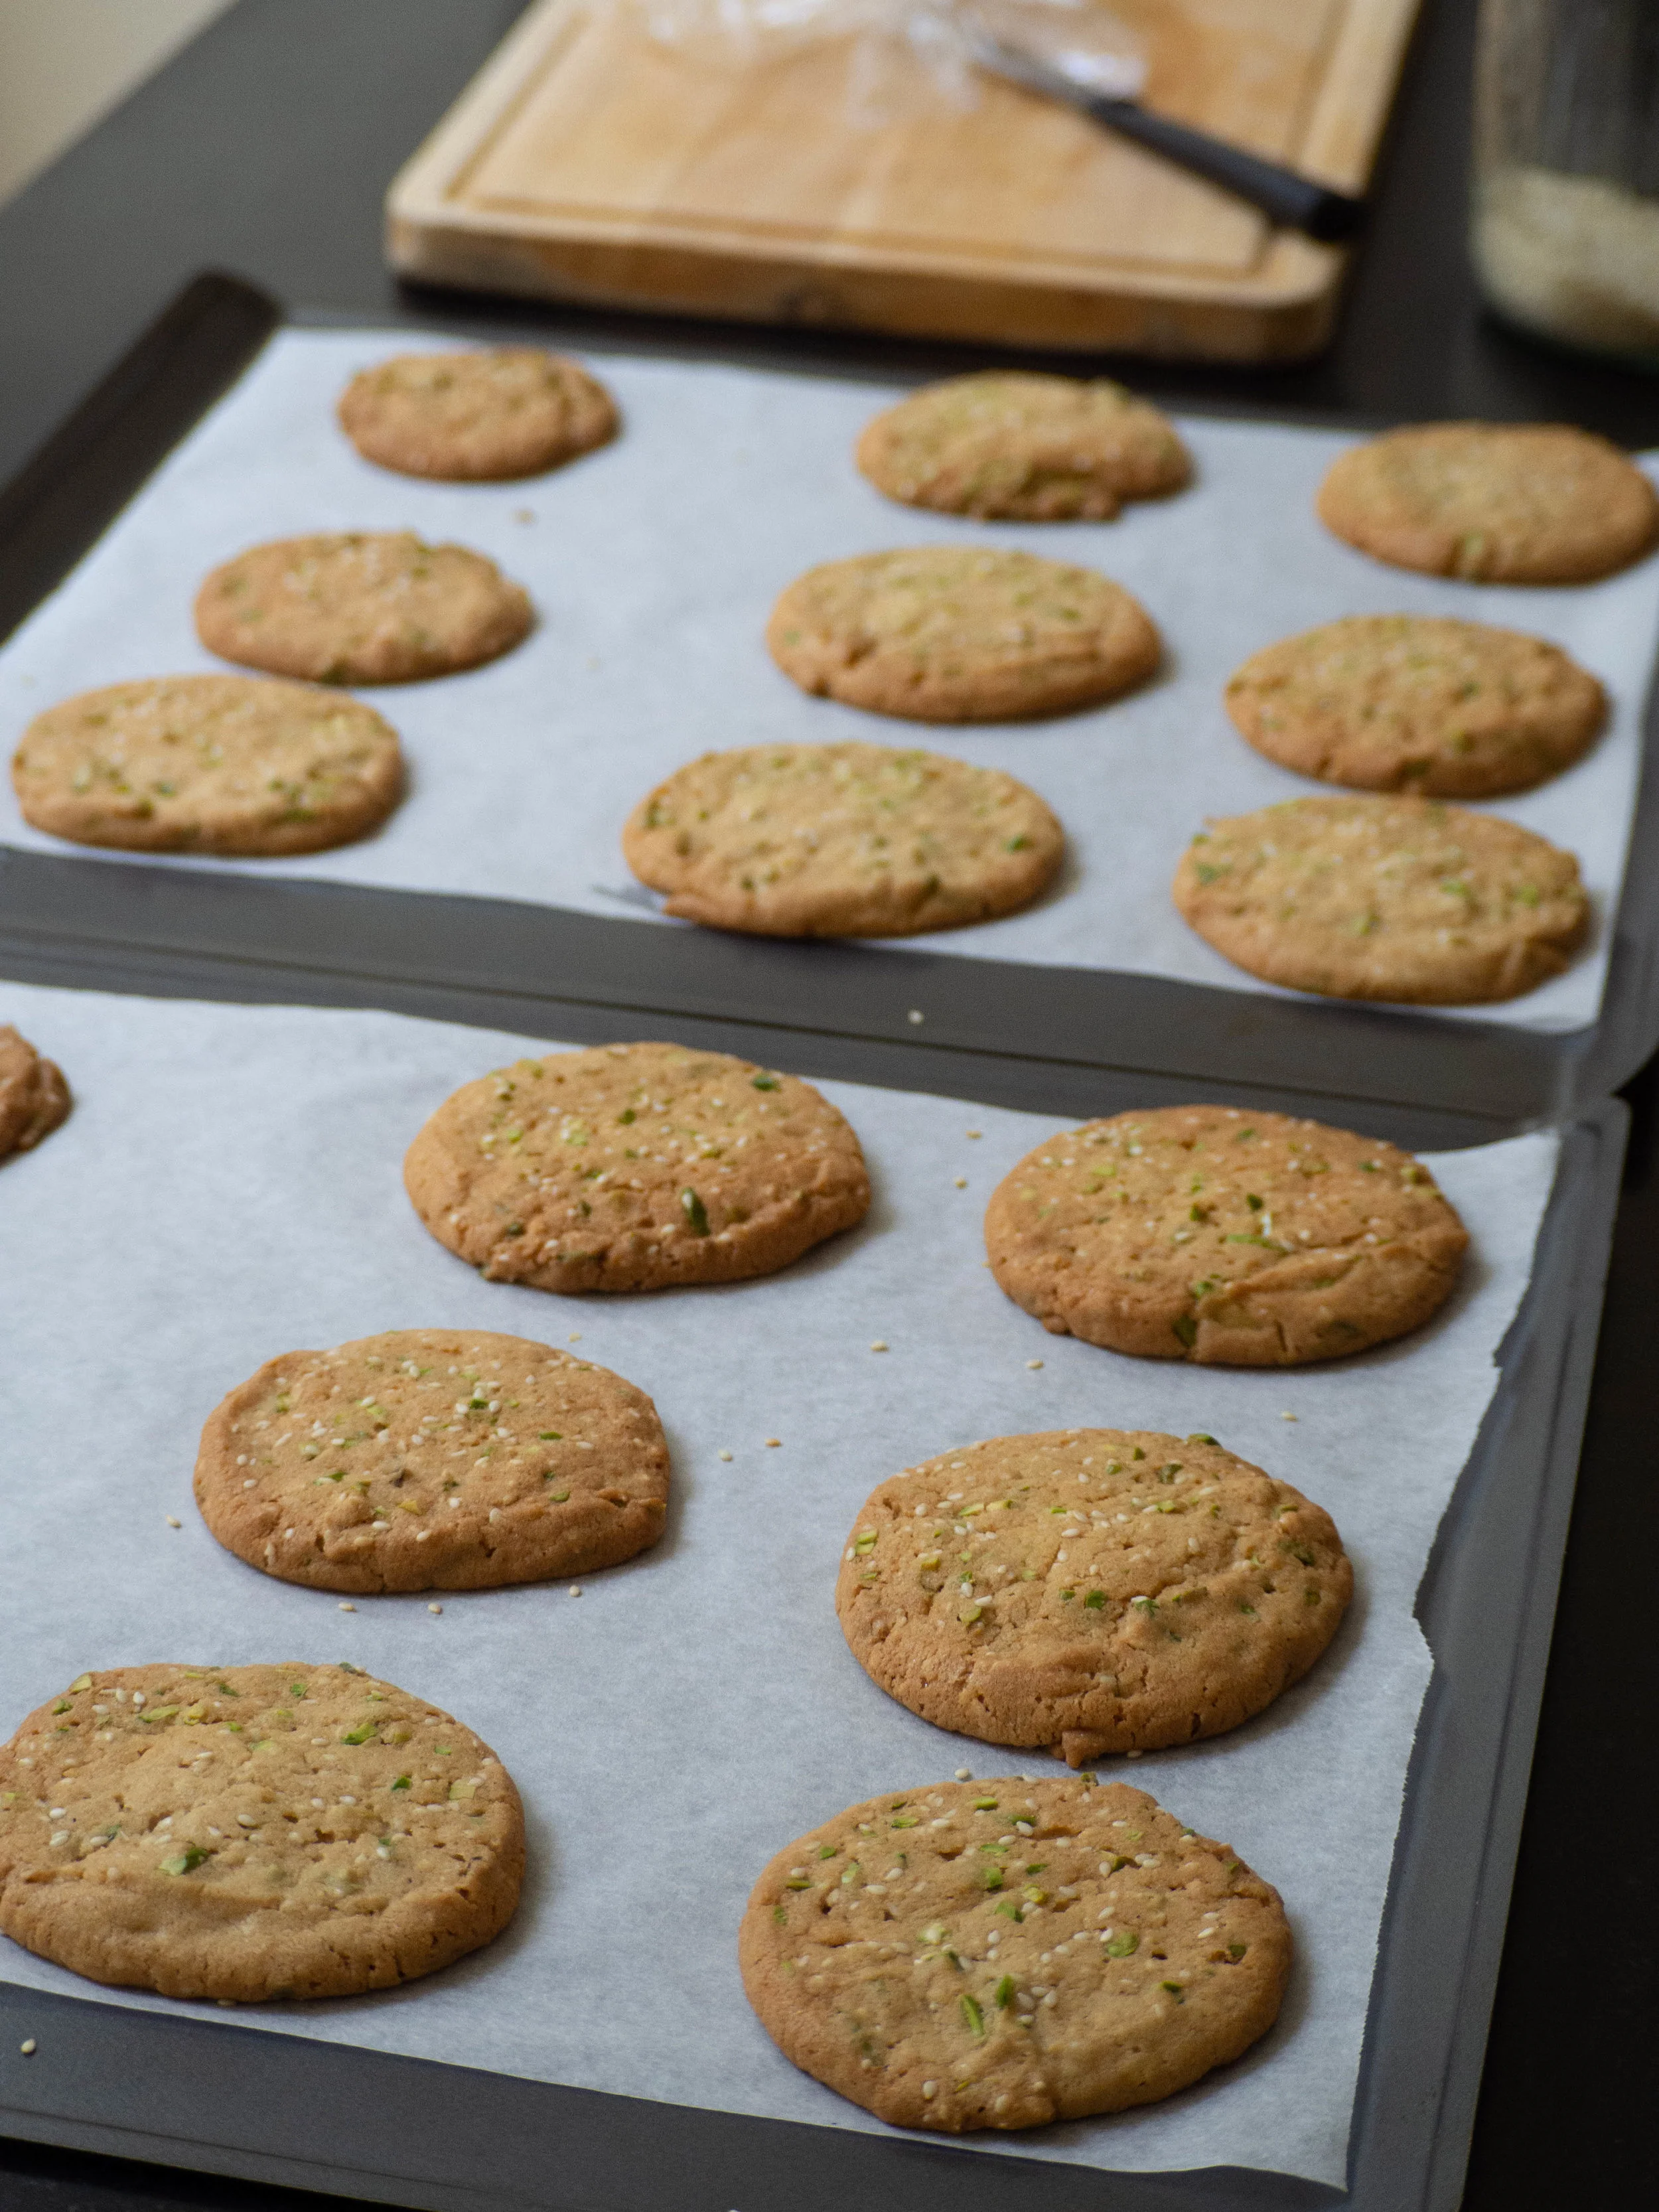
Cutting the dough from frozen (see recipe method)

Cutting the dough from frozen (see recipe method)

Fresh from the oven

Fresh from the oven

Syrian Inspired Sesame & Pistachio Cookies

Ingredients: 

250g unsalted butter, softened or margarine (I use Proactiv Buttery)

200g brown sugar

100g white sugar

1/2 tsp vanilla extract

3 egg yolks

325g plain flour

3/4 tsp baking soda

150g slivered pistachios

60g white sesame seeds, plus 2 tbsp extra

Method: 

Beat the butter or margarine and sugars in the bowl of a stand mixer with the paddle attachment until combined. Add the vanilla extract, then the egg yolks mixing until combined. 

In a separate bowl, whisk together the flour and the baking soda, then add to the butter mixture and mix on a low speed until almost combined. Then add the pistachios and the 60g sesame seeds and mix until combined. 

At this stage you can either remove the bowl from the stand, cover and refrigerate for at least 30 minutes or roll the dough into two logs, cover with plastic wrap or baking paper and freeze. 

Either way this biscuit dough needs to be chilled. If placing in the fridge, pre-heat oven to 160 degrees Celsius and line 3-4 trays with baking paper. Once the dough has been in the fridge for at least 30 minutes, scoop out heaped tablespoons of the mixture and place on the prepared baking trays (leaving room for the biscuits to spread as they cook). Sprinkle the tops of each biscuit with the remaining sesame seeds.

Bake for 15-16 minutes (rotating the trays halfway) for a softer biscuit, or about 18 minutes for a crunchier biscuit. The biscuit will be golden once done.

Allow to cool on their trays. 

If freezing the dough, roll out some plastic wrap or baking paper and shape half the dough into a log and cover. Repeat with the second half of the mixture. Allow the dough to lie flat in the freezer until completely frozen. 

When you want to bake the dough, pre heat oven to 160 degrees Celsius and line 3-4 baking trays with baking paper. Remove the dough from the freezer and allow to sit at room temperature for 5 minutes before cutting. 

Using a sharp knife, cut each log into 1/5-1cm rounds and place on the prepared trays (allowing room for the biscuits to spread whilst cooking). Sprinkle the tops of each with the remaining sesame seeds. 

Bake for 18 minutes (rotating the trays halfway) for a softer biscuit, and 20 minutes for a crunchier biscuit. The biscuits will be golden once done. 

Allow to cool on their trays.

Sesame and Pistachio Cookies

References: ‘The Violet Bakery Cookbook’ by Claire Ptak (Ten Speed Press, 2015), pp.140-1; ‘Suqar’ by Greg and Lucy Malouf (Hardie Grant Books, 2018), p.84. 

Sesame and Pistachio Cookies
In Biscuits/Cookies Tags Barazek, Sesame Pistachio Cookies, Syrian Sesame Cookies
4 Comments
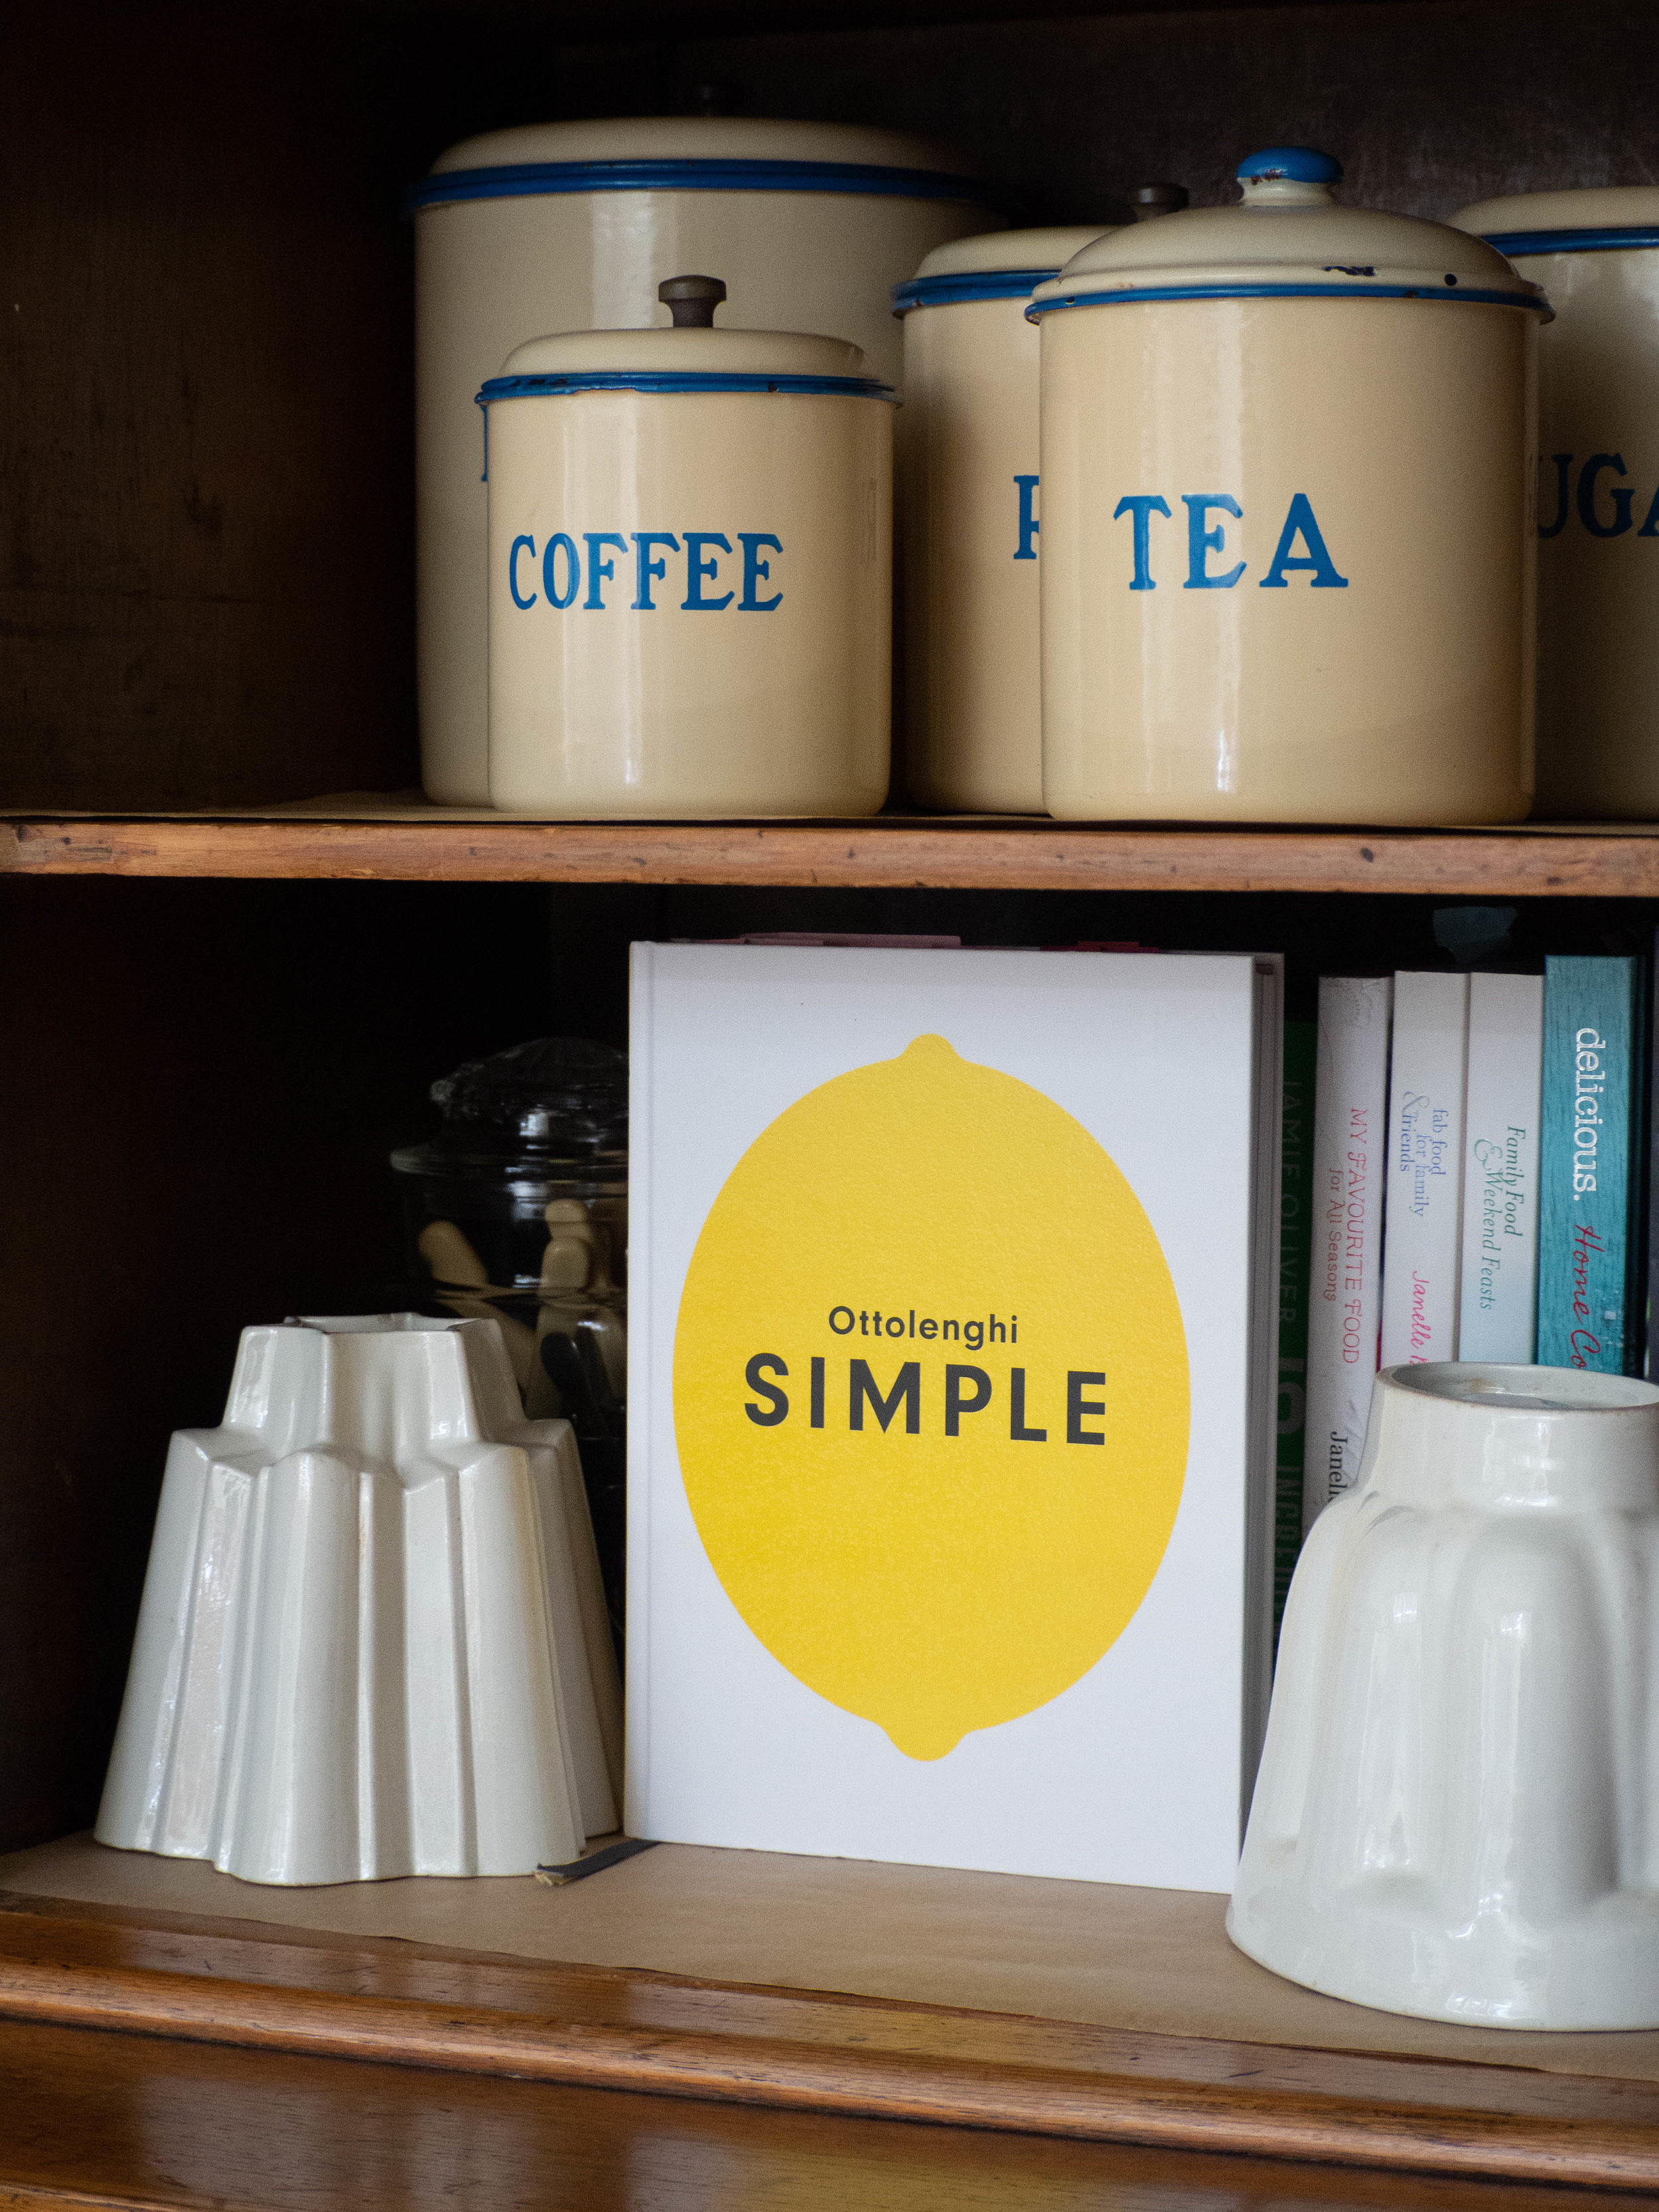
Simple by Yotam Ottolenghi

Simple by Yotam Ottolenghi

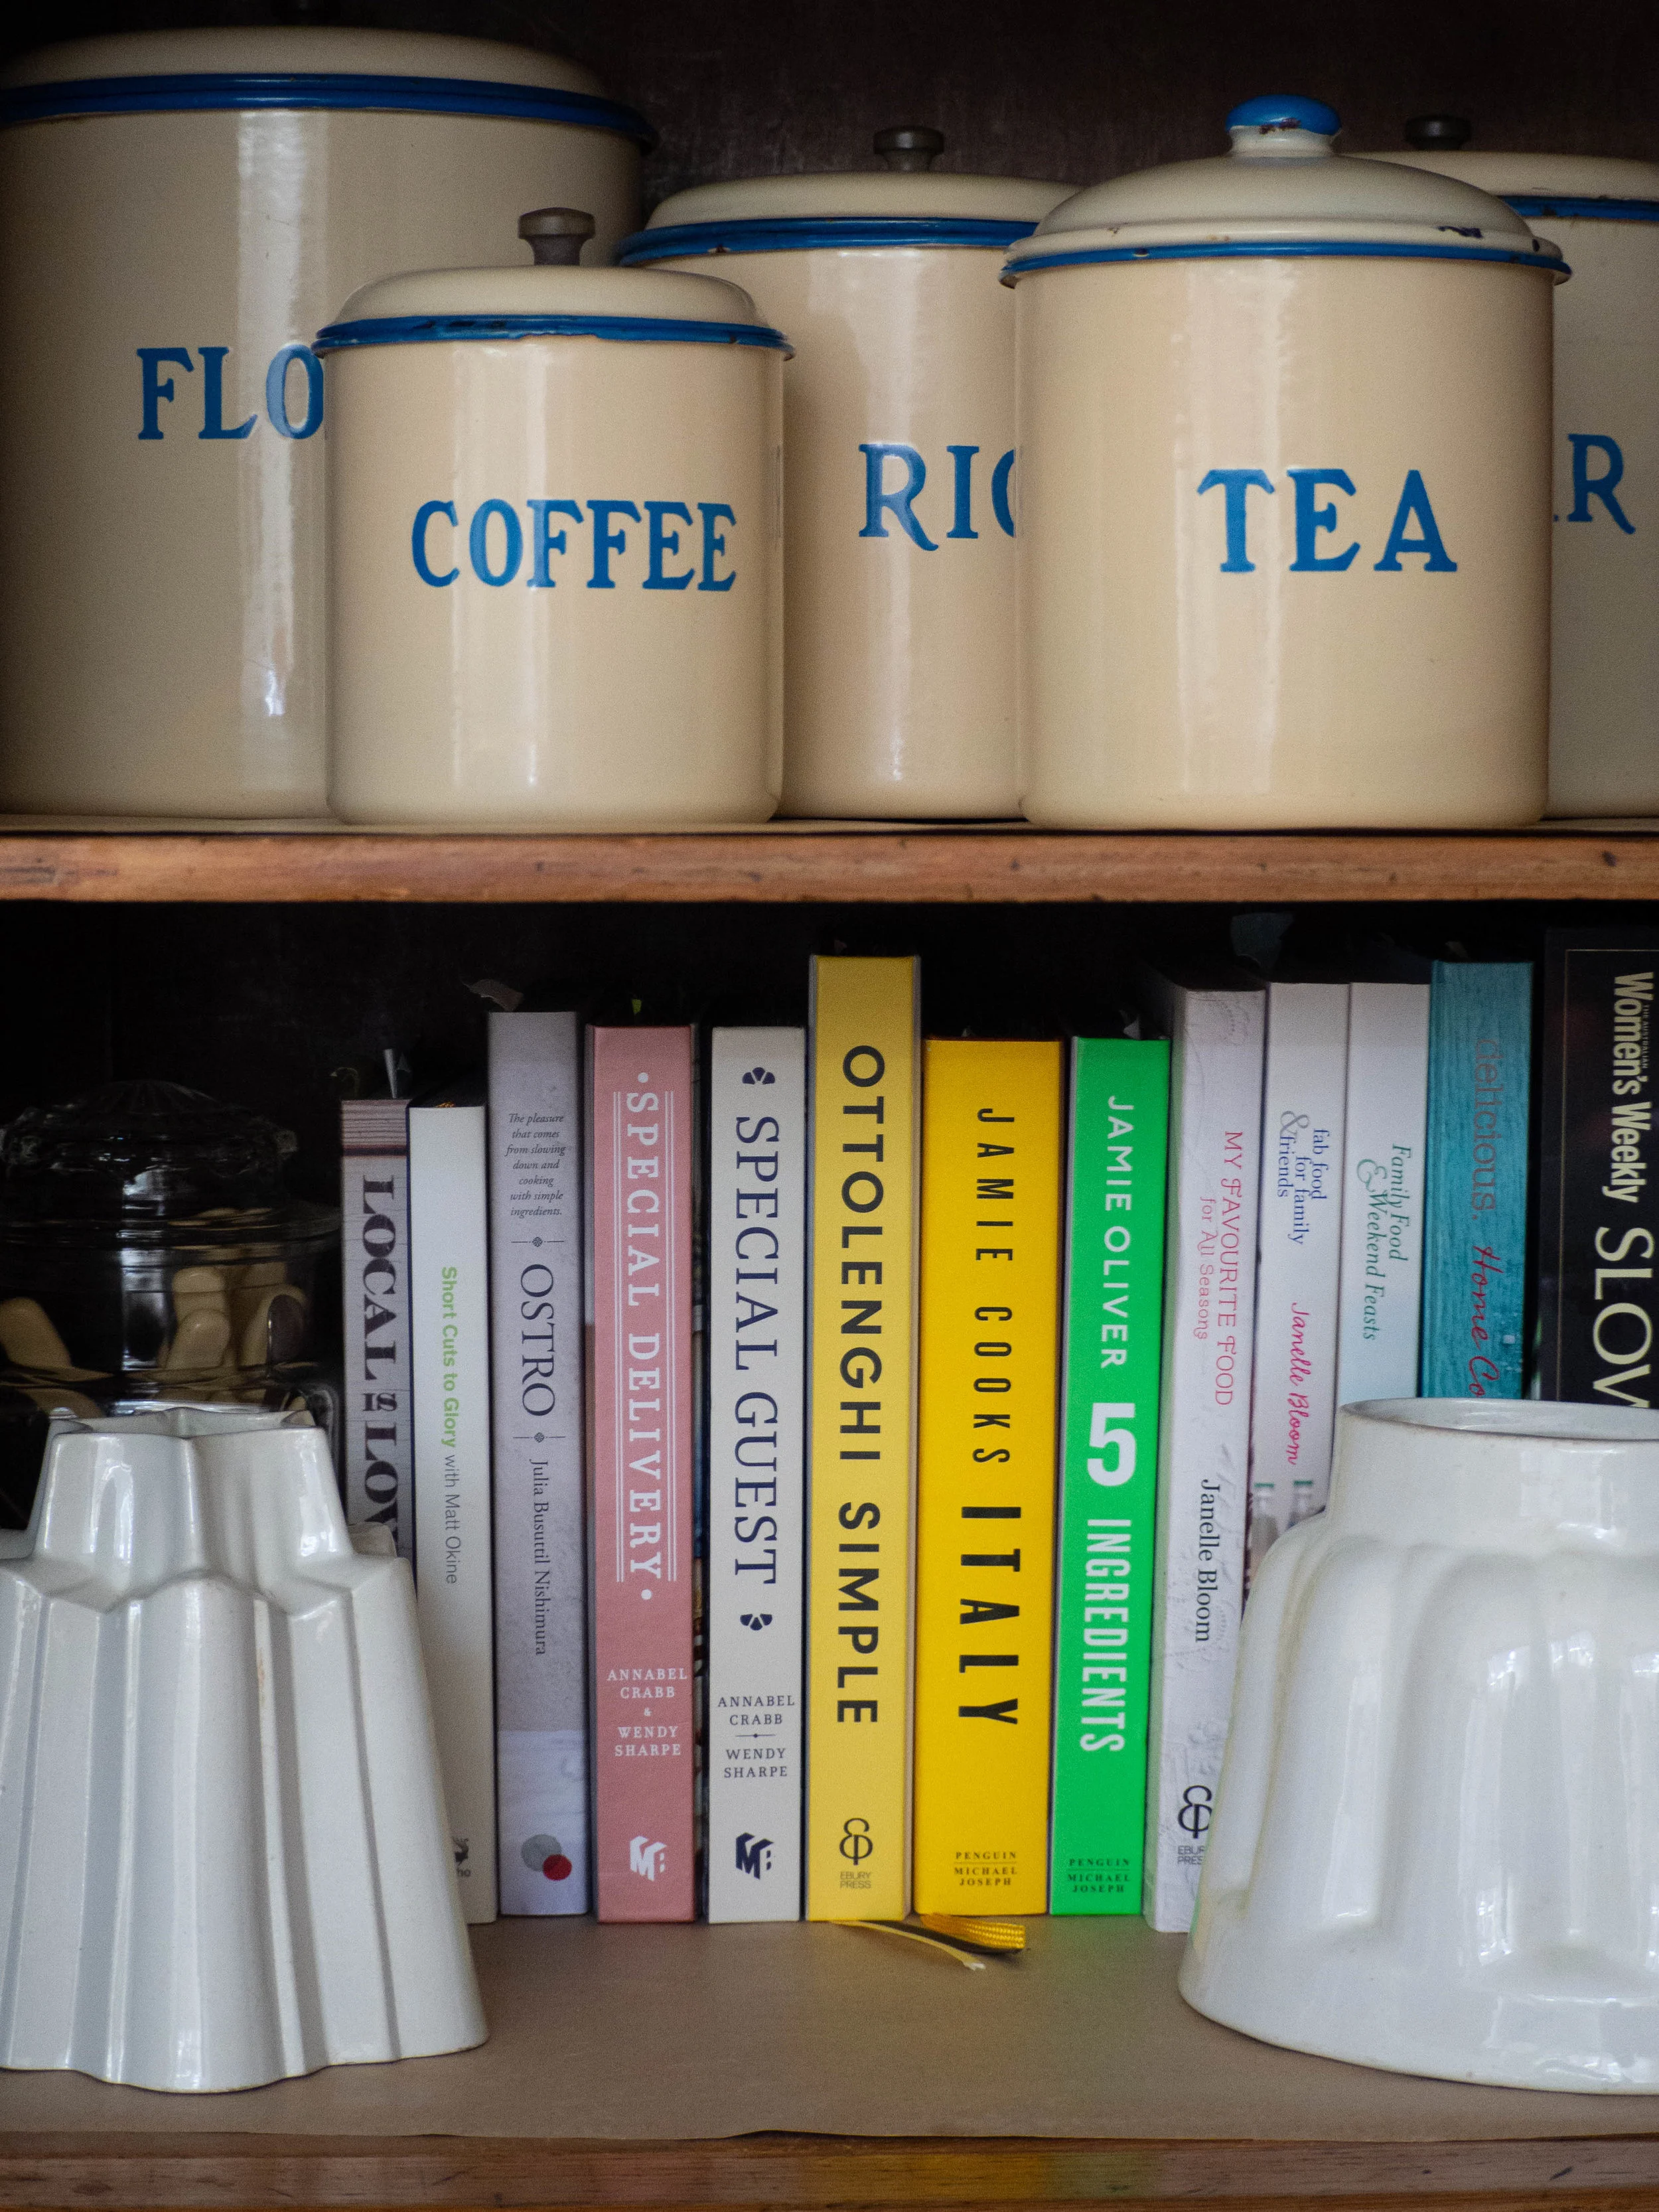
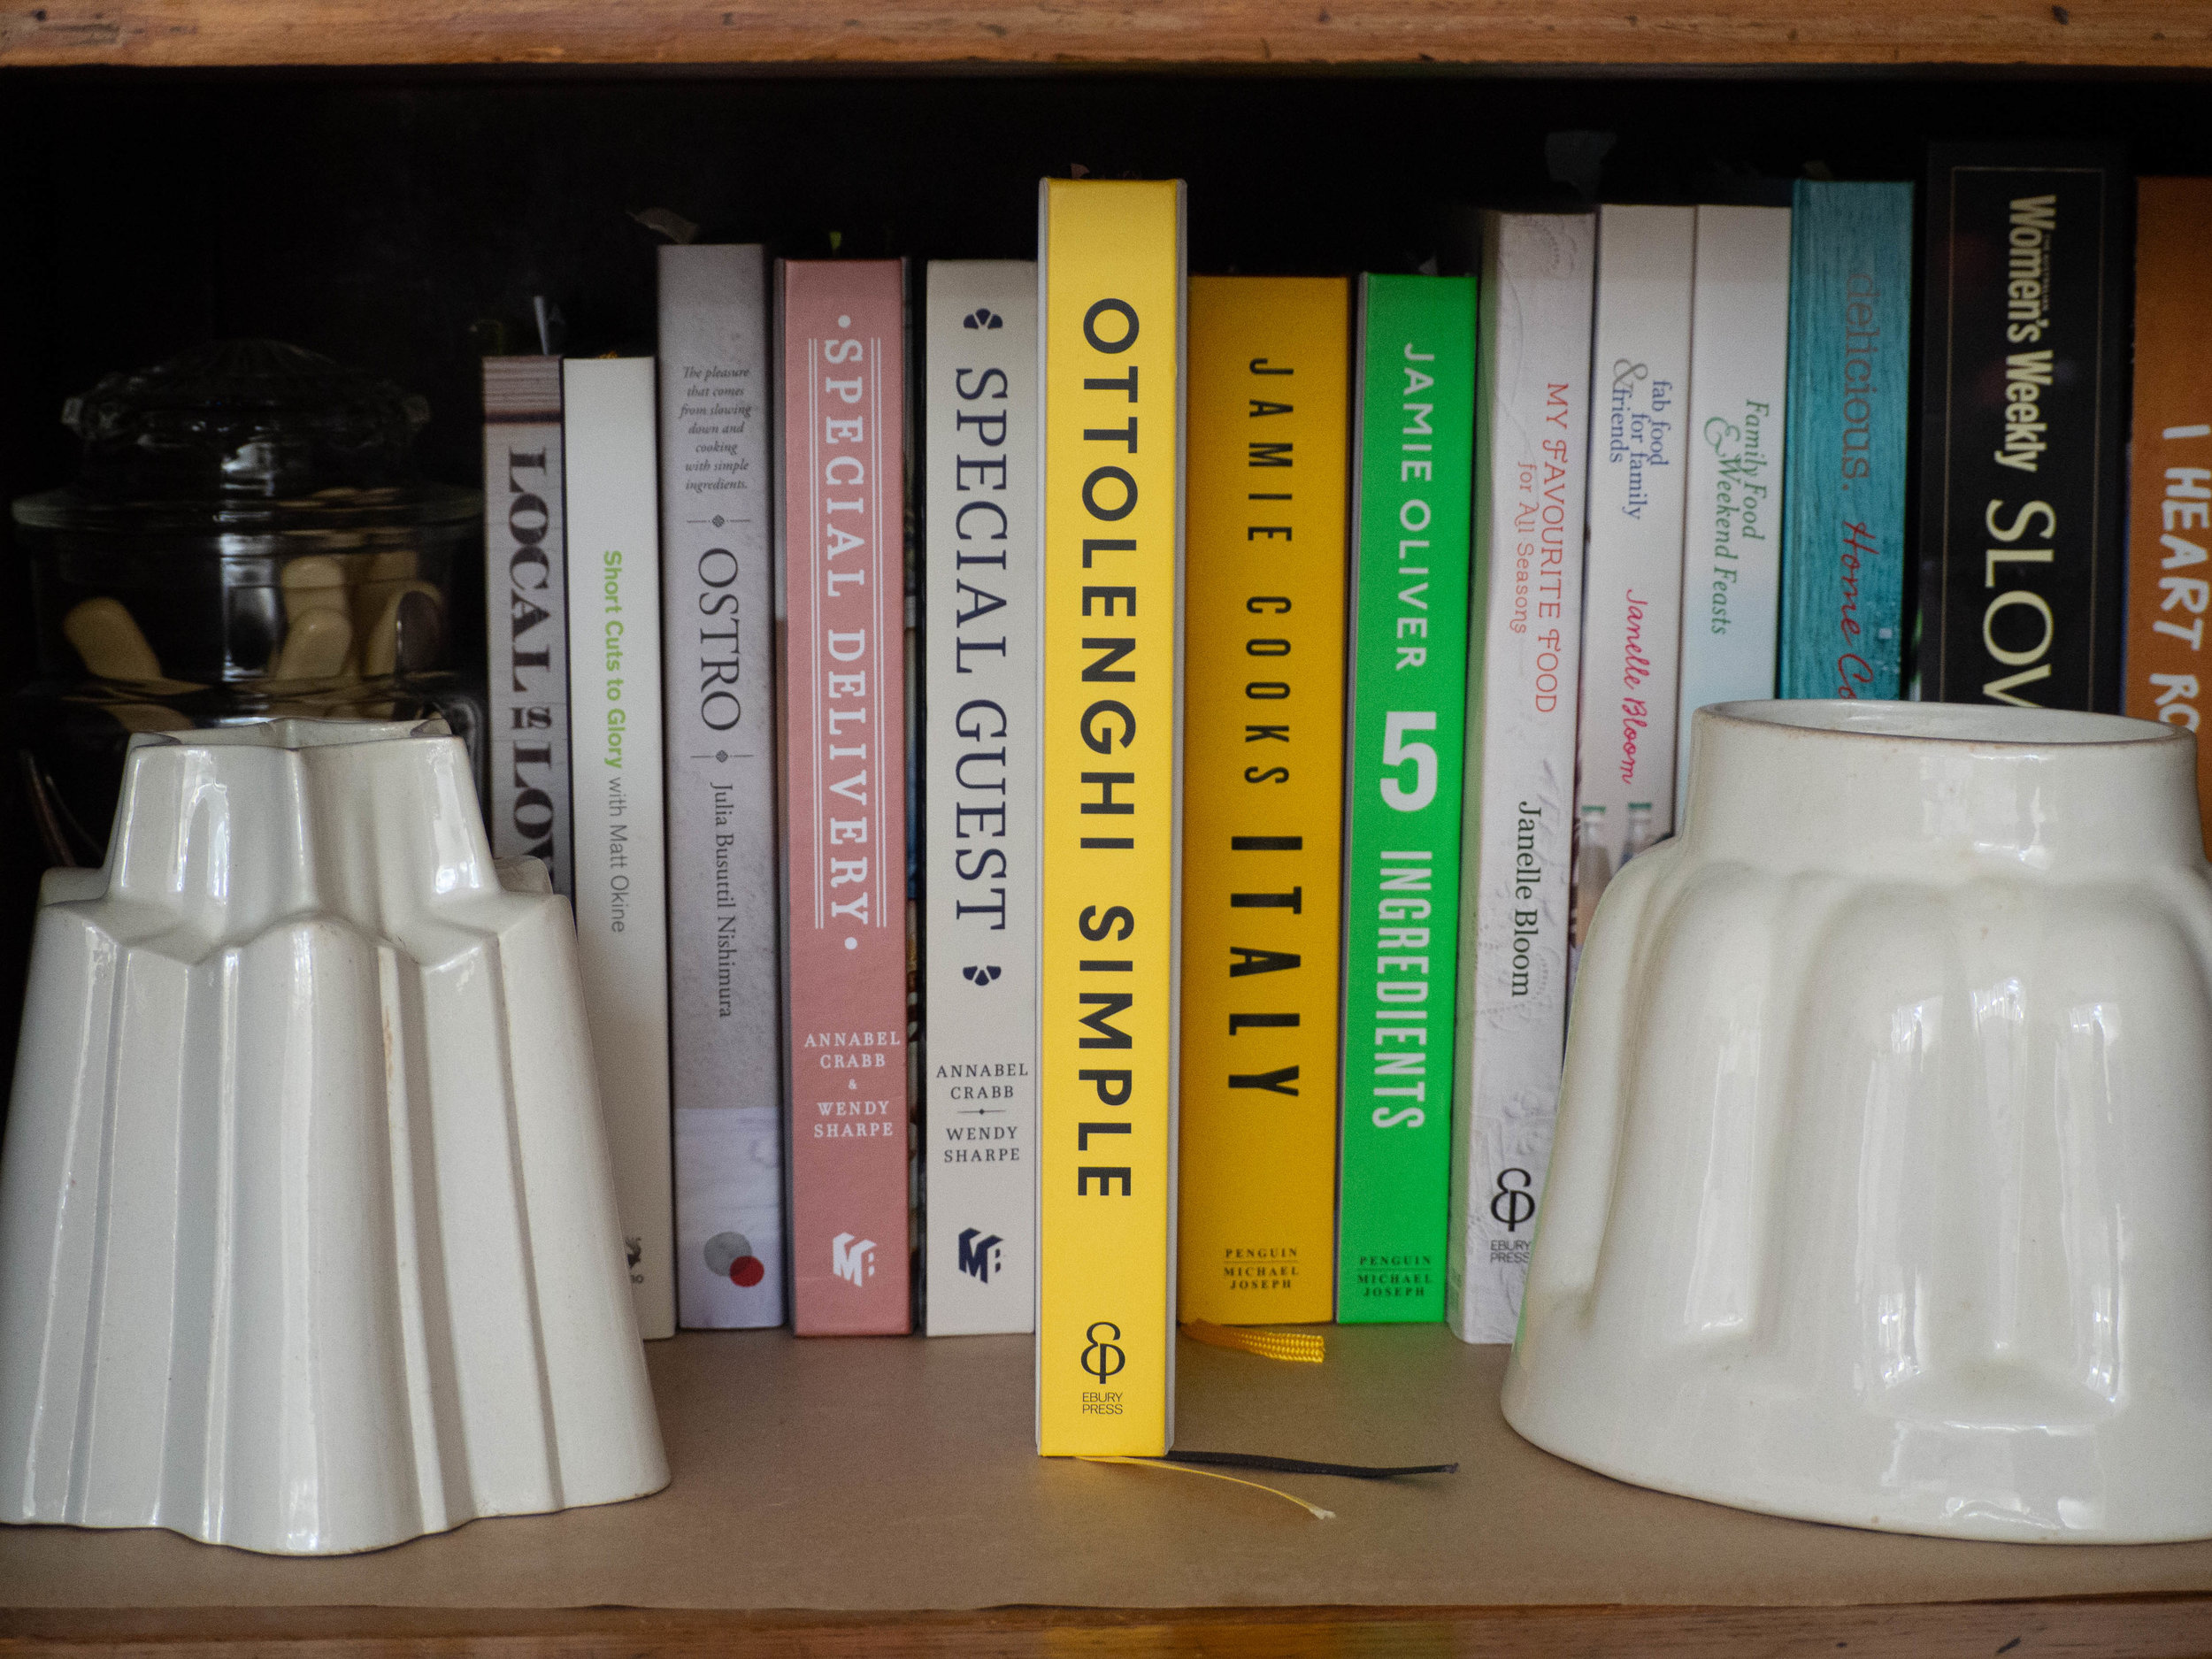
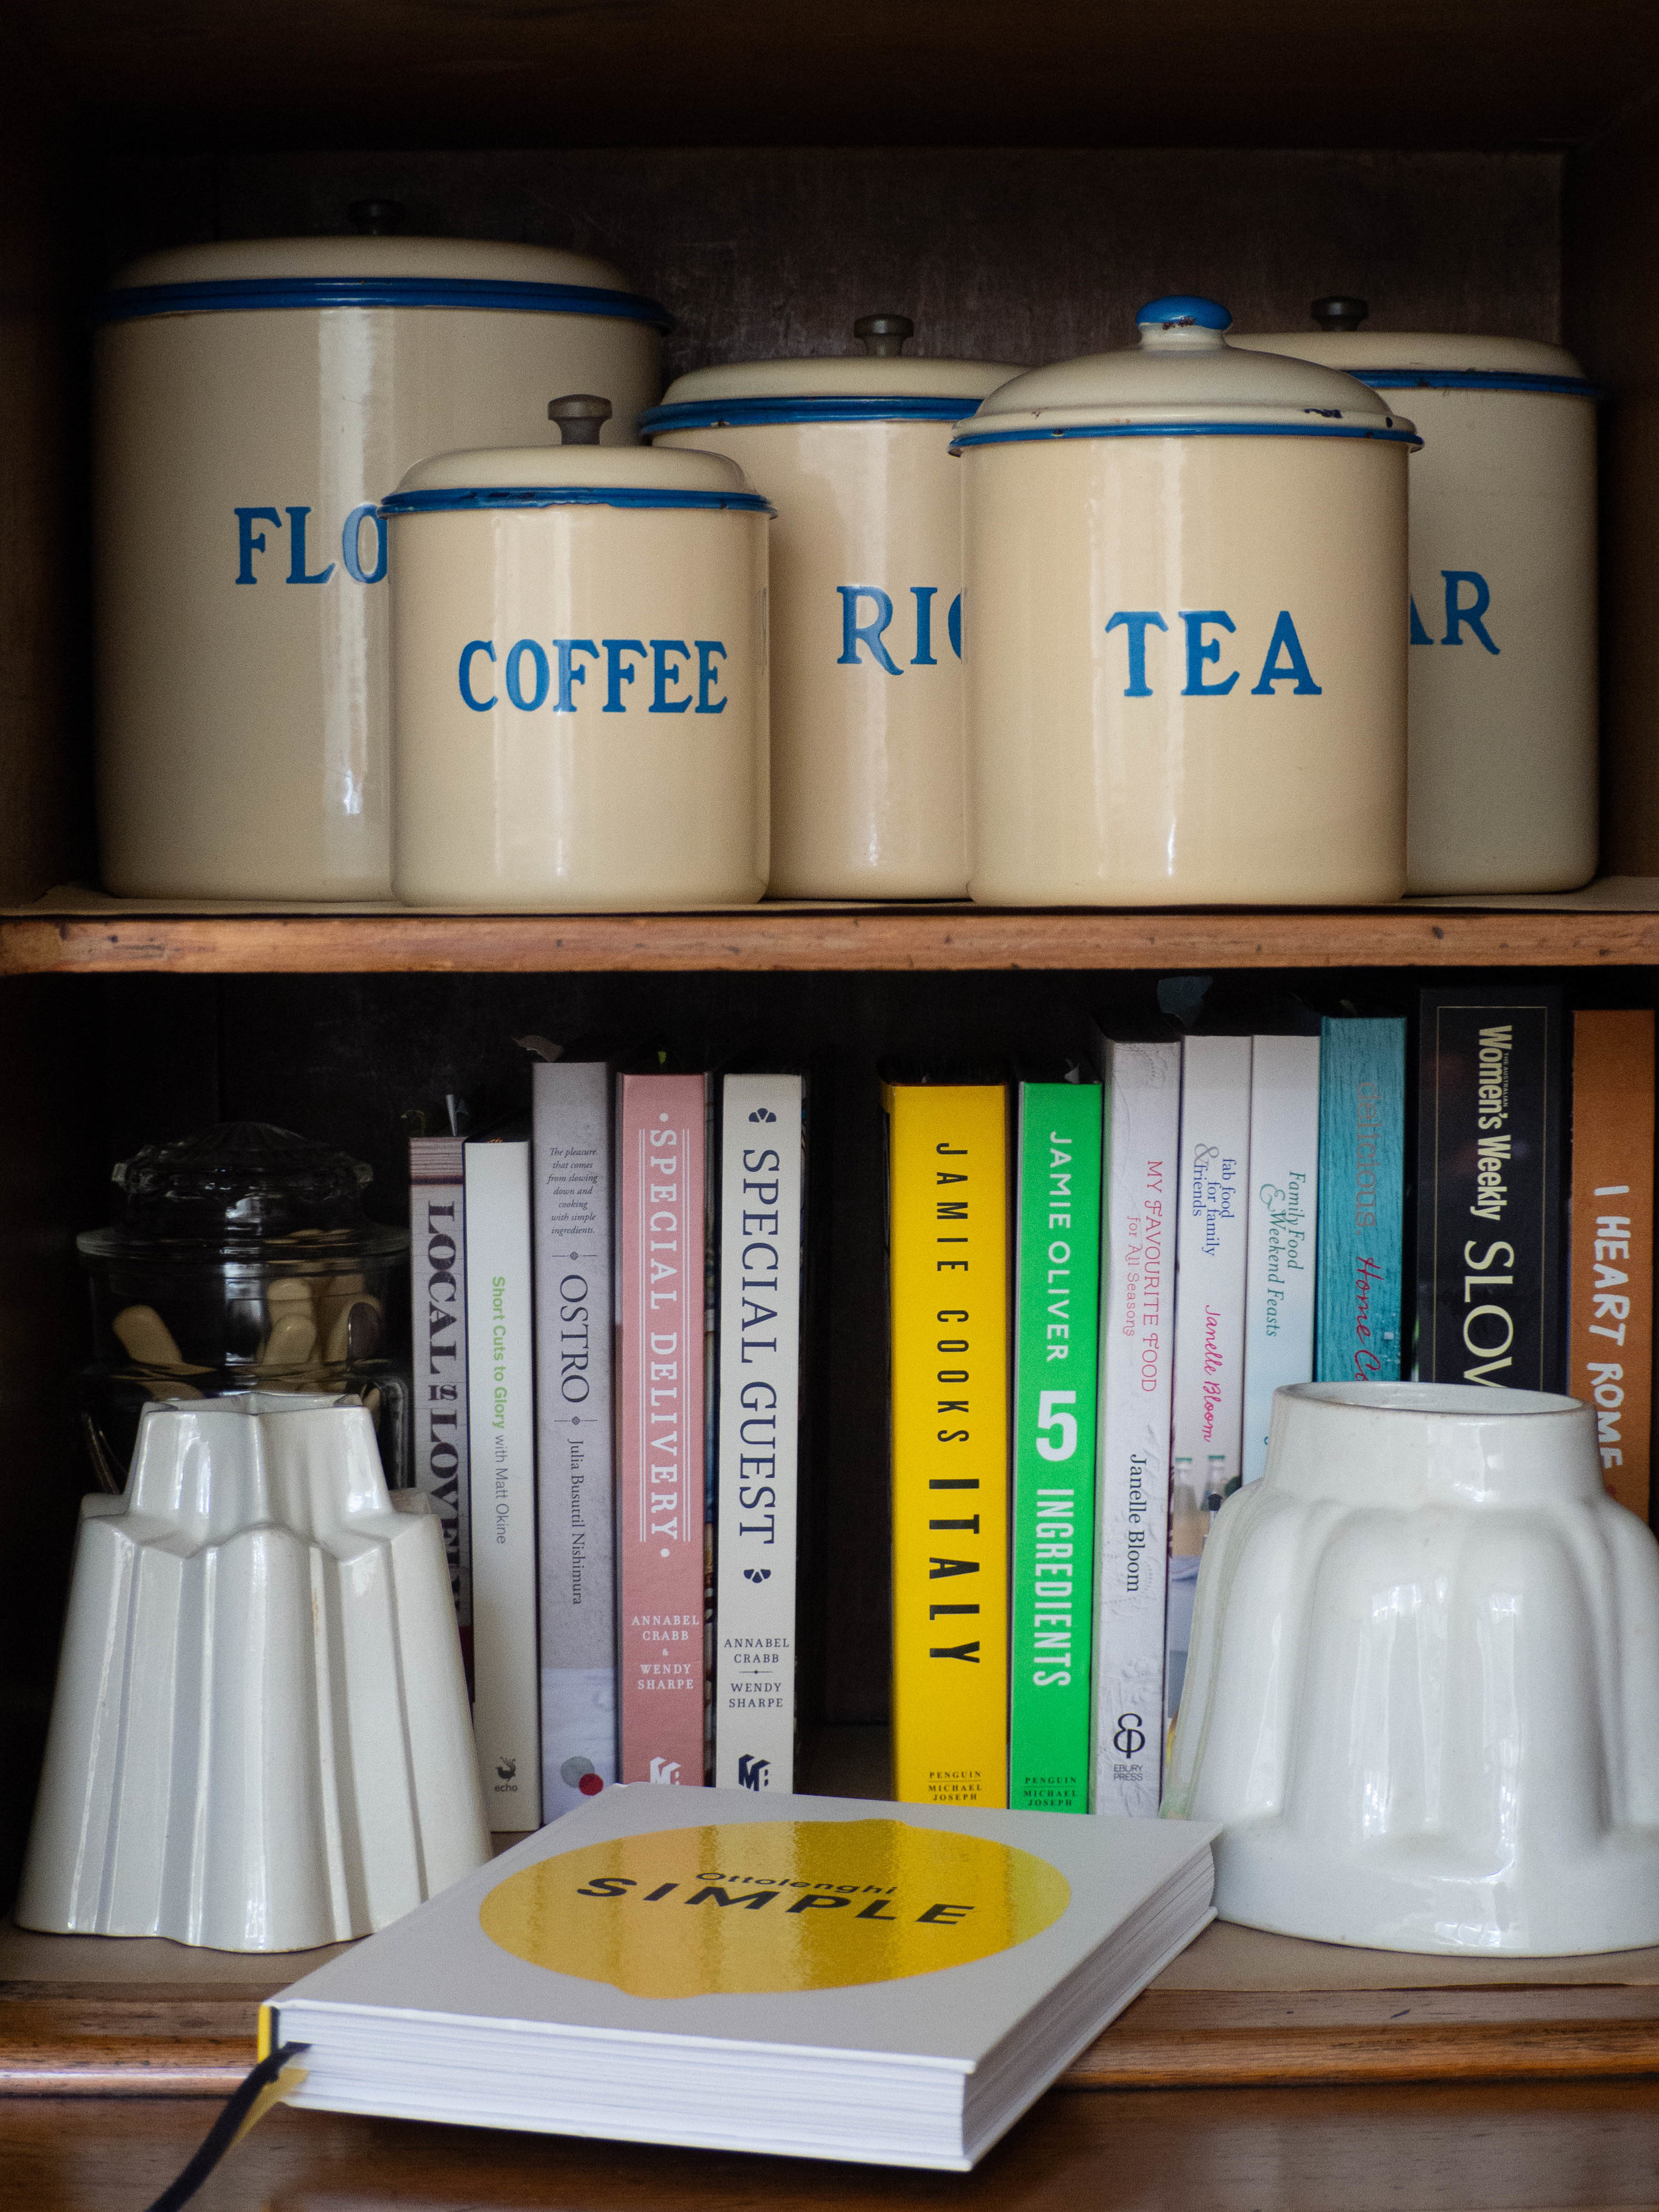
Off the Shelf - 'Simple' by Yotam Ottolenghi

Kath March 27, 2019

Bought at: received as a gift - thankfully as I had been wanting it so badly after it was released!

Recipes Made: Roasted Baby Carrots with Harissa and Pomegranate p.116, Butternut Squash with Sweetcorn Salsa, Feta and Pumpkin Seeds p.122, Roasted Beetroot with Yoghurt and Preserved Lemon p.125, Pappardelle with Rose Harissa, Black Olives and Capers p.188, Chicken Marbella p.229, Bridget Jones’s Pan Fried Salmon with Pine Nut Salsa p.246, Plum, Blackberry and Bay Friand Bake p.274 and Fig and Thyme Clafoutis p.278. 

Simple by Yotam Ottolenghi

The Roasted Carrots with Harissa and Pomegranate has a few flavours that I particularly like - honey, coriander and pomegranate seeds, so I was always going to be trying this recipe. I made it as a side to a main meal, and I really enjoyed it. I put much less harissa in than the 2tbsp Ottolenghi says, as I am not a great fan of spicy foods. The pomegranate seeds added a great juicy crunch to the carrots which was lovely, and also gave the dish a great vibrant colour!

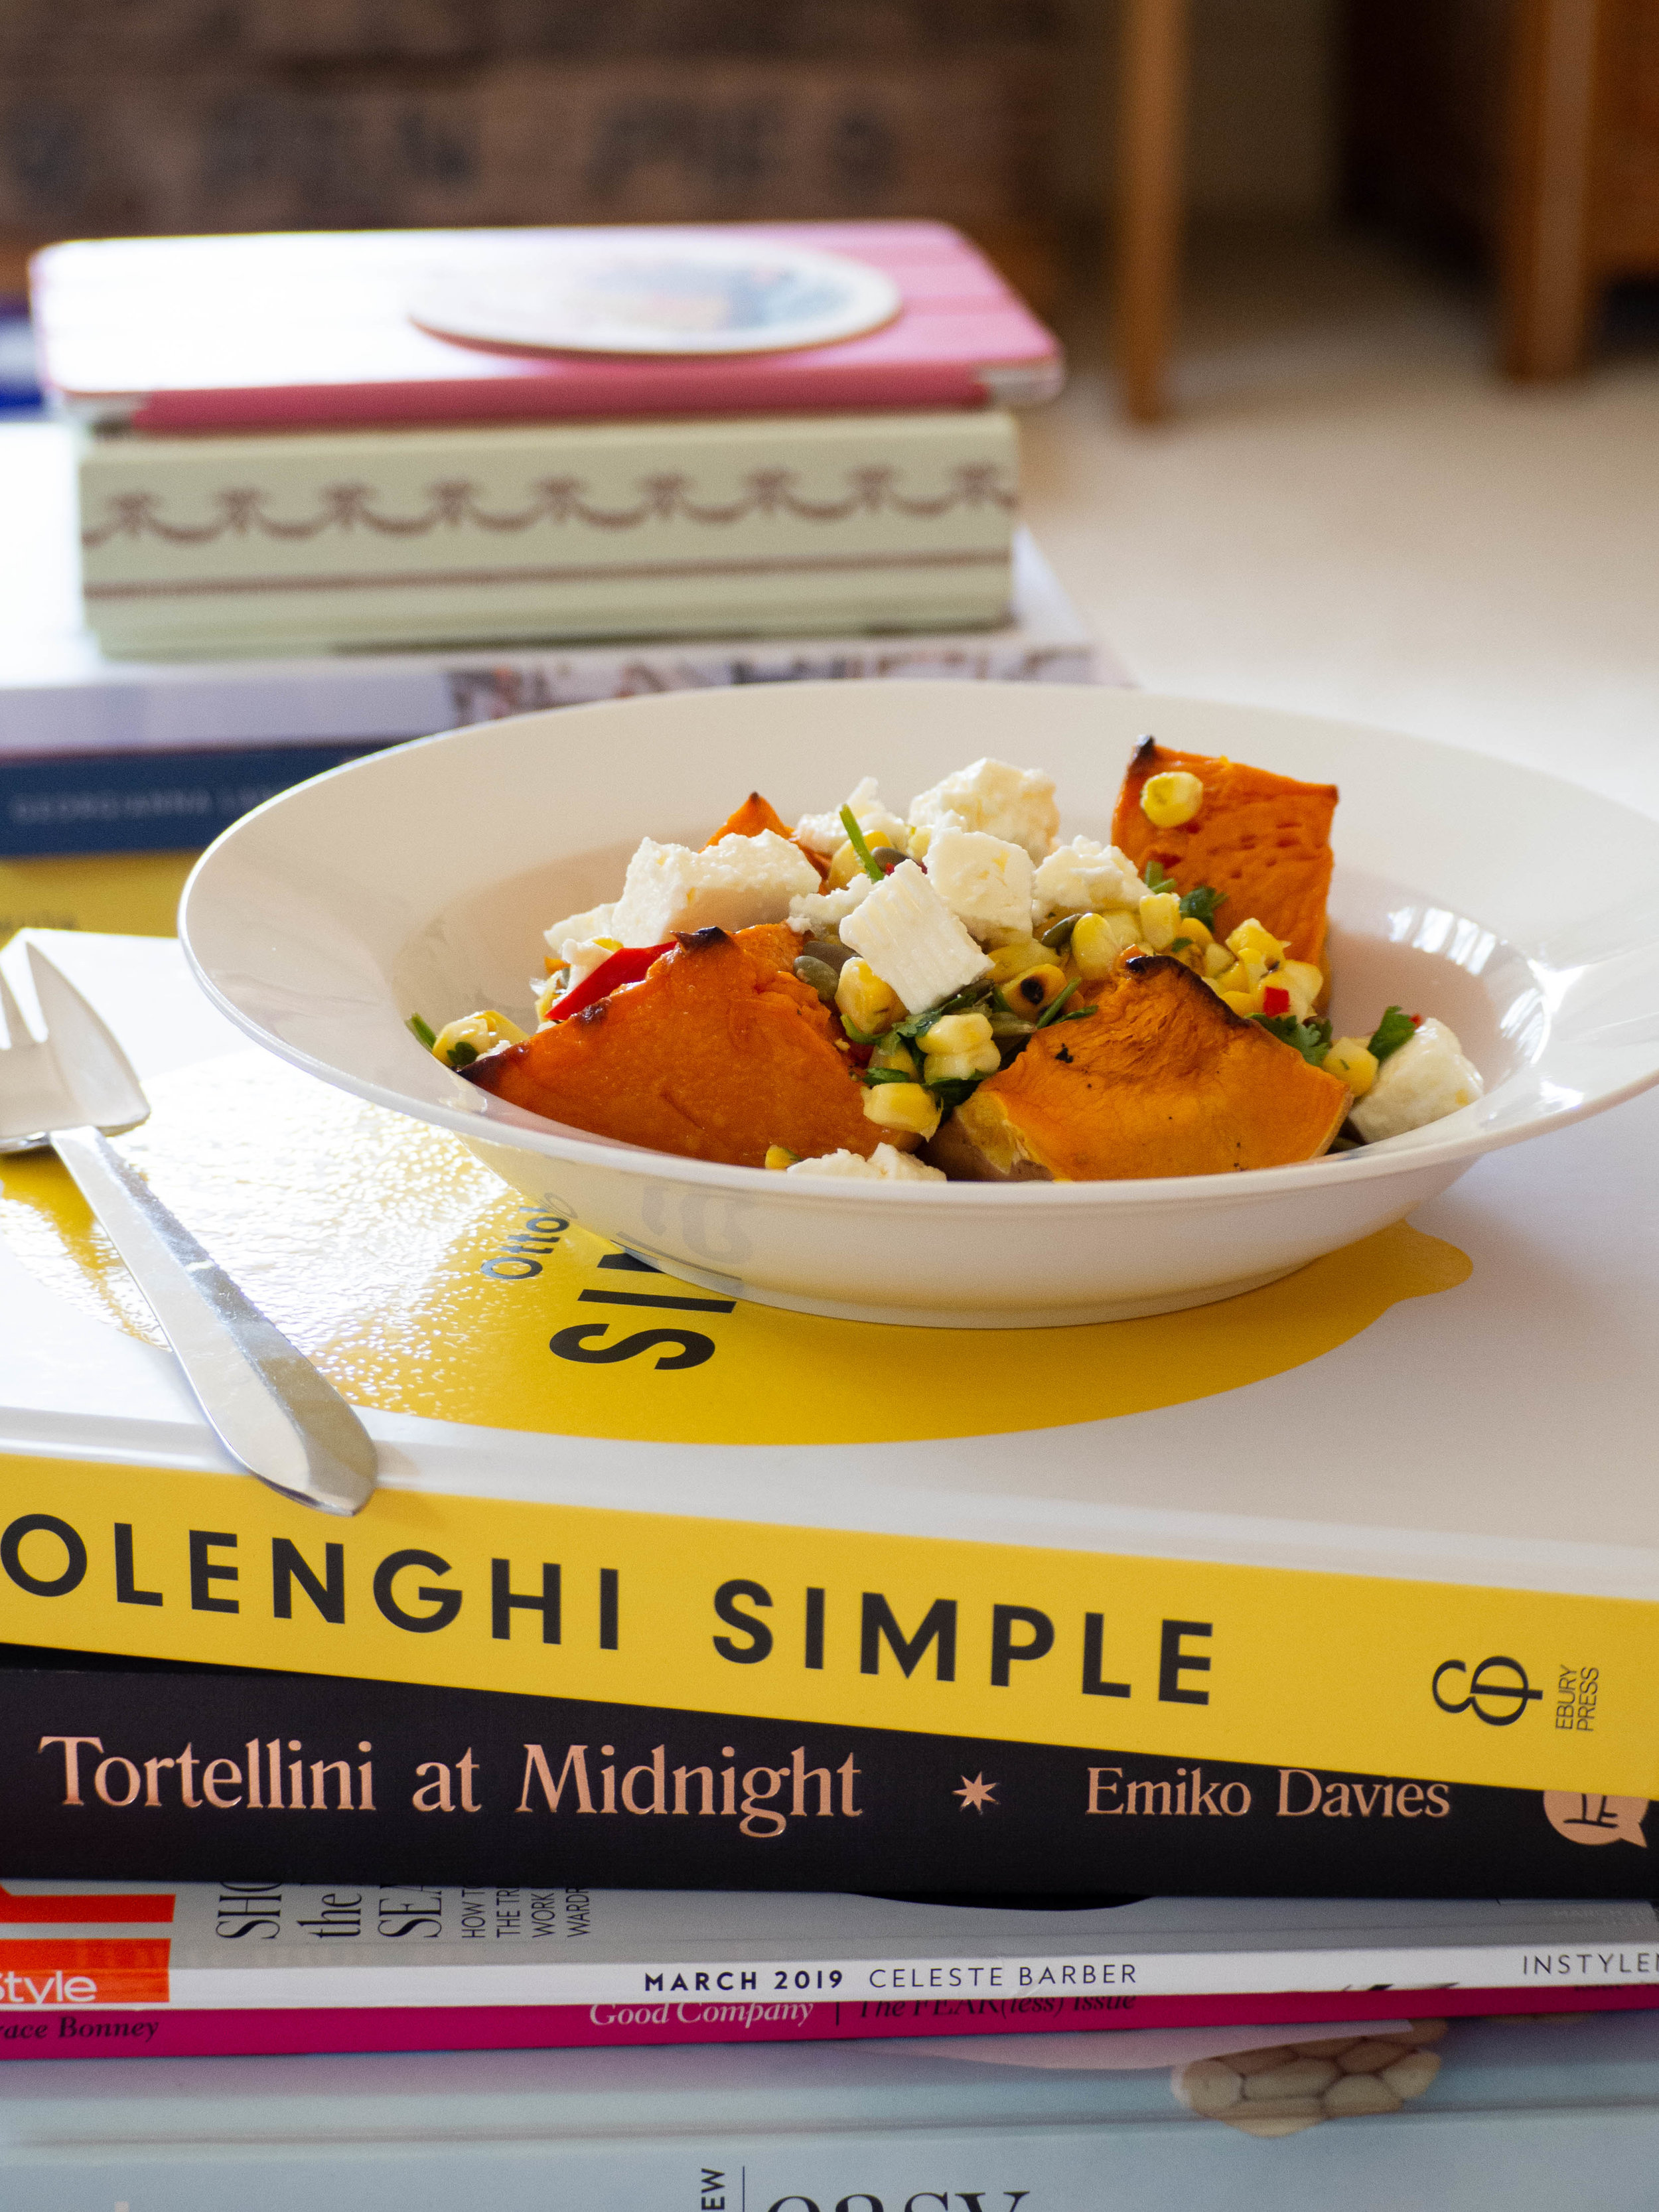
The Butternut Squash with Sweetcorn Salsa Feta and Pumpkin Seeds, is great as a side to something else, or as the main thing itself. The Sweetcorn salsa was absolutely amazing and had me wanting to eat more even though I was full! It was a really nice meal to have on a warm Summer night (even though pumpkin isn’t exactly in season then!).

I made the Roasted Beetroot with Yoghurt and Preserved Lemon with golden beetroot, as I find I am unable to walk away from a store without buying them if they have some. As I didn’t have any tahini, I used pistachio butter instead for the yoghurt dressing and also omitted the preserved lemons too. We did have a jar of preserved lemons, and I wanted to use them, but Mum had bought them with the idea of using them for something else. Nonetheless the salad was still great, and I even added some of the leftovers to a frittata a few days later.

Butternut Squash with Sweetcorn Salsa Feta and Pumpkin Seeds

Butternut Squash with Sweetcorn Salsa Feta and Pumpkin Seeds

I really enjoyed the Pappardelle with Rose Harissa Black Olives and Capers (albeit with much less harissa than stated in the recipe!). I had heard about the recipe before I got a copy of Simple, as Yotam made it during one of his podcasts. I remember thinking I needed to make the recipe once I got the book, and it ended up being the first thing I made! I loved the combination of capers and olives in this recipe, as they are two of my absolute favourite ingredients. 

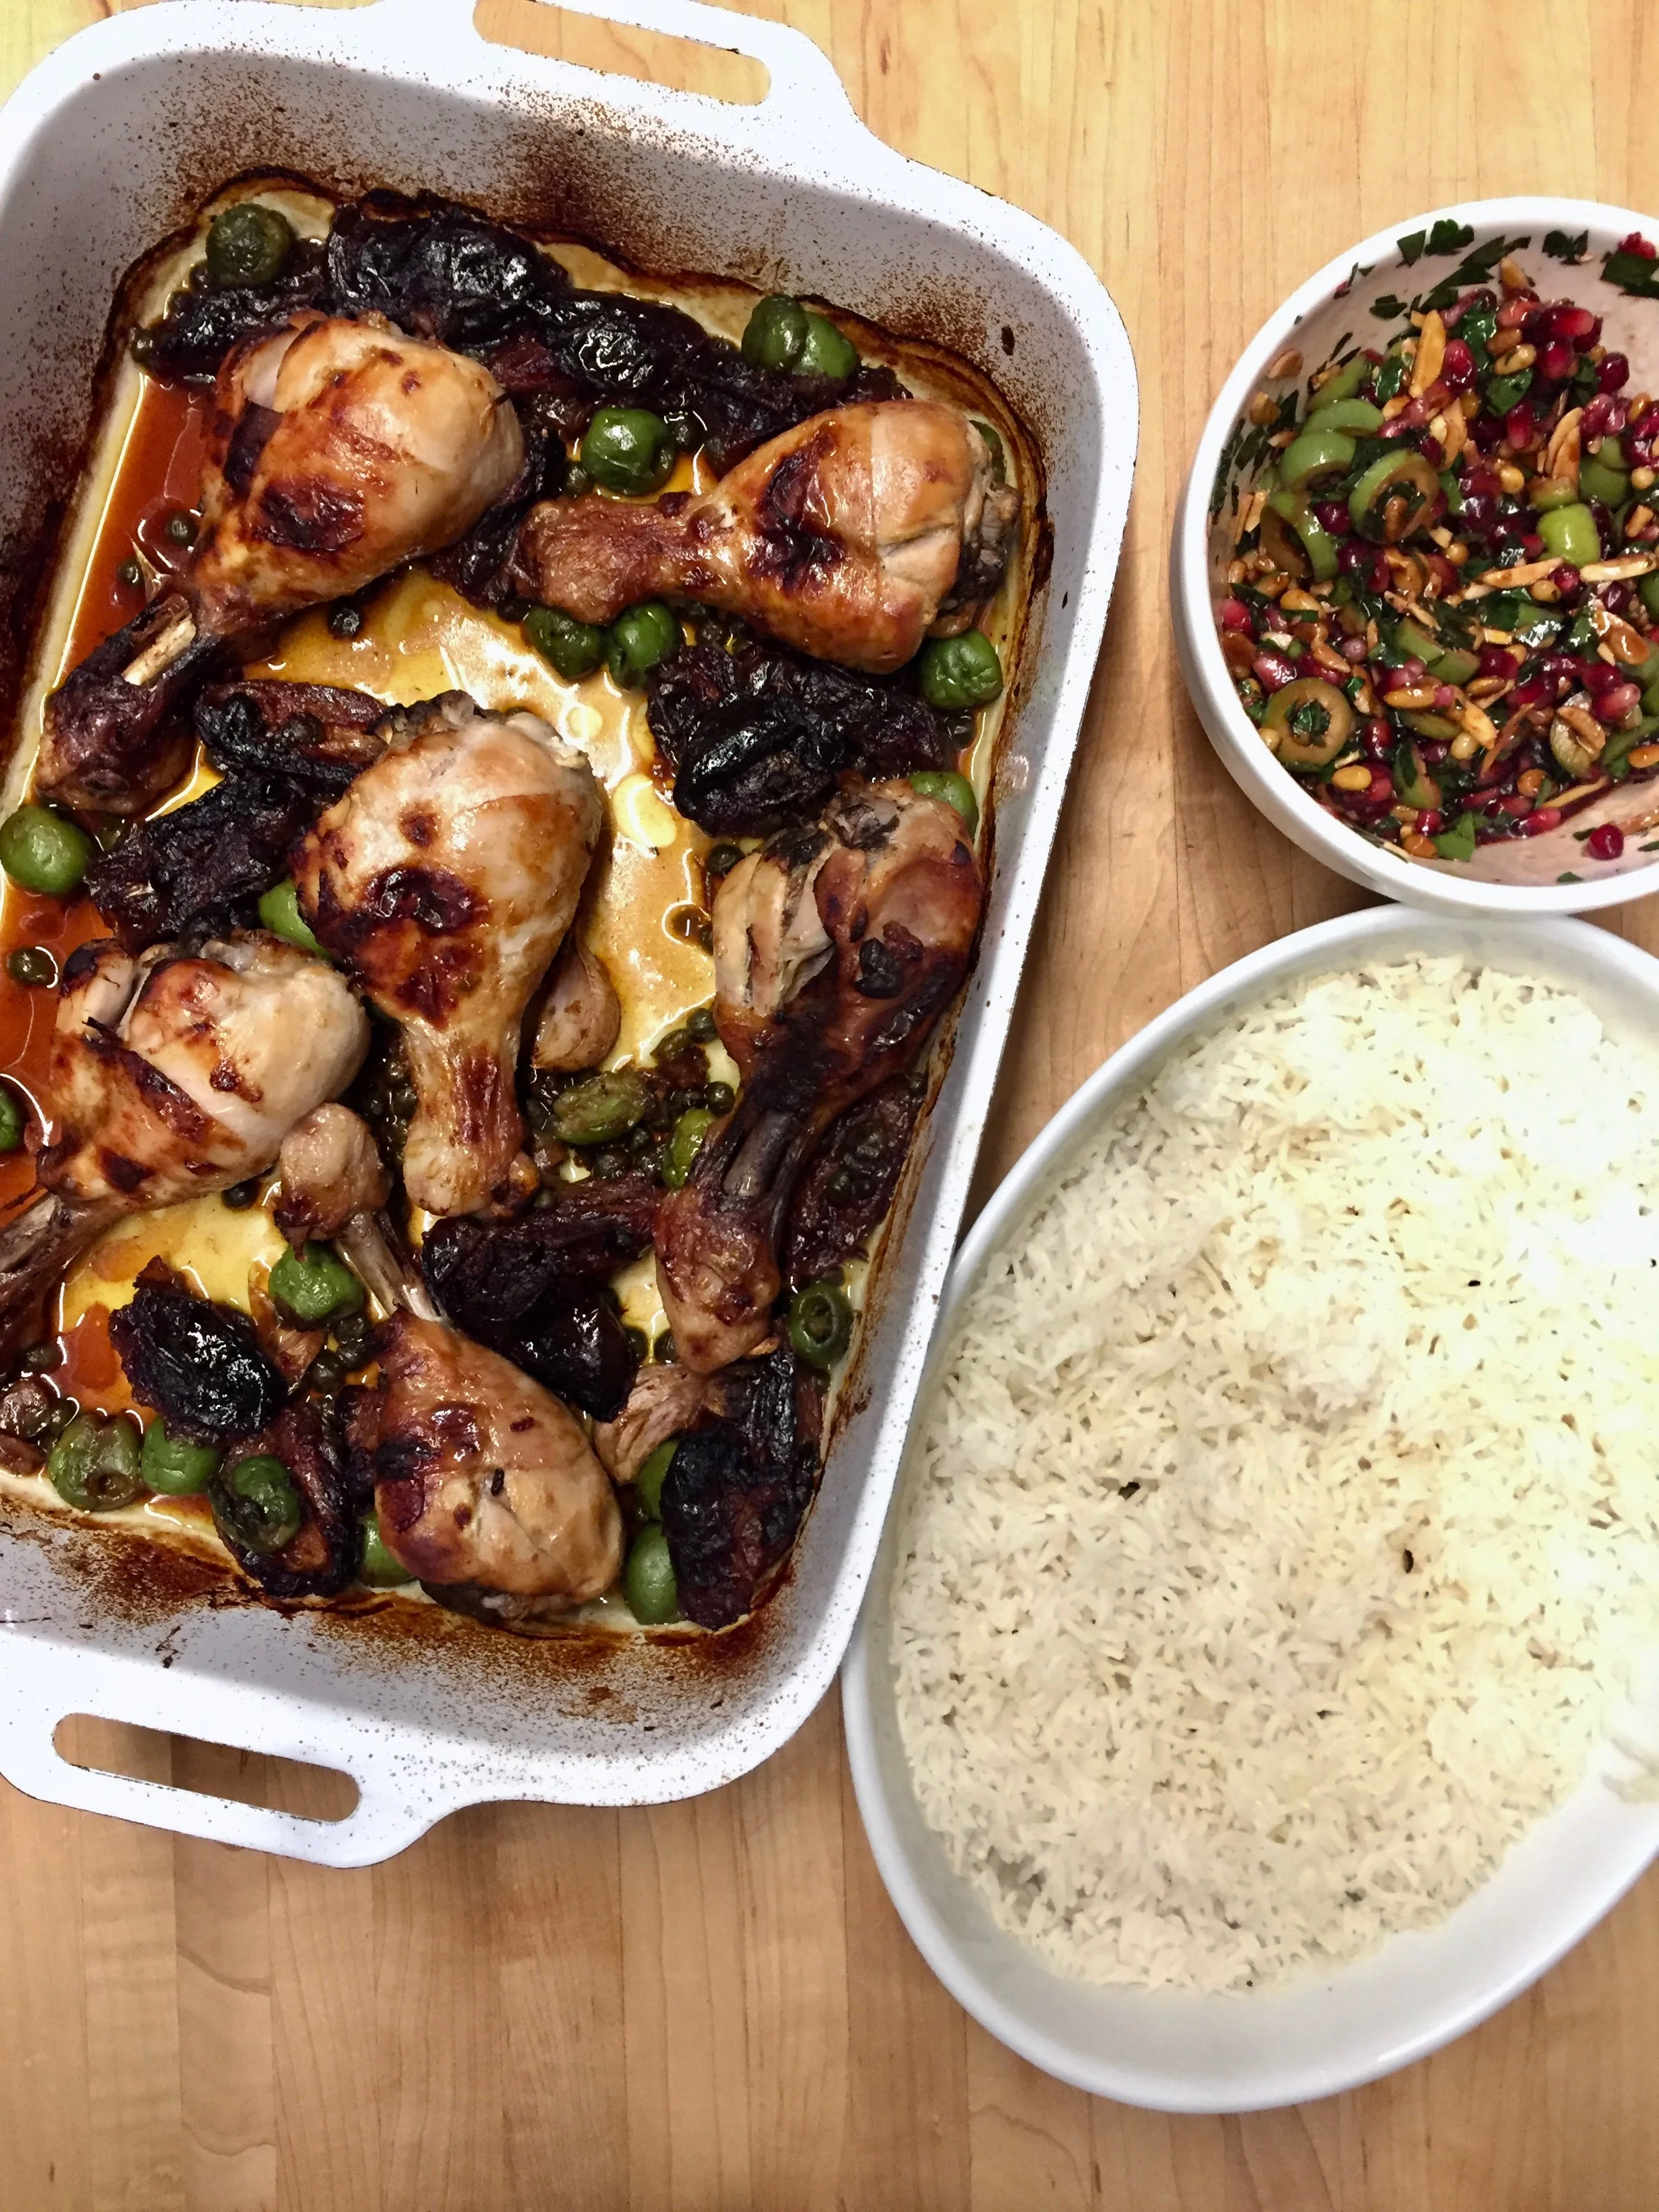
Chicken Marbella with Baked Rice with Pomegranate and Olive Salsa (added 08/08/2019)

Chicken Marbella with Baked Rice with Pomegranate and Olive Salsa (added 08/08/2019)

The Chicken Marbella is my favourite chicken recipe of the moment. I make it every week or two and I just enjoy it so much. Most of the ingredients we usually have at home already, so I only need to buy some chicken. I haven’t found the specific cut of chicken specified in the recipe, when I have found something similar (like chicken marylands), they just don’t have that much meat on them. I now buy drumsticks (about 6, to feed three people) and it works really well. I always have the chicken marinating overnight, and I even found date molasses in a Persian grocery store here in Sydney (which I have now found more uses for than this recipe!). The combination of chicken, capers, green olives, white wine and vinegar leads to the most moorish chicken dish that has the perfect balance of sweet and acidic flavours. 

Simple by Yotam Ottolenghi

When I first received a copy of Simple, I sat down and put sticky notes on every recipe I wanted to make. Sure enough I used up a lot of sticky notes as there are so many great recipes in this book. I didn’t however mark the recipe for Bridget Jones’s Pan Fried Salmon with Pine Nut Salsa. I’m not sure why, as I do like salmon and again it uses capers and olives which usually has me bookmarking a recipe in an instant. The fish section in Simple is towards the back of the book, maybe I just had bookmarking fatigue by then? Luckily when my Mum looked at the book this recipe stood out to her and she made it. It was so good, that I now want to eat it all the time. The Pine Nut Salsa cuts through the oiliness of the fish, and the flavours are delicate yet tasty. 

My Mum also made the Plum Blackberry and Bay Friand Bake, which was a lovely dessert for the end of a meal. I love friands so a whole cake size of it was just great. Like any friand it is best eaten the day it is made. 

Mum also made the Fig and Thyme Clafoutis. And after trying to search for the particular figs mentioned in the recipe (black figs), we ended up just having to buy whatever we could find. This is the only recipe we haven’t really loved from this book so far, and I think it was more because we just aren’t a ‘fig loving family’ unfortunately! 

Simple by Yotam Ottolenghi

Favourite Things About the Book: The recipes! This book is absolutely jam packed with fantastic recipes. They have Yotam’s characteristic bold flavours, but with a paired back, slightly more simple approach. There is also a great variety of recipes in this book, so it’s one you can add to your collection and know you will use it all throughout the year for all different kinds of meals and occasions. Ottolenghi’s recipes are also very well tested before publication, and it shows, as they all work!

Bookmarked Recipes (to make later!): There are so many, but a few that I would like to try next are Roasted Aubergine with Anchovies and Oregano p.64, Cauliflower, Pomegranate and Pistachio Salad p.91, Sweet Potato Mash with Lime Salsa p.131, Oven Chips with Oregano and Feta p.138, Baked Mint Rice with Pomegranate and Olive Salsa p.171, Pasta alla Norma p.184-5, Orzo with Prawns, Tomato and Marinated Feta p.193, Gnocchi alla Romana p.198 and Fishcake Tacos with Mango, Lime and Cumin Yoghurt p.254.

Simple by Yotam Ottolenghi
In Off the Shelf Tags Cookbooks, Ottolenghi Simple, Yotam Ottolenghi
Comment
  • The Blog
  • Older
  • Newer
No results found

recipes

  • Biscuits/Cookies 40
  • Breads Etc. 9
  • Breakfast 7
  • Cakes & Slices 68
  • Confectionary 5
  • Drinks 6
  • Events 14
  • Food Photography Tips 3
  • From The Mailing List 24
  • Heirloom Recipes 12
  • Holidays 45
  • Ice Cream 9
  • Jams Preserves & Spreads 9
  • Muffins 4
  • Off the Shelf 54
  • Other Desserts 25
  • Savoury Dishes/Meals 15
  • Scones 4
  • Tarts & Pastry 9
  • Travel 13

Sign up to Friday Food Chat with Kath, a weekly newsletter for more food, baking, cookbook chat and more!

Sign Up Here!
instagram-unauth pinterest facebook url

Website Accessibility: To enable text to speech function on the blog, click the sound button to the right of each blog post.

All images & content are the property of Kathryn Vincent, unless stated otherwise. Please do not use without permission.

Kulinary Adventures of Kath

Food Photography, Recipes & Baking

instagram-unauth pinterest facebook url