Kulinary Adventures of Kath

Food Photography, Recipes & Baking
  • home
  • About
  • Work with Kath
  • Shop
  • Blog
    • The Blog
    • Recipe Archive
  • Newsletter
  • Contact
  • home
  • About
  • Work with Kath
  • Shop
    • The Blog
    • Recipe Archive
  • Newsletter
  • Contact
Raspberry Pistachio Rose Cake (23 of 25).jpg

The Blog

Recipes and Food Photography by Kath Vincent.

  • The Blog
  • Recipe Archive
  • All
  • Biscuits/Cookies
  • Breads Etc.
  • Breakfast
  • Cakes & Slices
  • Confectionary
  • Drinks
  • Events
  • Food Photography Tips
  • From The Mailing List
  • Heirloom Recipes
  • Holidays
  • Ice Cream
  • Jams Preserves & Spreads
  • Muffins
  • Off the Shelf
  • Other Desserts
  • Savoury Dishes/Meals
  • Scones
  • Tarts & Pastry
  • Travel

Recipes in the Mail Sydney Afternoon Tea - August 2023

Kath September 14, 2023

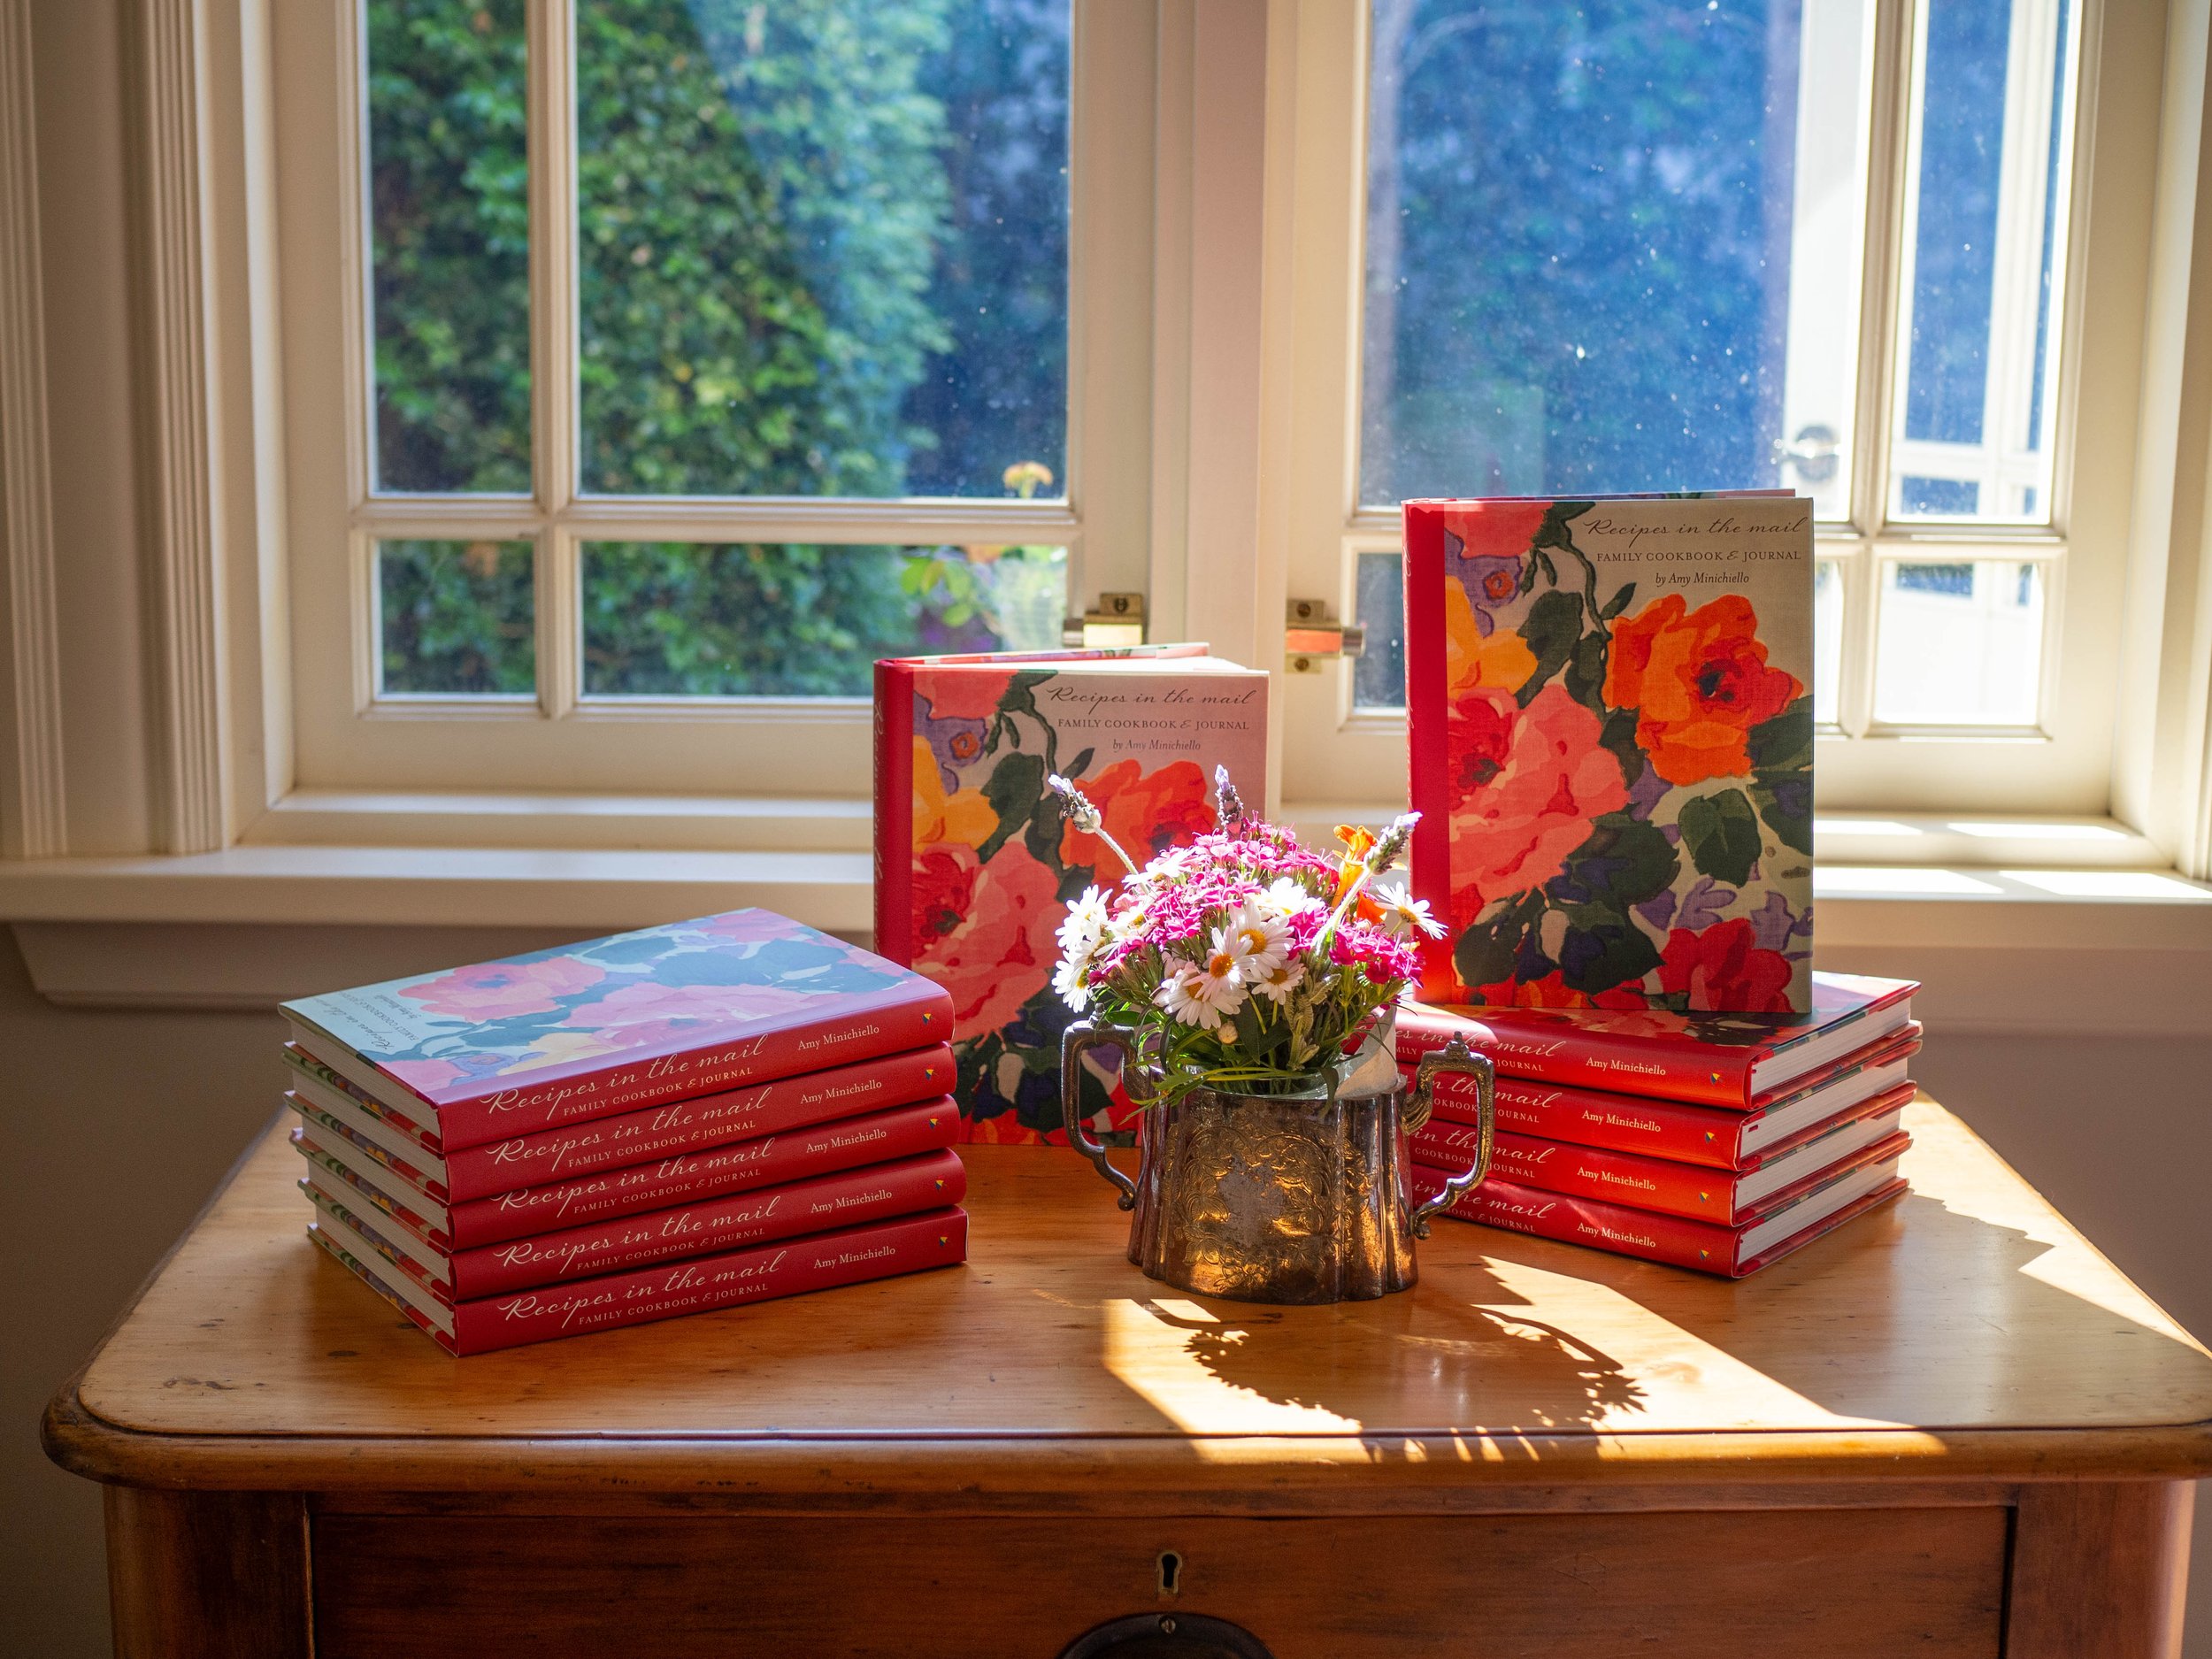
Last month I had the great fortune to host the lovely Amy Minichiello to celebrate her cookbook Recipes in the Mail with an afternoon tea filled with baked goods from the book and a room full of wonderful like minded people.

When Amy’s book was released, and I saw she was doing a launch event down on the Mornington Peninsula in Victoria I dearly wished I could attend. I knew I couldn’t have been the only Sydney-sider thinking the same thing, and asked Amy if she had any plans for book events in Sydney. Amy mentioned something was in the works for an event outside of Sydney much later in the year, and I insisted she must do something else before then, and to let me know if she wanted help organising.

Not long after, Amy messaged both myself and Dimi (@celebratebydimi who also owns the linen brand Inspired Table), asking if we had any ideas for venues etc for a Sydney based event to celebrate the launch of her book.

I suggested we could use my family’s home, as we had enough space for a few people and Amy could have access to a kitchen to bake all the treats from her book. I was so happy she agreed, and the three of us went on organising all the elements of the afternoon such as date, time, what costs we needed to cover and most importantly, which recipes we would make from Recipes in the Mail to share with those who chose to join us.

The day before the afternoon tea Amy and her Mum Lisa (after many delayed and cancelled flights from Melbourne!), arrived and we got to baking!

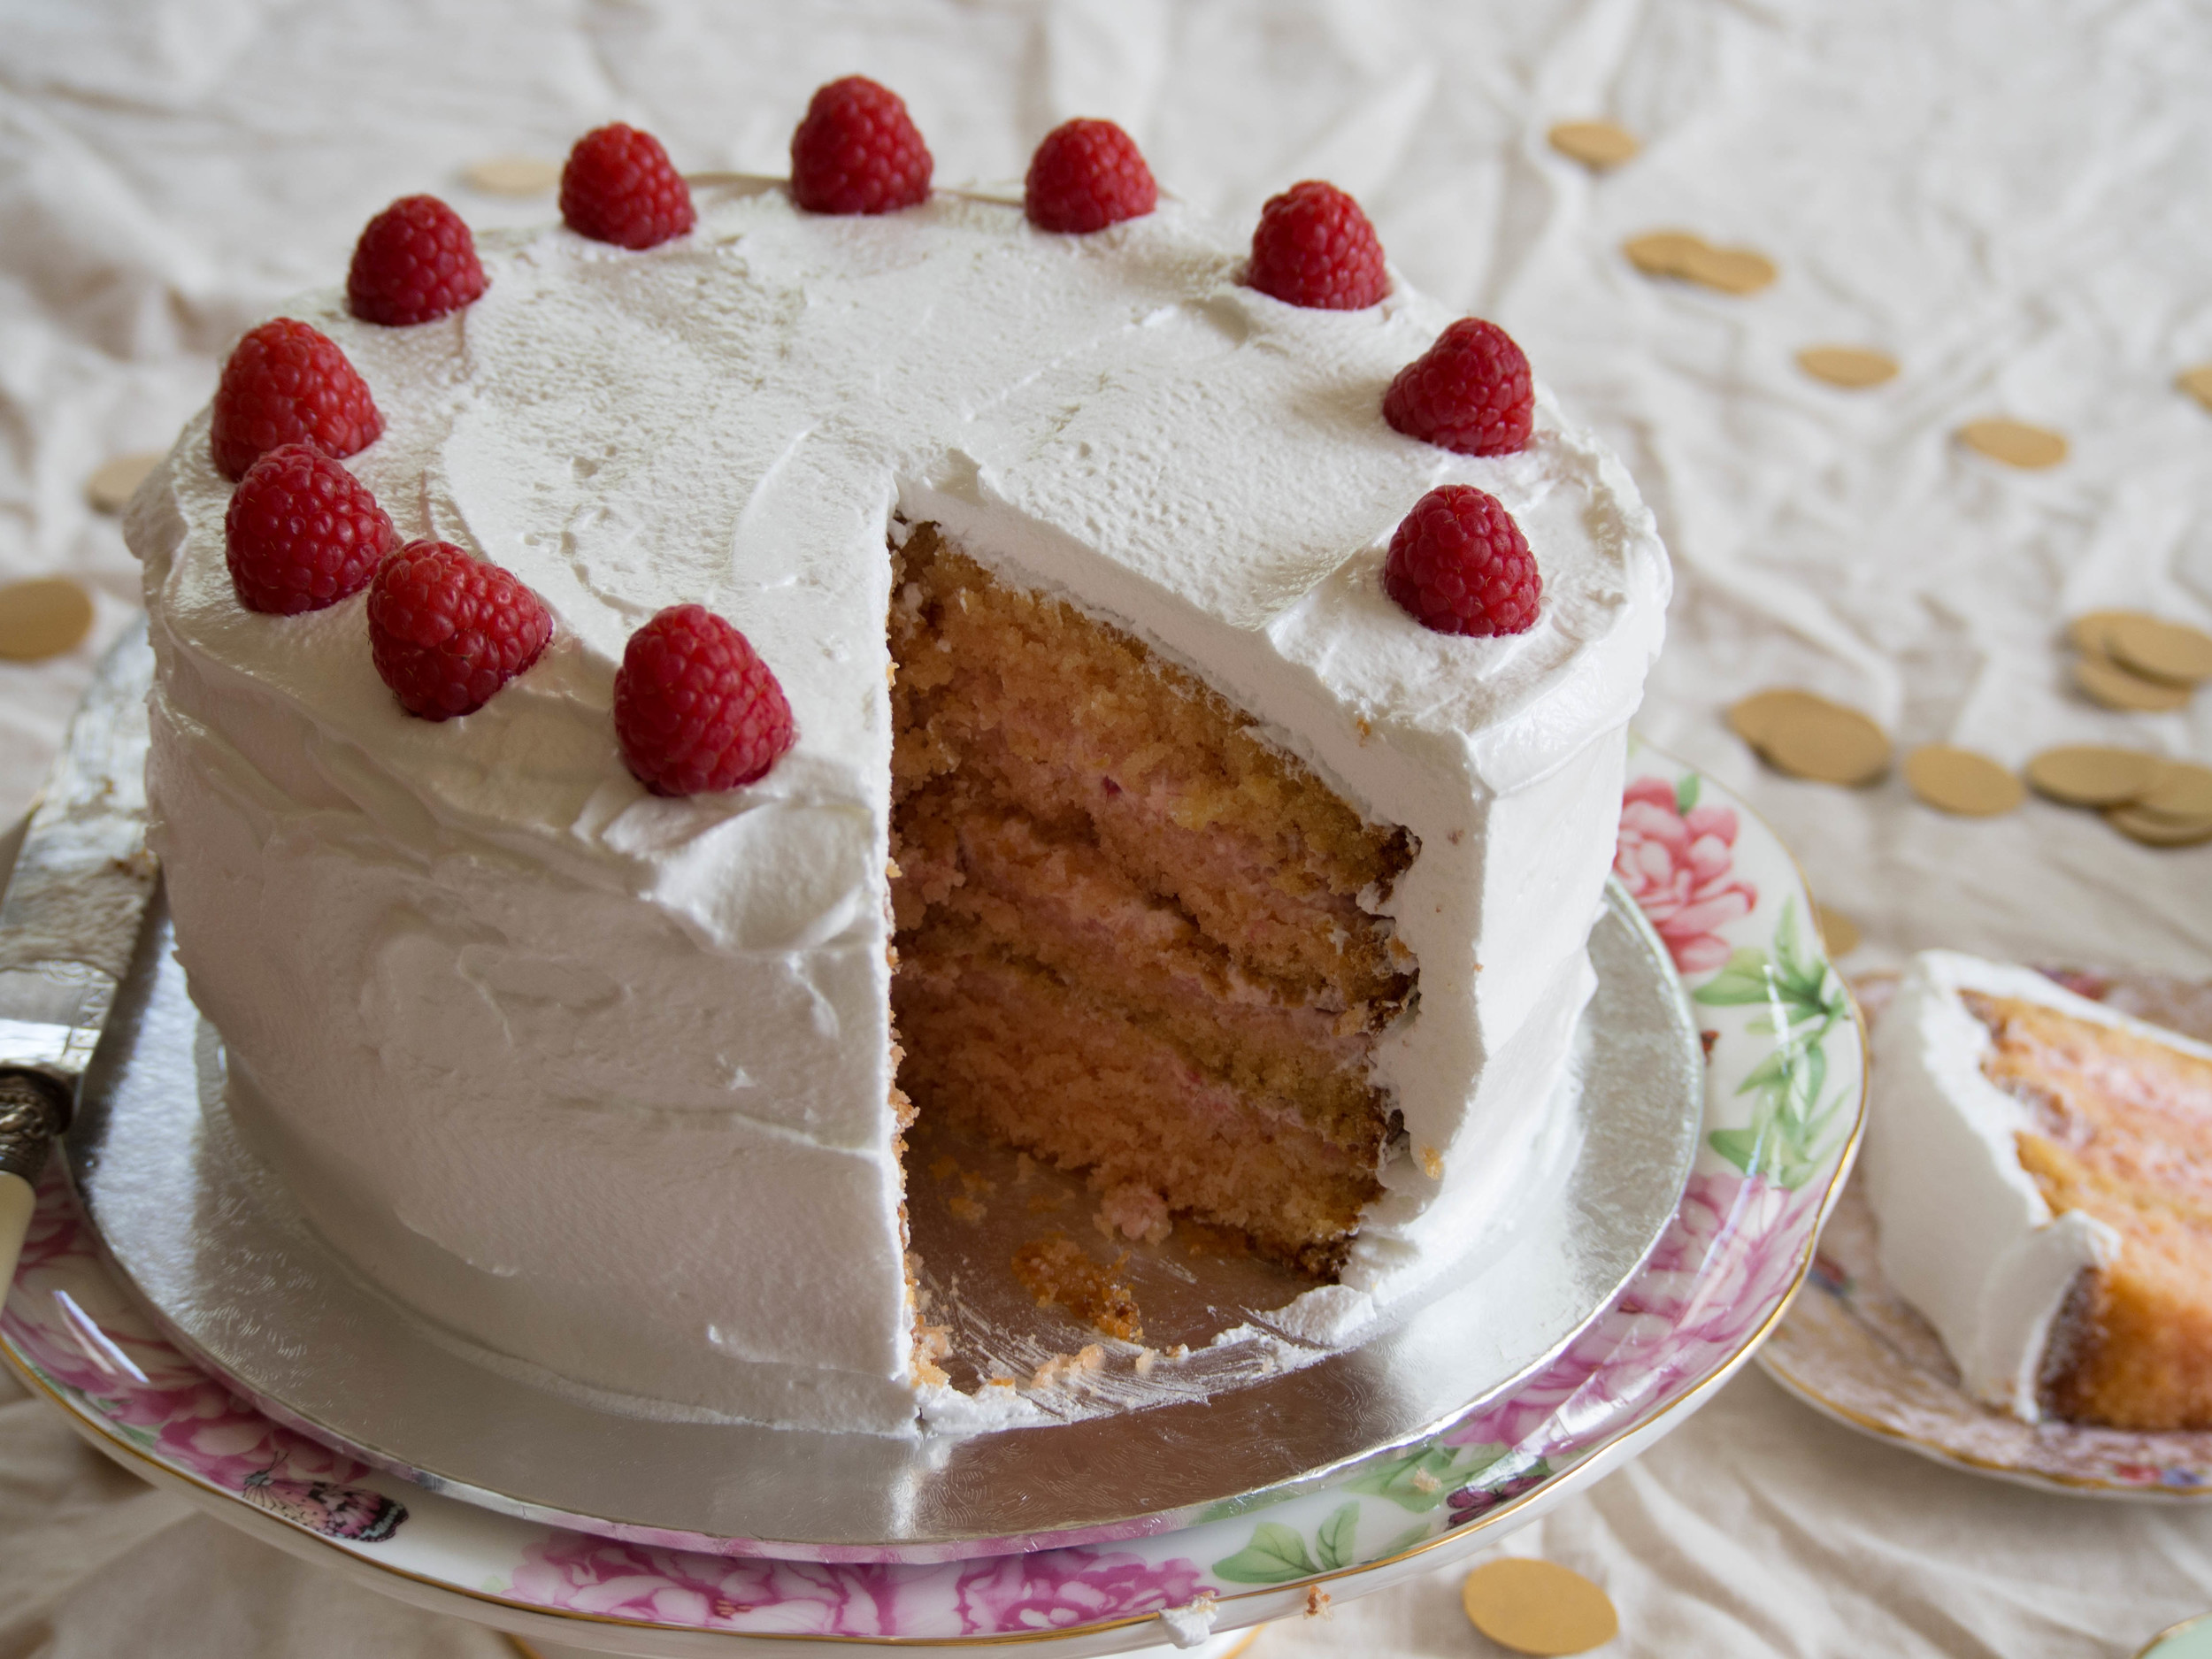
We had decided on making My Grandma’s Pavlova (p.46), Ma Lyn’s Fruit Slice (p.71), Nana Bebe’s Simplicity Chocolate Cake (p.82), Aunty Linda’s Milk Tart (p.97), Nonna’s Jam Rolls (p.101), Aunty Tricia’s Ginger Fluff (p.104), Granny’s Scones (p.111) and Nanna Joy’s Sausage Rolls (p.151).

Amy and I got to making everything, and Dimi made Nanna Joy’s Sausage Rolls and dropped them off - they were the most perfect looking sausage rolls I have ever seen! Dimi also left some of her lovely linens with us from her brand Inspired Table so they could be sold on the day. The apron Amy wears in the images in her book is one from Dimi’s collection, and it was so nice to see them in person as they are just gorgeous.

It was really lovely to share our kitchen with Amy and Lisa, Lisa also did an amazing job at arranging flowers to decorate the table for the afternoon tea. As Amy said her in recent blog post about the afternoon tea, it was wonderful to share a kitchen with someone as mostly we bake alone. Amy and I had known each other for a few years via Instagram, but had never met in person before the Saturday! It was a real treat to bake together and catch up in person.
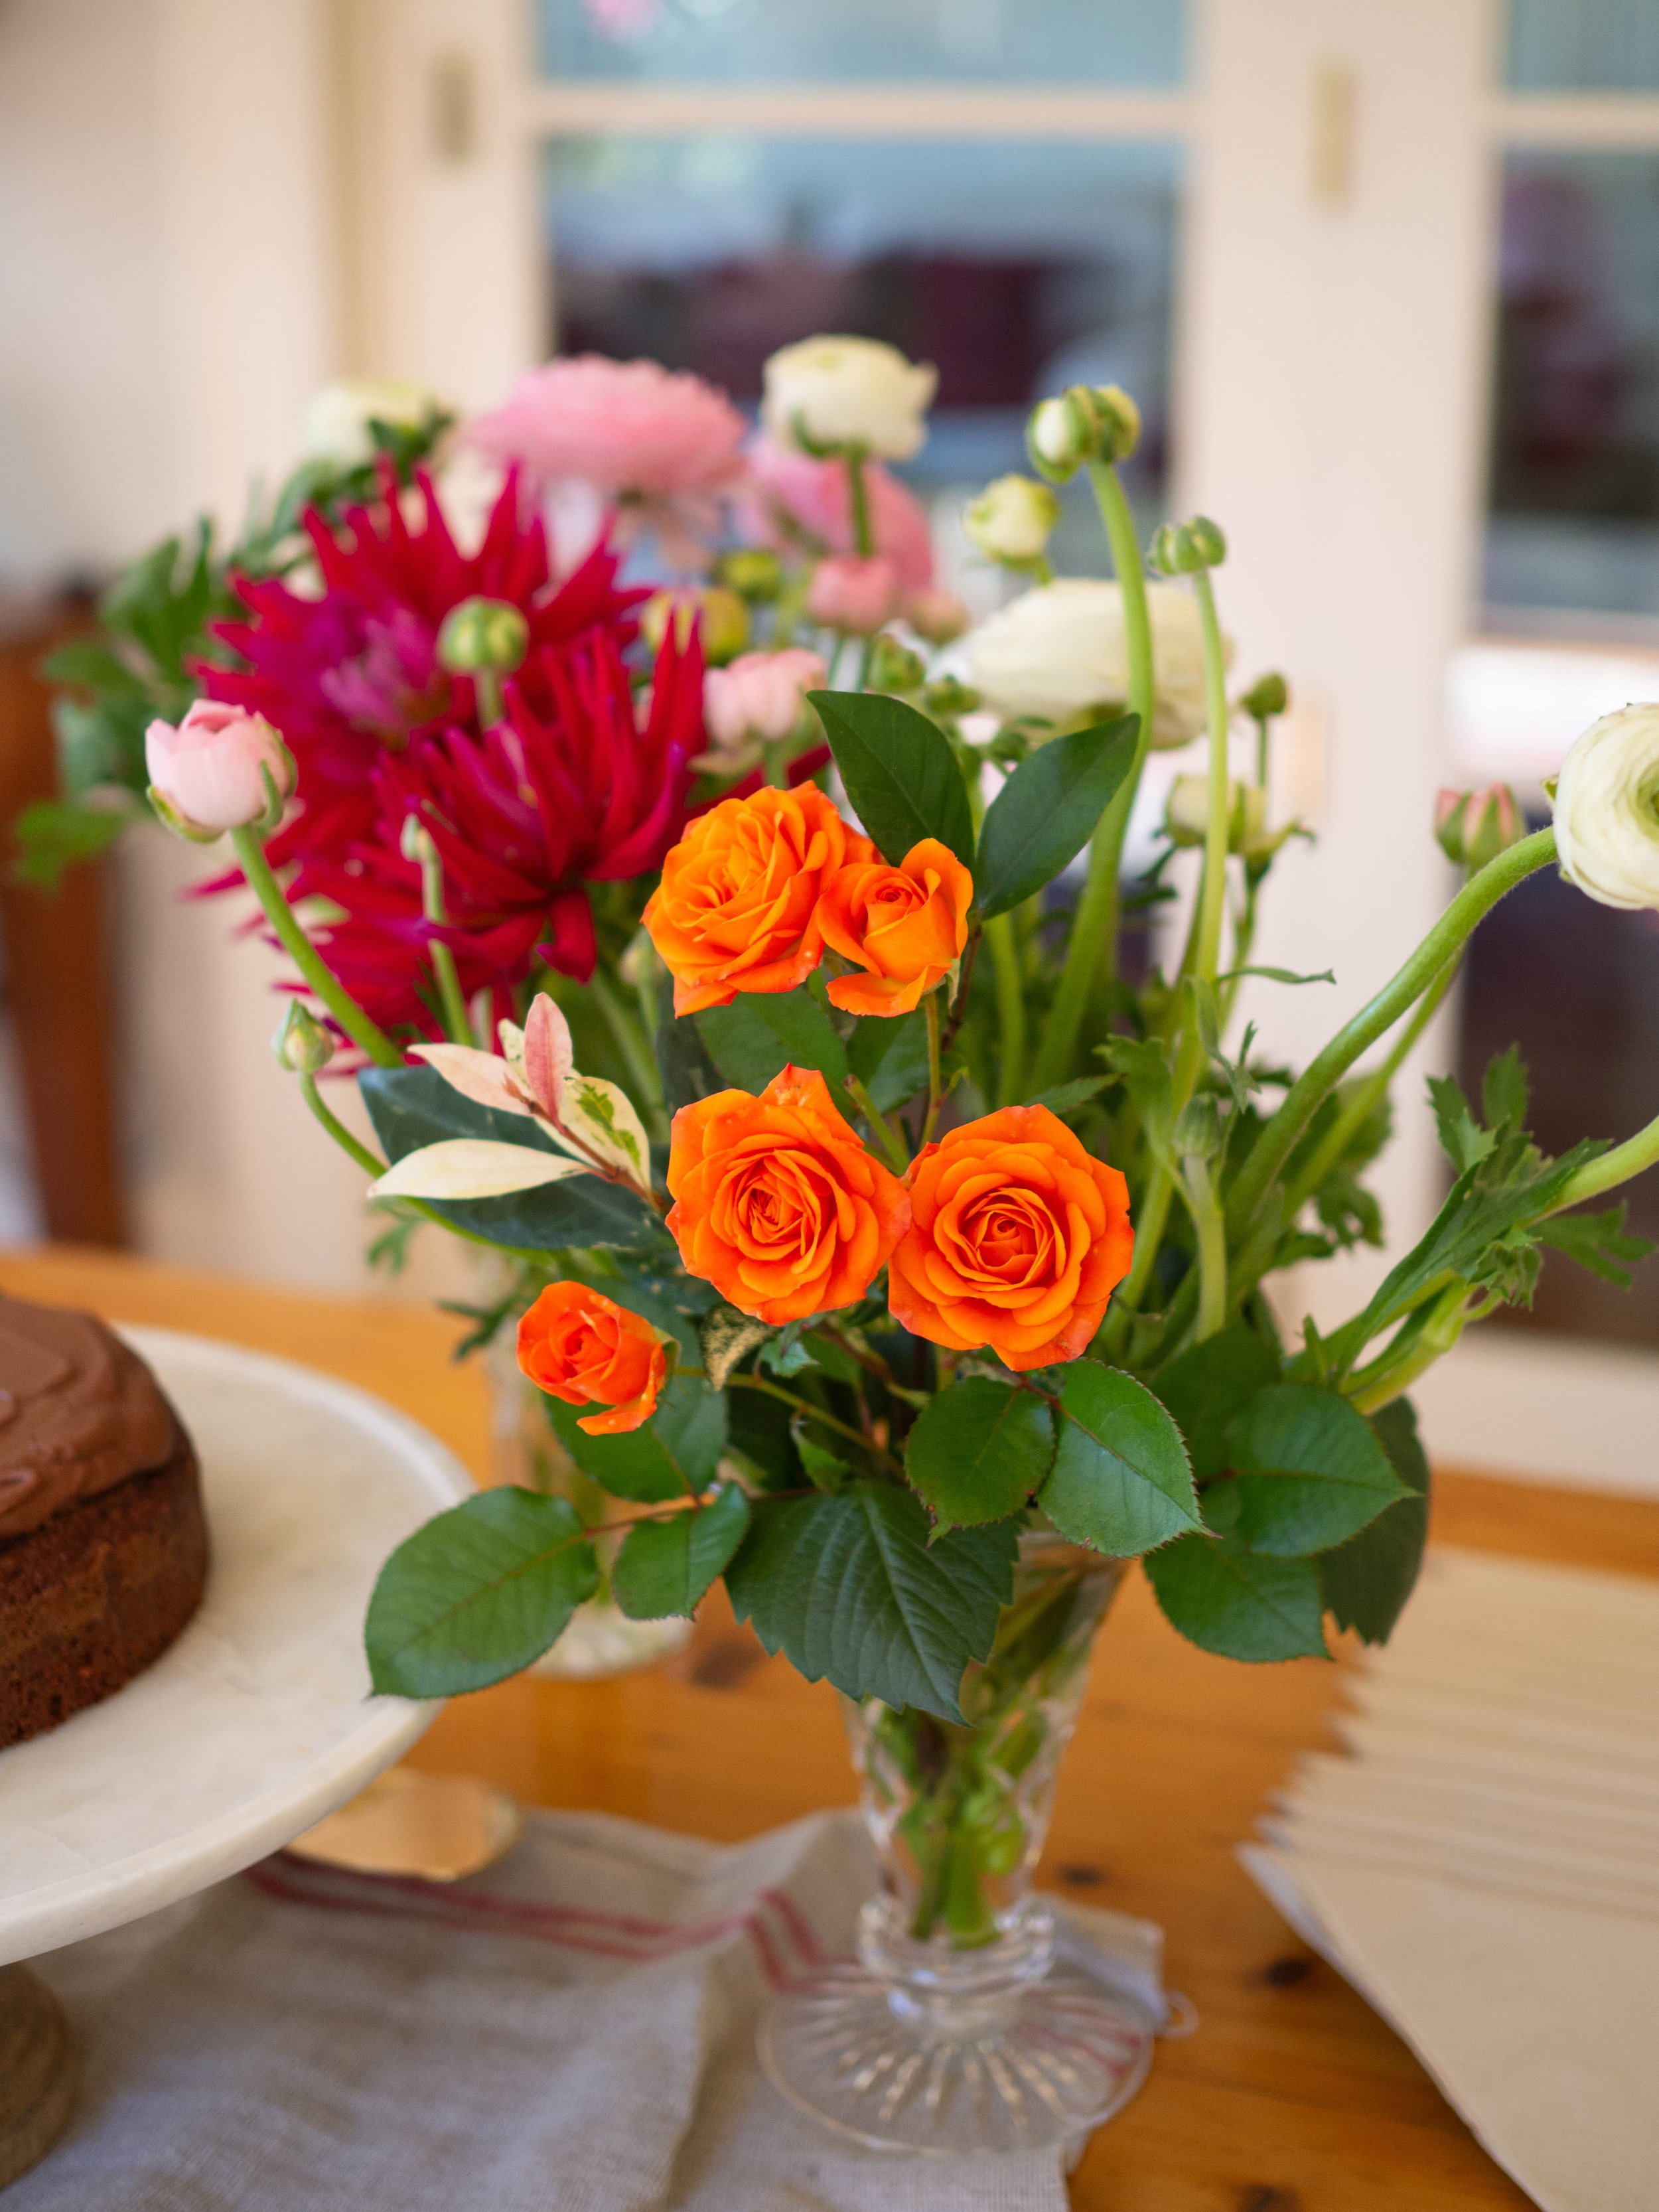
Flowers by Lisa!

Ma Lyn’s Fruit Slice and Nonna’s Jam Rolls

The next day the last minute things were done, mostly without much help from me as I was in the midst of a migraine attack and could barely communicate or function. Amy and Lisa got a real insight into what my life is like most of the time! Everyone including my Mum got everything ready, and all I had to do was top the Pavlova I’d made the evening before, with cream and strawberries (which had been prepared by Amy and Lisa - if only I always had this many people to pick up the pieces when a migraine attack strikes).

Kath with her Pavlova ready for cream and strawberries

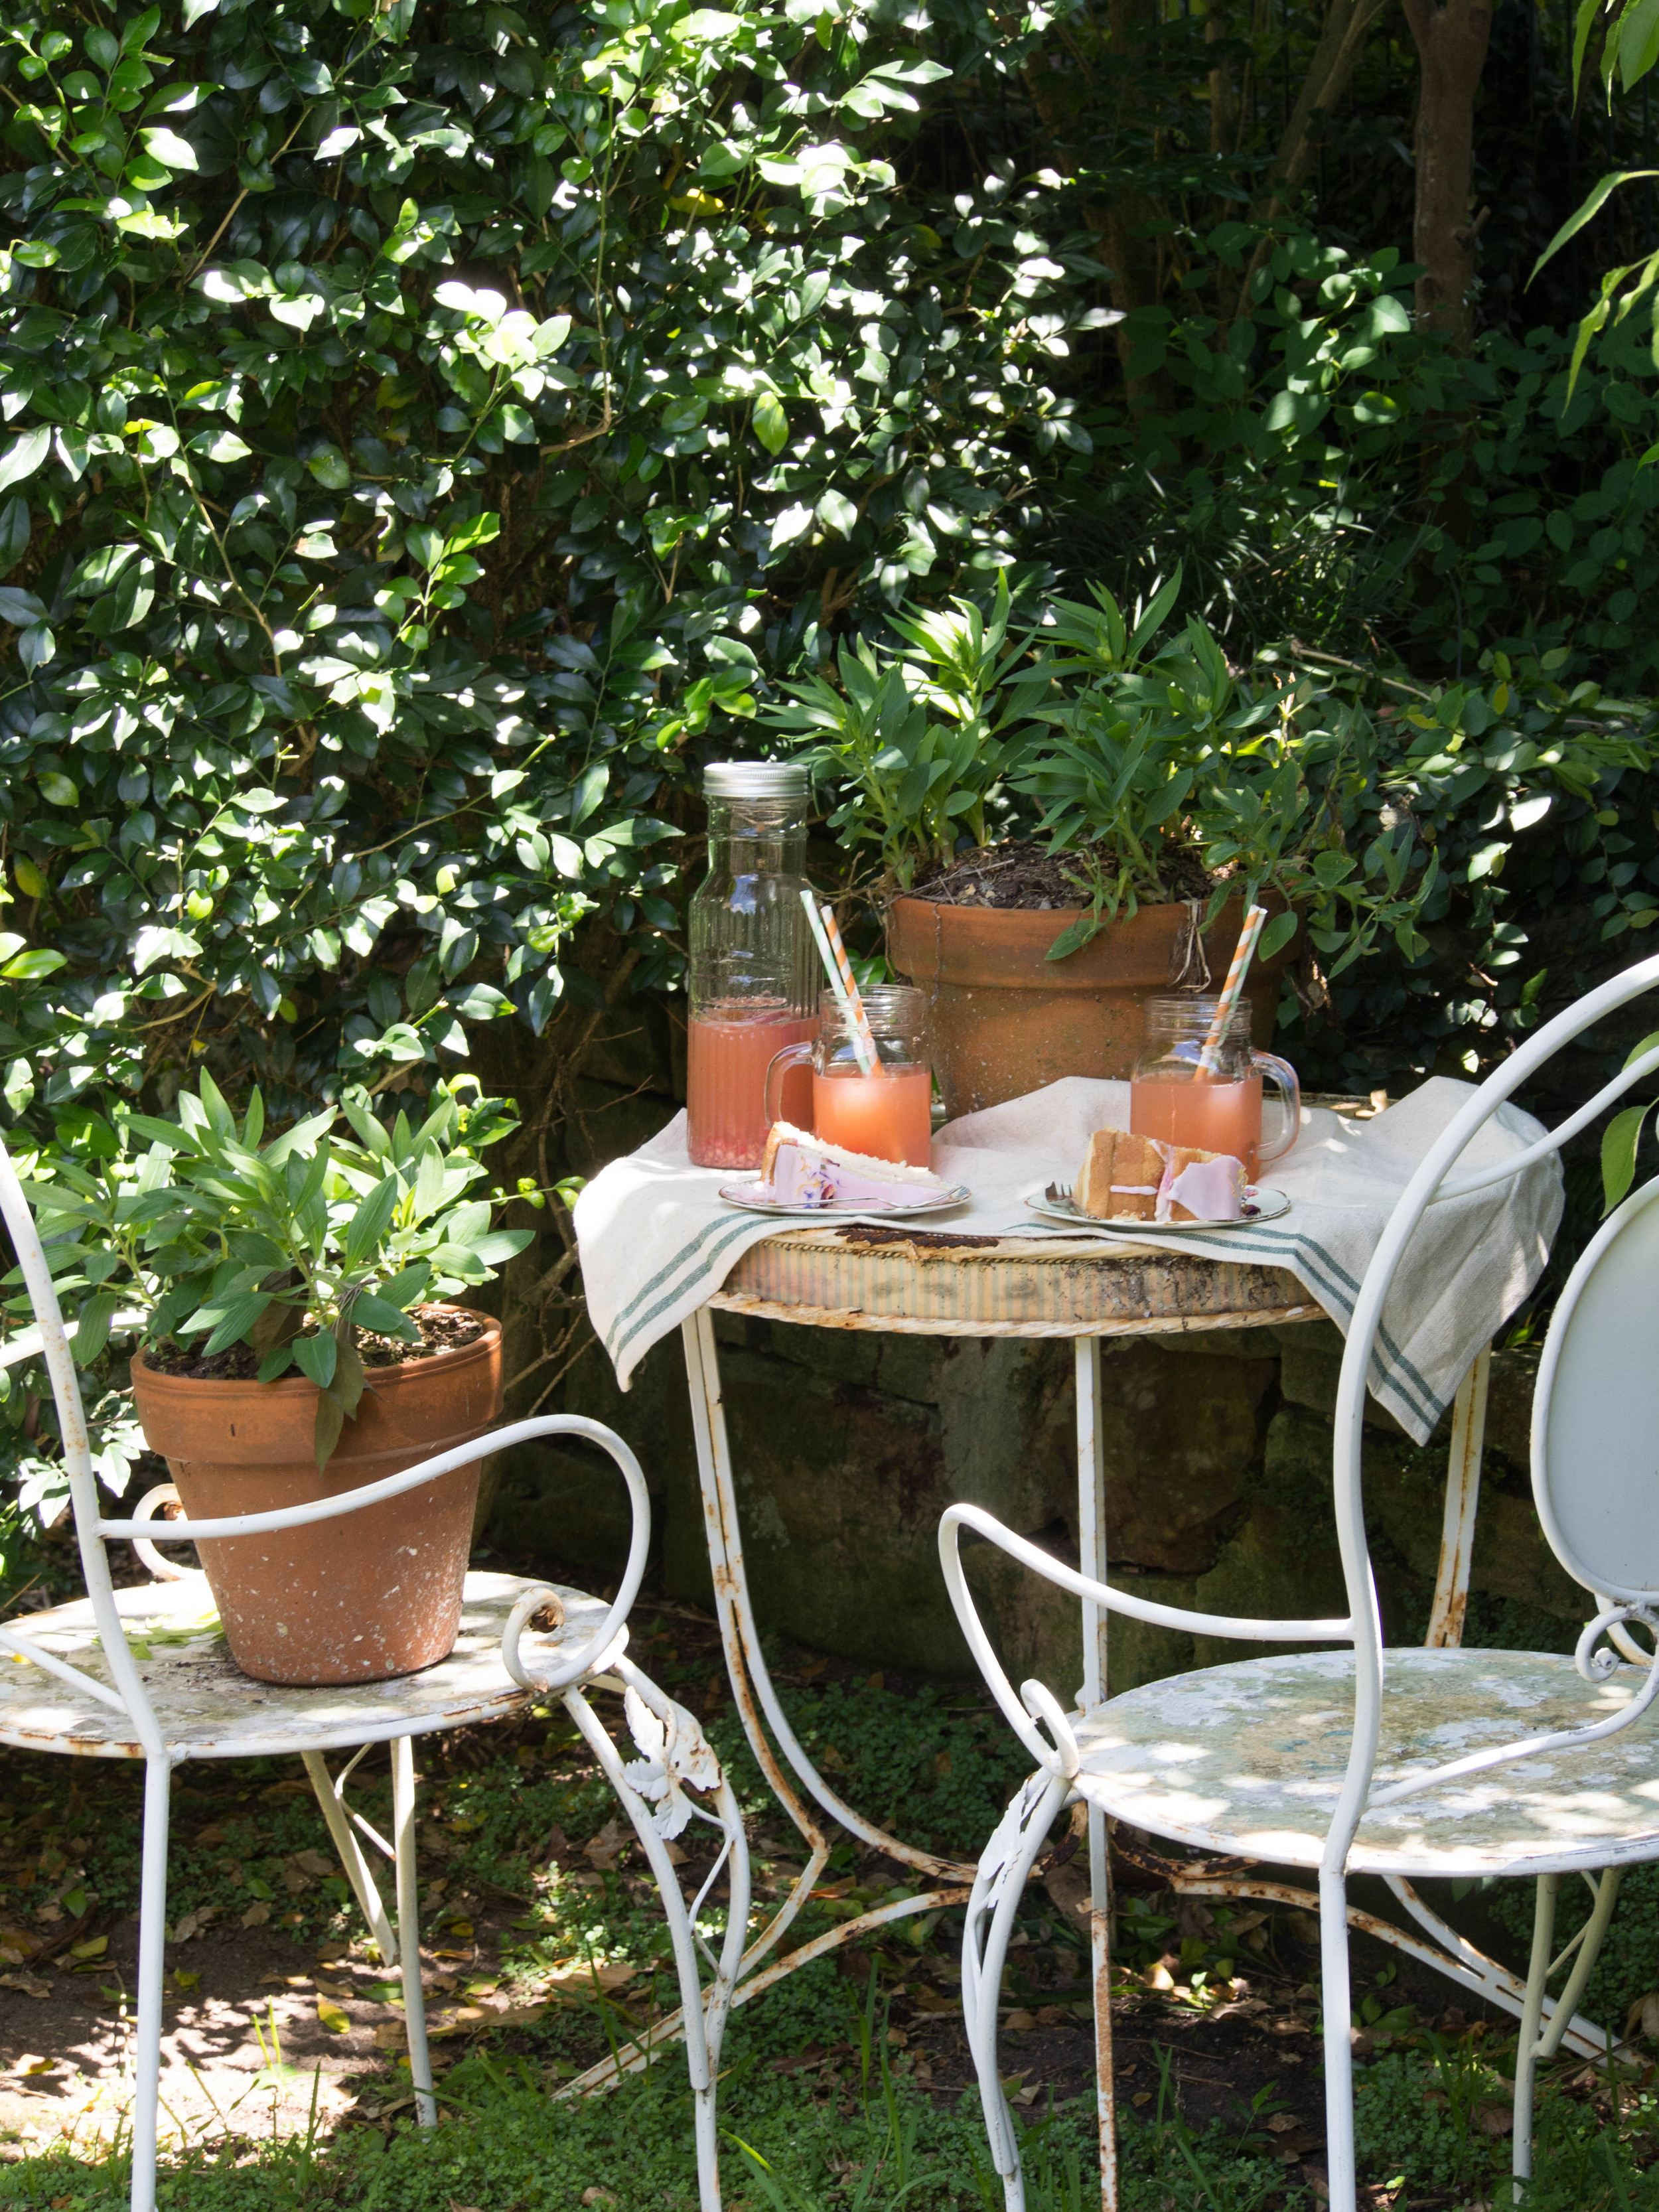
Our guests patiently waited at the gate while the last things were done, and once they were opened everyone walked down the garden path to the room we had filled with cake, tea, cookbooks and flowers.

It was really nice to see people I’d only known via Instagram, or catch up with those I hadn’t seen for a long time, as well as meet a whole lot of new like minded people - everyone was there to support Amy and her cookbook, and have a joyful afternoon with lots of cake.

Amy and I also had a little interview so we could all learn more about how Recipes in the Mail began and how to book came to be. When I asked Amy about how the initial idea for Recipes in the Mail came about, which started with putting a call out on Instagram for people to send their family recipes to Amy via the post (and there was no intention for it all to become a book at that time!), Amy said it came from a desire to connect with people, and to preserve family recipes that might have otherwise been lost.

Amy and our table of baked goods from Recipes in the Mail

In terms of deciding which recipes made it into the book once that portion of the Recipes in the Mail journey came to life, a lot of it came down to whether a recipe had any copyright issues (i.e. had already been published in a book or online), and whether the recipe turned out well when being tested. We also might have established that there are more recipes to share, so maybe we’ll see a second Recipes in the Mail cookbook in the future (no pressure Amy!).

We discussed which recipe from the book that wasn’t already a family recipe within Amy’s family, had become a new family favourite. Amy and her family love Catherine’s Grandma’s Pikelets on page 22, shared by Catherine Redman. Amy’s kids love them and sometimes have them in their lunchboxes. Amy’s eldest is also starting to have a go at making them too (heavily supervised of course!).

We then spoke about actually getting the book published. A large part of the cookbook publishing process for any prospective cookbook writer is either finding a publisher or committing to self publishing. Amy knew self publishing wasn’t an option at that time for her, so she set out finding a publisher who would see the value of this book and to help bring it to life. Amy said it was difficult to stay motivated during this time as there were many times she felt the book wouldn’t be taken on by a publisher. She said the support from people via Instagram who believed in Recipes in the Mail and wanted to see it as a book really helped keep her motivated. The support and advice from mentors like Belinda Jeffrey and Julie Gibbs also proved pivotal in getting Recipes in the Mail published.

Amy and Kath with the finished Pavlova

That community of people online, who wanted to see Recipes in the Mail as a cookbook they could hold in their hands and cook from in their kitchens was essential to Amy bringing this cookbook to life. As one attendee said, this community of people is because of Amy - we were there that Sunday as we felt a connection to Amy, and to her cookbook. Amy has an amazing ability to connect with people and to make people feel welcome and seen. That sense of community radiates from the Recipes in the Mail cookbook, through the stories shared and the recognition of names above the recipes, maybe people we ourselves know via social media.

The best piece of advice Amy felt she received during the process of getting her cookbook to publication, was not to give up. Amy acknowledged it is always easier said than done, and imposter syndrome will likely try and get in the way, but it is important to keep going and not be hesitant to ask questions. Amy found many people she made connections with over social media were happy to answer questions she had and give her a little of their time. Amy also said that creating a community via social media was key to bringing these kinds of projects to life. Amy also talked about the fast paced nature of publishing once the book had been accepted, and how if she were to work on another book that knowledge would help her plan for a tight and busy deadline period.

I then asked Amy about what her hopes were for her future work in food, and Amy instantly said she wanted to do ‘more of this’ - in person events, connecting with people in real life and hosting people in her home. Since the day of the afternoon tea fell on Amy’s birthday we were all able share that with her in person, as I surprised Amy with a giant birthday biscuit topped with lit candles (very much helped by my Mum).

I made a giant biscuit as I thought there was probably enough cake to go around that afternoon, and it was something people could take a little home if they wanted. It was so nice to celebrate not only Amy’s cookbook but her birthday as well, on a cake filled day with so many lovely people.

The aftermath!

Once all our guests left for the day, we began the clean up and stored away the little food that was left over. Amy and I stood and ate pieces of my Grandma’s Pavlova, and expressed how wonderful the event had been. We lamented having to say goodbye so soon, and expressed hopes that we could do this kind of thing again sometime soon.

If you don’t already follow Amy on Instagram I highly recommend you do. Amy’s cookbook Recipes in the Mail is available at all good bookshops or via her online store. I also highly recommend you take a look at Dimi’s linen range via her brand Inspired Table.

Dimi very generously gifted me one of her aprons that weekend, and it is most definitely the nicest apron I’ve ever had! When I said it was probably too nice to use, Dimi assured me it can withstand a lot and washes up really well. I have gotten into a bad habit of not wearing aprons when I am baking, so I’m hoping I can change my ways with this lovely new apron!

Dimi’s Inspired Table Apron and Linens

In Events Tags Recipes in the Mail, Amy Minichiello, Inspired Table, Afternoon Tea
Comment

Parmesan & Thyme Scones

Kath November 29, 2015

These scones seem to be a massive crowd pleaser every time I make them. I have heard the odd passing comment about never having heard of savoury scones before, but those scone doubters appear well at ease with the concept once they taste them! 

The recipe came about, around this time last year, when I put together an afternoon tea and shared some of the how to's on the website Liveability and in this post. I had decided on savoury scones because as I was baking everything for the afternoon tea, I felt that making mini quiches or similar would just take up far too much of my time. The weather was also quite hot, so baking things that not only had relatively short cook times seemed necessary and serving hot food on a hot day seemed a little ridiculous. 

Despite this, I still needed a couple of savoury elements to balance the sweet things I had planned to make. I decided on these scones, as they fit my short cook time criteria and I knew that if all the scones weren't eaten on the day, the leftovers would freeze well. 

The flavour combination ended up being a little bit of a fluke. I had always planned on using thyme, having tried a couple of savoury scones at The Tea Salon in Sydney with thyme, I then really wanted to make some myself. The original recipe I used called for cheddar, so I bought some. 

Unfortunately once I opened the cheddar it was mouldy, and had to be thrown out. Luckily we always have Parmesan in the fridge, so I used that instead and the flavour combination turned out really well. I have since stated using Grana Padano instead of Parmesan, as I prefer the slightly stronger flavour. 

So finally after a year, these scones make an appearance here on the blog. I hope they become an crowd pleaser for you too! 

Parmesan & Thyme Scones

Ingredients: 

450g self-raising flour

2 tsp baking powder

75g grated Parmesan or Grana Padano cheese, plus extra

2 tbsp fresh thyme leaves, plus extra 

200ml cream

125ml sparkling water

2 tbsp lemon juice

full cream milk, for brushing 

unsalted butter, to serve


Method: 

Preheat oven to 200 degrees Celsius. Line a large baking tray with baking paper, and dust a little flour over the top. 

Place the flour, cheese and thyme in a large bowl, and sift over the baking powder. Mix the dry ingredients together, adding more thyme if it is looking a little sparse. 

In a jug, quickly and briefly whisk the cream, water and lemon juice together, then add to the dry ingredients. Mix together with a flat bladed knife, then turn out on to a lightly floured bench. Lightly knead the dough to bring it together, then press to dough out until it is 2-3cm thick. 

Using a 4.5/5cm cutter cut out rounds from the dough, dusting the cutter with flour if the dough sticks too much. Place the rounds on the prepared tray, leaving no gaps in between each round. Bring the dough back together and continue cutting until it is all used up (you should get about 20 rounds). 

Brush the tops of the cut scones with the milk, and sprinkle with the extra cheese and thyme. Bake for 15-20 minutes, until golden and puffed. Turn the tray in the oven about halfway through so they cook and colour more evenly. 

Serve warm with the butter and extra fresh thyme leaves if desired. 

Reference: ‘Bill’s Basics’ by Bill Granger (HarperCollins Publishers, 2010), p.50.

In Scones Tags scones, parmesan, thyme, Afternoon Tea, Pepe Saya, butter, Bill Granger
2 Comments
Raspberry and Rose Sponge Cake

Raspberry and Rose Sponge Cake

Raspberry & Rose Sponge Cake + Raspberry & Elderflower Cordial

Kath February 17, 2015

These two recipes, raspberry & rose sponge cake and raspberry & elderflower cordial, are current favourites. They are great served together, or separately, and would be lovely additions to an afternoon tea or celebration over the warmer months. 

The flavours raspberry and rose are clearly firm favourites for me, and this cake in particular showcases how well they go together. 

Hopefully, now I have baked and posted these few recipes using flavours and ingredients I particularly love, I can move on to some new or different flavours than those I have been baking with recently. I saw a post on Instagram yesterday from someone who was talking about how they wanted to get more into cooking and was considering taking some classes. They then realised that they had enough cookbooks to inspire them to cook, and probably didn’t need to spend the money on classes! They resolved to try a new recipe from each of their cookbooks during this year. I think this is a great idea. As our cookbook collection spans at least 144 books, I think I should have enough inspiration and recipes to keep me going for a while, without always falling back on the flavours I love the most. 

So, I am giving myself a ‘cookbook challenge’. I am going to try and make something new from each cookbook I own. Hopefully I will discover some new favourites, and hopefully this will challenge me to tackle to daily dilemma that is dinner with more enthusiasm.

A small selection of the cookbook collection.

A small selection of the cookbook collection.

How many cookbooks do you have in your collection? Do you use them often? Let me know in the comments! 

Raspberry & Rose Sponge Cake

Ingredients: 

Butter and plain flour, for greasing cake tins 

4 eggs 

1/2 cup caster sugar

1 cup cornflour 

1 tbsp custard powder 

1 tsp cream of tartar 

1/2 tsp bicarbonate of soda 

1 tsp rosewater


Ingredients for Icing and Filling: 

2 cups icing sugar 

1/2 tbsp boiling water

3 tsp rosewater

pink food colouring

1 tbsp rose syrup

1 punnet raspberries 

1 cup of thickened cream 

edible flowers (fresh or dried), to decorate 


Method: 

Pre-heat oven to 200 degrees Celsius. Use a little butter to grease two (20 cm) sandwich tins, then dust them with some flour. Line the base of each tin with baking paper. 

Separate the eggs, and set the yolks aside. Place the whites into the bowl of an electric mixer and beat until they form stiff peaks. Add the sugar and the rosewater, and beat until the mixture has become stiff and glossy. Add the yolks and beat until just combined. Sift in the dry ingredients, and gently fold into the egg mixture using a large metal spoon.

Divide the mixture between the two tins, and bake for 20 minutes. The cakes will be ready when they are golden in colour and spring back when touched lightly. 

Line two cooling racks with baking paper. Remove cakes from their tins, and allow to cool on the prepared racks. Allow to cool completely before icing or filling the cake. 

Sift the icing sugar into a bowl, add the water and rosewater and mix to form a smooth, slightly thick icing. If the icing is too thick add more water, too runny, more sifted icing sugar. Add a small amount of pink food colouring, and mix to create a light pink icing.

Whip the cream with the rose syrup, then roughly chop the raspberries and gently fold into the cream. Spread the cream over one of the cakes (top side down). It is easiest to ice and fill the cake on the plate you will serve it on. Top with the remaining sponge cake, and ice the cake with the icing. Decorate with edible flowers. 

This cake is best served immediately after it is assembled, however, it will keep in the fridge for a couple of days. 

Original Recipe found in Country Style Magazine, November 2014 Issue, pp.76-77 (article: ’never too late’, recipe originally by Bill Bevan).

Raspberry and Elderflower Cordial

Raspberry and Elderflower Cordial


Raspberry & Elderflower Cordial

Ingredients: 

1/2 cup elderflower cordial

1 cup water 

1 litre cloudy apple juice 

handful frozen raspberries


For Ice Cubes: 

ice cube tray

water

raspberries 


Method:

Prepare the ice cubes the day before. Place small whole raspberries, or roughly chopped larger raspberries, into an ice cube tray. Cover with water and allow to freeze overnight. 

For the cordial, in a 1.5 litre capacity jug, add the elderflower cordial, water and apple juice. Top with a handful of frozen raspberries. Leave in the fridge to chill, and once the frozen raspberries have started to defrost, mix the cordial so it becomes stained with the red colour of the raspberries. 

Once ready to serve, add the raspberry ice cubes to the glasses and pour over the cordial. 

This recipe was originally published via Liveability.

For more recipes showcasing the best of rose, check out my eBook Baking with Rose by clicking the link below!

get your ebook!
In Drinks, Cakes & Slices Tags Sponge, cake, Rosewater, Rose, Raspberry, pink, elderflower, cordial, Afternoon Tea, cookbook challenge
2 Comments

A Pink Tinged Birthday Cake

Kath January 15, 2015

This cake was made early last month for my birthday. Yes, I made my own birthday cake! I had seen this recipe in the Australian Women’s Weekly book ‘Indulgent Cakes’ a few months earlier, and never had a reason to make such a big cake. So when it came to deciding what to make for my birthday, I knew it was the perfect opportunity to make it. 

This cake combines two things that I really love - raspberry and rosewater. You may have noticed I use these two ingredients a lot, particularly together. I actually have to try and not use them so much now, so my blog isn’t just a how-to on using raspberries and rosewater! 

The icing of this cake is marshmallowy, and the cake itself is pink. Also two things I love. Marshmallows and anything pink. This cake was definitely the right choice for my birthday! 

I made the cakes the day before and stored them between baking paper in air-tight containers overnight. The icing needs to be made then used straight away. It is also best to assemble and ice the cake just before you want to serve it, as the icing is at its best straight away. 

This cake can (and should) be stored in fridge, and will last a couple of days (the icing will start to dissolve away however). 


Ingredients for the Cake: 

250 g unsalted butter, softened

6 egg whites

2 tsp vanilla extract

2 cups caster sugar 

2 1/2 cups plain flour

1 cup buttermilk

2 tsp bicarb soda

2 tsp white vinegar

3 tsp pink food colouring


Ingredients for the Filling: 

185 g raspberries 

1 tbsp rosewater

300 ml thickened cream

1/4 cup icing sugar 


Ingredients for the Icing: 

3/4 cup caster sugar 

1 tbsp glucose syrup 

2 tbsp water 

3 tsp rosewater 

3 egg whites 

fresh raspberries, for decoration


Method: 

Pre-heat oven to 180 degrees Celsius and line two 20cm round baking tins three times. 

In the bowl of an electric mixer, beat the butter until smooth. Then add the buttermilk, egg whites, sugar, flour and vanilla extract. 

In a separate bowl combine the white vinegar and bicarb soda. This mixture should become foamy. Add the pink colouring to the vinegar mixture. Then add the vinegar mixture to the main cake mix. Beat on a low speed until everything has combined, then beat for a couple of minutes on medium speed until the mixture turns a paler colour. 

Divide the cake mix evenly between the two prepared tins, and bake for 45 minutes. Test cakes with a skewer to ensure they are cooked through. Allow the cakes to stand in their tins for a few minutes, then turn them onto baking paper lined cooling racks (top side of cake facing down). 

Once the cakes are cool, carefully cut them in half. Place one of the layers on a serving plate, cake stand or board. Set aside.

To make the filling, lightly squash the raspberries in a small bowl with the rosewater. In a separate bowl beat the cream and icing sugar until the cream forms stiff peaks. Fold the raspberries into the cream. Spread one-third of the cream onto the base layer of the cake, and top with the next layer. Repeat with the remaining layers, finishing with a final layer of cake. 

To make the icing, place the egg whites in the bowl of an electric mixture. Then place 2/3 cup of the sugar, water, glucose and rosewater in a saucepan and stir over medium heat until the sugar has dissolved. Bring mixture to the boil, and allow to boil for 3 minutes, or until a small amount can be rolled into a soft ball once dropped in cold water. If you have a sugar thermometer, the syrup should be 115 degrees Celsius at this stage. Once the syrup is boiling, start beating the egg whites until soft peaks form. Then beat in the remaining sugar. 

Remove the syrup from the heat and allow the bubbles to settle. With the mixer running, add the syrup to the egg whites in a thin stream. Beat on high speed for about five minutes, by which time the icing should have thickened and cooled.

Use icing immediately, trying to ice the top and sides of the cake evenly. Decorate with fresh raspberries. 


Recipe originally from, The Australian Women’s Weekly ‘Indulgent Cakes’  (2014, Bauer Media Books), pp.140-145.

All baking, styling & photography for this post by Kathryn Vincent of Kulinary Adventures of Kath. 

In Cakes & Slices Tags cake, birthdays, Australian Women's Weekly, Raspberry, Rosewater, Afternoon Tea, Baking
Comment

Summer Afternoon Tea with The Girls

Kath December 17, 2014

In my last post, I mentioned that soon I would have a couple of things to share with you all. This is one of them! 

I am very excited to share, that in collaboration with Liveability, I have created an event guide for a Summer Afternoon Tea. 

I organised, styled, catered and photographed the event, and have put together the guide and mood board for the event which can be viewed on the Liveability site. 

A few of the recipes made on the day, and shared in the Liveability post are my own creations as well. 

Afternoon Tea (10 of 142).jpg

I have always enjoyed a good afternoon tea. I love a good pot of tea, especially when the tea can be drunk from a lovely tea cup. Scones are of course, essential, as are a few sweet treats. As the weekend of this event was fairly warm, I opted to have more cold drinks than actual tea. I made an iced tea, a cordial and also provided water. 

Much of the tea ware and serving plates were vintage, mostly from my own collection. In the Liveability post I have listed my favourite shops to find vintage wares. My current favourite is The Lost and Found Department, which is based on Sydney’s Northern Beaches. 

To see the event guide in full click here. 

Many thanks must go to Cecille and Liveability for allowing me the opportunity to do this. I really appreciate it. Thanks! 

Thanks also to those who attended the event. Thanks for being my wonderful hand models for the afternoon! It means a lot that you came and made the effort for me. 

Thanks also to Jackielyn (Inside the Treasure Chest) for my head shot. I didn’t realise we were shooting one at the time, but I’m very glad you took that photo! Thanks for sharing it with me. 

If you are interested in my catering, styling or photography, please contact me at kulinaryadventuresofkath@gmail.com, or via the contact form on this site.

All baking, styling & photography for this post by Kathryn Vincent of Kulinary Adventures of Kath. 

In Events Tags Afternoon Tea, Liveability, Styling, Photography, Food Photography, Catering, Baking, Inside the Treasure Chest, The Lost & Found Department, Summer, Iced Tea, Scones
Comment

recipes

  • Biscuits/Cookies 39
  • Breads Etc. 9
  • Breakfast 7
  • Cakes & Slices 67
  • Confectionary 5
  • Drinks 6
  • Events 14
  • Food Photography Tips 3
  • From The Mailing List 24
  • Heirloom Recipes 12
  • Holidays 44
  • Ice Cream 9
  • Jams Preserves & Spreads 9
  • Muffins 4
  • Off the Shelf 47
  • Other Desserts 25
  • Savoury Dishes/Meals 15
  • Scones 4
  • Tarts & Pastry 9
  • Travel 13

Sign up to Friday Food Chat with Kath, a weekly newsletter for more food, baking, cookbook chat and more!

Sign Up Here!
instagram-unauth pinterest facebook url

Website Accessibility: To enable text to speech function on the blog, click the sound button to the right of each blog post.

All images & content are the property of Kathryn Vincent, unless stated otherwise. Please do not use without permission.

Kulinary Adventures of Kath

Food Photography, Recipes & Baking

instagram-unauth pinterest facebook url