Kulinary Adventures of Kath

Food Photography, Recipes & Baking
  • home
  • About
  • Work with Kath
  • Shop
  • Blog
    • The Blog
    • Recipe Archive
  • Newsletter
  • Contact
  • home
  • About
  • Work with Kath
  • Shop
    • The Blog
    • Recipe Archive
  • Newsletter
  • Contact
Raspberry Pistachio Rose Cake (23 of 25).jpg

The Blog

Recipes and Food Photography by Kath Vincent.

  • The Blog
  • Recipe Archive
  • All
  • Biscuits/Cookies
  • Breads Etc.
  • Breakfast
  • Cakes & Slices
  • Confectionary
  • Drinks
  • Events
  • Food Photography Tips
  • From The Mailing List
  • Heirloom Recipes
  • Holidays
  • Ice Cream
  • Jams Preserves & Spreads
  • Muffins
  • Off the Shelf
  • Other Desserts
  • Savoury Dishes/Meals
  • Scones
  • Tarts & Pastry
  • Travel
Berry Almond Slice with Homemade Triple Berry Jam

Berry Almond Slice with Homemade Triple Berry Jam

Berry Almond Slice + How to Make Homemade Triple Berry Jam

Kath June 6, 2016

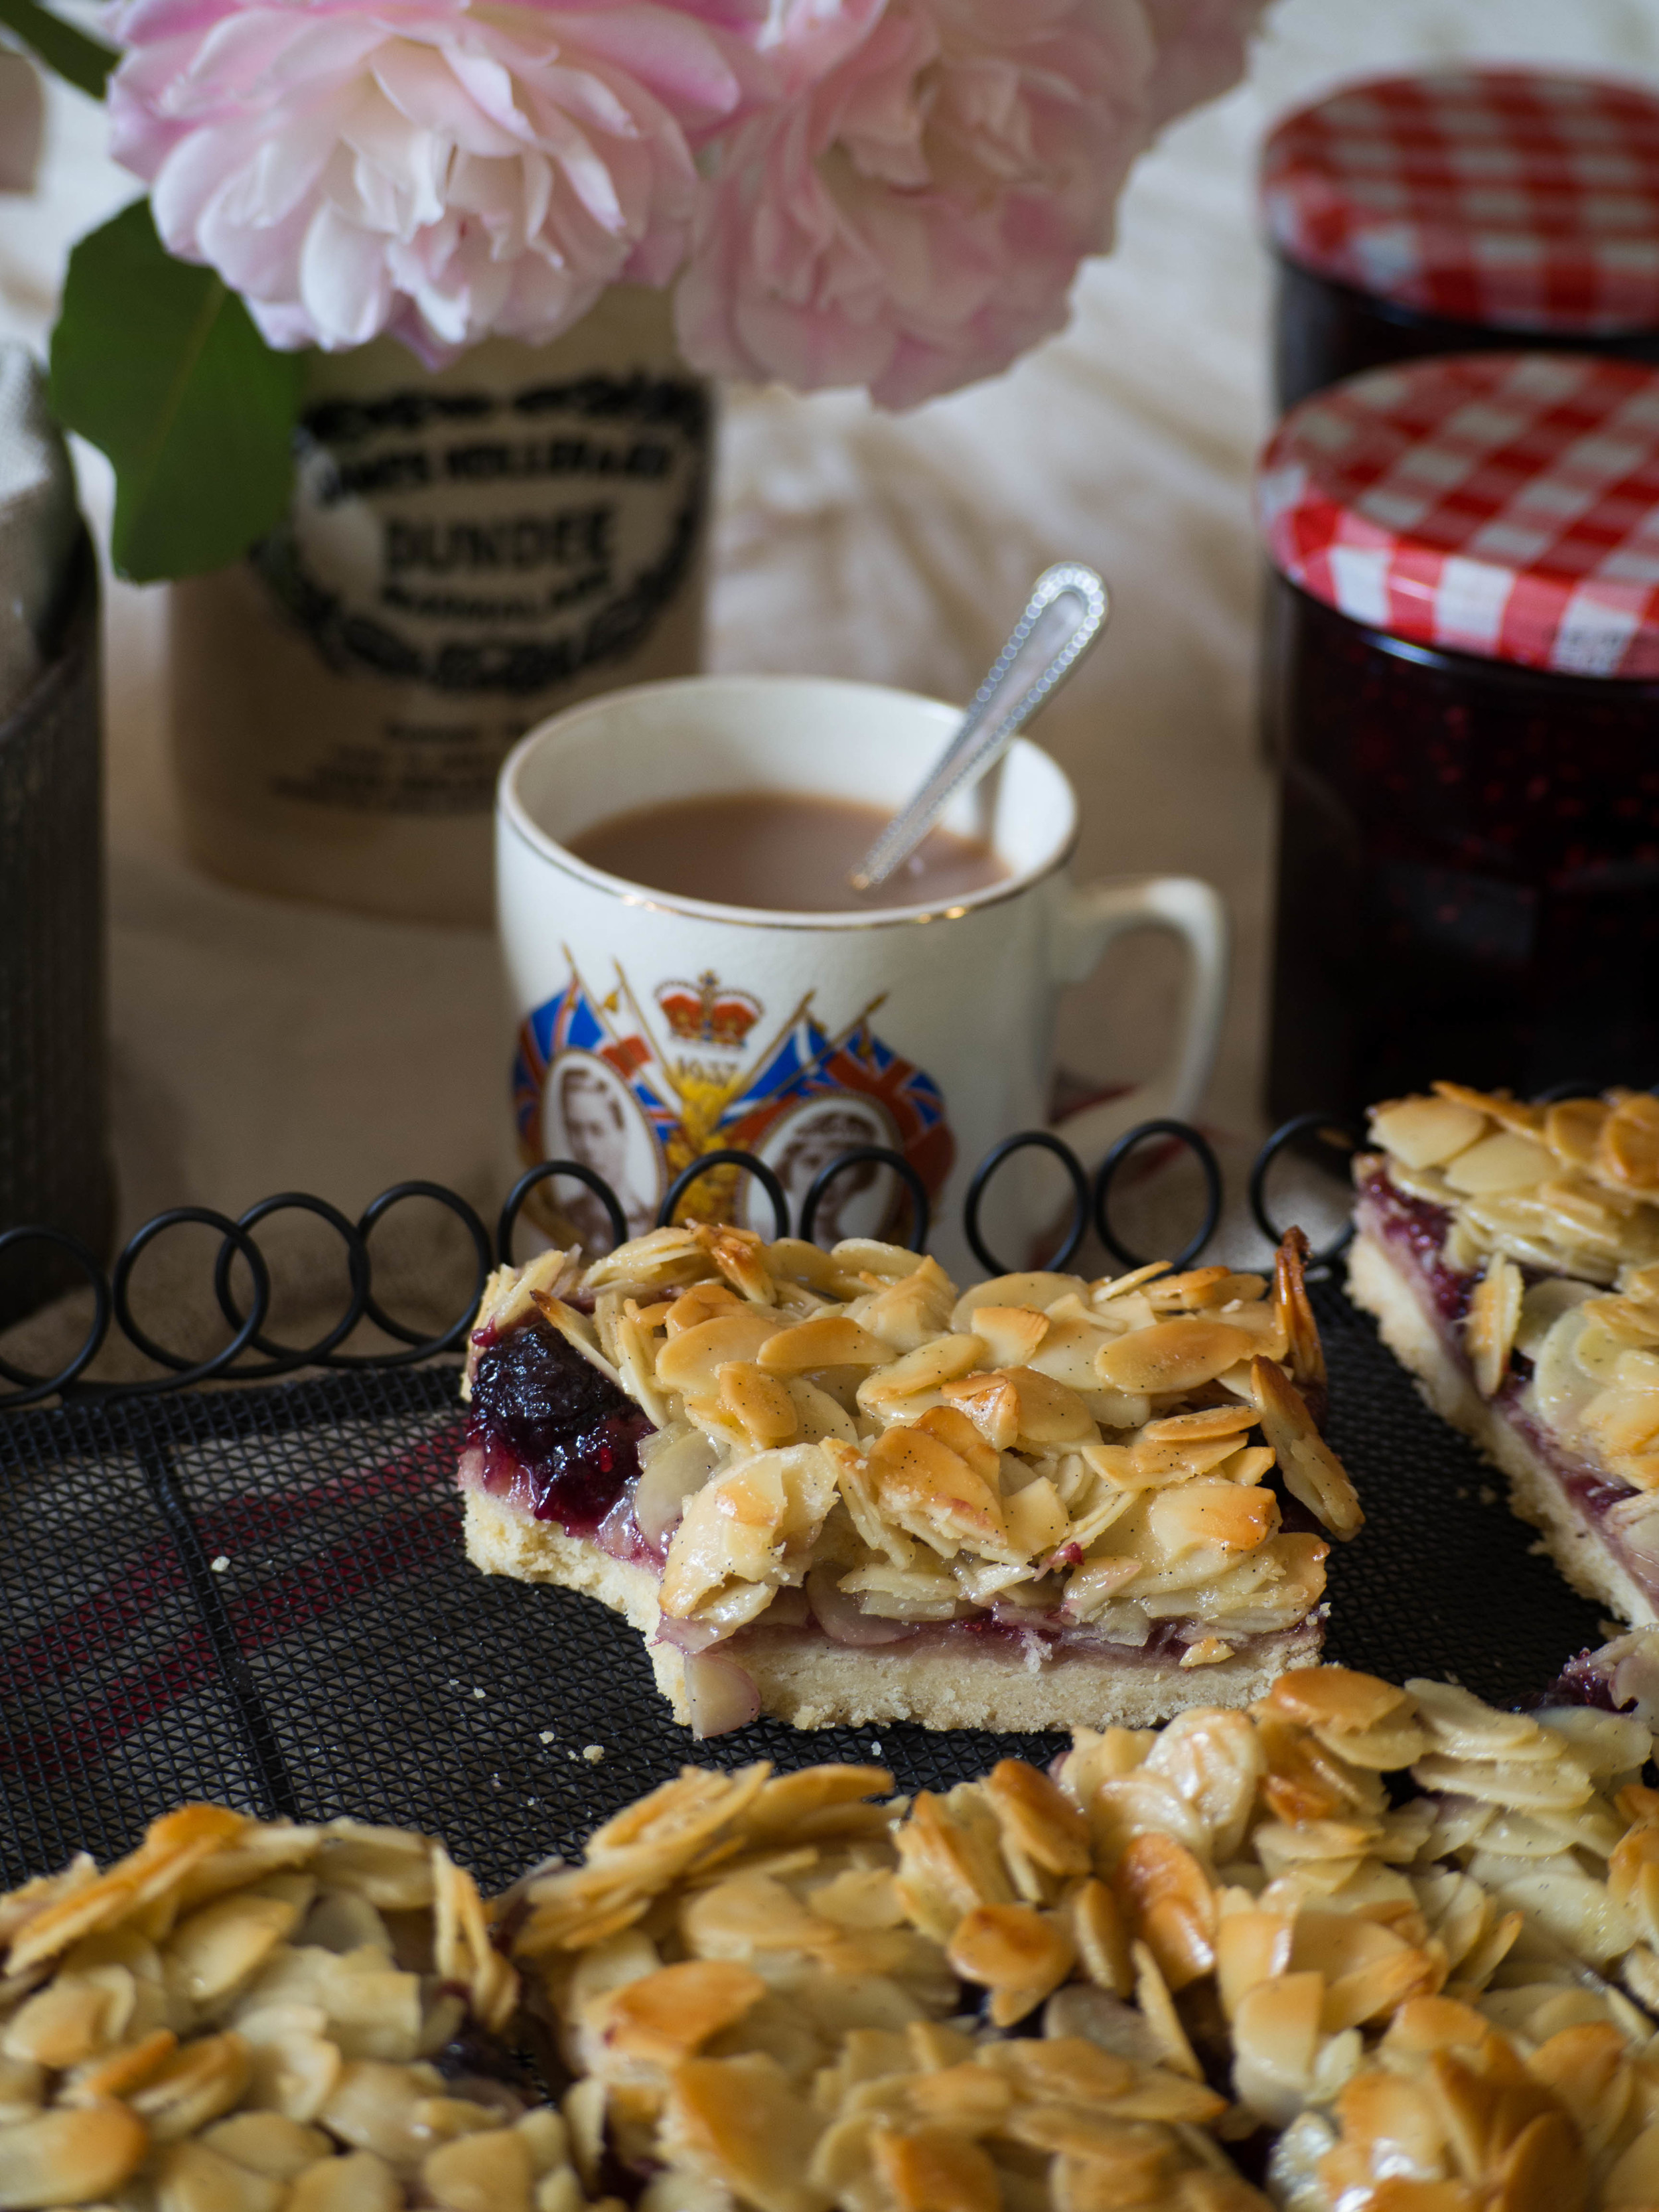
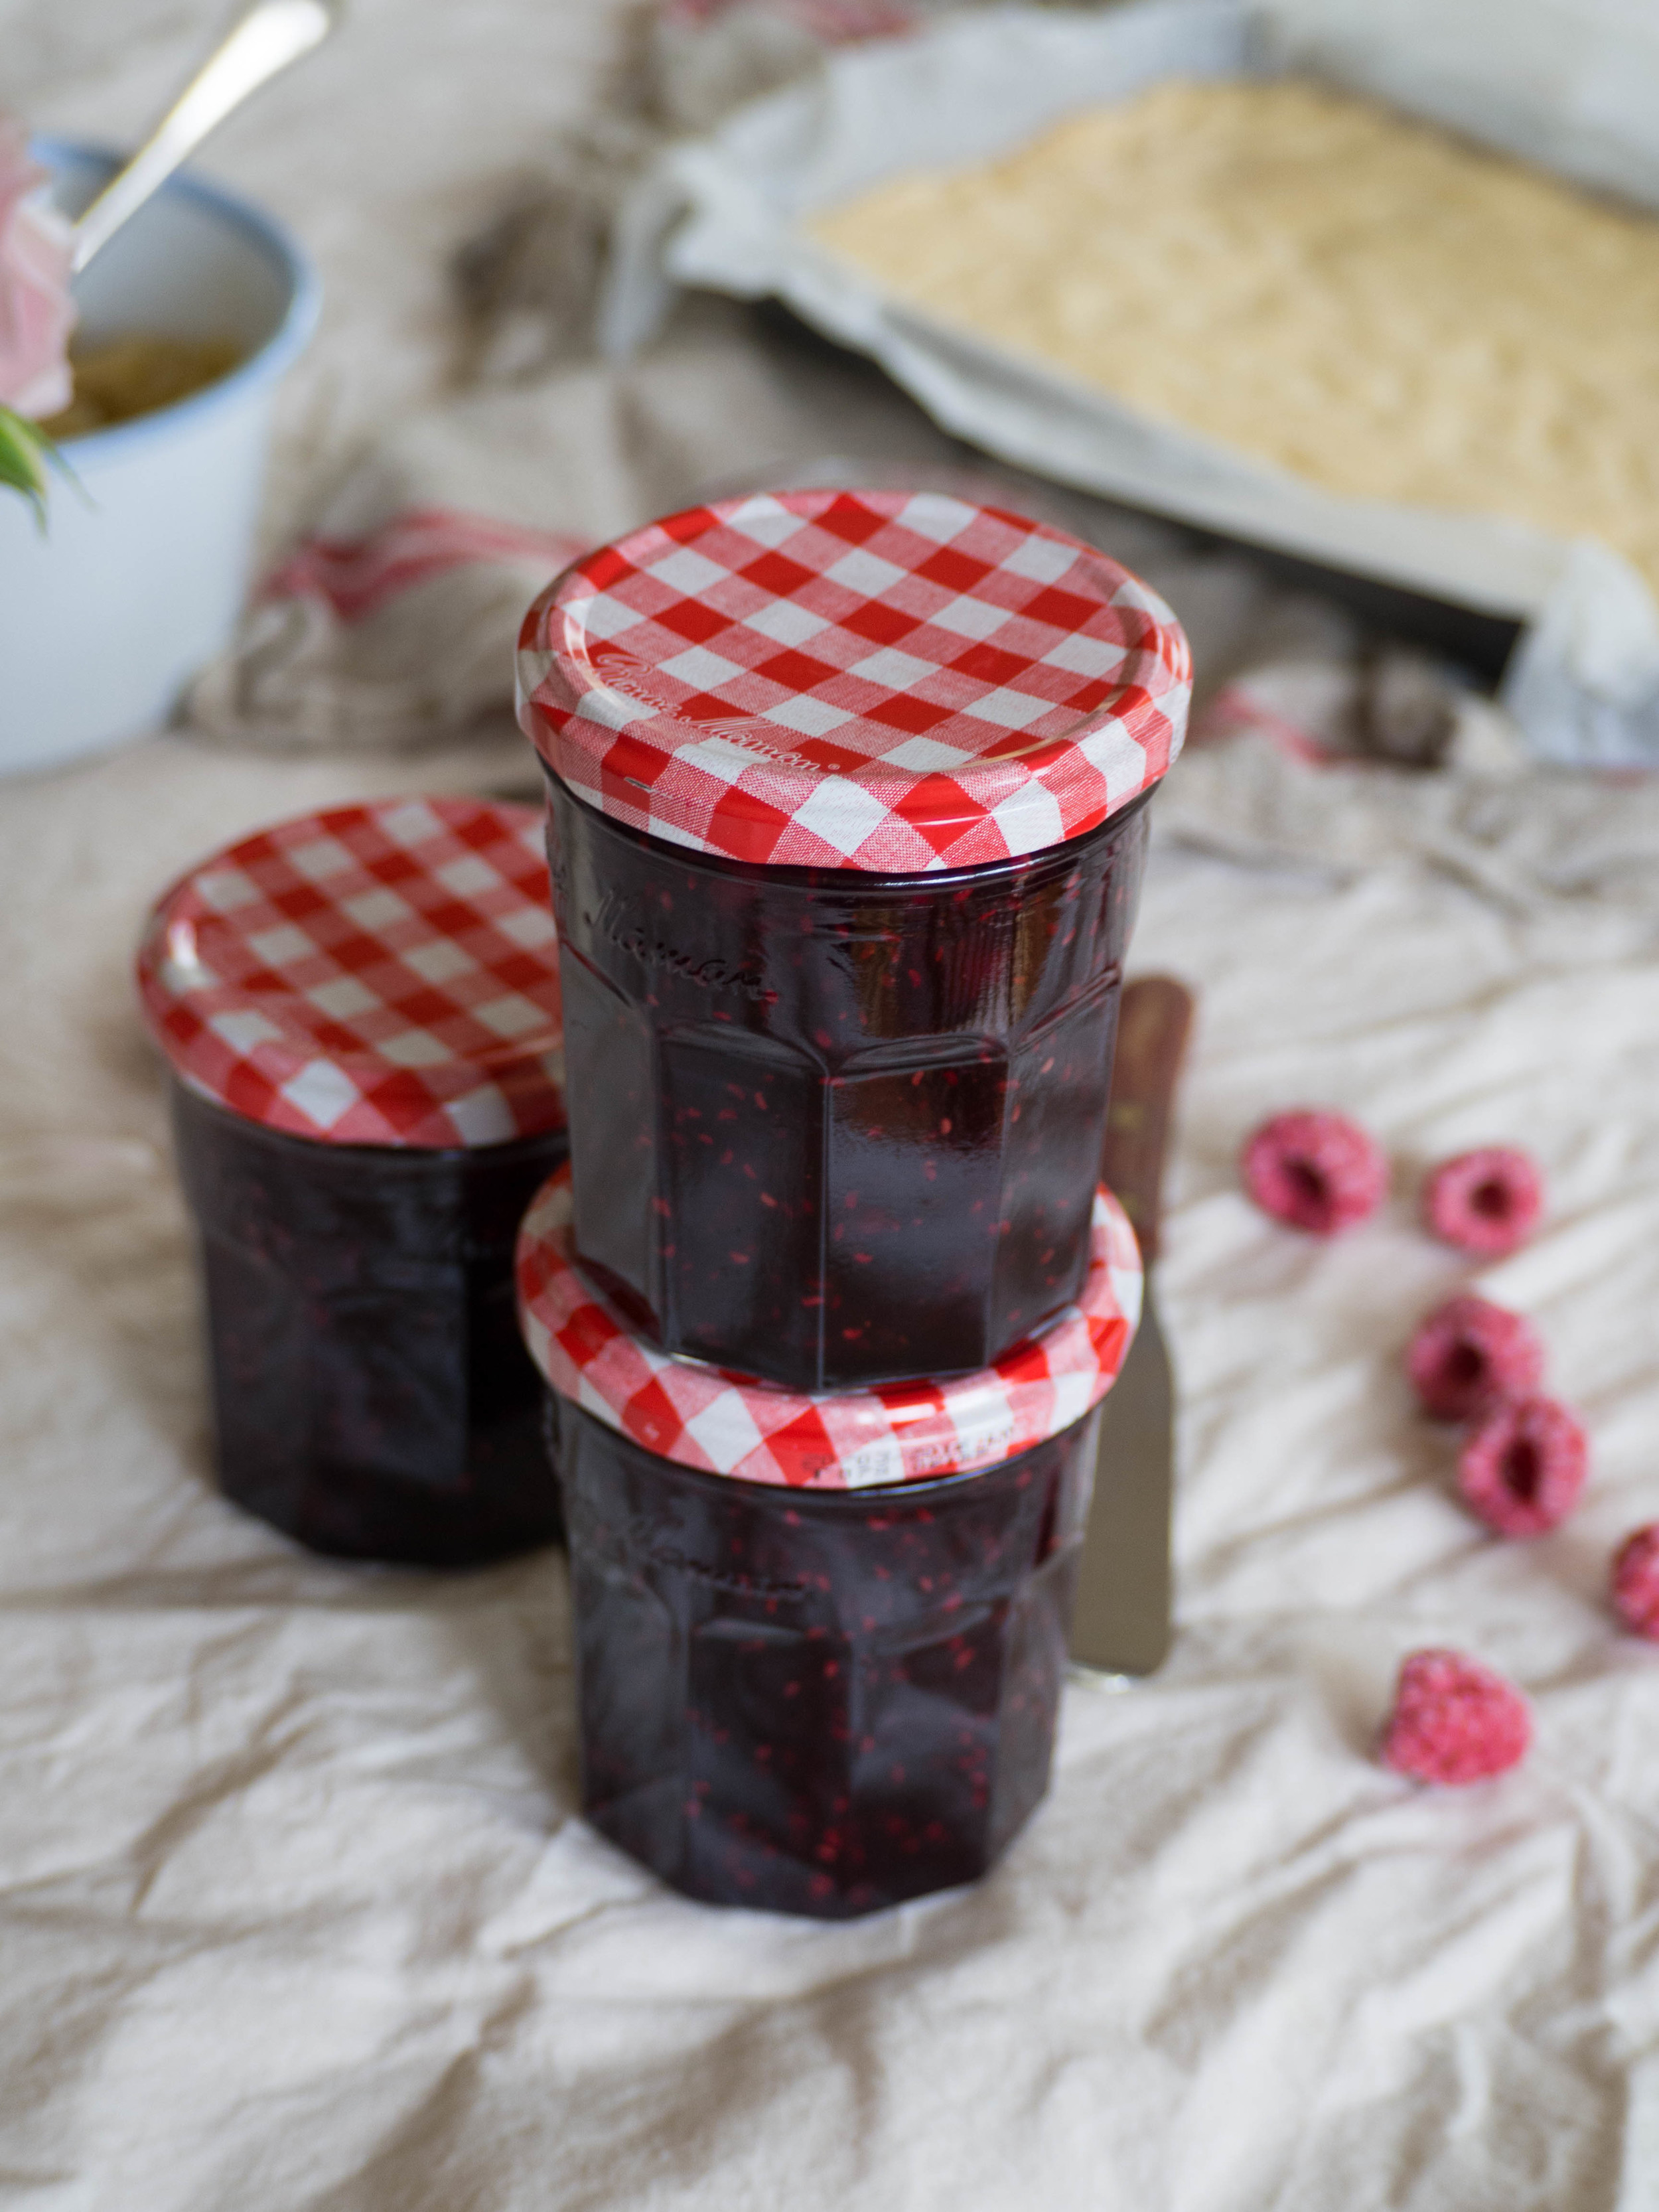
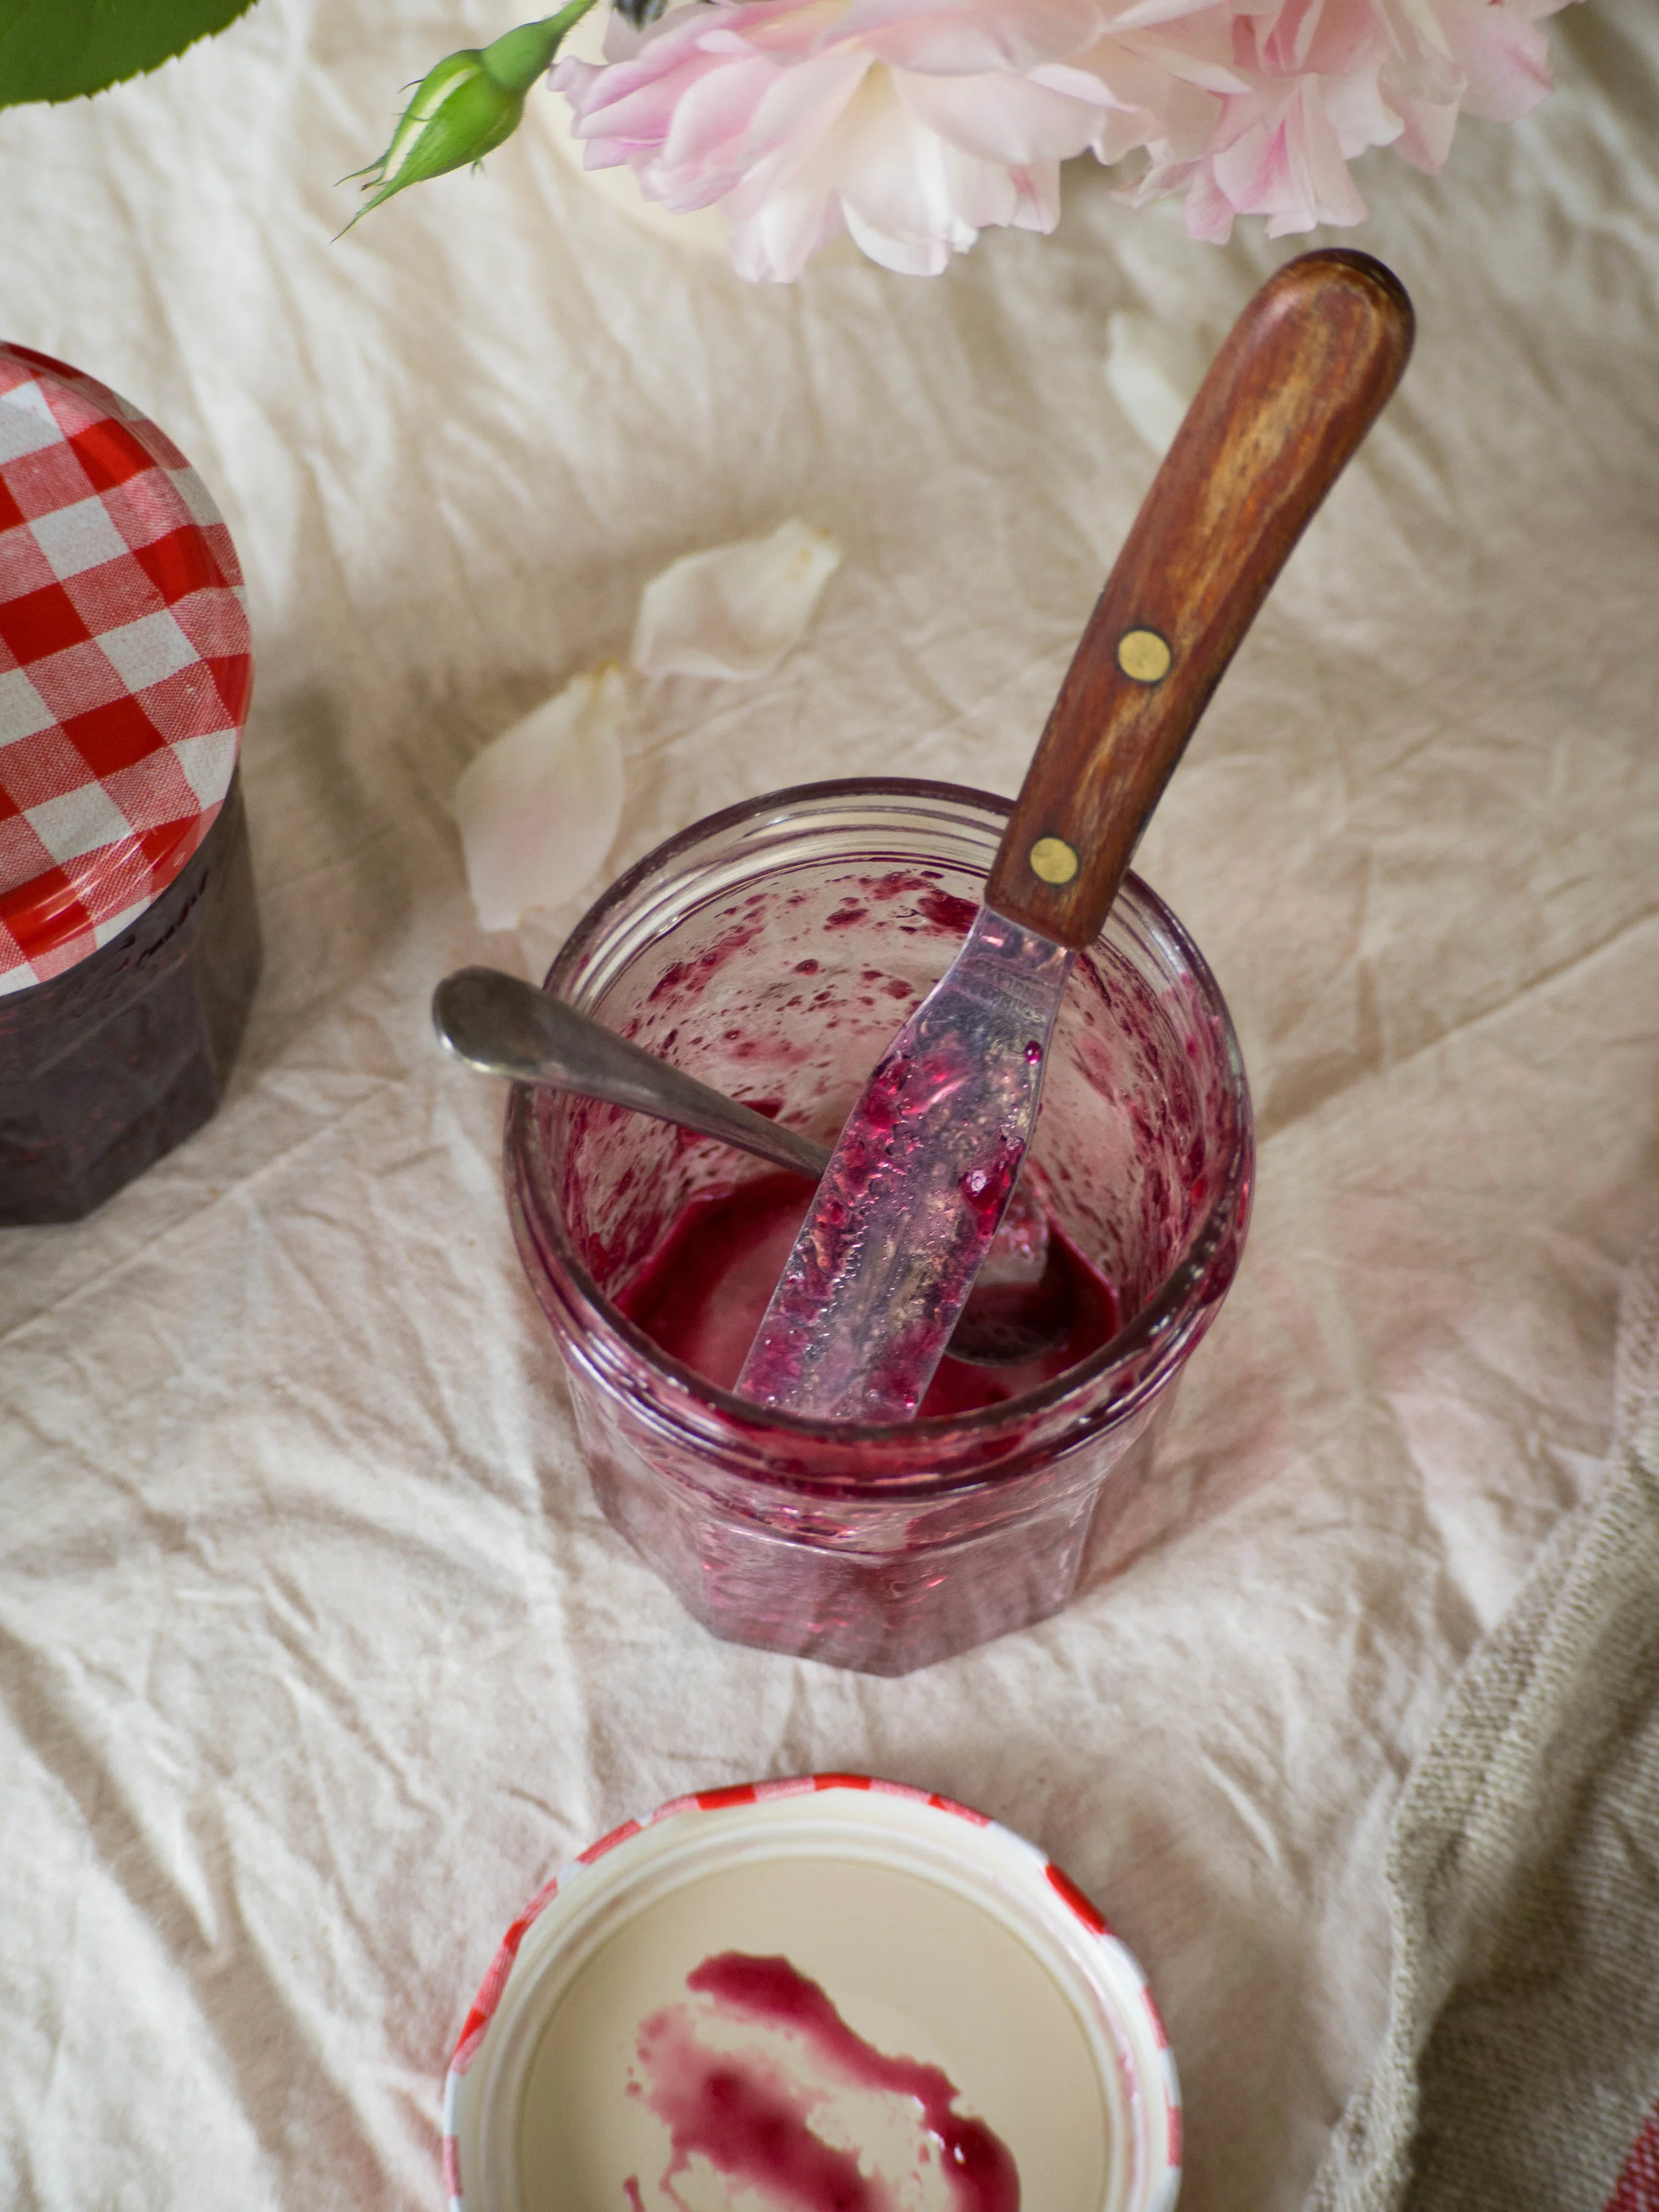
This is the first time I have used homemade jam in this slice, and I am pleased to say it is well worth the effort. I have made this slice numerous times in the past, usually using a raspberry jam, mostly one by Bonne Maman. It was always nice, and always something that I was asked to make often. 

Once I decided I was going to make my own jam however, I knew I needed to try some with this slice recipe. I was quite amazed at how much better the flavours were and I don’t think I will be going to back to using bought jam anytime soon. 

If you are worried about making jam, I urge you to give this a go. Its not difficult you just need to be organised and have everything prepared and ready. Make sure you read through the recipe before you begin, and work out how you want to co-ordinate sterilising the jam jars and getting the jam started. I have also added a few extra jam making tips at the end of the recipe which should help. Fresh or frozen berries can be used for the jam, and you can alter the quantities or types of berries used. Just make sure the total quantity adds up to 1 kg. 

I used fresh berries that I had frozen myself for this recipe. When I see berries in season and at a good price, I always buy them and freeze them immediately. I use tupperware containers to store them in the freezer, and try to keep the most recent purchases at the bottom to ensure I use them after the ones I bought less recently. It is often a good idea to label and date these things, I just often forget or can’t be bothered. I bake with berries so often that they don’t tend to stay in the freezer very long. I find they cook much better than the bought frozen berries, as they hold their shape and don’t bleed so much (which is good when making cakes and muffins etc). 

I am very much looking forward to making this jam again. I found it so satisfying that my homemade jam tasted better than the bought stuff, and it was really nice to give as gifts as well. The slice recipe would lend itself to be paired with lots of different types of jams - I’m thinking cherry, or quince for next time. 

Homemade Triple Berry Jam

Homemade Triple Berry Jam

Berry Almond Slice with Homemade Triple Berry Jam
Almond Topping

Almond Topping

Berry Almond Slice with Homemade Triple Berry Jam

Homemade Triple Berry Jam

 If making the homemade jam for the almond slice, make the jam at least one day ahead. 

Ingredients: 

700 g raspberries

175 g blueberries

125 g blackberries

80 ml lemon juice, plus extra 

880 g white sugar 


Method: 

Begin by placing two or three small plates in the freezer. You will need these later to test if the jam is jelling and ready to bottle. 

Then, sterilise at least four 370g capacity jars (I used old Bonne Maman jam jars). There are a few different methods to sterilise jars for preserving, however I prefer to pre-heat the oven to 100-120 degrees Celsius, wash the jars and lids in hot soapy water, then place the jars upside down on an oven shelf. Allow the lids to air dry. Leave the jars in the oven for at least 20 minutes. 

Whilst the jam jars are being sterilised, start making the jam. Using a large heavy based saucepan (preferably enamel, stainless steel or aluminium), mix all the ingredients together and place on the stove over high heat without boiling, until the sugar dissolves, then bring to the boil. Reduce the heat and allow the jam mixture to simmer uncovered for 20 minutes without stirring. The jam mixture should have reduced by the 20 minute mark and will also appear to have thickened. If necessary stir the jam a little ensure it is cooking evenly. 

After 20 minutes test the jam to see if it has reached jelling point. To test the jelling point of the jam, use one of the chilled plates and drop a small amount of the jam onto it. Leave for a couple of minutes, then push your finger through the jam. If a skin has formed over the jam and you can now see it wrinkling, the jam is ready. If it is not ready, leave to cook for a few more minutes and/or add some extra lemon juice. Then use the remaining chilled plates to test if the jam has jelled.

Once the jam has reached jelling point, remove the sterilised jars from the oven and place onto a wooden board. Using a wide mouthed funnel or jam funnel, pour the hot jam into the hot sterilised jars. Fill right to the top and seal immediately. Leave to cool, and store in a cool dark place. This jam should last about 1 year stored correctly and unopened. Once opened keep in the fridge. 

Berry Almond Slice with Homemade Triple Berry Jam

Jam Tips

  • I often sterilise one extra jar just in case I need it, even if its a slightly smaller jar, just in case the recipe makes more jam than I expect.

  • Make sure the jars are filled right to the top with jam. If you do not they may not store as well and could develop mould. If you find you cannot fill a jar to the top, make sure you use that one first.

  • If mould does develop on the surface of the jam during storage, discard that whole jar. It will not be safe to eat any of the jam from that jar, even if the mould is removed from the surface.

  • In very humid conditions jam can be stored in the fridge even before opening.

  • If the jam will not reach jelling point, bring back to the boil and try again. You can also add more lemon juice (which acts as a natural jelling agent), or pectin/jam setter. Jams using apples generally set well as they naturally contain a lot of pectin.

  • Ensure all the utensils you are using, particularly the funnel, are well washed. Any contamination of the jam once it is cooling down could compromise its shelf life.
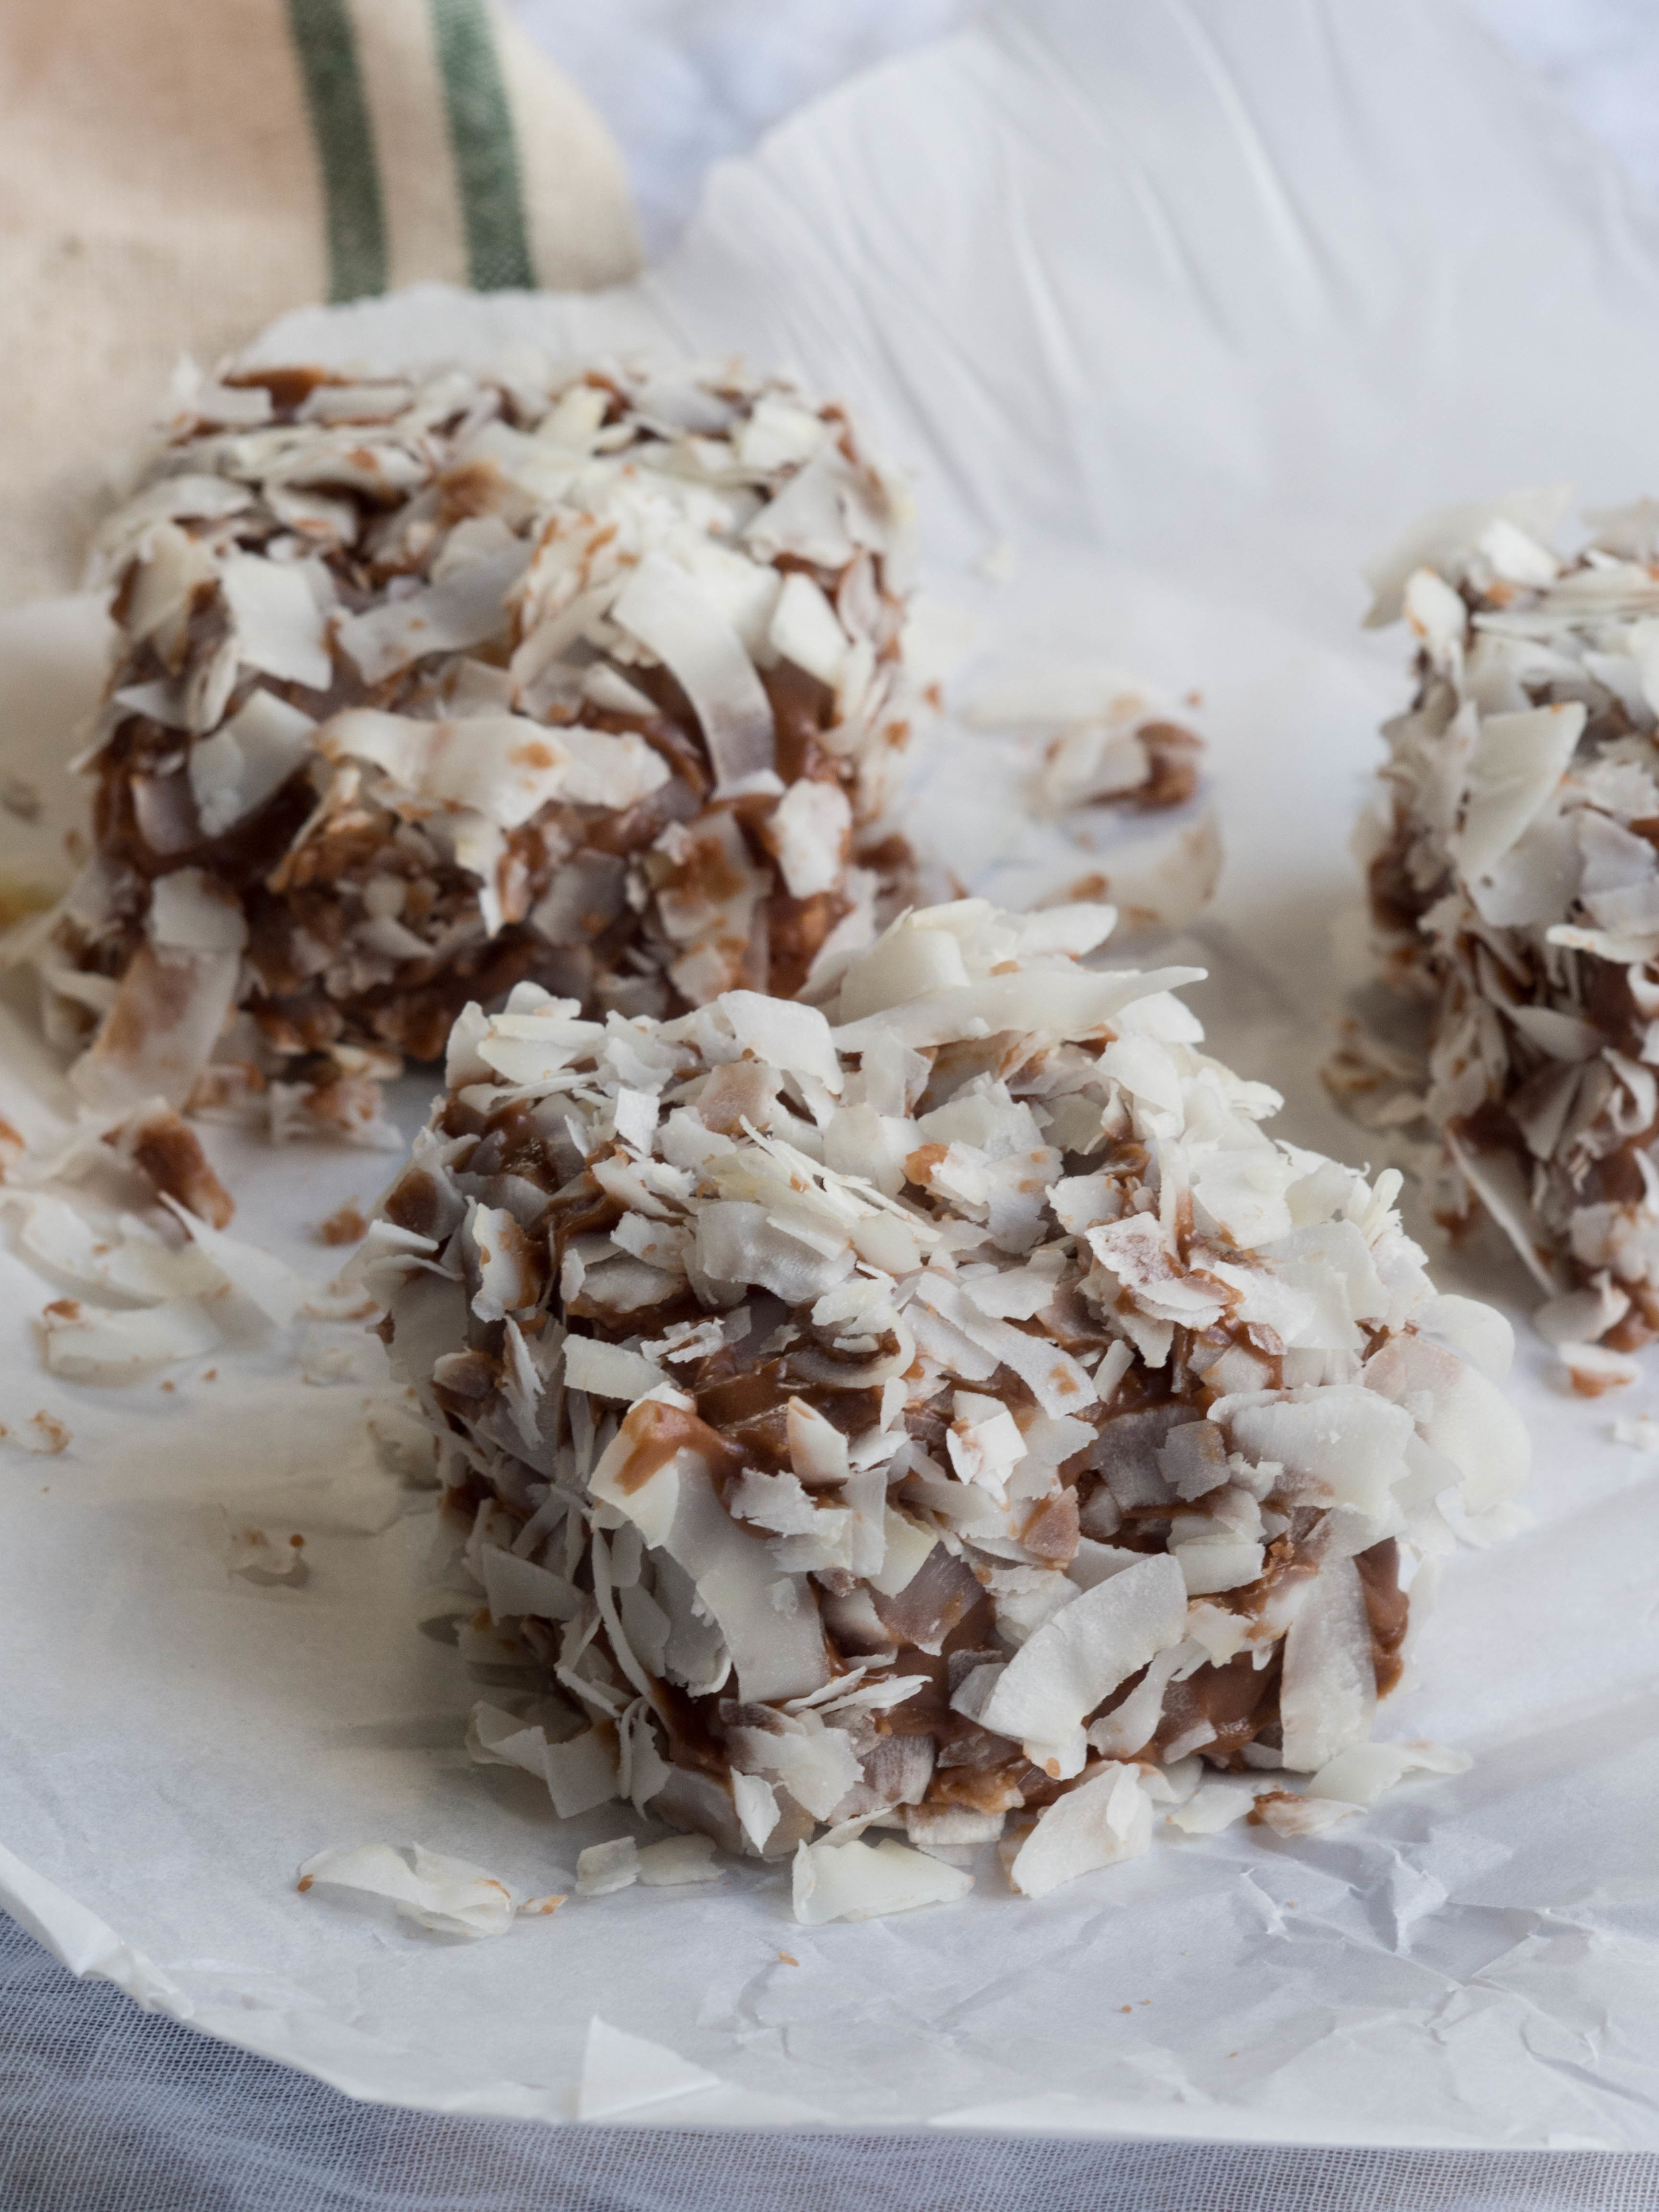
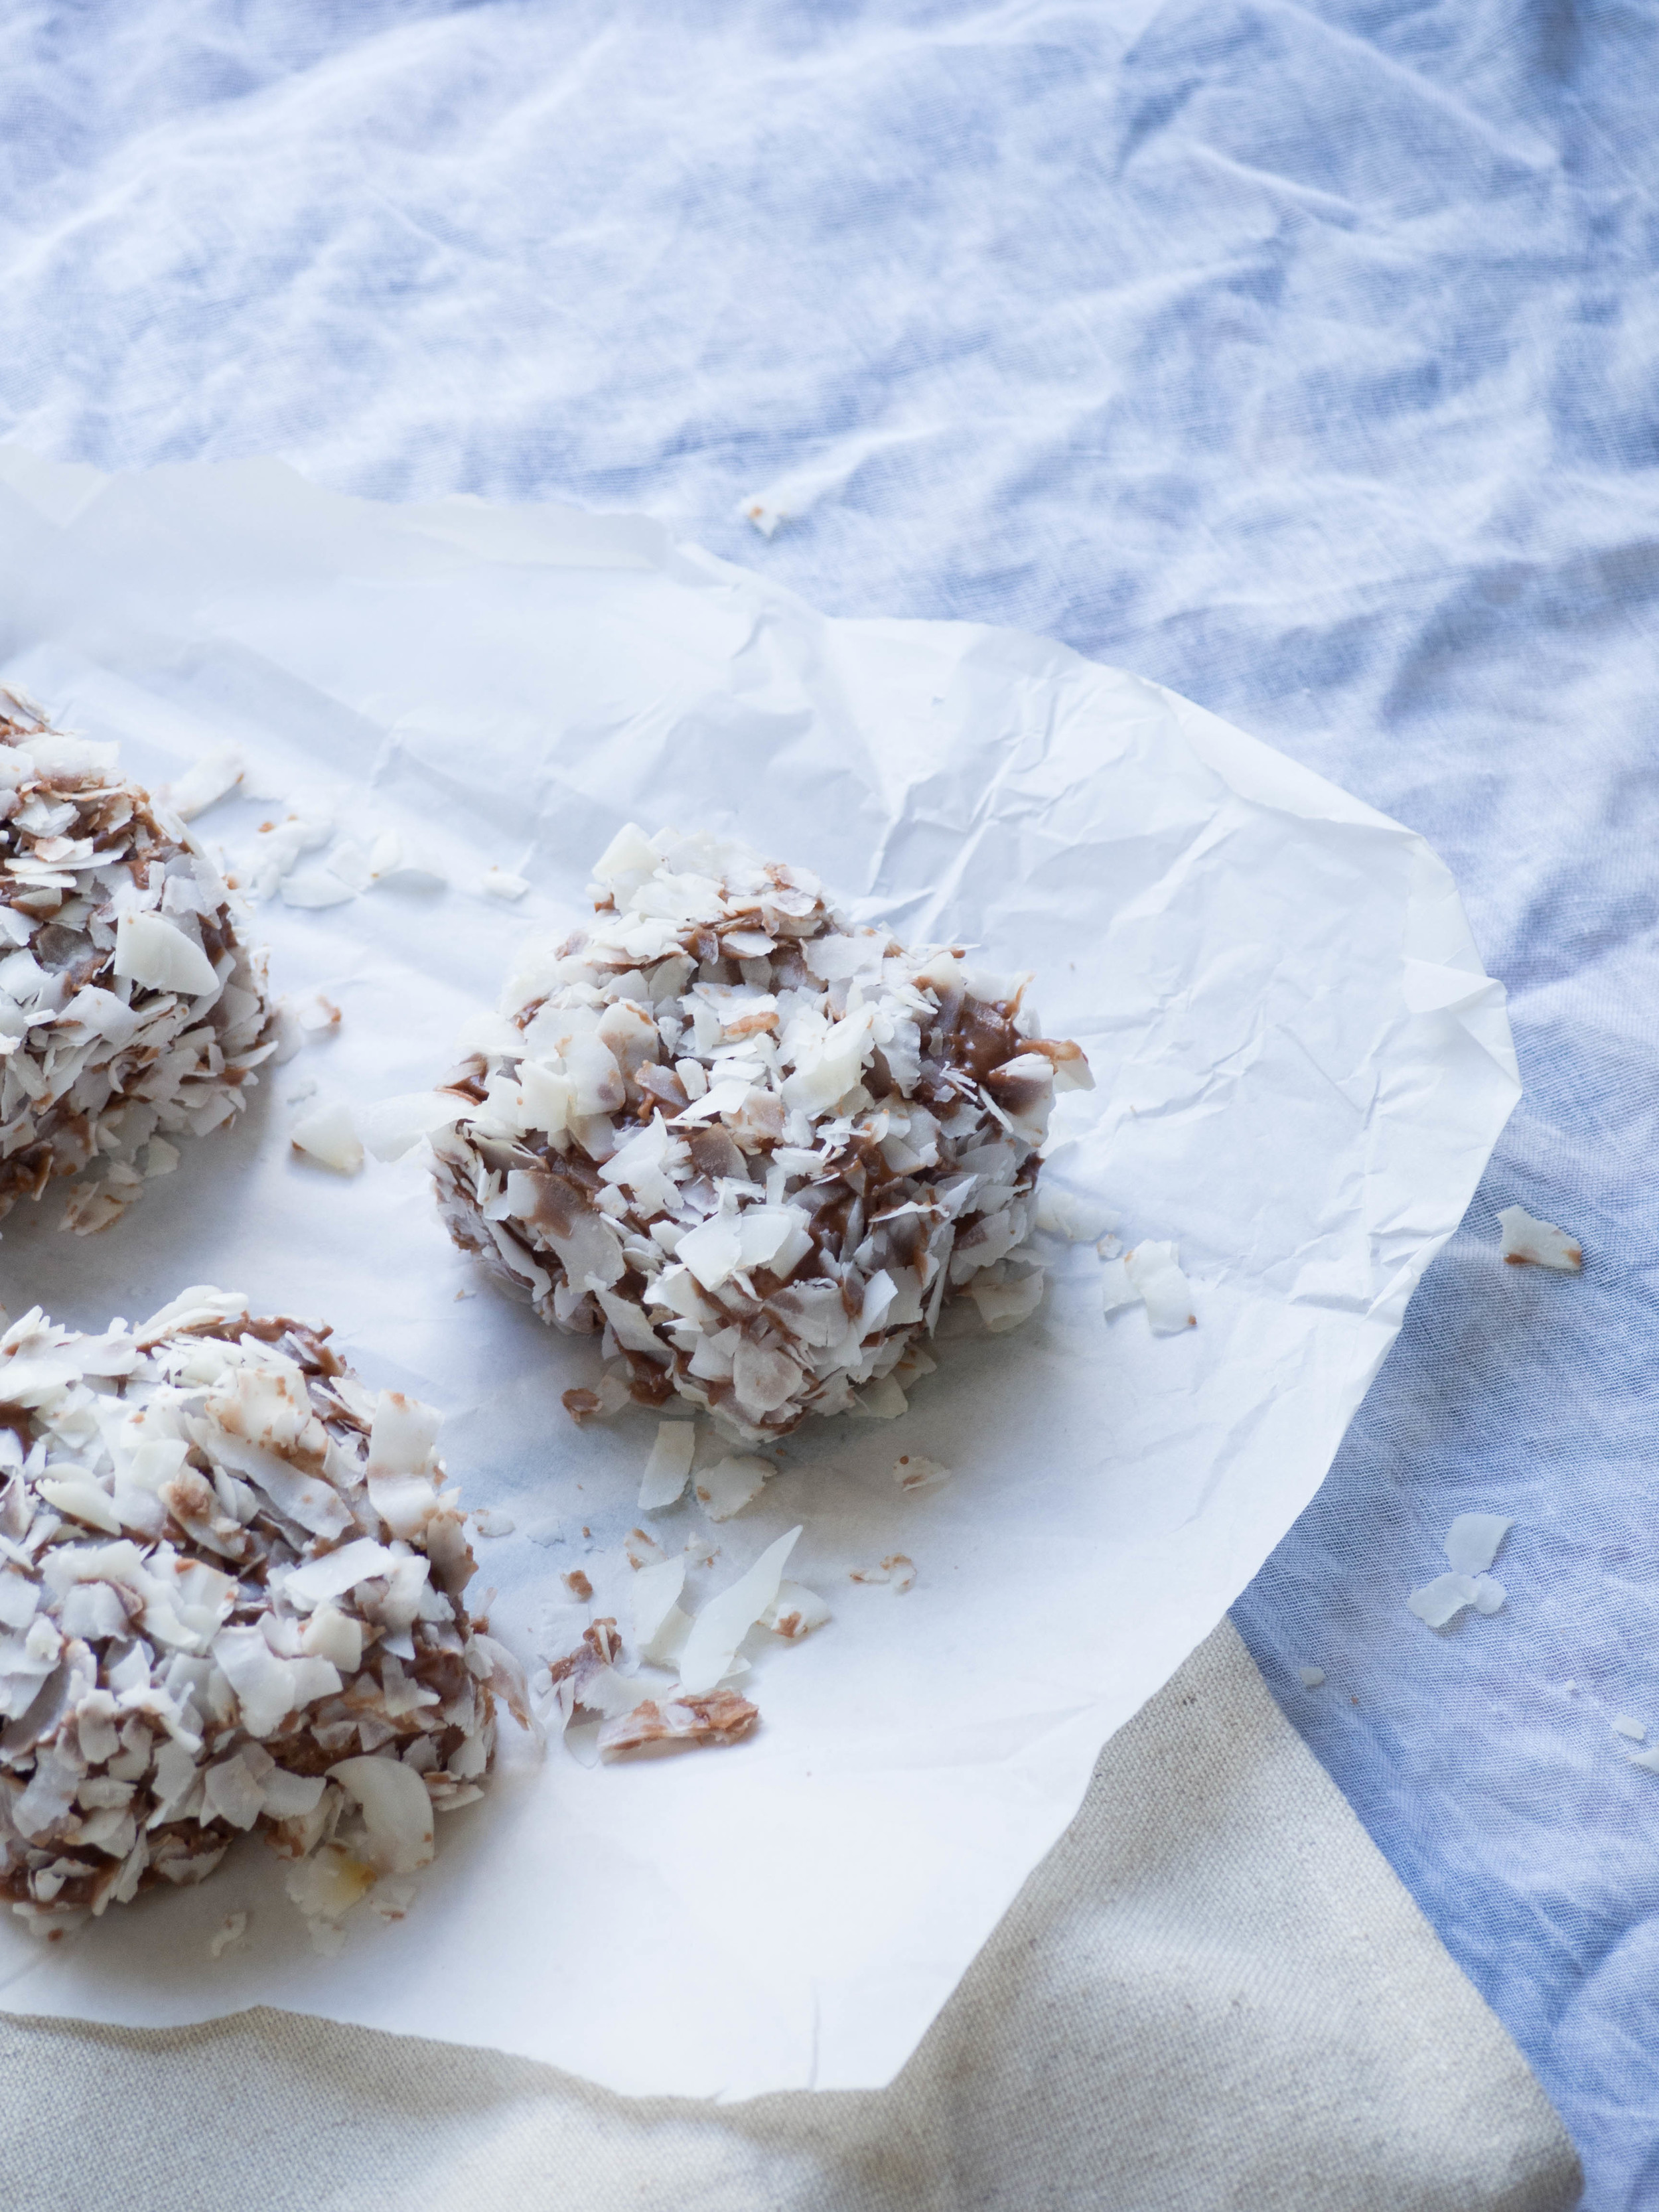
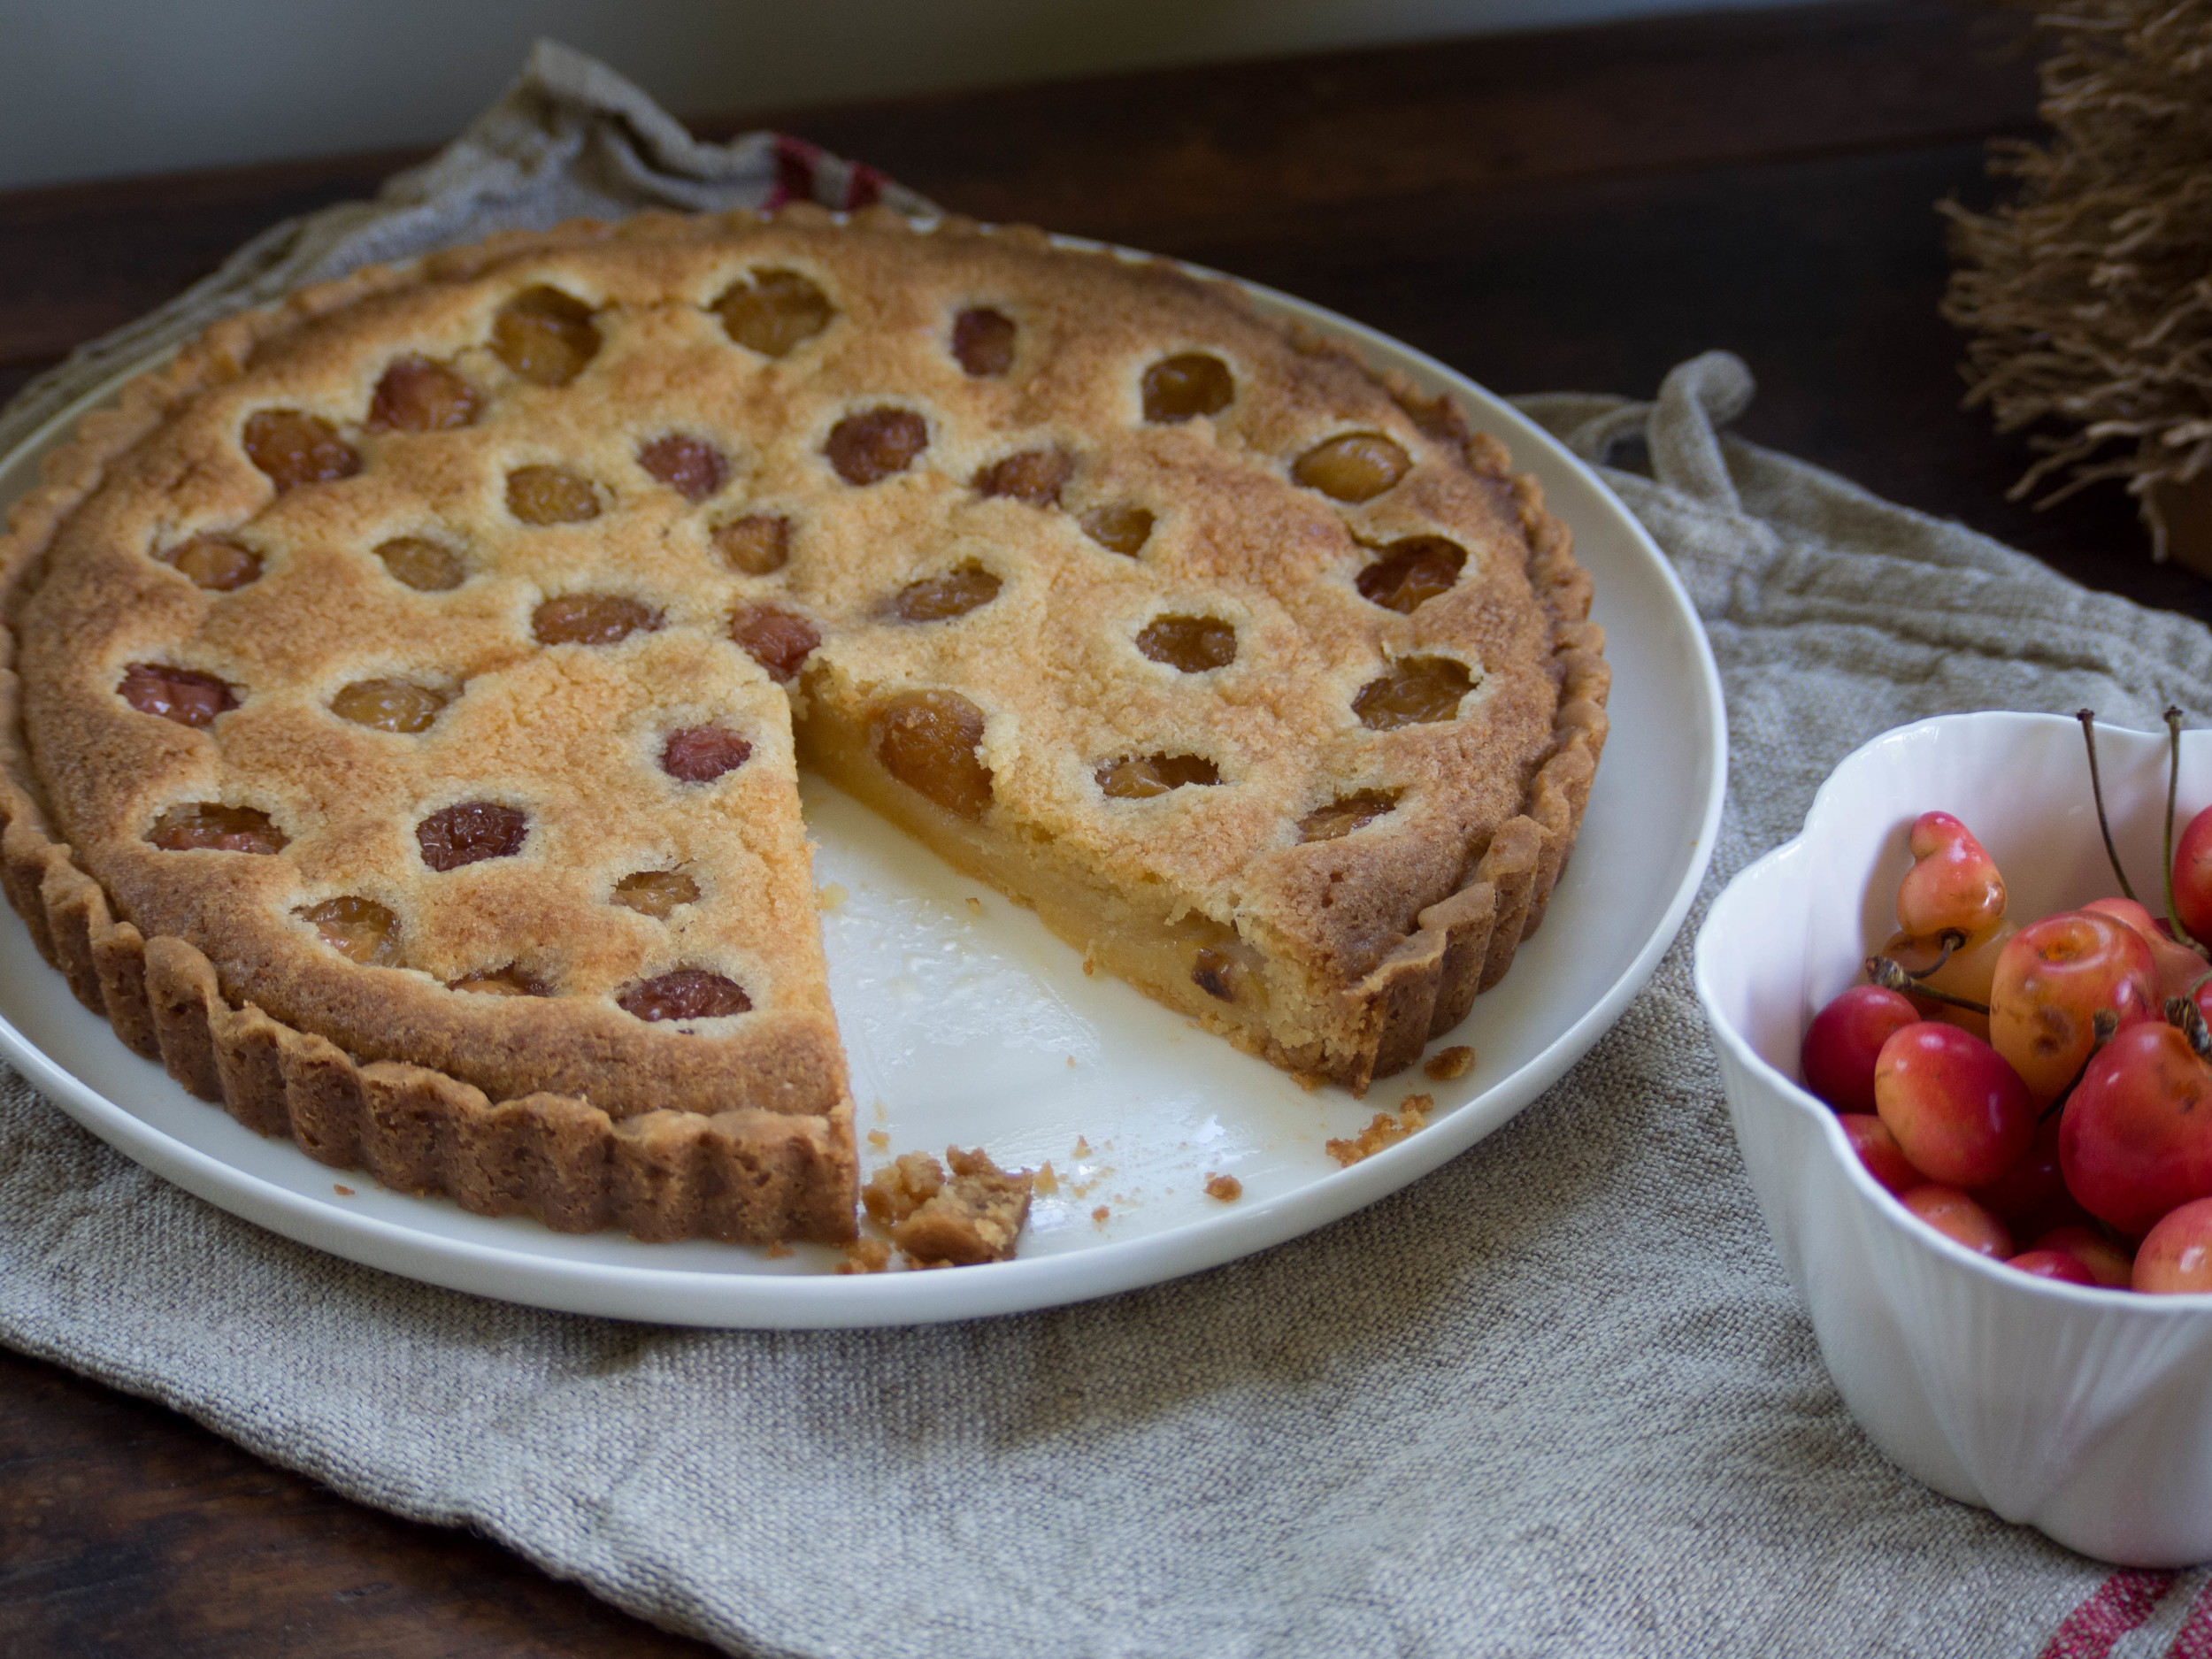
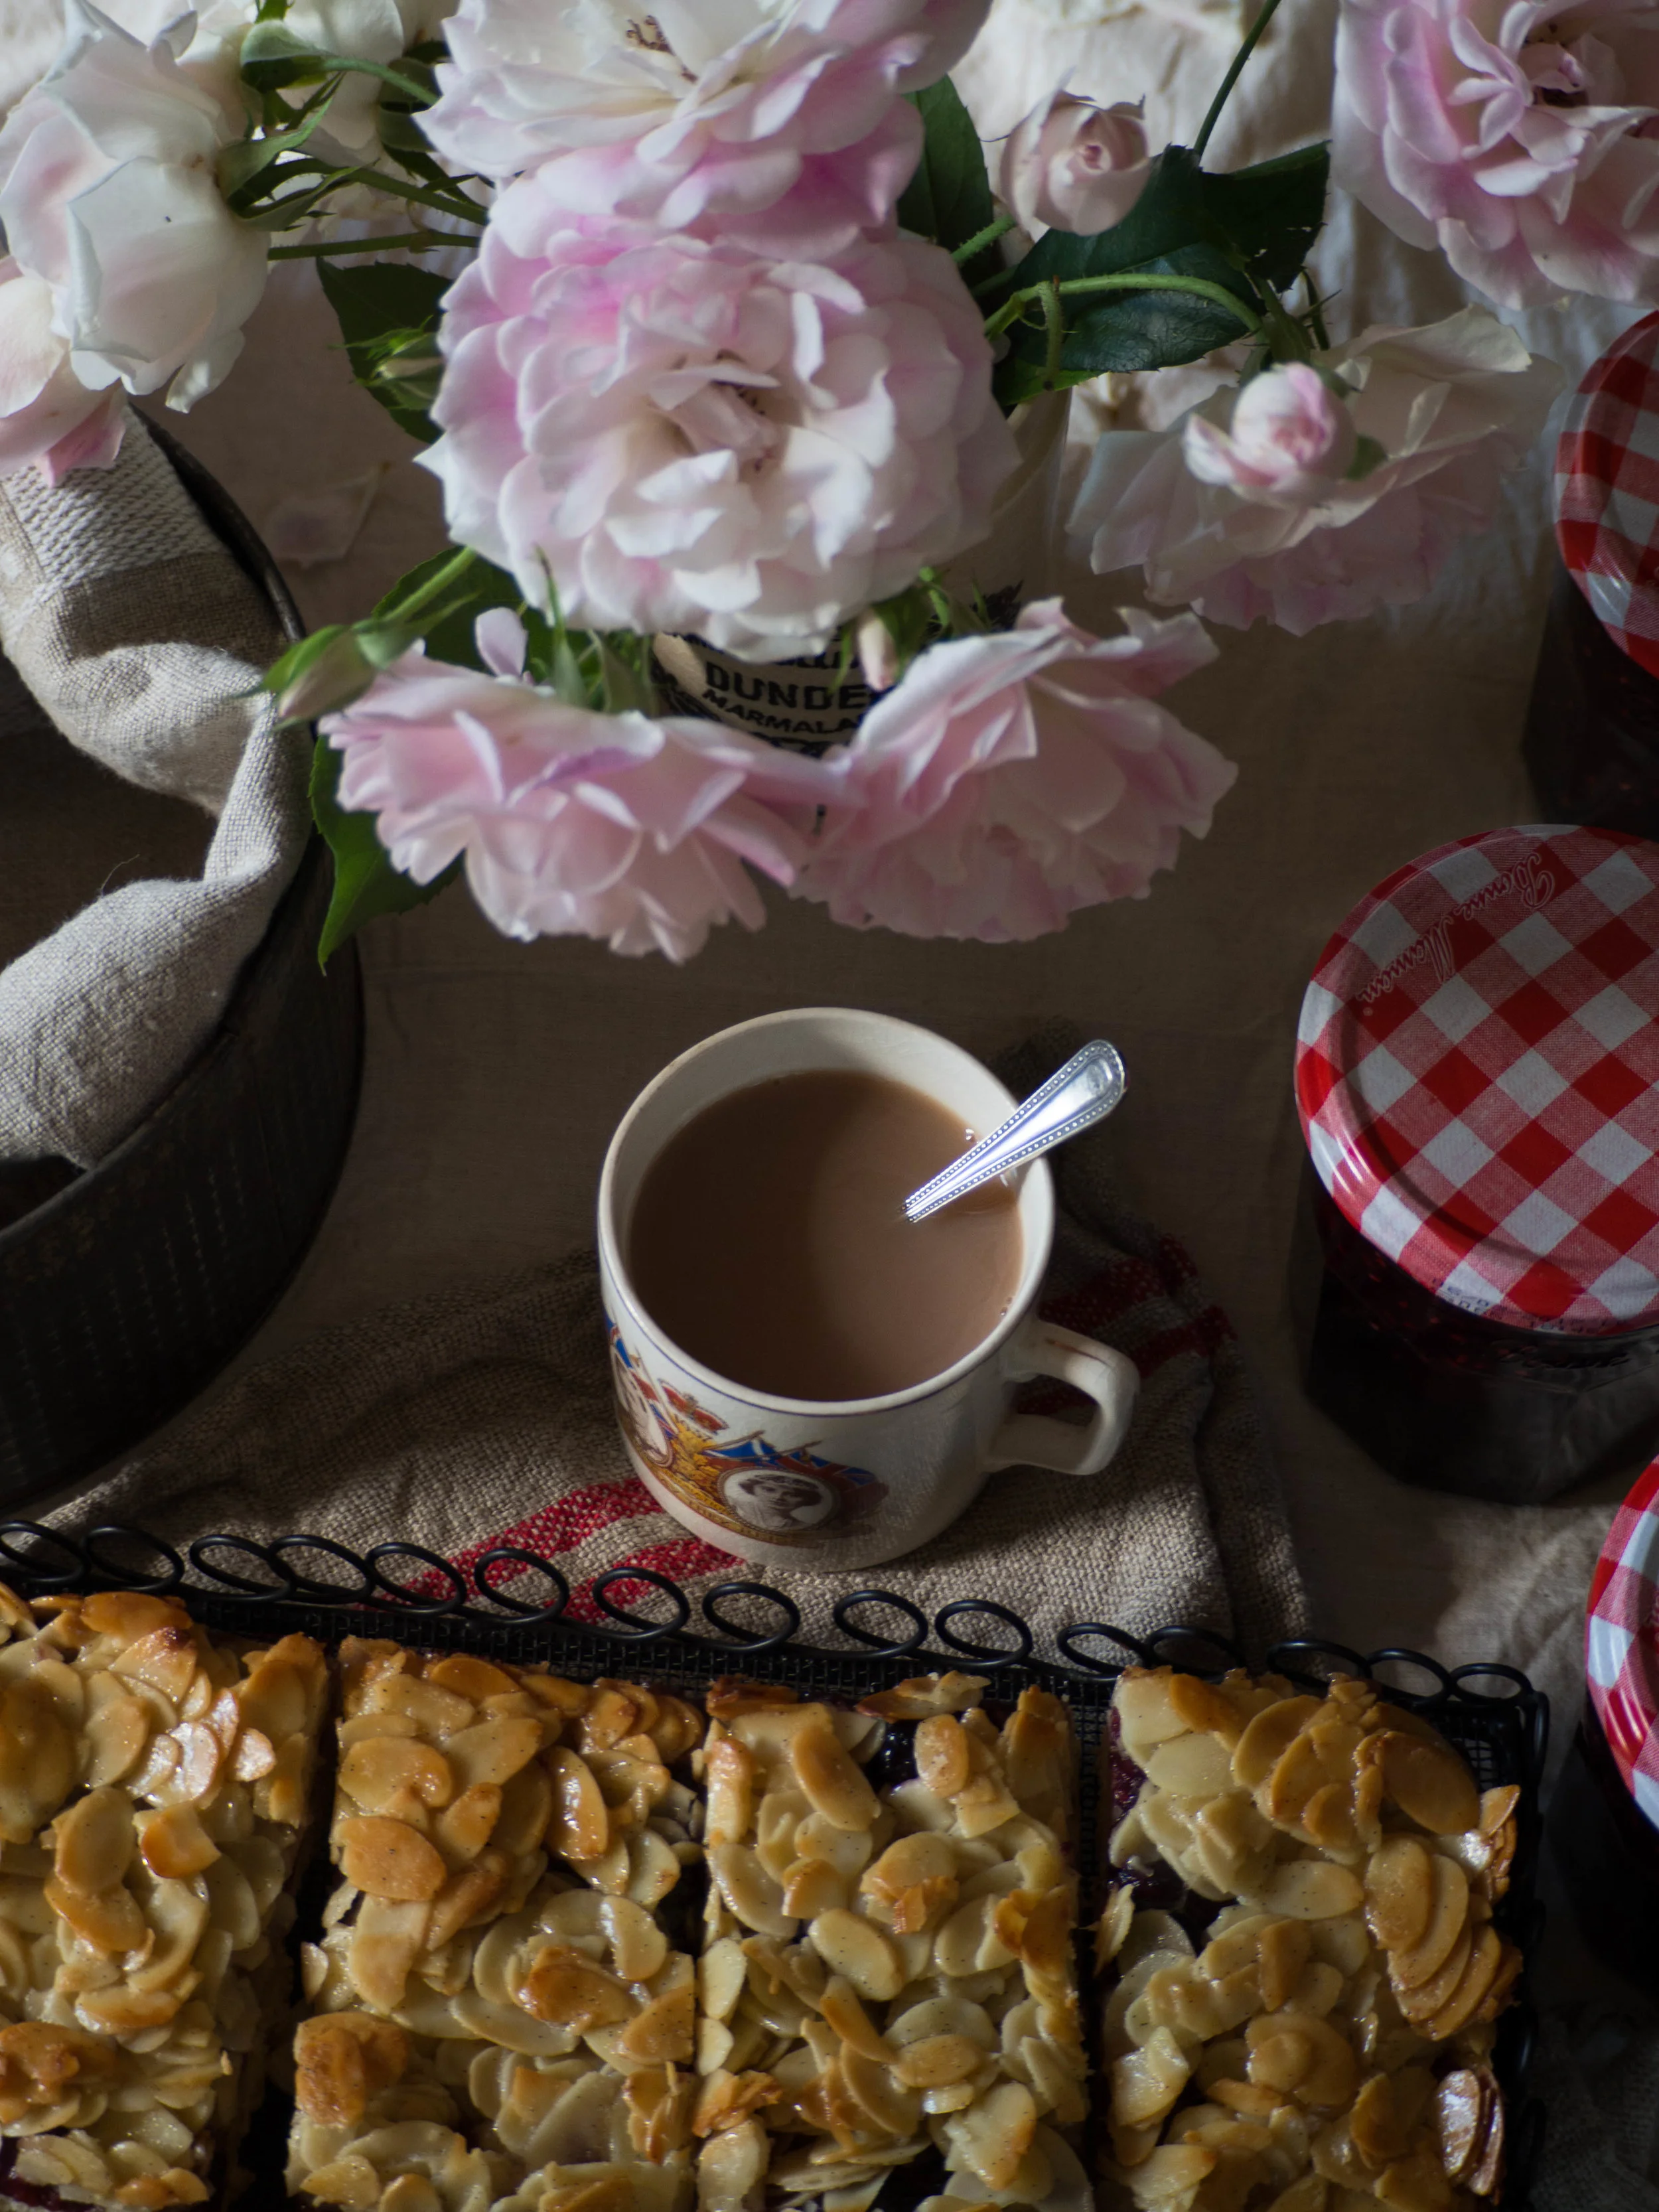
Berry Almond Slice with Homemade Triple Berry Jam

Berry Almond Slice

Ingredients for the Topping: 

60 g unsalted butter, softened

55 g caster sugar

1 tsp vanilla extract/paste

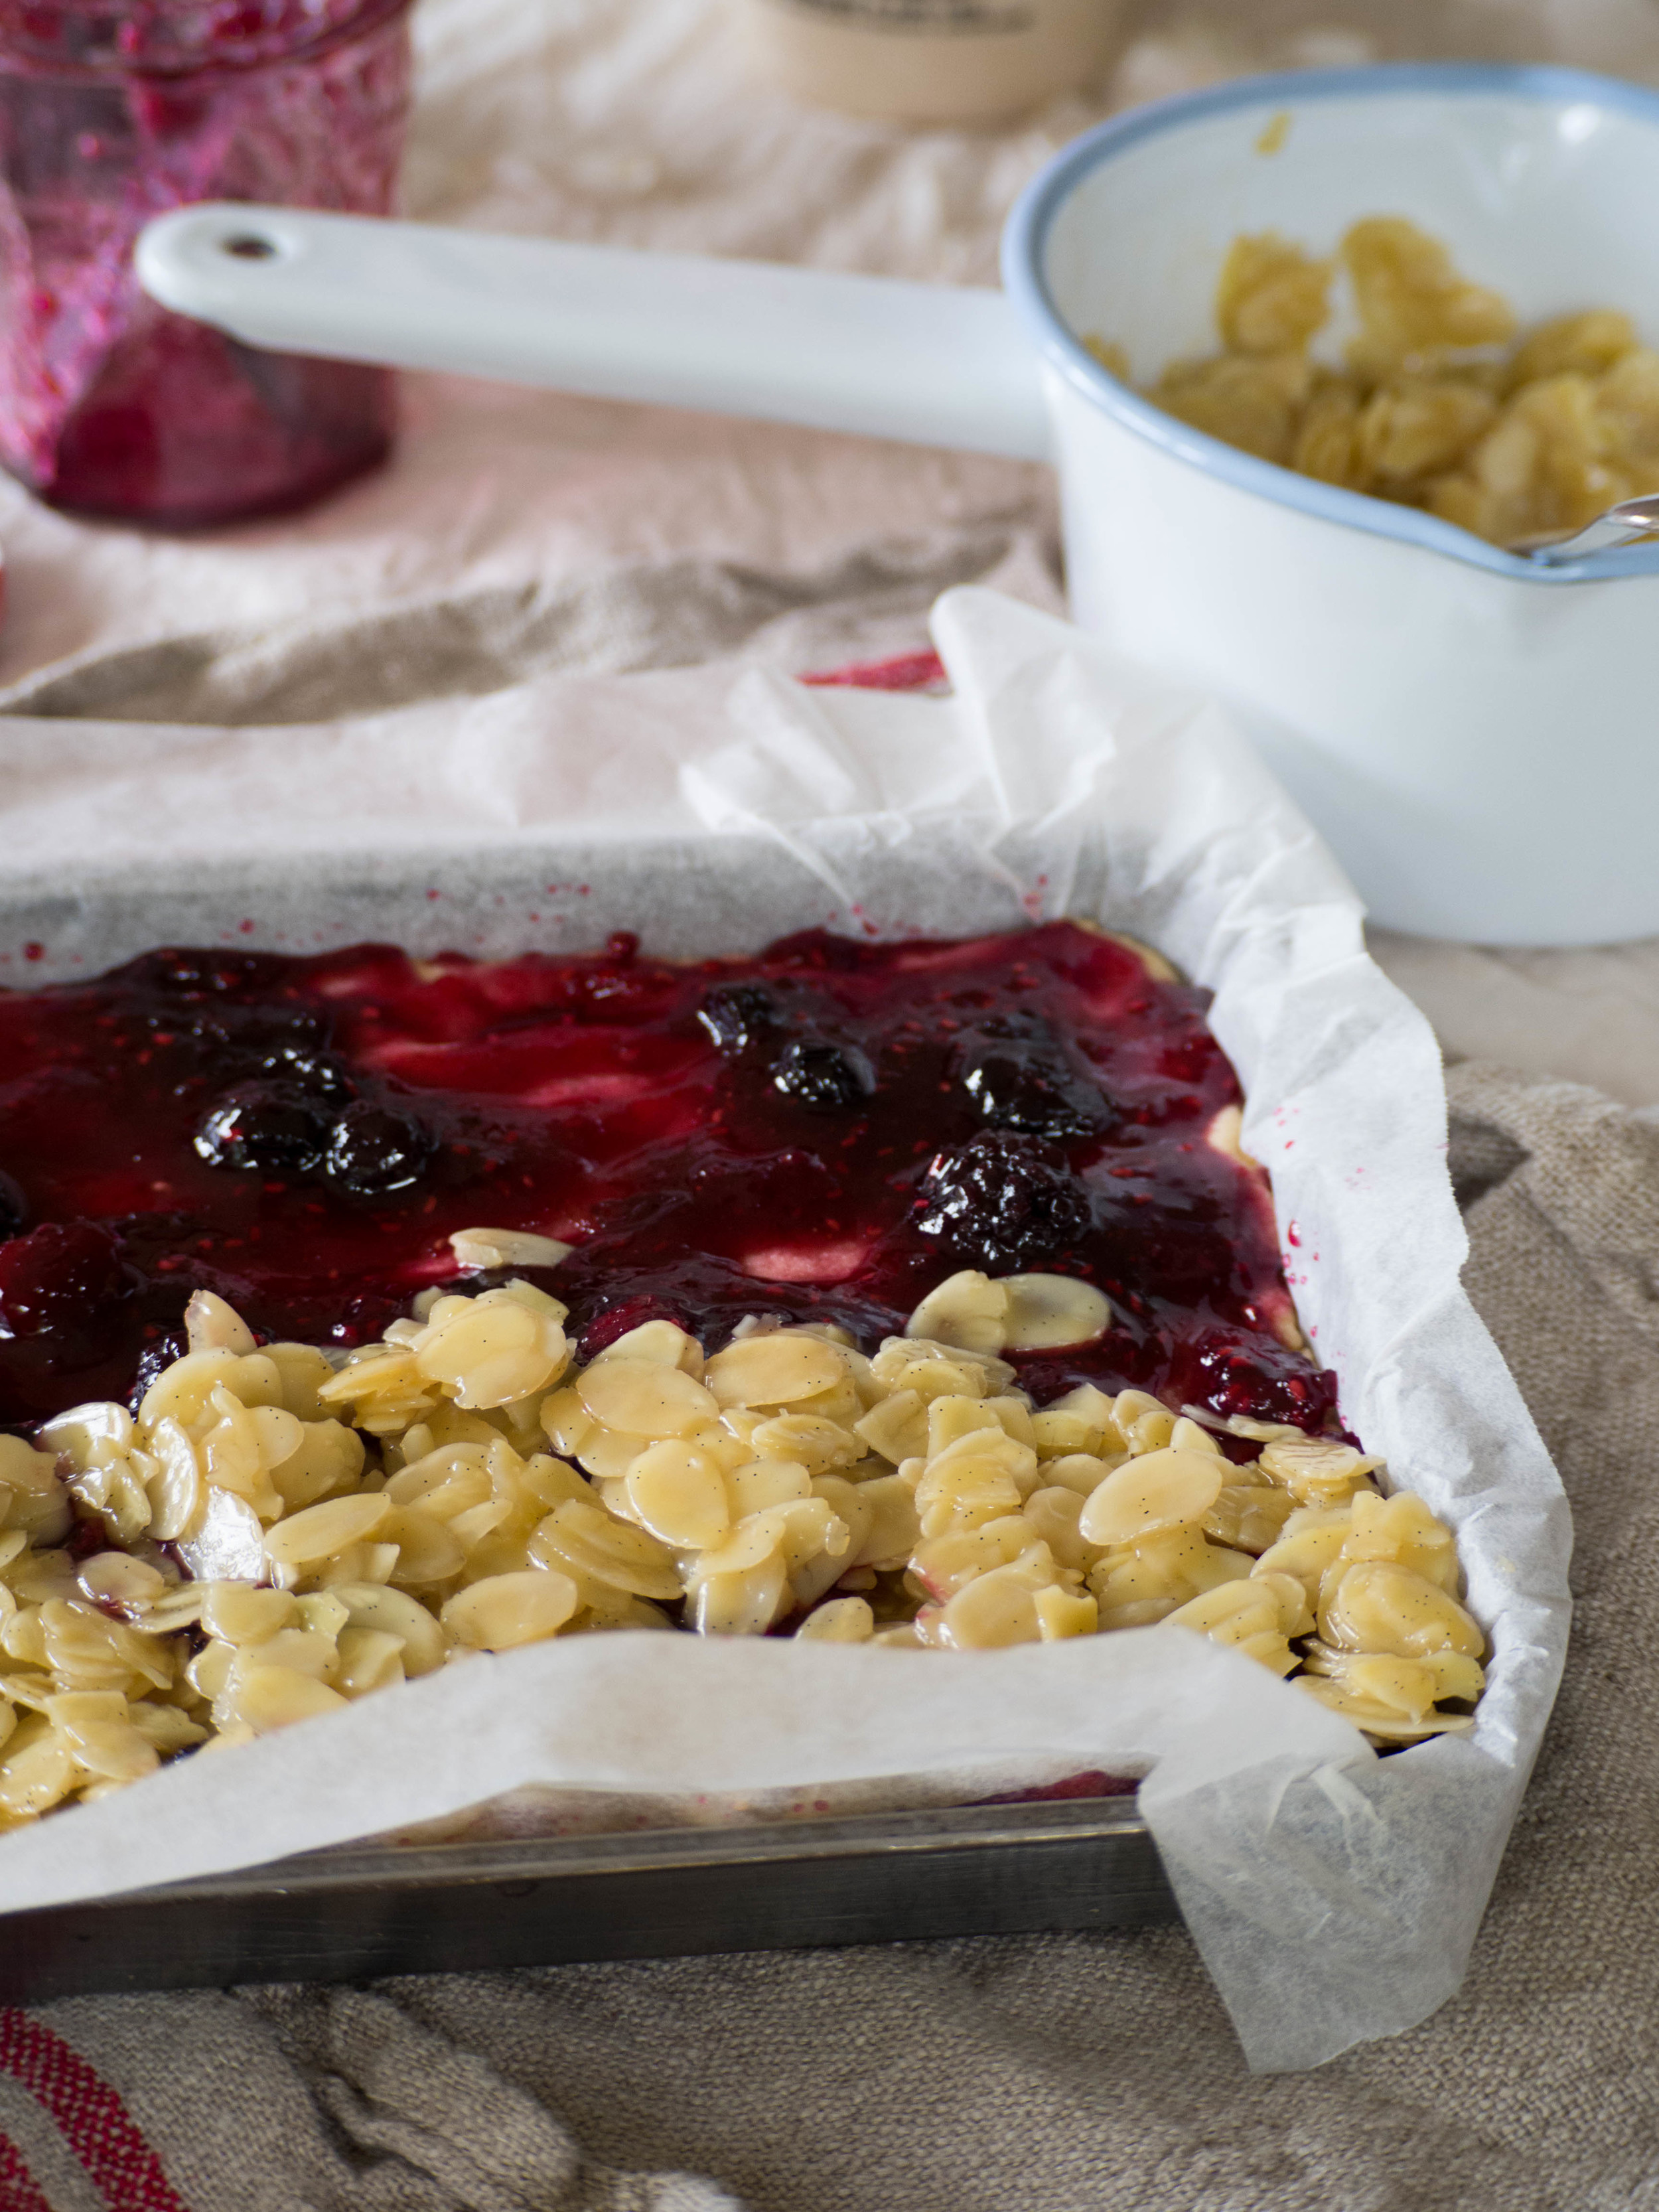
200 g flaked almonds

2 tbsp milk 


Ingredients for the Base: 

150 g unsalted butter, softened

110 g caster sugar 

1 tsp vanilla extract/paste

225 g plain flour

40 g cornflour

180-200g homemade triple berry jam  


Method: 

Preheat oven to 180 degrees Celsius, and line a 24 x 20 cm baking/lamington tin with baking paper. 

Make the almond topping first by combining all the ingredients in a small/medium saucepan. Place over low heat and stir until the butter has melted. Set aside to cool. 

To make the base of the slice, beat the butter, sugar and vanilla in the bowl of an electric mixer with the paddle attachment, until the mixture is pale and creamy. With the mixer on low speed, sift in the flour and cornflour in two or three batches. Mix until the ingredients are just combined. 

Press the dough mixture into the base of the lined tin, and bake for 12-15 minutes, or until it is light golden in colour. Then remove from the oven and leave to cool for at least 10 minutes. 

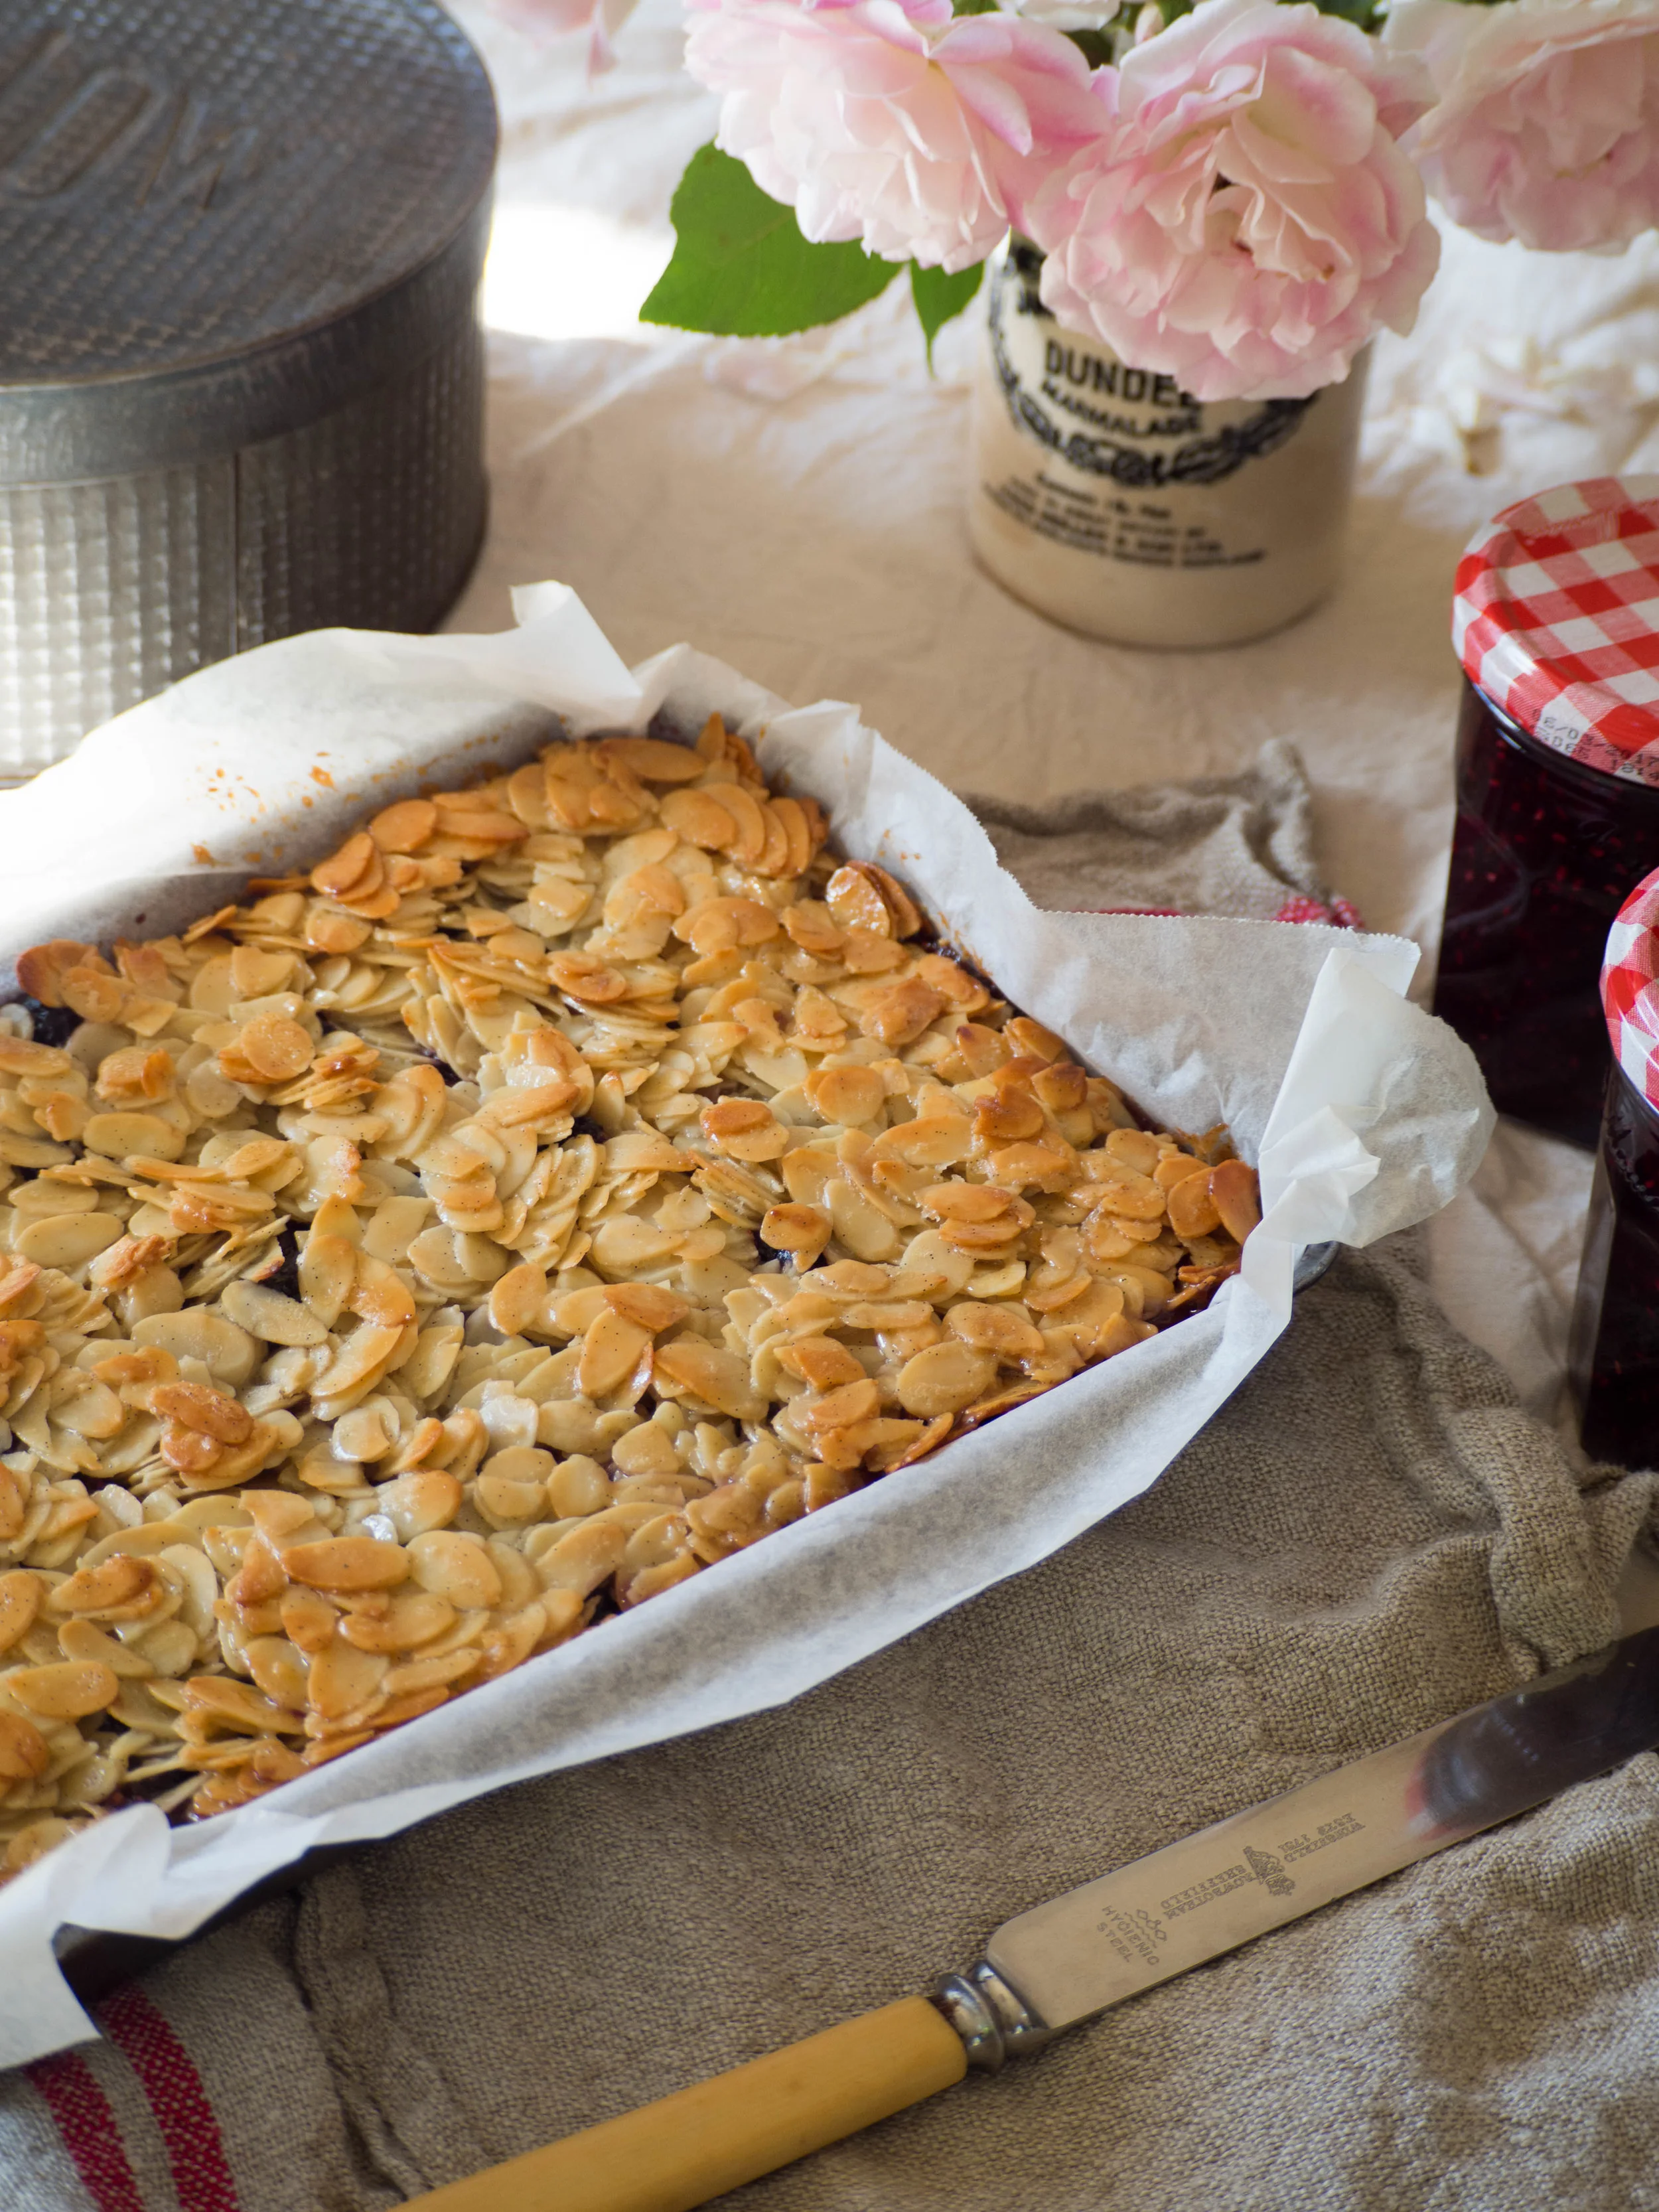
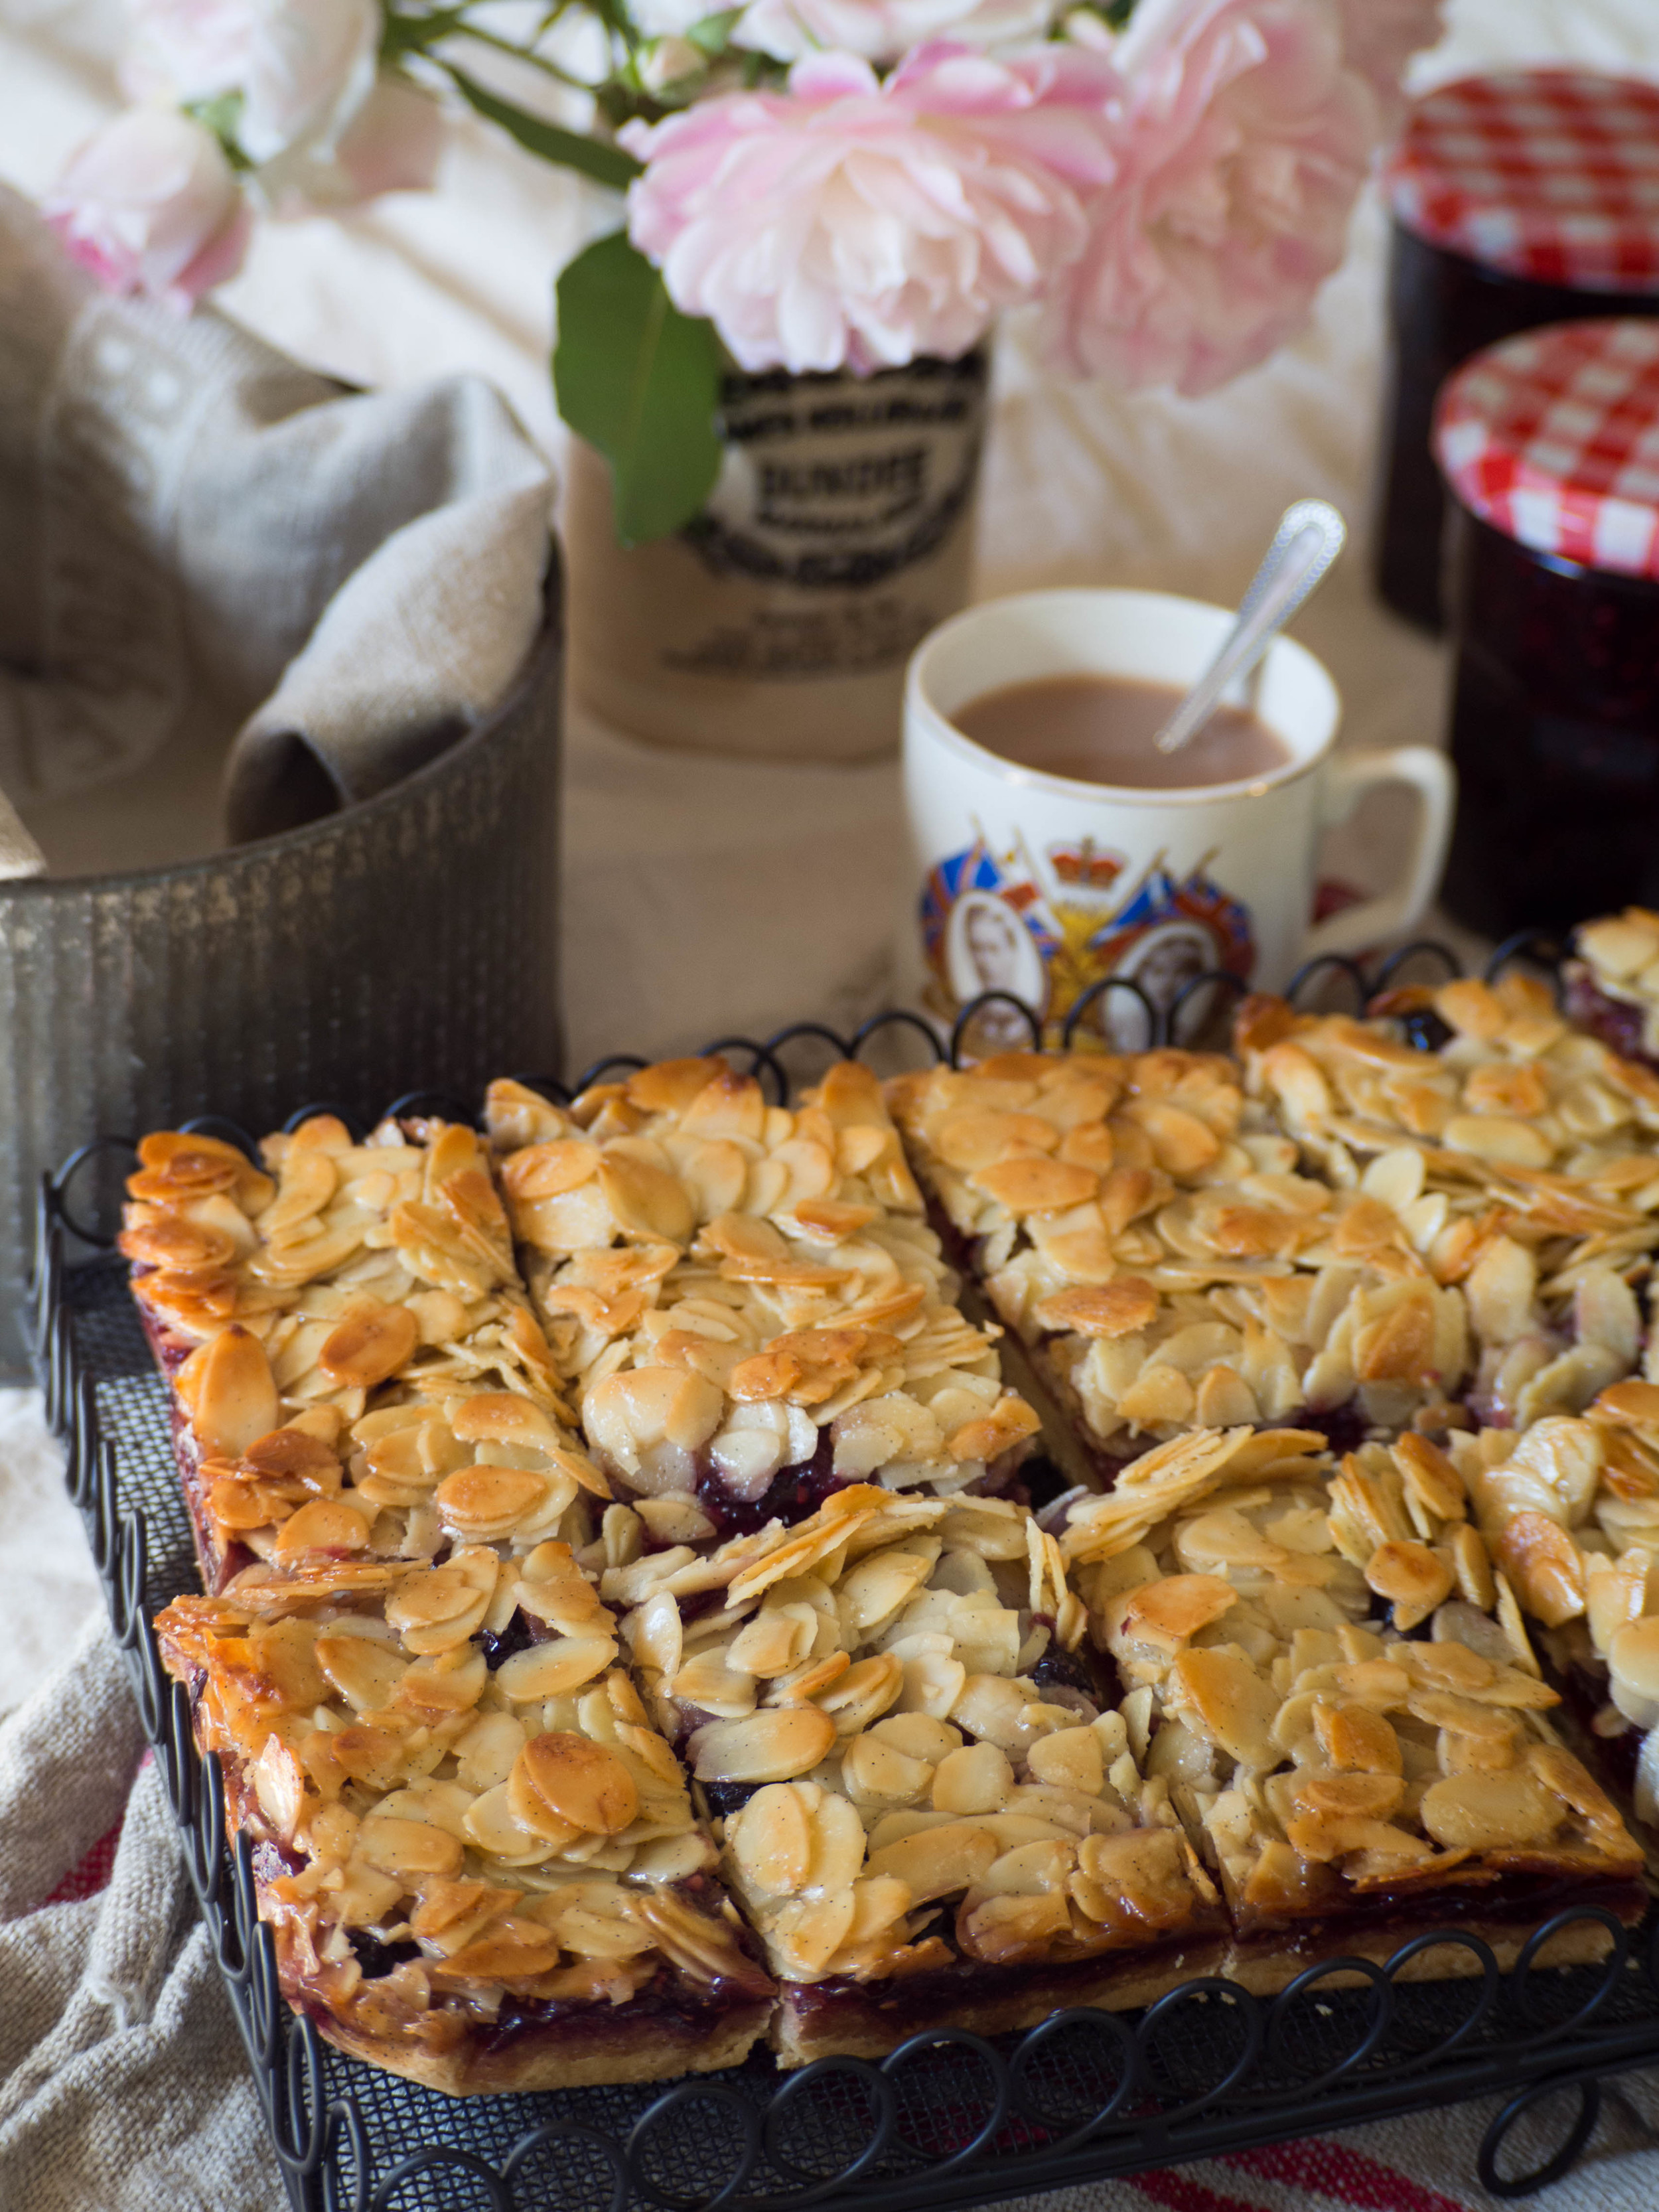
Spread the jam over the base, then top with the almond mixture. Cook for a further 25-30 minutes, or until the almond topping has turned golden brown. You may need to turn the slice half way through the cooking time to bake the top evenly. 

Allow to cool in the tin, and cut into slices once cooled. 

Berry Almond Slice with Homemade Triple Berry Jam

References: ‘Made from Scratch’ by the Australian Women’s Weekly (Bauer Media Books, 2015) pp 48-49, 57 & 270; ‘Holiday’ by Bill Granger (Murdoch Books, 2007) p.22. 

Berry Almond Slice with Homemade Triple Berry Jam
In Cakes & Slices, Jams Preserves & Spreads Tags Berry Jam, Berry Almond Slice, Homemade Jam, Bill Granger, Australian Women's Weekly, Almonds, Slices
2 Comments

Parmesan & Thyme Scones

Kath November 29, 2015

These scones seem to be a massive crowd pleaser every time I make them. I have heard the odd passing comment about never having heard of savoury scones before, but those scone doubters appear well at ease with the concept once they taste them! 

The recipe came about, around this time last year, when I put together an afternoon tea and shared some of the how to's on the website Liveability and in this post. I had decided on savoury scones because as I was baking everything for the afternoon tea, I felt that making mini quiches or similar would just take up far too much of my time. The weather was also quite hot, so baking things that not only had relatively short cook times seemed necessary and serving hot food on a hot day seemed a little ridiculous. 

Despite this, I still needed a couple of savoury elements to balance the sweet things I had planned to make. I decided on these scones, as they fit my short cook time criteria and I knew that if all the scones weren't eaten on the day, the leftovers would freeze well. 

The flavour combination ended up being a little bit of a fluke. I had always planned on using thyme, having tried a couple of savoury scones at The Tea Salon in Sydney with thyme, I then really wanted to make some myself. The original recipe I used called for cheddar, so I bought some. 

Unfortunately once I opened the cheddar it was mouldy, and had to be thrown out. Luckily we always have Parmesan in the fridge, so I used that instead and the flavour combination turned out really well. I have since stated using Grana Padano instead of Parmesan, as I prefer the slightly stronger flavour. 

So finally after a year, these scones make an appearance here on the blog. I hope they become an crowd pleaser for you too! 

Parmesan & Thyme Scones

Ingredients: 

450g self-raising flour

2 tsp baking powder

75g grated Parmesan or Grana Padano cheese, plus extra

2 tbsp fresh thyme leaves, plus extra 

200ml cream

125ml sparkling water

2 tbsp lemon juice

full cream milk, for brushing 

unsalted butter, to serve


Method: 

Preheat oven to 200 degrees Celsius. Line a large baking tray with baking paper, and dust a little flour over the top. 

Place the flour, cheese and thyme in a large bowl, and sift over the baking powder. Mix the dry ingredients together, adding more thyme if it is looking a little sparse. 

In a jug, quickly and briefly whisk the cream, water and lemon juice together, then add to the dry ingredients. Mix together with a flat bladed knife, then turn out on to a lightly floured bench. Lightly knead the dough to bring it together, then press to dough out until it is 2-3cm thick. 

Using a 4.5/5cm cutter cut out rounds from the dough, dusting the cutter with flour if the dough sticks too much. Place the rounds on the prepared tray, leaving no gaps in between each round. Bring the dough back together and continue cutting until it is all used up (you should get about 20 rounds). 

Brush the tops of the cut scones with the milk, and sprinkle with the extra cheese and thyme. Bake for 15-20 minutes, until golden and puffed. Turn the tray in the oven about halfway through so they cook and colour more evenly. 

Serve warm with the butter and extra fresh thyme leaves if desired. 

Reference: ‘Bill’s Basics’ by Bill Granger (HarperCollins Publishers, 2010), p.50.

In Scones Tags scones, parmesan, thyme, Afternoon Tea, Pepe Saya, butter, Bill Granger
2 Comments

Lime, Coconut & Macadamia Cake (Dairy Free)

Kath October 18, 2015

This is the original recipe I used when I made my Blood Orange cake from my previous post. It is a nice and light cake, that could easily be made gluten free. The flavours are Summery, and definitely suit the very warm weather we have been experiencing here lately. 

I originally made this cake back in August, and while the zingy flavour of the lime was really nice, it didn’t really go well with the Winter weather! I shared some of the cake with a friend and she commented that the cake was definitely a Summer one! And I agree. Which is why I have waited a little to share the recipe with you. It would be lovely at the end of a weekend meal, or taken to BBQ or picnic in the warmer months. 

The recipe comes from one of Bill Granger’s many great cookbooks. Every one of his books have great recipes, and most are fairly easy, yet packed with flavour. I am always disappointed when I try a recipe that looks easy, and doesn’t take much time, but has compromised on flavour to do so. Bill’s recipes never disappoint, and this salmon recipe in particular, has become a tasty and quick weeknight staple in our house. 

But back to the cake… I added a few slices of lime on top of the cake, as I didn’t like the way the cake looked just with the icing. The top of the cake wasn’t even, and so the icing showed all its flaws. I coated a few very finely sliced pieces of lime in white sugar, and cooked them on a low temperature in the oven for 40-50mins. They caramelised a little, and covered the top of the cake nicely. I did ensure I had allowed the excess liquid from the slices to drain however, or they will make the cake soggy. You could use lime or kaffir lime leaves, or coconut to decorate the cake if you wanted however. 

Lime, Coconut & Macadamia Cake

Ingredients: 

200g macadamia nuts 

40g self-raising flour

6 eggs, separated 

165g caster sugar

finely grated zest of one lime 

45g desiccated coconut 


Ingredients for Icing: 

125g icing (confectioners) sugar

2 tbsp lime juice

1 tsp finely grated lime zest


Method: 

Pre heat oven to 180 degrees Celsius and grease and line the base of a 23cm spring form cake tin. 

In a food processor, blitz the macadamia nuts and flour until the nuts are ground (about the consistency of almond meal).

Beat the egg yolks and sugars in a bowl for about 3 minutes, or until they are pale and fluffy. Fold in the zest, coconut and macadamia mixture. 

In a separate bowl, whip the egg whites until stiff peaks form. Using a large metal spoon, gently fold the egg whites into the egg yolk and macadamia mixture, a third at a time. 

Pour the batter into the prepared tin and bake for 40 minutes, or until lightly golden and cooked through. 

Allow the cake to cool in the tin for 5 minutes, then transfer to a wire rack to cool (the cake can be iced when still a little warm, if you want the icing to drizzle down the sides of the cake).

To make to icing, sift the icing sugar into a bowl and add the lime zest. Gradually add the lime juice, until you have a smooth icing. Spread over the cooled cake. 

Reference: ‘Bill’s Open Kitchen’ by Bill Granger (Murdoch Book Pty Ltd, 2003), p.91.

In Cakes & Slices Tags Lime, Macadamia, Coconut, Bill Granger, cake, Summer, Dairy Free
Comment

Roasted Salmon with Asparagus & Pancetta

Kath February 28, 2015

This past week I have been searching through many of the cookbooks in our collection, trying to decide and plan what recipes I will make for my cookbook challenge. I have decided to do a few savoury recipes, which as you might have noticed, I don’t post a lot of on here. 

However, in an attempt to make an effort for dinner (at least on the weekends), I am using my cookbook challenge to try something new for dinner. Granted, some of the recipes I plan to make aren’t exactly ‘new’. They are just ‘new’ for the blog. But not only is the concept of trying something completely new every weekend a little daunting, some of the recipes we have tried before a just too good not to share here. 

This salmon recipe falls into that category. It’s from Bill Granger’s book ‘Bill’s Italian Food’, and it literally takes 10-15 minutes to cook. Which is pretty amazing I think. All the ingredients are easy to come by, and in our house are pretty much always already in the pantry/fridge/freezer. The salmon fillets I used are probably smaller than the ones specified in the recipe, however we tend to buy frozen salmon and keep it for these kinds of quick meals, and we find they are the perfect size (expect sometimes for the men of the house who often eat two fillets each). 

Roasted Salmon, Asparagus and Pancetta with Caper & Basil Mayo 

Ingredients:

1 tbsp capers, drained

8 basil leaves, chopped

juice of 1/2 lemon, plus extra wedges to serve

4 tbsp mayonnaise

4 salmon fillets, skin on (approx. 175g each)

250 g asparagus

8 slices pancetta

2 tbsp olive oil

salt and pepper, to season 


Method: 

Pre-heat oven to 220 degrees Celsius. Mix the capers, lemon juice, mayonnaise and basil in a small bowl. Set aside. 

In a large roasting pan, place the asparagus, pancetta and salmon (skin side up). Season with salt and pepper, drizzle with the olive oil, and cook for 10 minutes, or until the salmon is cooked through (or to your liking) and the pancetta is crisp. 

Serve with the mayonnaise and wedges of lemon. 

Original recipe from ‘Bill’s Italian Food’ by Bill Granger, (HarperCollins, 2013), p.106.

All food preparation, styling and photography by Kathryn Vincent of Kulinary Adventures of Kath.

In Savoury Dishes/Meals Tags Salmon, Bill Granger, cookbook challenge, Dinner, Quick Meals
Comment

Lamingtons

Kath January 23, 2015

For those who don’t live in Australia, a lamington is made using sponge cake and coating it in chocolate icing and coconut. I think they came about at some point to use up day old sponge. They are definitely worth a try! Sometimes they are sold with a layer of jam and/or cream in the middle as well. I like my lamingtons simple, with no cream or jam. Just made with good ingredients, and probably fresh sponge! Day old sponge is great to use, I just find fresh sponge easier to work with when coating them in the icing. 

This particular recipe comes from my favourite Aussie cook, Bill Granger. I have made them a couple of times before and they have been very popular. I have altered the quantities of chocolate in the icing recipe, as I like the combination of milk and dark chocolate together better than just dark chocolate on its own. You can use whatever you like or have at home, just keep the total chocolate quantity the same. 

Any type of coconut can be used to cover the lamingtons. I really like using coconut chips, however if you can’t find them just use shredded, desiccated or flaked coconut. Also, make sure you have more coconut ready than the recipe indicates. I always find I am grabbing more handfuls of it out the bag when I am decorating the lamingtons. It’s probably just because it’s quite messy and I end up with lots of coconut all over the bench! 

I try to work quite fast when decorating the lamingtons, as the chocolate will start to set before you have used it all up. You also need to get the coconut on each one straight after it has been coated in chocolate so it will stick. Keep stirring the icing to prevent it from setting, and if you need to thin it out a little to make it more liquid, you could a little more milk or some hot water (1 tsp at a time). The icing should be a little thick however, as it will coat the lamington better than a thin icing. 

 Ingredients for the Sponge Cake: 

6 eggs 

150 g caster sugar 

200 g self-raising flour 

30 g unsalted butter, melted

3 tbsp hot water

Ingredients for the Icing: 

500 g icing sugar

100 g dark chocolate melts 

100 g milk chocolate melts 

15 g unsalted butter

125 ml milk 

375 g coconut chips 


Method: 

Pre-heat oven to 180 degrees Celsius and grease and line a lamington tin (rectangle tin with dimensions approx. 18 x 28 cm and about 4 cm deep). 

Beat the eggs in the bowl of an electric mixer on medium speed for about 5 minutes. The eggs should become light and fluffy in this time. Gradually add the sugar and beat until the mixture is thick and the sugar has dissolved.

Sift in the flour and gently fold into the egg mixture with a metal spoon. Add the melted butter and hot water and gently stir to combine. 

Pour the mixture evenly into the prepared tin and bake for 30 mins, or until the sponge is golden and springs back when lightly touched. 

Once cooked, turn the sponge out onto a baking paper lined cooling rack, and allow to cool completely. 

Once the sponge has cooled, cut into squares (about 15-16). Place the coconut in a large shallow bowl, and have four forks ready. You will also need another baking paper lined cooling rack to place the freshly iced lamingtons on to dry. 

To make the icing, heat a sauce pan with a little water until it is simmering. Place all the icing ingredients (not the coconut), in to a heatproof bowl or saucepan that will fit on top of the saucepan of simmering water. Place the bowl with the ingredients over the simmering water and stir continuously until all the ingredients have melted and combined to form a smooth thick icing. Do not allow the simmering water below to touch the base of the bowl above, as the chocolate may burn. 

Remove the icing from the heat. Using two of the forks, dip one of the sponge squares into the icing. Using the remaining two forks, toss the chocolate coated sponge in the coconut, and place on the prepared rack to set. Continue with the remaining sponge squares, stirring the icing occasionally to stop it setting. 

Leave the lamingtons on the baking paper lined rack until the icing dries. They are best eaten the same day they have been made, however will store in an airtight container for a couple of days (in the fridge if the weather is particularly humid or hot). 

Recipe originally from Bill Granger ‘Everyday’  (Murdoch Books, 2006), p.192. 

In Cakes & Slices Tags Lamingtons, Cake, Chocolate, Coconut, Bill Granger
Comment

A White Cherry Tart for Christmas & A Cookbook

Kath December 22, 2014

This cherry tart is an amalgamation of two very good recipes. The pastry comes from Bill Granger’s book ‘Holiday’, and the filling comes from Sophie Hansen’s book ‘Local is Lovely.’ The pastry is easy to make as it doesn’t involve using a food processor, doesn’t need chilling or rolling out. It also has a lovely shortbread-like quality, so is quite crisp and buttery once cooked. 

Many different fruits or berries could be used for this kind of tart. I chose white cherries, as I saw them in a green grocer and had never tried them or heard of them before. A couple of days later I picked up some more at a local produce market. Cherries are also quite a staple for the Australian Christmas, so I think this tart would make a nice addition to any Christmas Day. It’s also a good way to use up any leftover cherries after Christmas. 

Most tarts I have made before contained a fair few eggs and some cream, so this frangipane version made quite a welcome change. It also meant that apart from the cherries, I already had everything I needed for the tart at home already. 

My only problem with using white cherries for this tart, is that once they are cooked, they do look a bit like tomatoes! Which wasn’t exactly the look I was going for, but it does taste good! 


Ingredients for the Pastry: 

125 g unsalted butter, melted & cooled 

90 g caster sugar

175 g plain flour 

1 tbsp almond meal 


Ingredients for the Filling: 

120 g unsalted butter, softened

115g caster sugar 

80g almond meal 

1 tbsp plain flour 

1 tsp vanilla extract

1 egg 

165 g white cherries (approx. 18 cherries), rinsed, halved & pitted

Method: 

Pre-heat oven to 180 degrees Celsius. To make the pastry, combine the melted butter and sugar, in a large bowl. Add the flour and stir until combined. Press the dough evenly into a 24 cm loose bottomed tart tin, ensuring you cover the base and sides of the tin. Place in the oven for 12-15 minutes, or until the pastry has puffed up a little. 

Remove from the oven and sprinkle over the almond meal. Set aside. 

To make the frangipane filling, cream the butter and sugar in an electric mixer until they are pale and fluffy. Add the almond meal, vanilla, egg and flour and mix until combined. 

Place the frangipane mix into the prepared pastry case, and smooth it out. Place the cherries into the frangipane mix, pressing them down slightly. 

Return the tart to the oven for a further 25-30 minutes or until the frangipane filling is golden. 

PC190132.jpg

Recipe for pastry originally found in ‘Holiday’ by Bill Granger (2007), p. 34. 

Recipe for frangipane filling originally found in ‘Local is Lovely’ by Sophie Hansen (2014), p.79. 

My next piece of exciting news, is the cookbook I have helped put together has been published this past week. 

This project has been in progress for about 18 months, and I have been assisting with it for just over a year now. I helped compile the recipes, and write short introductions for each recipe or person. 

All recipes were donated by clients of The Maxx Hair Salon in St Ives, Sydney. All profits are being donated to Barnardos Australia. 

Click here to purchase the book, or contact me on kulinaryadventuresofkath@gmail.com and I can sort something out for you. 

All baking, styling & photography for this post by Kathryn Vincent of Kulinary Adventures of Kath. 

In Tarts & Pastry, Holidays Tags Cherries, Christmas, Tart, White Cherries, Cookbook, Local is Lovely, Bill Granger, Barnardos Australia
Comment
  • The Blog
  • Older
  • Newer

recipes

  • Biscuits/Cookies 39
  • Breads Etc. 9
  • Breakfast 7
  • Cakes & Slices 67
  • Confectionary 5
  • Drinks 6
  • Events 14
  • Food Photography Tips 3
  • From The Mailing List 24
  • Heirloom Recipes 12
  • Holidays 44
  • Ice Cream 9
  • Jams Preserves & Spreads 9
  • Muffins 4
  • Off the Shelf 47
  • Other Desserts 25
  • Savoury Dishes/Meals 15
  • Scones 4
  • Tarts & Pastry 9
  • Travel 13

Sign up to Friday Food Chat with Kath, a weekly newsletter for more food, baking, cookbook chat and more!

Sign Up Here!
instagram-unauth pinterest facebook url

Website Accessibility: To enable text to speech function on the blog, click the sound button to the right of each blog post.

All images & content are the property of Kathryn Vincent, unless stated otherwise. Please do not use without permission.

Kulinary Adventures of Kath

Food Photography, Recipes & Baking

instagram-unauth pinterest facebook url