Kulinary Adventures of Kath

Food Photography, Recipes & Baking
  • home
  • About
  • Work with Kath
  • Shop
  • Blog
    • The Blog
    • Recipe Archive
  • Newsletter
  • Contact
  • home
  • About
  • Work with Kath
  • Shop
    • The Blog
    • Recipe Archive
  • Newsletter
  • Contact
Raspberry Pistachio Rose Cake (23 of 25).jpg

The Blog

Recipes and Food Photography by Kath Vincent.

  • The Blog
  • Recipe Archive
  • All
  • Biscuits/Cookies
  • Breads Etc.
  • Breakfast
  • Cakes & Slices
  • Confectionary
  • Drinks
  • Events
  • Food Photography Tips
  • From The Mailing List
  • Heirloom Recipes
  • Holidays
  • Ice Cream
  • Jams Preserves & Spreads
  • Muffins
  • Off the Shelf
  • Other Desserts
  • Savoury Dishes/Meals
  • Scones
  • Tarts & Pastry
  • Travel
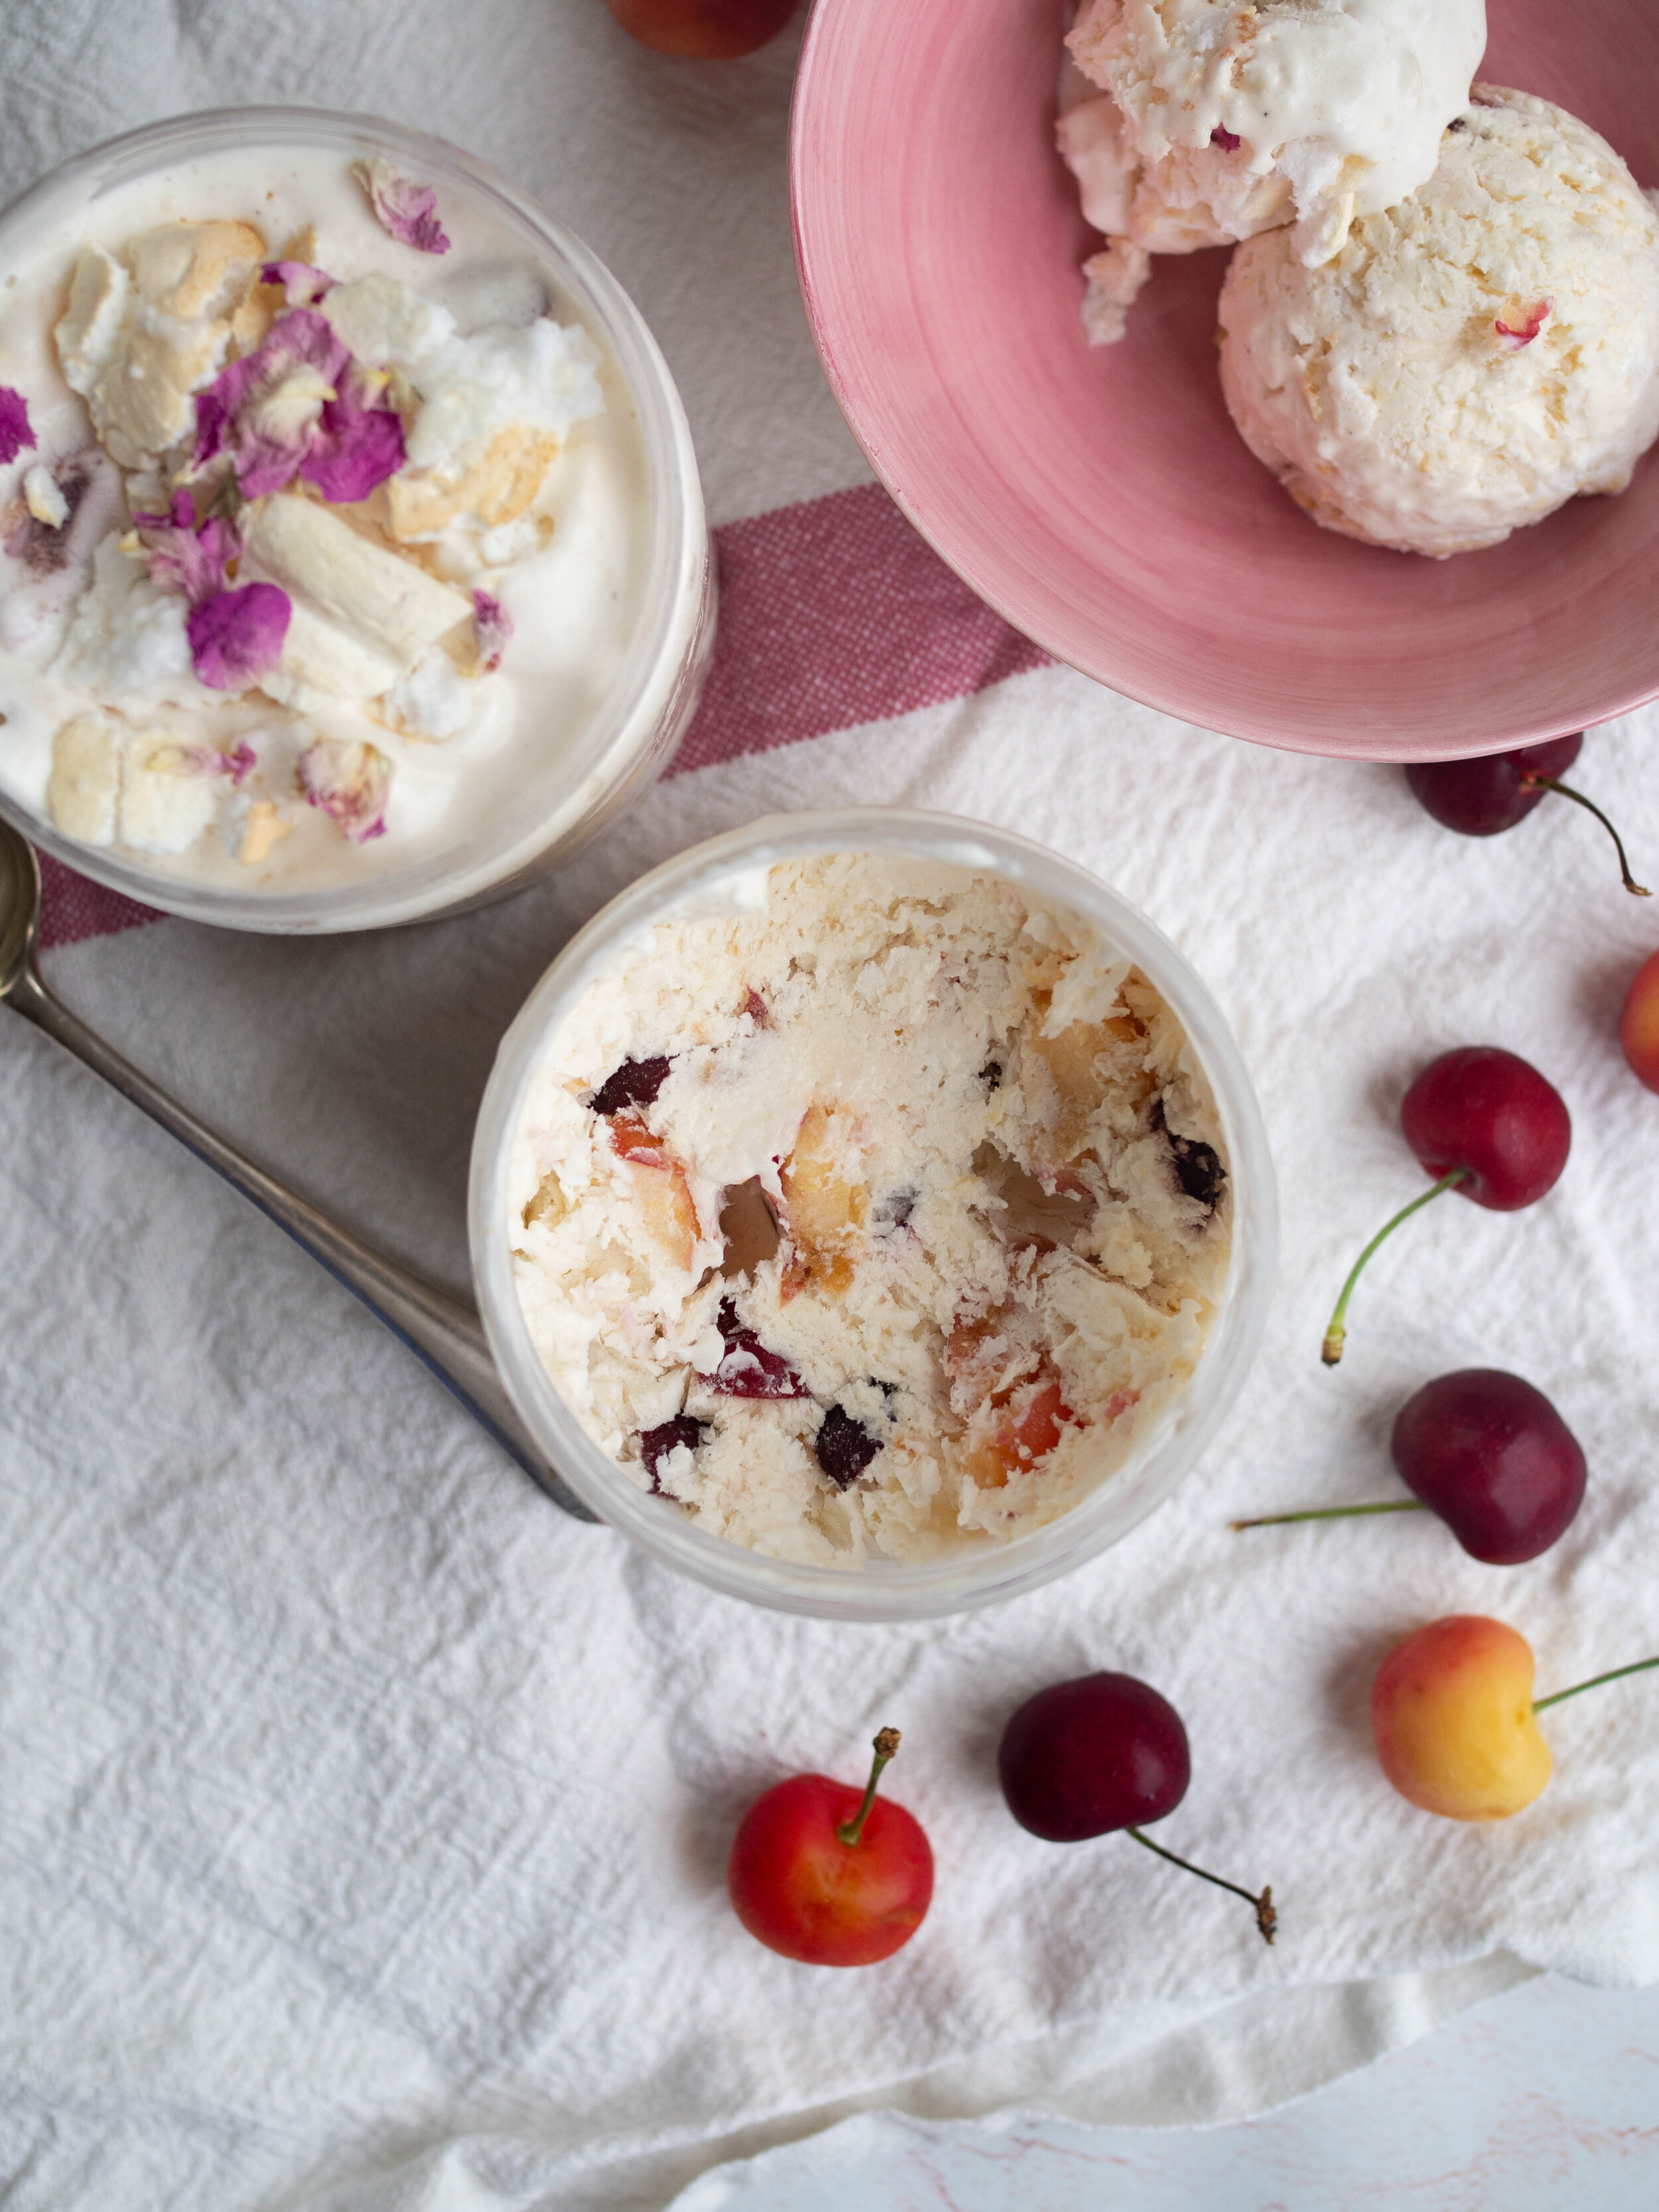
Cherry Pavlova Ice Cream

Cherry Pavlova Ice Cream

Kath December 9, 2020

This recipe came about as a way to use up some leftovers from a Christmas shoot I did for Little Big Dairy Co recently. I had a lot of milk (20 litres to be precise!), and some additional Christmas-y things like cherries and pre-made mini pavlovas that were used for the shoot. I hate things going to waste, especially good quality produce like Little Big Dairy Co milk and Australian cherries so I decided I would go on a ice cream making spree in an attempt to at least use up some of the milk that had been sent to me for the shoot. 

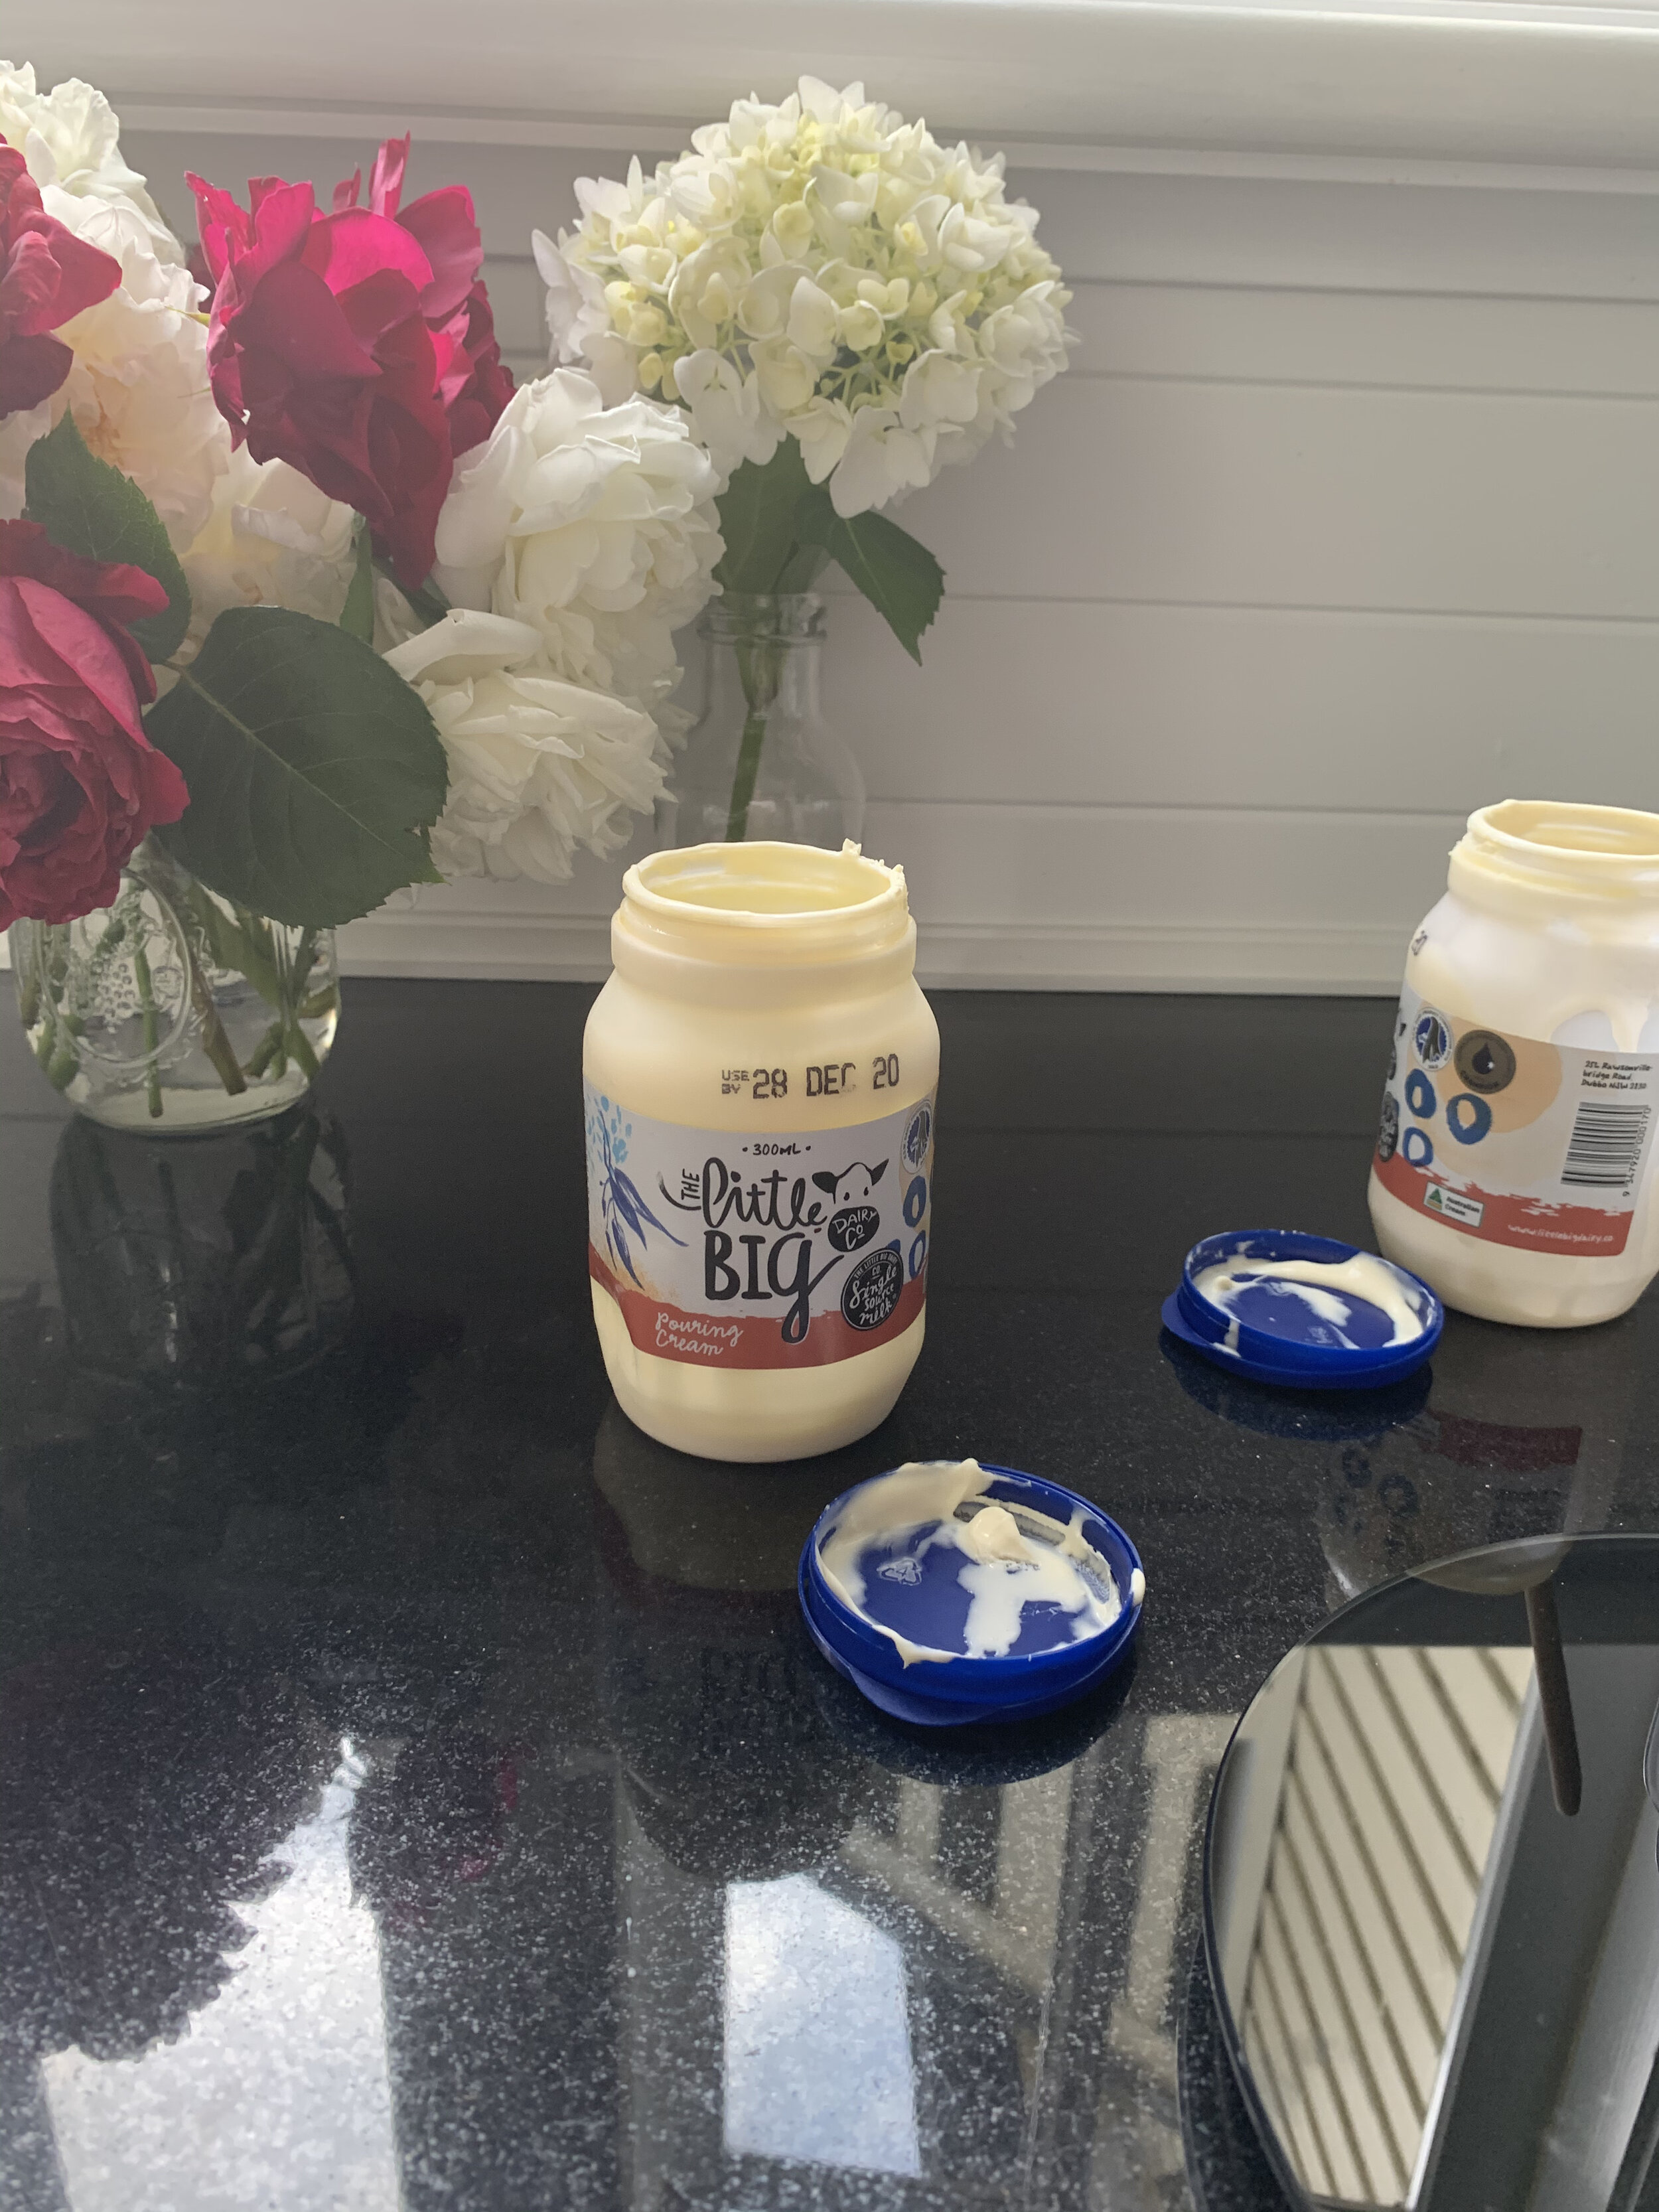
I bought some Little Big Dairy Co cream to use with my ice cream, and I made one lot of this ice cream plus some vanilla ice cream at the house I was staying in for the shoot. I then brought back one 300ml jar of the cream I had left, and needed to make it last for 4 different types of ice cream I wanted to make (all in an attempt to thoughtfully use up some of the delicious milk I had!).

So for this recipe I have split the amount of cream needed between pouring cream and plain Greek style yoghurt. Greek style yoghurt works well in homemade ice creams along side cream, however if you have enough cream you can just use that (250ml total). 

View fullsize Little Big Dairy Co non-homogenised milk
View fullsize Little Big Dairy Co Pouring Cream
View fullsize Australian White Cherries
View fullsize Ice Cream based being whipped before churning
View fullsize Ice Cream Churning
View fullsize All the Ice Creams!
Cherry Pavlova Ice Cream

Cherry Pavlova Ice Cream

Ingredients:

165ml milk

5 tbsp caster or white sugar

150ml pouring cream

100ml plain Greek Style Yoghurt

1 tsp vanilla extract or paste

365g cherries (unpitted weight), pitted and roughly chopped

70-75g pavlova*, roughly chopped, plus extra

Edible dried rose petals, optional

Method: 

In a large bowl, whisk together the milk and sugar until the milk is frothy and the sugar has dissolved. I use an electric hand held mixer for this, but you can also use a stand mixer if you prefer. 

Once the sugar has dissolved into the milk, add the cream, yoghurt and vanilla. Whisk on medium speed until everything is combined and the cream has thickened to form soft mousse like peaks. 

Transfer the mixture to your ice cream maker, and churn according to your machines instructions.  I use the ice cream bowl attachment to my KitchenAid stand mixer and I find this ice cream takes about 5-10 minutes to churn. I find the ice cream is ready once it has frozen/thickened and is clinging to the paddle of the machine. 

Once the has been churned fold through the cherries and pavlova using a spatula. Transfer the mixture to a freezer safe container (about 1.5L capacity). Sprinkle any extra crushed up pavlova over the top, and sprinkle over some dried rose petals if desired.

Allow ice cream to freeze for a few hours before serving. 

*I used about 6 pre made mini pavlovas (I got mine from Woolworths). You could also use pre made meringues. 

Cherry Pavlova Ice Cream
In Ice Cream, Holidays Tags Ice Cream, Cherries, Pavlova, Little Big Dairy Co, Dessert
Comment

A White Cherry Tart for Christmas & A Cookbook

Kath December 22, 2014

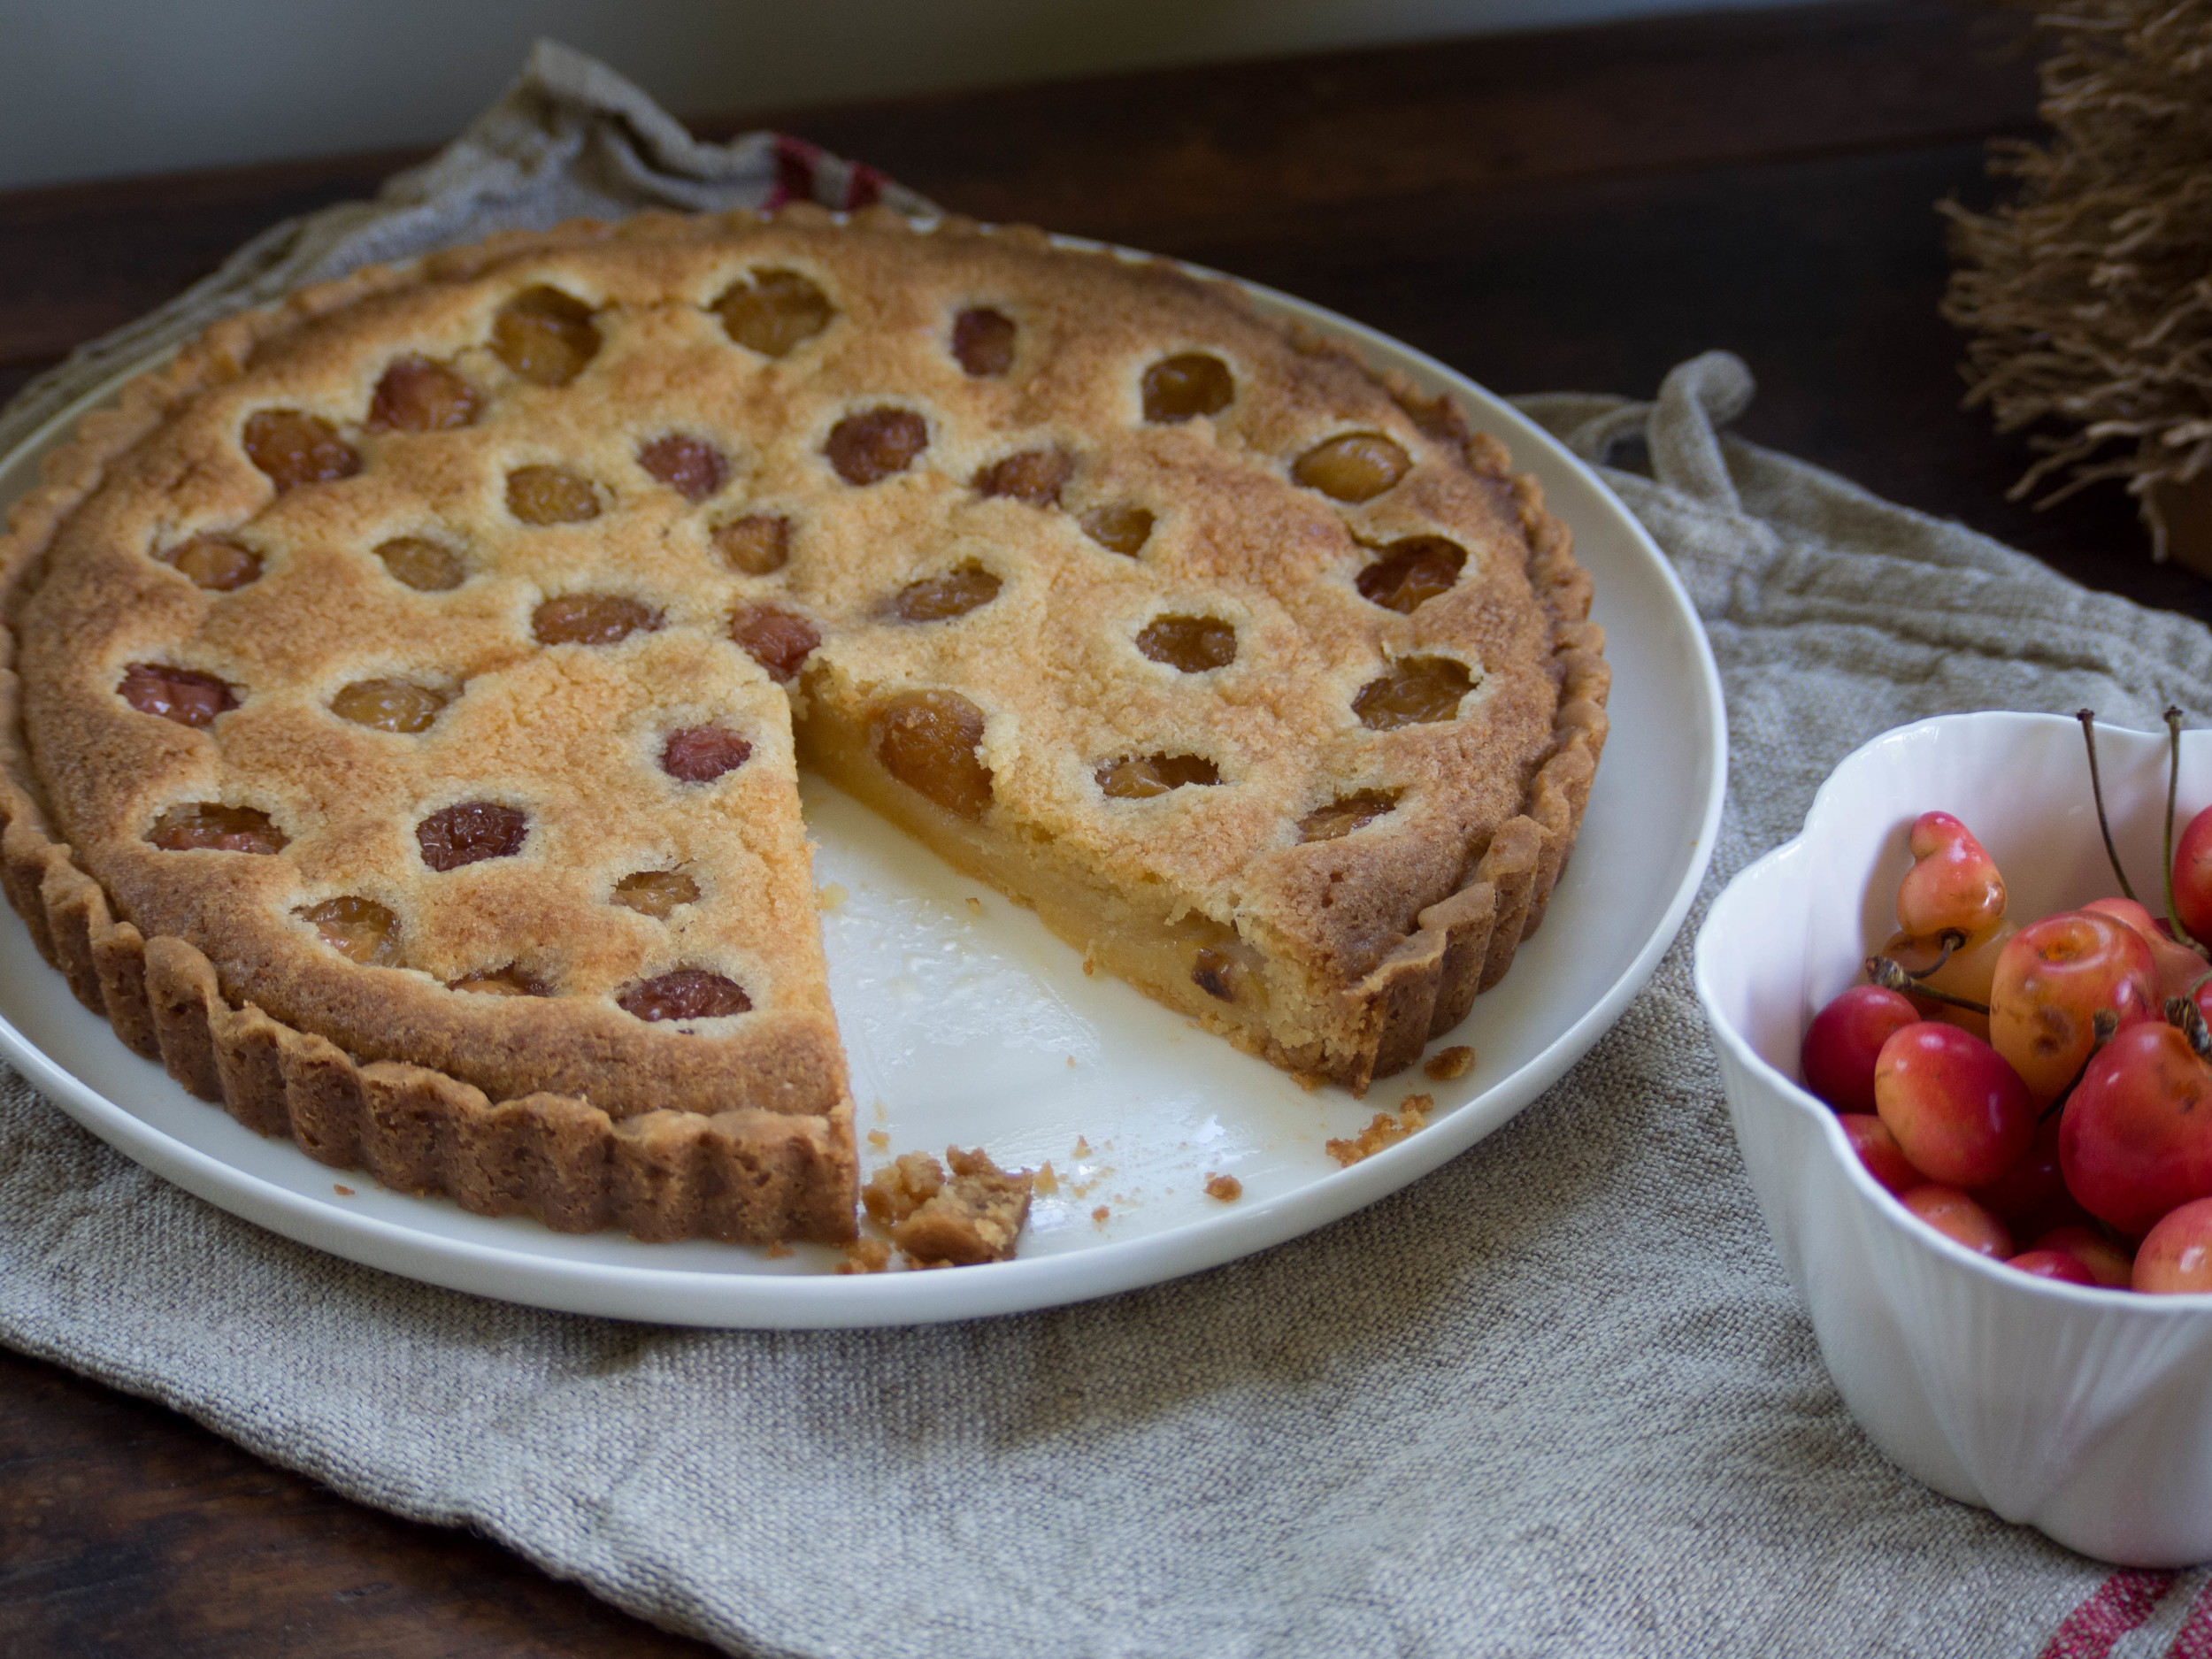
This cherry tart is an amalgamation of two very good recipes. The pastry comes from Bill Granger’s book ‘Holiday’, and the filling comes from Sophie Hansen’s book ‘Local is Lovely.’ The pastry is easy to make as it doesn’t involve using a food processor, doesn’t need chilling or rolling out. It also has a lovely shortbread-like quality, so is quite crisp and buttery once cooked. 

Many different fruits or berries could be used for this kind of tart. I chose white cherries, as I saw them in a green grocer and had never tried them or heard of them before. A couple of days later I picked up some more at a local produce market. Cherries are also quite a staple for the Australian Christmas, so I think this tart would make a nice addition to any Christmas Day. It’s also a good way to use up any leftover cherries after Christmas. 

Most tarts I have made before contained a fair few eggs and some cream, so this frangipane version made quite a welcome change. It also meant that apart from the cherries, I already had everything I needed for the tart at home already. 

My only problem with using white cherries for this tart, is that once they are cooked, they do look a bit like tomatoes! Which wasn’t exactly the look I was going for, but it does taste good! 


Ingredients for the Pastry: 

125 g unsalted butter, melted & cooled 

90 g caster sugar

175 g plain flour 

1 tbsp almond meal 


Ingredients for the Filling: 

120 g unsalted butter, softened

115g caster sugar 

80g almond meal 

1 tbsp plain flour 

1 tsp vanilla extract

1 egg 

165 g white cherries (approx. 18 cherries), rinsed, halved & pitted

Method: 

Pre-heat oven to 180 degrees Celsius. To make the pastry, combine the melted butter and sugar, in a large bowl. Add the flour and stir until combined. Press the dough evenly into a 24 cm loose bottomed tart tin, ensuring you cover the base and sides of the tin. Place in the oven for 12-15 minutes, or until the pastry has puffed up a little. 

Remove from the oven and sprinkle over the almond meal. Set aside. 

To make the frangipane filling, cream the butter and sugar in an electric mixer until they are pale and fluffy. Add the almond meal, vanilla, egg and flour and mix until combined. 

Place the frangipane mix into the prepared pastry case, and smooth it out. Place the cherries into the frangipane mix, pressing them down slightly. 

Return the tart to the oven for a further 25-30 minutes or until the frangipane filling is golden. 

PC190132.jpg

Recipe for pastry originally found in ‘Holiday’ by Bill Granger (2007), p. 34. 

Recipe for frangipane filling originally found in ‘Local is Lovely’ by Sophie Hansen (2014), p.79. 

My next piece of exciting news, is the cookbook I have helped put together has been published this past week. 

This project has been in progress for about 18 months, and I have been assisting with it for just over a year now. I helped compile the recipes, and write short introductions for each recipe or person. 

All recipes were donated by clients of The Maxx Hair Salon in St Ives, Sydney. All profits are being donated to Barnardos Australia. 

Click here to purchase the book, or contact me on kulinaryadventuresofkath@gmail.com and I can sort something out for you. 

All baking, styling & photography for this post by Kathryn Vincent of Kulinary Adventures of Kath. 

In Tarts & Pastry, Holidays Tags Cherries, Christmas, Tart, White Cherries, Cookbook, Local is Lovely, Bill Granger, Barnardos Australia
Comment

recipes

  • Biscuits/Cookies 39
  • Breads Etc. 9
  • Breakfast 7
  • Cakes & Slices 67
  • Confectionary 5
  • Drinks 6
  • Events 14
  • Food Photography Tips 3
  • From The Mailing List 24
  • Heirloom Recipes 12
  • Holidays 44
  • Ice Cream 9
  • Jams Preserves & Spreads 9
  • Muffins 4
  • Off the Shelf 47
  • Other Desserts 25
  • Savoury Dishes/Meals 15
  • Scones 4
  • Tarts & Pastry 9
  • Travel 13

Sign up to Friday Food Chat with Kath, a weekly newsletter for more food, baking, cookbook chat and more!

Sign Up Here!
instagram-unauth pinterest facebook url

Website Accessibility: To enable text to speech function on the blog, click the sound button to the right of each blog post.

All images & content are the property of Kathryn Vincent, unless stated otherwise. Please do not use without permission.

Kulinary Adventures of Kath

Food Photography, Recipes & Baking

instagram-unauth pinterest facebook url