Kulinary Adventures of Kath

Food Photography, Recipes & Baking
  • home
  • About
  • Work with Kath
  • Shop
  • Blog
    • The Blog
    • Recipe Archive
  • Newsletter
  • Contact
  • home
  • About
  • Work with Kath
  • Shop
    • The Blog
    • Recipe Archive
  • Newsletter
  • Contact
Raspberry Pistachio Rose Cake (23 of 25).jpg

The Blog

Recipes and Food Photography by Kath Vincent.

  • The Blog
  • Recipe Archive
  • All
  • Biscuits/Cookies
  • Breads Etc.
  • Breakfast
  • Cakes & Slices
  • Confectionary
  • Drinks
  • Events
  • Food Photography Tips
  • From The Mailing List
  • Heirloom Recipes
  • Holidays
  • Ice Cream
  • Jams Preserves & Spreads
  • Muffins
  • Off the Shelf
  • Other Desserts
  • Savoury Dishes/Meals
  • Scones
  • Tarts & Pastry
  • Travel

Lime, Coconut & Macadamia Cake (Dairy Free)

Kath October 18, 2015

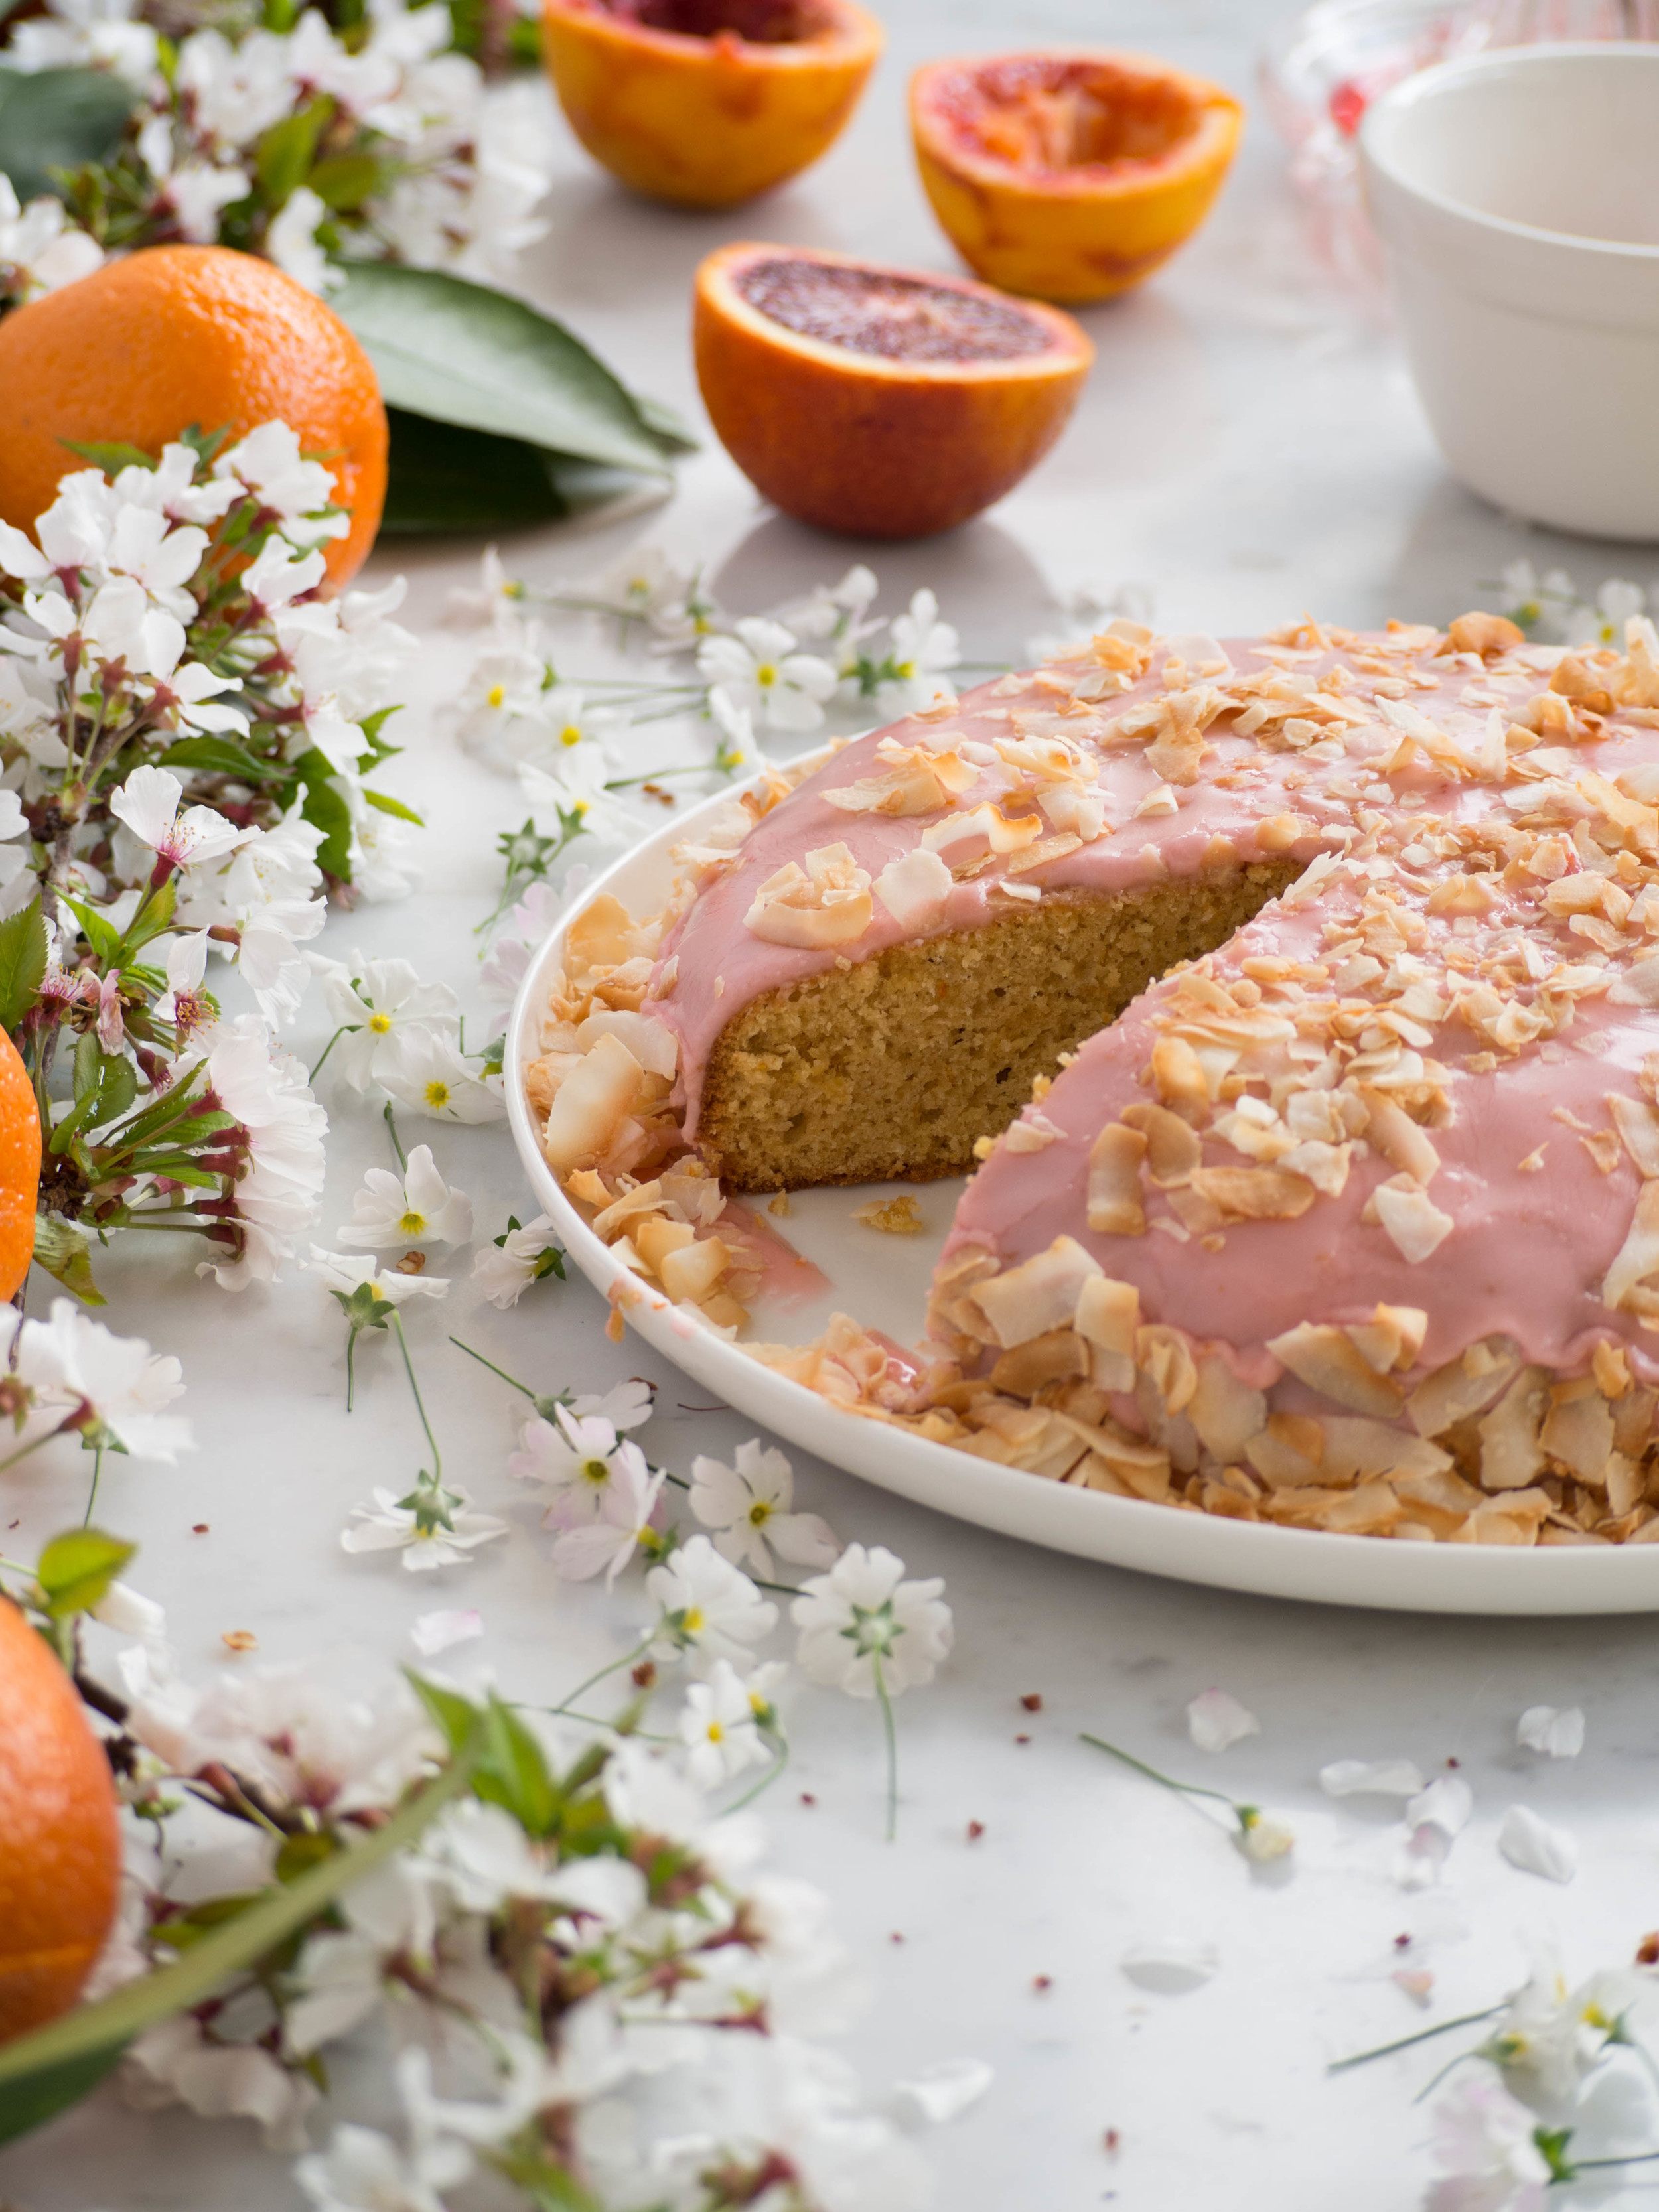
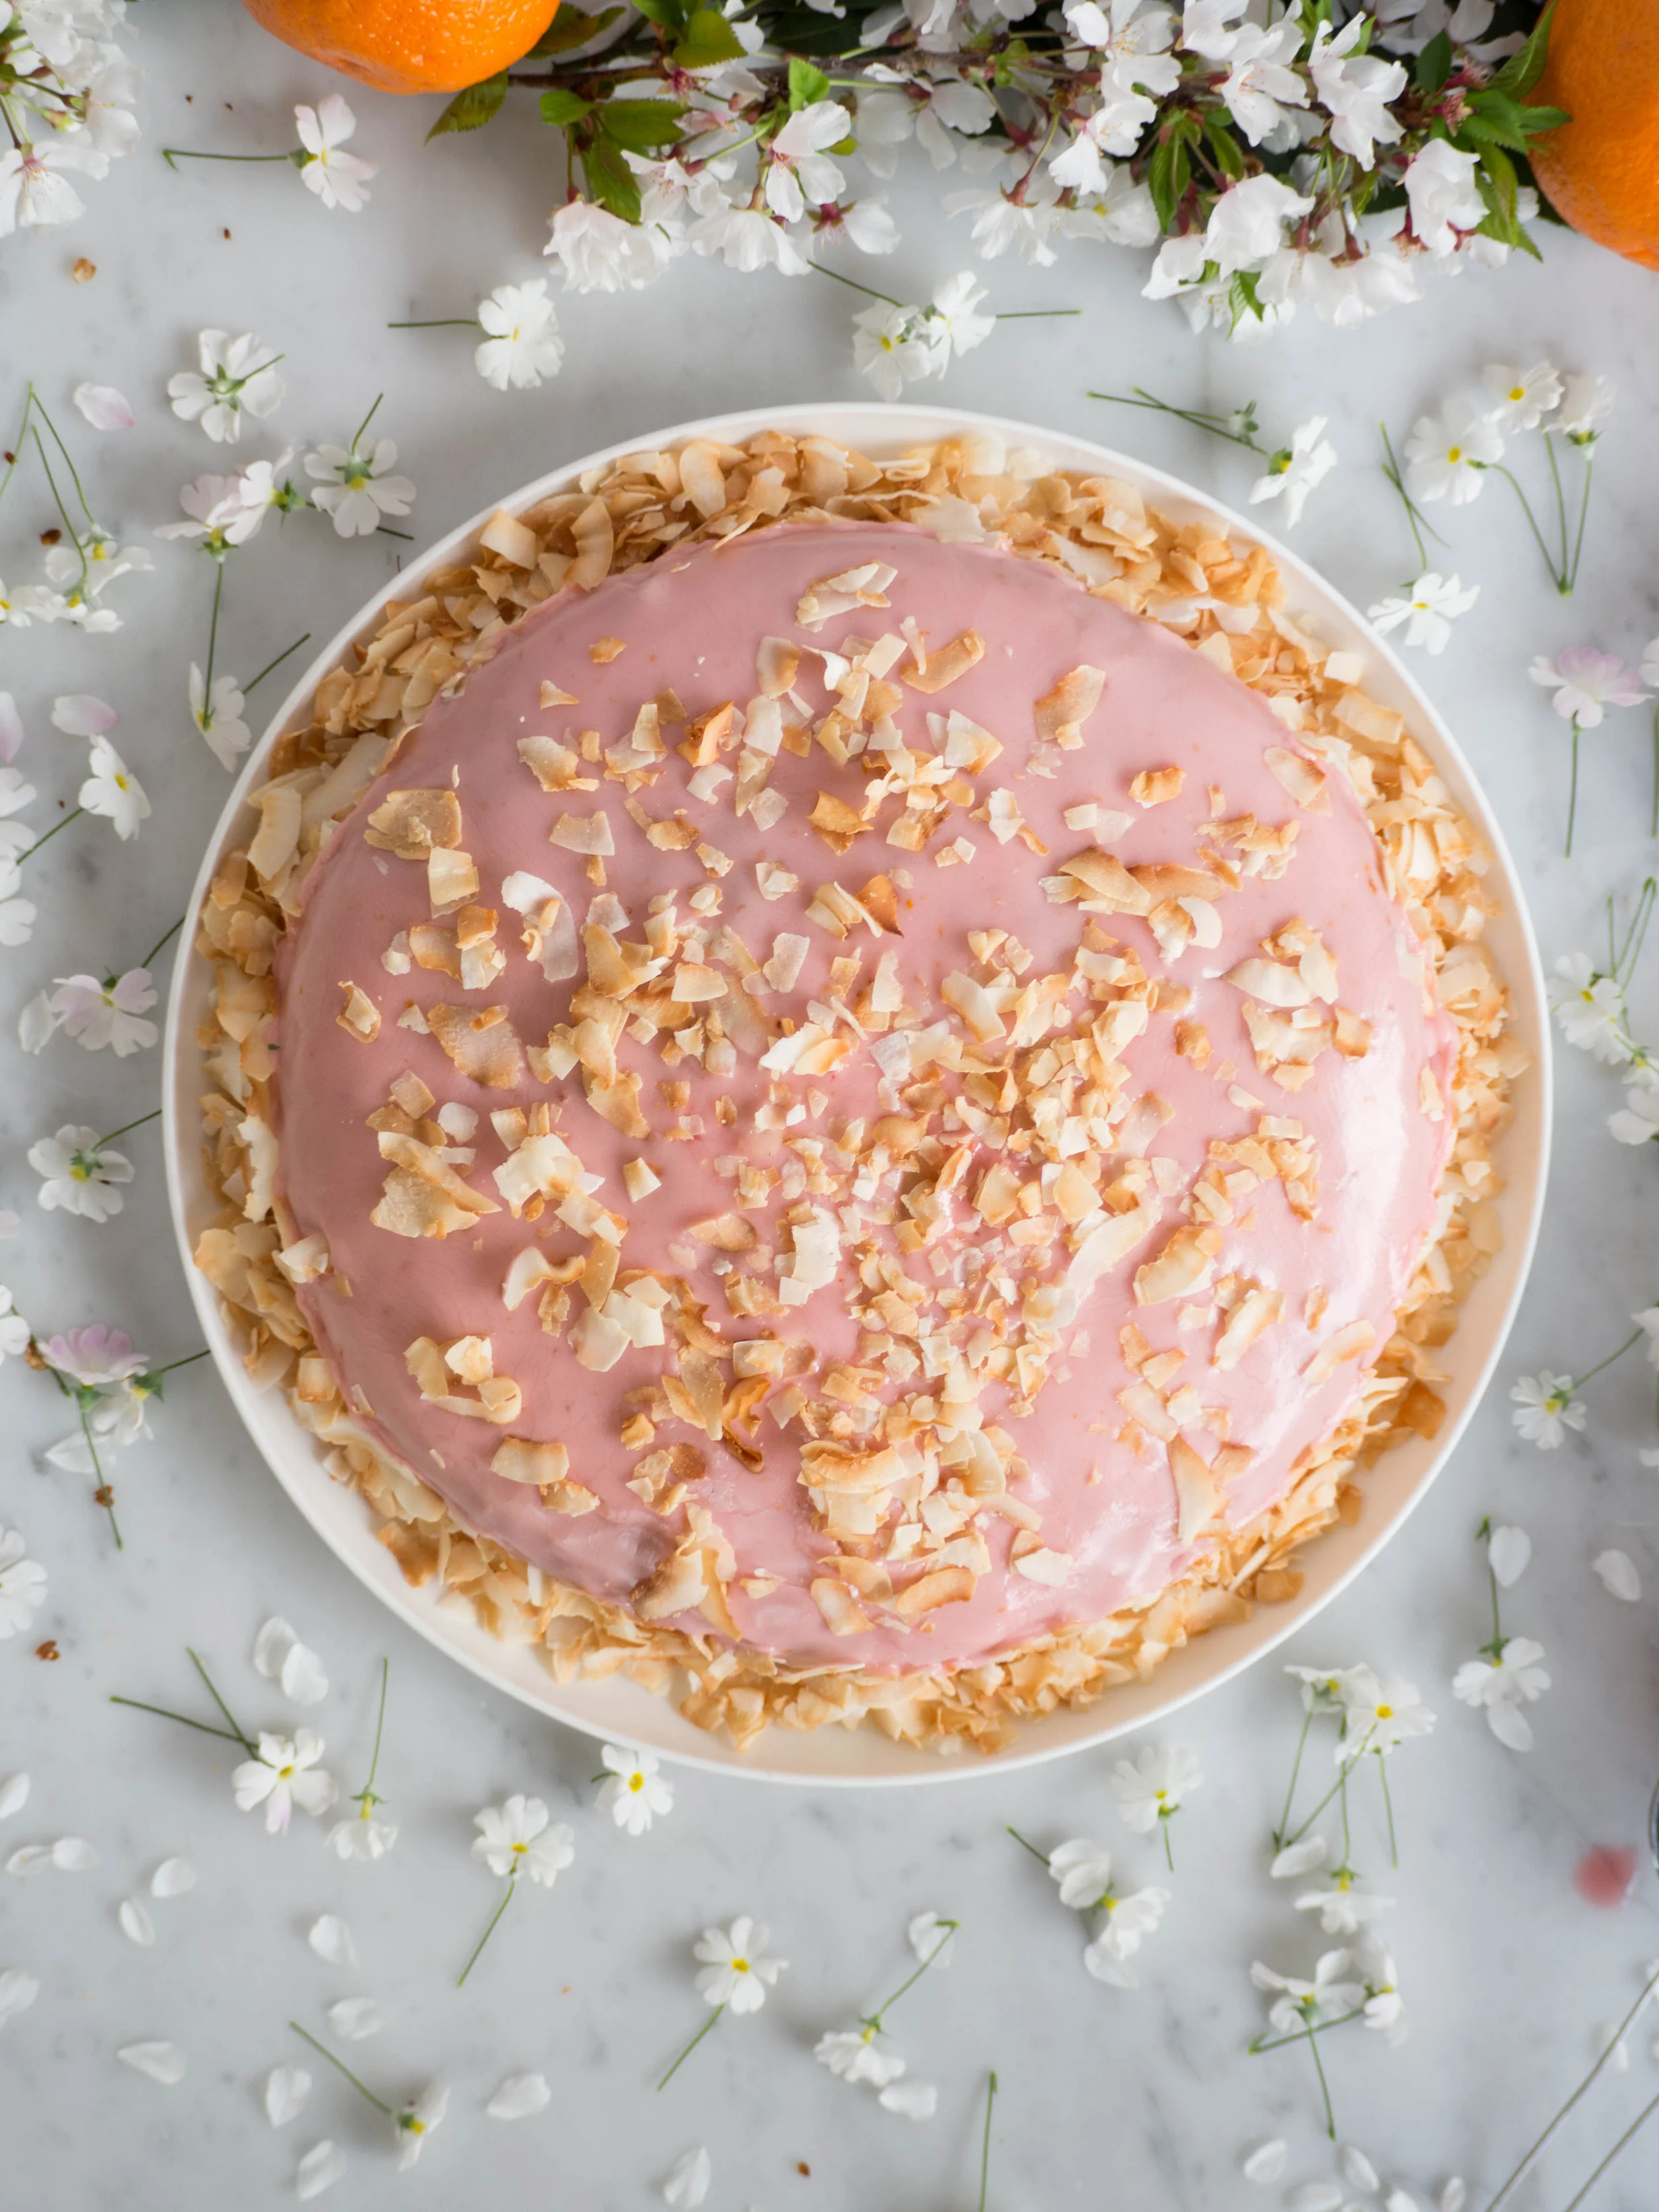
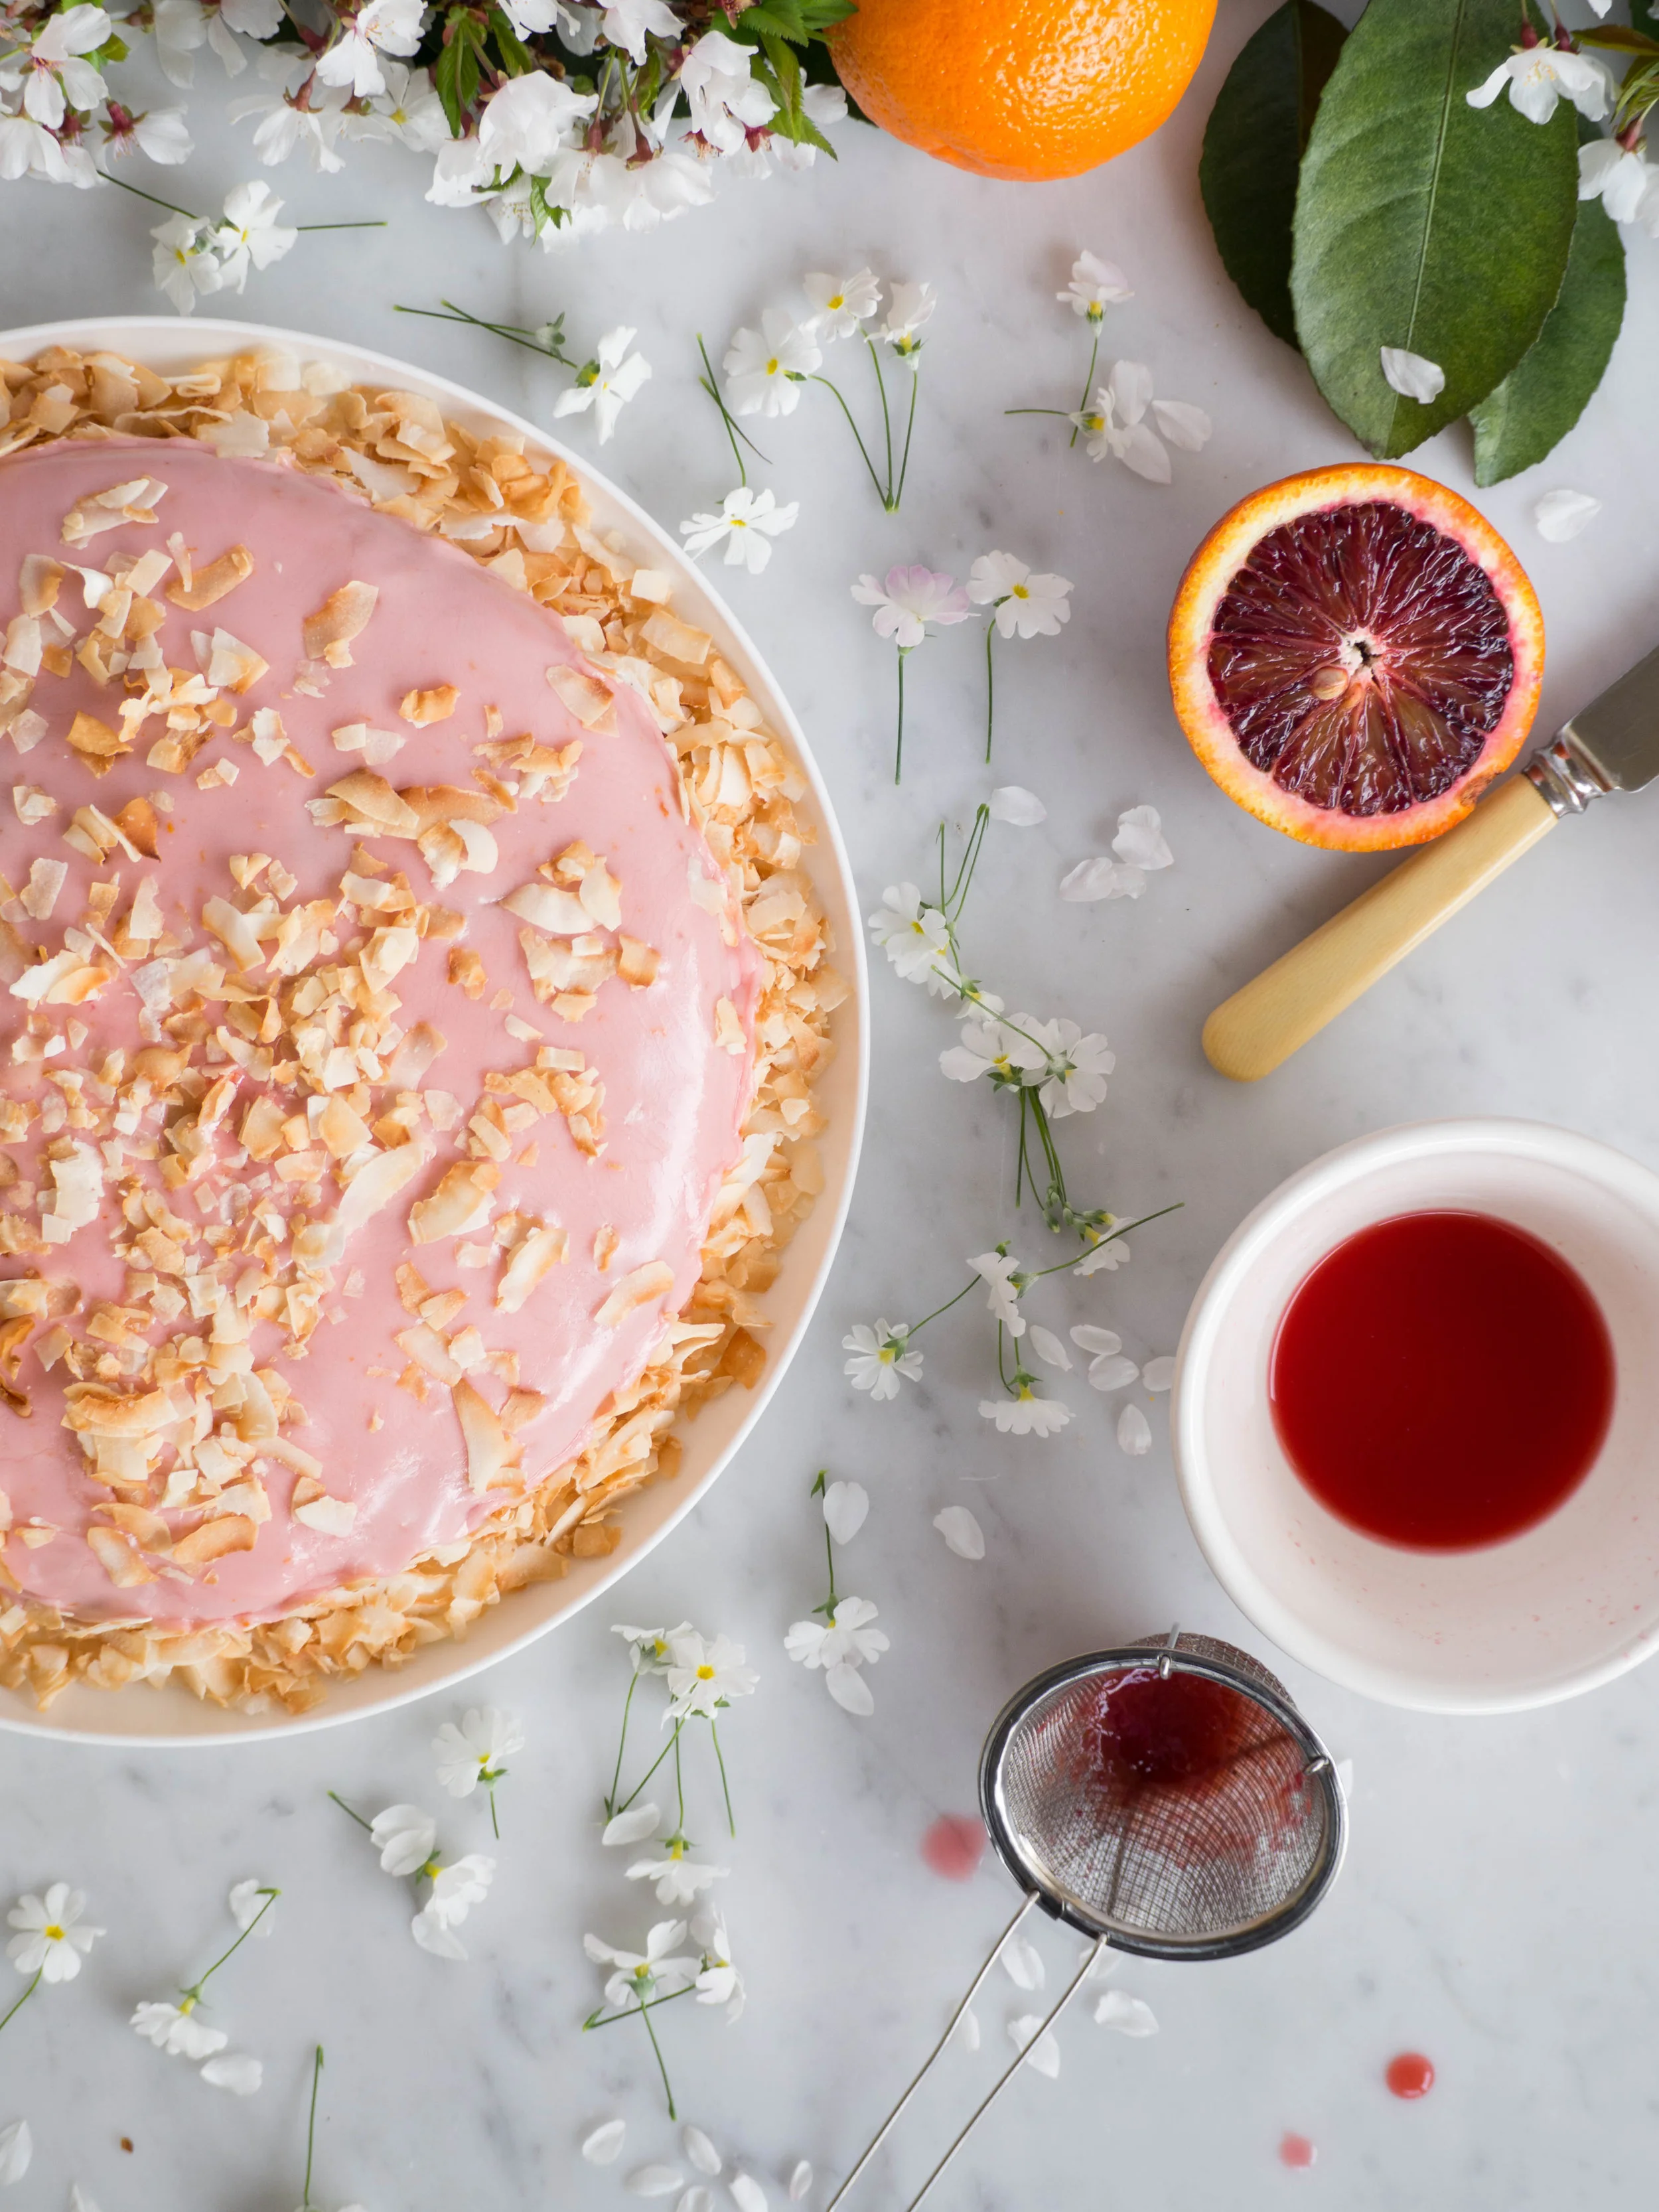
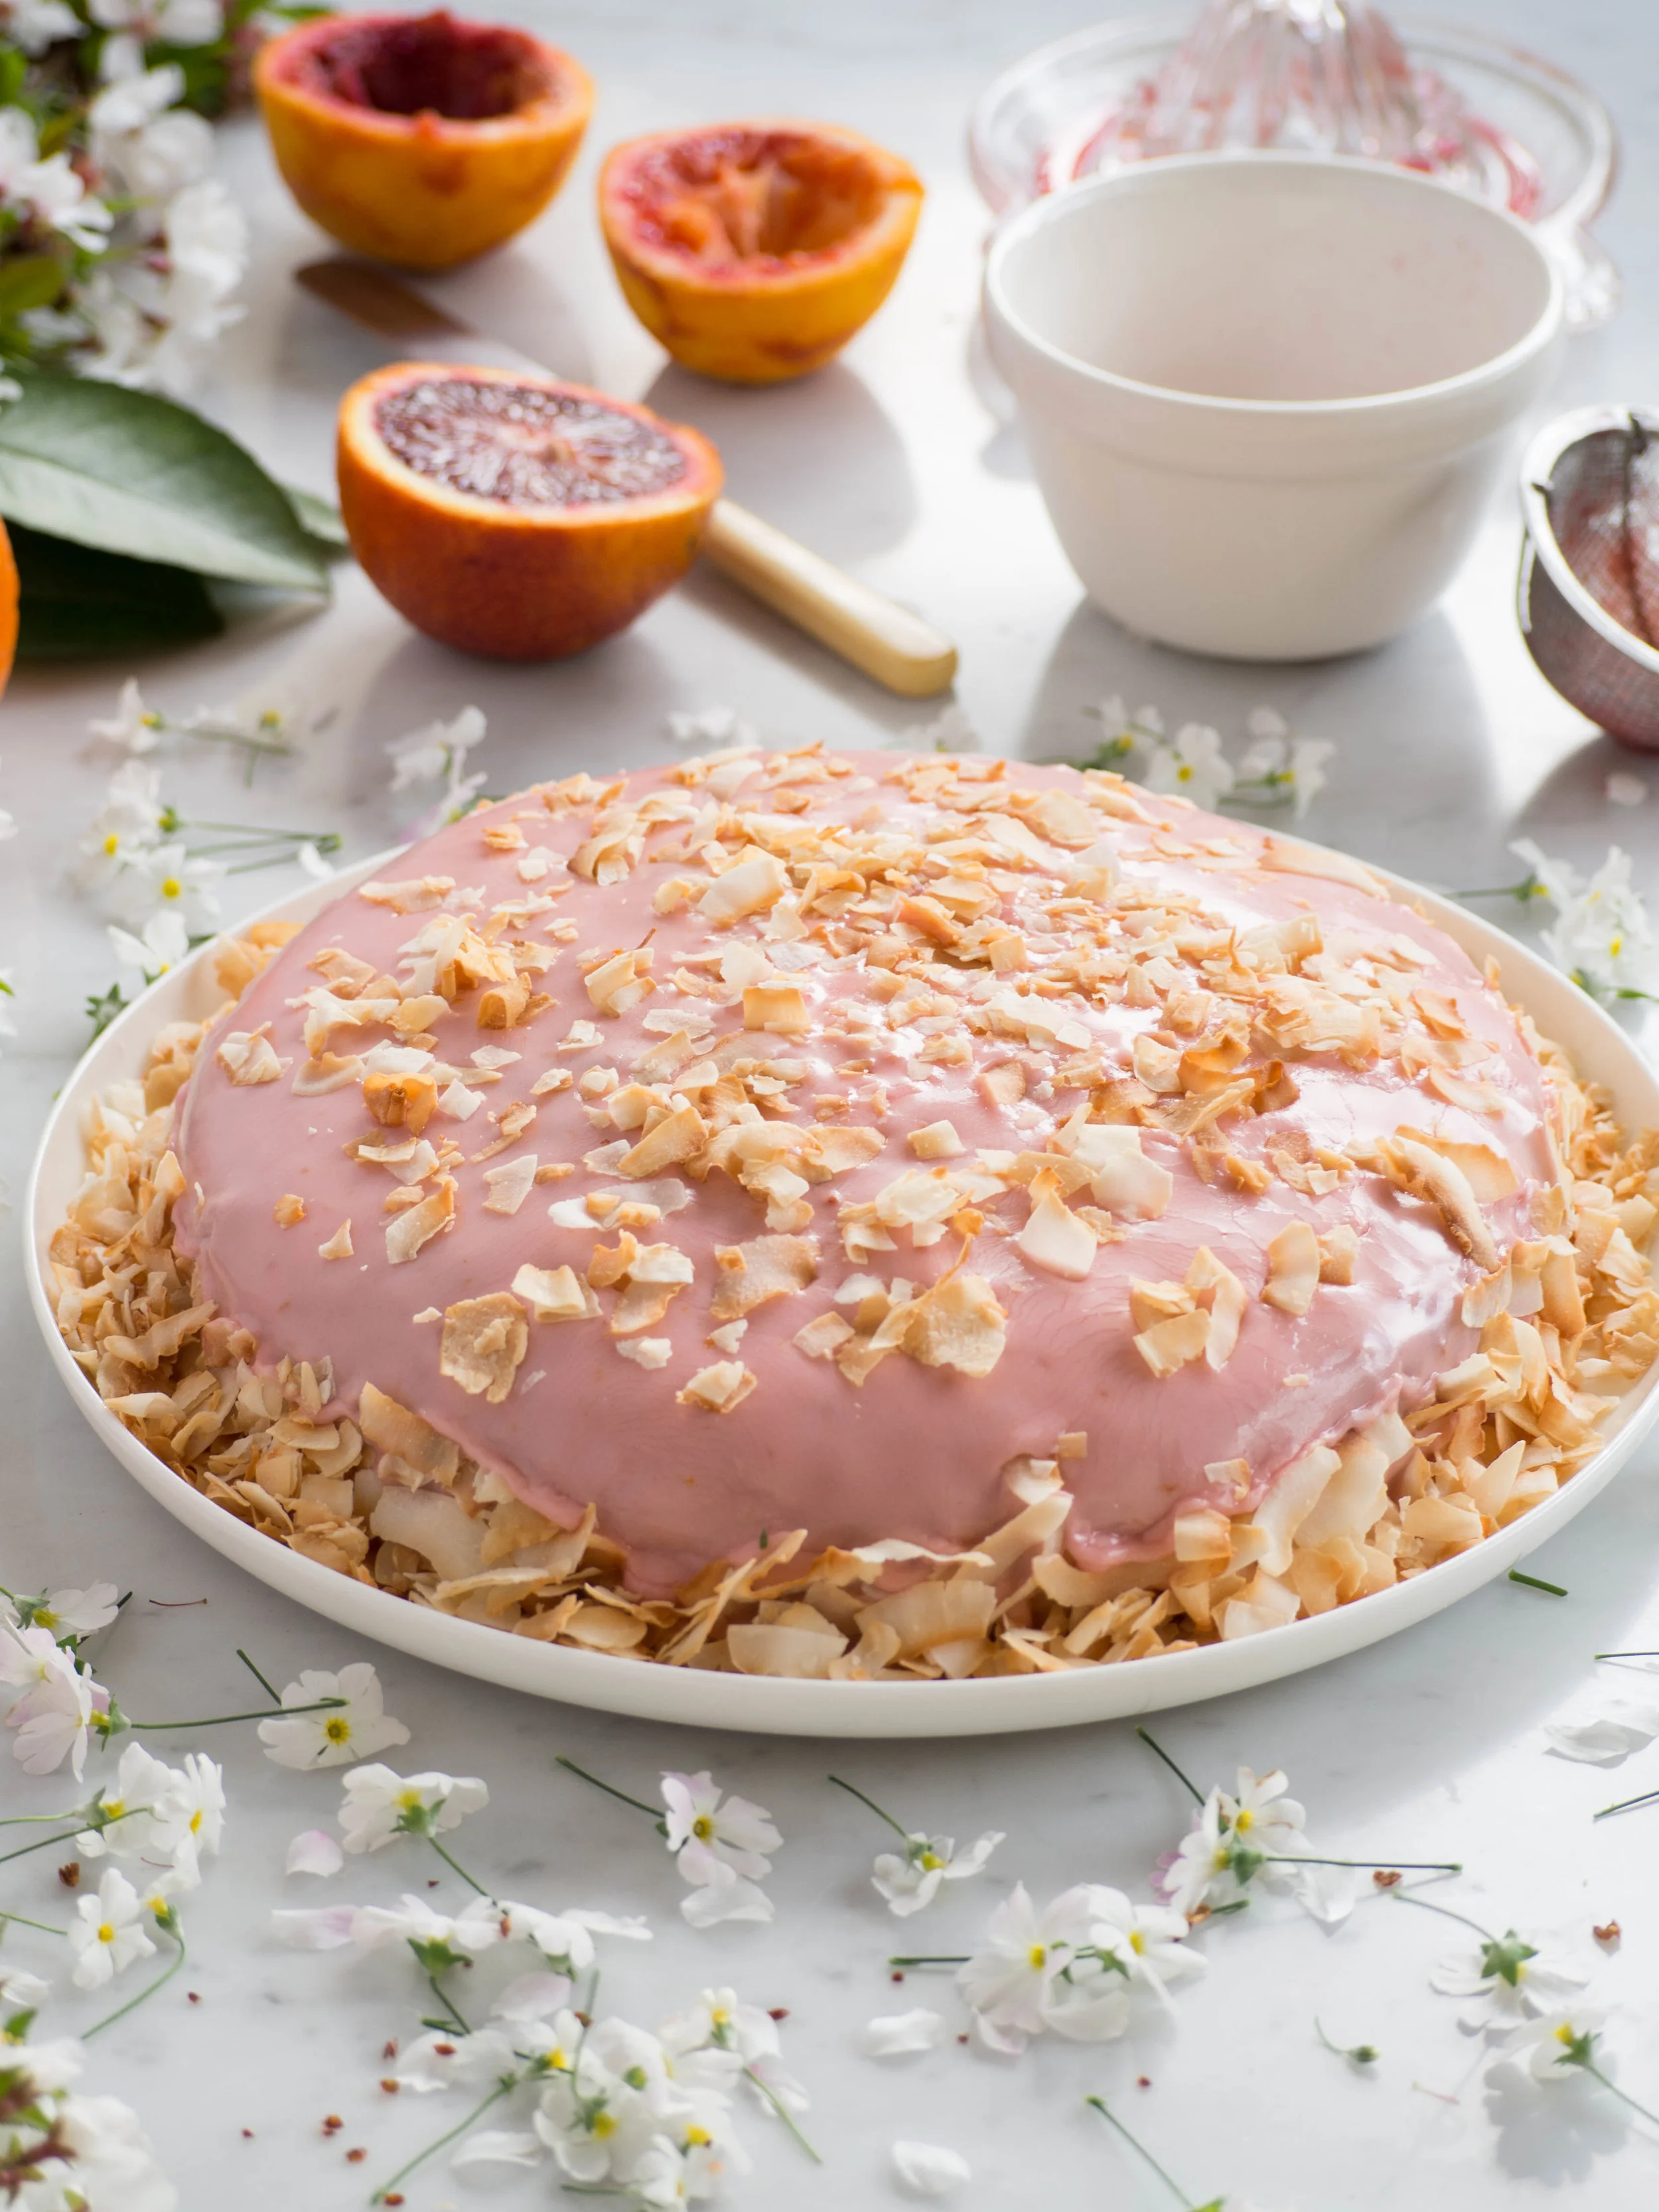
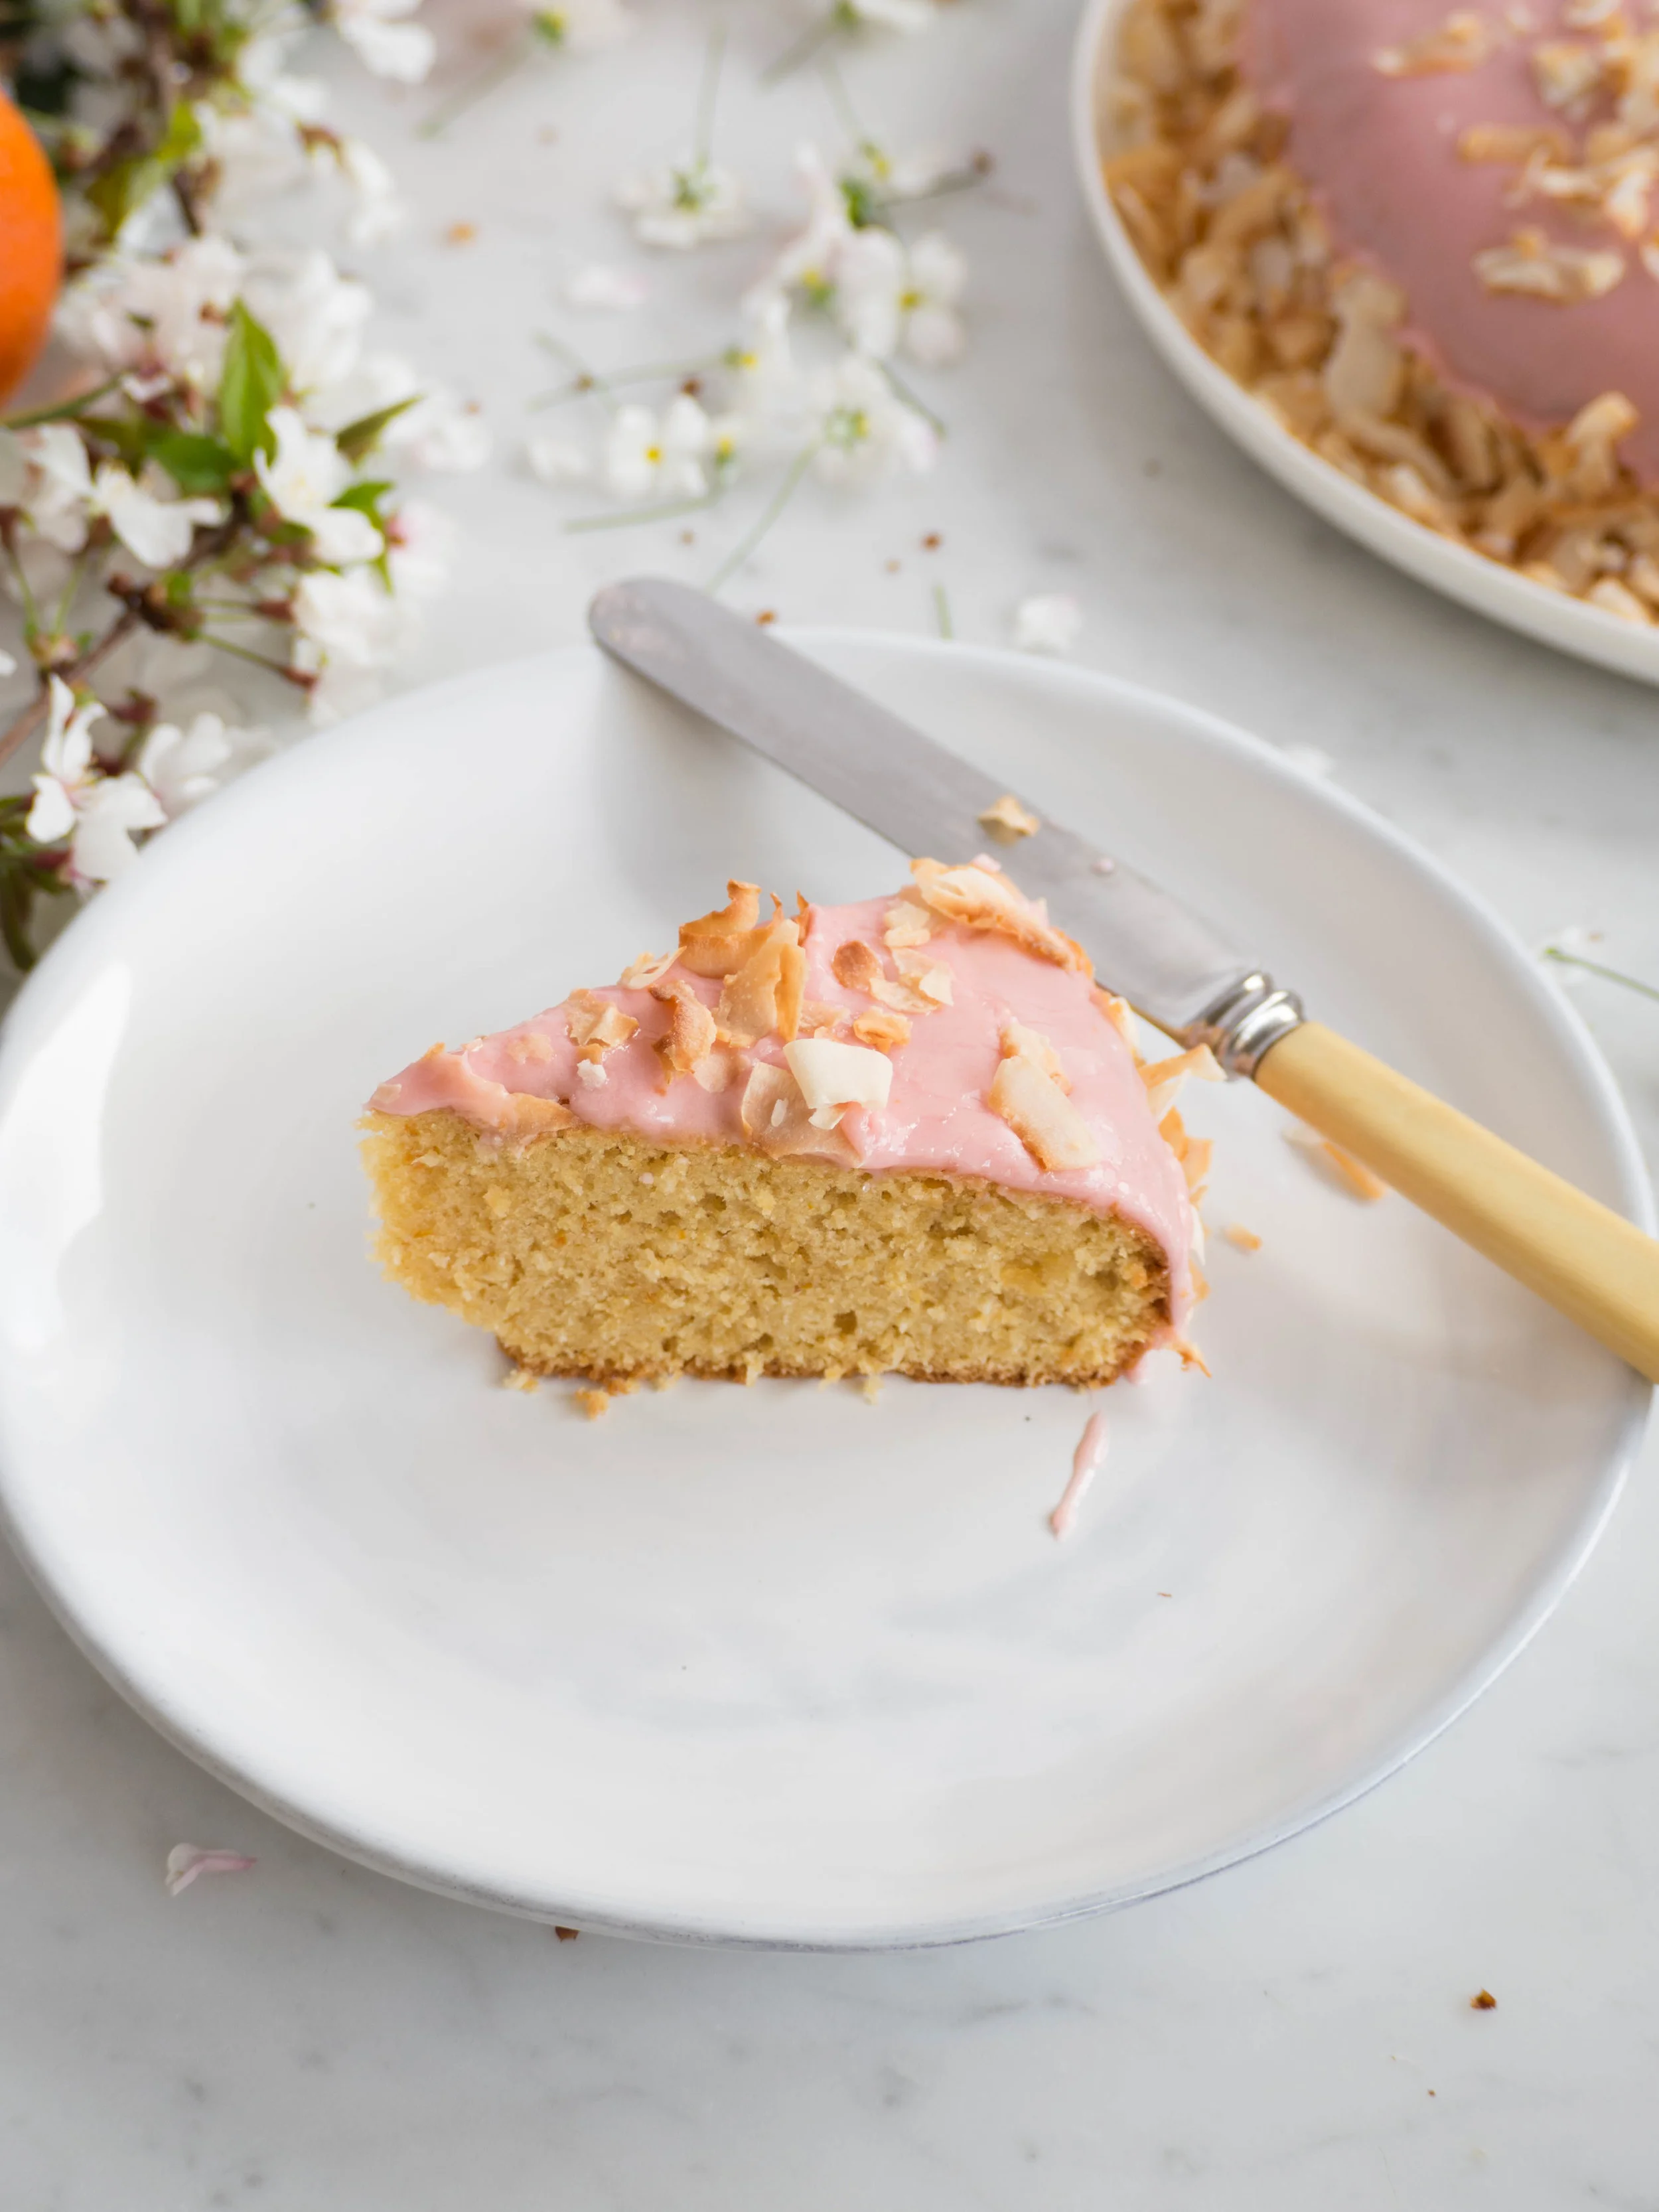
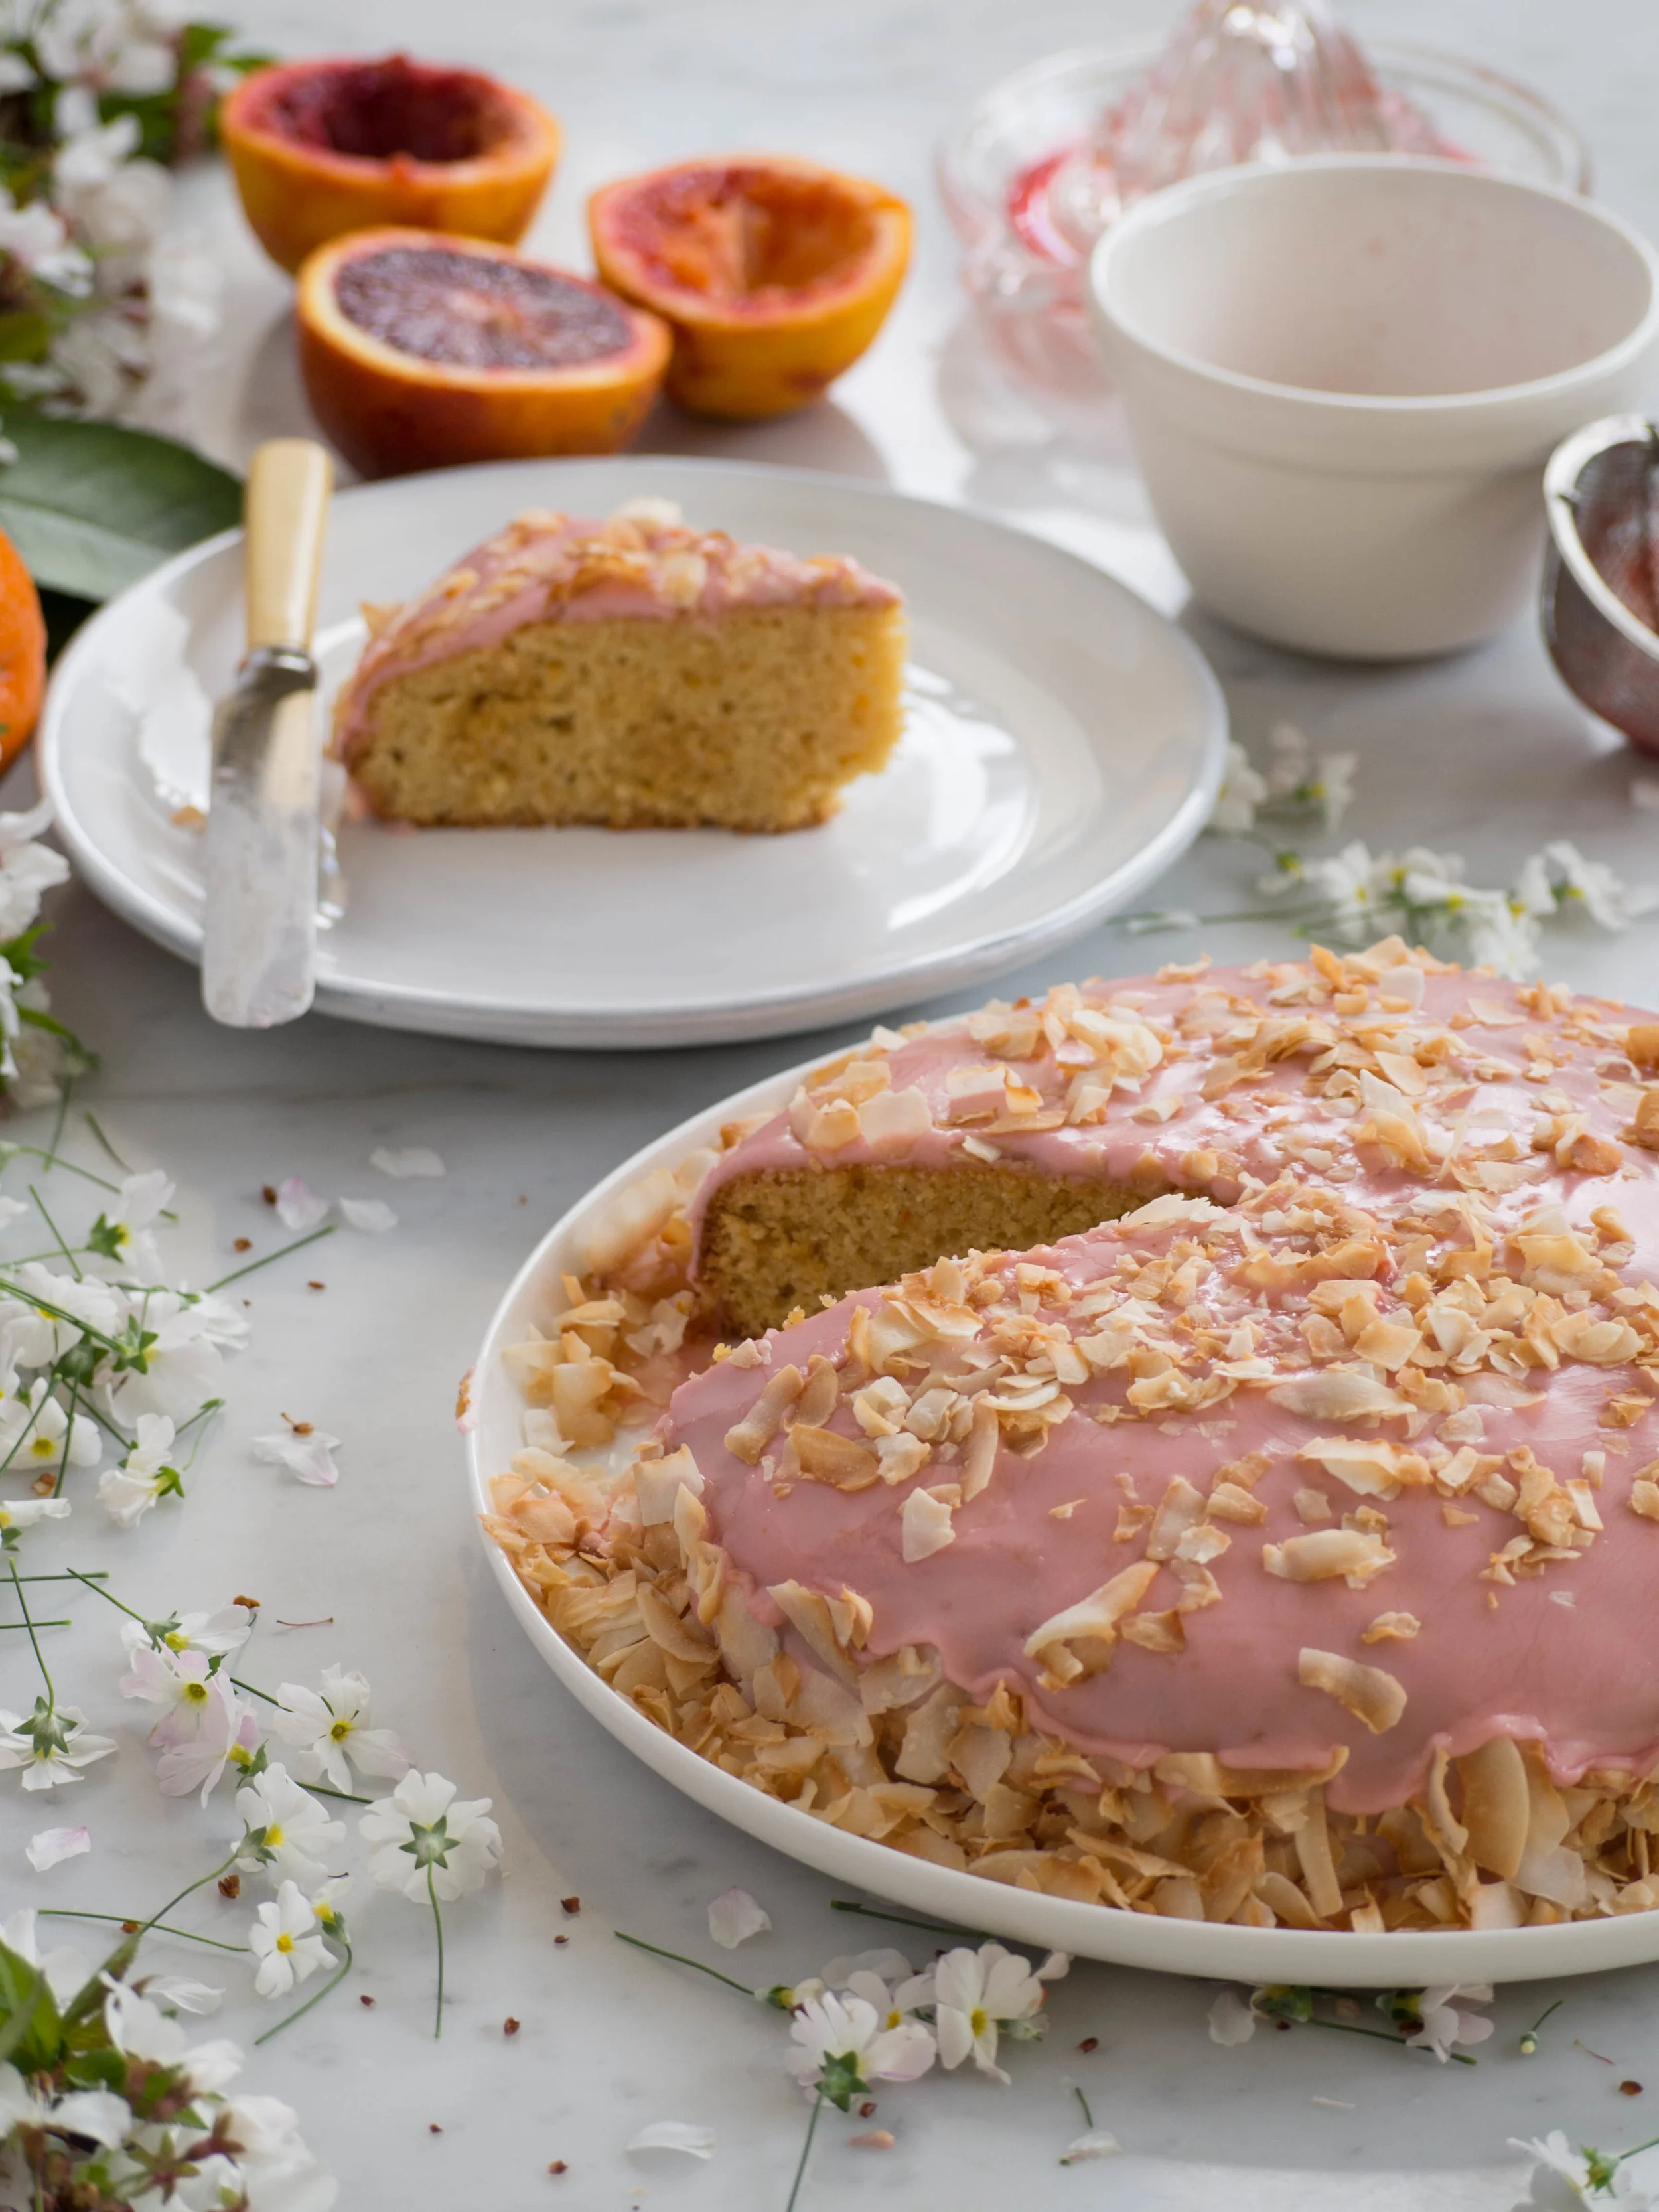
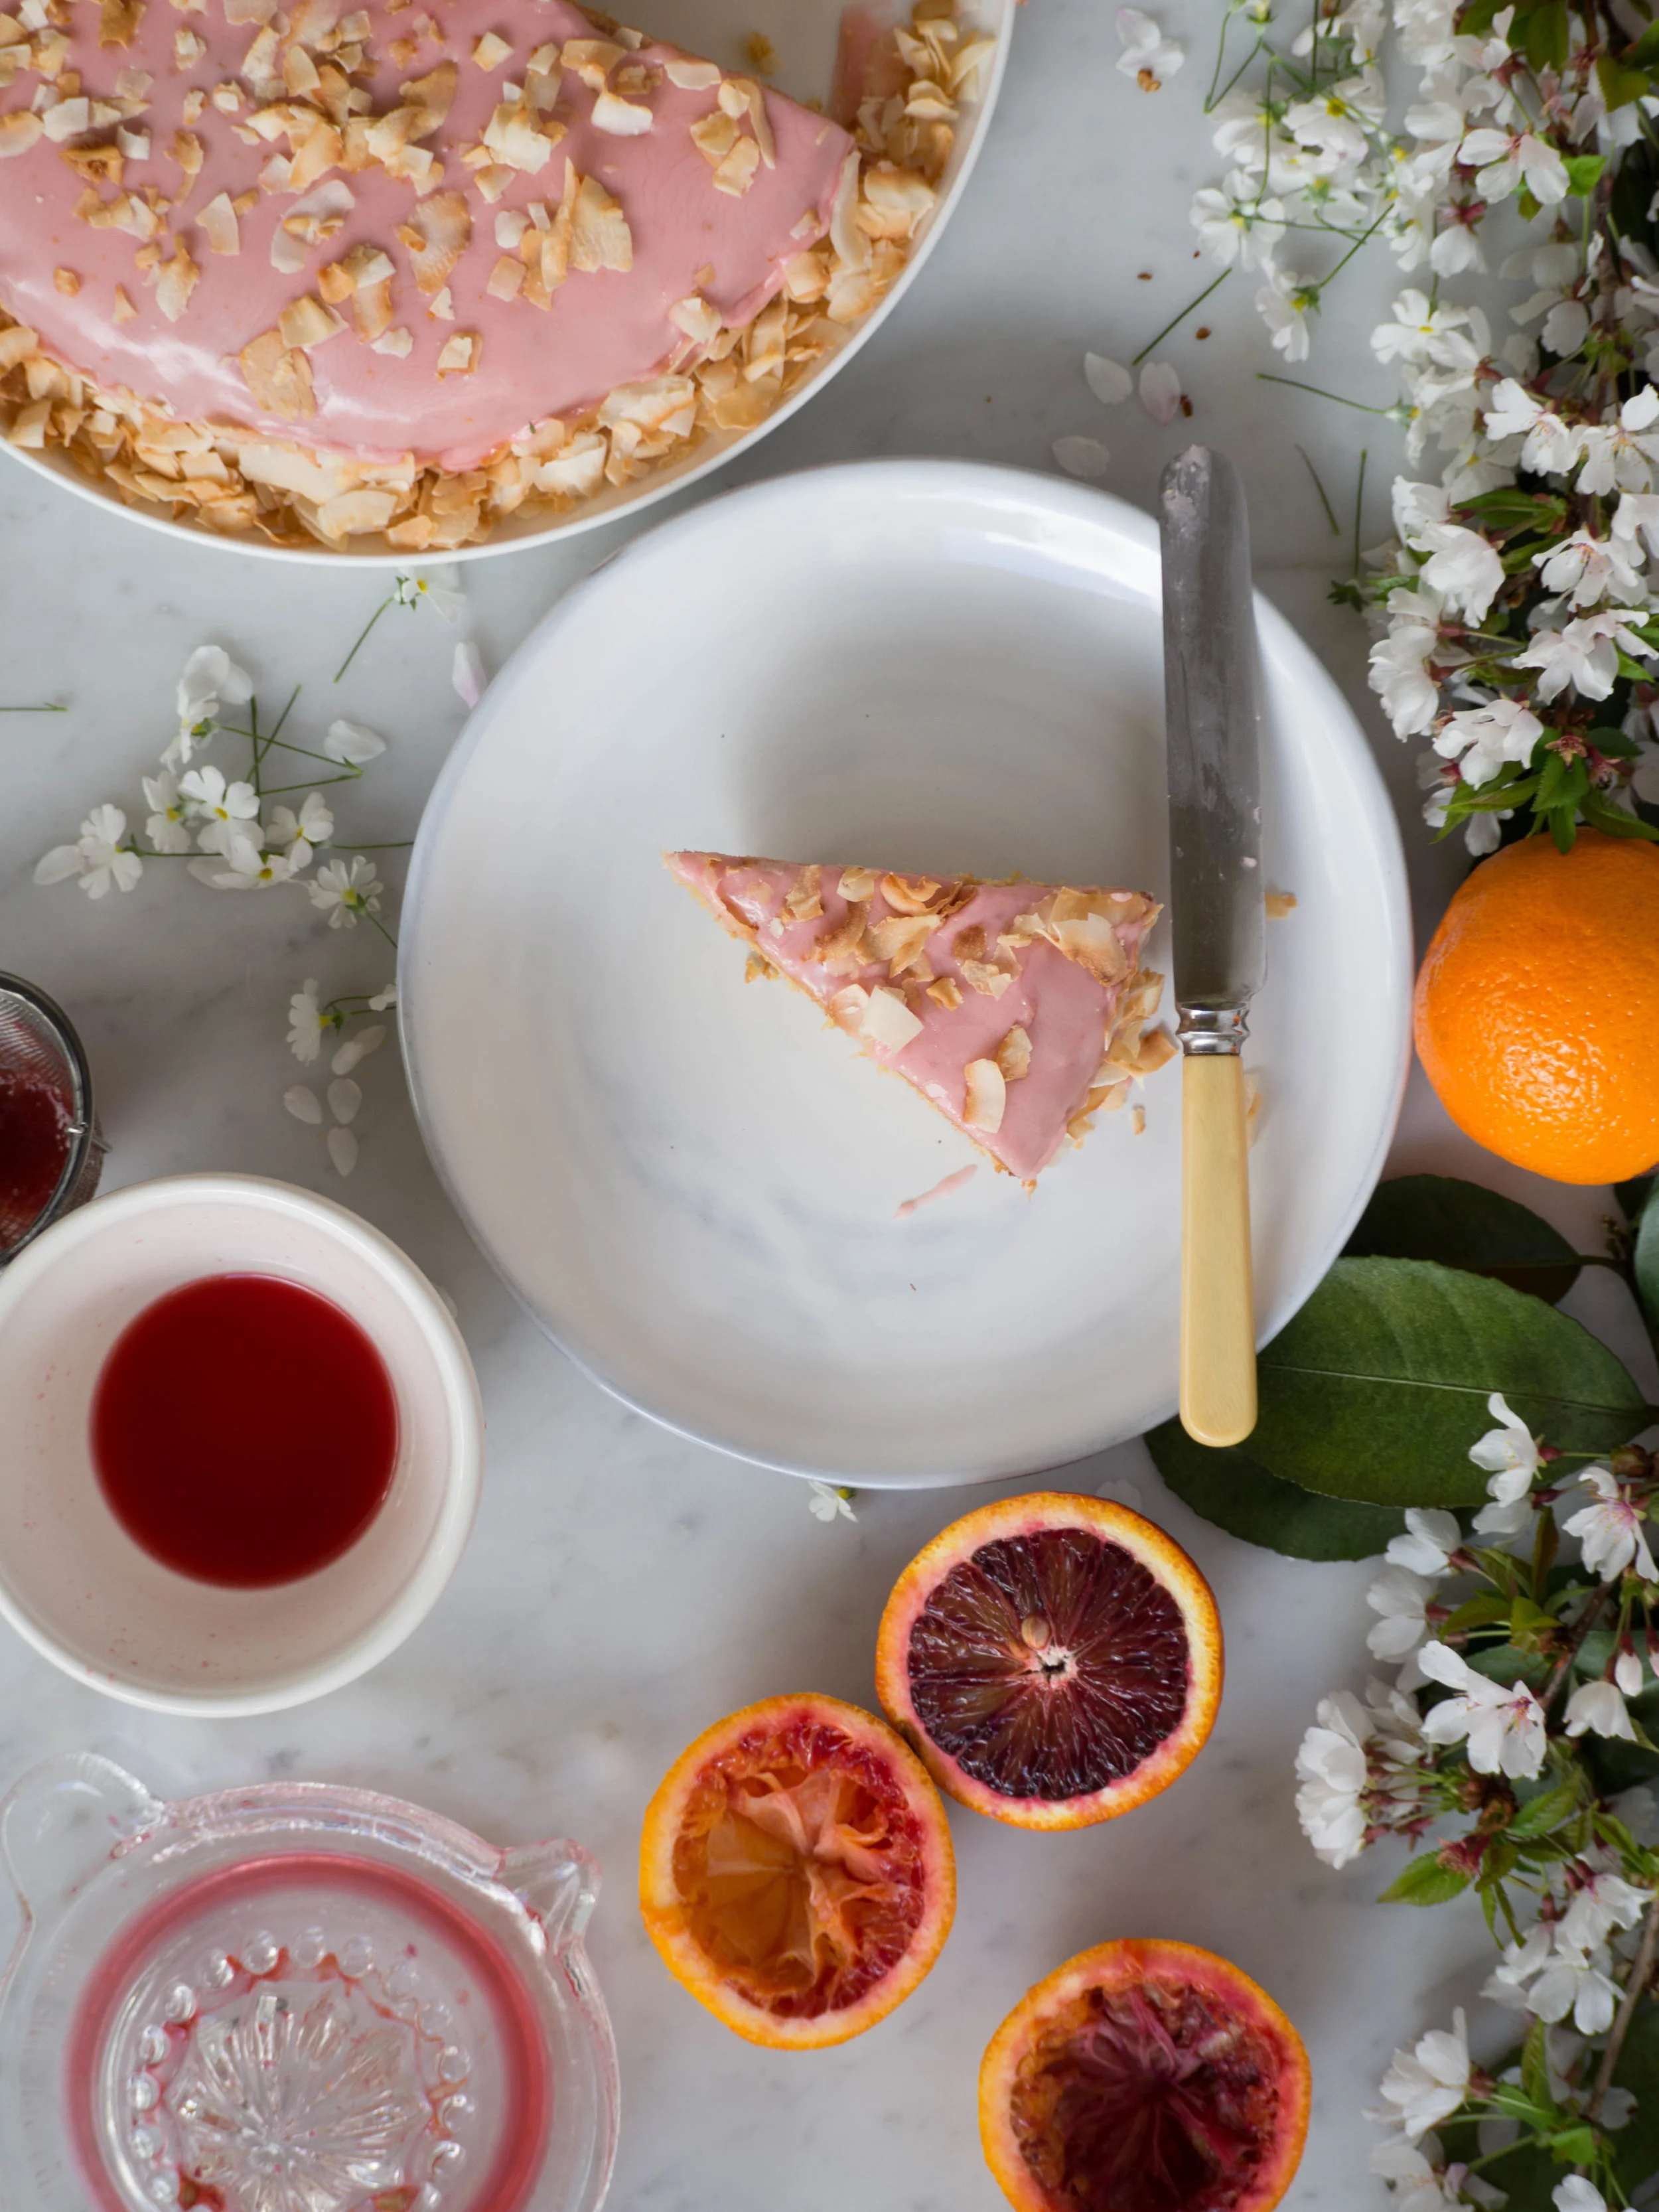
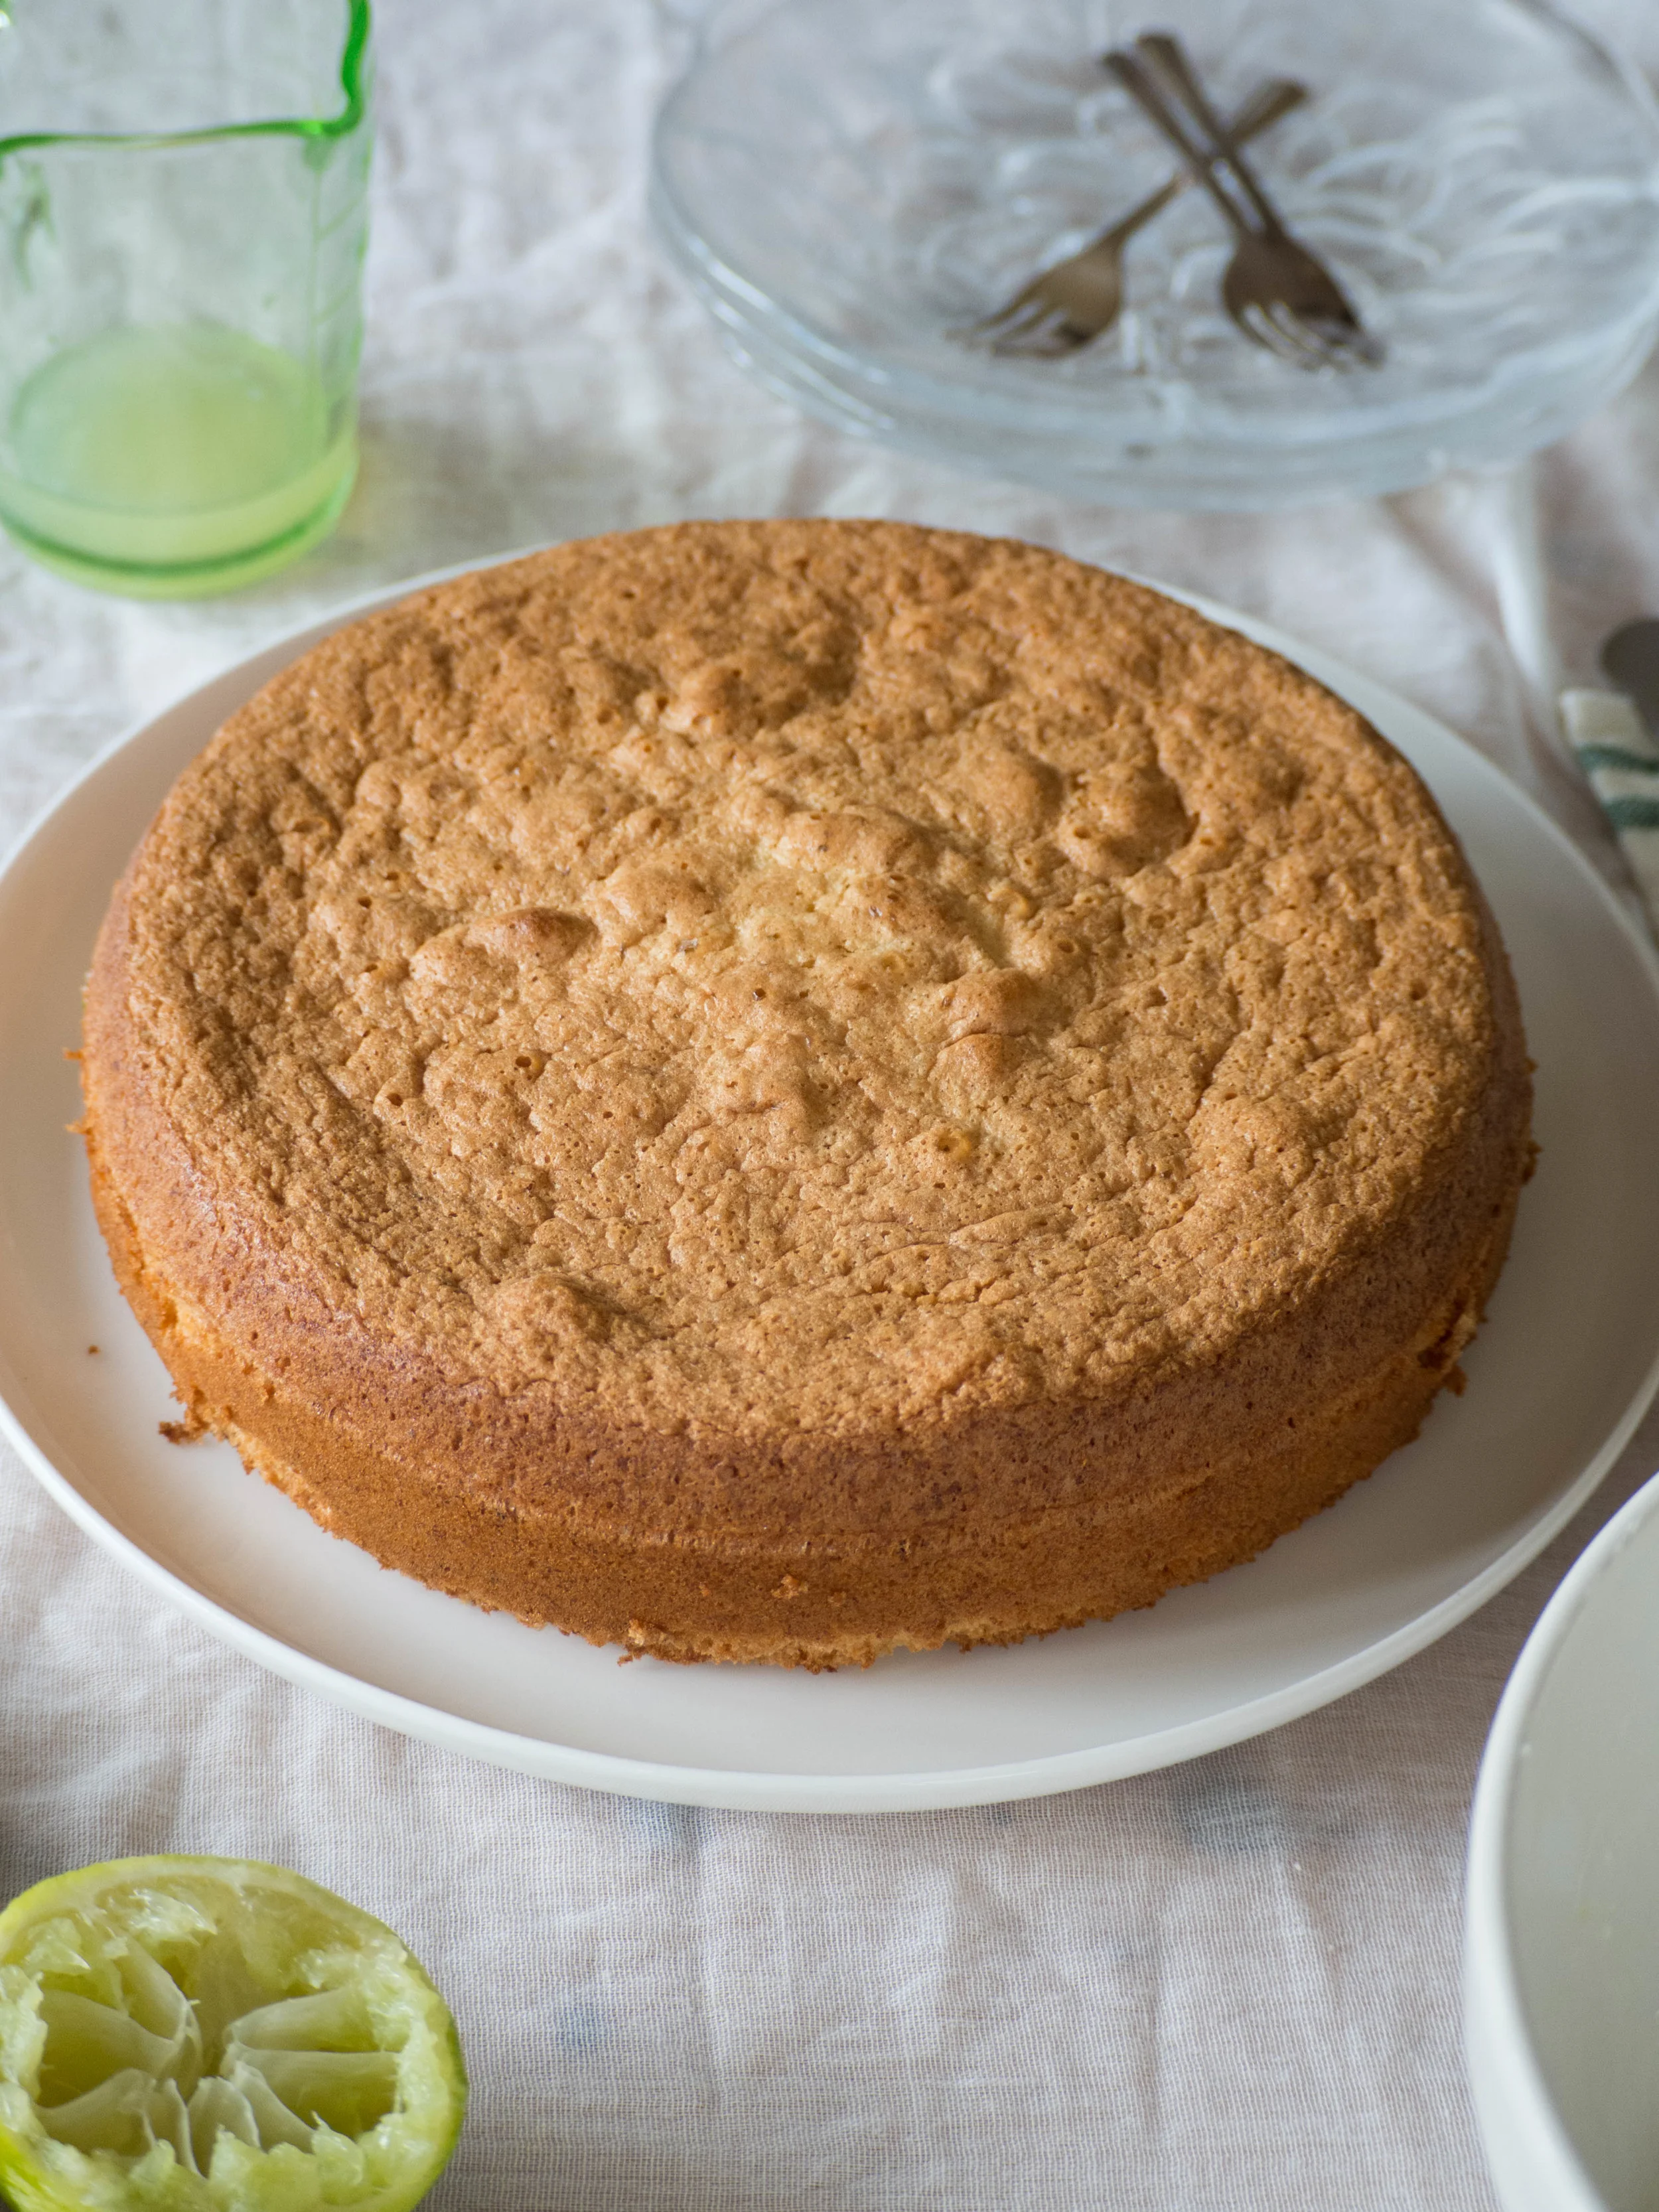
This is the original recipe I used when I made my Blood Orange cake from my previous post. It is a nice and light cake, that could easily be made gluten free. The flavours are Summery, and definitely suit the very warm weather we have been experiencing here lately. 

I originally made this cake back in August, and while the zingy flavour of the lime was really nice, it didn’t really go well with the Winter weather! I shared some of the cake with a friend and she commented that the cake was definitely a Summer one! And I agree. Which is why I have waited a little to share the recipe with you. It would be lovely at the end of a weekend meal, or taken to BBQ or picnic in the warmer months. 

The recipe comes from one of Bill Granger’s many great cookbooks. Every one of his books have great recipes, and most are fairly easy, yet packed with flavour. I am always disappointed when I try a recipe that looks easy, and doesn’t take much time, but has compromised on flavour to do so. Bill’s recipes never disappoint, and this salmon recipe in particular, has become a tasty and quick weeknight staple in our house. 

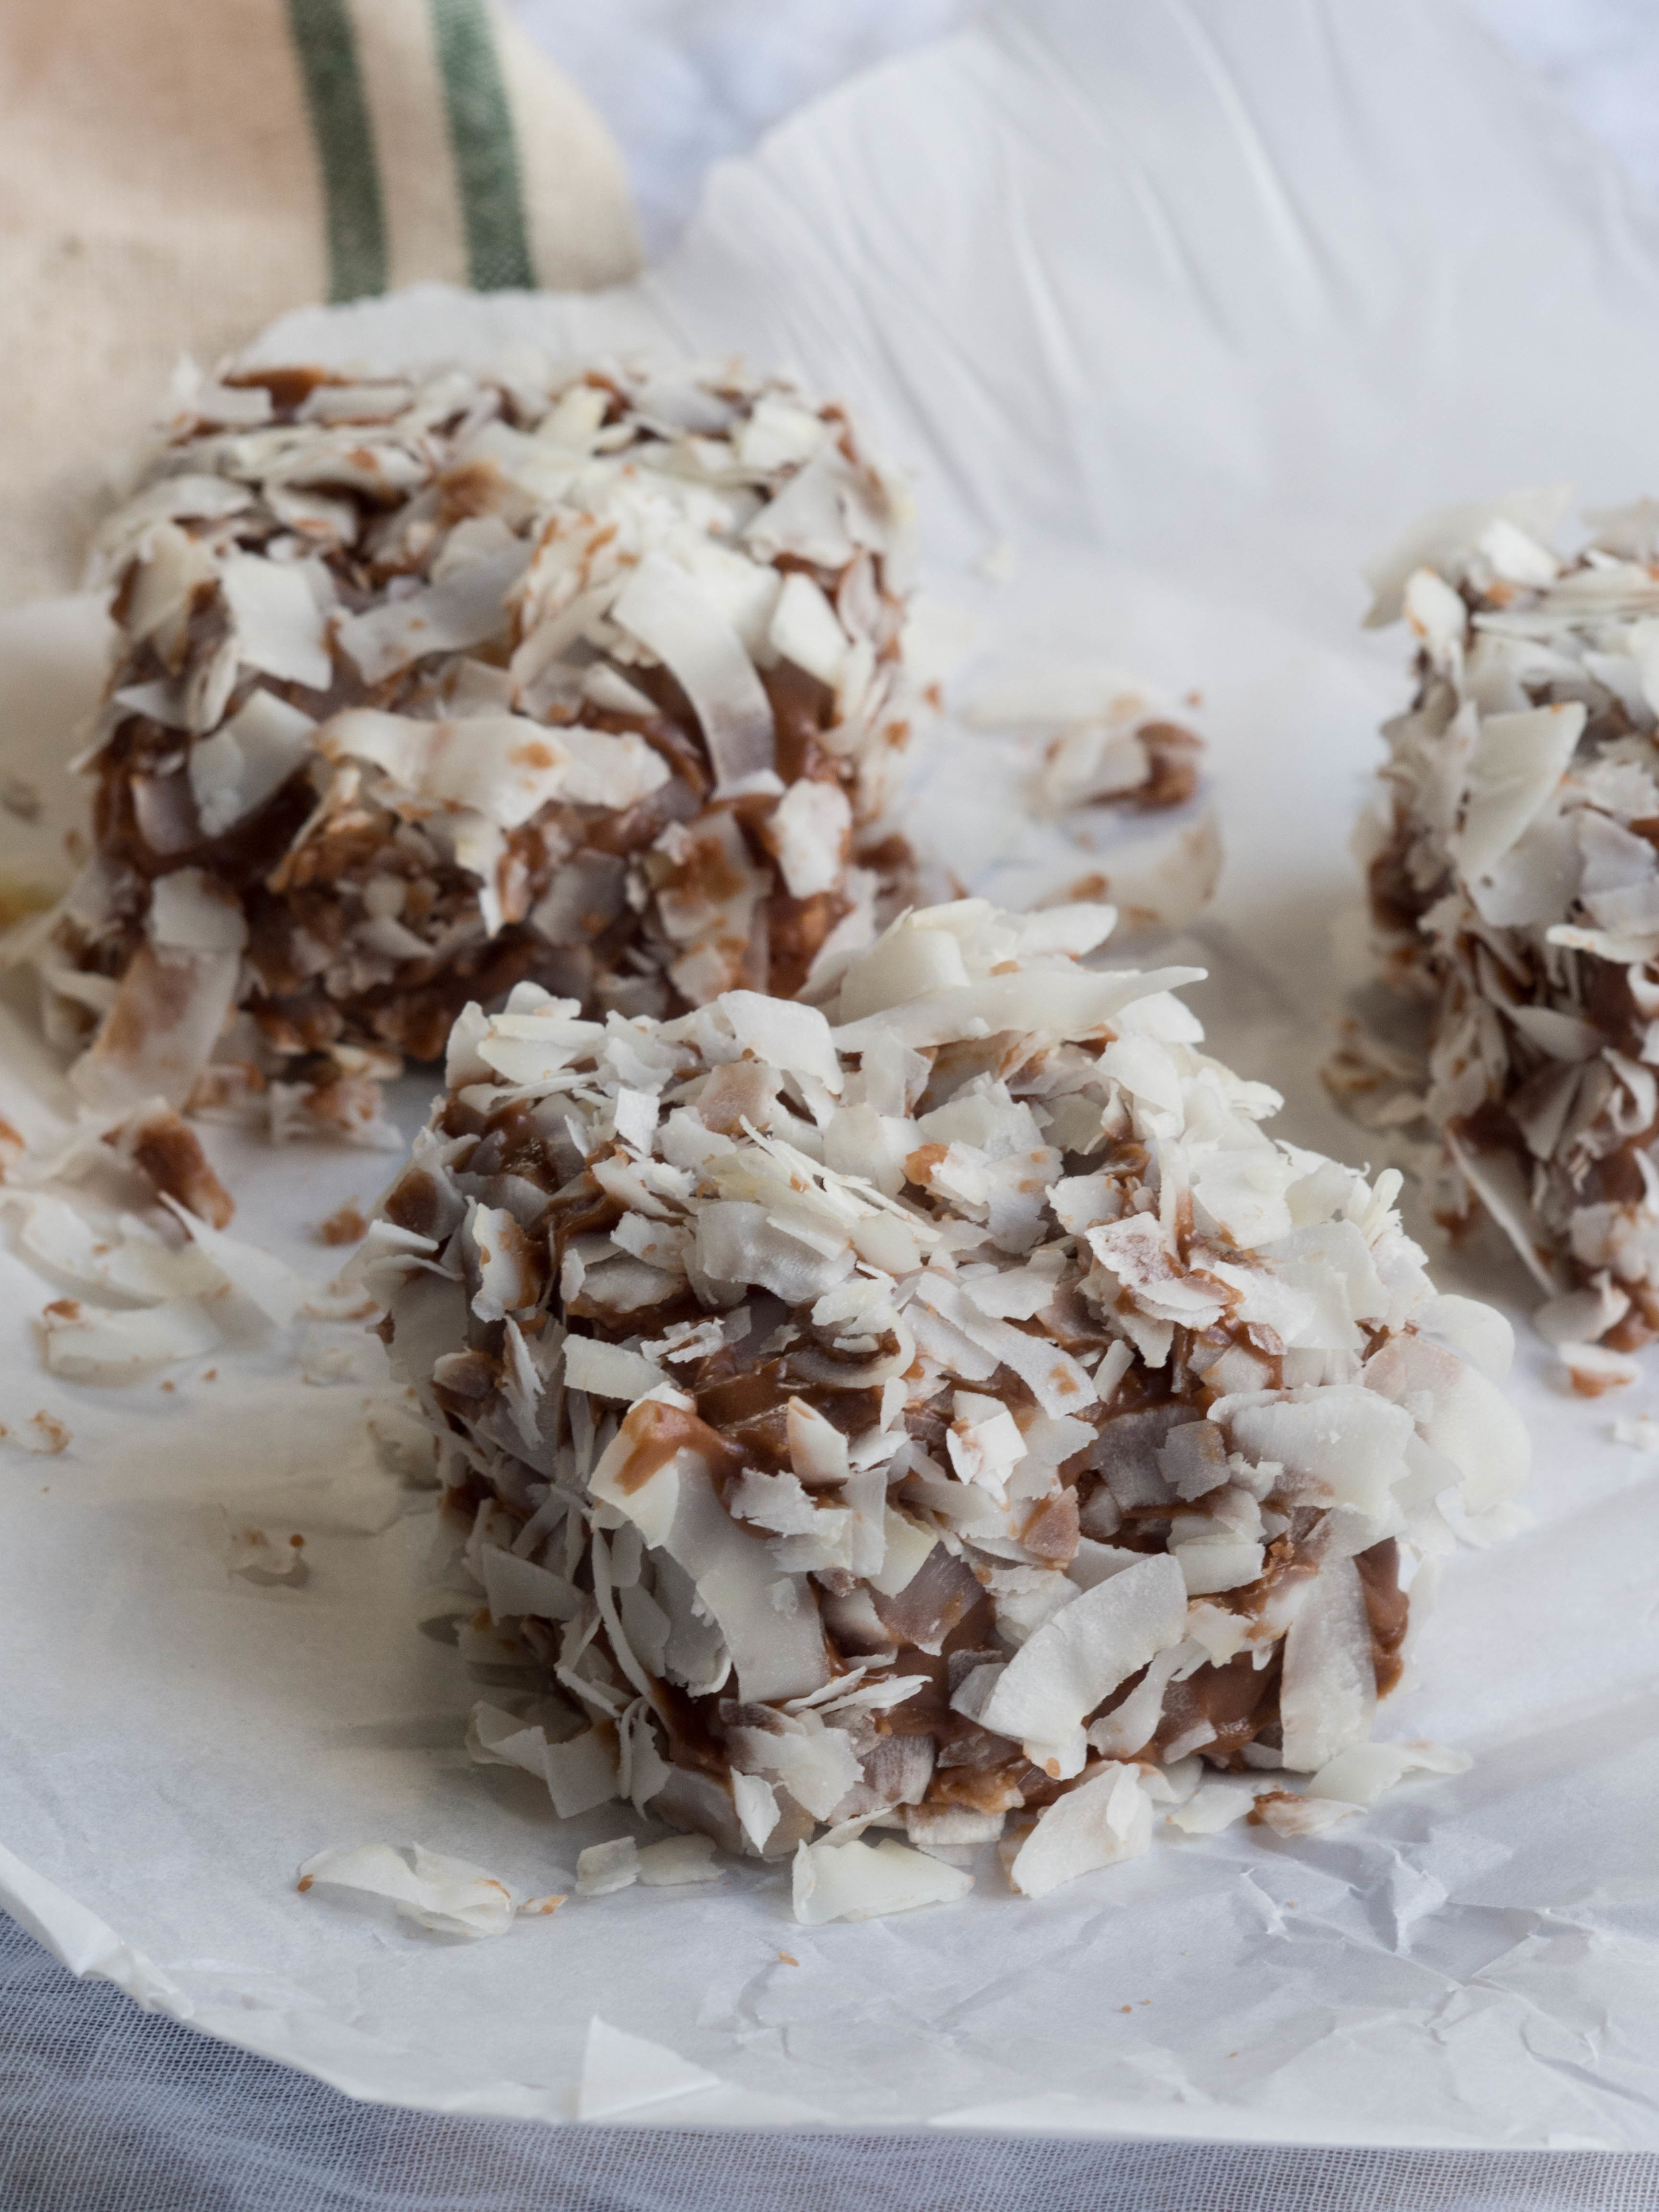
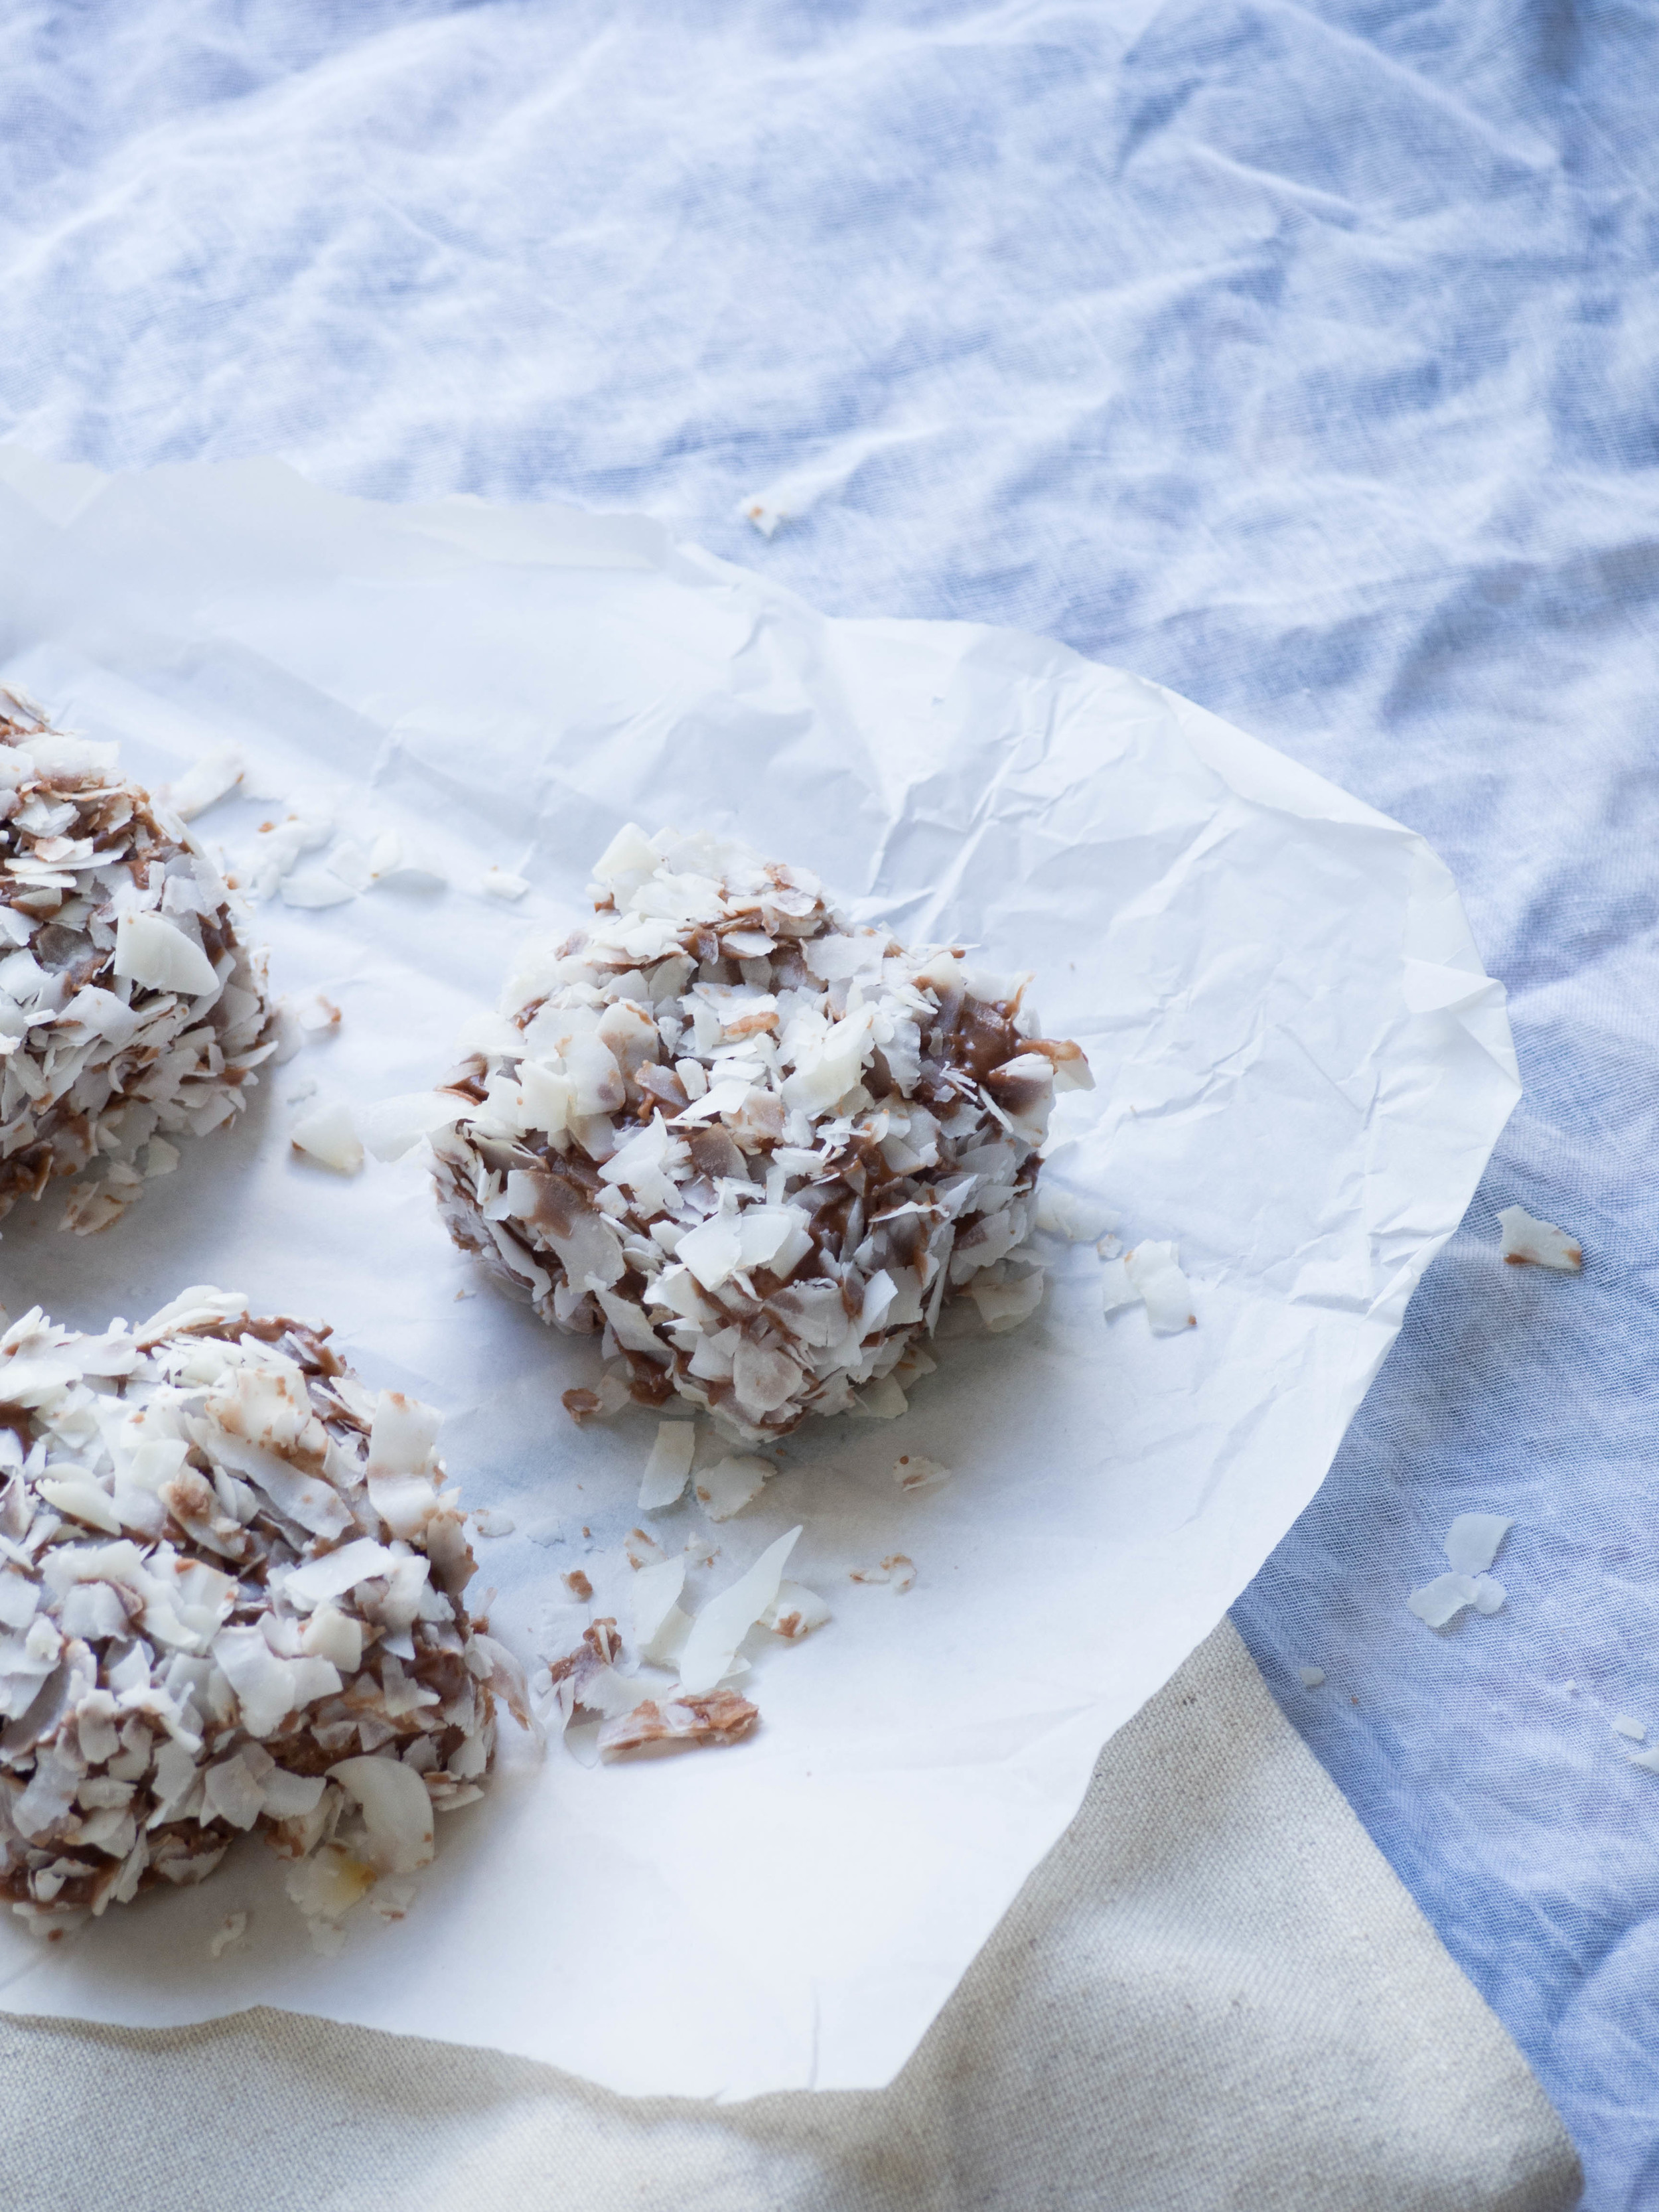
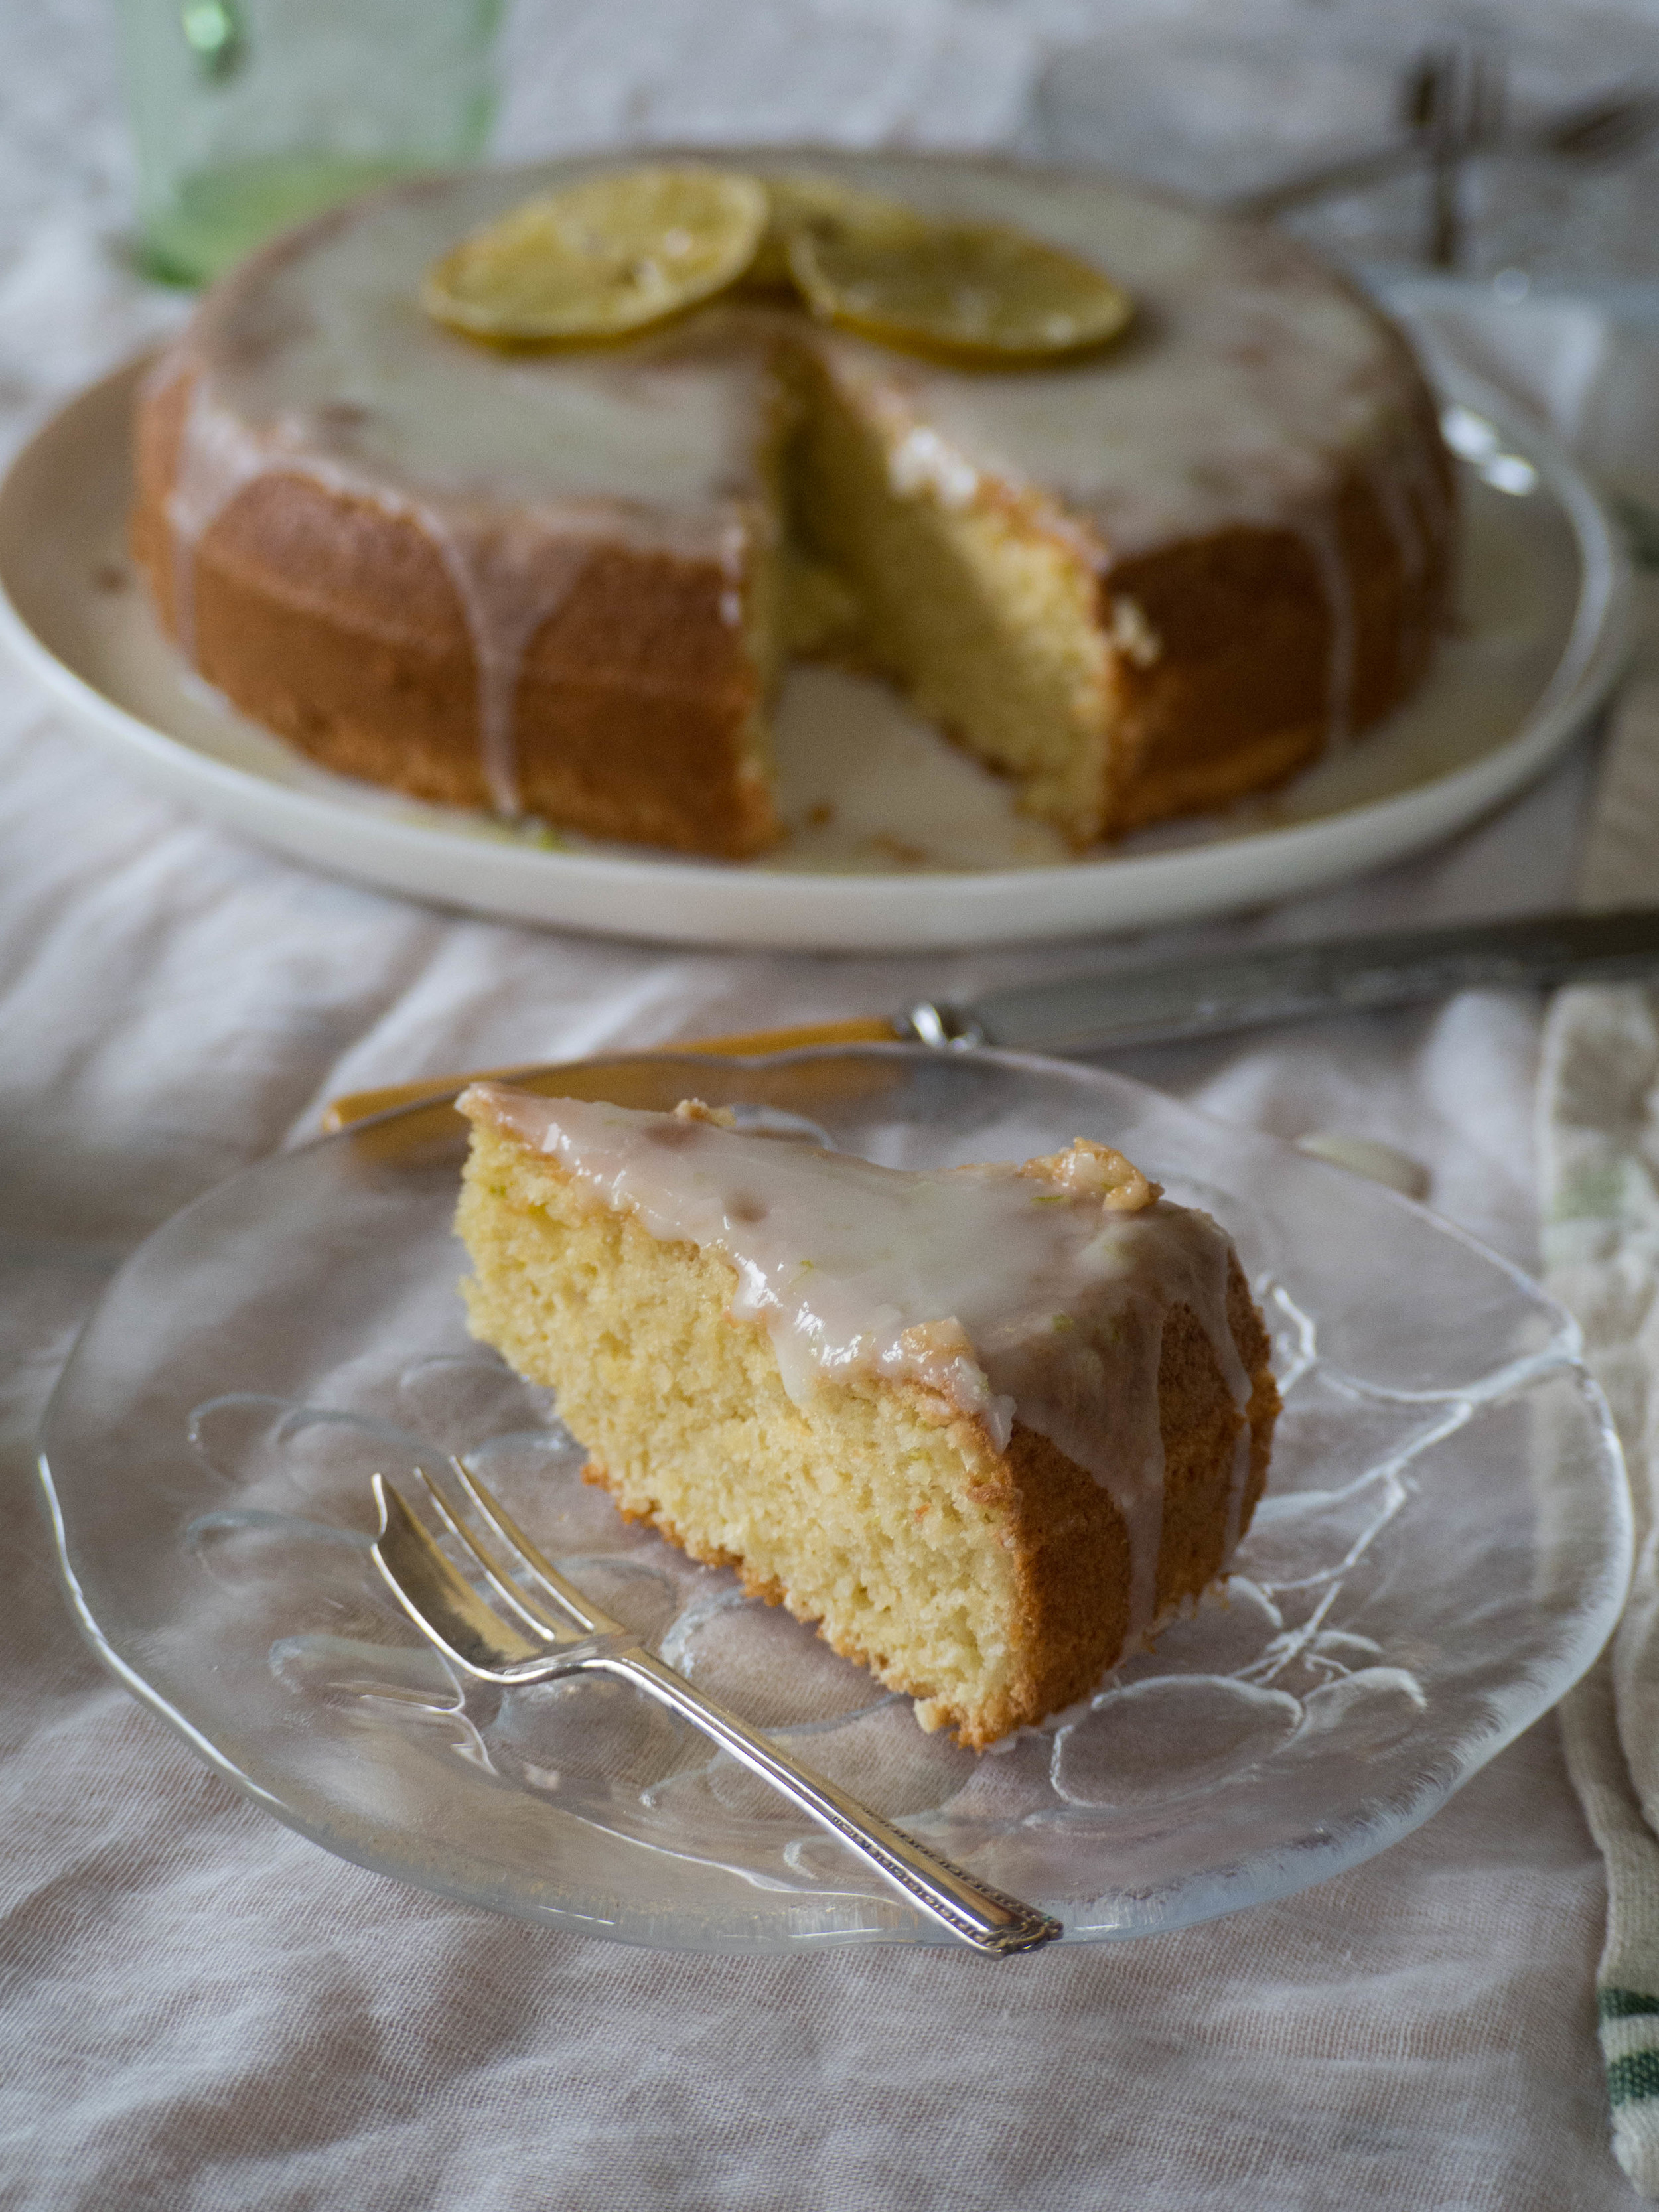
But back to the cake… I added a few slices of lime on top of the cake, as I didn’t like the way the cake looked just with the icing. The top of the cake wasn’t even, and so the icing showed all its flaws. I coated a few very finely sliced pieces of lime in white sugar, and cooked them on a low temperature in the oven for 40-50mins. They caramelised a little, and covered the top of the cake nicely. I did ensure I had allowed the excess liquid from the slices to drain however, or they will make the cake soggy. You could use lime or kaffir lime leaves, or coconut to decorate the cake if you wanted however. 

Lime, Coconut & Macadamia Cake

Ingredients: 

200g macadamia nuts 

40g self-raising flour

6 eggs, separated 

165g caster sugar

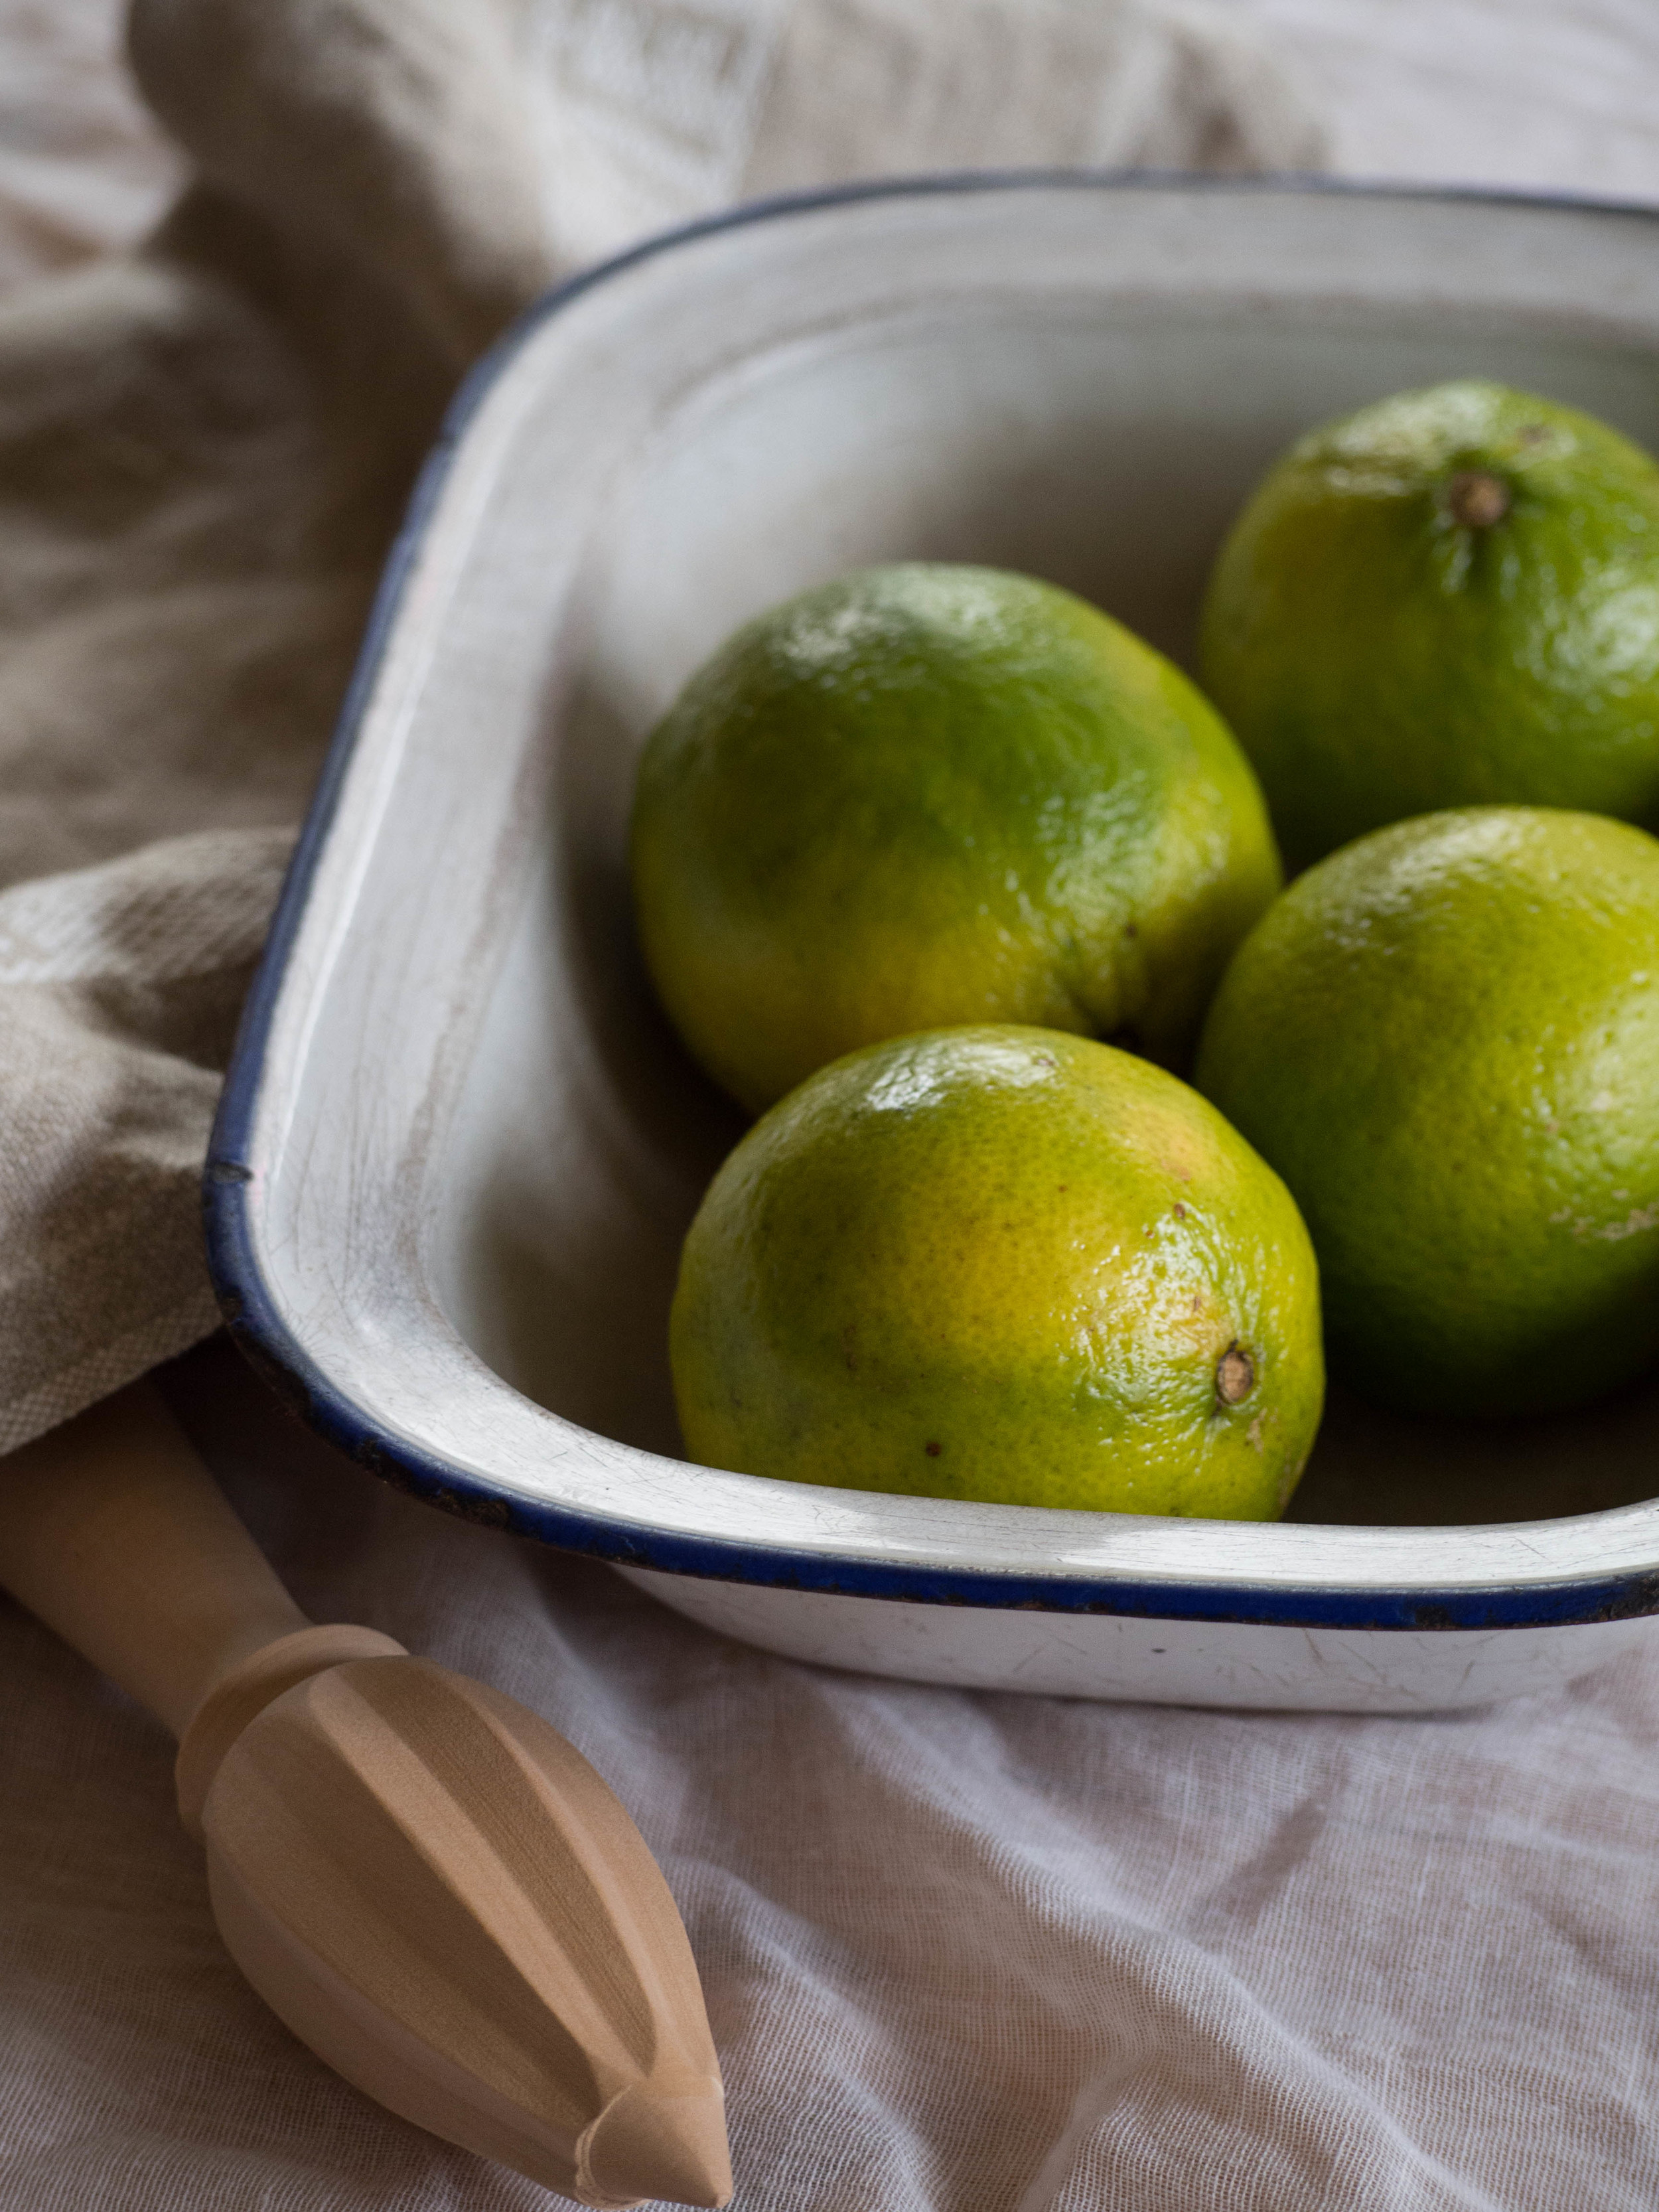
finely grated zest of one lime 

45g desiccated coconut 


Ingredients for Icing: 

125g icing (confectioners) sugar
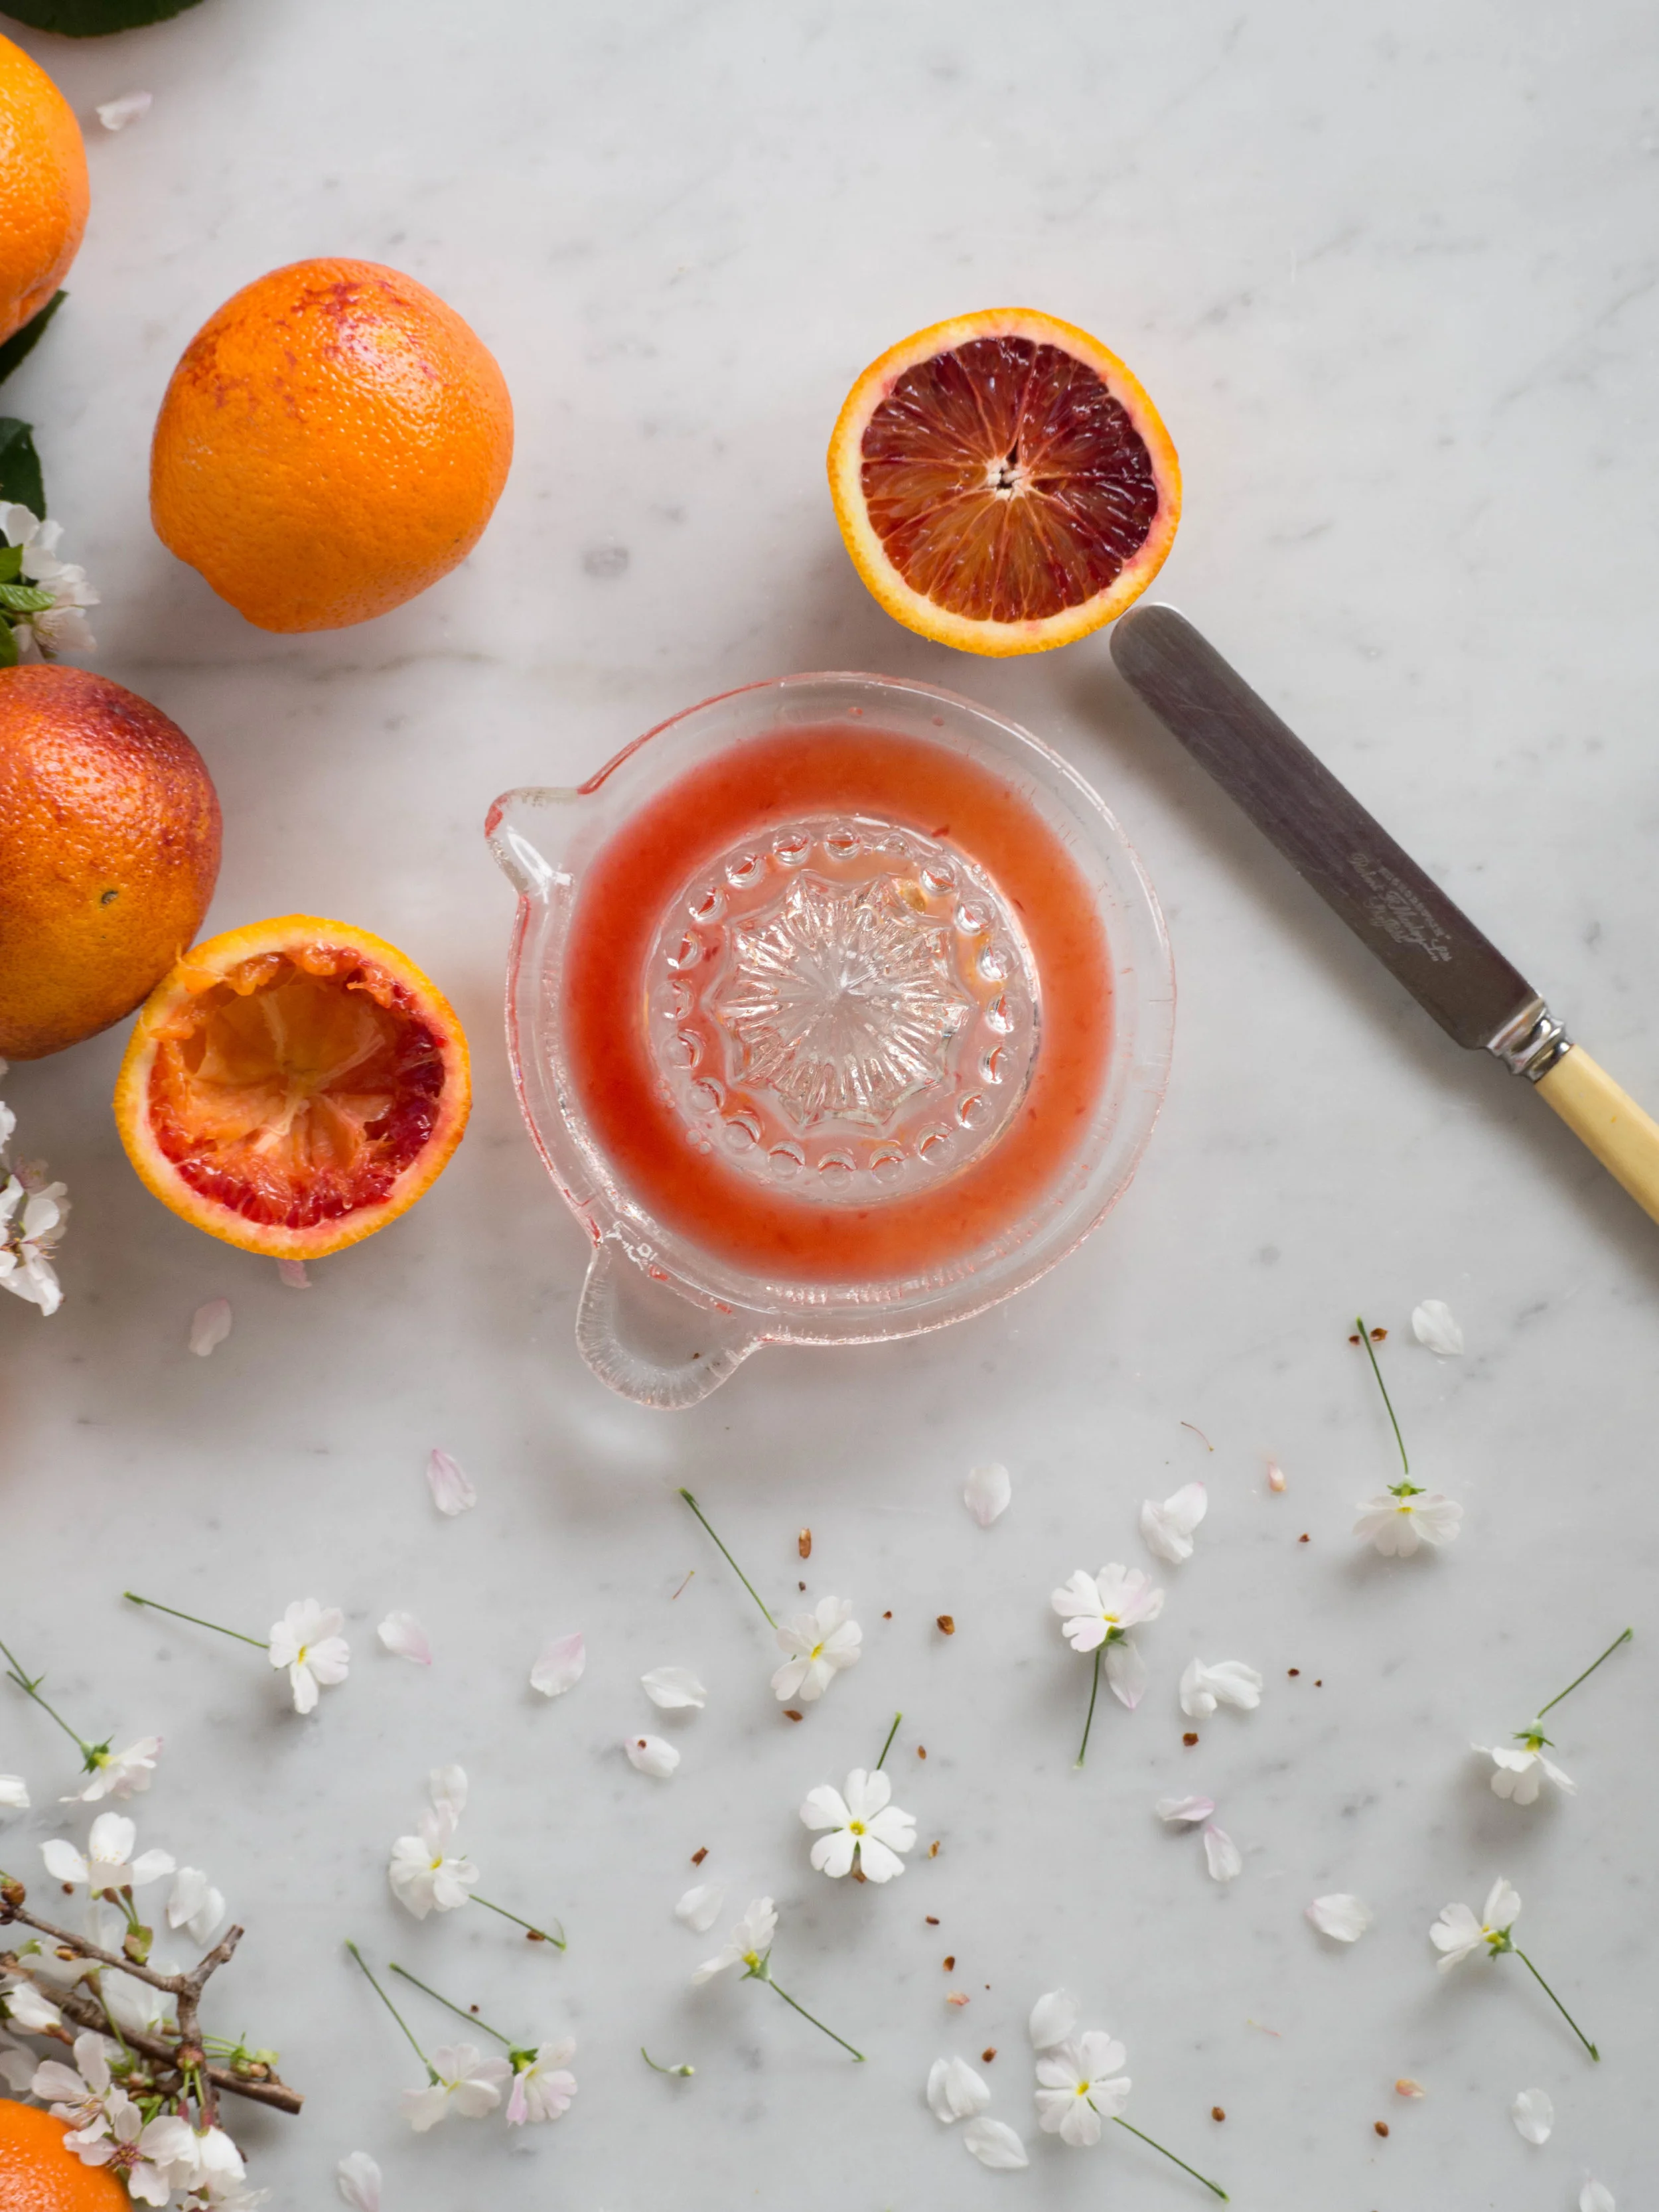
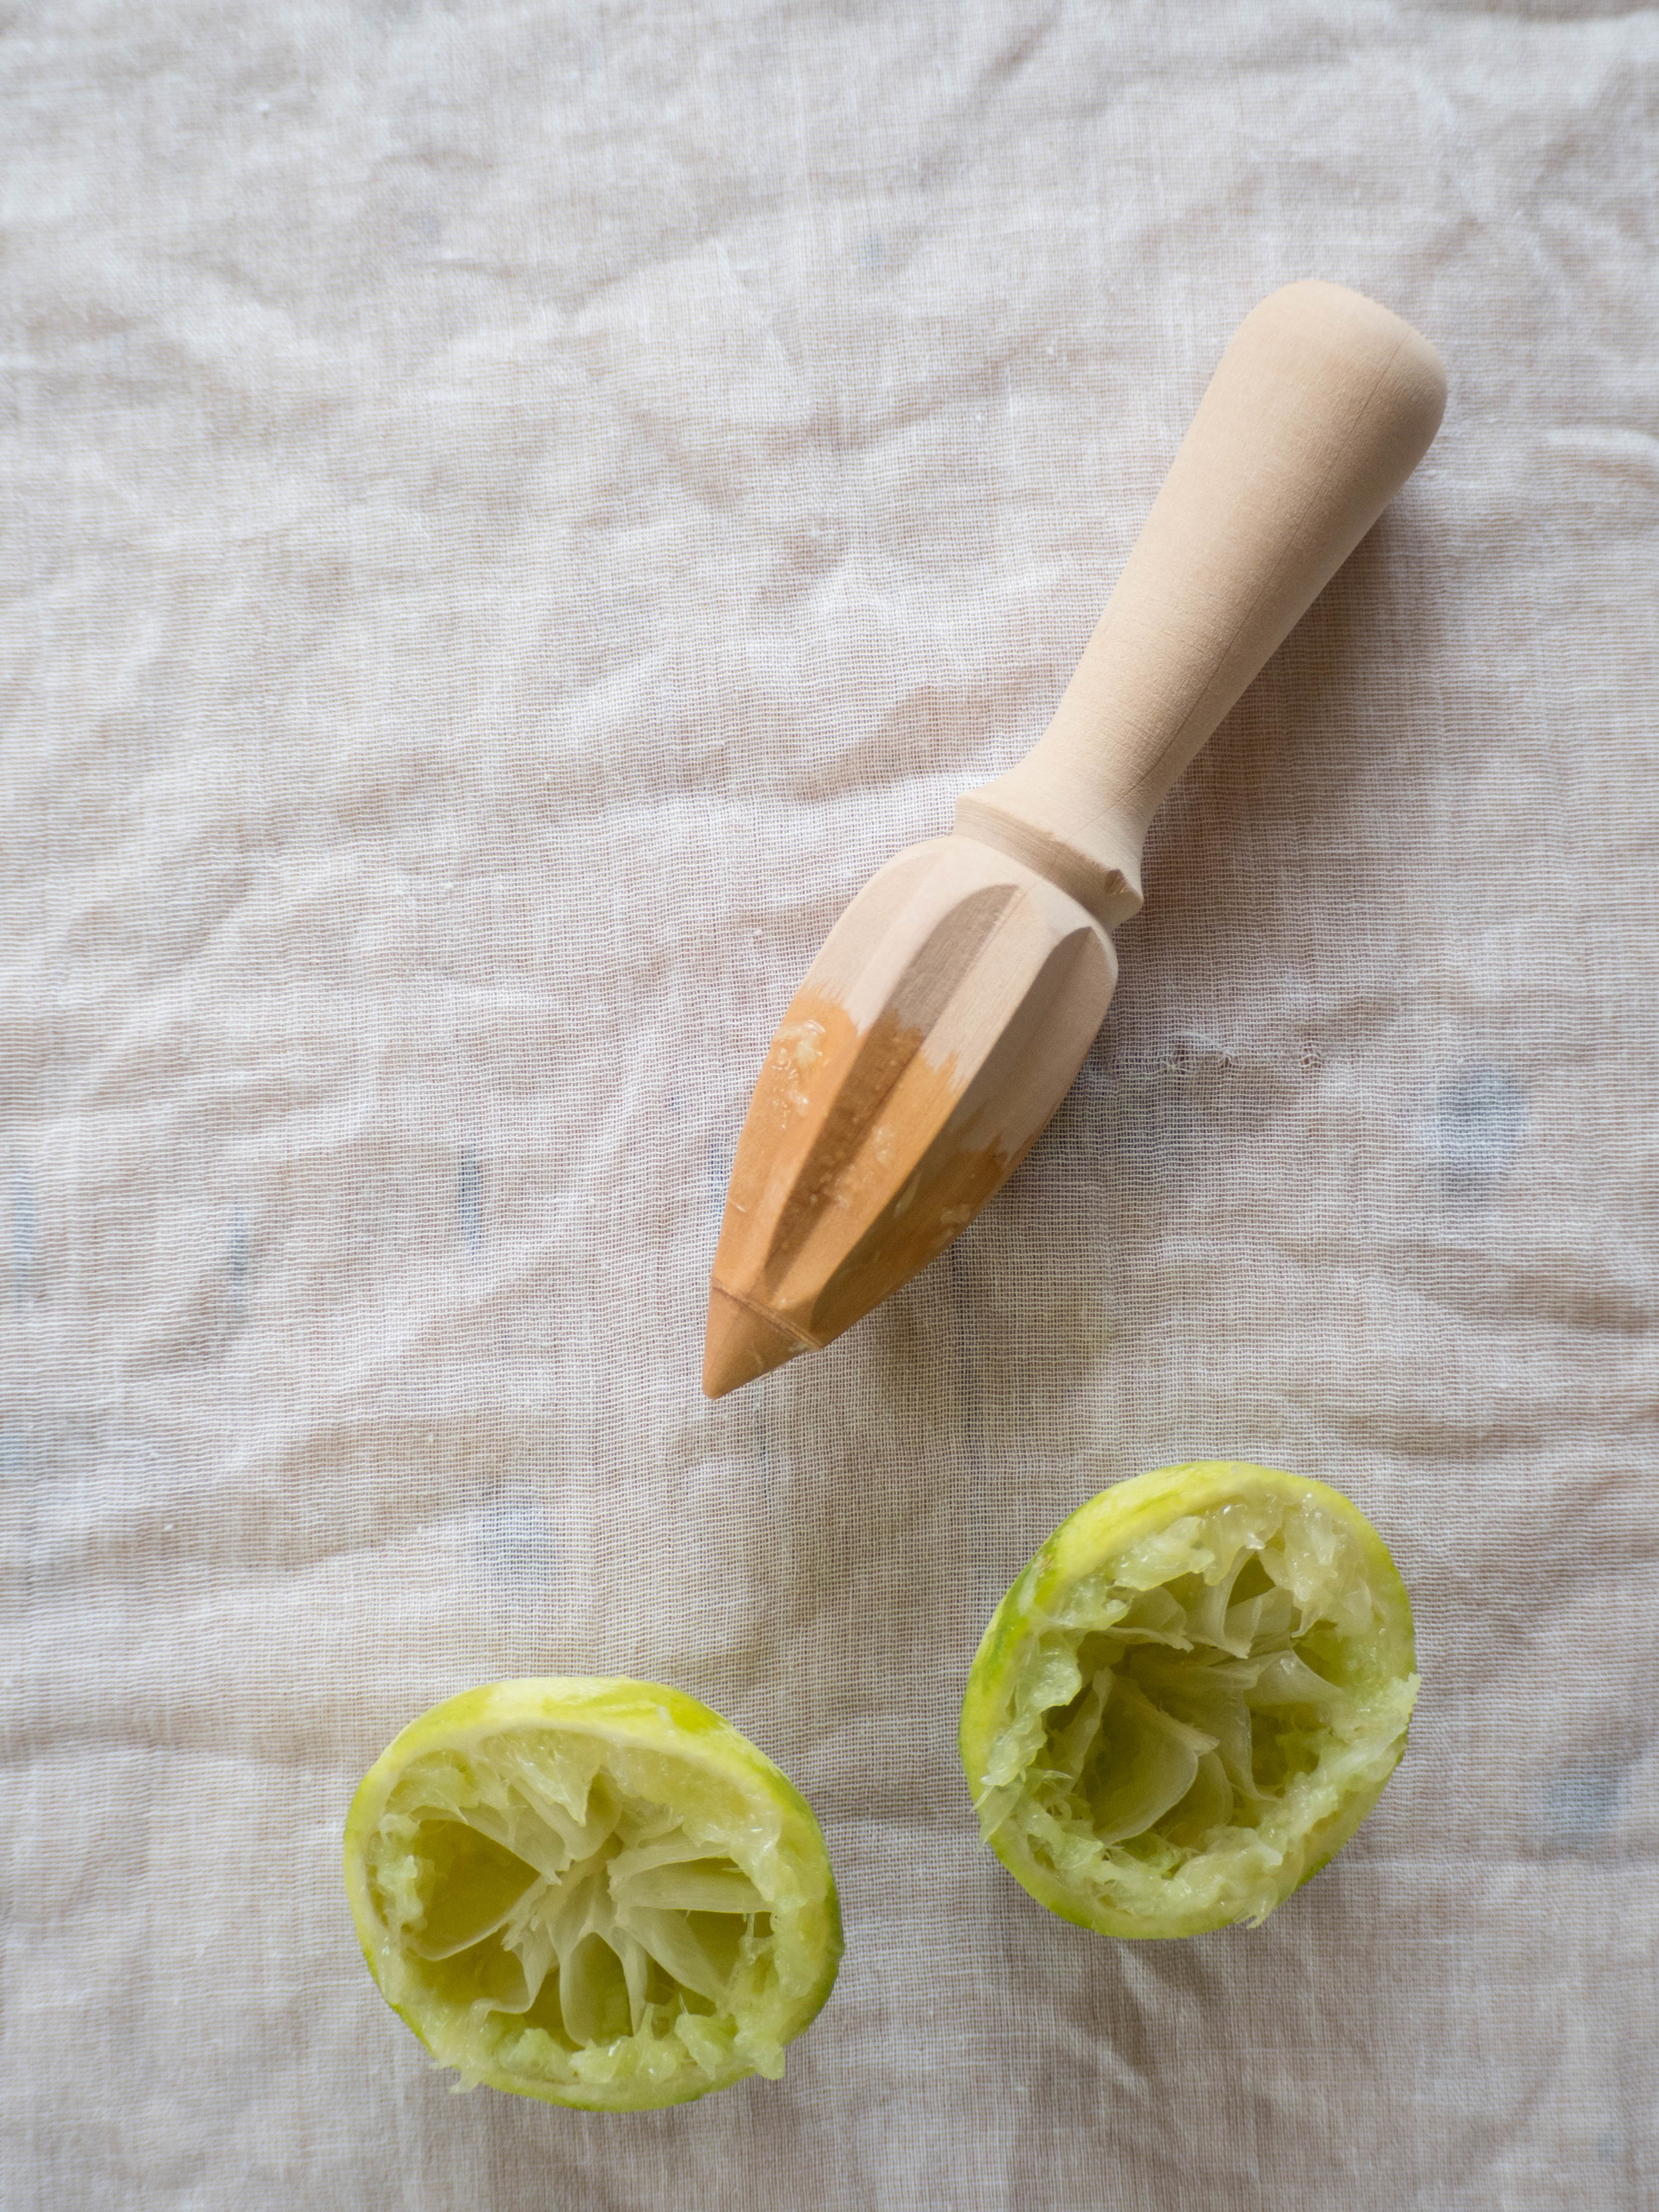
2 tbsp lime juice

1 tsp finely grated lime zest


Method: 

Pre heat oven to 180 degrees Celsius and grease and line the base of a 23cm spring form cake tin. 

In a food processor, blitz the macadamia nuts and flour until the nuts are ground (about the consistency of almond meal).

Beat the egg yolks and sugars in a bowl for about 3 minutes, or until they are pale and fluffy. Fold in the zest, coconut and macadamia mixture. 

In a separate bowl, whip the egg whites until stiff peaks form. Using a large metal spoon, gently fold the egg whites into the egg yolk and macadamia mixture, a third at a time. 

Pour the batter into the prepared tin and bake for 40 minutes, or until lightly golden and cooked through. 

Allow the cake to cool in the tin for 5 minutes, then transfer to a wire rack to cool (the cake can be iced when still a little warm, if you want the icing to drizzle down the sides of the cake).

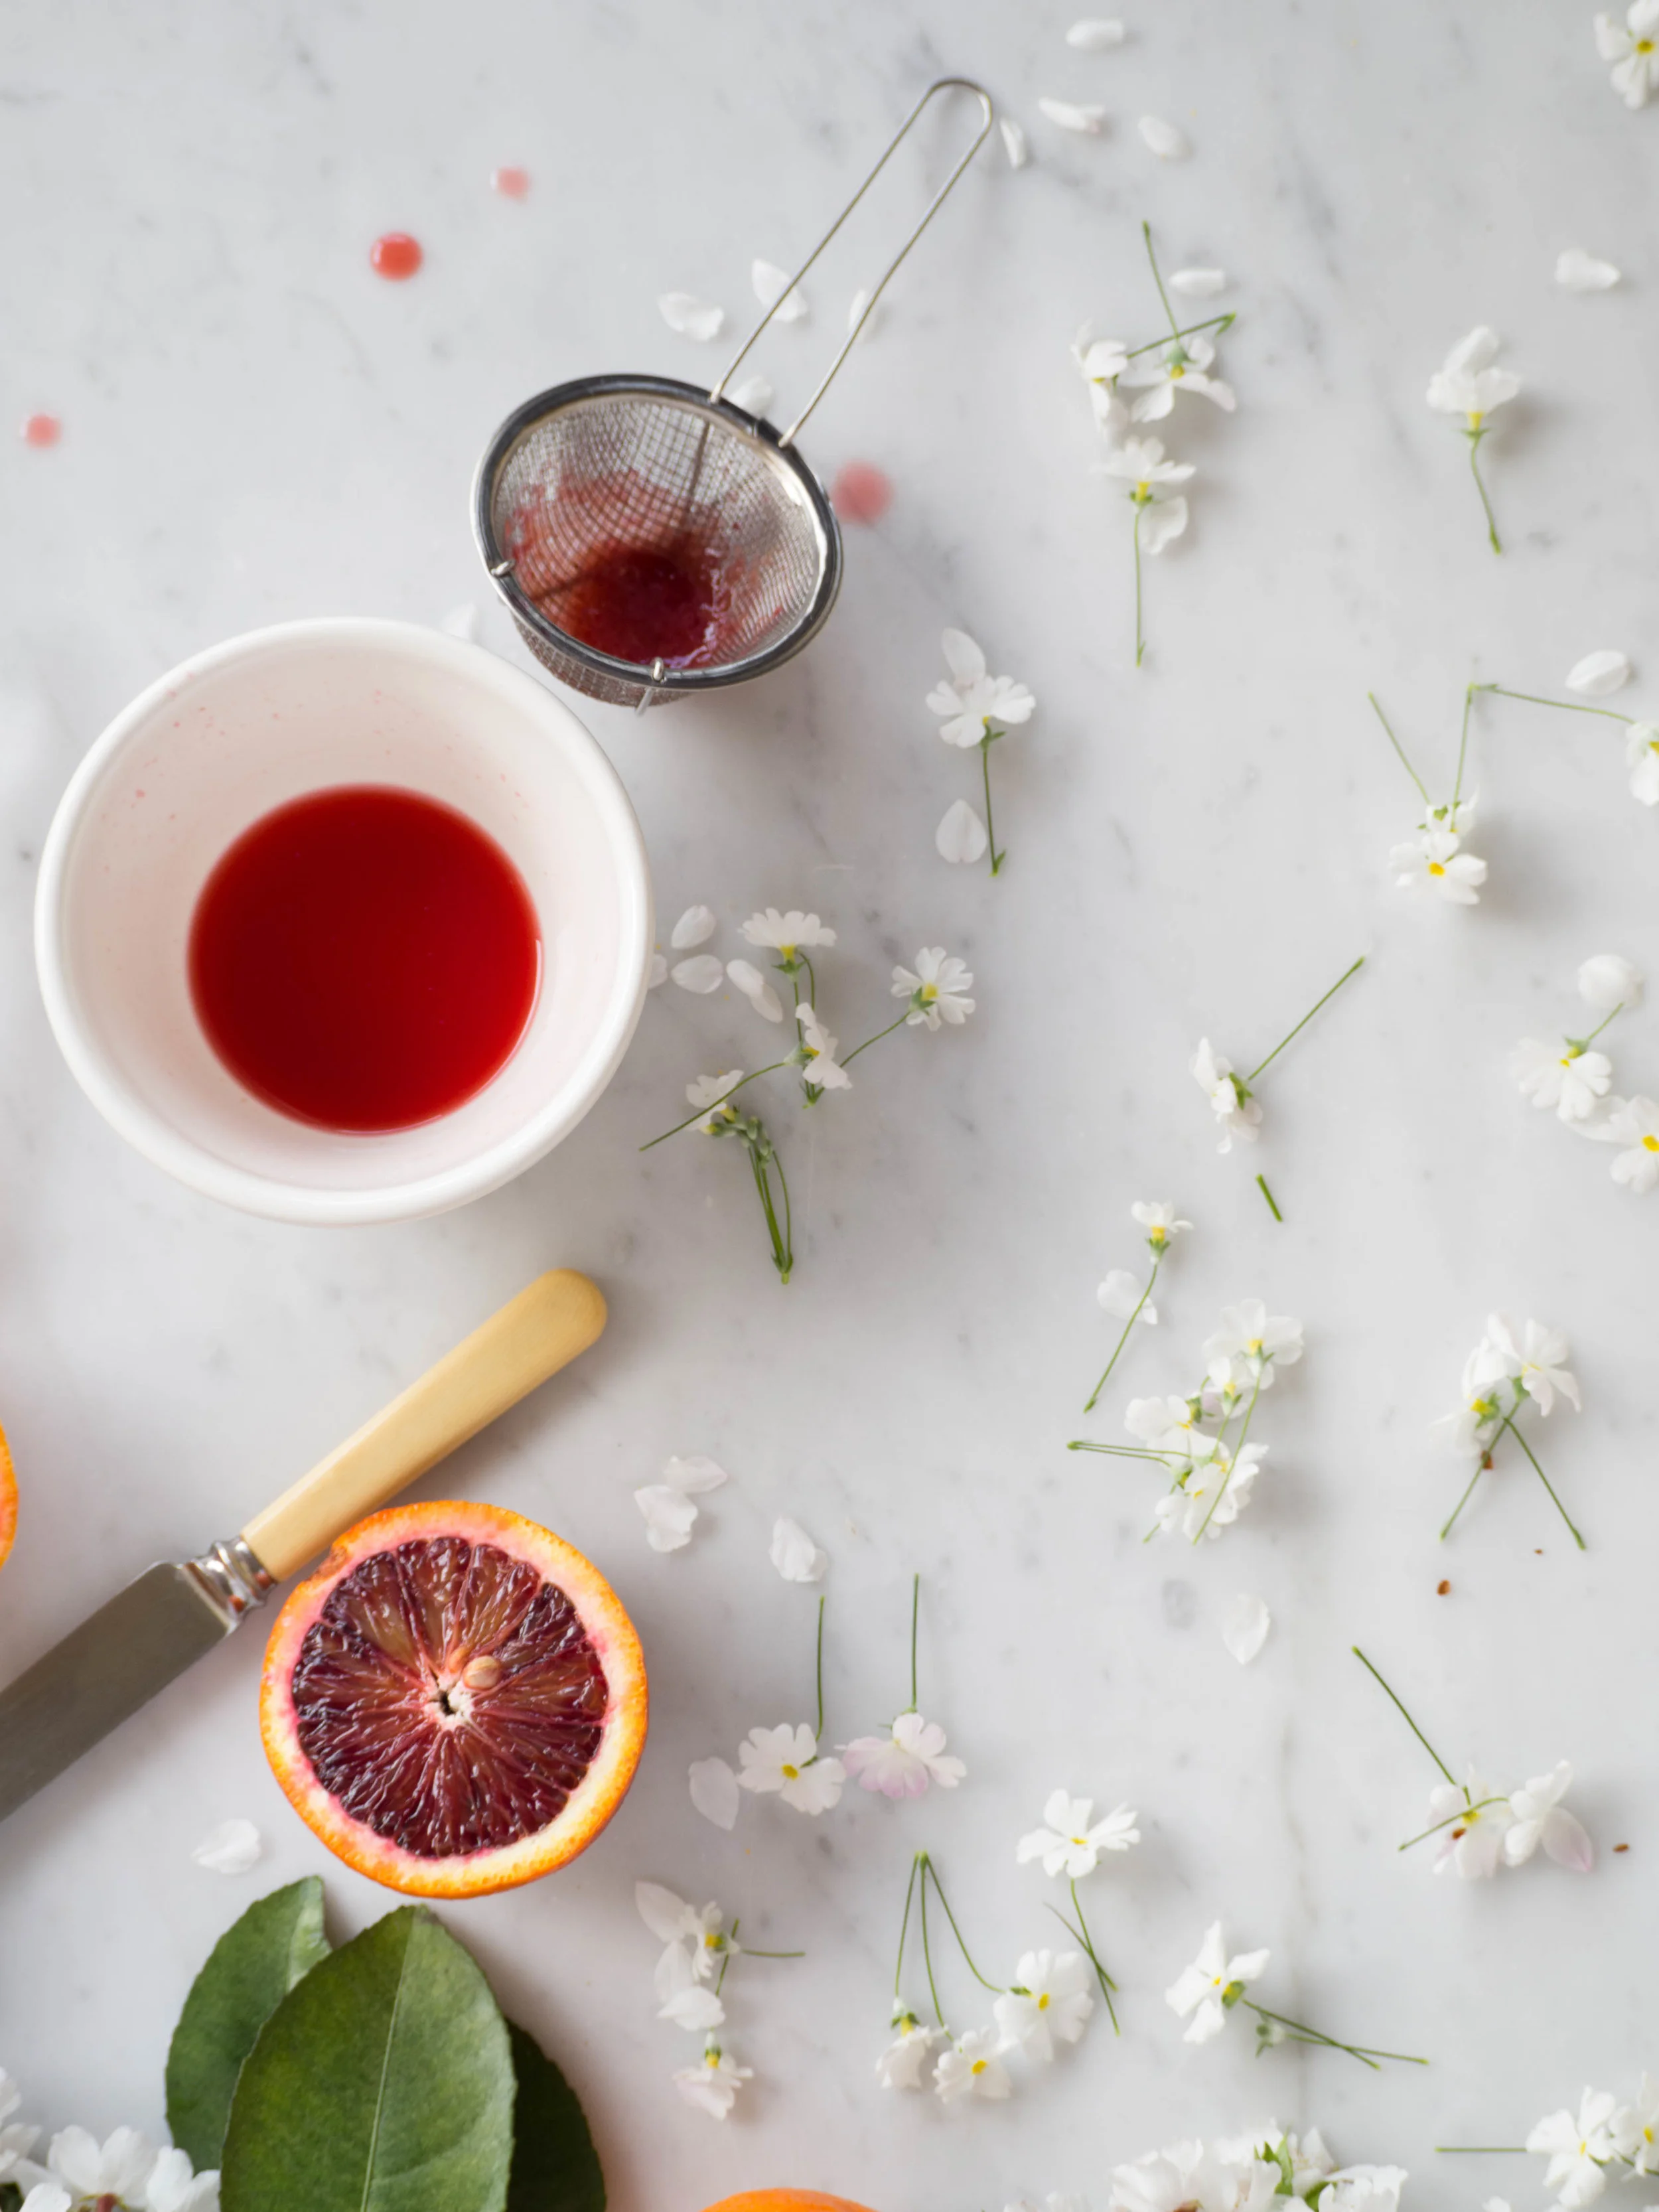
To make to icing, sift the icing sugar into a bowl and add the lime zest. Gradually add the lime juice, until you have a smooth icing. Spread over the cooled cake. 

Reference: ‘Bill’s Open Kitchen’ by Bill Granger (Murdoch Book Pty Ltd, 2003), p.91.

In Cakes & Slices Tags Lime, Macadamia, Coconut, Bill Granger, cake, Summer, Dairy Free
Comment

How to Make a Blood Orange Cake (Dairy Free)

Kath September 27, 2015

Believe it or not, until recently I had never tried blood oranges before. I now know what I have been missing, and will be eagerly anticipating buying them when they are next in season. 

The first lot I bought were from the Pyrmont Growers Markets. The flesh was a deep purple and they were clearly at their prime. I have since bought more and each time I buy them their colour is lighter and lighter, more a pink-ish hue than the deep purple of the first ones. Their flavour is still great, and I have frozen a fair bit of the juice. I saw a recipe for a blood orange, peach and mango granita in Katie Quinn Davies first book, and will be making it as soon as Australian peaches are in season! 

The idea for this cake came to me after the first thing I baked with the first lot of blood oranges I bought didn’t work out so well. I found the recipe online and it combined the flavours of blood orange and coconut, and they just went together so well. Unfortunately the addition of blood orange juice in the recipe, just made the cakes very wet, soggy and unstable and they just fell apart. 

I then thought about trying another cake with these same flavours, and remembered a lime and coconut cake I made a little while ago (recipe here) that I thought I could adapt to suit the blood oranges. Luckily, this time it worked! While only using the zest in the cake reduces the punchy blood orange flavour a little, the blood orange icing mostly makes up for that (and the cake doesn’t fall apart!). 

I used some coconut blossom sugar in the recipe, just to try it and add to the coconut flavour of the cake, but it can be substituted for caster sugar. Also, if blood oranges aren’t available regular oranges could be used. 

This cake could also easily be made gluten free - try substituting the self raising flour for gluten free flour and baking powder. The quantity of flour in the cake is quite small, so as long as you don’t knock the air out of the egg whites when folding them into the batter, you should still get the same result.

I used a lot of spring blooms when I styled the photos for this cake, and I really like the look they gave. The weekend I made this cake, I went looking around the garden for some flowers to use, and when I saw the weeping cherries we have, I just h…

I used a lot of spring blooms when I styled the photos for this cake, and I really like the look they gave. The weekend I made this cake, I went looking around the garden for some flowers to use, and when I saw the weeping cherries we have, I just had to use them. They had burst into bloom since I had last noticed them and were buzzing with lots of bees.

Blood Orange Cake (Dairy Free)

Ingredients: 

200g almond meal

135g caster sugar

30g coconut blossom sugar

40g self raising flour 

6 large eggs, separated 

45g desiccated coconut 

zest of one small/medium blood orange 


Ingredients for the Icing: 

2 cups icing sugar 

juice from 1/2 to one blood orange 

50g coconut chips 


Method: 

Pre heat oven to 180 degrees Celsius and grease and line the base of a 23cm spring form cake tin. 

Beat the egg yolks and sugars in a bowl for about 3 minutes, or until they are pale and fluffy. Fold in the zest, coconut, flour and almond meal. 

In a separate bowl, whip the egg whites until stiff peaks form. Using a large metal spoon, gently fold the egg whites into the almond mixture, a third at a time. 

Pour the batter into the prepared tin and bake for 40 minutes, or until lightly golden and cooked through. 

Allow the cake to cool in the tin for 5 minutes, then transfer to a wire rack to cool completely. 

While the cake is cooling, toast the coconut chips in the oven for 2-3 minutes. Keep an eye on them as they will toast very quickly. 

To make the icing, sift the icing sugar into a bowl. Juice the blood orange, and pass the juice through a sieve to remove the pulp. Gradually add the juice (not necessarily all of it), until you have a smooth icing. Spread over the cooled cake and use the toasted coconut to decorate. 

Reference: ‘Bills Open Kitchen’ by Bill Granger (Murdoch Books, 2003), p.91.

In Cakes & Slices Tags Blood Orange, Cake, Coconut, Almond, Spring, Flowers, Cherry Blossoms, Dairy Free
Comment

Lamingtons

Kath January 23, 2015

For those who don’t live in Australia, a lamington is made using sponge cake and coating it in chocolate icing and coconut. I think they came about at some point to use up day old sponge. They are definitely worth a try! Sometimes they are sold with a layer of jam and/or cream in the middle as well. I like my lamingtons simple, with no cream or jam. Just made with good ingredients, and probably fresh sponge! Day old sponge is great to use, I just find fresh sponge easier to work with when coating them in the icing. 

This particular recipe comes from my favourite Aussie cook, Bill Granger. I have made them a couple of times before and they have been very popular. I have altered the quantities of chocolate in the icing recipe, as I like the combination of milk and dark chocolate together better than just dark chocolate on its own. You can use whatever you like or have at home, just keep the total chocolate quantity the same. 

Any type of coconut can be used to cover the lamingtons. I really like using coconut chips, however if you can’t find them just use shredded, desiccated or flaked coconut. Also, make sure you have more coconut ready than the recipe indicates. I always find I am grabbing more handfuls of it out the bag when I am decorating the lamingtons. It’s probably just because it’s quite messy and I end up with lots of coconut all over the bench! 

I try to work quite fast when decorating the lamingtons, as the chocolate will start to set before you have used it all up. You also need to get the coconut on each one straight after it has been coated in chocolate so it will stick. Keep stirring the icing to prevent it from setting, and if you need to thin it out a little to make it more liquid, you could a little more milk or some hot water (1 tsp at a time). The icing should be a little thick however, as it will coat the lamington better than a thin icing. 

 Ingredients for the Sponge Cake: 

6 eggs 

150 g caster sugar 

200 g self-raising flour 

30 g unsalted butter, melted

3 tbsp hot water

Ingredients for the Icing: 

500 g icing sugar

100 g dark chocolate melts 

100 g milk chocolate melts 

15 g unsalted butter

125 ml milk 

375 g coconut chips 


Method: 

Pre-heat oven to 180 degrees Celsius and grease and line a lamington tin (rectangle tin with dimensions approx. 18 x 28 cm and about 4 cm deep). 

Beat the eggs in the bowl of an electric mixer on medium speed for about 5 minutes. The eggs should become light and fluffy in this time. Gradually add the sugar and beat until the mixture is thick and the sugar has dissolved.

Sift in the flour and gently fold into the egg mixture with a metal spoon. Add the melted butter and hot water and gently stir to combine. 

Pour the mixture evenly into the prepared tin and bake for 30 mins, or until the sponge is golden and springs back when lightly touched. 

Once cooked, turn the sponge out onto a baking paper lined cooling rack, and allow to cool completely. 

Once the sponge has cooled, cut into squares (about 15-16). Place the coconut in a large shallow bowl, and have four forks ready. You will also need another baking paper lined cooling rack to place the freshly iced lamingtons on to dry. 

To make the icing, heat a sauce pan with a little water until it is simmering. Place all the icing ingredients (not the coconut), in to a heatproof bowl or saucepan that will fit on top of the saucepan of simmering water. Place the bowl with the ingredients over the simmering water and stir continuously until all the ingredients have melted and combined to form a smooth thick icing. Do not allow the simmering water below to touch the base of the bowl above, as the chocolate may burn. 

Remove the icing from the heat. Using two of the forks, dip one of the sponge squares into the icing. Using the remaining two forks, toss the chocolate coated sponge in the coconut, and place on the prepared rack to set. Continue with the remaining sponge squares, stirring the icing occasionally to stop it setting. 

Leave the lamingtons on the baking paper lined rack until the icing dries. They are best eaten the same day they have been made, however will store in an airtight container for a couple of days (in the fridge if the weather is particularly humid or hot). 

Recipe originally from Bill Granger ‘Everyday’  (Murdoch Books, 2006), p.192. 

In Cakes & Slices Tags Lamingtons, Cake, Chocolate, Coconut, Bill Granger
Comment
Passionfruit Pancakes - Kulinary Adventures of Kath

Coconut & Passionfruit Pancakes

Kath October 13, 2014

Happy long weekend! 


It seems to me that here in Australia, we love nothing more than a good long weekend. So to celebrate, I am posting this recipe for coconut and passionfruit pancakes. Mostly because, if you can’t take some time making a leisurely breakfast on the long weekend, when can you? 


If you don’t like the thought of doing all the preparation and cooking in the morning, you can prepare the passionfruit syrup and the batter (up until the egg whites stage) the night before. Before whipping up the egg whites and adding them to the mixture, just make sure the batter has been out of the fridge for a little bit. 


This recipe comes from Bill Granger. I have consciously attempted to lessen the amount of his recipes that I make and blog about on here. At one stage, a few months ago, I had made so many of his recipes from various books, that it was going to look like I wasn’t capable of doing anything else. While I think that is a compliment to Bill, I thought that variety was also probably a good idea. 


I went about making these pancakes, firstly because I had frozen so much passionfruit pulp it would really be ridiculous not to use it, and I had been following the hype surrounding Bill’s new restaurant opening in Bondi. I figured if I couldn’t get to Bondi to eat at his restaurant, I would just have to make a recipe of his myself. 


Luckily for me, a week or so after making these pancakes, I got to visit bills in Bondi. I absolutely loved it. There were so many great options to chose from on the lunch and drinks menu, I had real difficulty making a decision. It is definitely a must visit if you are in Bondi or nearby. 


Passionfruit Pancakes 2 - Kulinary Adventures of Kath
Passionfruit Pancakes 3 - Kulinary Adventures of Kath
Passionfruit Pancakes 4 - Kulinary Adventures of Kath


Ingredients: 

1 1/3 cups plain flour

1 tsp baking powder

1 tbsp caster sugar

3/4 cup coconut, desiccated or shredded

pinch of salt

4 eggs, separated

1 cup milk 

1 cup coconut milk 

50 g butter, melted

butter, for cooking

banana slices, to serve


Ingredients for the Passionfruit Syrup:

1/2 cup caster sugar 

1/4 cup passionfruit pulp


Method: 

To make the passionfruit syrup, mix the sugar and pulp in a saucepan. Place on a medium heat and bring to the boil, stirring occasionally. Reduce the heat and simmer for ten minutes. Remove from the heat, and set aside to cool until needed. 


To make the pancakes, combine the flour, baking powder, sugar, salt and coconut in a bowl. In another bowl, combine the egg yolks, coconut milk and milk. Whisk until combined. Add this mixture, and the butter, to the flour and mix lightly until just combined. 


In the bowl of a electric mixer, whisk the egg whites until they form stiff peaks. 


In two batches, gently fold the egg whites in to the batter. 


Using a large fry pan, heat some of the butter. To cook the pancakes, place heaped tablespoons of the batter, on to the pan and cook for about two minutes a side. The first side will be cooked when the surface of the top side of the pancake has formed small bubbles. Don’t overcrowd your pan with pancakes. If you can only do a couple at a time, turn the oven to a low heat and place cooked pancakes on a tray to keep warm. 


Serve pancakes with slices of banana and the passionfruit syrup. 


Passionfruit Pancakes 5 - Kulinary Adventures of Kath


Original recipe from ‘Bills Open Kitchen’ by Bill Granger (2003, Murdoch Books), p. 23. 


bills in Bondi can be found at 79 Hall St Bondi Beach, NSW.


Originally Posted October 3, 2014.

All baking, styling and photography for this post by Kathryn Vincent of Kulinary Adventures of Kath.

In Breakfast Tags Pancakes, Passionfruit, Coconut, bills Sydney, Bill Granger, Bondi, Long Weekend
Comment

recipes

  • Biscuits/Cookies 39
  • Breads Etc. 9
  • Breakfast 7
  • Cakes & Slices 67
  • Confectionary 5
  • Drinks 6
  • Events 14
  • Food Photography Tips 3
  • From The Mailing List 24
  • Heirloom Recipes 12
  • Holidays 44
  • Ice Cream 9
  • Jams Preserves & Spreads 9
  • Muffins 4
  • Off the Shelf 47
  • Other Desserts 25
  • Savoury Dishes/Meals 15
  • Scones 4
  • Tarts & Pastry 9
  • Travel 13

Sign up to Friday Food Chat with Kath, a weekly newsletter for more food, baking, cookbook chat and more!

Sign Up Here!
instagram-unauth pinterest facebook url

Website Accessibility: To enable text to speech function on the blog, click the sound button to the right of each blog post.

All images & content are the property of Kathryn Vincent, unless stated otherwise. Please do not use without permission.

Kulinary Adventures of Kath

Food Photography, Recipes & Baking

instagram-unauth pinterest facebook url