Kulinary Adventures of Kath

Food Photography, Recipes & Baking
  • home
  • About
  • Work with Kath
  • Shop
  • Blog
    • The Blog
    • Recipe Archive
  • Newsletter
  • Contact
  • home
  • About
  • Work with Kath
  • Shop
    • The Blog
    • Recipe Archive
  • Newsletter
  • Contact
Raspberry Pistachio Rose Cake (23 of 25).jpg

The Blog

Recipes and Food Photography by Kath Vincent.

  • The Blog
  • Recipe Archive
  • All
  • Biscuits/Cookies
  • Breads Etc.
  • Breakfast
  • Cakes & Slices
  • Confectionary
  • Drinks
  • Events
  • Food Photography Tips
  • From The Mailing List
  • Heirloom Recipes
  • Holidays
  • Ice Cream
  • Jams Preserves & Spreads
  • Muffins
  • Off the Shelf
  • Other Desserts
  • Savoury Dishes/Meals
  • Scones
  • Tarts & Pastry
  • Travel

Pistachio Filled Caramelised White Chocolate Cookies

Kath November 7, 2024

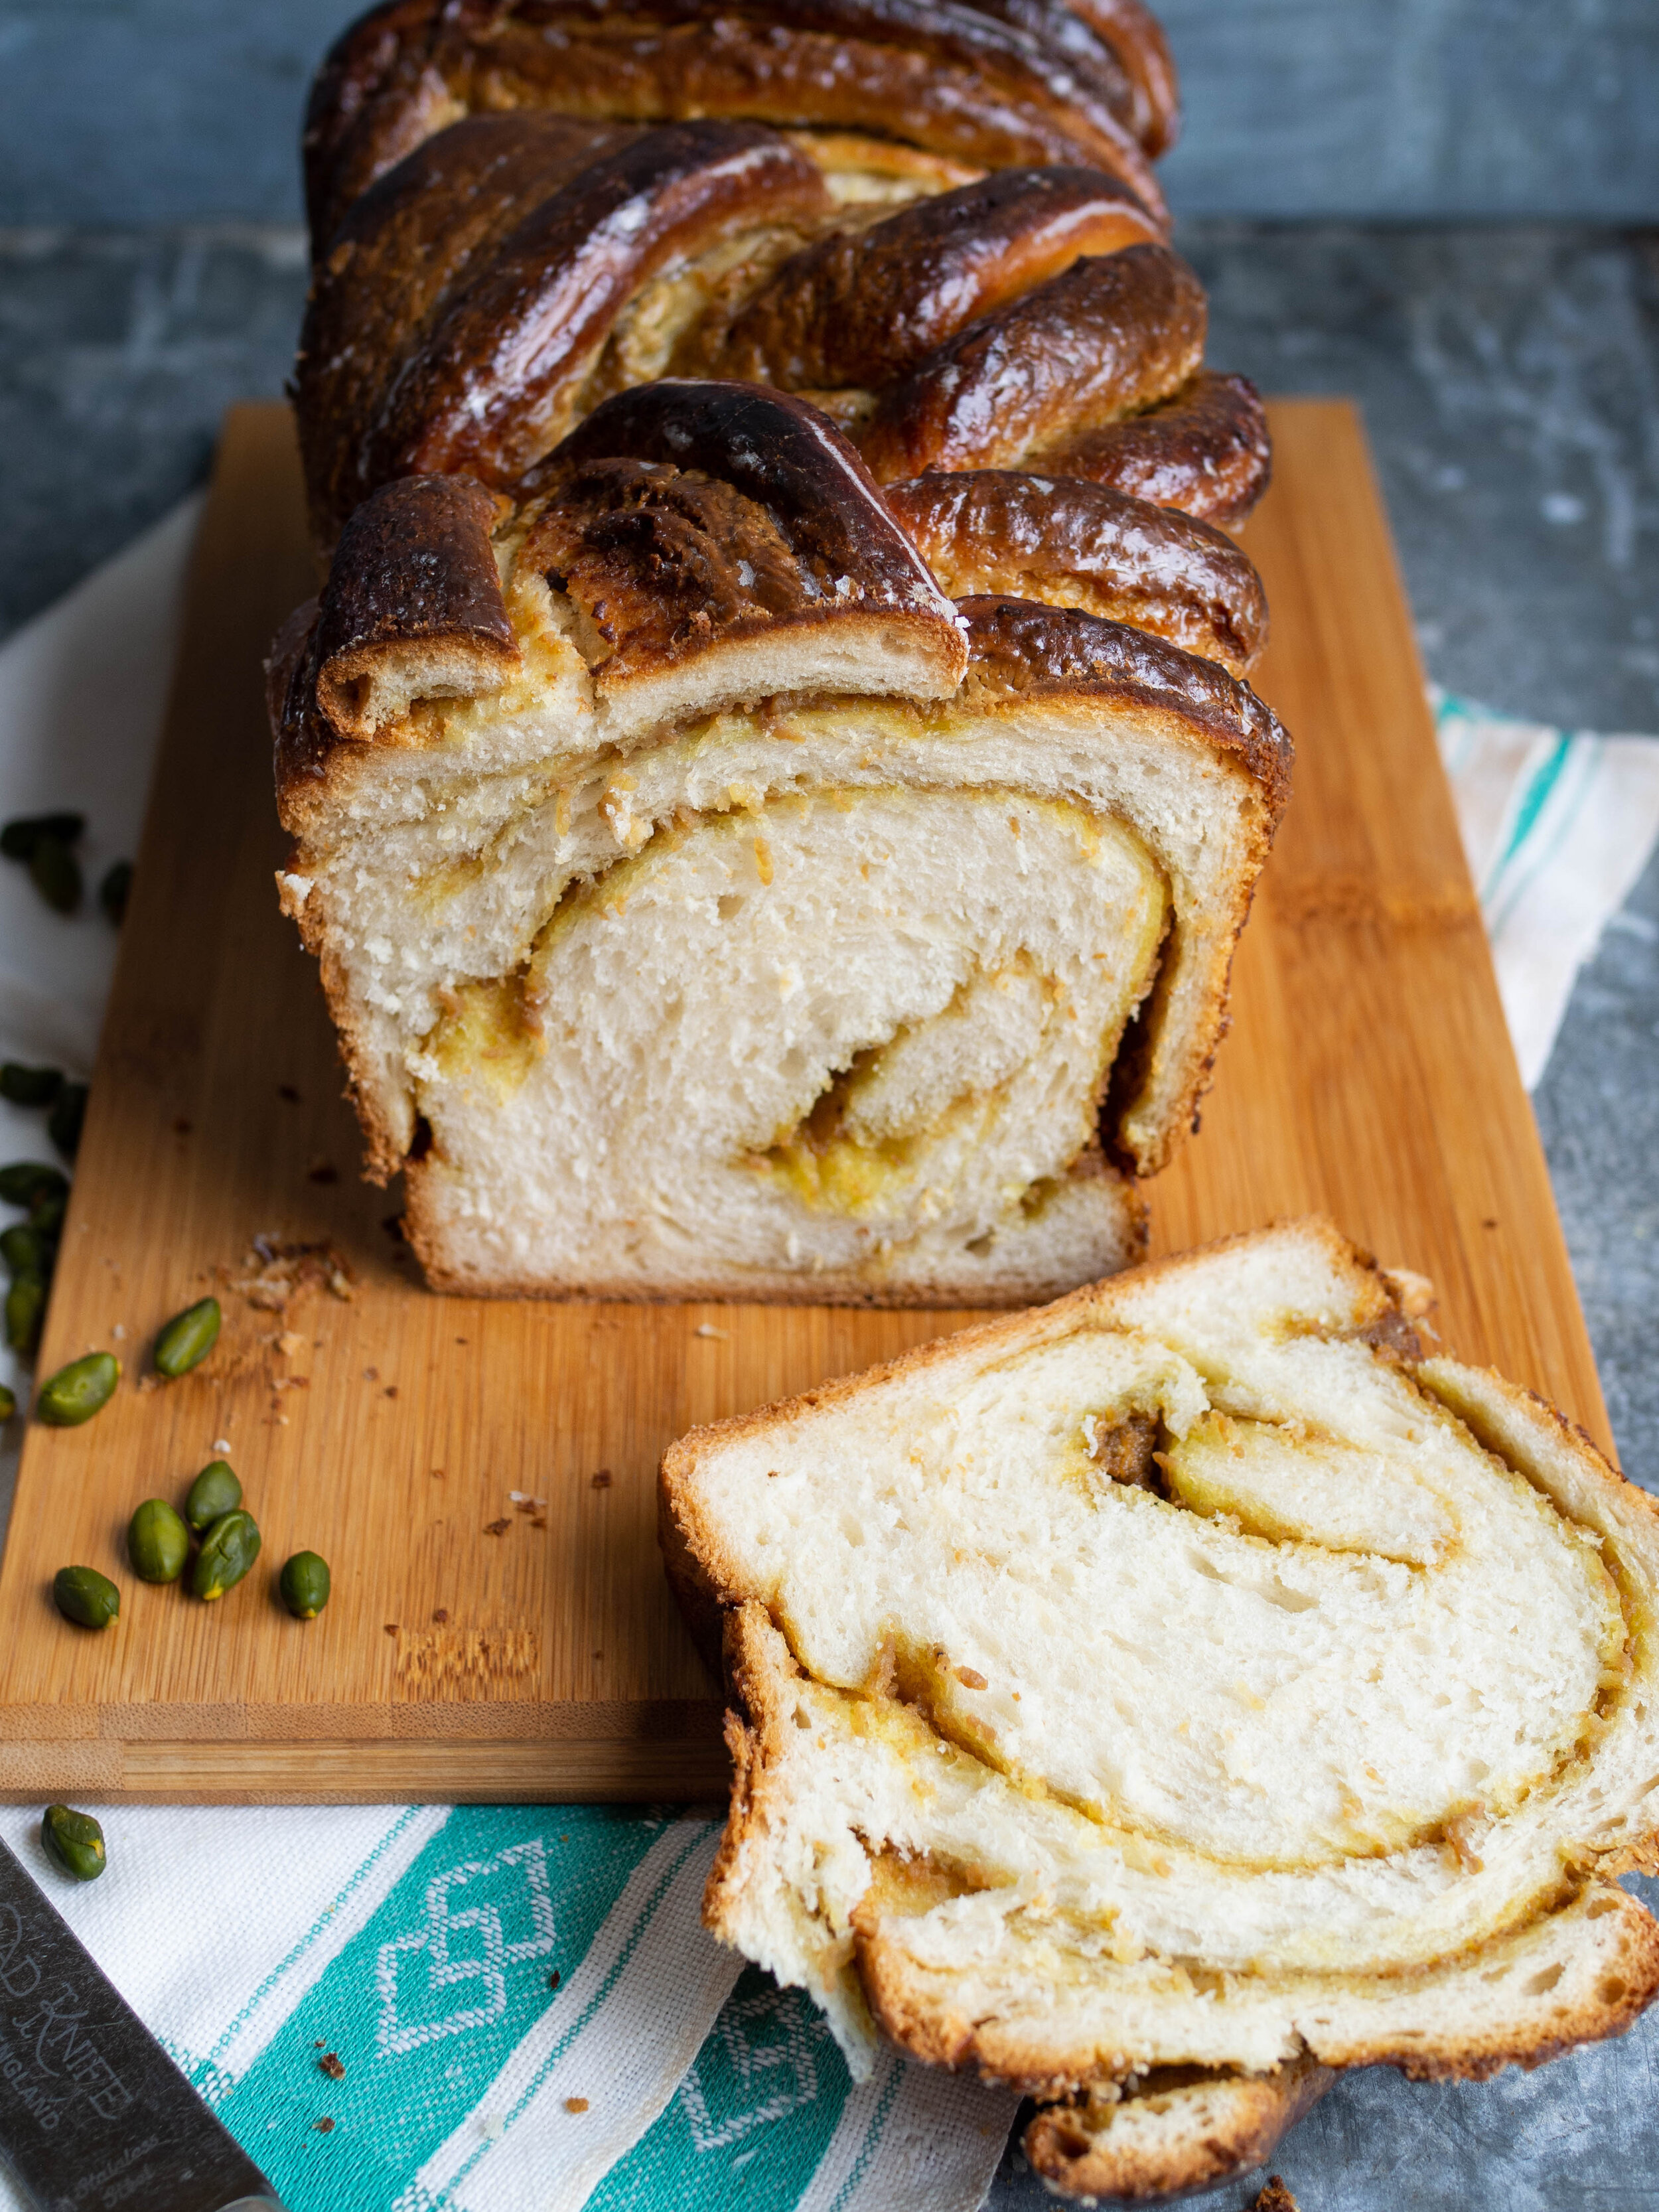
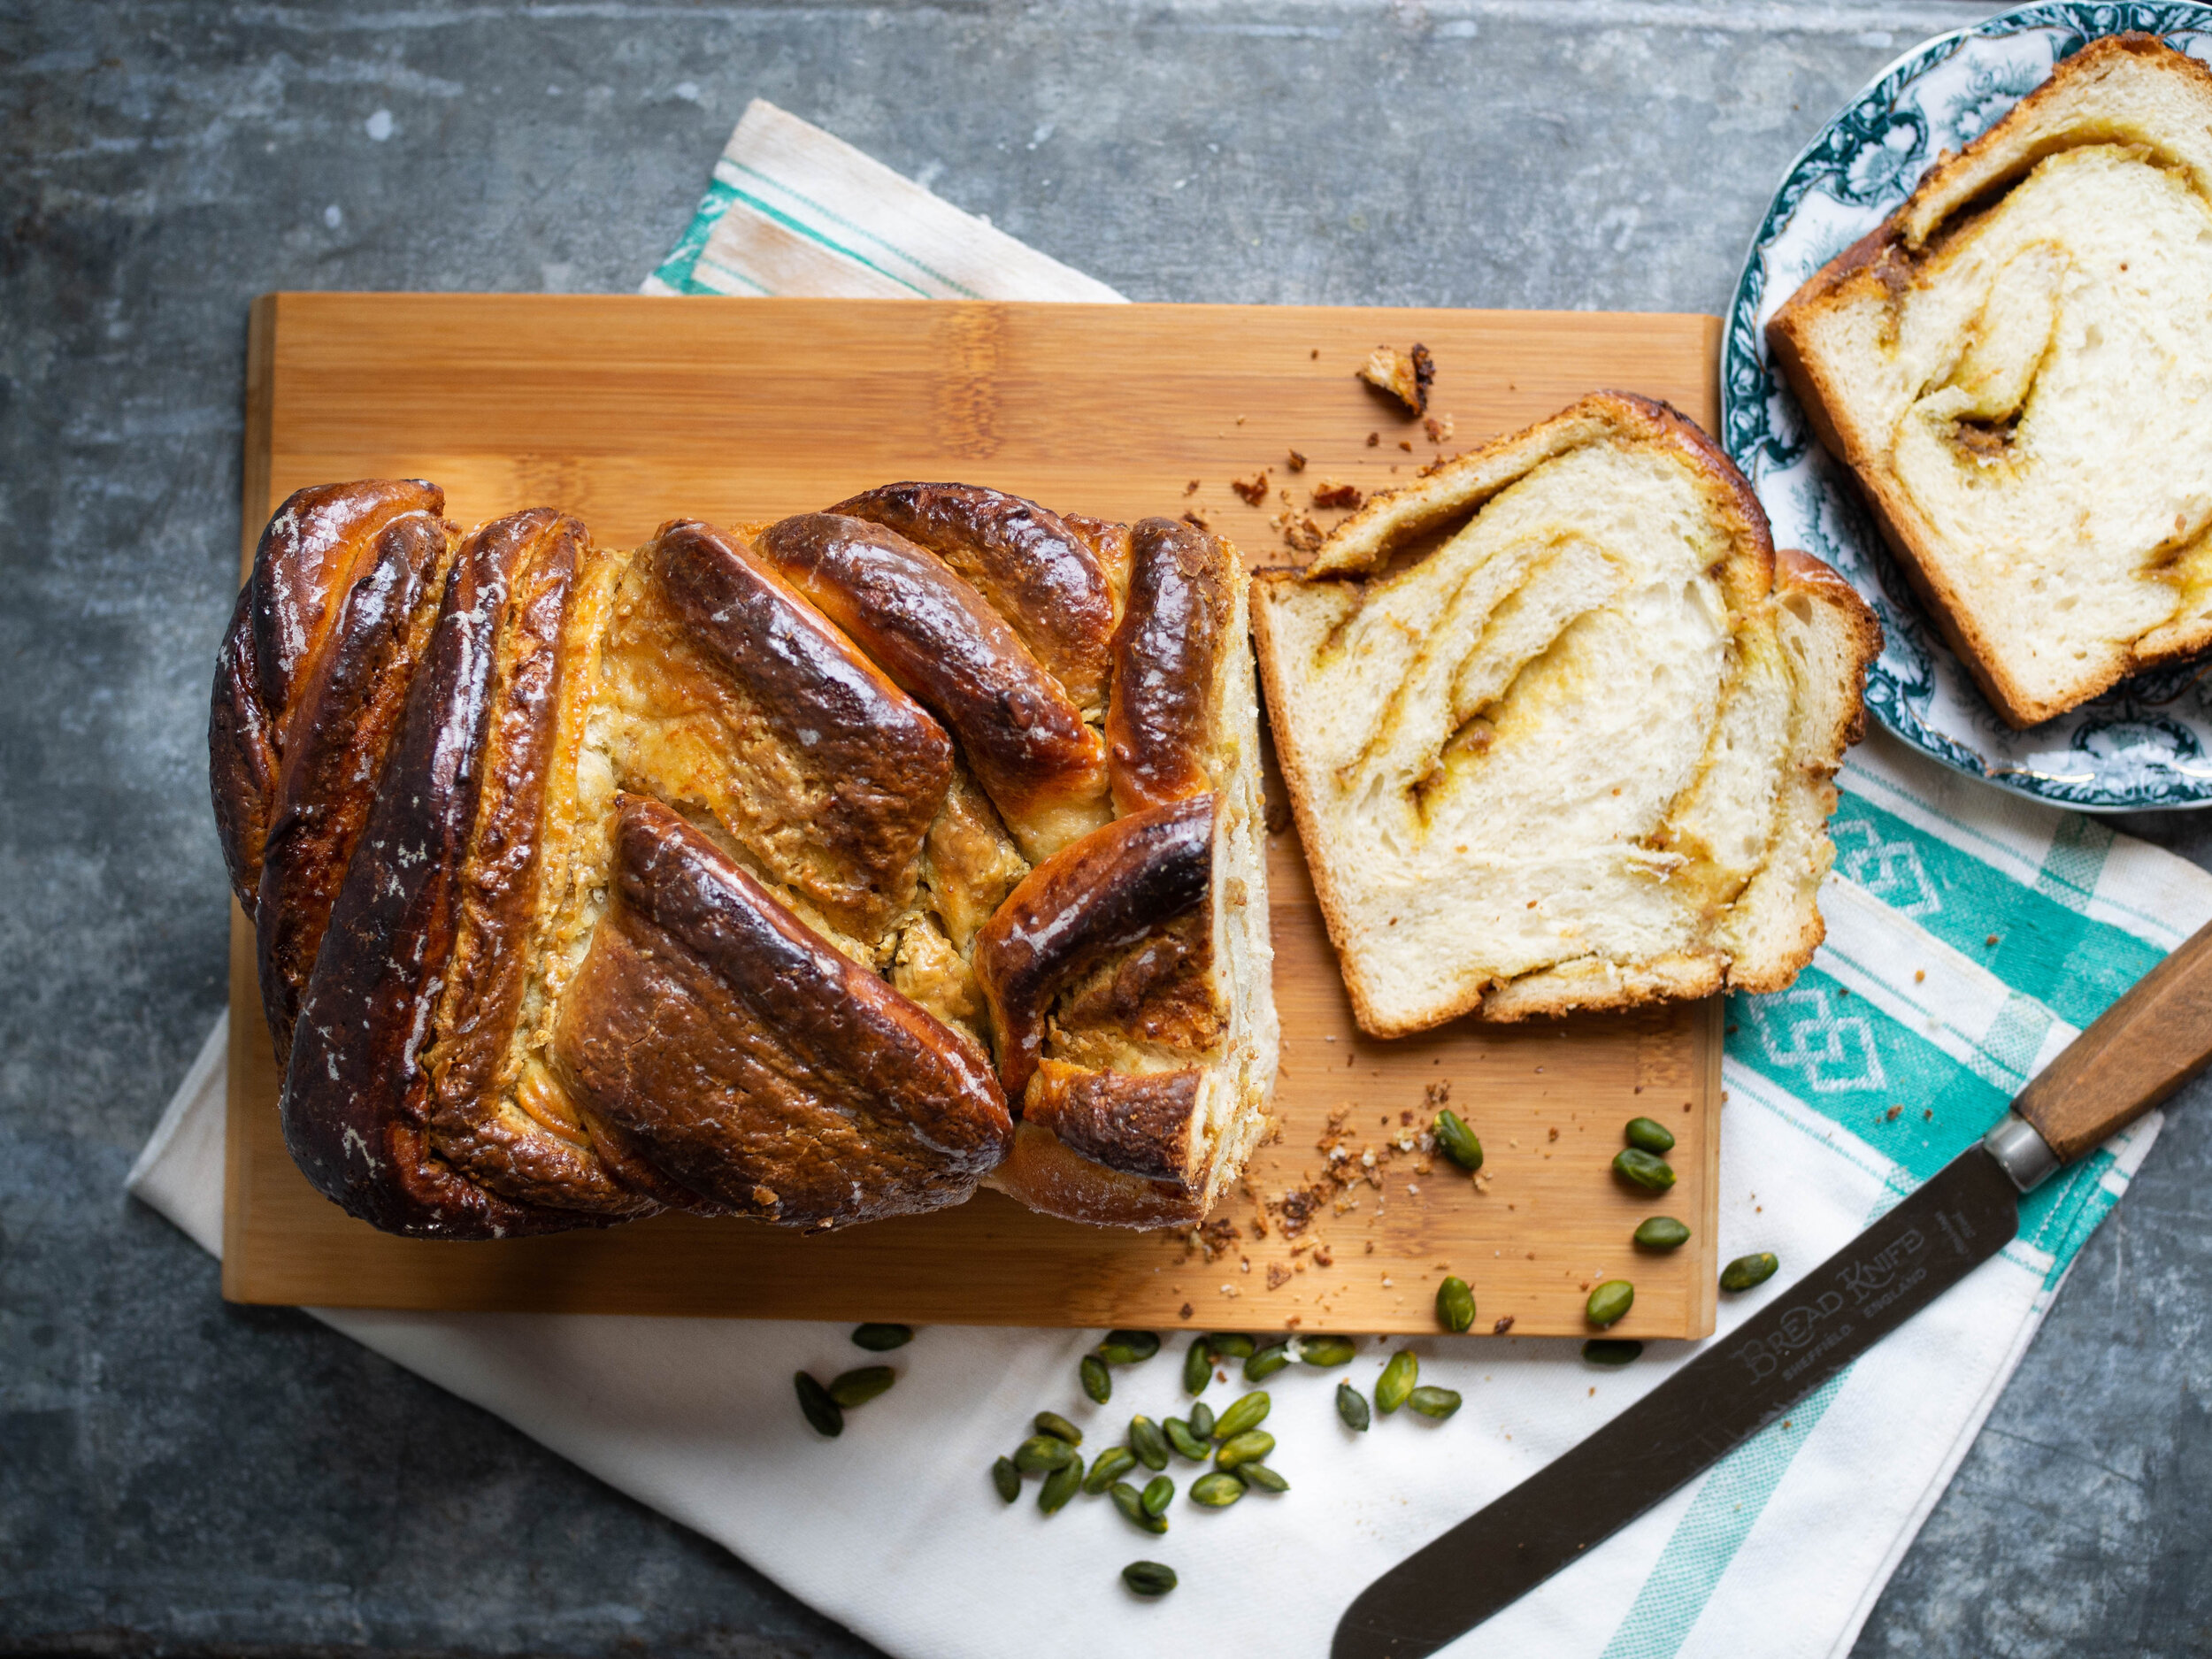
The internet seems to be having a big pistachio moment right now. I have been having a pistachio ‘moment’ for many years now, I am happy to see everyone else is catching on to how delicious everything pistachio is.

There are a few recipes floating around that use a pistachio cream (crema di pistacchio) as a filling for cookies, plus a few bakeries selling cookies like this too. I am all for pistahcio cream anything, however, when it comes to using it in baking at home I really consider how I am going to use it.

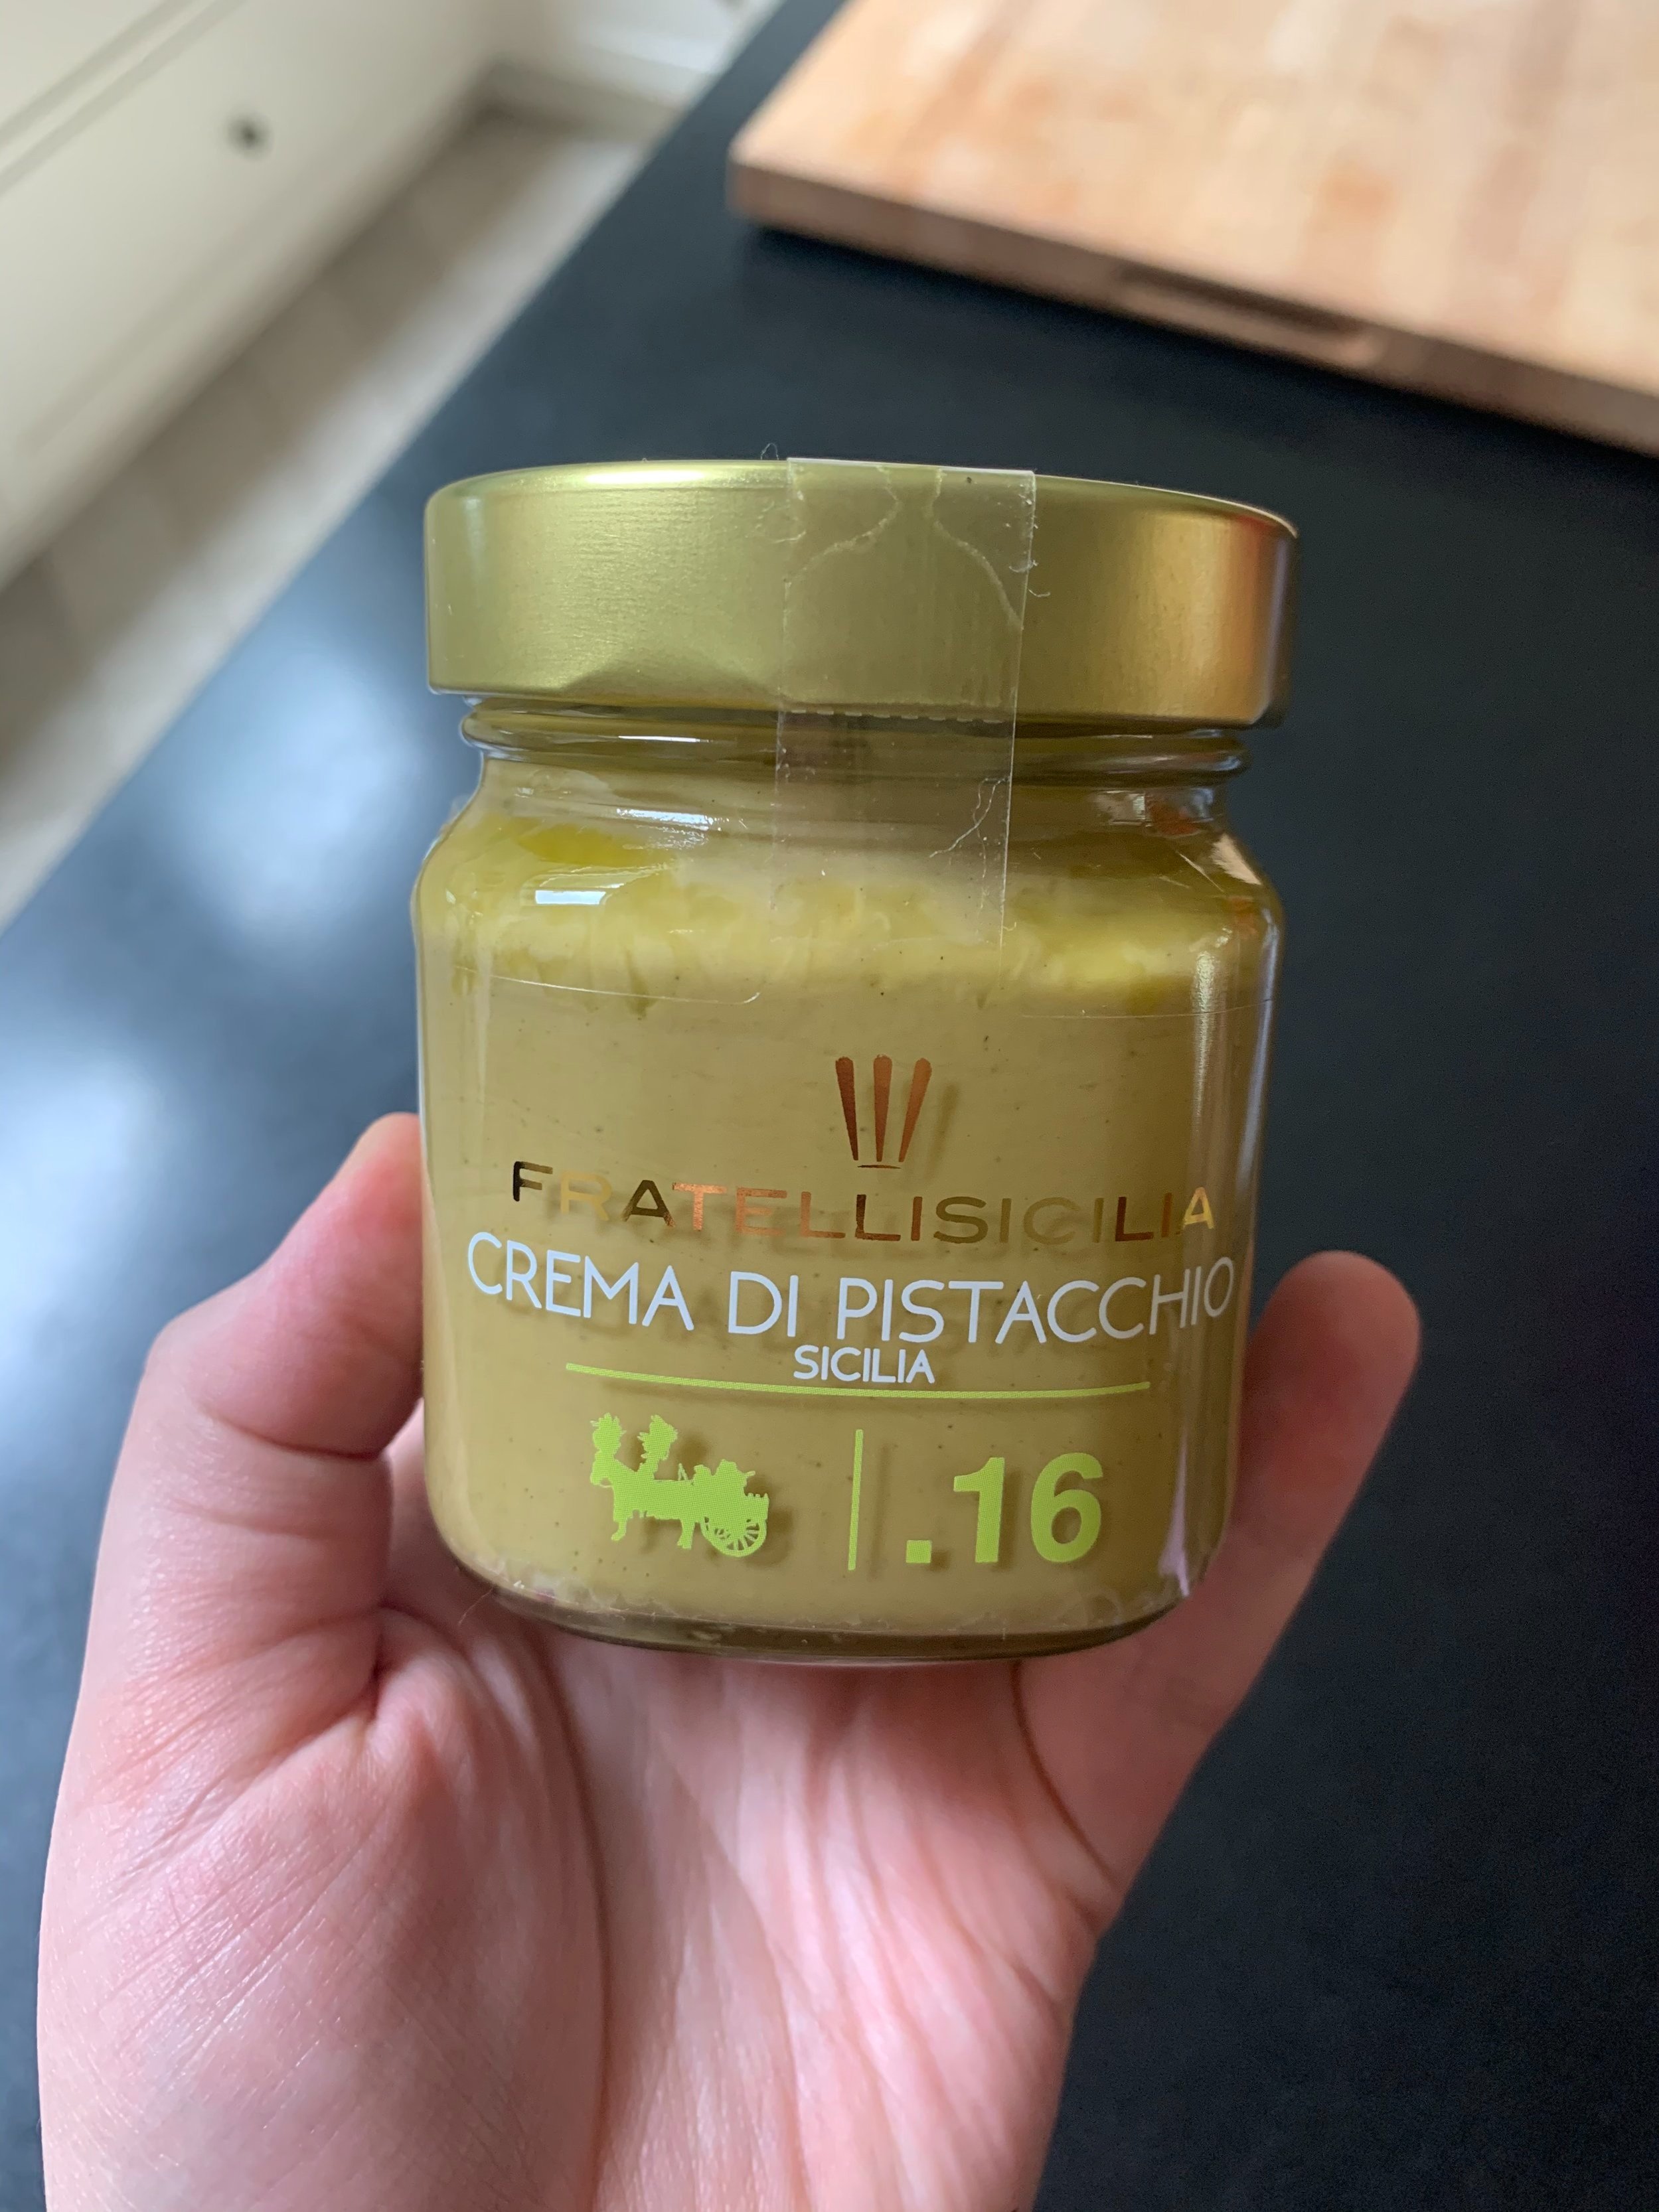
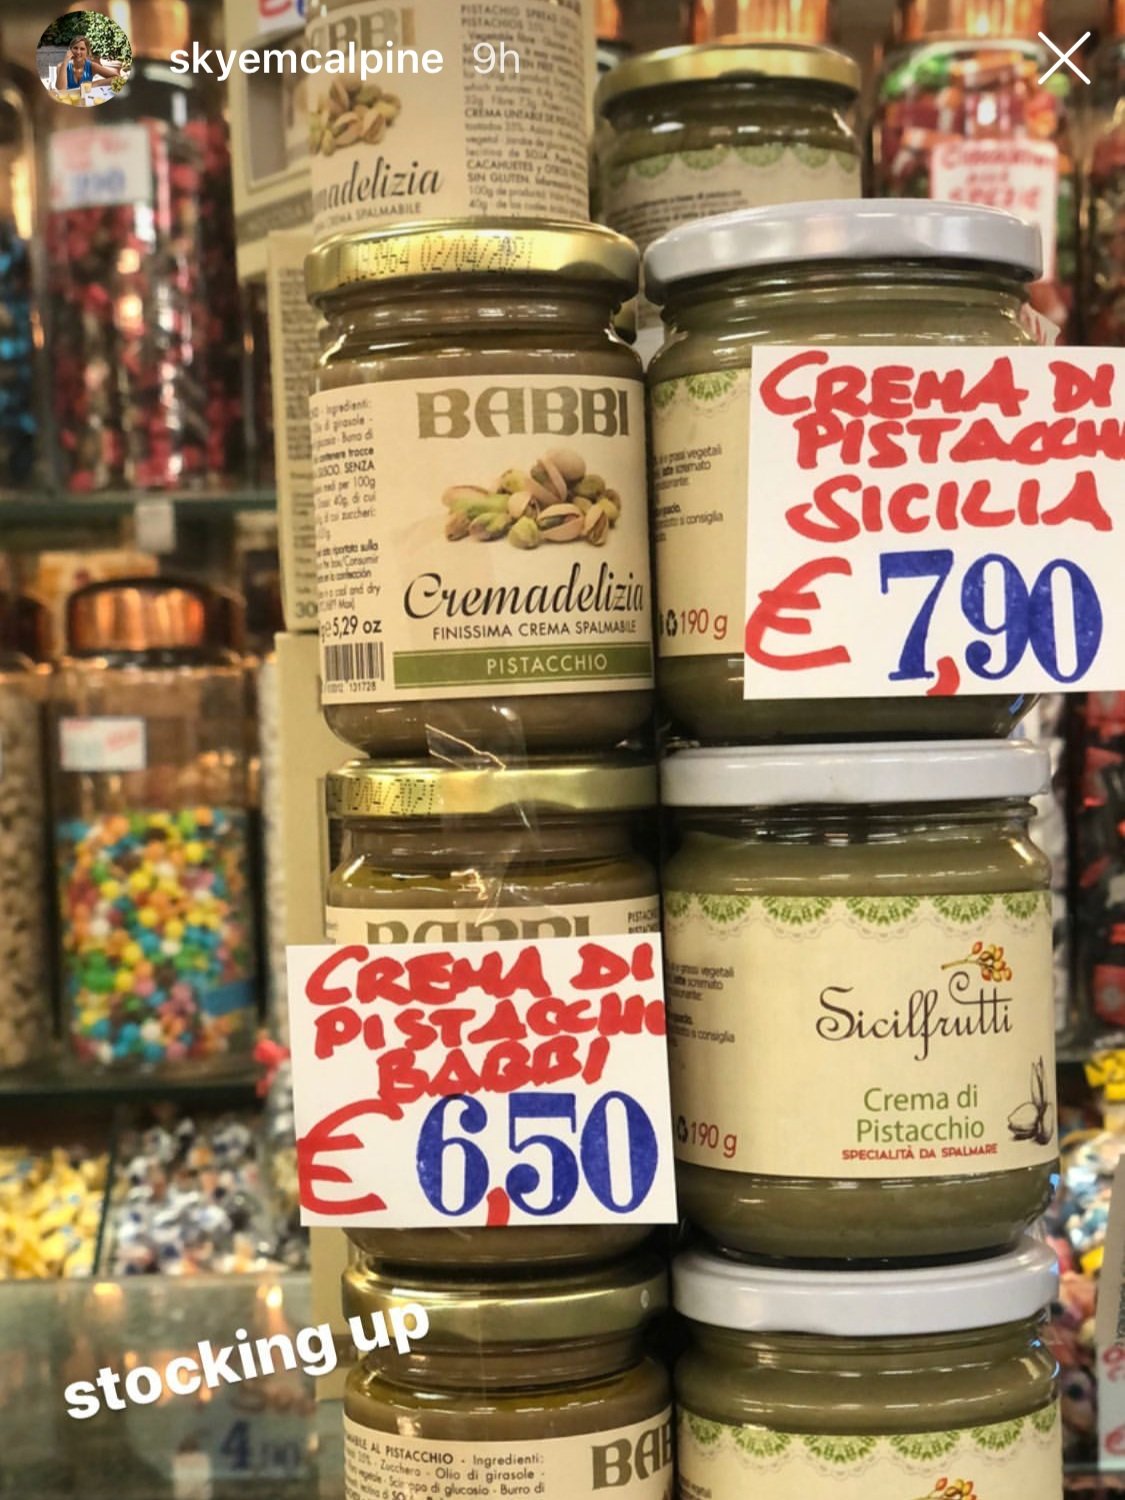
Crema di pistacchio is an expensive ingredient, and sometimes not easy to buy. I have had multiple times I’ve found a brand of pistachio cream I like, only for the shop I bought it from to never sell it again. I’ve got the impression that these shop’s suppliers find it hard to import these products from Italy for whatever reason. But it’s really annoying to find something, enjoy it, then never be able to buy it again.

And that’s not to mention the price per jar, which is usually around $20AUD for a 180g or so jar. If I’m using a whole jar in one recipe, that’s an expensive bake.

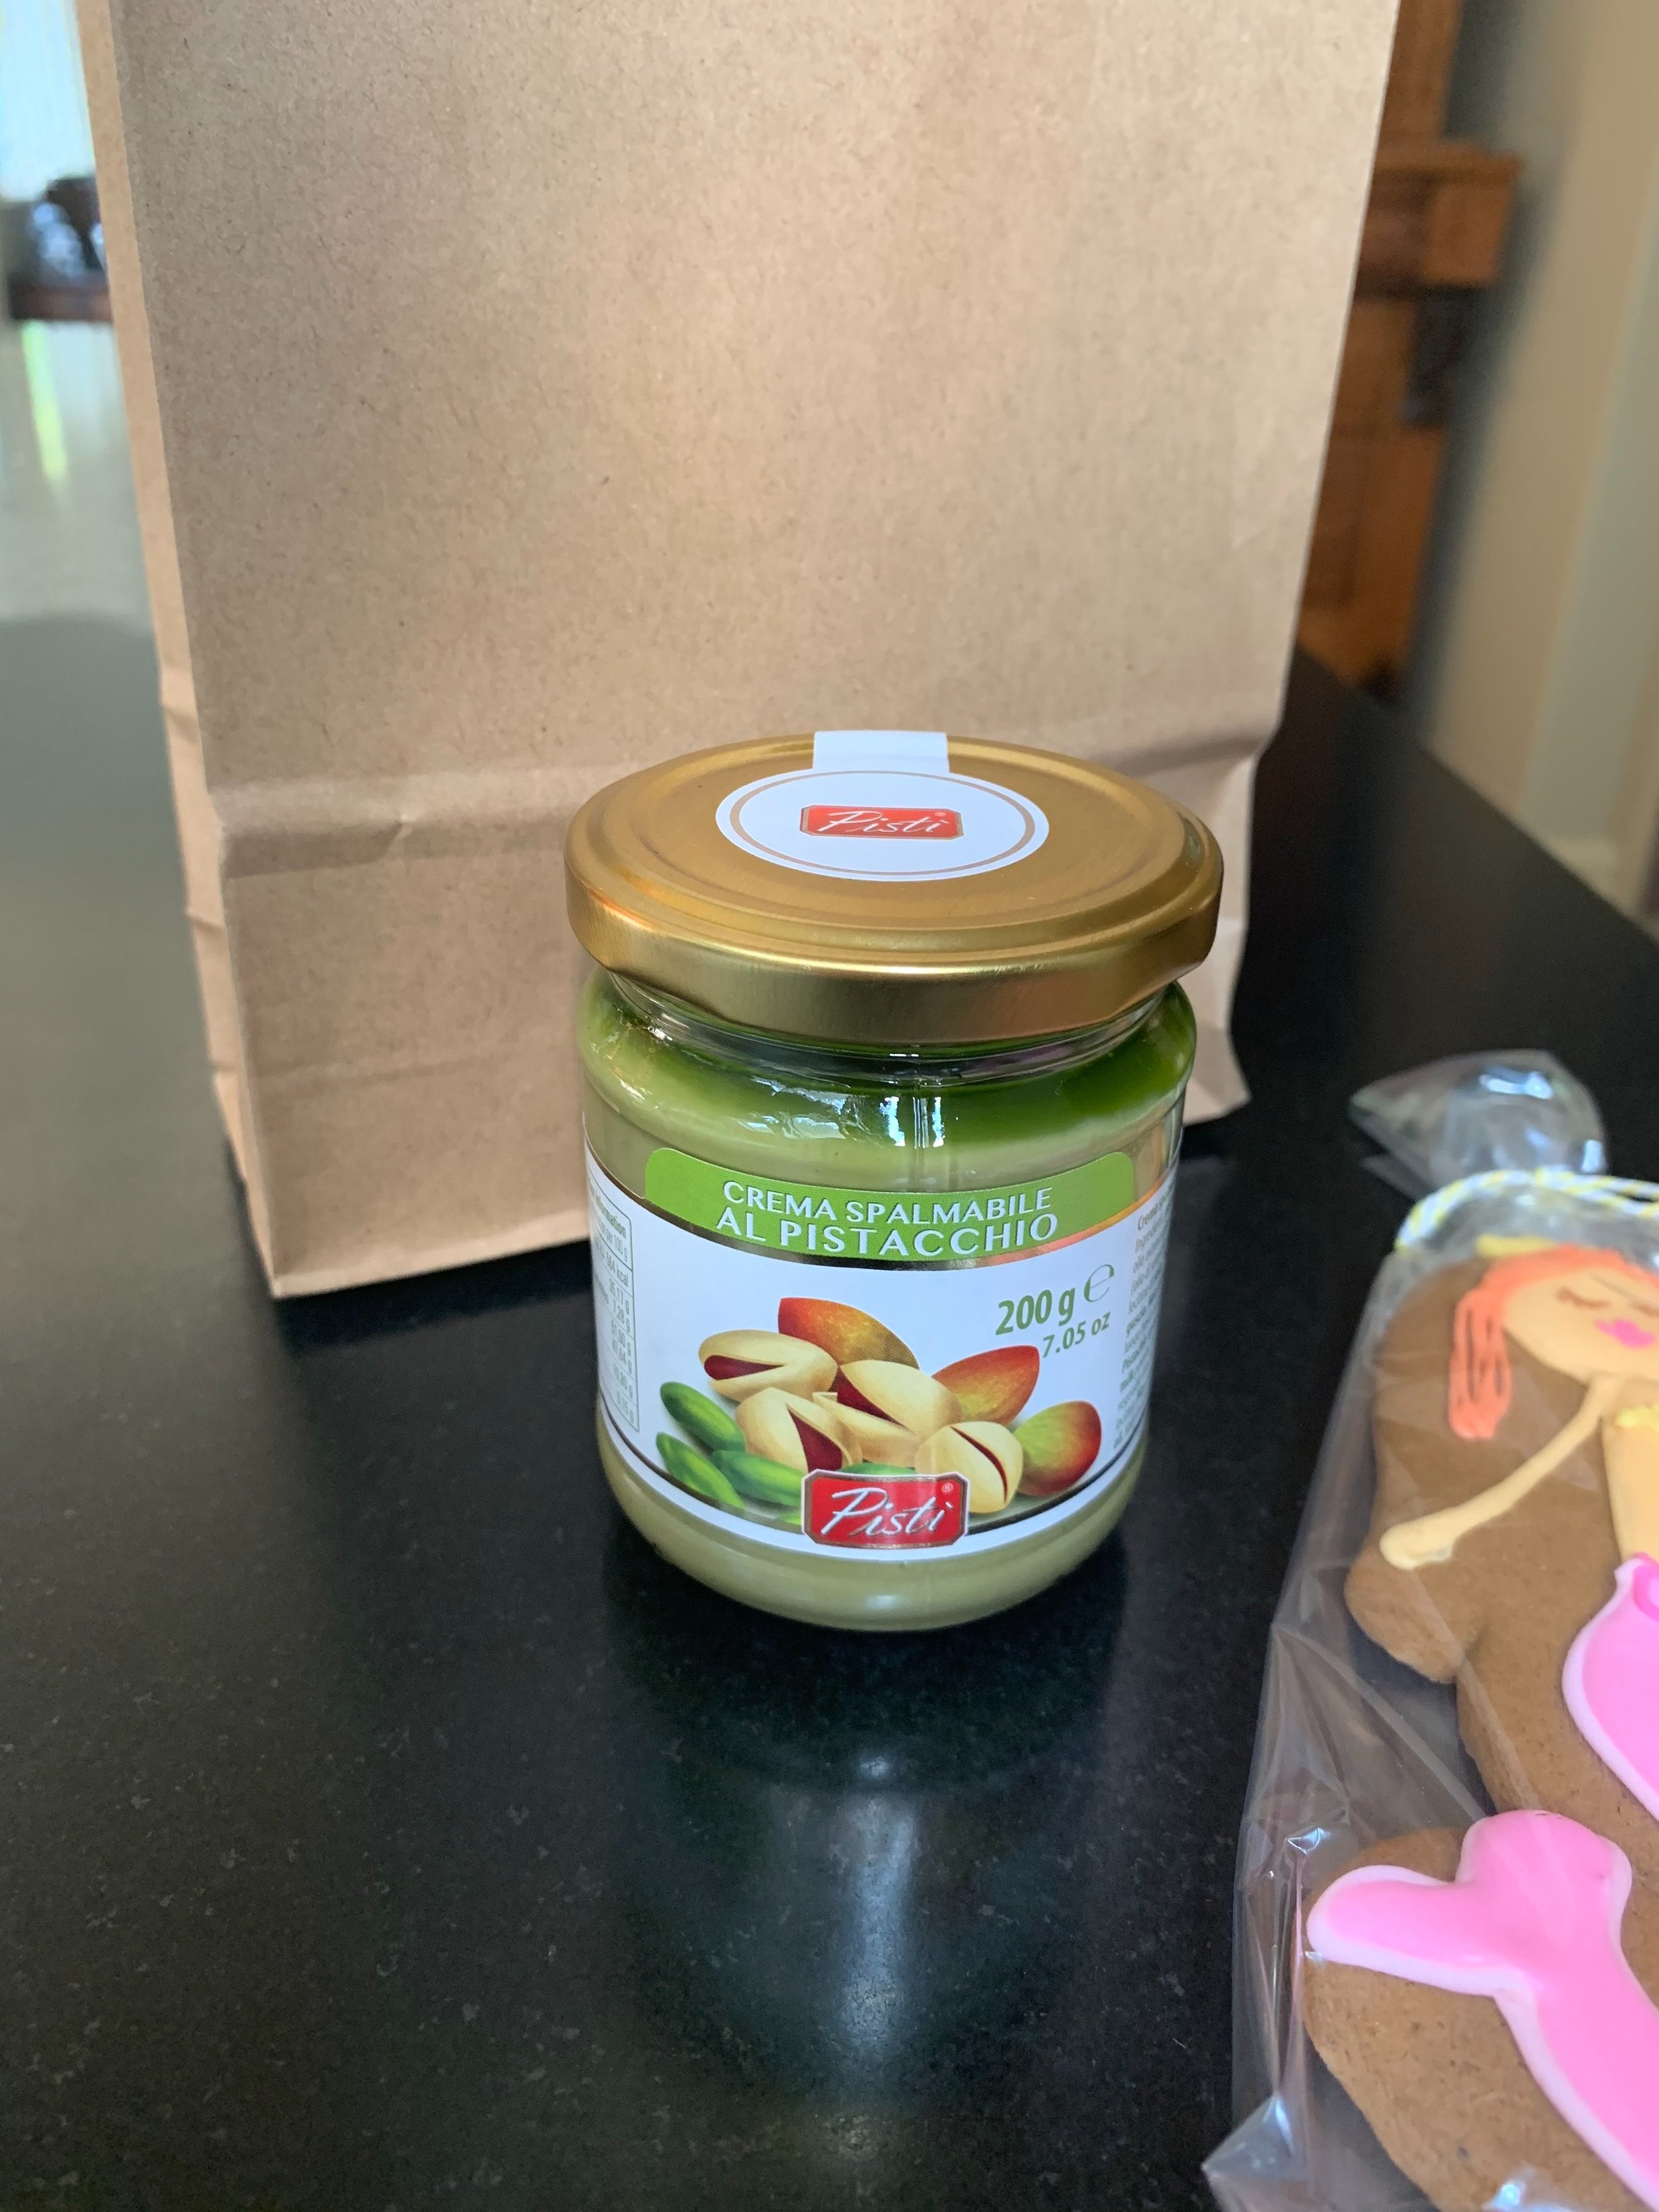
There are Australian based brands that are making/selling pistachio creams/spreads that you could use. One of the brands I found was genuinely disgusting in flavour, and the other has quite a low percentage of pistachios in the spread. While the second brand I thought flavour wise was pretty good considering the low percentage of pistachios and the price, baking with it is still a rather expensive exercise. I also didn’t love how many ‘extra’ ingredients were contained in some of these spreads, compared to the imported Italian varieties.

Considering all that, I decided if I were going to make some cookies/biscuits stuffed with a pistachio spread, I was going to make the spread myself. A homemade pistachio spread or butter will have a better flavour than many of the bought pistachio creams, plus it won’t be quite as expensive!

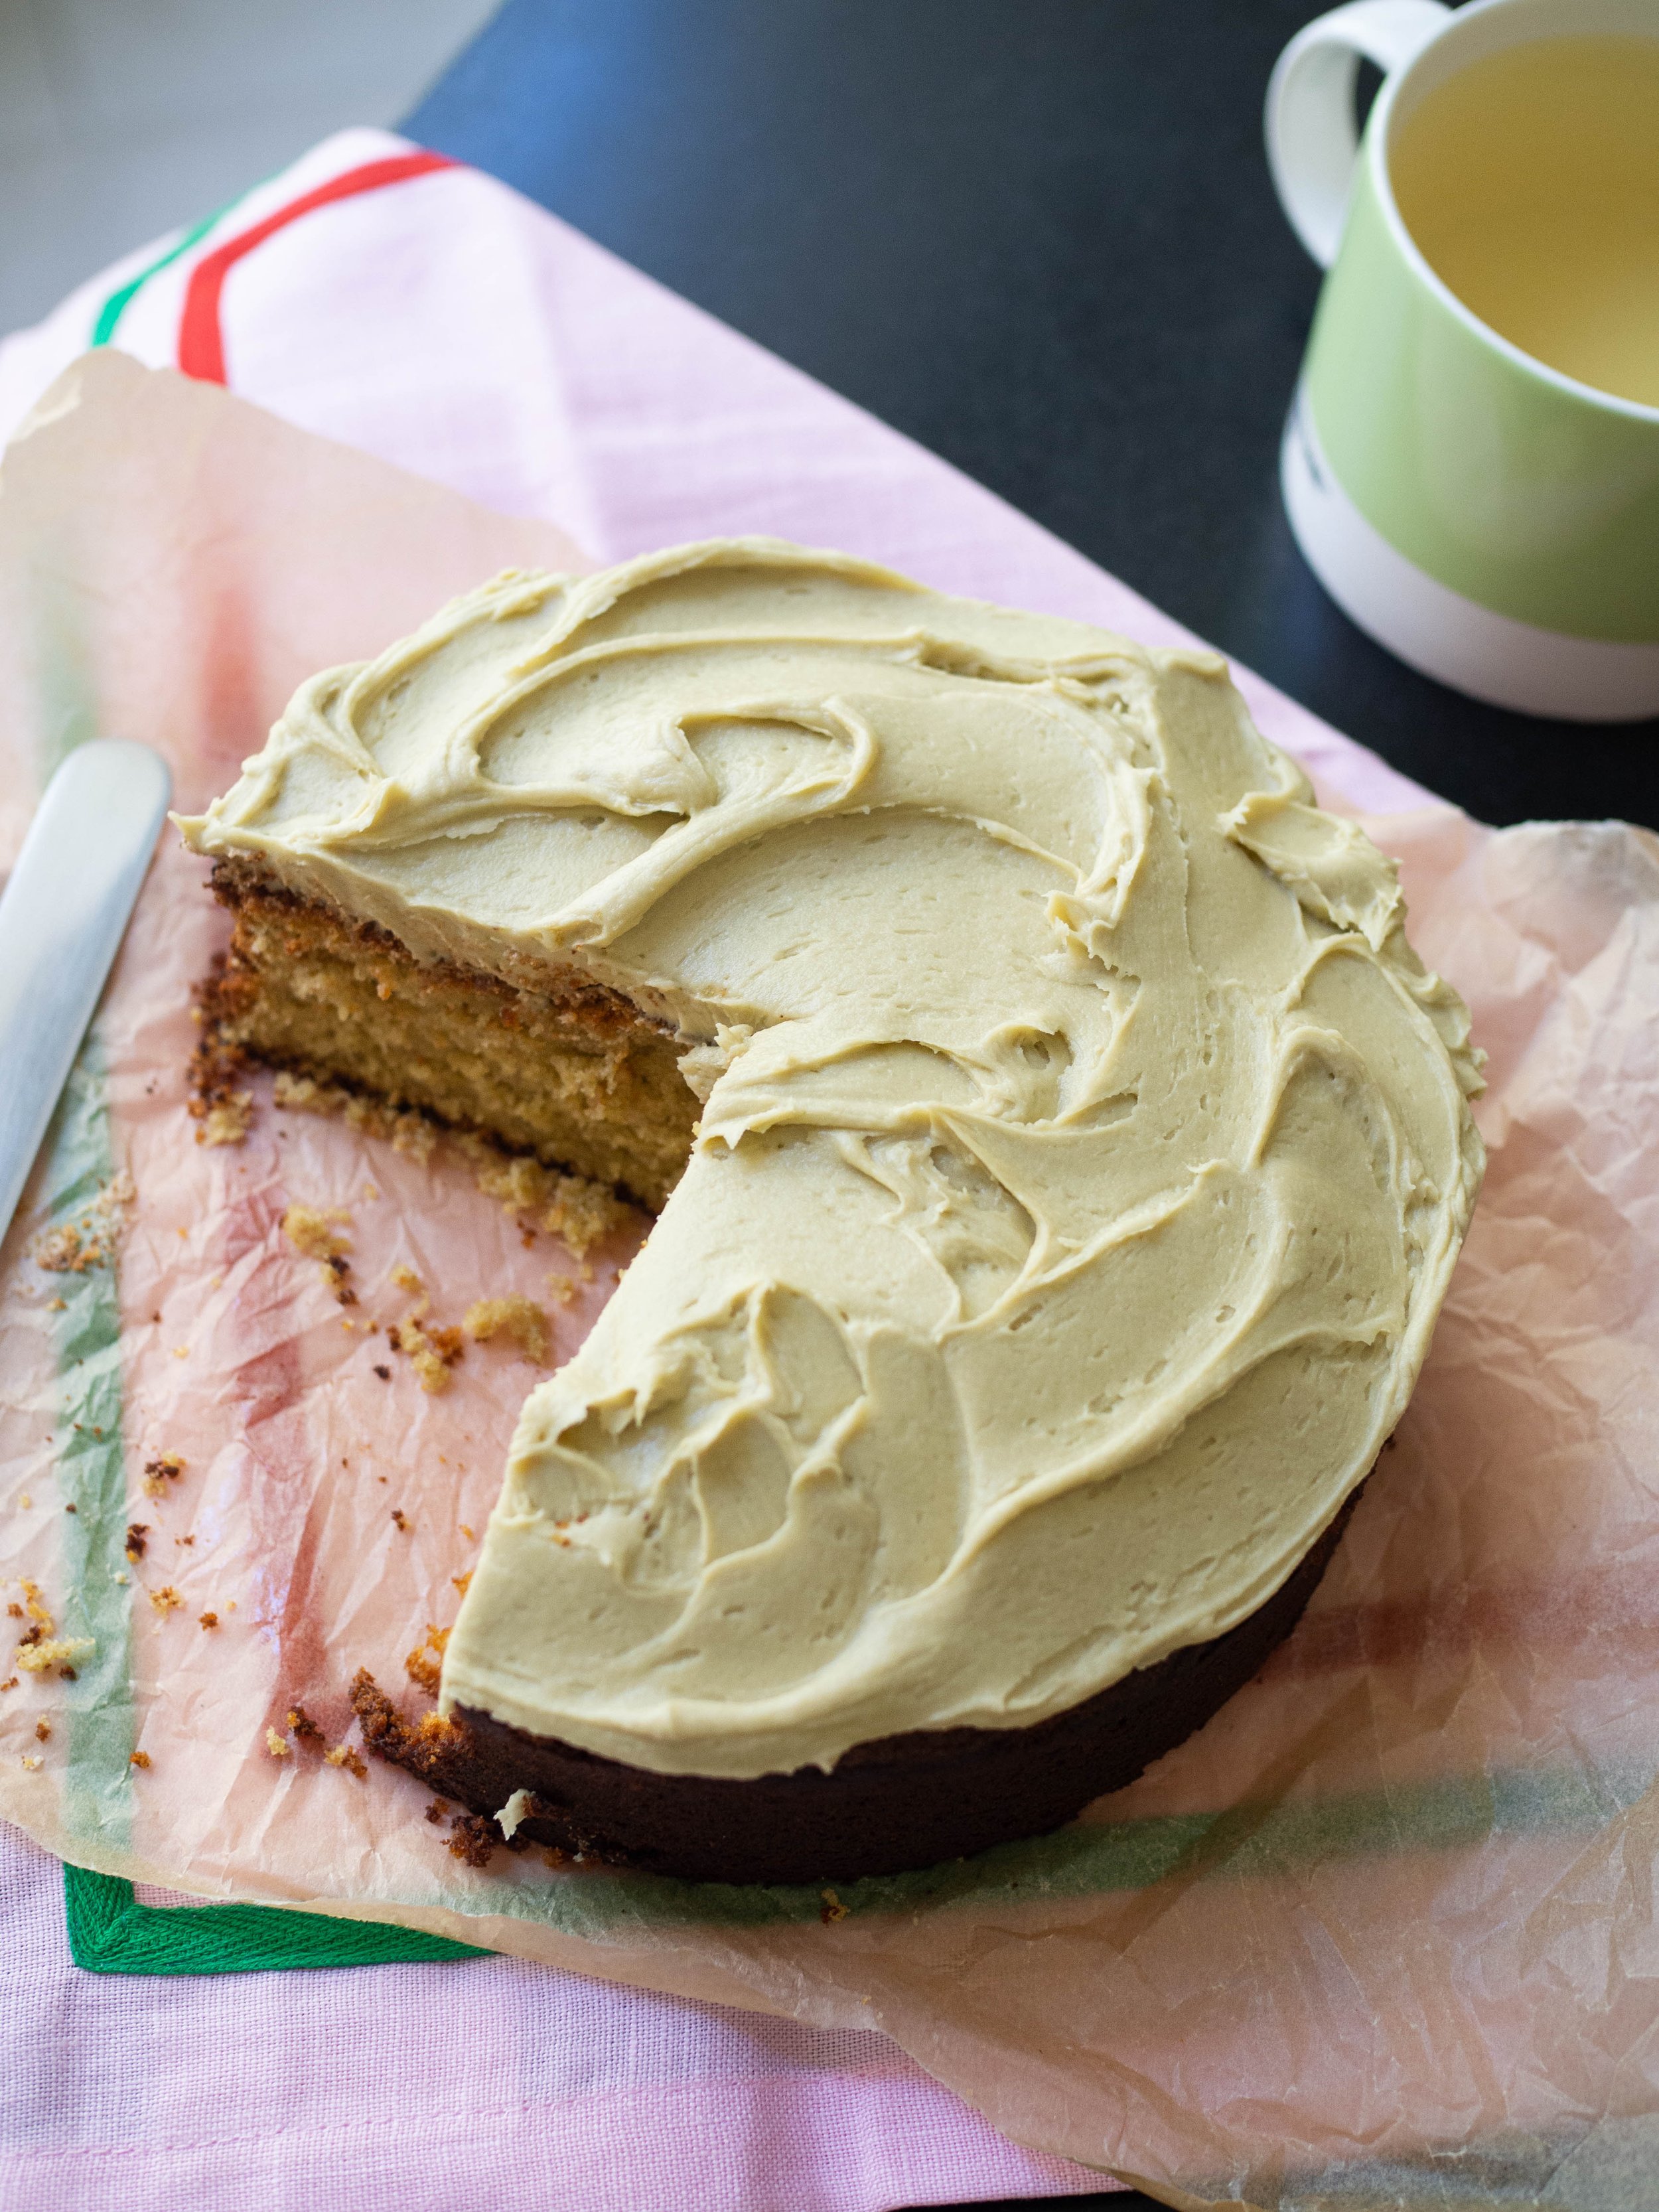
I have been making pistachio butter/spread like the one in the recipe below for years (if you have my ebook Cosy Winter Bakes you might recognise the pistachio butter recipe!). The addition of white chocolate gives the pistachio spread a sweetness and creamy texture that is similar to the bought varieties.

When using homemade pistachio spread/butter as a filling in cookies, you won’t get that oozing of the pistachio spread out of the cookie (when the cookie is broken in half) like you would when buying a cookie like this or making one using crema di pistacchio. However, I think its a small price to pay for a delicious cookie, that doesn’t have to use up your very expensive jar of pistachio cream, and is decidedly less messy to eat as well!

Homemade Pistachio Butter/Spread

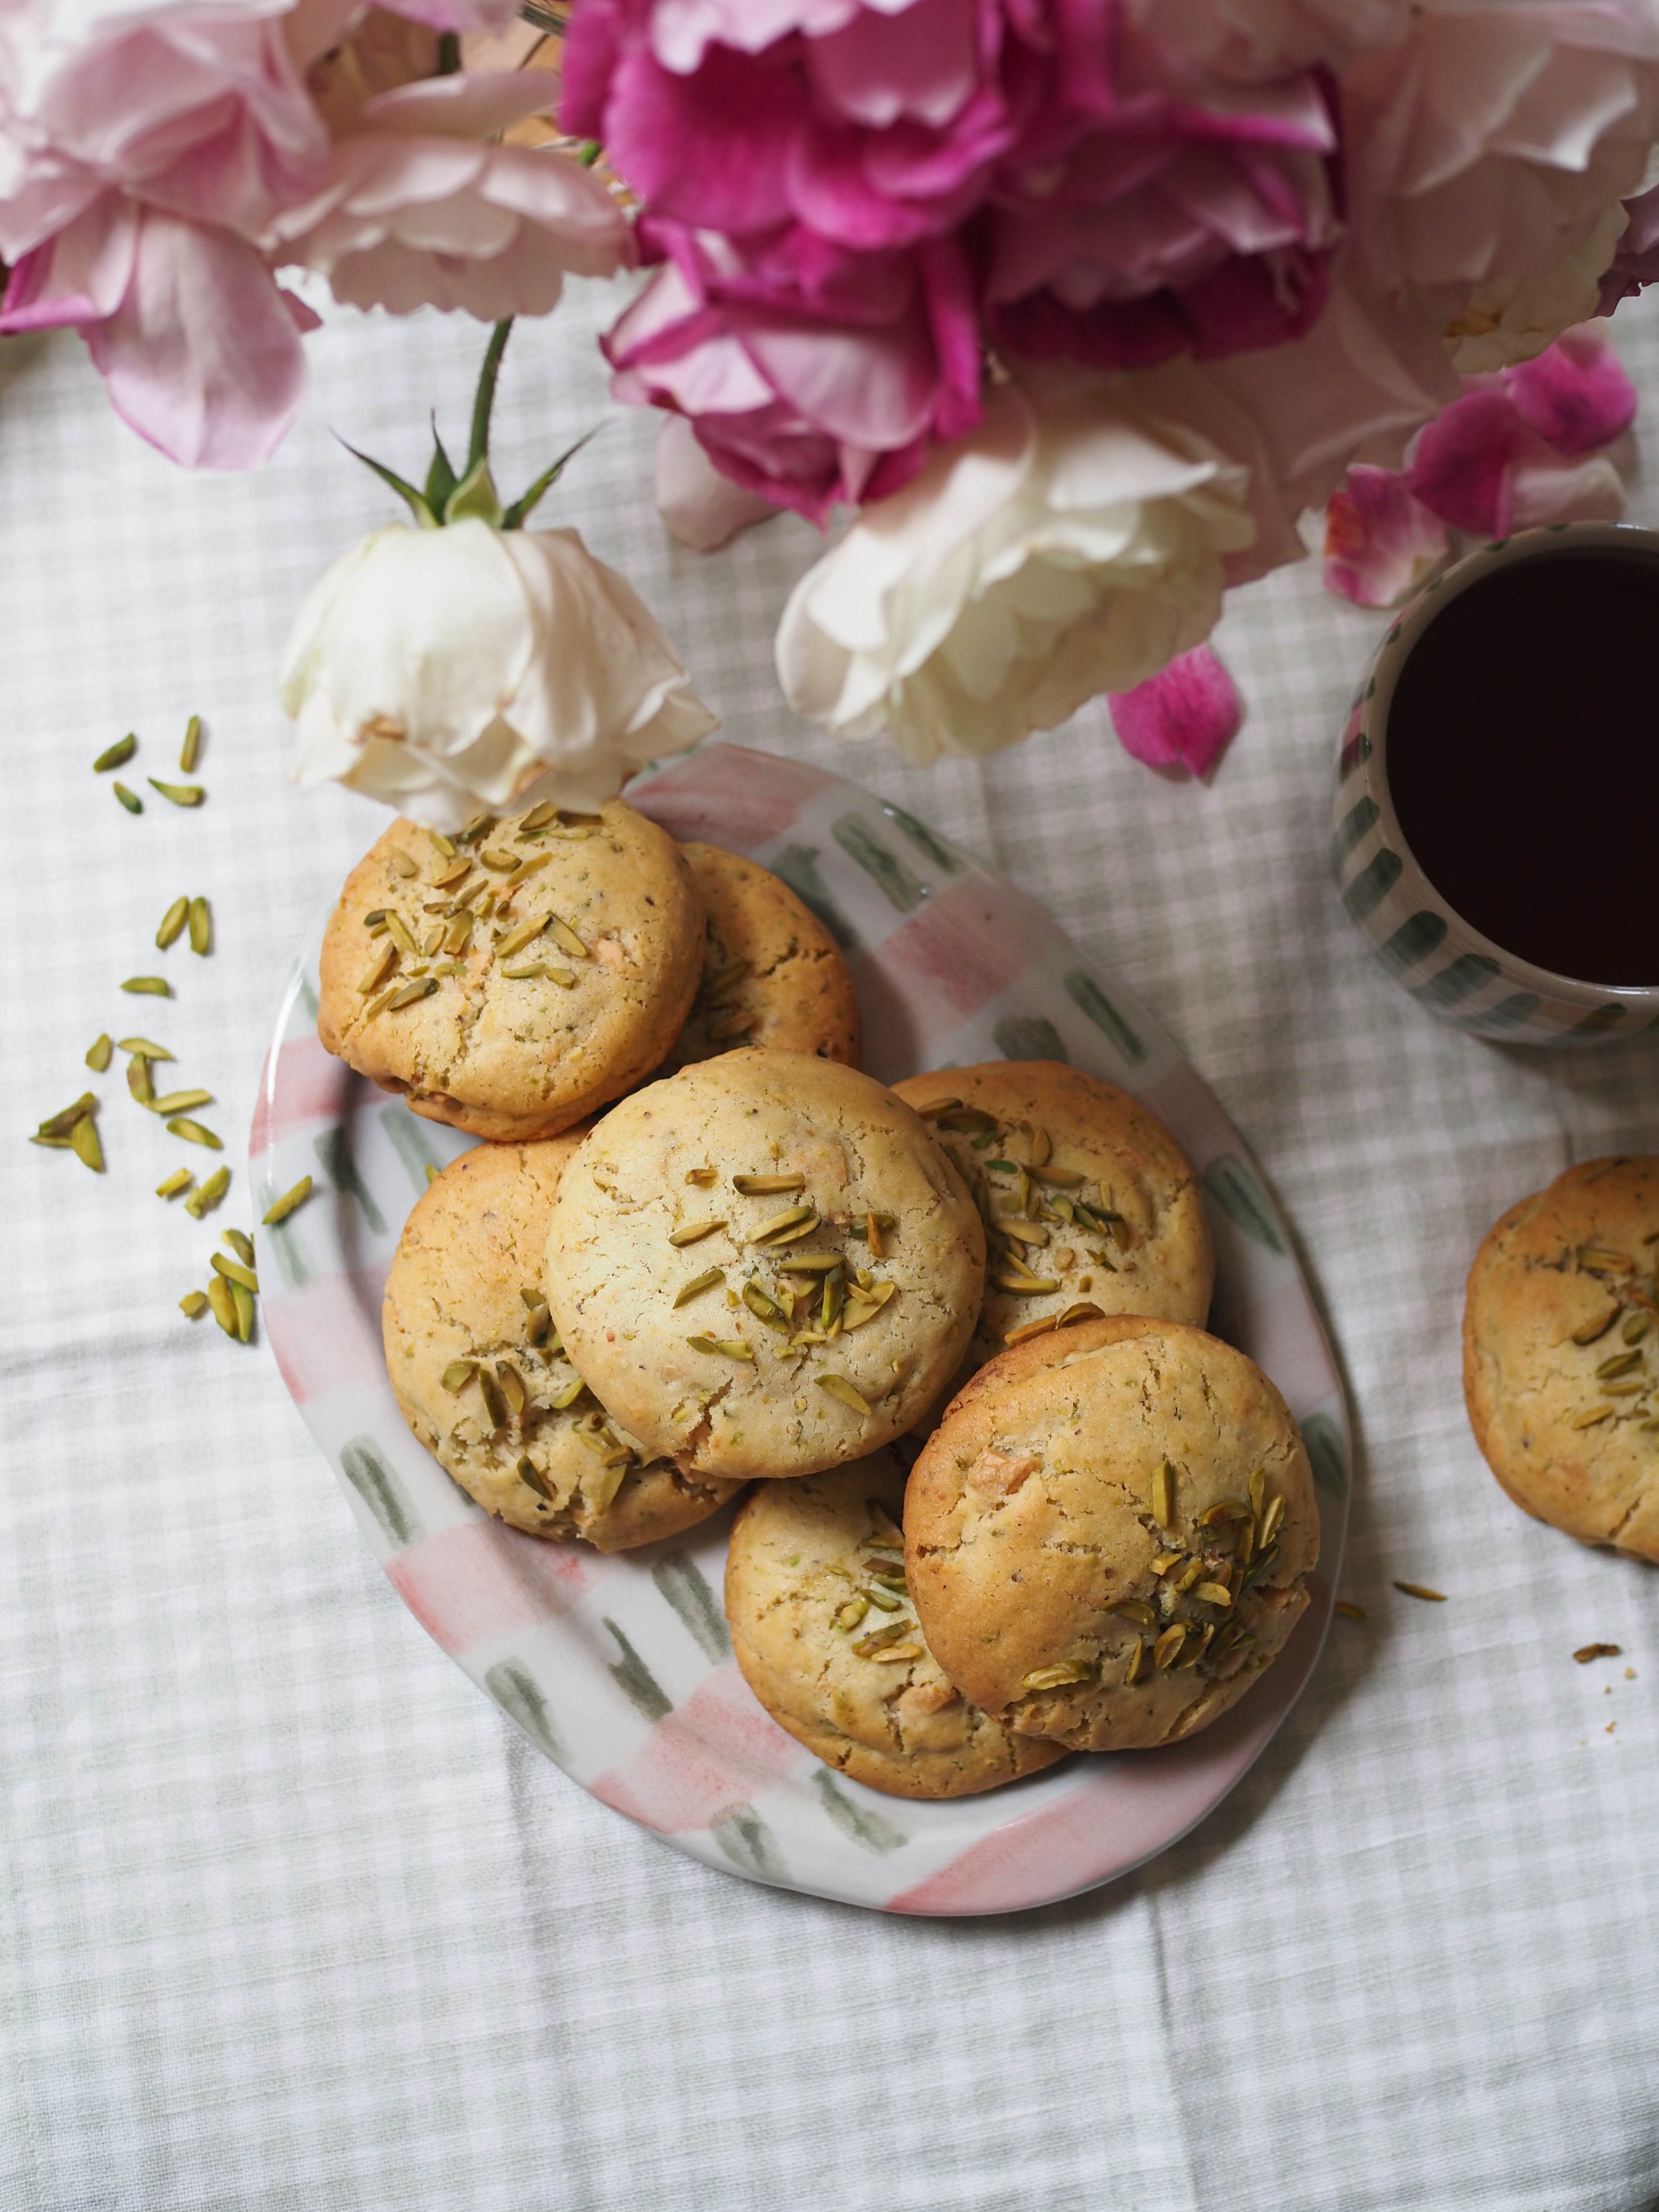
Pistachio Filled Caramelised White Chocolate Cookies/Biscuits

Ingredients:

170g raw pistachios

160g caramelised white choc (e.g. Caramilk, or any white choc)

120g unsalted butter, melted

180g caster sugar 

1 tsp vanilla extract

1 tbsp milk

1 egg, beaten

290g self raising flour

1/4 tsp baking powder

2 tbsp slivered pistachios (or roughly chopped whole pistachios)


Method:

Preheat oven to 160 degrees Celsius and line a tray with baking paper. Place the pistachios on the tray, and roast in the oven for 5-7 minutes or until they are lightly golden and fragrant. Allow to cool. You won’t need your oven again for a while so you can turn it off for now.

Make the pistachio butter by blitzing the toasted pistachios in a food processor until they form fine crumbs. Measure out 50g of the pistachio crumbs and set aside, this will be used in the biscuit dough later. 

Melt 60g of the caramelised white chocolate, then add to the blitzed pistachios. Keep blitzing until the pistachios form a paste (this will take around 10 minutes, depending on your food processor). Scrape down the sides of the food processor bowl now and then to ensure everything is processing evenly. Once done the pistachio butter will be smooth and creamy, and the texture will seem light and soft. Place the pistachio butter in a bowl or container and leave in the fridge until it has chilled and firmed up (at least 1 hour, but you can do this step in advance and leave overnight).

To make the biscuit dough, place the melted butter, sugar, vanilla, milk and egg in a large mixing bowl, and whisk until combined.

In another bowl, whisk together the flour, the 50g pistachio crumbs you set aside earlier, and the baking powder. 

Roughly chop the remaining caramelised white chocolate (100g), until you have small chunks. 

Add the flour mixture to the butter mixture, and mix with a wooden spoon until almost combined. Add the chopped chocolate and mix until everything is combined.  

Cover the bowl and place in the fridge to chill for at least 30 minutes. 

Once the dough has chilled, divide it into 12 equal portions. 

Take one of the portions and remove about 1/3 of the dough. Press the remaining larger portion of dough into a flatter disc, allowing the sides to curl up like a birds nest. Place a heaped teaspoon of the chilled pistachio butter inside the dough. Bring the sides of the dough up around the butter, then place the remaining 1/3 of dough over the top of the pistachio butter filled biscuit and smooth out so there are no gaps. Gently roll the filled biscuit between your hands so it is a nice round shape. 

Continue with each of the portions of dough so you have 12 pistachio butter filled individual dough balls. You should use most if not all of the pistachio butter across the 12 biscuits. 

Place the dough balls on a lined tray or in a container (or similar), cover, and place in the fridge for 3 hours (or overnight). 

When ready to bake the biscuits, preheat oven to 180 degrees Celsius. Ensure you have two large baking trays lined and ready. 

Spread the dough biscuit balls out over the prepared trays leaving enough room around the biscuits as they will spread. Sprinkle with the slivered pistachios, pushing them into the dough a bit.

Bake for about 15 minutes, or until they are gently golden in colour. Rotate the trays in the oven at least once during the cooking time so the biscuits cook more evenly. If you can’t bake the biscuits all at once leave the dough balls in the fridge until you have oven space.

Allow to cool on the trays for 10 minutes before eating. 

Makes 12 large biscuits.

These cookies are a more cake-y style cookie, so they are the absolute best the day they are baked. You can store them in an airtight container or jar, however they will have a slightly softer texture than when they were first baked. You can refresh them a bit by putting them in the oven for 5-8 minutes at 160 degrees Celsius.

Pistachio Spread Cookies
In Biscuits/Cookies Tags Pistachio Butter, Pistachio, Pistachio Cookies, Crema di Pistacchio, Pistachio Cream, Pistachio Spread, Caramelised White Chocolate
Comment

Pistachio White Chocolate Blondie

Kath May 16, 2023

I seem to be incapable of not thinking of recipes that use pistachio, or specifically crema di pistachio spread. I am well and truely obsessed, and I can’t see that changing any time soon. 

While the combination of pistachio and white chocolate is very good, you could also adapt this recipe to use a chocolate hazelnut spread (or similar) if thats more your thing (and it is certainly easier to buy than crema di pistachio) and swap out the chopped pistachios for chopped hazelnuts and the white chocolate could be substituted for milk or dark chocolate as well. 

You can essentially make this blondie recipe your own - as long as you keep the quantities of everything the same it will work a treat. 

I personally steer clear of actual chocolate in my blondie recipes as I can’t eat milk or dark chocolate, and therefore, do not want any in my blondie. For me it’s not a blondie if it has any milk or dark chocolate in it, as to me it becomes as inedible as an actual brownie. However feel free to make any adaptations that suit you, I know I’m most probably in the minority when it comes to not eating proper chocolate (i.e. all chocolate that is not white chocolate). 

And a final note on the recipe, I use panela sugar in my blondie as I much prefer the flavour and texture it gives. It creates a nice slightly caramel flavour without being sickly sweet which I think works really well. You can substitute with light or dark brown sugar if you don’t have any panela - though I do highly recommend you try it!

Pistachio Blondie 

Ingredients: 

135g unsalted butter, melted 

250g panela sugar 

3 eggs

2 tsp vanilla extract

270g plain Flour

1/2 tsp baking powder

1/2 tsp salt

150g white chocolate, chopped

50g + 2 tbsp pistachios, chopped

1/4 cup crema di pistacchio or pistachio butter, optional

Method: 

Preheat oven to 160 degrees Celsius and line a 23cm square cake or brownie tin with baking paper. 

In a large bowl, combine the melted butter, panela sugar, eggs and vanilla extract with a whisk. 

Add the plain flour, baking powder and salt and mix again with a whisk until combined. 

Add in the chopped white chocolate and 50g pistachios and briefly mix together with a spatula or wooden spoon. 

Pour the blondie mixture into your prepared tin, and smooth the top with the spatula or wooden spoon you were just using. 

If using, dollop teaspoonfuls of the pistachio spread over the surface of the blondie, then using a knife, swirl the spread into the blondie. 

Sprinkle with the 2 tbsp of chopped pistachios.

Bake for 20-25 minutes, or until golden and a skewer comes out clean. 

Allow the blondie to cool in its tin, then remove and cut into 9 very generous slices or about 12 slightly less generous slices - or you can cut it however suits you. 

Store in an airtight container.

Serves about 12. 

In Cakes & Slices Tags Pistachio, White Chocolate, Blondie, Crema di Pistacchio, Slices, Mixer Free Recipes, Easy Baking
Comment
pistachio cake

Crema di Pistacchio Cake

Kath January 3, 2022

I wasn’t planning on sharing this recipe on the blog since it is quite similar to a few other pistachio cakes already on here. But when I shared this cake on my Instagram stories on the weekend, a few people asked for the recipe/expressed interest in making it so I thought it would be easiest to put it all here.

Both the cake and the icing are based on recipes that are already on my blog. The cake is based on this recipe (which in turn is based on one by Skye McApline which is referenced below). The only real change to the recipe is using the crema di pistacchio spread in place of the pistachio butter and melted white chocolate.

The icing is loosely based on this one I made last Easter with Biscoff spread, and I can highly recommend it as the pistachio flavour comes through really well in the buttercream.

The flavour in the cake is more subtle compared to using homemade or bought pure pistachio butter, as is the colour. If you don’t have a lot of crema di pistacchio, or can’t find it at all, I would recommend using the original recipe. Crema di pistacchio is still difficult to buy here in Australia, plus it can be quite a pricey thing to buy, so if you only have a small jar of it I wouldn’t recommend using the whole thing in a cake.

I have tried three brands of crema di pistacchio (or crema al pistacchio), and all have been very tasty. The colours vary a little, and sometimes the percentage of pistachio as well (I compare this based on whether pistachio is the first ingredient on the ingredients list).

I have pictured below the ones I have bought before, plus the original picture from Skye McAlpine’s Instagram stories back in late 2019 that initially set off my search for a jar of my own. That along with her original recipe for this type of cake, have set me on a real pistachio adventure the last couple of years - it has been tasty and expensive and I’ve loved every minute of it (despite the expensive part!).

IMG_0105.jpg
IMG_9497.jpg
IMG_9312.jpg

I recently found where I could buy crema di pistacchio online here in Australia via La Dispensa. Which has been great since the importation of goods from overseas has been inconsistent and sometimes non-existent since the pandemic began, and the shops I know that usually stock it haven’t always had any as a result.

I was excited to find that La Dispensa sold 1kg tubs of crema di pistacchio which probably made my year to be honest. I got one, and decided that armed with so much crema di pistacchio I could use some to make this cake and try out a pistachio buttercream. Usually to make this cake, it would use a whole jar of the spread which makes it quite an expensive cake. I also didn’t think it was worth using a jar on just one thing since the flavour was subtle once baked, and there is so much joy in eating this spread on toast, crumpets etc etc.

The amount of the spread needed for the icing is much less, so you can always combine the original version of the cake with the pistachio buttercream and you will still have a very delicious cake.

View fullsize Crema di Pistacchio Cake (13 of 14).jpg
View fullsize Crema di Pistacchio Cake (14 of 14).jpg
pistachio cake

Crema di Pistacchio Cake

Ingredients: 

200g unsalted butter, softened

200g caster sugar

1 tsp vanilla extract

180g crema di pistacchio

3 eggs

120ml buttermilk / 120g yoghurt

200g self raising flour

Ingredients for the Buttercream: 

150g unsalted butter, at room temp

190g icing mixture/icing sugar* 

80g crema di pistacchio

Method: 

Preheat oven to 170 degrees Celsius and line a 20cm round cake tin (I find using a springform one is easiest). 

In the bowl of a stand mixer beat the butter, sugar and vanilla until pale and creamy. Add the crema di pistacchio and mix until combined. 

Add in the eggs one at a time, then add half the flour and mix on low speed until combined. Then add the buttermilk/yoghurt and mix until well combined. Add the remaining flour and mix on low speed until combined and the batter is smooth.

Transfer the batter to the prepared cake tin and bake for 50 minutes. Then cover the cake with foil (the cake will be quite browned by now) and bake for a further 20-25 minutes, or until the cake is cooked through. A skewer will come out clean when the cake is cooked through. 

Allow the cake to cool in its tin for a few minutes, then turn out on a wire rack to cool further.

To make the icing, beat the butter using a stand mixer and the paddle attachment for 1-2 minutes, or until it is pale and creamy. Add in the icing sugar, and beat for another 1-2 minutes or until the icing is fluffy. 

Add the crema di pistacchio and mix until combined.

Spread the buttercream over the top of the cake and enjoy!

Serves 10.  

*I always use the CSR Soft Icing Mixture (the one in the pink packet) as it won’t need sifting before it is used. If you are using pure icing sugar it will need to be sifted first. 

Recipe note 15/07/2024 - you can also bake this cake in a square cake tin (20-23cm) and it will not need as long in the oven. It should take 40-50 minutes and you won’t need to cook for the further 20-25 mins with the cake covered in foil.

pistachio cake

Reference: ‘A Table for Friends’ by Skye McAlpine (Bloomsbury Publishing, 2020) p.232.

pistachio cake
In Cakes & Slices Tags Crema di Pistacchio, Pistachio, Italian Pistachio Spread
3 Comments
Pistachio Challah Babka

Pistachio Challah Babka

Kath February 21, 2020

If you follow along regularly with the recipes I post on this blog, you will know pistachio is one of my most favourite flavours. I seem to be endlessly drawn to it, which means it makes its way into many things I bake. 

And this babka is no exception. I have been wanting to make a babka for quite a while, and seeing as they aren’t sold widely in Sydney, making one myself was almost my only option if I wanted to eat one. 

I decided to use a challah dough to make the babka, hence this recipes name ‘challah babka’. In my mind challah is the best kind of bread, so a babka could only be improved by using it. I always use the challah recipe from the Monday Morning Cooking Club’s first book, and it works really well every time. 

Pistachio Challah Babka

Initially, I made my own pistachio and white chocolate butter (based on the recipe in my Cosy Winter Bakes eBook) for the babka filling. The taste and colour were amazing, but being a homemade nut butter the consistency was a little thick which made the filling hard to spread over the dough. This also made the distribution of the filling quite uneven throughout the cooked babka (as you can see in the images below). 

I had made the filling this way to deliberately avoid using a jar of Italian crema di pistacchio, mostly due to the cost of it (between $14.95-$24.95 AUD/200g jar). However I also didn’t want to create a recipe that was difficult for others to replicate, and seeing as I have only recently found crema di pistacchio in a couple of stores here in Sydney, I am assuming it isn’t widely available, or available at all, in most places. And if you did find some, I would understand based on the price of it, that you might not want to use a whole jar of it in one recipe! 

View fullsize Pistachio Challah Babka with Homemade Pistachio Butter
Cream di Pistacchio I used for my babka filling

Cream di Pistacchio I used for my babka filling

Despite all that, a jar of crema di pistacchio turned out to be the perfect babka filling. Babka is often filled with Nutella, so something of that kind of consistency would be a perfect substitute. Crema di pistacchio has a wonderful creamy spreadable consistency similar to Nutella (it is essentially the pistachio version of Nutella after all), which makes it easy to spread over the dough and distributes more evenly amongst the babka as a result. 

If you can find and are happy to use crema di pistacchio for your challah babka, you will end up with a fantastic result. If you prefer to make your own pistachio butter, the taste of your challah babka will still be amazing, you just might not get the wonderful dainty swirls of filling throughout your babka. Honestly either way the taste is amazing, and well worth making babka from scratch!

Click the button below for the Pistachio & White Chocolate Butter recipe I used for my first babka attempt. The recipe makes enough for one babka filling.

Pistachio Butter Recipe
Pistachio Challah Babka made with Crema di Pistacchio

Pistachio Challah Babka made with Crema di Pistacchio

Pistachio Challah Babka

Ingredients: 

500g plain flour, plus extra

250ml warm water

9g dried yeast

85g caster sugar

3/4 tsp salt

1 egg, beaten

63ml canola or vegetable oil

200g crema di pistacchio 

cooking spray

Ingredients for the Glaze: 

50g white sugar

60ml water

Method:

Place the flour into a large bowl (one that fits your stand mixer if you have one). Make a well in the centre of the flour, then pour in the warm water. Add the yeast and 60g of the caster sugar and stir (don’t mix in the flour at this stage). Leave for 10-15 minutes, or until the yeast has become foamy. 

Then add the salt and remaining sugar, stir again (don’t mix in the flour at this stage), and wait 5-10 minutes for the yeast to become foamy again. 

Once the yeast is foamy, add the egg and the oil to the yeast mixture and combine. Then start to gradually incorporate the flour into the wet mixture. Once everything is combined, attach your bowl to your stand mixer fitted with the dough hook, and knead on a medium speed for about five minutes. The dough will be smooth and a little sticky once done. If the dough is too sticky, add a little more flour (1-2 tbsp). 

While the dough is kneading, lightly oil a large bowl. 

Once the dough is ready, place into the oiled bowl and cover. Leave in a warm spot for 1-1.5 hours, or until the dough has risen and doubled in size. 

Spray a 22 x 10 x 8.5cm (approx.) loaf tin with the cooking spray. 

Once the dough has risen, flour your work surface and tip the dough out. Lightly flour the top of the dough to prevent it sticking to your rolling pin. Using a rolling pin, roll out the dough into a rectangle (approx. 20 x 5cm). 

Dust any excess flour from the top of the dough, then spread the crema di pistacchio over the surface of the dough. 

Roll the dough tightly from one of the long edges to form a long log. Trim the ends off to neaten it up, and cut the log evenly down the middle. 

Turn the cut side of each piece of dough so it is facing up, then twist the two strands of dough together. Tuck the ends under, and gently squash the dough from either end to make it a bit more tight if it has become quite long. 

Place the dough into the prepared tin, cover and leave in a warm spot for about 30 minutes, or until the dough has risen. 

While the dough is rising, preheat oven to 180 degrees Celsius.

Once the dough has risen, place in the oven for 40 minutes. Check after 20 minutes, and loosely place some foil over the top to prevent the babka from over browning. 

While the babka is baking, make the glaze. Place the water and sugar in a small saucepan over medium heat and stir until the sugar has dissolved. Allow it to come to the boil, and then simmer for 3-5 minutes. Remove from the heat and allow to cool. 

The babka will be ready when it is golden on top, and sounds hollow when gently tapped. Remove babka from the oven, and place on a wire rack. Using a pastry brush, paint the top of the babka in about three layers of the syrup (this will help preserve the babka and stop it drying out), then leave to cool for 15-20 minutes. 

Once the babka has had a little time to cool, remove from the tin, and either cut into slices and serve immediately or allow to cool completely then slice. 

Babka like many homemade breads, is best eaten on the day it is made. If you won’t be eating all on day it is made, once the babka has cooled, cut into slices and freeze each individually. 

Pistachio Challah Babka

References: ‘Monday Morning Cooking Club - The Food, The Stories, The Sisterhood’ by Merelyn Frank Chalmers, Natanya Eskin, Lauren Fink, Lisa Goldberg, Paula Horwitz and Jacqui Israel (HarperCollins, 2013), p.263; ‘The Jewish Cookbook’ by Leah Koenig (Phaidon Press Limited, 2019), p.324; ‘Breaking Breads’ by Uri Scheft (Artisan, 2016), pp.74-79.

Pistachio Challah Babka
In Breads Etc., Jams Preserves & Spreads Tags Pistachio, Pistachio Babka, challah, Jewish Baking, Crema di Pistacchio, Pistachio Butter, Breads
Comment

recipes

  • Biscuits/Cookies 39
  • Breads Etc. 9
  • Breakfast 7
  • Cakes & Slices 67
  • Confectionary 5
  • Drinks 6
  • Events 14
  • Food Photography Tips 3
  • From The Mailing List 24
  • Heirloom Recipes 12
  • Holidays 44
  • Ice Cream 9
  • Jams Preserves & Spreads 9
  • Muffins 4
  • Off the Shelf 47
  • Other Desserts 25
  • Savoury Dishes/Meals 15
  • Scones 4
  • Tarts & Pastry 9
  • Travel 13

Sign up to Friday Food Chat with Kath, a weekly newsletter for more food, baking, cookbook chat and more!

Sign Up Here!
instagram-unauth pinterest facebook url

Website Accessibility: To enable text to speech function on the blog, click the sound button to the right of each blog post.

All images & content are the property of Kathryn Vincent, unless stated otherwise. Please do not use without permission.

Kulinary Adventures of Kath

Food Photography, Recipes & Baking

instagram-unauth pinterest facebook url