Kulinary Adventures of Kath

Food Photography, Recipes & Baking
  • home
  • About
  • Work with Kath
  • Shop
  • Blog
    • The Blog
    • Recipe Archive
  • Newsletter
  • Contact
  • home
  • About
  • Work with Kath
  • Shop
    • The Blog
    • Recipe Archive
  • Newsletter
  • Contact
Raspberry Pistachio Rose Cake (23 of 25).jpg

The Blog

Recipes and Food Photography by Kath Vincent.

  • The Blog
  • Recipe Archive
  • All
  • Biscuits/Cookies
  • Breads Etc.
  • Breakfast
  • Cakes & Slices
  • Confectionary
  • Drinks
  • Events
  • Food Photography Tips
  • From The Mailing List
  • Heirloom Recipes
  • Holidays
  • Ice Cream
  • Jams Preserves & Spreads
  • Muffins
  • Off the Shelf
  • Other Desserts
  • Savoury Dishes/Meals
  • Scones
  • Tarts & Pastry
  • Travel
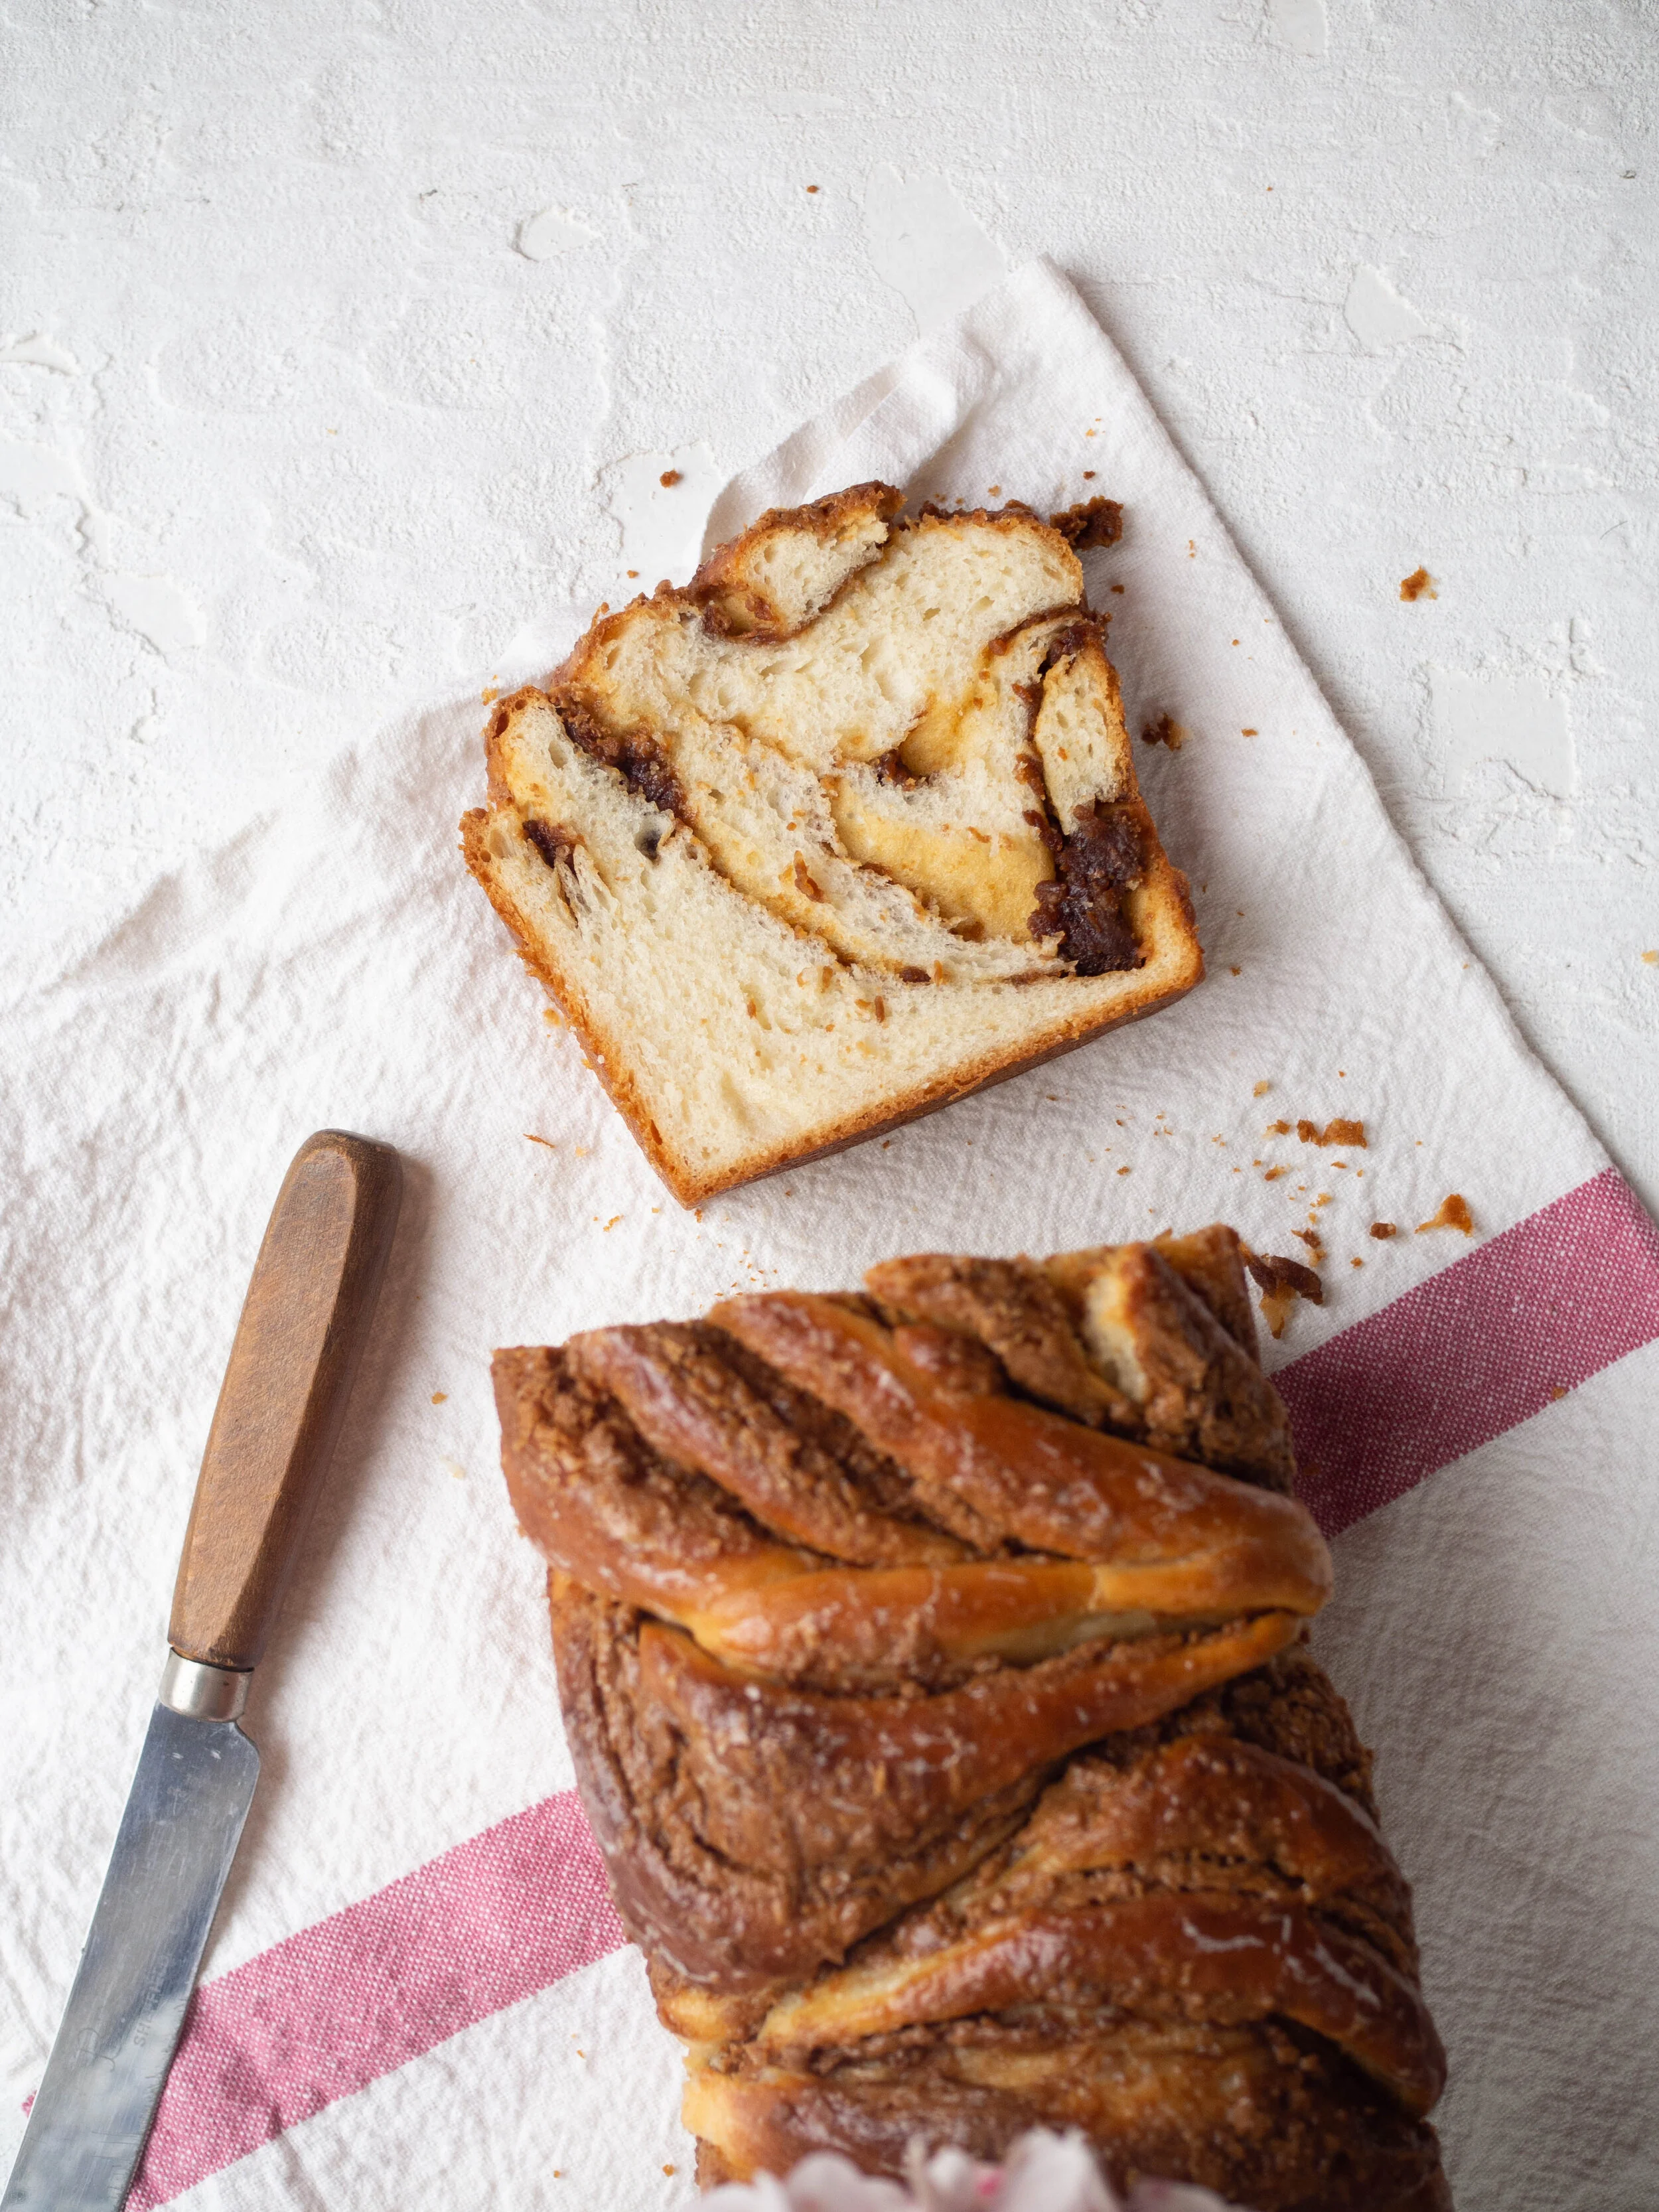
Biscoff Babka

Biscoff Babka (Dairy Free)

Kath March 3, 2021

It’s been a while since I ventured into making babka. I love my pistachio version, but the filling I used was unavailable here in Australia for the majority of last year, only coming back on the shelves in November or December. 

It was definitely time to try a new flavour, so when I bought a jar of Crunchy Biscoff Spread, it occurred to me that it could be a really good filling for a babka, amongst other things. I tried it, and can confirm it is delicious. It’s also something that is easily bought at many supermarkets (I bought mine at Woolworths), and is dairy free. And since I still believe that challah is the best type of bread, I again used that as my babka base, and that combined with the Biscoff spread makes this whole recipe dairy free.

You could of course use many other things as your babka filling, Nutella is another spread that is easy to come by. If using, you’d only need about 200g or so of it, since it has a smoother, thinner and even more spreadable consistency than Biscoff spread. 

And as a note, I am still exclusively using the Monday Morning Cooking Club challah recipe, as it genuinely works every time and tastes great made a traditional challah or adapted into something like this. The recipe is in their first self titled book (which I highly recommend, you can read more about it here), and can be found on their website here as well. 

Biscoff Babka
Biscoff Babka

Biscoff (Challah) Babka

Ingredients: 

500g plain flour, plus extra

250ml warm water

9g dried yeast

85g caster sugar

3/4 tsp salt

1 egg, beaten

63ml canola or vegetable oil

250-300g Crunchy Biscoff Spread 

cooking spray


Ingredients for the Glaze: 

50g white sugar

60ml water


Method:

Place the flour into a large bowl (one that fits your stand mixer if you have one). Make a well in the centre of the flour, then pour in the warm water. Add the yeast and 60g of the caster sugar and stir (don’t mix in the flour at this stage). Leave for 10-15 minutes, or until the yeast has become foamy. 

Then add the salt and remaining sugar, stir again (don’t mix in the flour at this stage), and wait 5-10 minutes for the yeast to become foamy again. 

Once the yeast is foamy, add the egg and the oil to the yeast mixture and combine. Then start to gradually incorporate the flour into the wet mixture. Once everything is combined, attach your bowl to your stand mixer fitted with the dough hook, and knead on a medium speed for about five minutes. The dough will be smooth and a little sticky once done. If the dough is too sticky, add a little more flour (1-2 tbsp). 

While the dough is kneading, lightly oil a large bowl. 

Once the dough is ready, place into the oiled bowl and cover. Leave in a warm spot for 1-1.5 hours, or until the dough has risen and doubled in size. 

Spray a 22 x 10 x 8.5cm (approx.) loaf tin with the cooking spray. 

Once the dough has risen, flour your work surface and tip the dough out. Lightly flour the top of the dough to prevent it sticking to your rolling pin. Using a rolling pin, roll out the dough into a rectangle (approx. 20 x 5cm). 

Place the Biscoff spread in a heatproof bowl or dish, and put in the microwave for about 10 seconds. This will made it easier to spread over the dough.

Dust any excess flour from the top of the dough, then spread the Biscoff Spread over the surface of the dough. Don’t worry if your sough stretches as you spread the filling over, once the dough is rolled up you can gently push it from either end to make it a little less long.

Roll the dough tightly from one of the long edges to form a long log. Trim the ends off to neaten it up, and cut the log evenly down the middle. 

Turn the cut side of each piece of dough so it is facing up, then twist the two strands of dough together. Tuck the ends under, and gently squash the dough from either end to make it a bit more tight if it has become quite long. 

Place the dough into the prepared tin, cover and leave in a warm spot for about 30 minutes, or until the dough has risen. 

While the dough is rising, preheat oven to 180 degrees Celsius.

Once the dough has risen, place in the oven for 40 minutes. Check after 20 minutes, and loosely place some foil over the top to prevent the babka from over browning. 

While the babka is baking, make the glaze. Place the water and sugar in a small saucepan over medium heat and stir until the sugar has dissolved. Allow it to come to the boil, and then simmer for 3-5 minutes. Remove from the heat and allow to cool. 

The babka will be ready when it is golden on top, and sounds hollow when gently tapped. Remove babka from the oven, and place on a wire rack. Using a pastry brush, paint the top of the babka in about three layers of the syrup (this will help preserve the babka and stop it drying out), then leave to cool for 15-20 minutes. 

Once the babka has had a little time to cool, remove from the tin, and either cut into slices and serve immediately or allow to cool completely then slice. 

Babka like many homemade breads, is best eaten on the day it is made. If you won’t be eating all on day it is made, once the babka has cooled, cut into slices and freeze each individually.

Biscoff Babka

Reference: ‘Monday Morning Cooking Club - The Food, The Stories, The Sisterhood’ by Merelyn Frank Chalmers, Natanya Eskin, Lauren Fink, Lisa Goldberg, Paula Horwitz and Jacqui Israel (HarperCollins, 2013), p.263.

Biscoff Babka
In Breads Etc. Tags babka, biscoff spread, biscoff babka, challah, Monday Morning Cooking Club, Dairy Free, Breads
Comment
Caramilk Cookies

Caramilk Cookies

Caramilk Cookies

Kath September 2, 2020

My blog feels very cookie heavy right now, but honestly that’s a pretty fair indication of what I have been baking in the last few months. Apart from revisiting old favourites from my recipe eBooks and testing recipes for my new eBook (and a little bit of recipe development for clients too), versions of this particular recipe have been what I am making when I just want something nice to eat - that doesn’t take much time to make. 

Like the Chai Cookies in the post before this one, these cookies are based on the recipe for Gingernut Cookies from my Grandma. It is a simple cookie recipe, that lends itself to multitudes of adaptations. You can change up some of the ingredients (just keep the quantities the same). A different oil or melted butter can be used instead of canola oil, treacle instead of golden syrup, white sugar instead of caster for a crunchier cookie (just don’t use brown sugar, when I made them like this the oiliness of the oil in the cookie was very noticeable and not as satisfying to eat). And of course a mixture of plain flour and baking powder can be used to make your own self raising flour (see here for a good explanation on how to make it).

Caramilk (a caramelised white chocolate) is my chocolate of choice for these, but you can use whatever you prefer (up to 200g).  And if you would like the recipe to be dairy free, make them using an oil (not butter) and pair with a dairy free or super dark chocolate. Or use something else completely instead of chocolate like some chopped dried fruit or nuts. 

I know a lot of people are using the time we have this year to embark on more involved baking projects, but I am finding that recipes like this one, that are endlessly adaptable and very quick and effortless to make, provide just the kind of instant gratification I am looking for - a little bit of time in the kitchen, and something very tasty to eat not long after. 

Caramilk Cookie Recipe

Caramilk Cookies

Ingredients:

120ml canola oil

225g caster sugar 

2 tbsp golden syrup

1 tsp vanilla extract

1 egg, beaten

290g self raising flour

180g block Cadbury Caramilk, roughly chopped

Method:

Preheat oven to 170 degrees Celsius and line three large baking trays with baking paper.

In a large bowl whisk together the oil, sugar, golden syrup, vanilla and egg.

Then add the flour and the chopped Caramilk and mix to combine with a wooden spoon.

Roll heaped teaspoonfuls of the dough into balls and place on the trays. The cookies will spread as they bake so leave enough room in between. 

Bake for 12-15 minutes or until golden brown. Rotate the trays in the oven about halfway through to ensure the cookies cook evenly.  

Allow to cool on their trays, then store in an airtight container (they will last 5-7 days). 

Makes about 30 cookies.

Caramilk Cookie Recipe
In Biscuits/Cookies Tags Caramilk, Caramelised White Chocolate, Cookies, Dairy Free, Biscuits/Cookies, Easy Baking, Mixer Free Recipes
2 Comments
Passover Charoset Bliss Balls

Passover Charoset Inspired Fig Date and Pistachio Balls

Kath March 17, 2020

I find exploring other cultures through food an endlessly fascinating experience. And mostly, it can be done at home. Through cookbooks, blogs, social media and having a few ingredients at home. 

As I mentioned in a previous post, I received Leah Koenig’s book ‘The Jewish Cookbook’ for Christmas last year (the irony of that statement is still not lost on me I promise!), and it has remained one of the books I have been reading through most since then.

Towards the back of the book, in the chapter ‘Condiments, Spices & Drinks, there are quite a number of recipes for charoset. Charoset is part of the Passover seder, it’s a mixture made of fruits with much symbolic meaning for that particular religious holiday. Like many recipes within the Jewish diaspora, the ingredients change depending on what part of the world the recipe and Jewish community live or have come from. There are six different recipes for charoset in Leah’s book, and she mentions there would be many other variations. 

All of the recipes use fruit, often dried fruit with some fresh apple, some spices and some sweet red wine. Some charoset is chopped, some pureed into a smoother paste and others rolled into balls. This got me thinking - taking a bit of inspiration from each of these recipes, I could make some really nice dried fruit and nut balls. Not like those weird protein (or ‘bliss’) balls, but something really tasty made with great quality dried fruits, and spices like those used in many of these recipes. 

The Kurdish Charoset recipe was rolled into balls, many of the recipes used dates and the Yemenite Charset recipe used dried figs and a great selection of spices (including ground coriander which I never would have thought of using otherwise). I was starting to create a version of my own, taking what I liked from all of these very diverse charoset recipes. I used slivered almonds as the nut inside the balls, as we always seem to have a good supply of them, and the pistachios on the outside just look so good. I substituted vanilla extract for sweet red wine, but if you are making these for Passover, you can still use the wine instead.

Often the best recipes are heavily influenced by the work of others and the foods of other cultures (and what you have in your pantry!). So these are my Passover Charoset Inspired Fig Date and Pistachio balls, that could equally be just Fig Date and Pistachio Balls ready for a nice healthy snack. 

Fig and Date Bliss Balls

Passover Charoset Inspired Fig Date and Pistachio Balls

Ingredients: 

200g black and white dried figs

110g pitted medjool dates

50g golden sultanas

50g slivered almonds, lightly toasted

1 tsp vanilla extract

1/2 tsp ground ginger

1/2 tsp ground cinnamon

1/2 tsp ground coriander

1/2 tsp ground cardamom 

25g blanched or raw pistachios, finely chopped

Method: 

Add all the ingredients, except the pistachios, to the bowl of a food processor. Blitz until all the ingredients are combined and it clumps together. The mixture does not need to be smooth. Some of the almonds will remain in chunks. 

Roll into balls, then roll into the finely chopped pistachios to cover. Place on a tray and leave in the fridge for at least 30 minutes to firm up. The balls can then be stored in an airtight container in the fridge. 

Makes 18-20 balls. 

Passover Charoset Balls

Reference: ‘The Jewish Cookbook’ by Leah Koenig (Phaidon Press Limited, 2019), pp.406-409.

Charoset Balls for Passover
In Holidays, Other Desserts Tags Passover, Charoset, Dried Fruit, Bliss Balls, The Jewish Cookbook, Gluten Free, Dairy Free, Holiday Baking
Comment
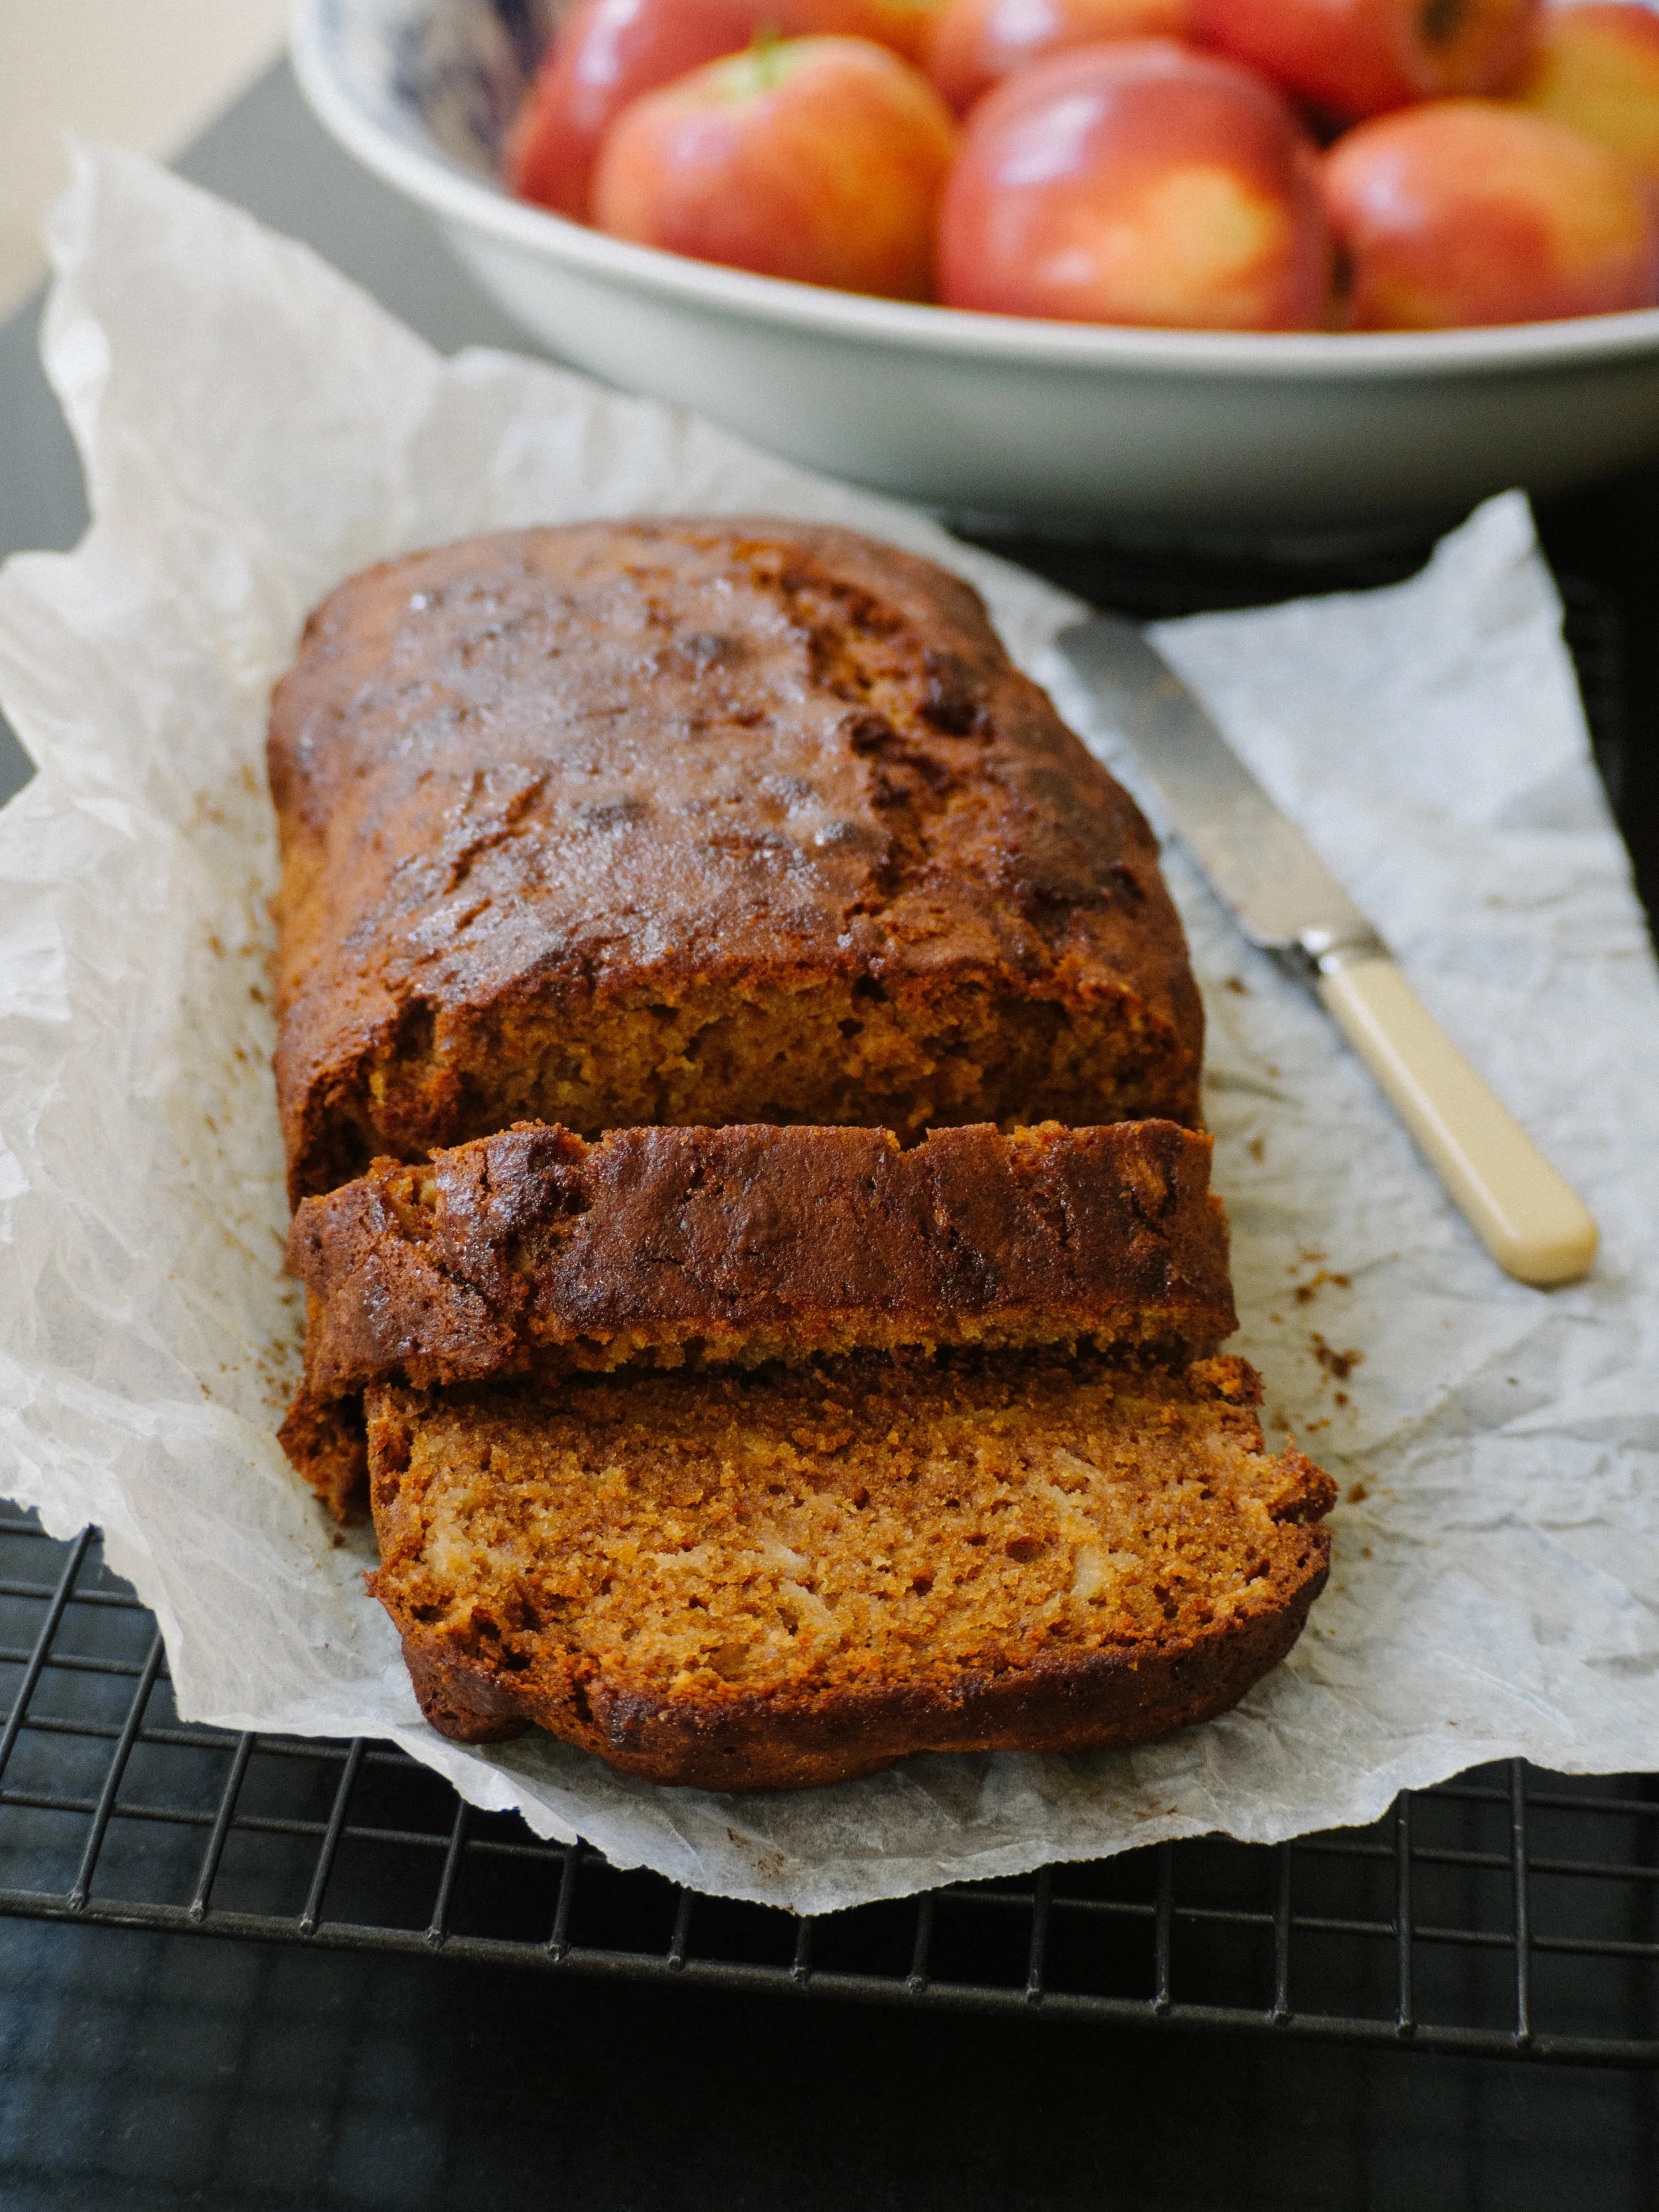
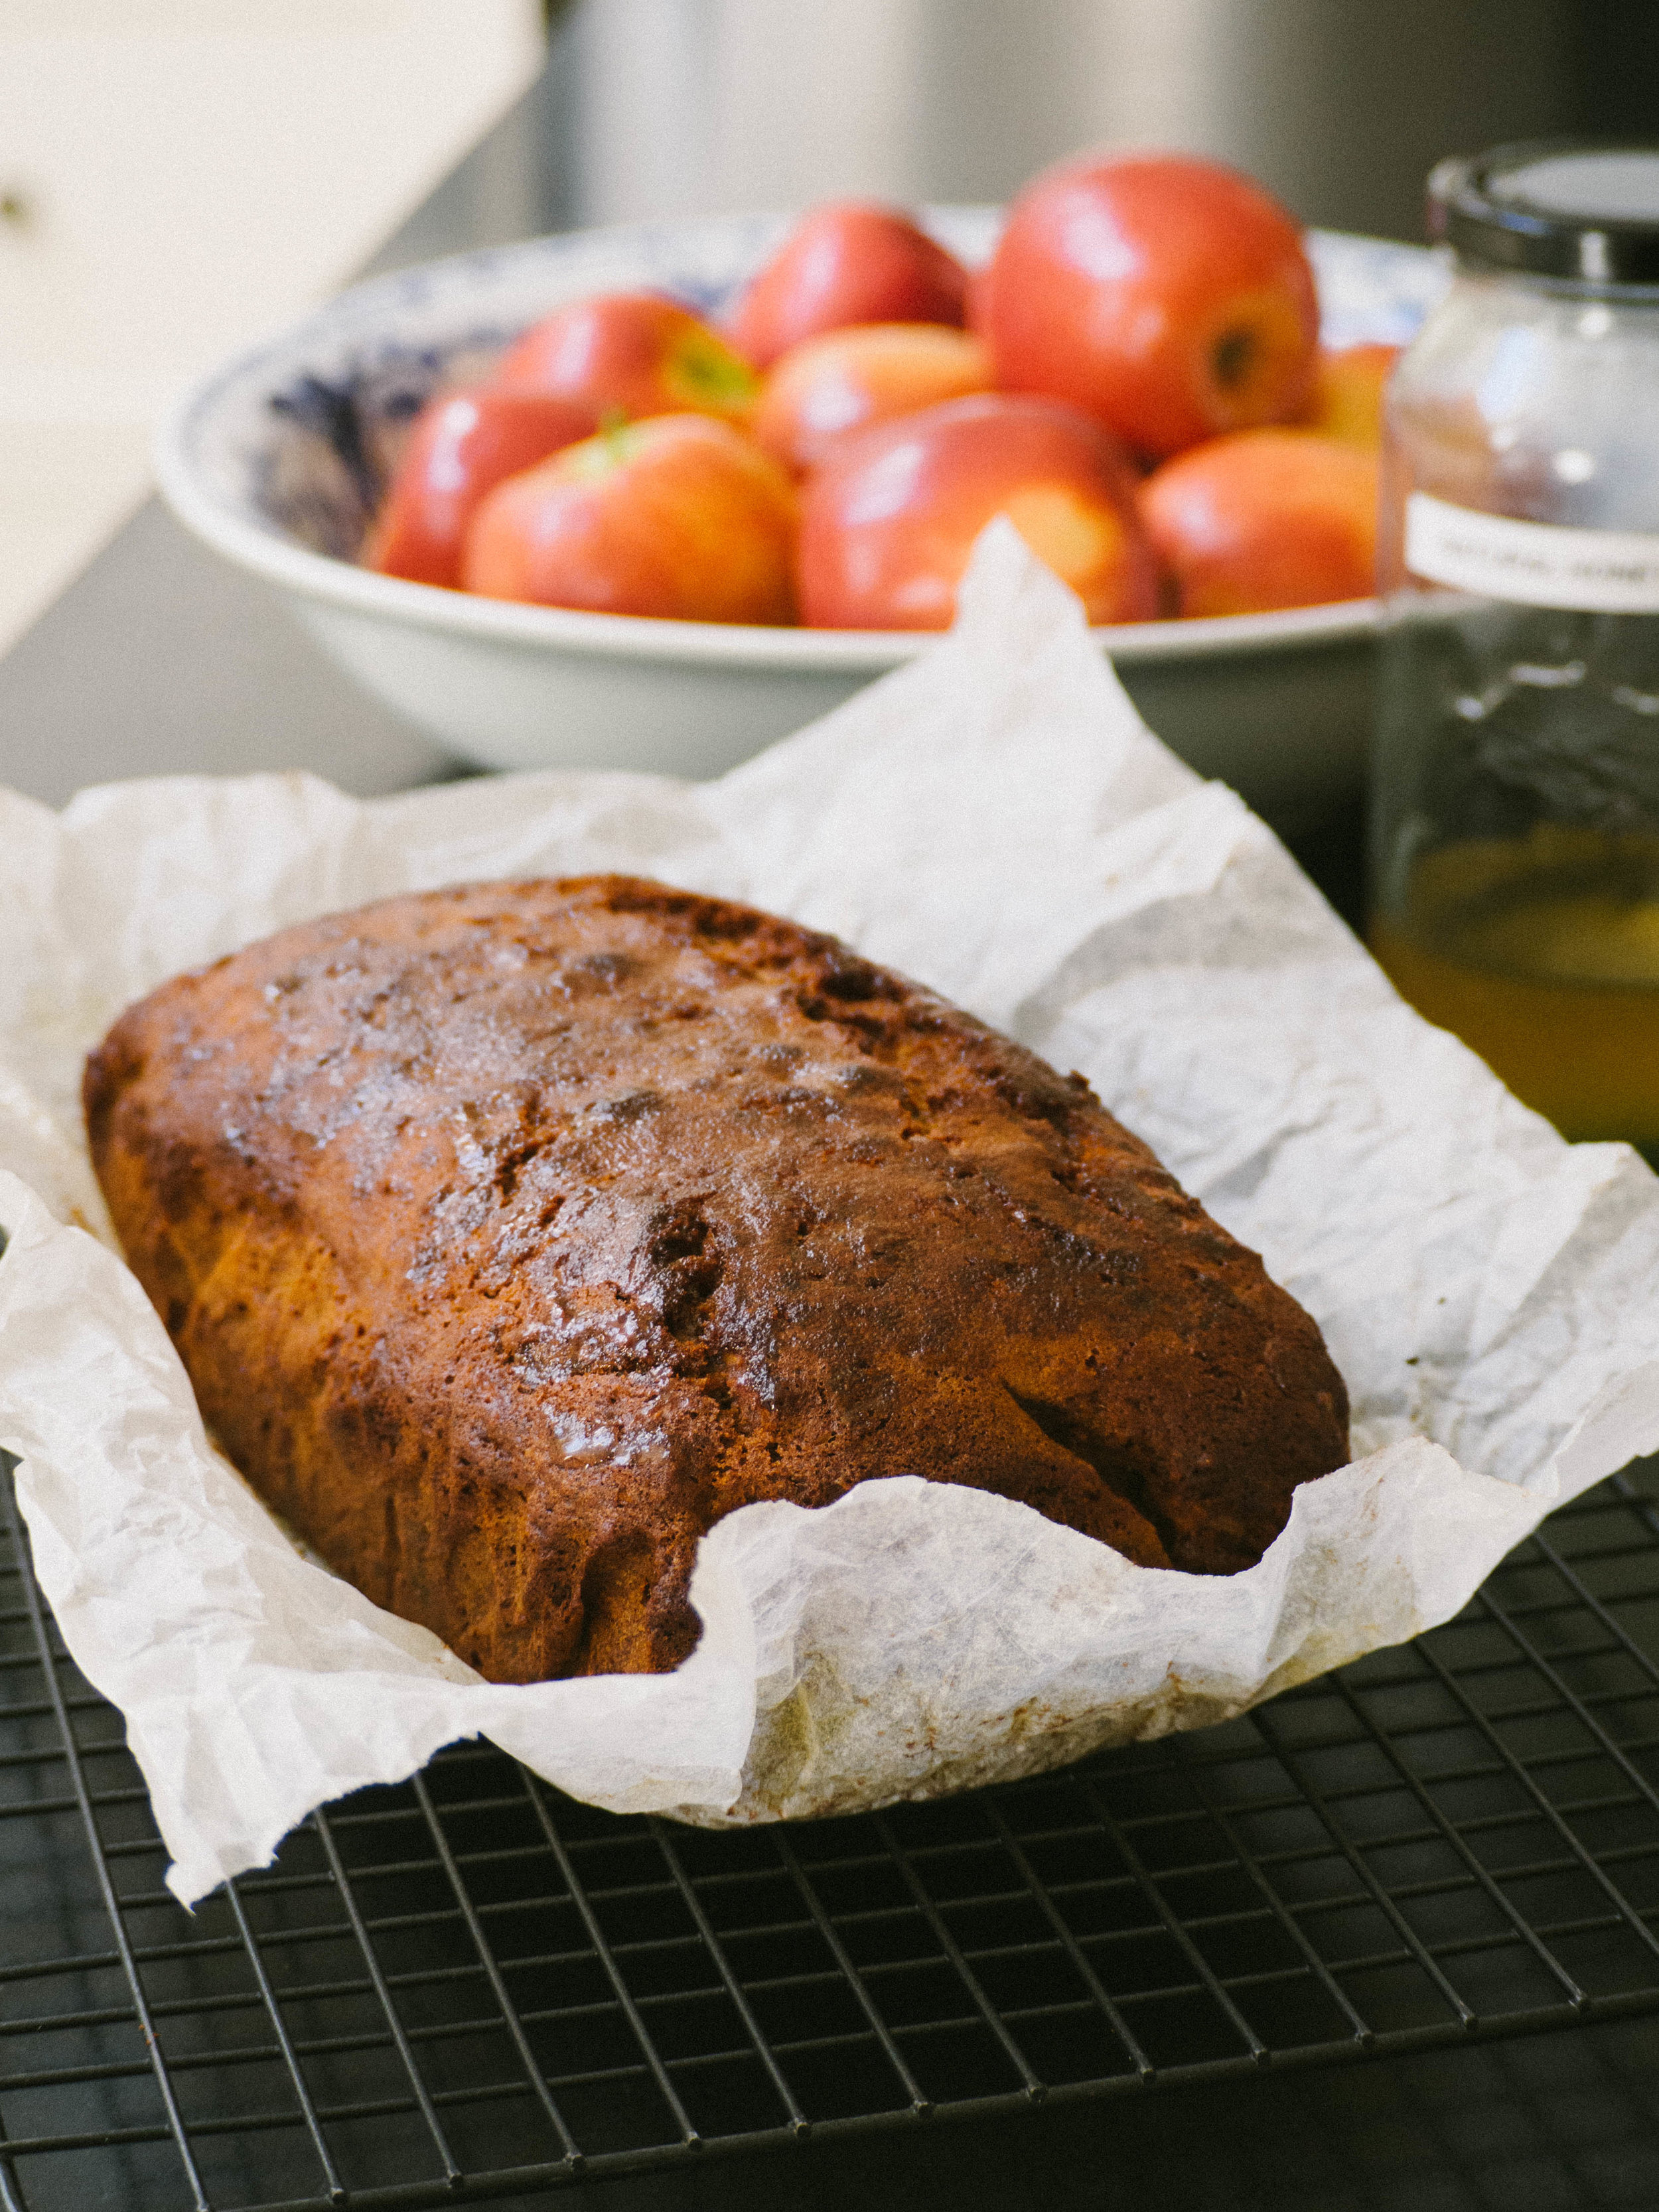
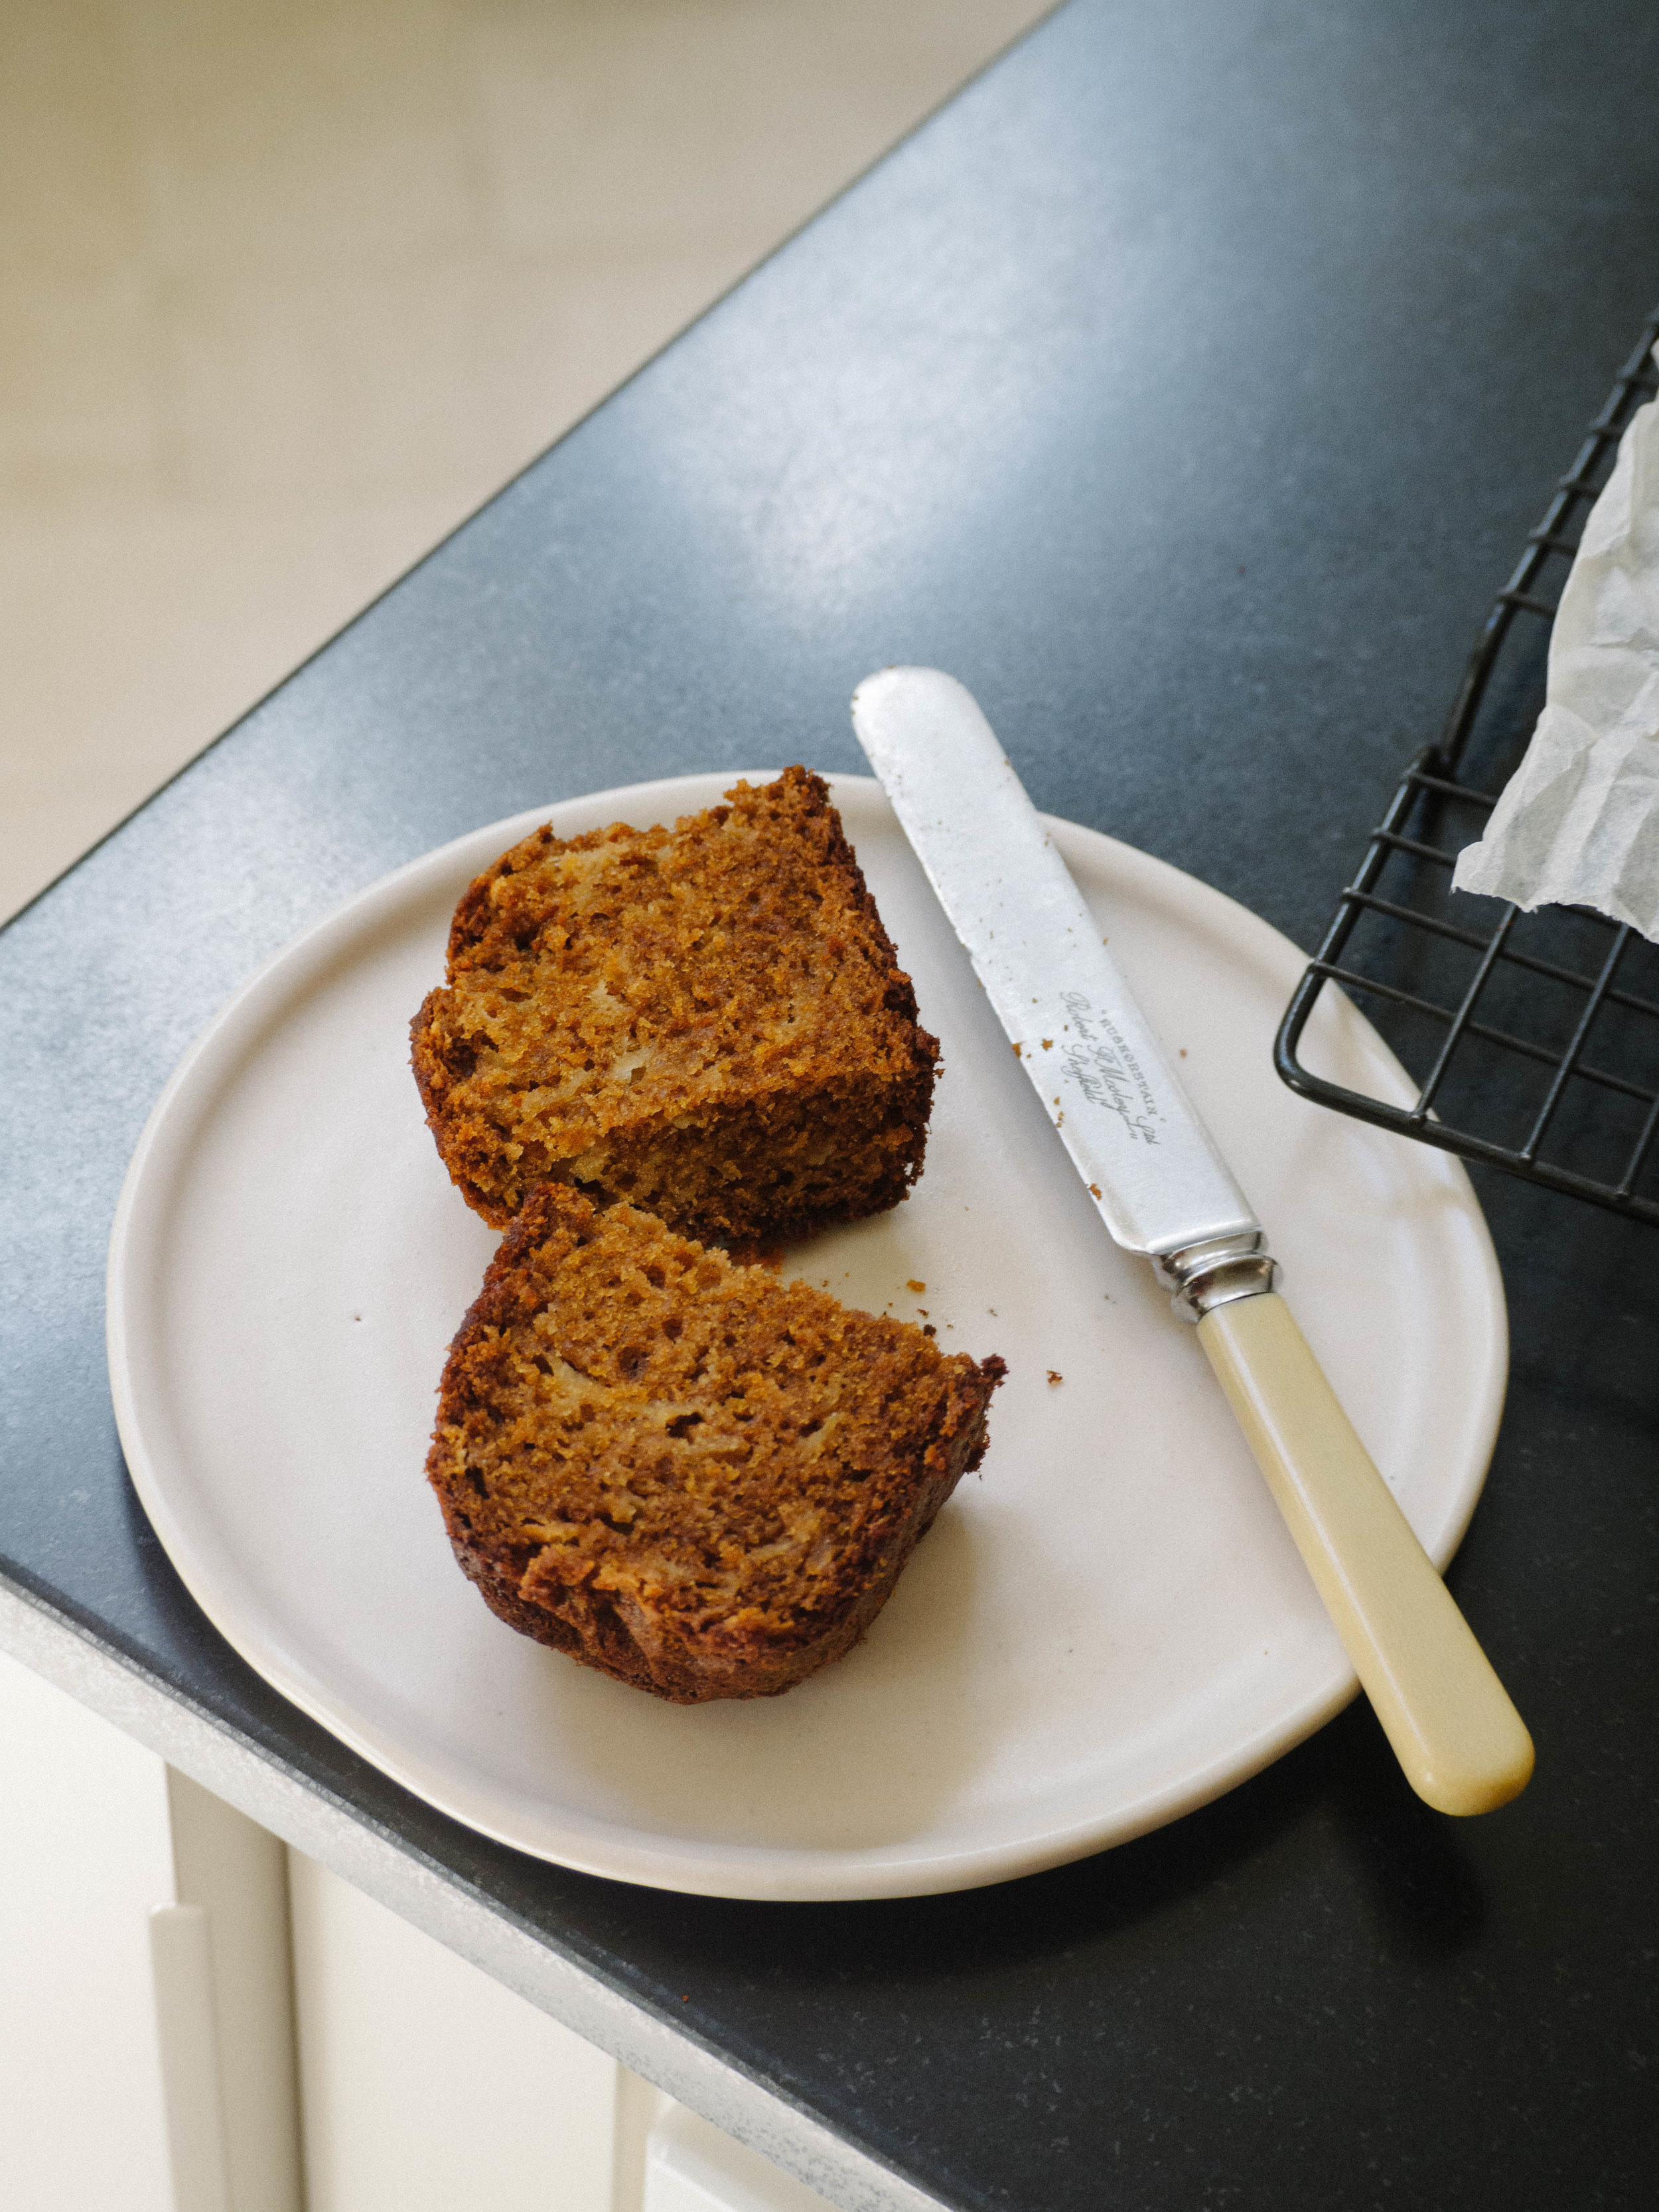
Rosh Hashanah Apple & Honey Cake

Rosh Hashanah Apple & Honey Cake

Rosh Hashanah Inspired Apple & Honey Loaf Cake (Dairy Free)

Kath September 10, 2018

After the research I have done and all I have seen about honey cakes at this time of year, I am quite willing to admit this one isn’t particularly traditional. It is however exactly the kind of honey cake I have been looking for. 

I first heard of honey cake through the Rosh Hashanah chapter in Nigella Lawson’s book ‘Feast’. Nigella’s recipe uses golden syrup instead of honey, which for a novice like me at the time was a little confusing. Nigella explains that is just how she likes her honey cakes, with no honey! I have since seen a multitude of recipes for honey cake, and whilst all looking delicious, they all contained at least one ingredient I couldn’t eat - black tea, coffee or orange juice. So I never made them. I did make Nigella’s and whilst it was good (and I would make it again), knowing it wasn’t a very traditional honey cake meant I still had to keep searching for the right one. 

Then last month I was making a carrot cake for my Dad’s birthday (recipe from Katie Quinn Davies book ‘What Katie Ate’), and as I was grating the carrots and measuring out the honey I thought, maybe this could work with apples instead of carrots? It then occurred to me that the combination of apples and honey would be perfect for Rosh Hashanah since they are so symbolic for that holiday. The recipe would also be perfect for me if it worked, as it didn’t contain any black tea, coffee or orange juice. 

Apple & Honey Loaf Cake (2 of 15).jpg

So I tried it. And it most definitely works! For the original cake I made, I added honey to the cream cheese icing as well and it was just so good - the recipe for that cake is in my newly released eBook (which is all about baking cakes with seasonal fruits, yum!). You can get a copy by clicking here or scrolling to the bottom of this post. 

After a little deliberation about the icing on the cake - icing on Rosh Hashanah honey cakes isn’t very traditional and mostly considered unnecessary, and the dairy content of the icing would make the cake not kosher depending on the context in which it was served - I opted for a icing free loaf cake. You can brush a little honey over the warm cake if you wish, but this is completely optional. The cake works so well with and without the icing, and I can tell I will be making this many more times!

Apple & Honey Cake with Honeyed Cream Cheese Icing - Recipe in Seasonal Cakes & Bakes eBook

Apple & Honey Cake with Honeyed Cream Cheese Icing - Recipe in Seasonal Cakes & Bakes eBook

Rosh Hashanah Apple & Honey Cake

Rosh Hashanah Apple & Honey Cake

Rosh Hashanah Inspired Apple & Honey Loaf Cake (Dairy Free)

Ingredients: 

75g panela sugar (or light/dark brown sugar)

125ml canola/vegetable oil

125ml honey (+ 1tbsp extra, optional)

3 eggs

1 tsp vanilla bean paste

225g plain flour

2 tsp baking powder

1 tsp bicarb soda

1 tsp ground ginger

3 small/medium apples (I used Pink Lady variety)


Method: 

Preheat oven to 170 degrees Celsius and line a 20 x 10.5 cm (approx.) loaf tin with baking paper so some of the paper hangs over the sides. 

In a large bowl whisk together the sugar, oil, honey, eggs and vanilla.

Then add the flour, baking powder and ginger. Sift in the bicarb soda and whisk together until combined.

Peel and grate the apples. Place a few layers of paper towel inside a medium bowl and place all the grated apple inside it. Squeeze out as much juice from the grated apples as possible using the paper towel. Then add the apples to the cake mixture and mix to combine. 

Transfer to the prepared tin and bake for about 50-60 minutes, or until the cake is springy to the touch and a skewer inserted in the centre comes out clean.

Remove the cake from the tin immediately, using the overhanging baking paper to do so. Place on a wire rack, and brush extra honey over the top if using. Serve warm. 

Apple & Honey Cake (Dairy Free)

Apple & Honey Cake (Dairy Free)

Apple & Honey Cake (Dairy Free)

Apple & Honey Cake (Dairy Free)

Rosh Hashanah Apple & Honey Cake

Rosh Hashanah Apple & Honey Cake

In Cakes & Slices, Holidays Tags Honey Cake, Rosh Hashanah, Dairy Free, Panela Sugar
2 Comments
Kaffir Lime Chicken (19 of 21).jpg

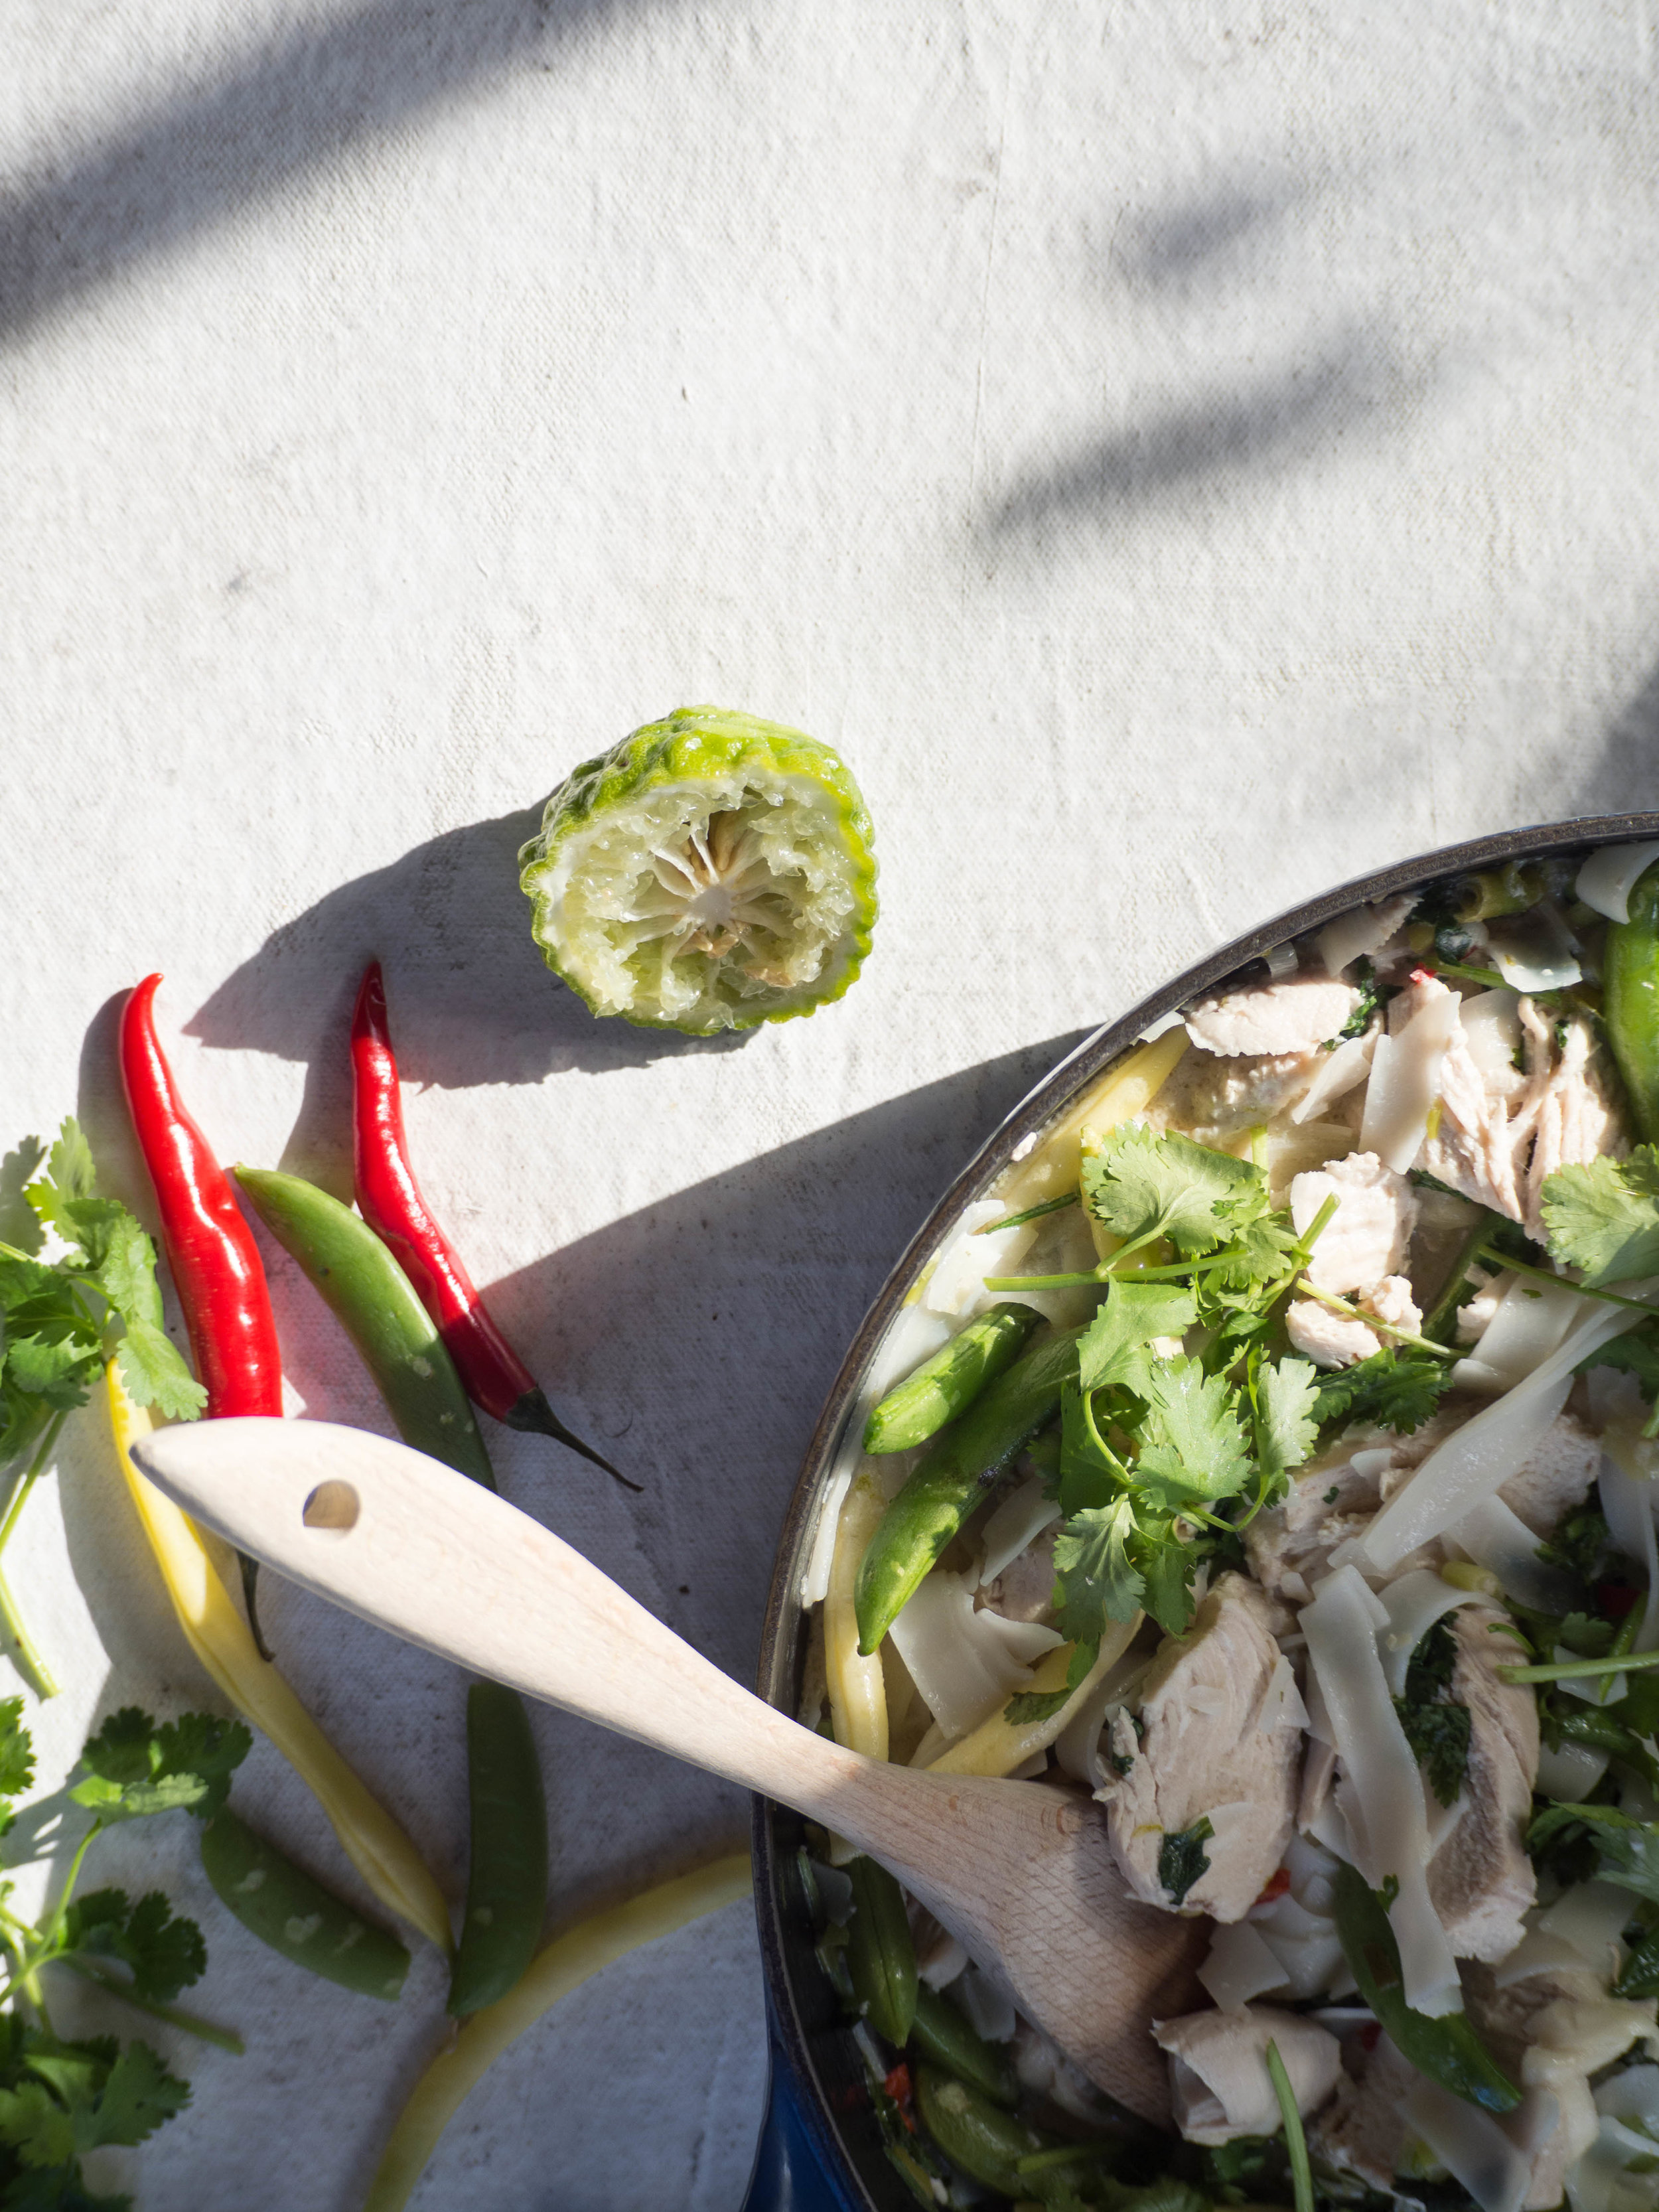
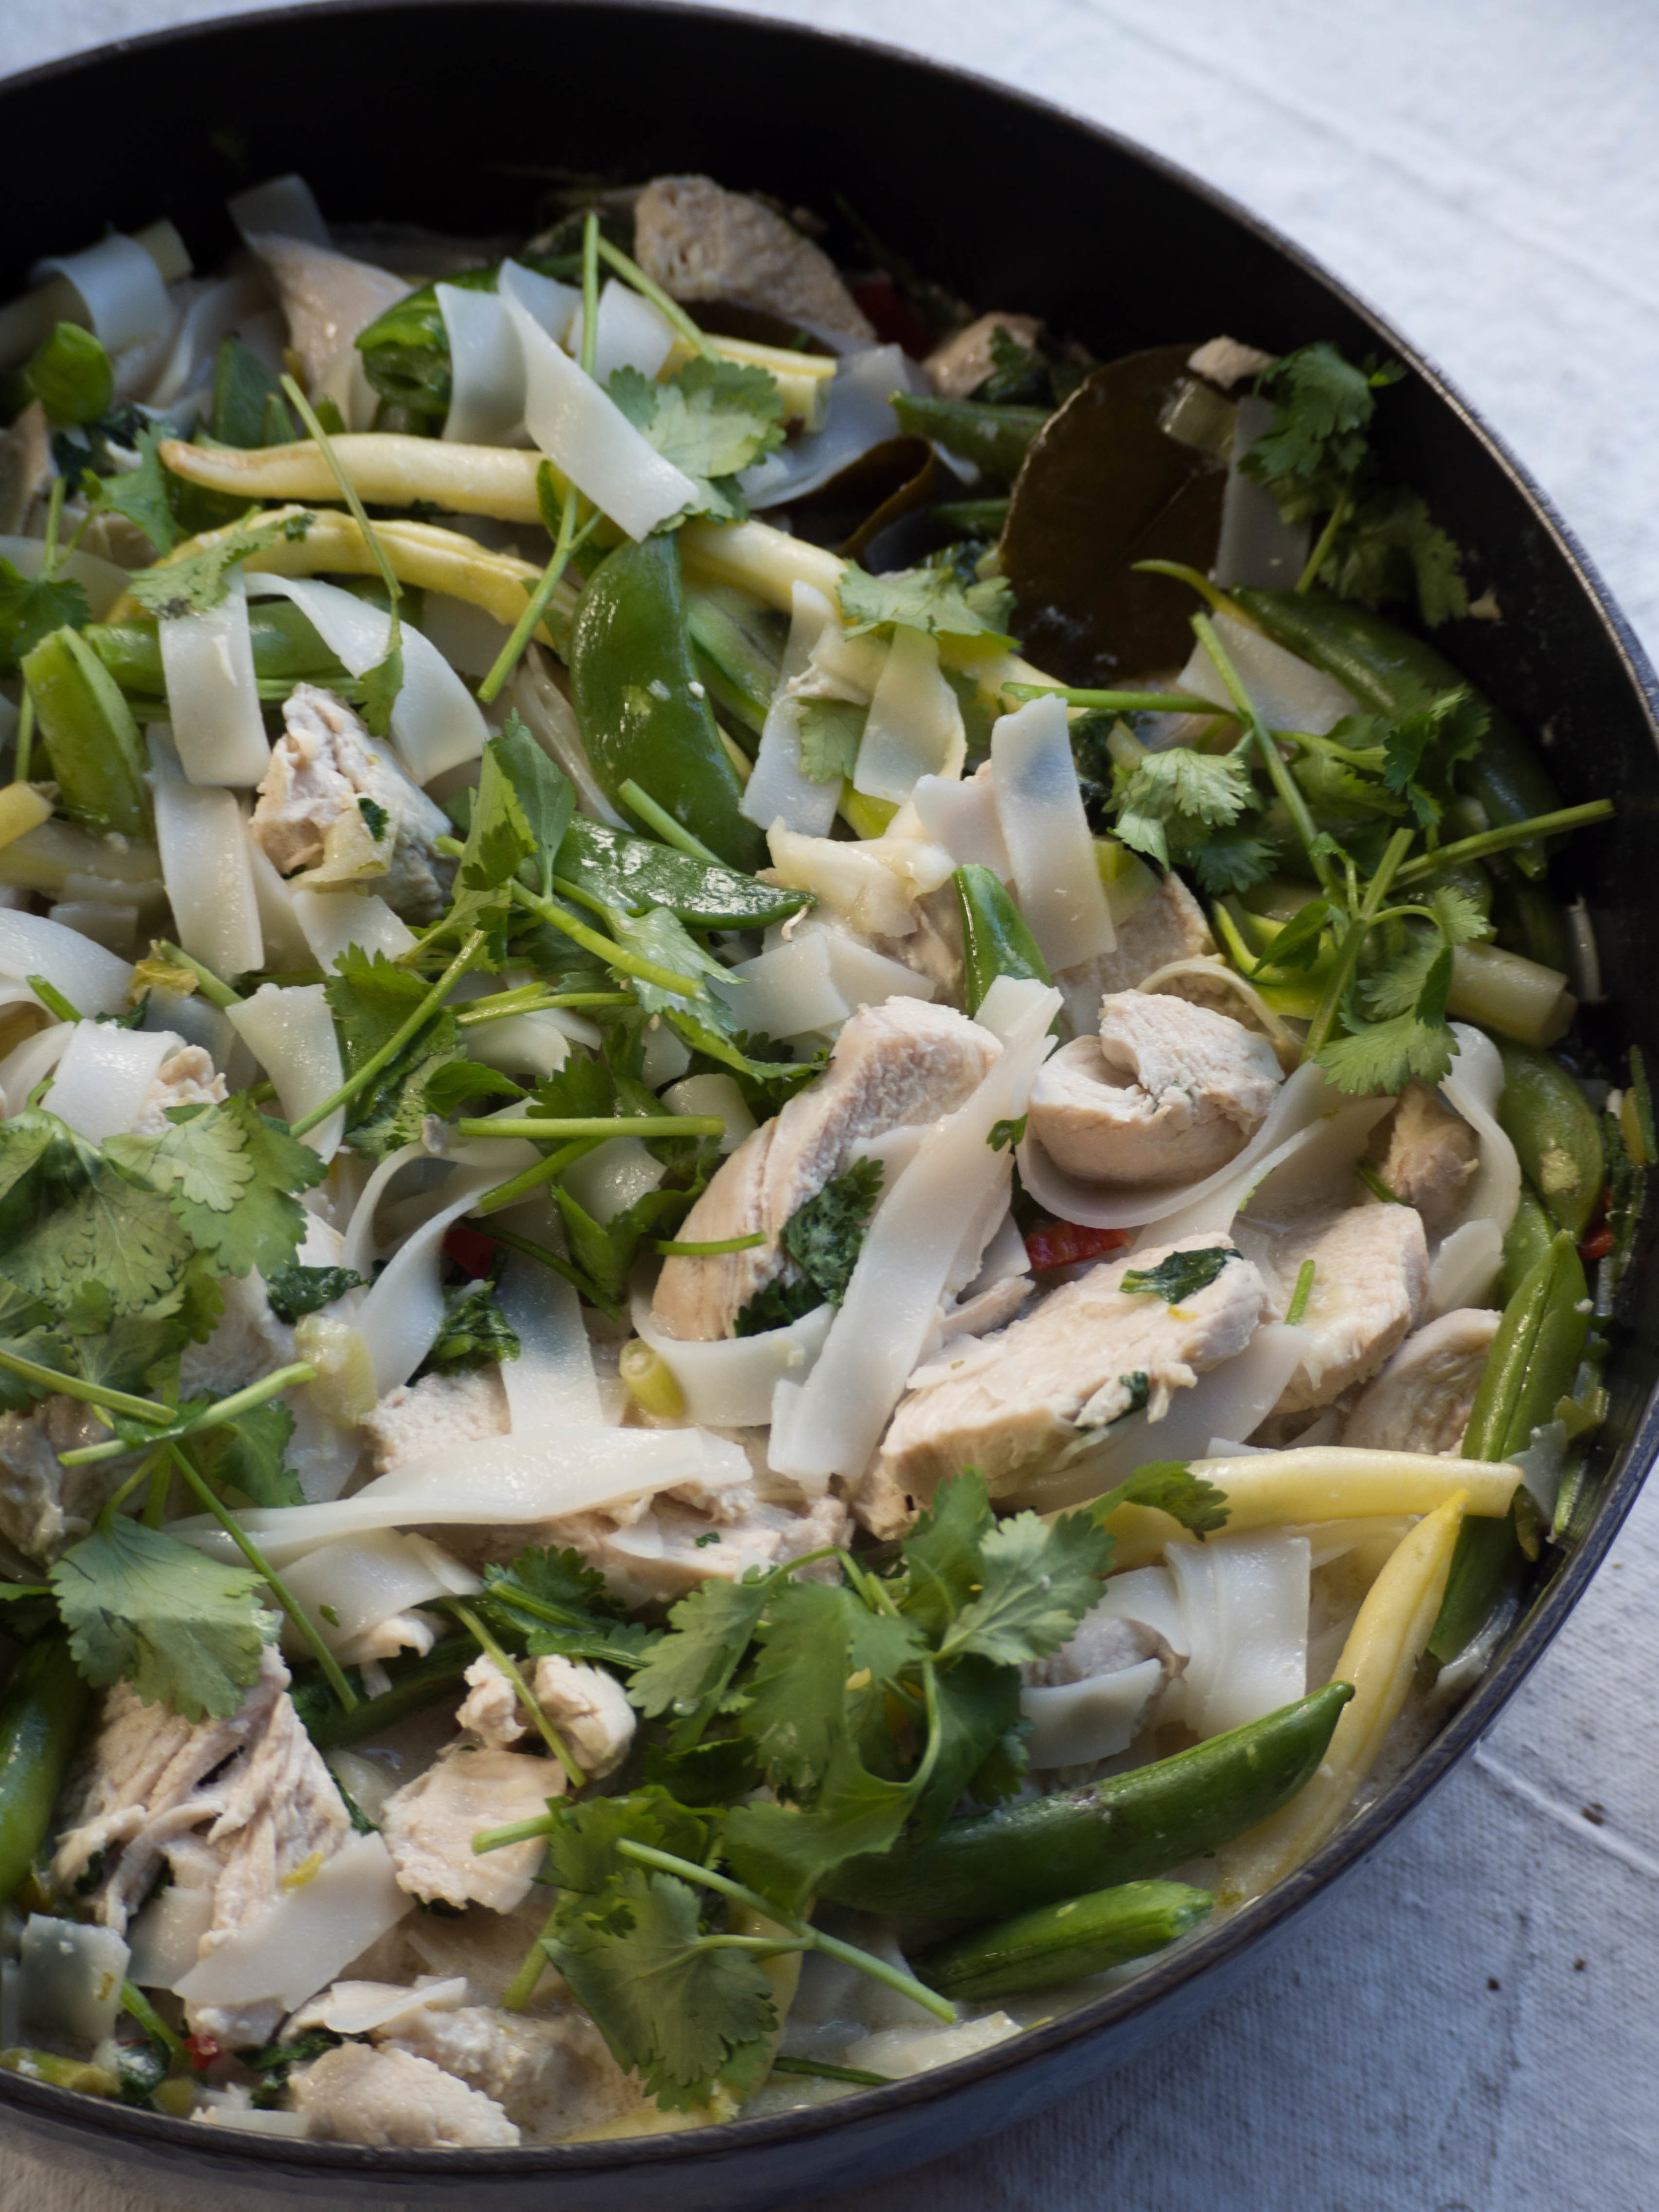
How to Cook with Kaffir Limes - Kaffir Lime & Coconut Poached Chicken with Noodles

Kath June 9, 2017

There is definitely a story behind this recipe!

We have a kaffir lime tree, and have done for a few years. We use the leaves now and then in cooking, but for quite a few years I never saw limes growing on the tree. In 2015 some friends and I went to Jamie Oliver’s Food Revolution Live. Jamie demonstrated a few recipes, one of which he used the zest and juice of a kaffir lime. I was amazed. How do we have a kaffir lime tree and I’ve never seen a kaffir lime before? And more importantly, why aren’t we cooking with them?

When I got home I was telling Mum about the day and Jamie’s use of kaffir limes. She was shocked, she had thought kaffir limes weren’t edible. If that were true, I was sure that Jamie Oliver of all people would know that and not demonstrate the use of one in a live show. It transpired that Mum had been removing the flowers from the kaffir lime tree each year so if never went to fruit. But since we have now been educated on kaffir limes (thanks Jamie), we have had a complete glut of them! This year in particular, we’ve had at least 20 particularly large limes from our humble tree. 

How to cook with Kaffir Limes

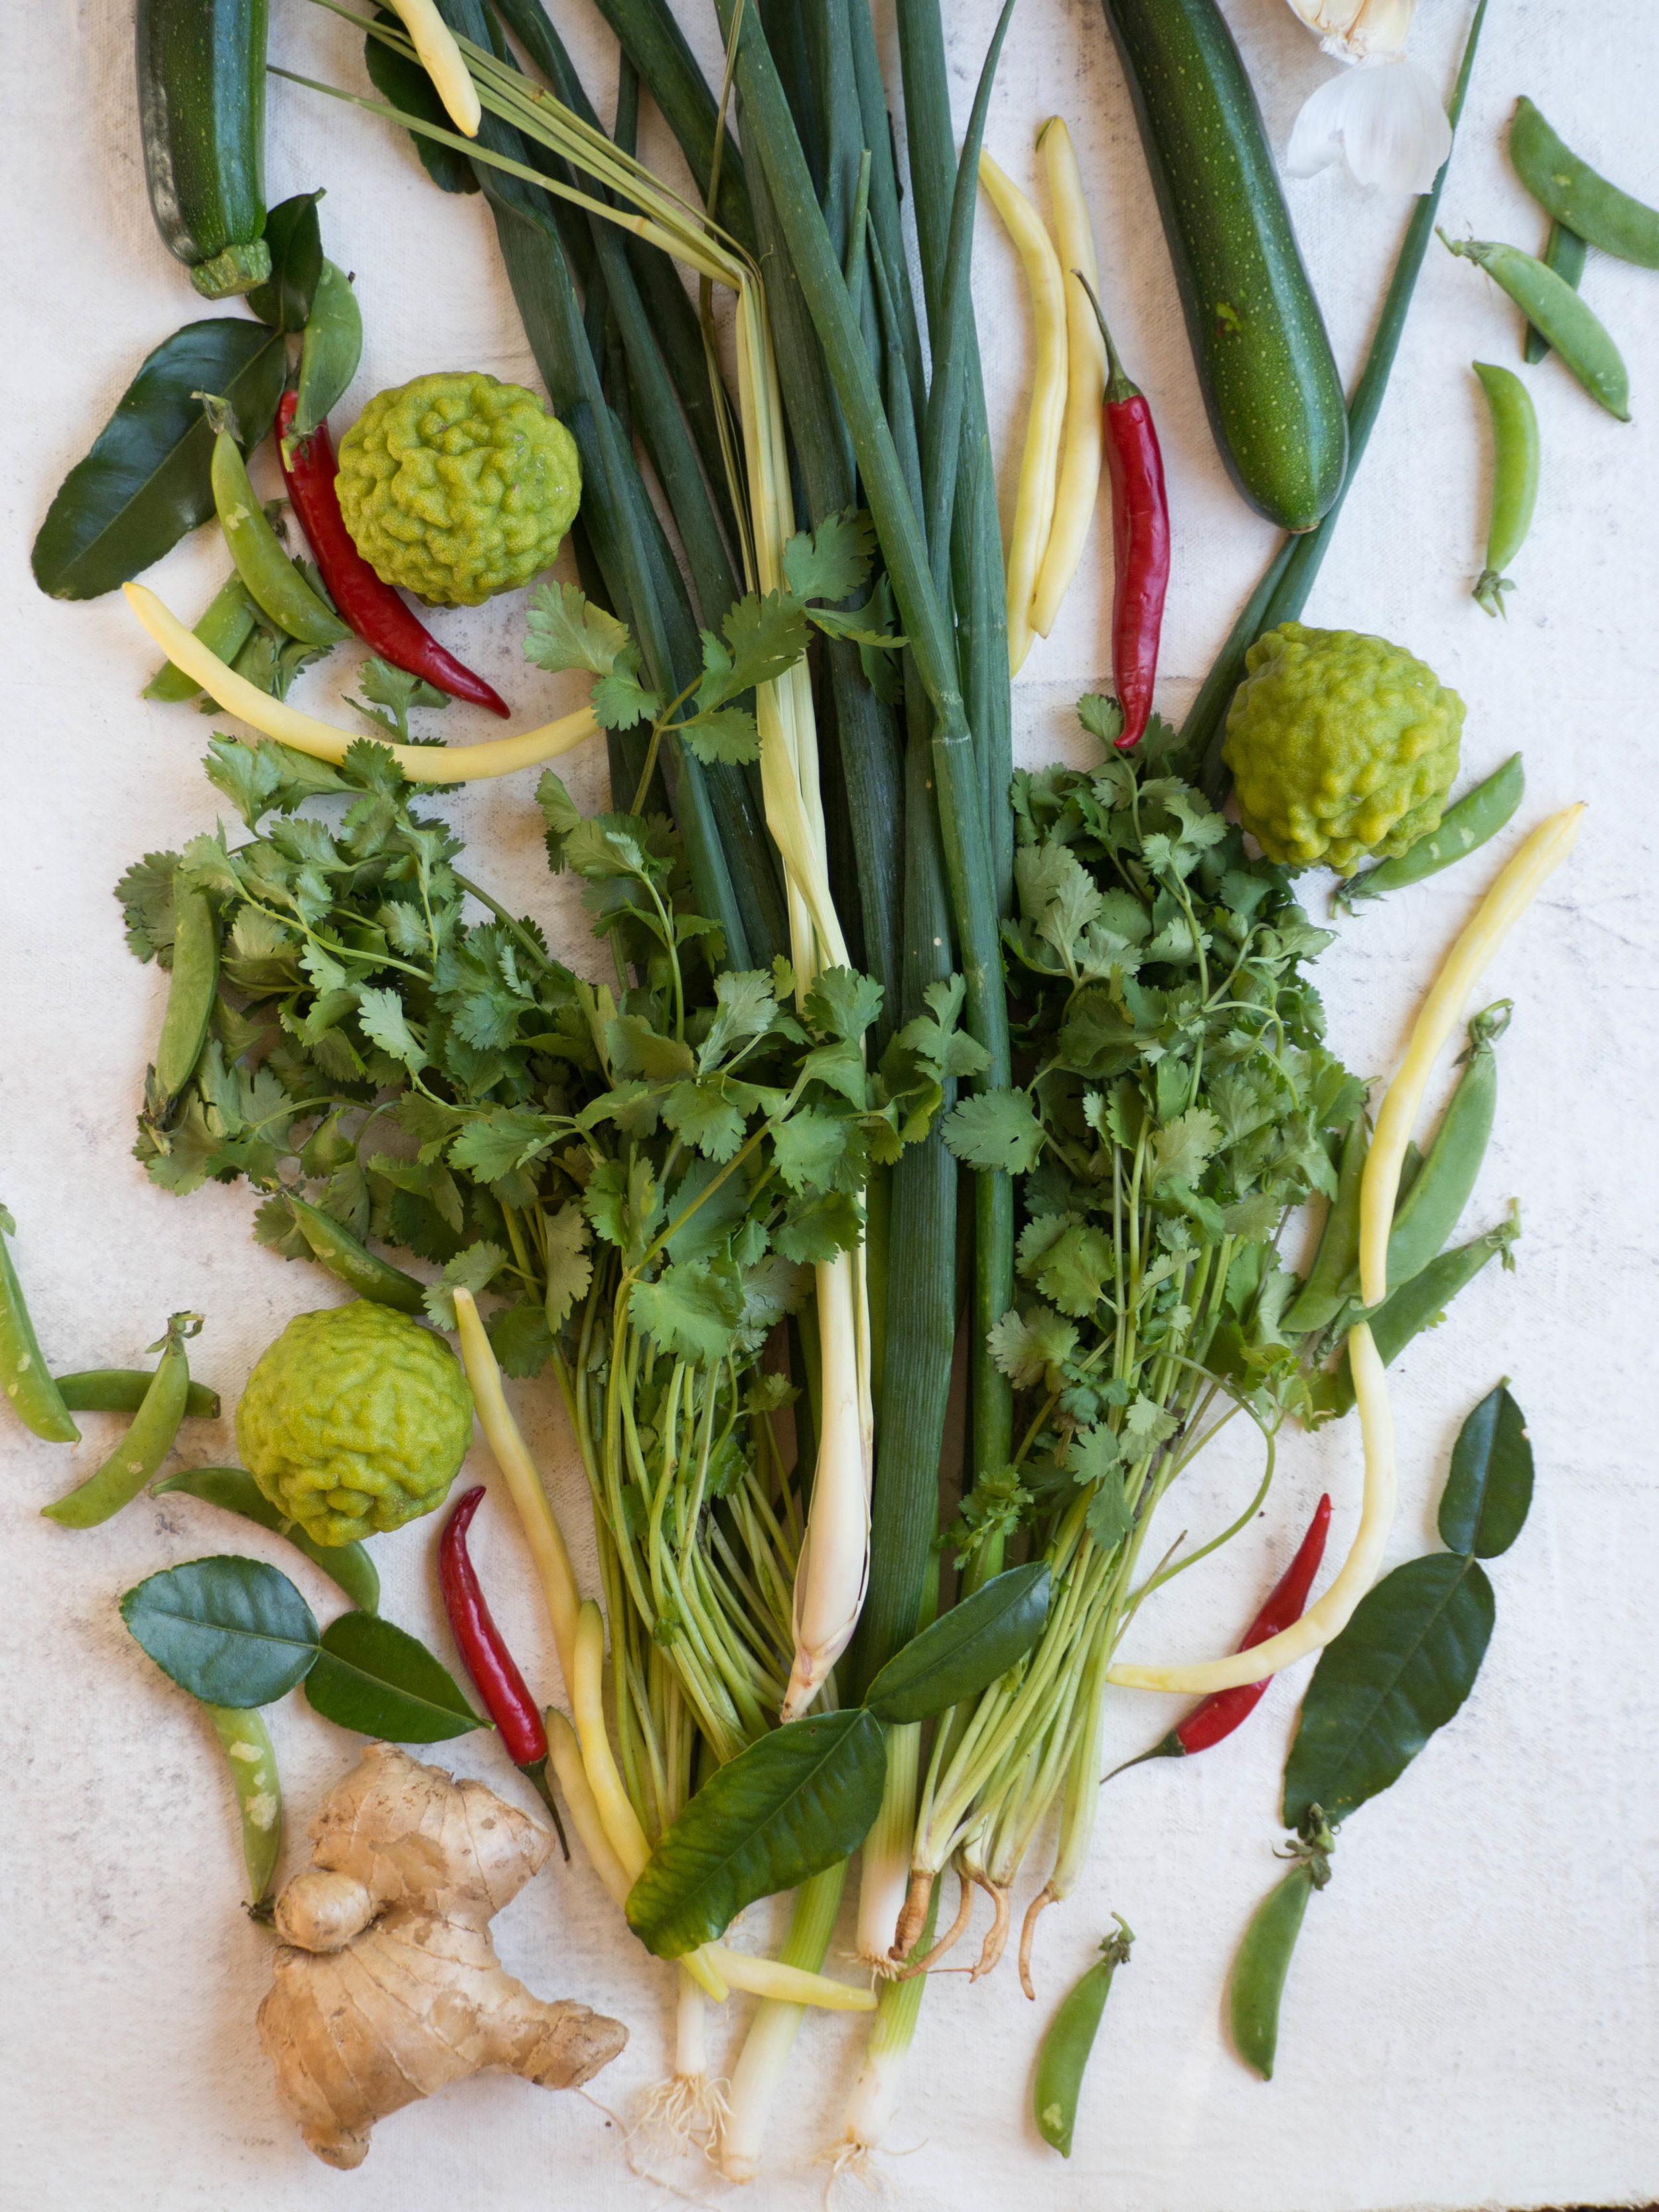
While I was very excited about this, and the other citrus we have that were showing good signs of a bountiful season, I didn’t have many ideas for actually using the kaffir limes. Since we had so very many, I gave some away (along with some of the leaves). One recipient was so freaked out by them - ‘Are they meant to look like that?! They look like brains!’. I guess if you’ve never seen them before they do look pretty weird! Luckily their flavour makes up for their weird appearance.

View fullsize Kaffir Limes (1 of 3).jpg
View fullsize Kaffir Limes (2 of 3).jpg

I knew kaffir limes worked well in South East Asian cooking, but as my mind immediately goes to ideas for baking, I tried to make kaffir lime shortbread. That was a definite no go. The sweetness of the shortbread combined with the intense citrus notes of the kaffir lime conflicted with each other so much, I wasn’t sure if I was eating something sweet or savoury. 

Once it became clear that sweet was out of the question (there goes my idea of a kaffir lime pie), I steered my thoughts back to the world of savoury cooking. Having eaten a few chicken dishes (mostly Thai) that used kaffir lime leaves, I decided to combine what I liked best about them, but also use the actual kaffir limes. And this is the result. This dish will feed 4-6 people, depending on the size of chicken breasts you use (the pieces of chicken I used ended up being particularly big, so there were lots of leftovers which I have now frozen for another day!). If you can’t get any kaffir limes, use the kaffir leaves and regular limes for the juice and zest. 

How to cook with Kaffir Limes

Kaffir Lime & Coconut Poached Chicken with Noodles

Ingredients for the Poached Chicken: 

x3 chicken breasts 

x2 270ml cans of light coconut milk

juice of 1/2 kaffir lime

zest of 1/2 kaffir lime 

x6 kaffir lime leaves

1 cm slice fresh ginger 

1 stalk lemongrass, outer leaves removed and cut in half

x3 stems of coriander with roots, well washed


Ingredients for the Sauce & Rice Noodles

1 tbsp vegetable oil

x3 small gloves garlic, crushed

x1 red chilli, deseeded and finely chopped

x4 spring onions finely sliced, white part only

juice of 1/2 kaffir lime

zest of 1/2 kaffir lime

150ml chicken stock

500ml coconut poaching liquid 

1 tsp soy sauce

x1 zucchini, peeled into strips

285 g mixed beans & peas

200g packet pad thai rice noodles

x2 (or x3 small) bunches coriander, leaves & stems roughly chopped


Method: 

In a medium pot, add the chicken, coconut milk, kaffir lime zest & juice, kaffir leaves, ginger, lemongrass and coriander stems. Mix to combine then place over low heat, and loosely cover with lid. Poach the chicken for 20-30 minutes, turning over half way through. To check the chicken is cooked, cut open with a knife and check the middle of the chicken breast has cooked through. Once cooked remove from heat. 

When the chicken has cooled a little, remove from the pot and cut into chunks or slices. Reserve 500ml of the poaching liquid, then put the cut up chicken back in the pot with the remainder of the poaching liquid to keep warm. 

In a large pan on medium heat, add the vegetable oil, spring onions, garlic and chilli. Cook for a couple of minutes, stirring constantly so everything cooks evenly and doesn’t burn. Add the kaffir lime juice and zest, stock, poaching liquid, soy sauce and a couple of the kaffir lime leaves from the poaching liquid. Stir to combine, then allow to simmer for a couple of minutes. Add in most the chopped coriander and the cooked chicken. Meanwhile cook the rice noodles according to packet instructions, then add to the pan. Stir to combine, then add the zucchini, beans and peas. Mix through (using tongs is easiest), then serve with the remaining coriander. 

How to Cook with Kaffir Limes
How to cook with Kaffir Limes

References: ‘Jamie’s 30 Minute Meals’ by Jamie Oliver (Penguin Group, 2010) p.88; ‘The Heart of the Home’ by Julie Goodwin (Ebury Press, 2011) p.82; Donna Hay's Coconut Poached Chicken Salad.

How to cook with Kaffir Limes
How to Cook with Kaffir Limes
In Savoury Dishes/Meals Tags Kaffir Limes, Chicken, Dinner, Gluten Free, Dairy Free
8 Comments
Blood Orange Chiffon Cake

Blood Orange Chiffon Cake

Blood Orange Chiffon Cake & A New Kitchen

Kath September 11, 2016

As soon as blood orange season arrived, I had recipe ideas swimming around in my head. I buy them about once a week, from the shops near where I work, only three or so at a time so they are easy to carry home after work. Then, come the weekend, I use some for baking things like this cake, then I juice the rest and freeze the it to use later on. My freezer is now quite full, along with the copious amounts of varying berries, homegrown mandarins and so much bread, the zip lock bags and small containers of blood orange juice are artfully placed in small gaps and spaces ready to be used once the weather gets warmer and ice blocks become necessary. 

The base recipe of this chiffon cake has been adapted from my favourite chiffon cake (of all time), the Custard Chiffon Cake which can be found in the Monday Morning Cooking Club’s first book. This chiffon cake was the first I ever tasted or made. Now it still remains my favourite, however adaptations such as this Blood Orange Chiffon are amazing and a great way to mix things up a bit and show off some lovely fresh produce. Not to mention I always love a cake with pink icing! Any excuse for pink icing!!

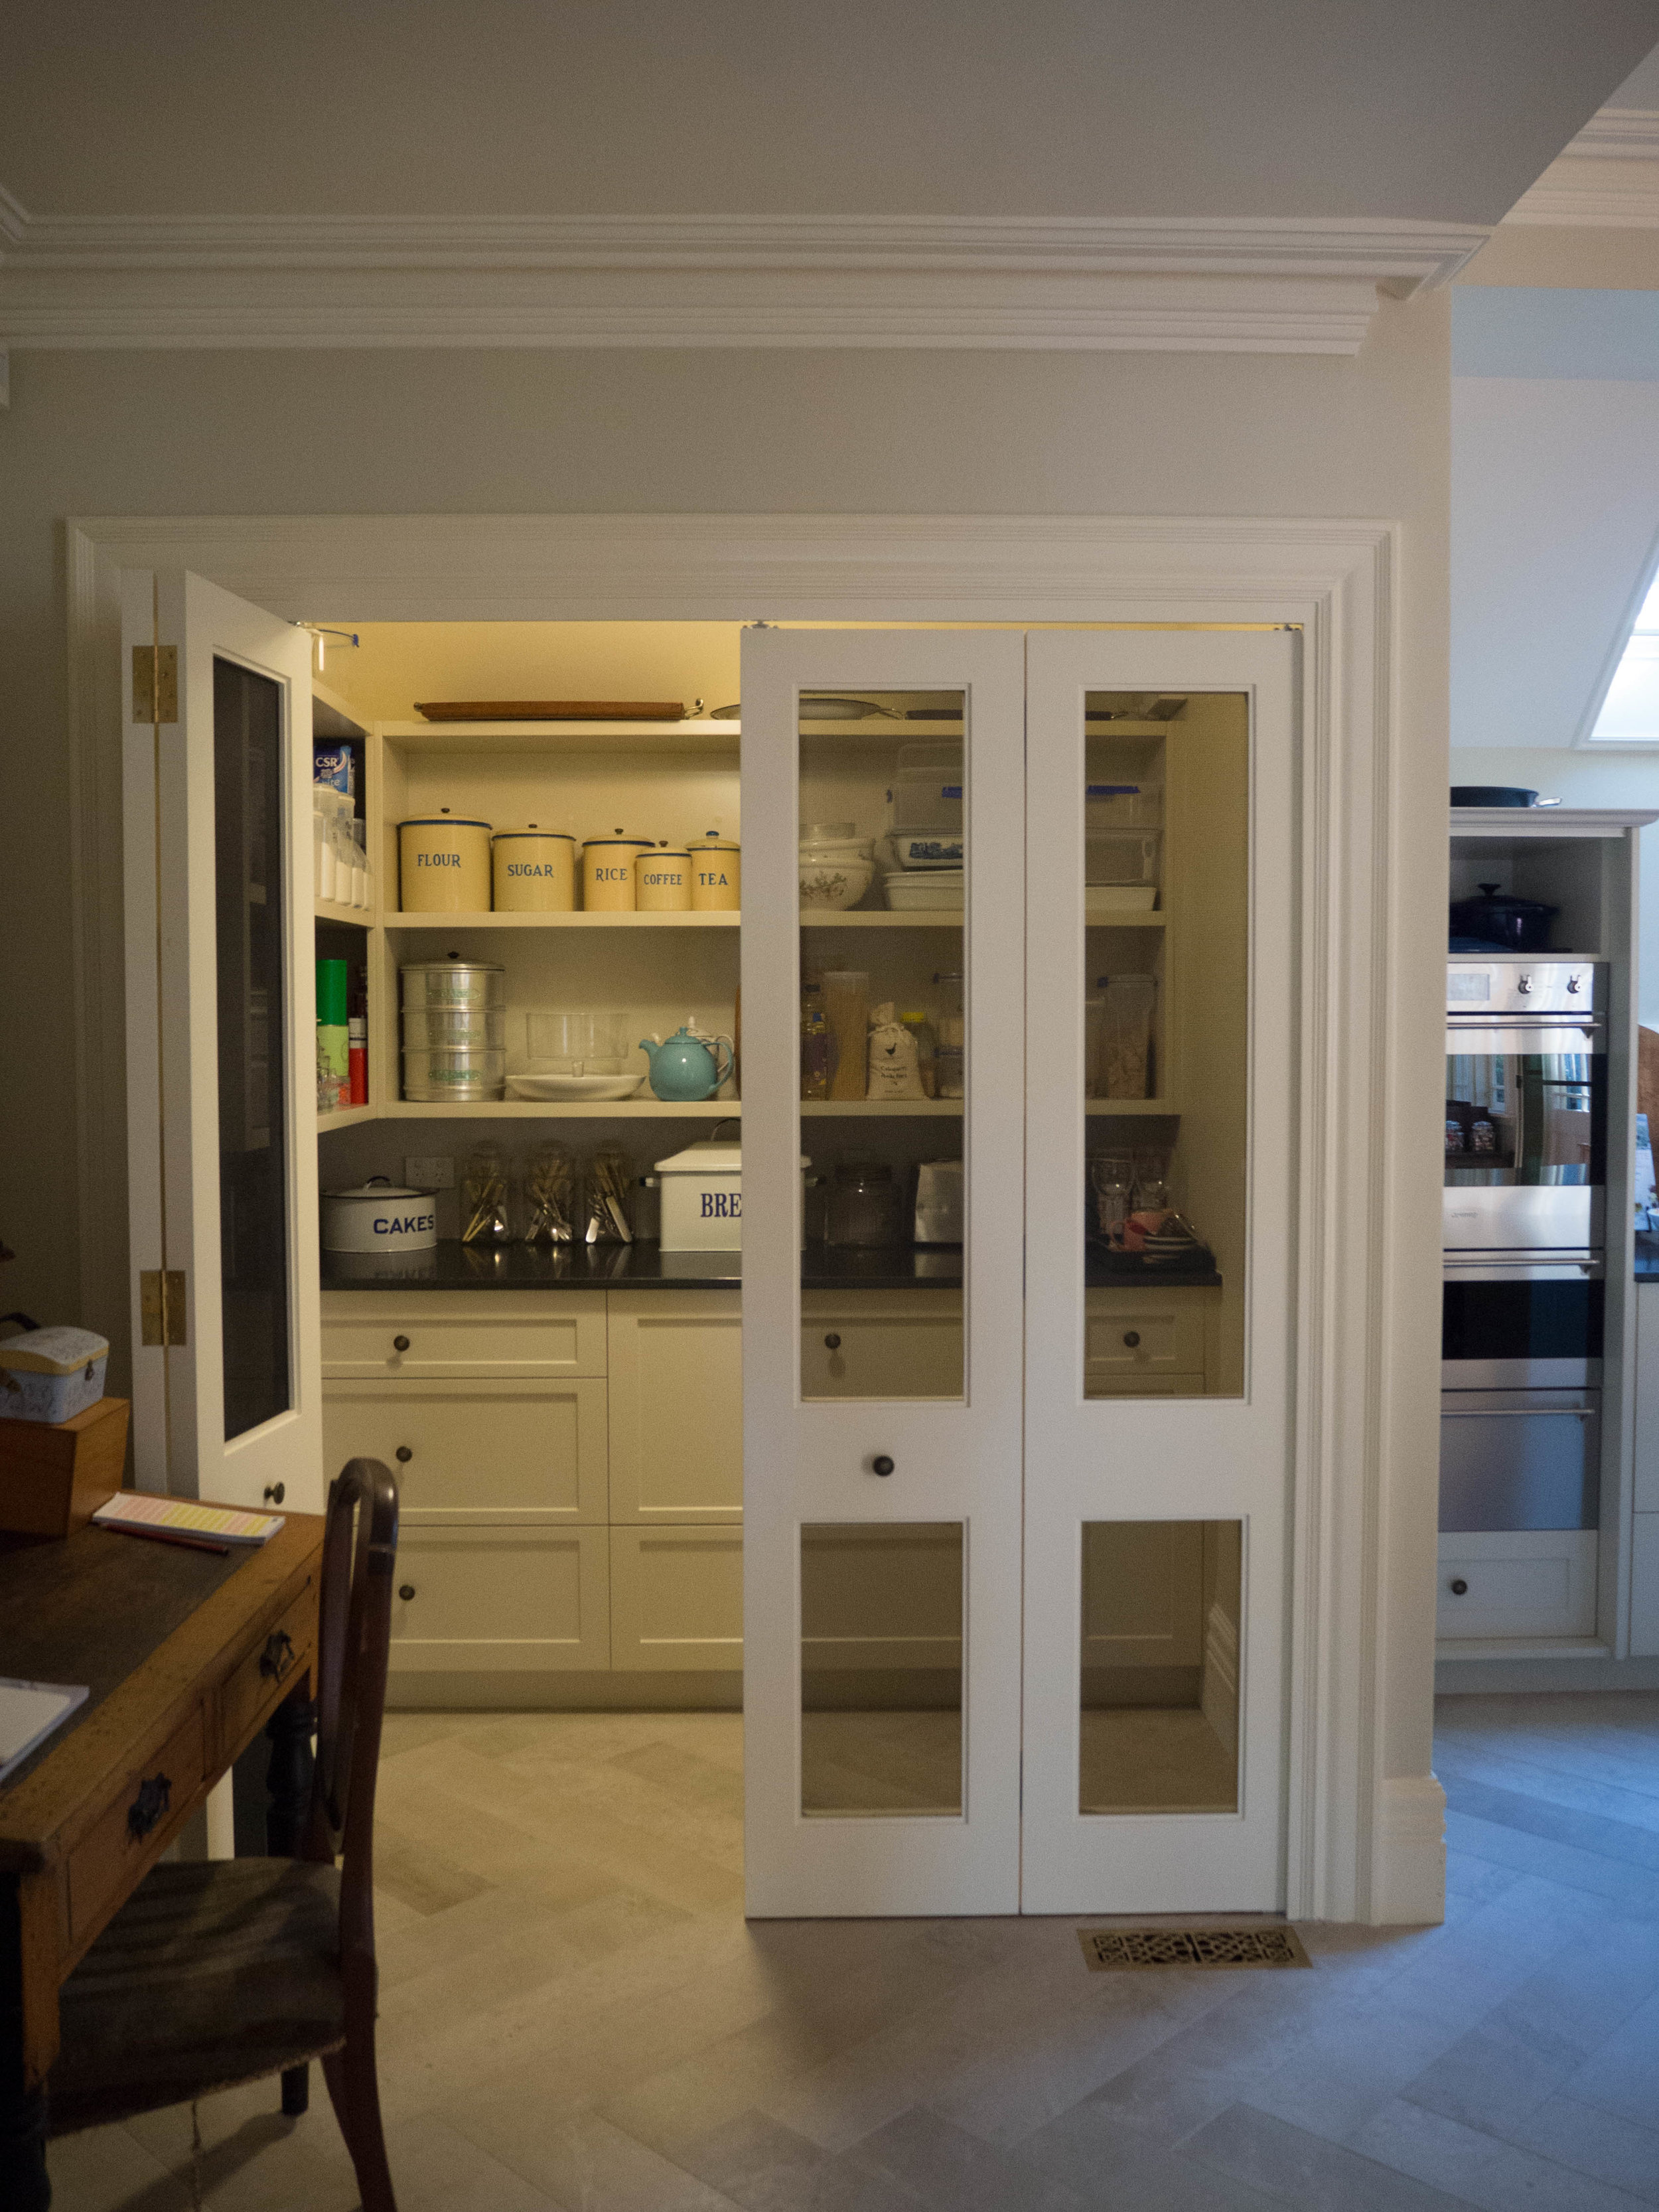
I have also added a few before and after photos of the kitchen to this post - just in case anyone was interested to see what I kept going on about for 4 months! As I mentioned in my last post, I am spending as much time as possible in the kitchen now, and am really enjoying being able to bake again. Making something like this Blood Orange Chiffon wasn’t at all possible for a while there, and I am so so happy it is all over and done with now! 

Click on the gallery below to check out the old kitchen vs the new kitchen!

Old Kitchen
Old Kitchen
New Kitchen
New Kitchen
Old Kitchen
Old Kitchen
New Kitchen
New Kitchen
Old Kitchen
Old Kitchen
New Kitchen
New Kitchen
Old Pantry/Food Storage
New Pantry
New Pantry
Old Kitchen New Kitchen Old Kitchen New Kitchen Old Kitchen New Kitchen Old Pantry/Food Storage New Pantry

Blood Orange Chiffon Cake

Ingredients: 

175 g self-raising flour

35 g plain flour

1 tsp cream of tartar

6 eggs (large), separated

345 g caster sugar

1/2 tsp vanilla extract

finely grated zest of one small/medium blood orange

170 ml blood orange juice, strained of pulp

80 ml vegetable oil 

3-4 springs of rosemary


Ingredients for Icing:

2 cups icing sugar, plus extra

juice of 1-2 blood oranges 

sprigs of rosemary (with flowers if possible), for decoration


Method:

Pre-heat oven to 180 degrees Celsius. Have an angel cake tin ready and nearby but do not grease it. The tin should not be a non-stick tin as the cake needs to cling to the sides of the tin as it cooks. 

Place rosemary into the oil, and leave to infuse. If you have time, leave it for as long as you can. Mix it about and squash into the oil to release some more flavour. 

In a small-medium bowl, sift the flours and cream of tartar three times. 

Using an electric mixer, beat the egg yolks with 1 cup of the sugar, until pale and creamy. If you have a free standing mixer with a paddle attachment, use this attachment for the egg yolks and save the whisk for later. Once pale and creamy, add the vanilla and blood orange zest. Remove the rosemary from the oil, and discard. Place the oil and blood orange juice in a jug and along with the sifted flour mixture, add to the yolk mixture while the mixer is beating on a low speed. Beat only until just combined. 

Using a separate bowl, whisk the egg whites using an electric mixer until soft peaks have formed. Add the remaining sugar, and whisk until the peaks are stiff (but not dry). 

Gently fold the egg yolk mixture into the egg whites with a metal spoon, a third at a time. Continue to gently fold until the mixtures are just combined. Do not over mix. 

Transfer the mixture to the cake tin and bake for 1 hour, or until a skewer inserted comes out clean. 

Immediately upon removing the cake from the oven you must invert the cake (stand it upside down). Using the hollow centre of the cake tin, place the cake upside down on the neck of a bottle and leave to cool. This process will stop the cake collapsing. This is also the reason for not greasing the tin, as you don’t want the cake to slide out at this stage.

Once the cake is completely cool, use a small serrated knife to cut the cake out of the tin. Start with the outer sides then lift the cake out using the bottom of the pan. Then carefully cut the cake off the base of the tin. 

Carefully place cake on serving plate or cake stand. In a medium bowl, sift in the icing sugar. Gradually add the juice of 1 blood orange. Stir until well mixed and add more icing sugar if the mixture is too wet, or more blood orange juice if it is too dry. The consistency shouldn’t be too thick, as it should be able to run down the sides of the cake, and not weight the top of the cake down. Gently drizzle/spread the icing over the cake and arrange the rosemary sprigs around the top of the cake. 

When serving, cut the cake with a serrated knife. 

Reference: ‘The Monday Morning Cooking Club’ by Merelyn Frank Chalmers, Natanya Eskin, Lauren Fink, Lisa Goldberg, Paula Horwitz and Jacqui Israel (2011), p 35.

In Cakes & Slices Tags Blood Orange, Chiffon, Cake, Rosemary, Kitchen renovation, Monday Morning Cooking Club, Dairy Free
Comment
  • The Blog
  • Older
  • Newer

recipes

  • Biscuits/Cookies 39
  • Breads Etc. 9
  • Breakfast 7
  • Cakes & Slices 67
  • Confectionary 5
  • Drinks 6
  • Events 14
  • Food Photography Tips 3
  • From The Mailing List 24
  • Heirloom Recipes 12
  • Holidays 44
  • Ice Cream 9
  • Jams Preserves & Spreads 9
  • Muffins 4
  • Off the Shelf 47
  • Other Desserts 25
  • Savoury Dishes/Meals 15
  • Scones 4
  • Tarts & Pastry 9
  • Travel 13

Sign up to Friday Food Chat with Kath, a weekly newsletter for more food, baking, cookbook chat and more!

Sign Up Here!
instagram-unauth pinterest facebook url

Website Accessibility: To enable text to speech function on the blog, click the sound button to the right of each blog post.

All images & content are the property of Kathryn Vincent, unless stated otherwise. Please do not use without permission.

Kulinary Adventures of Kath

Food Photography, Recipes & Baking

instagram-unauth pinterest facebook url