There is definitely a story behind this recipe!
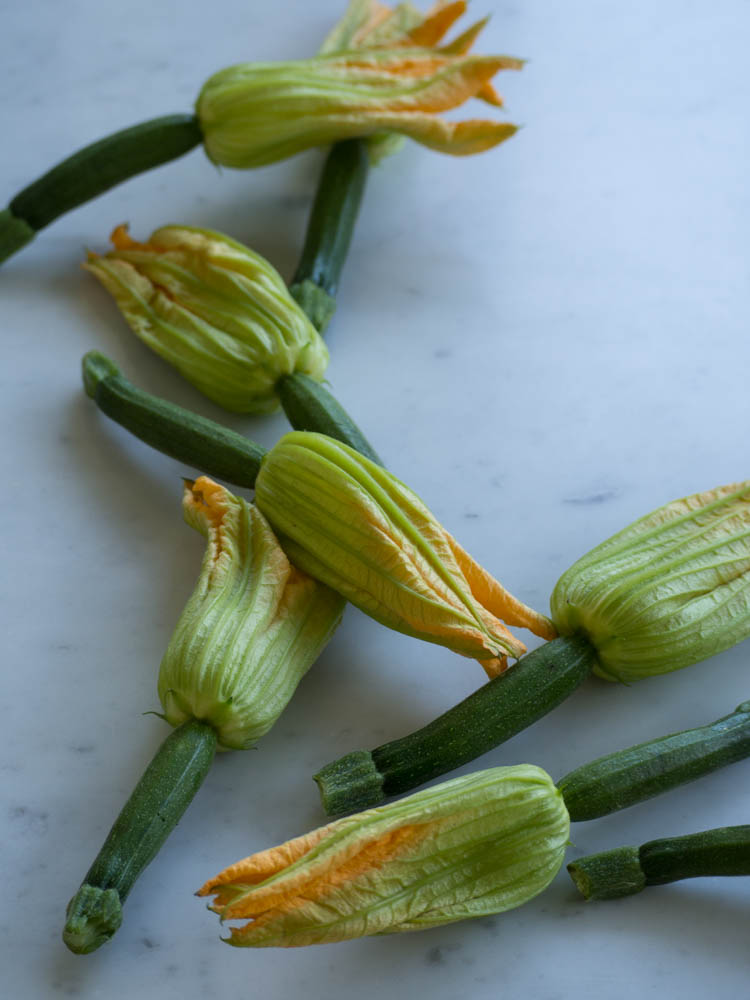
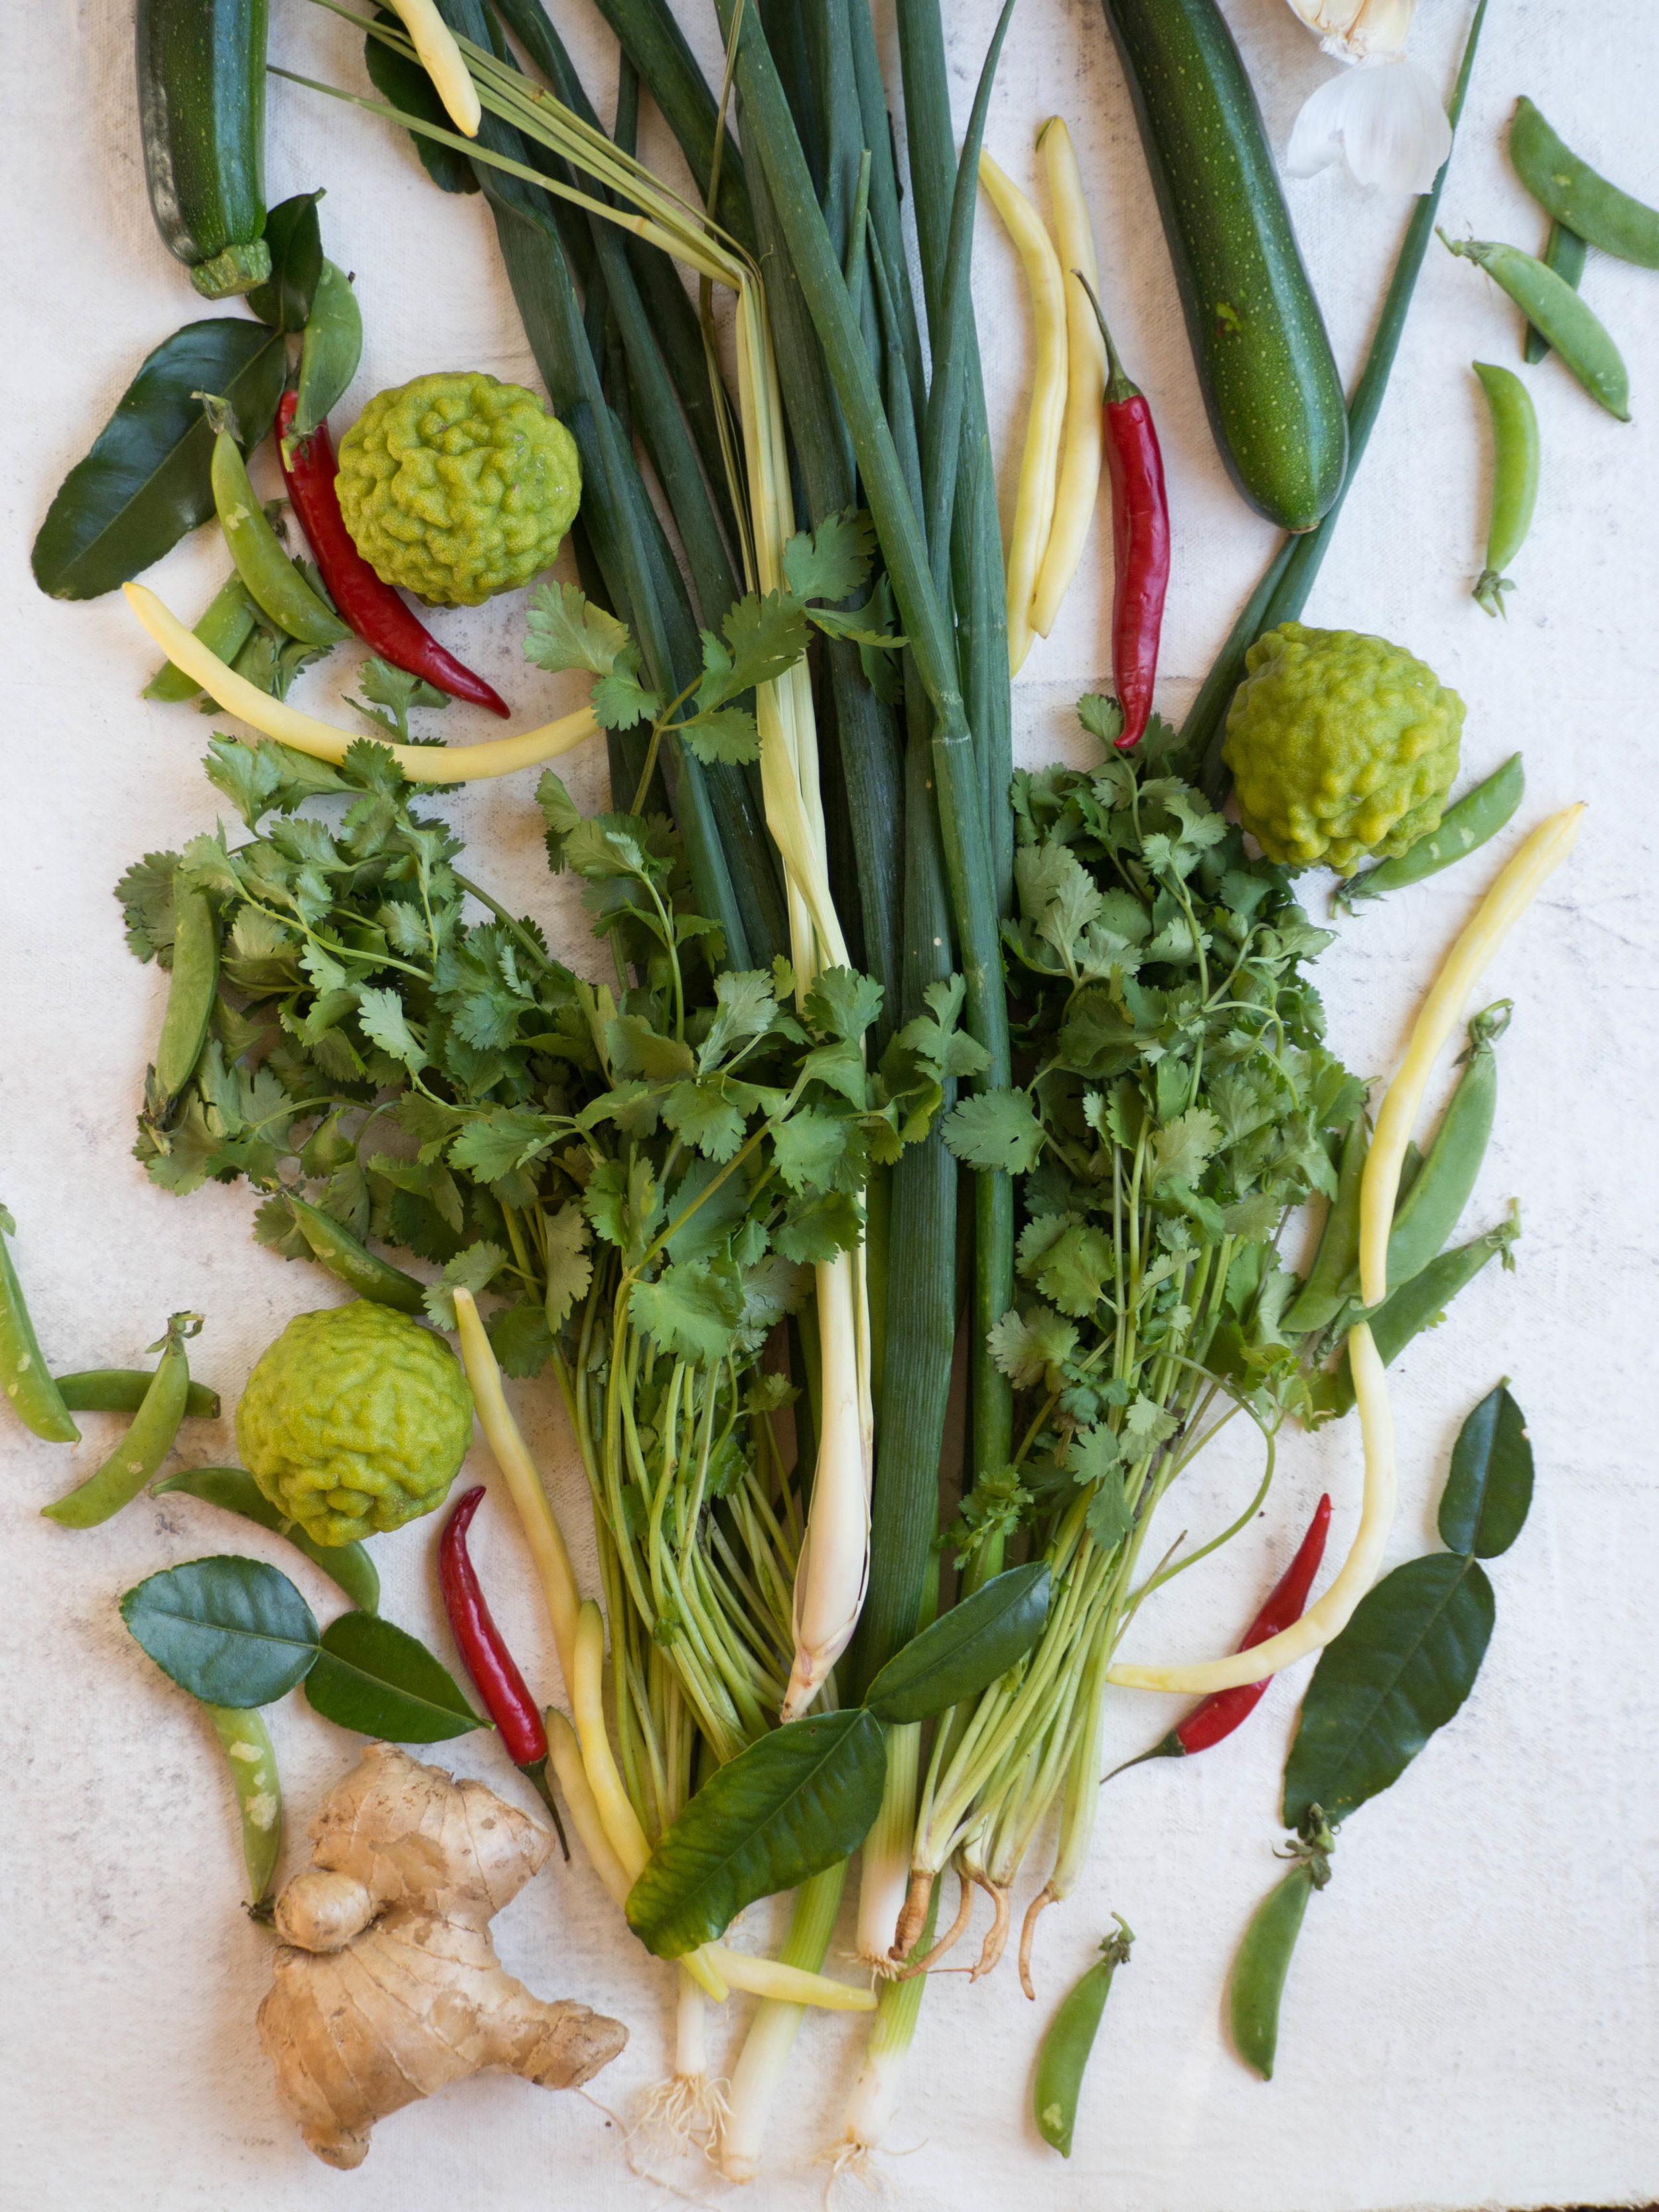
We have a kaffir lime tree, and have done for a few years. We use the leaves now and then in cooking, but for quite a few years I never saw limes growing on the tree. In 2015 some friends and I went to Jamie Oliver’s Food Revolution Live. Jamie demonstrated a few recipes, one of which he used the zest and juice of a kaffir lime. I was amazed. How do we have a kaffir lime tree and I’ve never seen a kaffir lime before? And more importantly, why aren’t we cooking with them?
When I got home I was telling Mum about the day and Jamie’s use of kaffir limes. She was shocked, she had thought kaffir limes weren’t edible. If that were true, I was sure that Jamie Oliver of all people would know that and not demonstrate the use of one in a live show. It transpired that Mum had been removing the flowers from the kaffir lime tree each year so if never went to fruit. But since we have now been educated on kaffir limes (thanks Jamie), we have had a complete glut of them! This year in particular, we’ve had at least 20 particularly large limes from our humble tree.

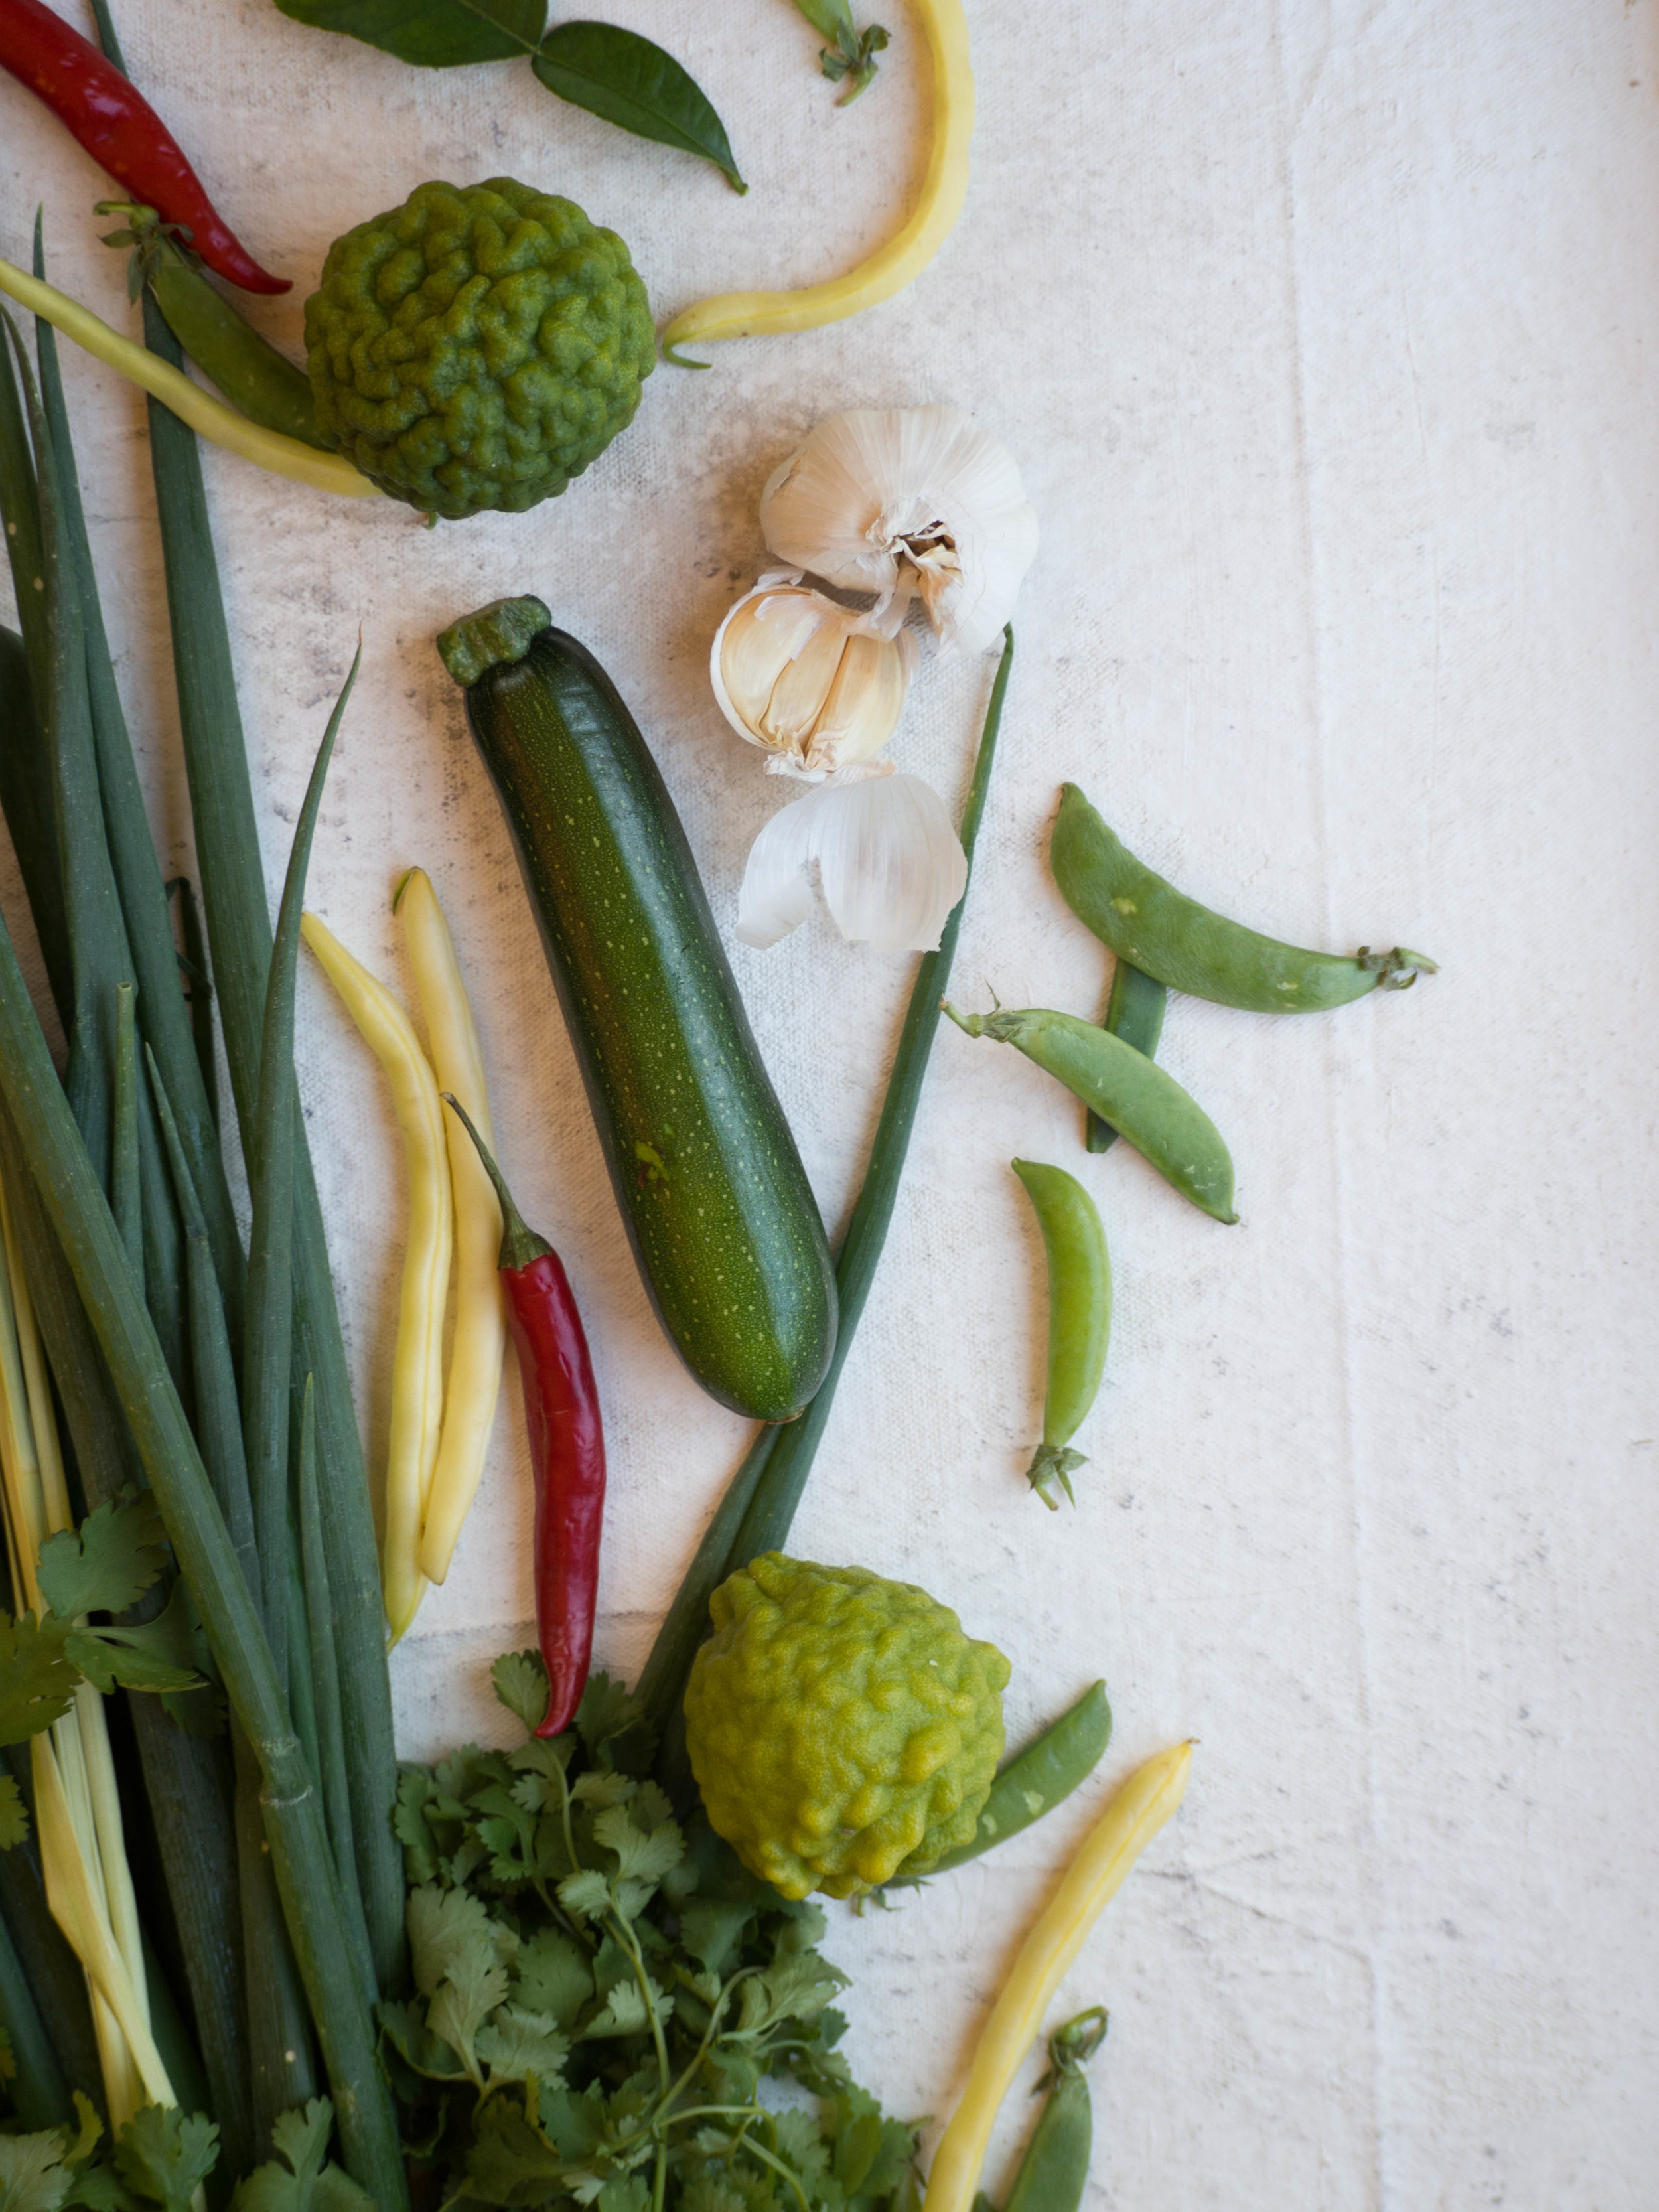
While I was very excited about this, and the other citrus we have that were showing good signs of a bountiful season, I didn’t have many ideas for actually using the kaffir limes. Since we had so very many, I gave some away (along with some of the leaves). One recipient was so freaked out by them - ‘Are they meant to look like that?! They look like brains!’. I guess if you’ve never seen them before they do look pretty weird! Luckily their flavour makes up for their weird appearance.


I knew kaffir limes worked well in South East Asian cooking, but as my mind immediately goes to ideas for baking, I tried to make kaffir lime shortbread. That was a definite no go. The sweetness of the shortbread combined with the intense citrus notes of the kaffir lime conflicted with each other so much, I wasn’t sure if I was eating something sweet or savoury.
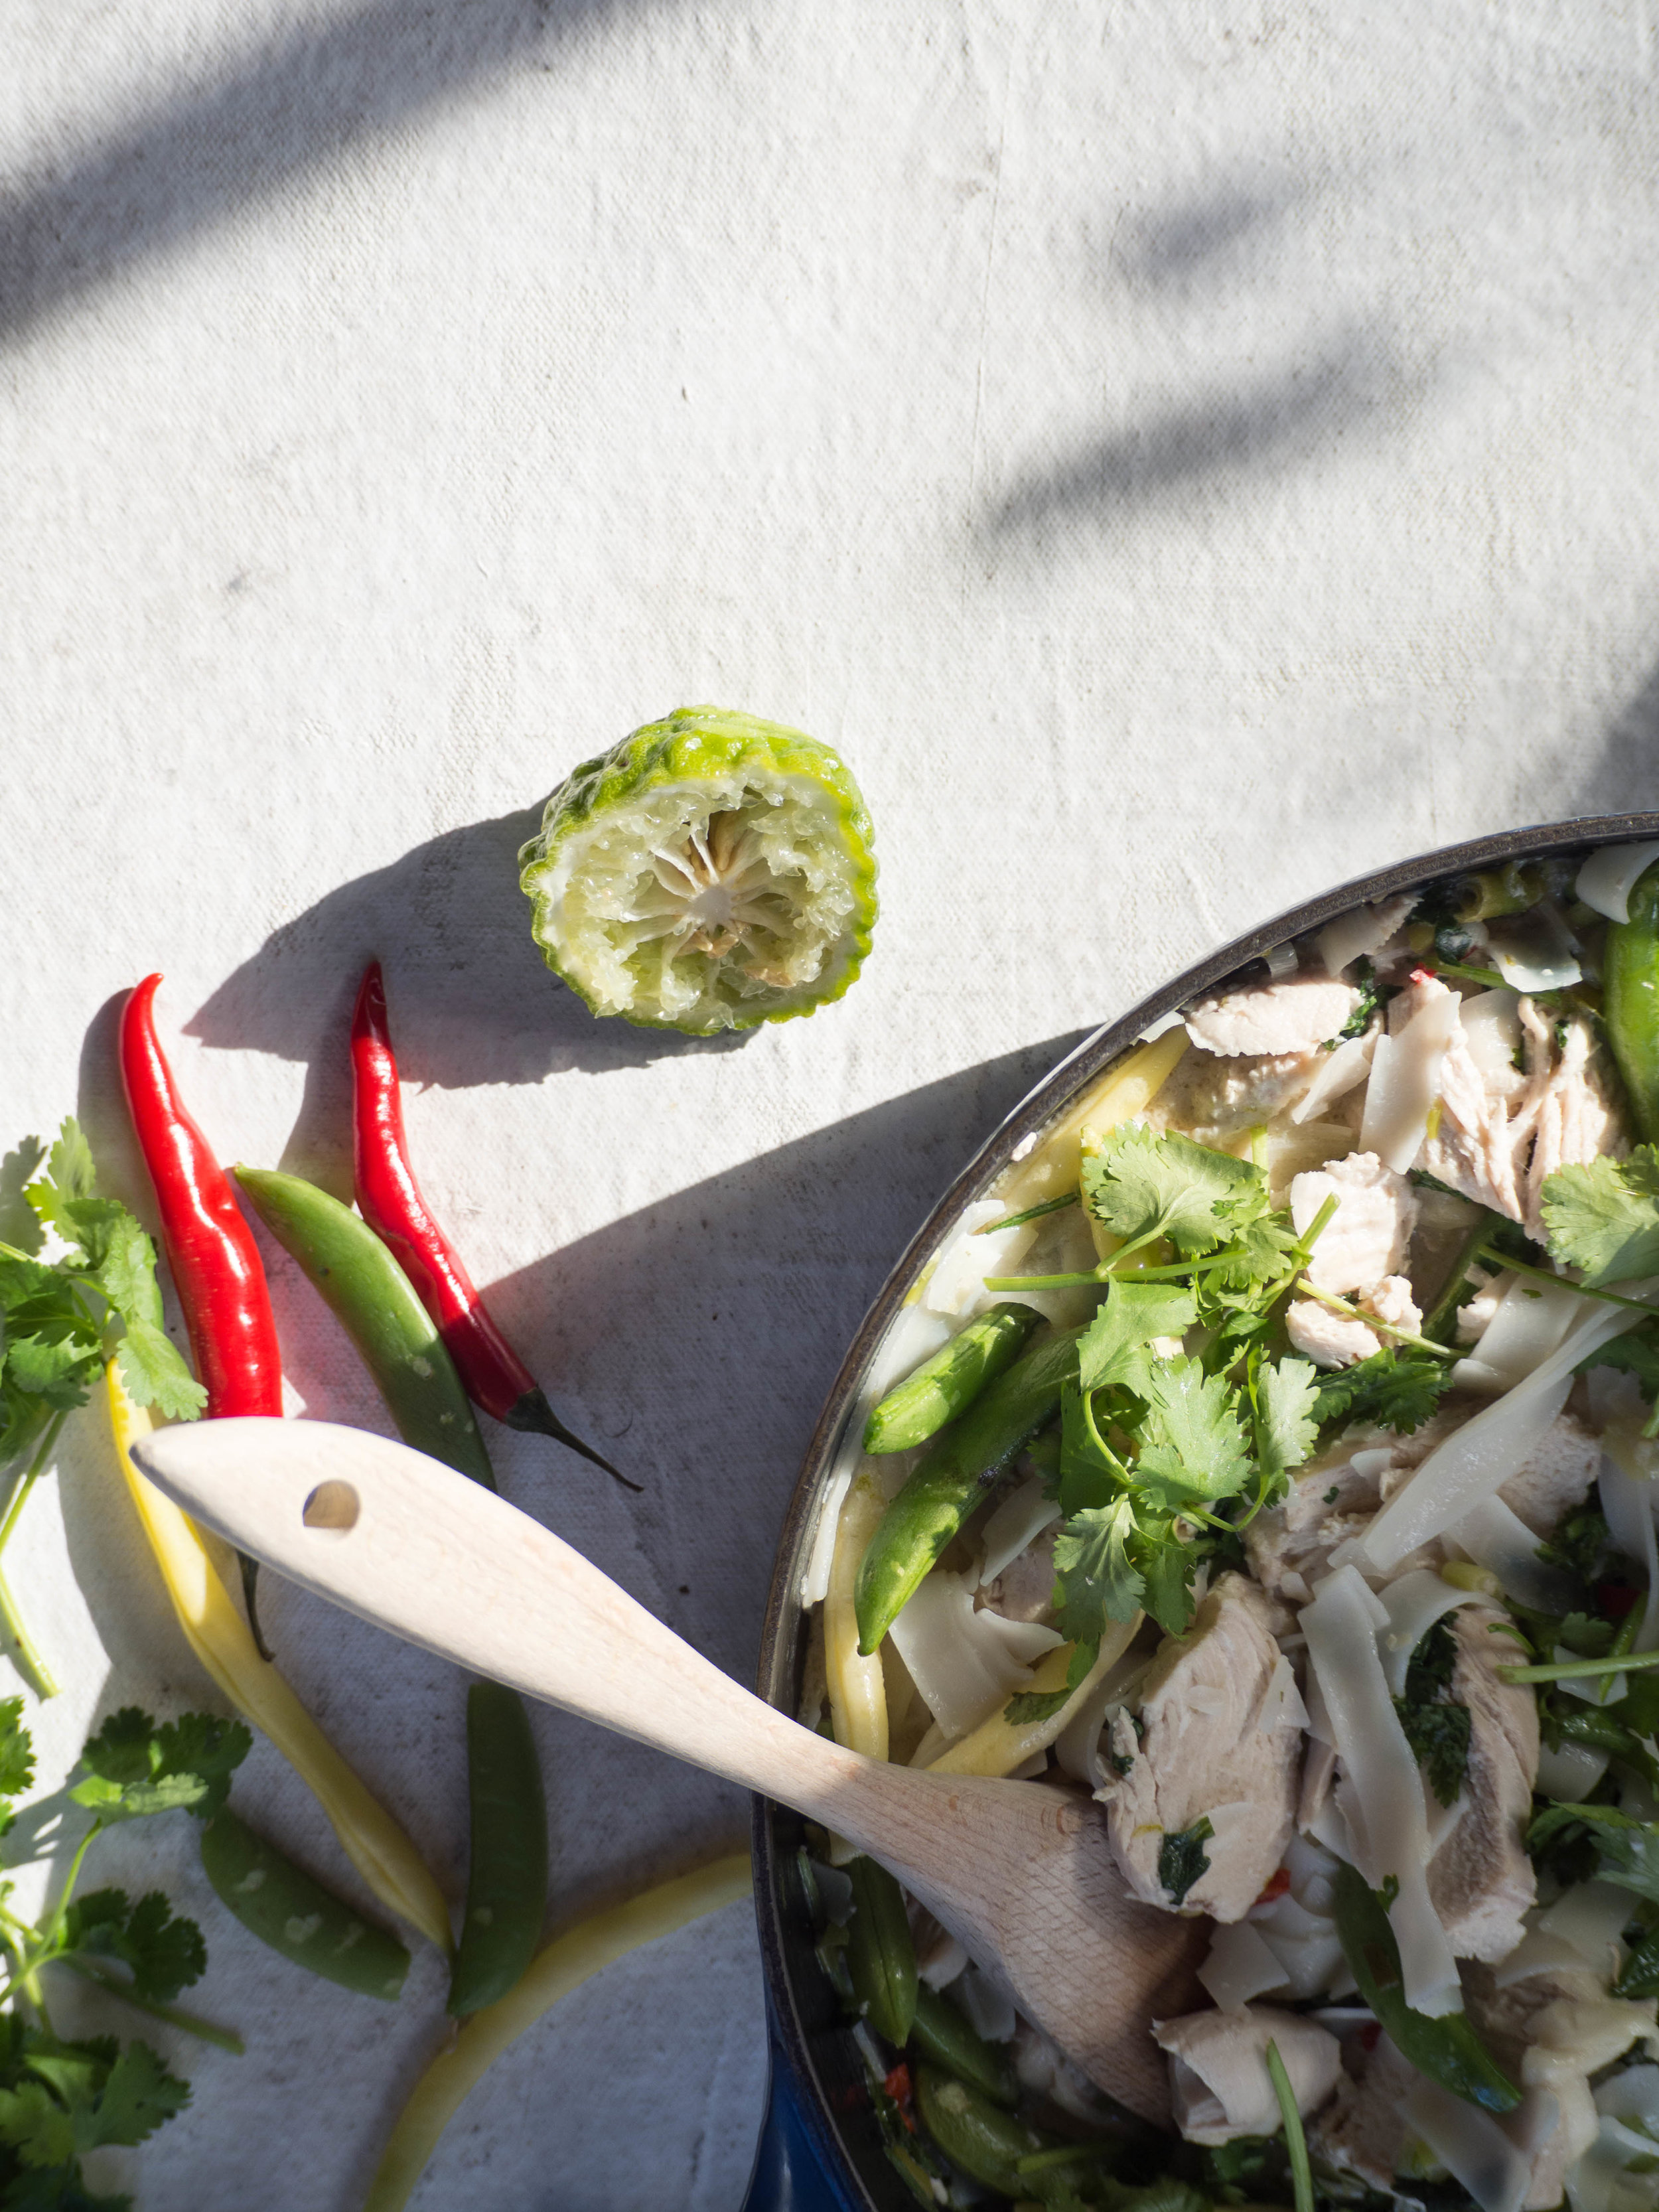
Once it became clear that sweet was out of the question (there goes my idea of a kaffir lime pie), I steered my thoughts back to the world of savoury cooking. Having eaten a few chicken dishes (mostly Thai) that used kaffir lime leaves, I decided to combine what I liked best about them, but also use the actual kaffir limes. And this is the result. This dish will feed 4-6 people, depending on the size of chicken breasts you use (the pieces of chicken I used ended up being particularly big, so there were lots of leftovers which I have now frozen for another day!). If you can’t get any kaffir limes, use the kaffir leaves and regular limes for the juice and zest.

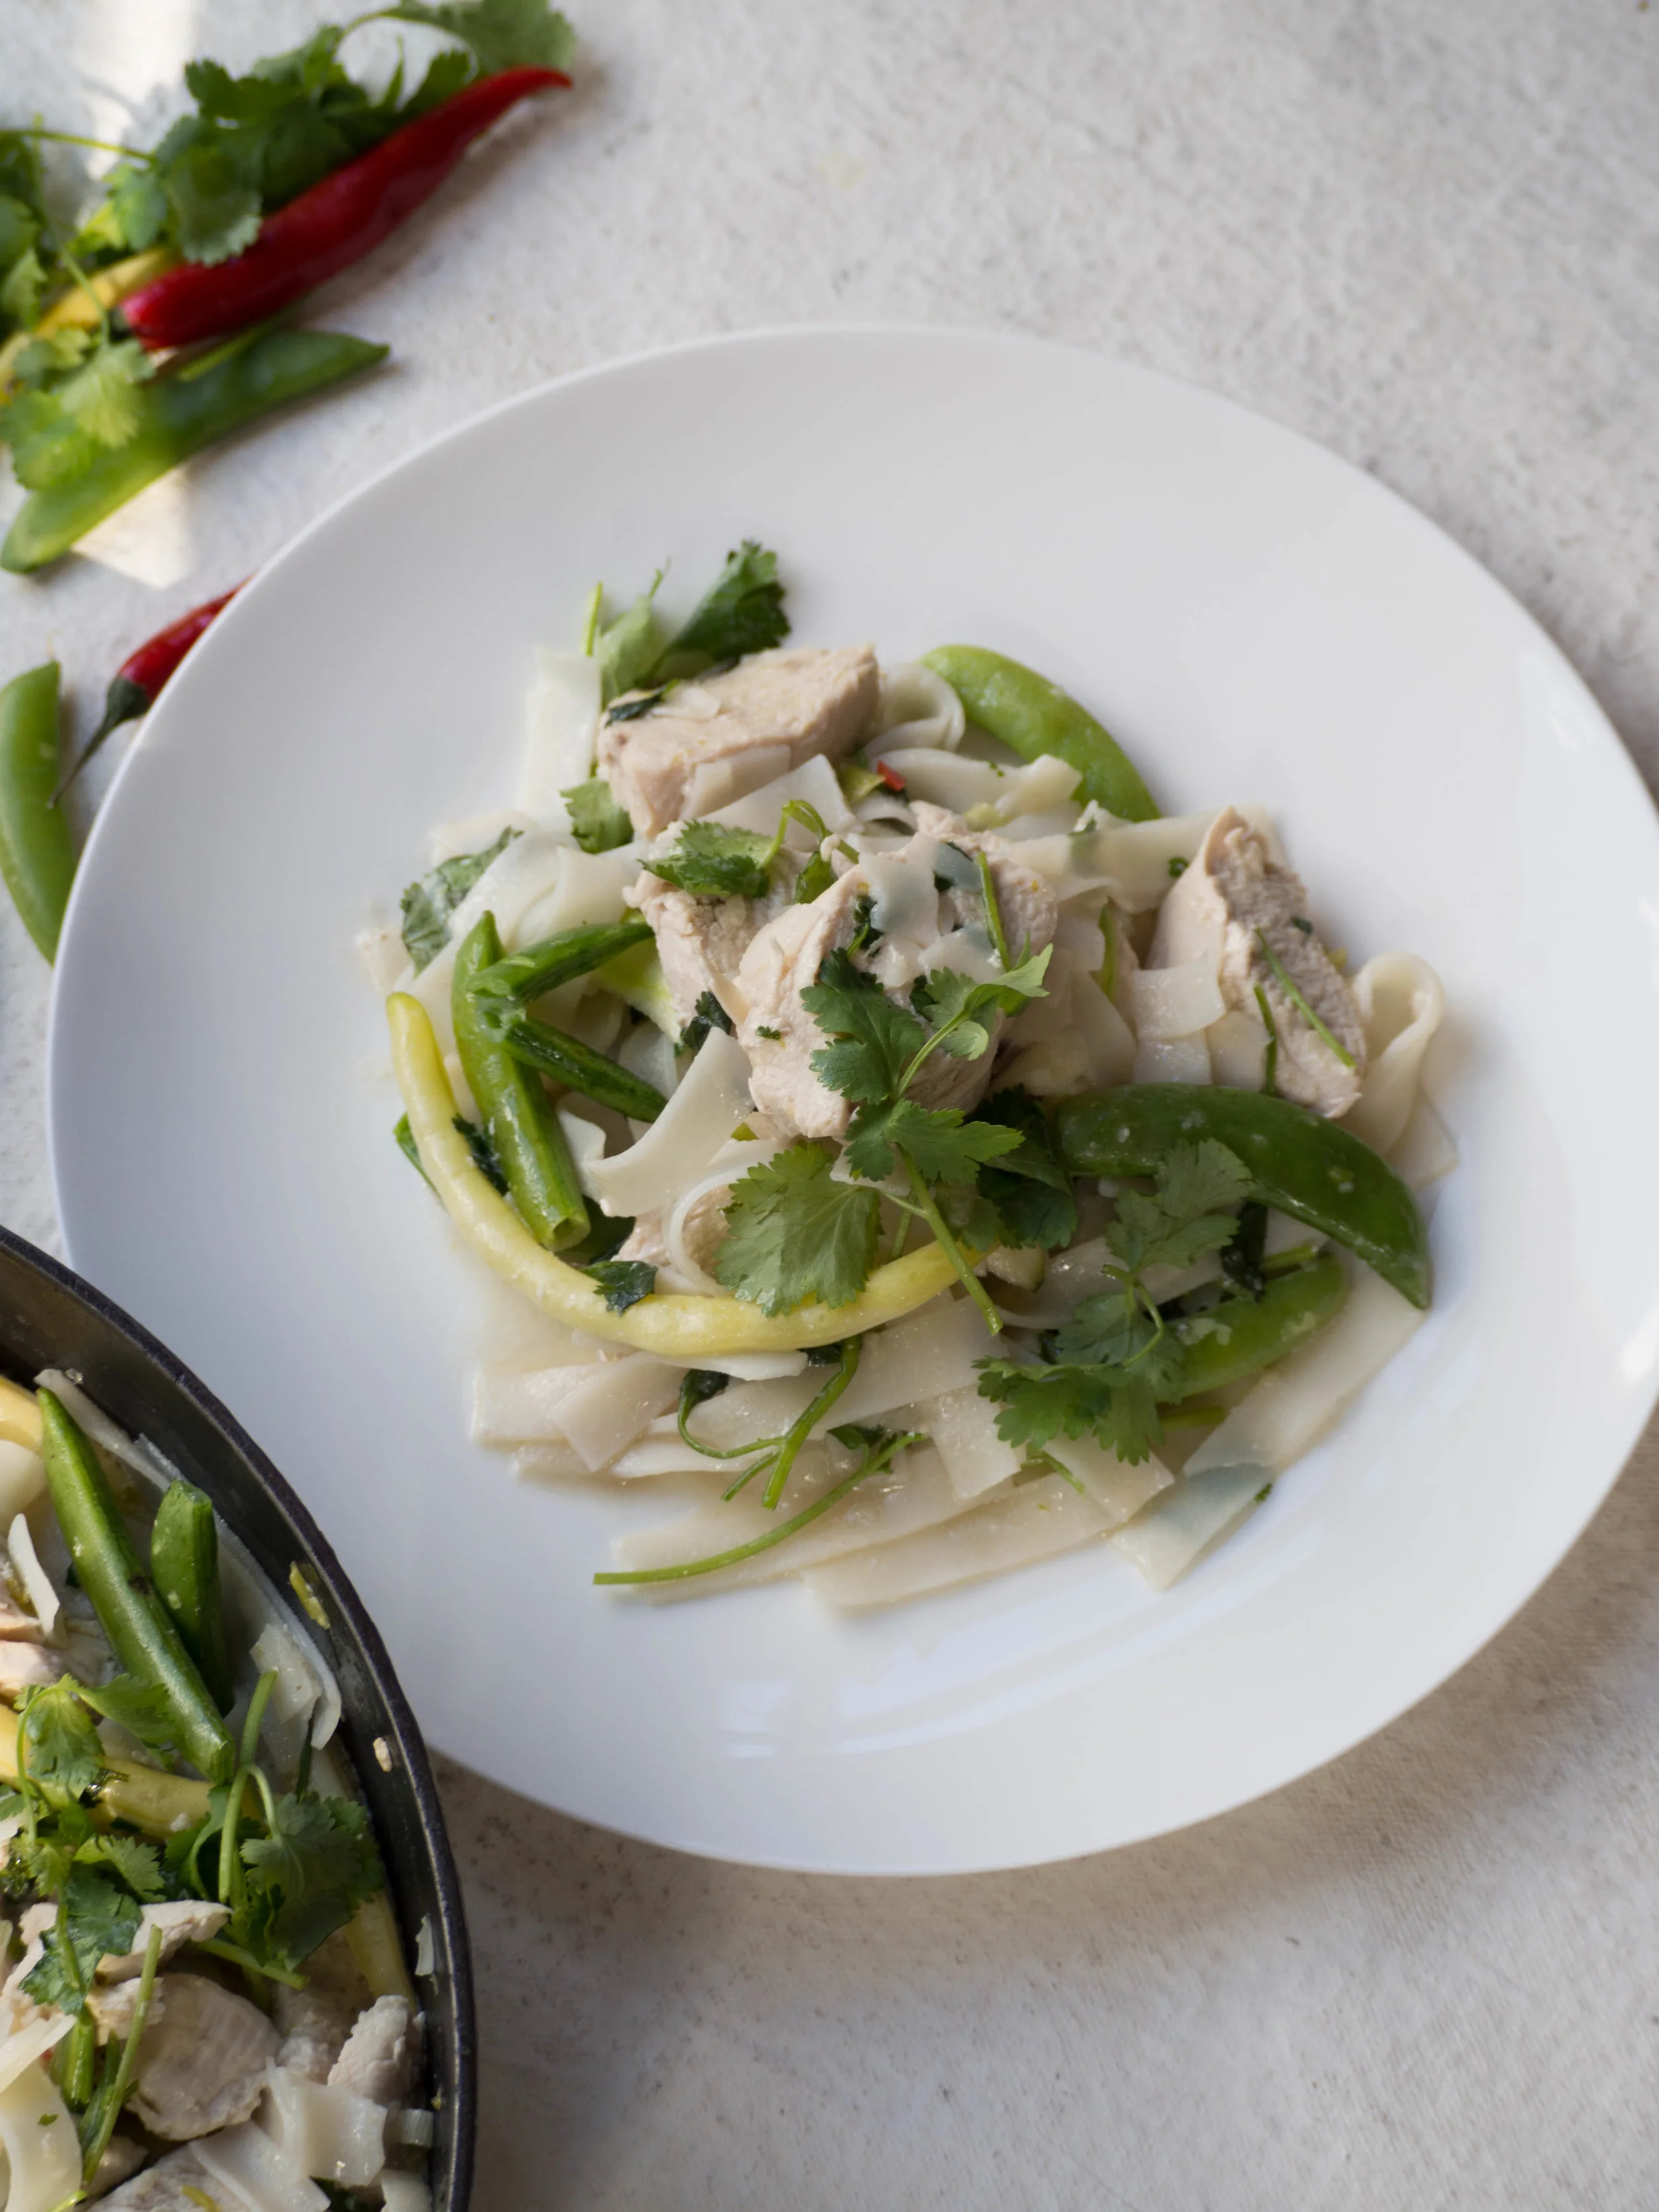
Kaffir Lime & Coconut Poached Chicken with Noodles
Ingredients for the Poached Chicken:
x3 chicken breasts
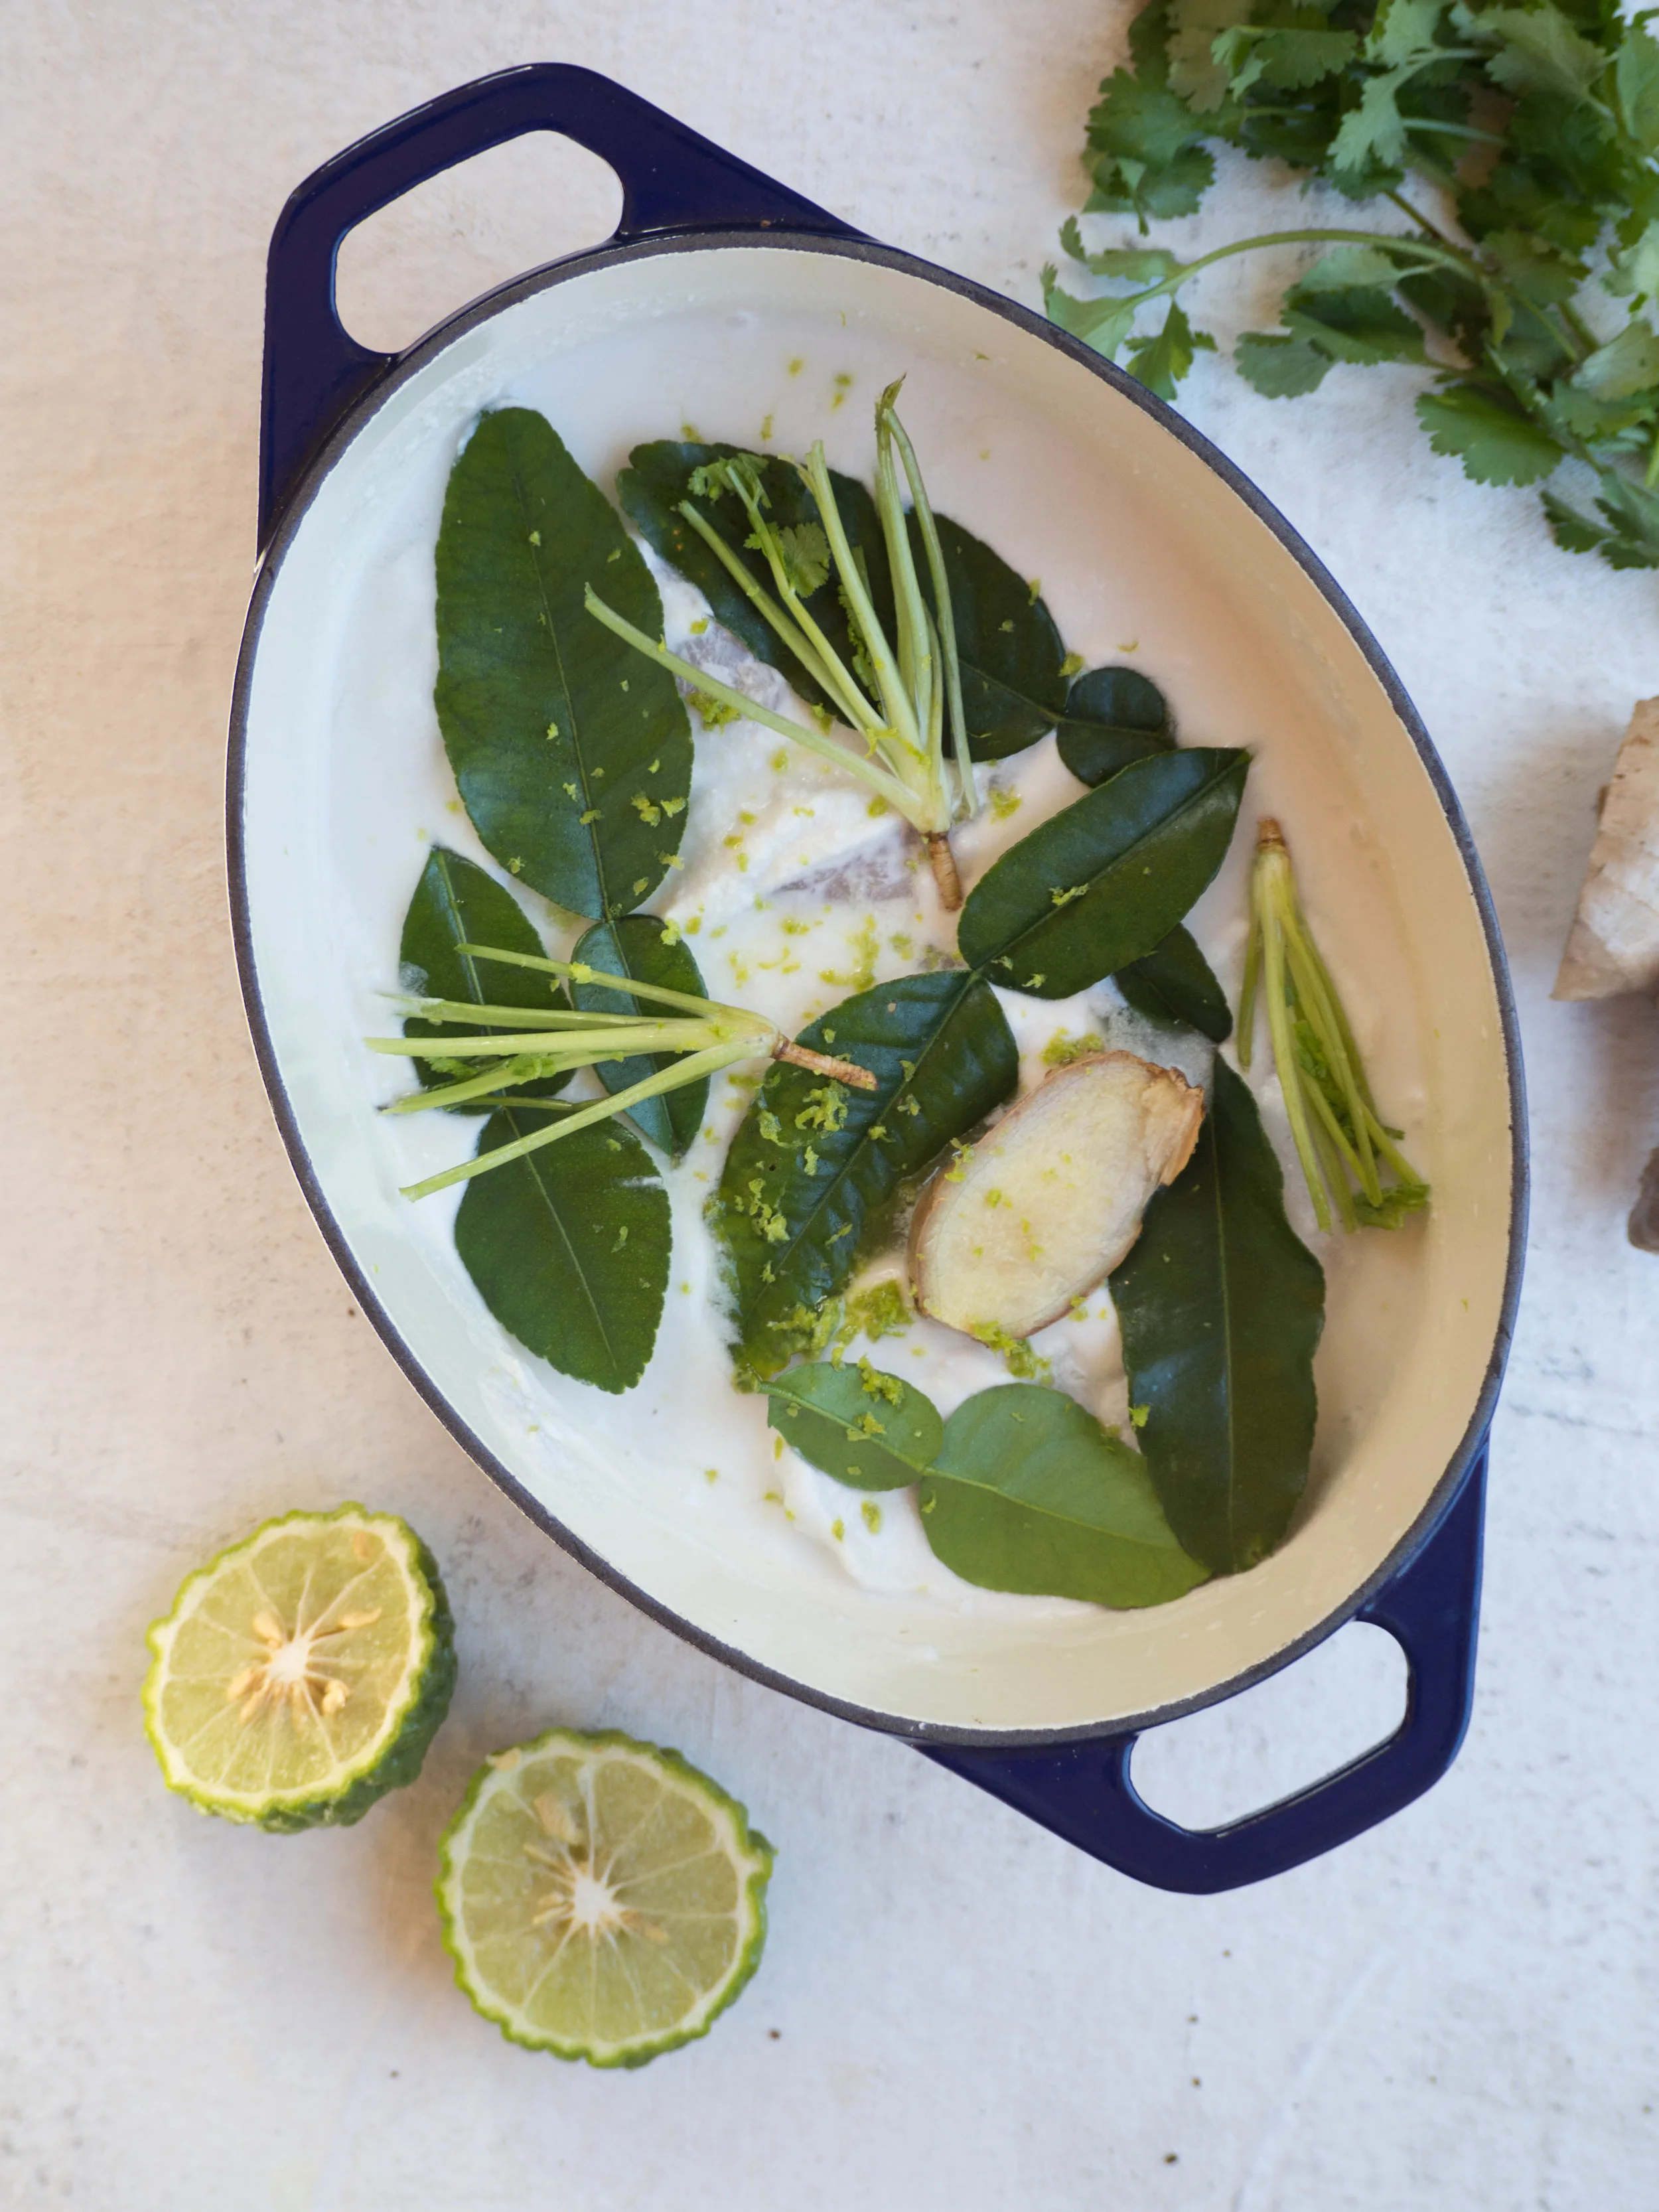
x2 270ml cans of light coconut milk
juice of 1/2 kaffir lime
zest of 1/2 kaffir lime
x6 kaffir lime leaves
1 cm slice fresh ginger
1 stalk lemongrass, outer leaves removed and cut in half
x3 stems of coriander with roots, well washed
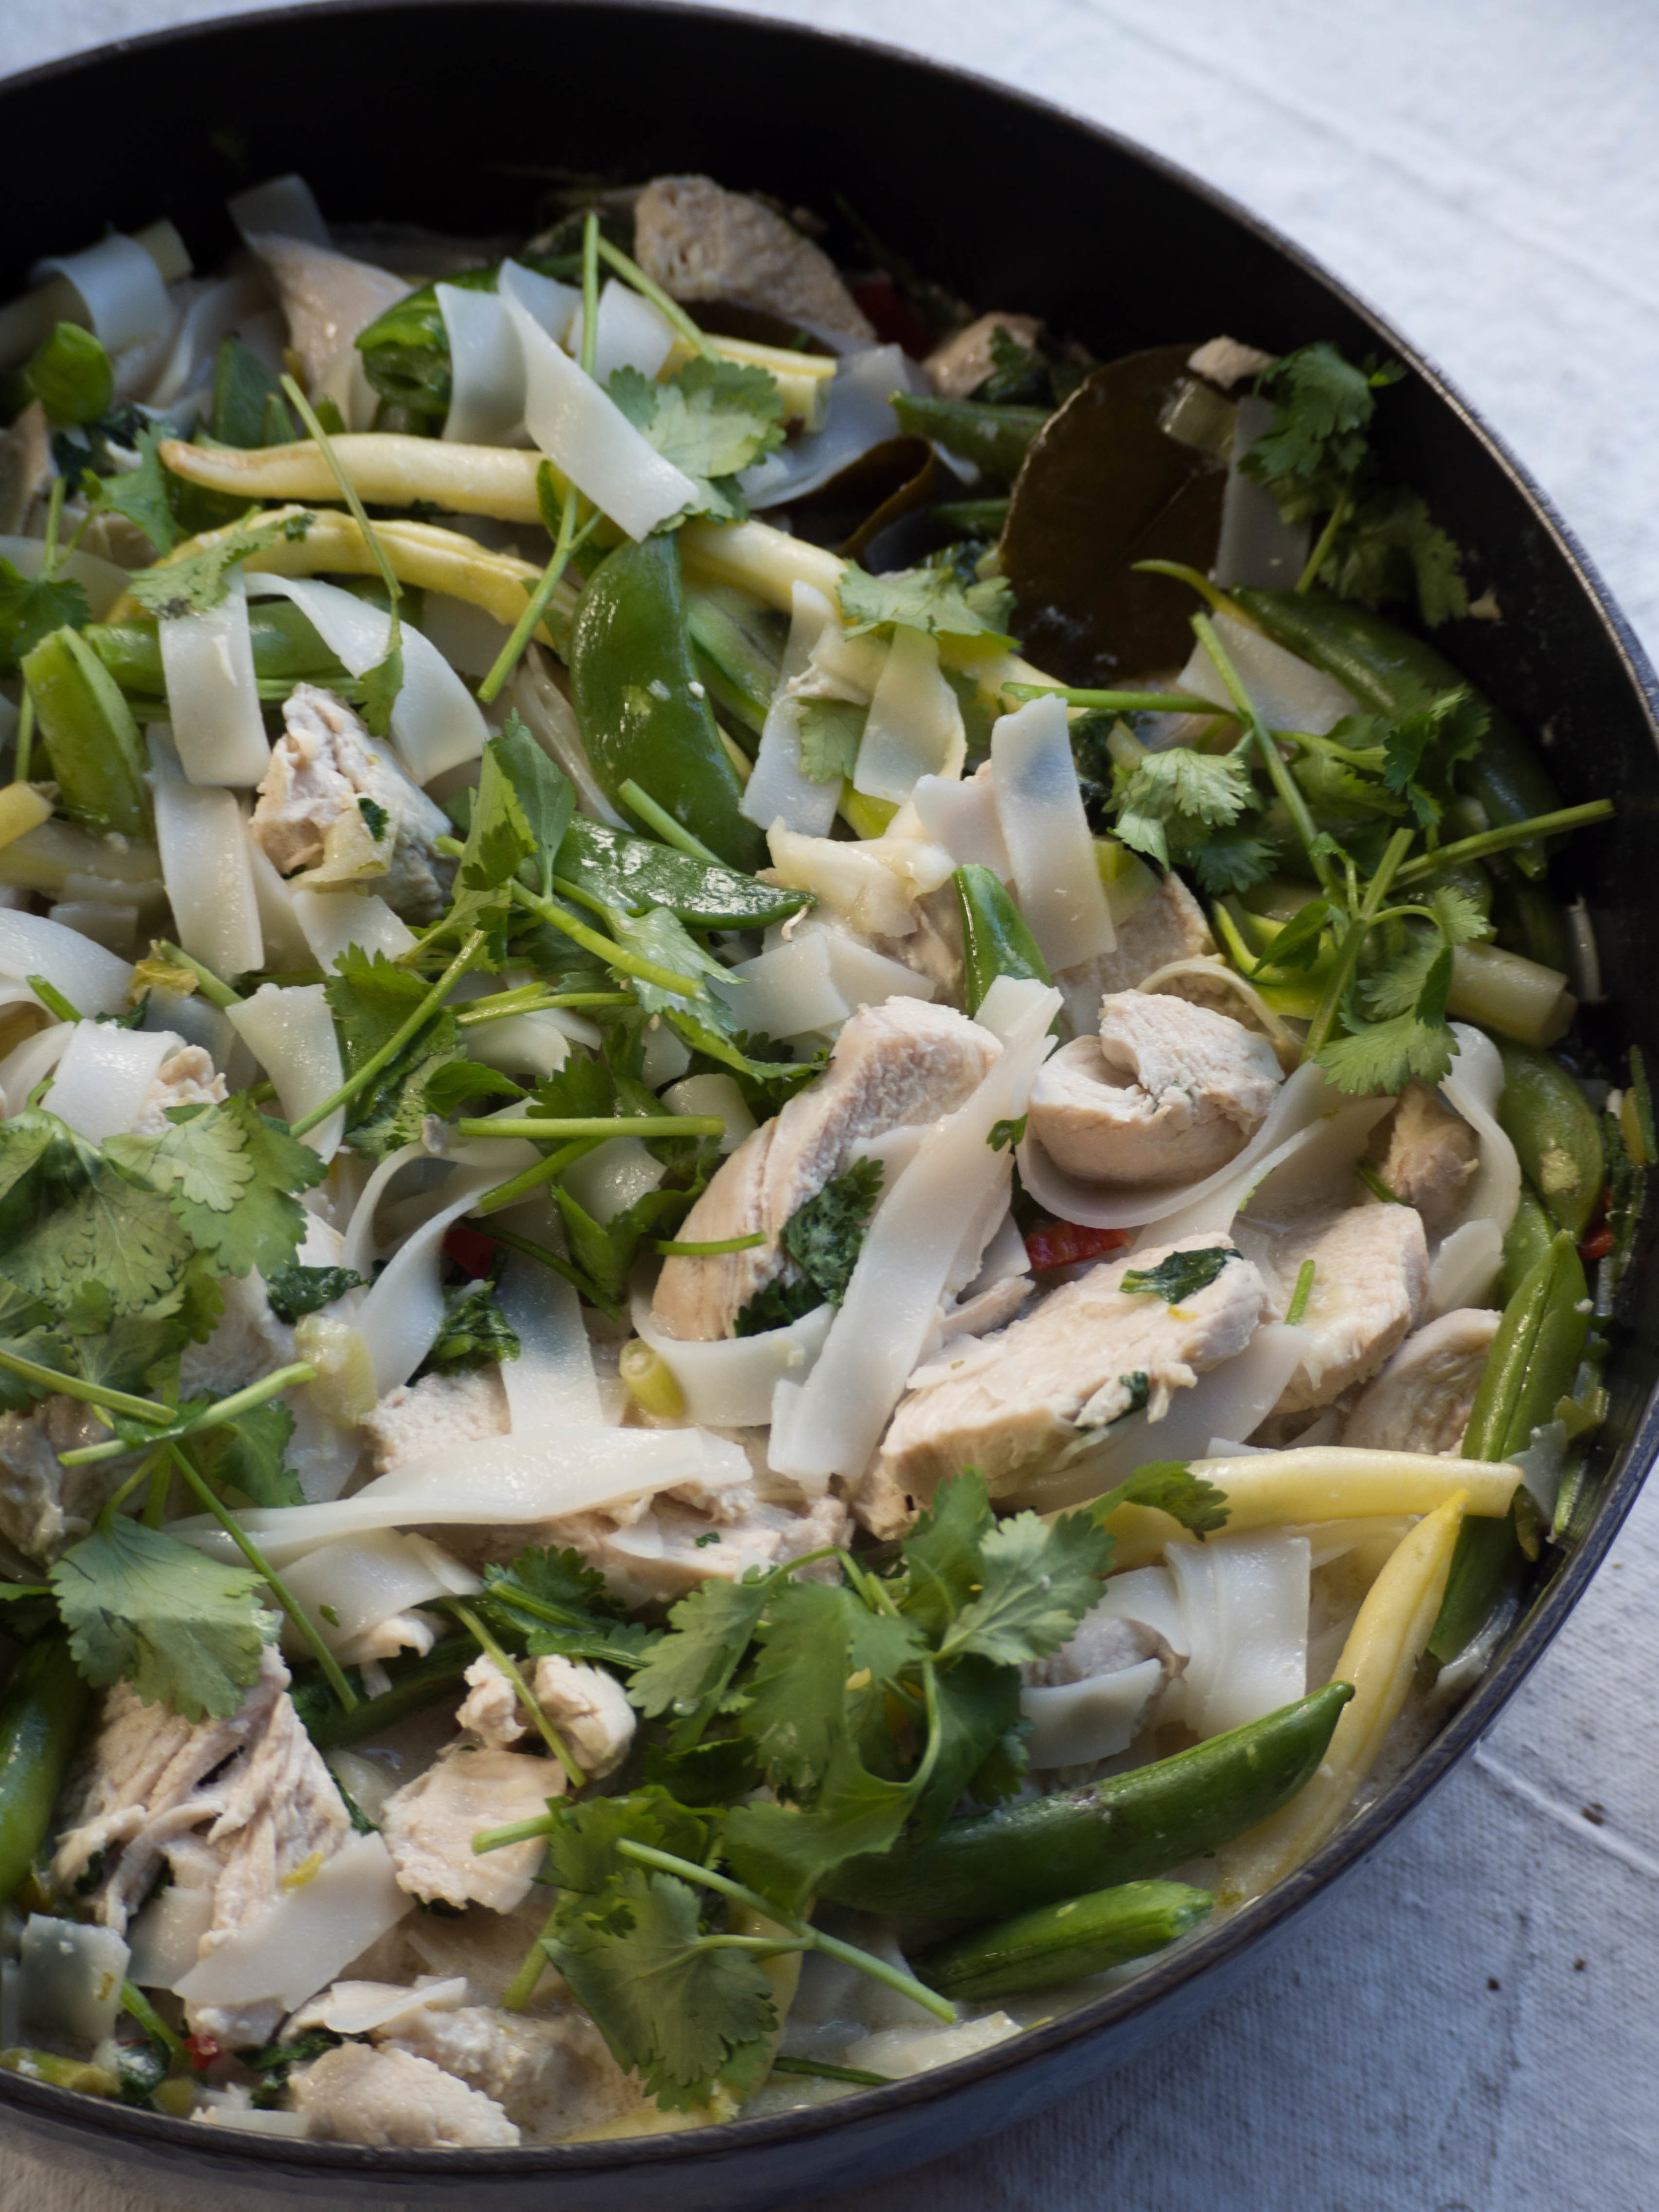
Ingredients for the Sauce & Rice Noodles
1 tbsp vegetable oil
x3 small gloves garlic, crushed
x1 red chilli, deseeded and finely chopped
x4 spring onions finely sliced, white part only
juice of 1/2 kaffir lime
zest of 1/2 kaffir lime
150ml chicken stock
500ml coconut poaching liquid
1 tsp soy sauce
x1 zucchini, peeled into strips
285 g mixed beans & peas
200g packet pad thai rice noodles
x2 (or x3 small) bunches coriander, leaves & stems roughly chopped
Method:
In a medium pot, add the chicken, coconut milk, kaffir lime zest & juice, kaffir leaves, ginger, lemongrass and coriander stems. Mix to combine then place over low heat, and loosely cover with lid. Poach the chicken for 20-30 minutes, turning over half way through. To check the chicken is cooked, cut open with a knife and check the middle of the chicken breast has cooked through. Once cooked remove from heat.
When the chicken has cooled a little, remove from the pot and cut into chunks or slices. Reserve 500ml of the poaching liquid, then put the cut up chicken back in the pot with the remainder of the poaching liquid to keep warm.
In a large pan on medium heat, add the vegetable oil, spring onions, garlic and chilli. Cook for a couple of minutes, stirring constantly so everything cooks evenly and doesn’t burn. Add the kaffir lime juice and zest, stock, poaching liquid, soy sauce and a couple of the kaffir lime leaves from the poaching liquid. Stir to combine, then allow to simmer for a couple of minutes. Add in most the chopped coriander and the cooked chicken. Meanwhile cook the rice noodles according to packet instructions, then add to the pan. Stir to combine, then add the zucchini, beans and peas. Mix through (using tongs is easiest), then serve with the remaining coriander.

References: ‘Jamie’s 30 Minute Meals’ by Jamie Oliver (Penguin Group, 2010) p.88; ‘The Heart of the Home’ by Julie Goodwin (Ebury Press, 2011) p.82; Donna Hay's Coconut Poached Chicken Salad.