This recipe has been on my mind for a long time. Like years. I always have lists going of things I want to make, and Earl Grey Shortbread is always on there.
I was originally inspired by some Earl Grey Shortbread from Fortnum & Mason that a friend gifted me after a holiday in the UK at least three years ago. As all Fortnum & Mason products are (in my opinion), they were stunning and a great example of traditional shortbread and really showcased the bergamot flavour so distinctive to Earl Grey.
I did try to recreate them once, using very finely crushed earl grey tea leaves. However without a good mortar and pestle and with no additional bergamot to add to lift the flavour, they fell far short of what I was trying to recreate.
I left the recipe alone for quite some time, deciding maybe it was for the best since I can’t have caffeine anyway. I was attempting something that I probably wouldn’t be able to eat.
Now however, after growing my own bergamots and sourcing some online, the possibility to create a caffeine free version of this biscuit arose. Much to my excitement the addition of fresh bergamot zest to a simple shortbread recipe worked a treat, and replicated the Fortnum & Mason version in flavour quite well.
You can of course (very) finely crush some Earl Grey tea leaves to add to the mixture (I would say 1tsp added when creaming the butter and sugar), for the tea speckled look. And fresh bergamot zest could also be substituted for 1-2 drops of a good quality (food grade) bergamot essence.


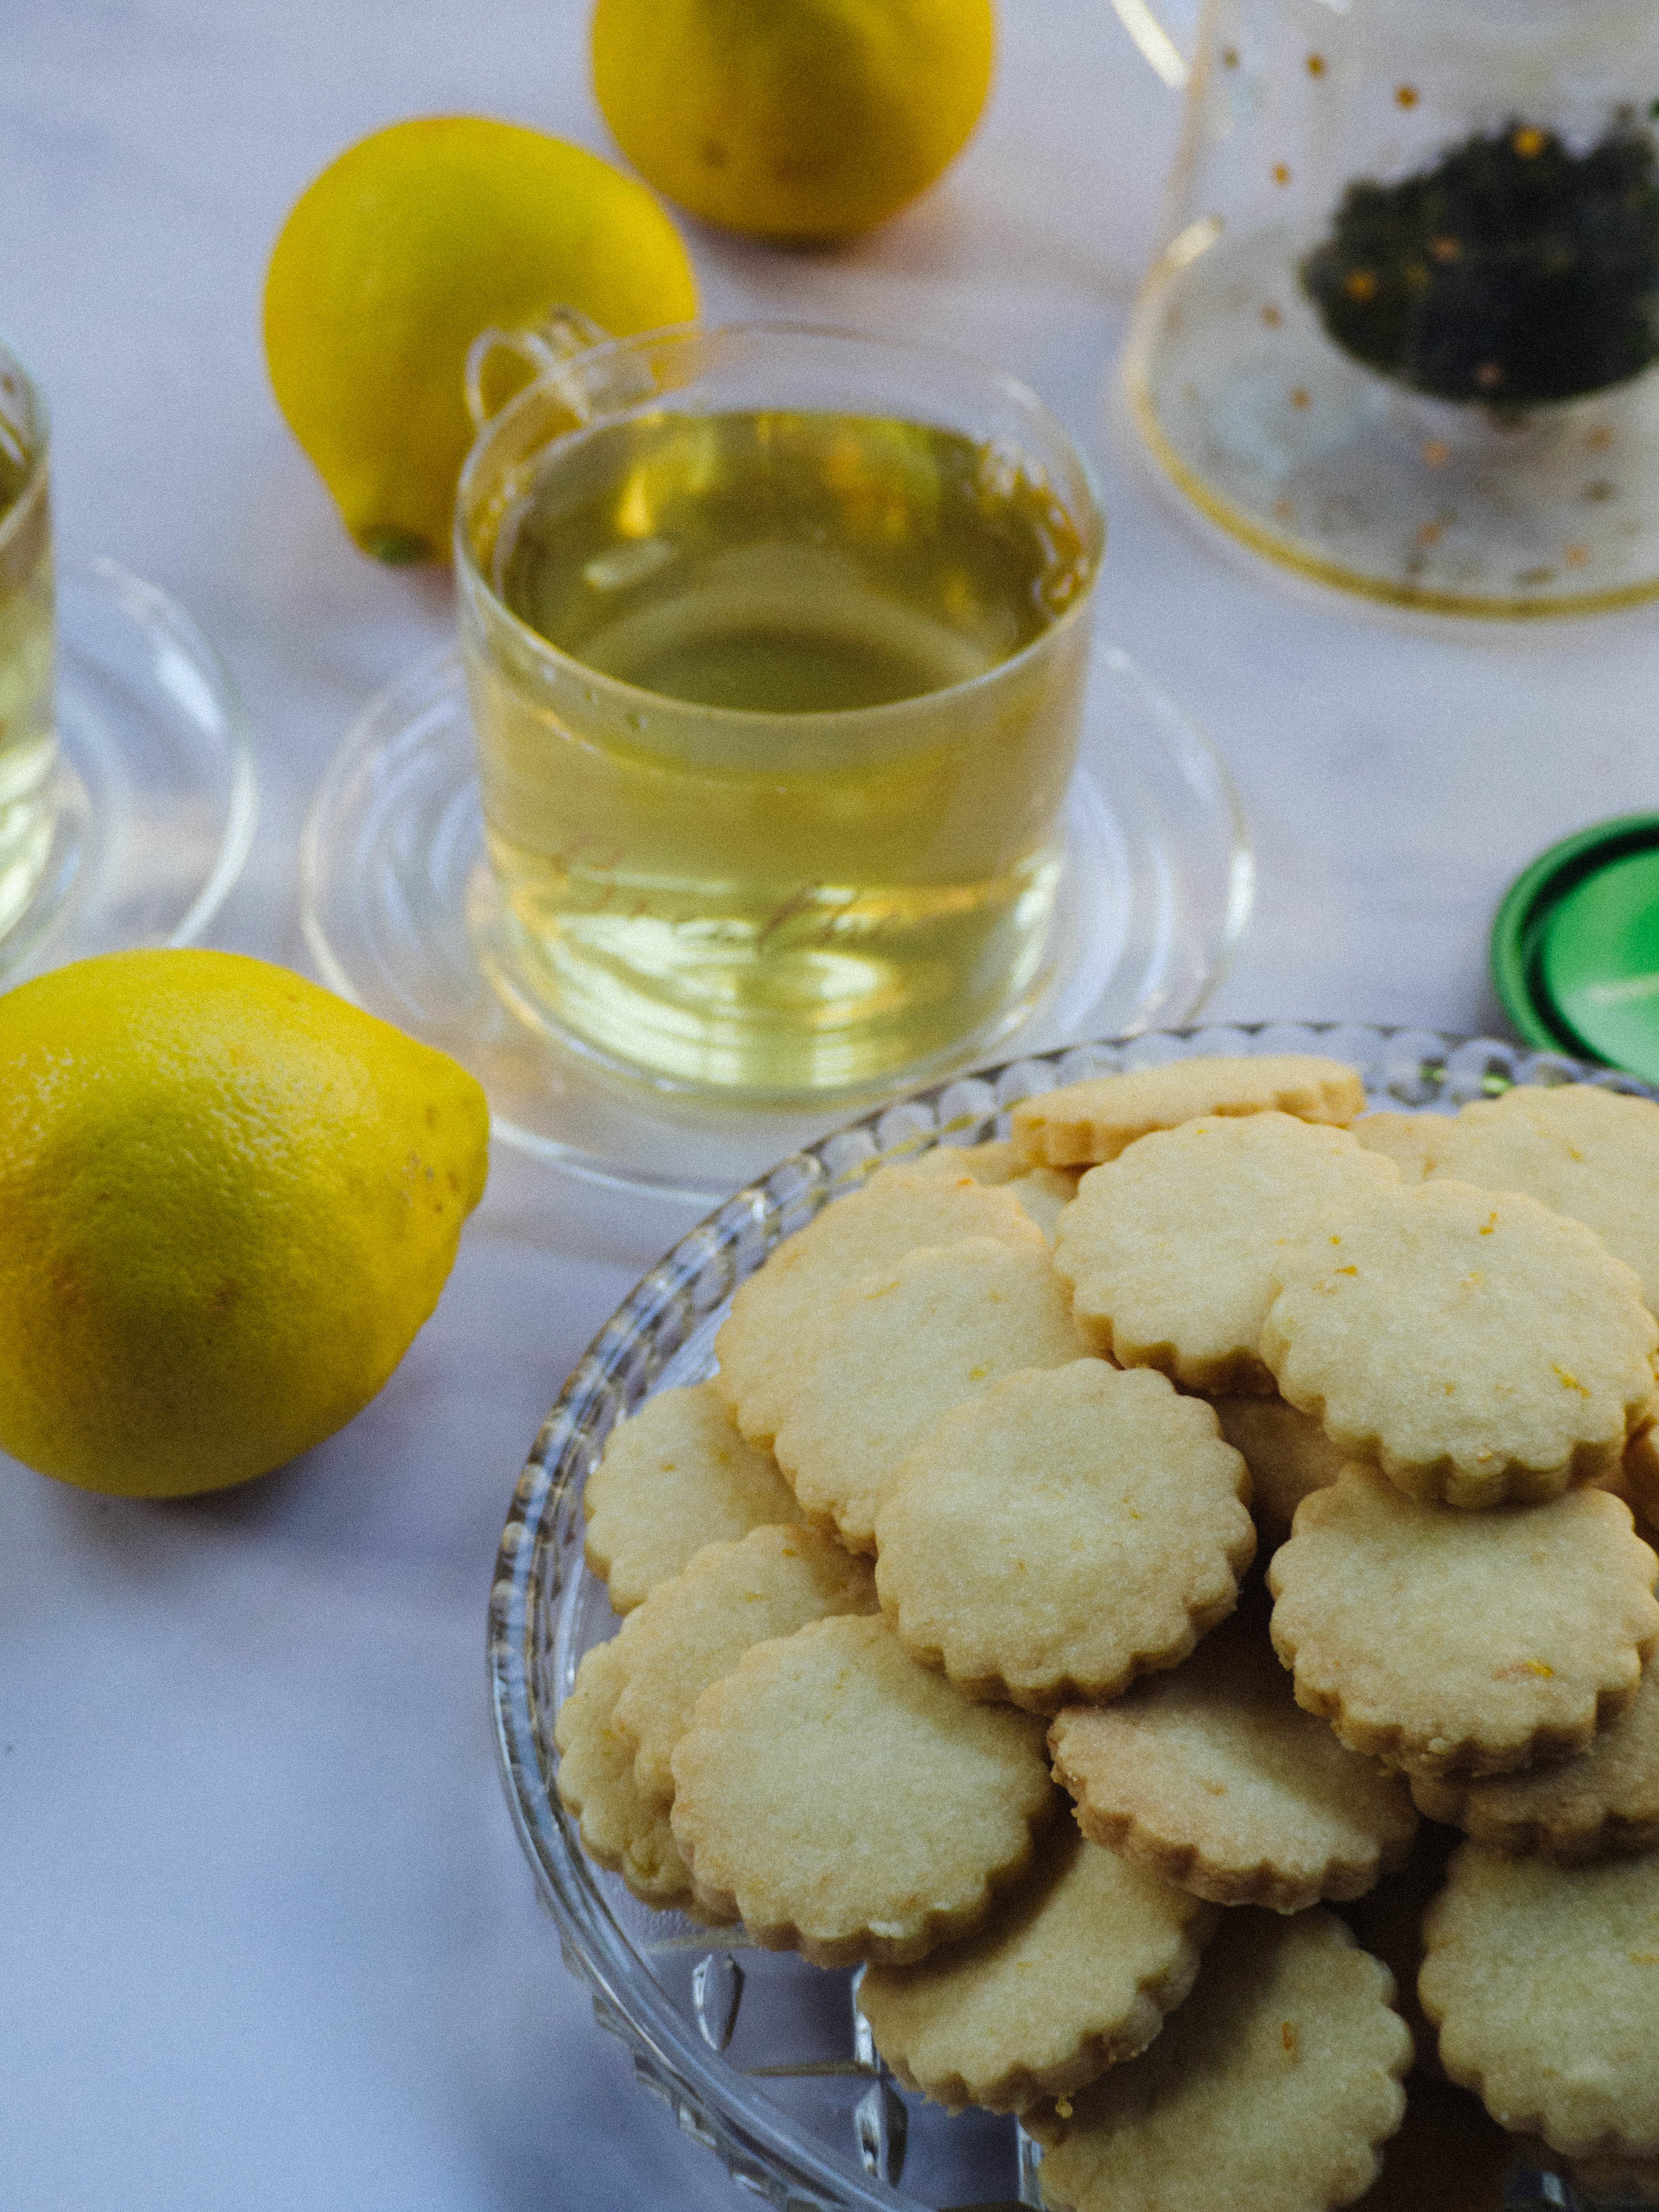
Earl Grey Shortbread (Caffeine Free)
Ingredients:
160g unsalted butter, softened
60g caster sugar
finely grated zest of one small/medium bergamot
250g plain flour
Method:
Pre-heat oven to 150 degrees Celsius, and line two large baking trays with baking paper.
Place the butter, sugar and zest in the bowl of the stand mixer and beat with the paddle attachment until well combined.
Add the flour, and mix on low until a dough starts to form.
Lightly flour your work surface, and tip the dough out. Bring together with your hands then roll out to about 1-2mm thick with a rolling pin.
Cut out fluted rounds with a 5cm cutter and place on prepared trays. Re-roll scraps of the dough until it is all used up.
Bake in pre-heated oven for 20 minutes, turning the trays around halfway through to ensure even cooking.
Allow to cool on the trays or transfer to a wire rack.
Makes about 50 biscuits.