Kulinary Adventures of Kath

Food Photography, Recipes & Baking
  • home
  • About
  • Work with Kath
  • Shop
  • Blog
    • The Blog
    • Recipe Archive
  • Newsletter
  • Contact
  • home
  • About
  • Work with Kath
  • Shop
    • The Blog
    • Recipe Archive
  • Newsletter
  • Contact
Raspberry Pistachio Rose Cake (23 of 25).jpg

The Blog

Recipes and Food Photography by Kath Vincent.

  • The Blog
  • Recipe Archive
  • All
  • Biscuits/Cookies
  • Breads Etc.
  • Breakfast
  • Cakes & Slices
  • Confectionary
  • Drinks
  • Events
  • Food Photography Tips
  • From The Mailing List
  • Heirloom Recipes
  • Holidays
  • Ice Cream
  • Jams Preserves & Spreads
  • Muffins
  • Off the Shelf
  • Other Desserts
  • Savoury Dishes/Meals
  • Scones
  • Tarts & Pastry
  • Travel
Food Photography Prop Collection and Tips

A Collection of Plates and Cups aka Photography Props

Kath October 11, 2022

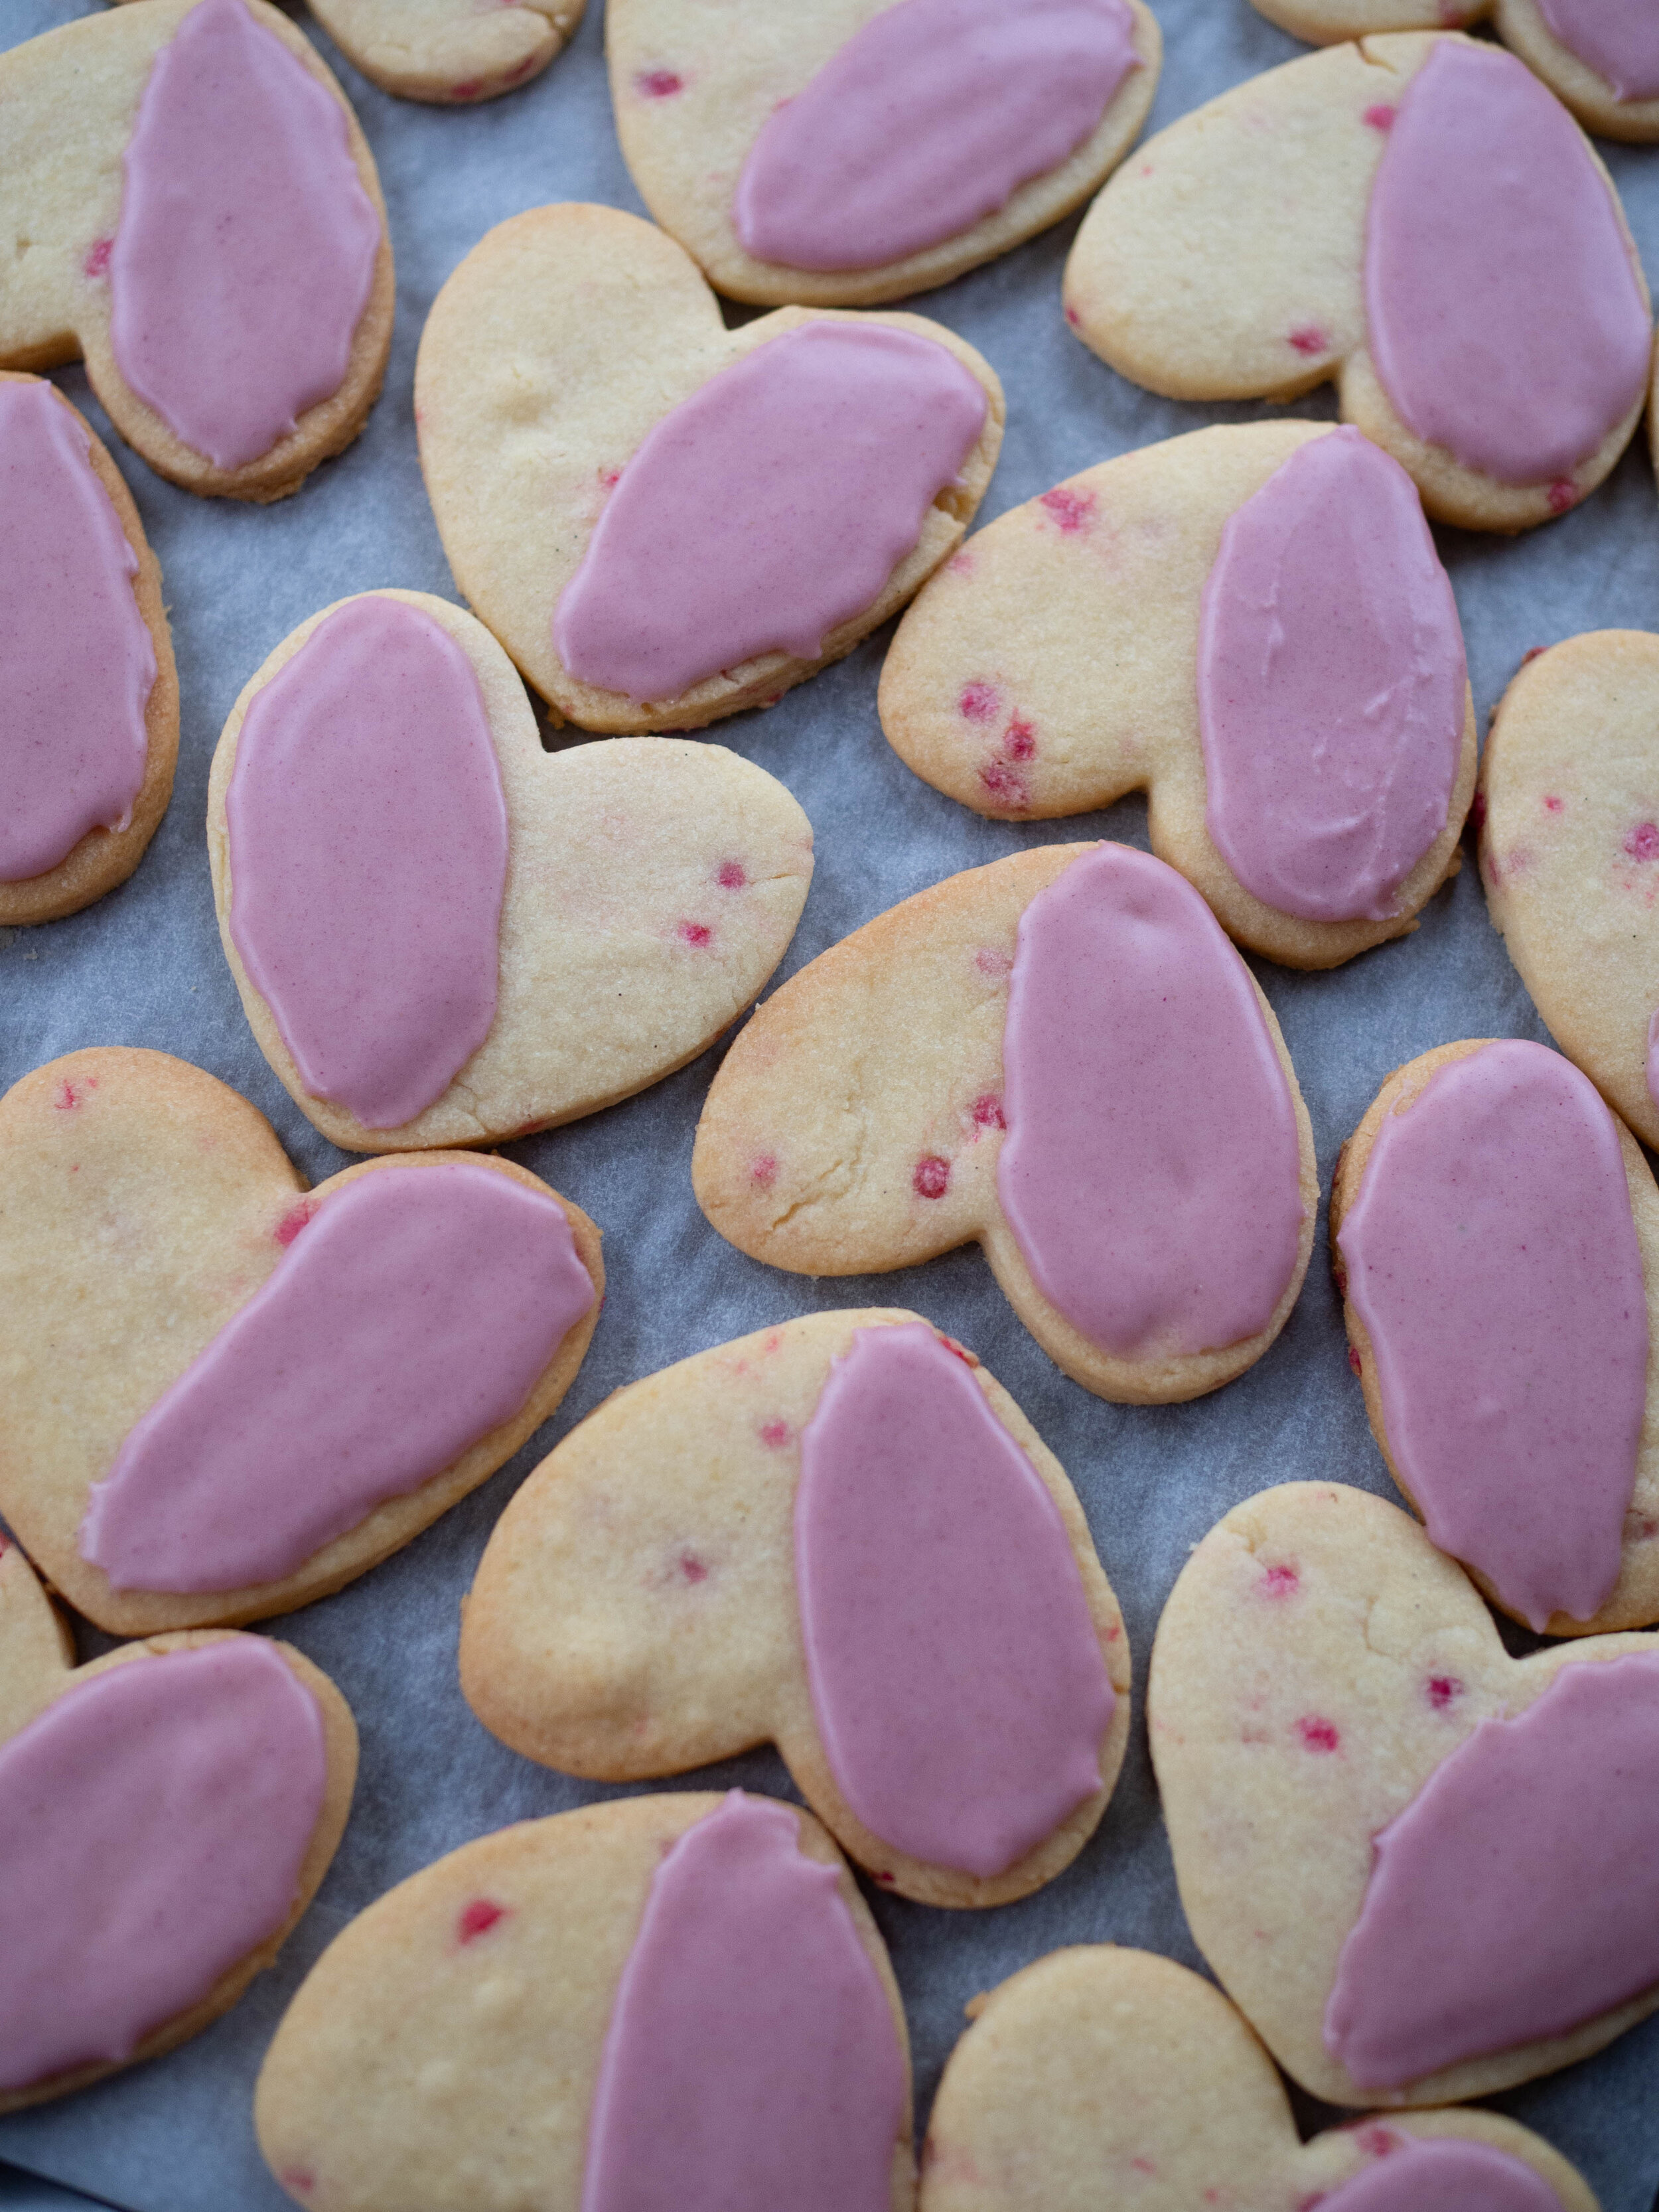
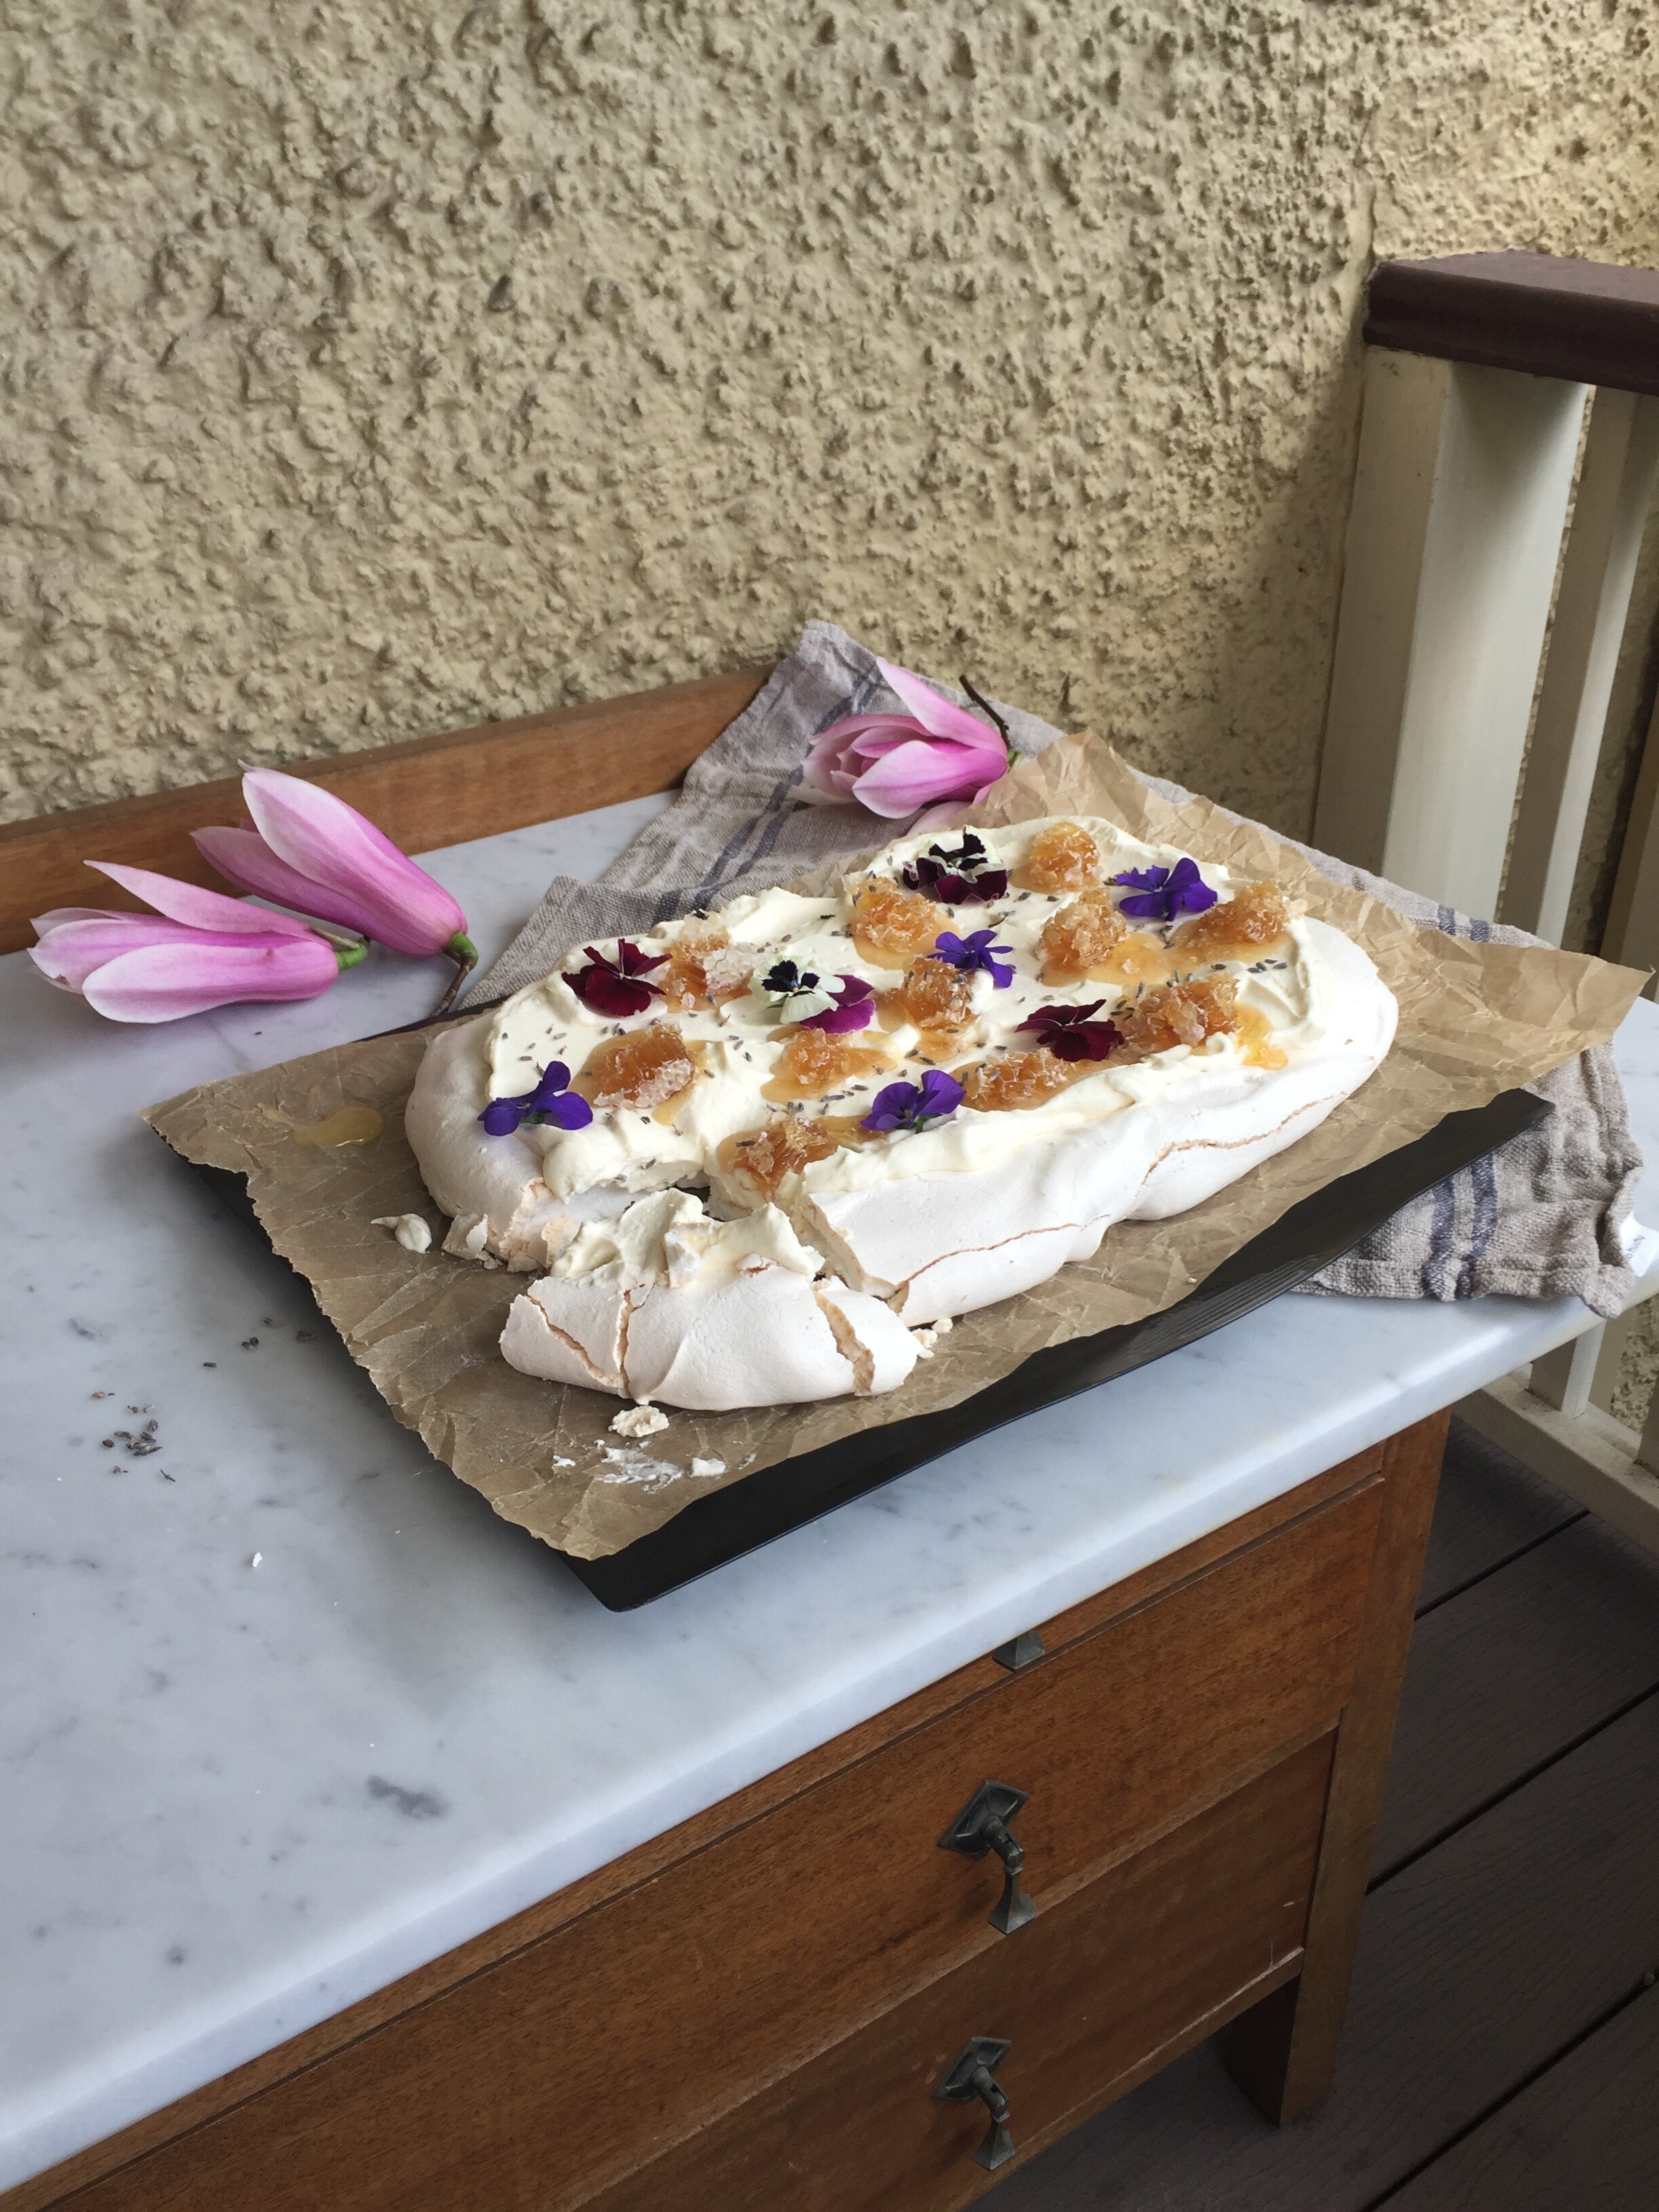
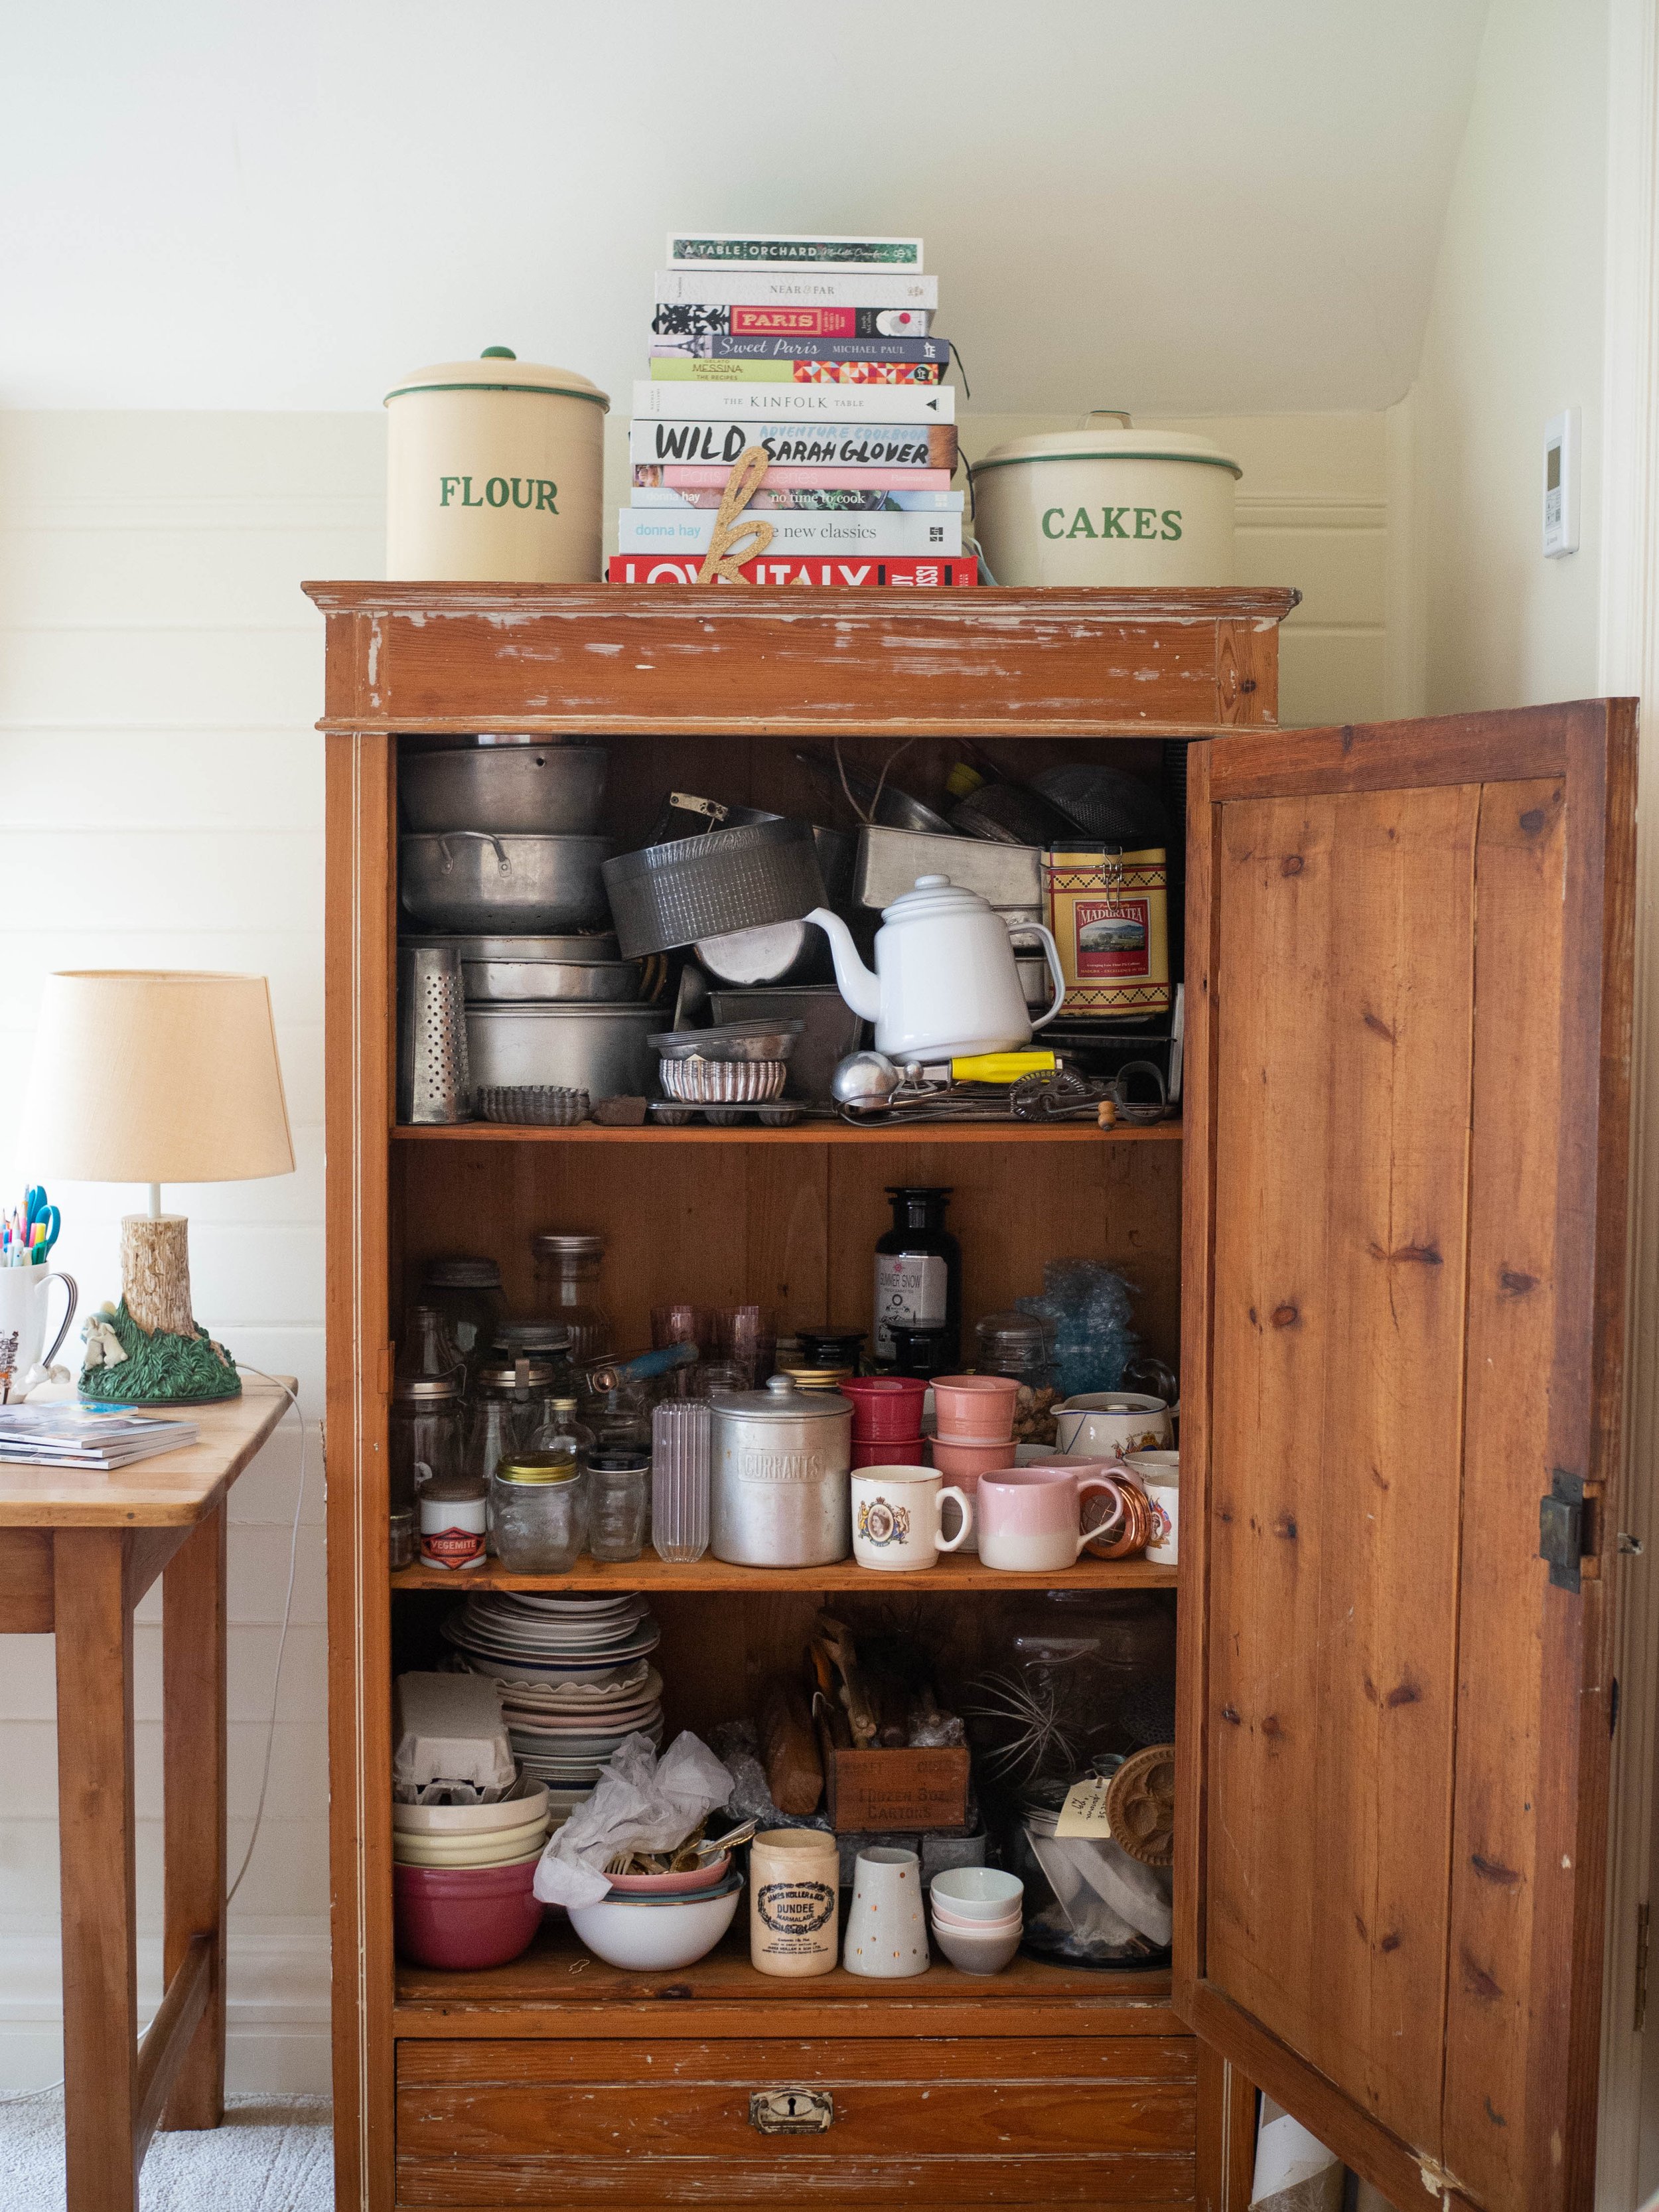
As you can see in the images above and below, my photography props have formed a serious collection. 

Some things came from my Grandma’s kitchen, and others I have accumulated over the years both second hand and new.

I have been lucky to find many very creative makers whilst searching for props, and I thought I’d share a few here. 

Whether you are into food photography or not, most of these suggestions are just lovely things to have or use in your home, or give as a really thoughtful gift.

  1. Easy portable backgrounds from Capture by Lucy - This is the only photography specific suggestion! These photography backgrounds from the UK are the best I’ve used, and the last really well (I’m still using the first two I bought in 2017!). They are a great investment if you want a variety of backgrounds to use in your photography.

  2. LouiseM Studio - I came across Louise’s work as she is the ceramicist who makes the butter keepers for Pepe Saya. Louise makes many lovely things, and I particularly like her use of colour. I recently bought a few plates from her - dinner plates that are actually the perfect size to serve a cake on - and I am getting a lot of use out if them.

  3. Daisie Mae - I have been following Meg on Instagram for a while, and recently she opened her online store selling her handmade cushions and lampshades and also some really fun cups and vases. I have two of the pastel cup and saucer sets, and I think they’d be lovely as a daily tea cup and not just a photography prop!

  4. Bridget Bodenham - Bridget probably needs little introduction, she’s been making her ceramics for a while now and if you’ve ever been to a Finders Keepers Market you might have seen her wares there. I really like the individuality of Bridget’s work, but also how every piece is also very functional if you were going to use it day to day.

  5. Bec Fing Designs - I’ve mentioned Bec before I think, but I will again as I really like her bright colourful designs. Bec produces table linen and tea towels from her own hand painted designs, and the tea towels in particular I have found useful for a pop of colourful fabric in my photos.

In From The Mailing List, Food Photography Tips Tags Food Photography, Food Photography Tips, Photography, Props, Styling, Food Styling, Capture by Lucy, LouiseM Studio, Daisie Mae, Bridget Bodenham, Bec Fing Designs
Comment
Editing in Lightroom for Food Photography

How to Edit Food Photos in Lightroom - Editing Images Shot in Low Light

Kath March 9, 2020

The process of how I create the images I share here on my blog, in my newsletter and on social media is something I am trying to share more of. I know seeing the process can break down ideas of something being ‘too hard’ or ‘out of reach’, and having advice and tips shared by others is exactly how I learnt the basics of shooting on manual settings and editing in Lightroom.

In this post I am going to focus on how I edit my food images in Adobe Lightroom (Desktop version), specifically how I rectify images that have been shot on an overcast day and therefore have a blue/grey hue to them.

If you don’t use Lightroom, you can still apply the tips below to the image editing software or app that you use.

I am using an image of my Rose Sugar Cookie Hearts shot in early February, on the wettest weekend Sydney had experienced in a while!

In the tips below, I share the ways I usually edit a food image I have taken, it is not an exhaustive list and not every element will be relevant to every image. Play around with what looks best on the image you are editing, you can always undo anything you don’t like!

Click on the each Lightroom screenshot to make it bigger - I have highlighted and annotated each editing step.

For reference, the images were shot with an Olympus EM-10.

Raw Unedited Image

Raw Unedited Image

Editing Food Photos in Lightroom

Above is the image I started with. You can see how it has an overcast look to it, and needs some brightening to enhance the colour of the biscuits.

This how the ‘Develop’ section of Lightroom (Desktop) looks before you begin making any changes to the image. At the top, it will tell you what manual settings your camera was on, and why type of lens was used to shoot the selected image.

In this case I was using ISO 500, a 25mm lens, f stop 2.2 and my shutter speed was at 125. These settings are what suited my camera and my environment best at the time of the shoot, as while I was positioned right next to windows, it was later in the day and it was very overcast.

Click on Image to Enlarge

Exposure

My first point of call when editing images is adjusting the exposure if necessary. Images like this one need a bit more adjustment than others shot in better conditions. In this case I increased the exposure to +35 to brighten the image, and begin to rectify the overcast conditions the image was shot in.

Click on Image to Enlarge

Contrast

Next I check the contrast. Slightly adjusting the contrast of an image can give it more definition. Here I have increased the contrast to +12.

Click Image to Enlarge

Shadow

I always adjust the shadow in my food images. Either to decrease the shadow, as I have in this image, or to increase it in brighter images to create more depth and texture to the image. I find when an image is already on the darker side and I am looking to brighten it up, decreasing the shadows can help.

Click Image to Enlarge

Texture & Clarity

Similar to adjusting shadows, I also always slightly adjust the texture and clarity of my images. Both these editing options give more depth and definition to images, however for food images I would never take it past +10.

Click Image to Enlarge

Colour Enhancement

Since this image has the pink colour that is quite dominant, I will enhance the colour a little to make it pop. Not all images need this feature, it will just depend if there is a certain colour or element you wish to highlight. To find the Colour Panel, scroll down on the right hand side whilst in Develop mode, basic the basic section we have just been working in.

Then choose whether you wish your image to have more enhancement on the hue, saturation or luminance of a particular colour. Click the round marker on the left hand side of each colour option, then hover your curser over the part of your image you wish to adjust. This will highlight which colour over on the panel best matches to the colour in your image. This is the colour you should adjust. For this image, magenta was highlighted when I hovered over the icing on the biscuits.

Click Image to Enlarge

For this image I have focused on the hue and saturation sections in the Colour panel. I have adjusted both slightly for magenta, to enhance the colour of the icing on the biscuits but not let them look unrealistic or overdone.

Click on Image to Enlarge

Temperature

The biggest tip I can give when your shoot conditions are overcast or you have to shoot in low light and your images come out with a blue/grey hue is to alter the temperature of the image in Lightroom. I find I need to use this editing feature also when I shoot on darker backgrounds like zinc or even sometimes marble as they create can create a blue/grey tone to the image even when your shooting environment is brighter.

Simply shift the temperature gage slightly towards the yellow side, keeping an eye on the image so you can determine how far to take it. Here I’ve adjusted it from 4,550 to 5,058 and you can see the slider is still more towards the blue end than the yellow. How much you move the slider will depend on your image and what you want it to look like.

Conversely, if an image you shot is too warm looking for your style, you can use the temperature feature to cool down the tones in the image by moving the slider more towards the blue side.

Click on Image to Enlarge

Before + After Comparison

To have a look how your editing has altered the image, click on the button at the bottom of your screen to do a before and after comparison. You can also see the main changes made to the image on the Basic editing panel on the right, along with the History of changes made to the image (including when it was exported from Lightroom) on the right.

Click on Image to Enlarge

Below is the final edited image. You can see how by adjusting the exposure and temperature in particular have changed the entire image. The fact that it was shot in low light on an overcast day isn’t really noticeable now. The image now suits the fun/Summer/Valentines Day look I was going for, and highlights the lovely golden colour of the biscuits and the pink icing.

Final Edited Image

Final Edited Image

View fullsize BEFORE
BEFORE
View fullsize AFTER
AFTER
In Food Photography Tips Tags Lightroom, Food Photography Tips, Photo Editing, Editing Food Photos
Comment
5 Essentials for a Food Photoshoot

5 Essentials for a Food Photoshoot

Kath February 19, 2020

I set up photoshoots for every blog post I create (plus for paid client work as well). Below are my five essentials for a photoshoot, and also some photos of the photography set up and what the finished product ends up looking like. 

5 Essentials for a Food Photoshoot

  1. Camera - The first and most obvious thing is a camera! I use an Olympus EM-10, which is a mirrorless (or compact system) camera with a 40-150mm lens, and more recently a 25mm lens as well. I have been using my camera for a few years now, and (after much practice!) I use it on manual settings, though I am still always learning something new!

  2. Background - I have a few backgrounds to chose from. I have a couple I have bought (such as those from Capture by Lucy & FoodBackgrounds on Etsy), as well as a marble top from an old dresser that we kept after the dresser had to be thrown away. I also use our black granite kitchen bench and an old pine table (pictured in the photo above). I tend to like using the bought backgrounds most as they are portable, which means I can set up a shoot wherever the light is best at the time, or can be taken to client work too.

  3. Natural Light - This is one of the most important aspects of my blog photoshoots. All my photos are shot in natural light, and I often go to great lengths to get it! Sometimes I set up my shoot outside, but most often it will be by a window or on the floor with a door open next to it. In the photo above there was an open door to the left of the shot to bring in natural light, as well as closed windows behind.

  4. Props - I have accumulated lots of 'props' over the years! I have a few different cake stands, a stack of various plates, different mugs and cups as well as lots of old cutlery. Some things I buy specifically for photography, others are things we just have at home (my Mum has been a collector of antiques and vintage for many years) and others I have been given or inherited from my Grandma. 

  5. Food - Of course!! Without some food my blog photoshoots wouldn't be complete! I usually shoot the recipe straight after it has been cooked, and plan my day around when the recipe will be finished and when the natural light of the day will be best to shoot in. I think about how the end product will look, and what food related props might be necessary for the shoot. For example in the photo above I have a few fresh raspberries in the shot as the cake has them inside and as decoration. 

Click on the each image below for more information on the shoot set up.

View fullsize Duck Egg Pavlova
Duck Egg Pavlova
View fullsize Duck Egg Pavlova Shoot
Duck Egg Pavlova Shoot
View fullsize Ginger Snap Iced Tea
Ginger Snap Iced Tea
View fullsize Ginger Snap Iced Tea Shoot
Ginger Snap Iced Tea Shoot
View fullsize Pistachio Raspberry & Rose Cake
Pistachio Raspberry & Rose Cake
View fullsize Pistachio Raspberry & Rose Shoot
Pistachio Raspberry & Rose Shoot
In Food Photography Tips, From The Mailing List Tags Food Photography, Food Styling, Food Photography Tips
Comment

recipes

  • Biscuits/Cookies 39
  • Breads Etc. 9
  • Breakfast 7
  • Cakes & Slices 67
  • Confectionary 5
  • Drinks 6
  • Events 14
  • Food Photography Tips 3
  • From The Mailing List 24
  • Heirloom Recipes 12
  • Holidays 44
  • Ice Cream 9
  • Jams Preserves & Spreads 9
  • Muffins 4
  • Off the Shelf 47
  • Other Desserts 25
  • Savoury Dishes/Meals 15
  • Scones 4
  • Tarts & Pastry 9
  • Travel 13

Sign up to Friday Food Chat with Kath, a weekly newsletter for more food, baking, cookbook chat and more!

Sign Up Here!
instagram-unauth pinterest facebook url

Website Accessibility: To enable text to speech function on the blog, click the sound button to the right of each blog post.

All images & content are the property of Kathryn Vincent, unless stated otherwise. Please do not use without permission.

Kulinary Adventures of Kath

Food Photography, Recipes & Baking

instagram-unauth pinterest facebook url