Kulinary Adventures of Kath

Food Photography, Recipes & Baking
  • home
  • About
  • Work with Kath
  • Shop
  • Blog
    • The Blog
    • Recipe Archive
  • Newsletter
  • Contact
  • home
  • About
  • Work with Kath
  • Shop
    • The Blog
    • Recipe Archive
  • Newsletter
  • Contact
Raspberry Pistachio Rose Cake (23 of 25).jpg

The Blog

Recipes and Food Photography by Kath Vincent.

  • The Blog
  • Recipe Archive
  • All
  • Biscuits/Cookies
  • Breads Etc.
  • Breakfast
  • Cakes & Slices
  • Confectionary
  • Drinks
  • Events
  • Food Photography Tips
  • From The Mailing List
  • Heirloom Recipes
  • Holidays
  • Ice Cream
  • Jams Preserves & Spreads
  • Muffins
  • Off the Shelf
  • Other Desserts
  • Savoury Dishes/Meals
  • Scones
  • Tarts & Pastry
  • Travel
Passover Charoset Bliss Balls

Passover Charoset Inspired Fig Date and Pistachio Balls

Kath March 17, 2020

I find exploring other cultures through food an endlessly fascinating experience. And mostly, it can be done at home. Through cookbooks, blogs, social media and having a few ingredients at home. 

As I mentioned in a previous post, I received Leah Koenig’s book ‘The Jewish Cookbook’ for Christmas last year (the irony of that statement is still not lost on me I promise!), and it has remained one of the books I have been reading through most since then.

Towards the back of the book, in the chapter ‘Condiments, Spices & Drinks, there are quite a number of recipes for charoset. Charoset is part of the Passover seder, it’s a mixture made of fruits with much symbolic meaning for that particular religious holiday. Like many recipes within the Jewish diaspora, the ingredients change depending on what part of the world the recipe and Jewish community live or have come from. There are six different recipes for charoset in Leah’s book, and she mentions there would be many other variations. 

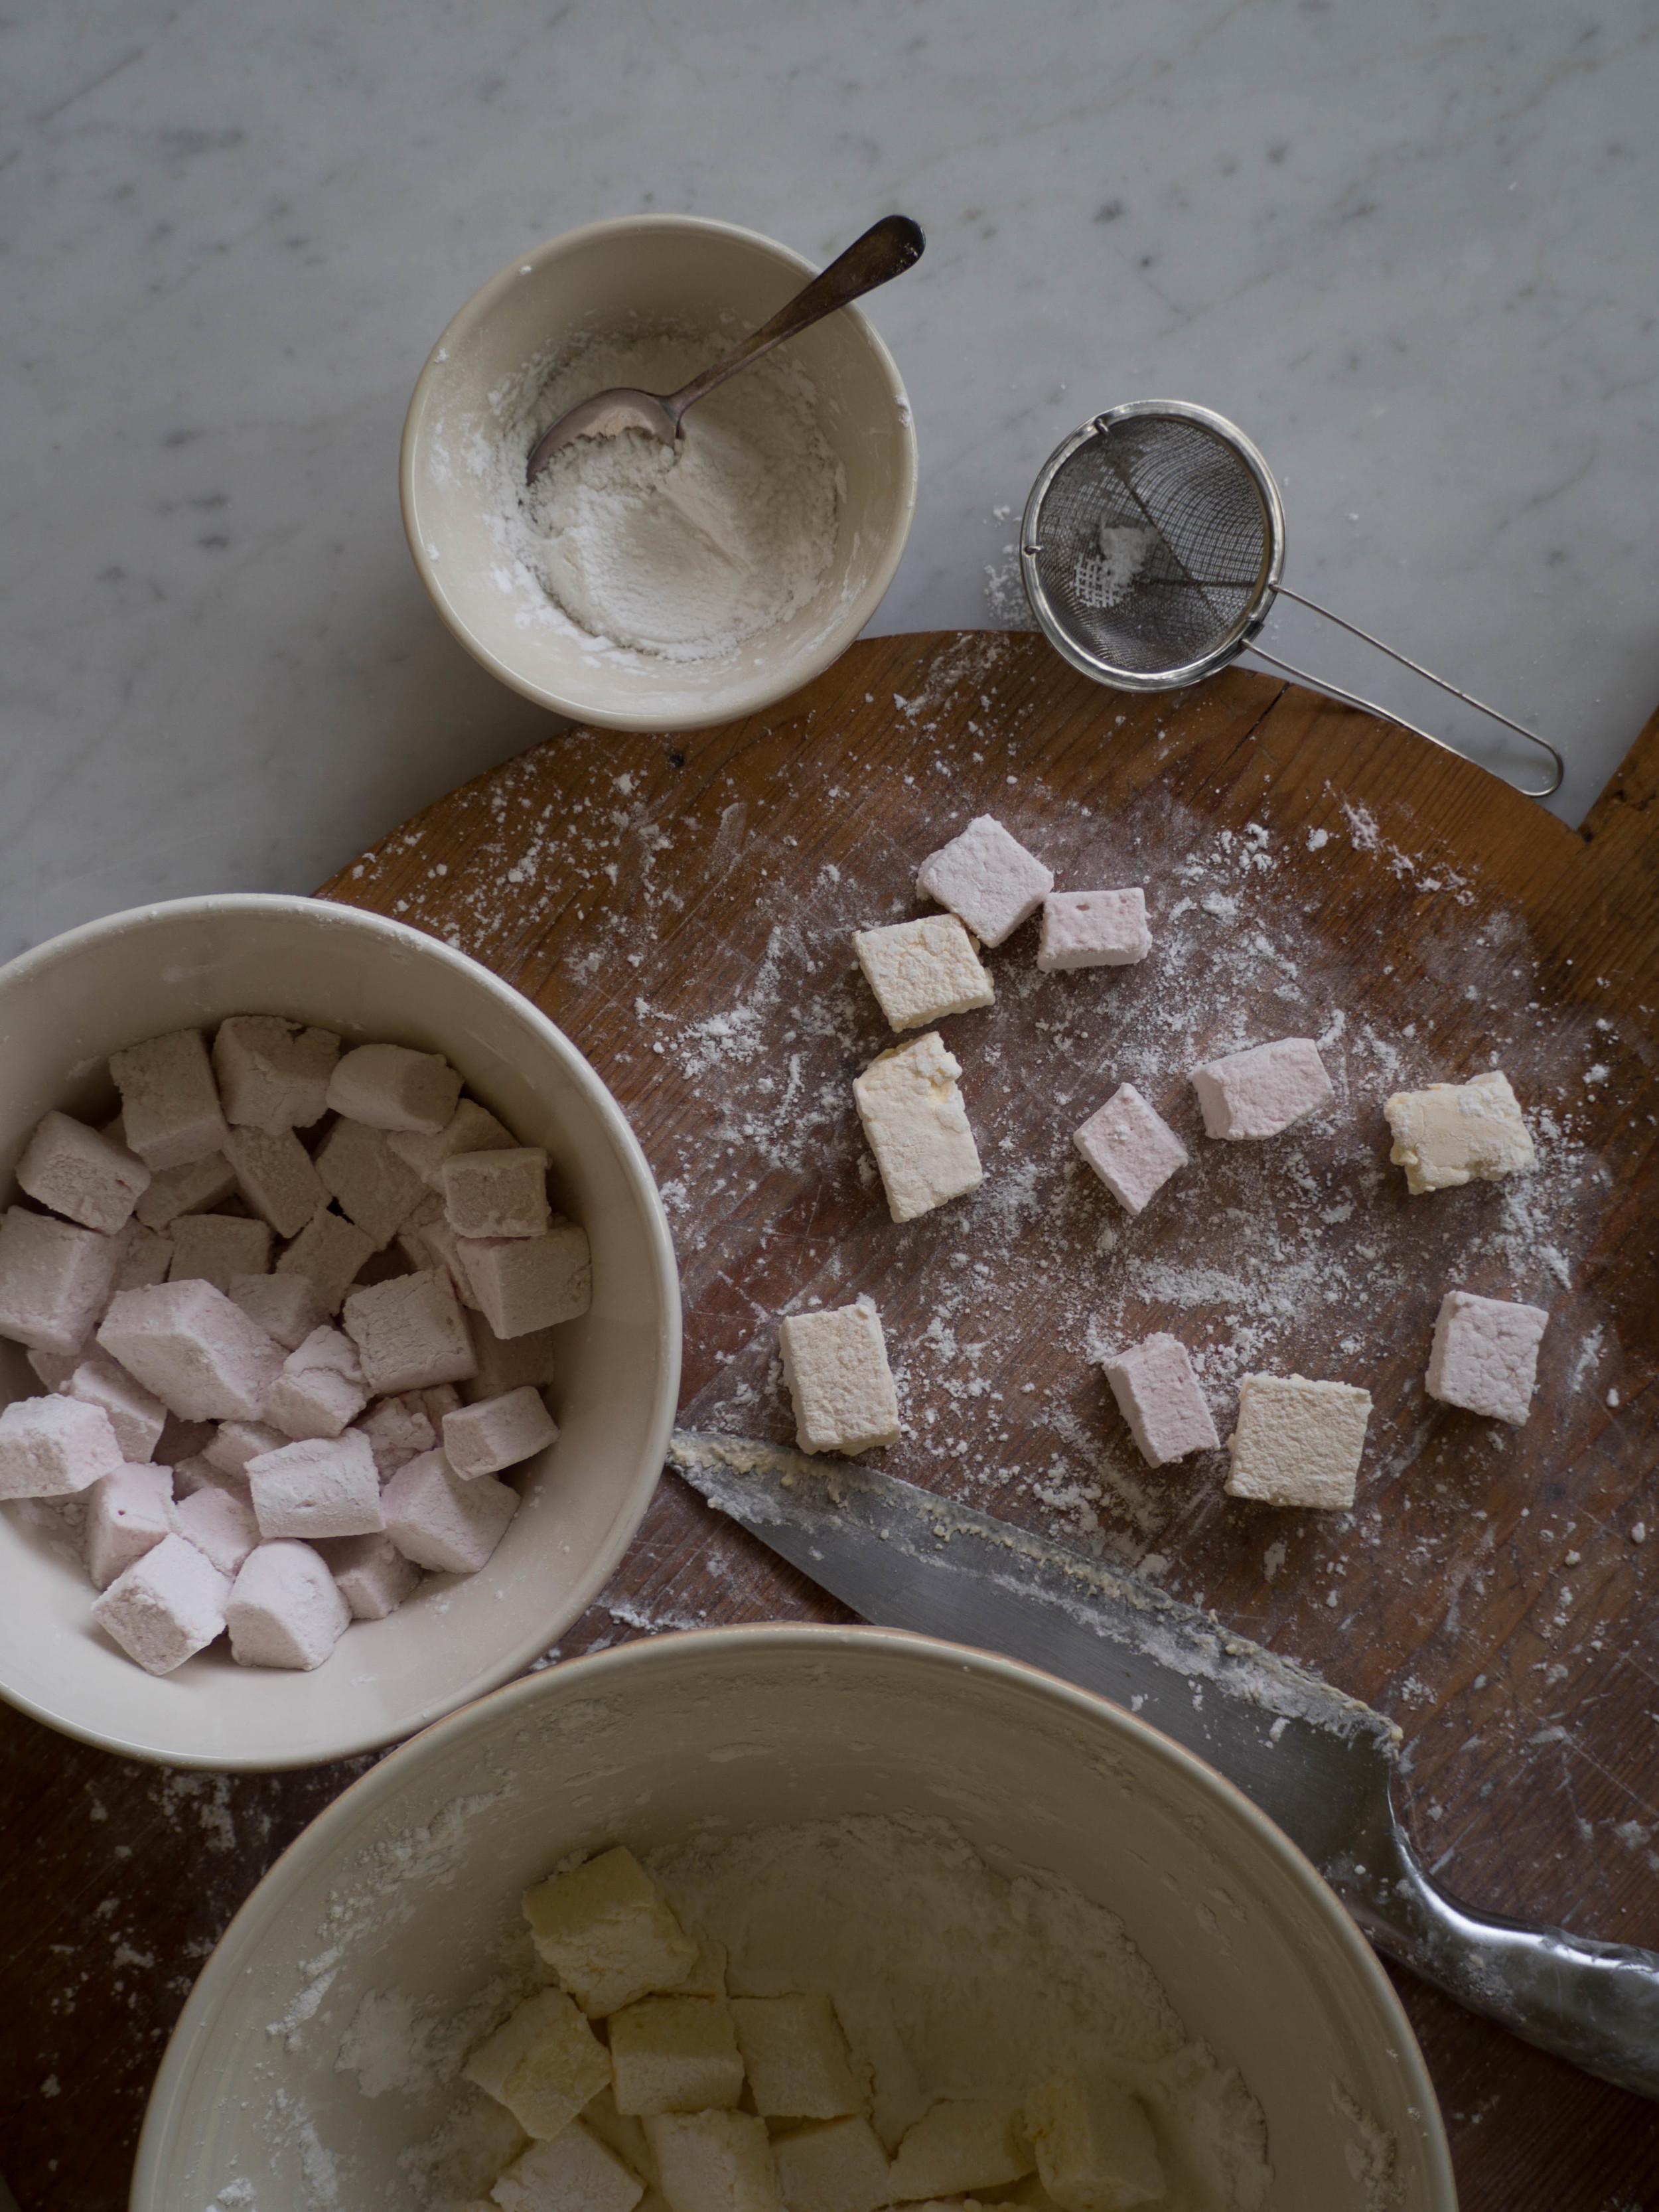
All of the recipes use fruit, often dried fruit with some fresh apple, some spices and some sweet red wine. Some charoset is chopped, some pureed into a smoother paste and others rolled into balls. This got me thinking - taking a bit of inspiration from each of these recipes, I could make some really nice dried fruit and nut balls. Not like those weird protein (or ‘bliss’) balls, but something really tasty made with great quality dried fruits, and spices like those used in many of these recipes. 

The Kurdish Charoset recipe was rolled into balls, many of the recipes used dates and the Yemenite Charset recipe used dried figs and a great selection of spices (including ground coriander which I never would have thought of using otherwise). I was starting to create a version of my own, taking what I liked from all of these very diverse charoset recipes. I used slivered almonds as the nut inside the balls, as we always seem to have a good supply of them, and the pistachios on the outside just look so good. I substituted vanilla extract for sweet red wine, but if you are making these for Passover, you can still use the wine instead.

Often the best recipes are heavily influenced by the work of others and the foods of other cultures (and what you have in your pantry!). So these are my Passover Charoset Inspired Fig Date and Pistachio balls, that could equally be just Fig Date and Pistachio Balls ready for a nice healthy snack. 

Fig and Date Bliss Balls

Passover Charoset Inspired Fig Date and Pistachio Balls

Ingredients: 

200g black and white dried figs

110g pitted medjool dates

50g golden sultanas

50g slivered almonds, lightly toasted

1 tsp vanilla extract

1/2 tsp ground ginger

1/2 tsp ground cinnamon

1/2 tsp ground coriander

1/2 tsp ground cardamom 

25g blanched or raw pistachios, finely chopped

Method: 

Add all the ingredients, except the pistachios, to the bowl of a food processor. Blitz until all the ingredients are combined and it clumps together. The mixture does not need to be smooth. Some of the almonds will remain in chunks. 

Roll into balls, then roll into the finely chopped pistachios to cover. Place on a tray and leave in the fridge for at least 30 minutes to firm up. The balls can then be stored in an airtight container in the fridge. 

Makes 18-20 balls. 

Passover Charoset Balls

Reference: ‘The Jewish Cookbook’ by Leah Koenig (Phaidon Press Limited, 2019), pp.406-409.

Charoset Balls for Passover
In Holidays, Other Desserts Tags Passover, Charoset, Dried Fruit, Bliss Balls, The Jewish Cookbook, Gluten Free, Dairy Free, Holiday Baking
Comment
Kaffir Lime Chicken (19 of 21).jpg

How to Cook with Kaffir Limes - Kaffir Lime & Coconut Poached Chicken with Noodles

Kath June 9, 2017

There is definitely a story behind this recipe!

We have a kaffir lime tree, and have done for a few years. We use the leaves now and then in cooking, but for quite a few years I never saw limes growing on the tree. In 2015 some friends and I went to Jamie Oliver’s Food Revolution Live. Jamie demonstrated a few recipes, one of which he used the zest and juice of a kaffir lime. I was amazed. How do we have a kaffir lime tree and I’ve never seen a kaffir lime before? And more importantly, why aren’t we cooking with them?

When I got home I was telling Mum about the day and Jamie’s use of kaffir limes. She was shocked, she had thought kaffir limes weren’t edible. If that were true, I was sure that Jamie Oliver of all people would know that and not demonstrate the use of one in a live show. It transpired that Mum had been removing the flowers from the kaffir lime tree each year so if never went to fruit. But since we have now been educated on kaffir limes (thanks Jamie), we have had a complete glut of them! This year in particular, we’ve had at least 20 particularly large limes from our humble tree. 

How to cook with Kaffir Limes

While I was very excited about this, and the other citrus we have that were showing good signs of a bountiful season, I didn’t have many ideas for actually using the kaffir limes. Since we had so very many, I gave some away (along with some of the leaves). One recipient was so freaked out by them - ‘Are they meant to look like that?! They look like brains!’. I guess if you’ve never seen them before they do look pretty weird! Luckily their flavour makes up for their weird appearance.

View fullsize Kaffir Limes (1 of 3).jpg
View fullsize Kaffir Limes (2 of 3).jpg

I knew kaffir limes worked well in South East Asian cooking, but as my mind immediately goes to ideas for baking, I tried to make kaffir lime shortbread. That was a definite no go. The sweetness of the shortbread combined with the intense citrus notes of the kaffir lime conflicted with each other so much, I wasn’t sure if I was eating something sweet or savoury. 

Once it became clear that sweet was out of the question (there goes my idea of a kaffir lime pie), I steered my thoughts back to the world of savoury cooking. Having eaten a few chicken dishes (mostly Thai) that used kaffir lime leaves, I decided to combine what I liked best about them, but also use the actual kaffir limes. And this is the result. This dish will feed 4-6 people, depending on the size of chicken breasts you use (the pieces of chicken I used ended up being particularly big, so there were lots of leftovers which I have now frozen for another day!). If you can’t get any kaffir limes, use the kaffir leaves and regular limes for the juice and zest. 

How to cook with Kaffir Limes

Kaffir Lime & Coconut Poached Chicken with Noodles

Ingredients for the Poached Chicken: 

x3 chicken breasts 

x2 270ml cans of light coconut milk

juice of 1/2 kaffir lime

zest of 1/2 kaffir lime 

x6 kaffir lime leaves

1 cm slice fresh ginger 

1 stalk lemongrass, outer leaves removed and cut in half

x3 stems of coriander with roots, well washed


Ingredients for the Sauce & Rice Noodles

1 tbsp vegetable oil

x3 small gloves garlic, crushed

x1 red chilli, deseeded and finely chopped

x4 spring onions finely sliced, white part only

juice of 1/2 kaffir lime

zest of 1/2 kaffir lime

150ml chicken stock

500ml coconut poaching liquid 

1 tsp soy sauce

x1 zucchini, peeled into strips

285 g mixed beans & peas

200g packet pad thai rice noodles

x2 (or x3 small) bunches coriander, leaves & stems roughly chopped


Method: 

In a medium pot, add the chicken, coconut milk, kaffir lime zest & juice, kaffir leaves, ginger, lemongrass and coriander stems. Mix to combine then place over low heat, and loosely cover with lid. Poach the chicken for 20-30 minutes, turning over half way through. To check the chicken is cooked, cut open with a knife and check the middle of the chicken breast has cooked through. Once cooked remove from heat. 

When the chicken has cooled a little, remove from the pot and cut into chunks or slices. Reserve 500ml of the poaching liquid, then put the cut up chicken back in the pot with the remainder of the poaching liquid to keep warm. 

In a large pan on medium heat, add the vegetable oil, spring onions, garlic and chilli. Cook for a couple of minutes, stirring constantly so everything cooks evenly and doesn’t burn. Add the kaffir lime juice and zest, stock, poaching liquid, soy sauce and a couple of the kaffir lime leaves from the poaching liquid. Stir to combine, then allow to simmer for a couple of minutes. Add in most the chopped coriander and the cooked chicken. Meanwhile cook the rice noodles according to packet instructions, then add to the pan. Stir to combine, then add the zucchini, beans and peas. Mix through (using tongs is easiest), then serve with the remaining coriander. 

How to Cook with Kaffir Limes
How to cook with Kaffir Limes

References: ‘Jamie’s 30 Minute Meals’ by Jamie Oliver (Penguin Group, 2010) p.88; ‘The Heart of the Home’ by Julie Goodwin (Ebury Press, 2011) p.82; Donna Hay's Coconut Poached Chicken Salad.

How to cook with Kaffir Limes
How to Cook with Kaffir Limes
In Savoury Dishes/Meals Tags Kaffir Limes, Chicken, Dinner, Gluten Free, Dairy Free
8 Comments

Lychee Rose Summer Cooler

Kath February 21, 2016

The inspiration for this drink recipe came from a mocktail I tried at my birthday dinner late last year at The Glass Brasserie at the Hilton Sydney. It was a great night, with amazing food and the best company. My brother and his girlfriend travelled from interstate to surprise me on the night, which pretty much made it one of the best birthdays ever. 

Lychee Rose Mocktail at the Glass Brasserie

Lychee Rose Mocktail at the Glass Brasserie

I chose the Lychee Rose mocktail, obviously because of the rosewater in it! I love rosewater, as I’m sure you have noticed, and can’t go past anything on a menu that contains it. And in this case, I’m very glad I tried it. Not only was it amazing, but it has inspired a Summer drink that can be made very easily at home. 

This recipe also showcases lychees while we have them in season, but canned ones (rinsed first) will work well too. I have been enjoying making this drink over the past couple of months, and I find it can last at least a week in the fridge (particularly if the lychees are freshly bought). I have also taken to buying more lychees than I need, pureeing and sieving them, and freezing the juice to use later. I also like making up some ice cubes with a few torn rose petals and a splash of rosewater to add to the jug or glass upon serving. This recipe is also really good frozen into ice block moulds, with a few chunks of lychee dropped into each - perfect for those super hot Summer days! 

On another note, this week marks the beginning of our kitchen renovation. It is a slightly daunting and exciting time, but does however mean I won’t be cooking almost anything but toast for quite a few weeks. I have however come prepared! These past couple of months I have been spending almost every weekend baking and shooting in order to have some recipes to share here during the kitchen renovation - this is the reason I have only posted one recipe on the blog this year! All my spare time has been taken up with the baking side of things! I look forward to sharing the end result with you when it’s all done, but until then I hope you enjoy the recipes to come over the next few weeks! 

Lychee Rose Summer Cooler

Ingredients: 

1L pineapple juice 

250ml cranberry juice

250ml water

5 tbsp rosewater 

12 fresh lychees, plus extra 

fresh rose petals, optional 


Method: 

You will need a jug of at least 2L capacity for this recipe. 

Puree the 12 lychees, and pass through a sieve to remove any lumps. Add all the ingredients, except the rose petals, to the jug and stir. Taste and top up with water if needed, add ice. 

Use rose petals and extra lychees to decorate when serving.

For more recipes showcasing the best of rose, check out my eBook Baking with Rose by clicking on the link below!

get your ebook!
In Drinks Tags lychee, Rosewater, Rose, drinks, summer, Hilton Sydney, Glass Brasserie, Gluten Free, Dairy Free
Comment

Homemade Marshmallows (Gluten + Dairy Free)

Kath December 10, 2015

I have always loved marshmallows. I would eat them by the bowlful as a kid, much to my Mum’s dismay. I’d often melt them in the microwave, add Rice Bubbles, and eat them like a massive LCM (or rice crispy treat), but with much more marshmallow! 

Then while I was at uni, a friend introduced me to Sweetness the Patisserie in Sydney, who make their own marshmallows, known as Sweet Mallows. They are made with natural flavours, and come in an amazing variety of flavour combinations. These homemade, (much) more natural versions of the marshmallows you buy in the lolly isle at the supermarket, make you never ever want to eat the supermarket variety again.

I then stumbled across the below recipe in the recipe book from the Parisian confectioners,  À La Mère de Famille (check out this post for more on the Parisian confectioners). Its not an overly complicated recipe, you just need to be organised, work quickly and have a sugar thermometer. So once I bought a sugar thermometer, there was nothing stopping me finally making marshmallows for myself! 

The flavour combinations are really quite endless, and I think they make cute gifts (cue impending holiday season!). The flavour of the marshmallows develops a lot after a day or so, so I would recommend making them a day or two in advance before giving them as gifts. They also require tossing in the icing sugar and potato flour mix more than once over the first couple of days, particularly in humid conditions. They will otherwise absorb the first lot of icing sugar and potato flour quite quickly and become wet and sticky. And let’s face it, its always handy when you are making gifts, or just cooking generally, to have things that can be prepared in advance! 

Homemade Marshmallows

Ingredients for Raspberry Marshmallows: 

15g gelatine sheets

100g raspberry pulp

20g water

50g mild honey

240g sugar

100g egg whites

1 tsp freeze dried raspberry powder, sifted, optional

75g icing sugar

75g potato flour/starch 


Ingredients for Passionfruit Marshmallows:

15g gelatine sheets 

70g strained passionfruit pulp

40g water

50g mild honey

240g sugar

100g egg whites

1 tsp freeze dried passionfruit powder, optional

75g icing sugar

75g potato flour/starch 


Method: 

Place the gelatine in bowl of cold water, and leave to soak for 5 minutes. Then drain and set aside. 

Place the egg whites in a bowl, and have everything ready to whip them once the sugar syrup starts to heat up (see following step).

In a large saucepan heat, the raspberry pulp or passionfruit pulp, water, honey and sugar until it reaches 114 degrees Celsius on a sugar thermometer. The sugar syrup will start rapidly boiling and increase in size, so make sure you use a large enough saucepan. This shouldn’t take too long, so once the mixture starts to increase in temperature, start whipping the egg whites on a low/medium speed.

Once the sugar mixture has reached 114 degrees Celsius, and the egg whites are whipped to stiff peaks, gently fold the sugar mixture and gelatine in to the egg whites. 

Increase the speed of the mixer (medium to high speed), and allow the marshmallow to thicken and cool. This will take a few minutes. Add the freeze dried raspberry powder or passionfruit powder, if using, and continue to whip the marshmallow until it has cooled to at least 40 degrees Celsius. Whilst the marshmallow is thickening and cooling, lay a sheet of baking paper on a clean dry surface and generously dust with combination of the icing sugar and potato flour. 

Once the marshmallow has thickened and cooled, pour it onto the prepared surface and spread into a rectangular shape, about 1.5-2cm in thickness. Dust with more icing sugar and potato flour, and leave to set. 

I found it didn’t take very long for the marshmallow to set, but leave it about 30 mins to be sure - it will be set when it bounces back when pressed and the outside area dusted with the icing sugar and potato flour is no longer sticky. You may need to dust the marshmallow more than once depending on the humidity. 

Once the marshmallow has set, cut into cubes, and toss cut marshmallows in a bowl filled with icing sugar and potato flour. Cut cubes of marshmallow may need dusting a couple more times as the first lot tends to be absorbed after a few hours (particularly in humid conditions). Keep a bowl or container of the icing sugar and potato flour handy so the marshmallows can be re-dusted if needed. 

Reference: ‘À La Mère de Famille: Artisanal Recipes’ by Julien Merceron (2013, Hardie Grant Books), pp.108-112. 

In Holidays, Confectionary Tags marshmallow, Raspberries, Passionfruit, confectionary, Christmas, edible gifts, A La Mere de Famille, Gluten Free, Dairy Free
Comment

Raspberry, Almond & Vanilla Layer Cake (Gluten Free)

Kath September 16, 2015

There is a bit of a story behind this cake. I have been wanting to make something like this for a while, pretty much since I first tried the ‘Old Fashioned Vanilla Cake’ from Flour & Stone. While the ingredients are simple, the end result is definitely the best cake you can buy in Sydney. My version, while highly inspired by the cake at Flour & Stone, ends up being a bit different, but equally as delicious. 

It also ends up being gluten free as I opted to use a almond based cake for this recipe. I didn’t choose the almond cake deliberately for its gluten free qualities, I just wanted something that in some way resembled the cake at Flour & Stone, which is denser than a traditional sponge cake, yet still very light and fluffy.

Goodies from Flour & Stone, including the 'Old Fashioned Vanilla Cake'.

Goodies from Flour & Stone, including the 'Old Fashioned Vanilla Cake'.

The 'Old Fashioned Vanilla Cake'.

The 'Old Fashioned Vanilla Cake'.

My cake, inspired by the 'Old Fashioned Vanilla Cake' from Flour & Stone.

My cake, inspired by the 'Old Fashioned Vanilla Cake' from Flour & Stone.

The cake recipe has been adapted from ‘Gran’s almond cake’ in Sophie Hansen’s book ‘Local is Lovely’. This book never ceases to provide culinary inspiration and great recipes.

The filling for this cake, while still being influenced by the ‘Old Fashioned Vanilla Cake’ which has a mascarpone element to its filling, is also inspired by my desire to use some of Pepe Saya’s great products. I visited the Pyrmont Grower’s Market earlier this month and came home with Pepe Saya’s mascarpone and buttermilk. I bought the mascarpone knowing I wanted to try make this cake, and I felt that such good quality products could only be used in something as special as a cake. The buttermilk was used to make a double batch of these muffins, which we are still eating as they freeze so well, and a double batch of these pancakes. The pancakes worked so well with the Pepe Saya buttermilk, I’m not sure I want to make them again unless I have it! 

The recipe for the filling ended up being an amalgamation of this recipe from Delia Online and this recipe from Fool Proof Living. The second recipe has some good tips about whipping mascarpone, as apparently if the mascarpone and cream you are whipping are different temperatures the mascarpone will split. Most places I looked advised using both products at room temperature, however I used both chilled from the fridge and it worked well. 

As a little side note, I did add some toasted coconut chips to the layers of the cake, mostly because I had some leftover from breakfast that morning. I didn't add it to the recipe as I didn't think it significantly added anything to the cake as a whole, however they are visible in some of the photos of the cake.

Raspberry, Almond & Vanilla Layer Cake (Gluten Free)

Ingredients: 

290g almond meal 

315g golden caster sugar

6 eggs, separated

2 tsp vanilla bean paste

1 tsp baking powder


Ingredients for the Mascarpone & Raspberry Cream 

200g mascarpone 

150ml thickened cream

1 tsp vanilla extract

35g icing (confectioners) sugar, plus extra for dusting

250g fresh raspberries


Method: 

Preheat oven to 200 degrees Celsius, and grease and line the base of two 18 cm round loose bottomed cake tins (spring form cake tins will work well too). 

In the bowl of an electric mixer, beat the egg yolks and sugar until they are pale and creamy. Add the vanilla bean paste and beat to combine. 

Sift in the almond meal and baking powder, and gently mix to combine. 

In a separate bowl, whisk the egg whites until stiff peaks form. 

Using a large metal spoon, gently fold the egg whites into the almond meal mixture, a quarter at a time. 

Divide the mixture evenly between the two prepared cake tins. Turn the oven temperature down to 180 degrees Celsius. Bake the cakes for 30 minutes, or until golden and a skewer inserted into the middle of each cake comes out clean. 

Once cooked, cool the cakes in their tins for 5 minutes, then turn out onto a wire rack to cool completely (leaving the baking paper lining on the cakes as they may stick to the racks). 

Once the cakes have cooled completely, make the mascarpone and raspberry cream. 

Place the mascarpone in a medium bowl and whip until it has thickened and soft peaks form. Gradually add the cream, extract and sifted icing sugar a third at a time, and continue to whip until all ingredients have combined and the cream has thickened and stiff peaks form.

Leave a quarter of the raspberries aside for decoration, and squash the remainder with a fork. Gently fold the squashed raspberries into the mascarpone cream. 

Remove the baking paper from the cakes and cut each of the cakes in half (horizontally). Place the base of one cake on a serving plate or cake stand and cover with a third of the mascarpone cream. Top with the top half of the cake, then another third of the cream, then top with the base of the second cake, the remaining cream and finish with the remaining cake half. 

Decorate with the remaining raspberries and dust with icing sugar. 


This cake is best served on the day it is assembled, but will keep in the fridge for a few days. 

Reference: ‘Local is Lovely’ by Sophie Hansen (Hachette Australia, 2014), p.233.

In Cakes & Slices Tags Raspberry, Almond, Vanilla, Layer Cake, Cake, Flour & Stone, Local is Lovely, Spring, Flowers, Pepe Saya, Gluten Free
8 Comments
Date Torte - Kulinary Adventures of Kath

Chocolate & Date Torte (Gluten Free + Passover Friendly)

Kath October 13, 2014

Last month, one of my very good friends got married. It was very exciting! Especially as my friend very kindly asked me to help with the wedding favours and make a gluten-free dessert. I was quite surprised when she asked me. As much as I love baking, I sometimes don’t have the confidence that what I can do will be good enough, or will live up to what people want. My friend however, had complete confidence in me. This particular friend has been so very supportive of what I have been doing lately, and her support has meant so much to me. 

Working with my friend and her lovely mother on this order was lots of fun and really enjoyable. We tossed up a few ideas for the favours, and ended up landing on the rosewater and cardamom macaroons that I make. I liked this option as they are gluten and dairy free so all the wedding guests could enjoy them, and as almonds are a traditional bonbonniere gift I thought this was a nice link. My friend had a fantastic stamp made for her wedding, to use for the invitations and order of service, so we used this as the front of the label for the favours. I think the stamp was the best part of the favours! It looked fantastic and was a nice link to all the other elements of the wedding. 

Thanks so much again to my wonderful friend. I so appreciate your support and for giving me an opportunity to be part of your wedding. Congratulations to you and your husband! 

Congratulations!

Congratulations!

Wedding Favours - Kulinary Adventures of Kath
Wedding Favours 2 - Kulinary Adventures of Kath
Wedding Favours at Reception - Kulinary Adventures of Kath
Wedding Favours at Reception 2 - Kulinary Adventures of Kath
Date Torte 2 - Kulinary Adventures of Kath

Here is the recipe for the gluten free dessert I made for the wedding. It was a really nice torte to make and I am definitely looking forward to making it again soon. The original recipe used all dark chocolate. I changed it a little to include milk chocolate as well, as I often find dark chocolate too bitter. 

* this recipe needs to be started the day before serving.

Ingredients: 

250 g whole blanched almonds

150 g milk chocolate, broken into pieces 

100 g dark chocolate, broken into pieces

6 egg whites

115 g caster sugar

250 g pitted dates, finely chopped


To serve:

100 g milk chocolate

80 g dark chocolate 

250 ml whipped cream 


Method: 

Pre-heat oven to 180 degrees Celsius. Grease and line a 24 cm springform cake tin. 

Place the almonds and chocolate in a food processor and lightly blend. You still want small chunks of almonds and chocolate. 

In a separate bowl, whisk the egg whites until soft peaks form. Gradually add the sugar, and whisk until the whites are thick and glossy. 

Gently fold the almonds, chocolate and the chopped dates into the egg white mixture. Pour mixture into prepared tin, smooth the top if necessary. Bake for 45 minutes. 

Once the torte is cooked leave in the oven, turn the oven off, and leave the oven door propped open. Leave torte in the oven until completely cool. 

Once the torte has cooled, remove from the tin and place on a large plate or platter. Refrigerate overnight. 

The next day, melt the remaining chocolate in a heatproof bowl over a small amount of simmering water (the water should not touch the bottom of the bowl). 

Allow the melted chocolate to cool a little, then drizzle over the cake. 

Serve with whipped cream. 

Date Torte 3 - Kulinary Adventures of Kath

Original Recipe from ‘Monday Morning Cooking Club - The Feast Goes On’ by Lisa Goldberg, Merelyn Frank Chalmers, Natanya Eskin, Lauren Fink, Paula Horwitz and Jacqui Israel, p.187 (Harper Collins, 2014).

Originally Posted October 9, 2014. 

In Other Desserts, Holidays Tags Weddings, Wedding Favours, Gluten Free, Dates, Chocolate, Torte, Cardamom, Rosewater, Macaroons, Passover
Comment
  • The Blog
  • Older
  • Newer

recipes

  • Biscuits/Cookies 39
  • Breads Etc. 9
  • Breakfast 7
  • Cakes & Slices 67
  • Confectionary 5
  • Drinks 6
  • Events 14
  • Food Photography Tips 3
  • From The Mailing List 24
  • Heirloom Recipes 12
  • Holidays 44
  • Ice Cream 9
  • Jams Preserves & Spreads 9
  • Muffins 4
  • Off the Shelf 47
  • Other Desserts 25
  • Savoury Dishes/Meals 15
  • Scones 4
  • Tarts & Pastry 9
  • Travel 13

Sign up to Friday Food Chat with Kath, a weekly newsletter for more food, baking, cookbook chat and more!

Sign Up Here!
instagram-unauth pinterest facebook url

Website Accessibility: To enable text to speech function on the blog, click the sound button to the right of each blog post.

All images & content are the property of Kathryn Vincent, unless stated otherwise. Please do not use without permission.

Kulinary Adventures of Kath

Food Photography, Recipes & Baking

instagram-unauth pinterest facebook url