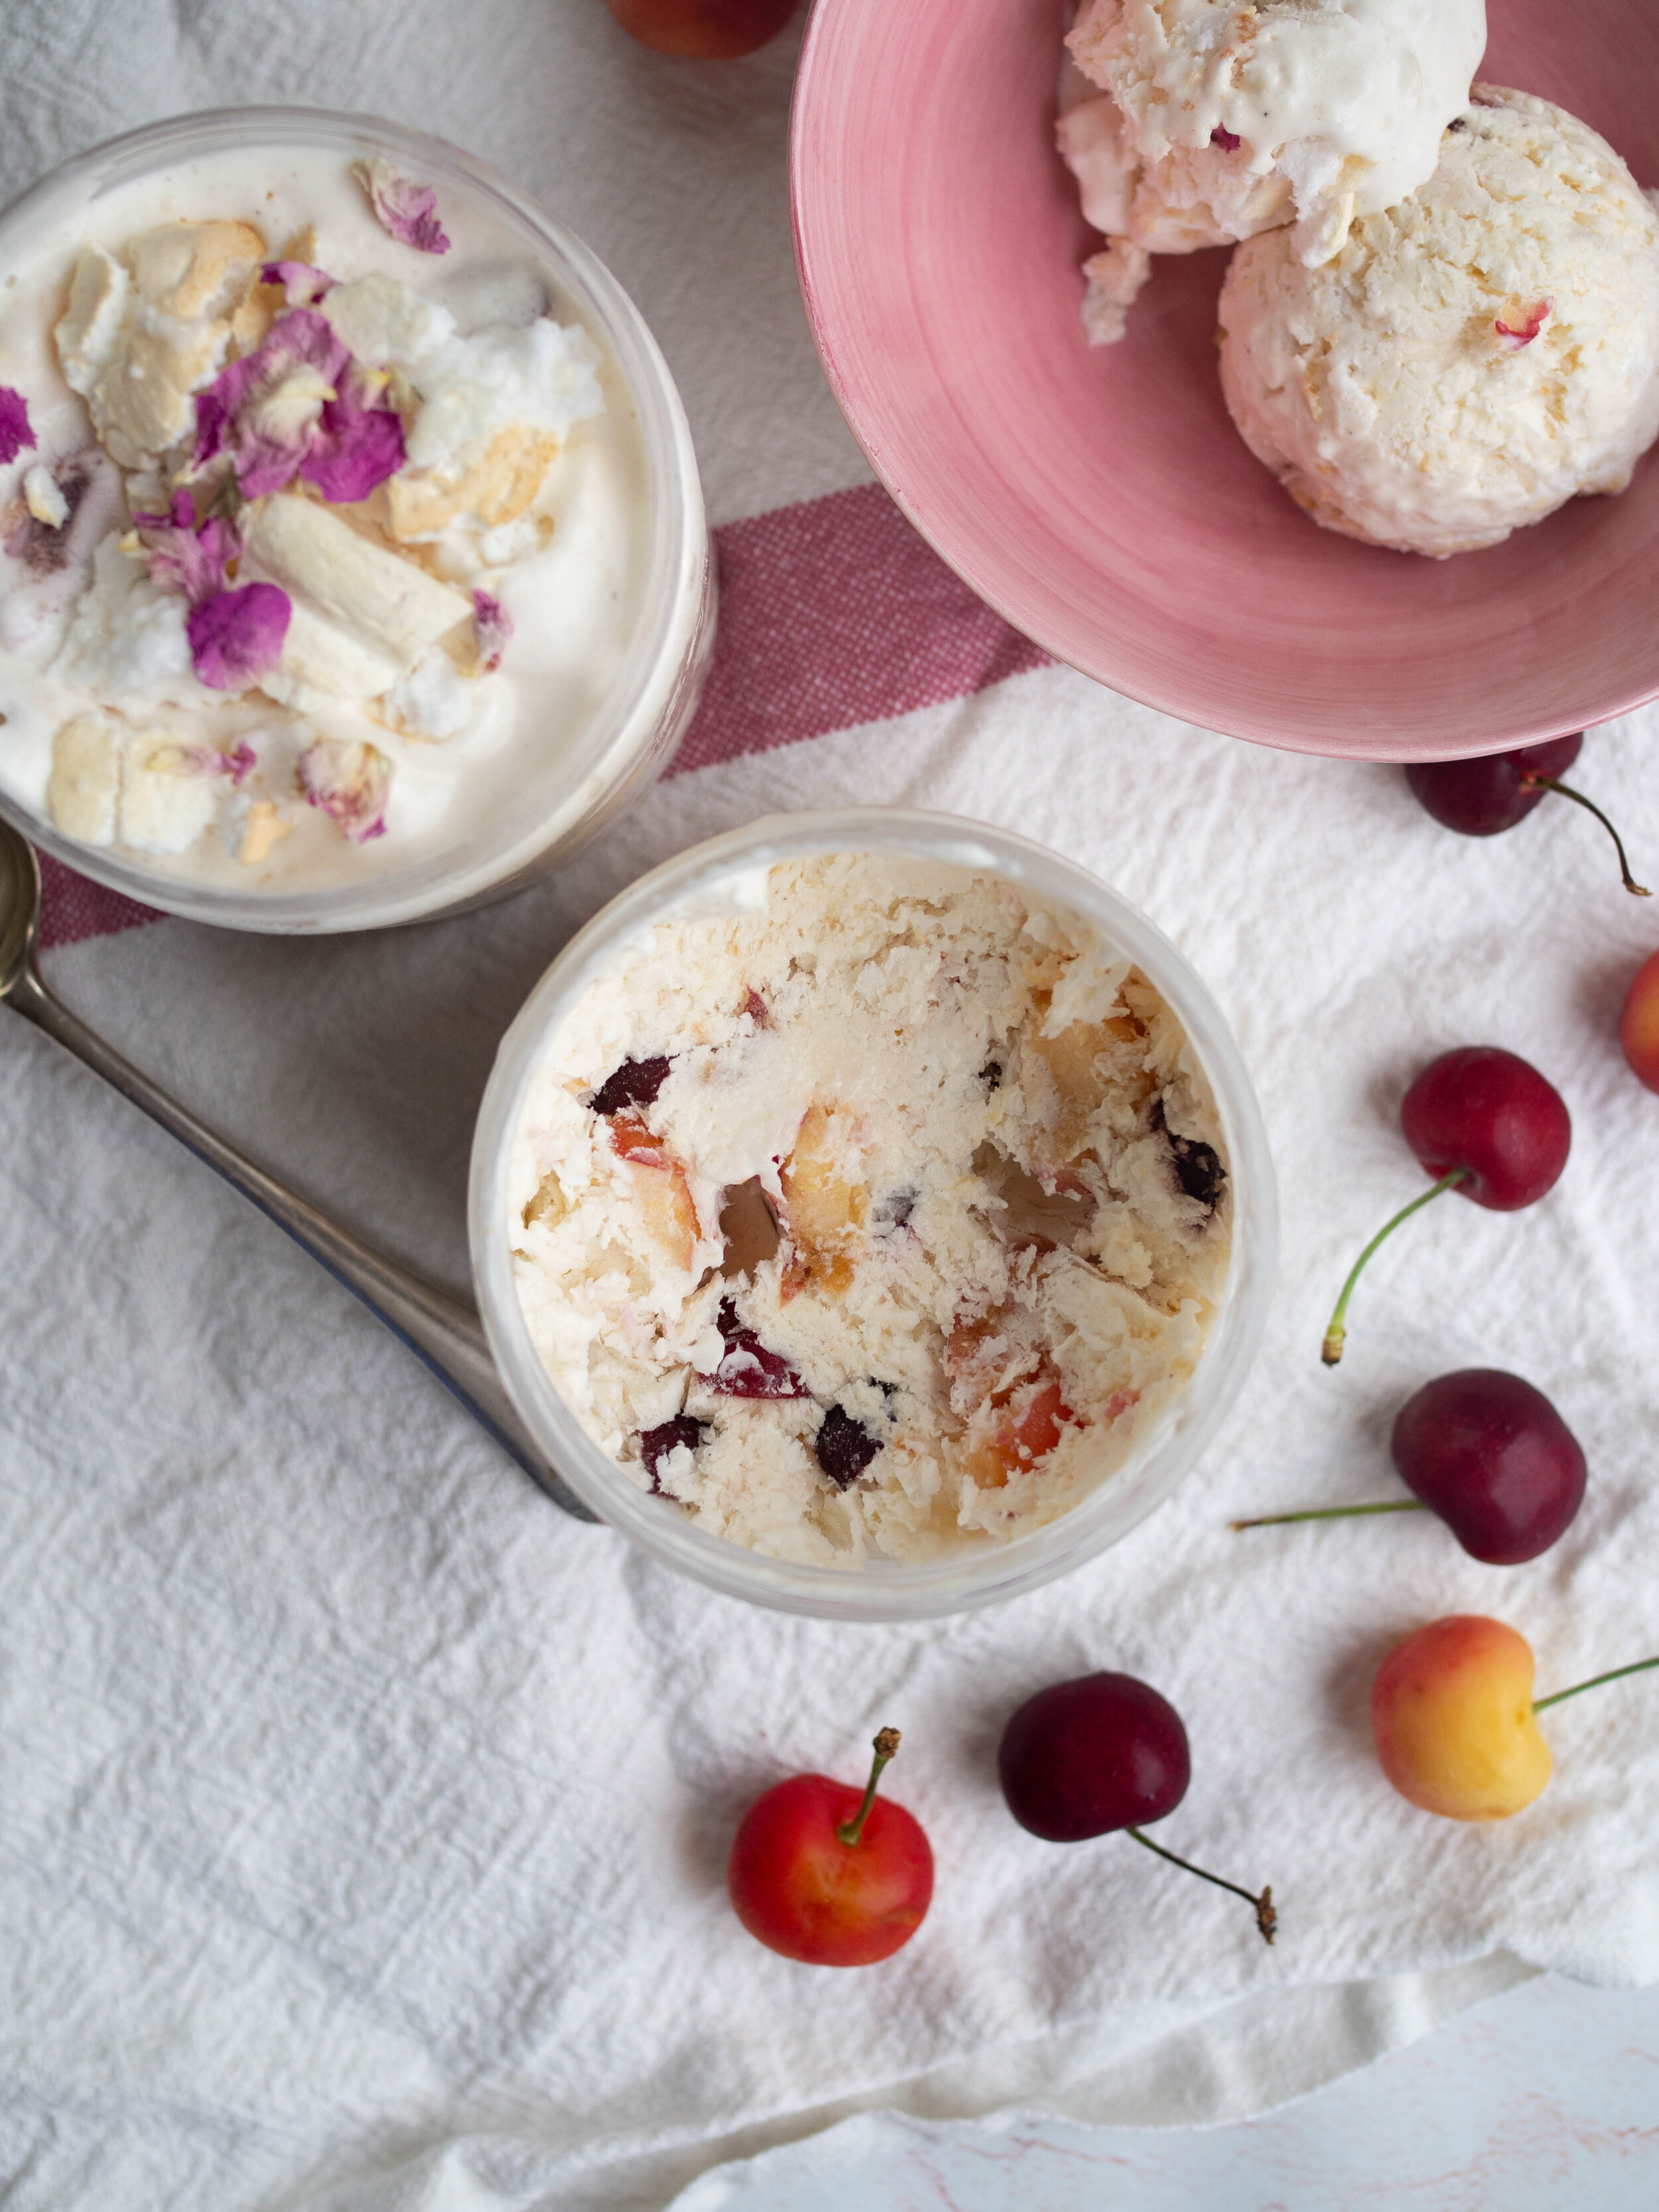
This recipe came about as a way to use up some leftovers from a Christmas shoot I did for Little Big Dairy Co recently. I had a lot of milk (20 litres to be precise!), and some additional Christmas-y things like cherries and pre-made mini pavlovas that were used for the shoot. I hate things going to waste, especially good quality produce like Little Big Dairy Co milk and Australian cherries so I decided I would go on a ice cream making spree in an attempt to at least use up some of the milk that had been sent to me for the shoot.
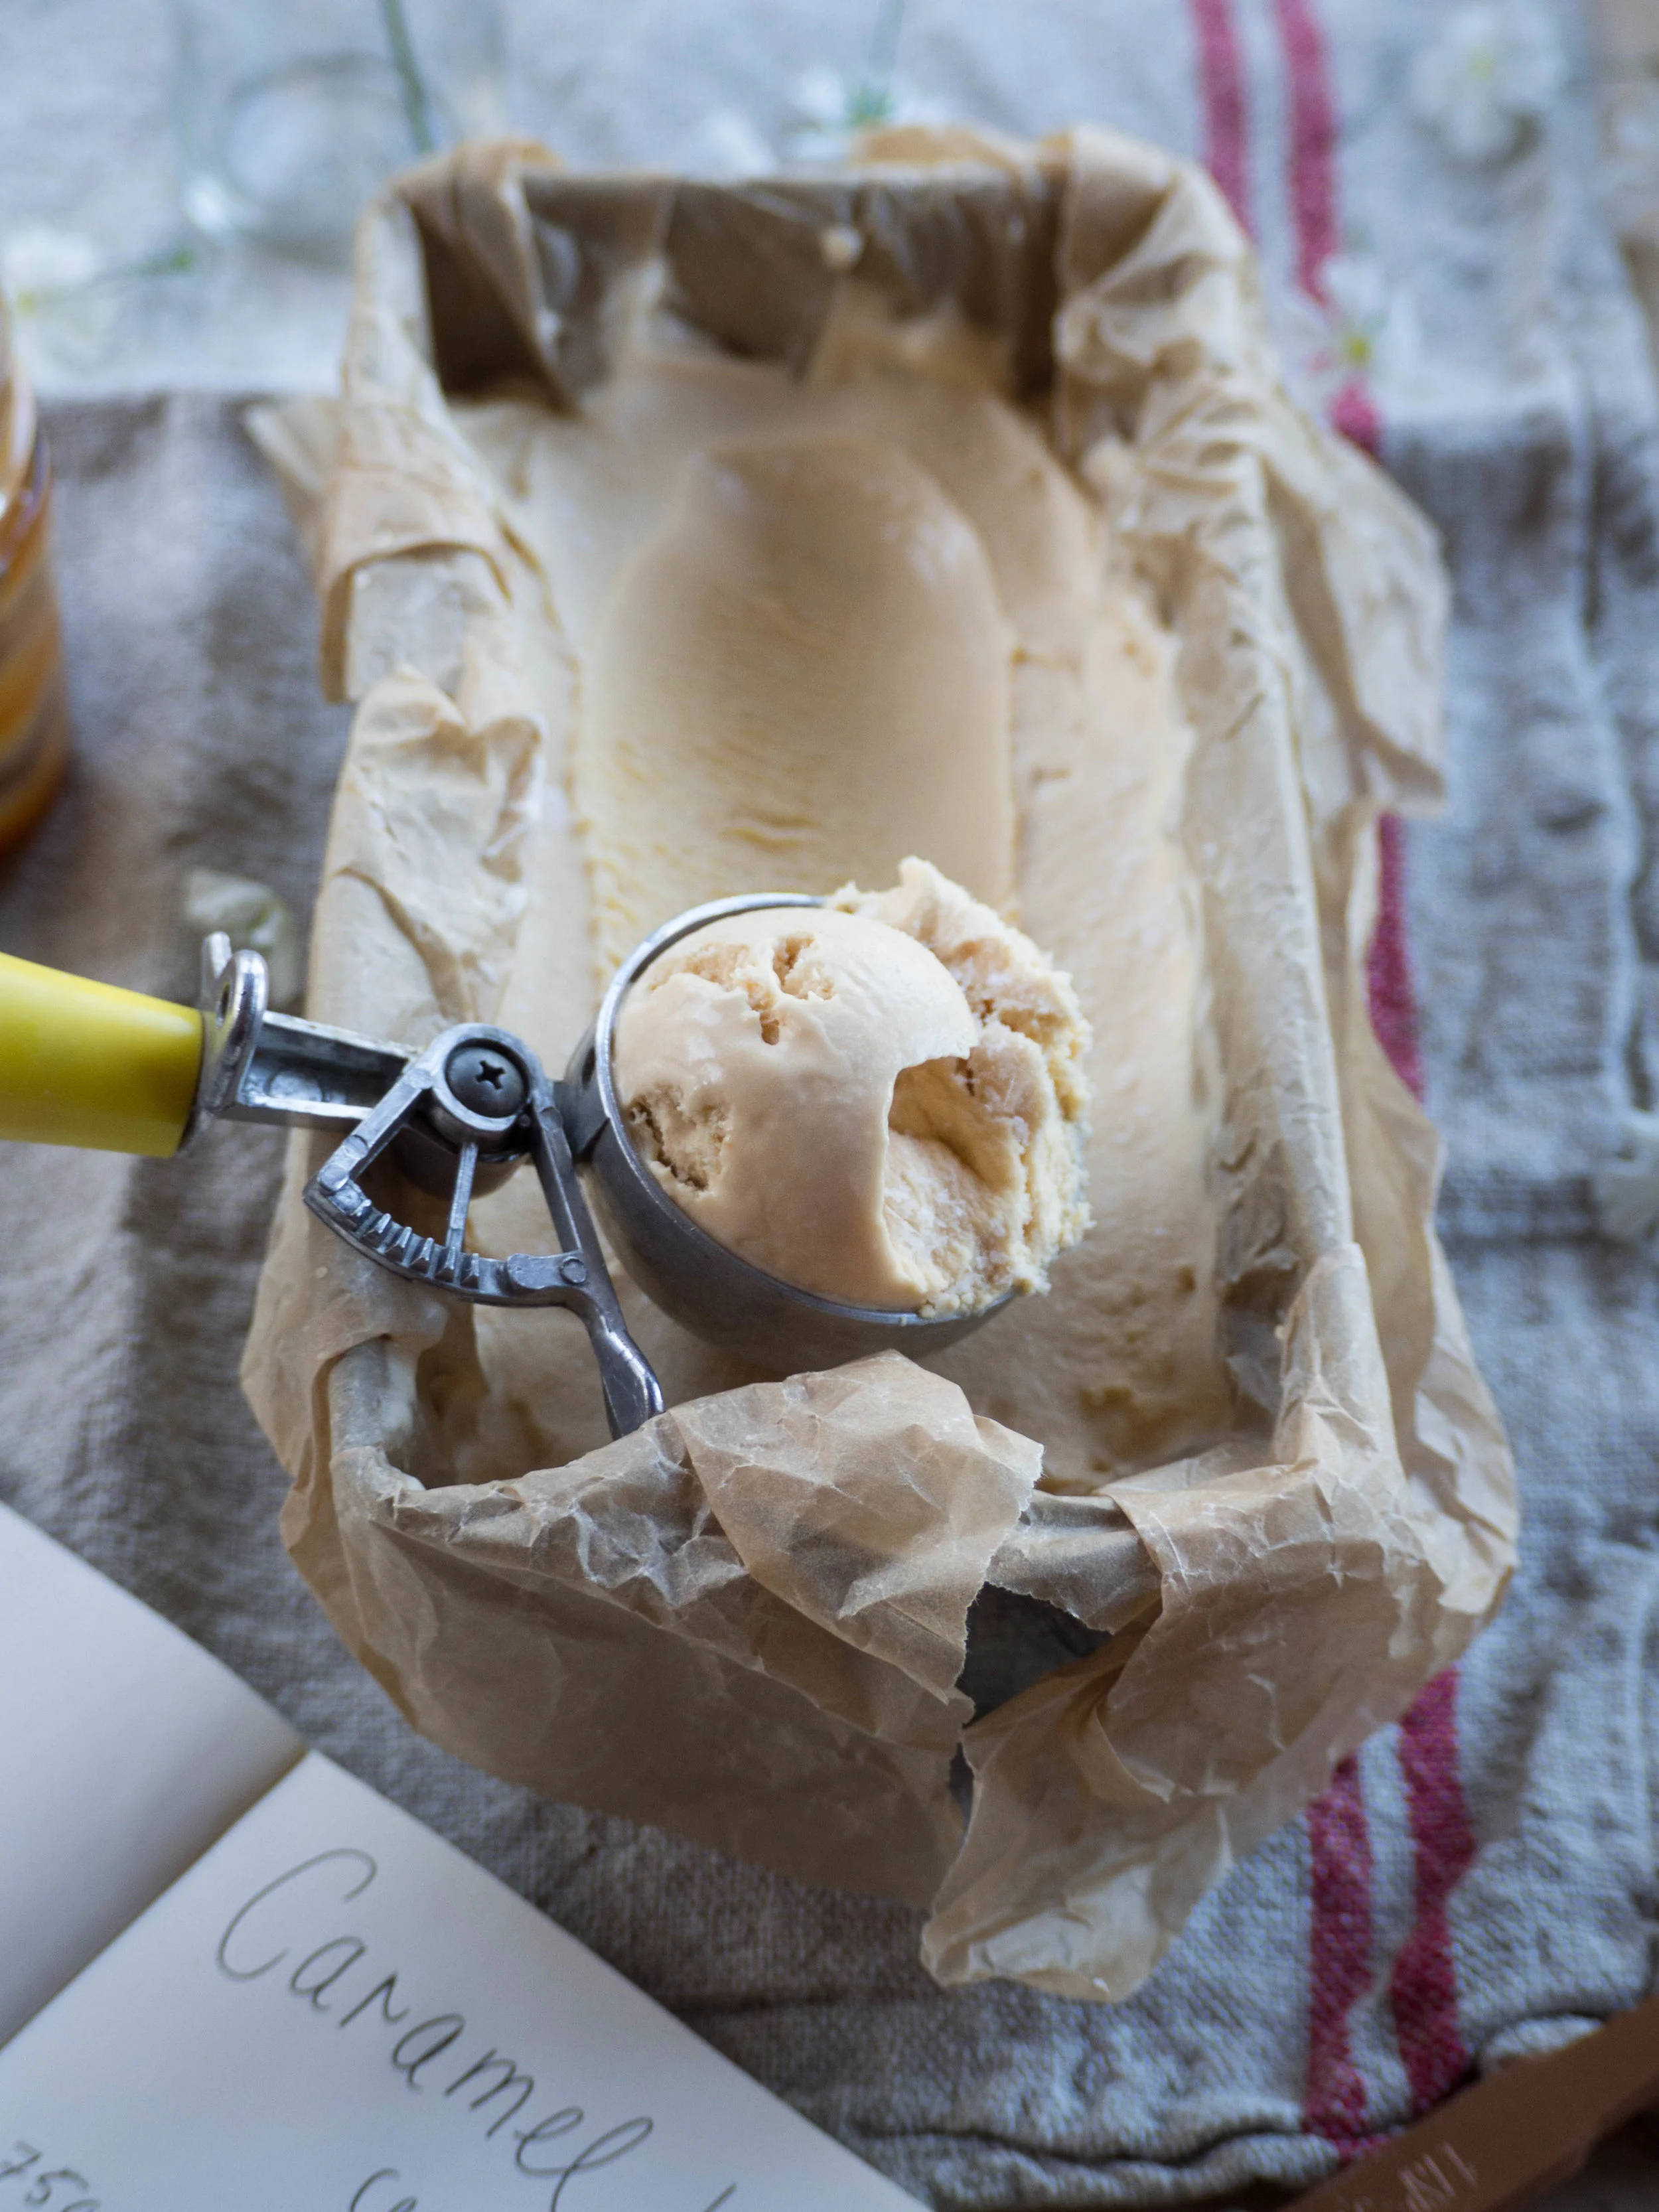
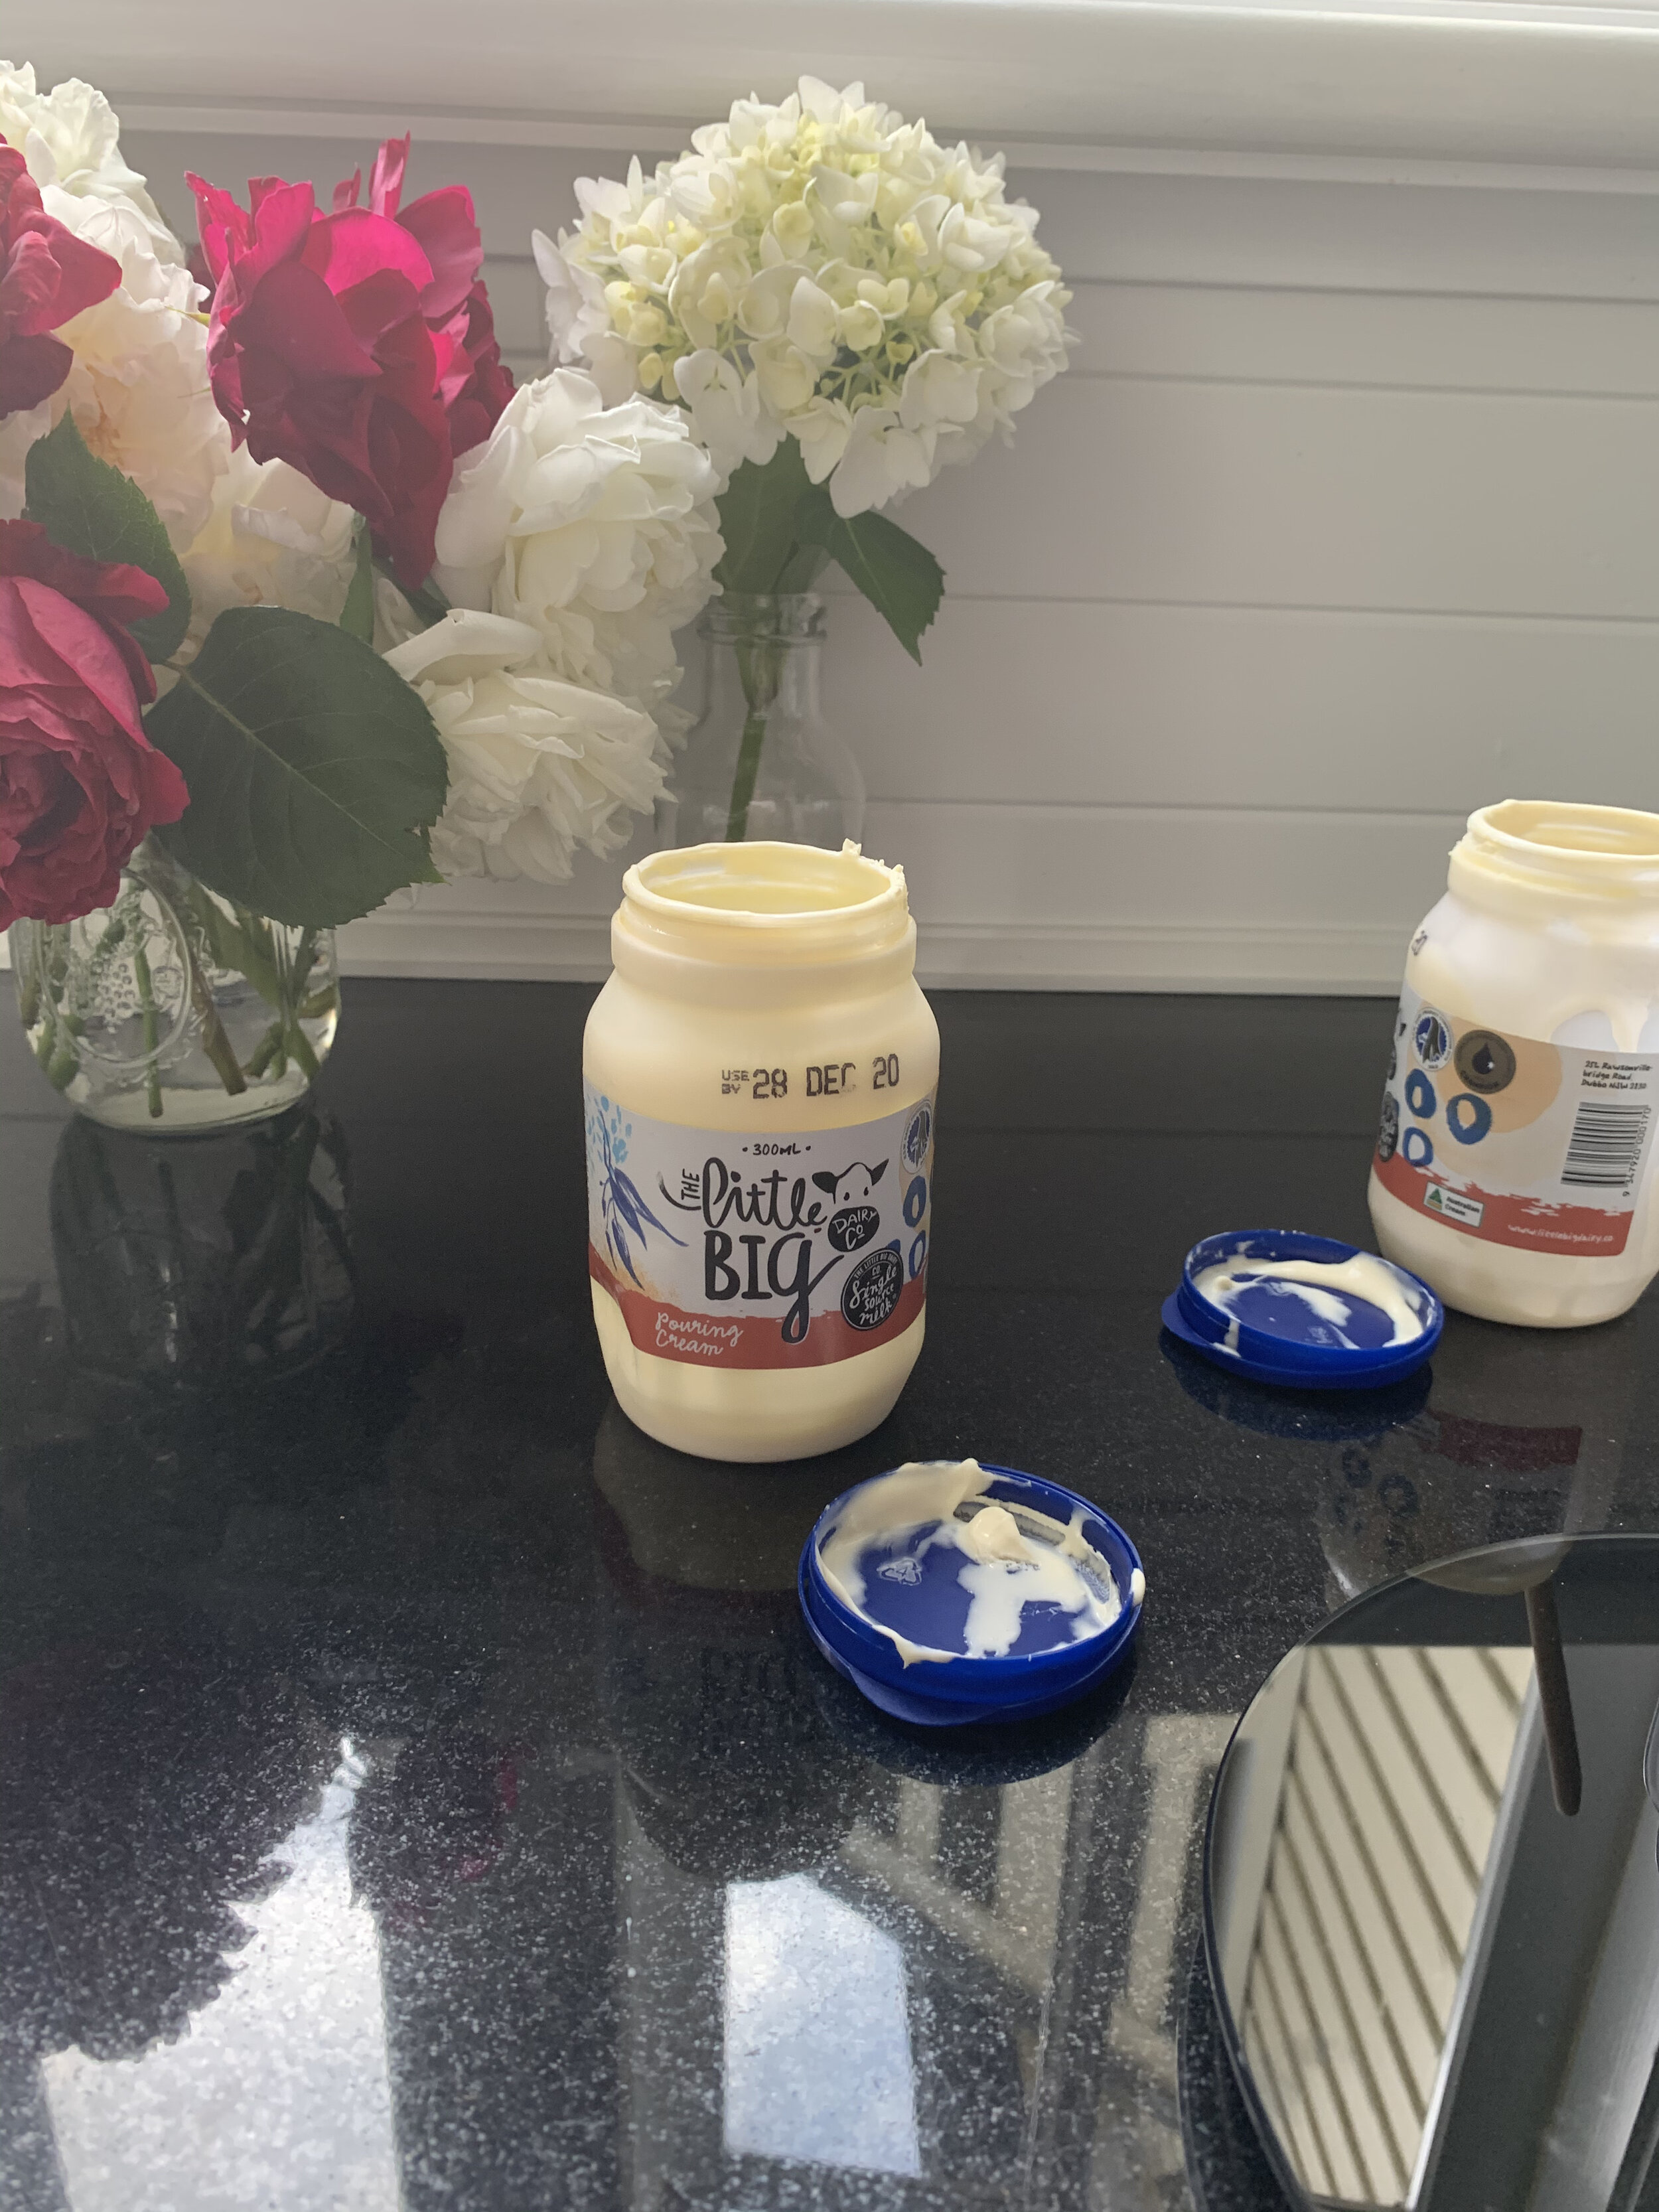
I bought some Little Big Dairy Co cream to use with my ice cream, and I made one lot of this ice cream plus some vanilla ice cream at the house I was staying in for the shoot. I then brought back one 300ml jar of the cream I had left, and needed to make it last for 4 different types of ice cream I wanted to make (all in an attempt to thoughtfully use up some of the delicious milk I had!).
So for this recipe I have split the amount of cream needed between pouring cream and plain Greek style yoghurt. Greek style yoghurt works well in homemade ice creams along side cream, however if you have enough cream you can just use that (250ml total).


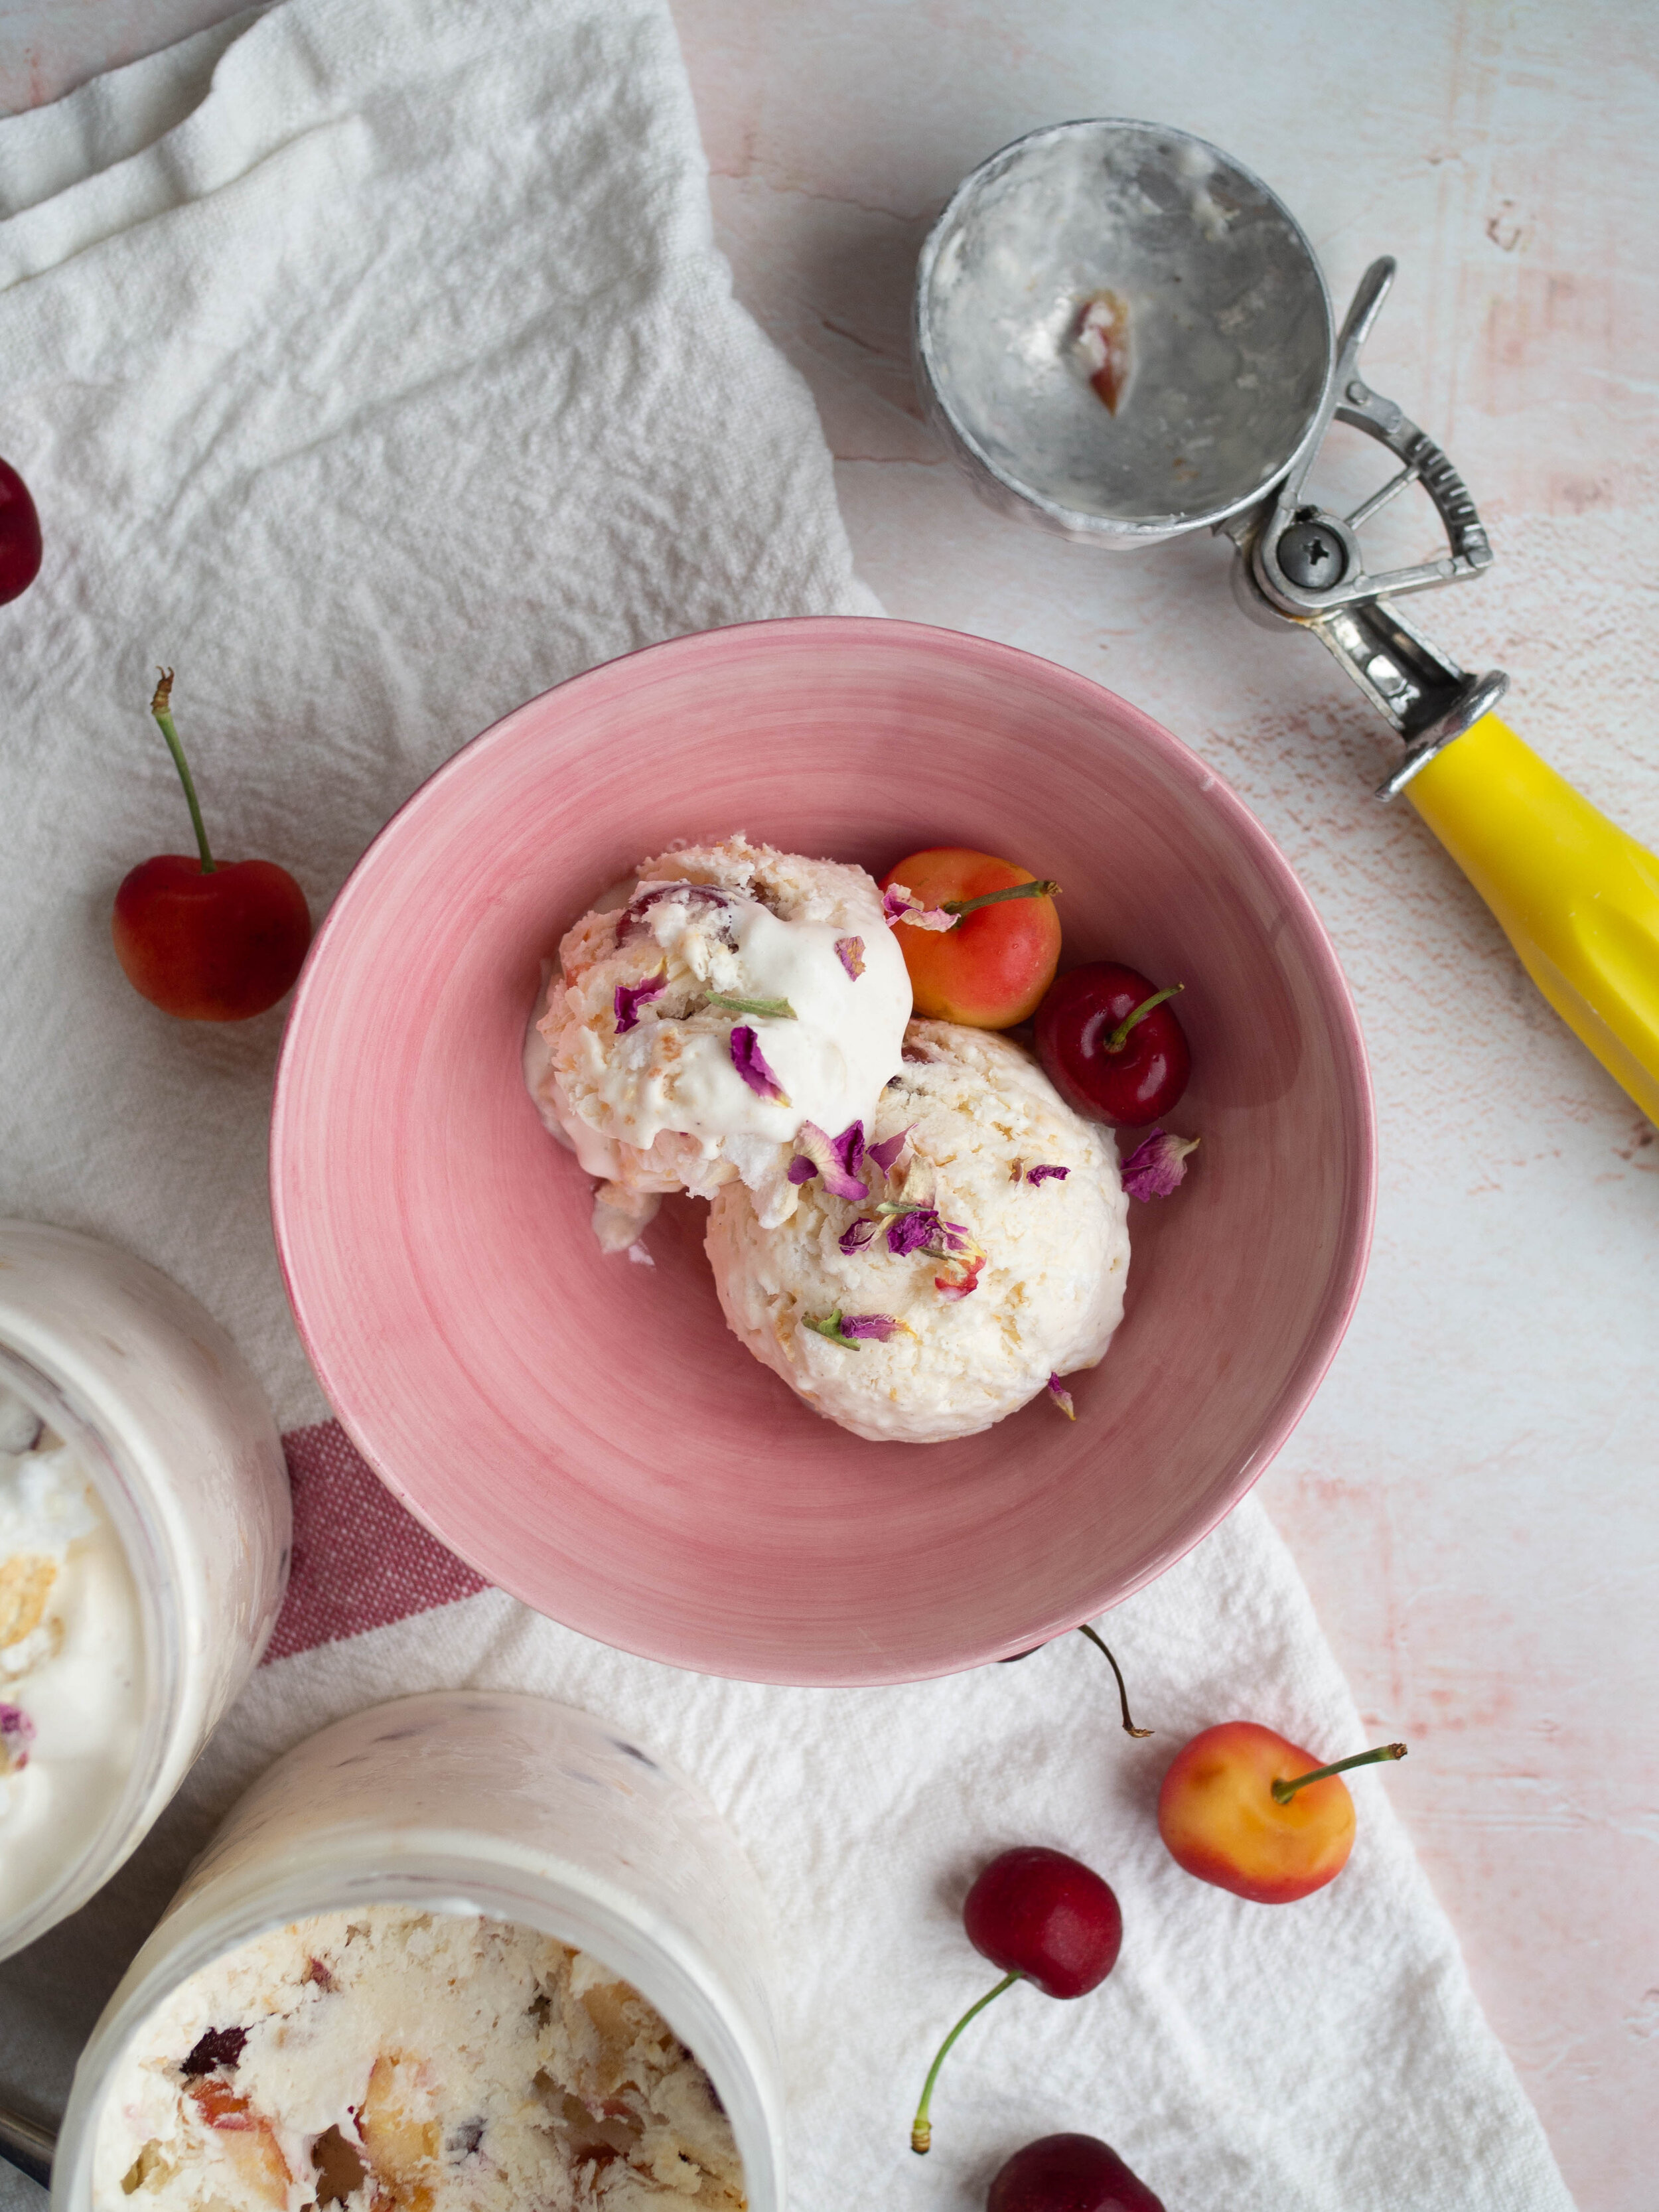
Cherry Pavlova Ice Cream
Ingredients:
165ml milk
5 tbsp caster or white sugar
150ml pouring cream
100ml plain Greek Style Yoghurt
1 tsp vanilla extract or paste
365g cherries (unpitted weight), pitted and roughly chopped
70-75g pavlova*, roughly chopped, plus extra
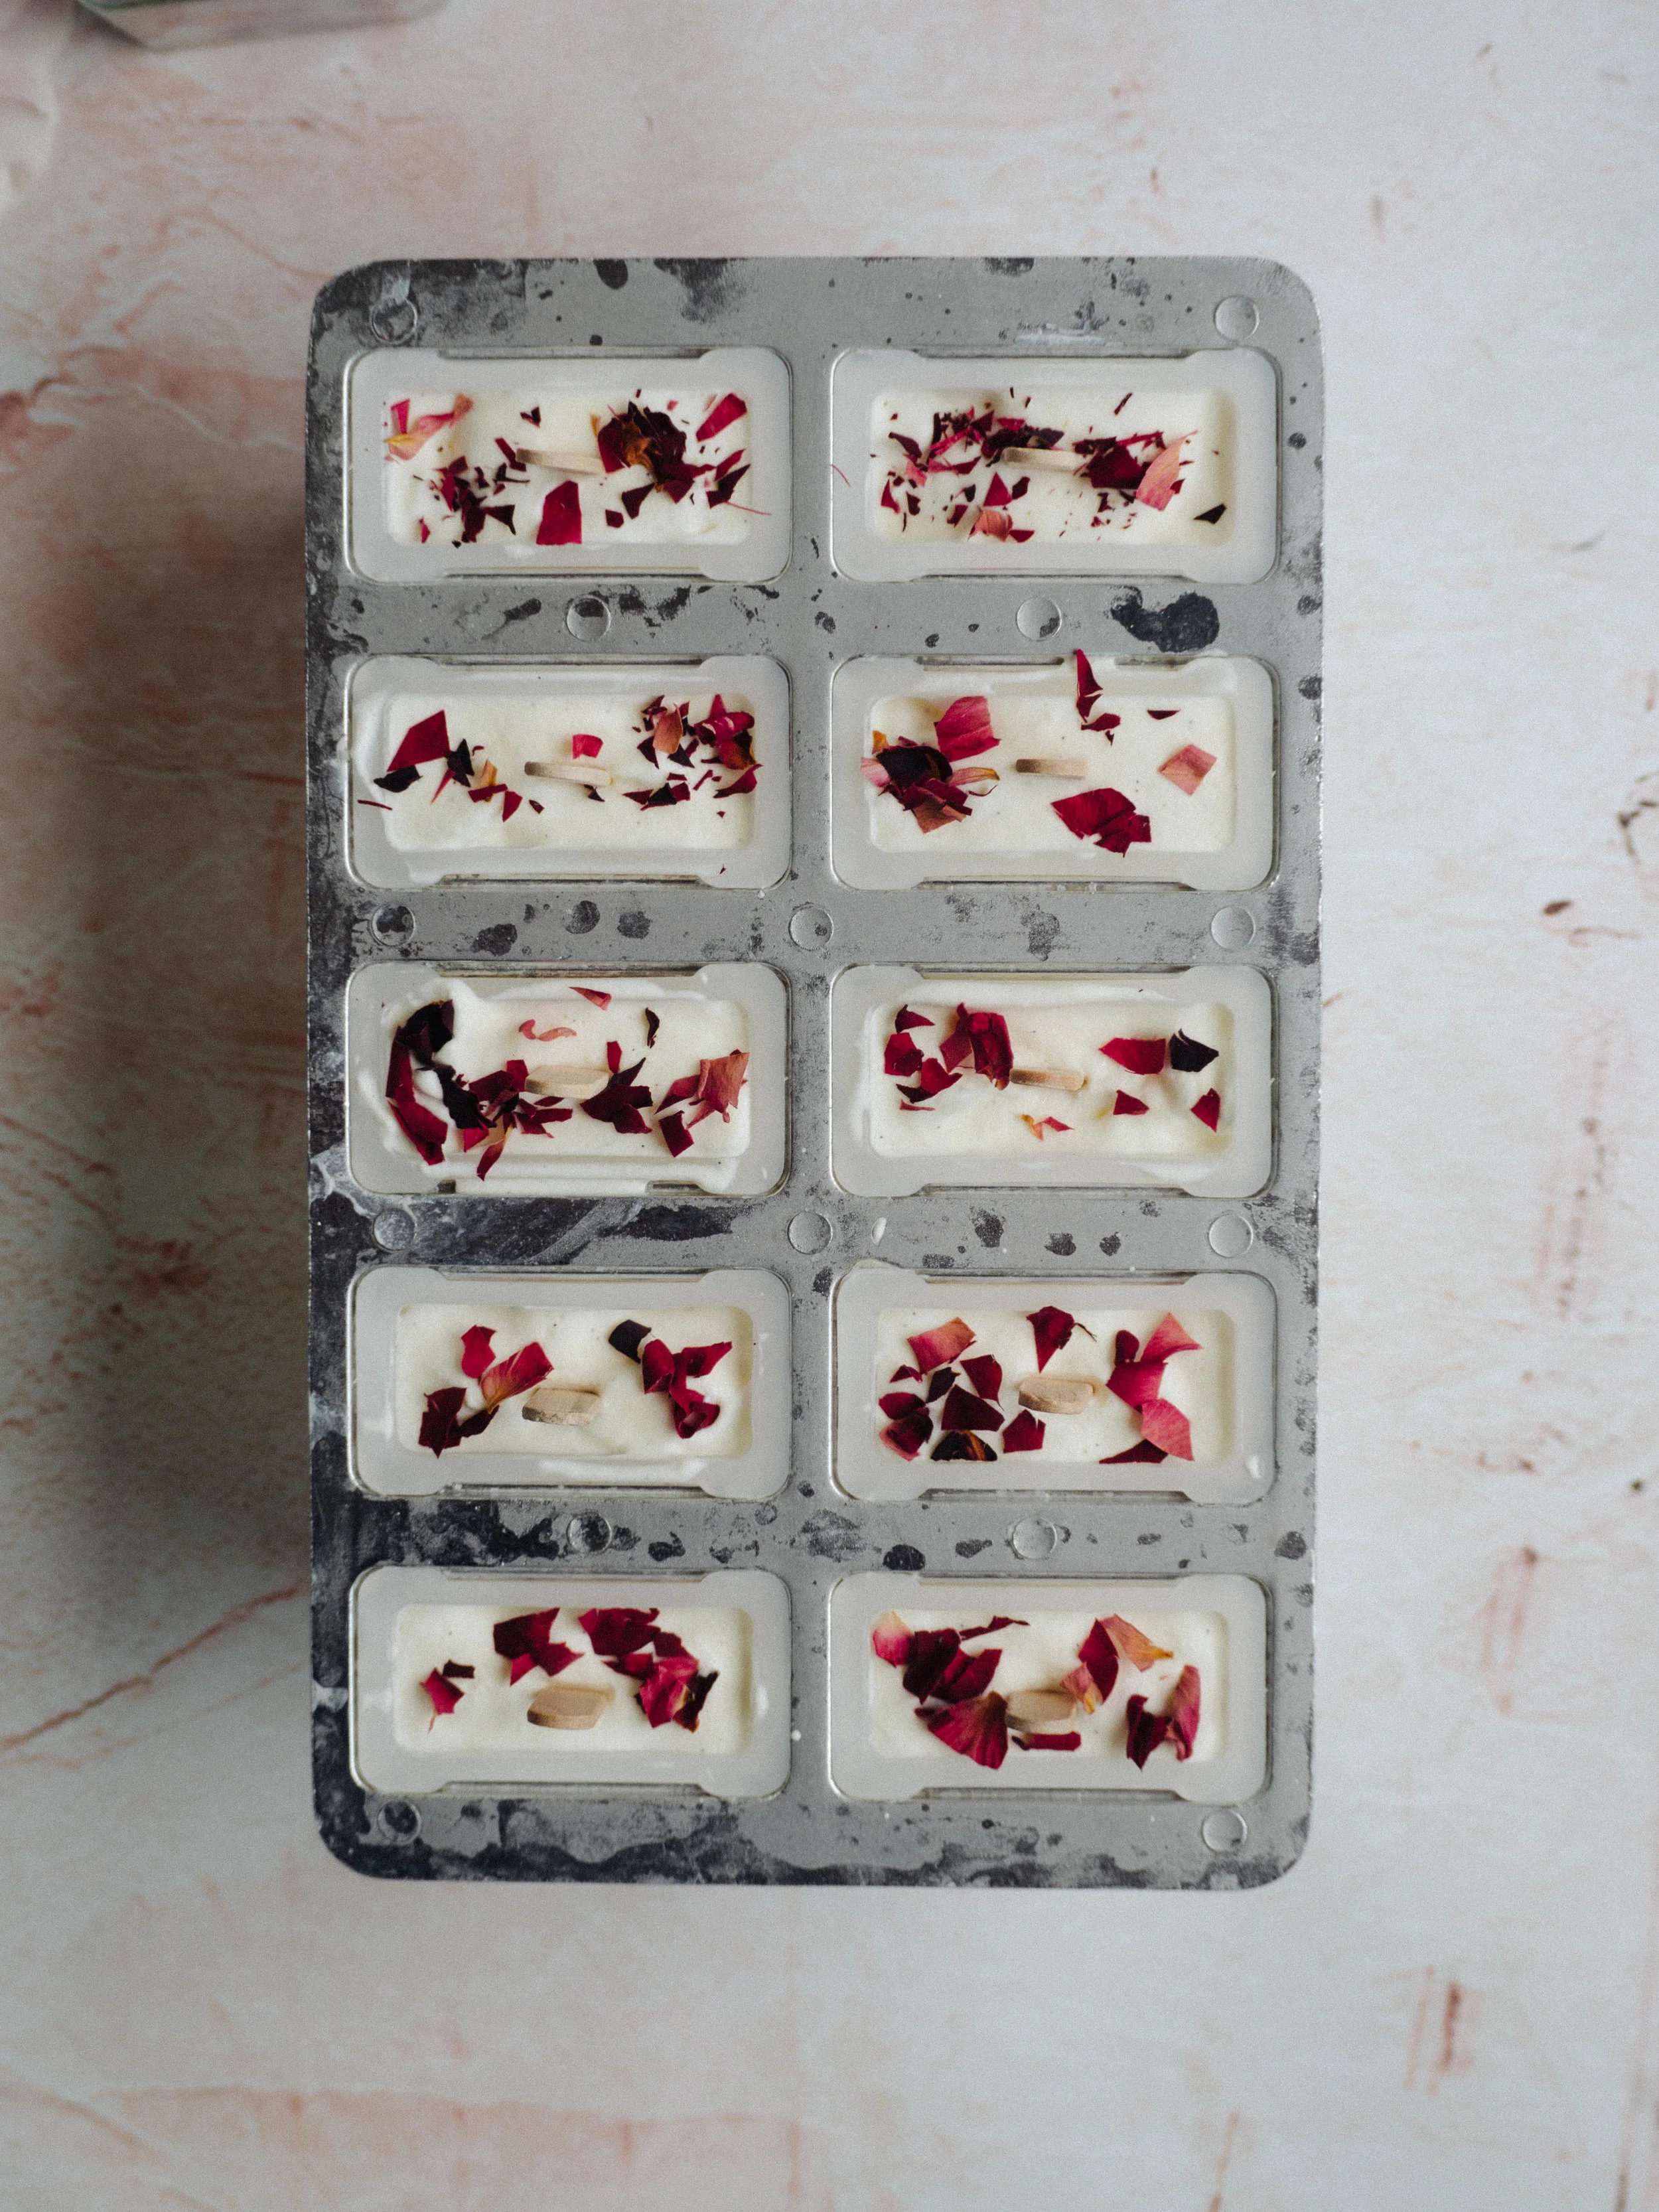
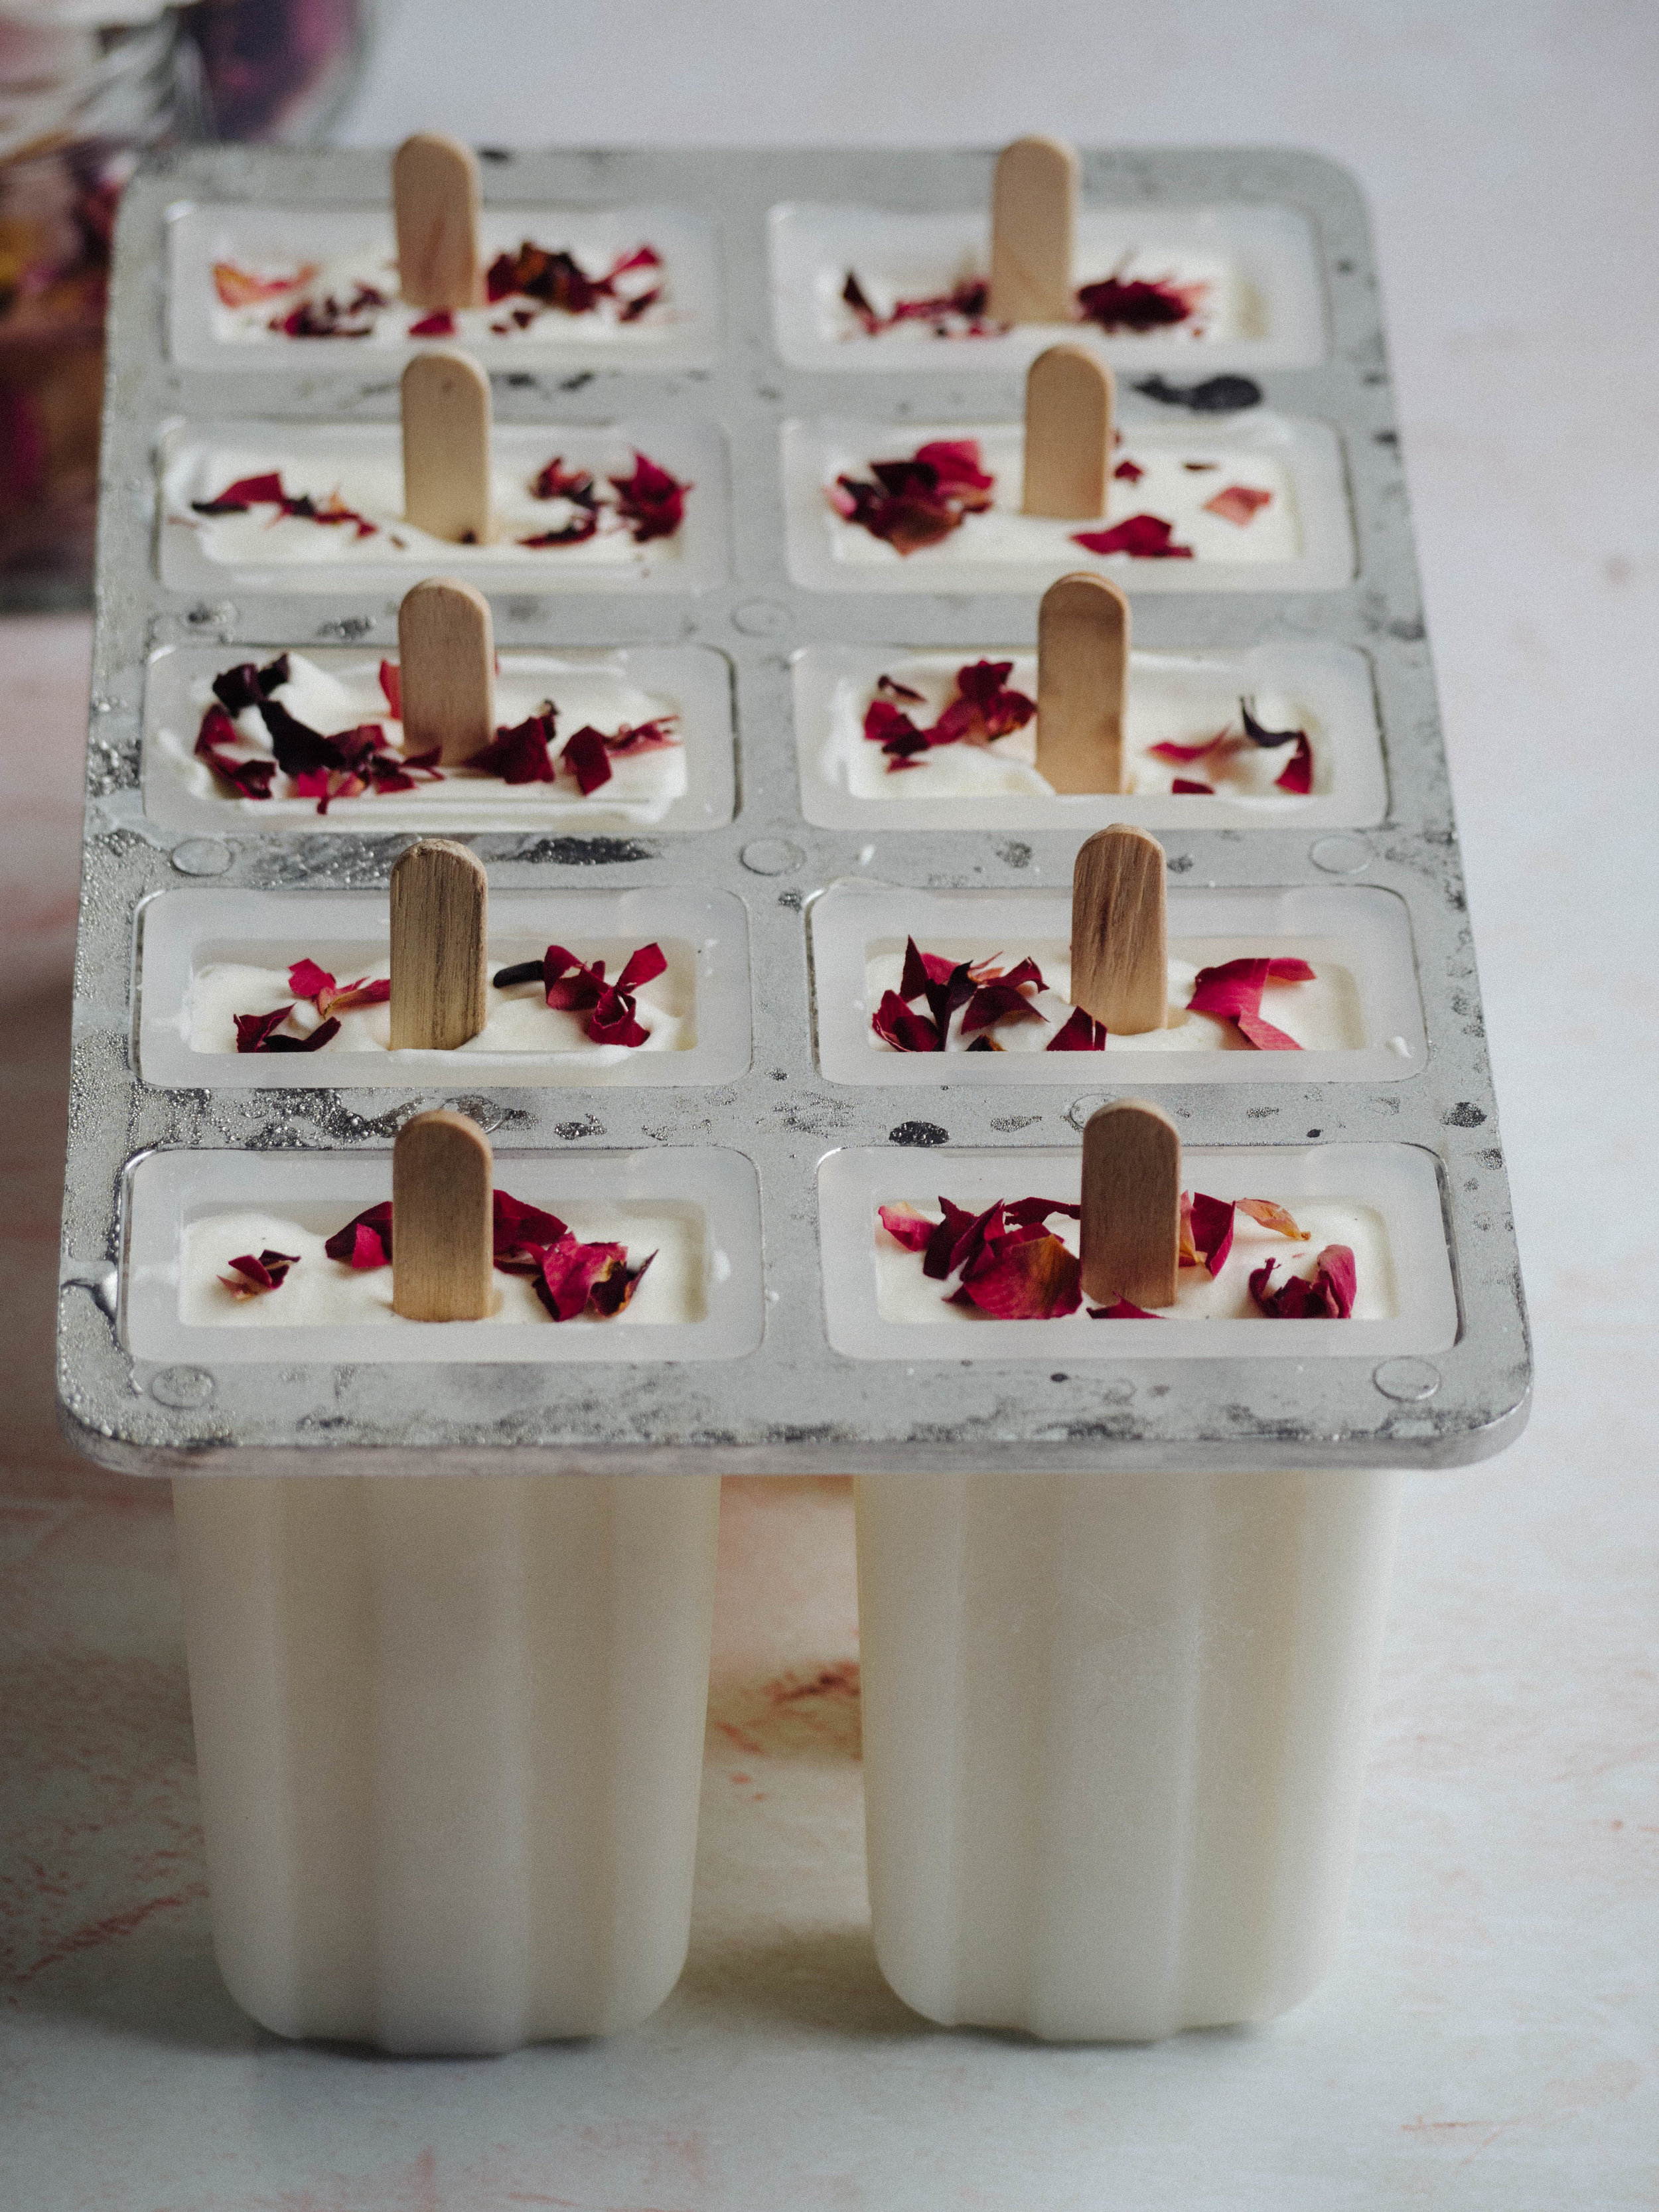
Edible dried rose petals, optional
Method:
In a large bowl, whisk together the milk and sugar until the milk is frothy and the sugar has dissolved. I use an electric hand held mixer for this, but you can also use a stand mixer if you prefer.
Once the sugar has dissolved into the milk, add the cream, yoghurt and vanilla. Whisk on medium speed until everything is combined and the cream has thickened to form soft mousse like peaks.
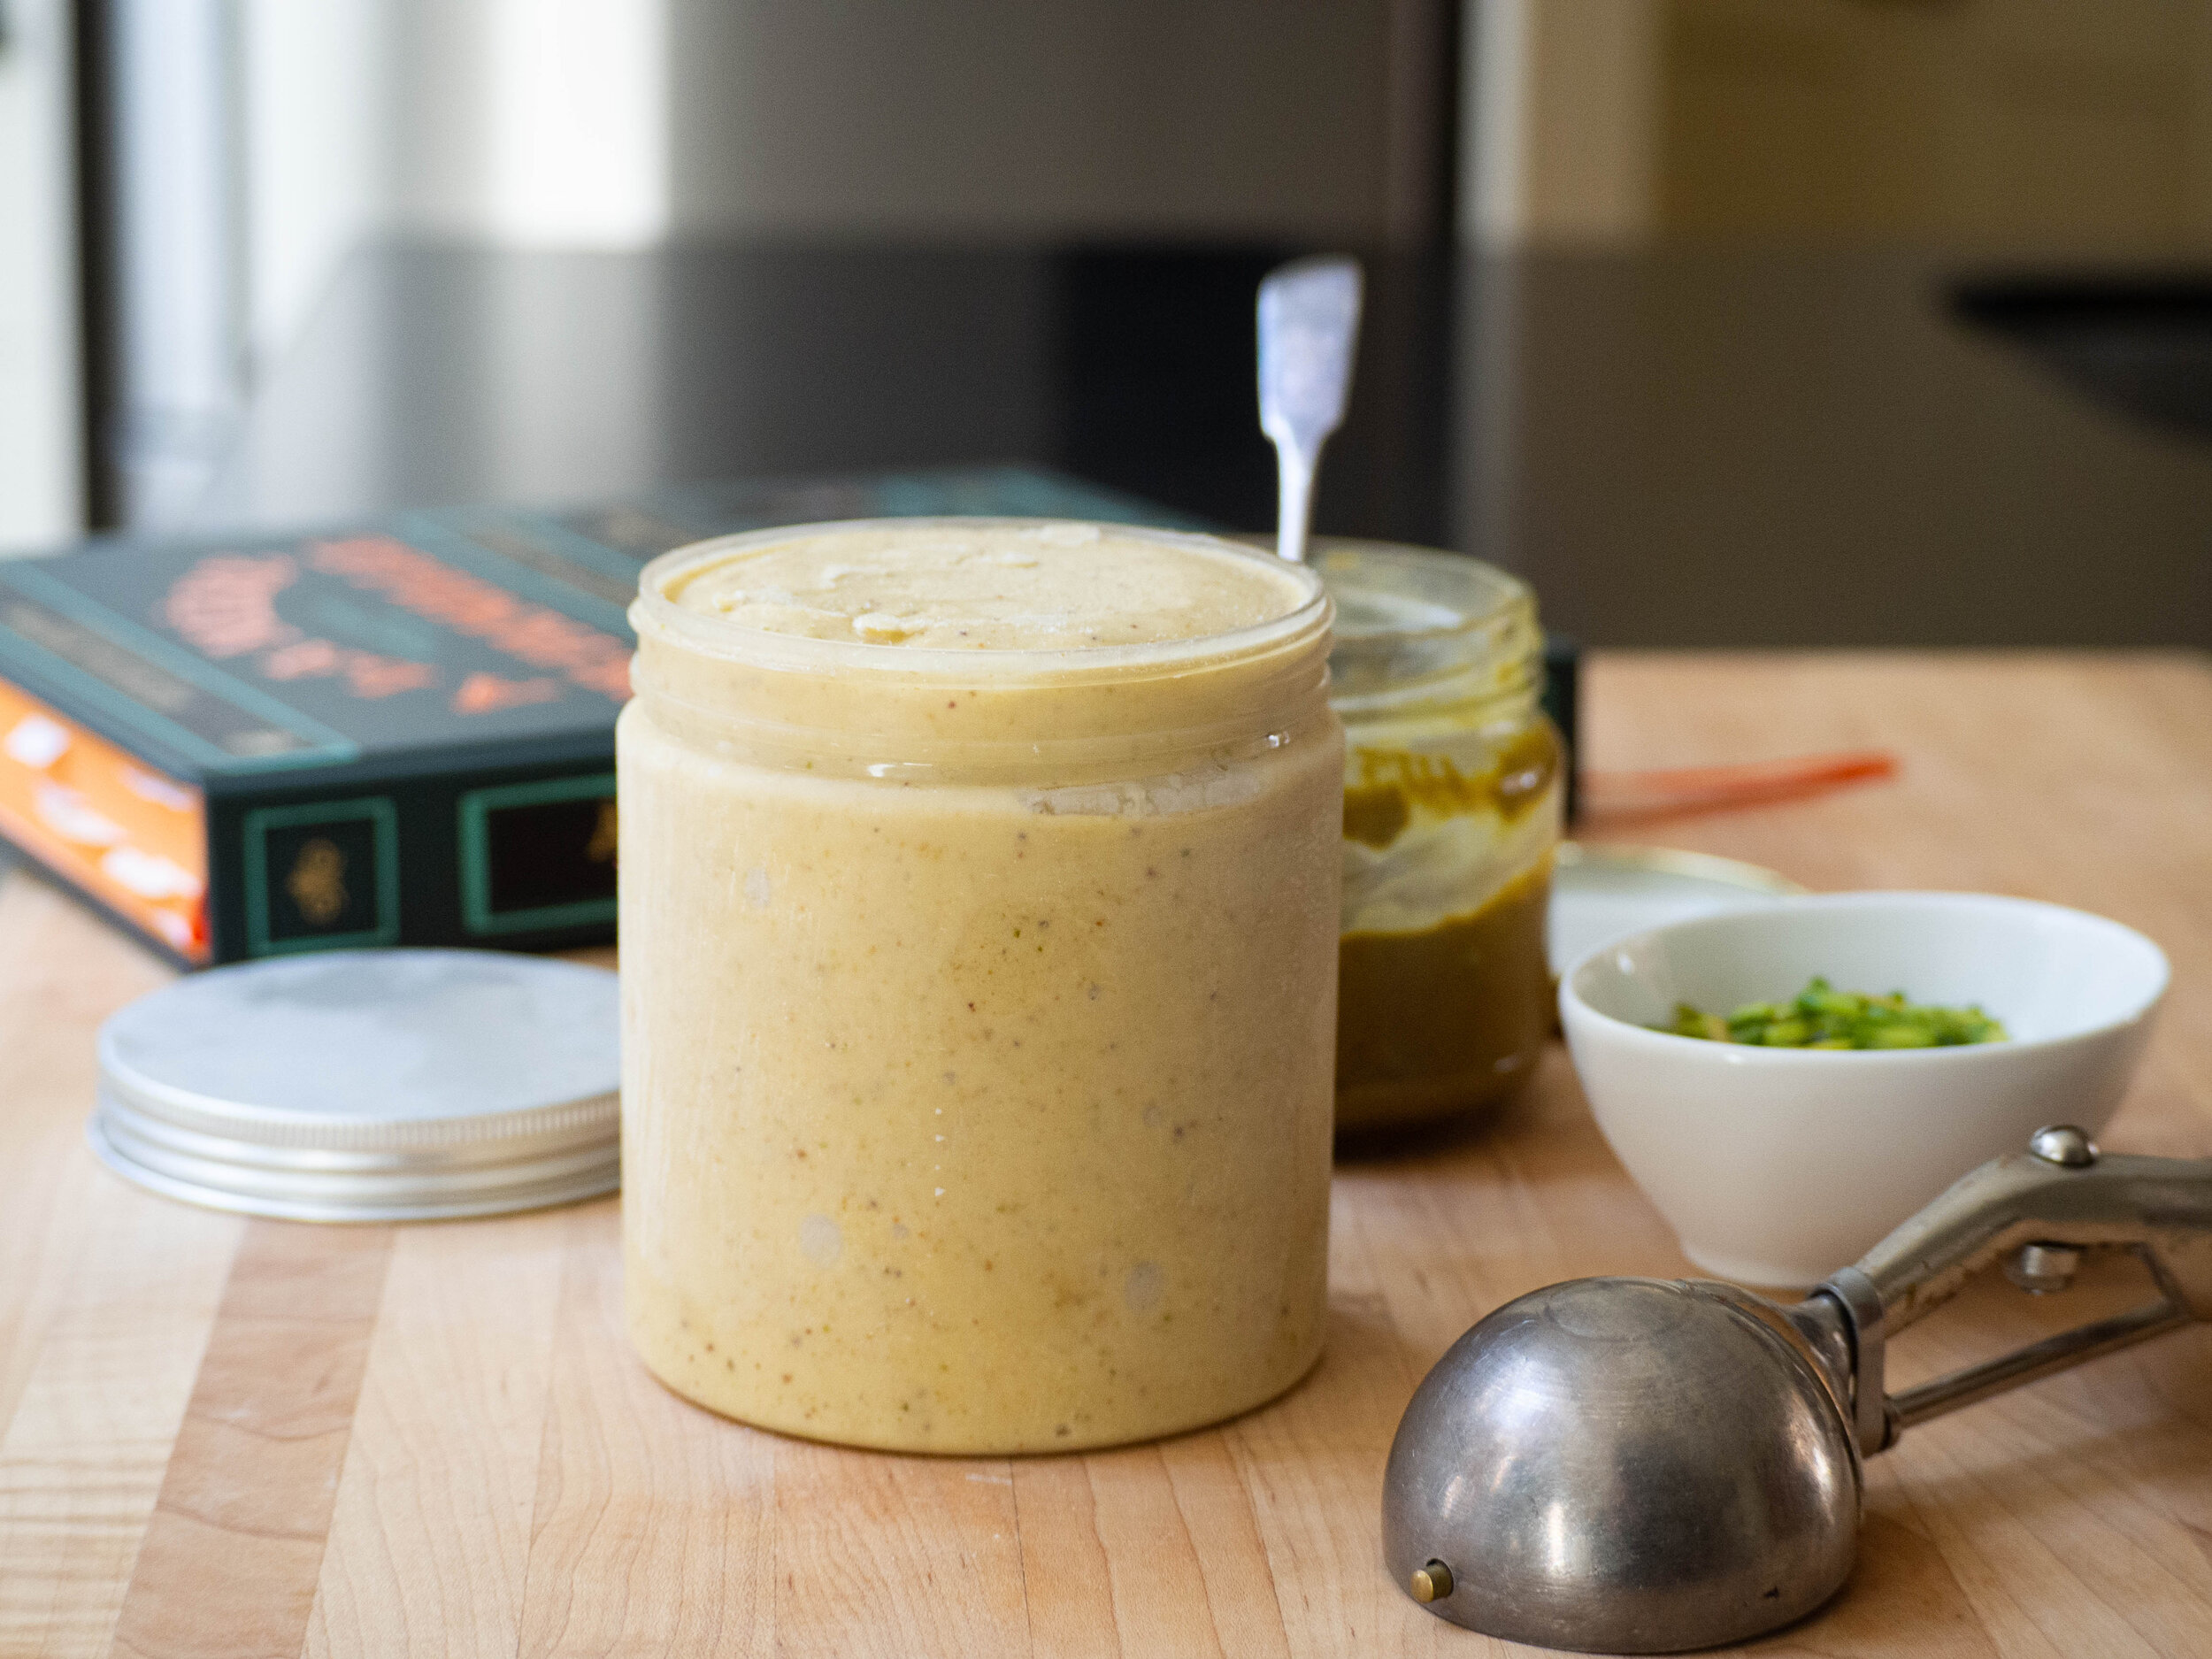
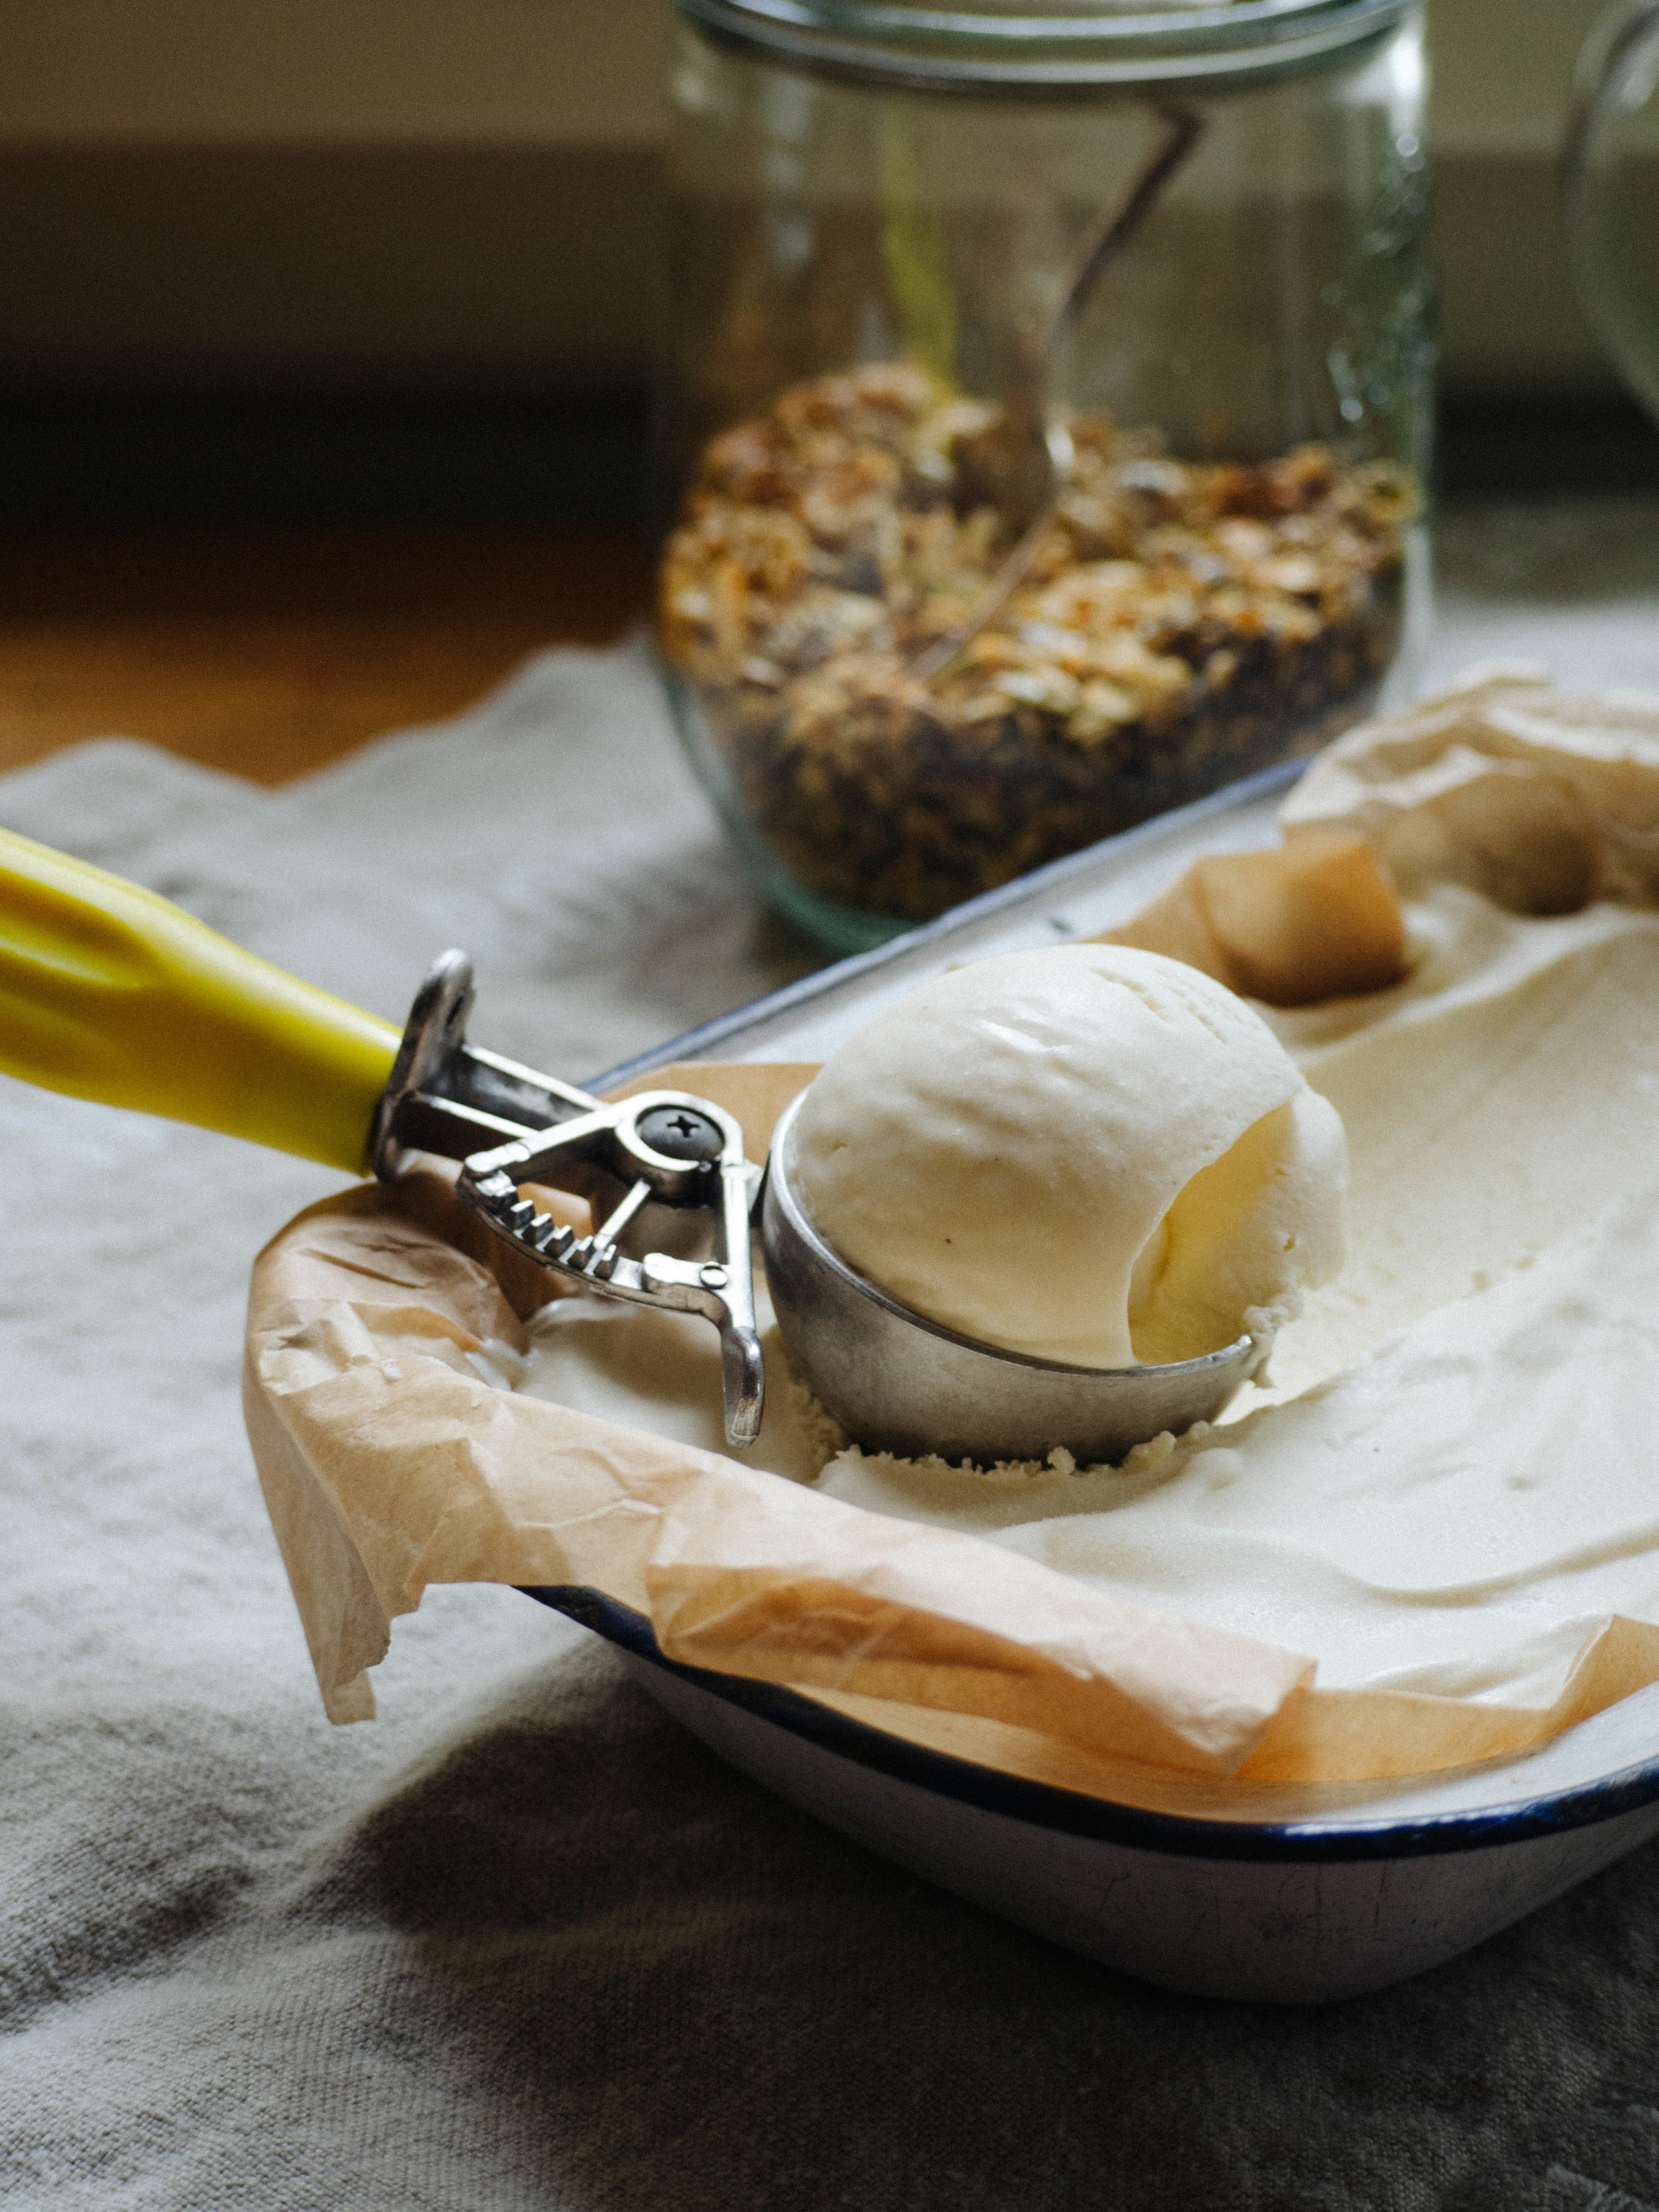
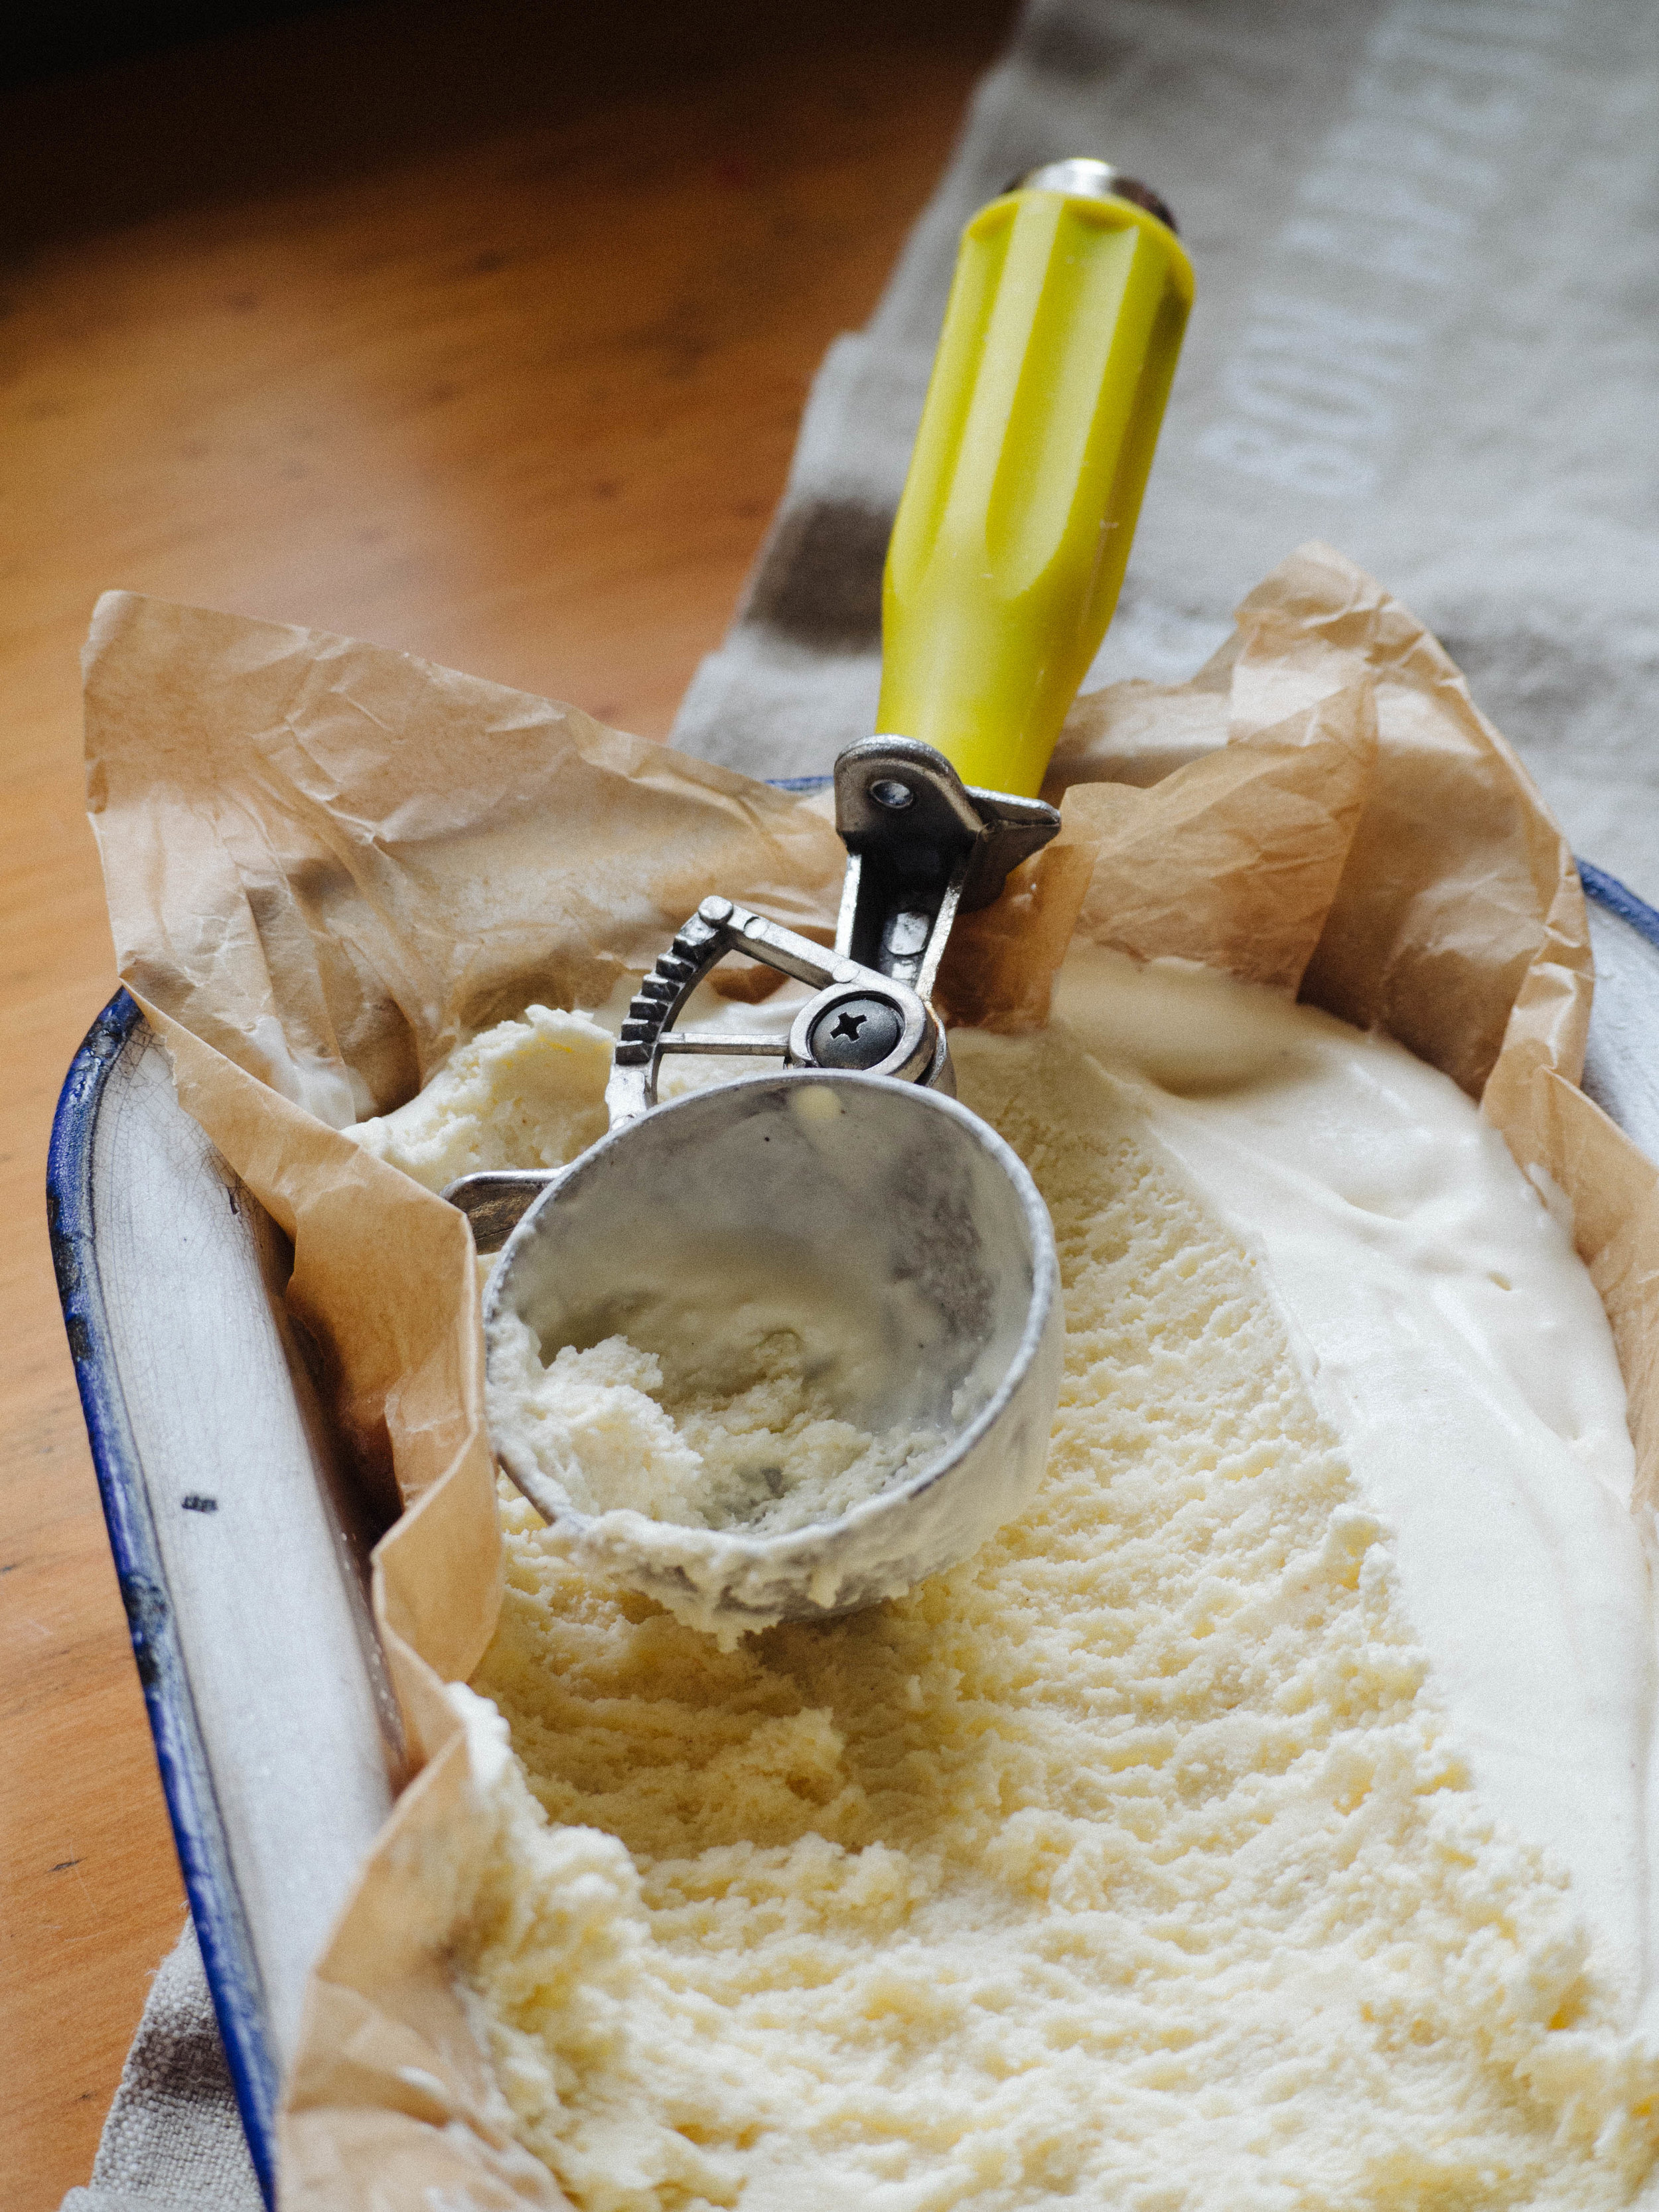
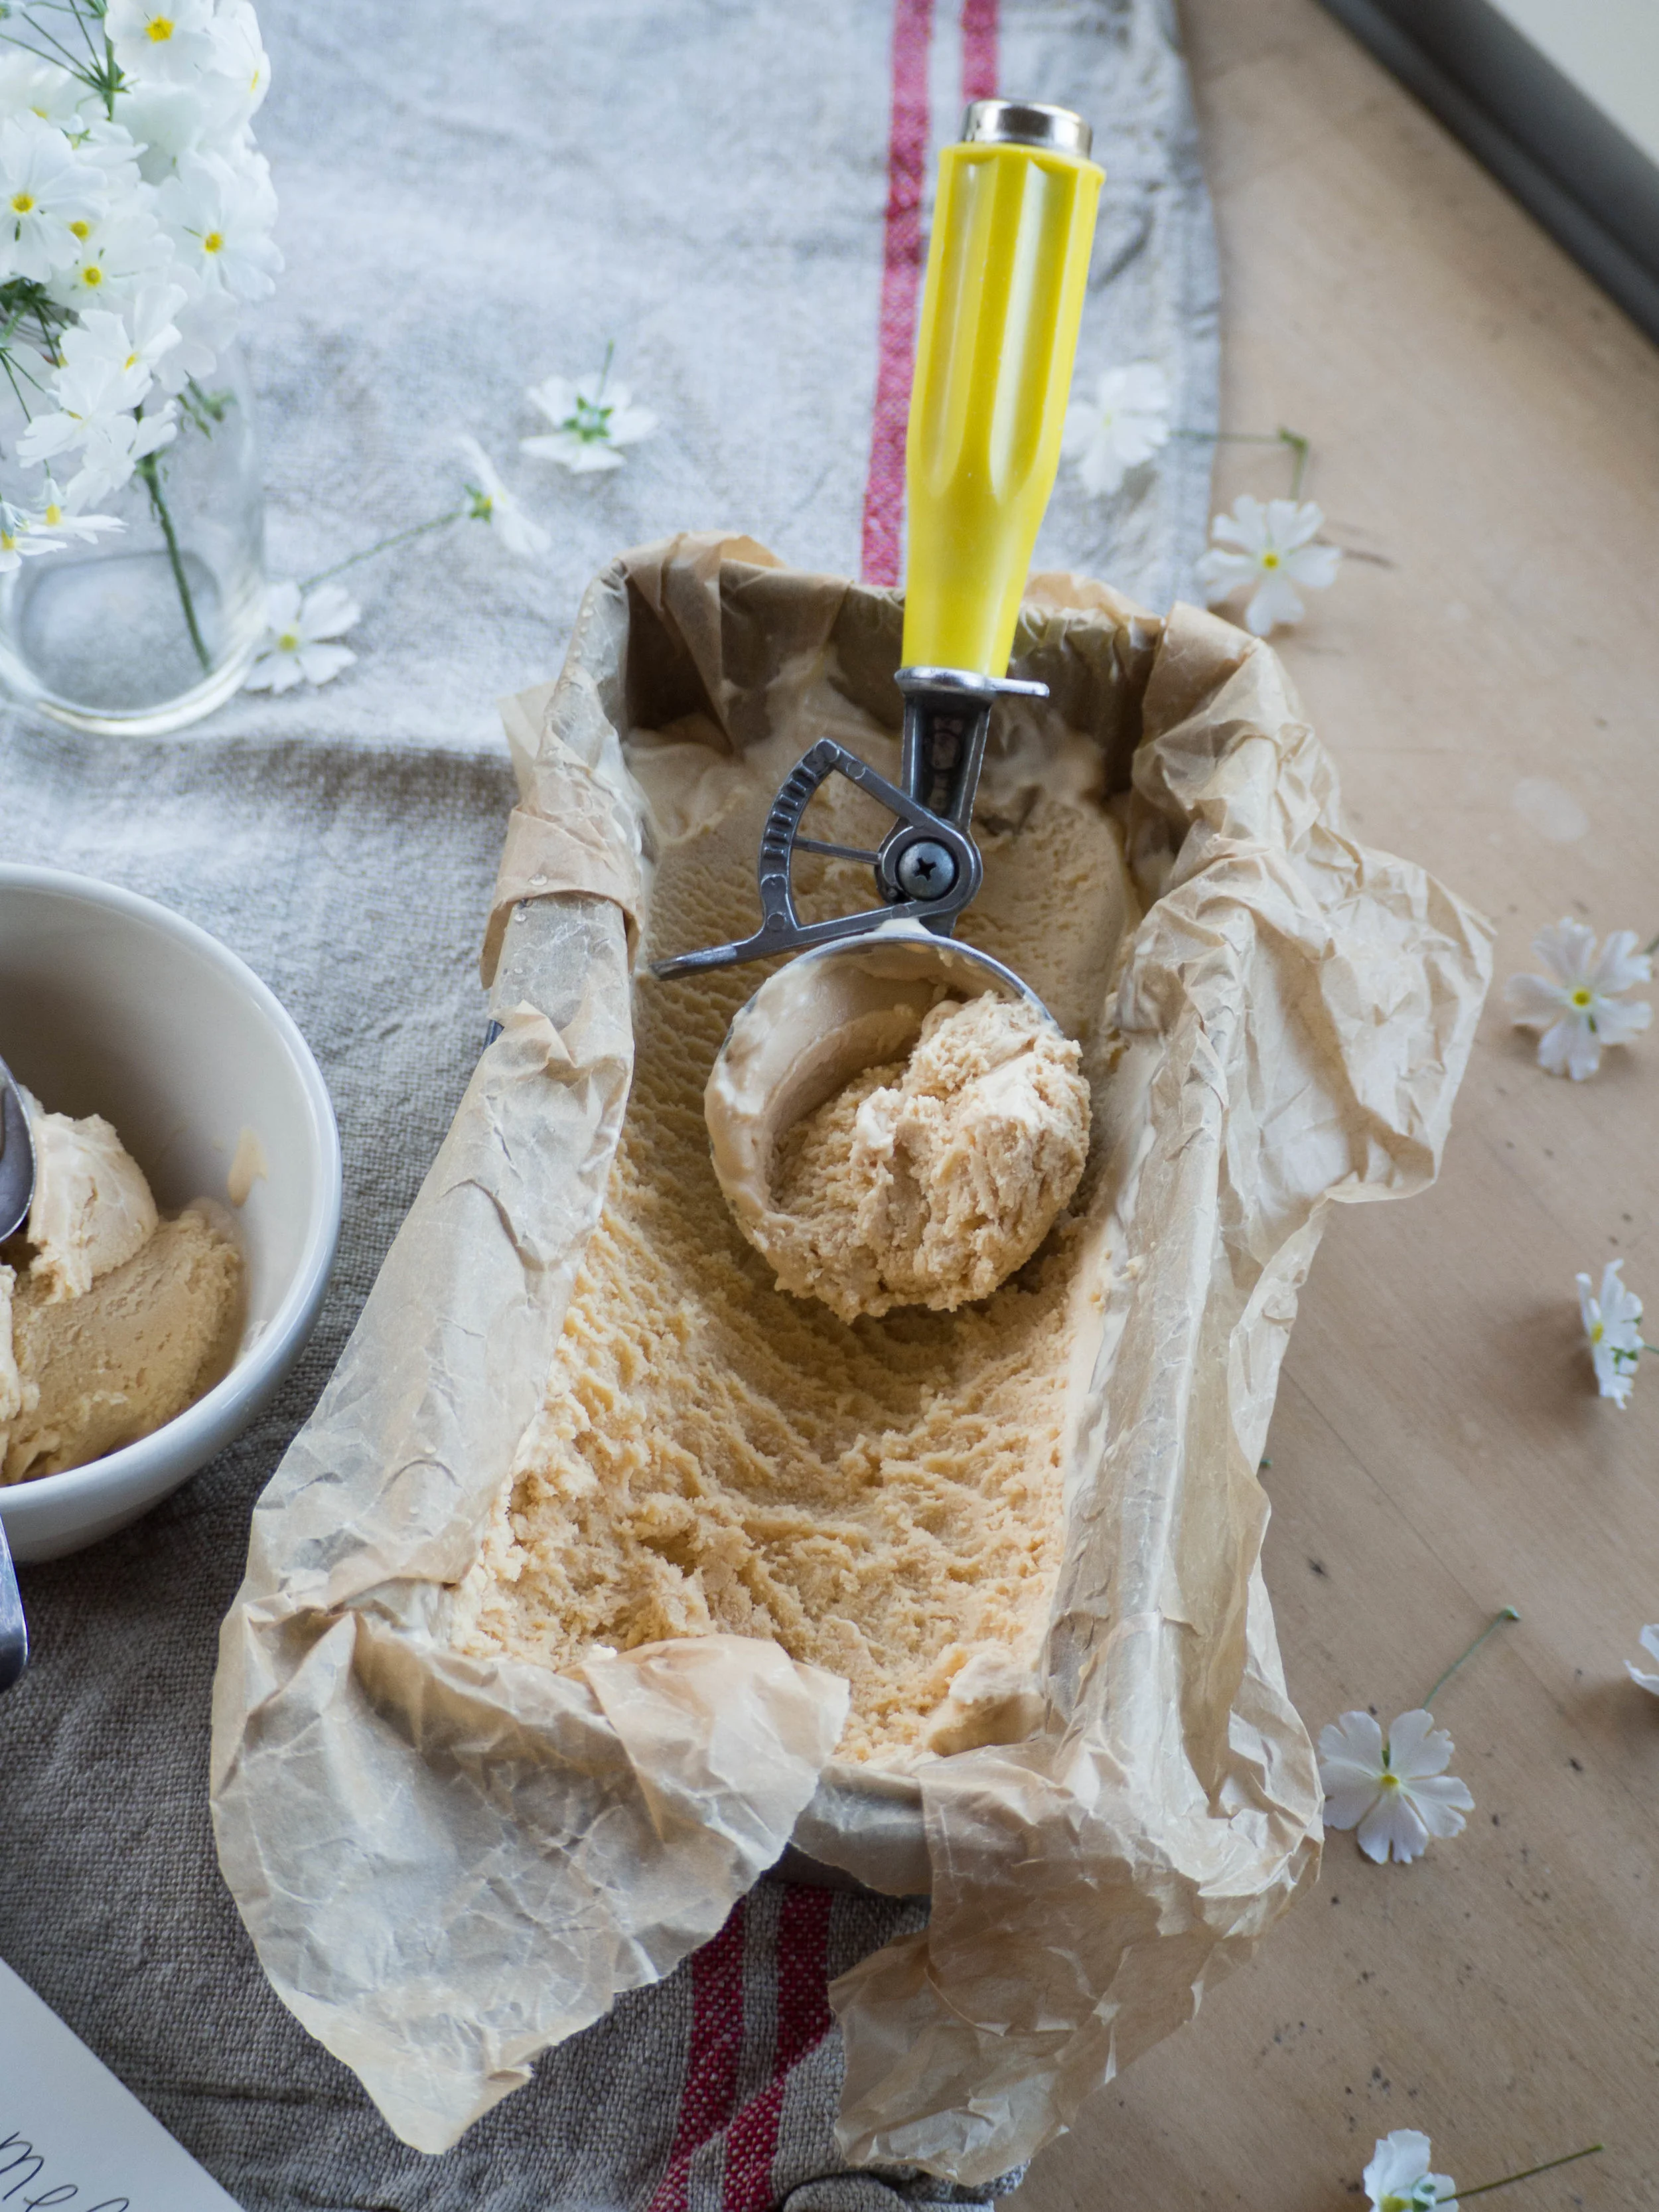
Transfer the mixture to your ice cream maker, and churn according to your machines instructions. I use the ice cream bowl attachment to my KitchenAid stand mixer and I find this ice cream takes about 5-10 minutes to churn. I find the ice cream is ready once it has frozen/thickened and is clinging to the paddle of the machine.
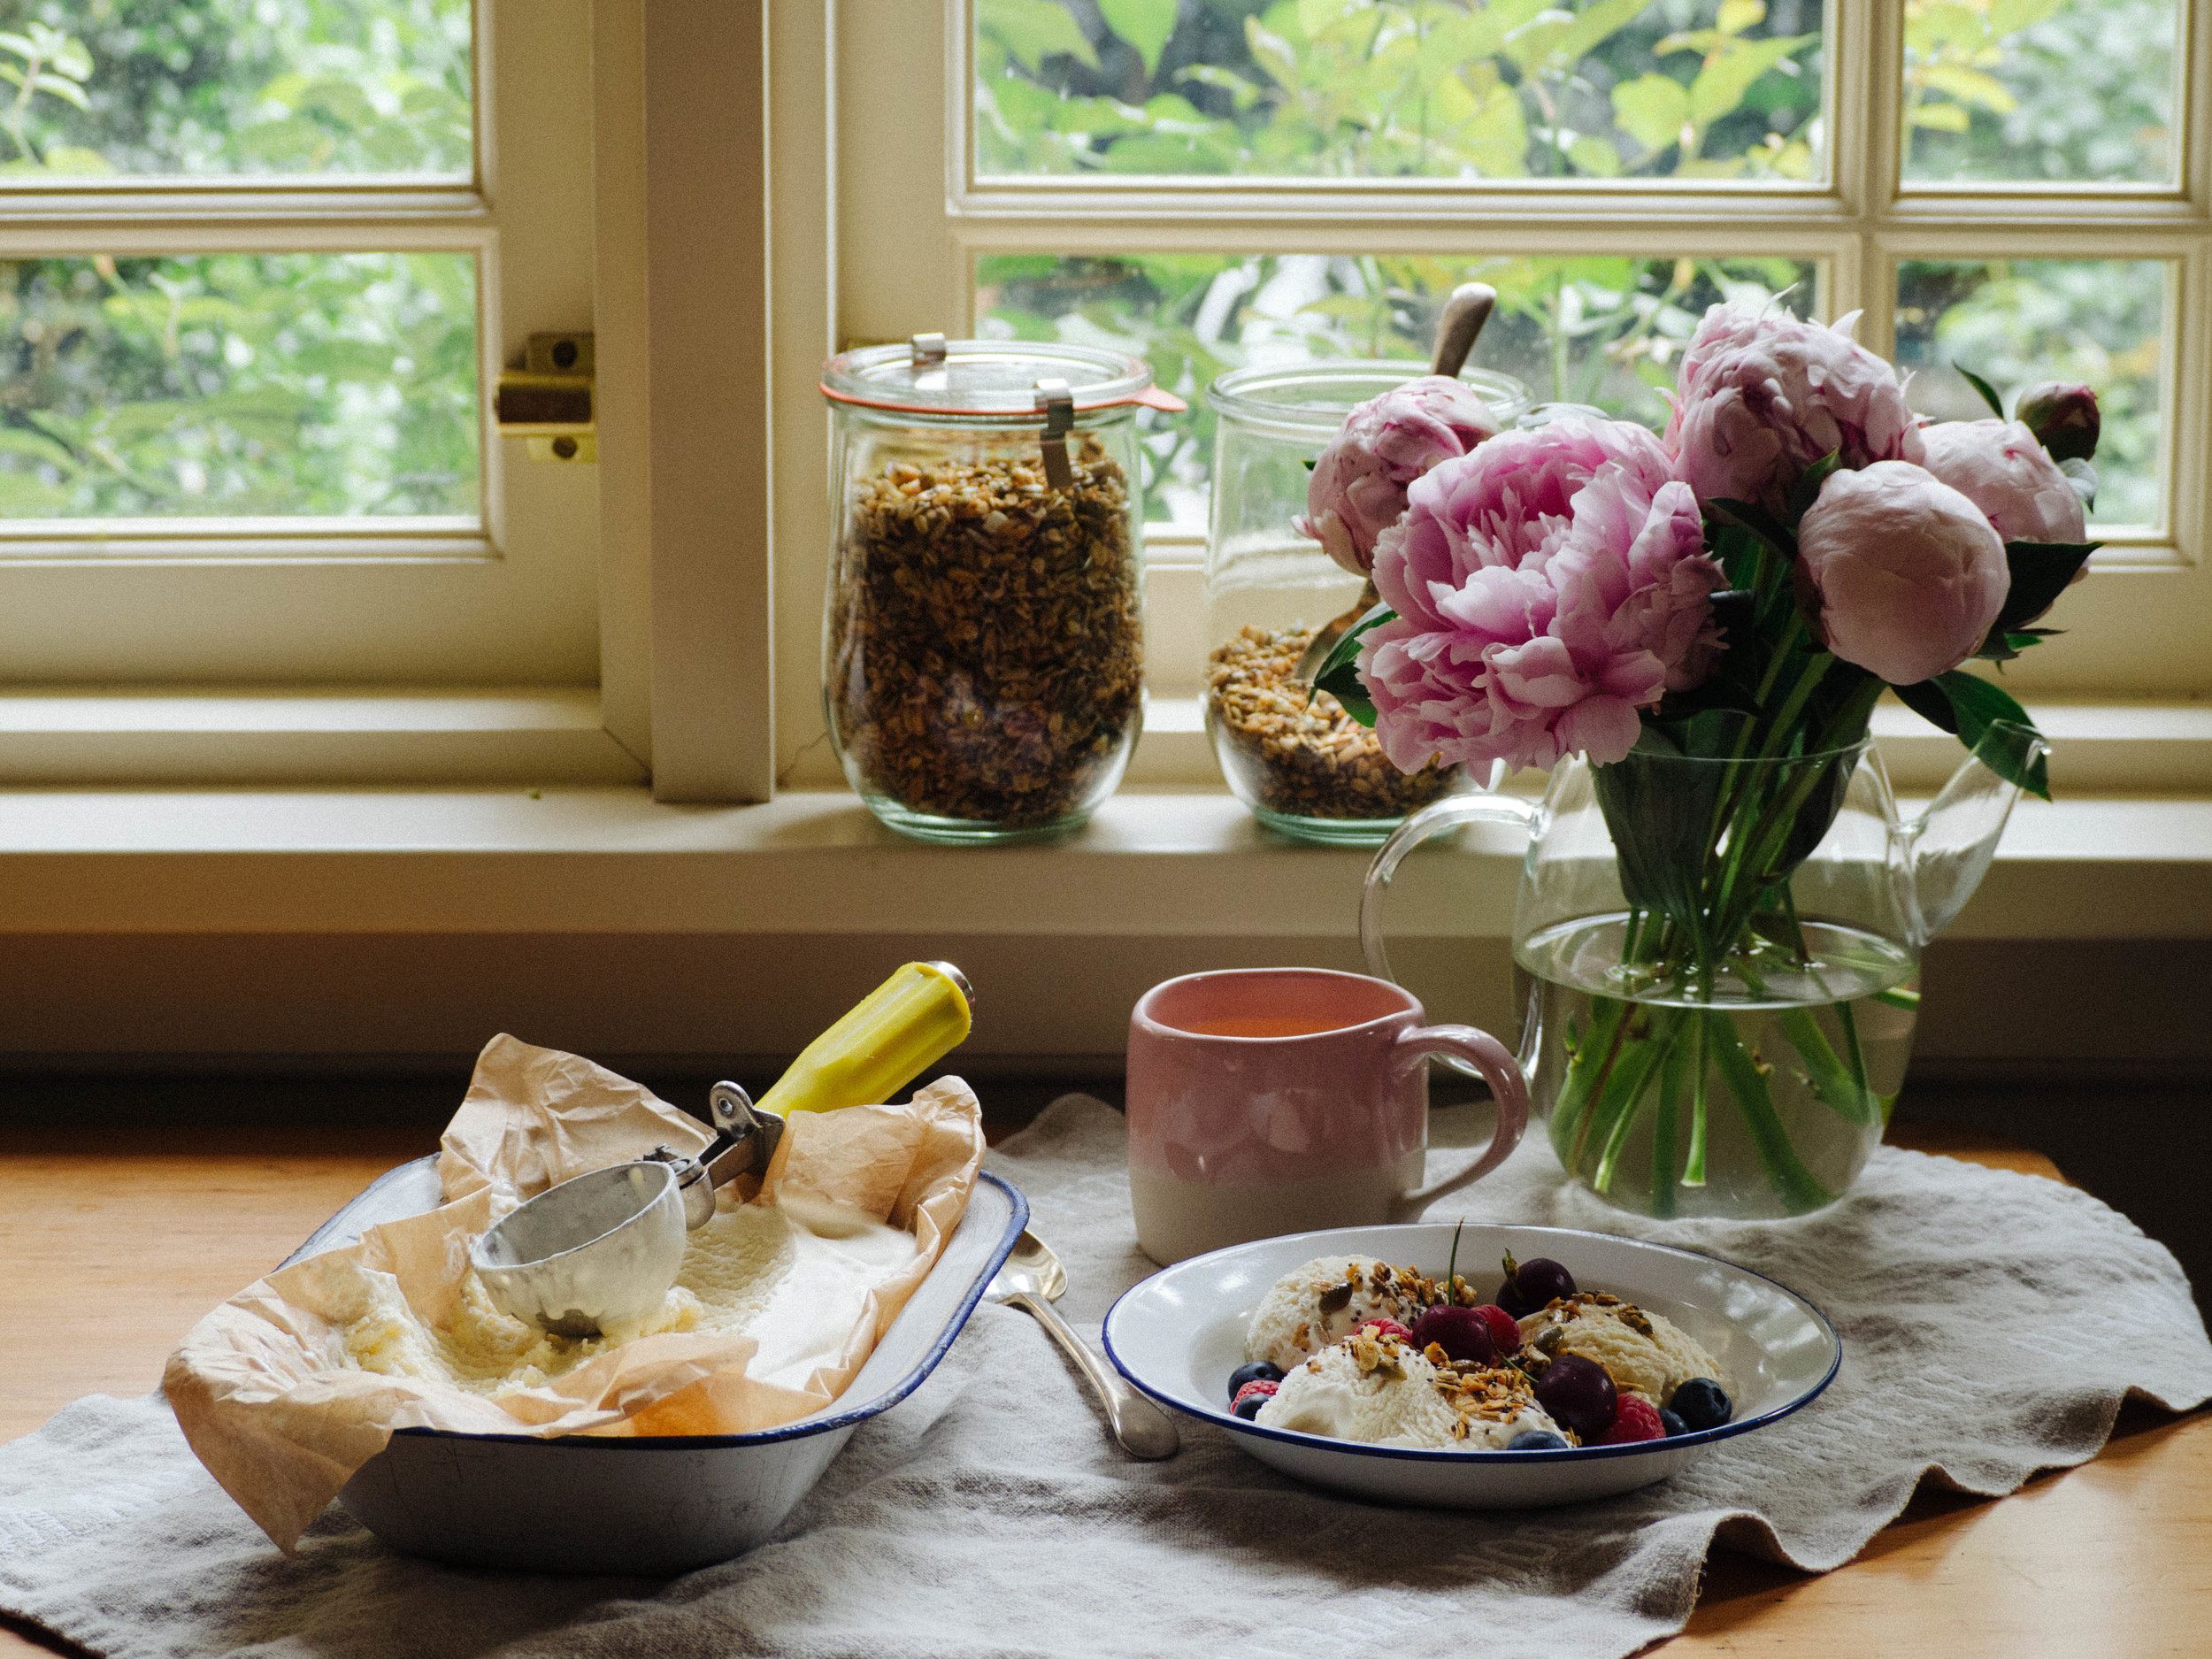
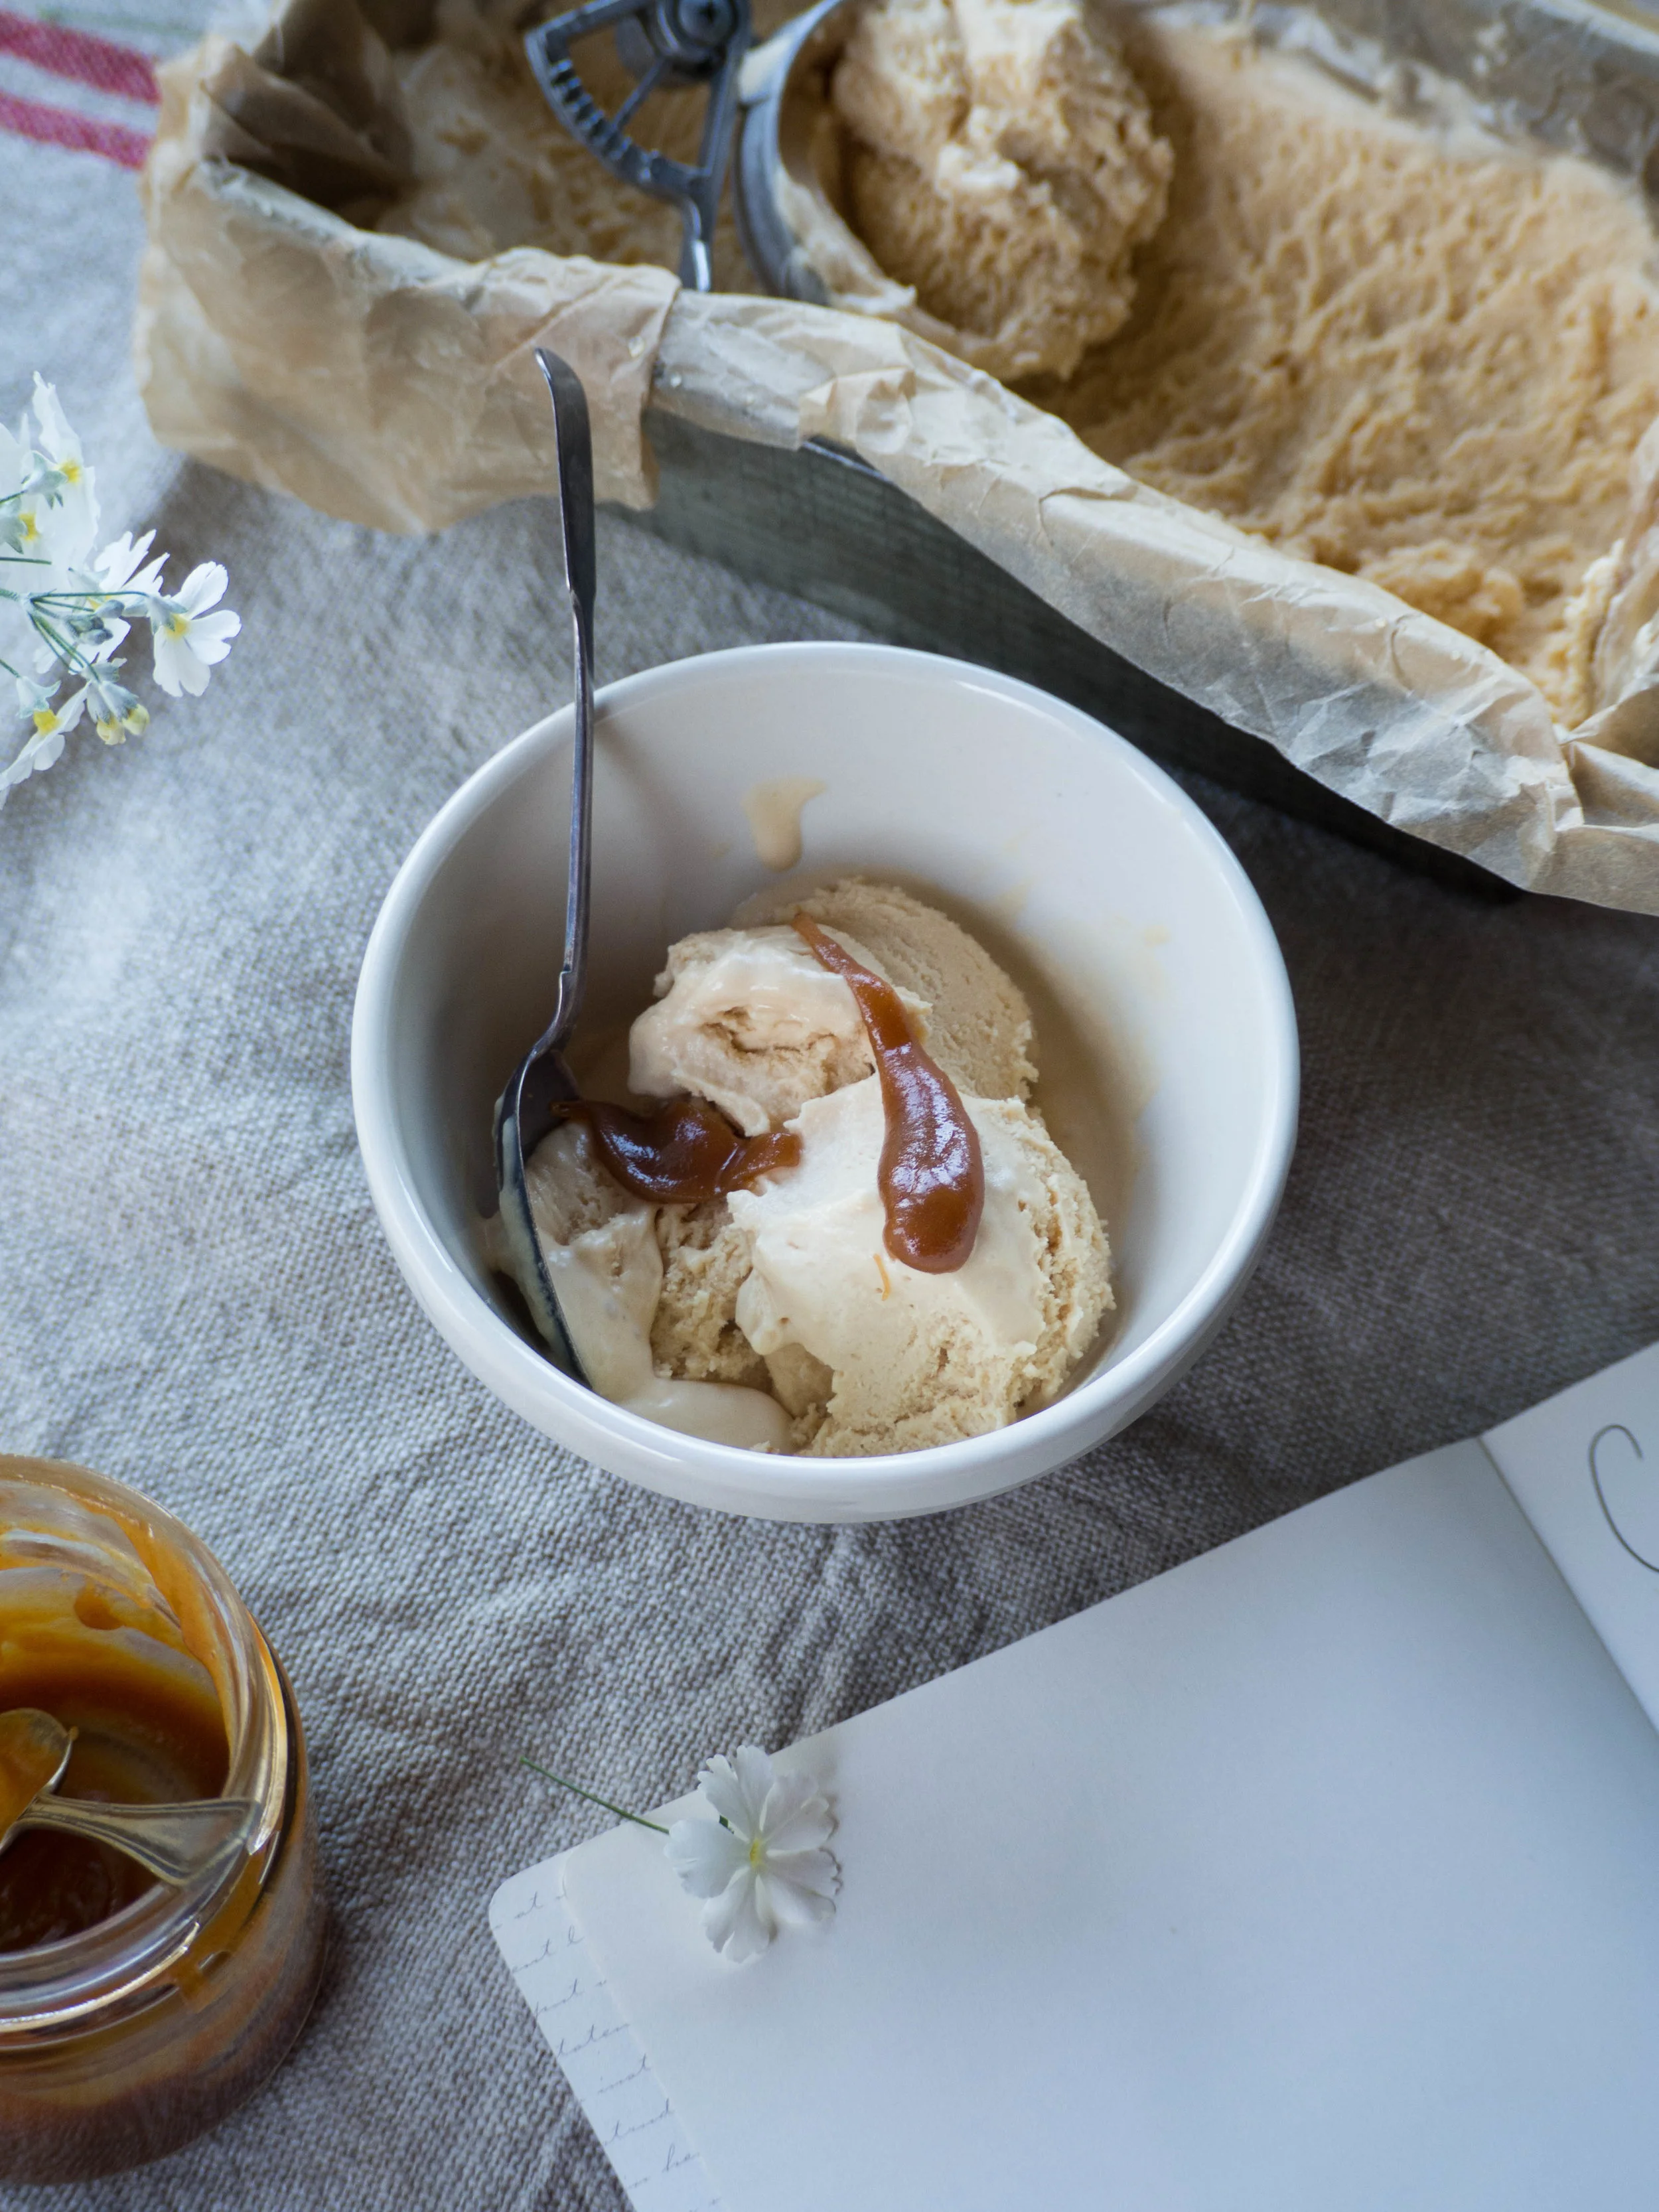
Once the has been churned fold through the cherries and pavlova using a spatula. Transfer the mixture to a freezer safe container (about 1.5L capacity). Sprinkle any extra crushed up pavlova over the top, and sprinkle over some dried rose petals if desired.
Allow ice cream to freeze for a few hours before serving.
*I used about 6 pre made mini pavlovas (I got mine from Woolworths). You could also use pre made meringues.