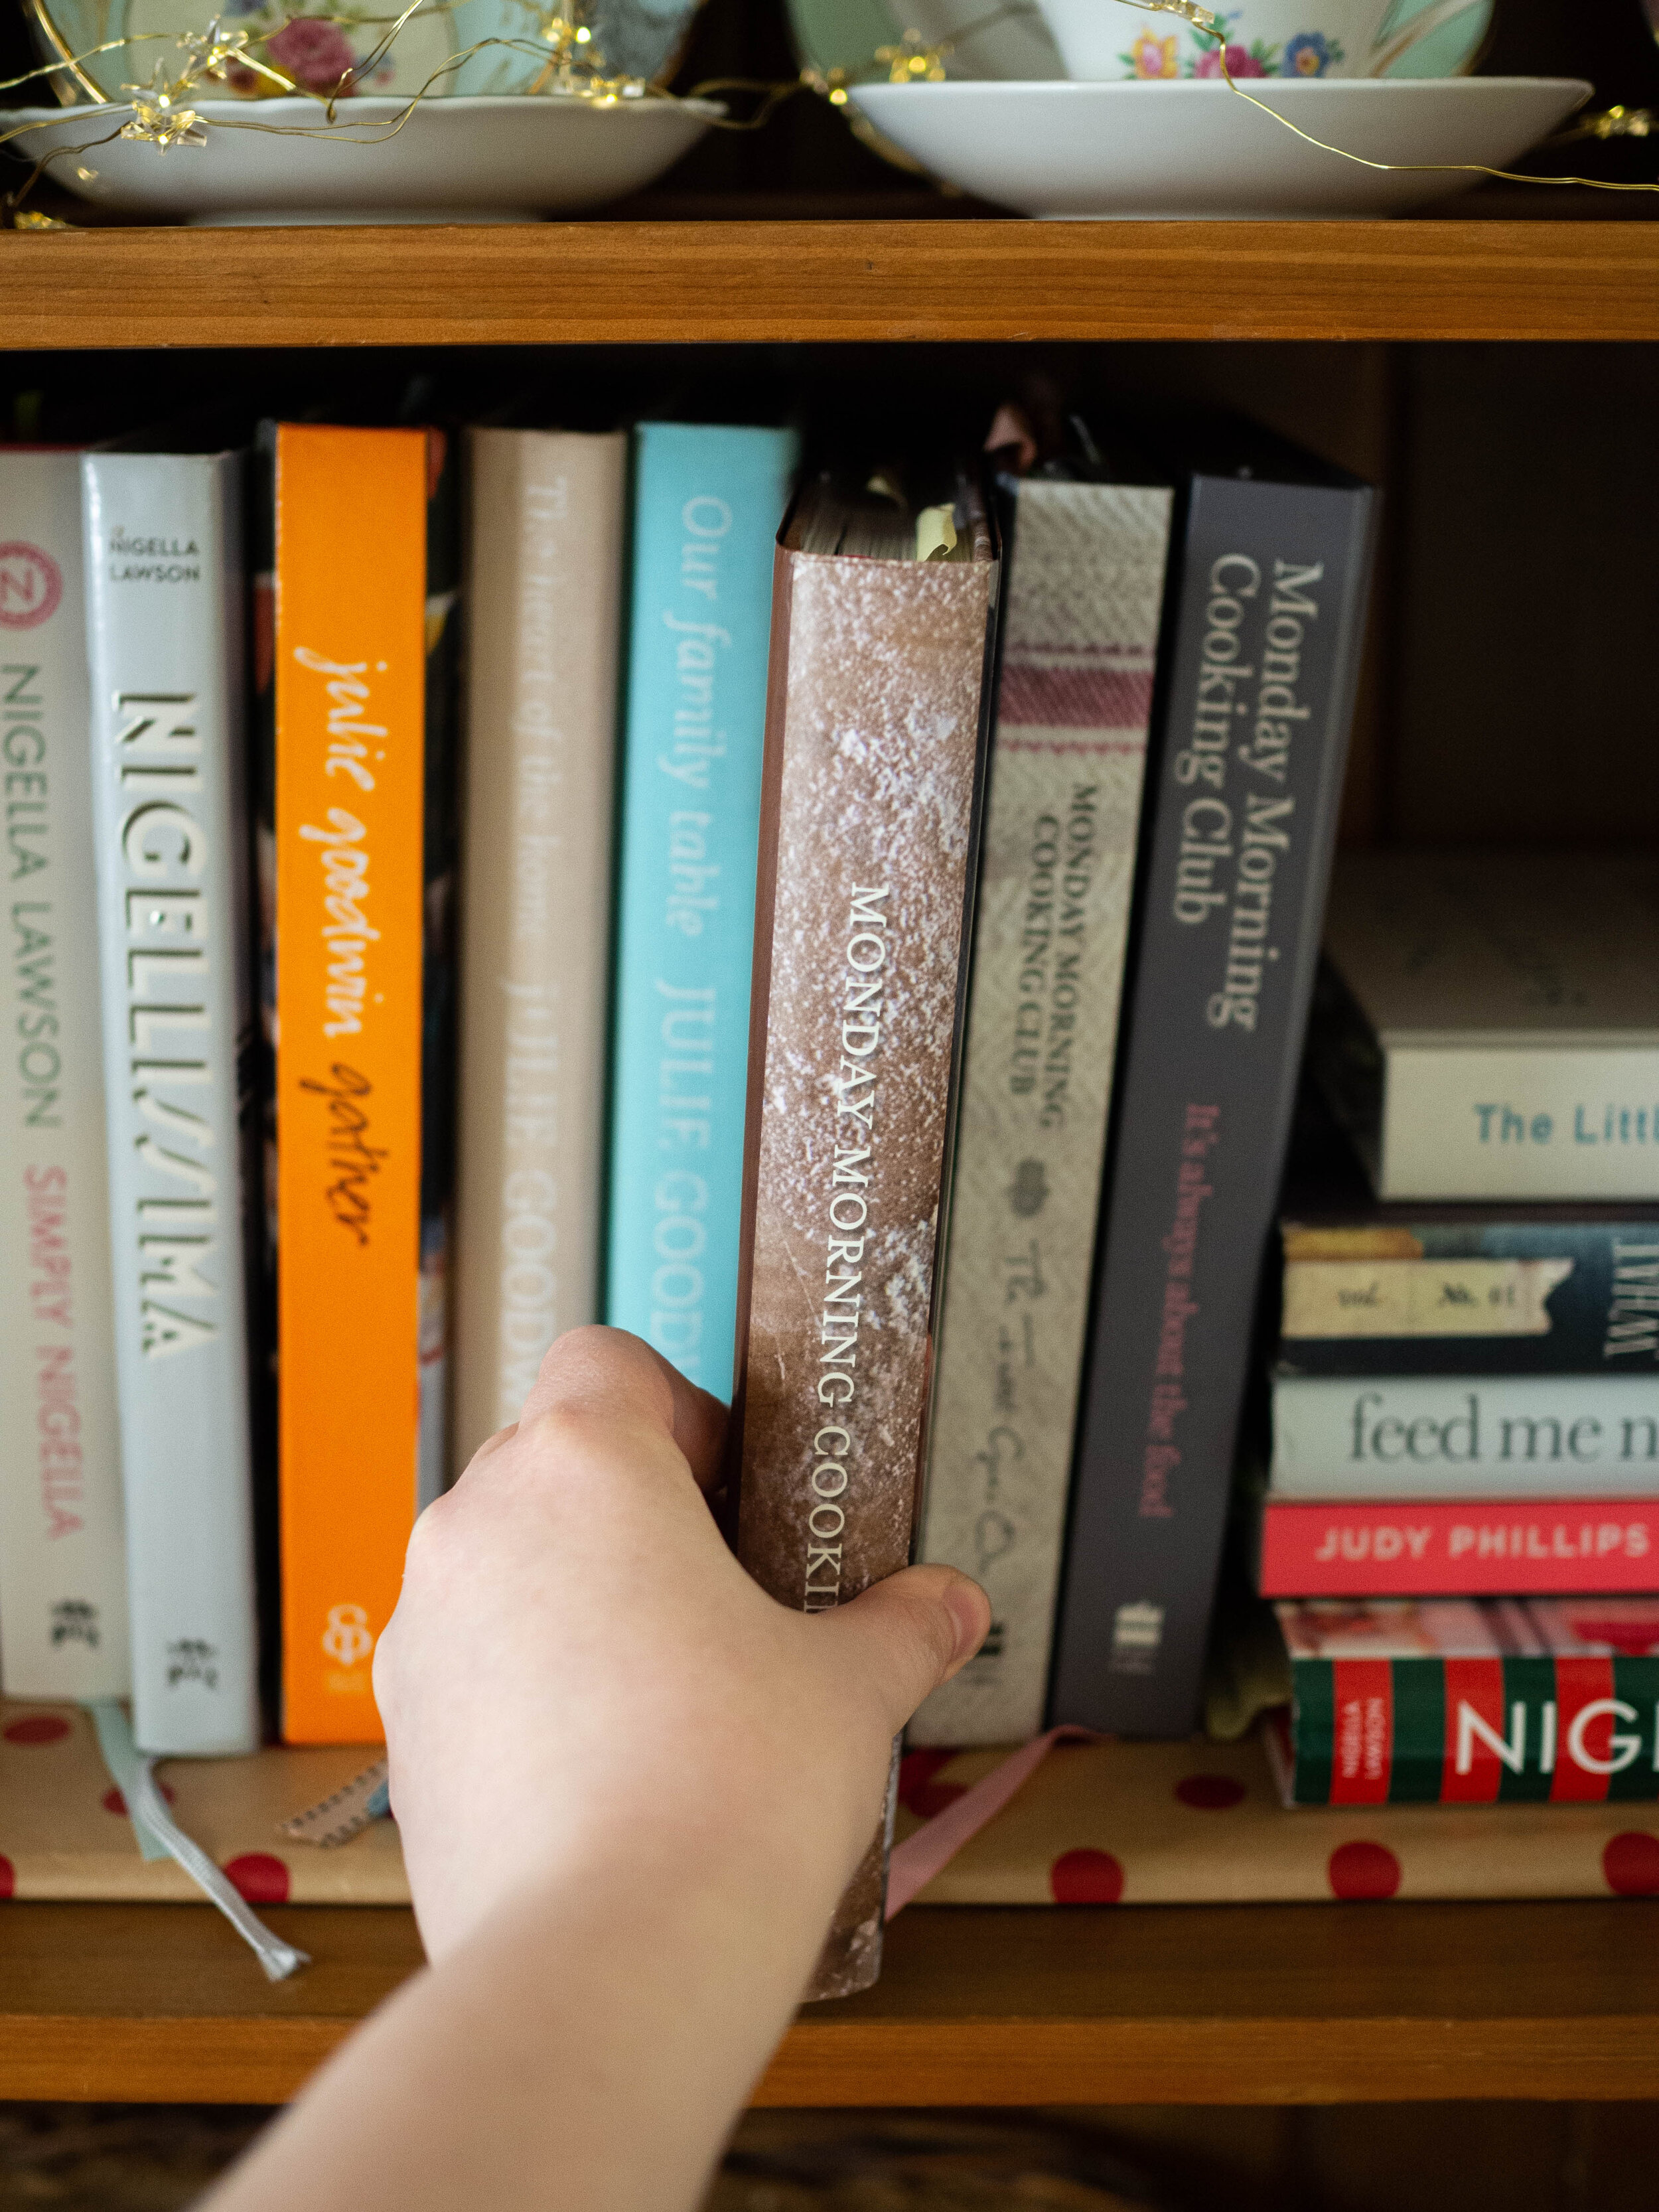
Bought at: it was gifted to me for Christmas.
Recipes Made: Jewelled Rice p.174, Chicken and Quince Tagine p.269, Babka p.324, Yeasted Hamantaschen p.342, Candied Quince p.404, Charoset pp.406-409 and Lekvar p.410.
I made the Jewelled Rice on the same night I made the Chicken and Quince Tagine, and wow did I use a lot of pots of pans that night! This is no simple rice dish, but it is very tasty and beautiful. For a more simple version in the future, I would probably make the baked rice with salsa from ‘Simple’ by Ottolenghi as I definitely found it hard to co-ordinate all the pots and pans on the stove and the cooking times to have everything ready along with the Chicken and Quince Tagine.

Chicken and Quince Tagine + Jewelled Rice
The Chicken and Quince Tagine was a big hit, and after the quince are candied it’s not a difficult dish to make you just need a little time. I’d never had quince with chicken and of course it was a great pairing. I did use the recipe for Candied Quince from the book as the recipe says, but I think if you already had some poached quince you could definitely use that. I am hoping to make this again whilst quince are still about, I liked it so much!
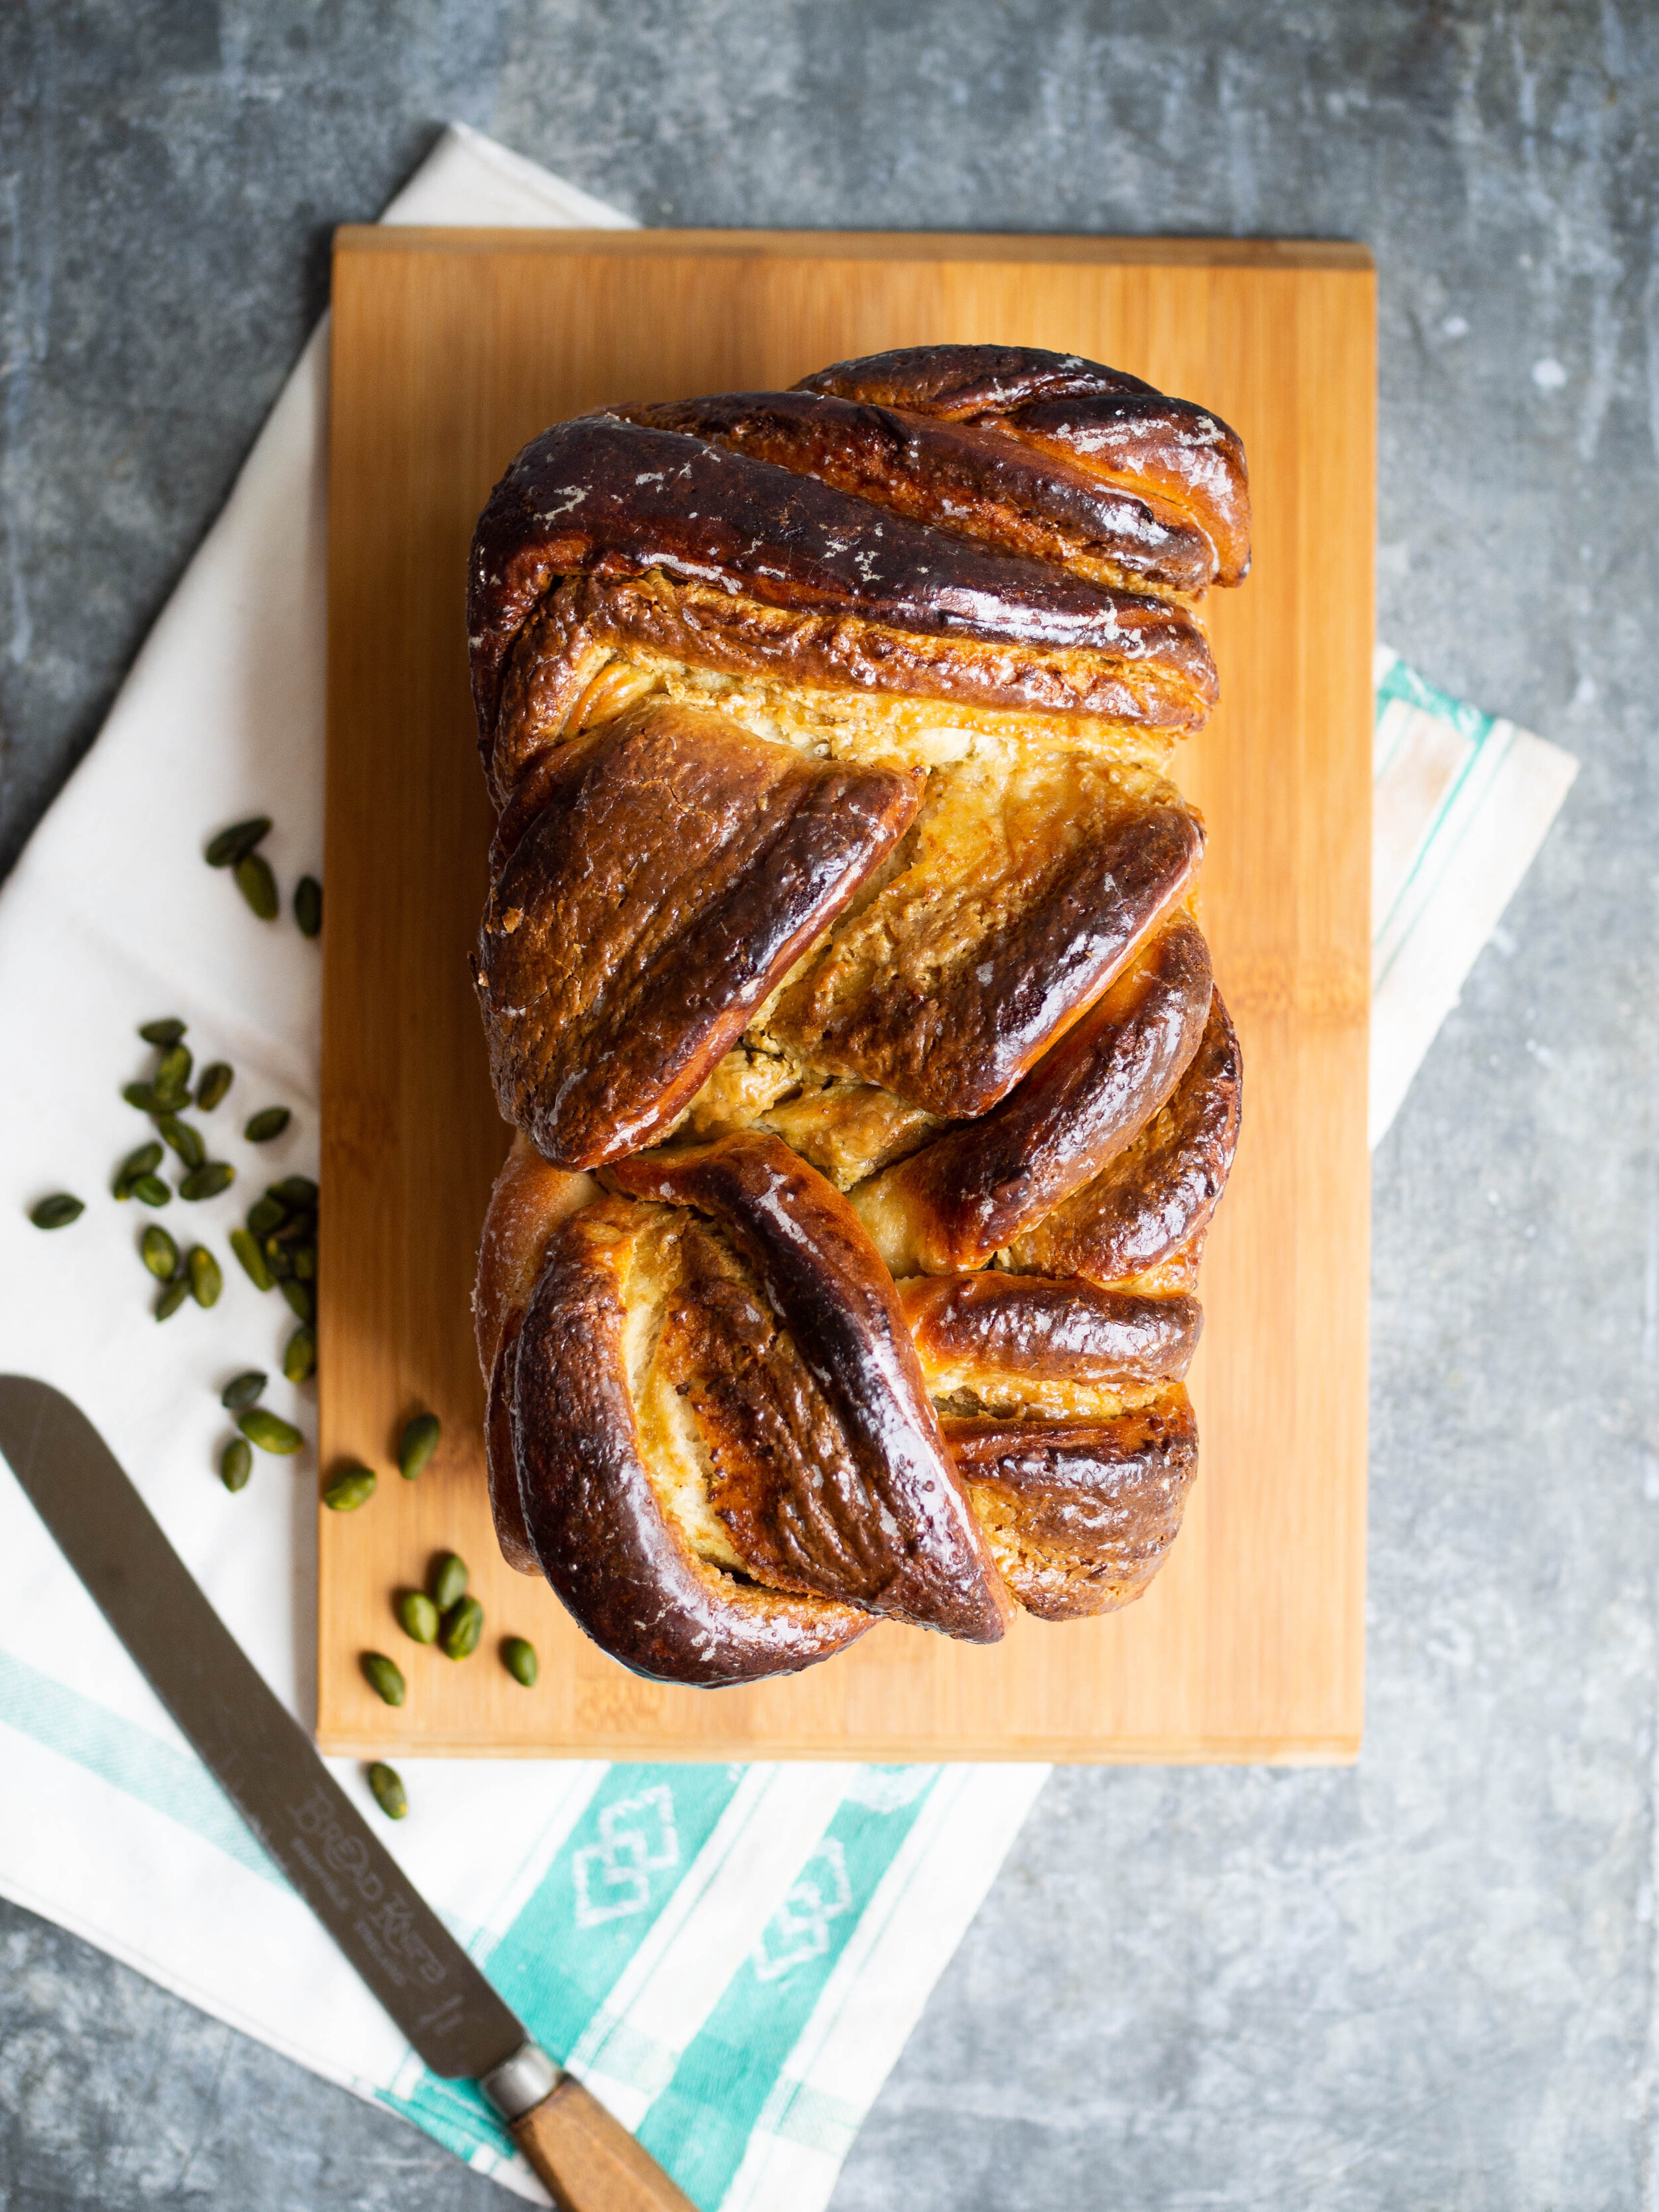
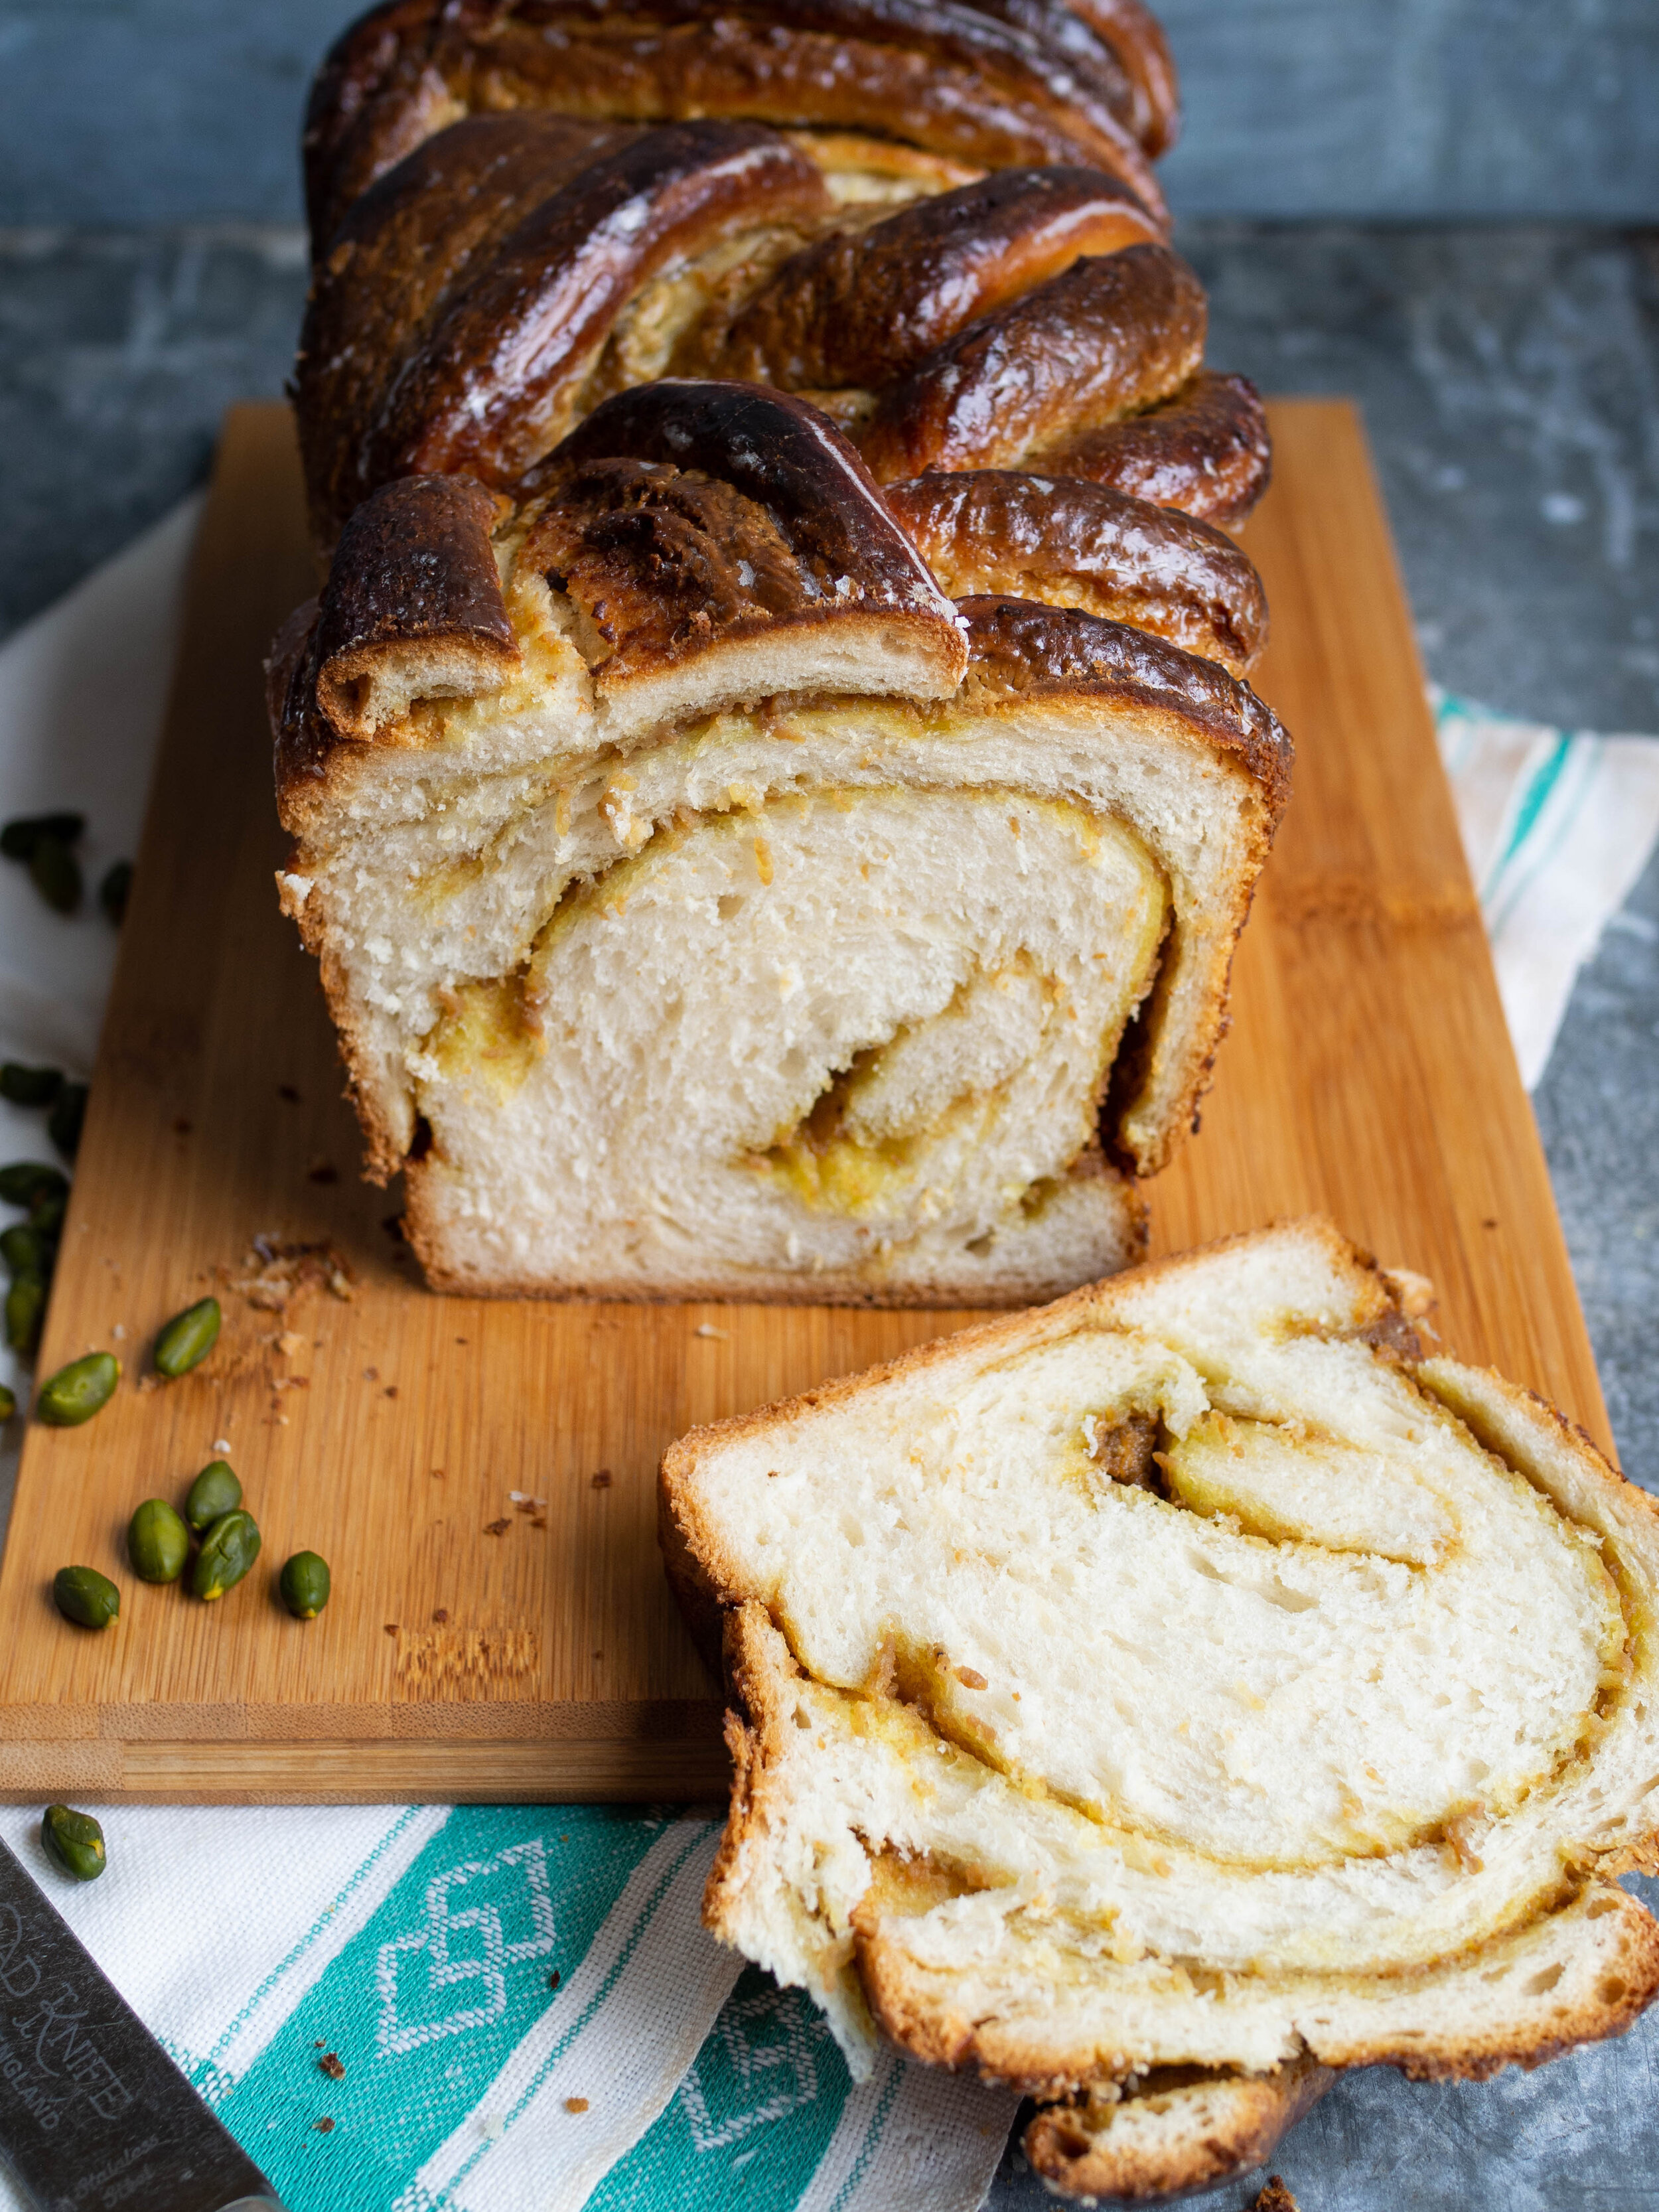
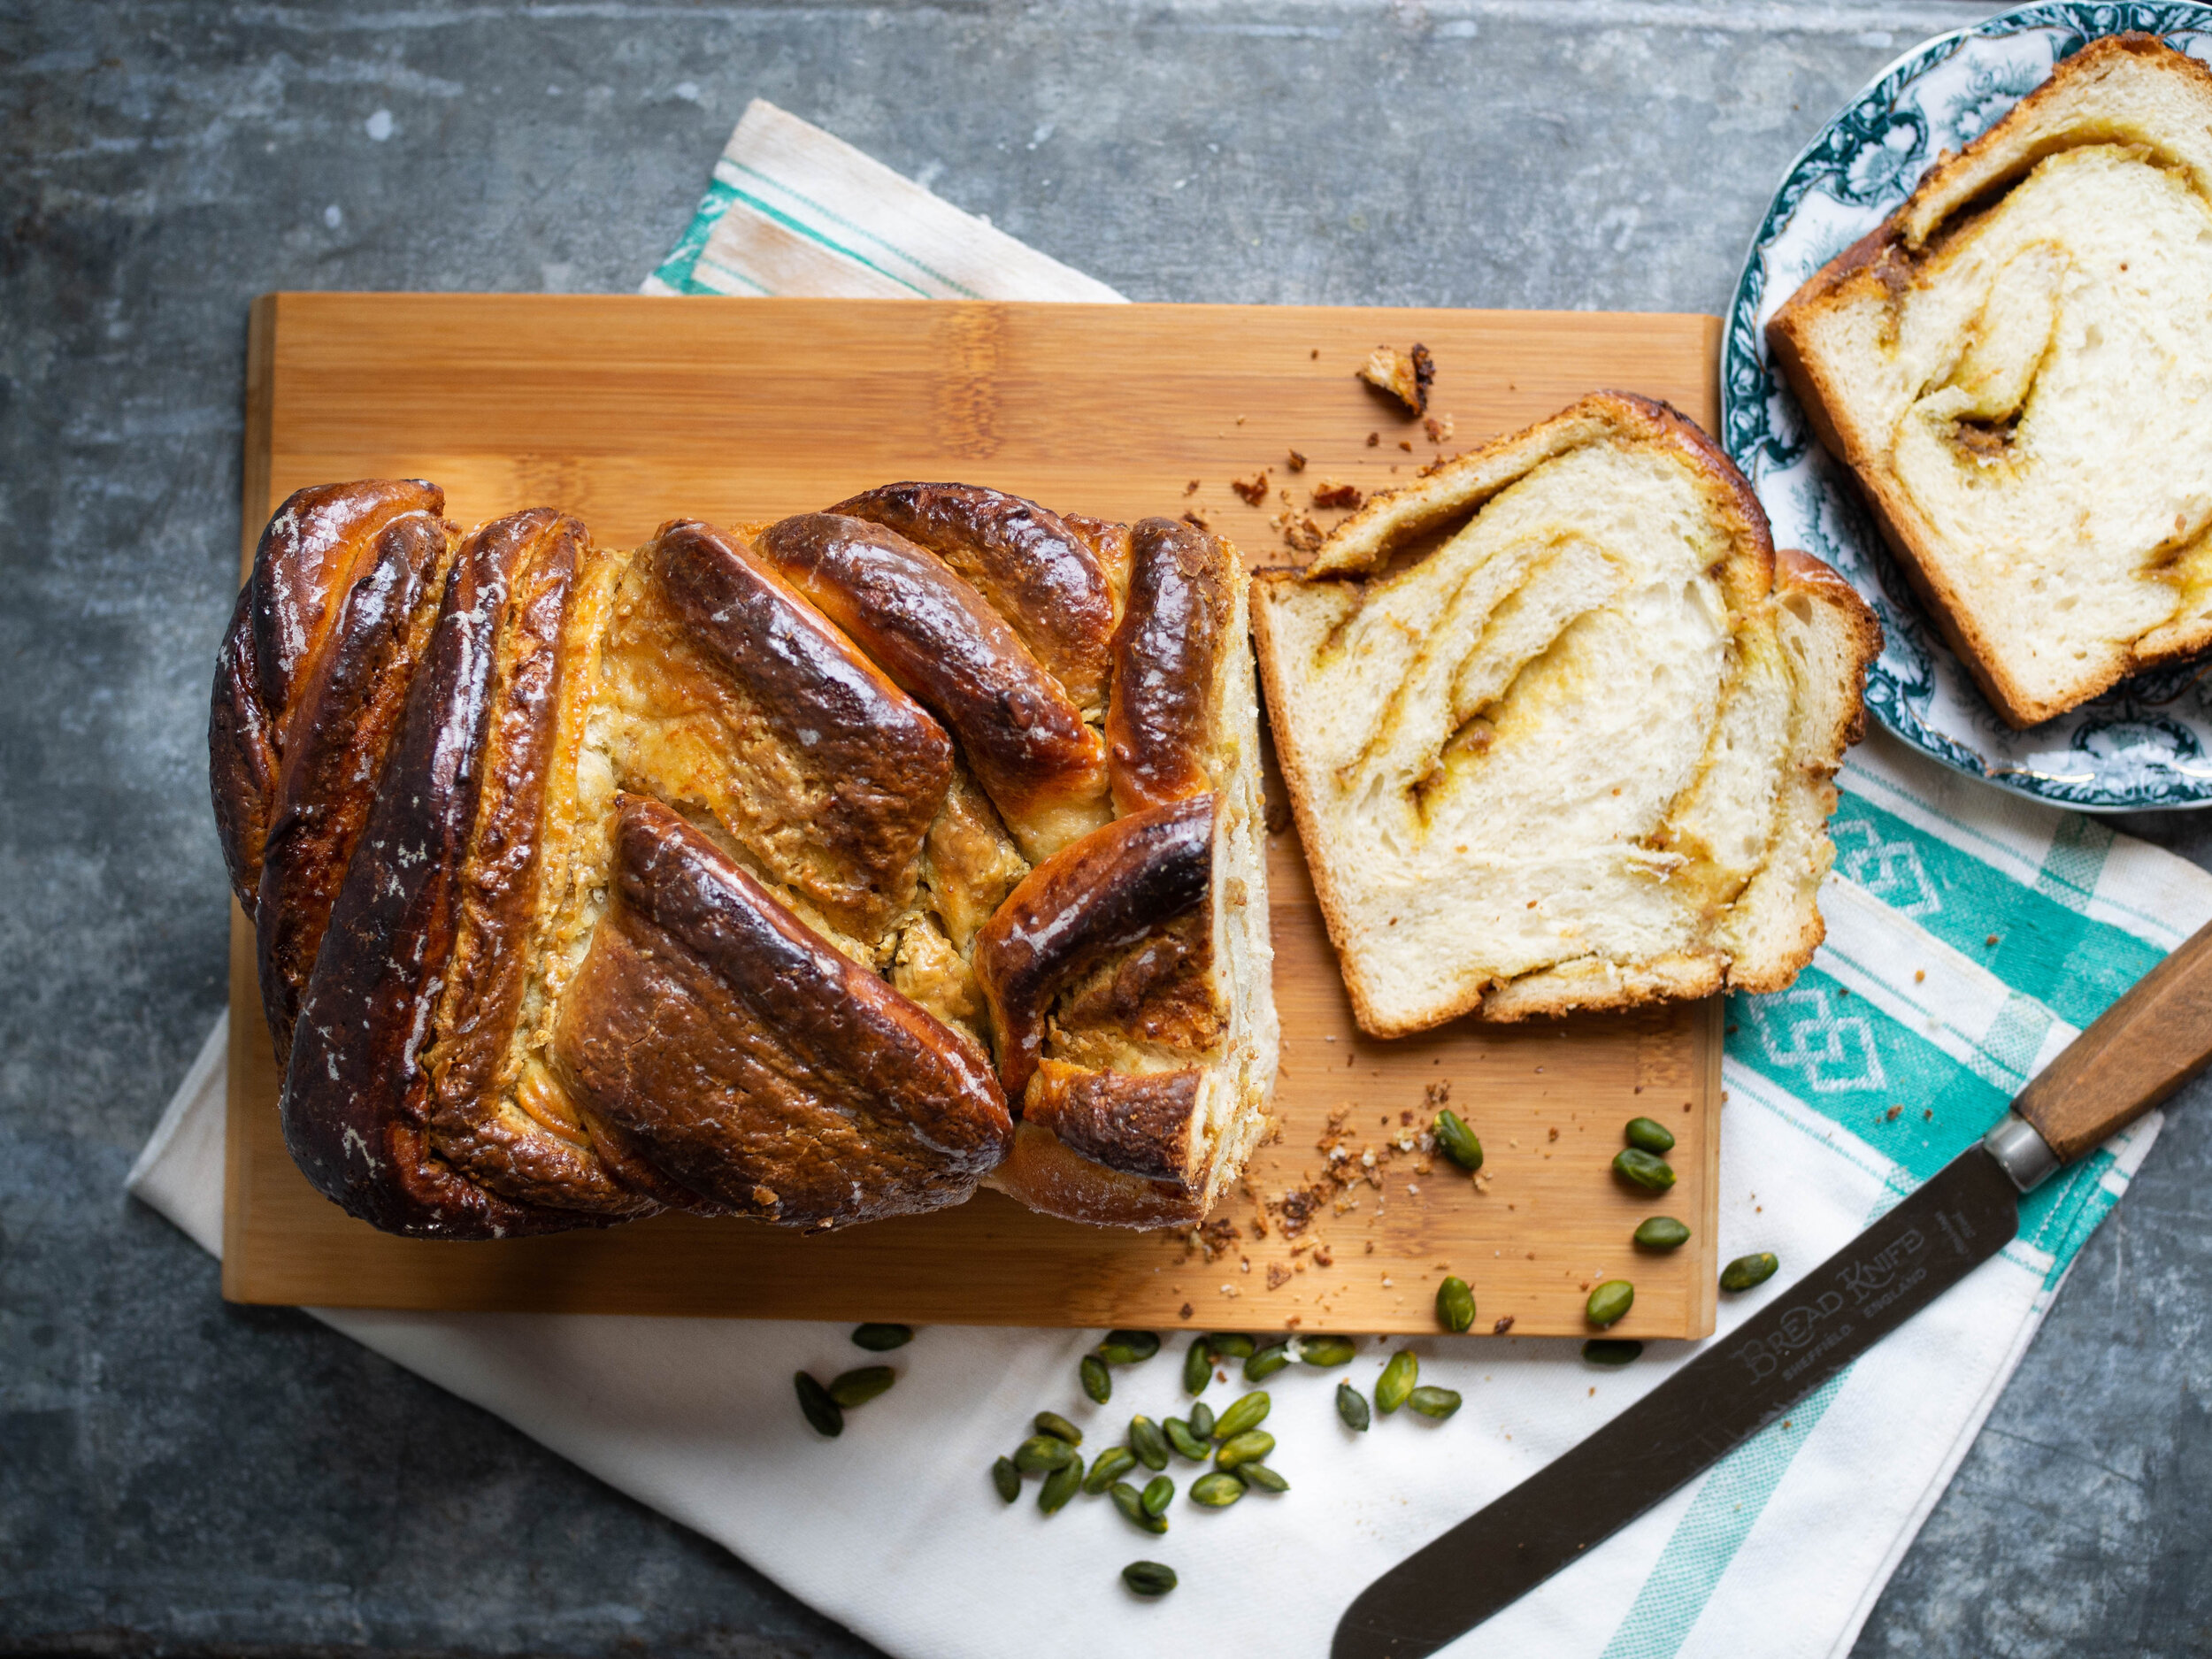
Babka
When I was making Babka a few months ago, I consulted a few recipes one of which was the Babka recipe in this book. Comparing recipes was really helpful, and the recipe I ended up with can be found here. The recipe in this book was for a Cinnamon-Golden Raisin Babka which I definitely need to go back and try without making any of my own adaptations!

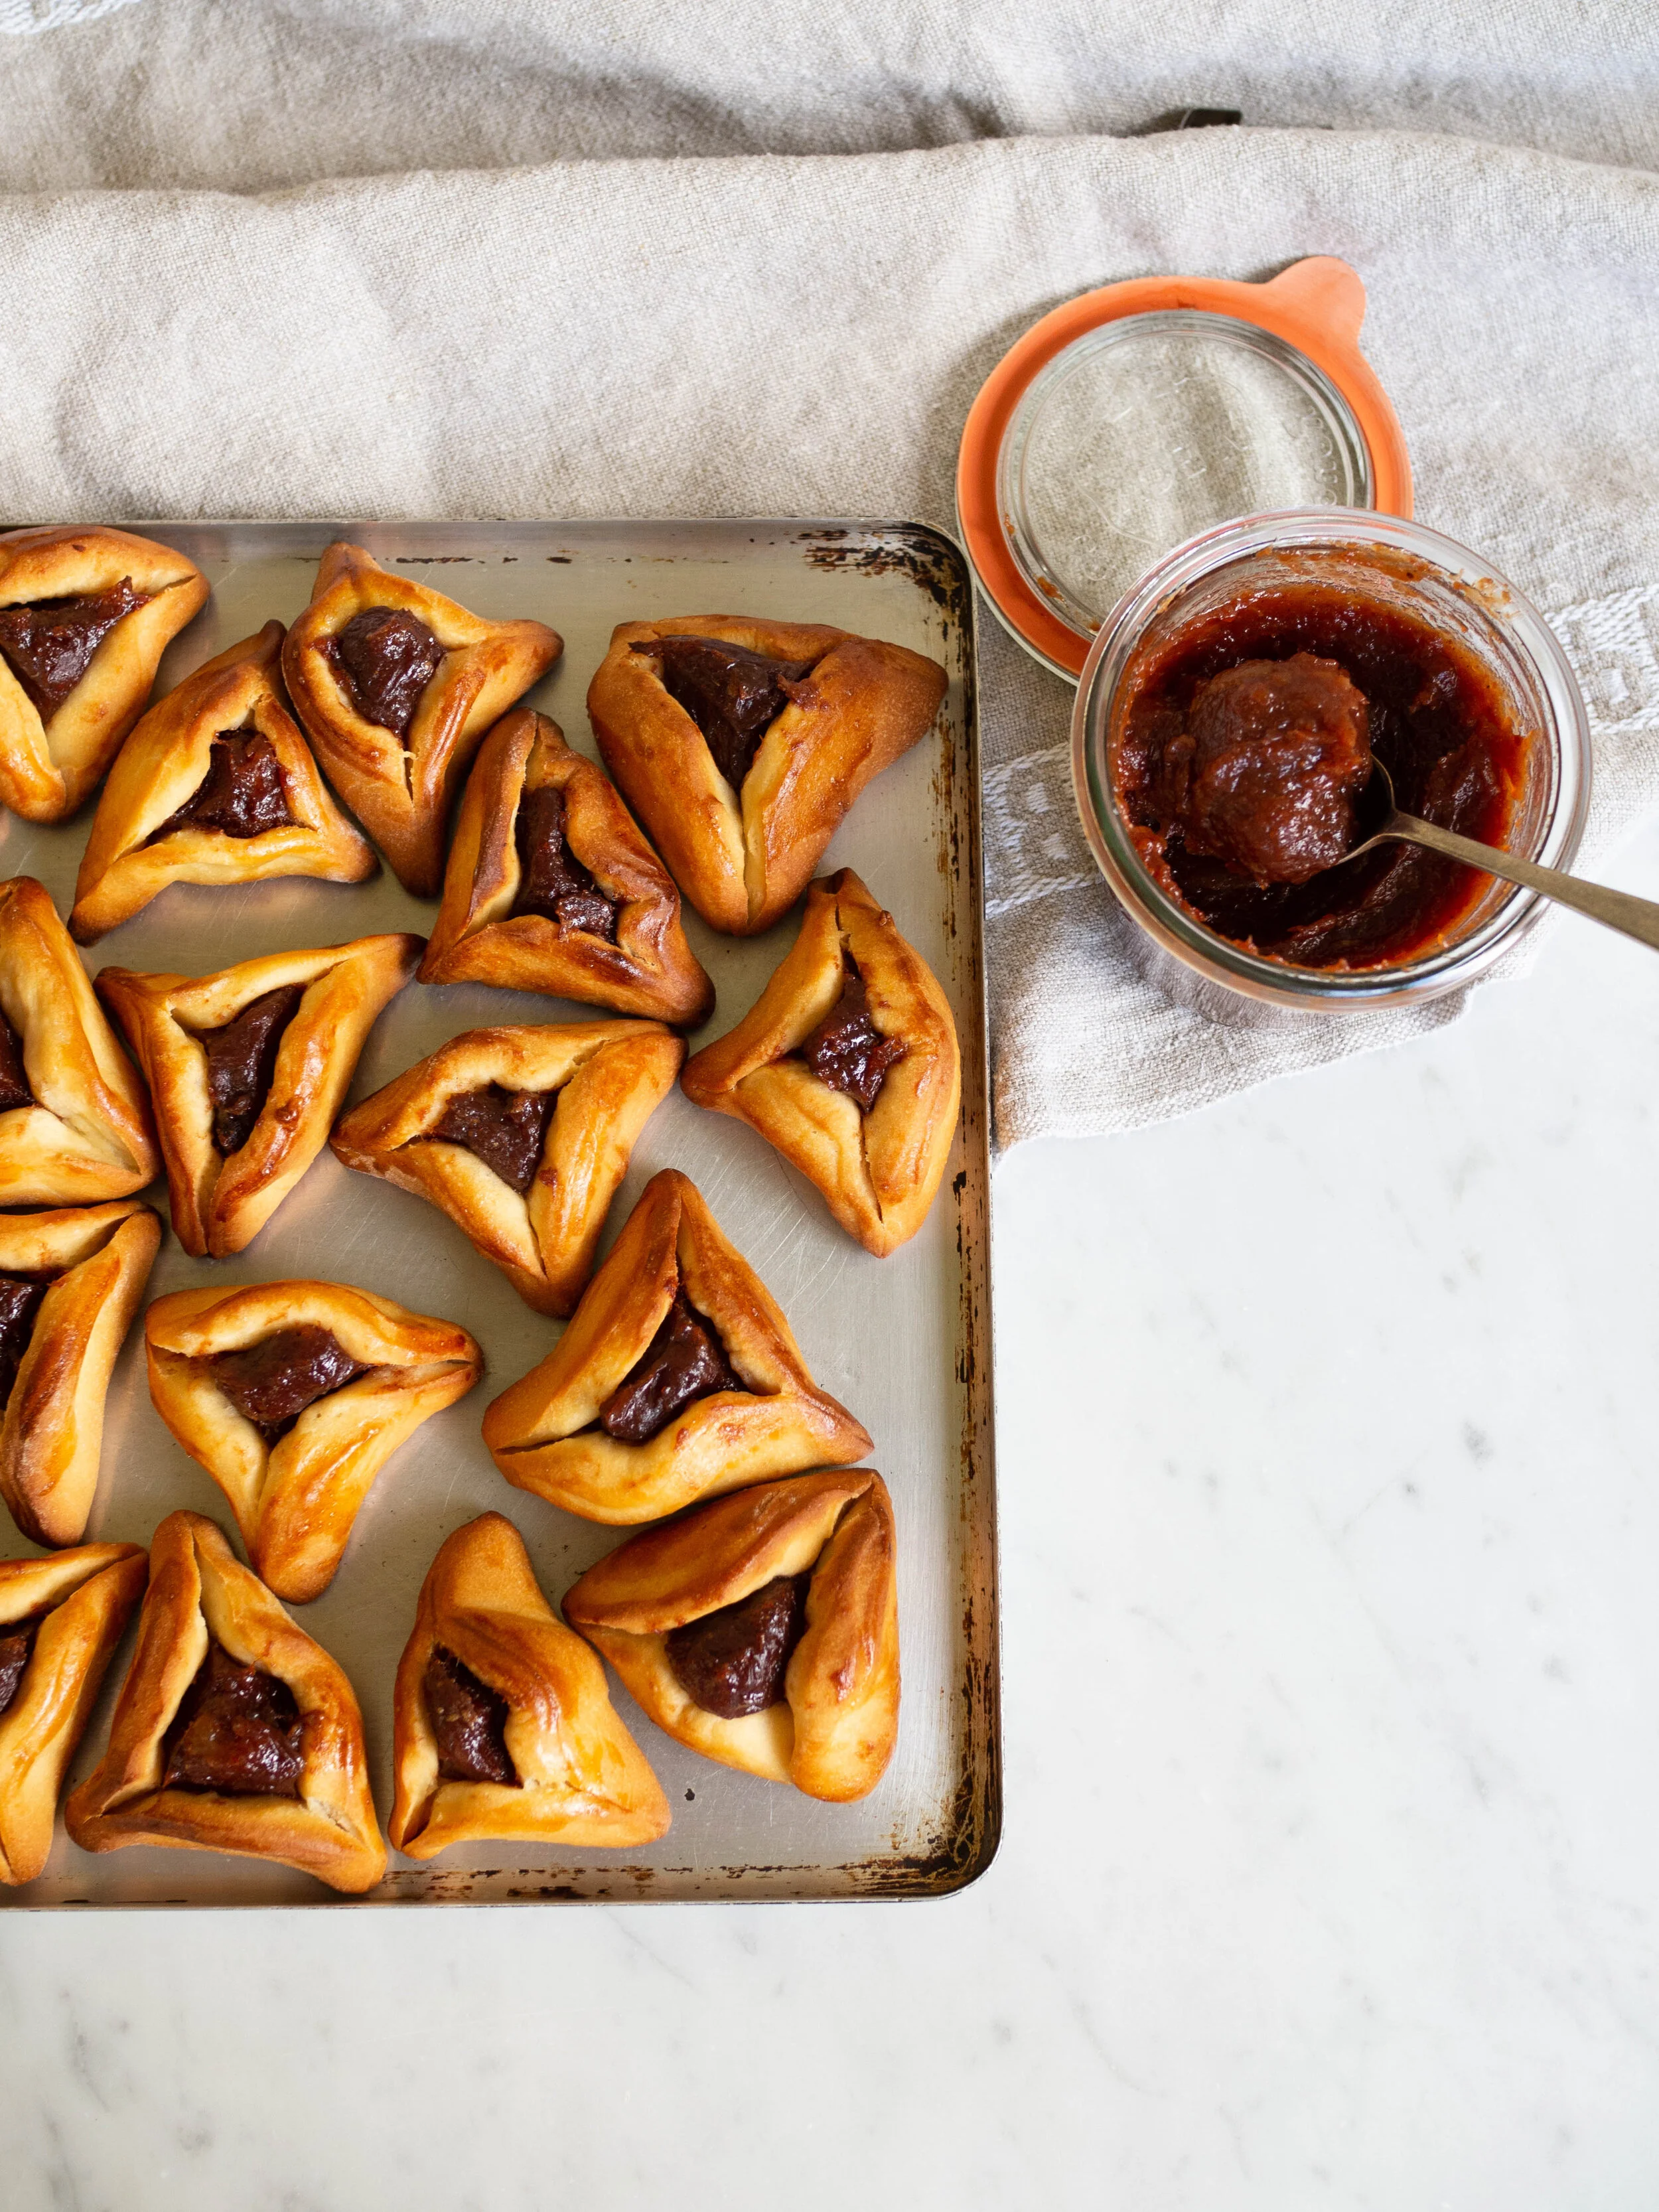
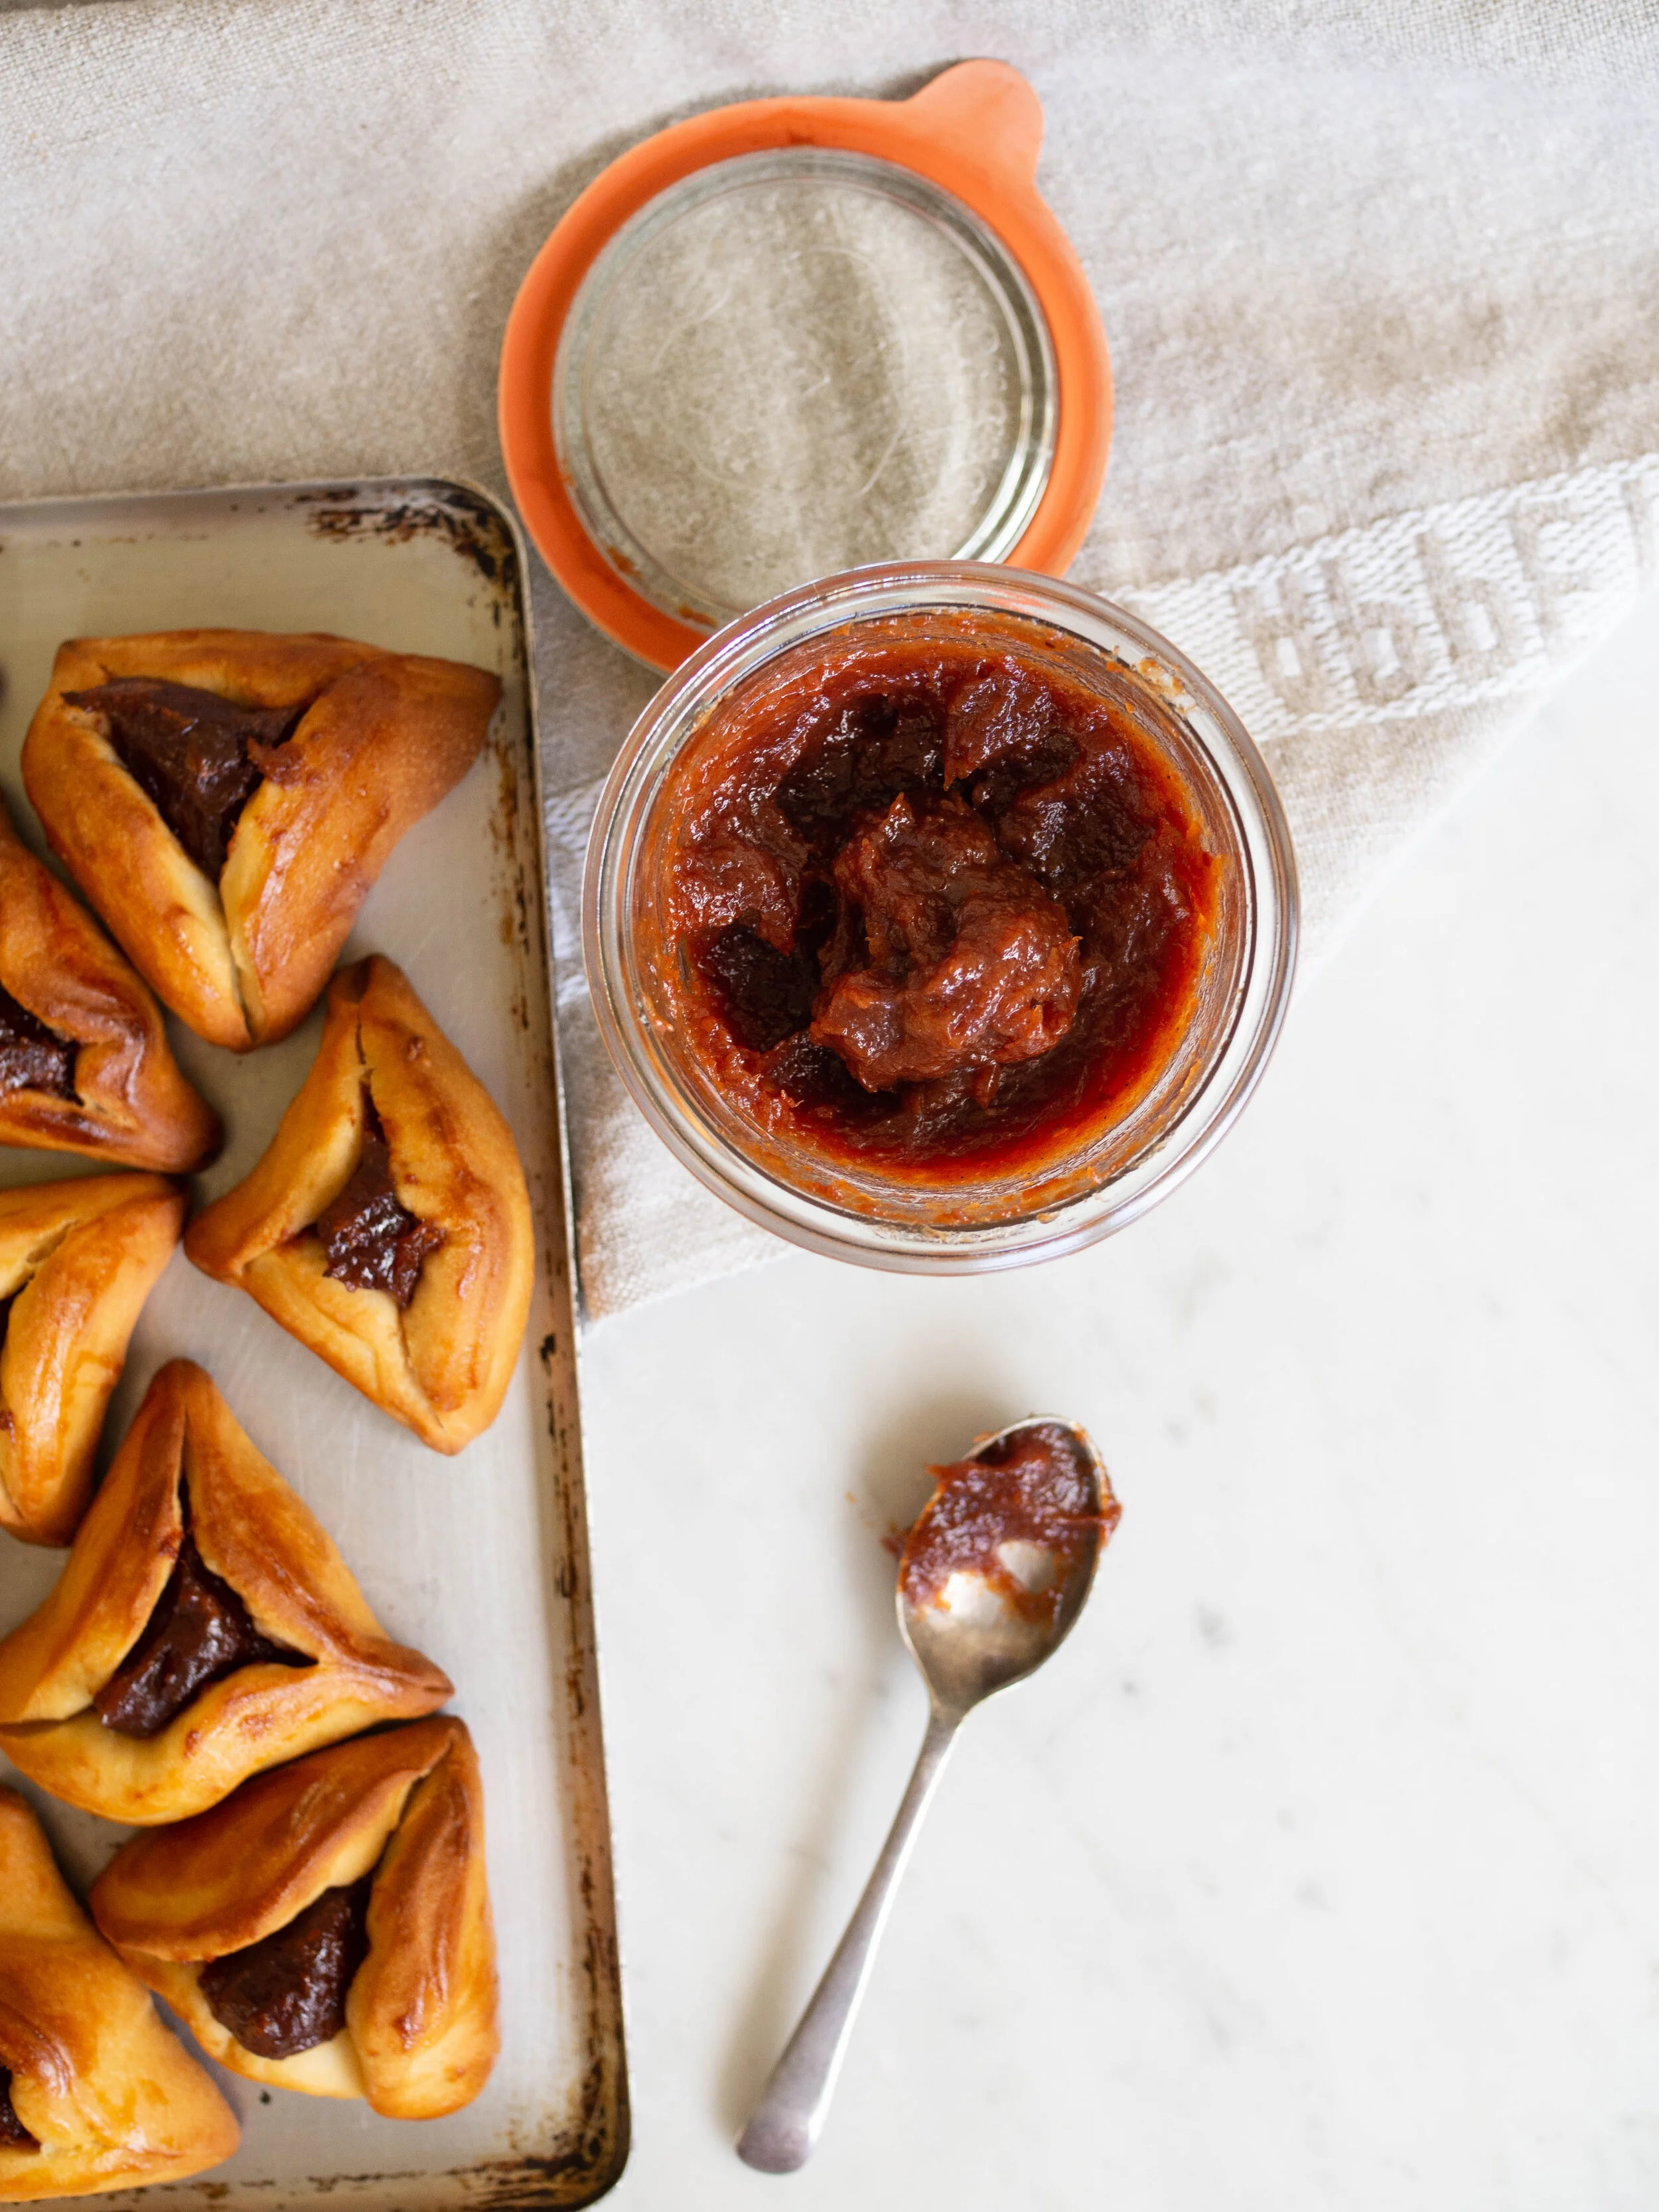
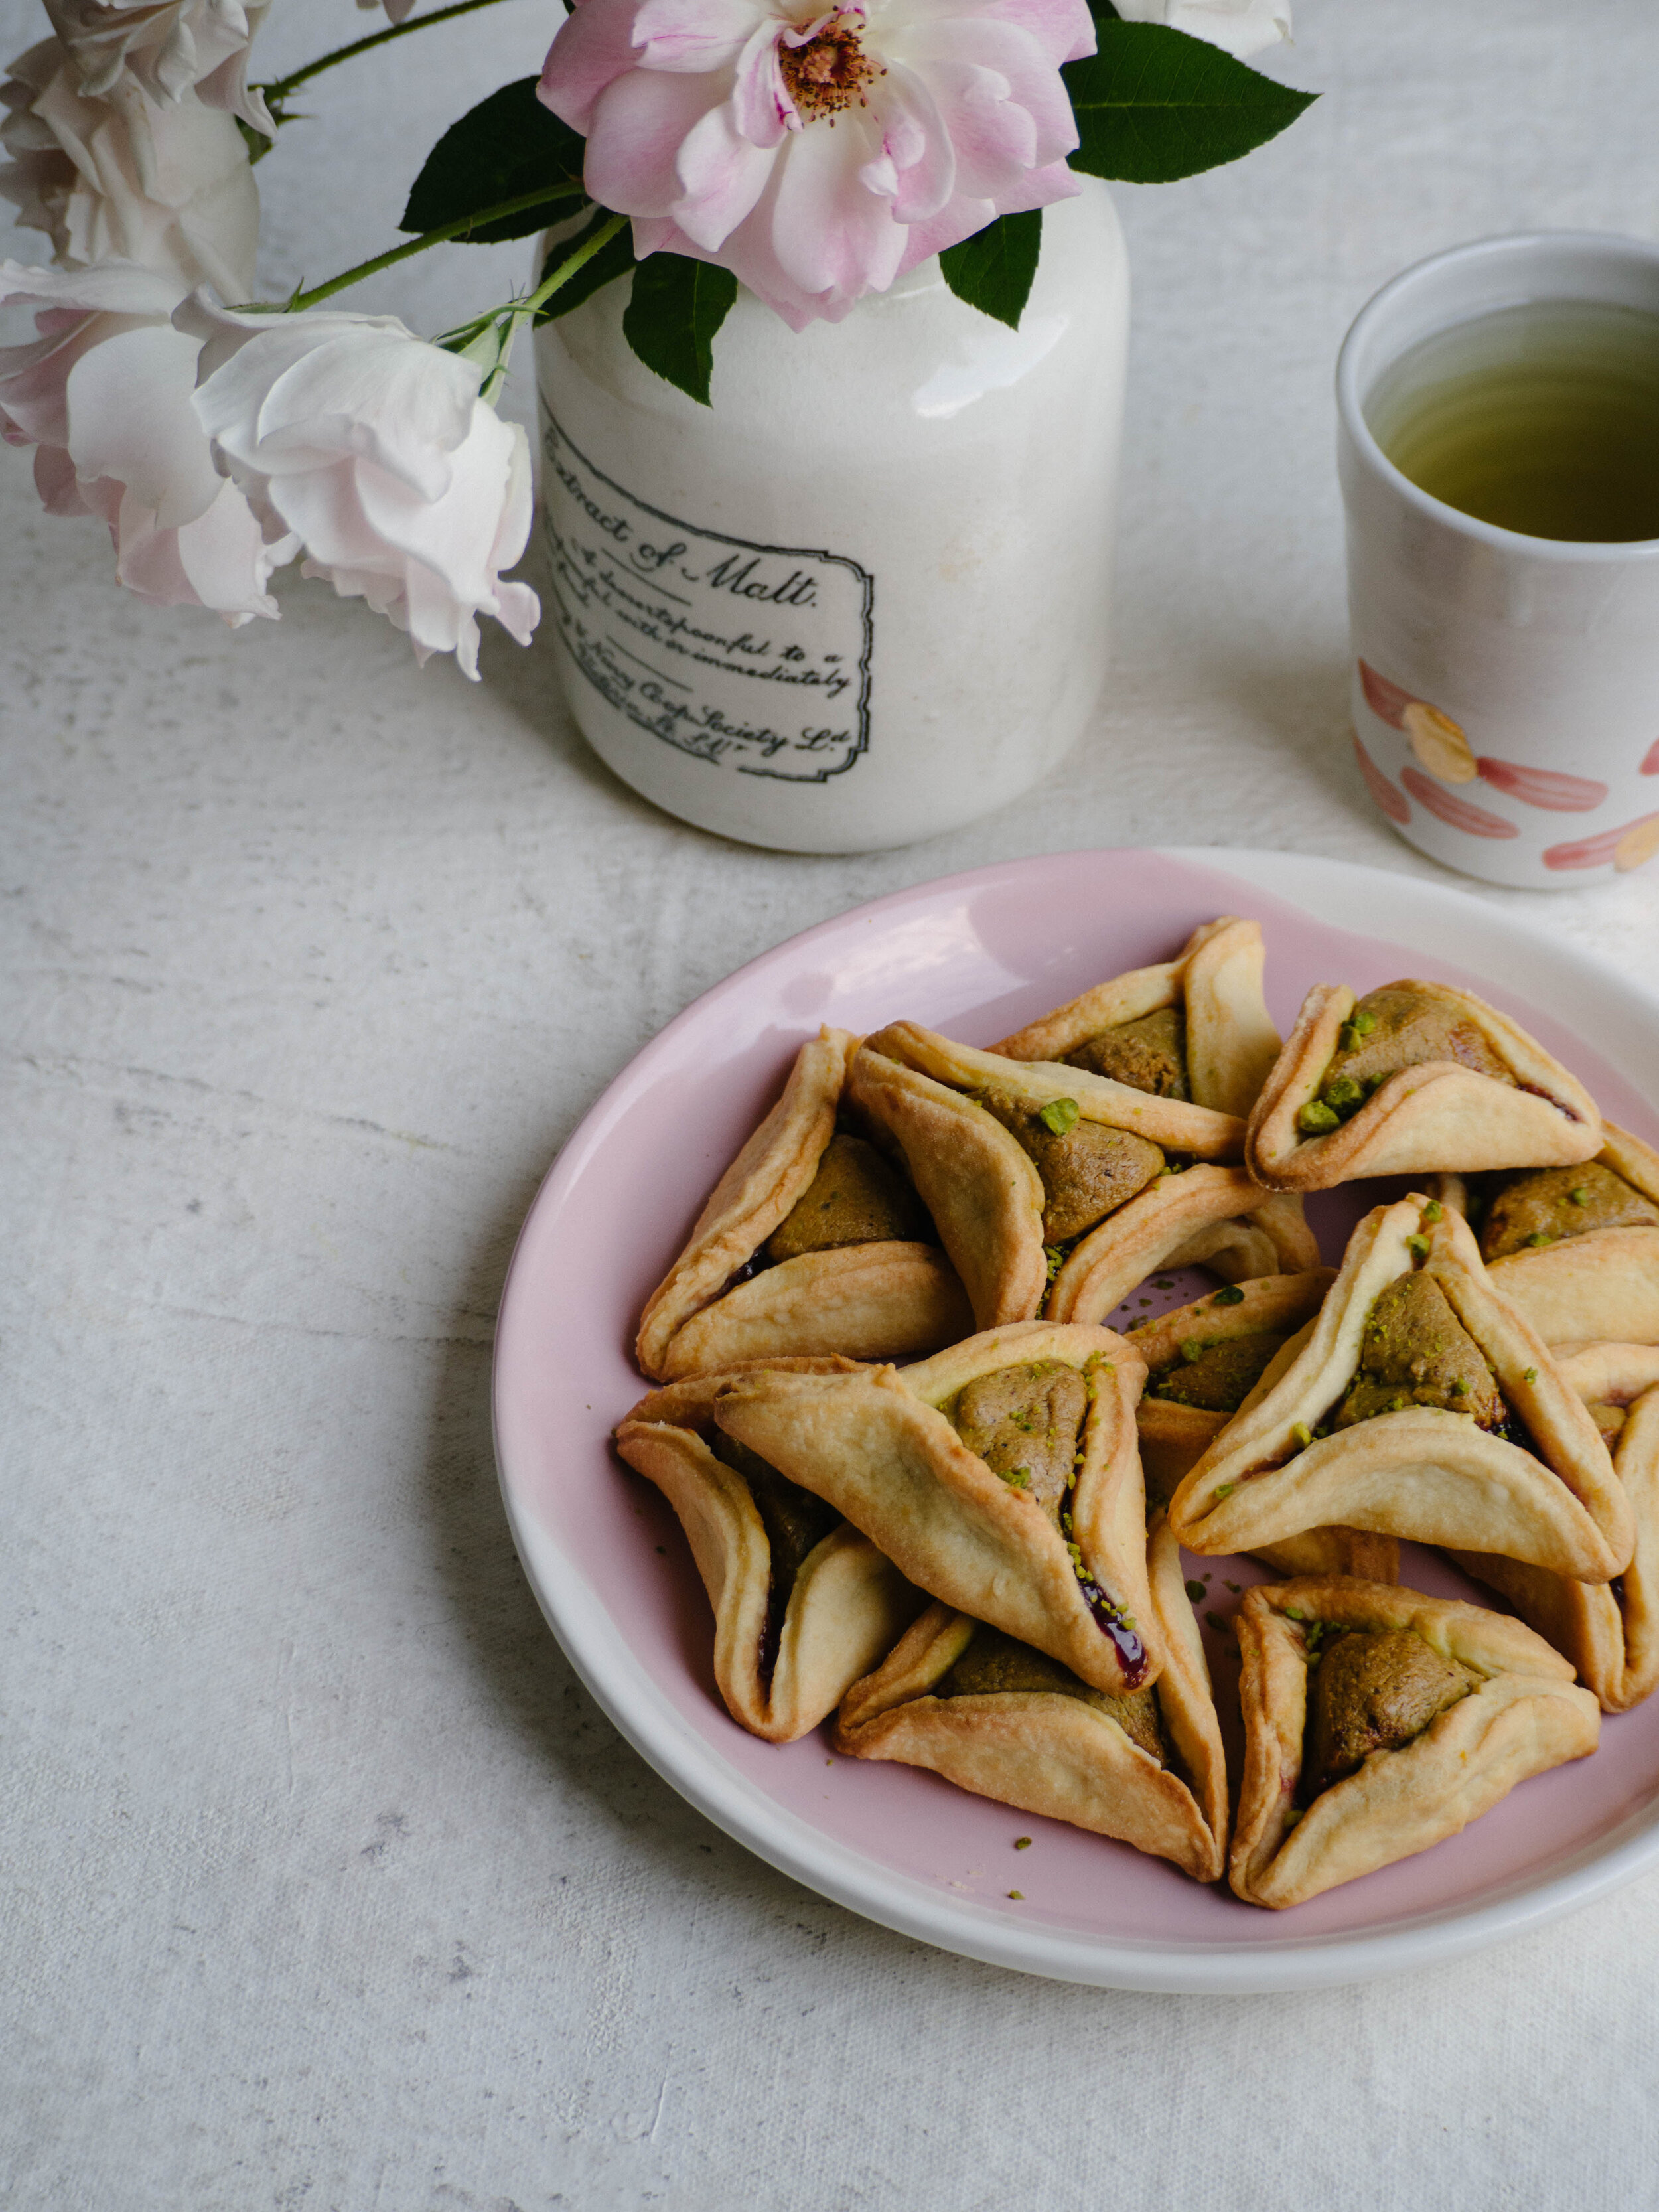
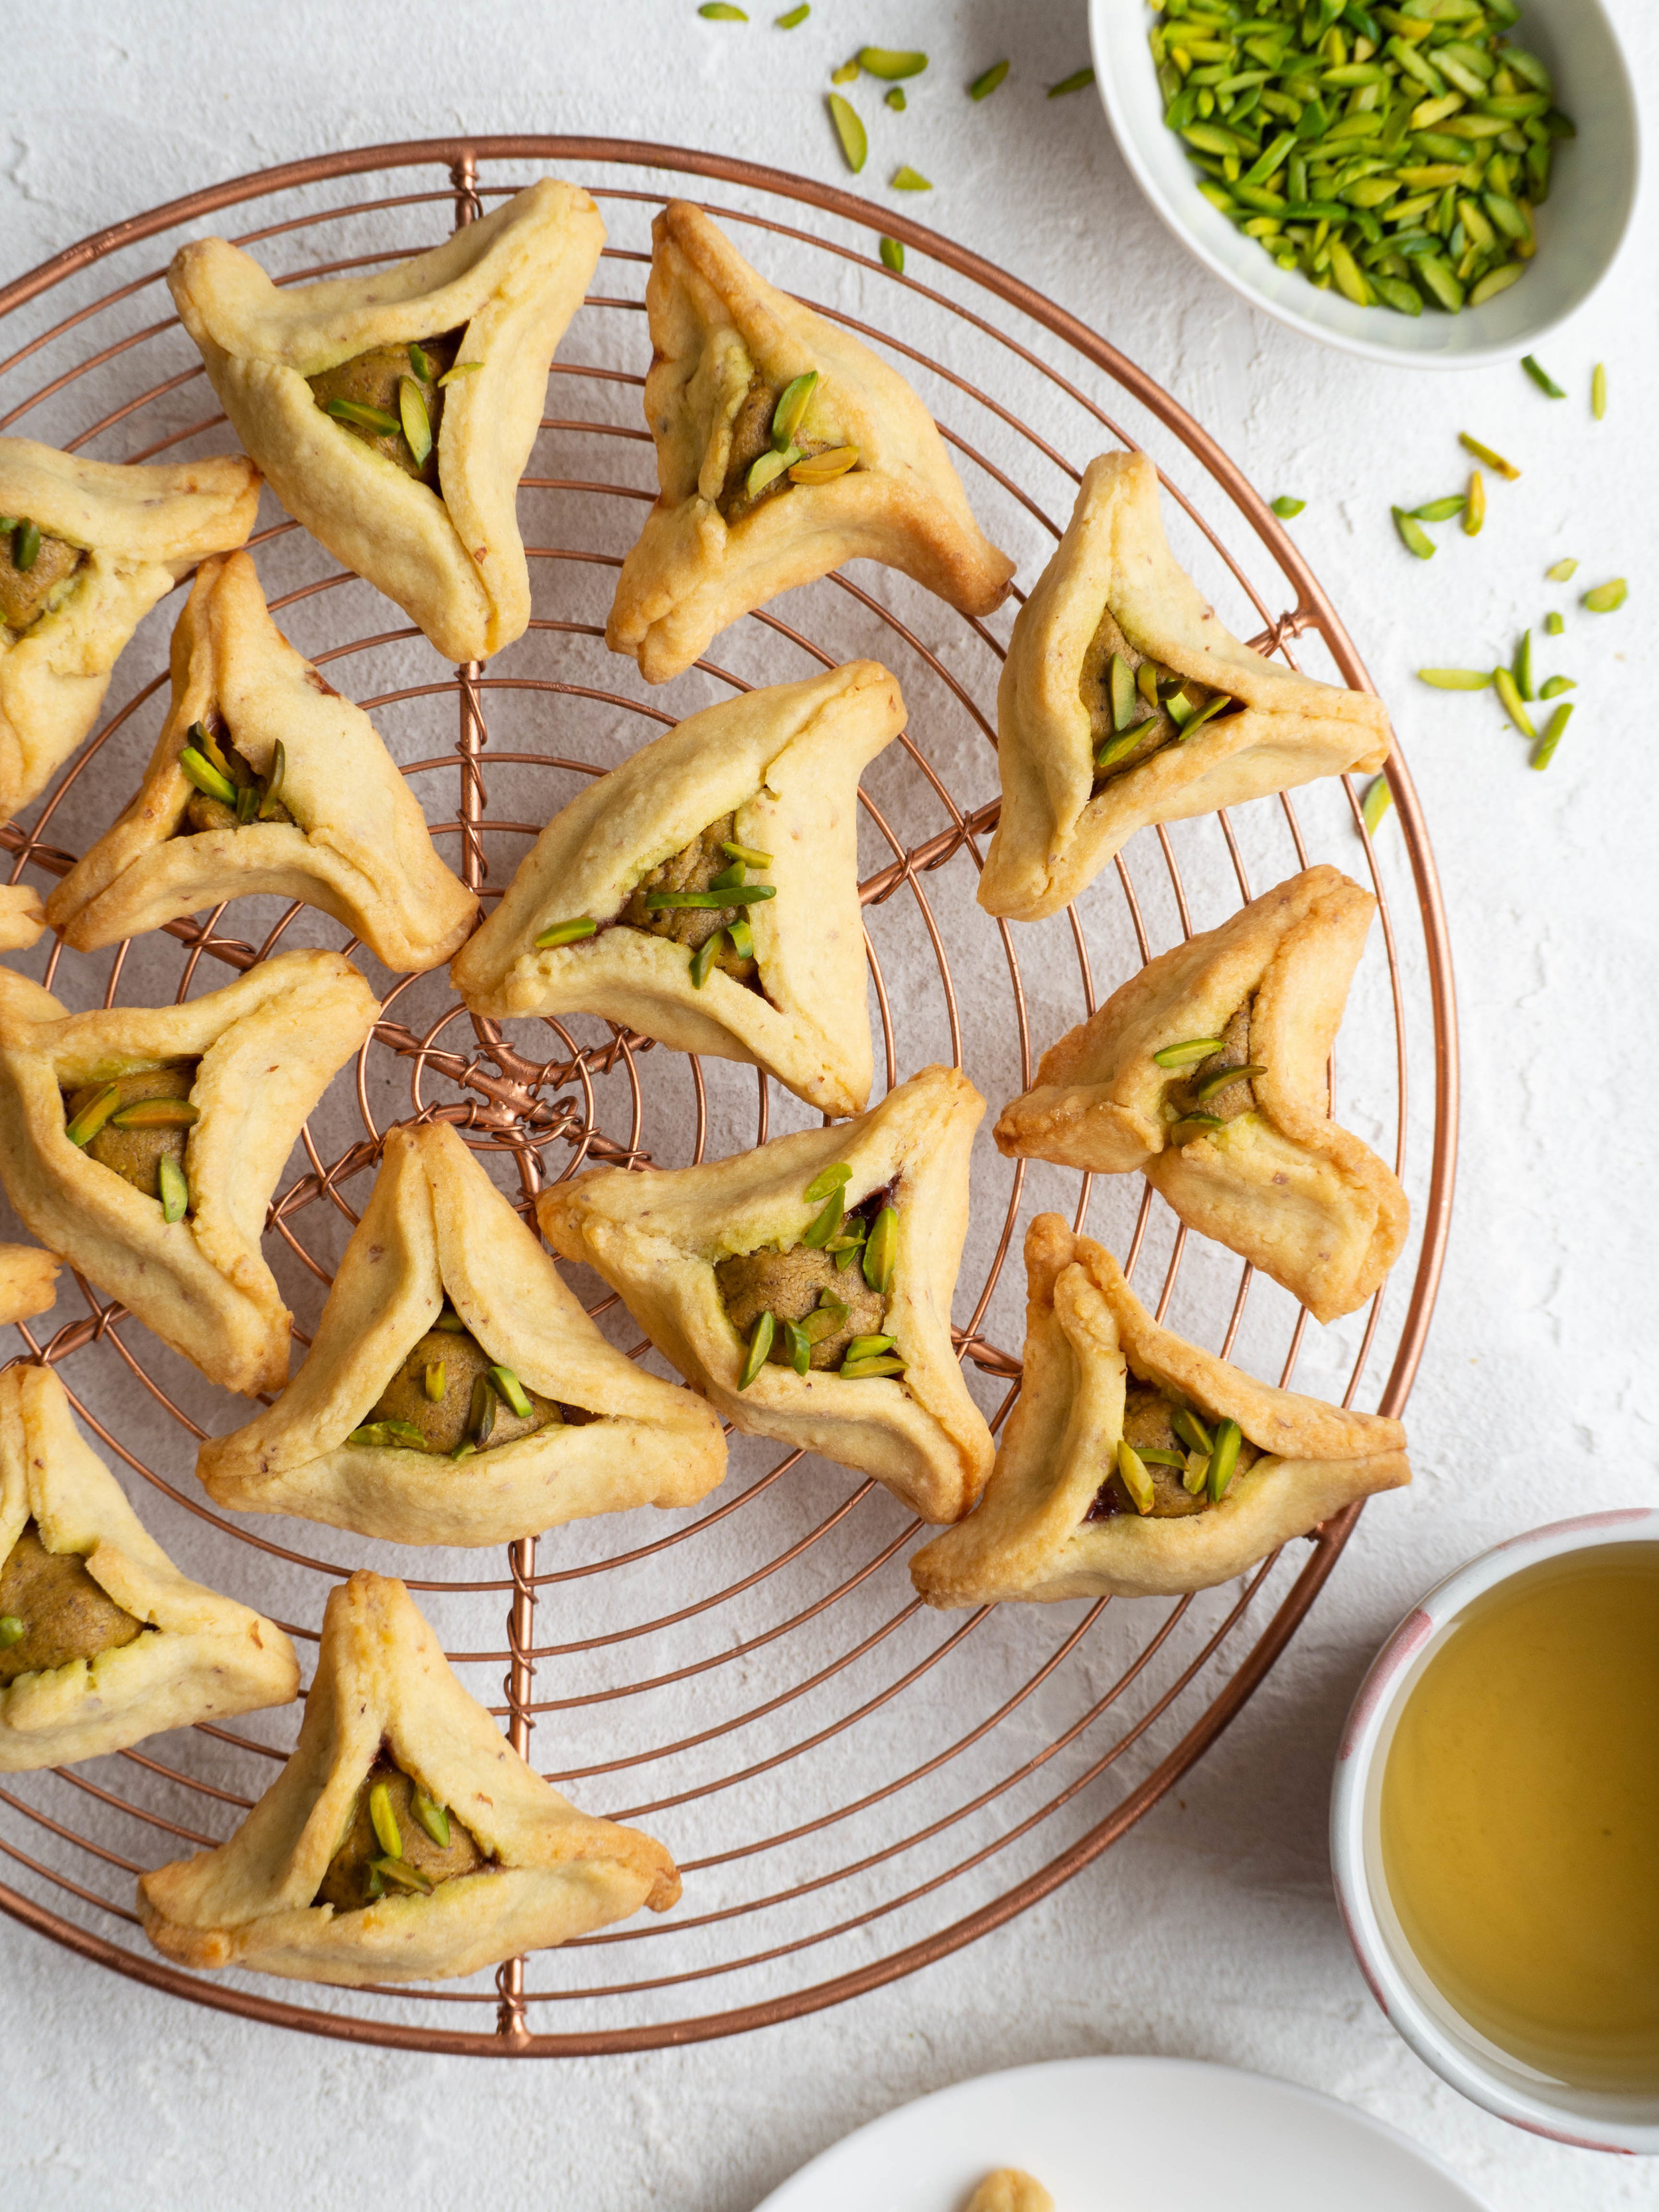
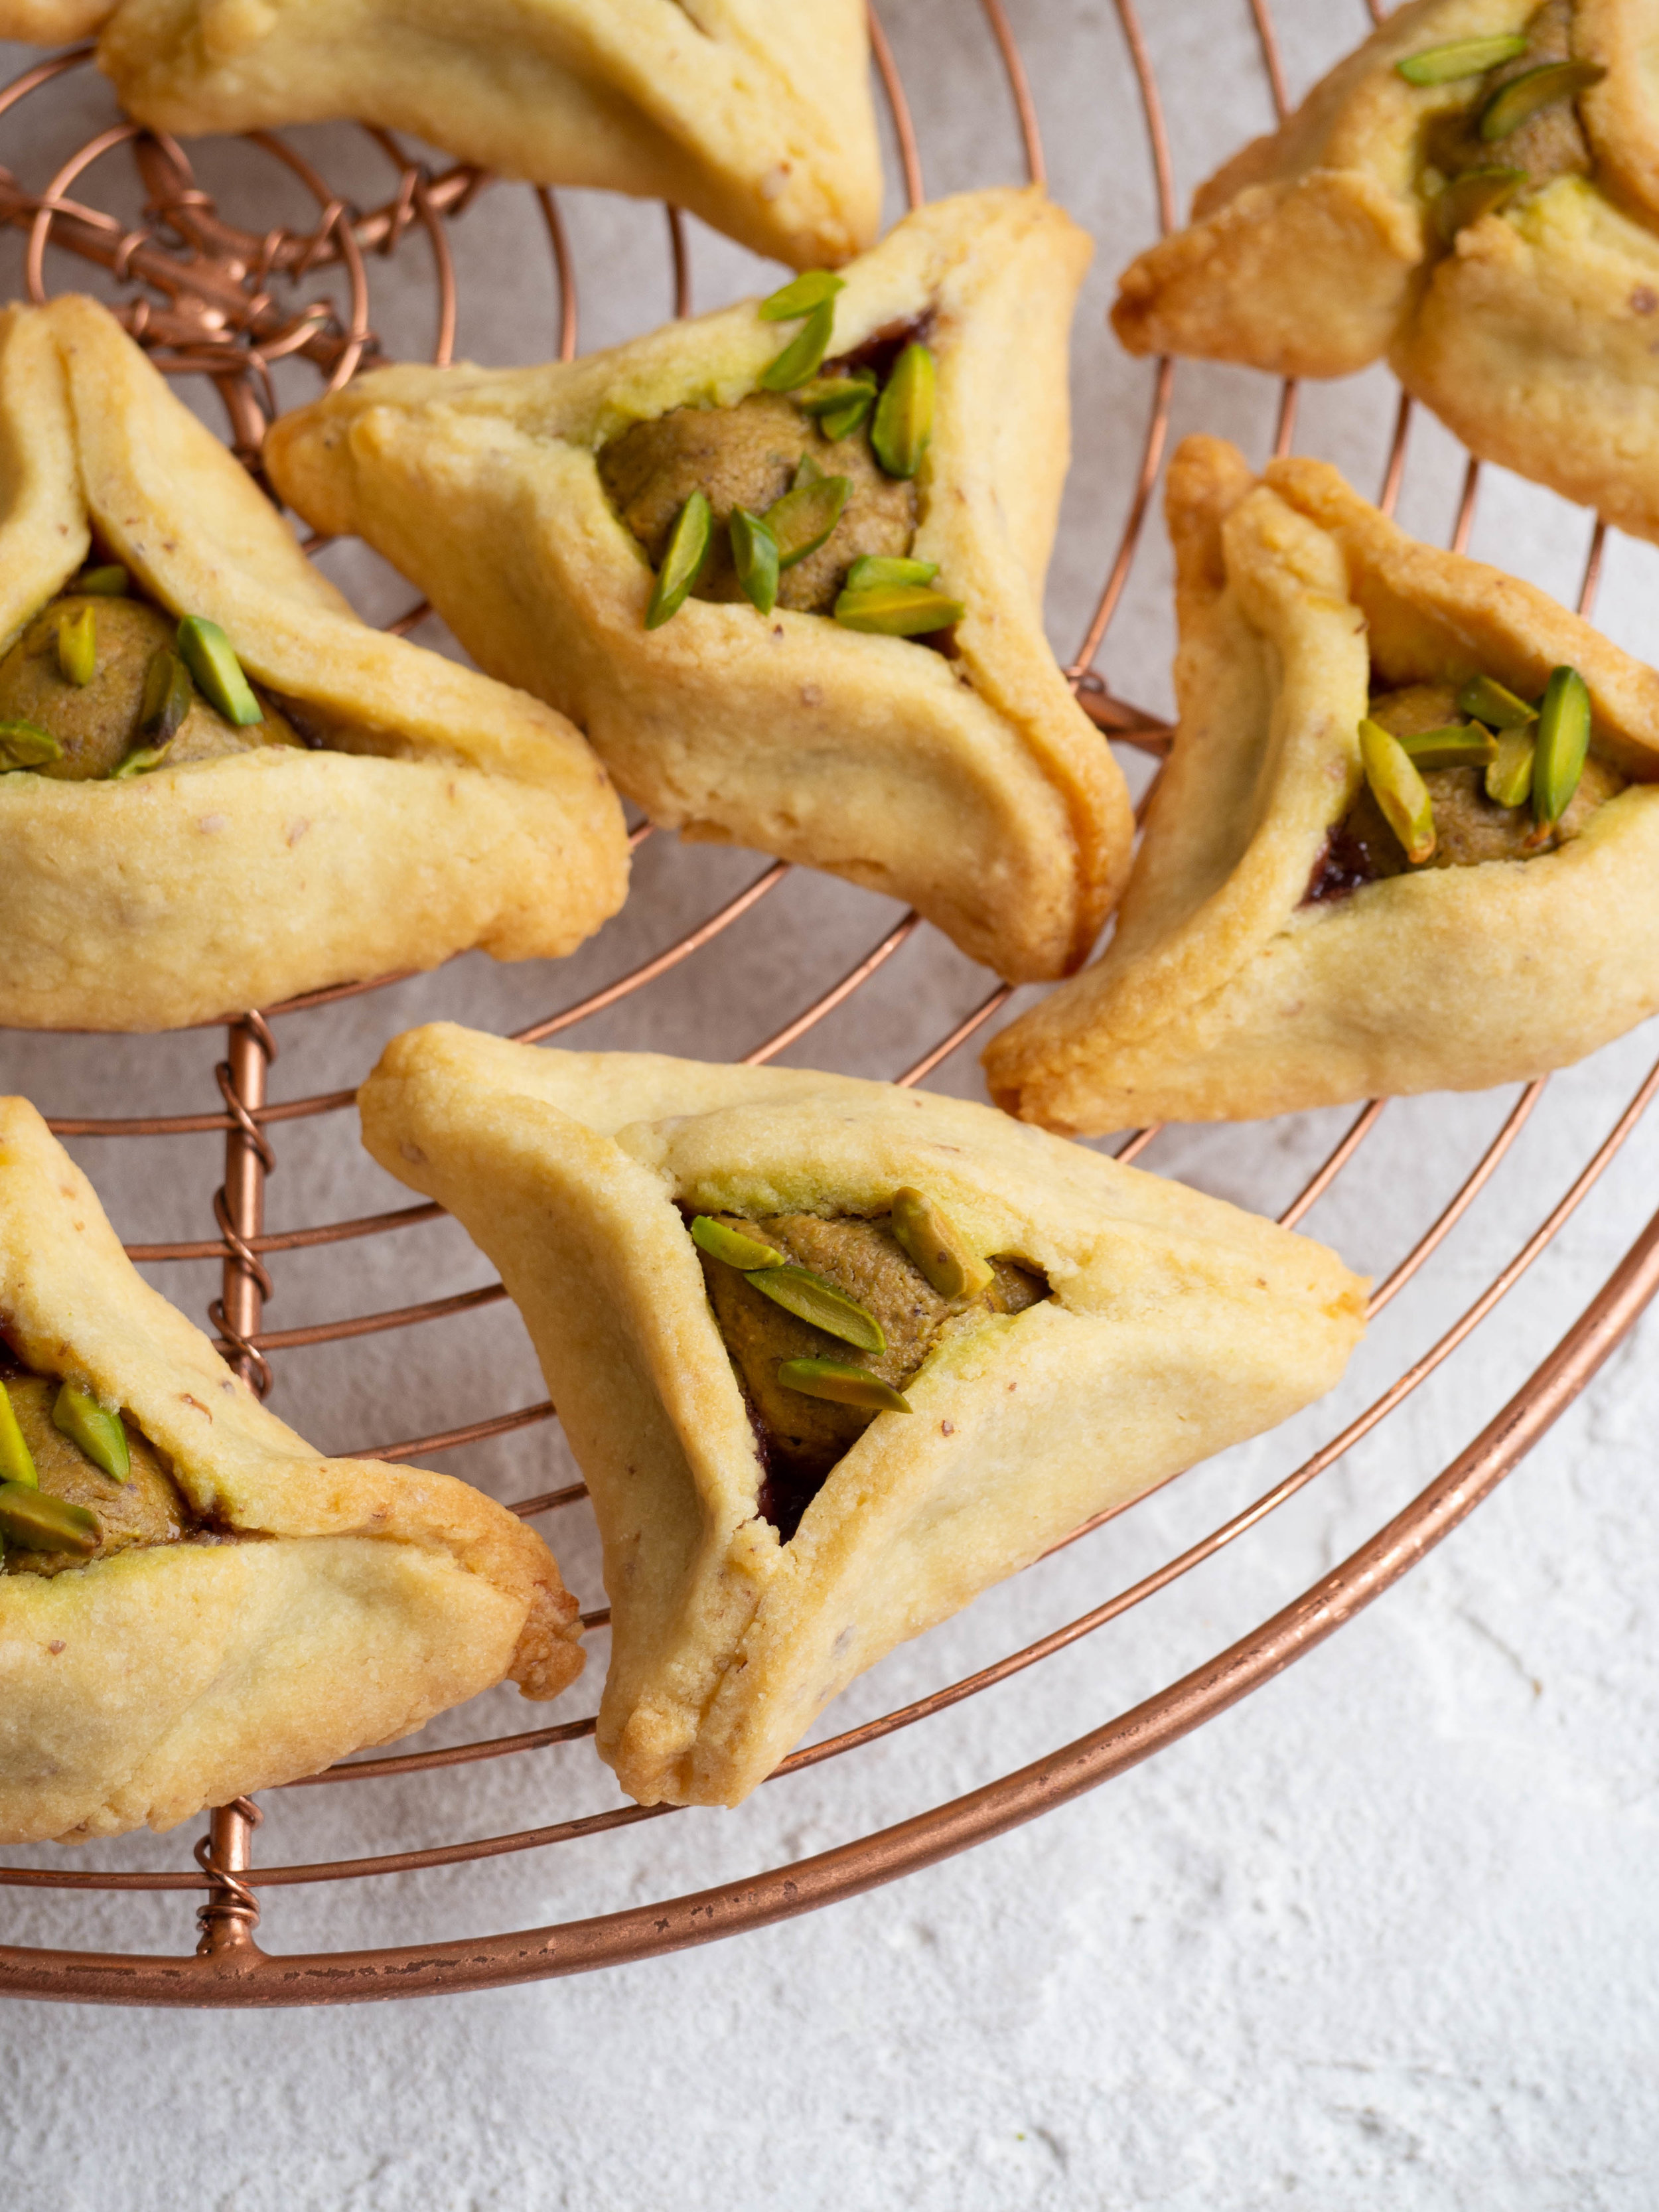
Yeasted Hamantaschen
I had been wanting to try Yeasted Hamantaschen for a while, only ever having made the more shortcrust biscuit like version before. I was delighted when I saw Leah had a recipe for Yeasted Hamantaschen in her book, and I made my own version with Quince Lekvar. I altered the quantities of flour a little from the original recipe, check out my blog post on this recipe for more if you want to try making them (and for more information on what hamantaschen are and when they are traditionally made see this post!).

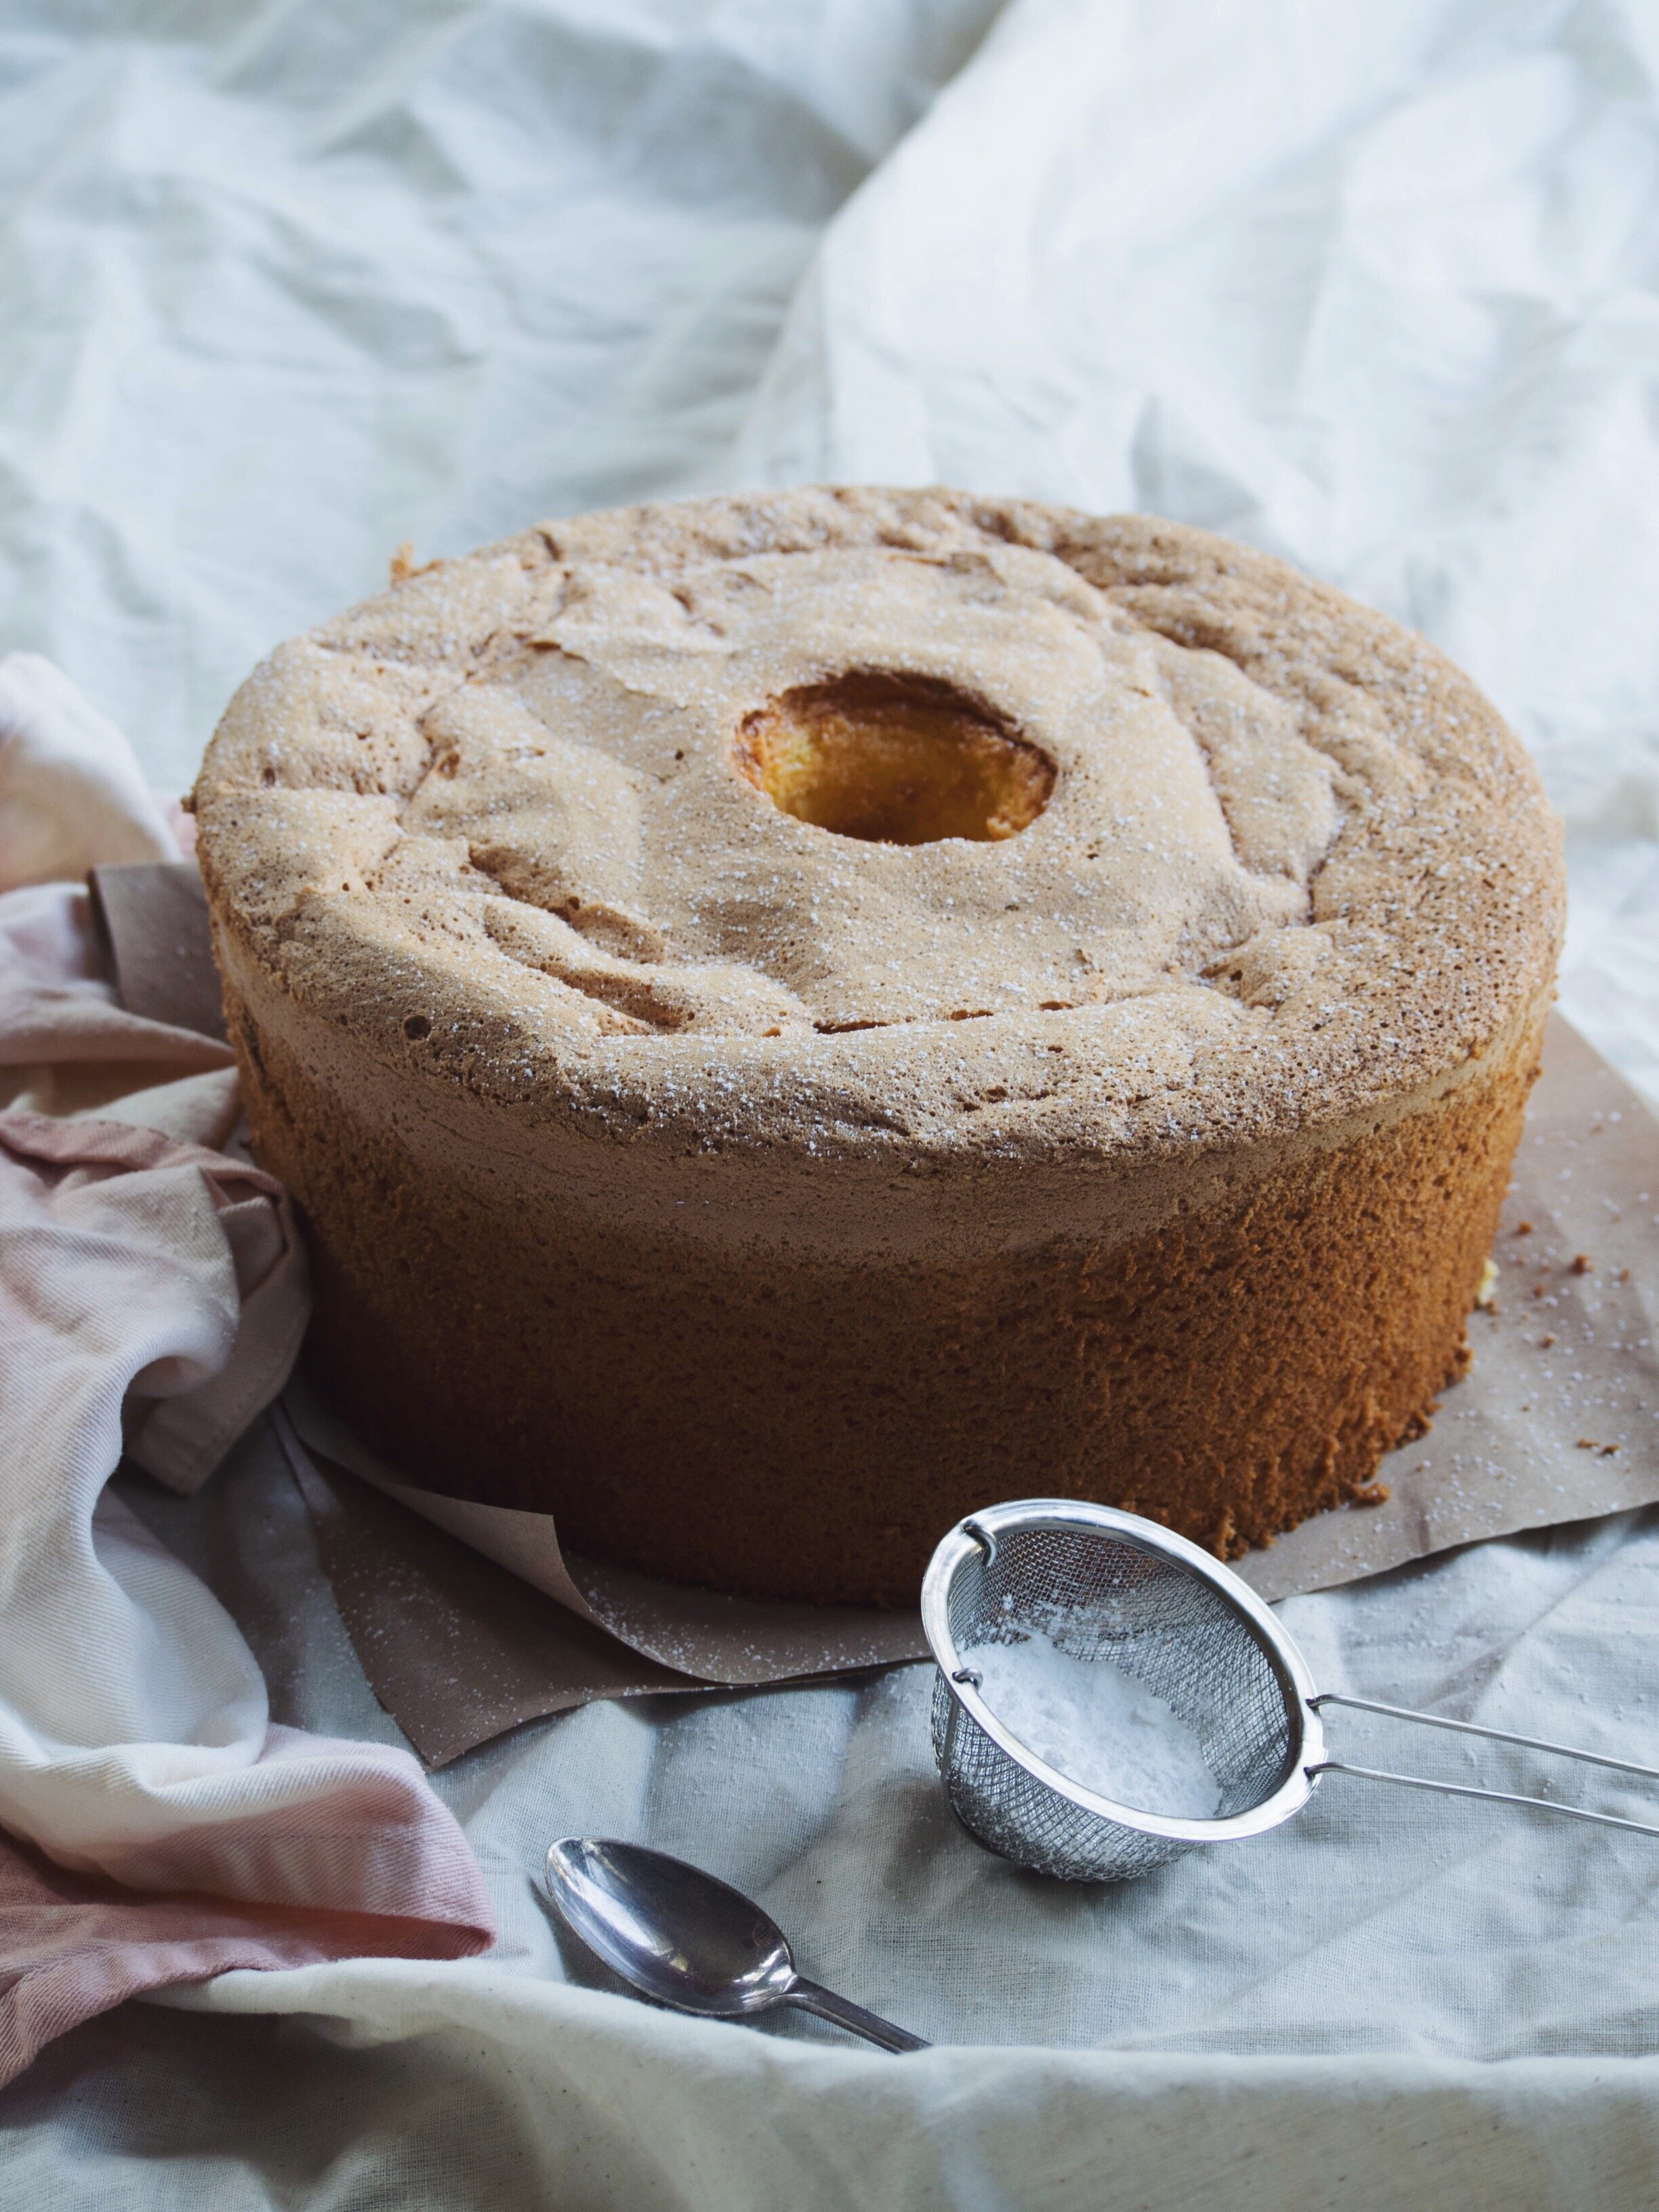
Making Candied Quince
I was intrigued by the Candied Quince in this book, and I wasn’t sure what the end result would be. I was sort of imagining candied fruit like you would candy orange slices etc, but this actually ended up being more a quicker version of poaching quince. I didn’t find my quince turned a deep ruby red (I’m not sure if this was to do with the variety of quince I used), but once added to the Chicken and Quince Tagine the colour really didn’t matter as the taste was so good!

My version of Charoset
In the lead up to the Jewish holiday of Passover I decided I wanted to play around and create my own version of Charoset. Charoset is traditionally eaten as part of the Passover Seder, and comprises fruit (dried and often fresh apple too) and sweet wine. Leah has six different Charoset recipes in this book, all from different parts of the Jewish diaspora. They all have some things in common but also differ slightly in other ways too. I took the parts of each I really liked - rolling Charoset into balls like the Kurdish version and using a combination of dates, figs and a variety of spices like the Yemenite version - to create my own.

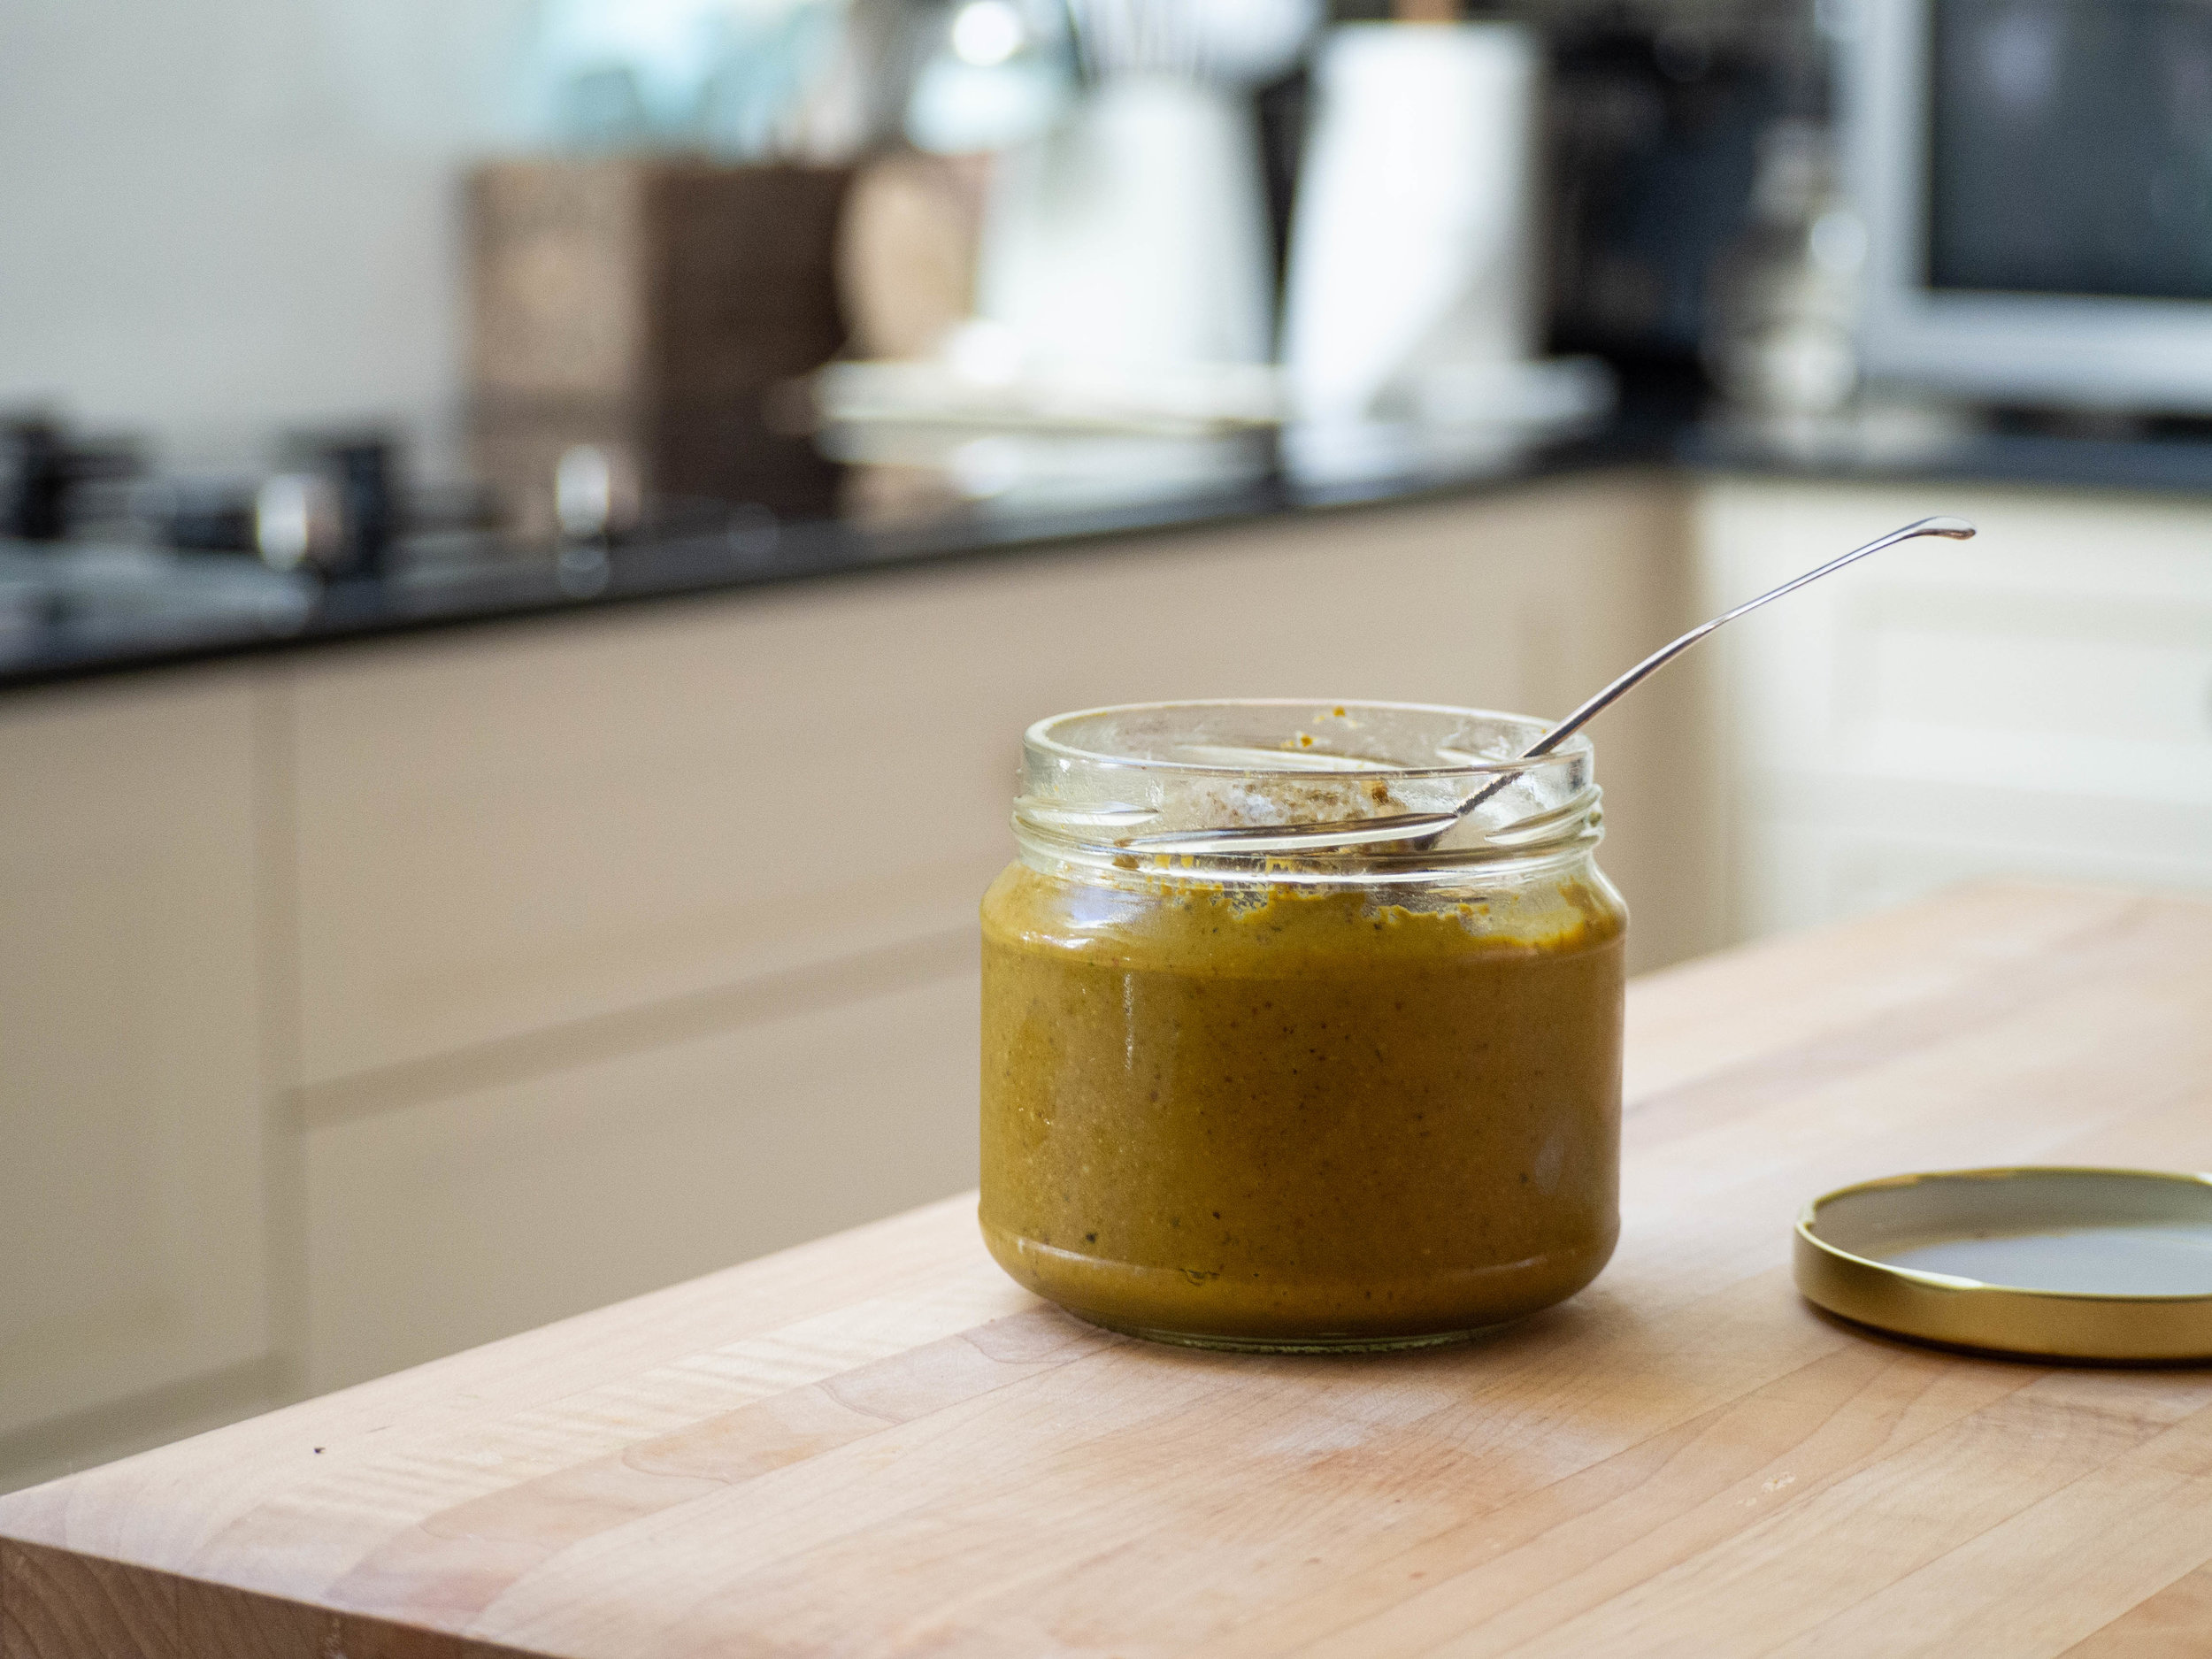
Quince Lekvar
Lekvar was something I had never heard of before. It is a fruit paste used in Central and Eastern European sweets made using dried friut and fruit juice. Prune and apricot are popular versions, but this got me thinking about other dried fruits I could use. I love dried quince, and decided to give making Lekvar a go with it, and it worked so well. I used my Lekvar to fill the Yeasted Hamantaschen I made and used the remainder to fill some untraditional rugelach made with cream cheese dough from the book ‘Beatrix Bakes’ (which were delicious!).

Beatrix Bakes Rugelach with Quince Lekvar
Favourite Things About the Book: My favourite thing about this book is how comprehensive it is. This really could be the one cookbook you own on Jewish food and you would have enough recipes to keep you going forever. And it covers the foods of the wider Jewish diaspora, not just the more common recipes from Eastern Europe (as good as those are!). There are recipes from Jews native to Italy, India, Georgia, Iraq and South Africa. There are even a few recipes which are relics from Jewish life in pre-Inquisition Spain and Spanish occupied Italy.
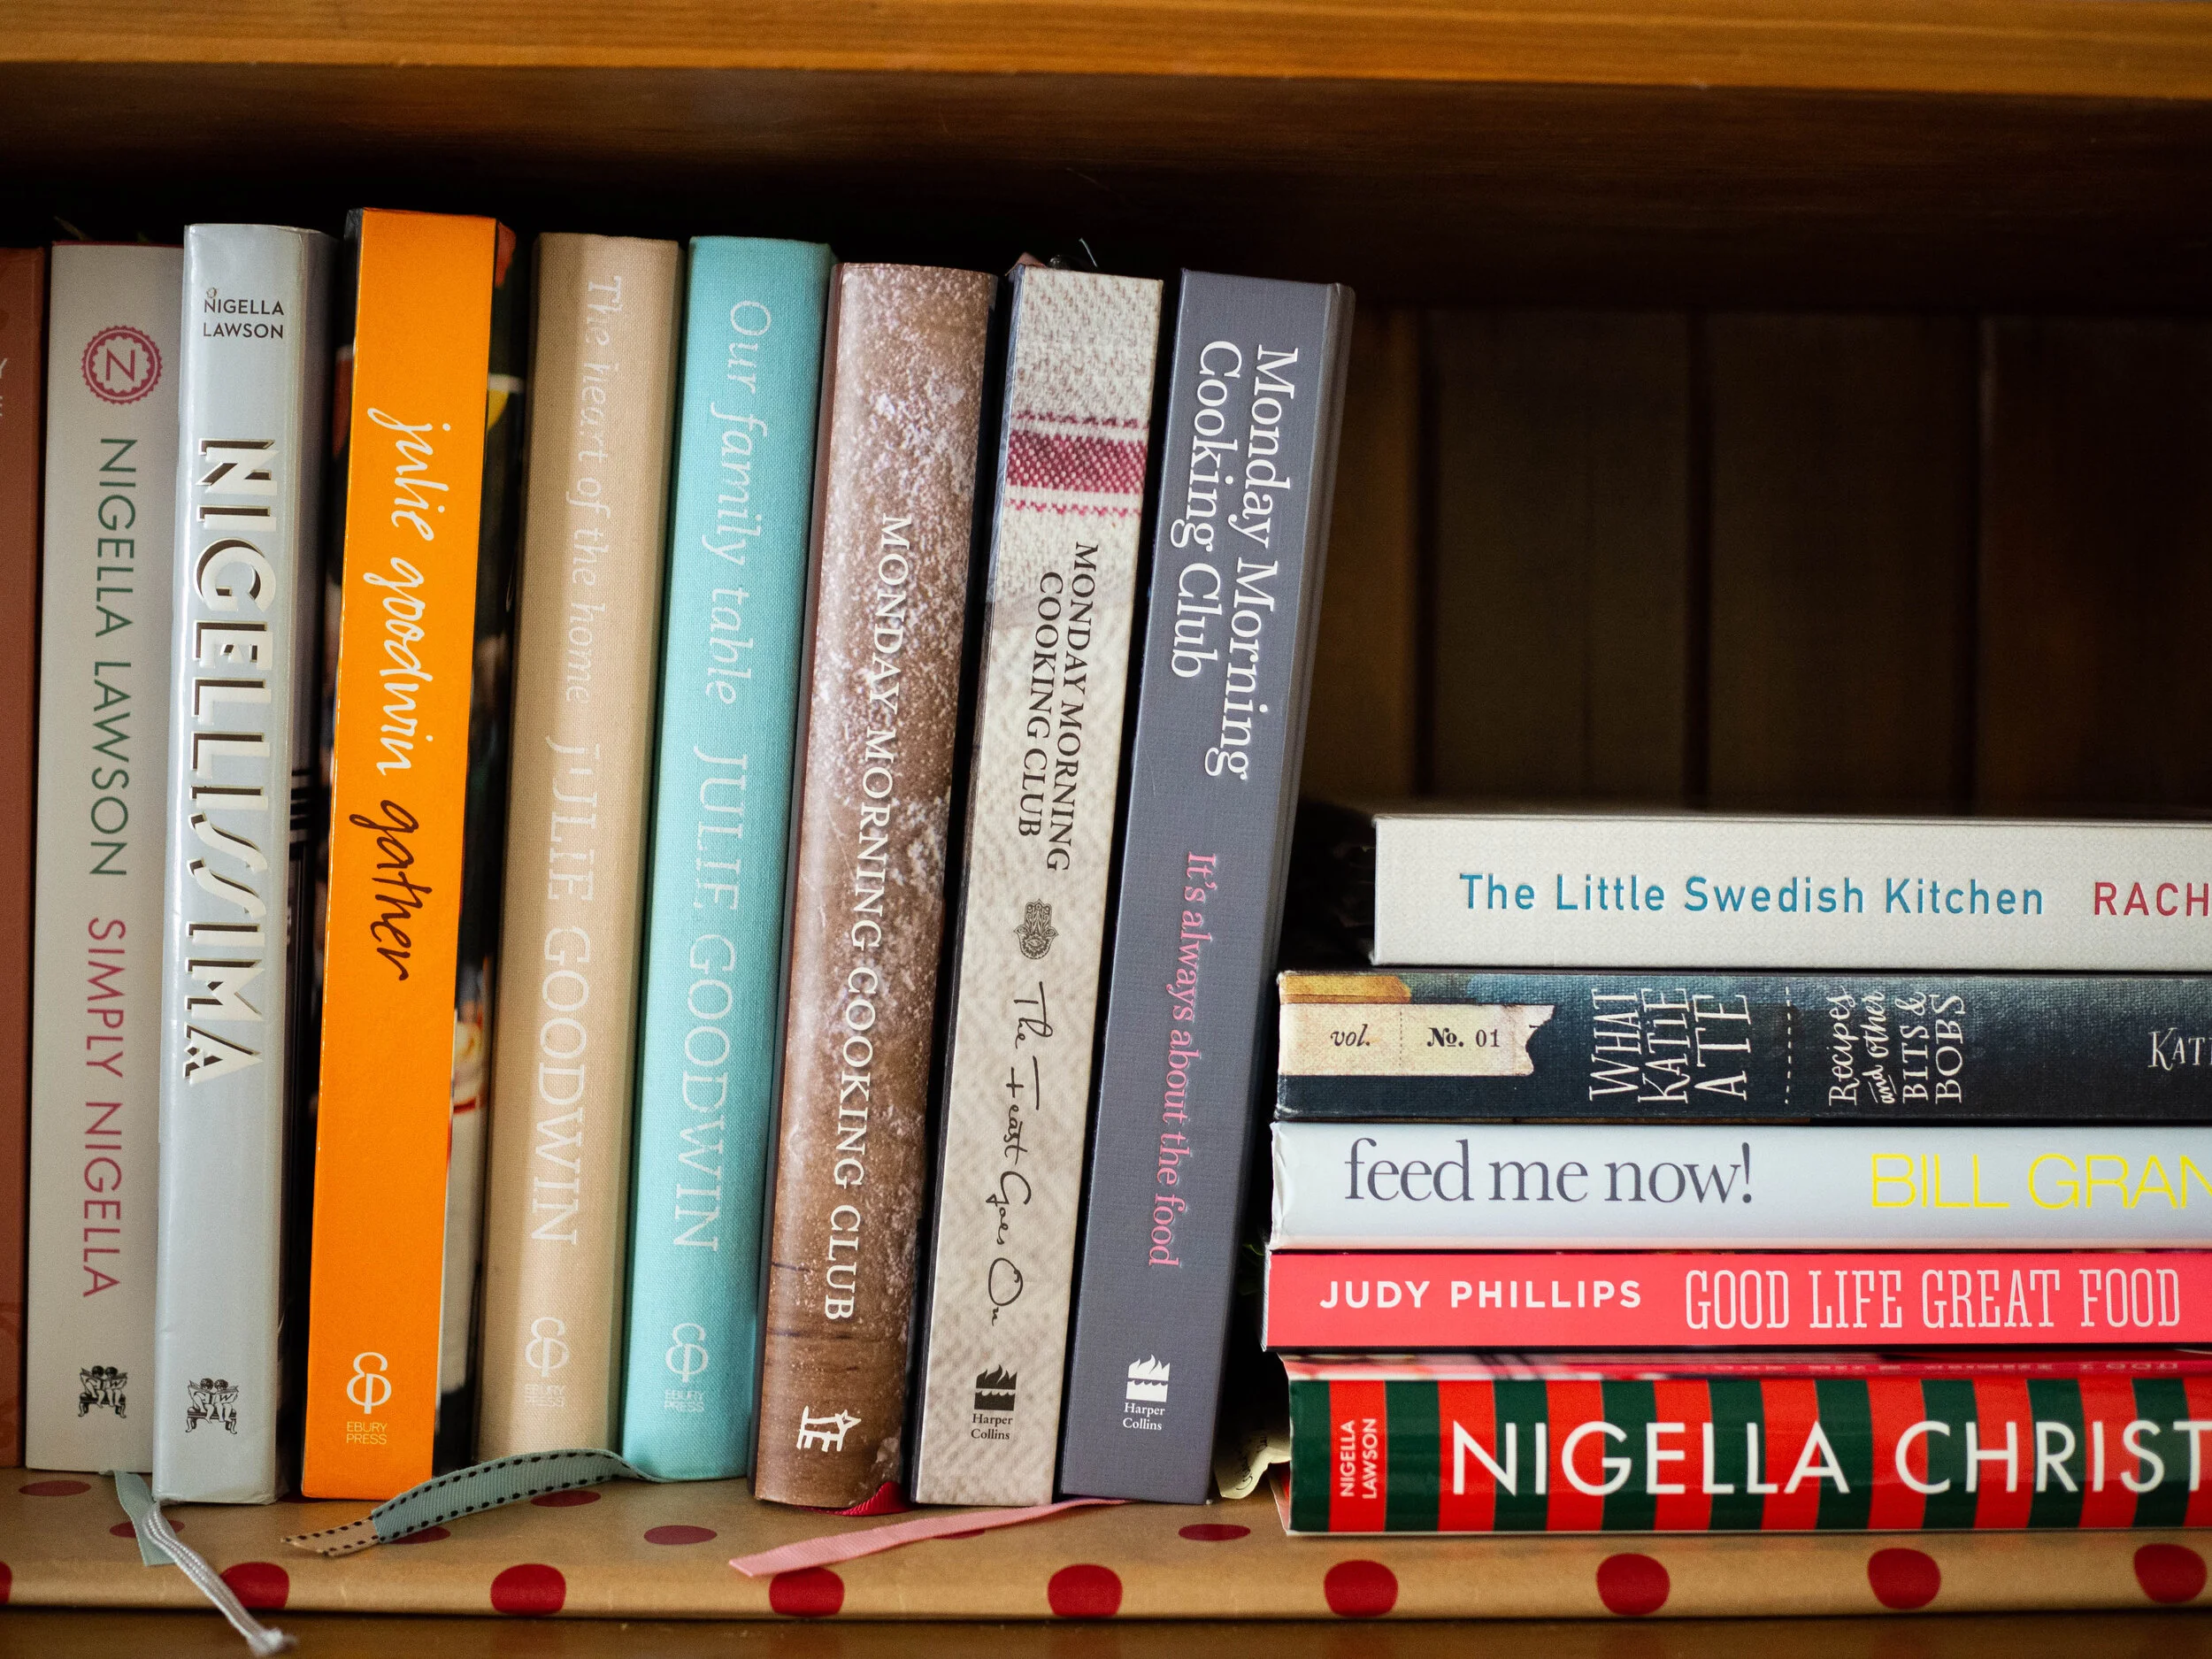
This book feels so well researched and collated, Leah has done such a great job of providing really interesting recipes and insights about their history, without the book tipping over into a reference book or making the reader feel overwhelmed with information. It remains firmly in the cookbook category, and even despite the lack of food photography (the book is 431 pages so images for each recipe isn’t possible), I find Leah’s writing and the information she is sharing through these recipes so engaging. Each time I pick this book up a different recipe stands out to me, and another post it note goes in to mark it’s importance. And as you can see in the photos of my copy, I have used a LOT of post it notes in this book - which is purely a testament to how many great recipes there are in this book.
Leah really highlights and champions the diversity within Jewish cuisine, showing those of us who are still learning about the world’s Jewish communities and their food, how much more there is to discover outside of bagels and babka (though naturally recipes for both these carb filled delights that we all know and love are in the book too!).

Bookmarked Recipes (to make later!): Caponata alla Giudia p.116, Vegetarian Cholent p.144, Jewish-Style Braised Fennel p.158, Potato Laktes p.184, Eggplant and Tomato Stew p.249, Mandelbrot p.334, Almond Cardamom Cookies p.348.