Kulinary Adventures of Kath

Food Photography, Recipes & Baking
  • home
  • About
  • Work with Kath
  • Shop
  • Blog
    • The Blog
    • Recipe Archive
  • Newsletter
  • Contact
  • home
  • About
  • Work with Kath
  • Shop
    • The Blog
    • Recipe Archive
  • Newsletter
  • Contact
Raspberry Pistachio Rose Cake (23 of 25).jpg

The Blog

Recipes and Food Photography by Kath Vincent.

  • The Blog
  • Recipe Archive
  • All
  • Biscuits/Cookies
  • Breads Etc.
  • Breakfast
  • Cakes & Slices
  • Confectionary
  • Drinks
  • Events
  • Food Photography Tips
  • From The Mailing List
  • Heirloom Recipes
  • Holidays
  • Ice Cream
  • Jams Preserves & Spreads
  • Muffins
  • Off the Shelf
  • Other Desserts
  • Savoury Dishes/Meals
  • Scones
  • Tarts & Pastry
  • Travel
A Basket by The Door by Sophie Hansen

Off The Shelf - 'A Basket by the Door' by Sophie Hansen

Kath May 9, 2019

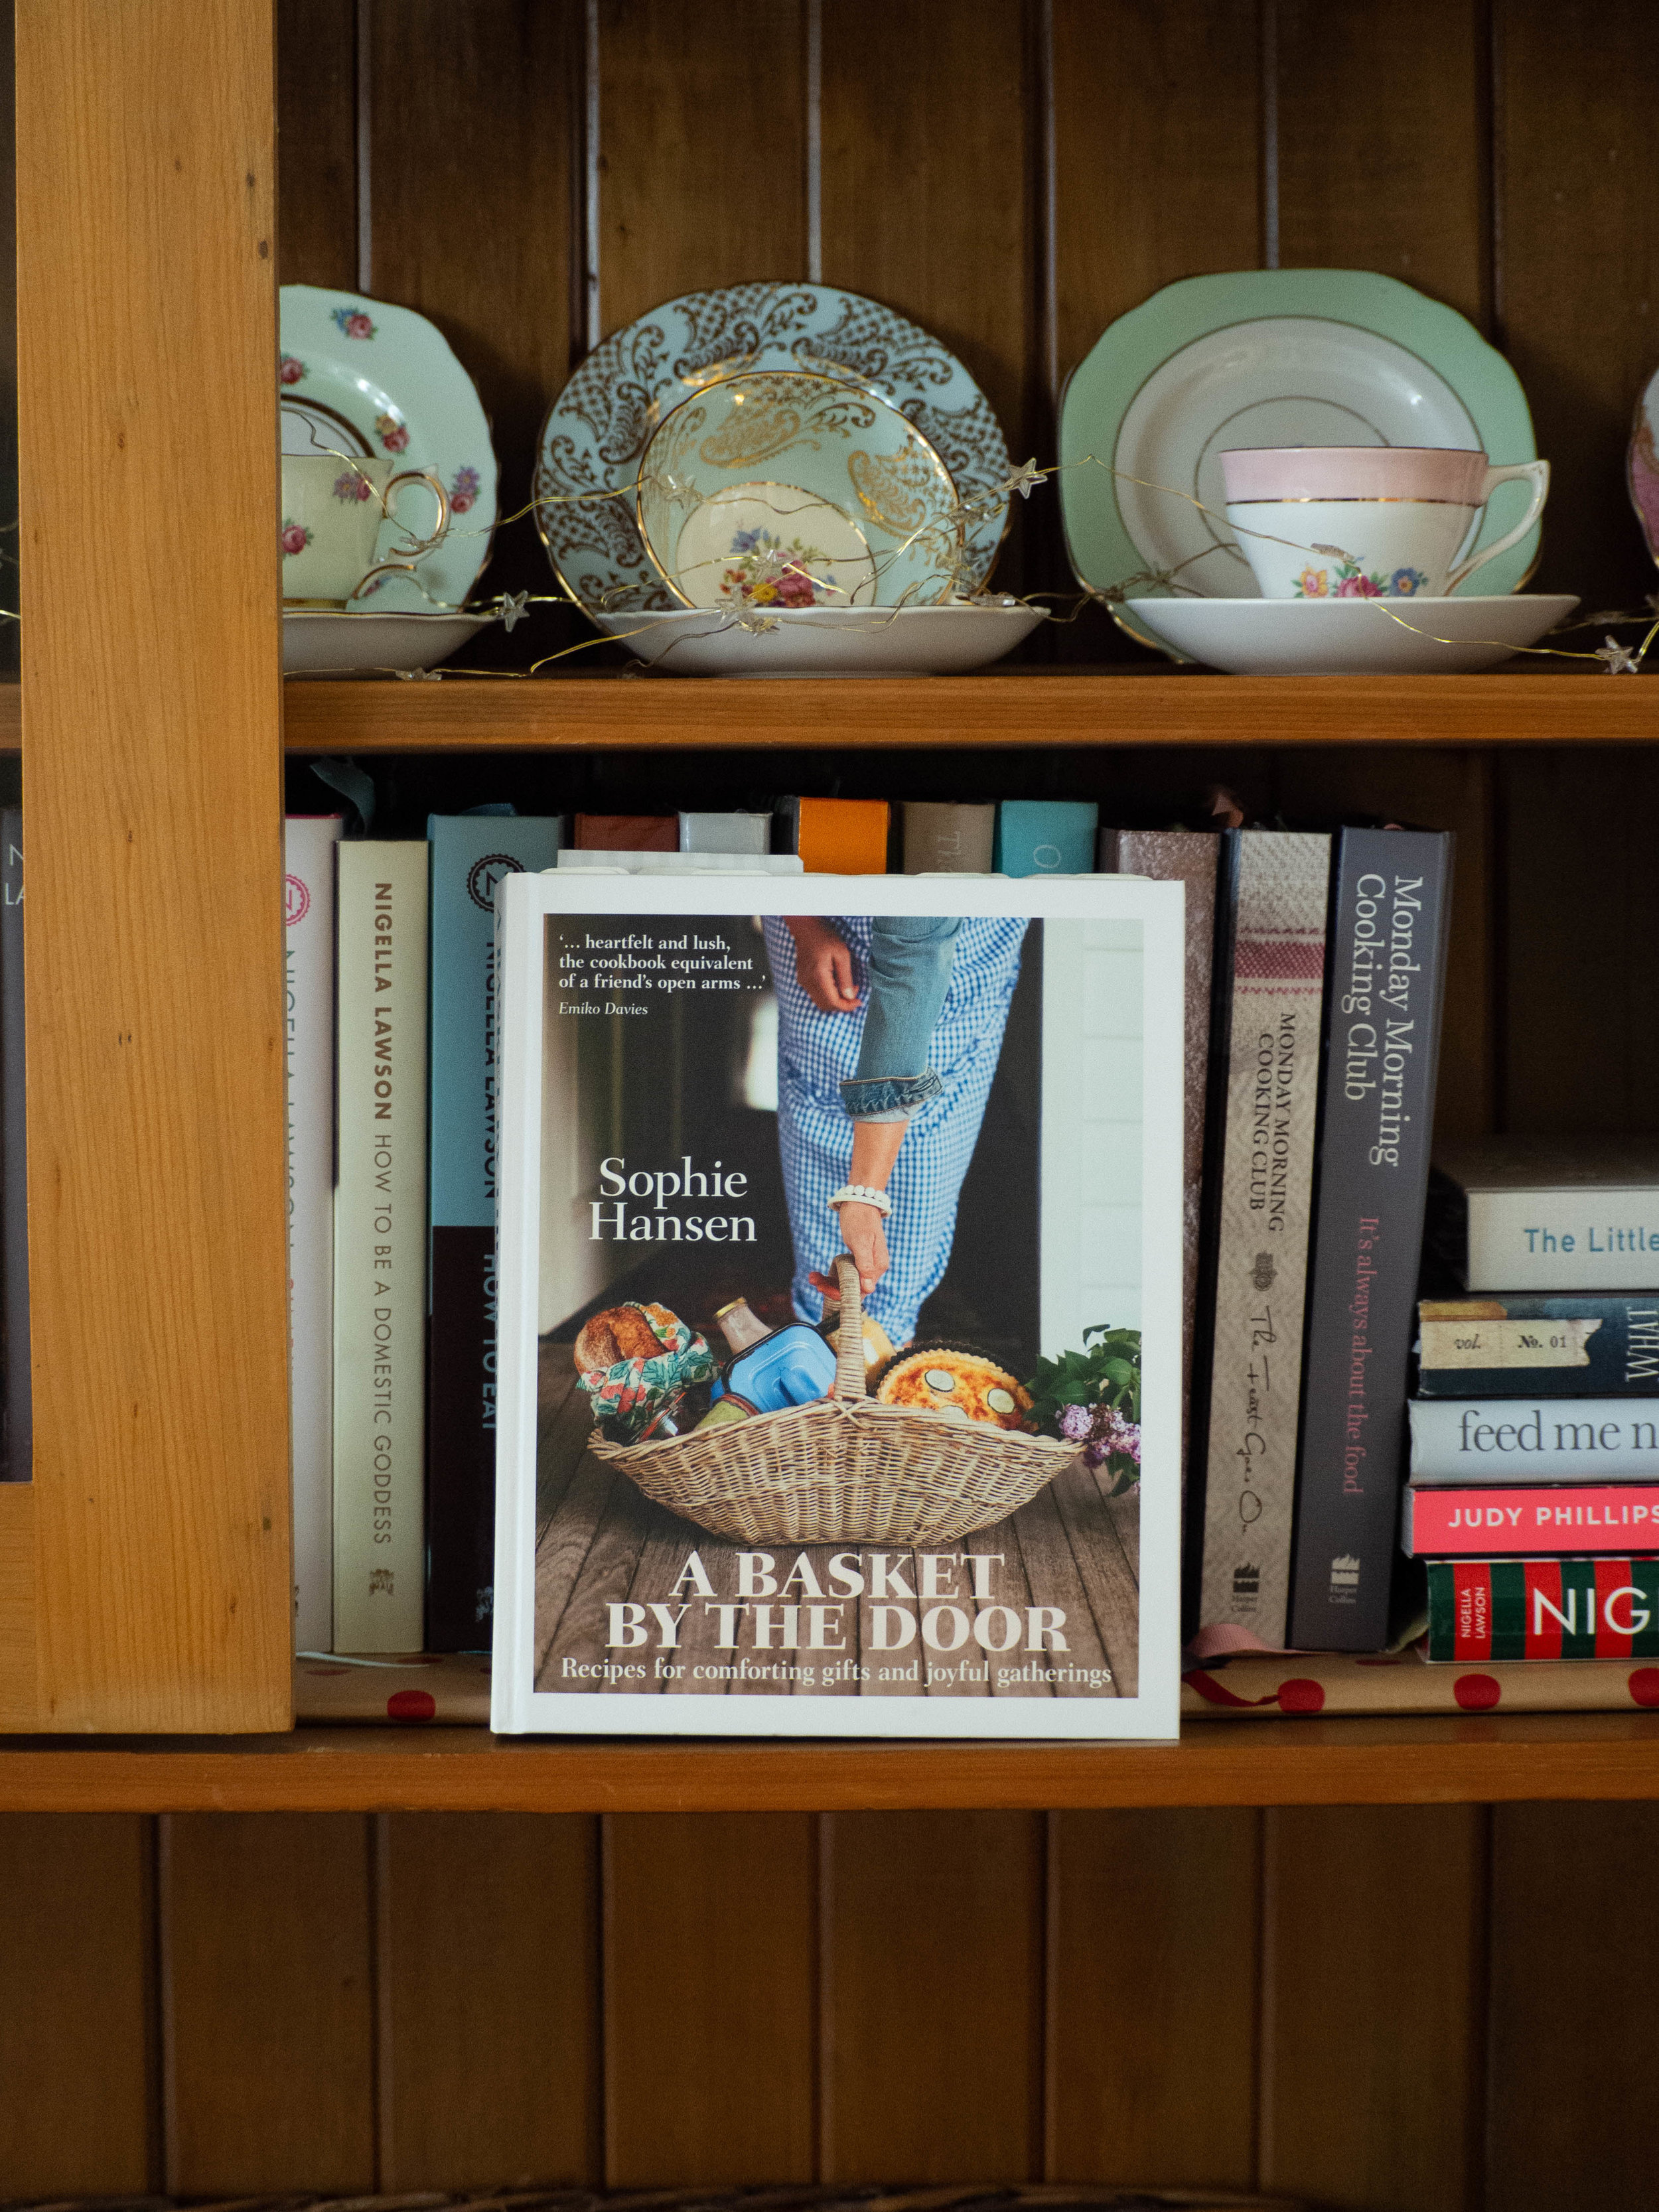
Bought at: The combined Sydney book launch of ‘A Basket by the Door’ by Sophie Hansen, ‘Tortellini at Midnight’ by Emiko Davies & ‘A Tree in the House’ by Annabelle Hickson - March 2019. This event took place a couple of weeks before ‘A Basket by the Door’ was officially released, and I was so happy to be able to buy a copy a little early! It was also wonderful to have the book signed by Sophie. I then spent the remainder of the afternoon after the book launch, looking through the book and never wanting it to end. 

Recipes Made: Pistachio, Cardamon & Rose Balls p.17, Sweet Verjus-Pickled Strawberries with Vanilla and Pink Peppercorns p.66, Orange and Quinoa Biscuits p.66, Apple, Fennel & Pork Sausage Rolls p.142, Quick Tomato Chutney p.142, Quince Chutney p.145, Pasta Salad with Olive and Walnut Pesto p.159, Piedmontese Capsicums p.183, Quince Butter p.199, Anna’s Minestrone p.215 and Baked Apple Porridge p.216.

A Basket by the Door by Sophie Hansen
Pistachio Cardamom and Rose Balls

Pistachio Cardamom and Rose Balls

The Pistachio Cardamom and Rose Balls are the first ‘bliss ball’ type of thing I have ever made or eaten. I am not one for ‘healthy’ fad foods just for the sake of it, I am after flavour and lots of it. I also find that many bliss balls use some kind of chocolate or cacao and cashews, all of which I cannot eat. These on the other hand, are not like regular bliss balls. The fact that this recipe was the first I made from the book is testament to that. The combination of dates, honey, cardamom and rose makes these balls moorish and actually worth making. I am finding they are a great snack for work days. 

Pistachio Cardamom and Rose Balls

Pistachio Cardamom and Rose Balls

View fullsize Pickled Strawberries
View fullsize Pickled Strawberries and Orange & Quinoa Biscuits

I first tried Sophie’s Sweet Verjus-Pickled Strawberries with Vanilla and Pink Peppercorns and the Orange and Quinoa Biscuits at the first Local is Lovely Workshop back in 2014. As we all madly took photos, Sophie demonstrated how to make them and we got to sample some. After that I have recreated it home many time, served with a nice goats cheese or curd and fresh honeycomb. 

View fullsize Apple Fennel and Pork Sausage Rolls
View fullsize Quick Tomato Chutney

Ok, the Apple Fennel and Pork Sausage Rolls are the absolute bomb. I am not a big meat eater, but I do love pork, and these sausage rolls are the best I have ever had. They first appeared in column Sophie wrote for the Domain Magazine last year, and I saved the recipe and have made them numerous times ever since. Once I realised how utterly amazing they were, I started making double and freezing them rolled into logs ready to cook. I have made a couple of batches of the Quick Tomato Chutney, which is great with the sausage rolls. I also love serving it with frittatas as well. 

The Quince Chutney on the other hand, is the best accompaniment to these sausage rolls. This recipe also appeared in the Domain mag last year, so I made one batch of it. I was so disappointed when it was all gone, that this year I am determined to make at least two batches. If I can really recommend anything to make from this book, top of my list would be these sausage rolls with the quince chutney. 

Quince Chutney

Quince Chutney

I made the Pasta Salad with Olive and Walnut Pesto so I had something nice to take to work for lunch, inspired by this chapter in the book about making time for lunch during work. I made the pesto with almonds as I didn’t have any walnuts and I loved it. And I definitely didn’t have any “sad desk lunch[es]” that week!

Piedmontese Capsicums

Piedmontese Capsicums

The Piedmontese Capsicums are probably my favourite way to eat capsicums. Again I first tried this dish at the first Local is Lovely Workshop, and have made it again and again ever since. The leftovers are really great added to the topping of a pizza, and as I am such a caper and anchovy fiend I add more than the recipe actually stipulates! 

A Basket by the Door by Sophie Hansen

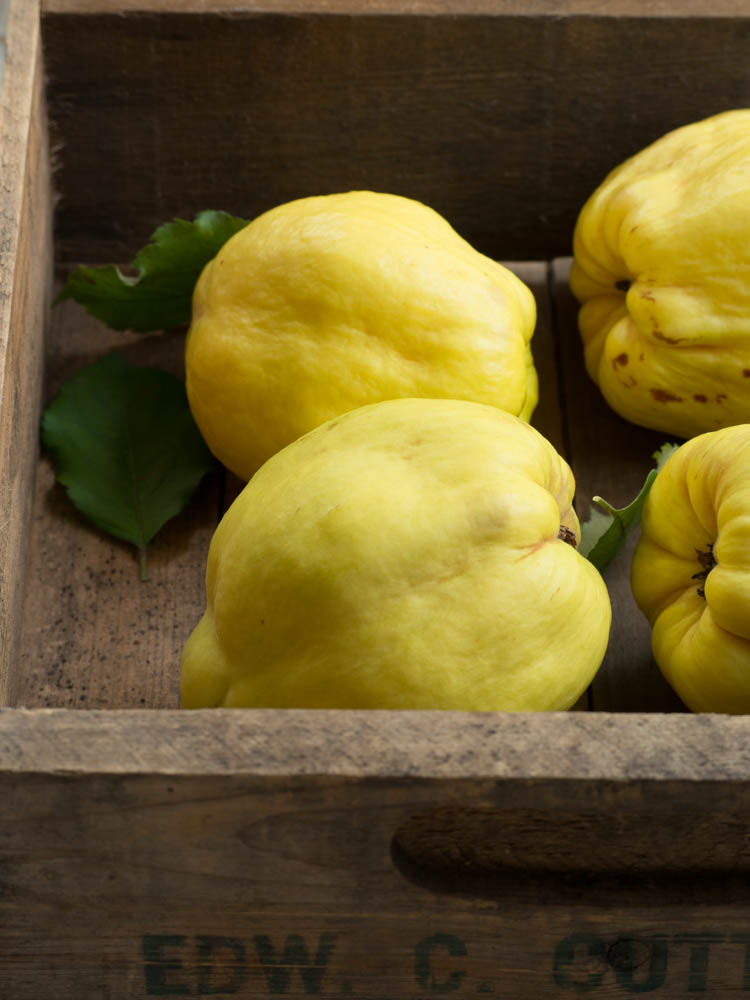
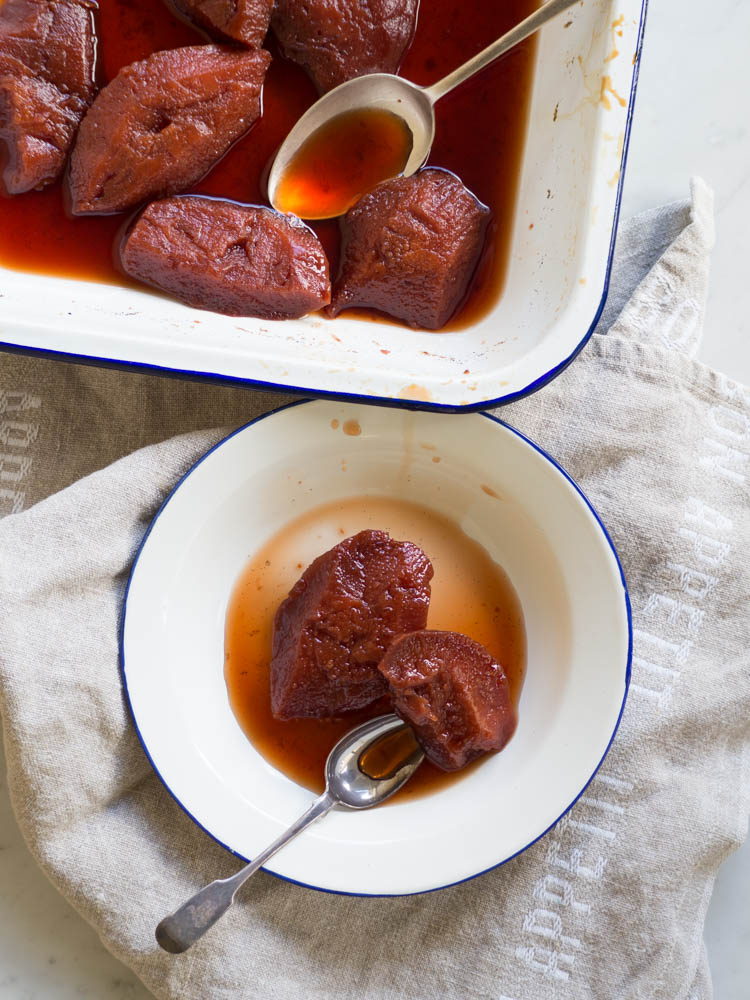
While I have poached quince many times now, I have only recently made them into Quince Butter. Using Sophie’s recipe for poaching, the quinces turned a very deep burgundy red which was most satisfying. I have seen the recipe for quince butter before, and I have to say the lack of water in the recipe always confused me. I did everything as the recipe said until I lost my nerve once the quince were in the oven and added about 1/2 cup water - the mixture was so syrupy almost toffee like I just couldn’t hang around for three hours while it was all in the oven and wonder if it would work! It did in the end and tastes amazing.
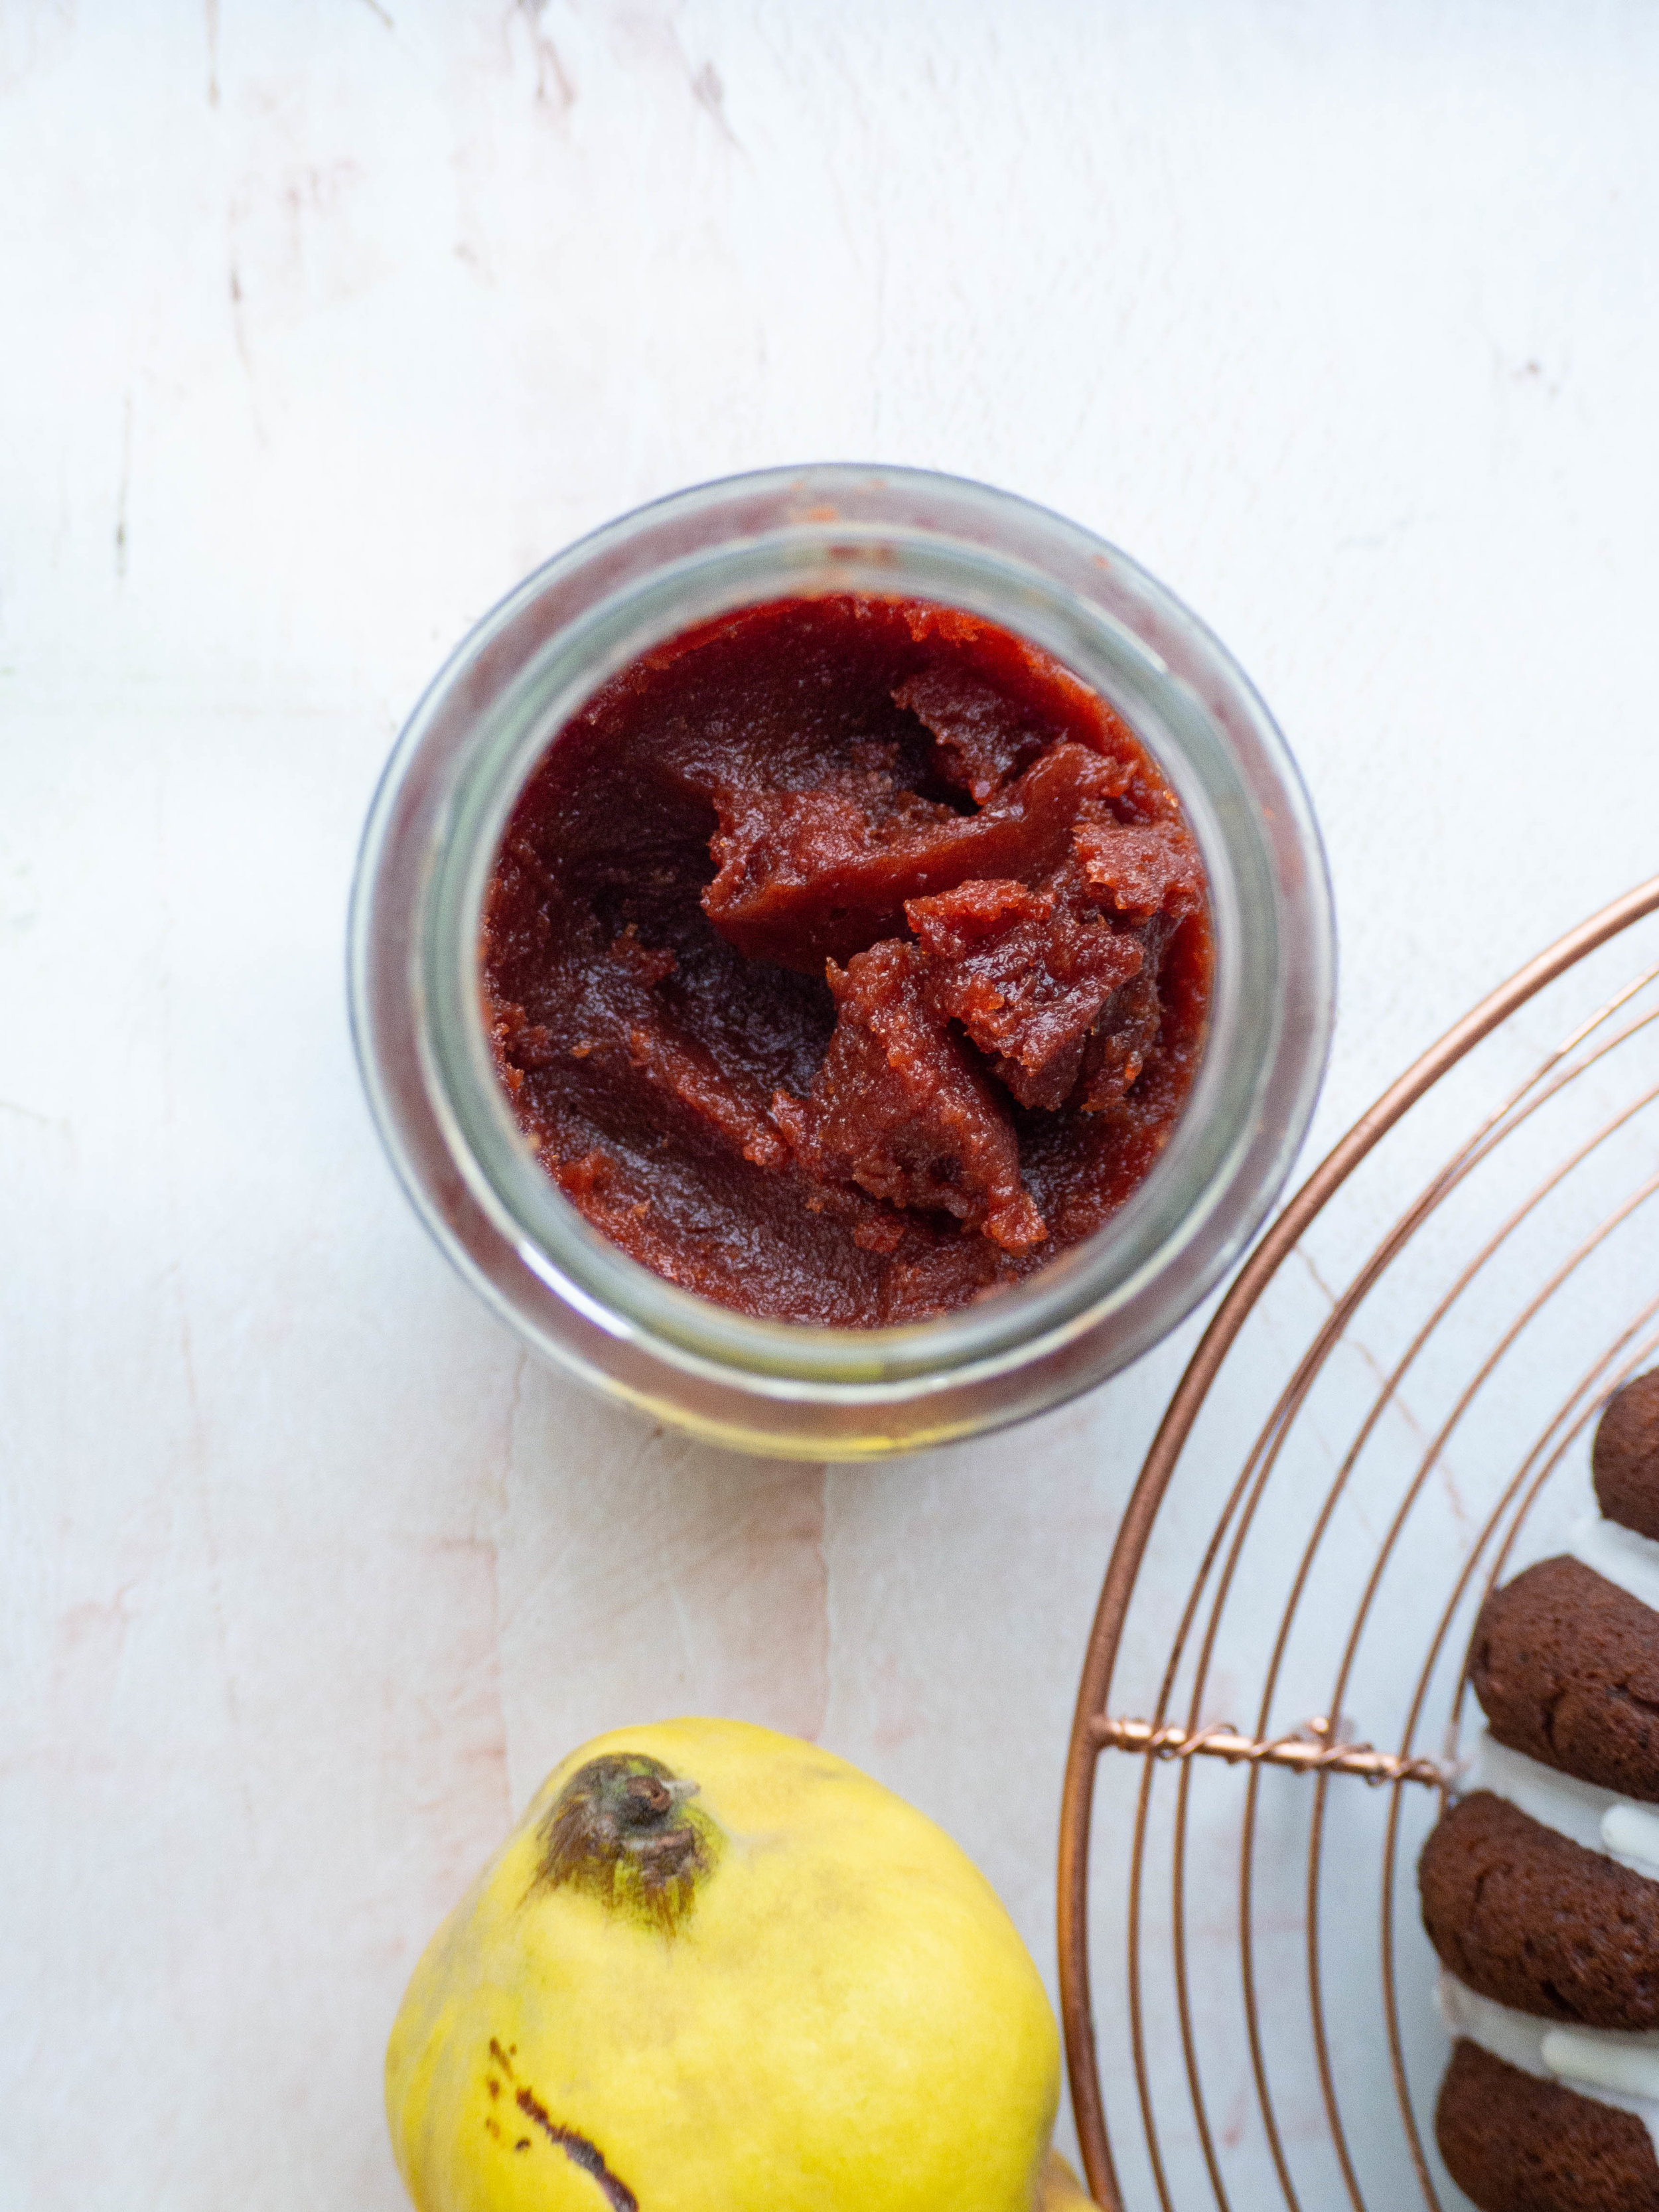
Quince Butter

Quince Butter

I absolutely love the Minestrone Soup recipe in ‘A Basket by the Door’. The same recipe can be found on Sophie’s blog, and I have been making it for the last couple of Winters now. It is super tasty and comforting on a chilly Winter’s evening, and the left overs are great for work lunches or frozen for another time. I always end up using a white wine in the soup rather than red, and there is always a bottle of white wine for cooking open in our fridge. Sometimes I also leave out the pasta and just have the barley and cannellini beans. Mostly because the starch of the pasta thickens the soup up a lot (which is quite noticeable if you are planning on having leftovers), and the soup is so tasty without it I don’t ever miss it.

Baked Apple Porridge

Baked Apple Porridge

I made the Baked Apple Porridge last weekend, as an alternative to making my usual Muesli Breakfast Crumble. It smelt so delicious when it was baking, that even though I made it in the afternoon ready for pre-work breakfasts during the week, I just had to taste a little when it was ready! I added some poached quince to mine as well as the apples, and it was delicious. Definitely the perfect warming breakfast for a chilly morning. I served mine with yoghurt and honey as Sophie suggests, though I think some of the quince butter could be lovely with it too!

Favourite Things About the Book: The recipes and the photos! I love the variety of recipes in this book, and that so many of my favourites from Sophie’s blog are included too. Sophie’s food is exactly the kind of food I like to make and eat, simple, seasonal and super tasty. I knew when I heard this book was in the works it would be good, and it certainly hasn’t disappointed. I also love the photography in the book, and the fact that there are so many photos. The pages with the collages of photos are great, and really bright and inviting. The combination of fantastic recipes and photos makes this book so inviting and warm, and one I will be cooking from forever. 

Bookmarked Recipes (to make later!): Beetroot, Walnut and Pomegranate Dip p.22, Fennel and Sausage Ragu p.35, The Chicken Pie pp.39-41, Hot-Smoked Salmon and Zucchini Tart p.46, Baked Ricotta with Spring Greens p.69, Vanilla, Peach and Mint Iced Tea p.105, Brunekager p.107, Tomato, Capsicum and Pearl Couscous Salad p.160, Triple Ginger Loaf p.164, Braised Fennel and Tomato p.219, to name a few!

A Basket by the Door by Sophie Hansen
In Off the Shelf Tags A Basket by the Door, Sophie Hansen, Local is Lovely
Comment
Duck Egg Sponge Cake

Duck Egg Sponge Cake

Duck Egg Sponge

Kath August 2, 2017

Over the last few years, I have been on a somewhat unofficial sometimes unintentional quest to find the best sponge cake recipe. You’d think that a cake with such few ingredients would be the same all round, but they never are! Corn flour or all plain flour, or self raising flour, custard powder, melted butter or no butter? Each time I find a new recipe, it becomes my new favourite until months or years later, I stumble across a new one. 

This particular recipe, was right under my nose the whole time, and it is by far the best I have found during my quest! It is from the book ‘Local is Lovely’, which is a small unassuming book, that is absolutely jam packed full of really good recipes. And when I mean jam packed I mean it! Every time I take a look through, I seem to add more sticky notes to another page for another recipe I want to make. 

On this particular occasion I had bought some duck eggs, which was super exciting, but I wasn’t sure what to make with them. I had heard that duck eggs made good sponge cakes so I went looking for a recipe, and sure enough ‘Local is Lovely’ delivered the goods (again!). It turned out to be the nicest sponge cake ever, so now I can definitively say duck eggs do make really good sponges! The honey added to the cream is also a simple yet utterly amazing idea that gives the whole cake a subtle sweetness that was so incredibly more-ish. 

I now keep an eye out for duck eggs, just in case I am given the opportunity to make this cake again. If you can’t find any, use five larger chicken eggs. 

Duck Eggs

Duck Eggs

Duck Egg Sponge Cake

Duck Egg Sponge Cake

Duck Egg Sponge Cake

Duck Egg Sponge Cake

Duck Egg Sponge Cake

Ingredients: 

x4 duck eggs

140g caster sugar or golden caster sugar 

160g plain flour, plus extra for the tin

2 tsp baking powder 

300ml pouring cream

90 ml honey

dried edible flowers, to decorate (optional)

butter, to grease the tin


Method: 

If your duck eggs have been in the fridge, take them out and allow them to come down to room temperature. 

Preheat oven to 180 degrees Celsius, and butter and flour two 20 cm loose bottomed cake tins. 

In the bowl of a stand mixer, add the eggs and sugar. I suggest cracking each duck egg into a glass and pouring it into the bowl. Duck eggs have a harder shell than chicken eggs and I found that more of the shell shattered away (and into the egg itself) because a little more force was needed to crack them open. This way it is easier to remove any stray bits of shell before adding the eggs to the bowl. 

Whisk the eggs and sugar together for about 10 minutes, on medium to high speed. The mixture will triple in size and become pale and fluffy. 

While the eggs are whisking, measure the flour and baking powder into a separate bowl and whisk together to remove any lumps. Carefully add the flour and baking powder to the whisked eggs, gently and quickly folding it into the eggs with a large metal spoon.

Divide the mixture between the two prepared tins, and bake for 15-20 minutes. The cakes will be golden in colour and spring back when lightly touched. 

Leave the cakes to cool in their tins for a couple of minutes. Place a sheet of baking paper on a cooling rack, and remove each cake from their tins on to the paper. This will prevent the cakes sticking to the cooling racks. Alternatively, you can leave the baking paper that is already on the base of each cake, and place them straight on the racks. 

Once the cakes have cooled (this shouldn’t take too long), prepare the cream filling. Whip the cream until it has thickened and soft peaks are forming. Add the honey and whisk until combined. Place one of the cakes on a cake stand or serving plate, and top with 1/2 - 3/4 of the cream. Place the second sponge on top and finish with the remaining cream. Sprinkle dried edible flowers over the top of the cake to decorate. 

Duck Egg Sponge Cake

Duck Egg Sponge Cake

Duck Egg Sponge Cake

Duck Egg Sponge Cake

Duck Egg Sponge Cake

Duck Egg Sponge Cake

Reference: Local is Lovely by Sophie Hansen (Hachette Australia, 2014), p.50.

Duck Egg Sponge Cake

Duck Egg Sponge Cake

Duck Egg Sponge Cake

Duck Egg Sponge Cake

In Cakes & Slices Tags Duck Eggs, Sponge, Local is Lovely
8 Comments
Challah Doughnuts with Blood Orange Glaze - made by Molly Yeh

Challah Doughnuts with Blood Orange Glaze - made by Molly Yeh

Local is Lovely Workshop, July 2016 - A Photo Recap

Kath September 1, 2016

I feel like I'm always saying this, but it's been a while since I posted anything here. If you follow me on Instagram you will have seen what I've been up to in the past month or so, including attending another wonderful weekend away at a Local is Lovely Workshop. 

I was lucky enough to attend the first ever Local is Lovely Workshop back in November 2014 (posts here and here), and always knew I wanted to go back. When I saw Sophie (Local is Lovely) and Luisa would be teaming up with Molly Yeh (My Name is Yeh), I knew this was a best opportunity to go back to Kimbri Farm. Meeting Molly, and all the other workshop participants was just super lovely. I never tire of meeting new like minded people and listening to how food and photography intertwines their lives. I also never tire of Sophie's amazing food, and the wonderful opportunity of being in the country and having an amazing setting to relax in and shoot great photos (almost no styling needed!). 

I have included a few of my favourite photos from the weekend, and yes, those blood orange challah doughnuts were as good as they looked (Molly has the recipe on her blog just FYI!)!

I would also like to recommend a really great podcast called My Open Kitchen, put together by Sophie Hansen and Skye Manson, which has just released it's first episode. During the first episode Molly is interviewed (which was recorded during the time she was here for the workshop), and its a really great interview. The whole podcast is great to listen to and I for one loved listening to it on the train home from work - a much more enjoyable ride than normal!

Apart from spending time at amazing workshops, I have been working and trying to enjoy baking in our new kitchen as much as possible. I have been in the kitchen so much that I have hardly been on the computer (to edit photos and write blog posts!), in a few weeks! I do have recipes in the works and things ready to post here, I just can't stand spending the whole weekend on the computer and not in the kitchen! Especially as I have four months of not cooking to make up for!

Anyway, I have some delicious things coming to the blog soon (or my version of ‘soon’, I should say), including a blood orange cake which I am quite excited about. I made it a couple of weeks ago and I’m pretty sure I ate most of it myself, which when you see the cake you will understand the seriousness of that statement! 

For now I’ll leave you with my photo recap of the wonderful weekend that was the Local is Lovely Workshop. Don’t forget to check out my Instagram and Instagram Story for what I’m up to in the kitchen in between blog posts!

Rhubarb & Olive Oil Cakes - Made by Molly Yeh

Rhubarb & Olive Oil Cakes - Made by Molly Yeh

Molly icing her cake with tahini buttercream

Molly icing her cake with tahini buttercream

Molly decorating her cake - complete with a marzipan kangaroo!

Molly decorating her cake - complete with a marzipan kangaroo!

The beginnings of challah doughnuts - making the dough

The beginnings of challah doughnuts - making the dough

Challah dough

Challah dough

Molly with her freshly fried doughnuts

Molly with her freshly fried doughnuts

Blood orange glaze

Blood orange glaze

Challah doughnuts with Blood Orange glaze

Challah doughnuts with Blood Orange glaze

Making sourdough

Making sourdough

Finished sourdough 

Finished sourdough 

Beautiful fresh produce from Epicurean Harvest

Beautiful fresh produce from Epicurean Harvest

Molly making Shakshuka

Molly making Shakshuka

Shakshuka with homemade sourdough

Shakshuka with homemade sourdough

In Events Tags Local is Lovely, Local is Lovely Workshop, Sophie Hansen, Molly Yeh, My Name is Yeh, Luisa Brimble, Kimbri, Blue Mountains NSW, Photography, Styling, Blood Orange, shakshuka, challah, doughnuts, Epicurean Harvest, sourdough
Comment

Raspberry, Almond & Vanilla Layer Cake (Gluten Free)

Kath September 16, 2015

There is a bit of a story behind this cake. I have been wanting to make something like this for a while, pretty much since I first tried the ‘Old Fashioned Vanilla Cake’ from Flour & Stone. While the ingredients are simple, the end result is definitely the best cake you can buy in Sydney. My version, while highly inspired by the cake at Flour & Stone, ends up being a bit different, but equally as delicious. 

It also ends up being gluten free as I opted to use a almond based cake for this recipe. I didn’t choose the almond cake deliberately for its gluten free qualities, I just wanted something that in some way resembled the cake at Flour & Stone, which is denser than a traditional sponge cake, yet still very light and fluffy.

Goodies from Flour & Stone, including the 'Old Fashioned Vanilla Cake'.

Goodies from Flour & Stone, including the 'Old Fashioned Vanilla Cake'.

The 'Old Fashioned Vanilla Cake'.

The 'Old Fashioned Vanilla Cake'.

My cake, inspired by the 'Old Fashioned Vanilla Cake' from Flour & Stone.

My cake, inspired by the 'Old Fashioned Vanilla Cake' from Flour & Stone.

The cake recipe has been adapted from ‘Gran’s almond cake’ in Sophie Hansen’s book ‘Local is Lovely’. This book never ceases to provide culinary inspiration and great recipes.

The filling for this cake, while still being influenced by the ‘Old Fashioned Vanilla Cake’ which has a mascarpone element to its filling, is also inspired by my desire to use some of Pepe Saya’s great products. I visited the Pyrmont Grower’s Market earlier this month and came home with Pepe Saya’s mascarpone and buttermilk. I bought the mascarpone knowing I wanted to try make this cake, and I felt that such good quality products could only be used in something as special as a cake. The buttermilk was used to make a double batch of these muffins, which we are still eating as they freeze so well, and a double batch of these pancakes. The pancakes worked so well with the Pepe Saya buttermilk, I’m not sure I want to make them again unless I have it! 

The recipe for the filling ended up being an amalgamation of this recipe from Delia Online and this recipe from Fool Proof Living. The second recipe has some good tips about whipping mascarpone, as apparently if the mascarpone and cream you are whipping are different temperatures the mascarpone will split. Most places I looked advised using both products at room temperature, however I used both chilled from the fridge and it worked well. 

As a little side note, I did add some toasted coconut chips to the layers of the cake, mostly because I had some leftover from breakfast that morning. I didn't add it to the recipe as I didn't think it significantly added anything to the cake as a whole, however they are visible in some of the photos of the cake.

Raspberry, Almond & Vanilla Layer Cake (Gluten Free)

Ingredients: 

290g almond meal 

315g golden caster sugar

6 eggs, separated

2 tsp vanilla bean paste

1 tsp baking powder


Ingredients for the Mascarpone & Raspberry Cream 

200g mascarpone 

150ml thickened cream

1 tsp vanilla extract

35g icing (confectioners) sugar, plus extra for dusting

250g fresh raspberries


Method: 

Preheat oven to 200 degrees Celsius, and grease and line the base of two 18 cm round loose bottomed cake tins (spring form cake tins will work well too). 

In the bowl of an electric mixer, beat the egg yolks and sugar until they are pale and creamy. Add the vanilla bean paste and beat to combine. 

Sift in the almond meal and baking powder, and gently mix to combine. 

In a separate bowl, whisk the egg whites until stiff peaks form. 

Using a large metal spoon, gently fold the egg whites into the almond meal mixture, a quarter at a time. 

Divide the mixture evenly between the two prepared cake tins. Turn the oven temperature down to 180 degrees Celsius. Bake the cakes for 30 minutes, or until golden and a skewer inserted into the middle of each cake comes out clean. 

Once cooked, cool the cakes in their tins for 5 minutes, then turn out onto a wire rack to cool completely (leaving the baking paper lining on the cakes as they may stick to the racks). 

Once the cakes have cooled completely, make the mascarpone and raspberry cream. 

Place the mascarpone in a medium bowl and whip until it has thickened and soft peaks form. Gradually add the cream, extract and sifted icing sugar a third at a time, and continue to whip until all ingredients have combined and the cream has thickened and stiff peaks form.

Leave a quarter of the raspberries aside for decoration, and squash the remainder with a fork. Gently fold the squashed raspberries into the mascarpone cream. 

Remove the baking paper from the cakes and cut each of the cakes in half (horizontally). Place the base of one cake on a serving plate or cake stand and cover with a third of the mascarpone cream. Top with the top half of the cake, then another third of the cream, then top with the base of the second cake, the remaining cream and finish with the remaining cake half. 

Decorate with the remaining raspberries and dust with icing sugar. 


This cake is best served on the day it is assembled, but will keep in the fridge for a few days. 

Reference: ‘Local is Lovely’ by Sophie Hansen (Hachette Australia, 2014), p.233.

In Cakes & Slices Tags Raspberry, Almond, Vanilla, Layer Cake, Cake, Flour & Stone, Local is Lovely, Spring, Flowers, Pepe Saya, Gluten Free
8 Comments

How to bake with Quinces

Kath June 19, 2015

I have loved quinces for quite a while now. We always buy Maggie Beer’s quince paste to have with cheese and biscuits, but I have to admit for quite a long time, I really didn’t know what quinces were. 

When you actually see the fruit, they look nothing like you’d expect, sort of like large lumpy pears. They aren’t a fruit that is eaten raw however, slow cooking is the only way to go for quinces. 

I have attempted cooking quinces three times now. Only once successfully. The key as I have now found, to the deep and rich ruby colour is to cook the quinces with the cores, and remove them after. Apparently lots of pectin is in the cores, which helps the quinces turn that lovely ruby colour. I have also found that poaching them in the oven, is much easier than doing it on the stove.

To me, slow cooking and poaching feels like such a Winter-y thing to do. Probably because here in Australia, having the oven or stove on for hours at a time in Summer just isn’t practical! The fruits that lend themselves to such methods of cooking are also in season in the colder months. Though it seems few fruits and vegetables aren’t available almost year round. Quince is one of the rarities that only appear in green grocers or farmers markets once Autumn starts. Which to me is a very clear sign that Summer has come to an end, and it’s time to get Winter baking! 

I found this recipe for Quince Butter via Sophie Hansen of Local is Lovely, who never fails to impress me with snippets of country life and delicious recipes that can be found on her blog. When I saw the recipe, I just knew it would work much better than my last attempts. And it did. I didn’t follow the recipe to the end, just until I had poached the quinces. Though I don’t doubt that quince butter would be as tasty as it sounds! 

I used some of my poached quinces to make a frangipane tart (based on this recipe), then used some to make quince and vanilla muffins. I added four tablespoons of the poaching liquid to the muffin mixture, along with an extra quarter cup of self raising flour, one teaspoon of vanilla bean paste, topped each muffin with small pieces of poached quince and sprinkled them with raw sugar. 

I froze the muffins after they had cooled, and we are still enjoying them. The frangipane tart however, is long gone! 

Any left over poached quinces can be placed in a jar with the poaching liquid and stored in the fridge. 

Poaches Quinces and Tart (5 of 11).jpg
In Cakes & Slices, Tarts & Pastry Tags Winter, Local is Lovely, Frangipane Tart, Muffins, Quince
Comment

A White Cherry Tart for Christmas & A Cookbook

Kath December 22, 2014

This cherry tart is an amalgamation of two very good recipes. The pastry comes from Bill Granger’s book ‘Holiday’, and the filling comes from Sophie Hansen’s book ‘Local is Lovely.’ The pastry is easy to make as it doesn’t involve using a food processor, doesn’t need chilling or rolling out. It also has a lovely shortbread-like quality, so is quite crisp and buttery once cooked. 

Many different fruits or berries could be used for this kind of tart. I chose white cherries, as I saw them in a green grocer and had never tried them or heard of them before. A couple of days later I picked up some more at a local produce market. Cherries are also quite a staple for the Australian Christmas, so I think this tart would make a nice addition to any Christmas Day. It’s also a good way to use up any leftover cherries after Christmas. 

Most tarts I have made before contained a fair few eggs and some cream, so this frangipane version made quite a welcome change. It also meant that apart from the cherries, I already had everything I needed for the tart at home already. 

My only problem with using white cherries for this tart, is that once they are cooked, they do look a bit like tomatoes! Which wasn’t exactly the look I was going for, but it does taste good! 


Ingredients for the Pastry: 

125 g unsalted butter, melted & cooled 

90 g caster sugar

175 g plain flour 

1 tbsp almond meal 


Ingredients for the Filling: 

120 g unsalted butter, softened

115g caster sugar 

80g almond meal 

1 tbsp plain flour 

1 tsp vanilla extract

1 egg 

165 g white cherries (approx. 18 cherries), rinsed, halved & pitted

Method: 

Pre-heat oven to 180 degrees Celsius. To make the pastry, combine the melted butter and sugar, in a large bowl. Add the flour and stir until combined. Press the dough evenly into a 24 cm loose bottomed tart tin, ensuring you cover the base and sides of the tin. Place in the oven for 12-15 minutes, or until the pastry has puffed up a little. 

Remove from the oven and sprinkle over the almond meal. Set aside. 

To make the frangipane filling, cream the butter and sugar in an electric mixer until they are pale and fluffy. Add the almond meal, vanilla, egg and flour and mix until combined. 

Place the frangipane mix into the prepared pastry case, and smooth it out. Place the cherries into the frangipane mix, pressing them down slightly. 

Return the tart to the oven for a further 25-30 minutes or until the frangipane filling is golden. 

PC190132.jpg

Recipe for pastry originally found in ‘Holiday’ by Bill Granger (2007), p. 34. 

Recipe for frangipane filling originally found in ‘Local is Lovely’ by Sophie Hansen (2014), p.79. 

My next piece of exciting news, is the cookbook I have helped put together has been published this past week. 

This project has been in progress for about 18 months, and I have been assisting with it for just over a year now. I helped compile the recipes, and write short introductions for each recipe or person. 

All recipes were donated by clients of The Maxx Hair Salon in St Ives, Sydney. All profits are being donated to Barnardos Australia. 

Click here to purchase the book, or contact me on kulinaryadventuresofkath@gmail.com and I can sort something out for you. 

All baking, styling & photography for this post by Kathryn Vincent of Kulinary Adventures of Kath. 

In Tarts & Pastry, Holidays Tags Cherries, Christmas, Tart, White Cherries, Cookbook, Local is Lovely, Bill Granger, Barnardos Australia
Comment
  • The Blog
  • Older
  • Newer

recipes

  • Biscuits/Cookies 39
  • Breads Etc. 9
  • Breakfast 7
  • Cakes & Slices 67
  • Confectionary 5
  • Drinks 6
  • Events 14
  • Food Photography Tips 3
  • From The Mailing List 24
  • Heirloom Recipes 12
  • Holidays 44
  • Ice Cream 9
  • Jams Preserves & Spreads 9
  • Muffins 4
  • Off the Shelf 47
  • Other Desserts 25
  • Savoury Dishes/Meals 15
  • Scones 4
  • Tarts & Pastry 9
  • Travel 13

Sign up to Friday Food Chat with Kath, a weekly newsletter for more food, baking, cookbook chat and more!

Sign Up Here!
instagram-unauth pinterest facebook url

Website Accessibility: To enable text to speech function on the blog, click the sound button to the right of each blog post.

All images & content are the property of Kathryn Vincent, unless stated otherwise. Please do not use without permission.

Kulinary Adventures of Kath

Food Photography, Recipes & Baking

instagram-unauth pinterest facebook url