Kulinary Adventures of Kath

Food Photography, Recipes & Baking
  • home
  • About
  • Work with Kath
  • Shop
  • Blog
    • The Blog
    • Recipe Archive
  • Newsletter
  • Contact
  • home
  • About
  • Work with Kath
  • Shop
    • The Blog
    • Recipe Archive
  • Newsletter
  • Contact
Raspberry Pistachio Rose Cake (23 of 25).jpg

The Blog

Recipes and Food Photography by Kath Vincent.

  • The Blog
  • Recipe Archive
  • All
  • Biscuits/Cookies
  • Breads Etc.
  • Breakfast
  • Cakes & Slices
  • Confectionary
  • Drinks
  • Events
  • Food Photography Tips
  • From The Mailing List
  • Heirloom Recipes
  • Holidays
  • Ice Cream
  • Jams Preserves & Spreads
  • Muffins
  • Off the Shelf
  • Other Desserts
  • Savoury Dishes/Meals
  • Scones
  • Tarts & Pastry
  • Travel
Bergamot Loaf Cake

Easy Bergamot Loaf Cake

Kath July 9, 2025

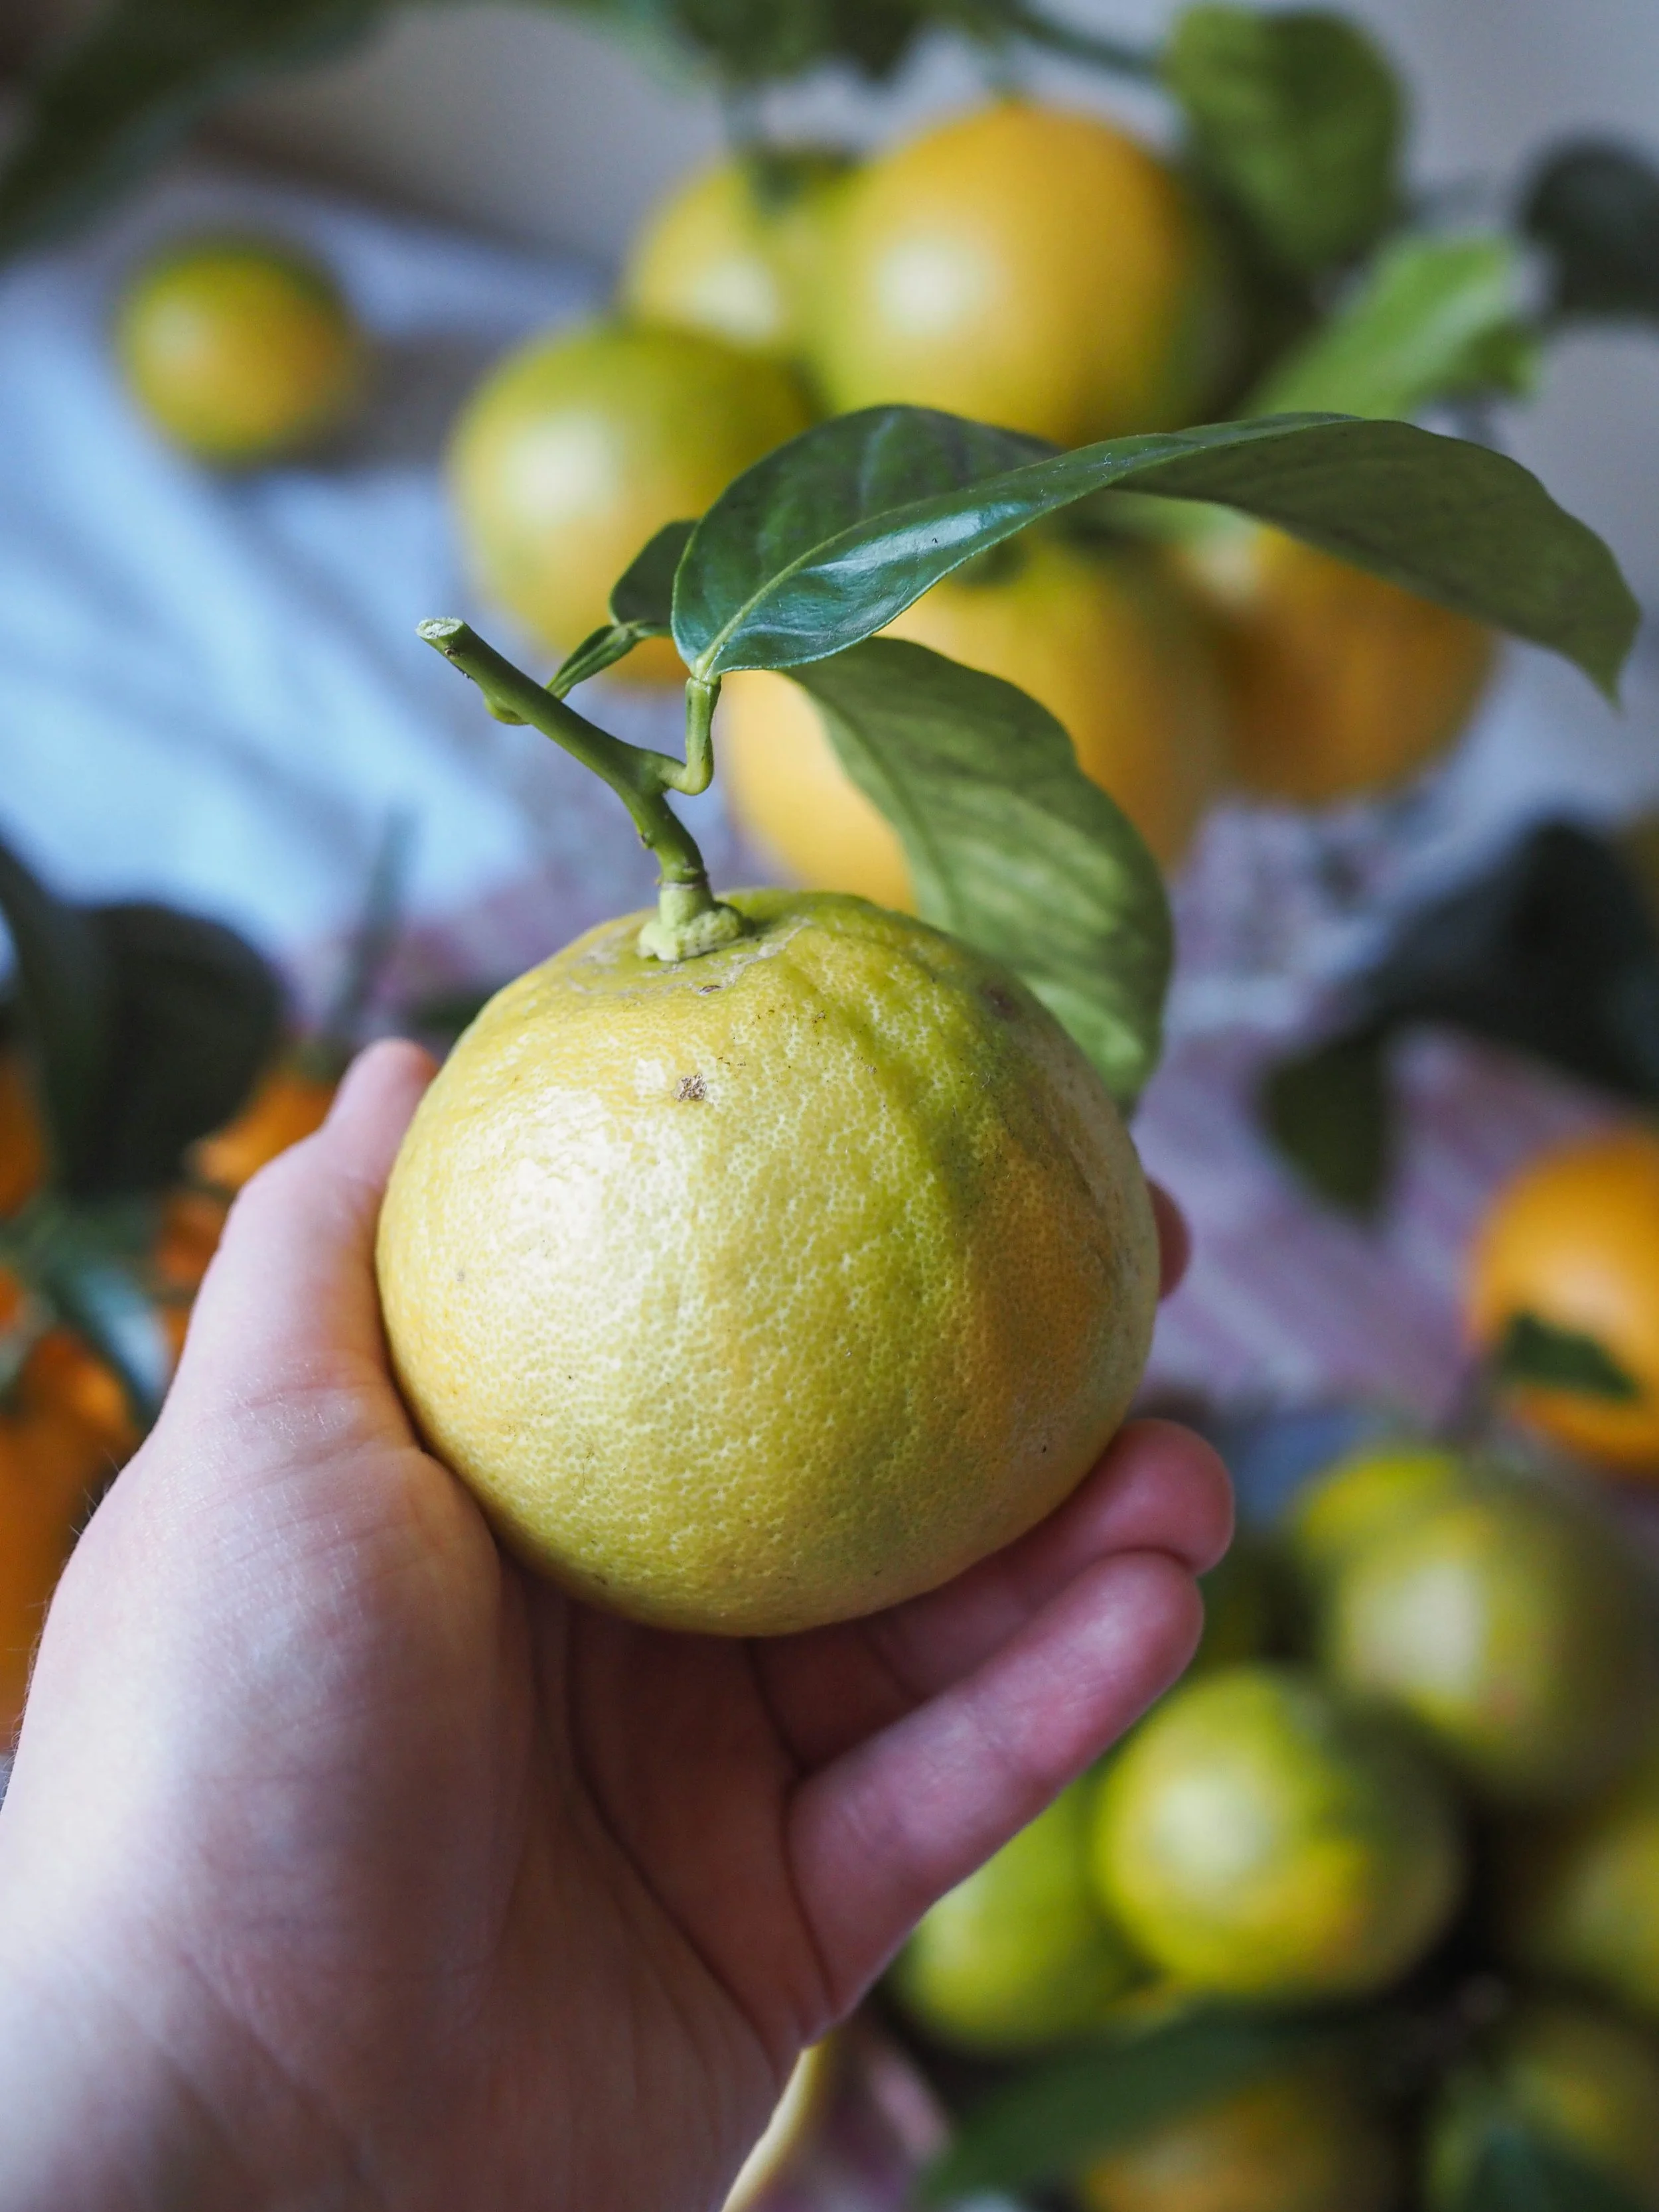
I am obsessed with bergamots, they are my favourite citrus by far, possibly my favourite fruit. They have a tart acidic flavour you would expect from a citrus, with a floral notes that create a unique flavour unlike anything else.

Bergamot seem to be getting a bit more attention in the food world recently, hopefully we aren’t too long away from seeing them actually be sold in green grocers and the like. If you ever come across them, buy some! Then make this easy loaf cake, you won’t regret it.

Homegrown bergamot with leaves

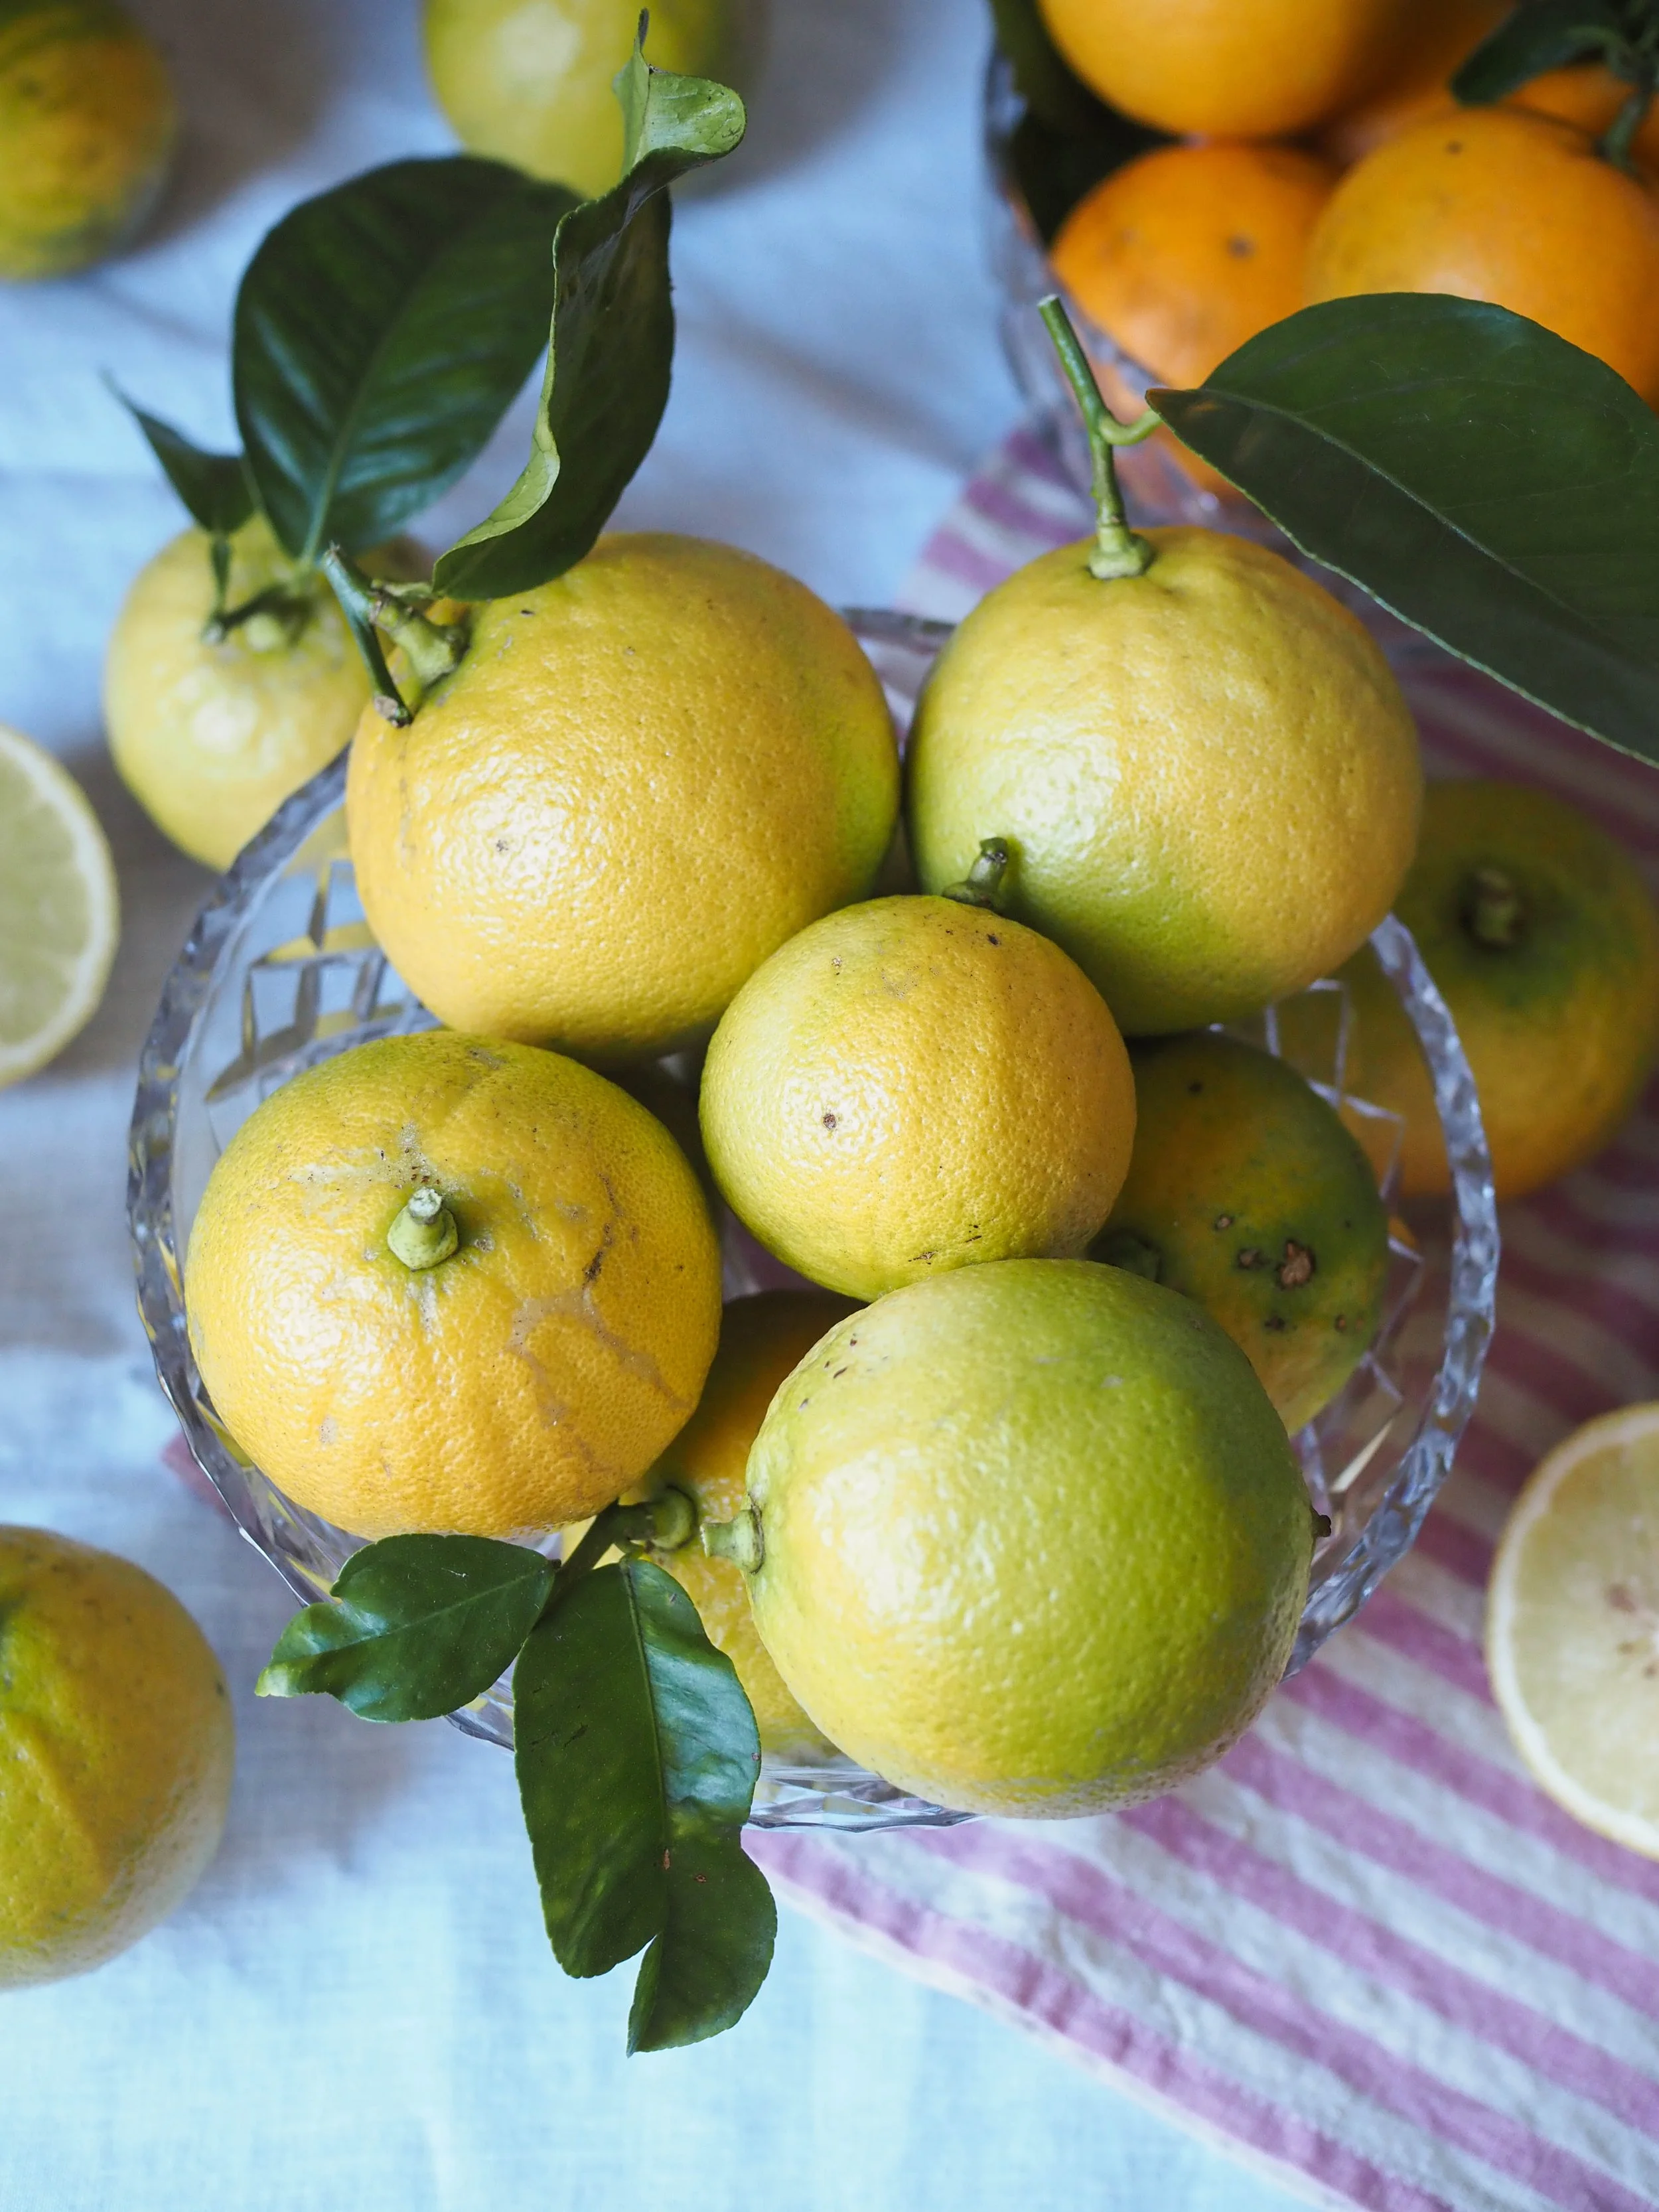
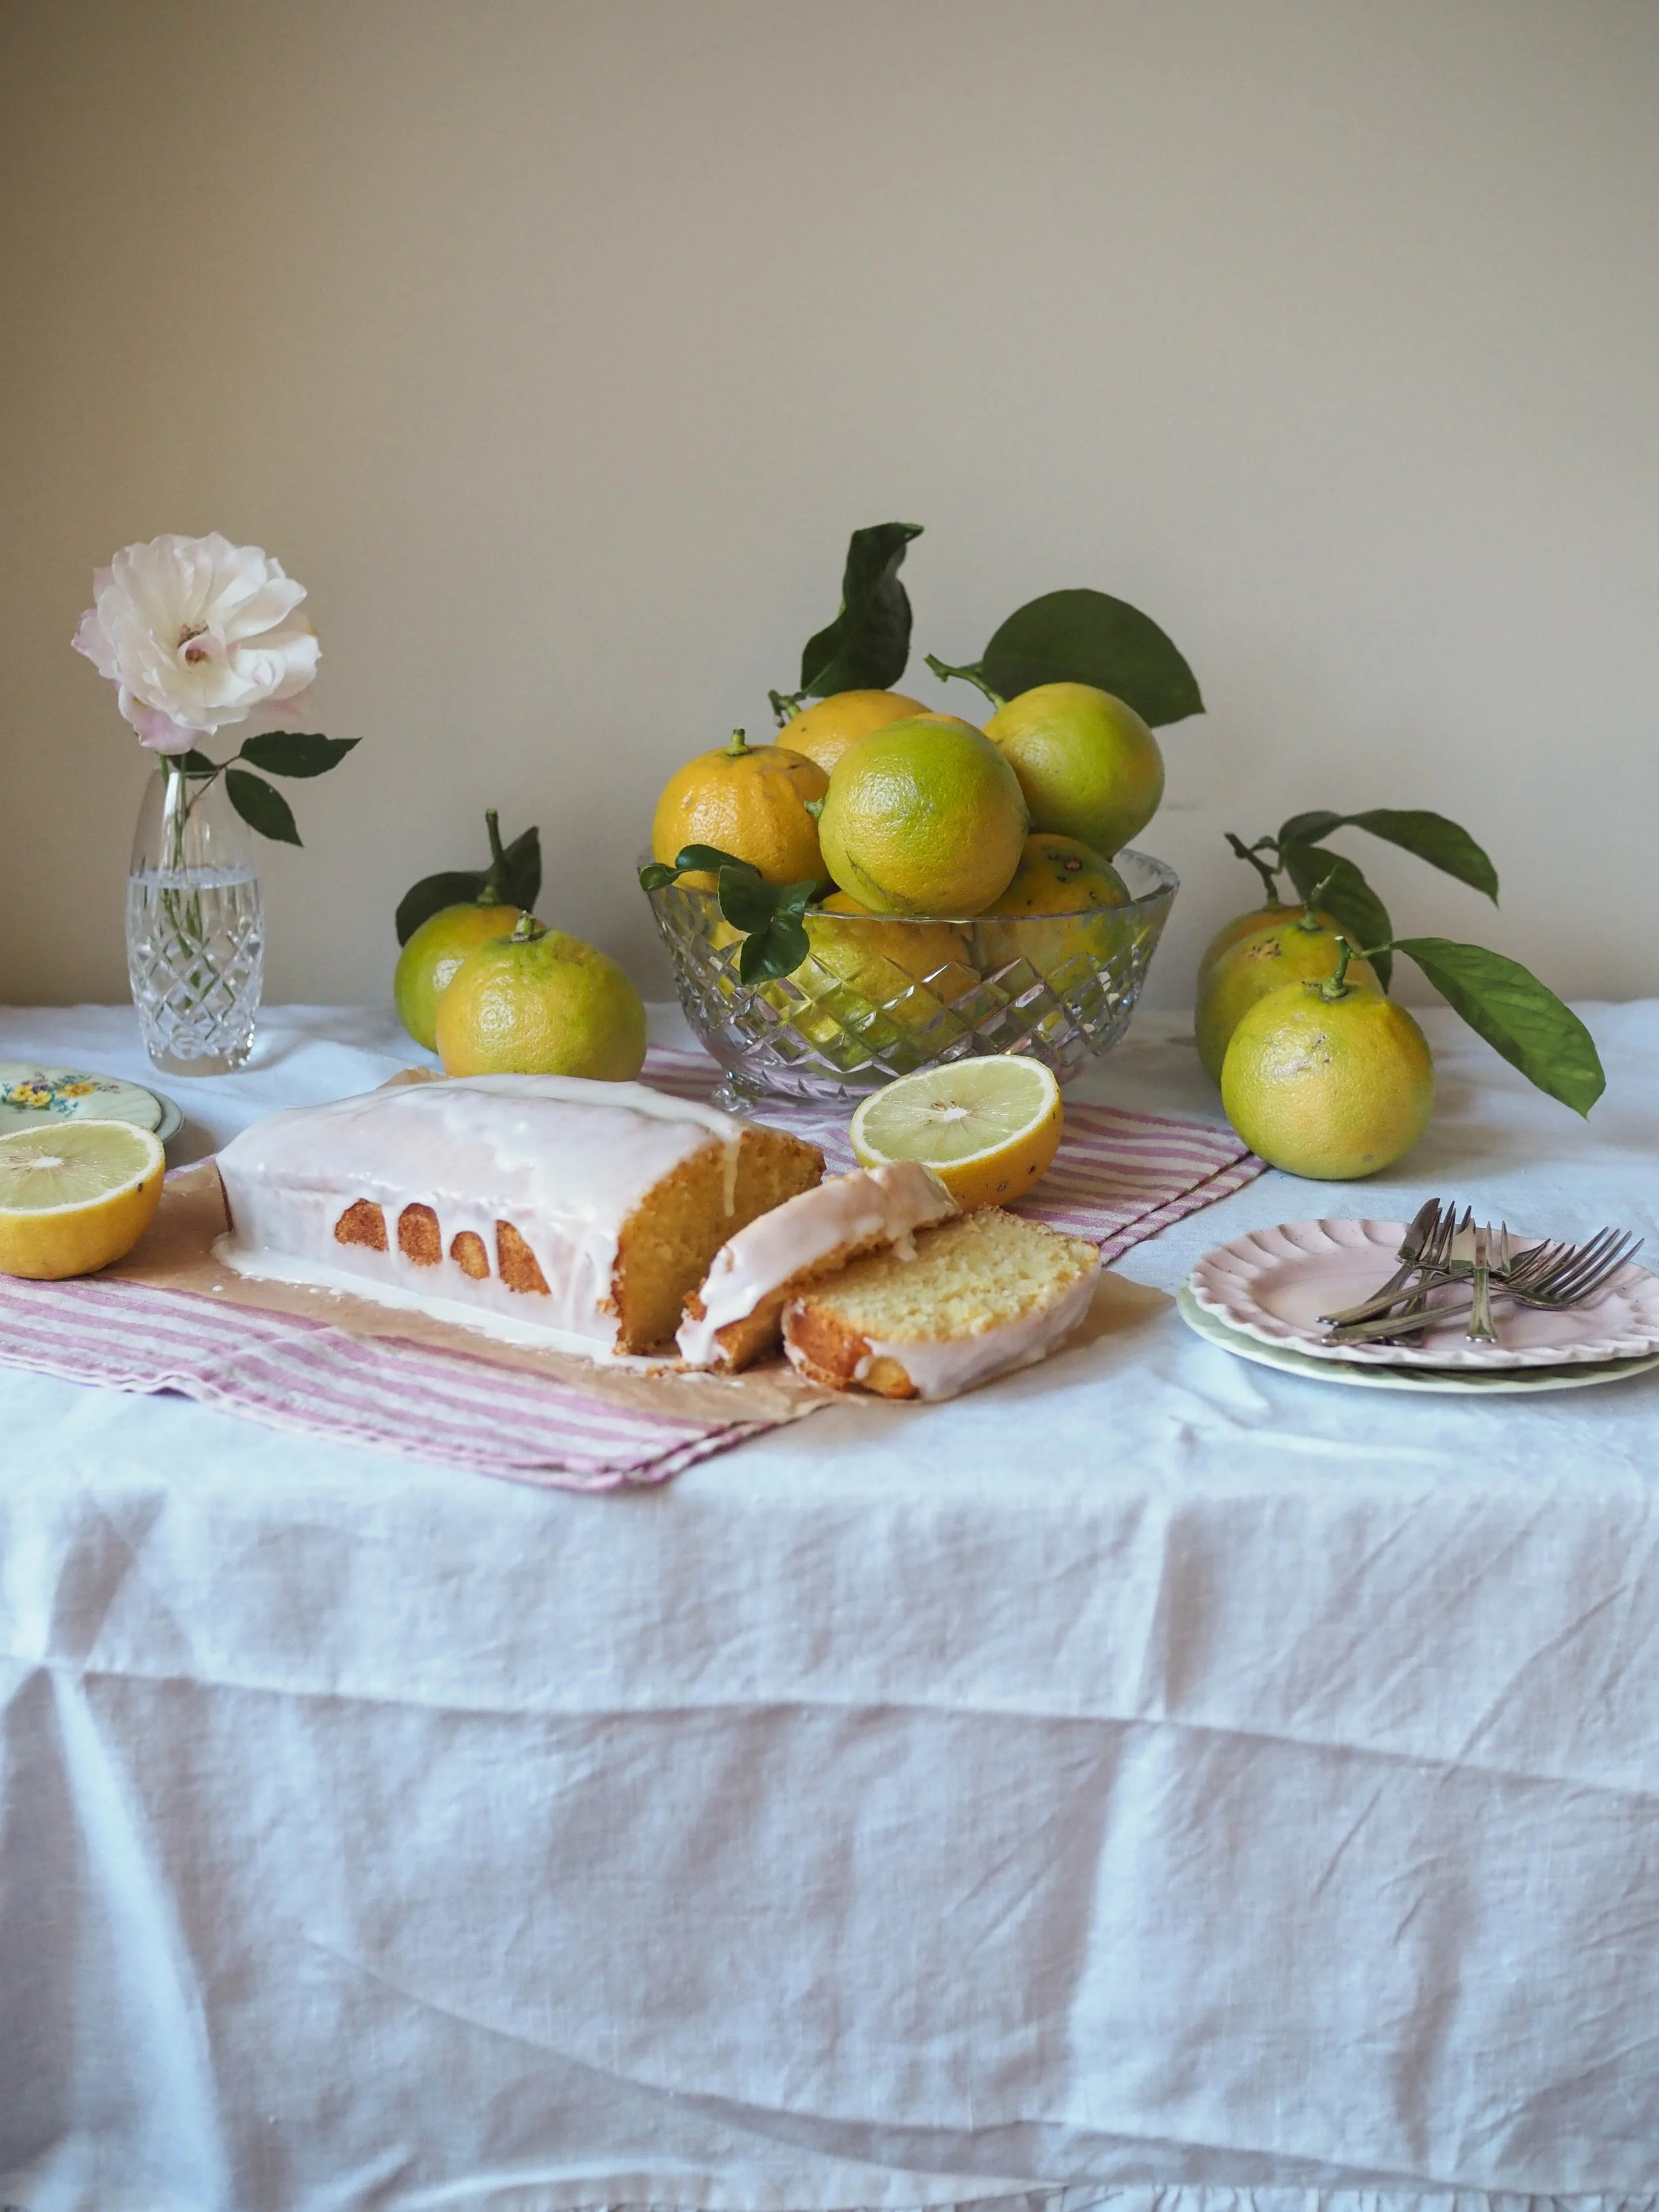
Homegrown bergamots 2025
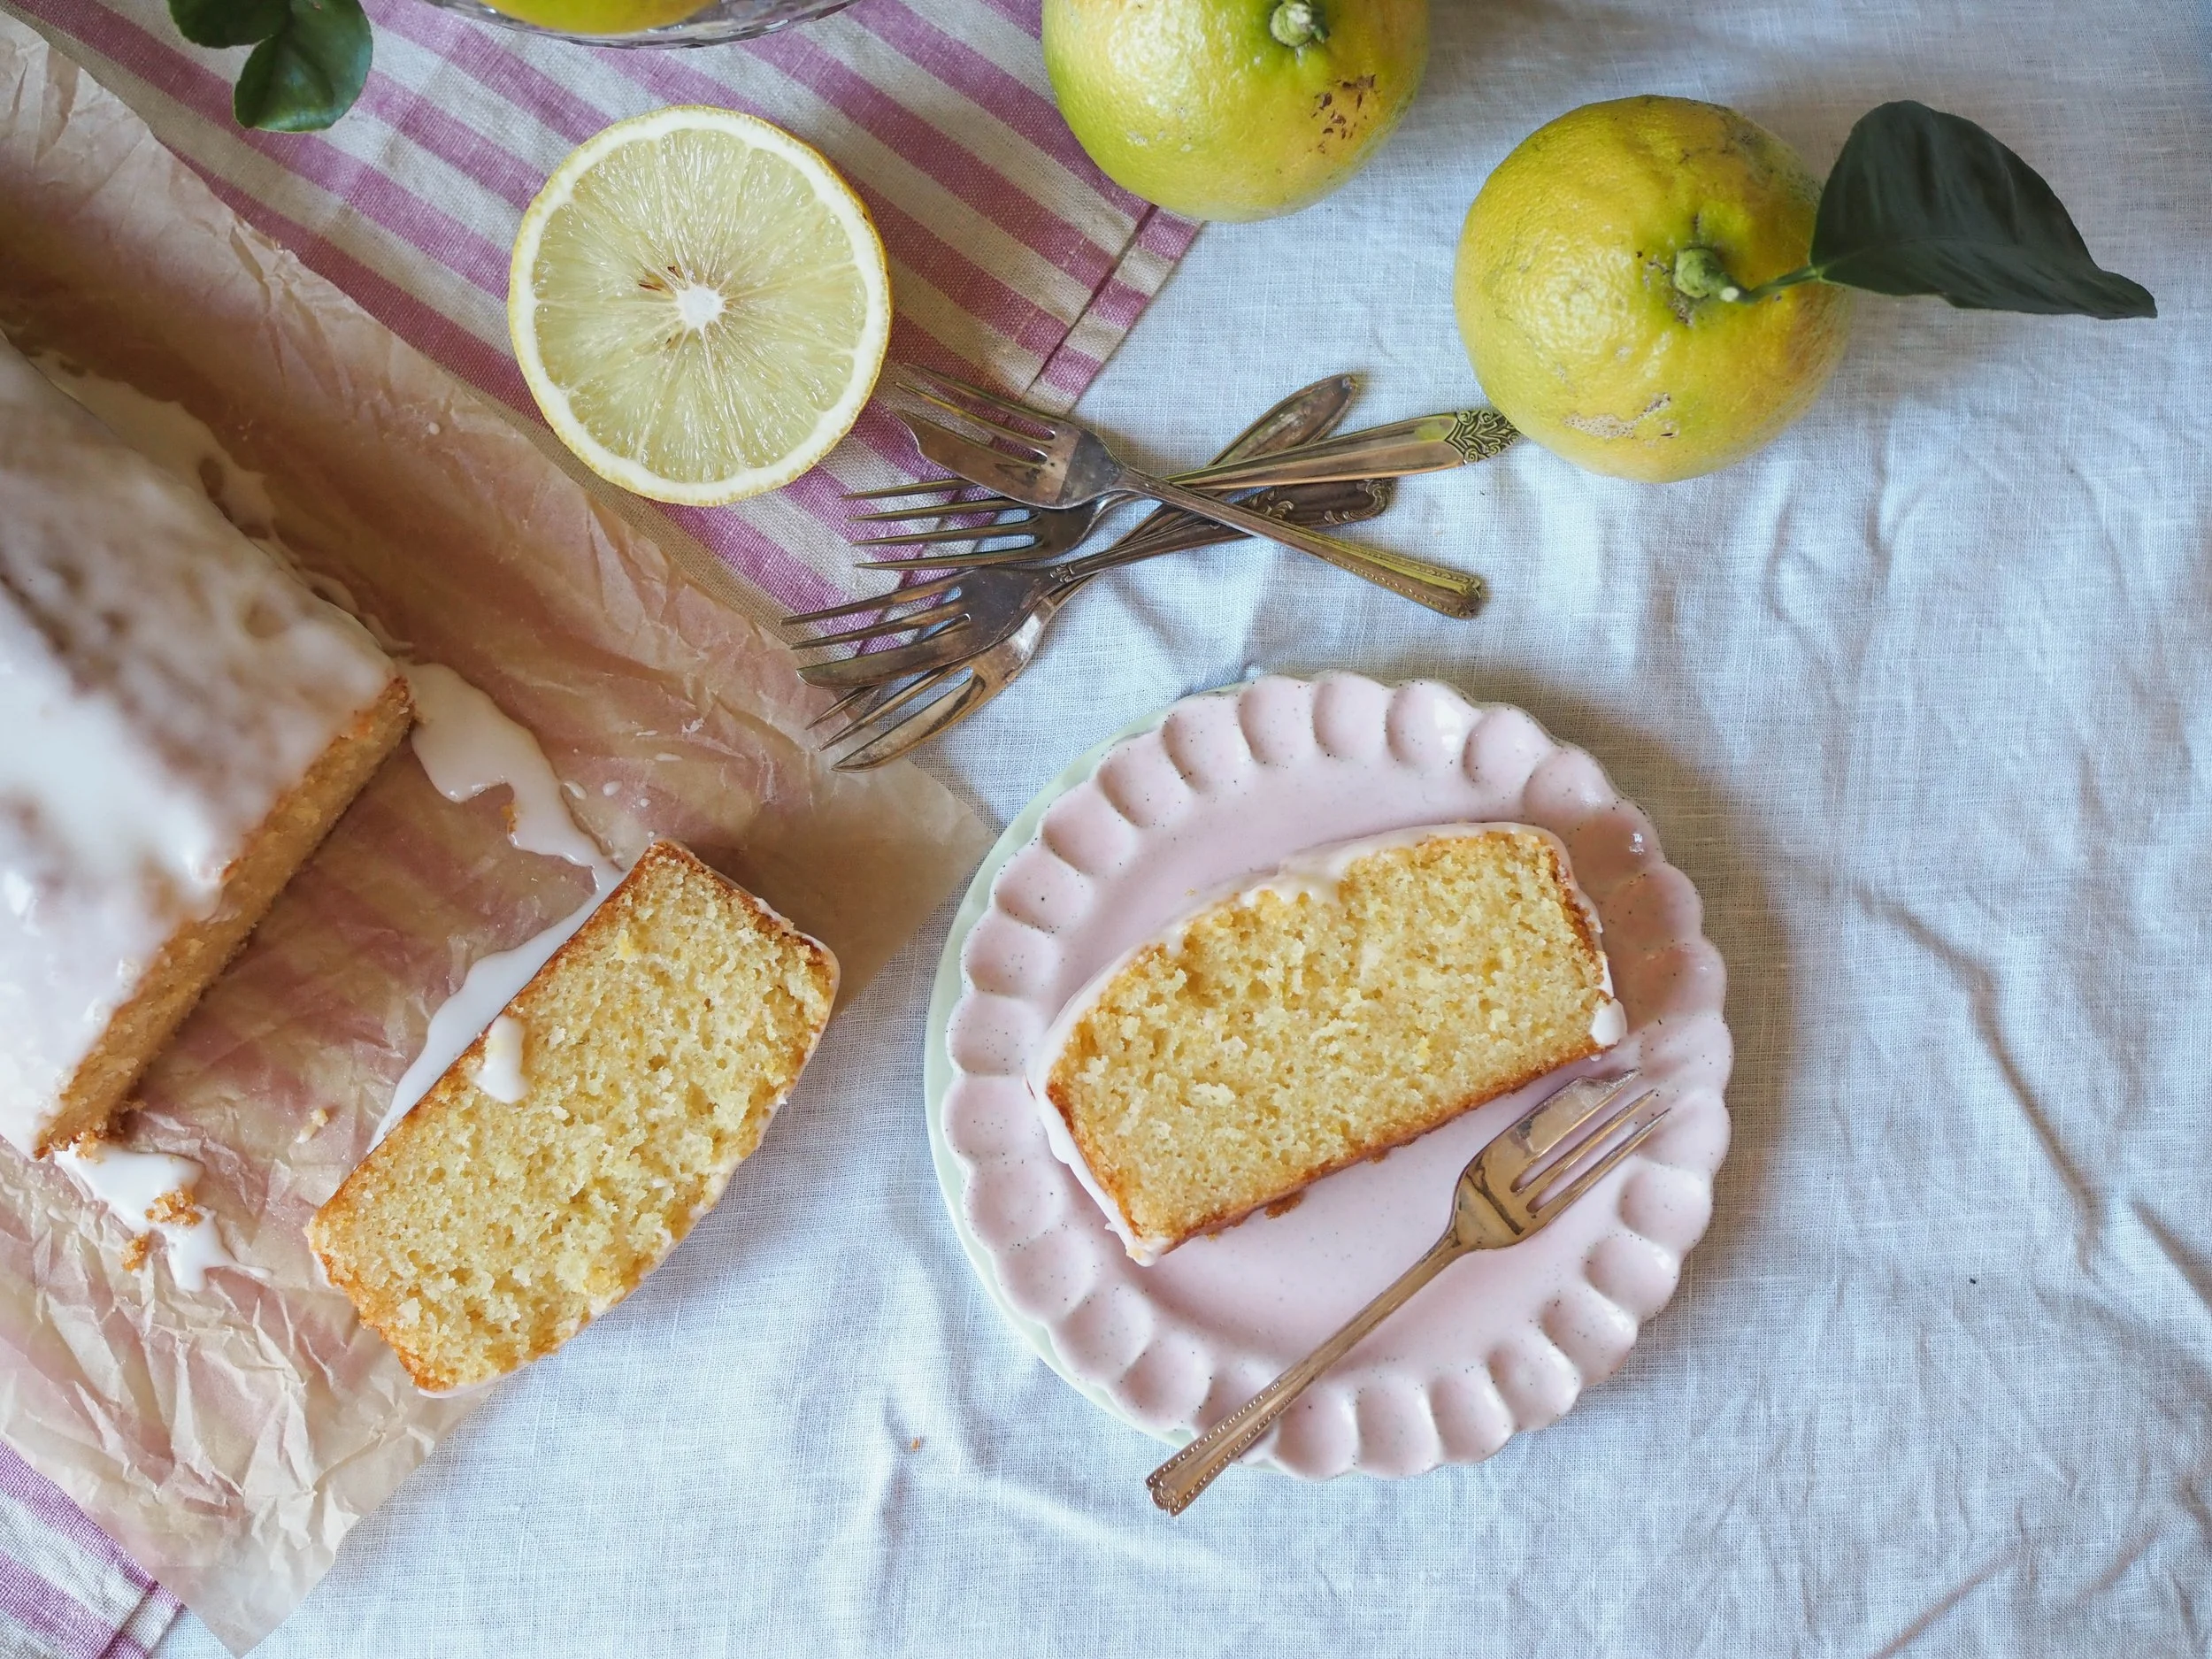
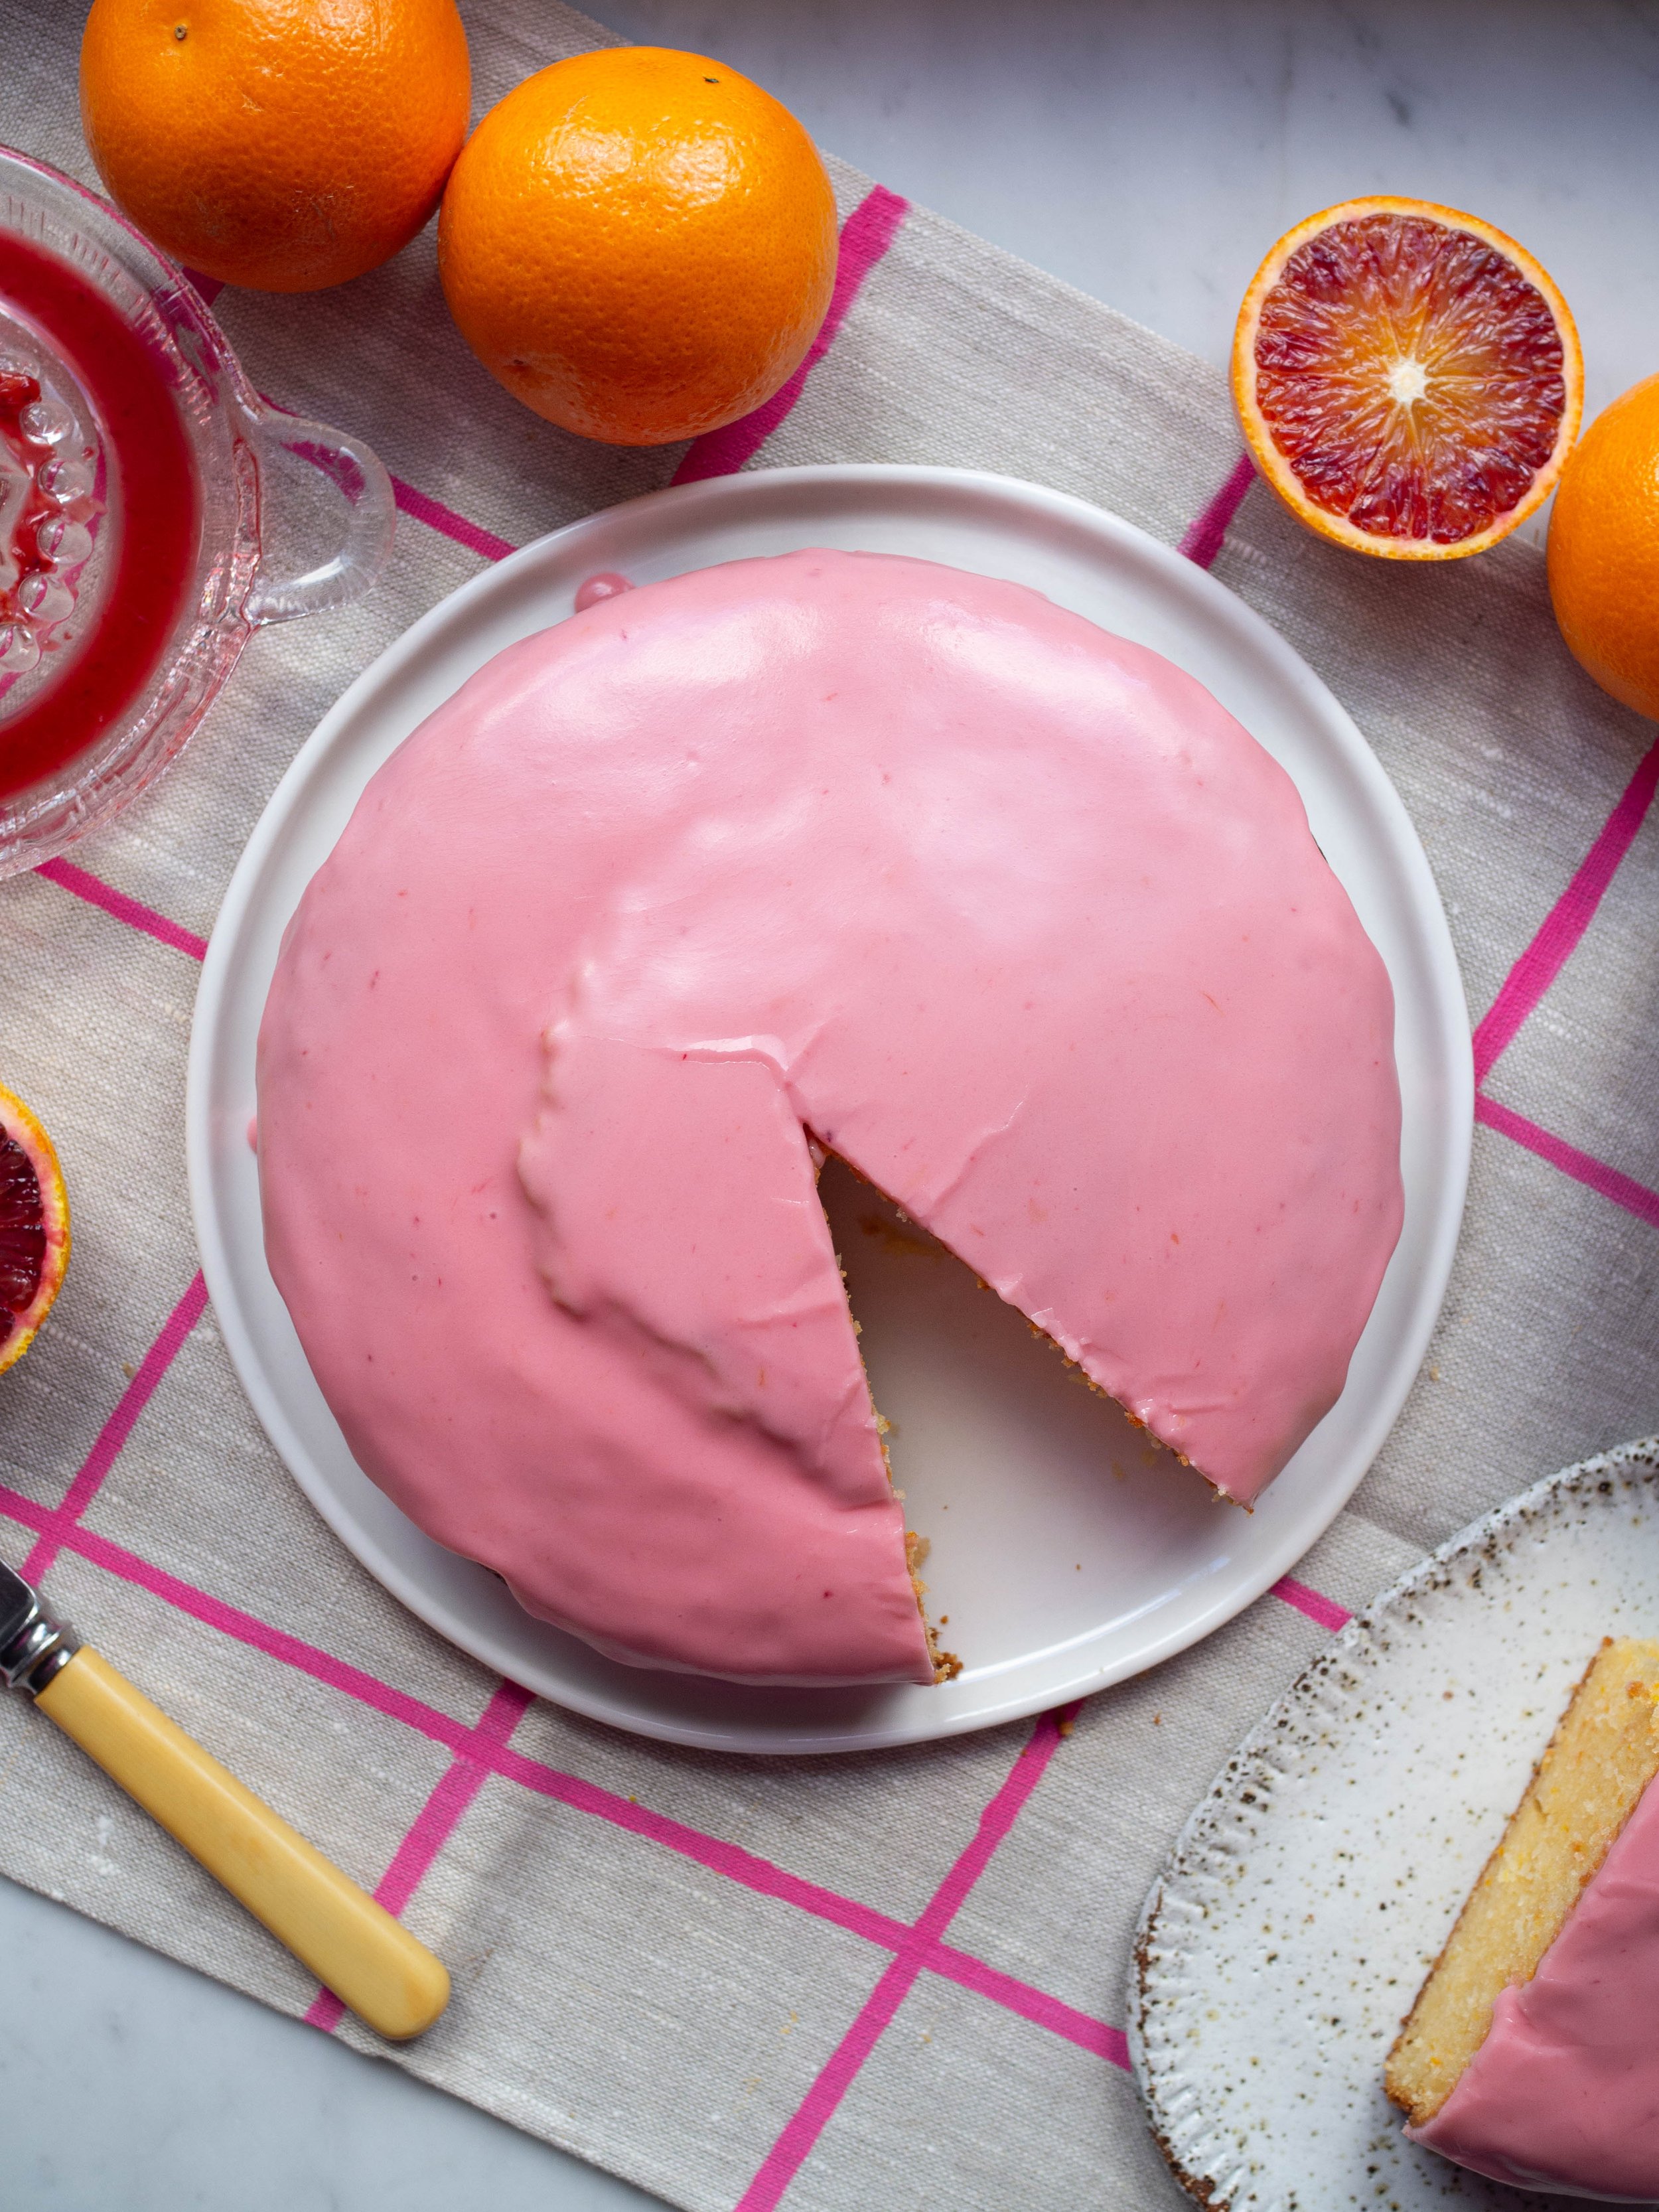
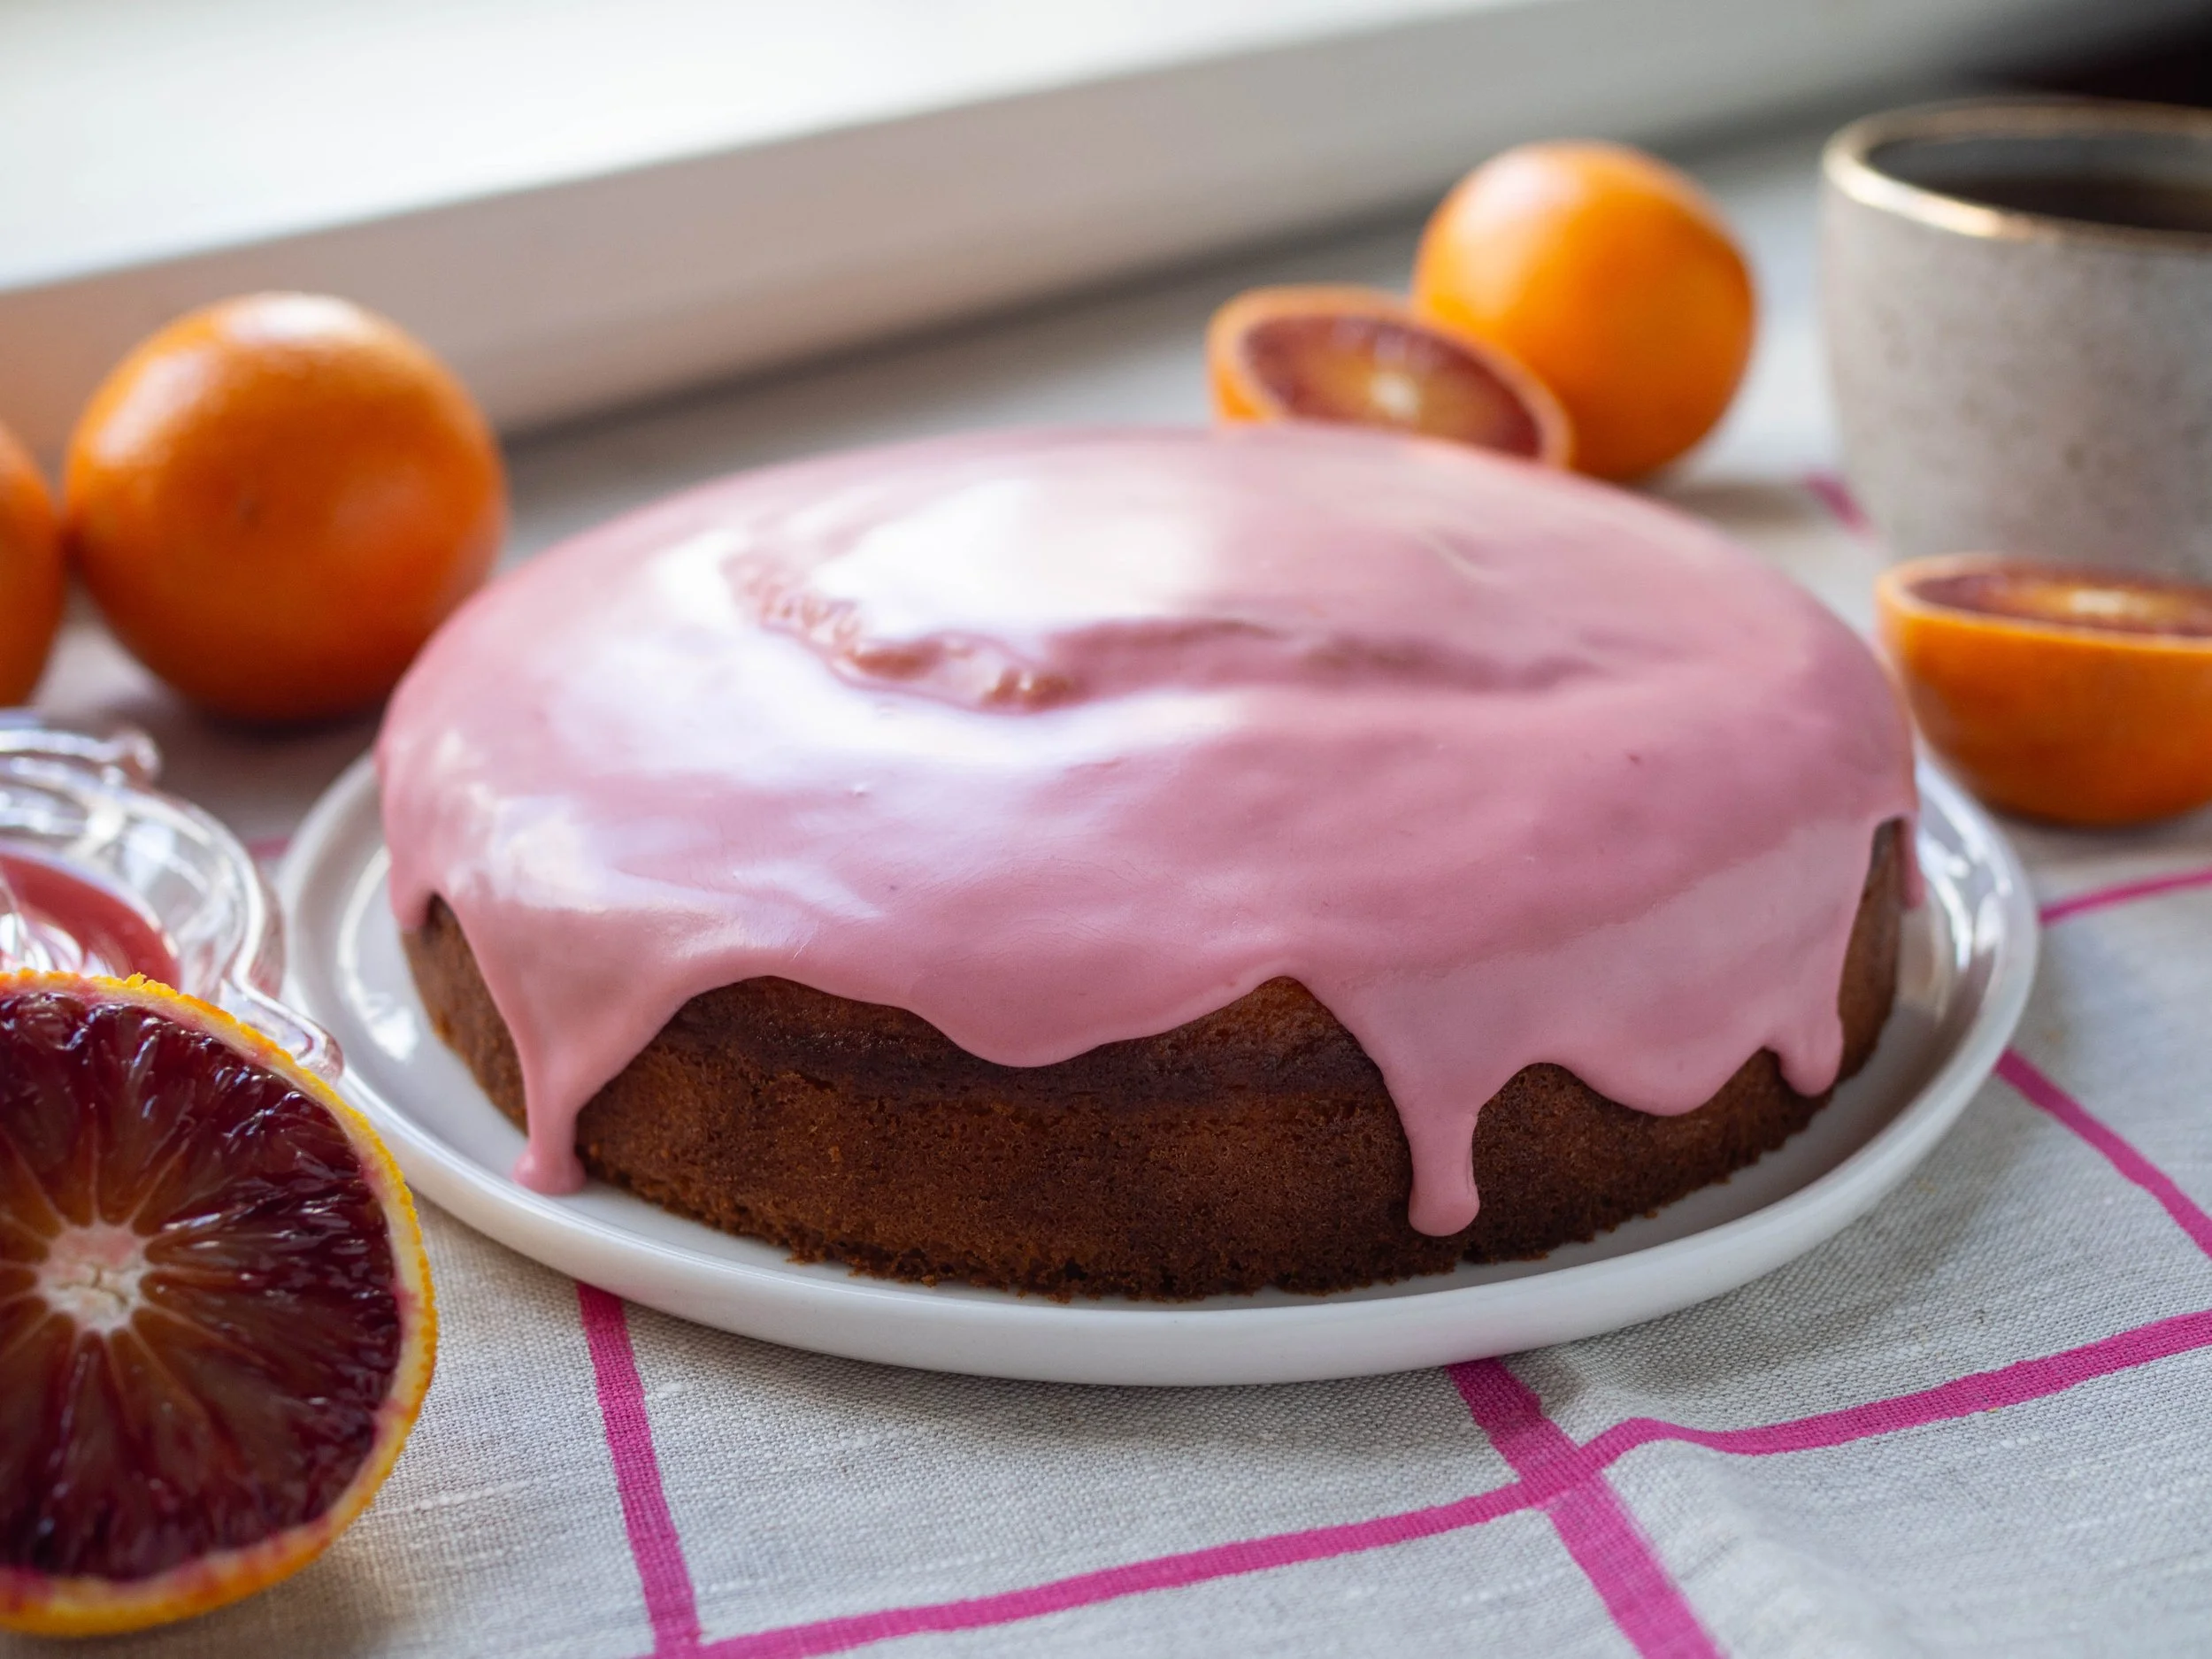
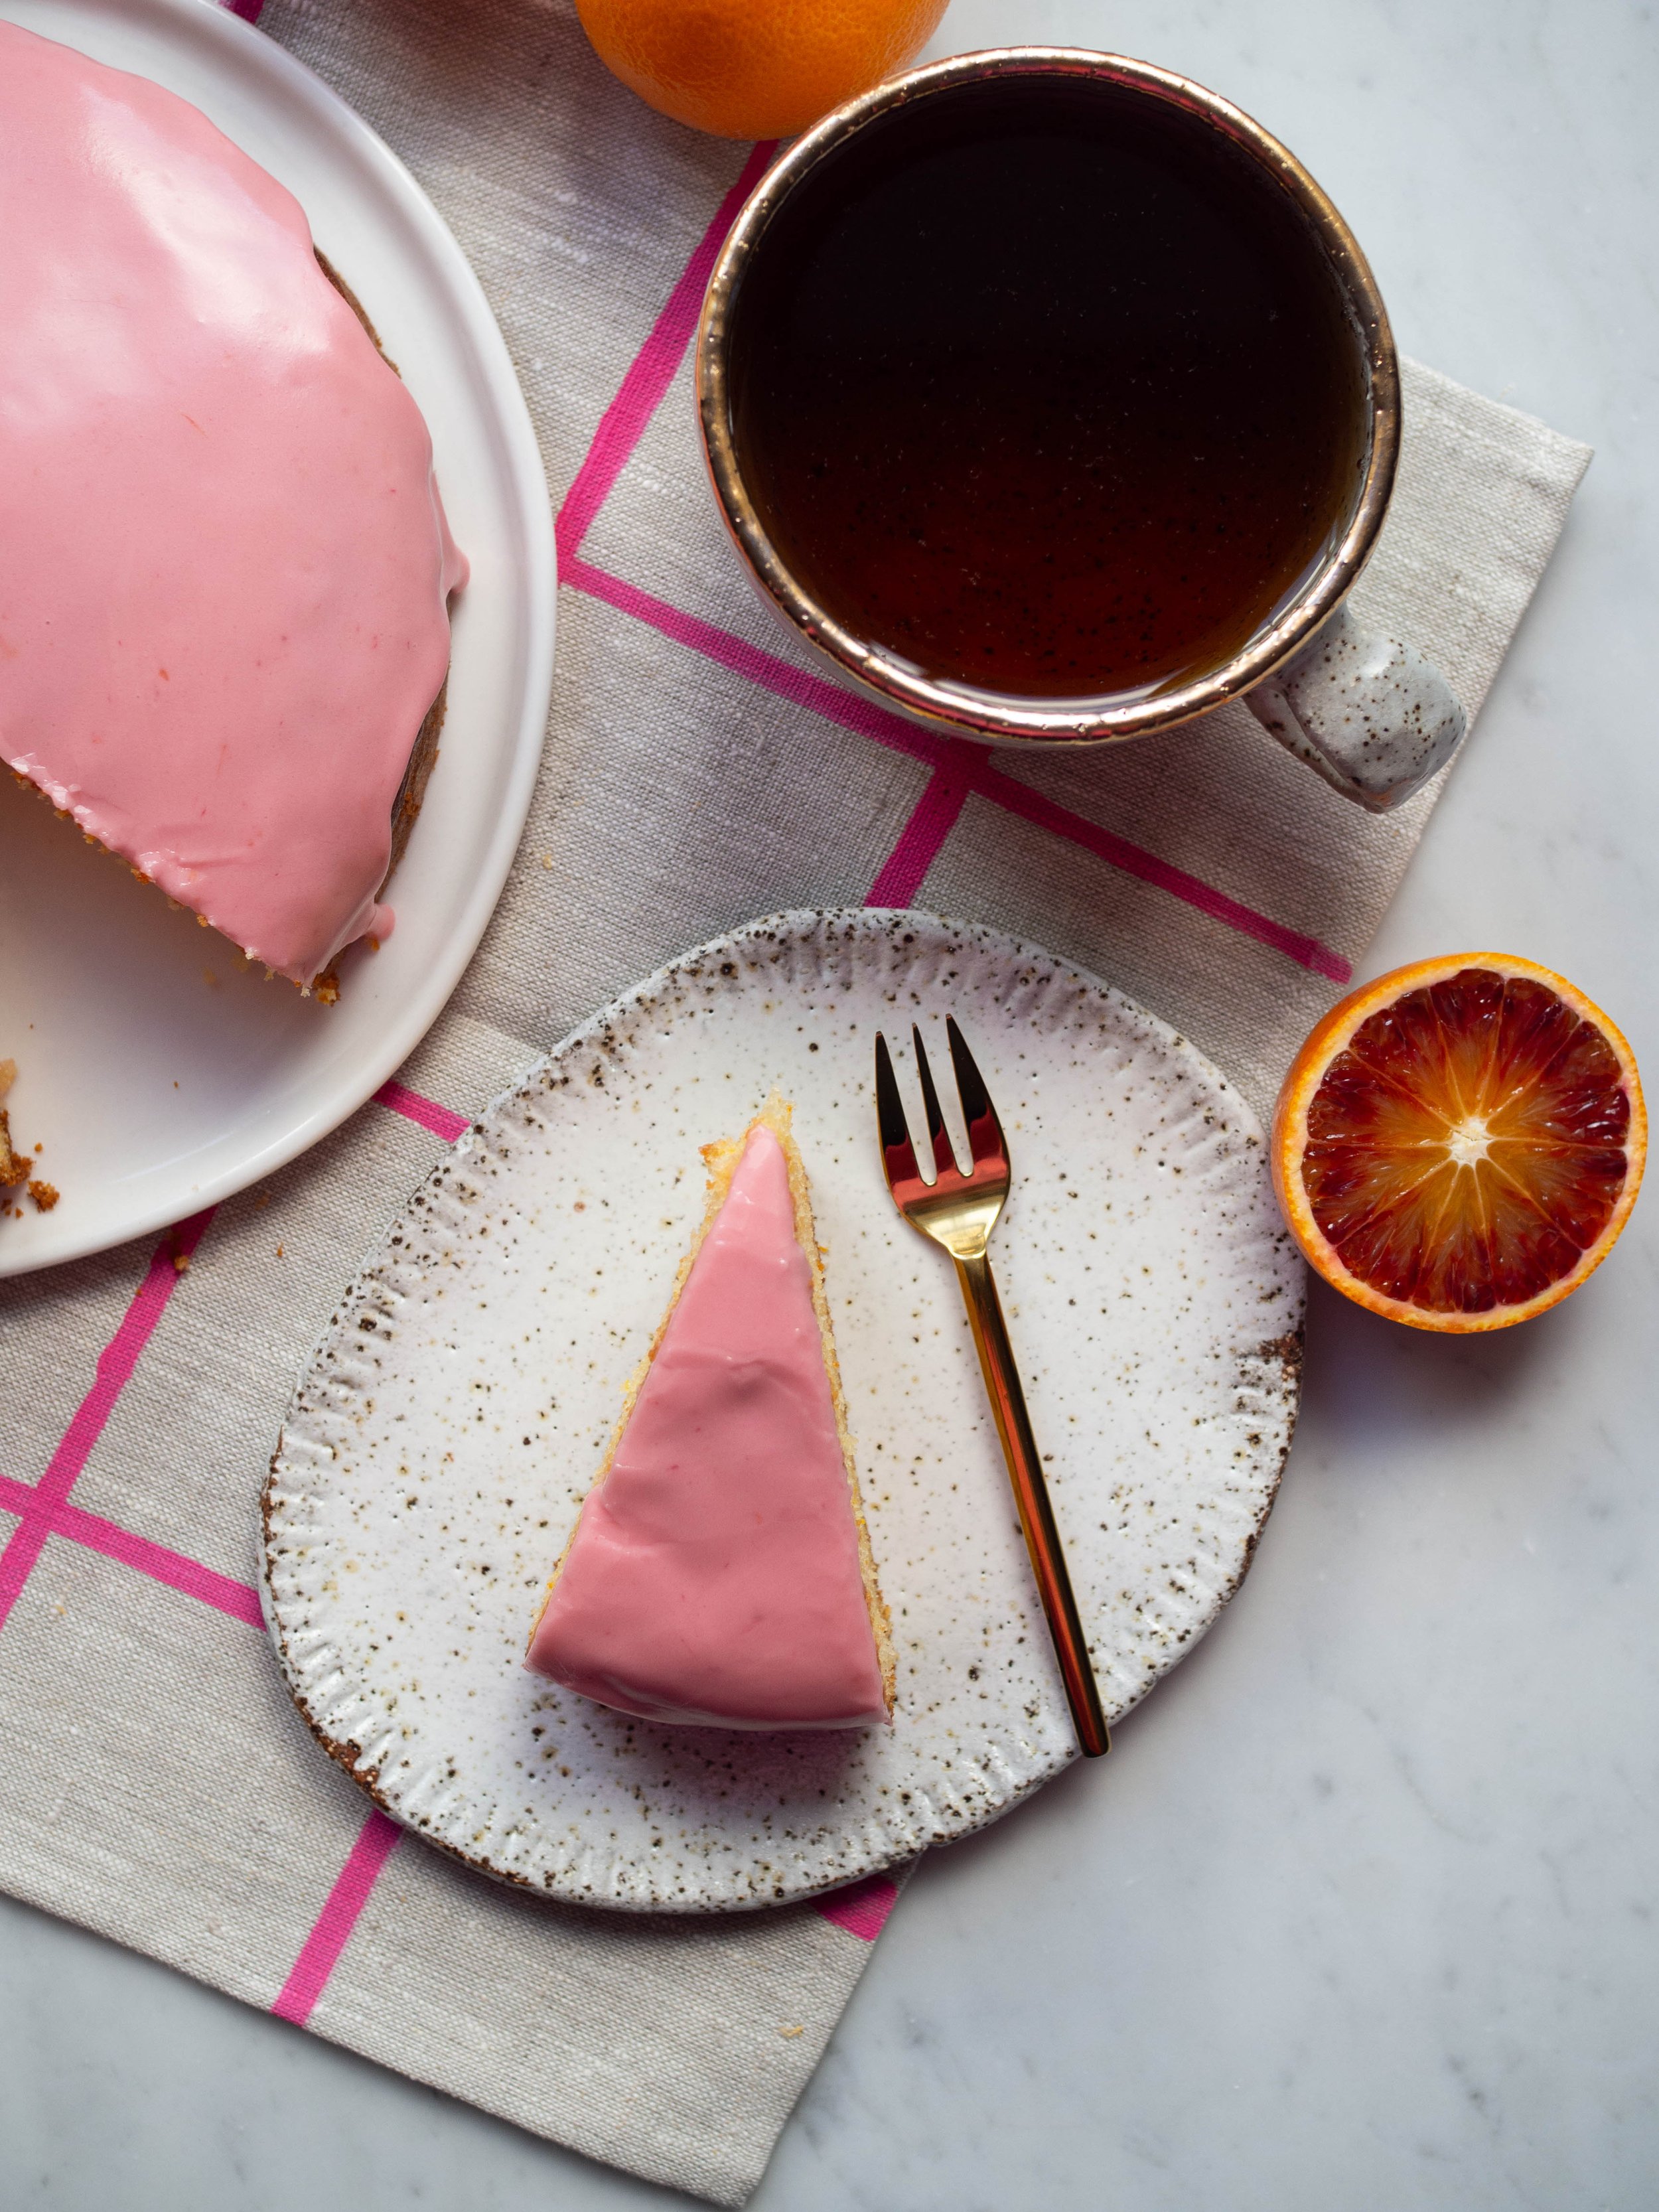
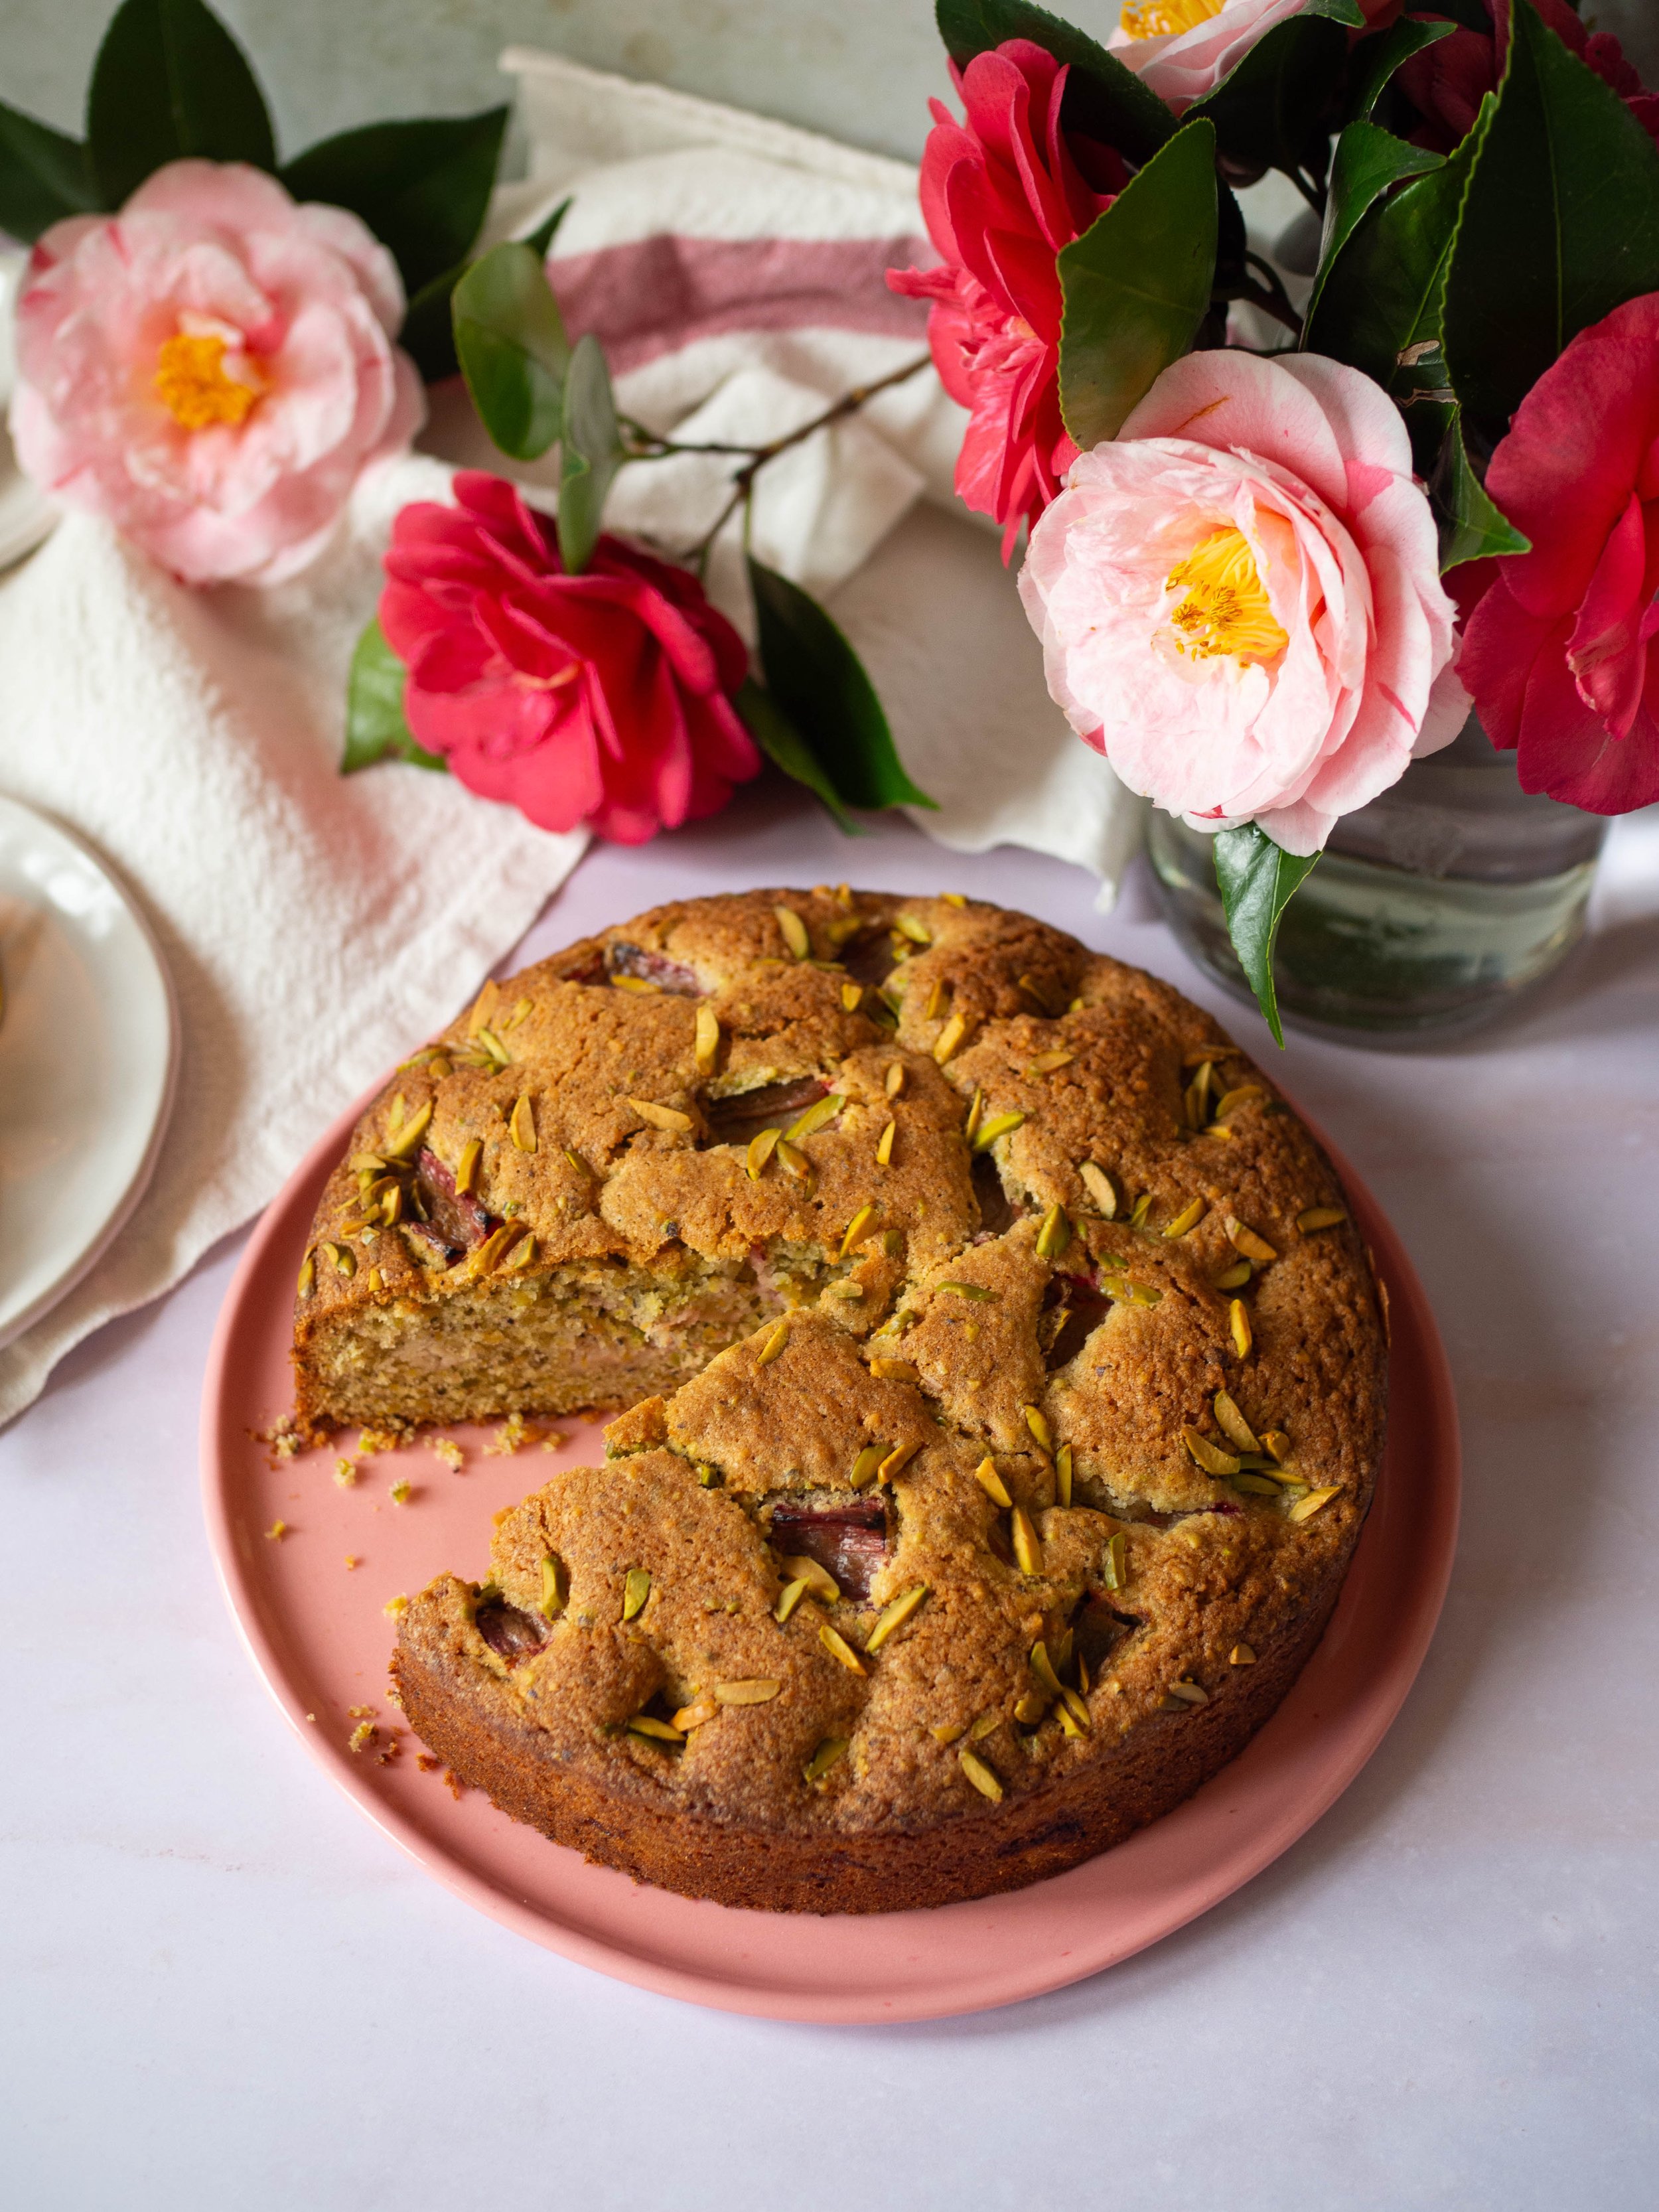
Fresh Bergamot
Easy Bergamot Loaf Cake

Bergamot Loaf Cake

Ingredients: 

175ml milk

fresh bergamot or lemon

175g plain flour

1/2 tsp baking powder

1/2 tsp bicarb soda (baking soda)

150g caster sugar

2 eggs

125ml canola/sunflower/vegetable oil

For the icing: 

125g icing mixture

1-1.5 tbsp fresh bergamot or lemon juice

Method: 

Preheat oven to 160 degrees Celsius, and line a loaf tin with baking paper. 

In a jug pour in the milk, then halve the bergamot and squeeze in about a teaspoon of juice. Mix together and set aside.

In a medium bowl whisk together the flour and baking powder, sift in the bicarb soda and whisk to combine. 

Then in a large mixing bowl, whisk together the soured milk, sugar, eggs and oil. Finely zest the bergamot halves and add that too, gently whisking to combine.

Add the flour mixture to the wet ingredients and gently whisk until the batter is smooth. 

Pour into the prepared tin and bake for 45-50 minutes or until the cake is golden in colour and a skewer inserted into the centre comes out clean.

Allow the cake to cool in its tin for a few minutes, before turning the cake out onto a wire rack to cool completely.

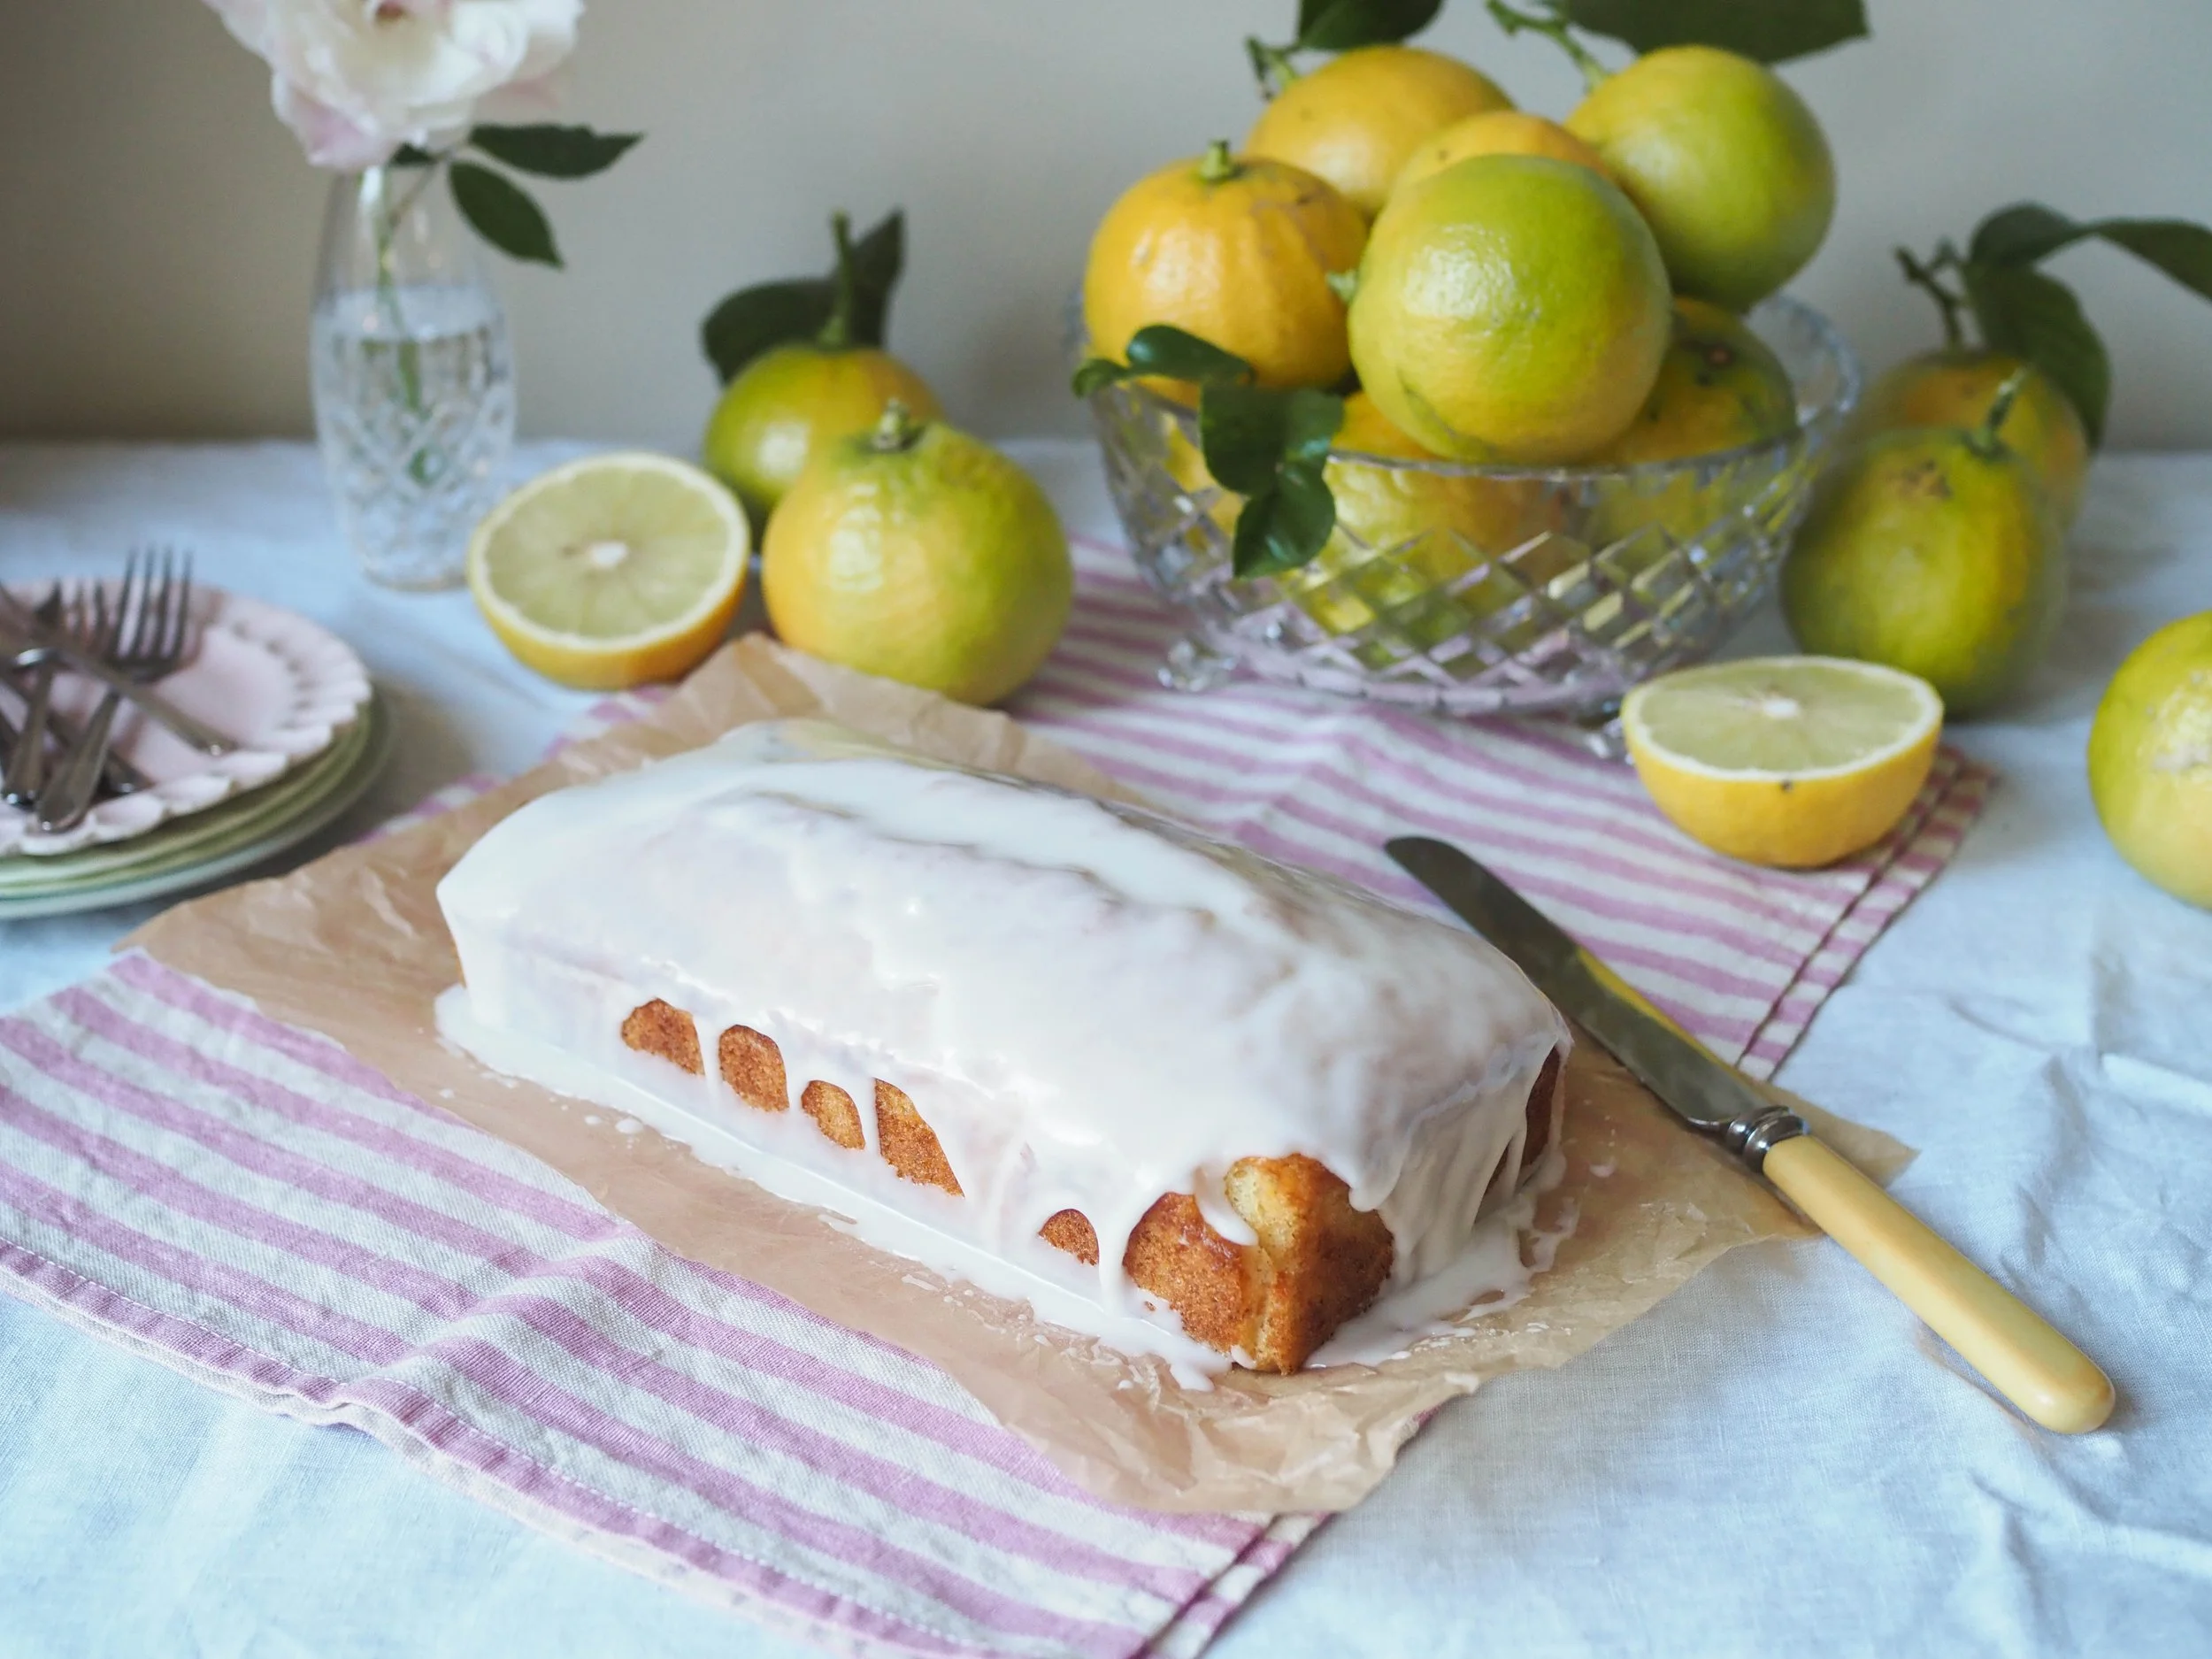
Once the cake has cooled make the icing. Start by juicing the remainder of the bergamot. Then combine the icing sugar and 1 tbsp of the fresh bergamot juice in a medium bowl. If more liquid is needed for the icing to make it smoother, gradually add a little more bergamot juice. The icing should be smooth, spreadable and a little thick - too runny and it won’t stay on the cake. 

Spread the icing over the cake allowing it to drizzle over the sides. If you can wait till the icing has set before cutting do, everything will be neater and cleaner when cutting, but honestly I rarely do this!

Any leftover bergamot juice can be frozen for future baking projects or anything you might have used lemon juice for (like salad dressings). 

Bergamot Cake
Easy Bergamot Cake
In Cakes & Slices Tags Bergamot, Loaf Cake, Mixer Free Recipes, Citrus, Easy Baking
Comment
Easy Christmas Spiced Cookies

Crunchy Christmas Spiced Biscuits

Kath December 17, 2024

These biscuits (or cookies) are inspired by the Crunchy Cinnamon Cookies I made over a year ago, but with a festive twist. 

I love gingerbread inspired biscuits and cakes, so these are a great addition to my Christmas biscuit repertoire. They are also a relatively quick biscuit to make, they don’t require too much time in the fridge, just enough so the dough firms up a bit. 

You can also freeze the dough if you’d like to make the recipe in stages - freeze either rolled into a log and roll the log in the spiced sugar mixture, or roll into balls as the recipe suggests but rather than baking you can freeze them at that stage (already rolled in the spiced sugar mix). Frozen biscuits will need about 2 minutes longer to cook, but check them as you go as that’s the best way to determine if they are ready. 

If you have leftover egg yolks after other Christmas baking, you can substitute the one egg in this recipe for two egg yolks to help use them up. 

I hope you have a very Merry Christmas, filled with lots of good food. 

Crunchy Spiced Christmas Cookies

Ingredients:

120g unsalted butter

125g caster sugar

100g dark brown sugar

2 tbsp treacle

1 tsp vanilla bean paste (or extract)

1 egg

290g self raising flour

1.5 tsp ground cinnamon

1.5 tsp mixed spice

1/2 tsp ground ginger

1/2 tsp ground cardamom 

1/4 tsp ground cloves

1/4 tsp ground nutmeg

2 tsp Demerara or raw sugar 


Method:

Preheat oven to 170 degrees Celsius and line three large baking trays with baking paper.

In a small saucepan melt the butter over low-medium heat. Once the butter has melted remove from the heat and allow to cool for a few minutes. Then whisk in the caster sugar, brown sugar, treacle, vanilla and the egg. 

In a large bowl whisk together the flour, 1/2 tsp ground cinnamon, 1/2 tsp mixed spice, and all of the ground ginger, cardamom, clove and nutmeg. 

Add the butter mixture to the flour and mix with a wooden spoon until combined.

Cover and chill in fridge for at least 20 mins (however you could do overnight).

In a small bowl mix together the remaining 1 tsp cinnamon, 1 tsp mixed spice and the Demerara sugar.

Roll heaped teaspoonfuls of the dough into balls and roll into your spiced sugar mix. Place on the prepared trays - the biscuits will spread as they bake so leave enough room in between. 

Bake for 12-15 minutes or until golden brown. The biscuits will spread and flatten out as they good, and have a slightly crinkled look on the tops. Rotate the trays in the oven about halfway through to ensure the biscuits cook evenly.  

Allow to cool on their trays, then store in an airtight container. 

Makes about 34-36 biscuits.

Crunchy Christmas Spiced Cookies
In Biscuits/Cookies, Holidays Tags Christmas, Biscuits/Cookies, Gingerbread Spice, Crunchy Spiced Cookies, Easy Baking, Mixer Free Recipes
Comment

Crunchy Cinnamon Biscuits

Kath October 19, 2023

Just when I think I couldn’t possibly come up with any new biscuit ideas, a new idea floats my way.

A few weeks ago I was making some biscuits for my mum, and while I added vanilla to the biscuits they were otherwise a little plain (as can happen when catering to dietary requirements). I had frozen half the dough, so the next time I baked them I decided to try and make them a little more interesting. Since the dough was already rolled into balls ready for baking, I couldn’t add anything more to the actual biscuit dough. But I could roll the dough balls in something to make them more tasty. I decided on a mixture of cinnamon and sugar, which worked a treat. Even though the dough was still frozen, the cinnamon stuck to the outsides, and once baked, proved more flavoursome than the first batch.

I decided I needed to recreate these biscuits, but in a non-dietary requirement friendly way (I had used low fodmap flour the first time, which I think made the biscuits a little flat). So I returned to my trusty basic biscuit recipe, and spiced them up a little!

The result was a very tasty, crunchy and cinnamon crackled biscuit that I can now add to my ever growing list of ‘things I can bake with not much time, energy or even ingredients’.

For a festive version of this recipe, check out my Crunchy Christmas Spiced Cookies here.

Crunchy Cinnamon Biscuits

Ingredients:

120g unsalted butter, melted

125g + 1 tsp caster sugar

100g brown sugar

2 tbsp golden syrup

1 tsp vanilla extract

1 egg, beaten

290g self raising flour

2 tsp ground cinnamon

1/2 tsp ground ginger

1/2 tsp ground cardamom

Method:

Preheat oven to 170 degrees Celsius and line three large baking trays with baking paper.

In a small saucepan melt the butter over low-medium heat. Once the butter has melted remove from the heat and mix in the 125g caster sugar, brown sugar, golden syrup, vanilla and the egg.

In a large bowl whisk together the flour, 1 tsp ground cinnamon and all of the ground ginger and cardamom.

Add the butter mixture to the flour and mix with a wooden spoon until combined.

Cover and chill in fridge for at least 20 mins.

In a small bowl mix together the remaining 1 tsp each of caster sugar and cinnamon.

Roll heaped teaspoonfuls of the dough into balls and roll into your cinnamon sugar mix. Place on the prepared trays - the biscuits will spread as they bake so leave enough room in between. 

Bake for 12-15 minutes or until golden brown. Rotate the trays in the oven about halfway through to ensure the biscuits cook evenly. 

Allow to cool on their trays, then store in an airtight container. 

Makes about 36 biscuits.

In Biscuits/Cookies Tags Biscuits/Cookies, Cinnamon, Easy Baking, Mixer Free Recipes
2 Comments

Ginger Oat and Raisin Slice

Kath September 28, 2023

This recipe is loosely based on the Ma Lyn’s Fruit Slice in Amy Minichello’s cookbook Recipes in the Mail (p.71), which in turn comes from Christine O’Neill (and Ma Lyn of course!). 

When I was making the slice for the afternoon tea Amy and I hosted in August, the recipe really reminded me of how ANZAC Biscuits are made. The recipe refers to the slice base as a cake, but it really reminded me more of a biscuit. 

I enjoyed the slice so much, that the following weekend I made it again, and used Singing Magpie Produce’s Quince Syrup in place of the golden syrup, which added a lovely flavour and gave the slice a slighter deeper golden colour. When I was making the slice, the thought suddenly occurred to me, what would this slice be like if I added oats and ginger?

Something about the recipe’s similarities to ANZAC Biscuits, and me having not long used crystallised ginger in another recipe (I made these biscuits here but with crystallised ginger not stem), had my brain thinking up adaptations to Ma Lyn’s Fruit Slice and creating something new. 

I admit I sometimes do find it hard not to think about changes I can make to a recipe, or how a recipe could influence the creation of a new one. It’s not that the original recipe actually needs any changes, it is really really good as it is. However, recipe development and adapting recipes to work out how they could accommodate different flavours and ingredients just comes naturally to me. Recipe ideas come always come from somewhere, and sometimes one perfect recipe can bring many others to life. 

I took some of this slice to my work and one colleague said it reminded them of something their mum used to make, which was lovely to hear that a newly created recipe had some nostalgic value to someone else. Which ties back nicely to Amy’s cookbook and the nostalgia that I believe is what keeps all of us making and enjoying family recipes like those shared with Amy, that have in turn been shared in her book Recipes in the Mail. 

Oat Raisin and Ginger Slice

Ingredients: 

50g rolled oats (not instant oats)

80g golden raisins, chopped 

45g desiccated coconut

155g self raising flour

105g caster sugar

80g crystallised ginger, chopped

1 tsp ground ginger

125g unsalted butter

2 tbsp golden syrup

1 tsp vanilla extract

Method: 

Preheat oven to 160 degrees Celsius, and line a 30 x 20cm slice tin with baking paper, ensuring some hangs over the sides so you can easily get the slice out of the tin later.

In a large bowl, mix the oats, golden raisins, coconut, self-raising flour, sugar, crystallised ginger and ground ginger with a wooden spoon. 

In a small saucepan melt the butter and the golden syrup over low/medium heat until the butter has just melted. 

Add the butter mixture, and the vanilla extract to the dry ingredients and mix together until combined with the wooden spoon you used earlier. 

Tip the mixture into the prepared tin, and press it out so it reaches the edges of the tin and has a relatively smooth top. You can use your wooden spoon for this or a spatula.

Bake for 25-30 minutes, or until the slice is nicely golden brown. 

Allow the slice to cool in the tin for about 15-20 minutes, then using the overhanging baking paper, gently transfer the slice to a cooling rack to cool completely. 

Once the slice has cooled completely, you can cut it into however many portions you would like, or you could just cut of bits as you want to eat it.

Makes about 12-15 portions, store in a airtight container. Will keep for 4-6 days. 

In Cakes & Slices Tags Slices, Ginger, Mixer Free Recipes, Easy Baking, Recipes in the Mail, Amy Minichiello
2 Comments

Blood Orange Yoghurt Cake

Kath September 7, 2023

I rarely make cakes that I cannot eat. Where’s the fun in baking something that I cannot enjoy? 

But sometimes ingredients need to be used up, and cakes need to be made. In this case we had blood oranges and yoghurt that needed using so this Blood Orange Yoghurt Cake was the perfect solution. 

I really like blood oranges, however they do not like me. Anything vaguely orange citrus wise triggers migraine attacks for me (as does many other things), so I have had to give them up. I still so enjoy the surprise of what the blood orange will look like inside when first cut, and the fact that the juice will make the best naturally pink icing. 

So if unlike me, you can enjoy blood oranges please make this very easy cake and enjoy it in my stead!

Blood Orange Yoghurt Cake

Ingredients: 

175g Greek Style Yoghurt

150g caster sugar

2 eggs

125ml canola/sunflower/vegetable oil

finely grated zest of one blood orange

175g self-raising flour

cooking spray

Ingredients for the Icing:

125g icing mixture*

1-2 tbsp fresh blood orange juice

Method:

Preheat oven to 160 degrees Celsius (fan), and grease and line a 20cm round springform cake tin. 

In a large bowl whisk together the yoghurt, sugar, eggs, oil and blood orange zest until combined. 

Add the self-raising flour and whisk until combined, and there are no lumps. 

Pour into the prepared cake tin, and bake for about 45 minutes. The cake will be golden in colour when its ready, and a skewer will come out clean. If the cake looks like its peaking too much (this will depend on your oven), you can turn the temperature down by 5-10 degrees Celsius. 

Allow the cake to cool in its tin for a few minutes, before removing from the in and leaving to cool completely on a wire rack.

Once the cake has cooled, make the icing by combining the icing mixture and 1 tbsp of the blood orange juice in a medium bowl. Add a little more juice, a teaspoon at a time until you have a smooth thick icing. Don’t make the icing too thin or it will run off the cake, if it looks too thin you can add more icing mixture a little at a time to rectify. 

Spread the icing over the cake, allowing it to fall over the sides a bit. 

Serves 8-10, will keep for a few days in an airtight container. 

*you can use pure icing sugar instead it will just need to be sifted first.

In Cakes & Slices Tags Blood Orange, cake, Mixer Free Recipes, Easy Baking
Comment

Pistachio and Rhubarb Cake

Kath August 17, 2023

To me, this is a very satisfying cake to make. The most complex part is blitzing the pistachios to form a crumb. You can use a stand mixer for this recipe, however if your butter is very much at room temperature (or you are using an alternative like margarine, which is the perfect consistency straight from the fridge), you could just use a wooden spoon to mix it all together in a large mixing bowl. 

The flavours are also exactly what I want to eat. Obviously I always want to eat cake that contains pistachio, and rhubarb adds a lovely sweet yet tart element to the whole thing that feels just right. 

The inspiration for this cake came from the many times I have been looking at Tilly Pamment’s new book ‘The Plain Cake Appreciation Society’ of late, and my eye constantly being drawn to the recipes that used pistachio and those that used rhubarb. Tilly’s book uses a lot of flavours that I love to bake with and eat, and it gave me an idea to create a simple cake with some things I already had ingredient wise. 

I basically always have pistachios of some kind on hand, and we have had some rhubarb in the freezer for a few months now that is crying out to be used. The pistachios add a really nice green colour to the cake, and also a great texture too. And as much as I love a cake with icing, I also really like that this cake doesn’t need one. The slightly chewy texture the pistachios give the outer of the cake is perfect the way it is. It also means a slice of cake can be enjoyed a little sooner, which is a win in my books. 

Pistachio and Rhubarb Cake

Ingredients: 

175g unsalted butter, softened

175g caster sugar

1 tsp vanilla extract

2 eggs

125g raw pistachios

175g self raising flour

150g rhubarb, cut into 2cm pieces

1 tbsp slivered or roughly chopped pistachios 

Method: 

Pre-heat oven to 160 degrees Celsius and grease and line a 20cm round springform or loose bottomed cake tin.

Using a food processor, grind the pistachios into a fine crumb/meal (the same consistency as almond meal). Don’t over process or you may end up with pistachio nut butter, rather than pistachio meal. 

In the bowl of a stand mixer add the butter, sugar and vanilla. Beat using the paddle attachment until light and fluffy. Add the eggs separately, beating well after each. 

In a separate bowl whisk together the flour and blitzed pistachios, then add to the batter and gently mix until just combined.

Transfer the cake batter into the tin and smooth the top. Push the rhubarb into the top of the cake a little, evenly covering the cake in the rhubarb pieces. Scatter the slivered pistachios over the top of the cake.

Bake for about an hour, or until the cake is springy to the touch and a skewer comes out clean when inserted into the cake. 

Leave the cake to cool before removing from the tin. 

Serves 8, stores well in an airtight container for 3-4 days.

In Cakes & Slices Tags Pistachio, Rhubarb, Tilly Pamment, The Plain Cake Appreciation Society, Cake, Mixer Free Recipes, Easy Baking
Comment
  • The Blog
  • Older
  • Newer

recipes

  • Biscuits/Cookies 39
  • Breads Etc. 9
  • Breakfast 7
  • Cakes & Slices 68
  • Confectionary 5
  • Drinks 6
  • Events 14
  • Food Photography Tips 3
  • From The Mailing List 24
  • Heirloom Recipes 12
  • Holidays 44
  • Ice Cream 9
  • Jams Preserves & Spreads 9
  • Muffins 4
  • Off the Shelf 48
  • Other Desserts 25
  • Savoury Dishes/Meals 15
  • Scones 4
  • Tarts & Pastry 9
  • Travel 13

Sign up to Friday Food Chat with Kath, a weekly newsletter for more food, baking, cookbook chat and more!

Sign Up Here!
instagram-unauth pinterest facebook url

Website Accessibility: To enable text to speech function on the blog, click the sound button to the right of each blog post.

All images & content are the property of Kathryn Vincent, unless stated otherwise. Please do not use without permission.

Kulinary Adventures of Kath

Food Photography, Recipes & Baking

instagram-unauth pinterest facebook url