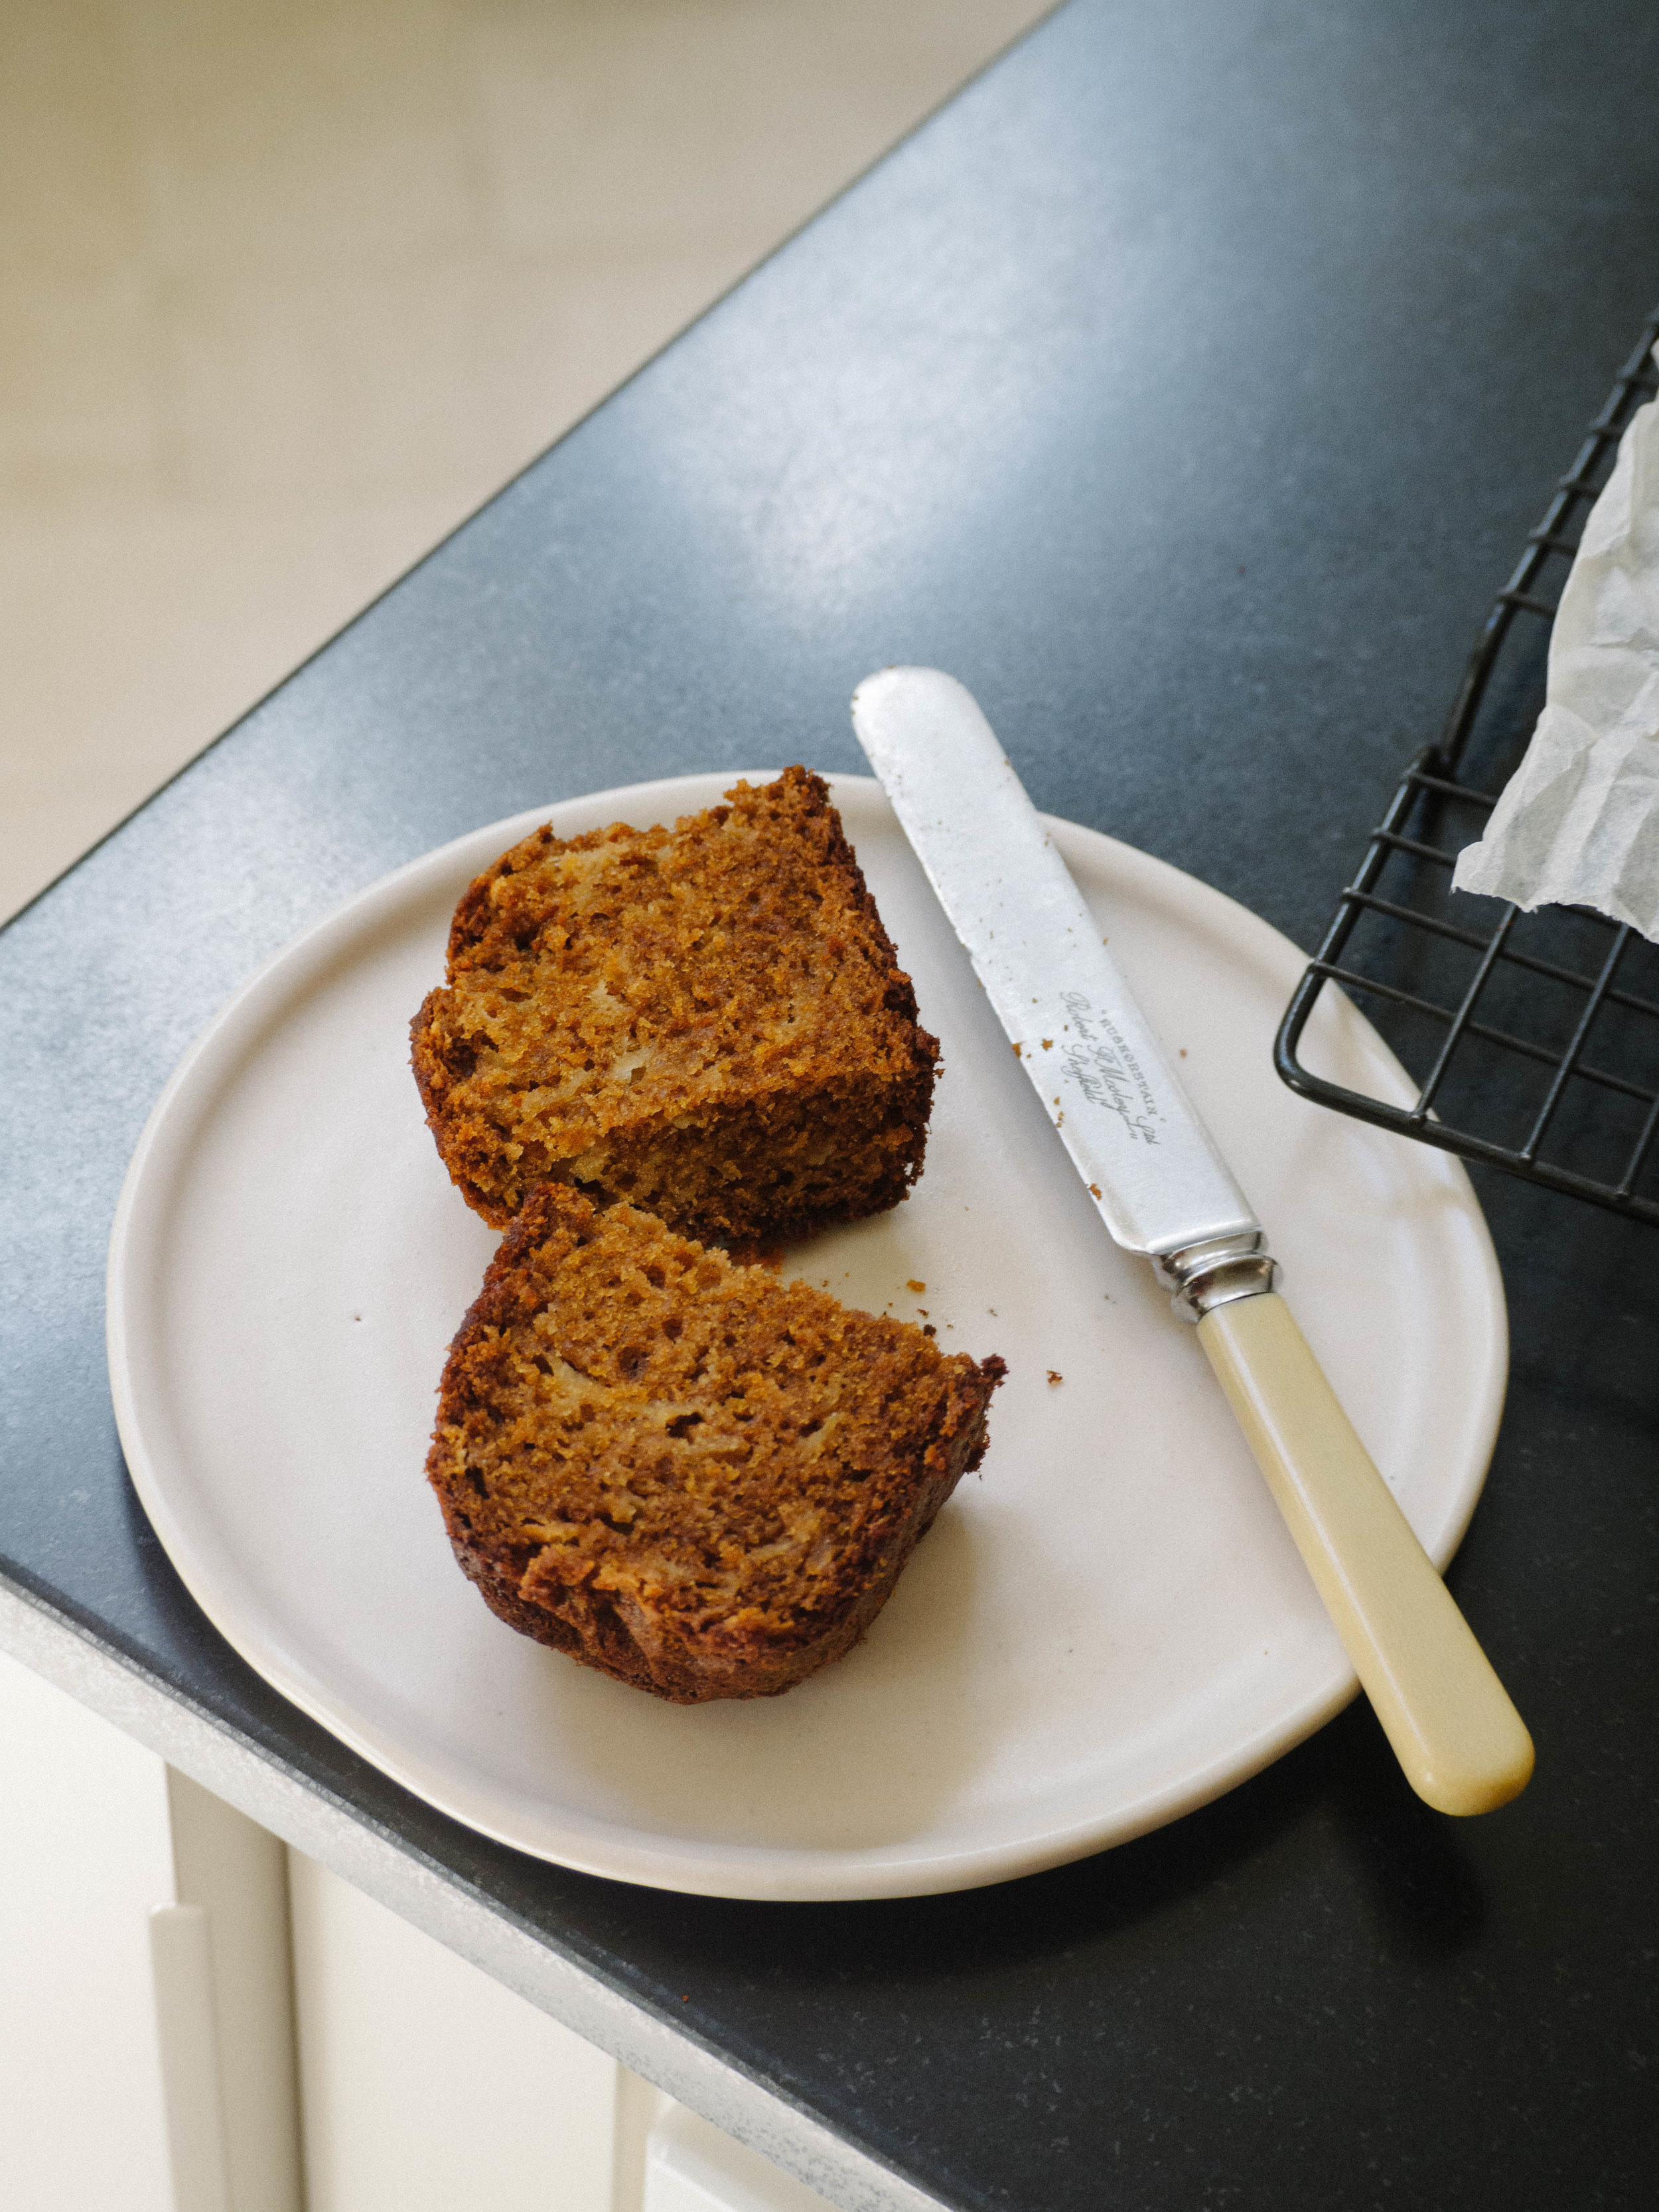
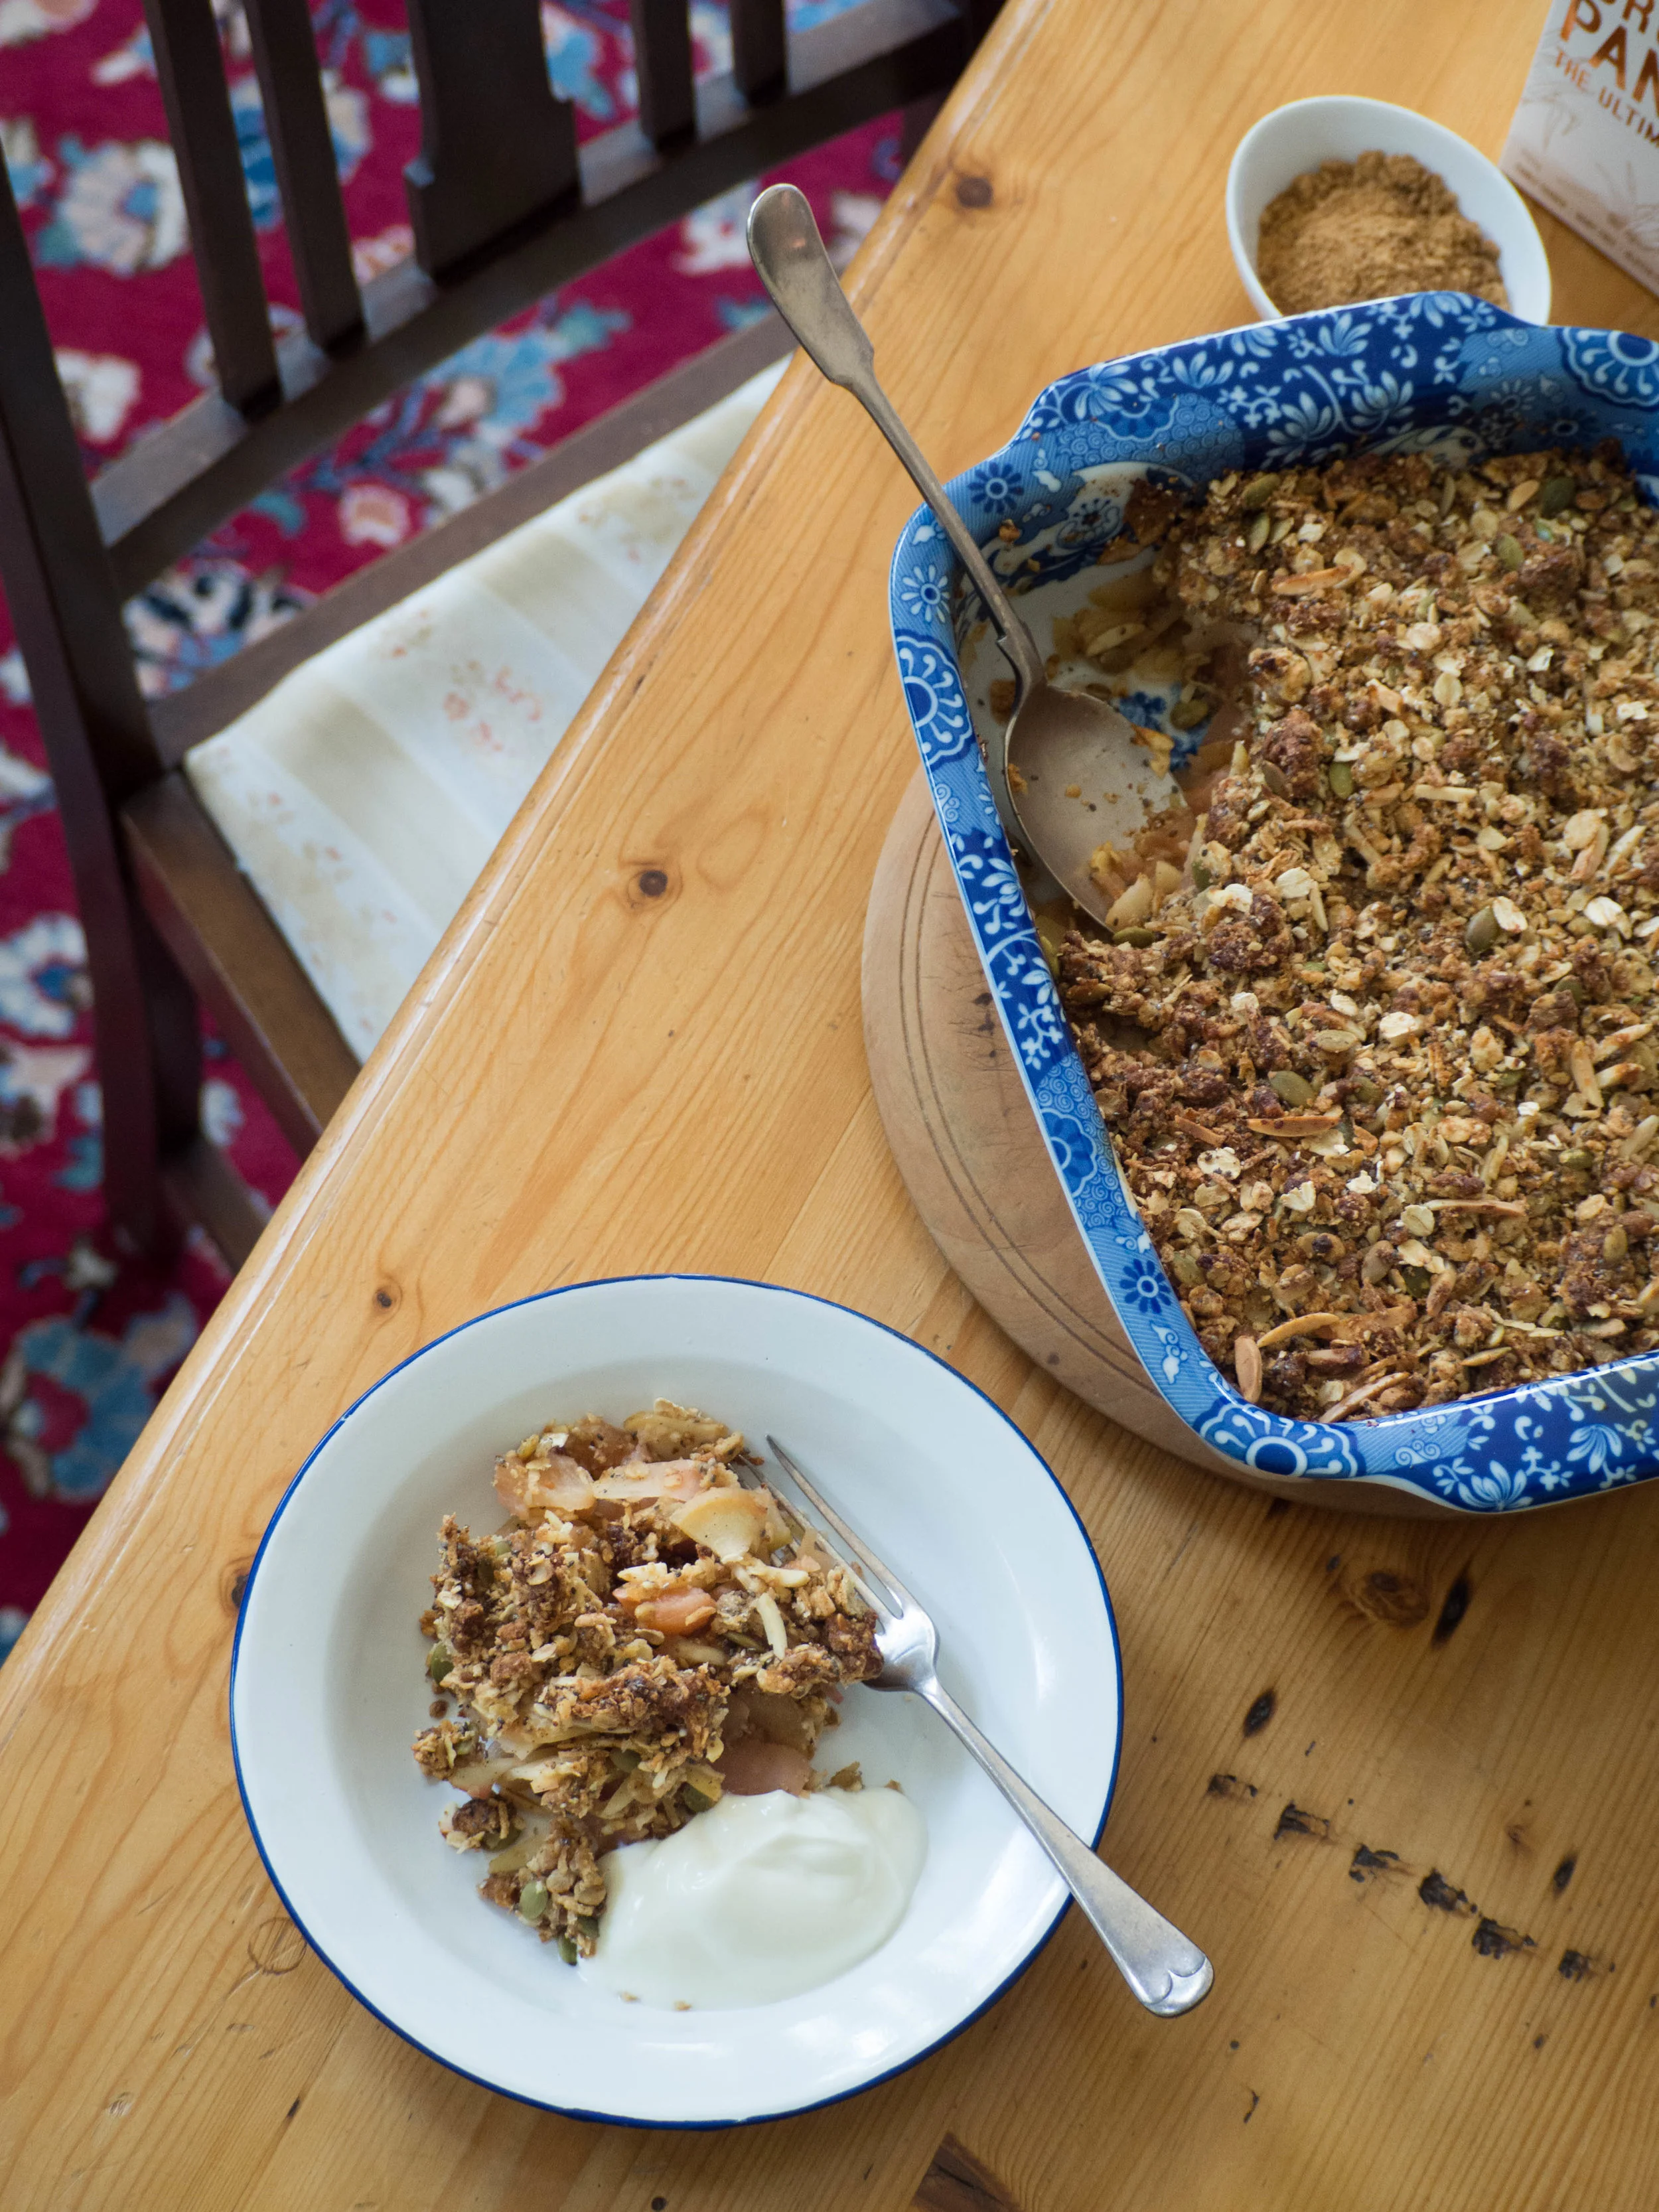
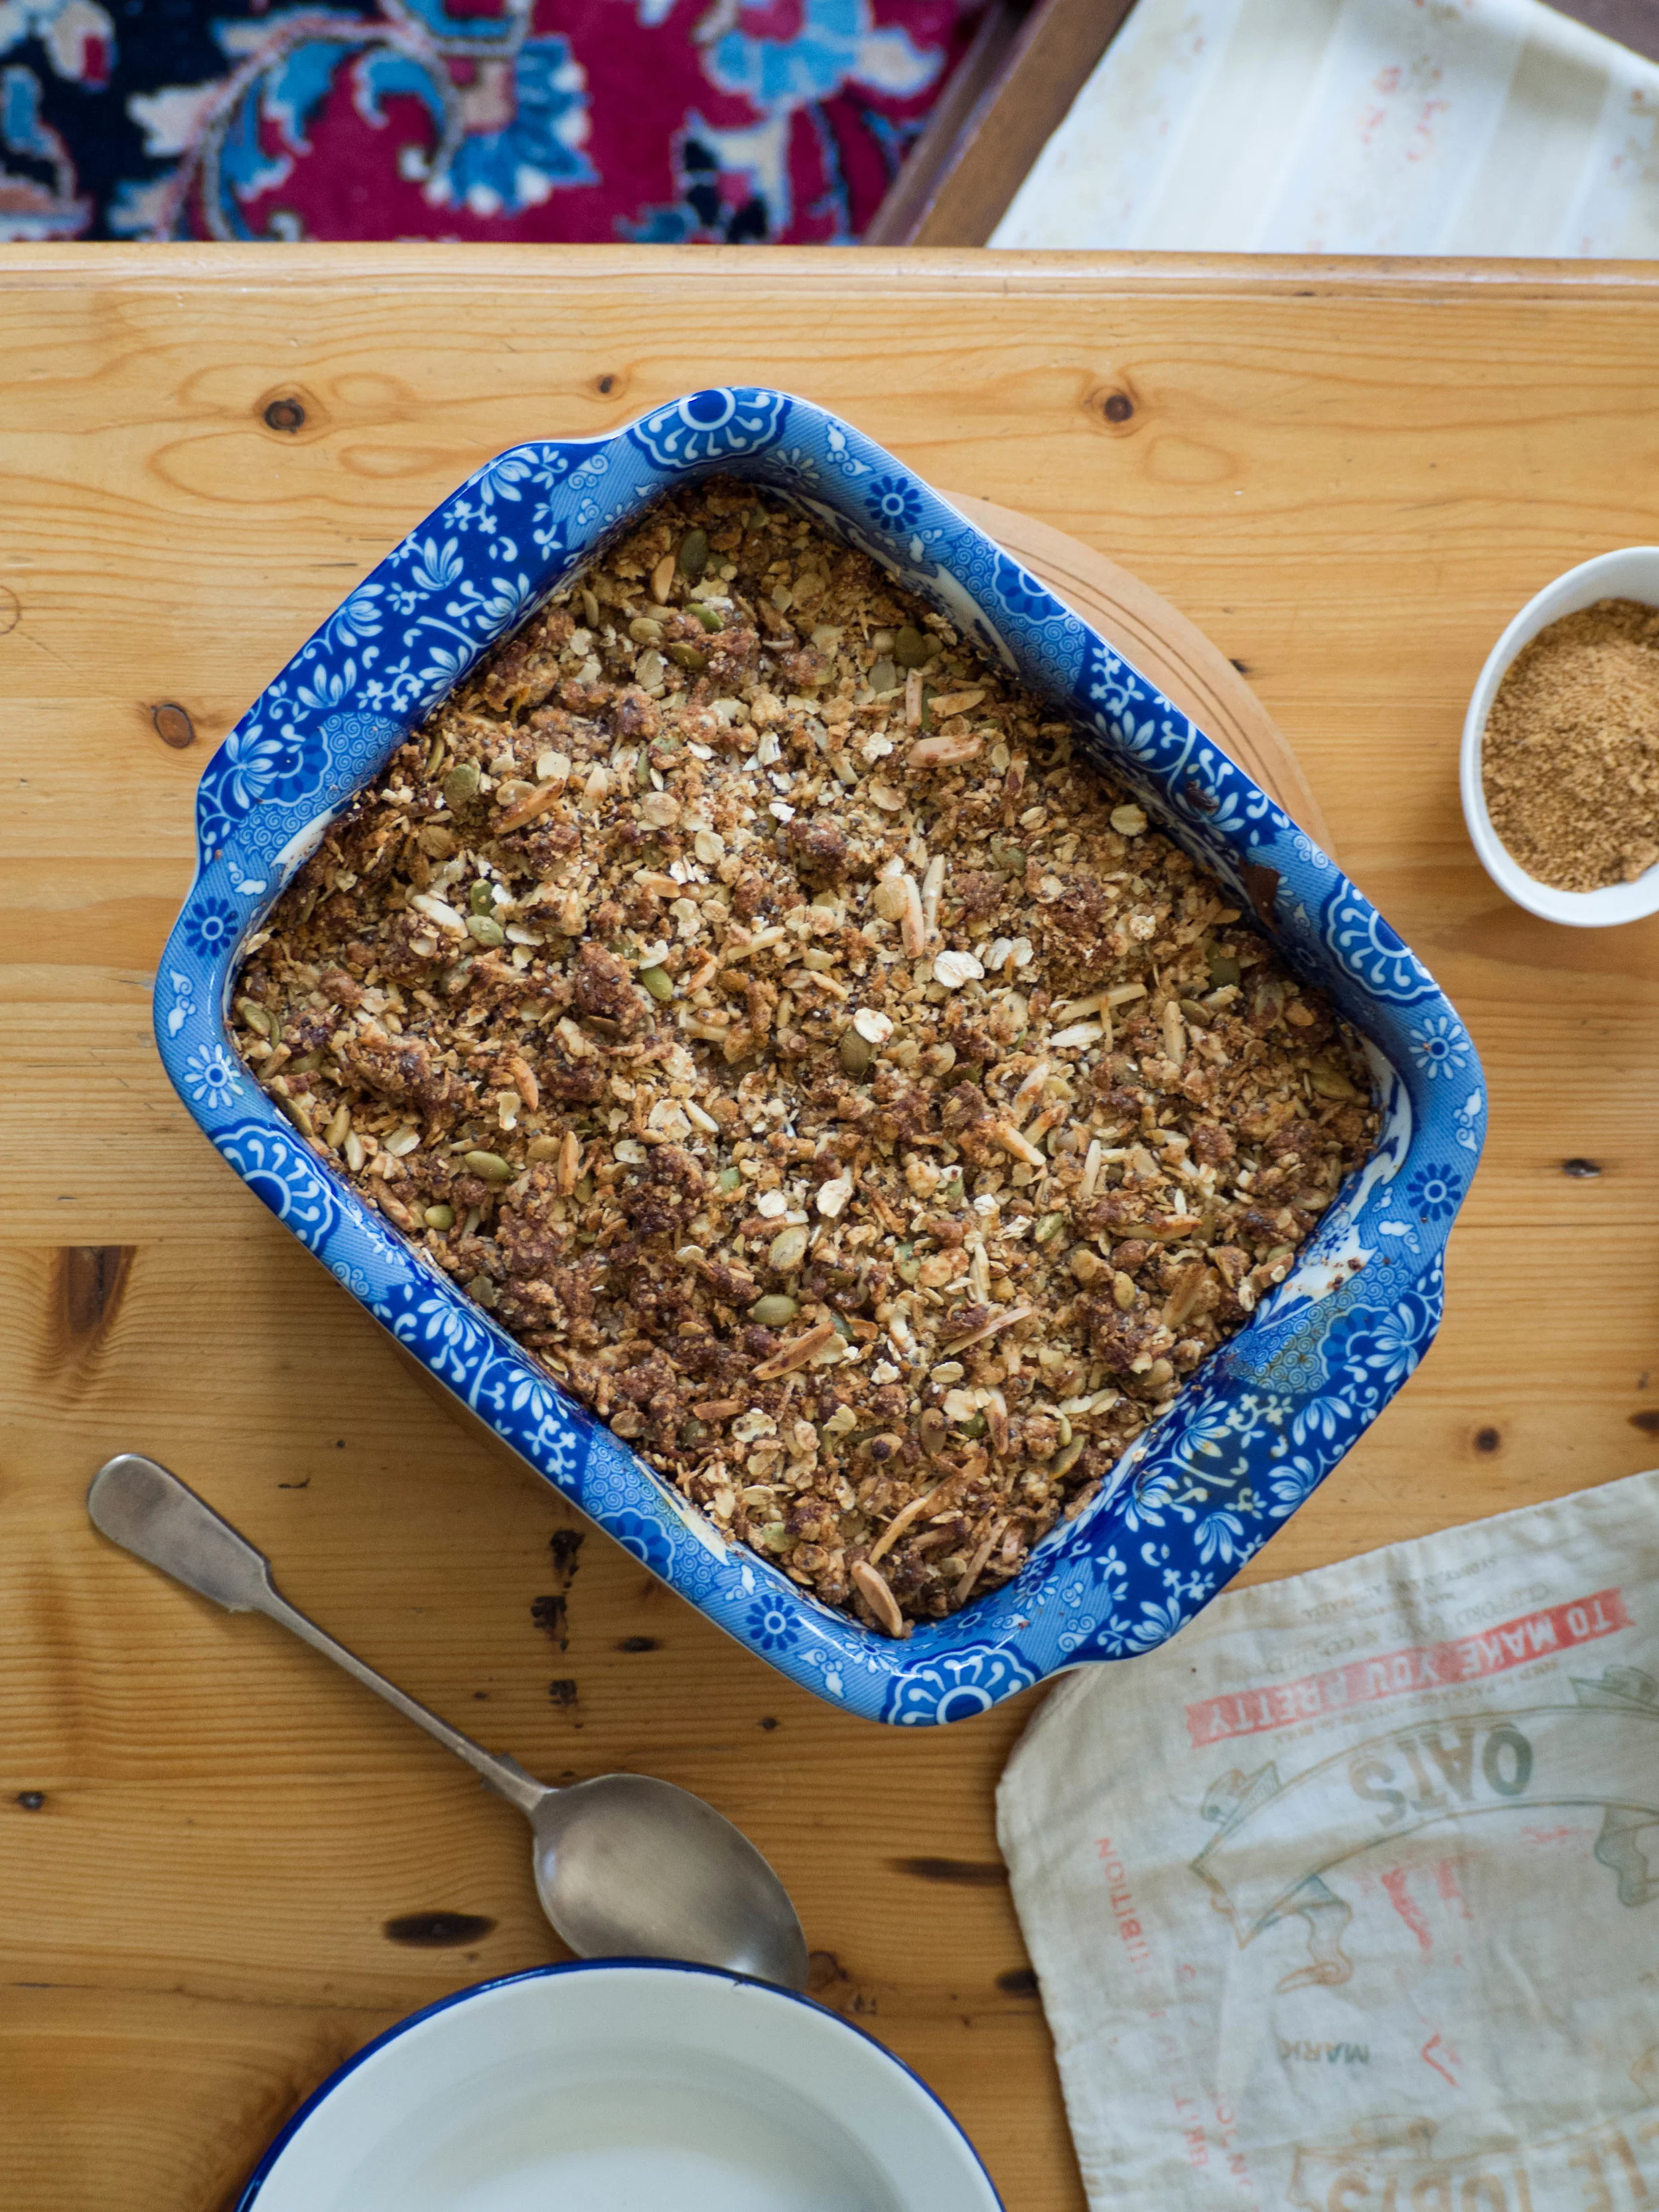
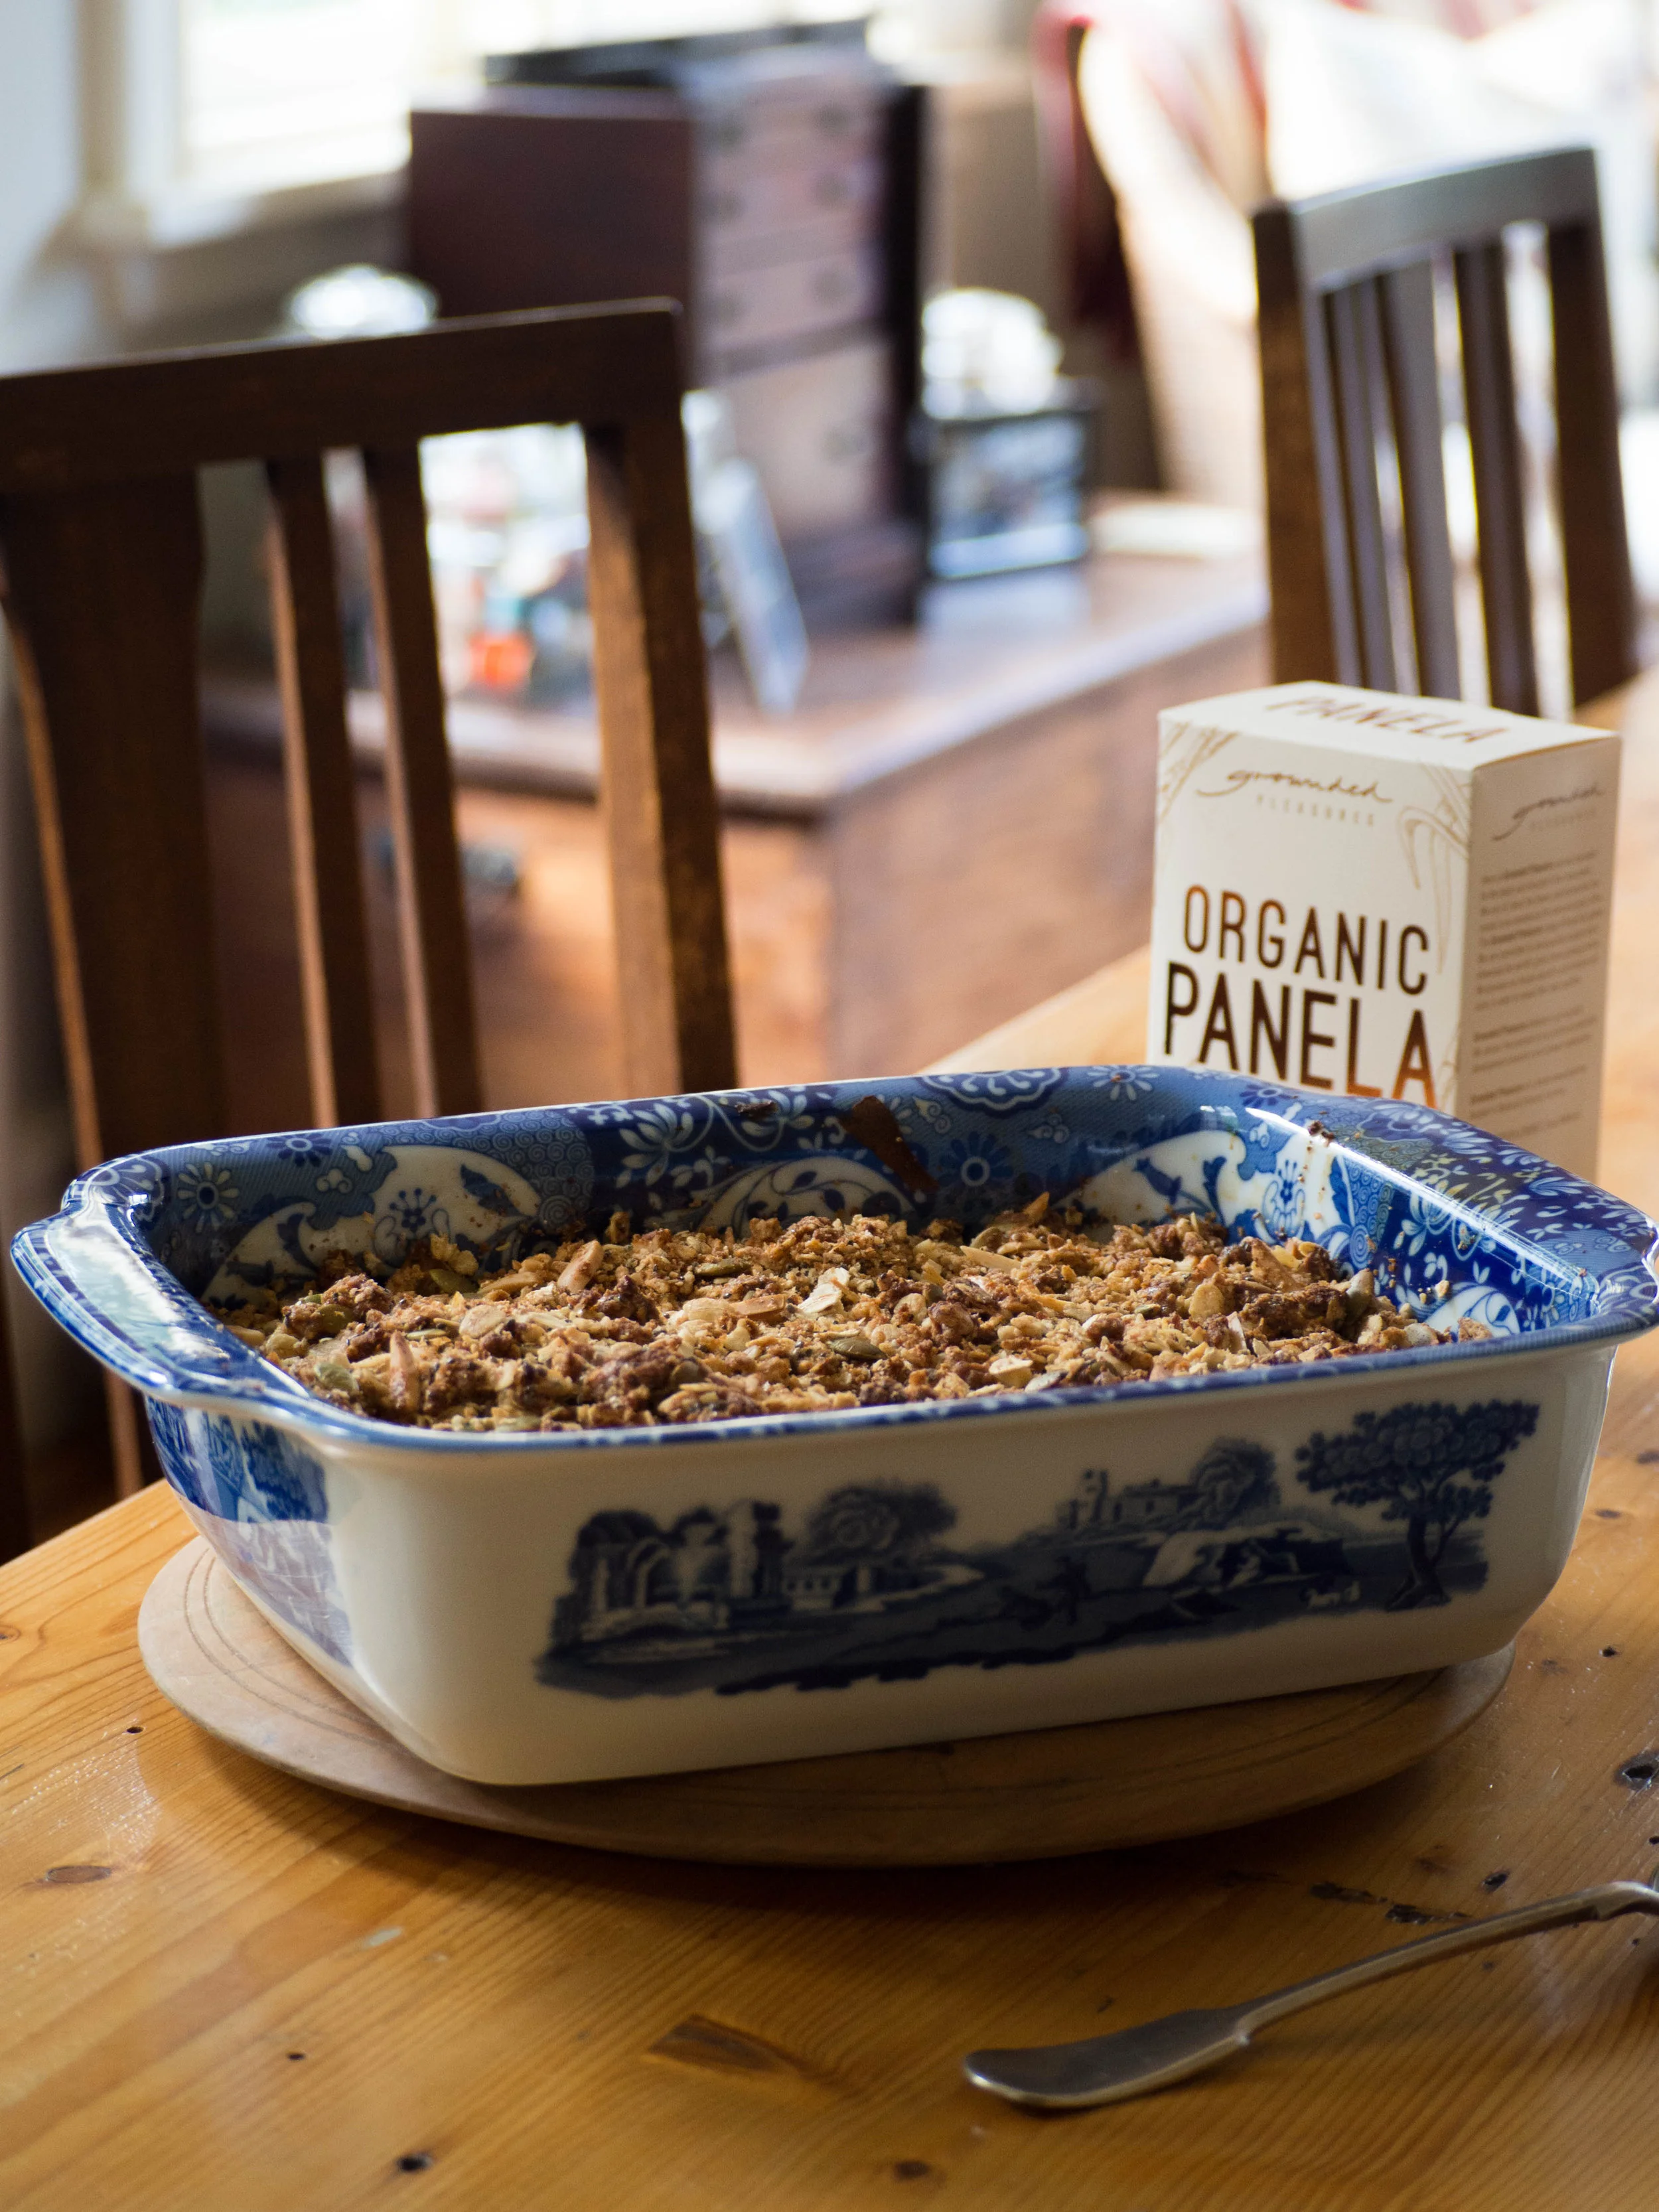
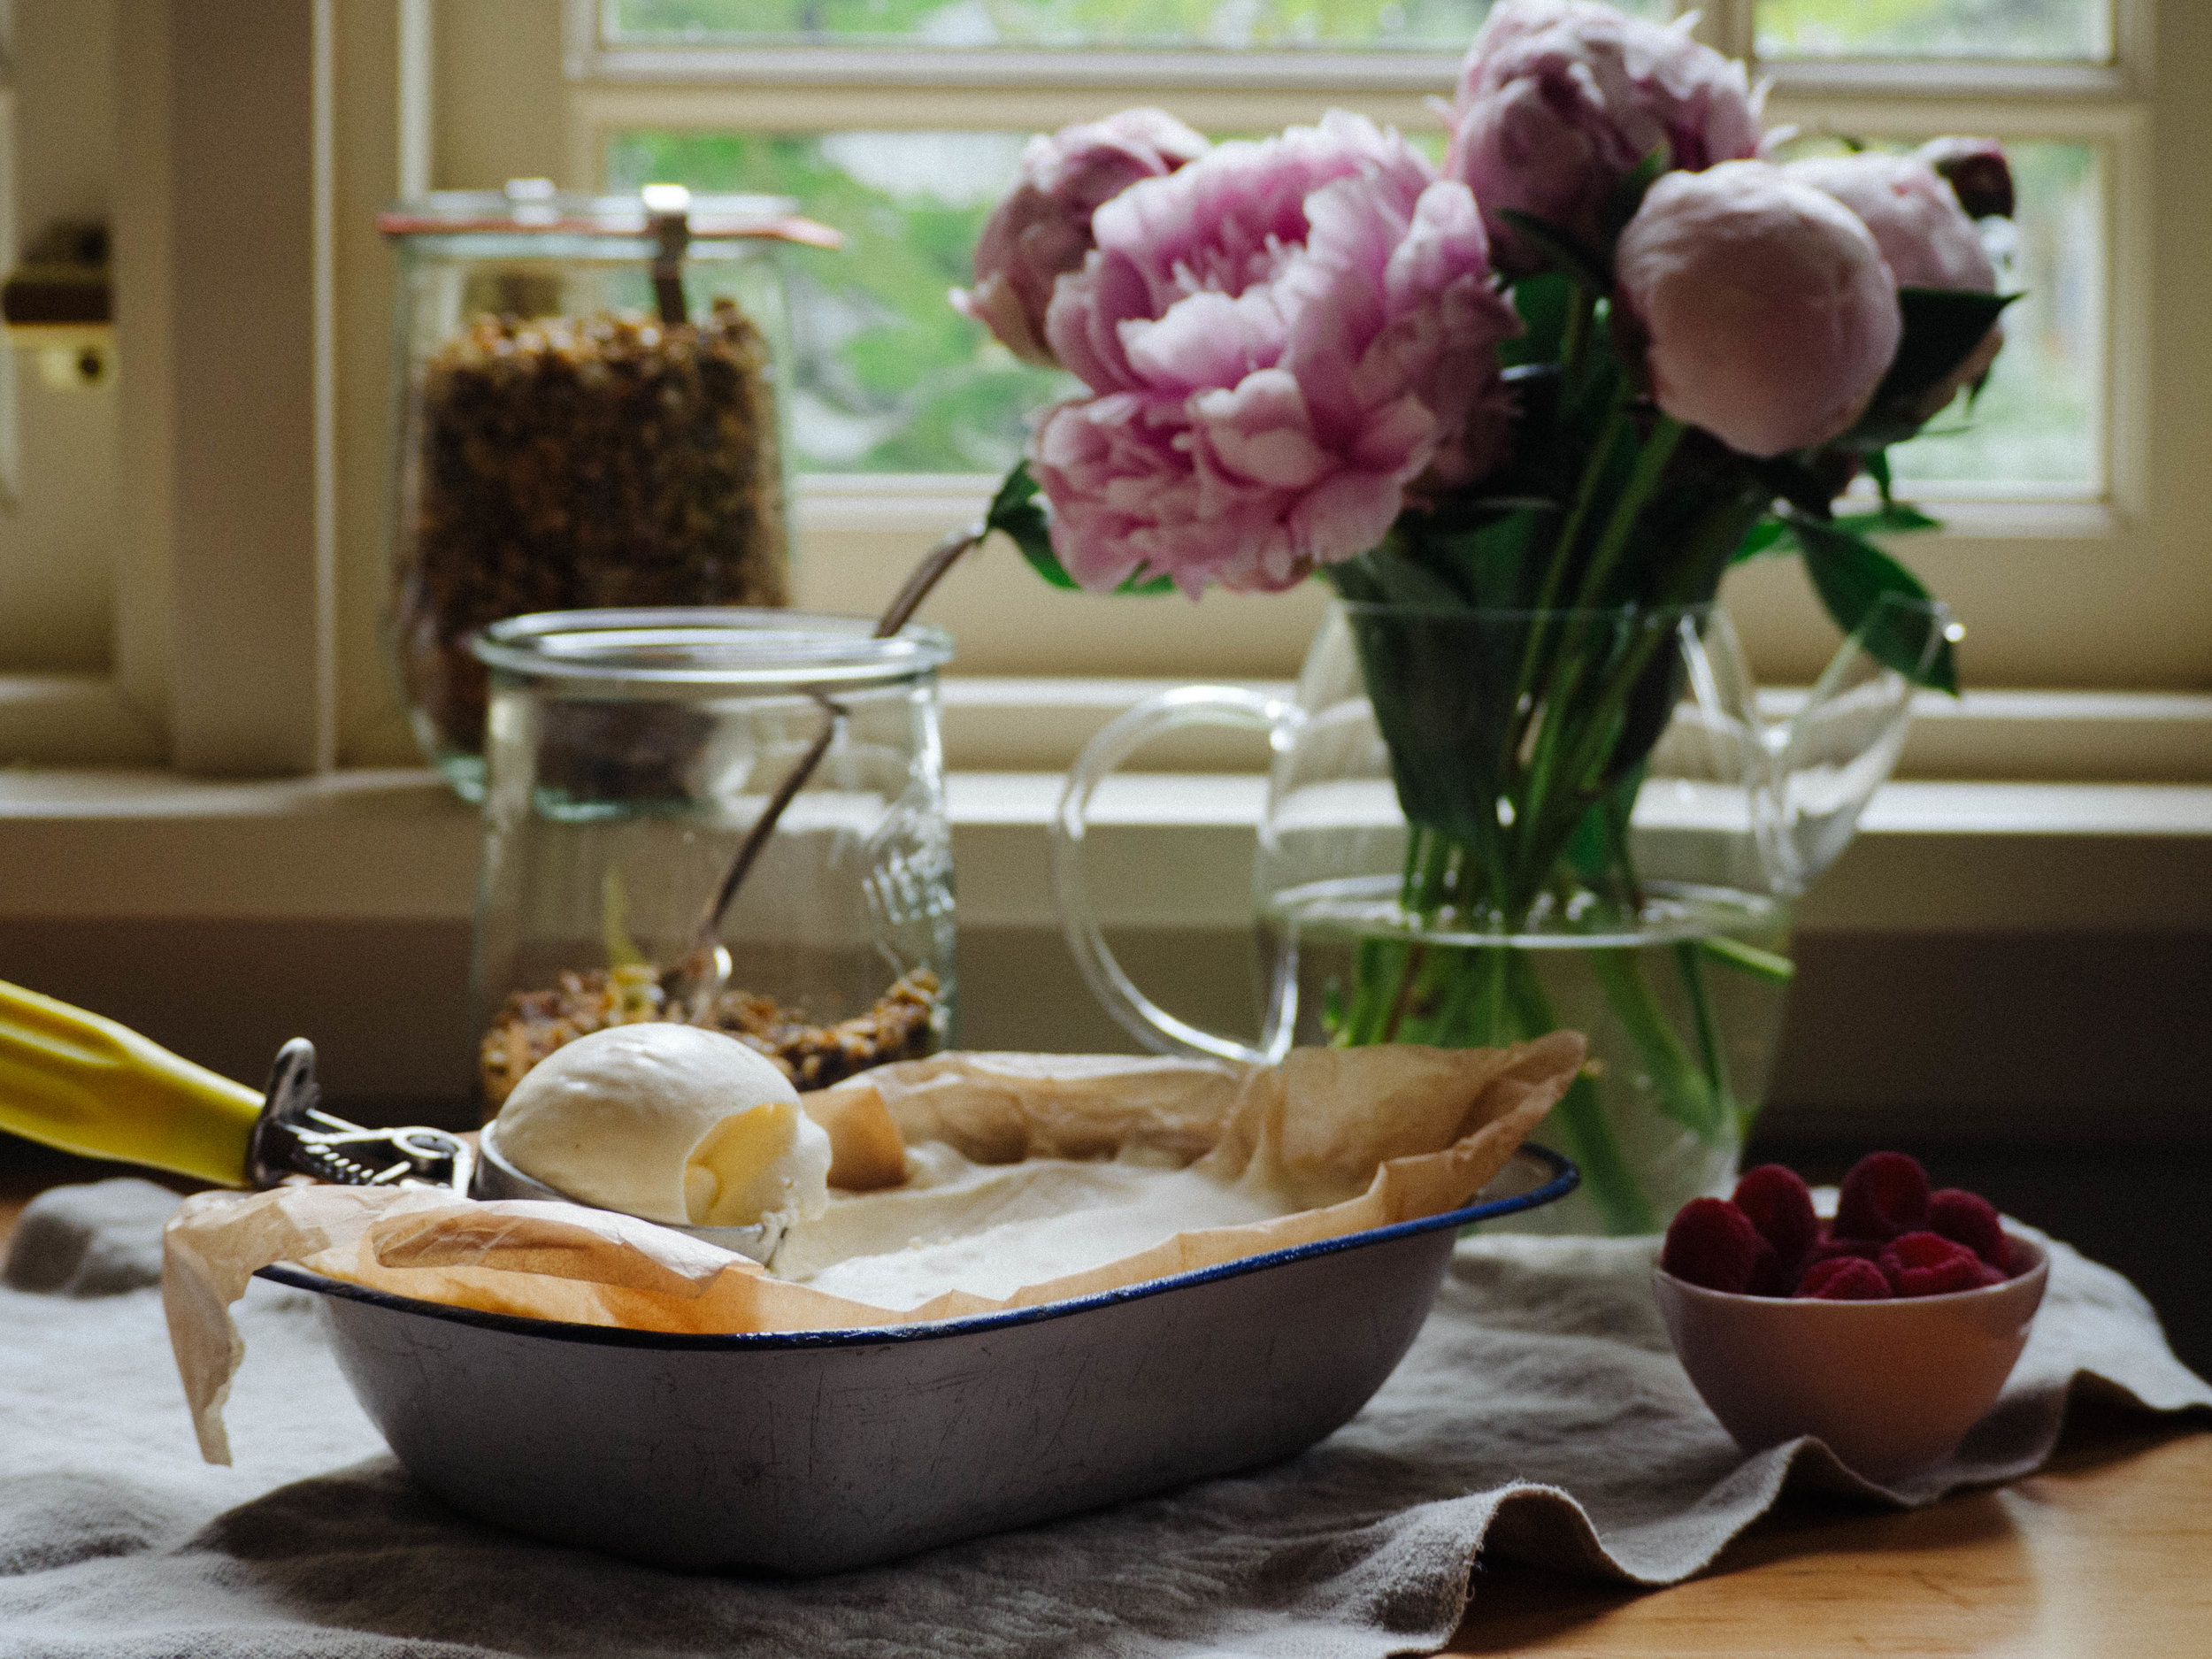
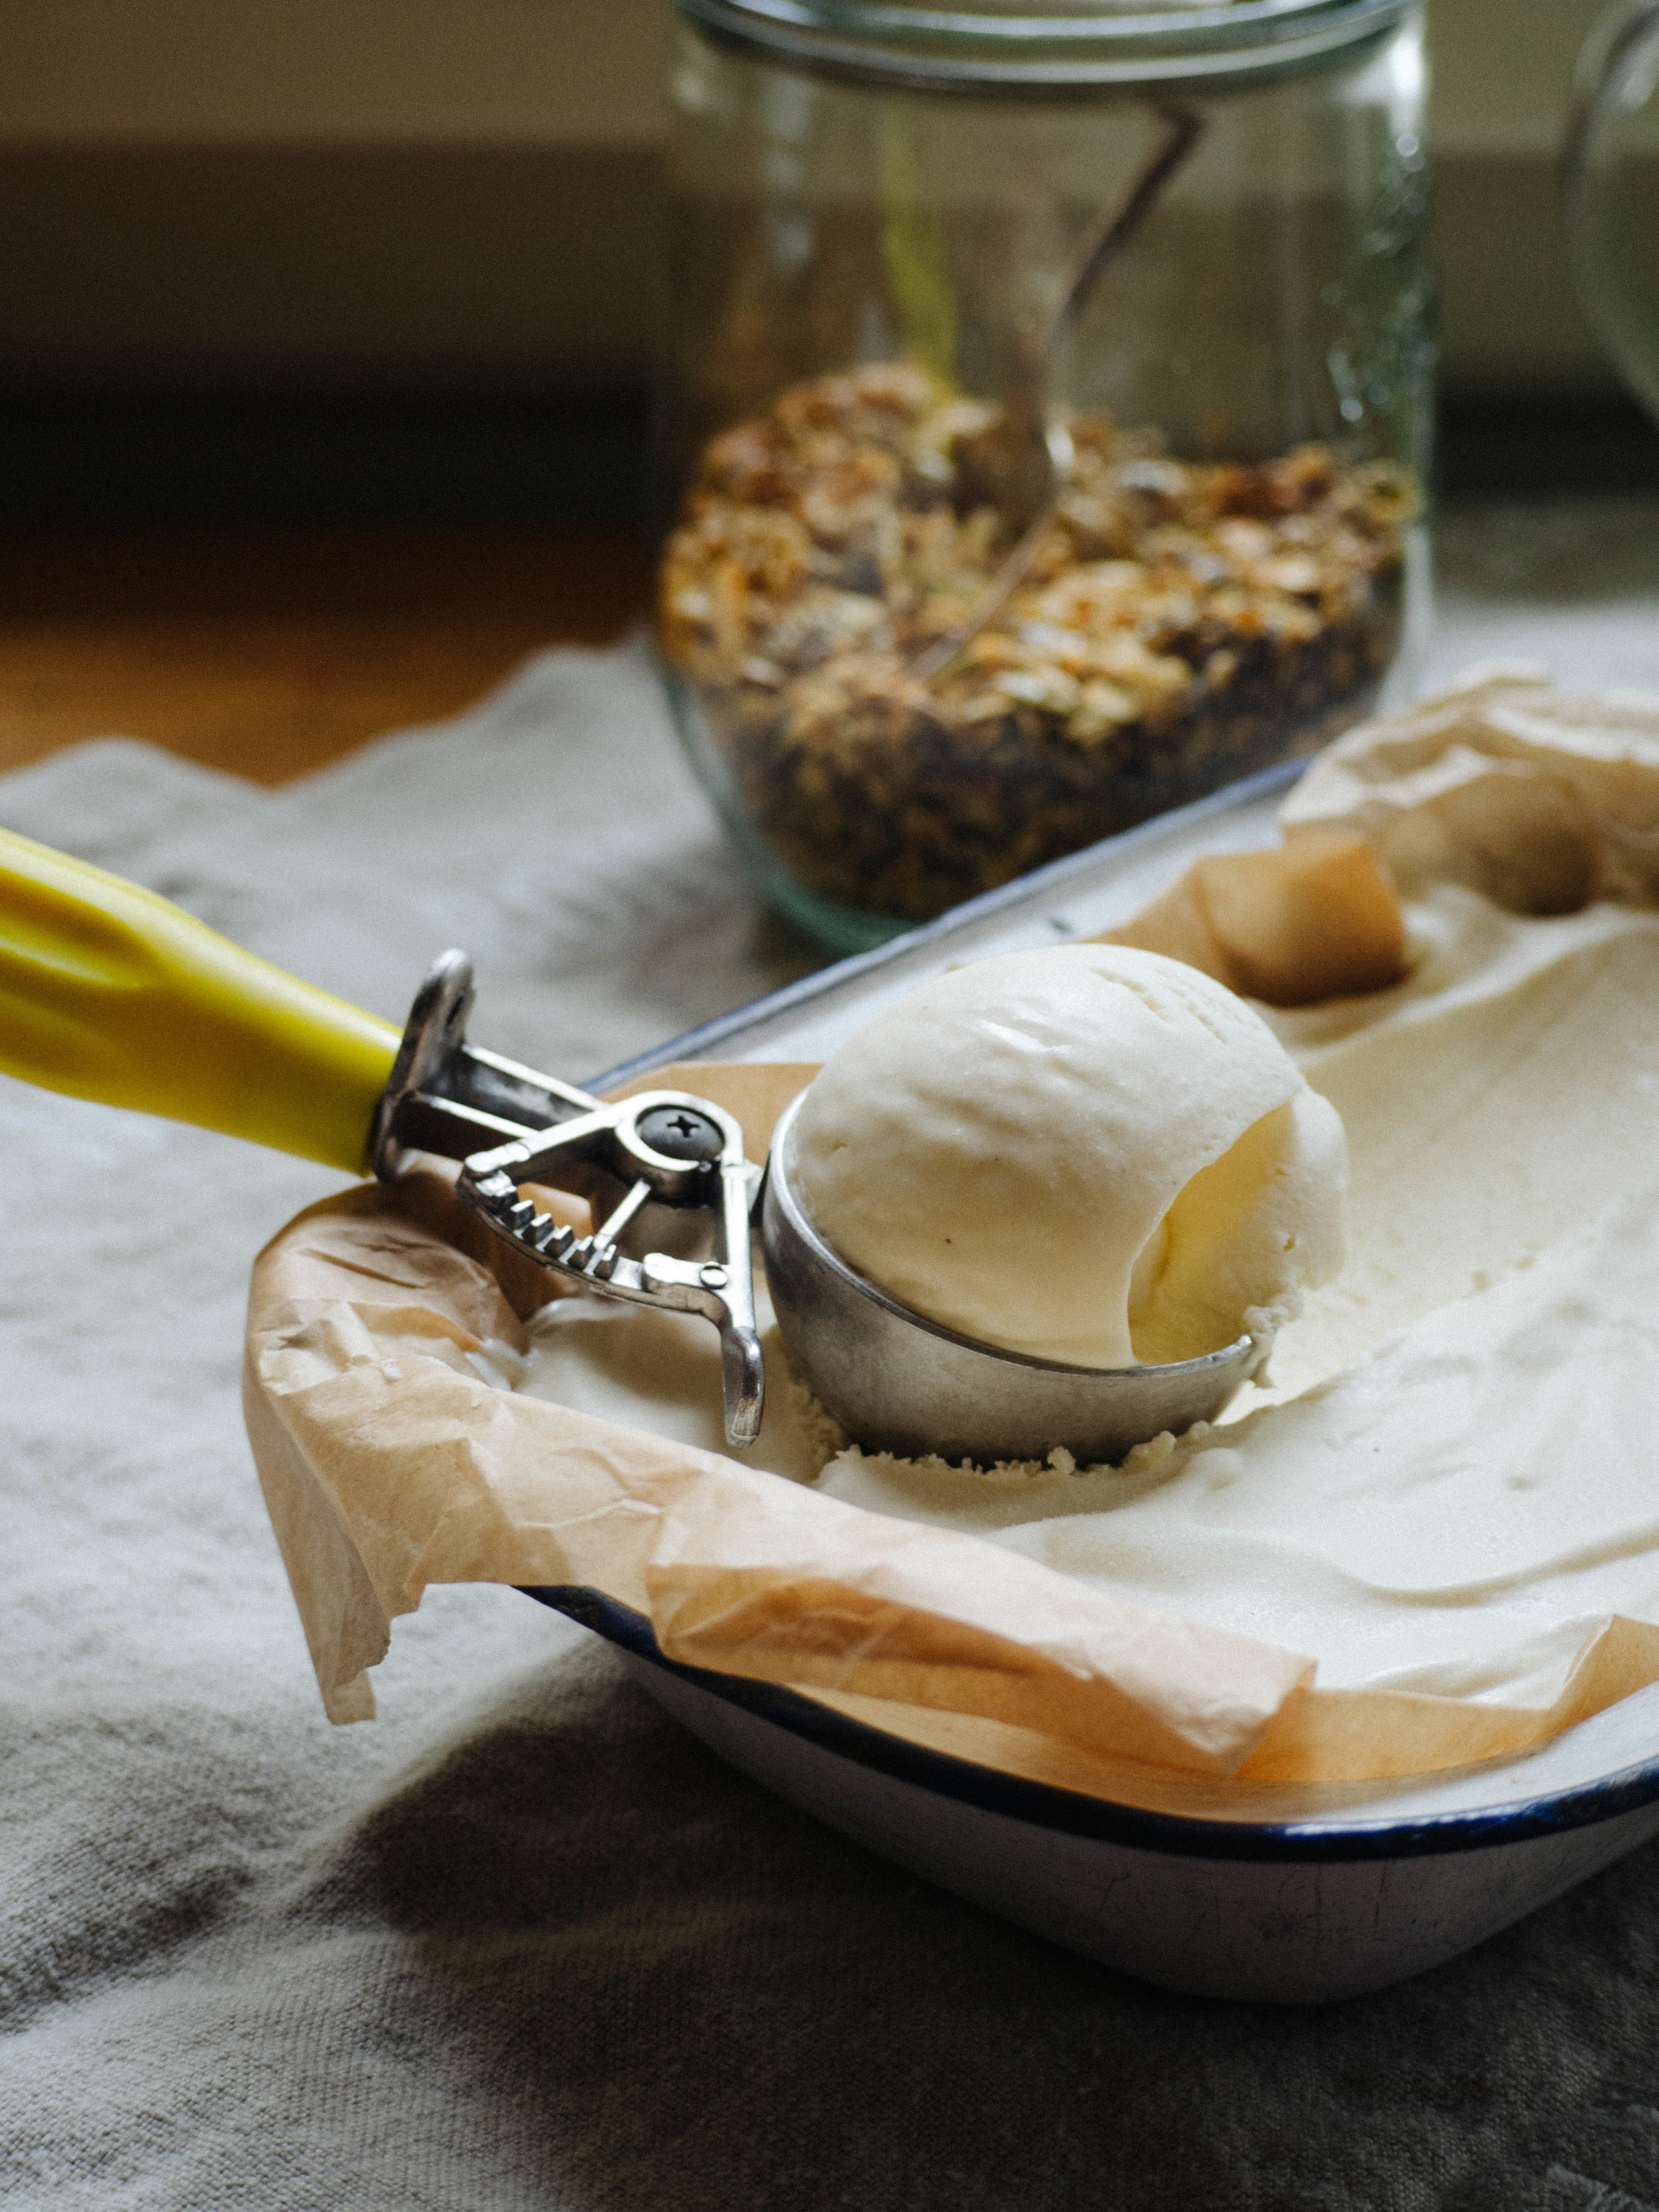
I started making this ice cream a year ago. I thought what a great idea it would be to make a ‘breakfast appropriate ice cream’ and serve it with fresh berries and homemade muesli (which is why some of the photos in this post have jars of muesli in them!). Only for special occasions of course. In theory it was all a great idea, until you have a massive sugar rush before 9 am.
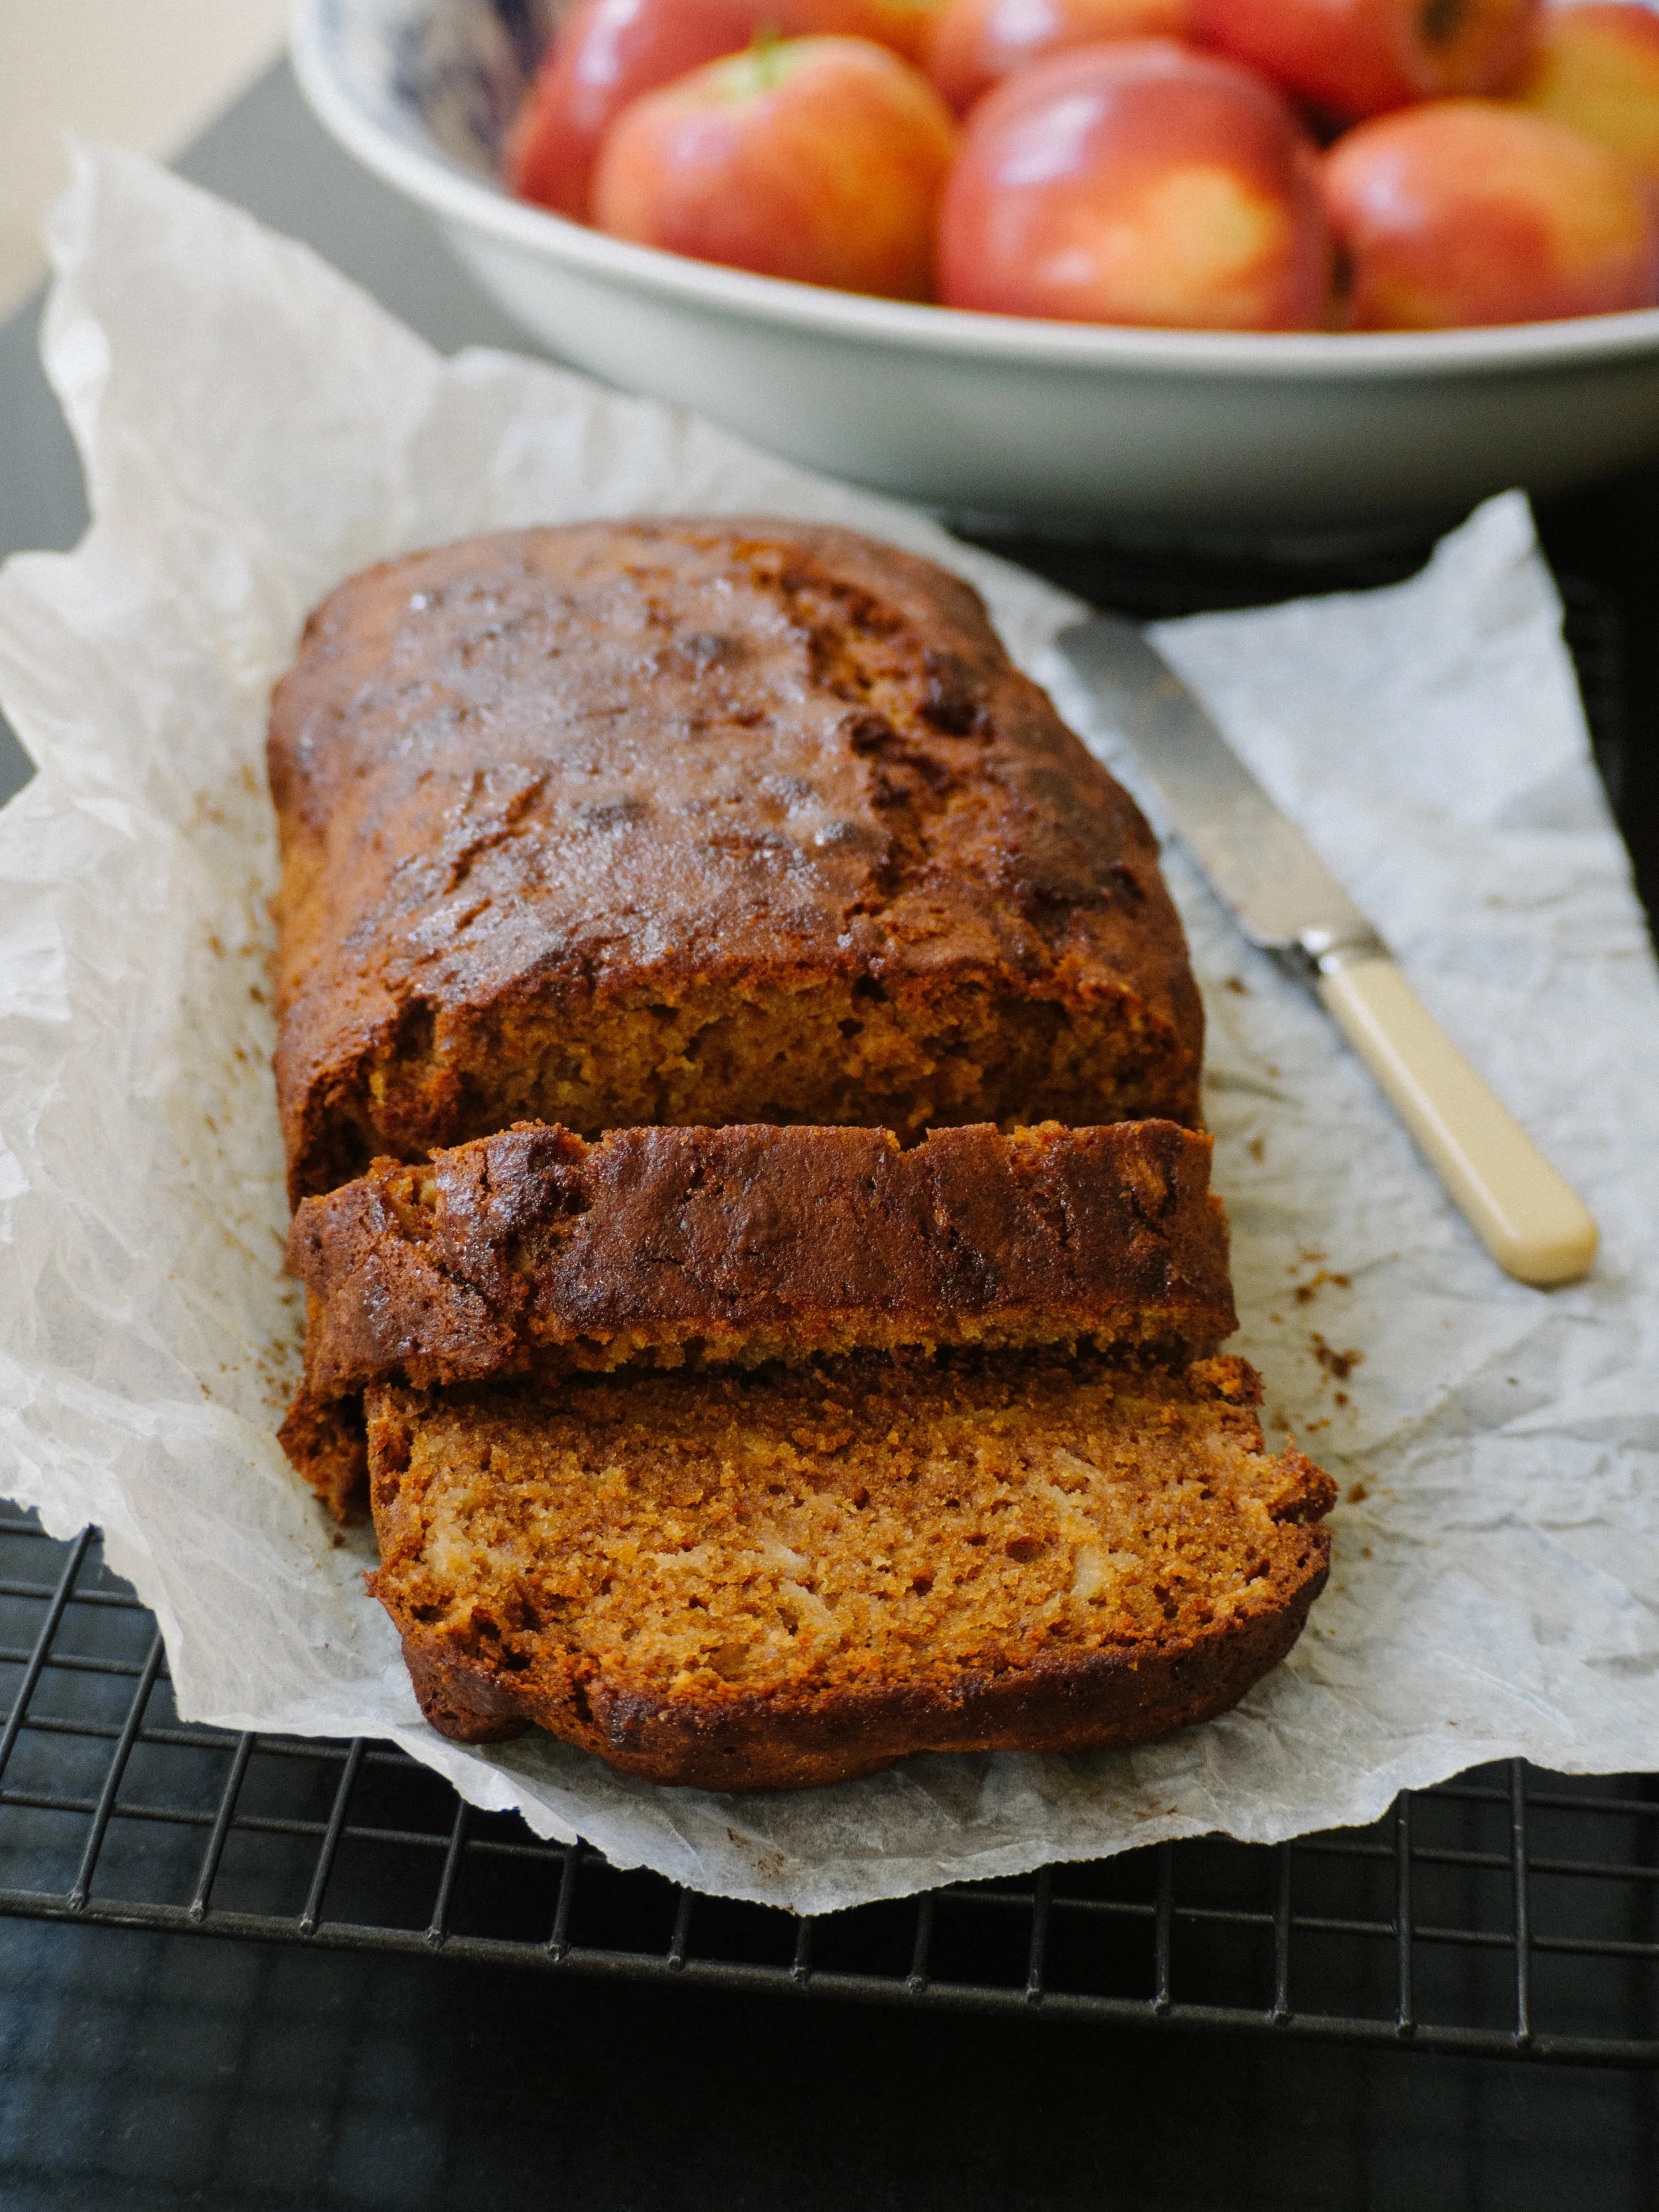
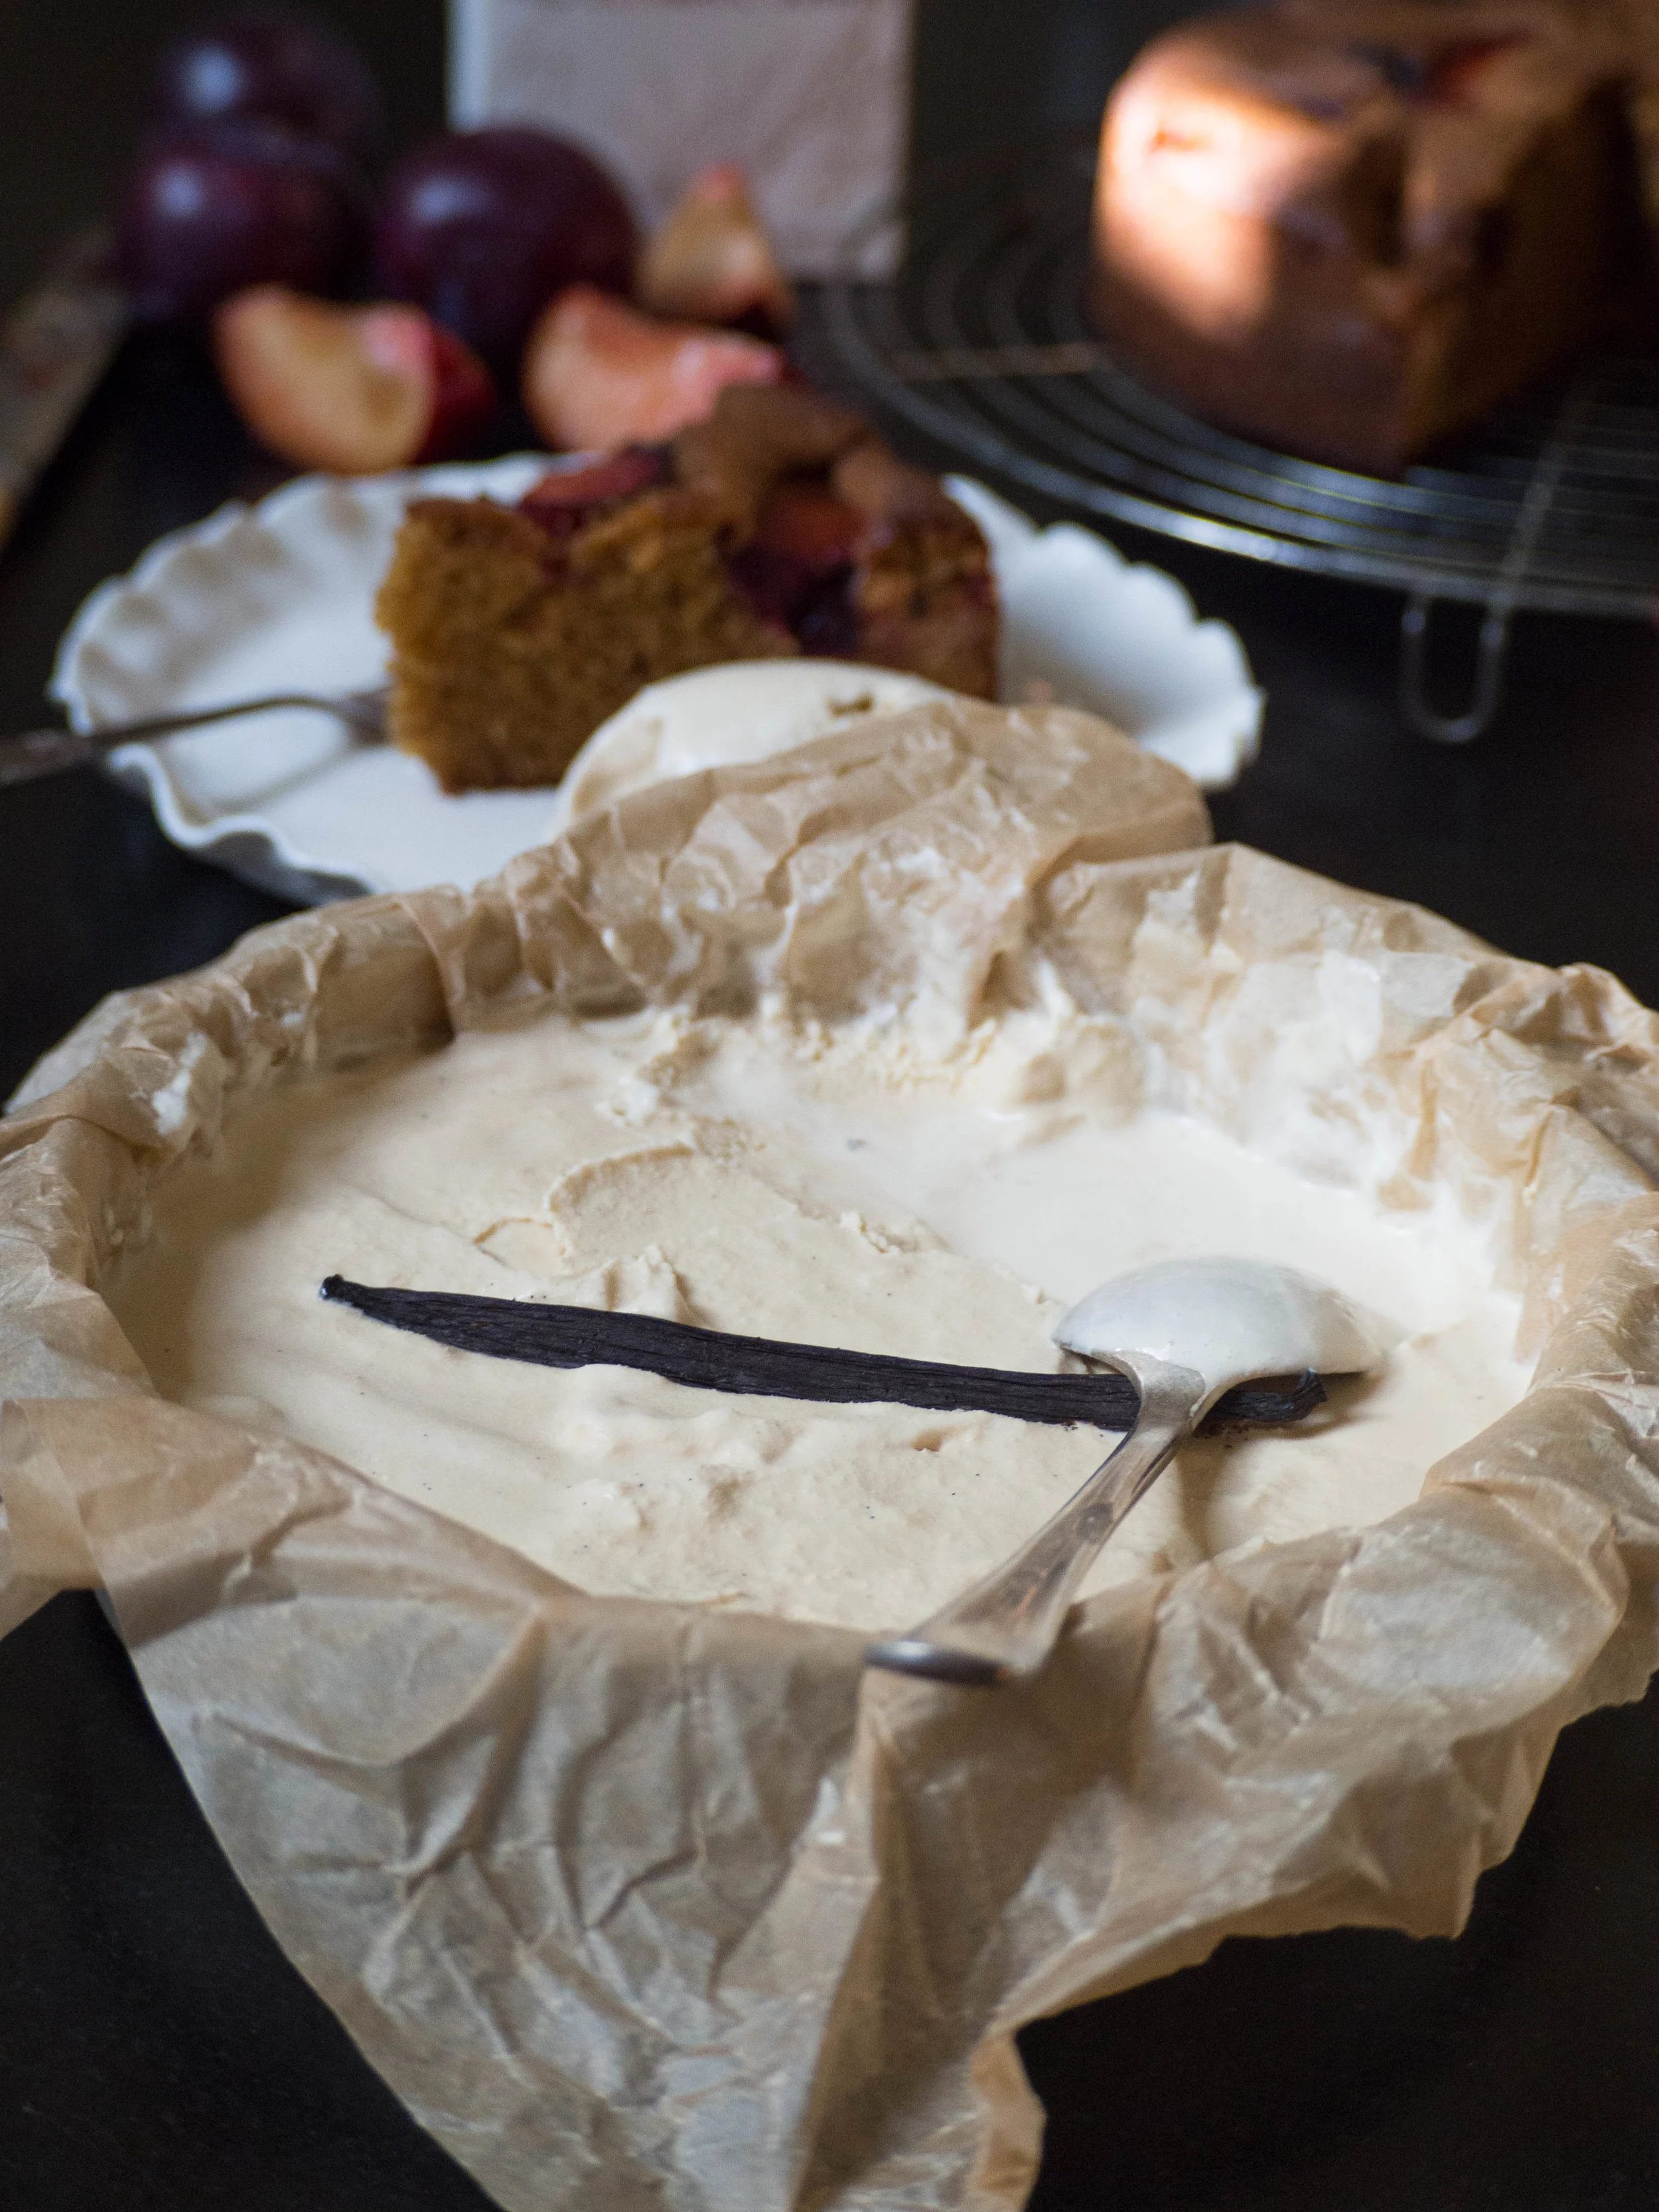
Despite this, I would still recommend this ice cream for serving with waffles or pancakes (or these ricotta hotcakes) for brunch. And of course it is divine on its own as an easy dessert. I would also pair it with the Apple & Honey Cake I posted recently, with my Duck Egg Pavlova, or a fruit crumble (or maybe at a stretch my Muesli Breakfast Crumble if you were feeling a little indulgent!).
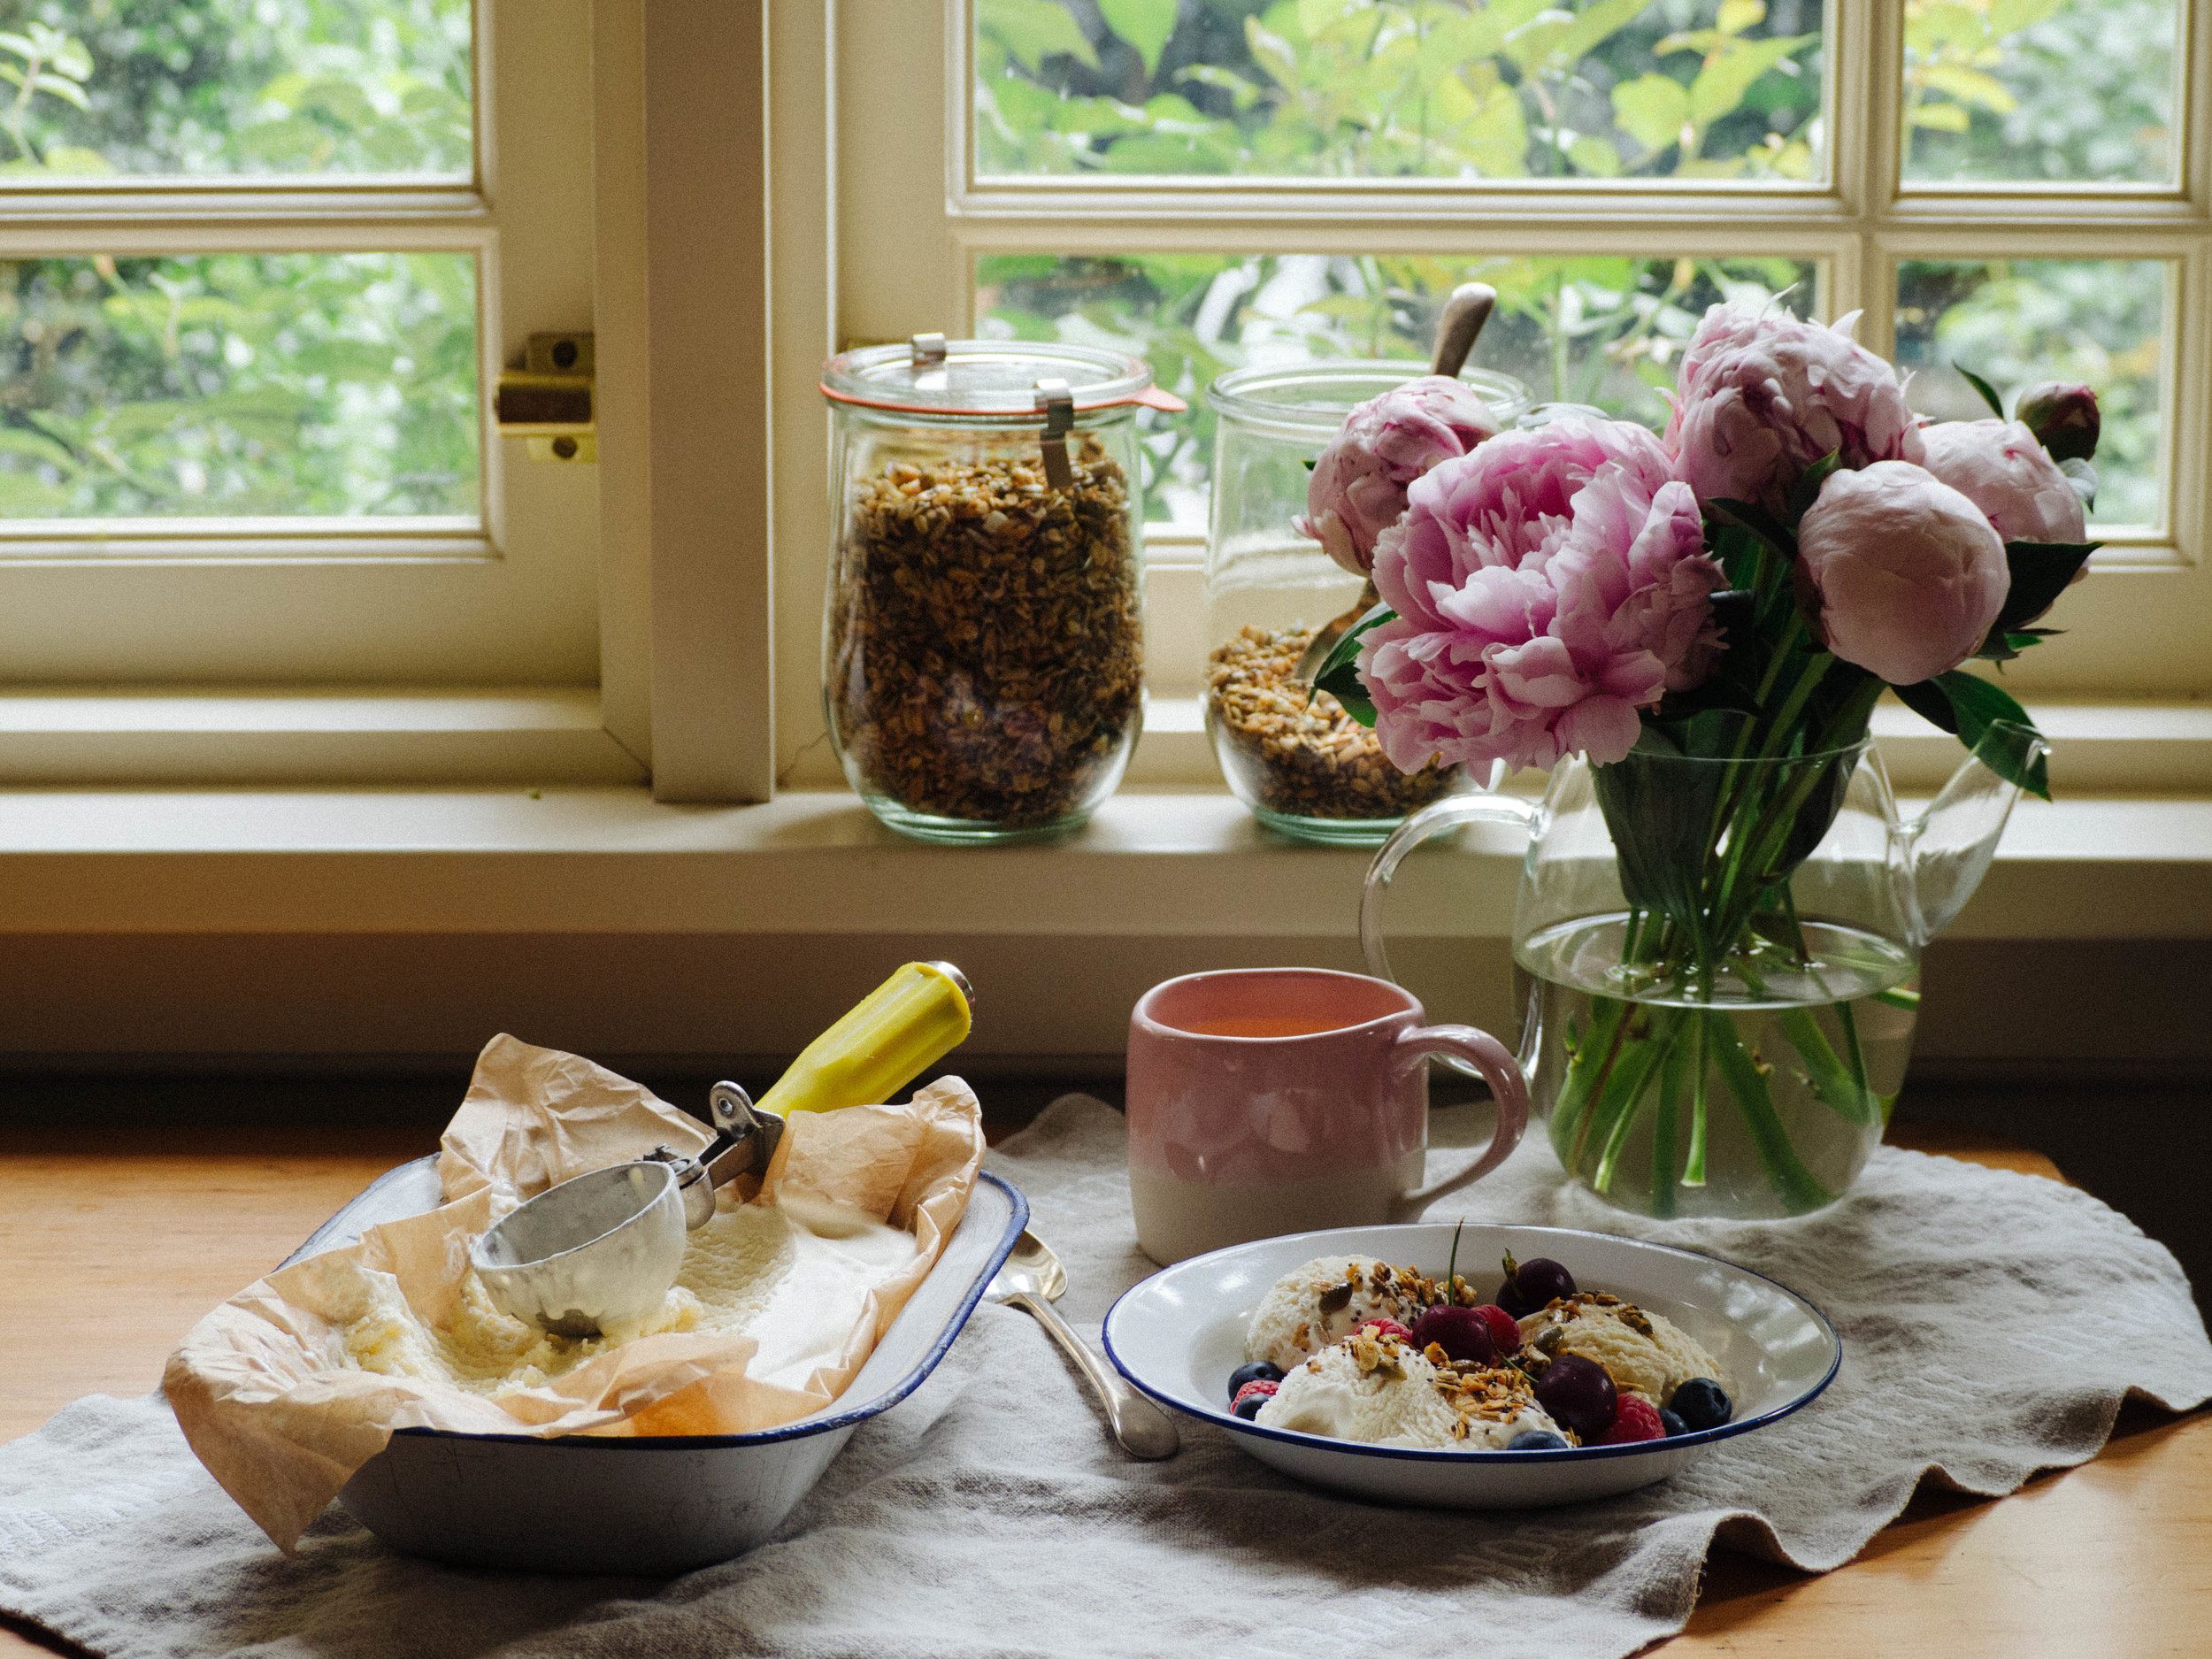
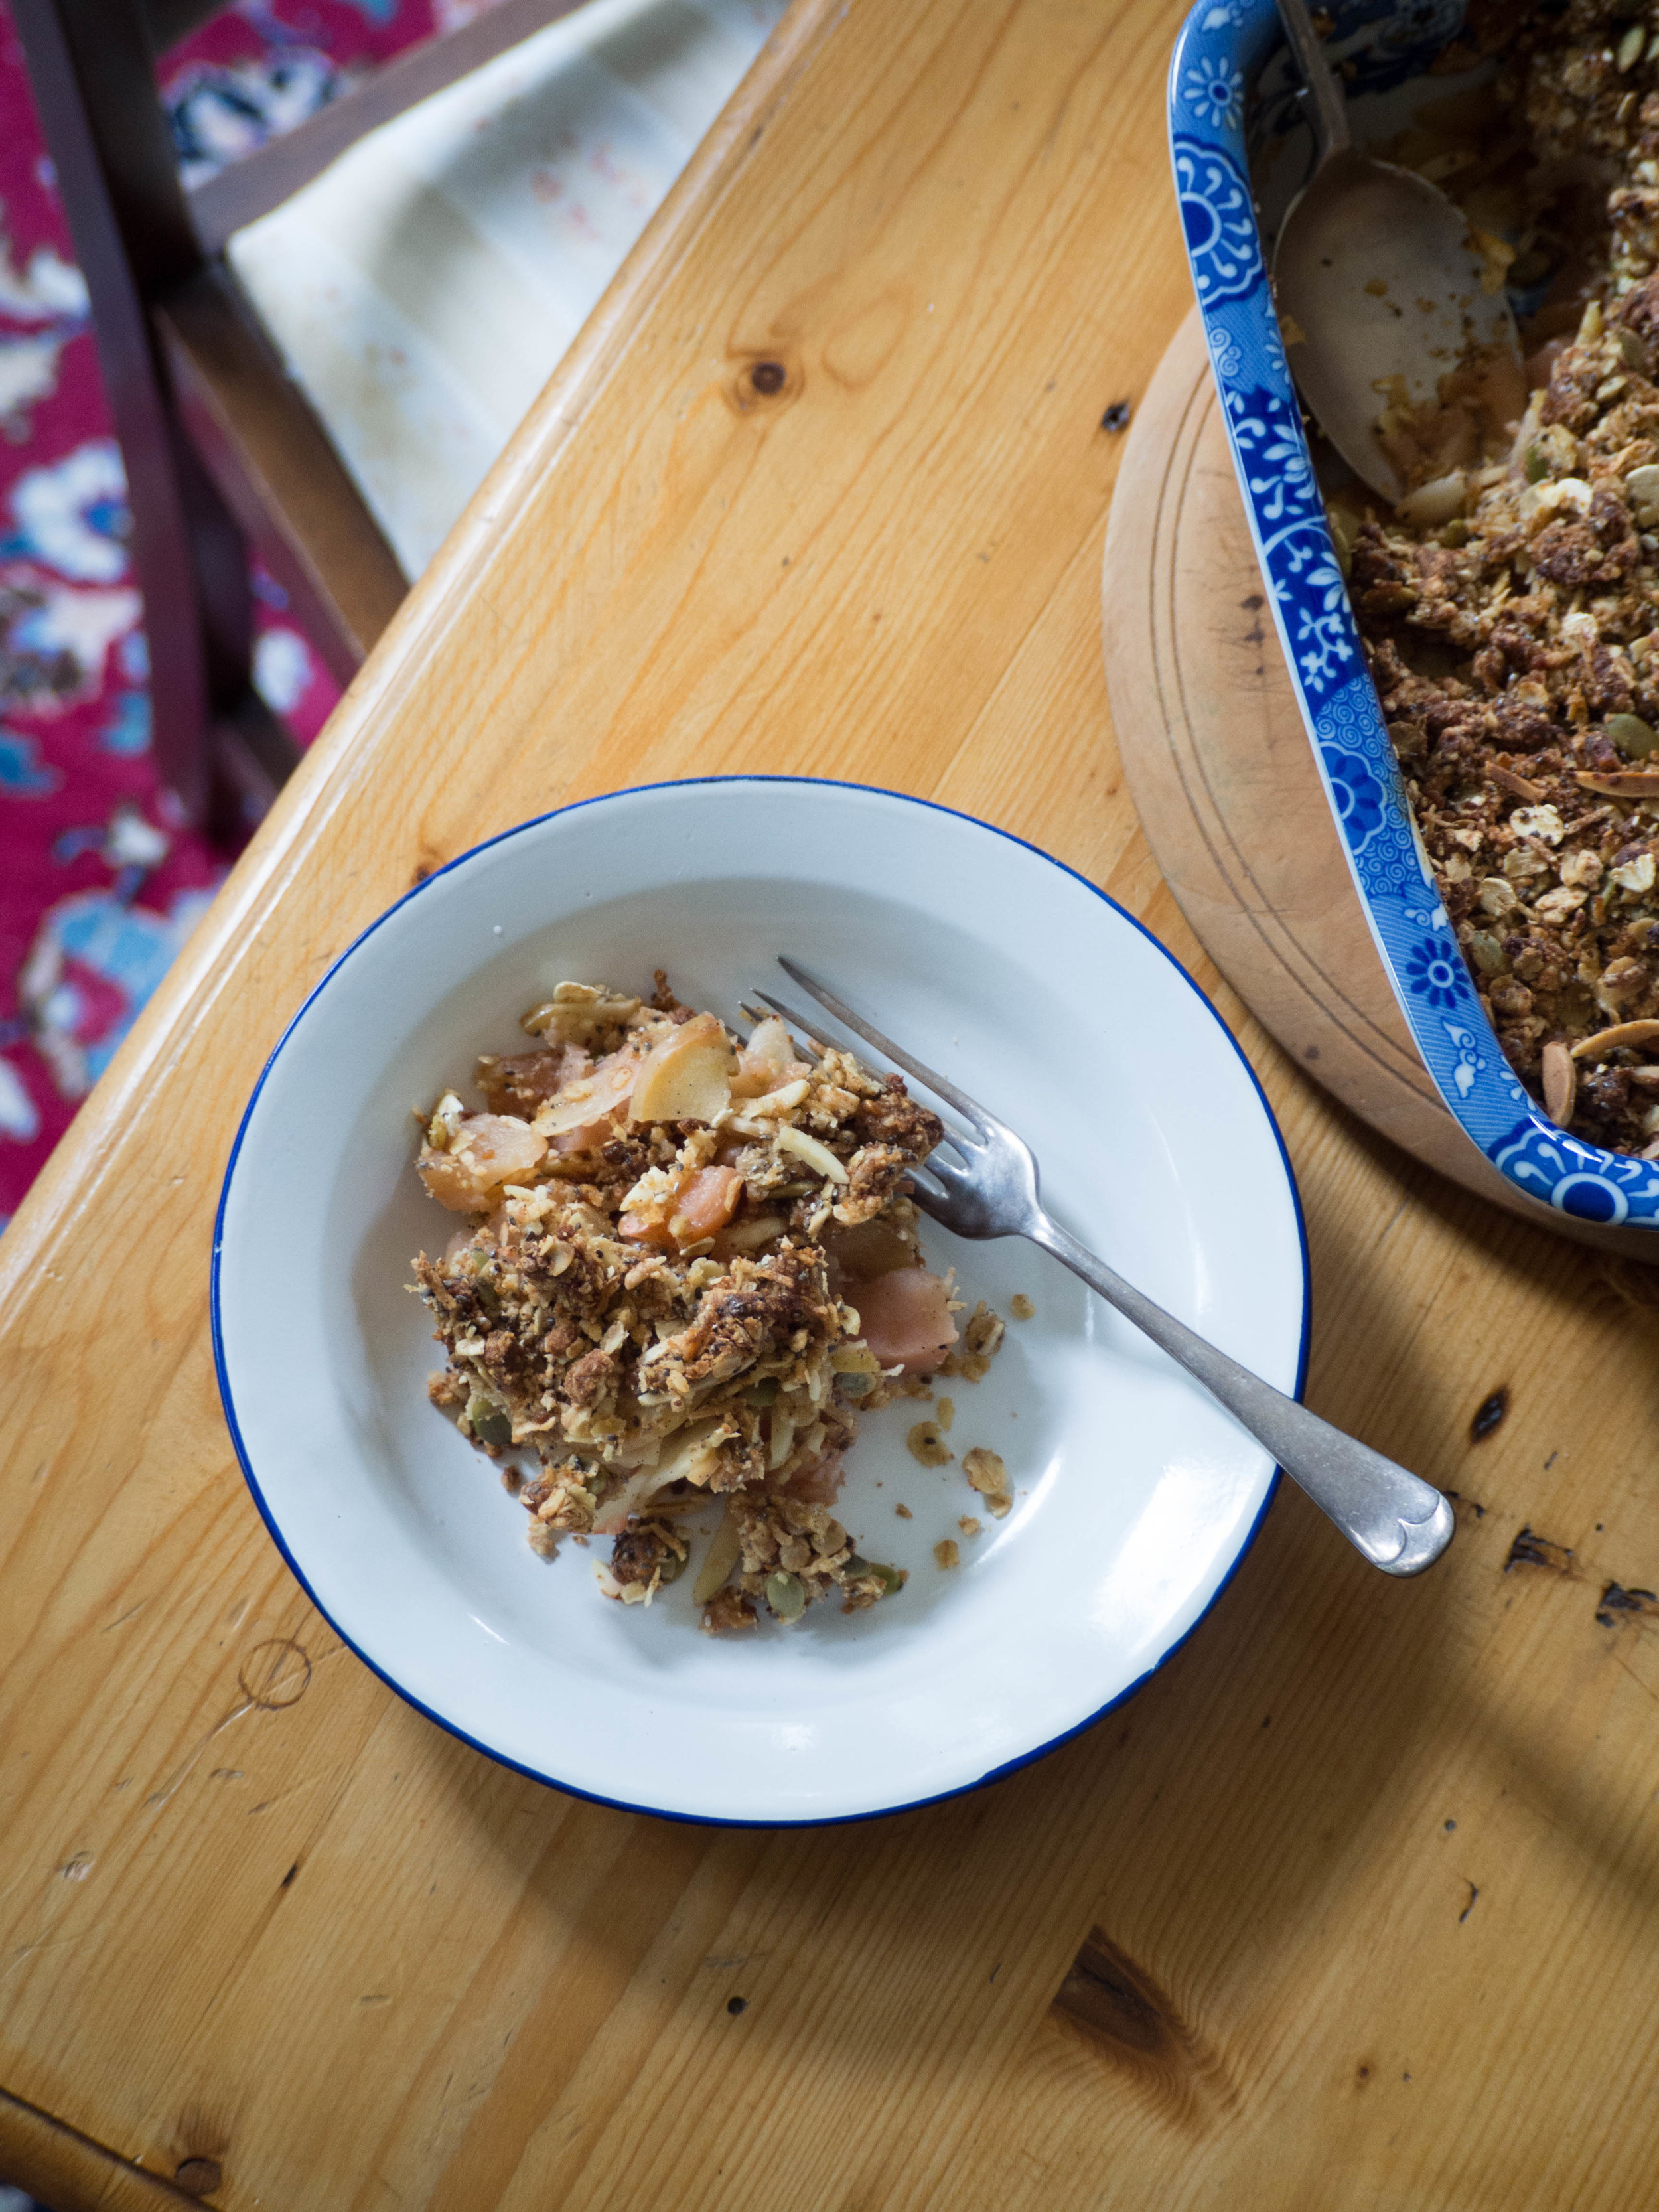
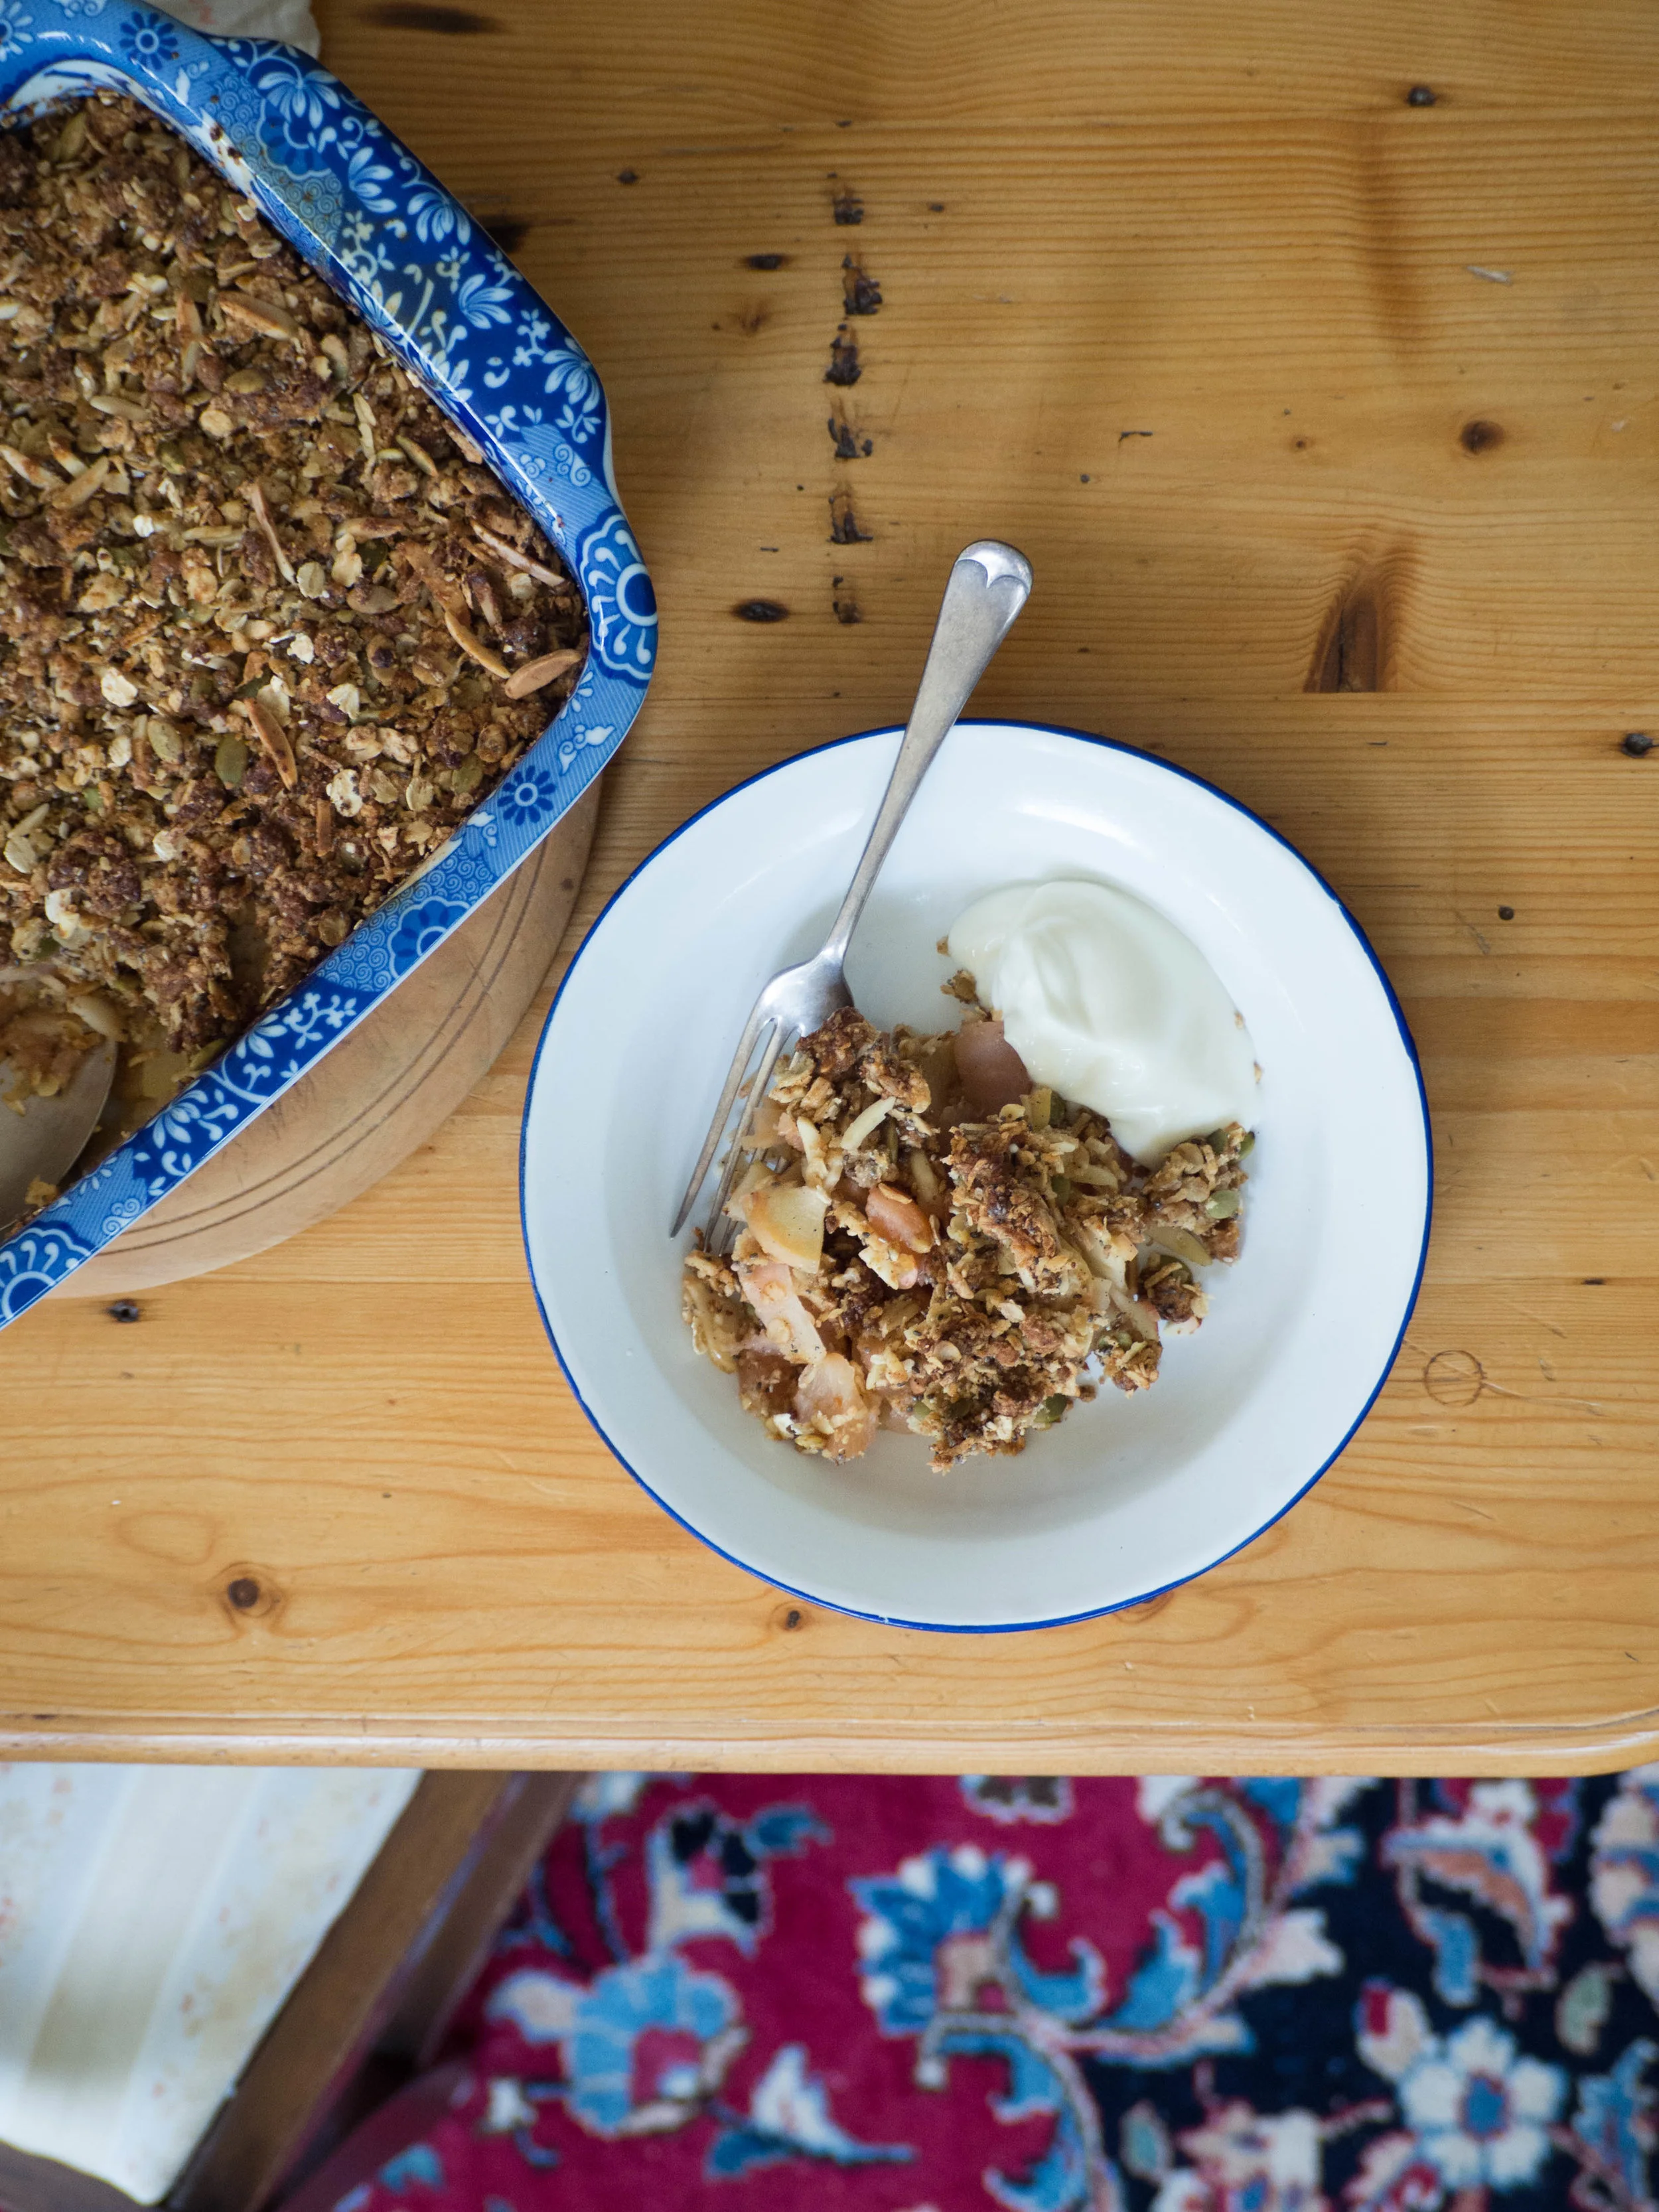
My massive sugar rush ‘breakfast’ - honey ice cream with homemade muesli and berries!
For this recipe I used the Honey Malt and Vanilla Milk from Little Big Dairy Co. I love this milk as not only does it taste great (and is truely addictive!), but all Little Big Dairy Co’s products are single source. This means everything is produced from their farm in the Central West of NSW. Having tried a few of their products now, I truely believe you can taste the difference. Everything just tastes so good compared to other milks or creams, in a way that makes me think I hadn’t tried really good quality milk or cream until I tried Little Big Dairy Co.
I buy some of their products from Harris Farm Markets (including the milk used for this recipe), and they are also available in the Food Hall at David Jones in the city (I have been known to take cooler bags and ice bricks into the city and carry some of their products home on the train!).
If you can’t find the Little Big Dairy Co Honey Malt and Vanilla milk, regular full cream or skim will work well too.

Honey Ice Cream made using Little Big Dairy Co Honey Malt and Vanilla Milk

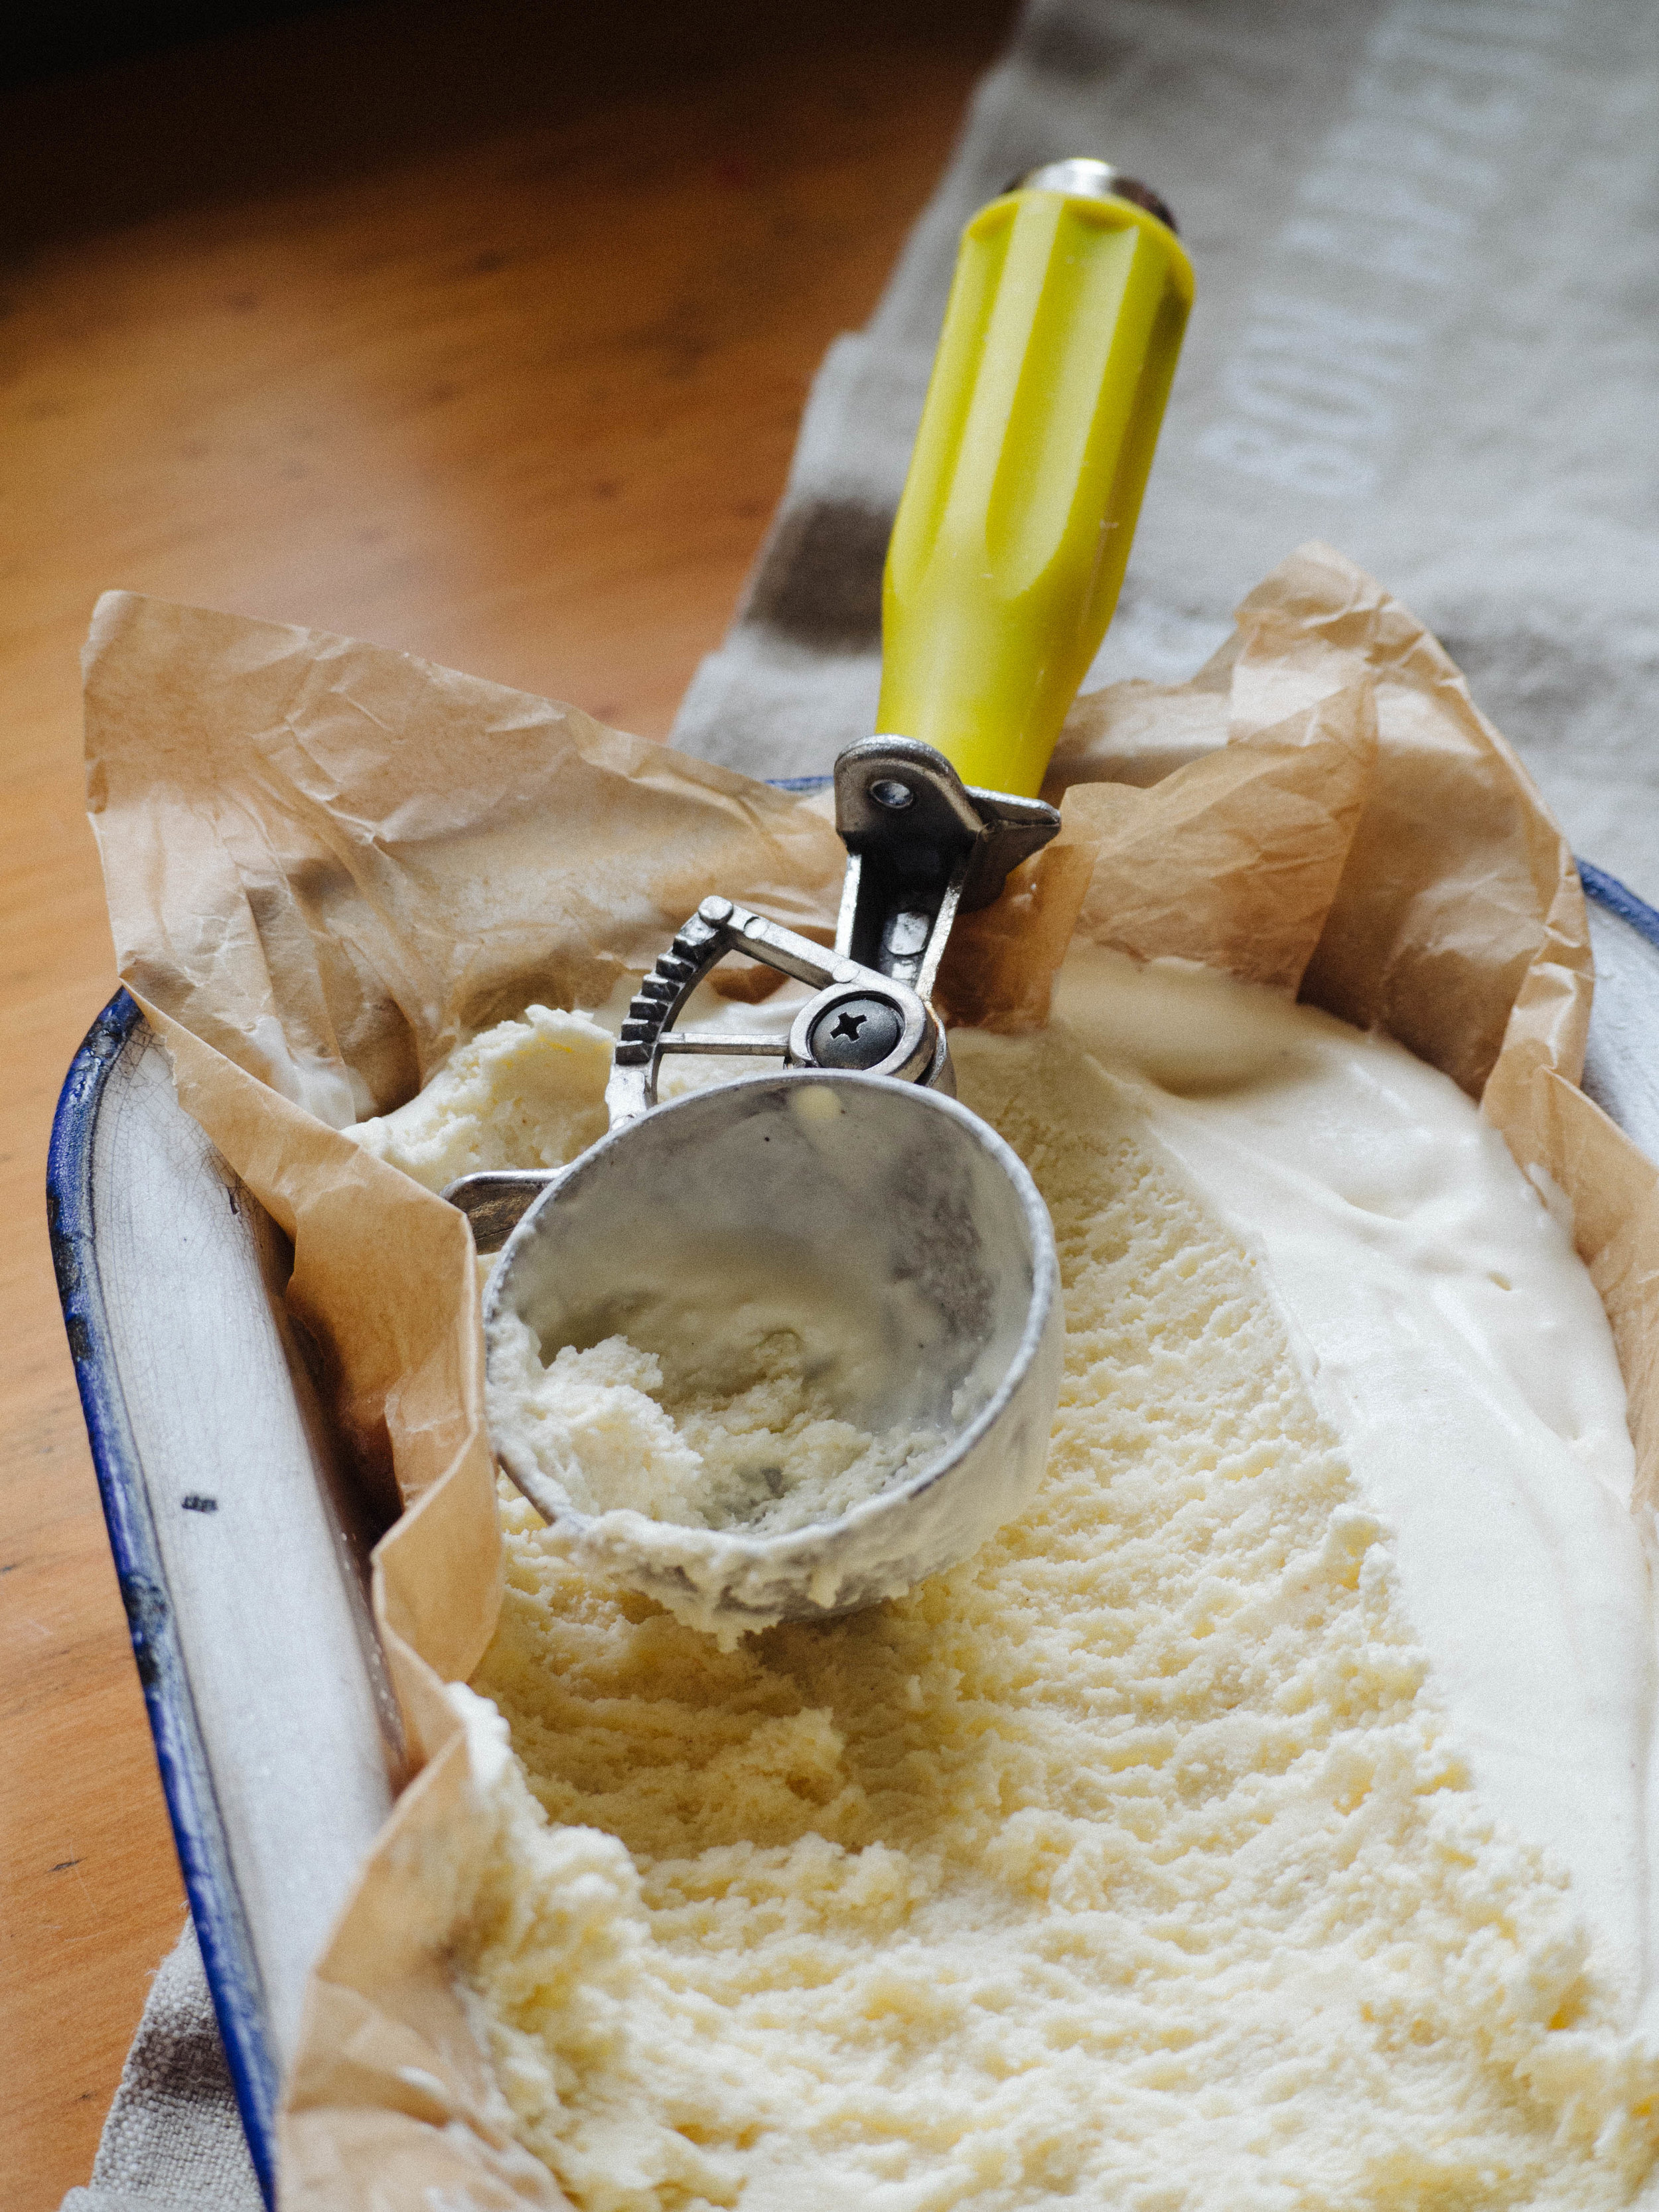
Homemade Honey Ice Cream
Honey Ice Cream
Ingredients:
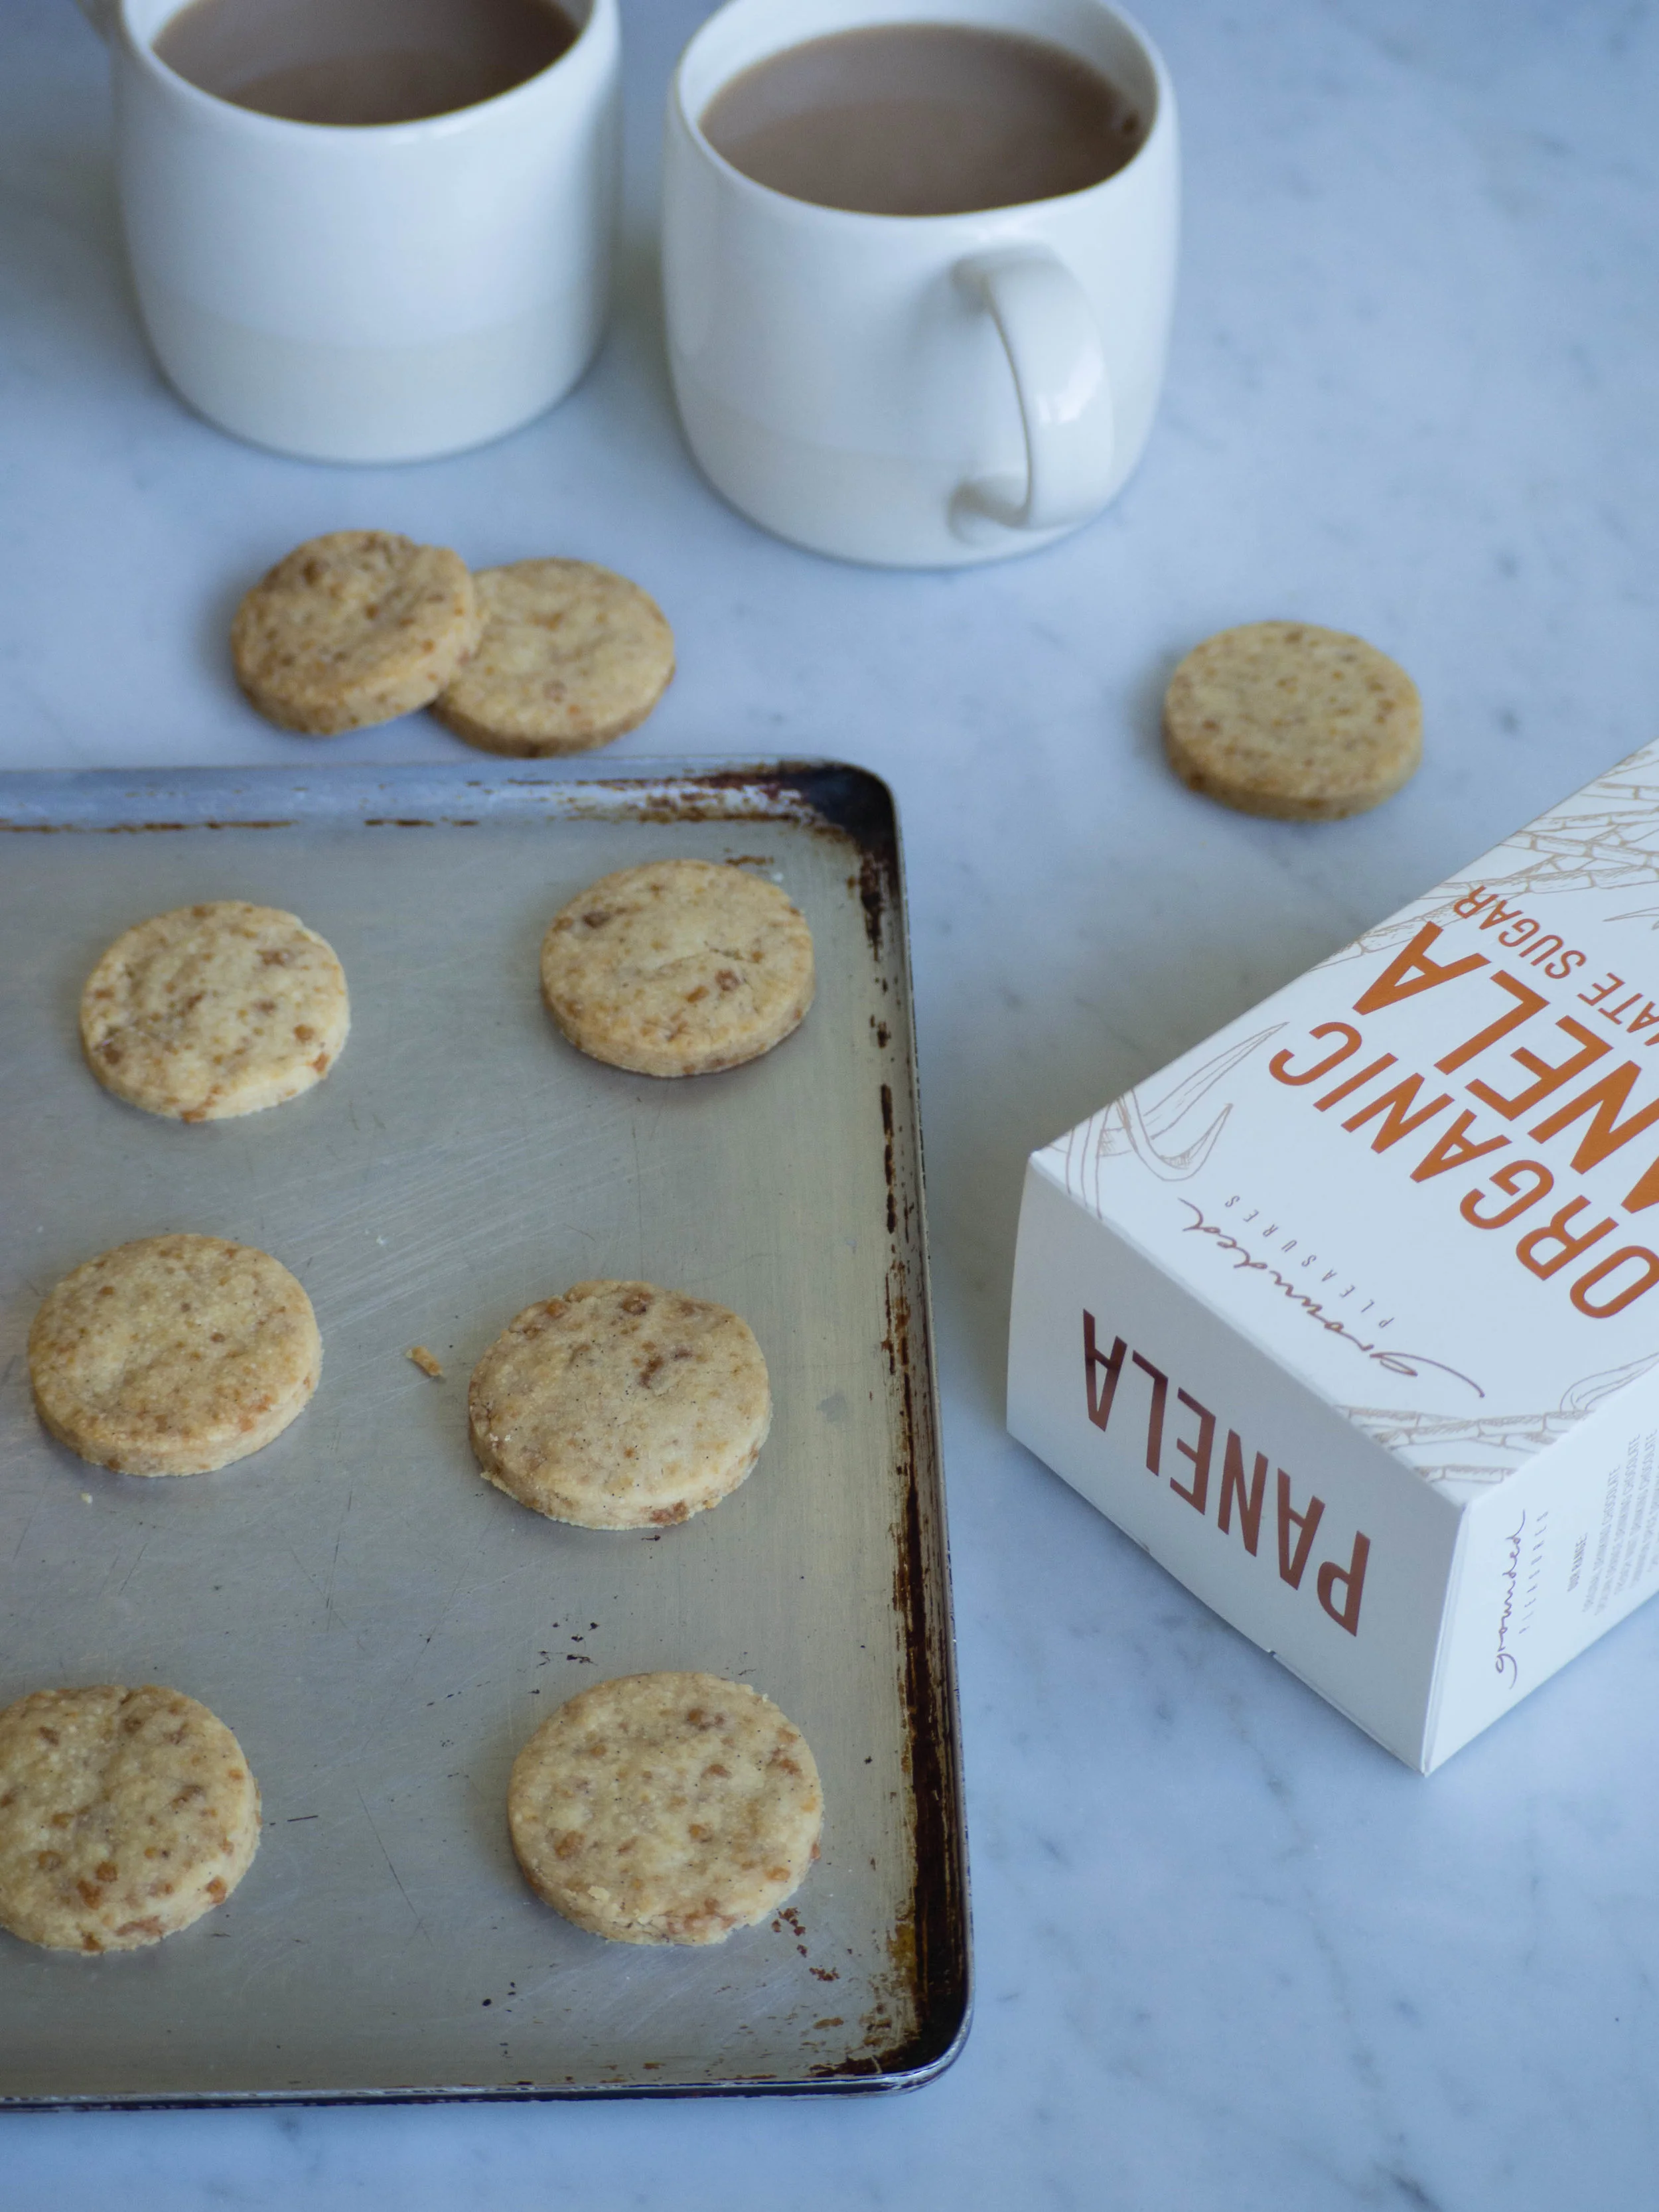
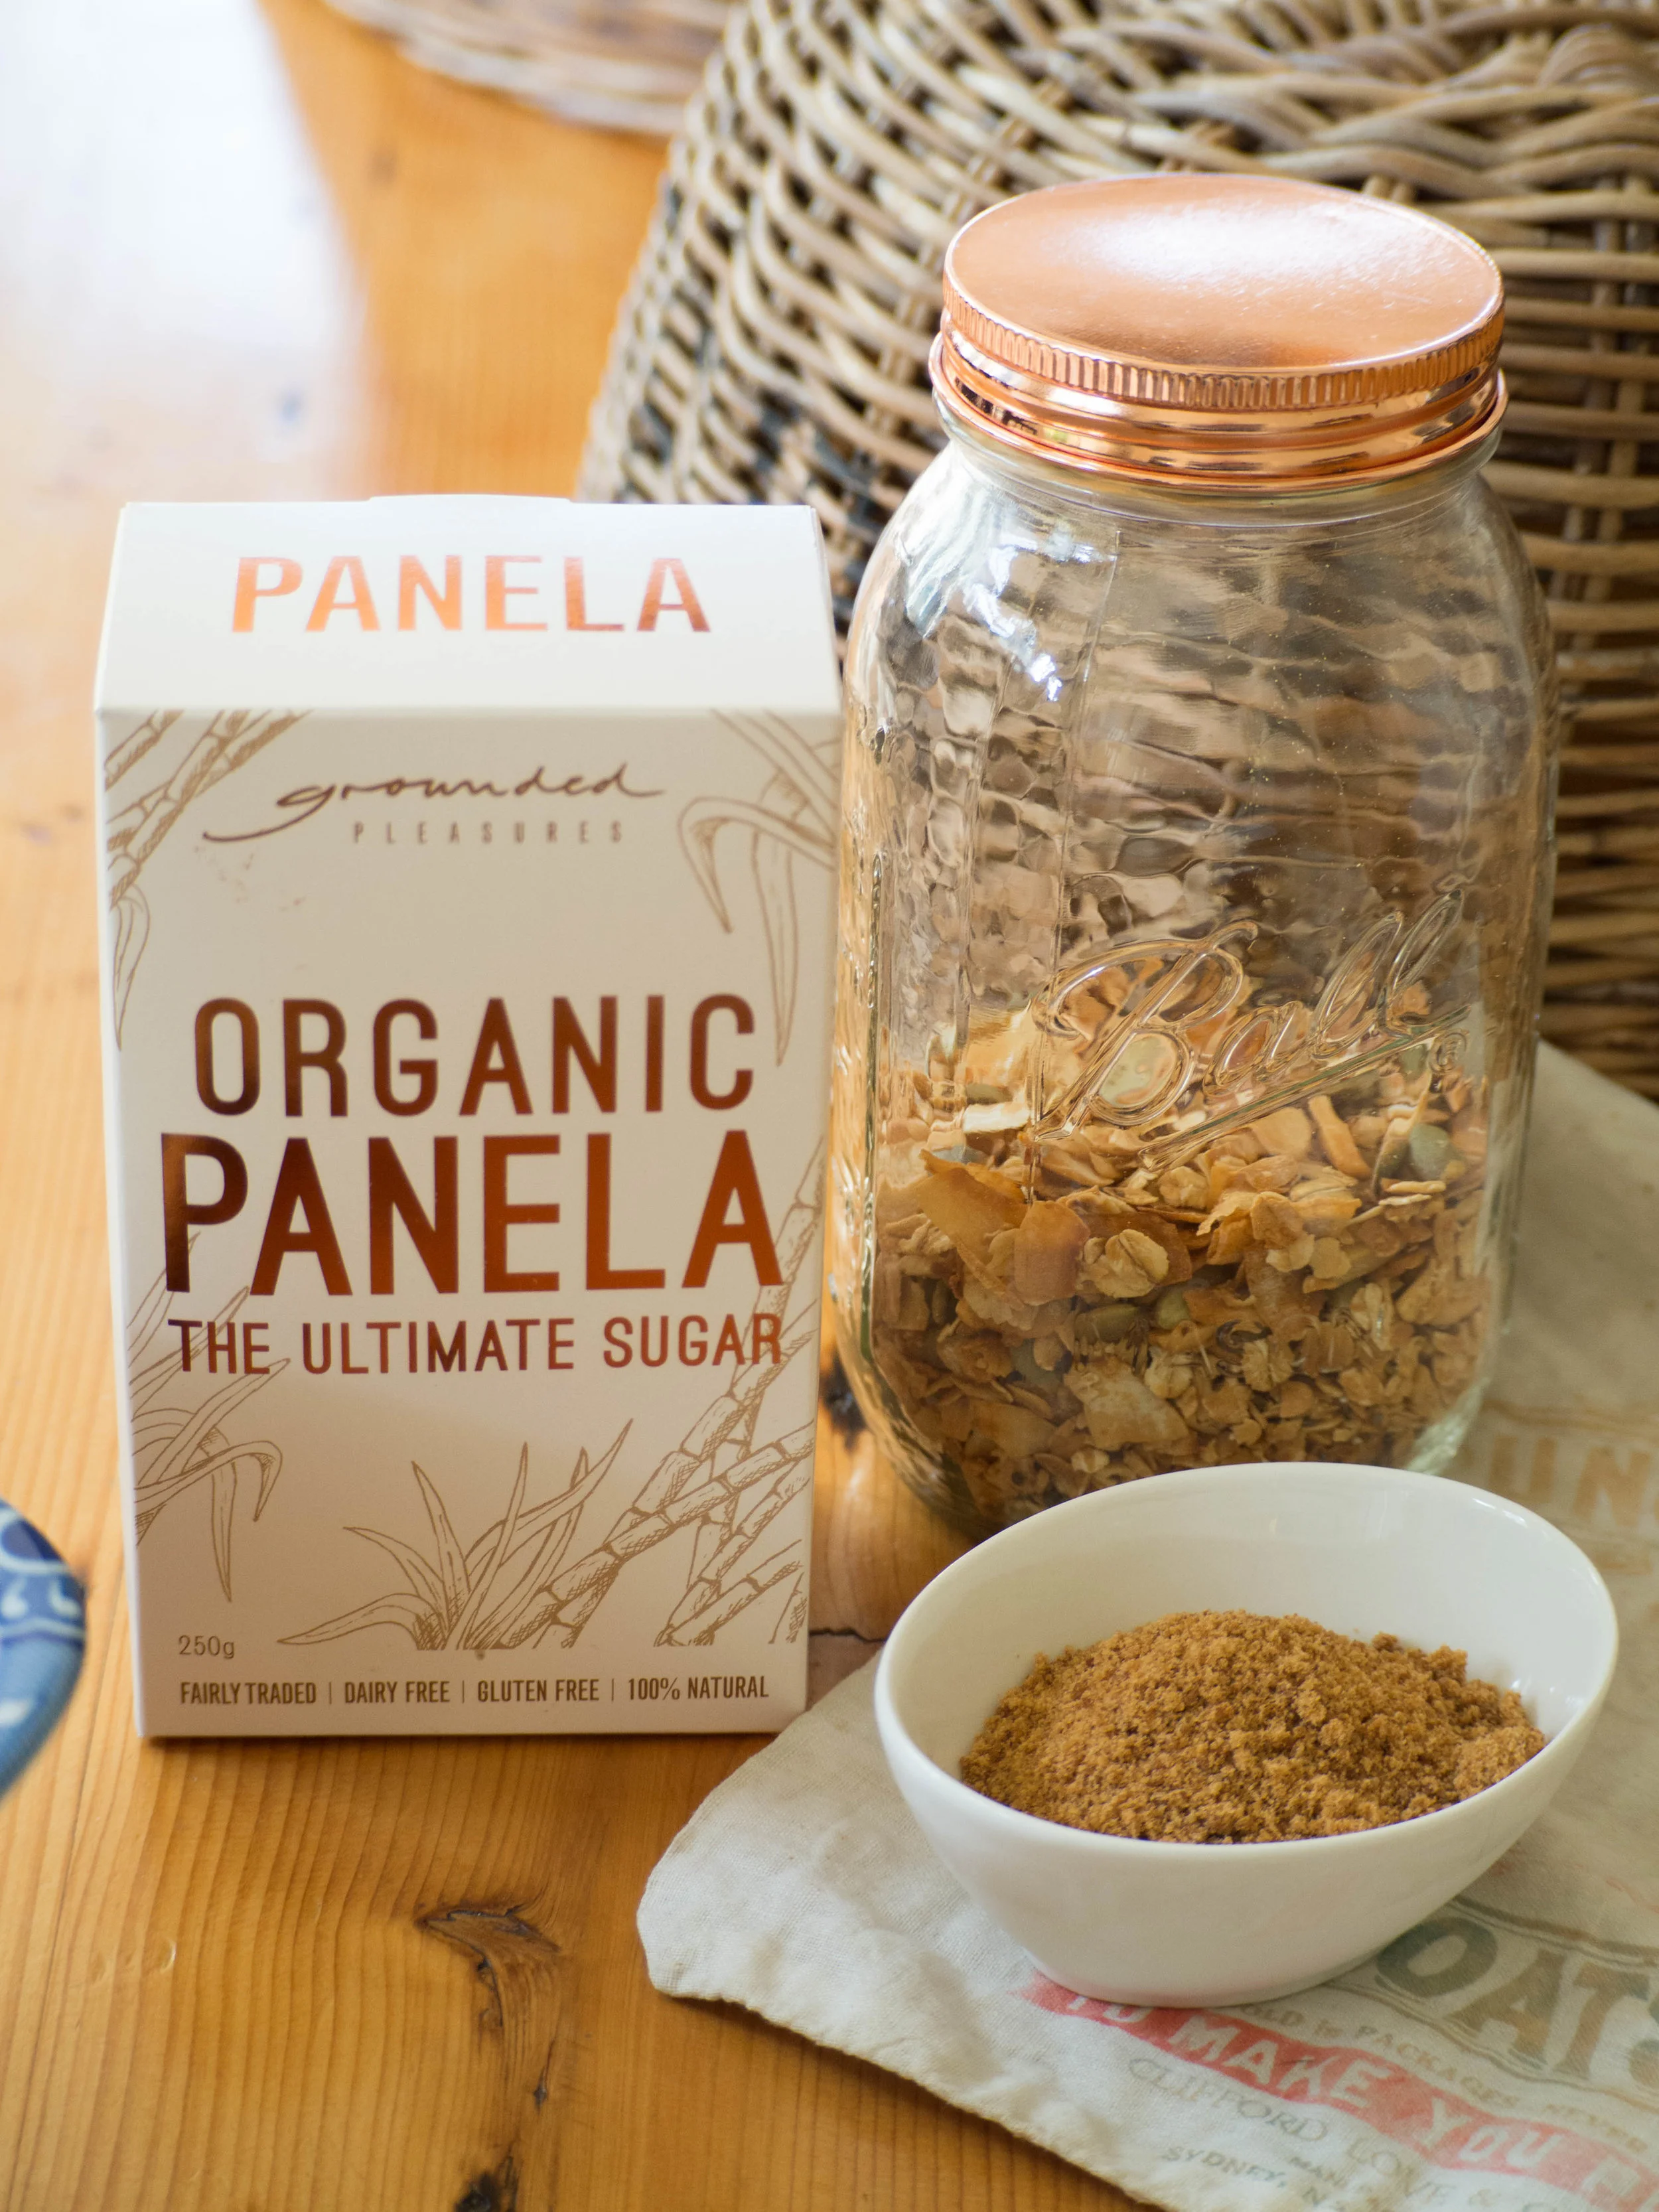
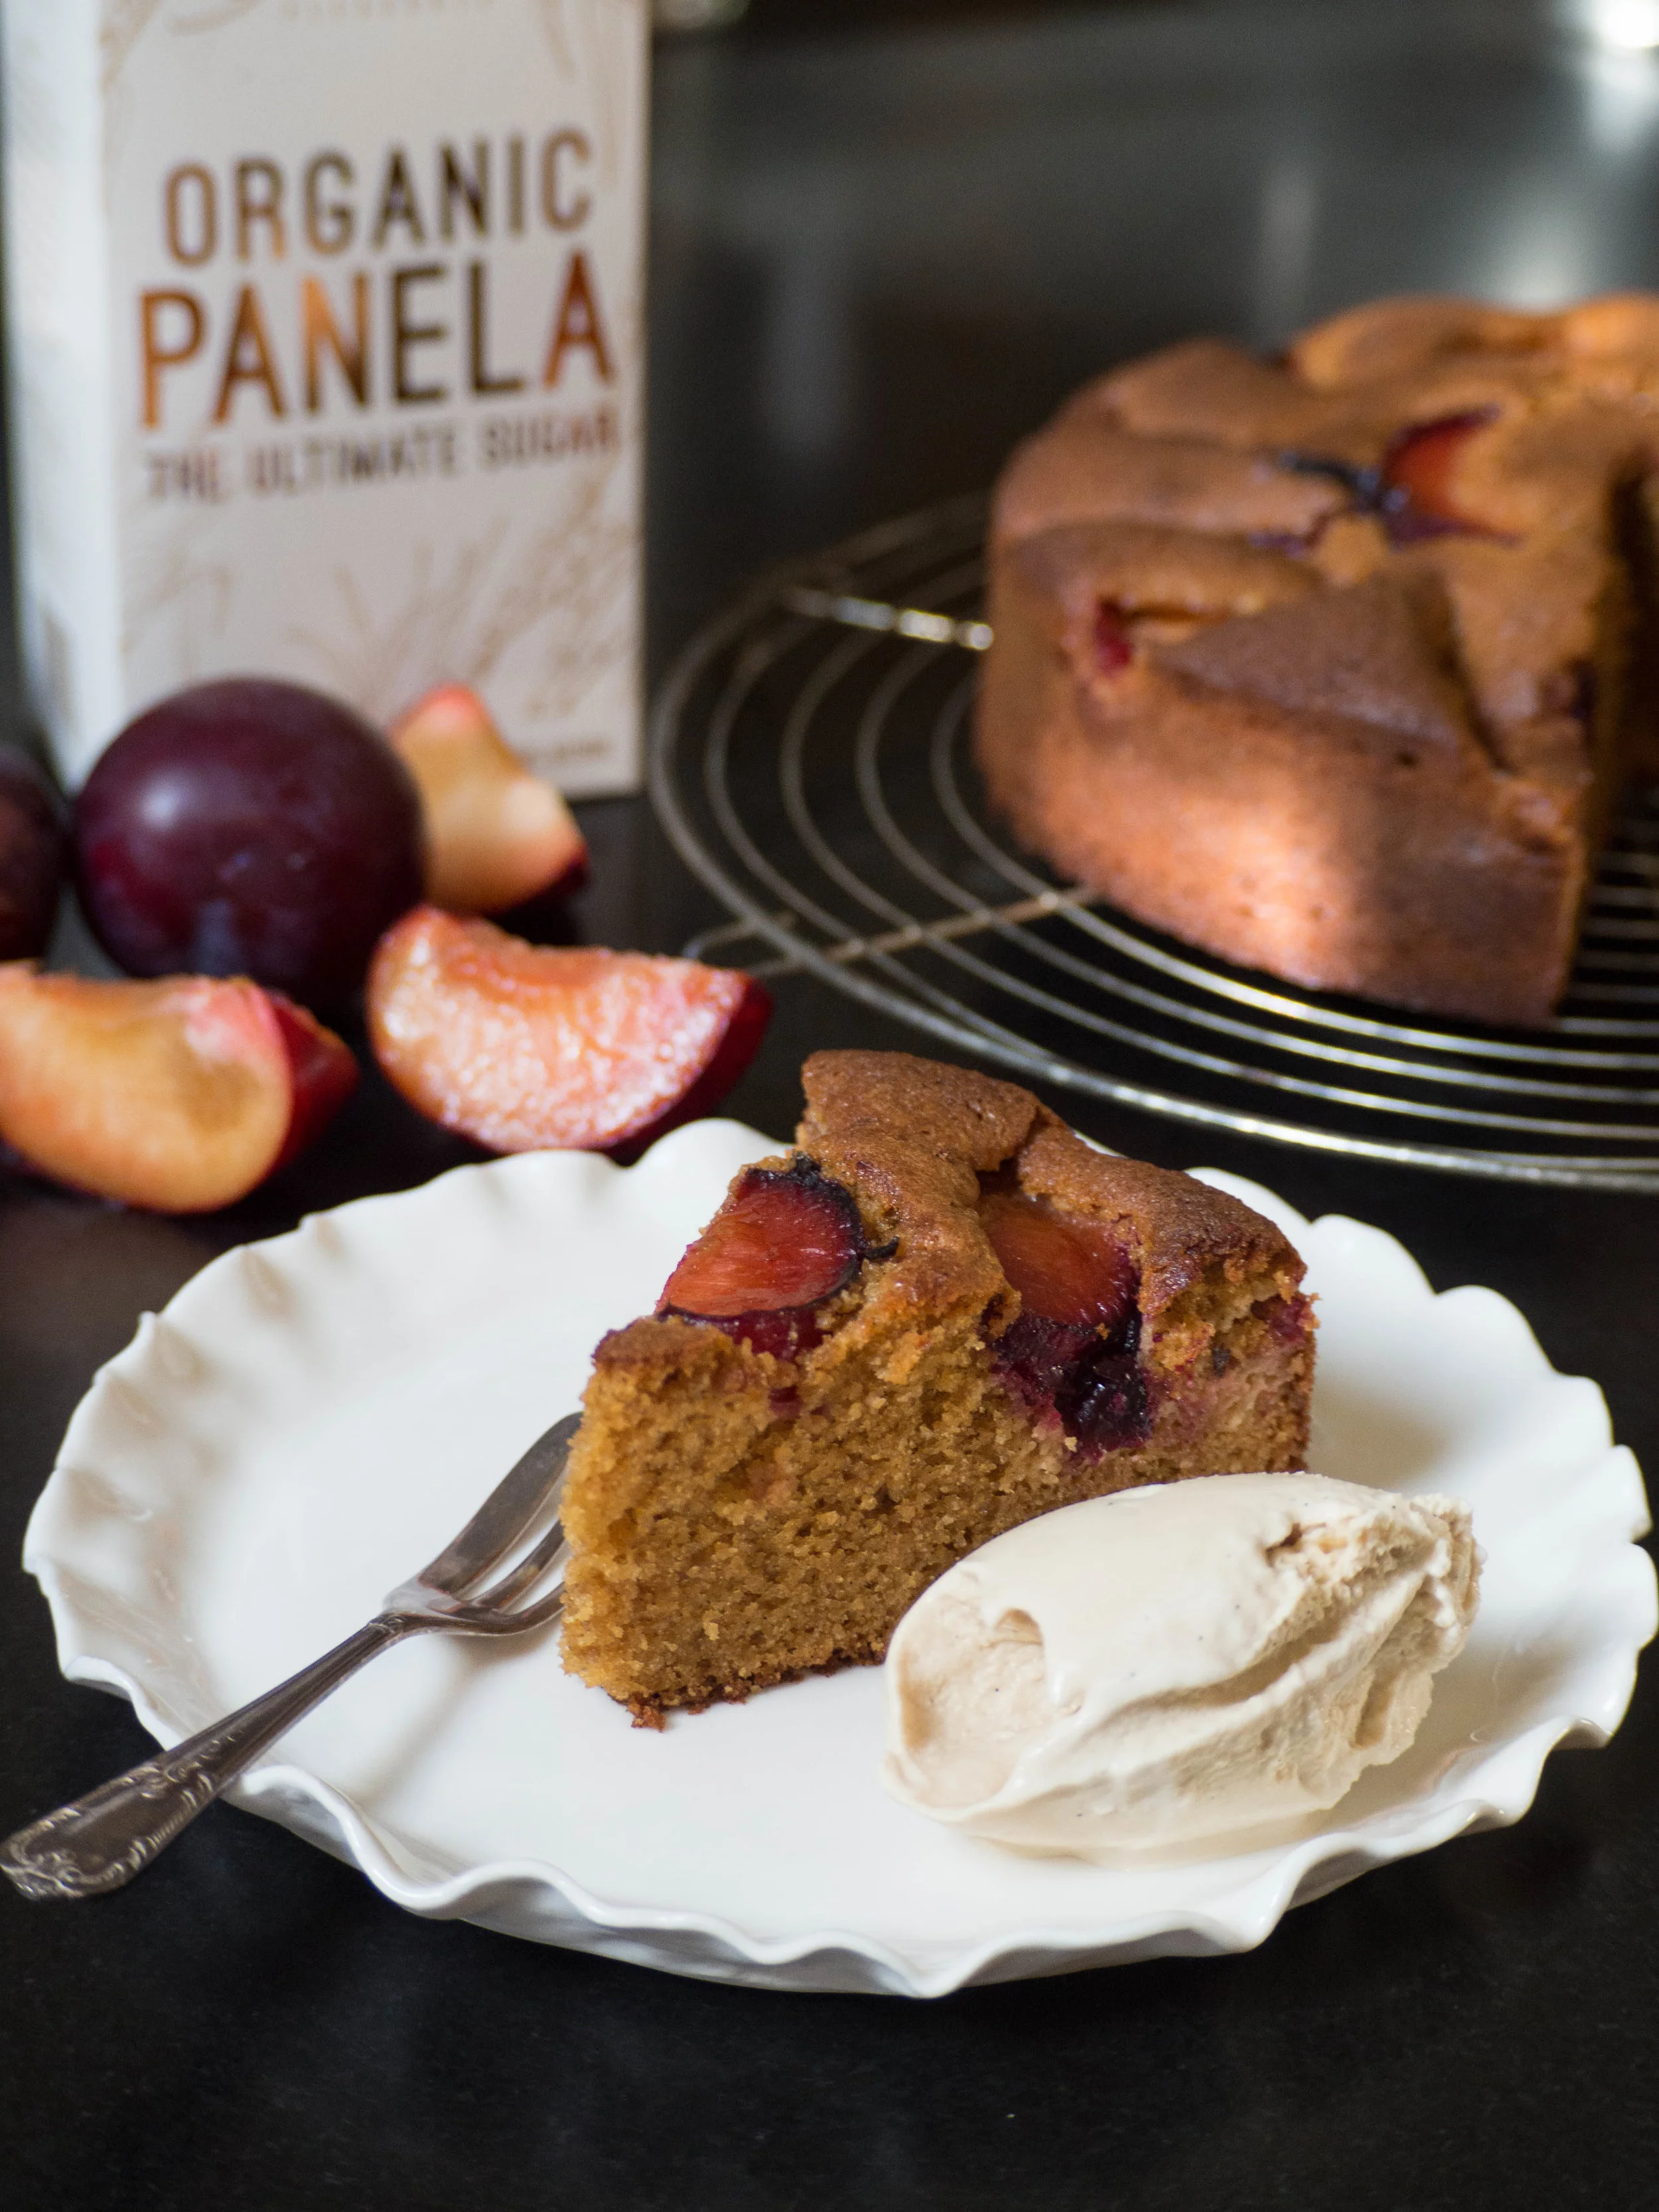
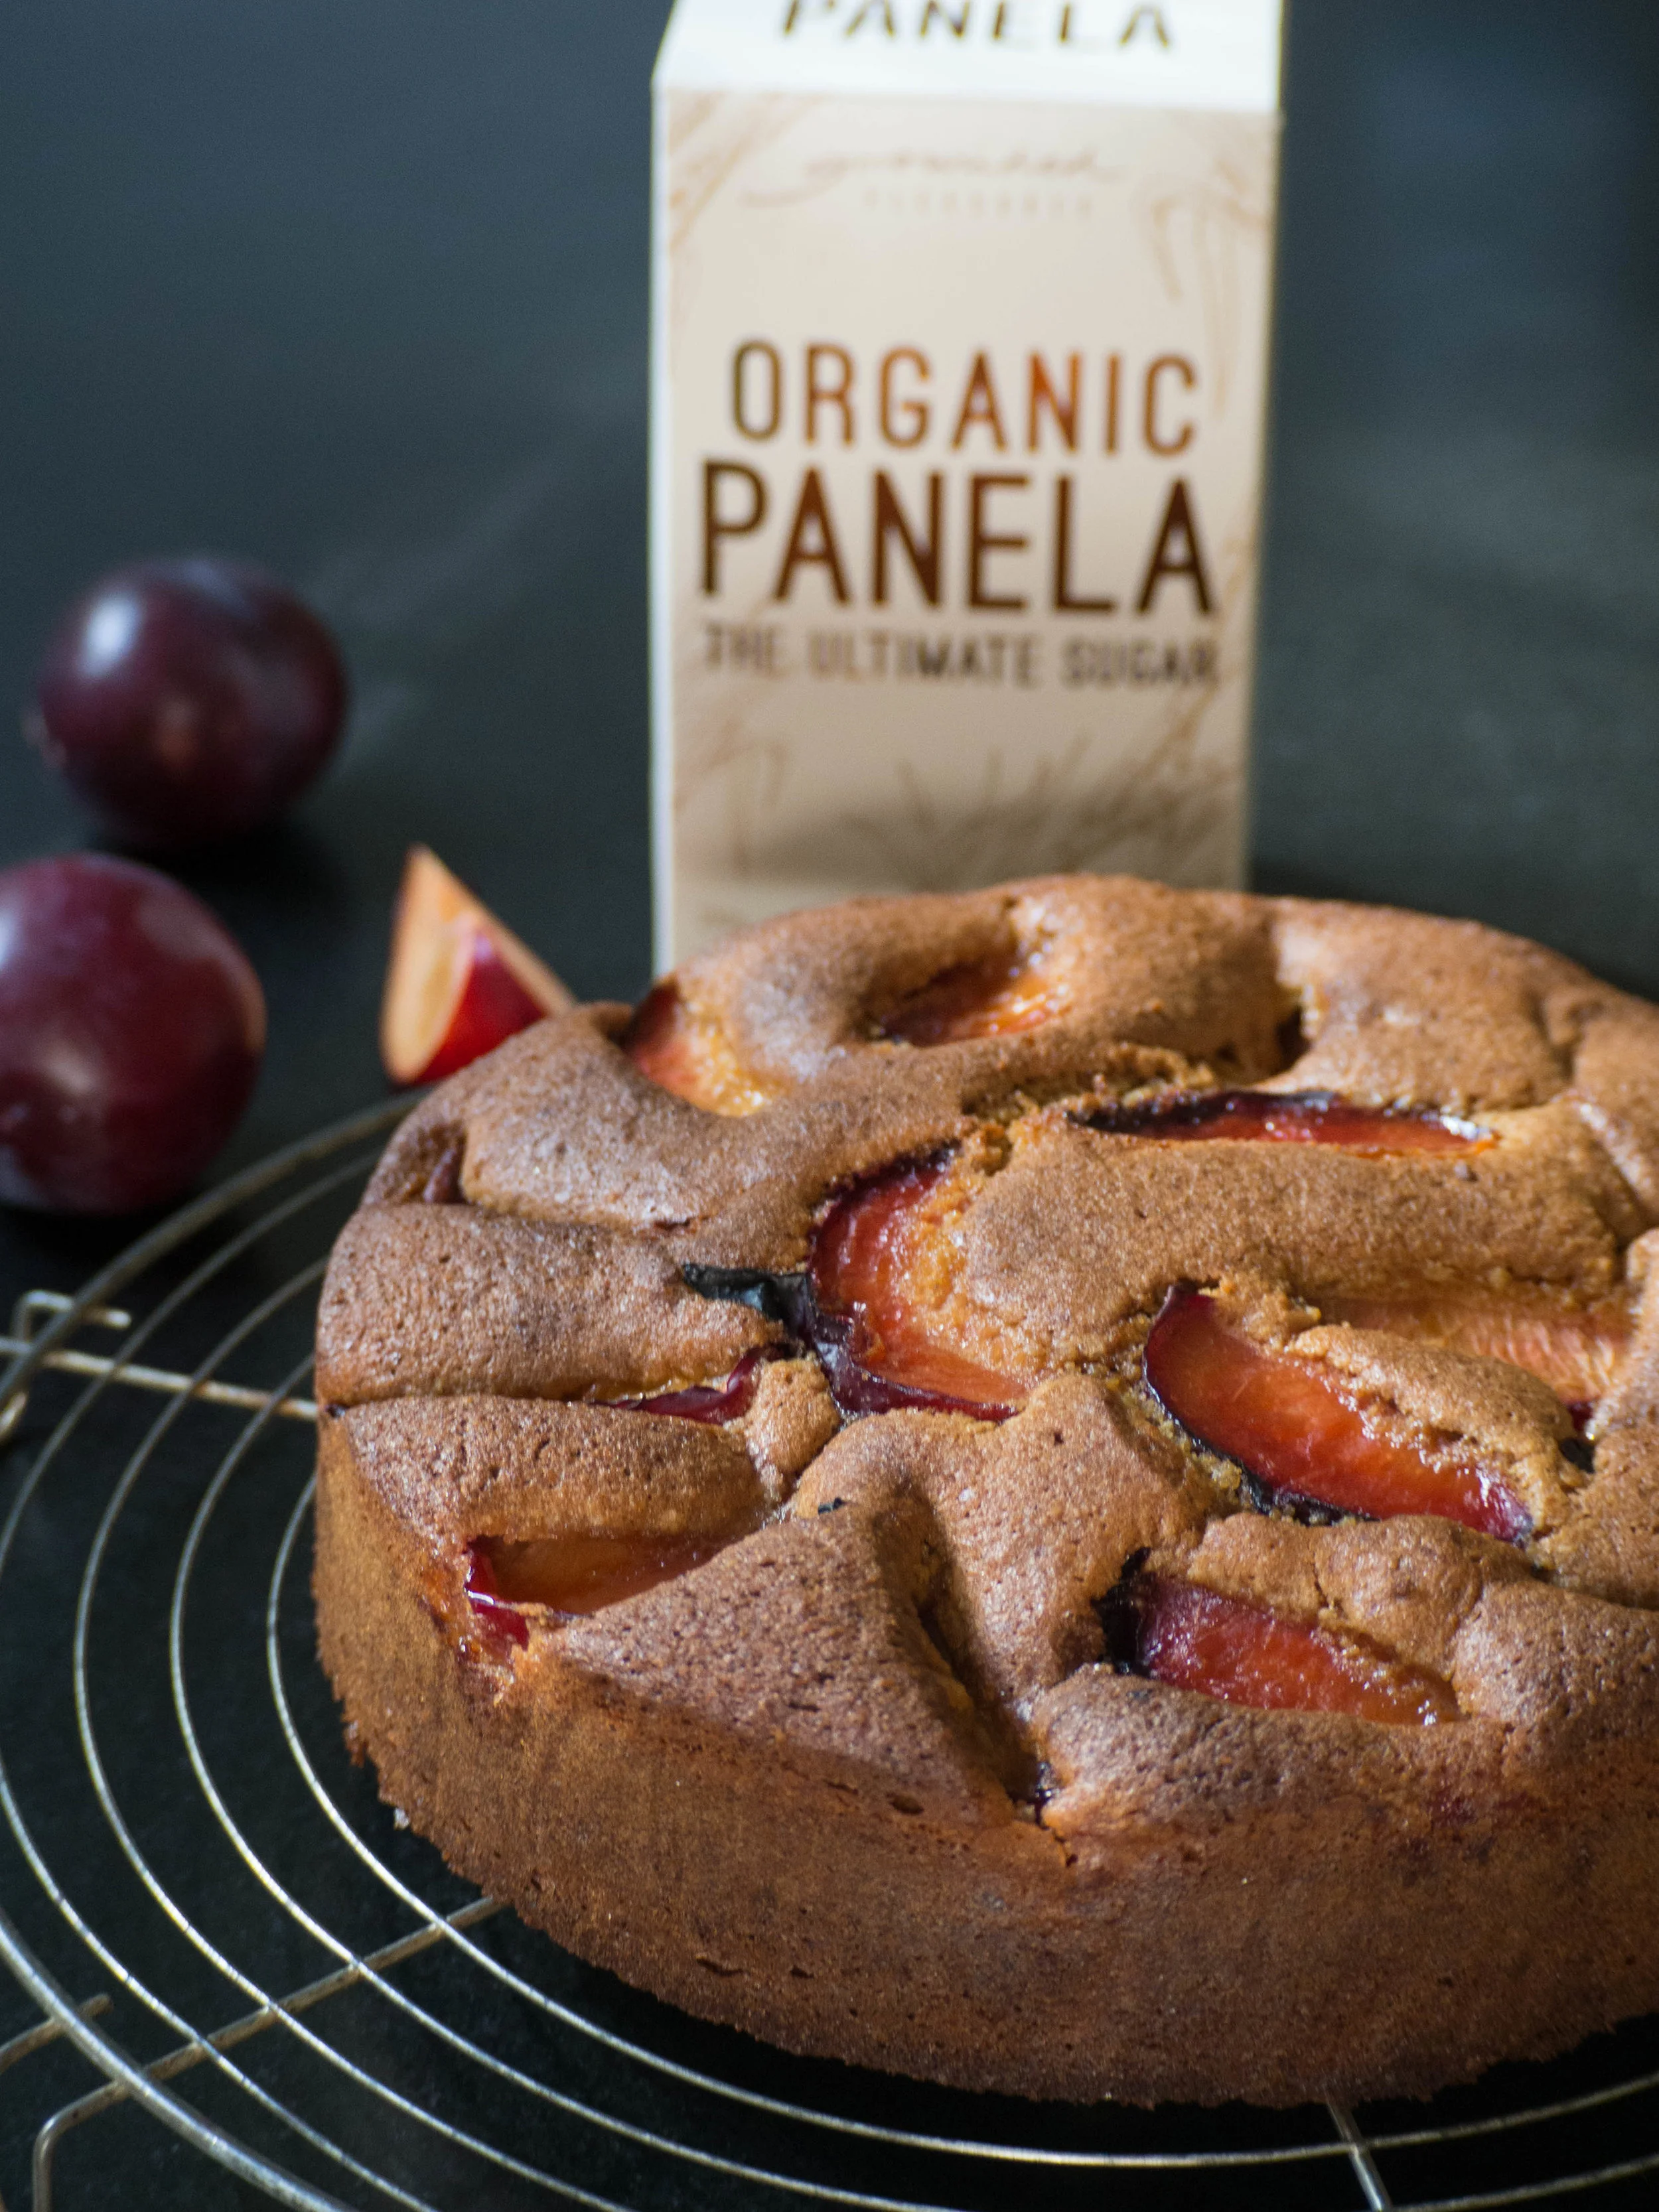
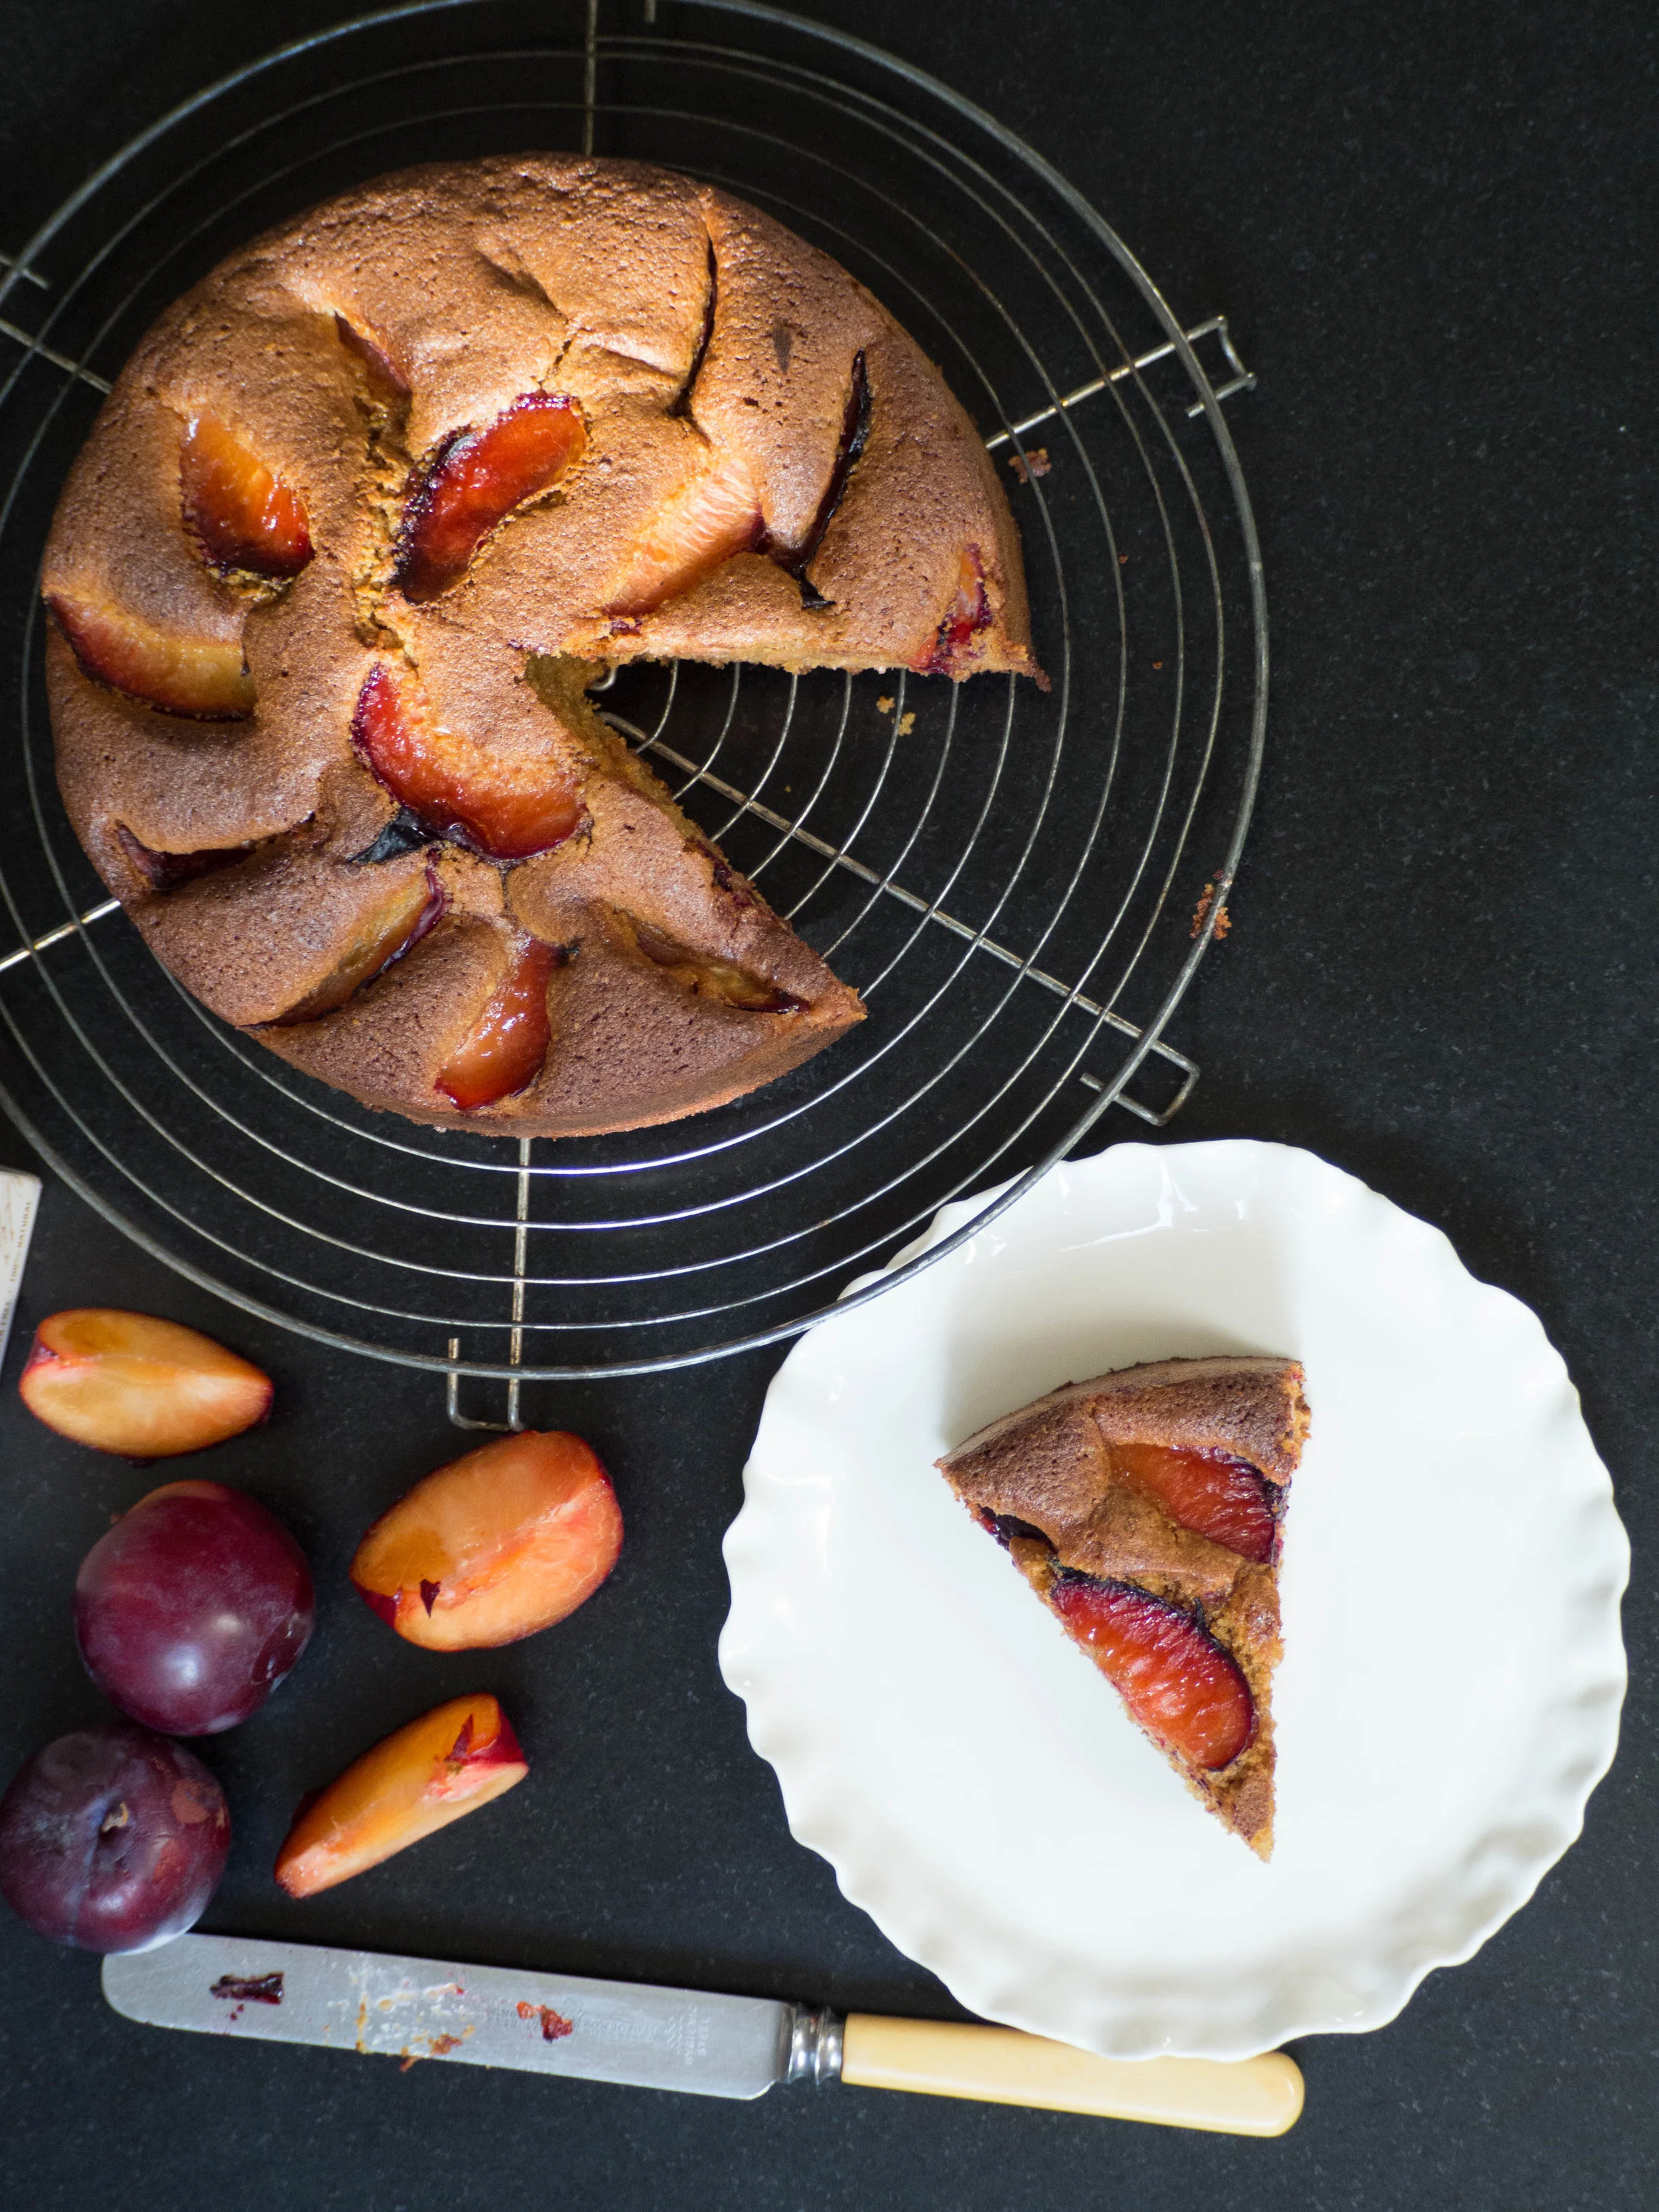
40g white sugar (Panela Sugar also works well)
175ml milk (preferably Little Big Dairy Co Honey Malt and Vanilla Milk)
125ml pouring cream
150ml Greek style yoghurt
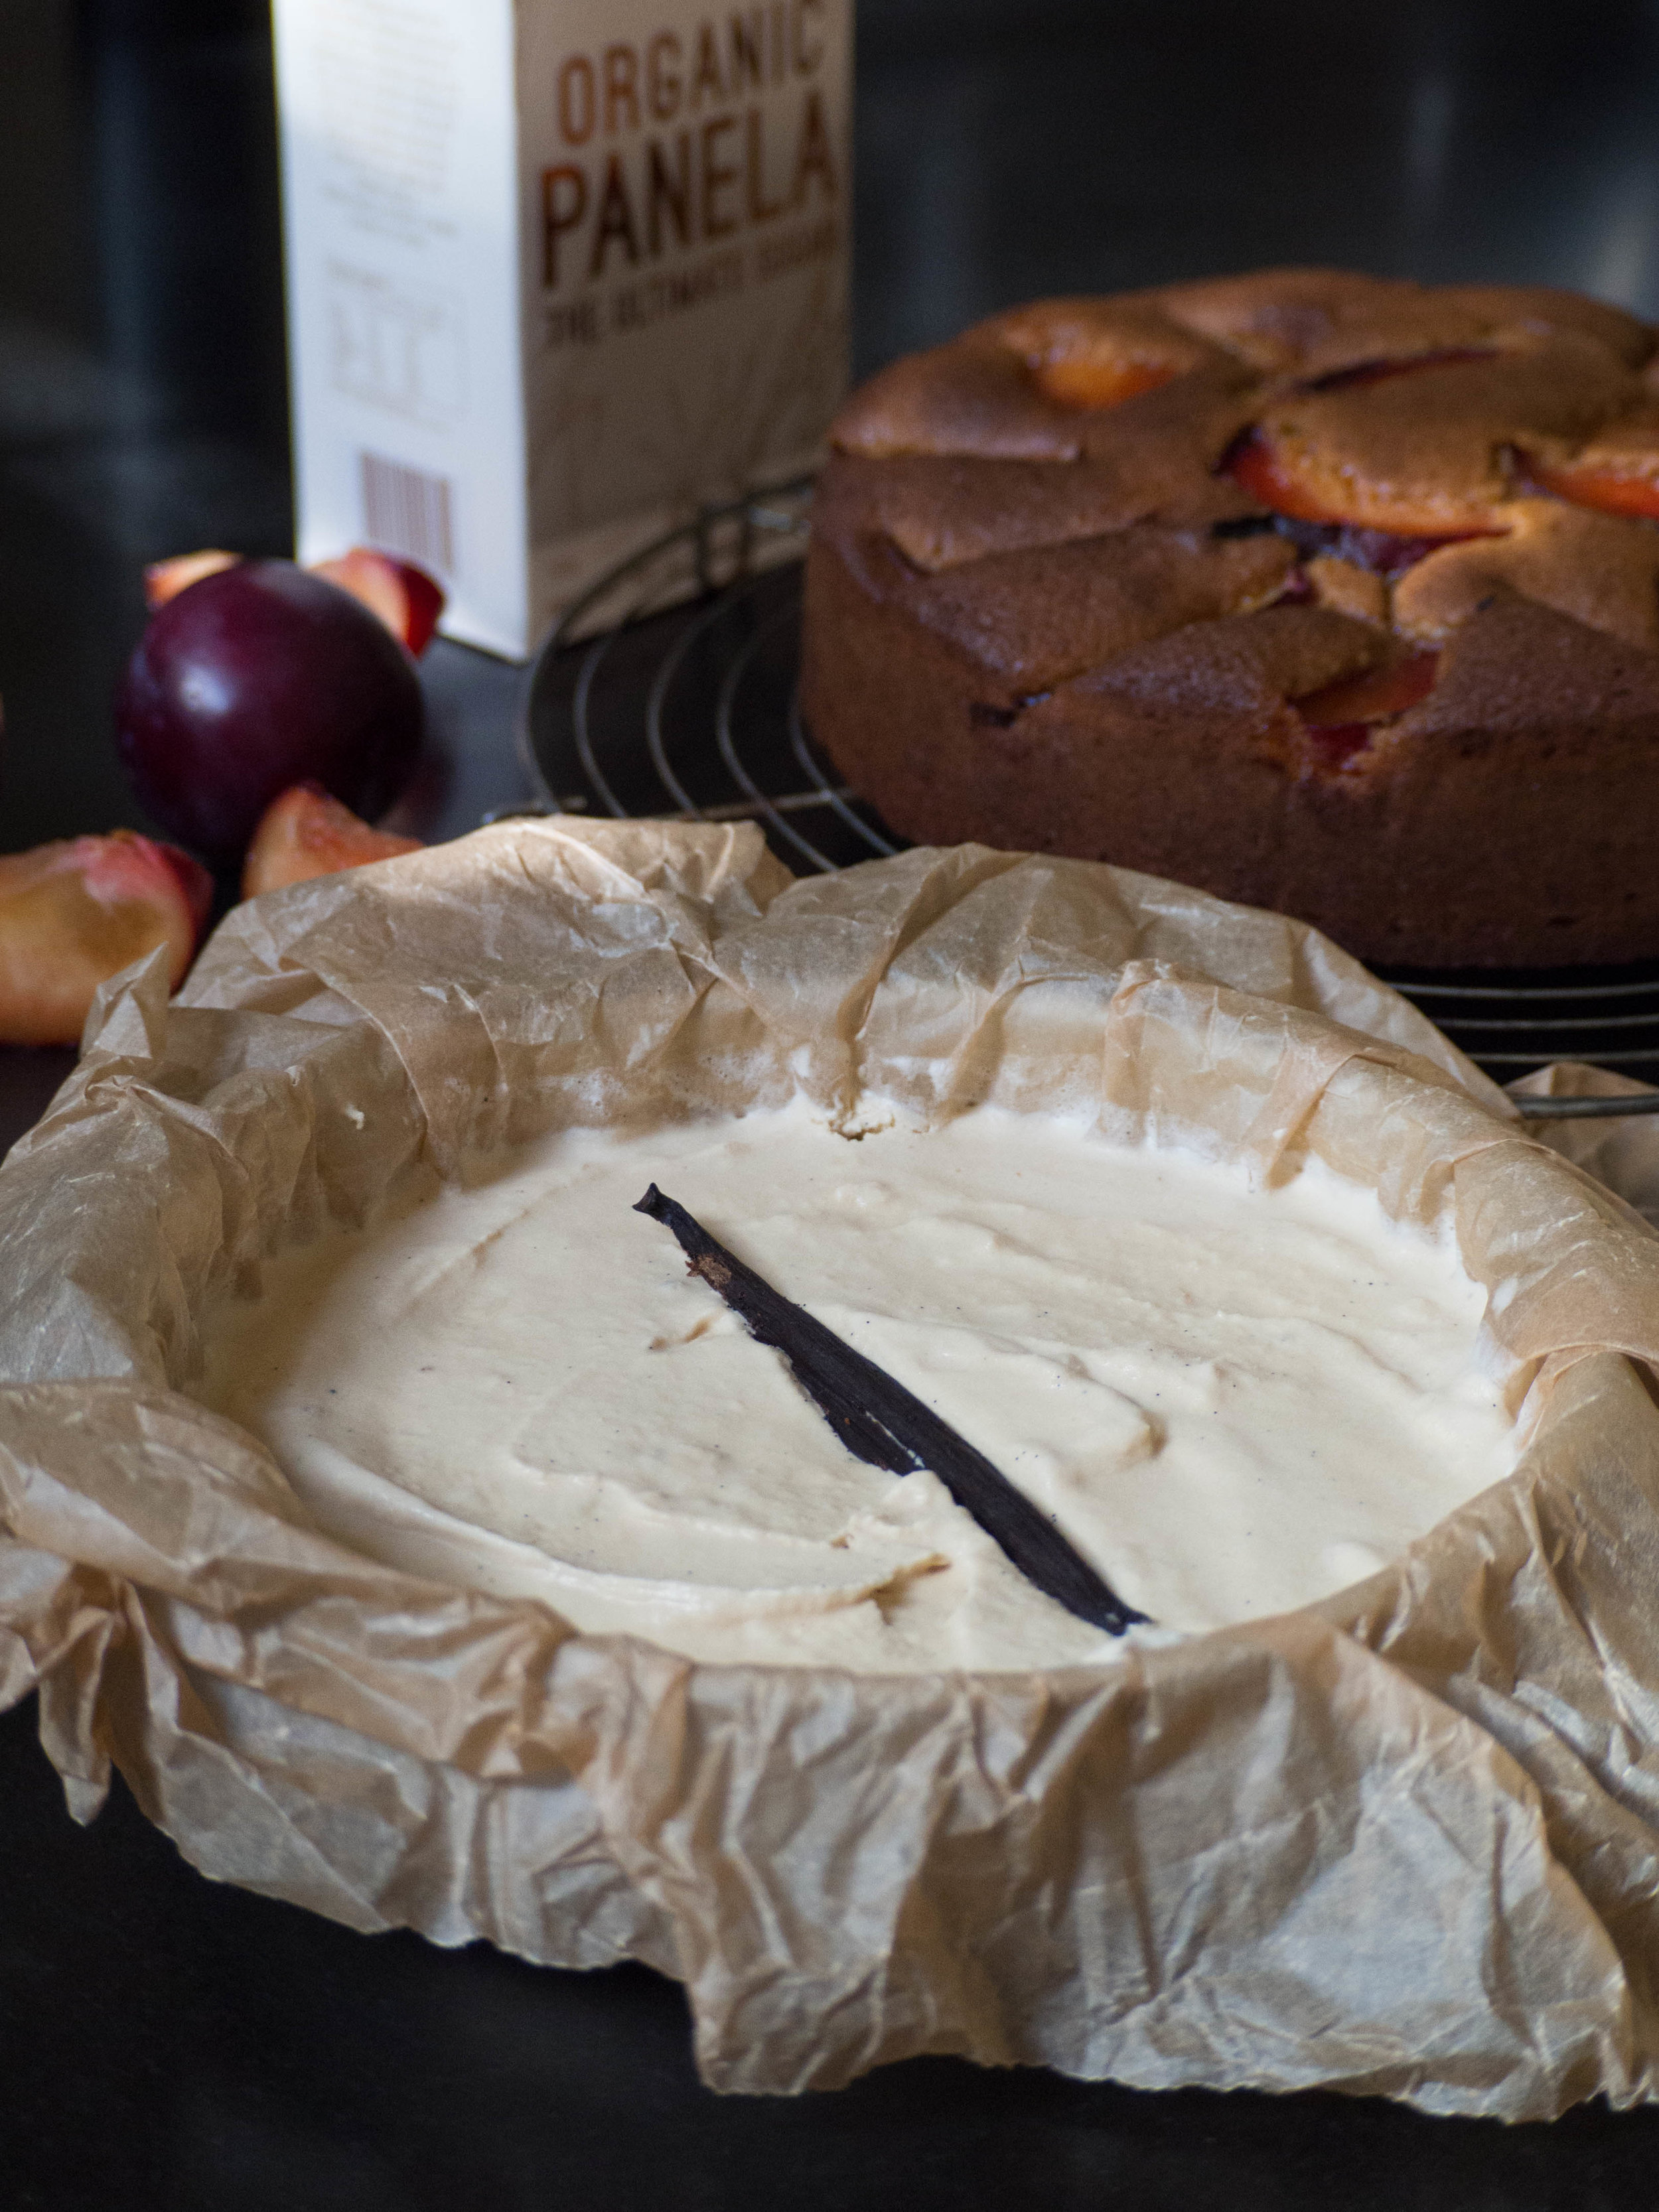
1 tbsp vanilla bean paste
160g mild flavoured honey
Method:
Whisk the milk and sugar together until the sugar has dissolved and the milk has become frothy. Then add the cream, yoghurt, vanilla and honey. Whisk until well combined and the mixture has thickened a little.
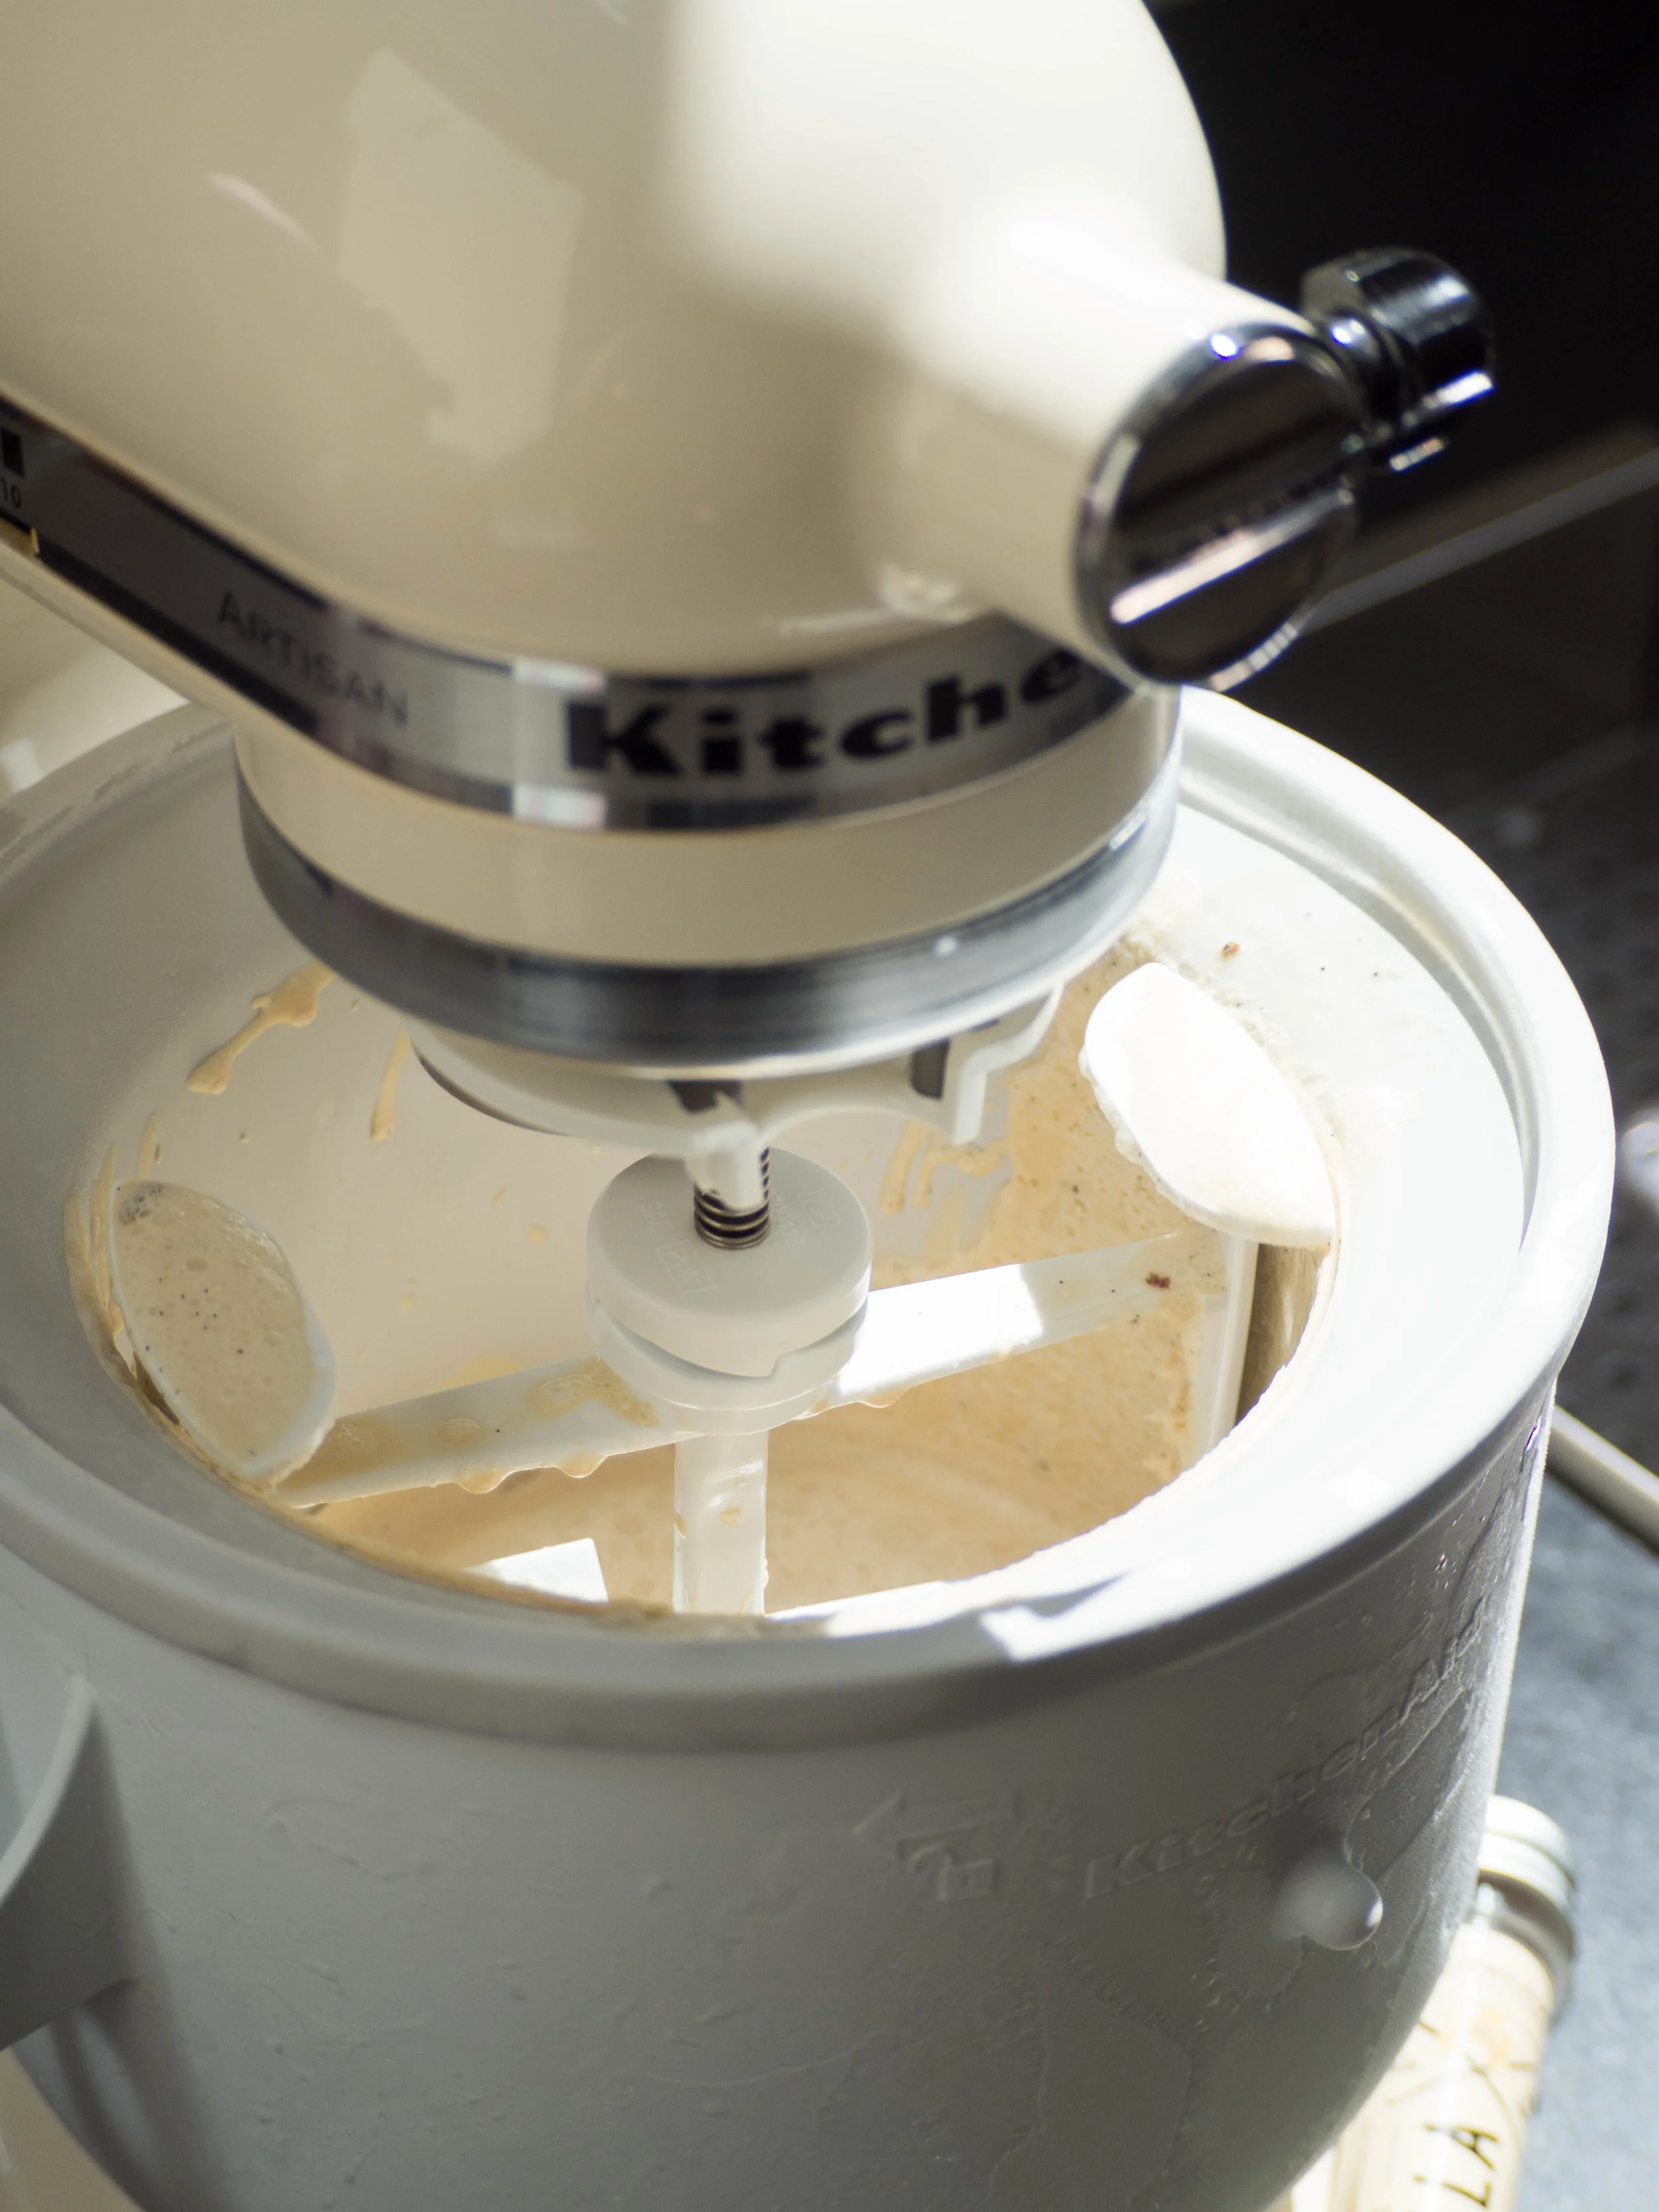
Transfer mixture into the bowl of an ice cream machine, and process according to machine instructions. I find the churning process takes about 10 minutes (weather depending), and is ready once the ice cream has thickened, slightly frozen and is clinging to the paddle of the ice cream machine.
Transfer ice cream to a freezer safe container (at least 1L capacity) and freeze overnight.
Remove from freezer when ready to serve - due to the yoghurt in the ice cream it does not freeze as hard as other ice creams and is easy to serve straight from the freezer.
Honey Ice Cream
Reference: ‘Lomelino’s Ice Cream’ by Linda Lomelino (Roost Books, 2015), p.13
Homemade Honey Ice Cream
Honey Ice Cream made using Little Big Dairy Co’s Honey Malt and Vanilla Milk