I have had this recipe on my mind since before last Christmas. I bought some cookie dough via Pepe Saya, that was a collab between them and Butterboy. Both are business that I really like, and this festive cookie dough sounded perfect for me - brown butter ginger bread. Filled with white chocolate, spices and rolled in sugar this cookie dough added a nice festive cookie hit that lasted well into January as I had frozen the dough and just baked some as I wanted it.
This cookie dough got me thinking about creating my own version of this cookie. I needed my version to be heavier on the spices and more flavoursome in that respect, and the Pepe Saya x Butterboy cookies were lacking the ginger flavour for me. I have added 2 tsp of ground ginger to my cookies (you can add just 1 tsp if you want a milder flavour), and I also added some chopped stem ginger to add another layer of that ginger flavour. Crystallised ginger would also work well, but this element can also be left out completely if you wish.
I also made my cookies a smaller size than the Pepe Saya x Butterboy cookies end up being. Butterboy is known for massive cookies, but when I bake my own I like smaller sized cookies so that one cookie doesn’t end up being almost a full meal (and more than one could comfortably be consumed in one sitting). You can play around with what size you’d like to make your cookies, just keep in mind it may alter the cooking time, you will need to leave more space between each on the trays if making them bigger (which may mean cooking in batches) and your yield for the recipe will also differ from what I have specified below.
This recipe will probably be added to my Christmas baking list when the time comes, but I think they are too good not to bake and eat all year round.
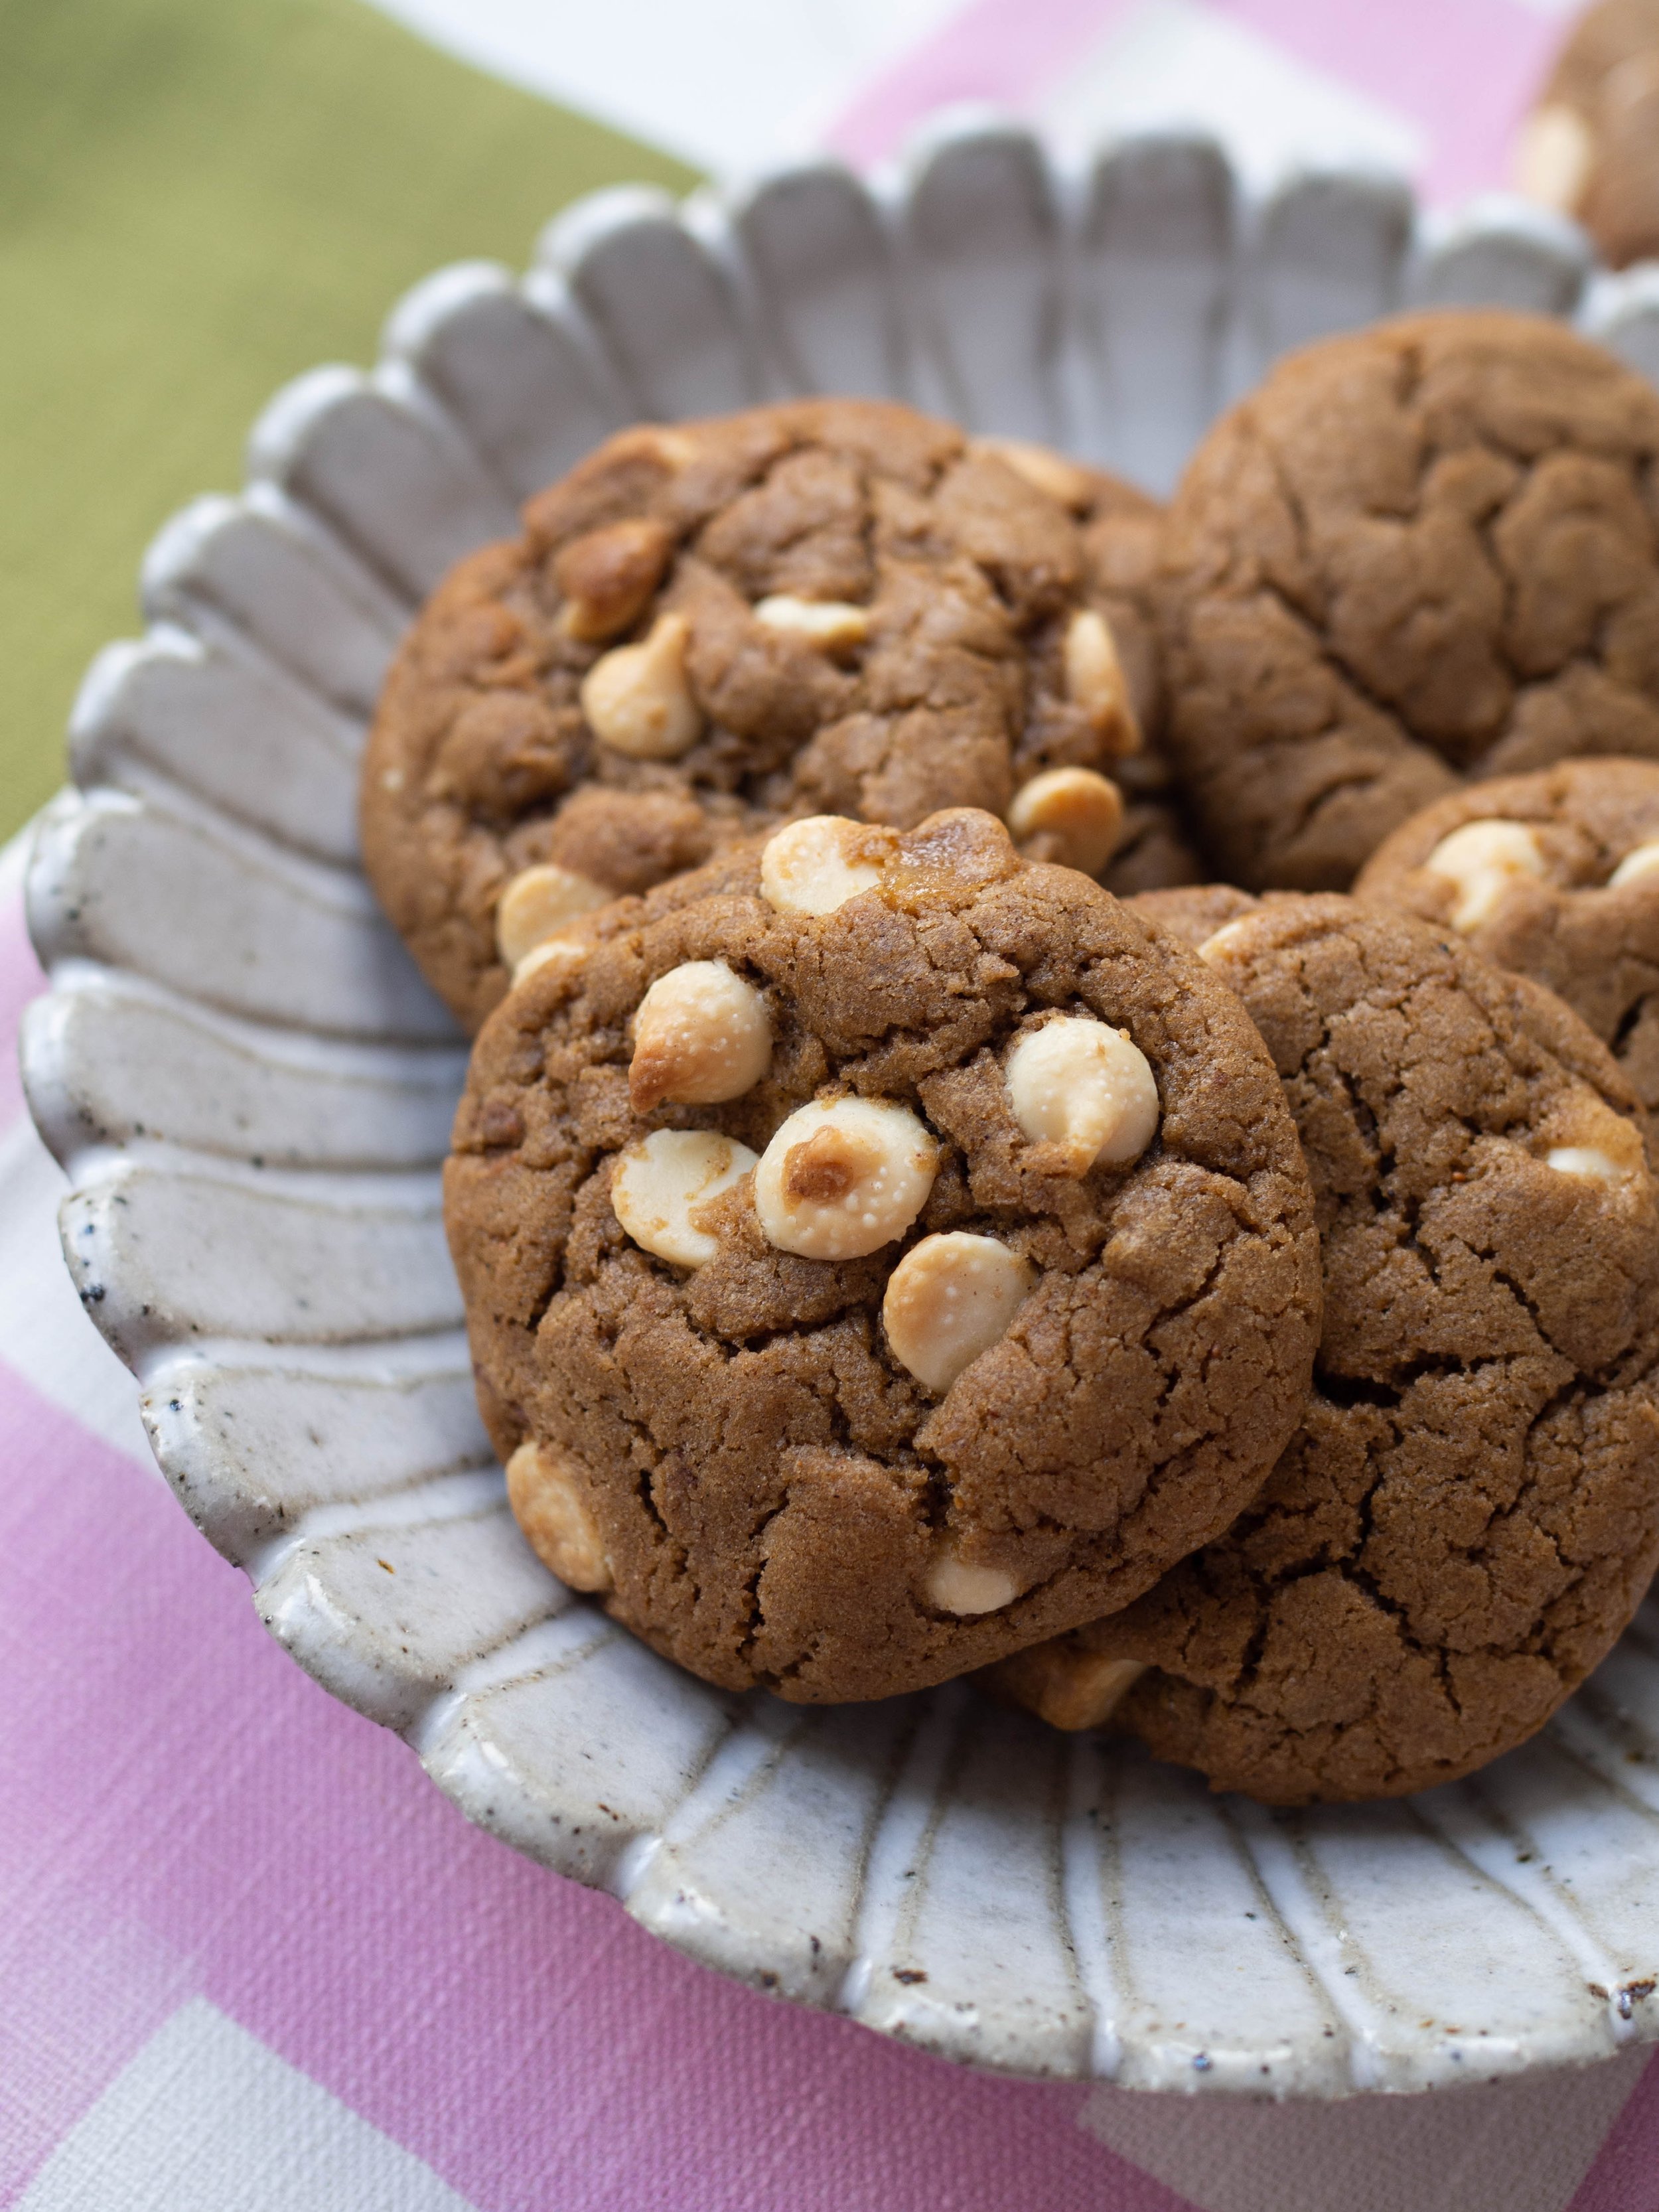

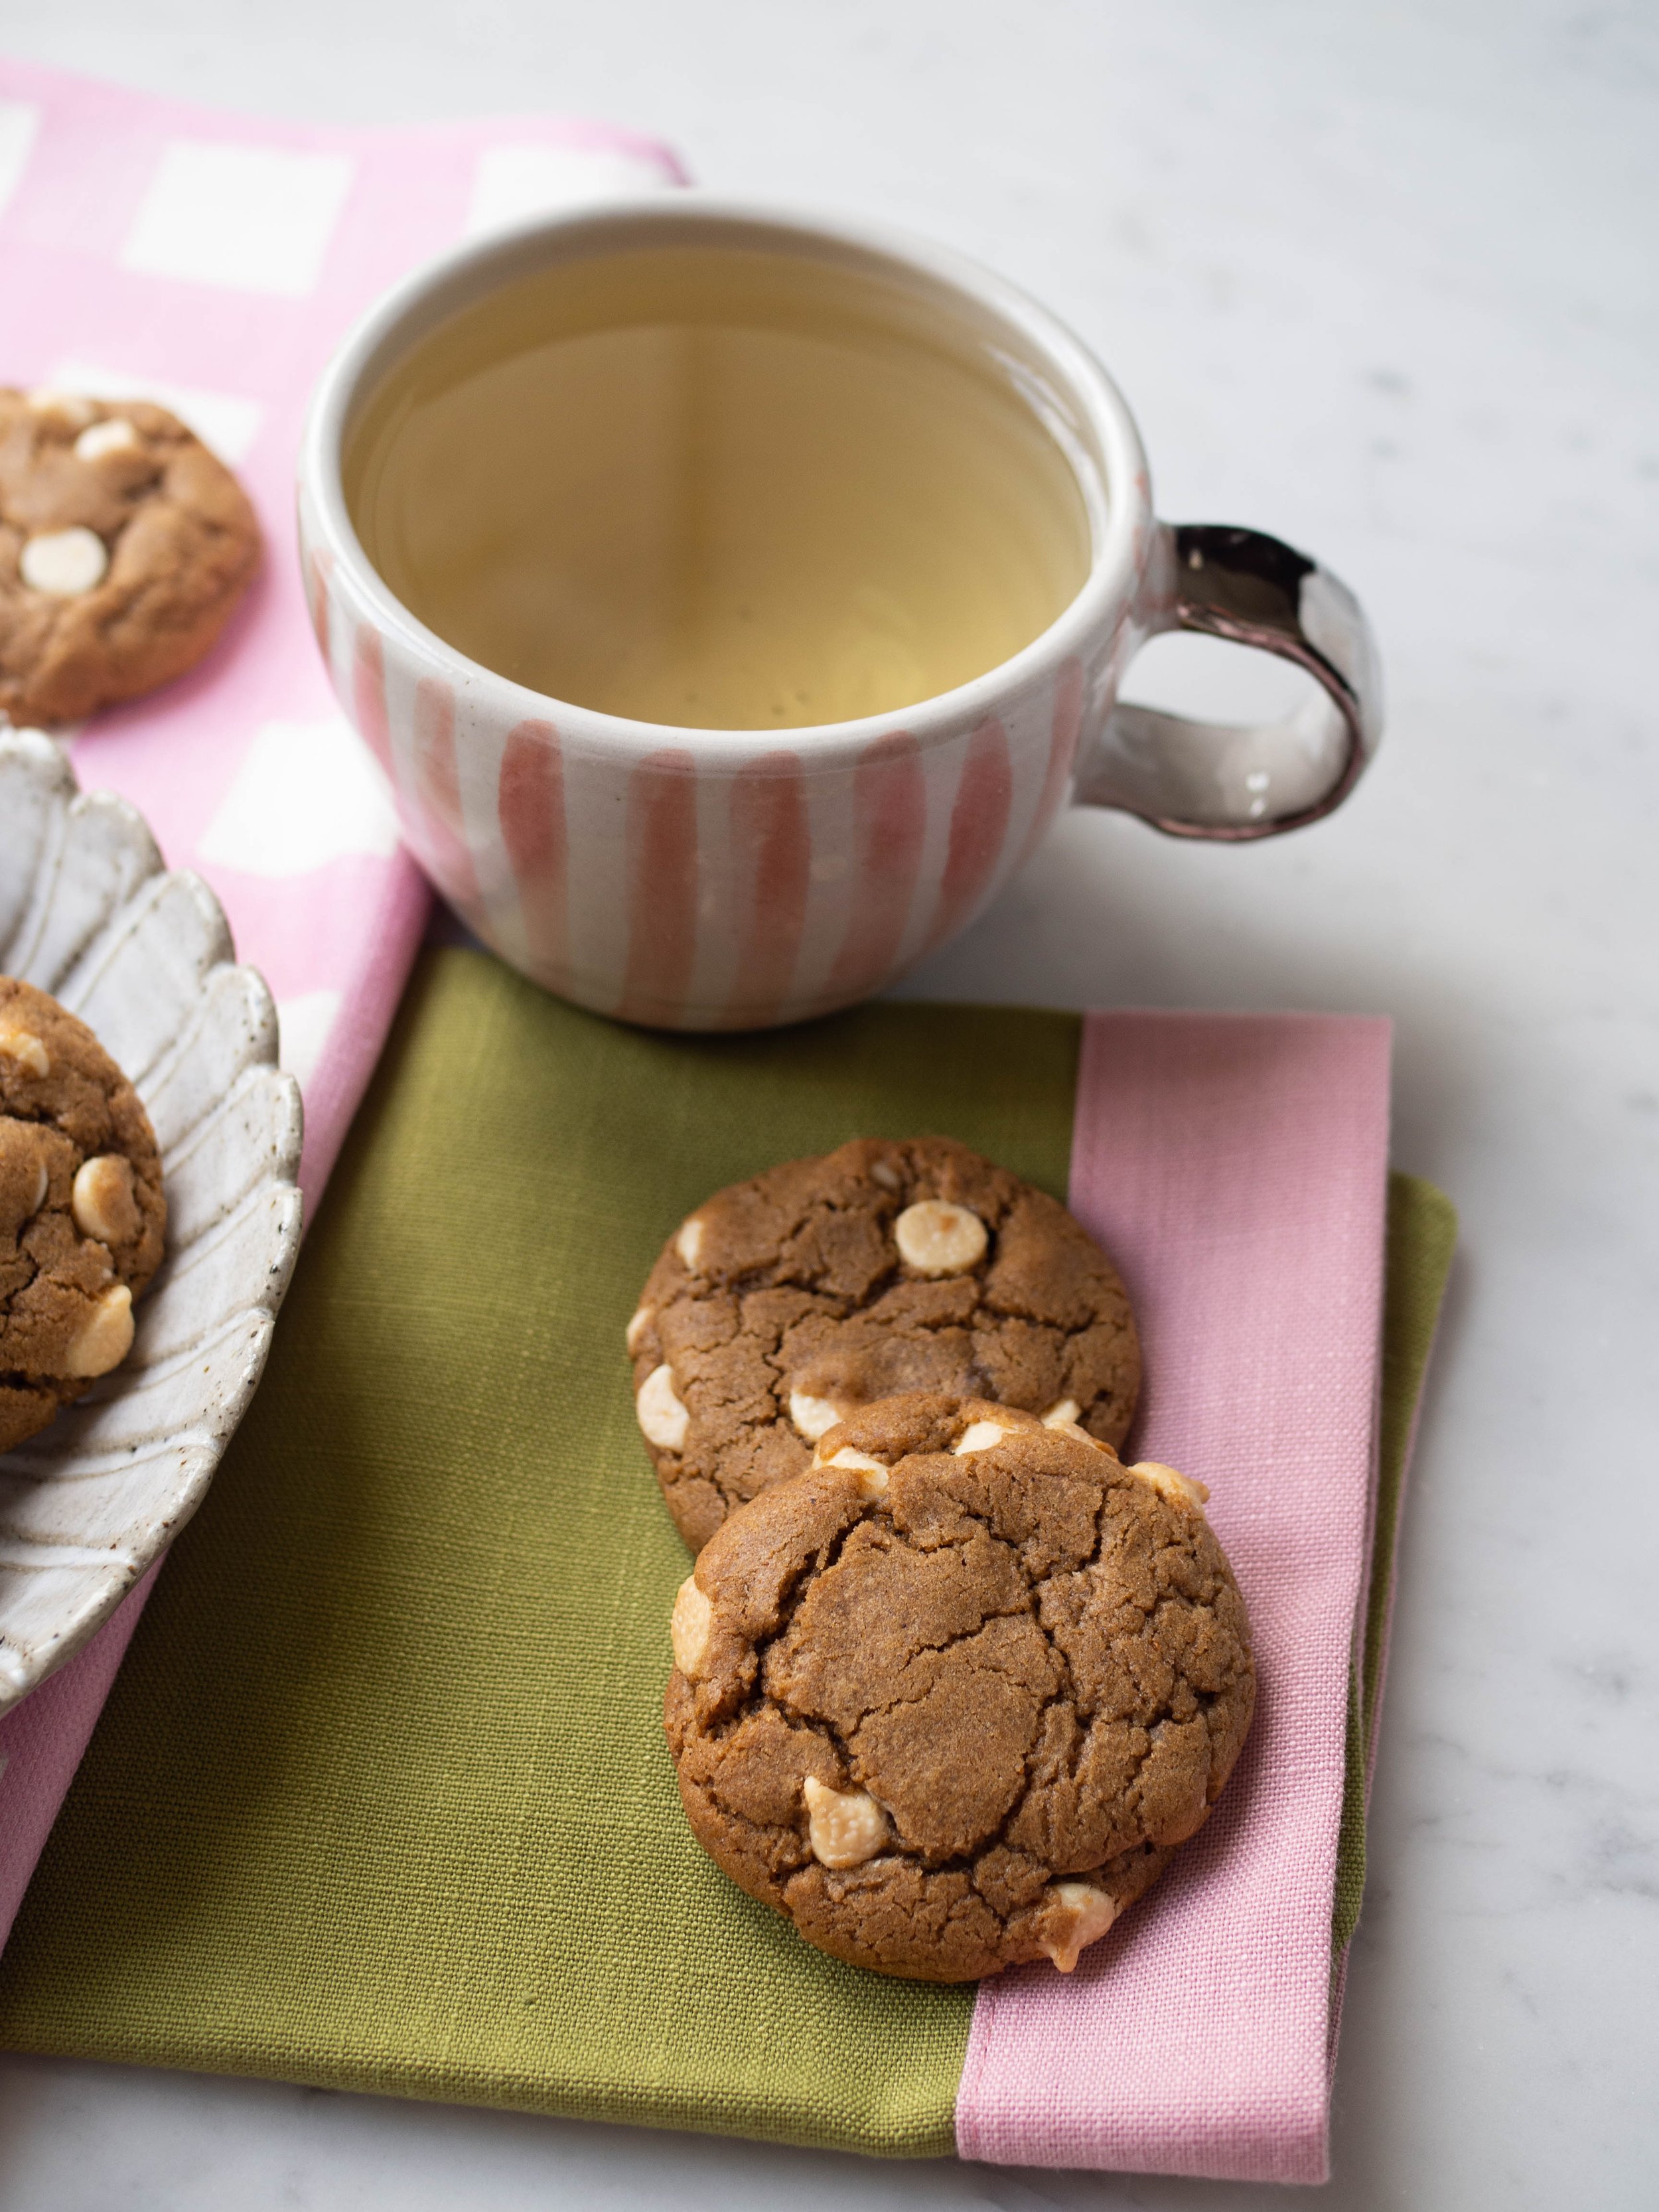
Ginger Molasses White Chocolate Cookies
Ingredients:
125g unsalted butter, melted
125g caster sugar
100g dark brown sugar
2 tbsp molasses
1 egg
280g plain flour
1/2 tsp bicarb soda
2 tsp ground ginger
1 tsp ground cinnamon
1/2 tsp ground nutmeg
1/2 tsp all spice
200g white chocolate chips
2 tbsp chopped stem ginger (drained of syrup) or crystallised ginger, optional
Method:
Preheat oven to 170 degrees Celsius and line three large baking trays with baking paper.
In a large bowl whisk together the melted butter, sugars, molasses and egg.
Then add the flour, then sift in the bicarb soda and add the spices. Add the chocolate chips and chopped stem ginger (if using), and mix to combine with a wooden spoon.
Place the dough in the fridge for about 20 mins, to allow it to firm up a bit.
Once chilled, roll heaped teaspoonfuls of the dough into balls and place on the trays. The cookies will spread as they bake so leave enough room in between.
Bake for 12-14 minutes or until the cookies have spread a bit and are golden brown. Rotate the trays in the oven about halfway through to ensure the cookies cook evenly.
Allow to cool on their trays, then store in an airtight container.
Makes about 30 cookies.