Attempting to make this cake has been on my mind since I visited Beatrix, a bakery in North Melbourne in late August. When I put the call out on social media for any tips on where to eat in Melbourne, this bakery was mentioned again and again. And for good reason!
The cakes not only look amazing, but they taste great too. The shop itself is small and cute, with a wall of old egg beaters hanging behind the retro style wooden cake cabinet. Small white paper doilies are used to label each cake on the outside of the counter, and there seemed to be a steady steam of people coming visit even on a weekday.
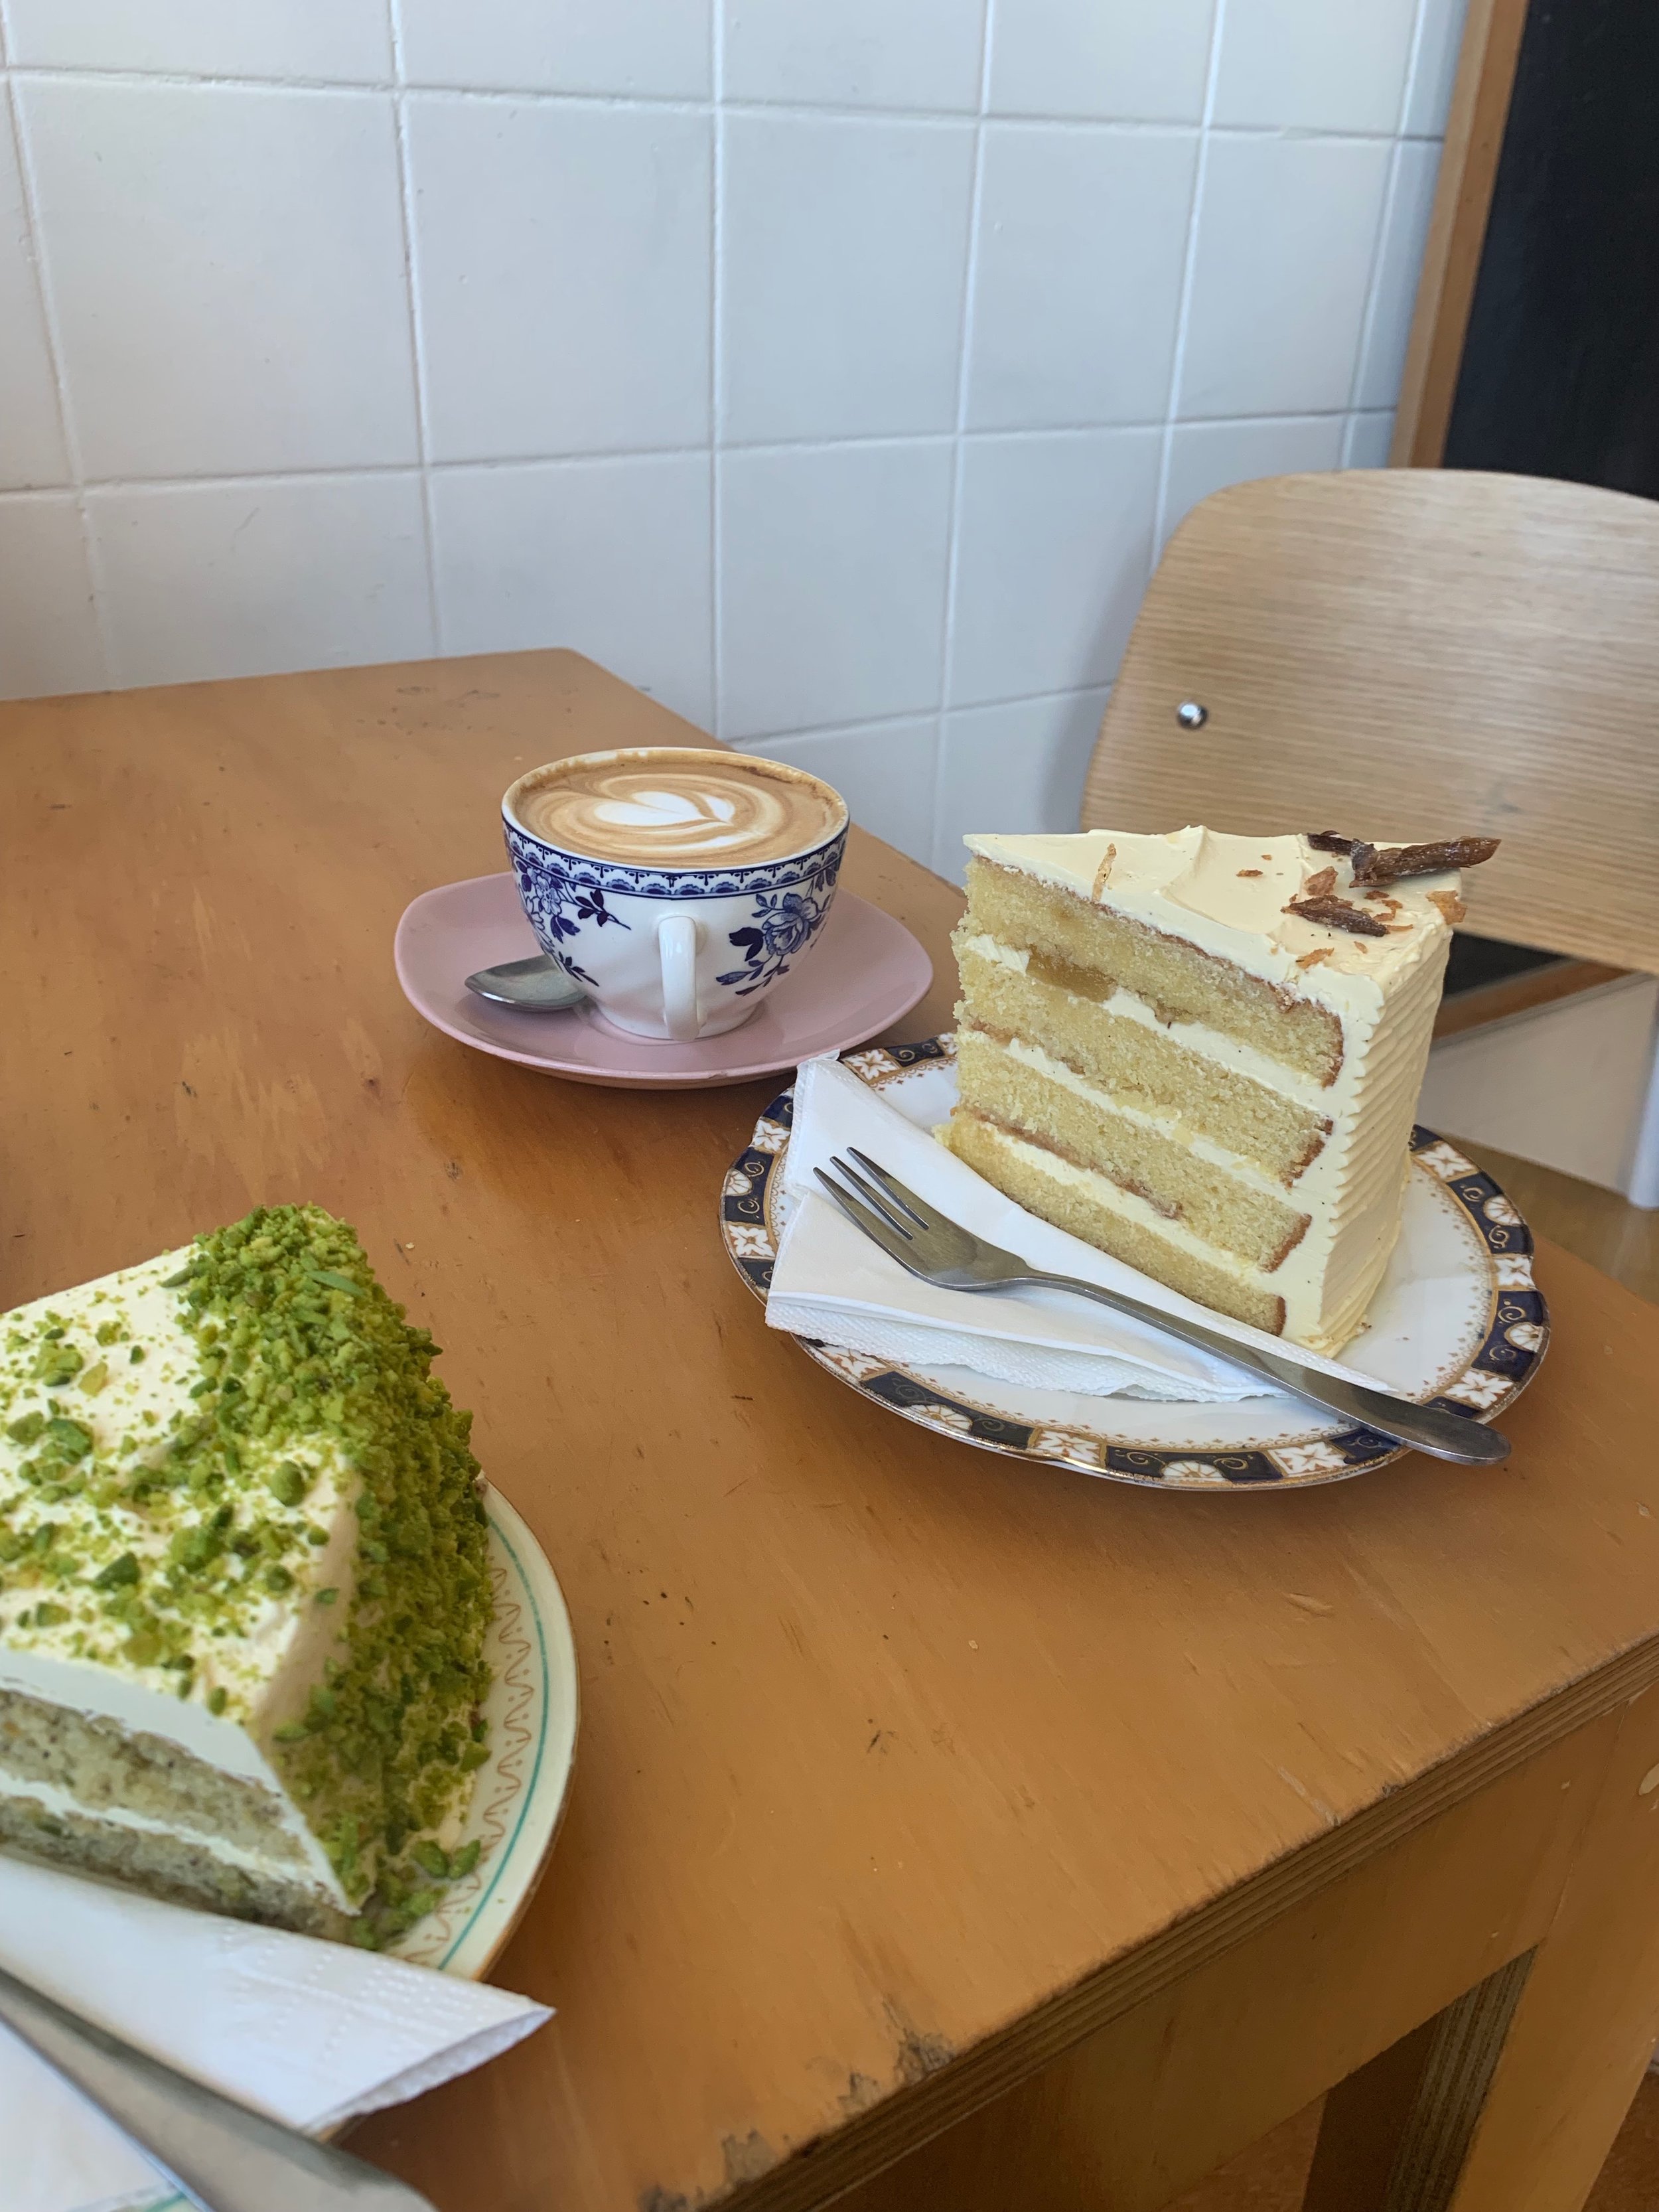
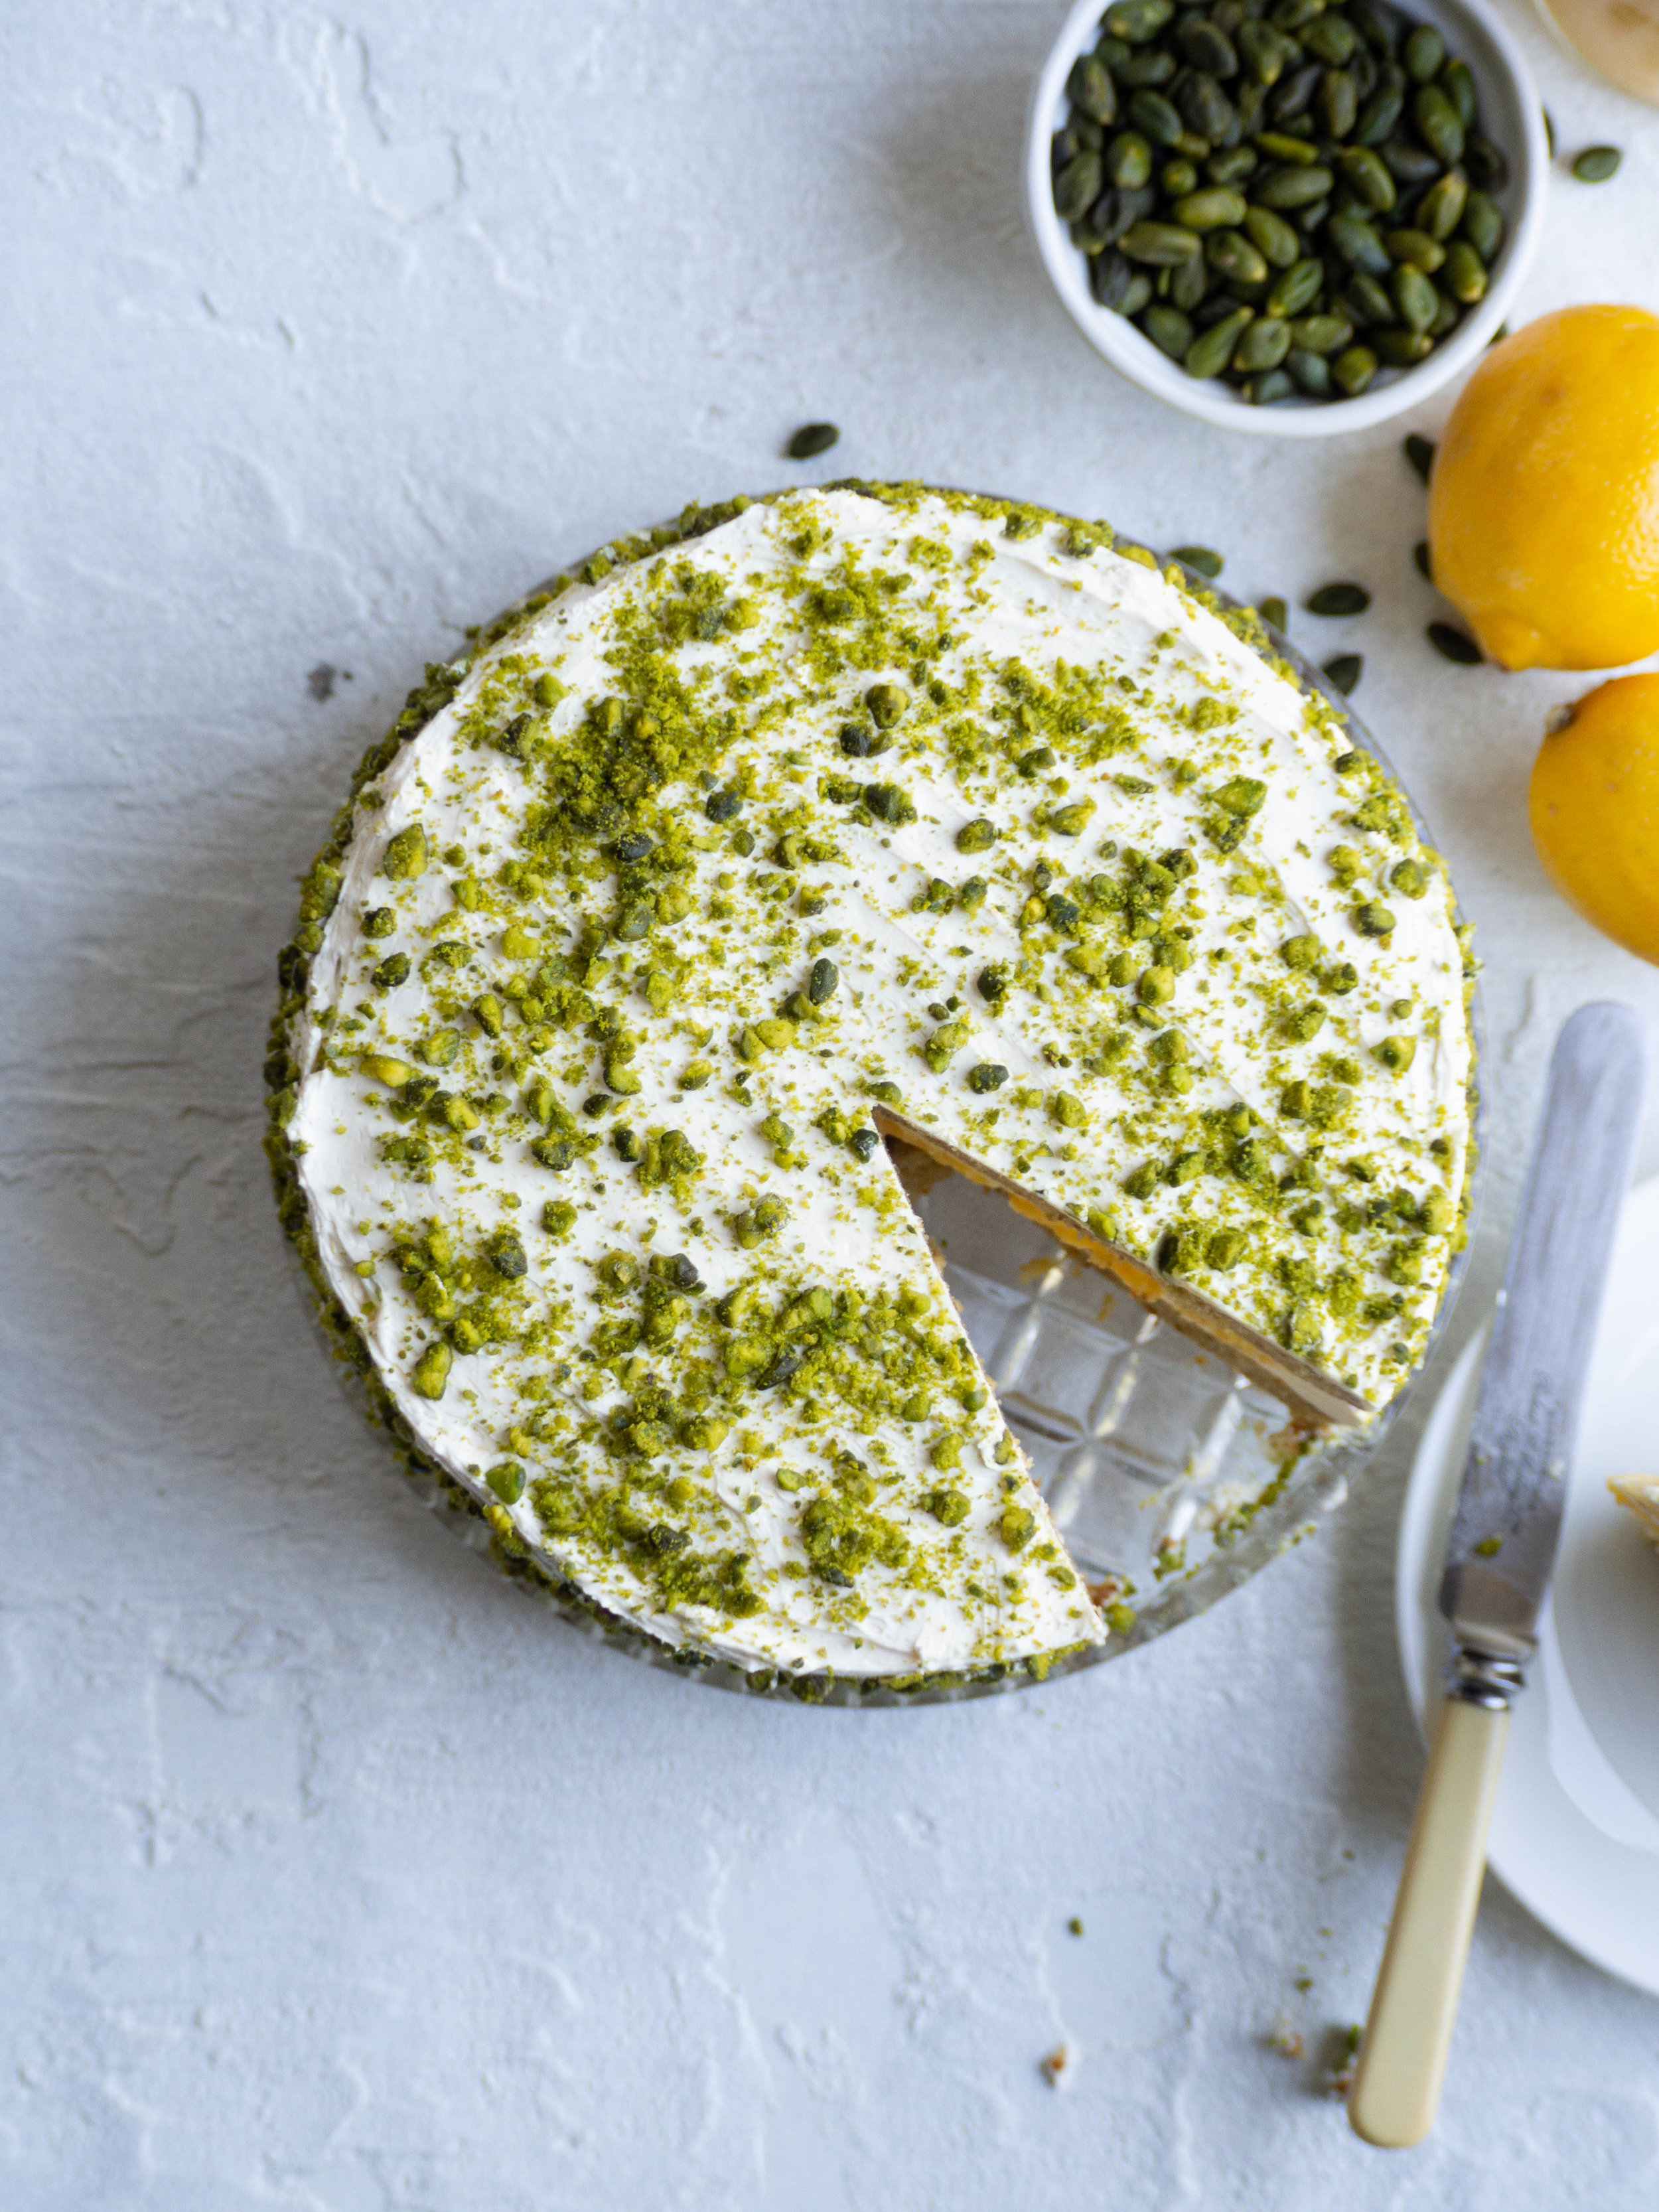
As soon as I saw the Pistachio and Lemon cake in the counter I knew that was the cake for me. I ordered it with a pot of peppermint tea, and my friend Sally ordered Apple Pie Cake with a coffee. Both cakes were delicious, and we sat and chatted for a while in the lovely calm cake-filled space.


As I walked to my next stop of the day, I had already began thinking about recreating the Pistachio and Lemon Cake once I got home. Once I was home, I started researching through lots of my cookbooks and finally found recipes I could begin to recreate the Beatrix cake with.
Even though I posted a recipe for Yuzu Curd not that long ago, and I could have easily made that recipe again but with lemon, I have had my eye on an easy lemon curd recipe I saw on Instagram from Jordan of Thistle + Whey. Jordan posted this recipe back in July as part of her Slow Saturday series. It immediately got my attention, and I screen shotted the recipe and the tips she posted on Stories too.
Since this cake has a few steps to make it, I decided an easy option for the lemon curd would be most welcome! And not only is this recipe for lemon curd super easy, it produces the thickest tangiest lemon curd I have ever made! I am always hoping the lemon curds I make will be thicker than they end up, and the only time I achieved this before was when I used a recipe that contained gelatine.
The taste and consistency of this lemon curd was just perfect for this layer cake, as it held its shape and didn’t drip everywhere, and the super tangy lemon flavour goes really well with the buttery sweet icing. So it’s win win all around, and Jordan’s Super Easy Lemon Curd is now my go to recipe! Thanks Jordan!
And a note on the meringue buttercream - if you like me, aren’t a big fan of the stock standard buttercream icing, this one is not like that! When I ate the Pistachio and Lemon Cake at Beatrix, I knew they had used a type of meringue buttercream as, not only did I actually enjoy eating it, but it had that slightly more white colour that comes from the meringue element. This recipe replicates theirs pretty well, and it is lighter and less buttery and dense than its regular buttercream counterpart, and well worth the effort in making it.


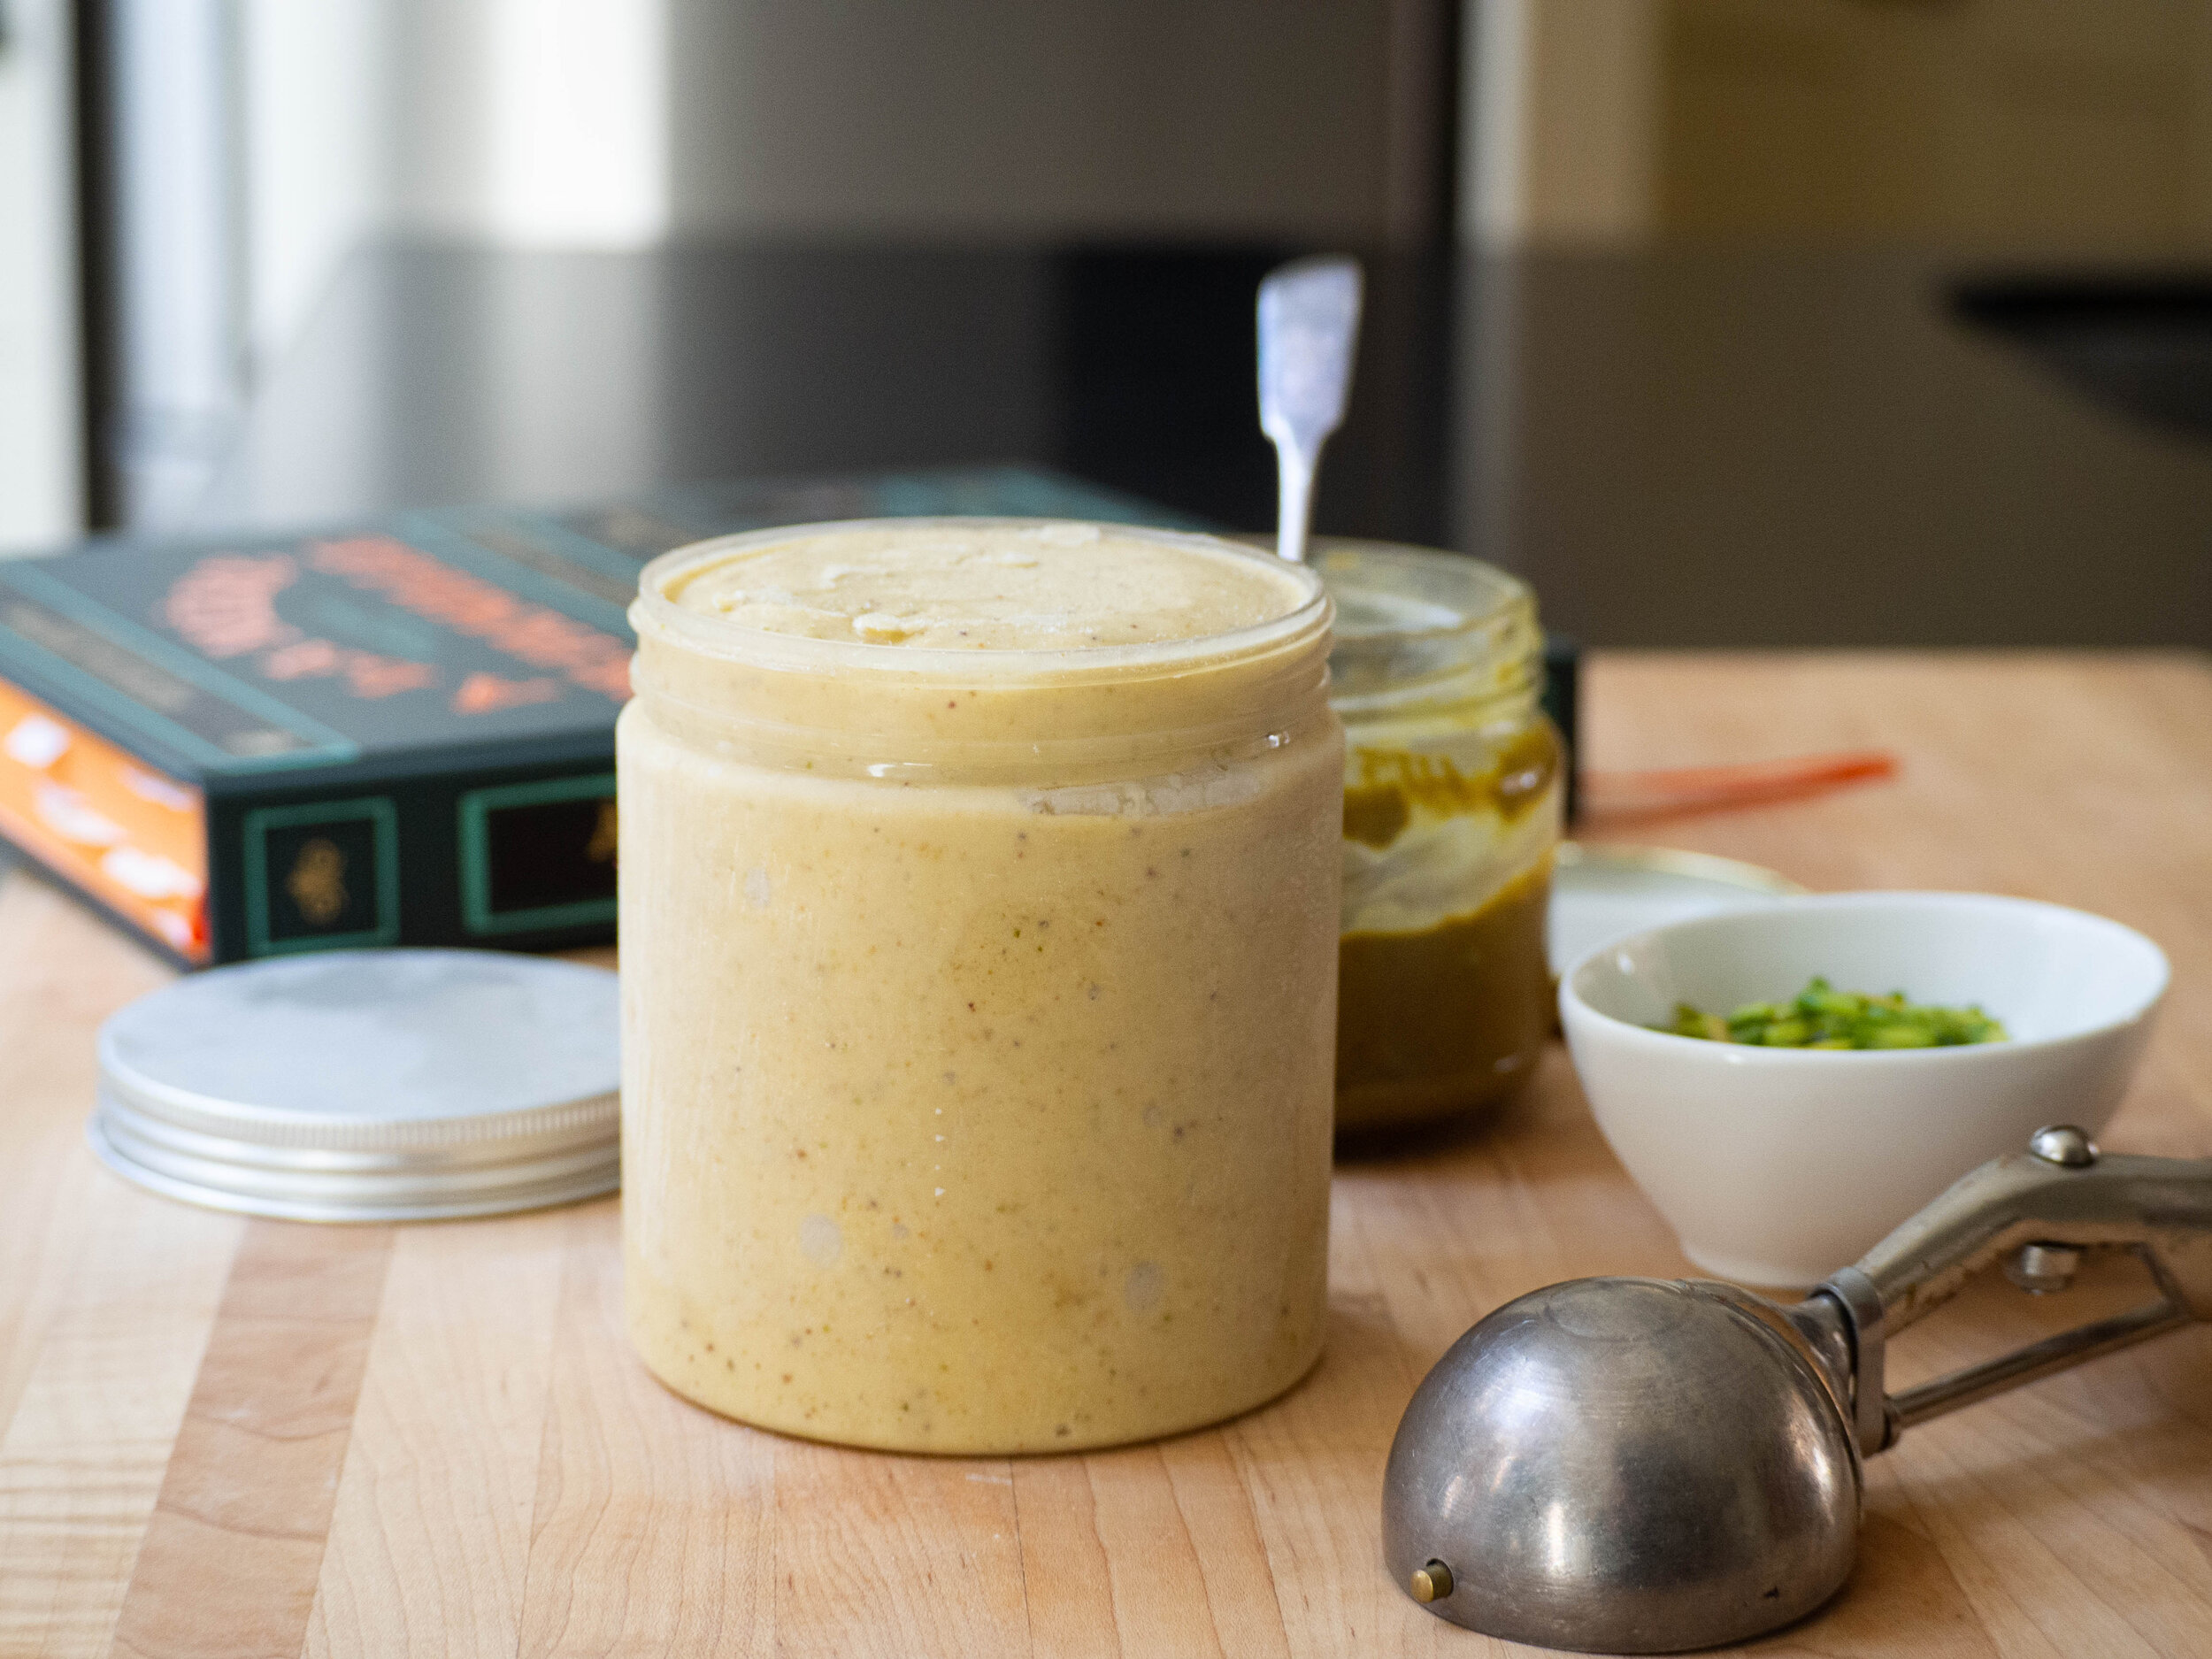
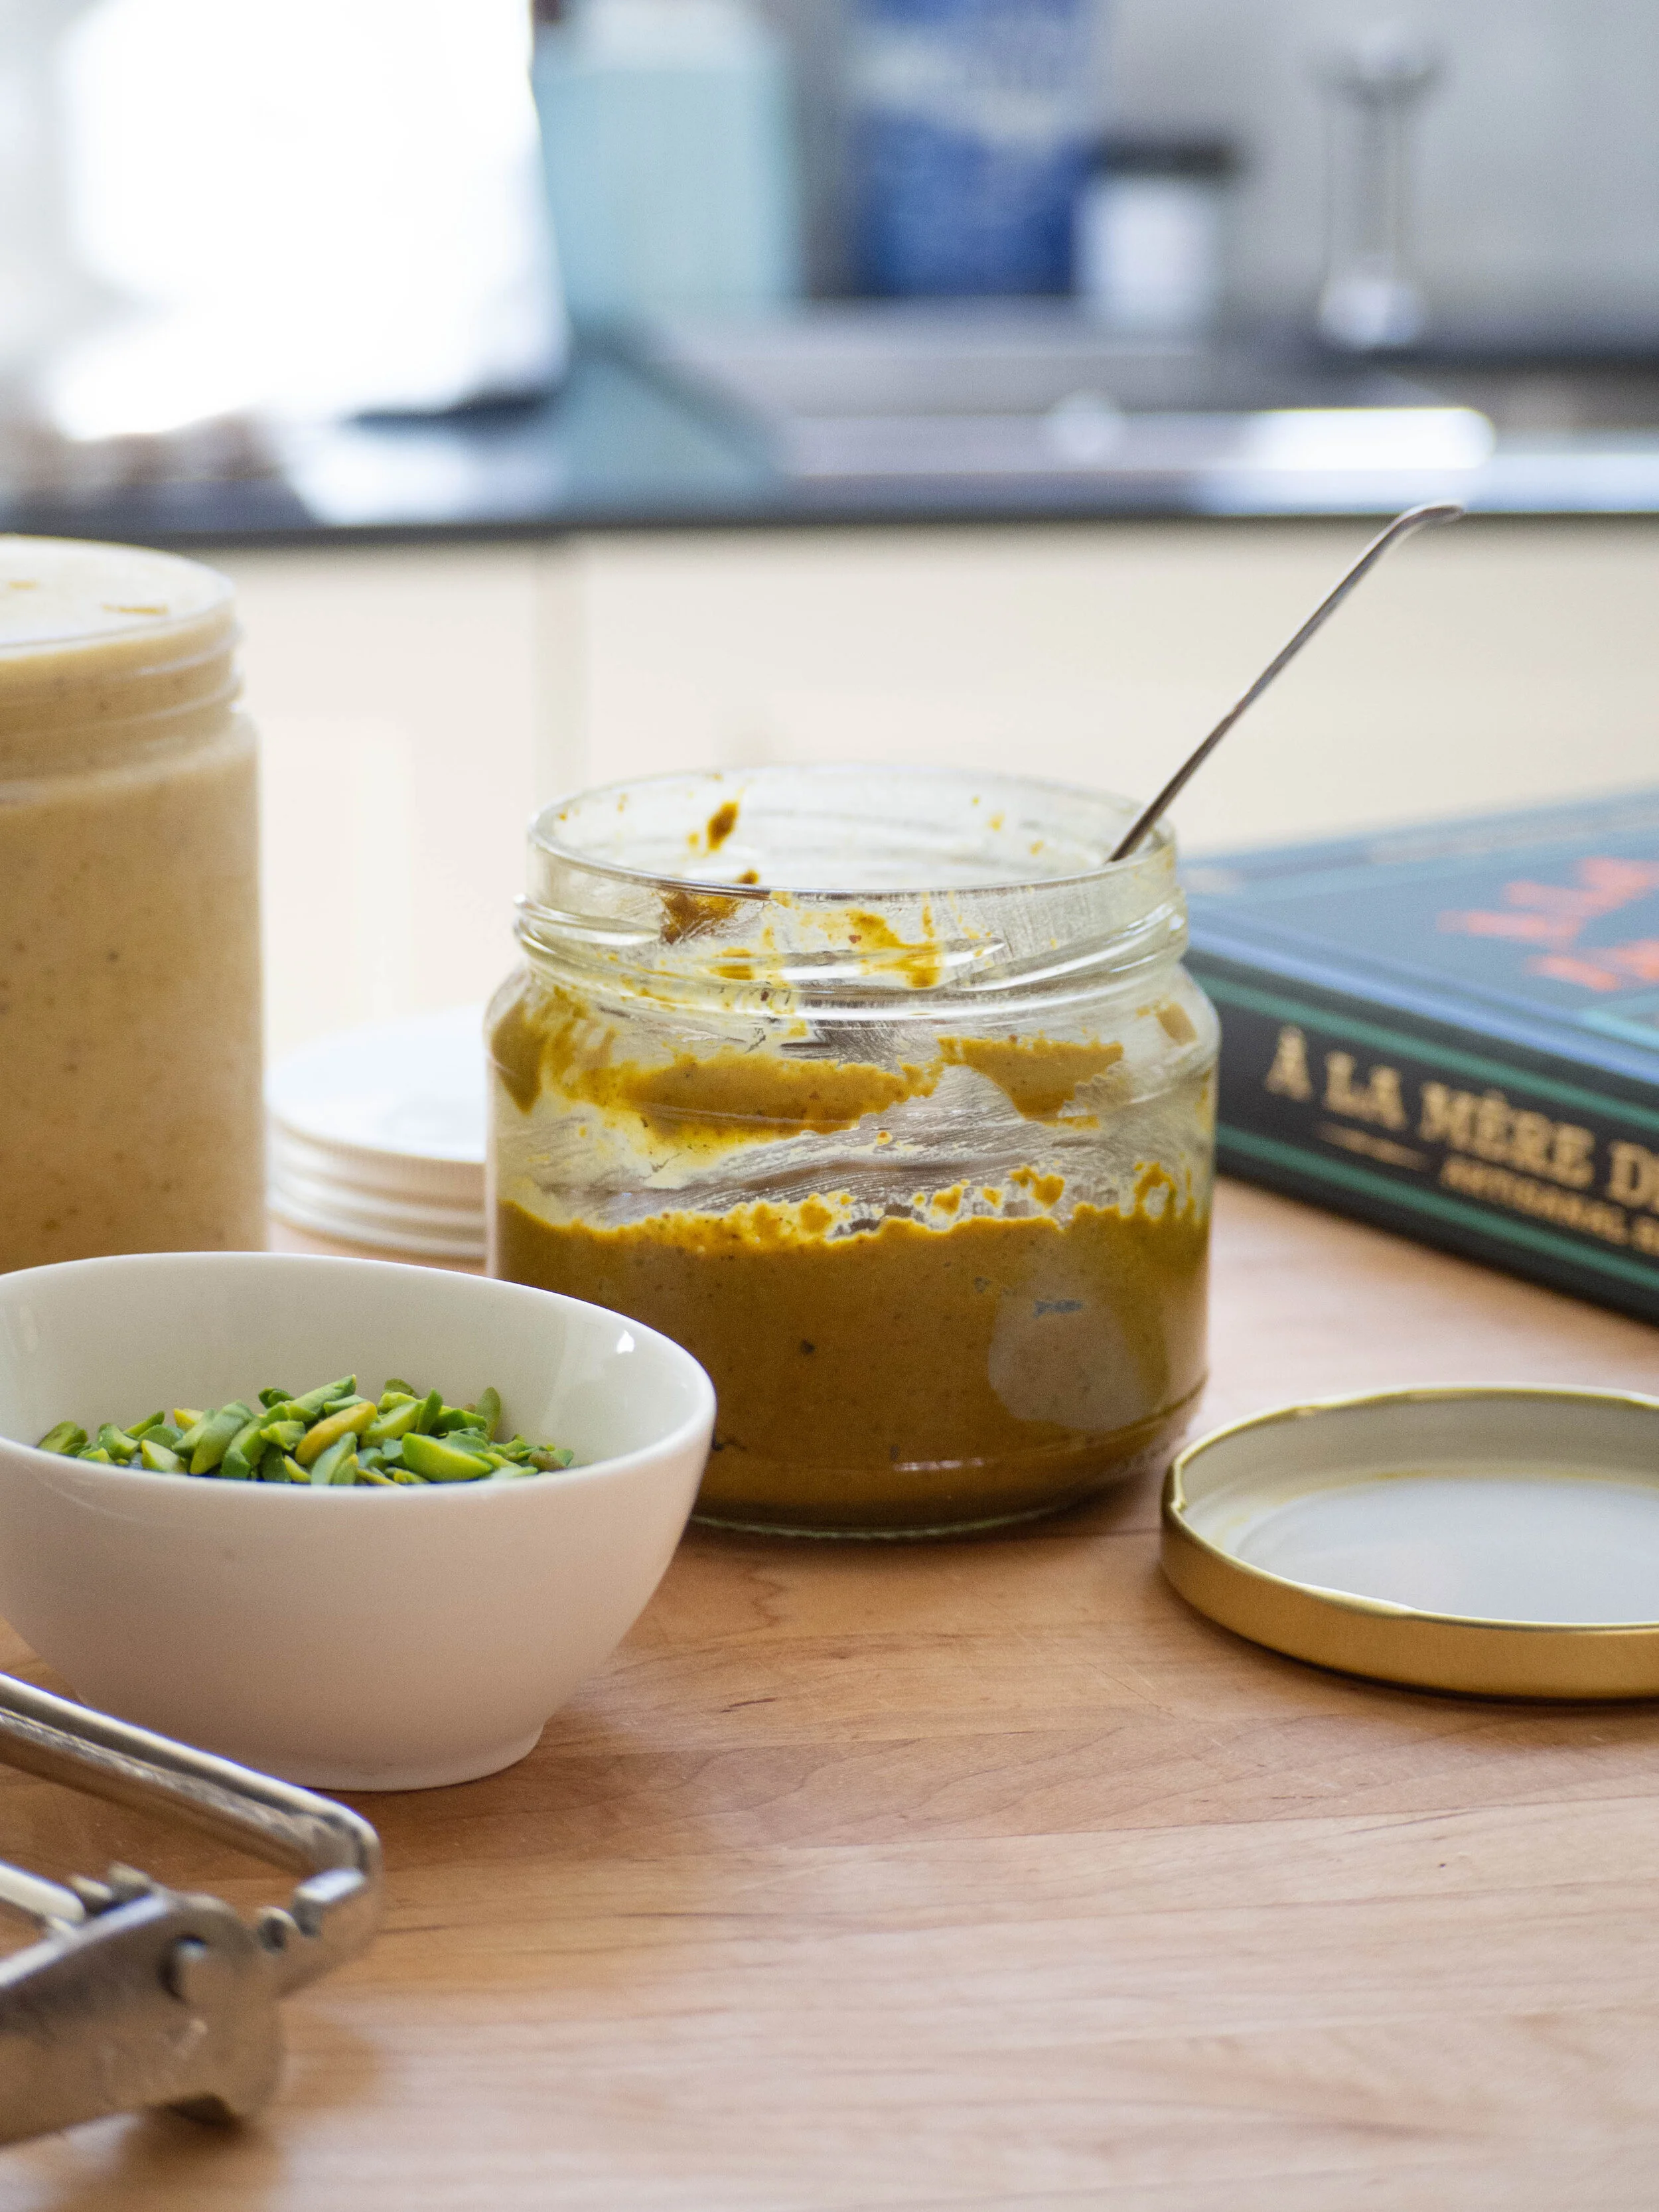
Jordan’s Super Easy Lemon Curd
Jordan’s Super Easy Lemon Curd
Ingredients:
2-3 lemons (medium to large sized, I used 4 very small lemons)
160g caster sugar
110g unsalted butter
5 egg yolks (save the whites for the meringue buttercream icing below)
Method:
Slice the lemons into quarters, and place in the bowl of a food processor. Process the lemons until they have become pulpy and almost smooth.
Cut the butter into cubes, add to the food processor along with the caster sugar and egg yolks. Process until everything is well combined and as smooth as possible.
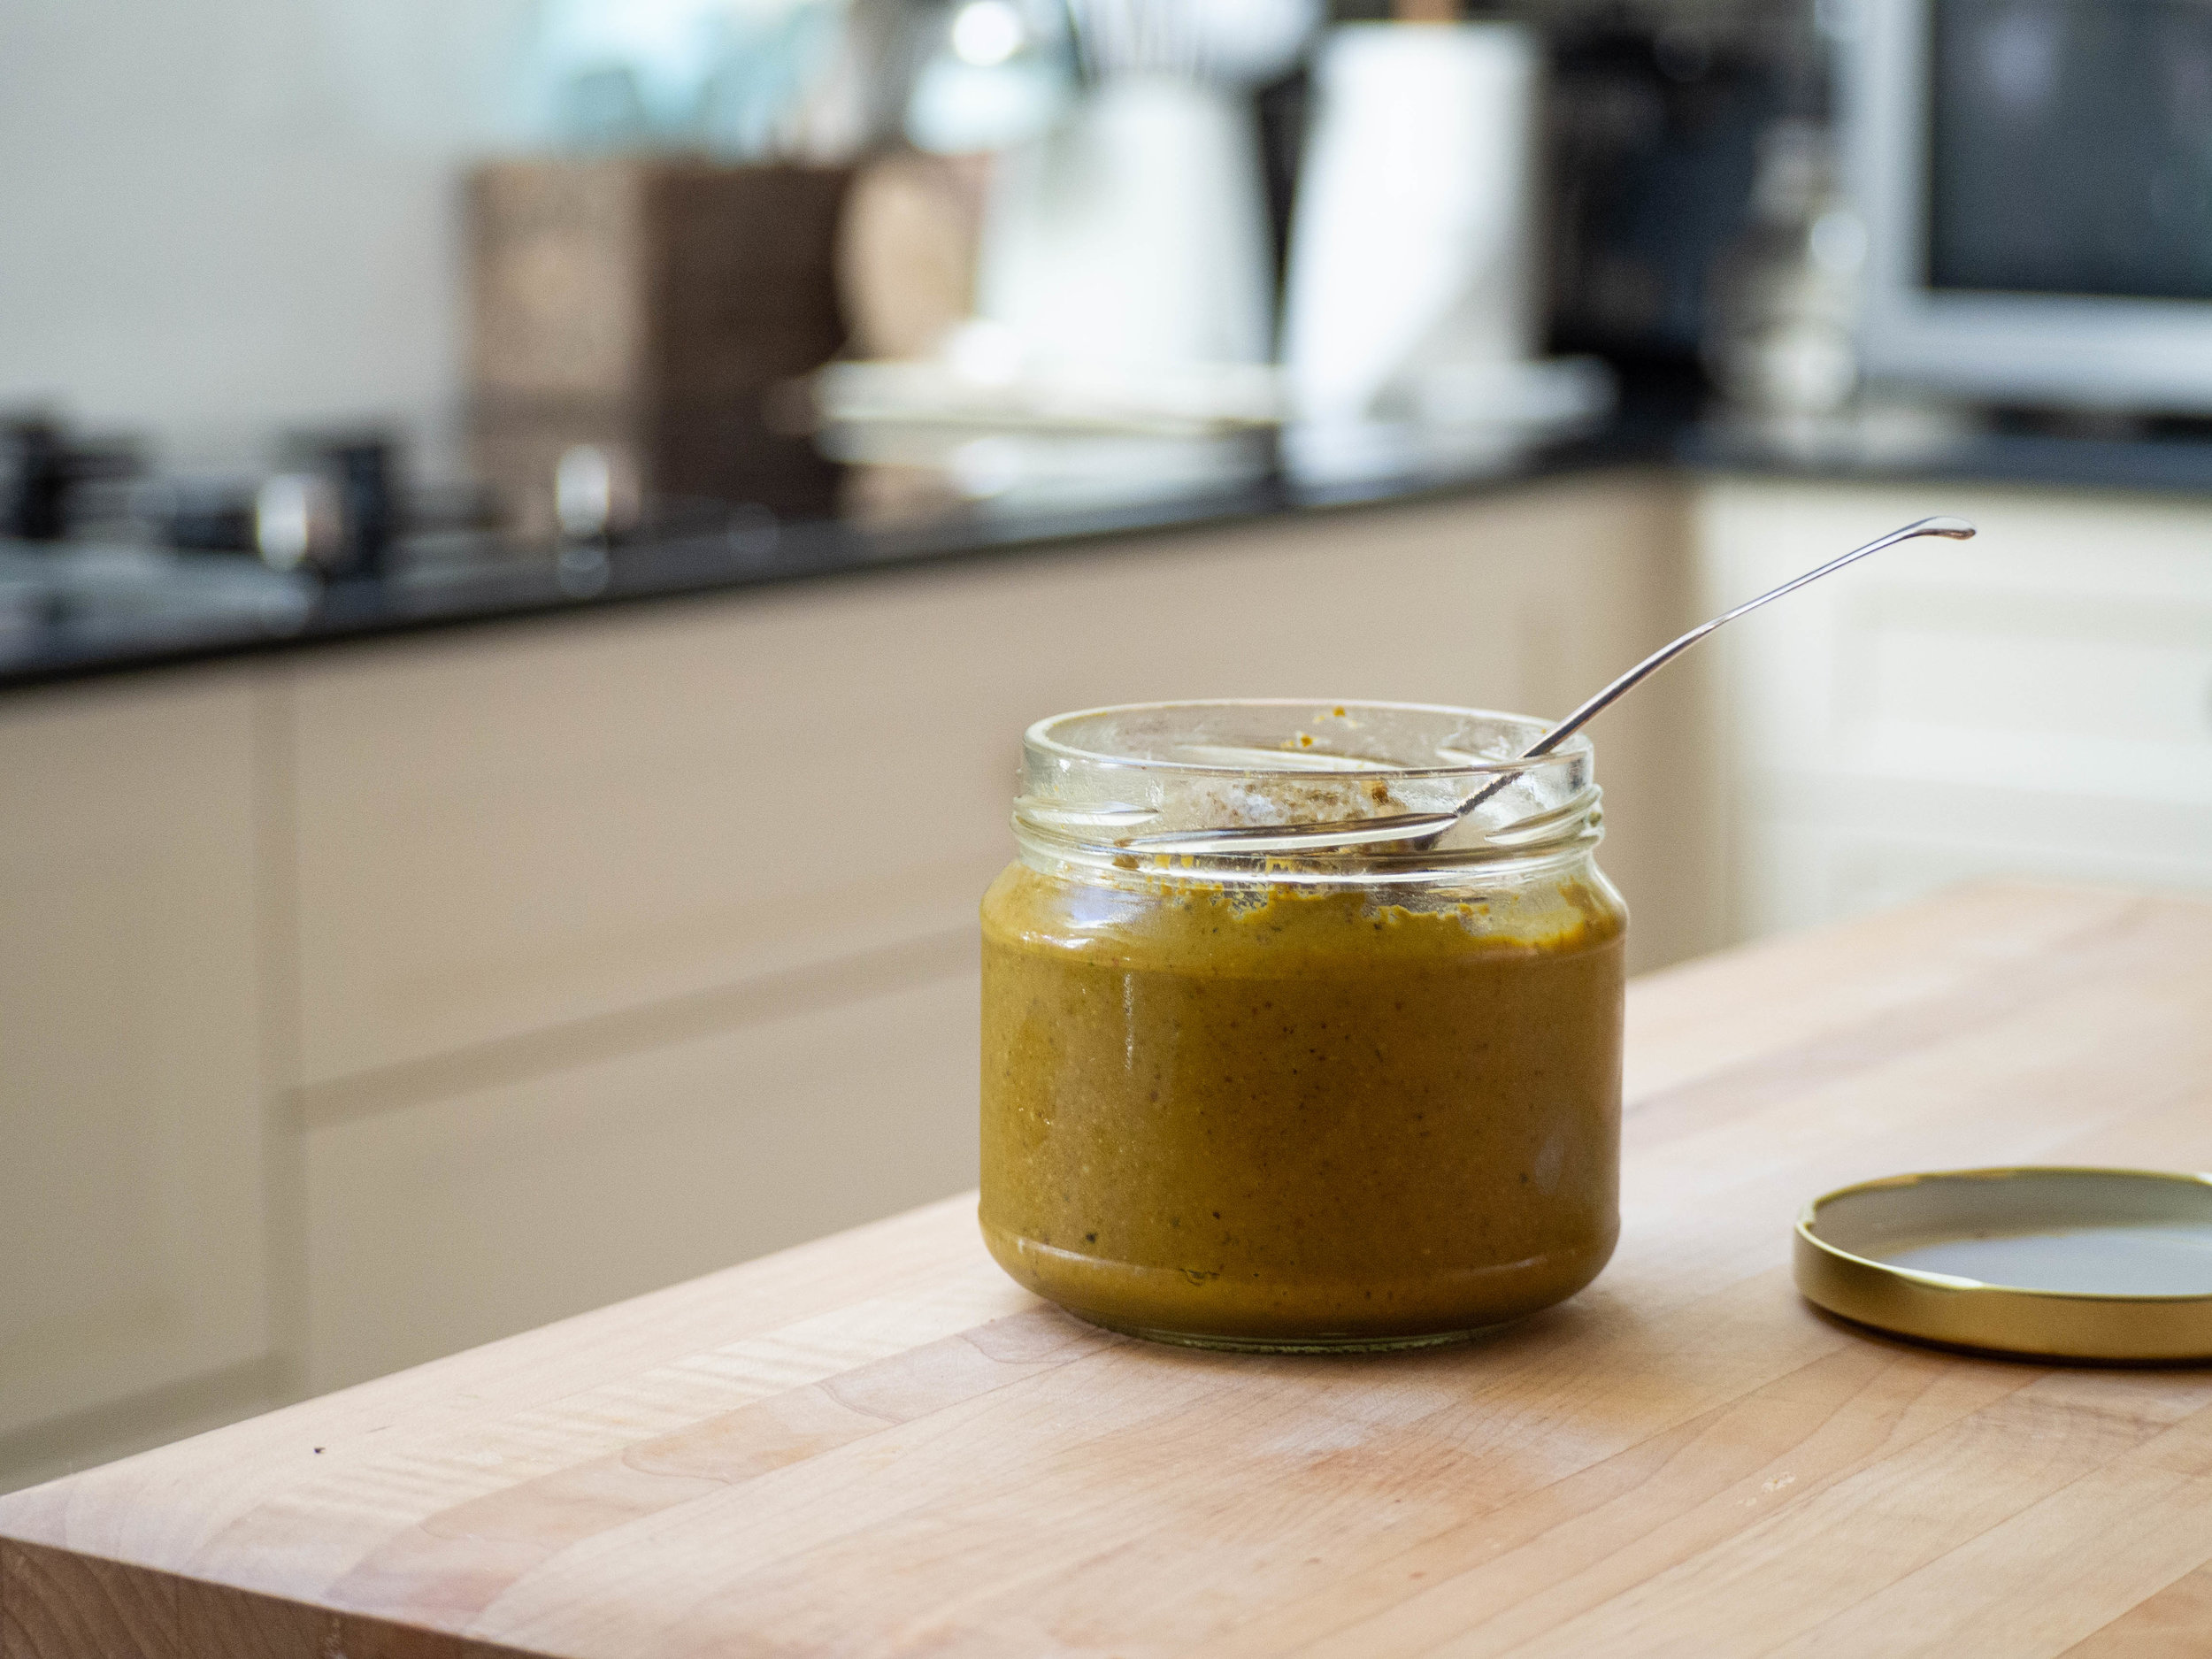
Transfer this lemon mixture into a medium saucepan, and stir over a low heat. The curd will look curdled at first but it will thin out as the butter melts, then thicken up again as the eggs cook. Once the curd has thickened and coats the back of your spoon or spatula it is done (this should take around 5 minutes).
Pour through a sieve and discard any bits the sieve catches. Transfer to a large glass jar and allow too cool to room temperature before storing in the fridge.
Makes about 400g, and will keep in the fridge for about 5 days.

Pistachio and Lemon Cake
Beatrix Inspired Pistachio and Lemon Cake
Ingredients for the Cake:
200g unsalted butter, softened
200g caster sugar
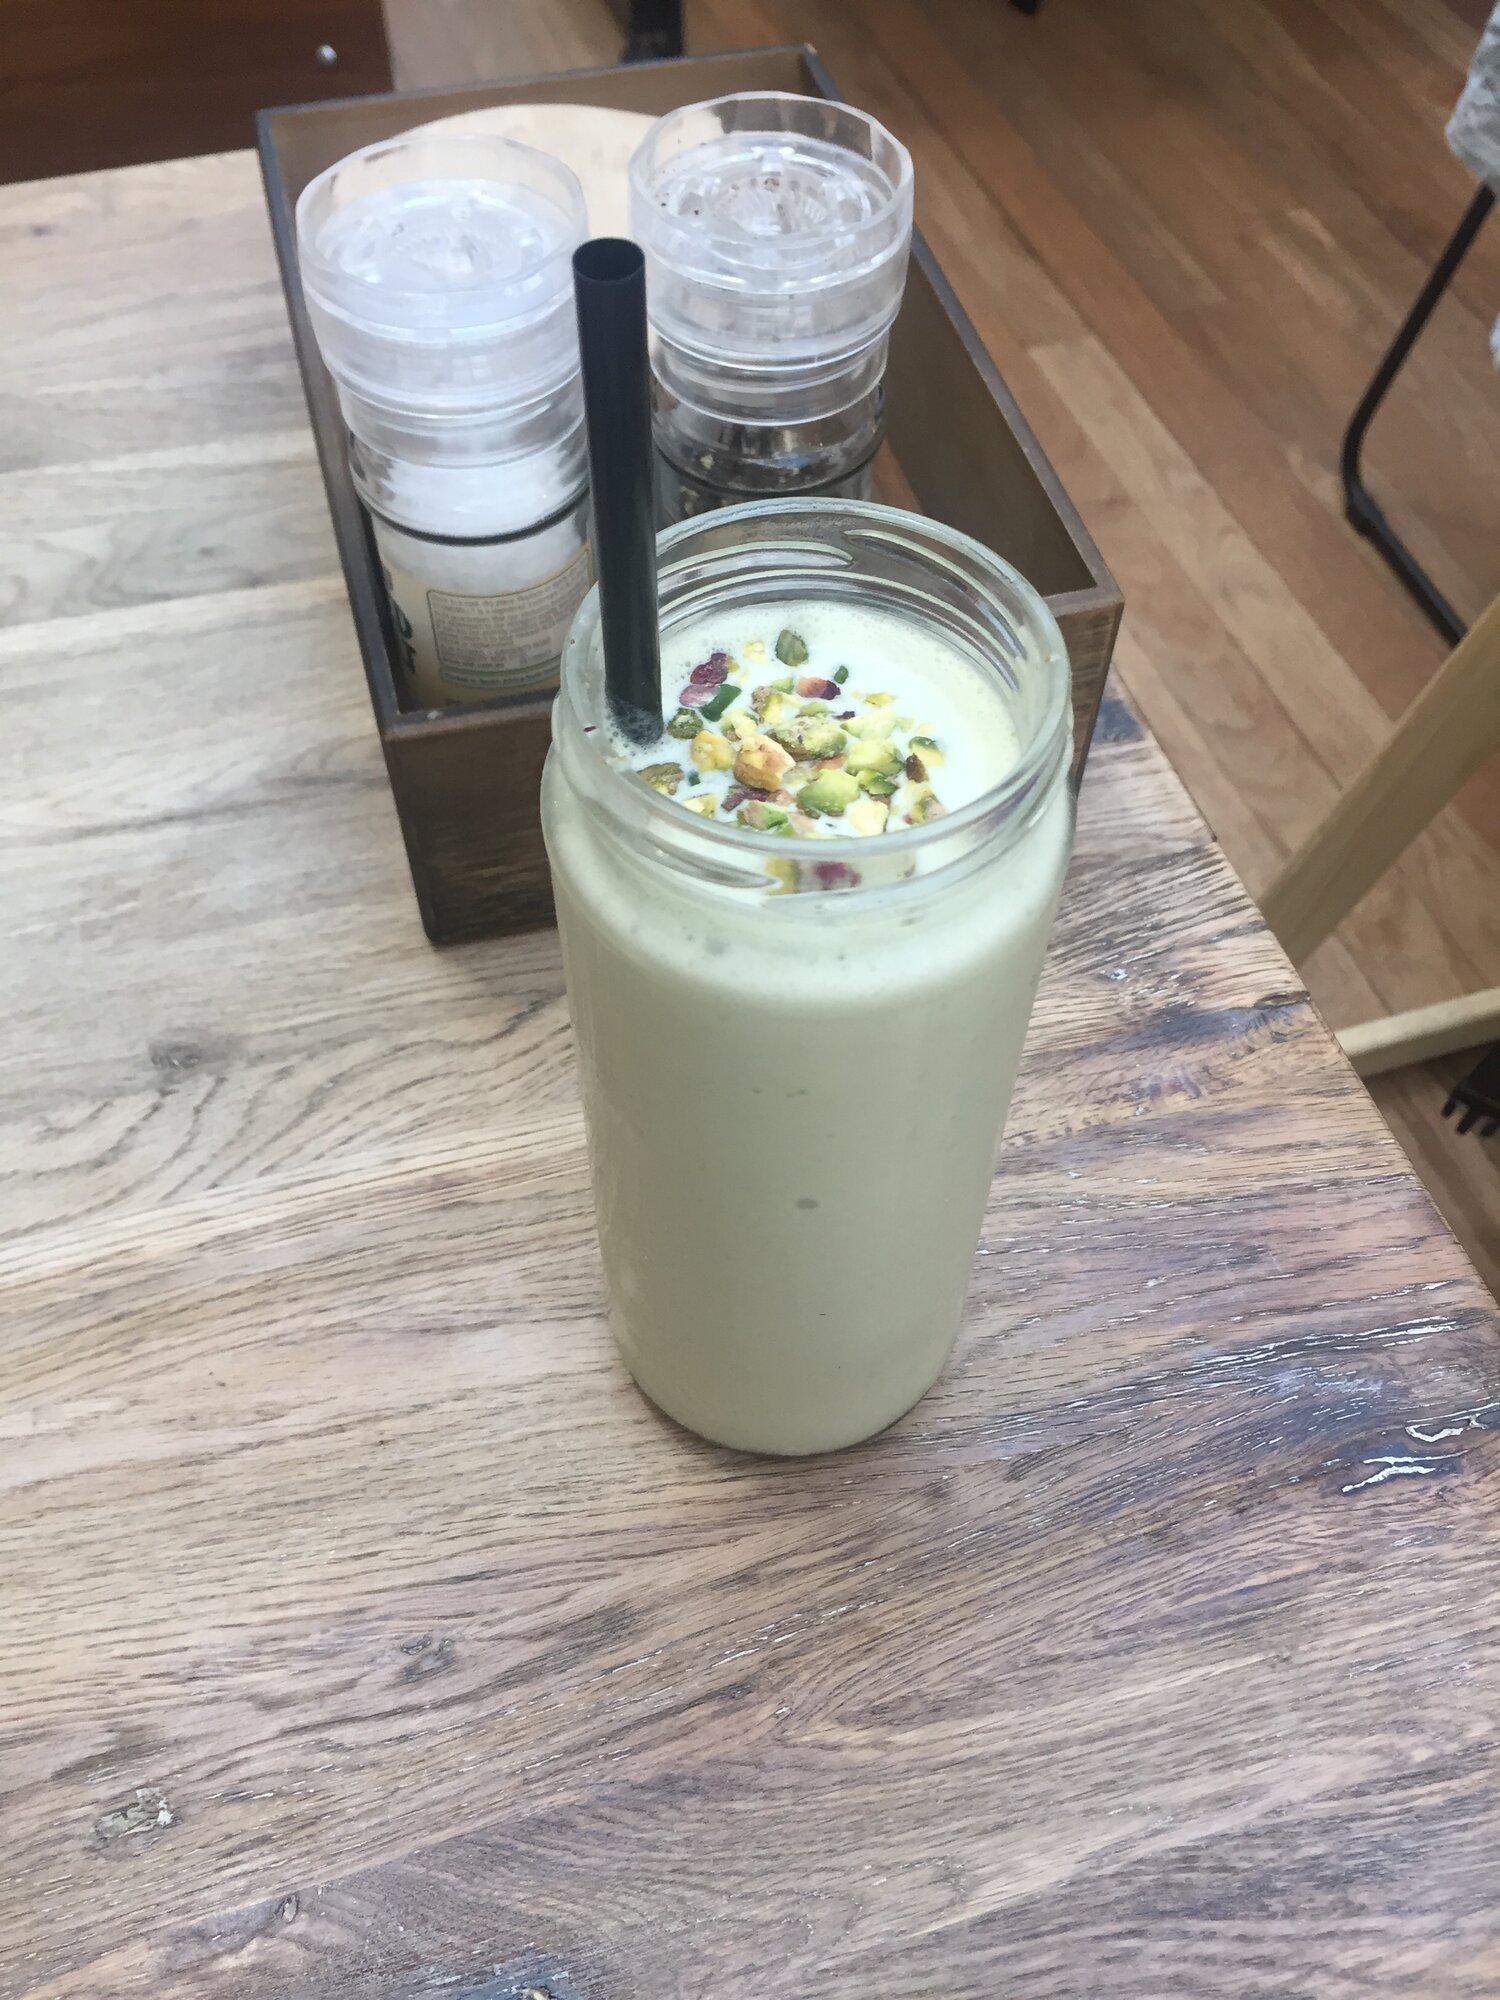
30g pistachio paste (see here for homemade version)
4 eggs
100g raw shelled pistachios
200g self raising flour
Ingredients for the Meringue Buttercream Icing + Assembly:
270g caster sugar
67ml water
135g egg whites (3-4 egg whites approx. (but do measure specifically), use leftovers from making the lemon curd)
330g unsalted butter, softened
1/2 tsp vanilla extract
130g (approx.) Jordan’s Super Easy Lemon Curd
50g blanched pistachios
Method:
Preheat oven to 160 degrees Celsius and grease and line two 20cm round baking tins.
Place the pistachios on a small tray and lightly toast in the oven for 5 minutes. Remove, and allow to cool a little, then blitz into fine crumbs (similar to the consistency of almond meal) using a food processor.
In the bowl of a stand mixer, place the butter, sugar and pistachio paste. Beat on medium speed until well combined and fluffy.
Gently whisk the eggs in a jug, and add to the butter mixture with the mixer running on a low/medium speed. Add the ground pistachios and continue to beat on medium speed until combined.
Measure out the self raising flour into a separate bowl and briefly whisk to remove any lumps. Add the flour to the batter, and mix on the lowest speed. Finnish mixing by hand to avoid over working the batter.
Evenly transfer the cake batter between the two prepared tins, and bake for 30 minutes or until cooked through and golden in colour.
Leave the cakes too cool in their tins for a few minutes, then remove from the tins and allow to cool completely on a wire rack.
To make the icing, place the water and sugar in a small saucepan over high heat and allow to come to a rapid boil. Using a candy thermometer keep an eye on the temperature of the sugar syrup - it will be ready once it reaches 121 degrees Celsius.
Place the egg whites in the bowl of a stand mixer, and gently whisk until foamy (start this once the sugar syrup is at around 100 degrees Celsius).
Once the sugar syrup has reached 121 degrees Celsius, remove from the heat, and with the mixer running on low pour it over the whisked egg whites (avoiding the whisk itself as much as possible).
Increase the speed of the mixer to medium, and continue to whisk until the meringue has cooled right down - this will take at least 5-10 minutes.
Cut the butter into cubes, and add a cube or two at a time with the mixer still running. Allow each cube to incorporate into the mixture before adding more. Continue to beat until the meringue buttercream is completely smooth. Briefly beat in the vanilla extract.
Place one of the cooled cakes on to a plate or cake stand (or a cake turntable if you have one) top side up. Spread a thin layer of the buttercream over the cake, then using a piping bag pipe a rim of icing around the edge - this will contain the lemon curd and create a more even surface for the second cake layer to sit on. Pipe a second rim inside the first if you think the cake needs more height around the edges to make it even.
Spoon the lemon curd into the centre of the cake, pushing to the edge of the buttercream rim you have piped. Pipe over some more of the buttercream over the top of the lemon curd and gently smooth it out with a spatula.
Trim the top of the second cake if necessary (so it will sit as flat as possible), and place top side down, over the curd and buttercream layer.
Cover the top of the cake with more meringue buttercream, then spread down the sides and around the entirety of the cake. Try to make the buttercream as smooth and even as possible, using a spatula or palette knife. It doesn’t need to be perfect, as you will now cover the icing with some pistachios.
Briefly blitz the blanched pistachios in a food processor so you get large crumbs (alternately you could chop them up with a knife). Cover the entire cake in the pistachio crumbs, sprinkling them over the top and pressing them into the sides of the cake.
Place the cake into the fridge for about 30-60 minutes, to allow the icing the firm up - this will allow you to get some nice clean slices when you cut the cake. Any excess meringue buttercream icing can be stored for one week in an airtight container in the fridge.
Store cake in the fridge, will keep for about 5 days.
Serves 8-10.
References: Thistle + Whey Lemon Curd (posted 21/07/2019); ‘Love Layer Cakes’ by Peggy Porschen (Quadrille Publishing, 2015), pp.10 & 26-28.