Kulinary Adventures of Kath

Food Photography, Recipes & Baking
  • home
  • About
  • Work with Kath
  • Shop
  • Blog
    • The Blog
    • Recipe Archive
  • Newsletter
  • Contact
  • home
  • About
  • Work with Kath
  • Shop
    • The Blog
    • Recipe Archive
  • Newsletter
  • Contact
Raspberry Pistachio Rose Cake (23 of 25).jpg

The Blog

Recipes and Food Photography by Kath Vincent.

  • The Blog
  • Recipe Archive
  • All
  • Biscuits/Cookies
  • Breads Etc.
  • Breakfast
  • Cakes & Slices
  • Confectionary
  • Drinks
  • Events
  • Food Photography Tips
  • From The Mailing List
  • Heirloom Recipes
  • Holidays
  • Ice Cream
  • Jams Preserves & Spreads
  • Muffins
  • Off the Shelf
  • Other Desserts
  • Savoury Dishes/Meals
  • Scones
  • Tarts & Pastry
  • Travel
Raspberry and Vanilla Snacking Cake

Raspberry and Vanilla Snacking Cake

Kath January 16, 2022

This cake came about because I bought 12 punnets of raspberries for $12 and then had a freezer full of raspberries. Not a bad problem to have, but amongst all the bread we also had in the freezer it felt like something needed to be used up! 

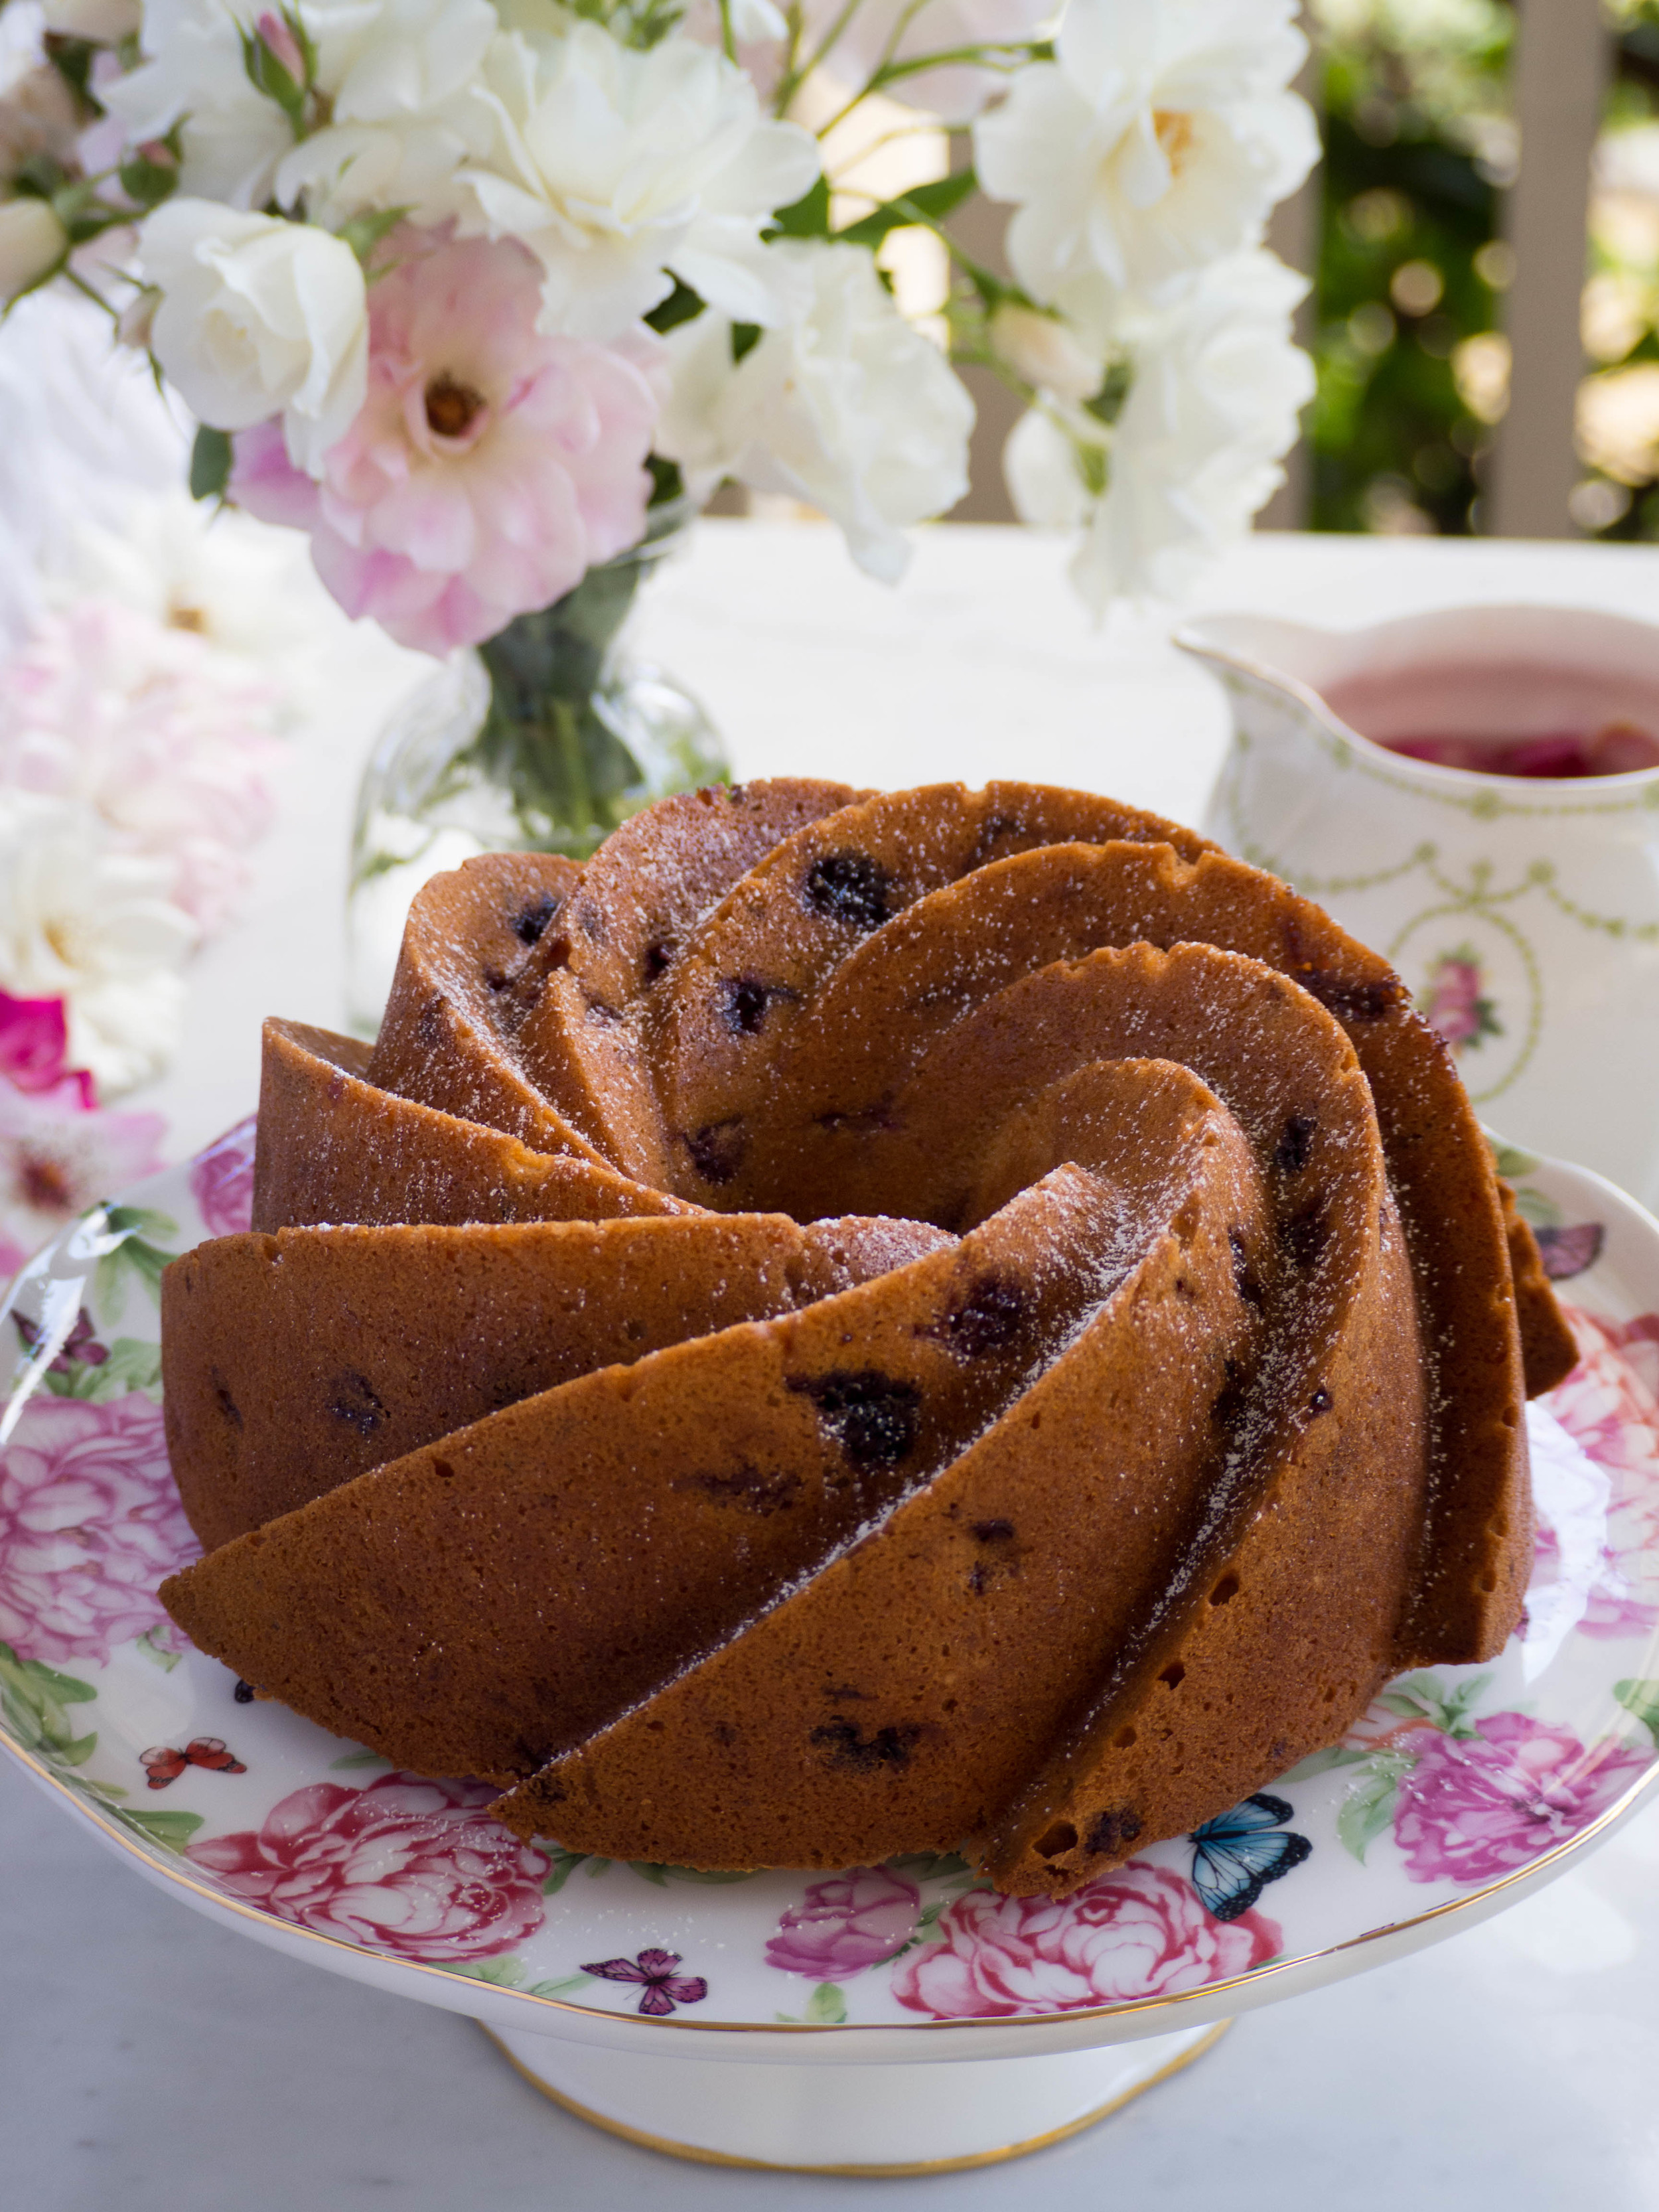
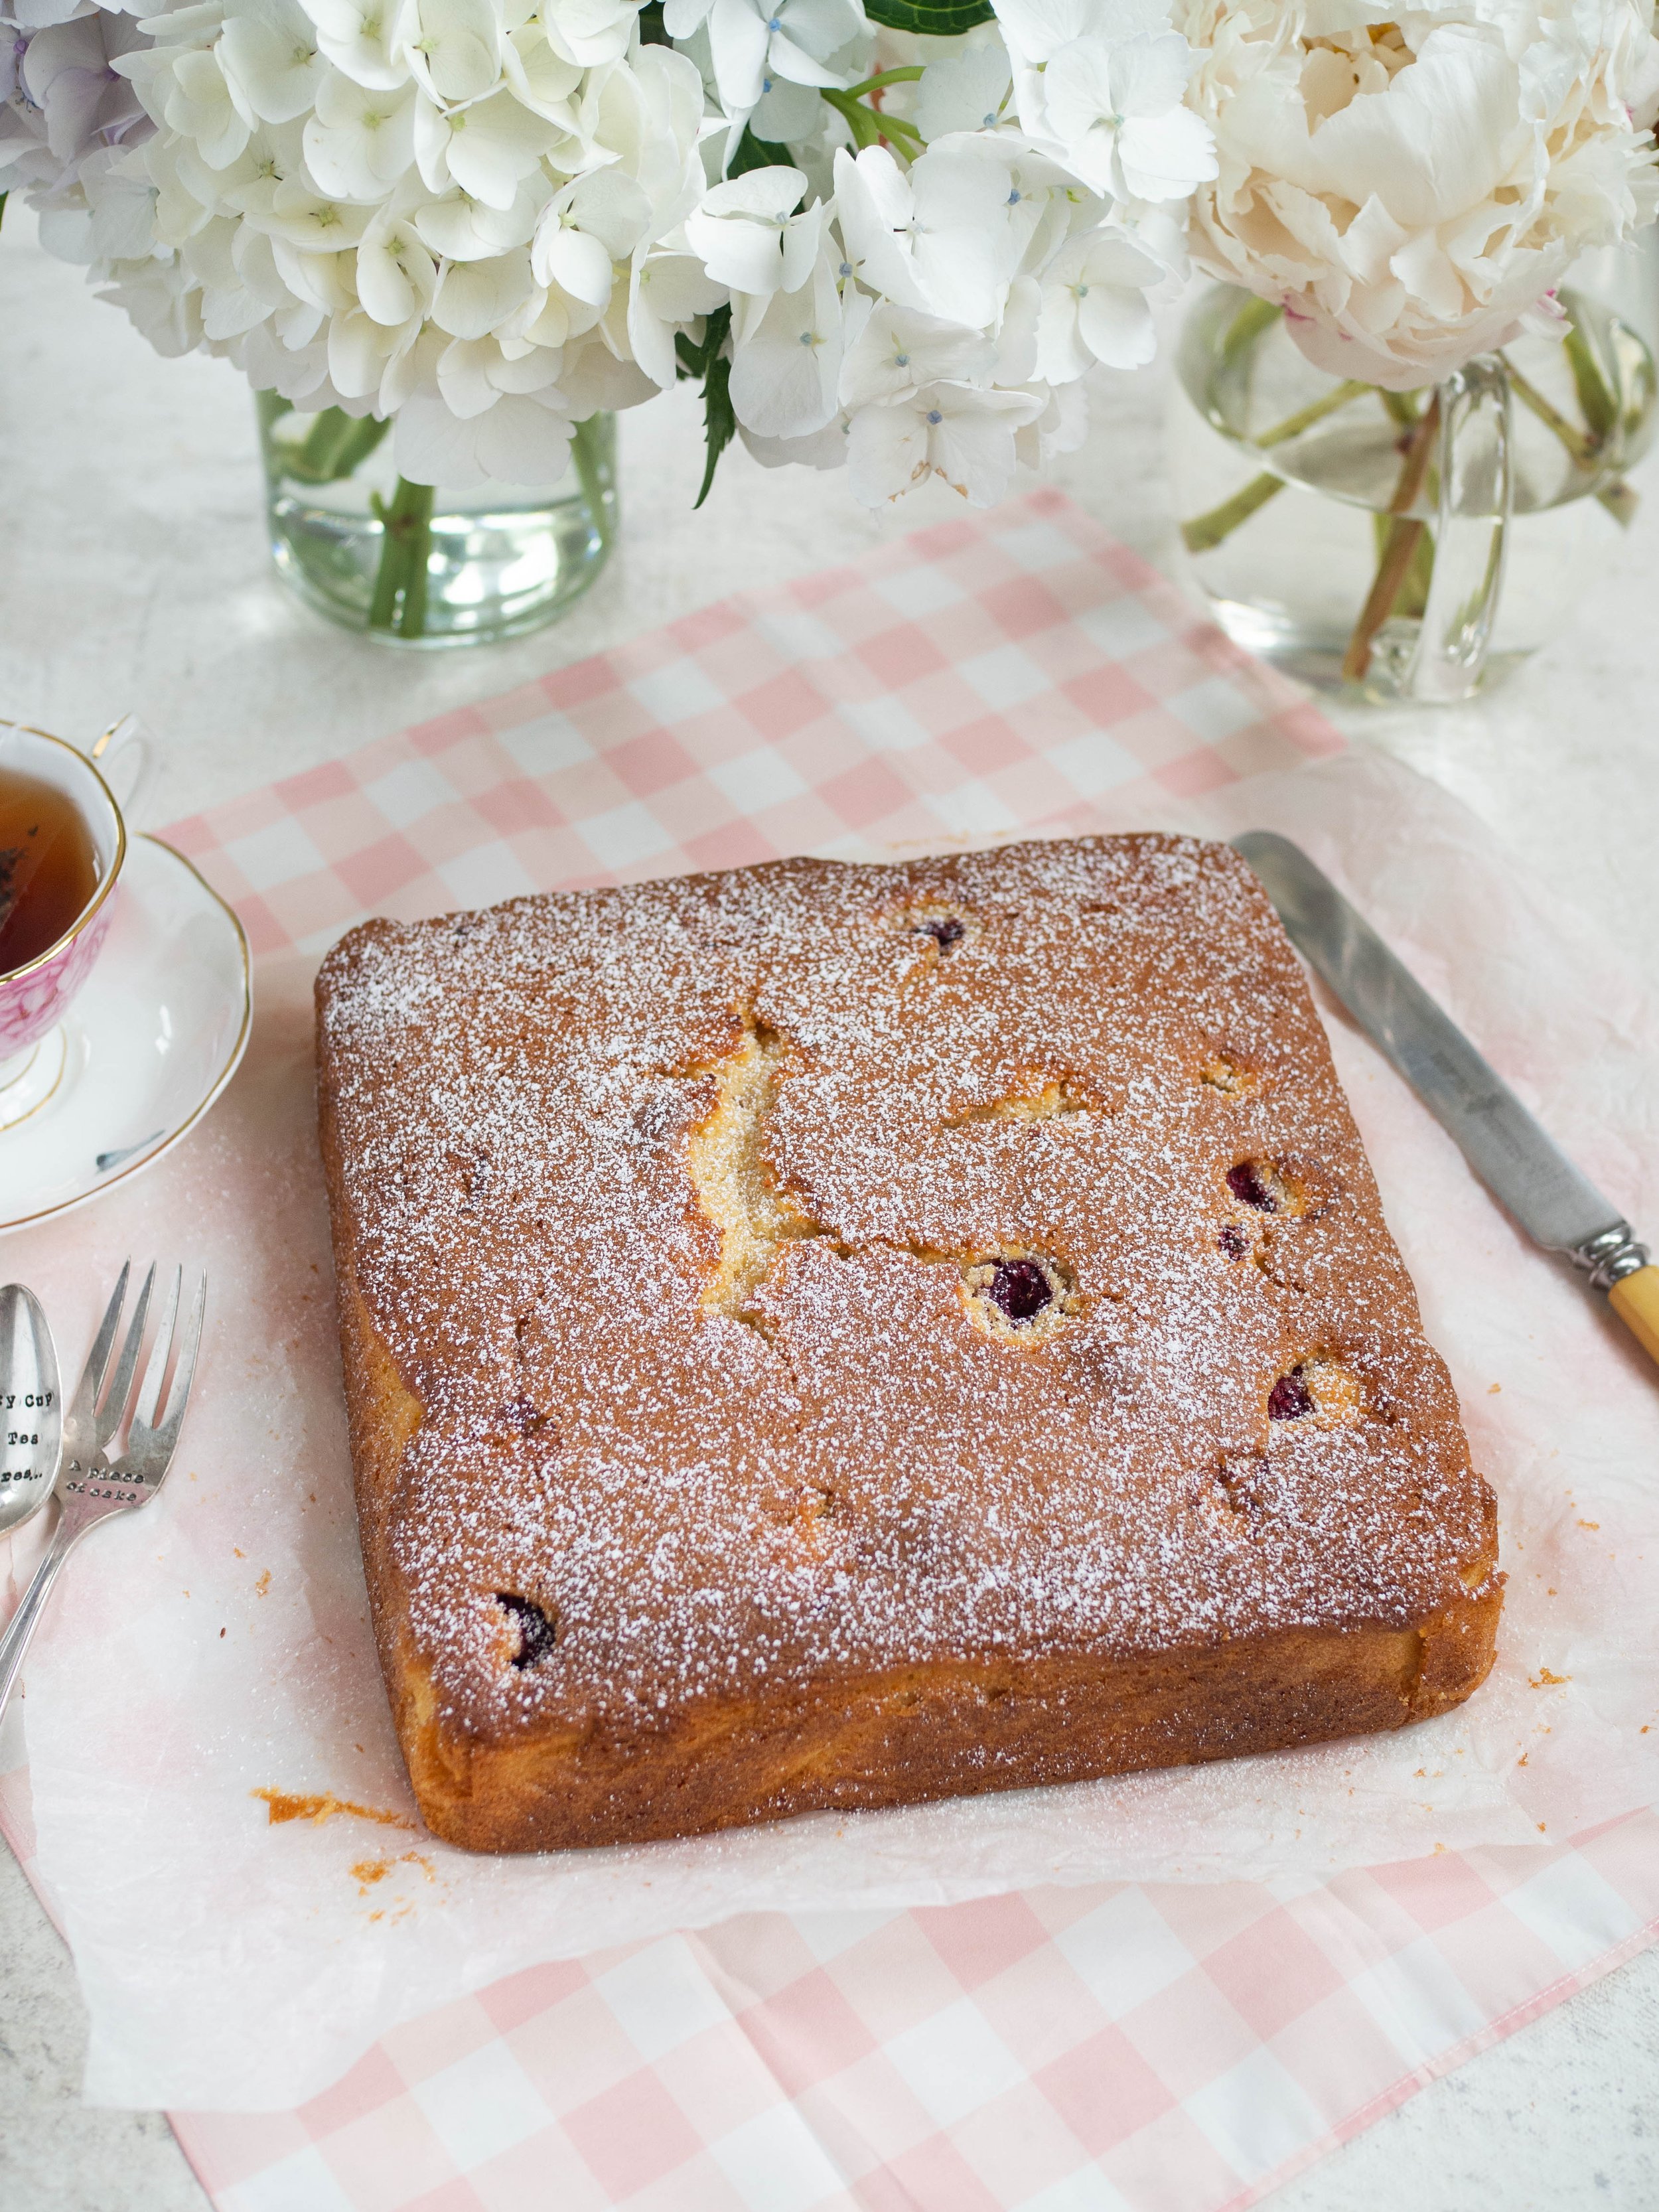
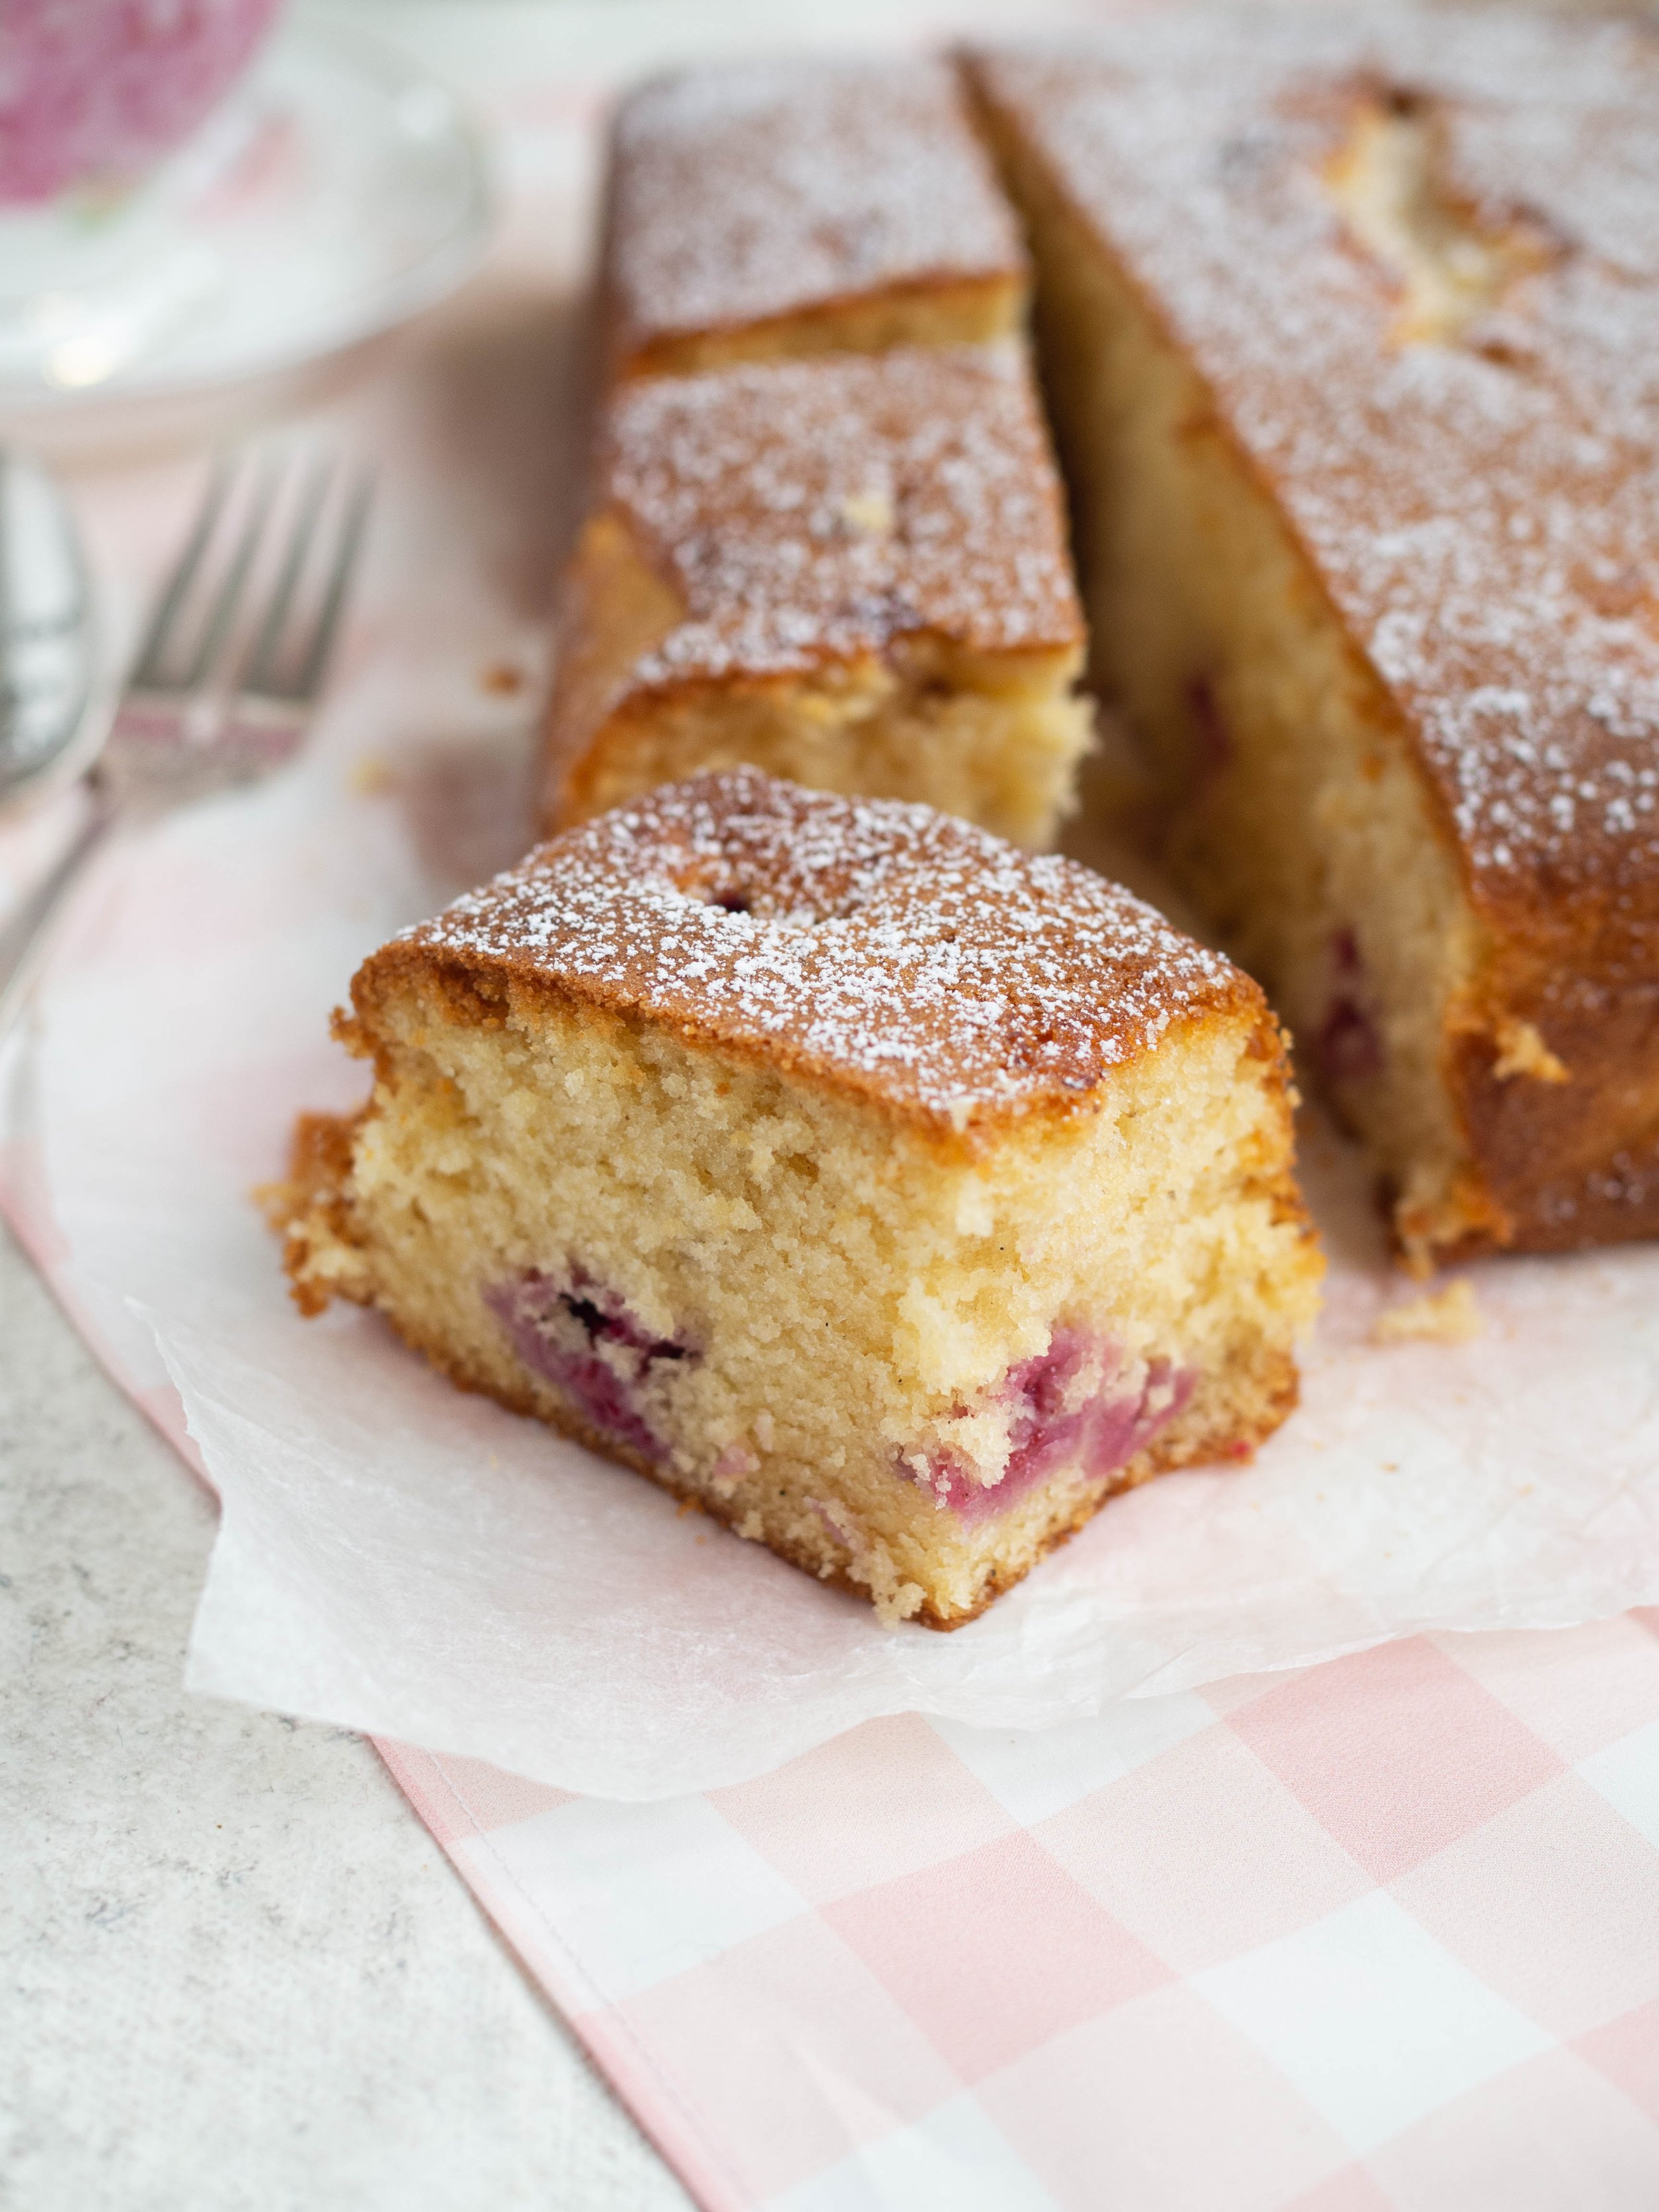
I liked the idea of just adding some of the raspberries to a nice plain vanilla cake and being able to snack on it whenever it felt necessary. This cake is fairly decent in size so you could definitely snack on it with a few other people as well.

The cake could have a few more raspberries in it than I have suggested in the recipe, maybe 200g or 2 cups if you would like it more filled with fruit. 

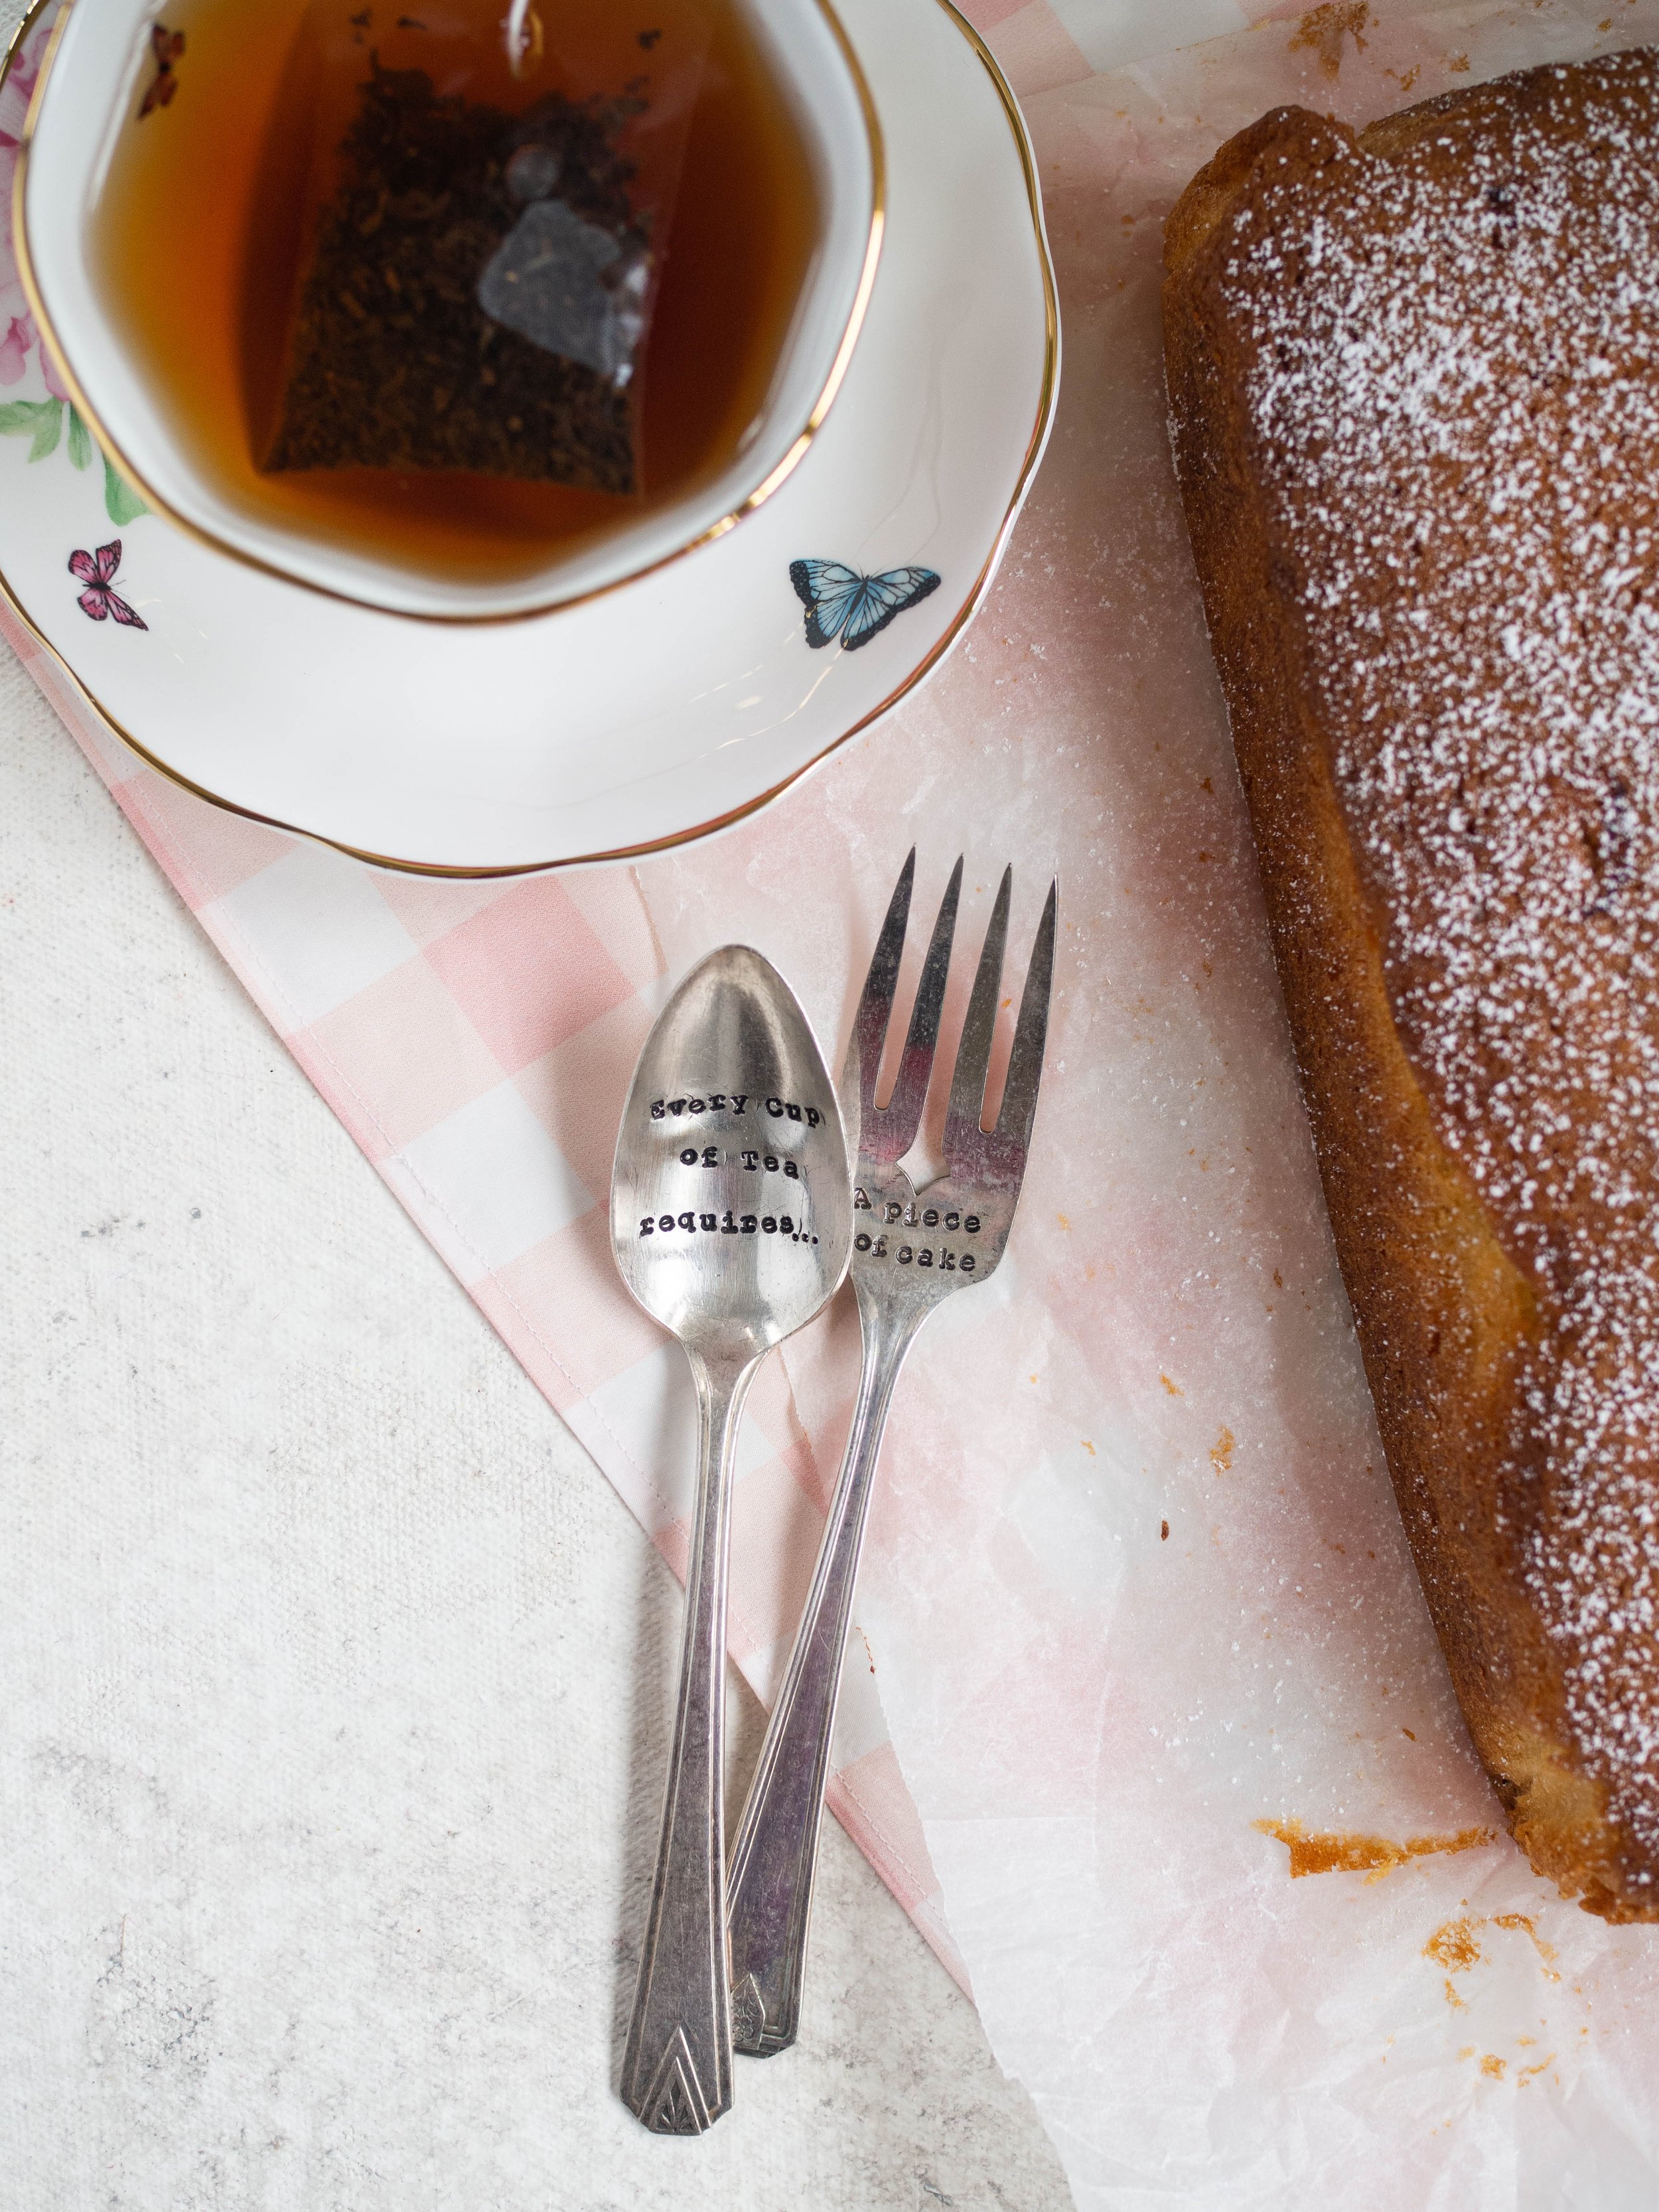
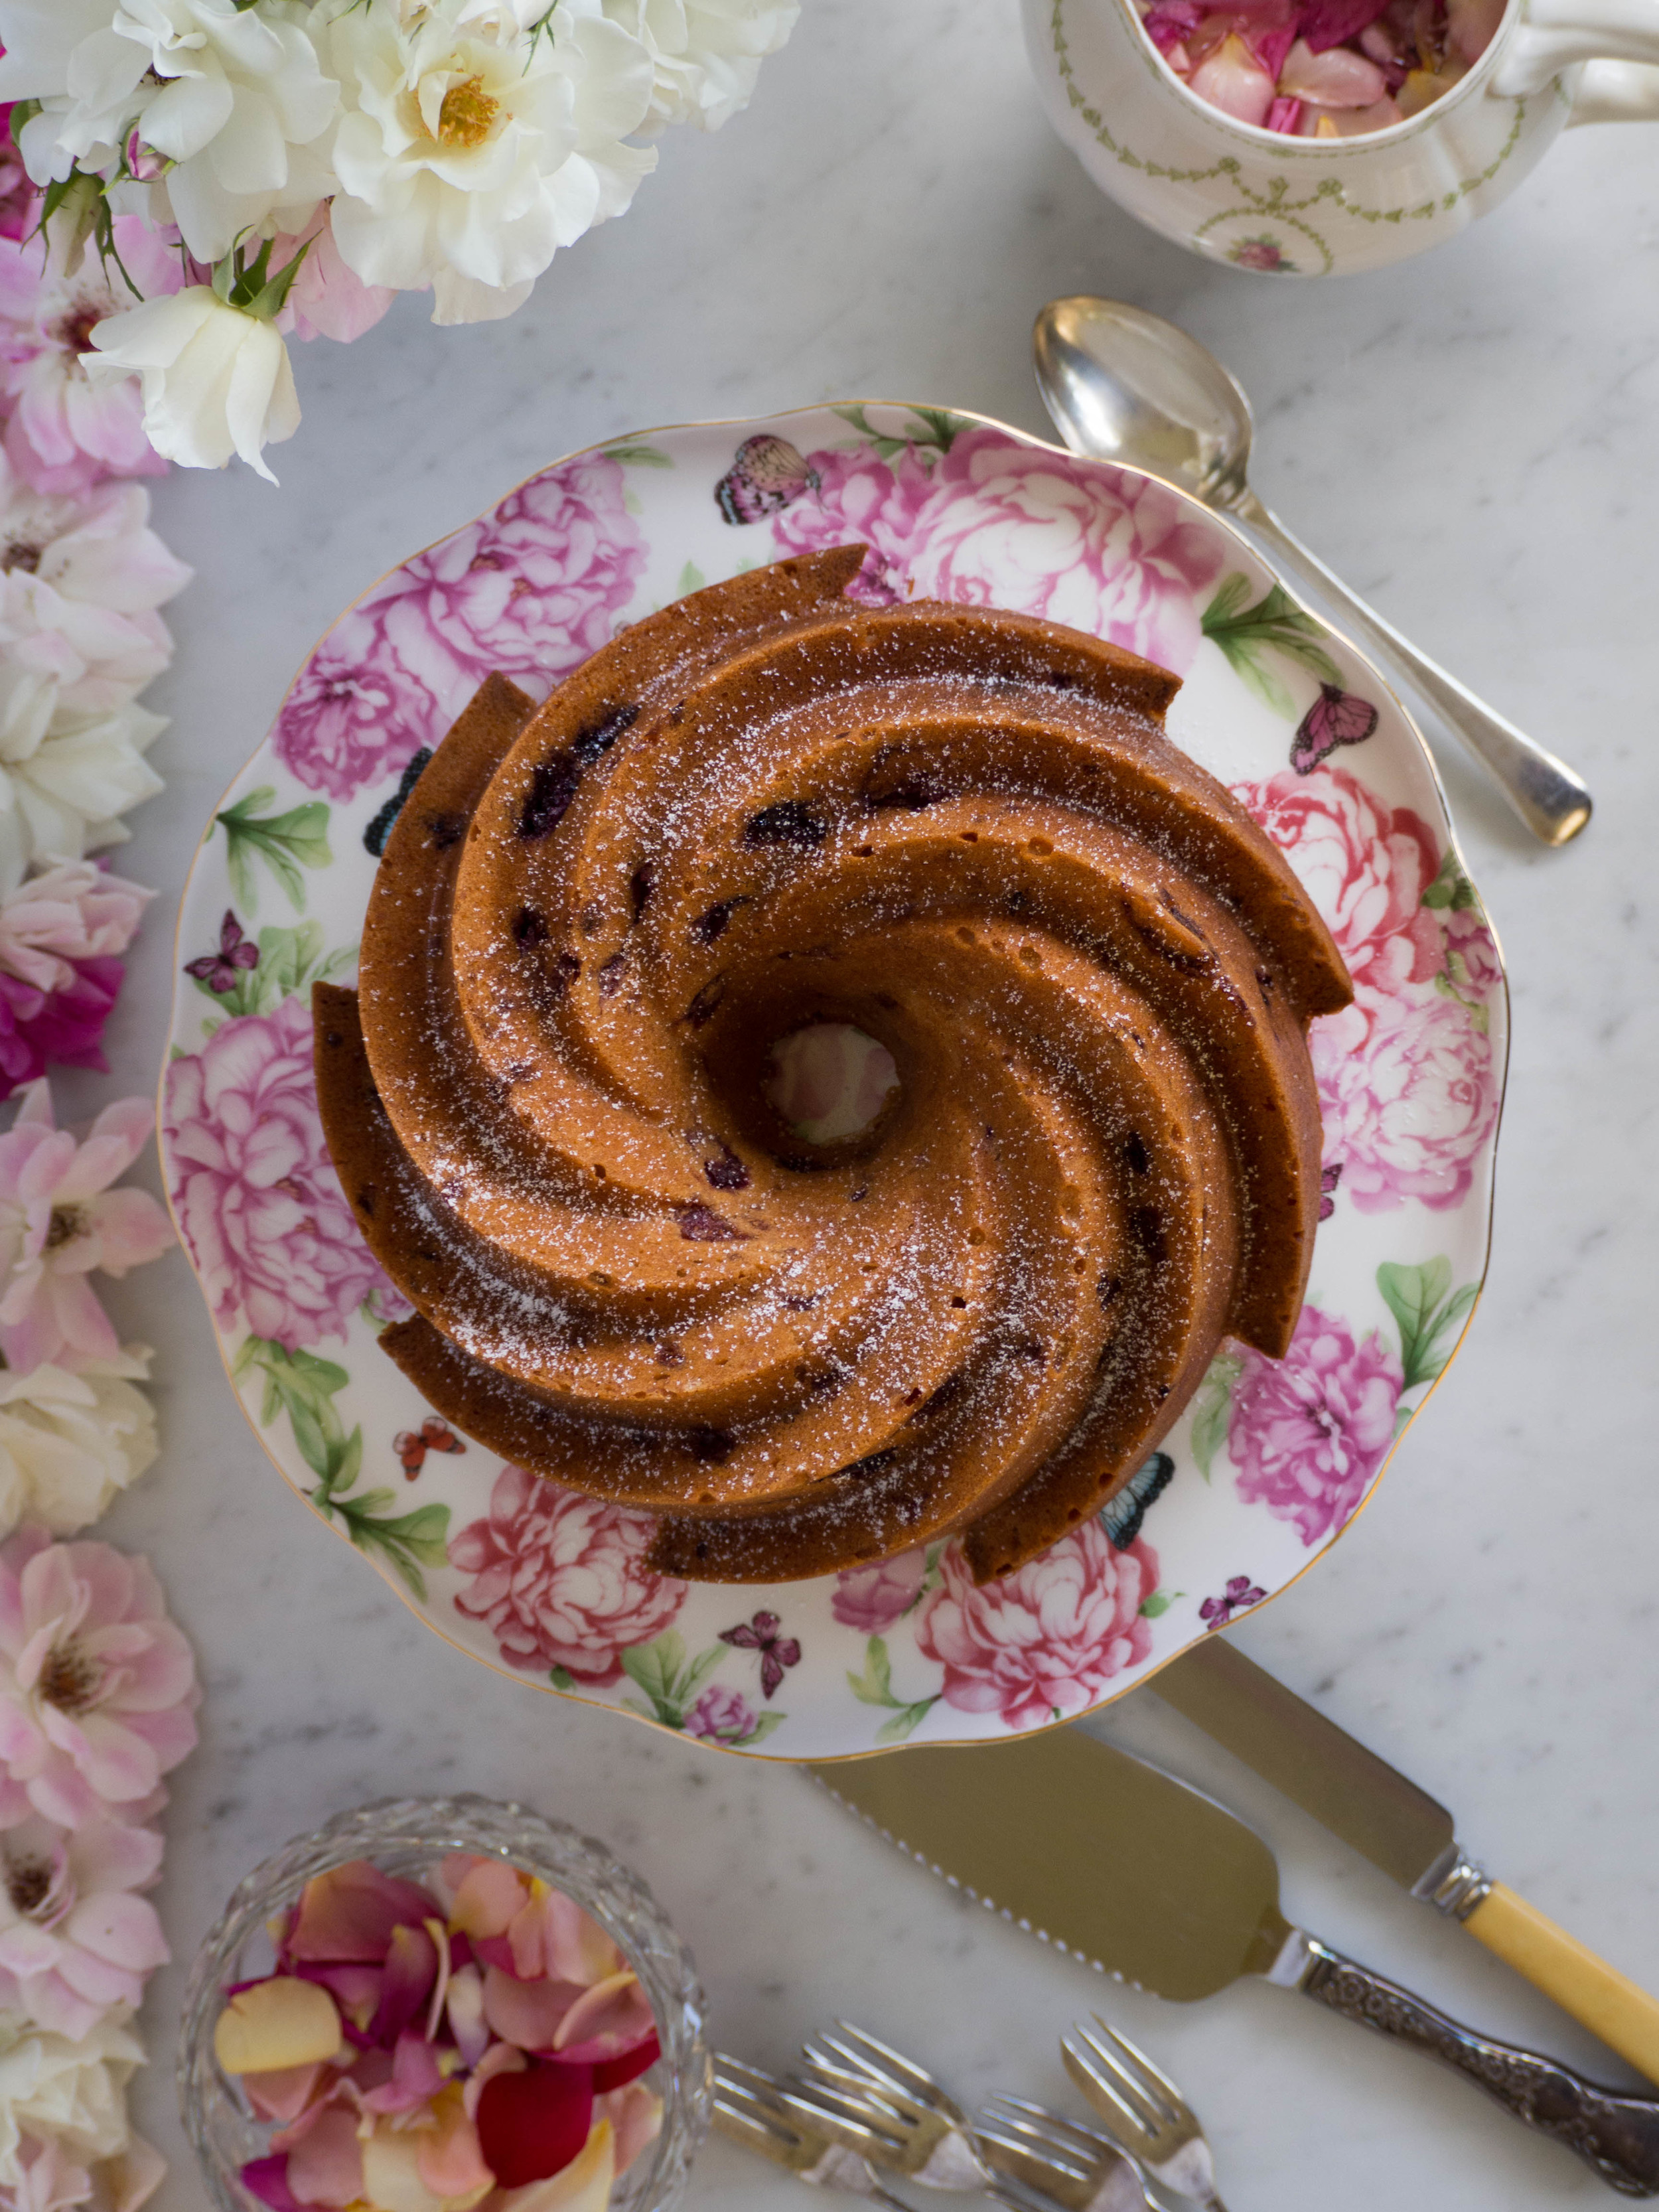
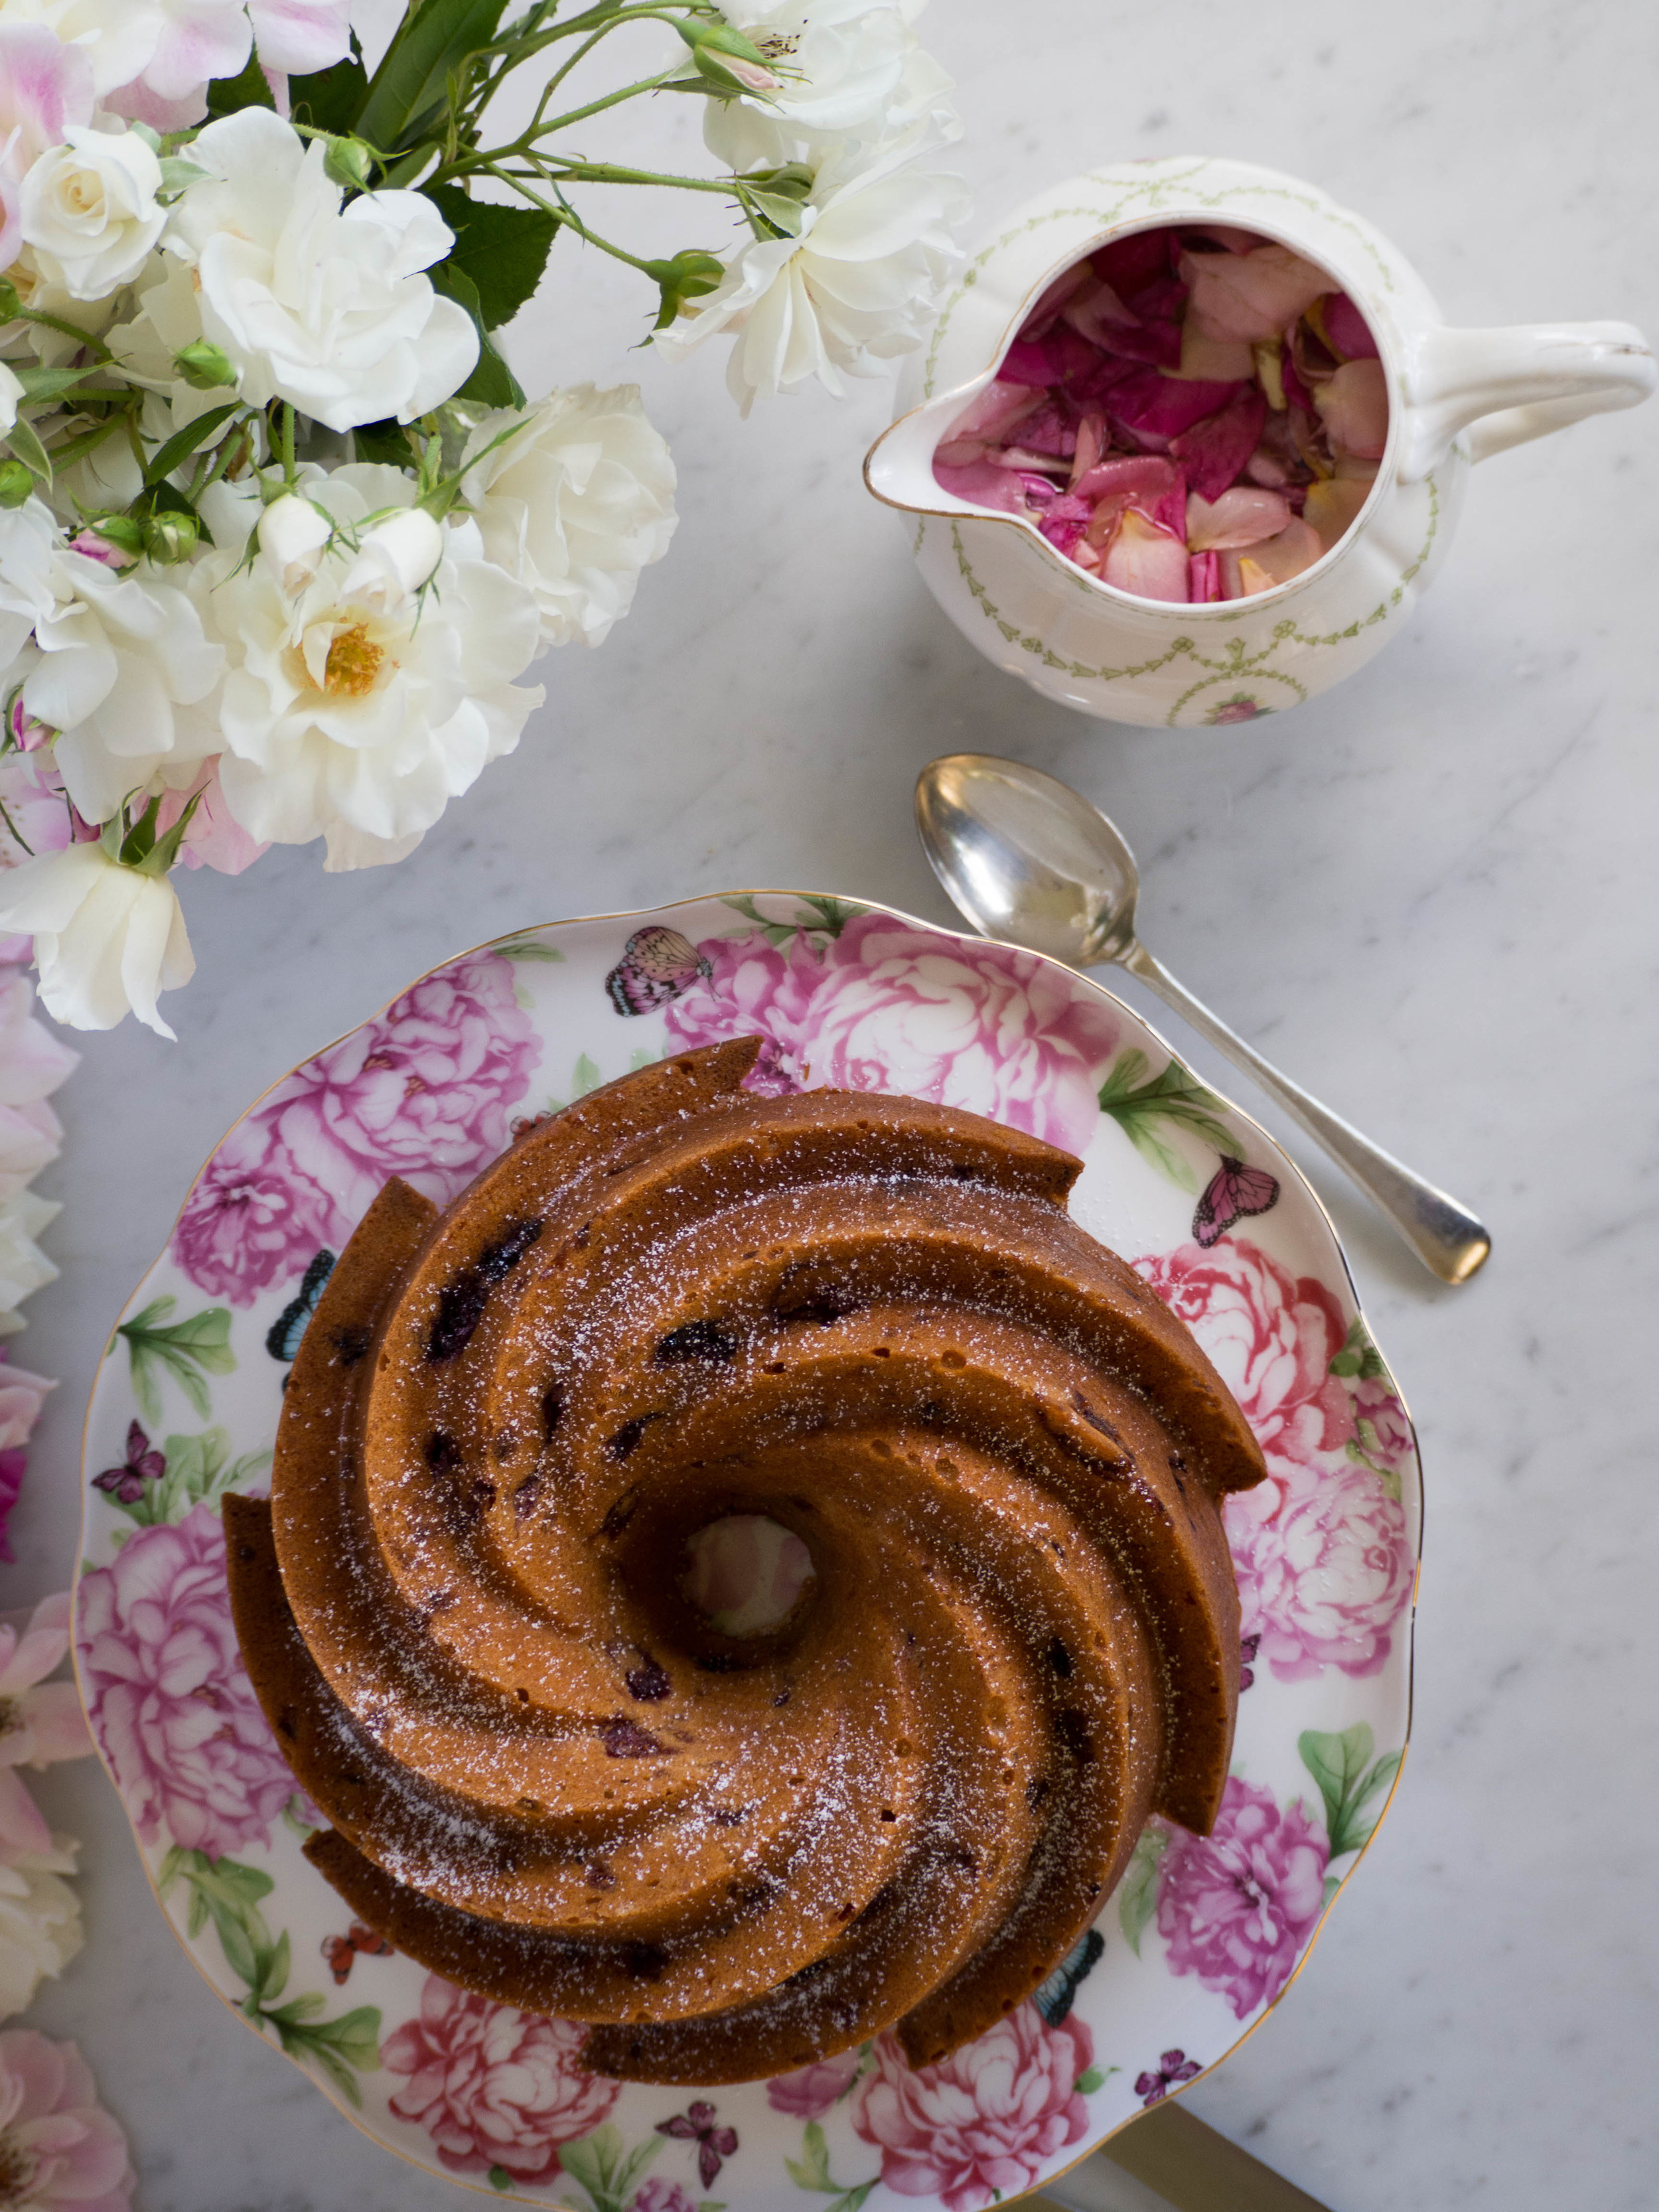
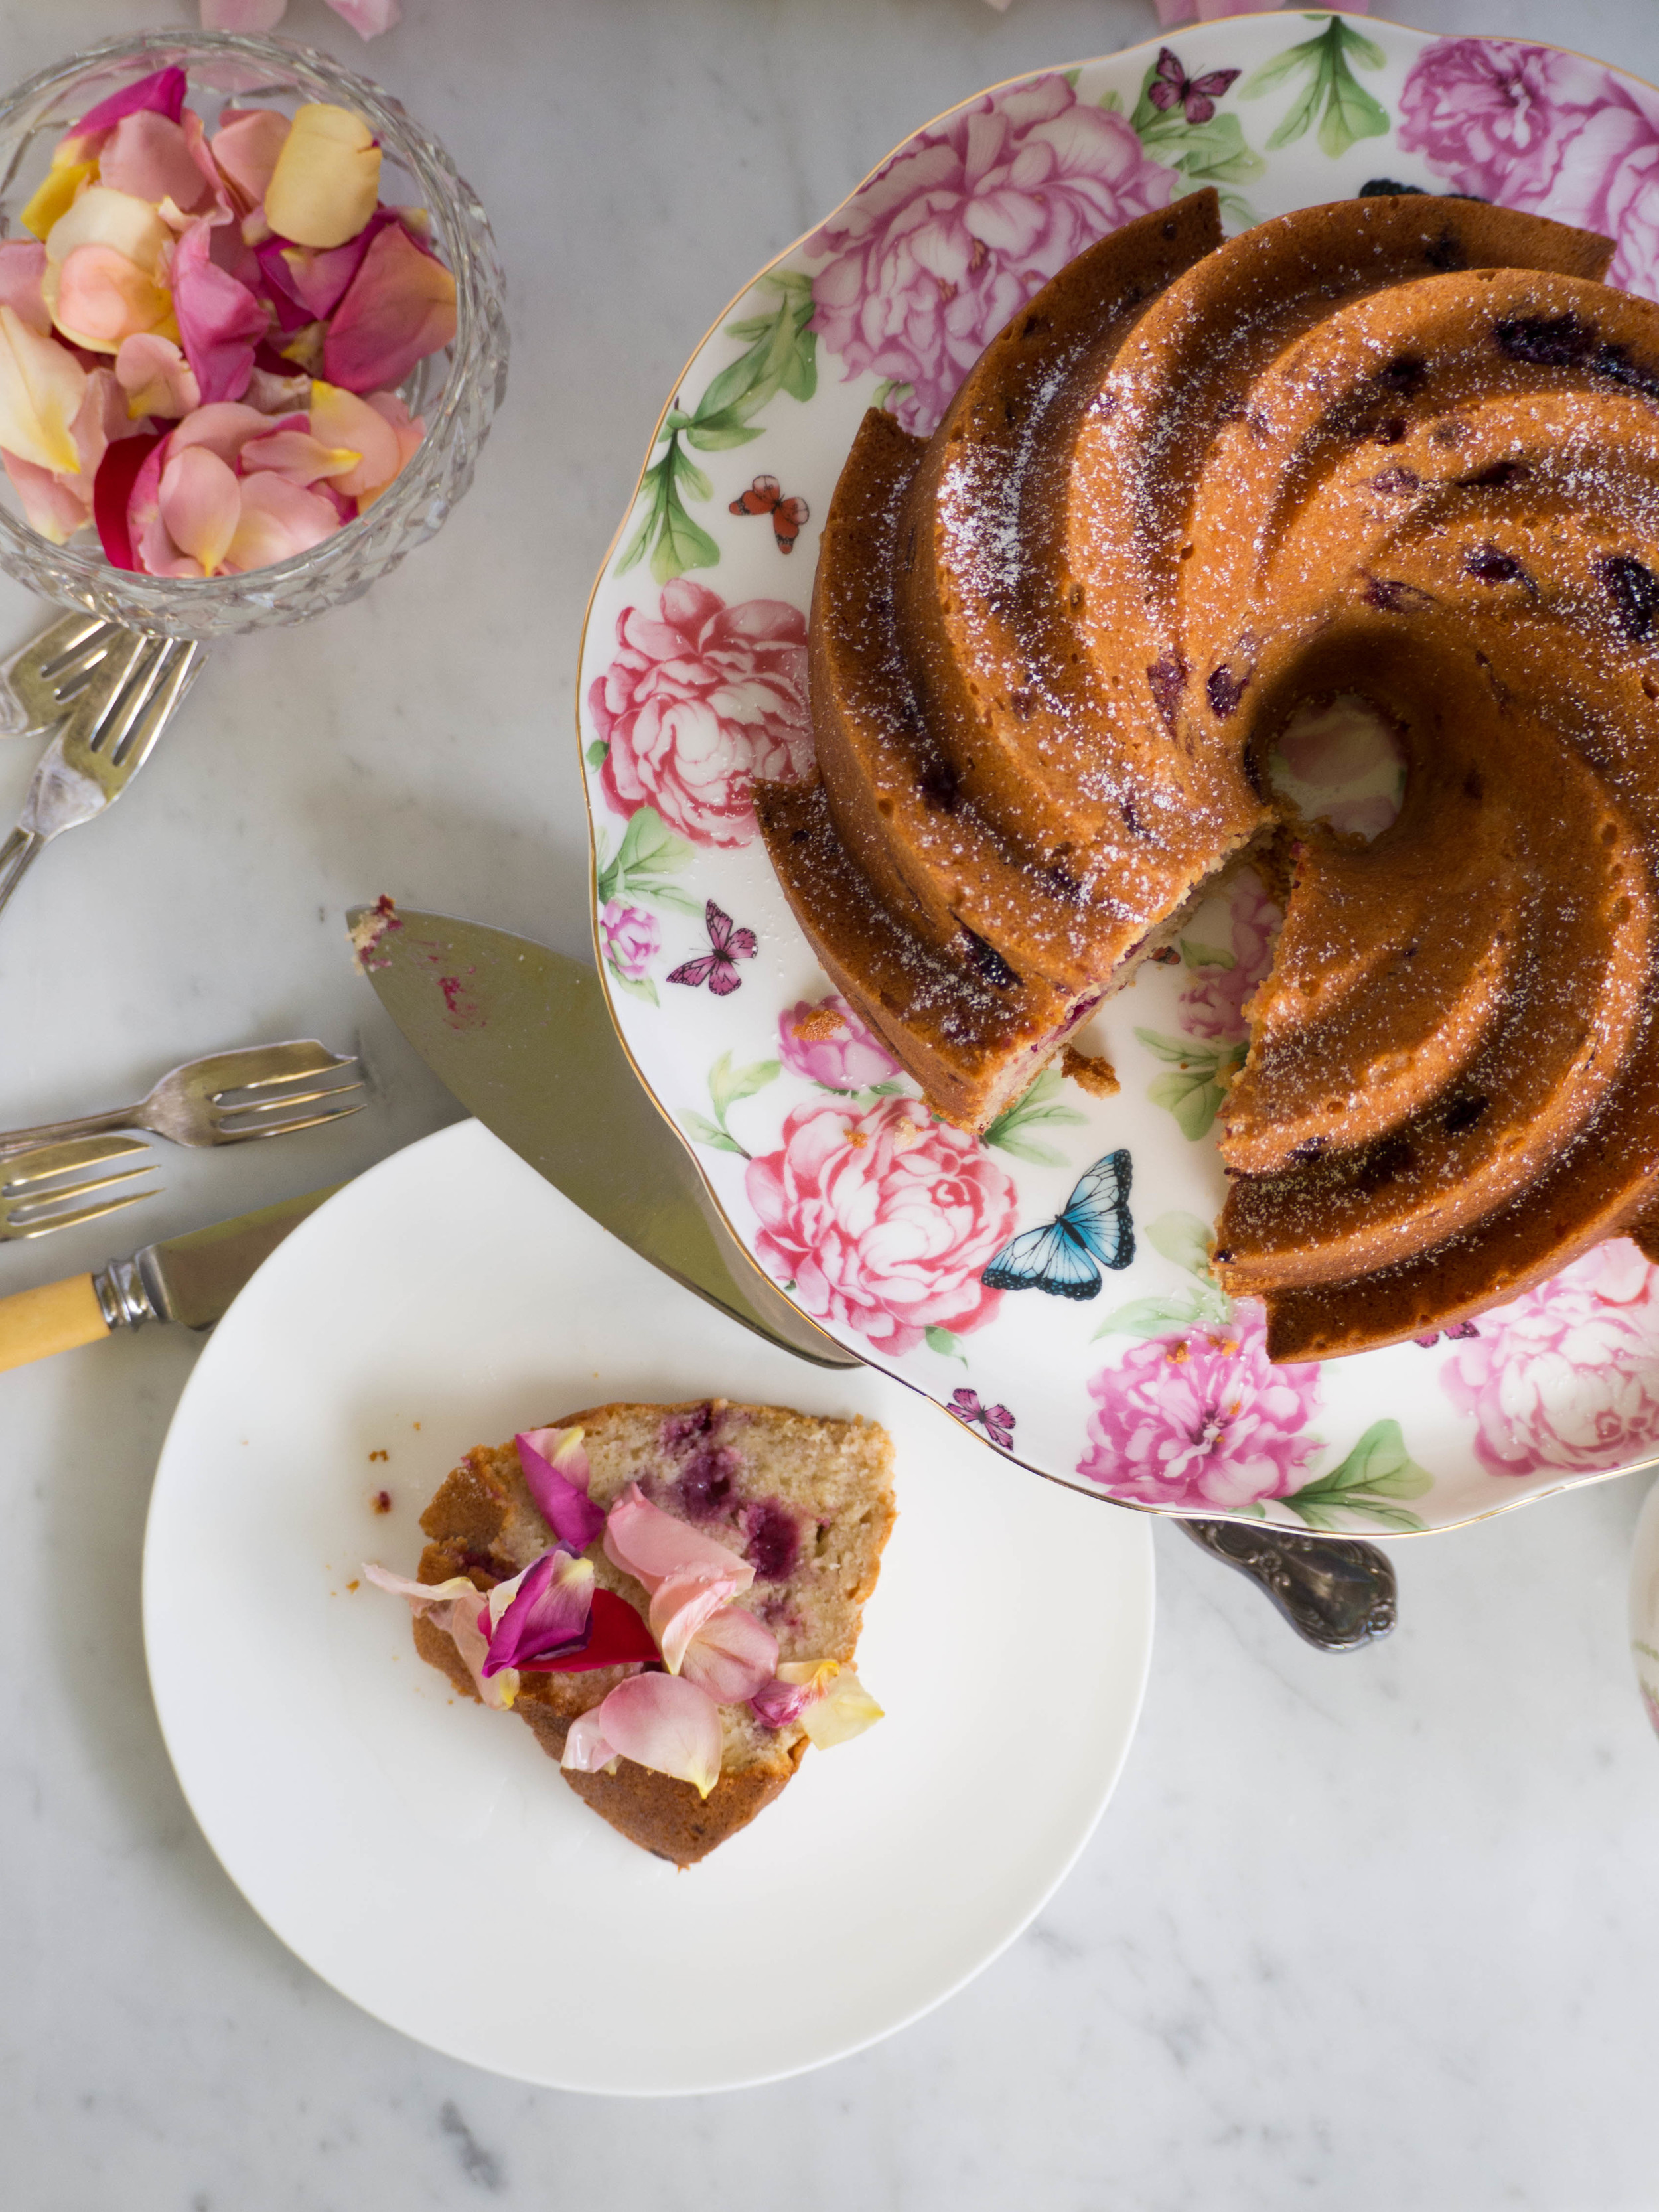
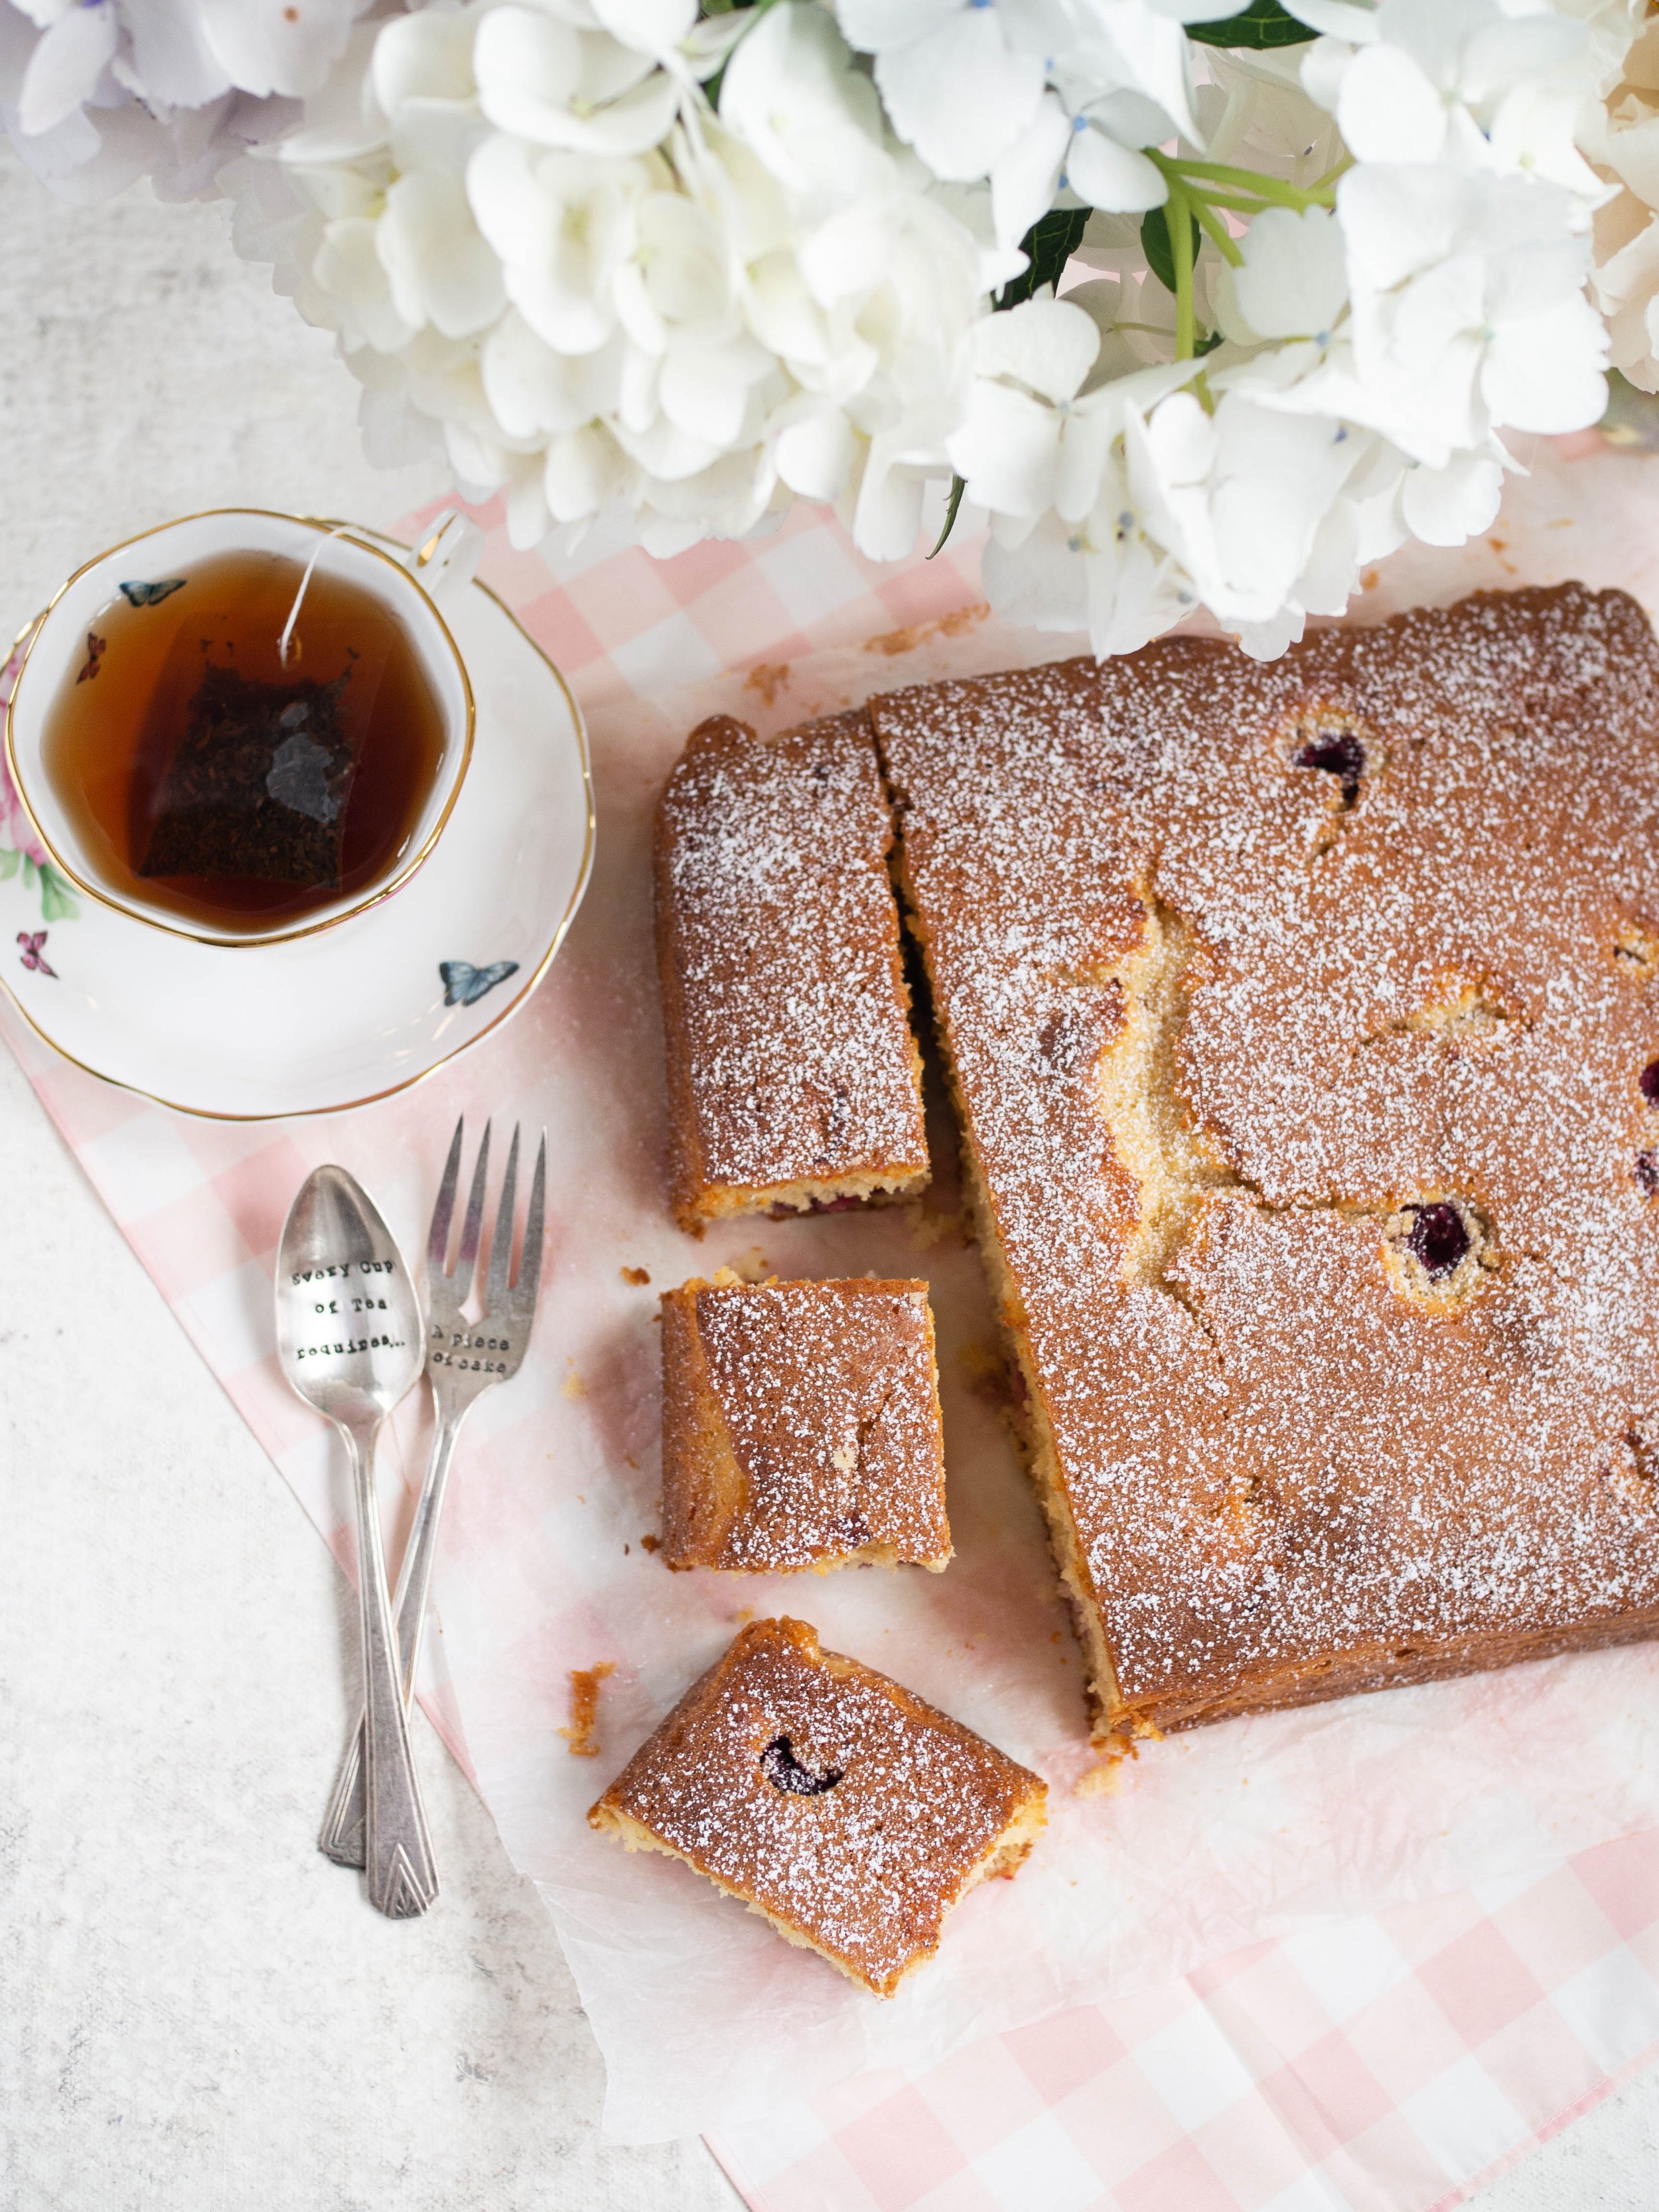
The cake could be iced with a simple glaze icing if you like, but I liked the simplicity and ease of a dusting of icing sugar. Plus I love the crisp top and sides of a plain cake like this one on the first day it is baked, which will get a bit lost if there is icing. It also means you don’t have to wait for the cake to be completely cool to eat it if you aren’t waiting to ice it - a win win in my books!

Raspberry and Vanilla Snacking Cake

Raspberry and Vanilla Snacking Cake

Ingredients:

225g unsalted butter, softened

340g caster sugar  

1 tsp vanilla bean paste

1 tsp vanilla extract

3 eggs

375g self raising flour 

220ml milk 

150g (1.5 cups) frozen raspberries

1-2 tsp icing sugar, for dusting

Method: 

Preheat oven to 160 degrees Celsius and line a 23cm square cake tin with baking paper.

In the bowl of a stand mixer cream the butter, sugar and vanillas until pale and fluffy.

Add the eggs one at a time, mixing well after each. 

Then add half the flour mix to combine. Add the milk and mix (you might want to cover your mixer with a tea towel for the first few seconds while the milk begins to incorporate). Then add the remaining flour and gently mix on low speed until it is incorporated and there are no lumps.

Pour half the batter into the prepared cake tin, then top with half the raspberries and push them into the batter a little. Then cover with the remaining batter and top with the remaining raspberries (no need to push the raspberries into the batter, the batter will swallow them up as it cooks and rises).

Bake for about 1 hour or until the cake is nicely golden and a skewer comes out clean. 

Allow to cool in it’s tin for a few minutes before turning out onto a wire rack to cool further. 

Once the cake has cooled down a bit, but is still a little warm dust over the icing sugar and serve (with nice cream if you have it). 

Serves 12 (at least), store in an airtight container, will keep for a few days. 

Every cup of tea requires a piece of cake
View fullsize Rasp Cake and Flowers (8 of 11).jpg
View fullsize Rasp Cake and Flowers (9 of 11).jpg
In Cakes & Slices Tags Raspberries, Vanilla, Easy Baking, cake, Mixer Free Recipes
2 Comments
Raspberry Bundt Cake with Rose Syrup

Raspberry Bundt Cake with Rose Syrup

Raspberry and Vanilla Bundt Cake with Rose Syrup

Kath April 24, 2016

After finally finishing watching Nigella Lawson’s new series, ‘Simply Nigella’, I was itching to make a bundt cake. Not just any bundt cake though, one that uses the really cool tin that Nigella uses for her trio of bundt cakes in her Christmas episode of ‘Simply Nigella’. I had seen this bundt tin around (sold exclusively at Williams Sonoma I think), and at $50 I initially thought maybe it was a little pricey to buy just because it looked cool. In the back of my mind however, I knew it was only a matter of time until I caved and purchased it. I just can’t help it when it comes to two things: Cake tins and cookbooks. I now have rather a few of both! 

Then, I saw Williams Sonoma had a sale on their baking ware. Well, that was it. I caved and bought one of the bundt tins, plus a couple of mini bundt tin pans. Funnily enough, I had this conversation with one of my friends who also likes to bake, and she had also just caved and bought the bundt tin as well! This all culminated around the time Nigella was in Australia on her book tour, and both of us had gone to hear her speak at the Dymocks Literary Lunch (back in January this year). 

I feel may we have been swept up in ‘Nigella fever’ so to speak, and thus Williams Sonoma did well out of both of us! I do doubt that either of us regret our inability to maintain our will power and not buy the cake tin, our cakes just look so pretty once they are baked in it!

Edible Rose Petals - Kulinary Adventures of Kath

For this particular bundt cake, I chose to adapt a recipe from Nigella’s book ‘Nigella Christmas’. The cake is flavoured only with vanilla and baked in a tin that, once dusted with icing sugar, looks like a cluster of snow capped mountains. I have added raspberries to my bundt, and made a rose syrup to drizzle over. I know you are probably thinking, ‘again with the rose?!’, but when you have been searching for edible flowers for as long as I have, once you find them, you buy them at every opportunity and adjust your baking plans accordingly! The cake would however, still be wonderful without the syrup if you didn’t feel like making it. 

Raspberry Bundt Cake with Rose Syrup - Kulinary Adventures of Kath
Homemade Rose Syrup - Kulinary Adventures of Kath
Raspberry Bundt Cake with Rose Syrup - Kulinary Adventures of Kath

Raspberry & Vanilla Bundt Cake with Rose Syrup

Ingredients for the Bundt Cake: 

225g unsalted butter, softened

300g caster sugar

6 eggs

350g plain flour 

1/2 tsp bicarb soda

250ml plain fat-free yoghurt (I used Greek yoghurt)

3 tsp vanilla bean paste

200g raspberries (or loganberries), roughly chopped

icing sugar, for dusting

canola oil spray, for greasing


Ingredients for the Rose Syrup:

30g fresh rose petals 

210g caster sugar 

715ml water 


Method: 

Start by making the rose syrup. Ensure the rose petals have been gently rinsed and dried. Combine the water and caster sugar in a medium pan over medium-high heat. Bring to the boil then allow to simmer for a few minutes until the sugar has dissolved. Remove from heat and allow to cool until it is just warm. 

Whilst the syrup is cooling, pre-heat oven to 180 degrees Celsius, and grease a 2.5l capacity bundt tin with the canola oil spray, ensuring you get into the creases and corners. Place a large baking tray into the oven while it is preheating.

Once the syrup has cooled until it is just warm, add the rose petals. Try to submerge them as much as possible into the syrup. Leave to infuse. 

In a large bowl of a stand mixer, cream the butter and sugar together until they become light and fluffy. Add the eggs one at a time along with a tablespoon of flour, mixing well between each addition. 

Once the eggs are well combined, add in the remaining flour, the bicarb soda, vanilla and yoghurt. Fold in all the ingredients until just combined. Add the raspberries and gently fold into the batter.

Evenly pour the batter into the prepared bundt tin, smoothing the top and gently tapping the tin onto a bench to ensure the batter has reached all the crevices of the tin. Place the bundt tin in the oven, sitting on top of the pre-heated baking tray. Bake for at least 45 minutes. Check the centre of the cake with a skewer to ensure the cake is baked through, leaving it in the oven for another 10-15 minutes if it is yet to cook through properly. Once the skewer comes out clean, the cake is ready. 

Remove the cake from the oven, and allow to sit on a wire rack for about 15 minutes. Then carefully invert the cake onto a cooling rack to remove from the tin.

Allow the cake to cool completely before serving. Dust with icing sugar, and serve each slice with a drizzle of the Rose Syrup (and maybe some cream or ice cream!). 

A note on the Rose Syrup: With the petals left in the rose syrup, it will only last a couple of days maximum. However, if you strain the syrup and remove the petals it will last at least a week in the fridge. To enhance the rose flavour once the petals have been removed, add a teaspoon of rosewater and mix.

Raspberry Bundt Cake with Rose Syrup - Kulinary Adventures of Kath

References: ‘Nigella Christmas’ by Nigella Lawson (Chatto & Windus, 2008), p.198; or via Nigella’s website; Local is Lovely by Sophie Hansen. 

Raspberry Bundt Cake with Rose Syrup - Kulinary Adventures of Kath

For more recipes showcasing the best of rose, check out my ebook Baking with Rose by clicking on the link below!

get your ebook!
In Cakes & Slices Tags Bundt Cake, cake, Nigella Lawson, Williams Sonoma, Simply Nigella, Nigella Christmas, Raspberries, Rose, Rose Syrup, Edible Flowers
Comment

Simple Summer Celebration Cake & Two Years of Blogging

Kath January 17, 2016

Happy New Year! I hope everyone had a lovely start to the new year. This is my first blog post for 2016, and I am quite excited about 2016 on the blog front. I have lots of new recipes to try and lots of ideas for my own, and I can’t wait to share them with you. The first of which, is this cake. This cake is my idea of using the best summer berries and edible flowers, and creating something very simple yet still spectacular. 

And for this post, I am using this simple yet spectacular cake to celebrate two years since I started this blog. It’s quite surreal to think about how that amount of time has gone by already. I love looking back at the recipes I have done in the past, and seeing how even now, some of them are still the most popular recipes on the blog. I am very much looking forward to working on this blog into the future, and I hope you will all continue to check back here every now and then and see where my kulinary adventures have led. 

The base recipe for this cake, has appeared in various forms on the blog a few times in the past two years. This is probably my favourite to date, although the passionfruit version would have to be a super close second. The idea for this particular cake came from my undying and rather obsessive need to use edible flowers. And once I (finally, oh finally!) found some, in the amazing fruit market near my work nonetheless, this cake was born. As a side note to explain how obsessive I have become on this, ever since I found that this fruit market sells edible flowers, I check back almost every lunch time to see if they have any and whether my obsessive need to use them will be fulfilled yet another time - I may require some kind of intervention at some point, just FYI, I’ll let you know when the situation becomes dire.

Obsessiveness aside, I think this cake would be fantastic for lots of occasions, but kitchen teas, afternoon teas and birthdays spring to mind first. Use whatever edible flowers you can find, otherwise a nice combination of berries will still look lovely. A regular loaf tin will work too, I found this long skinny one at Donna Hay’s pop up shop at Fox Studios in Sydney. 

Simple Summer Celebration Cake

Ingredients: 

125g margarine, or unsalted butter (softened)

165g caster sugar

1 tsp vanilla bean paste/vanilla extract

2 eggs 

250g self-raising flour

105ml milk (preferably skimmed)

100g raspberries


For the Icing: 

1 1/2 cups icing sugar 

1-2 tbsp rosewater

berries (raspberries, blackberries) and edible flowers (rose petals, violets, cornflowers), to decorate 


Method: 

Pre-heat oven to 160 degrees Celsius, and line a loaf tin with baking paper. 

In the bowl of an electric mixer, beat the margarine, sugar and vanilla until light and fluffy. 

Beat in the eggs one at a time, then add half the flour and half the milk and mix. Add the remaining flour and milk and mix on medium speed until well combined. Gently fold in the raspberries. 

Transfer the mixture into the loaf tin, smoothing the top. Bake for 50 minutes, or until the cake springs back when touched lightly and a skewer comes out clean. 

Cool in the tin for a few minutes then transfer to a cooling rack, leaving the baking paper underneath the cake (this will prevent the cake from sticking to the rack, and catch any runaway icing later). 

Once the loaf has cooled completely, sift the icing sugar into a bowl. Add one tablespoon of rosewater, and stir. Continue to add rosewater (or water for a more subtle flavour) and stir well, until the icing is a nice smooth consistency. Drizzle the icing over the cake, allowing it to fall down the sides. Decorate with the berries and edible flowers immediately. Allow the icing to set a little before serving. If there are any leftovers store in the fridge, as the decoration will not store well at room temperature. 

Original cake recipe adapted from The Australian Women’s Weekly Cakes & Slices Cookbook, p.89.

In Cakes & Slices Tags cake, Summer, Berries, Raspberries, Blackberries, Edible Flowers, Rose Petals, Violets, Cornflowers, Celebration cake, blogging
Comment

Homemade Marshmallows (Gluten + Dairy Free)

Kath December 10, 2015

I have always loved marshmallows. I would eat them by the bowlful as a kid, much to my Mum’s dismay. I’d often melt them in the microwave, add Rice Bubbles, and eat them like a massive LCM (or rice crispy treat), but with much more marshmallow! 

Then while I was at uni, a friend introduced me to Sweetness the Patisserie in Sydney, who make their own marshmallows, known as Sweet Mallows. They are made with natural flavours, and come in an amazing variety of flavour combinations. These homemade, (much) more natural versions of the marshmallows you buy in the lolly isle at the supermarket, make you never ever want to eat the supermarket variety again.

I then stumbled across the below recipe in the recipe book from the Parisian confectioners,  À La Mère de Famille (check out this post for more on the Parisian confectioners). Its not an overly complicated recipe, you just need to be organised, work quickly and have a sugar thermometer. So once I bought a sugar thermometer, there was nothing stopping me finally making marshmallows for myself! 

The flavour combinations are really quite endless, and I think they make cute gifts (cue impending holiday season!). The flavour of the marshmallows develops a lot after a day or so, so I would recommend making them a day or two in advance before giving them as gifts. They also require tossing in the icing sugar and potato flour mix more than once over the first couple of days, particularly in humid conditions. They will otherwise absorb the first lot of icing sugar and potato flour quite quickly and become wet and sticky. And let’s face it, its always handy when you are making gifts, or just cooking generally, to have things that can be prepared in advance! 

Homemade Marshmallows

Ingredients for Raspberry Marshmallows: 

15g gelatine sheets

100g raspberry pulp

20g water

50g mild honey

240g sugar

100g egg whites

1 tsp freeze dried raspberry powder, sifted, optional

75g icing sugar

75g potato flour/starch 


Ingredients for Passionfruit Marshmallows:

15g gelatine sheets 

70g strained passionfruit pulp

40g water

50g mild honey

240g sugar

100g egg whites

1 tsp freeze dried passionfruit powder, optional

75g icing sugar

75g potato flour/starch 


Method: 

Place the gelatine in bowl of cold water, and leave to soak for 5 minutes. Then drain and set aside. 

Place the egg whites in a bowl, and have everything ready to whip them once the sugar syrup starts to heat up (see following step).

In a large saucepan heat, the raspberry pulp or passionfruit pulp, water, honey and sugar until it reaches 114 degrees Celsius on a sugar thermometer. The sugar syrup will start rapidly boiling and increase in size, so make sure you use a large enough saucepan. This shouldn’t take too long, so once the mixture starts to increase in temperature, start whipping the egg whites on a low/medium speed.

Once the sugar mixture has reached 114 degrees Celsius, and the egg whites are whipped to stiff peaks, gently fold the sugar mixture and gelatine in to the egg whites. 

Increase the speed of the mixer (medium to high speed), and allow the marshmallow to thicken and cool. This will take a few minutes. Add the freeze dried raspberry powder or passionfruit powder, if using, and continue to whip the marshmallow until it has cooled to at least 40 degrees Celsius. Whilst the marshmallow is thickening and cooling, lay a sheet of baking paper on a clean dry surface and generously dust with combination of the icing sugar and potato flour. 

Once the marshmallow has thickened and cooled, pour it onto the prepared surface and spread into a rectangular shape, about 1.5-2cm in thickness. Dust with more icing sugar and potato flour, and leave to set. 

I found it didn’t take very long for the marshmallow to set, but leave it about 30 mins to be sure - it will be set when it bounces back when pressed and the outside area dusted with the icing sugar and potato flour is no longer sticky. You may need to dust the marshmallow more than once depending on the humidity. 

Once the marshmallow has set, cut into cubes, and toss cut marshmallows in a bowl filled with icing sugar and potato flour. Cut cubes of marshmallow may need dusting a couple more times as the first lot tends to be absorbed after a few hours (particularly in humid conditions). Keep a bowl or container of the icing sugar and potato flour handy so the marshmallows can be re-dusted if needed. 

Reference: ‘À La Mère de Famille: Artisanal Recipes’ by Julien Merceron (2013, Hardie Grant Books), pp.108-112. 

In Holidays, Confectionary Tags marshmallow, Raspberries, Passionfruit, confectionary, Christmas, edible gifts, A La Mere de Famille, Gluten Free, Dairy Free
Comment

Raspberries

Kath January 9, 2015

It’s no secret that I use these a lot when I bake. I have a stash of them stored in the freezer to pull out whenever I feel like making something with them. They are in season now, and the price of fresh raspberries has dropped as a result.

Freezing fresh raspberries works really well, and they hold up better in baking than the pre-frozen bought ones. The peach and raspberry tart I made over Christmas was made using fresh frozen raspberries.

There is no need to defrost them before using them in baking, they will hold their shape better and bleed less if they are used straight from the freezer.

Tags Raspberries, Frozen Raspberries, Cooking Tips
Comment

recipes

  • Biscuits/Cookies 39
  • Breads Etc. 9
  • Breakfast 7
  • Cakes & Slices 67
  • Confectionary 5
  • Drinks 6
  • Events 14
  • Food Photography Tips 3
  • From The Mailing List 24
  • Heirloom Recipes 12
  • Holidays 44
  • Ice Cream 9
  • Jams Preserves & Spreads 9
  • Muffins 4
  • Off the Shelf 47
  • Other Desserts 25
  • Savoury Dishes/Meals 15
  • Scones 4
  • Tarts & Pastry 9
  • Travel 13

Sign up to Friday Food Chat with Kath, a weekly newsletter for more food, baking, cookbook chat and more!

Sign Up Here!
instagram-unauth pinterest facebook url

Website Accessibility: To enable text to speech function on the blog, click the sound button to the right of each blog post.

All images & content are the property of Kathryn Vincent, unless stated otherwise. Please do not use without permission.

Kulinary Adventures of Kath

Food Photography, Recipes & Baking

instagram-unauth pinterest facebook url