Kulinary Adventures of Kath

Food Photography, Recipes & Baking
  • home
  • About
  • Work with Kath
  • Shop
  • Blog
    • The Blog
    • Recipe Archive
  • Newsletter
  • Contact
  • home
  • About
  • Work with Kath
  • Shop
    • The Blog
    • Recipe Archive
  • Newsletter
  • Contact
Raspberry Pistachio Rose Cake (23 of 25).jpg

The Blog

Recipes and Food Photography by Kath Vincent.

  • The Blog
  • Recipe Archive
  • All
  • Biscuits/Cookies
  • Breads Etc.
  • Breakfast
  • Cakes & Slices
  • Confectionary
  • Drinks
  • Events
  • Food Photography Tips
  • From The Mailing List
  • Heirloom Recipes
  • Holidays
  • Ice Cream
  • Jams Preserves & Spreads
  • Muffins
  • Off the Shelf
  • Other Desserts
  • Savoury Dishes/Meals
  • Scones
  • Tarts & Pastry
  • Travel
round cake with pink icing and decorated with rose petals

Another Pistachio and Rose Cake

Kath June 8, 2022

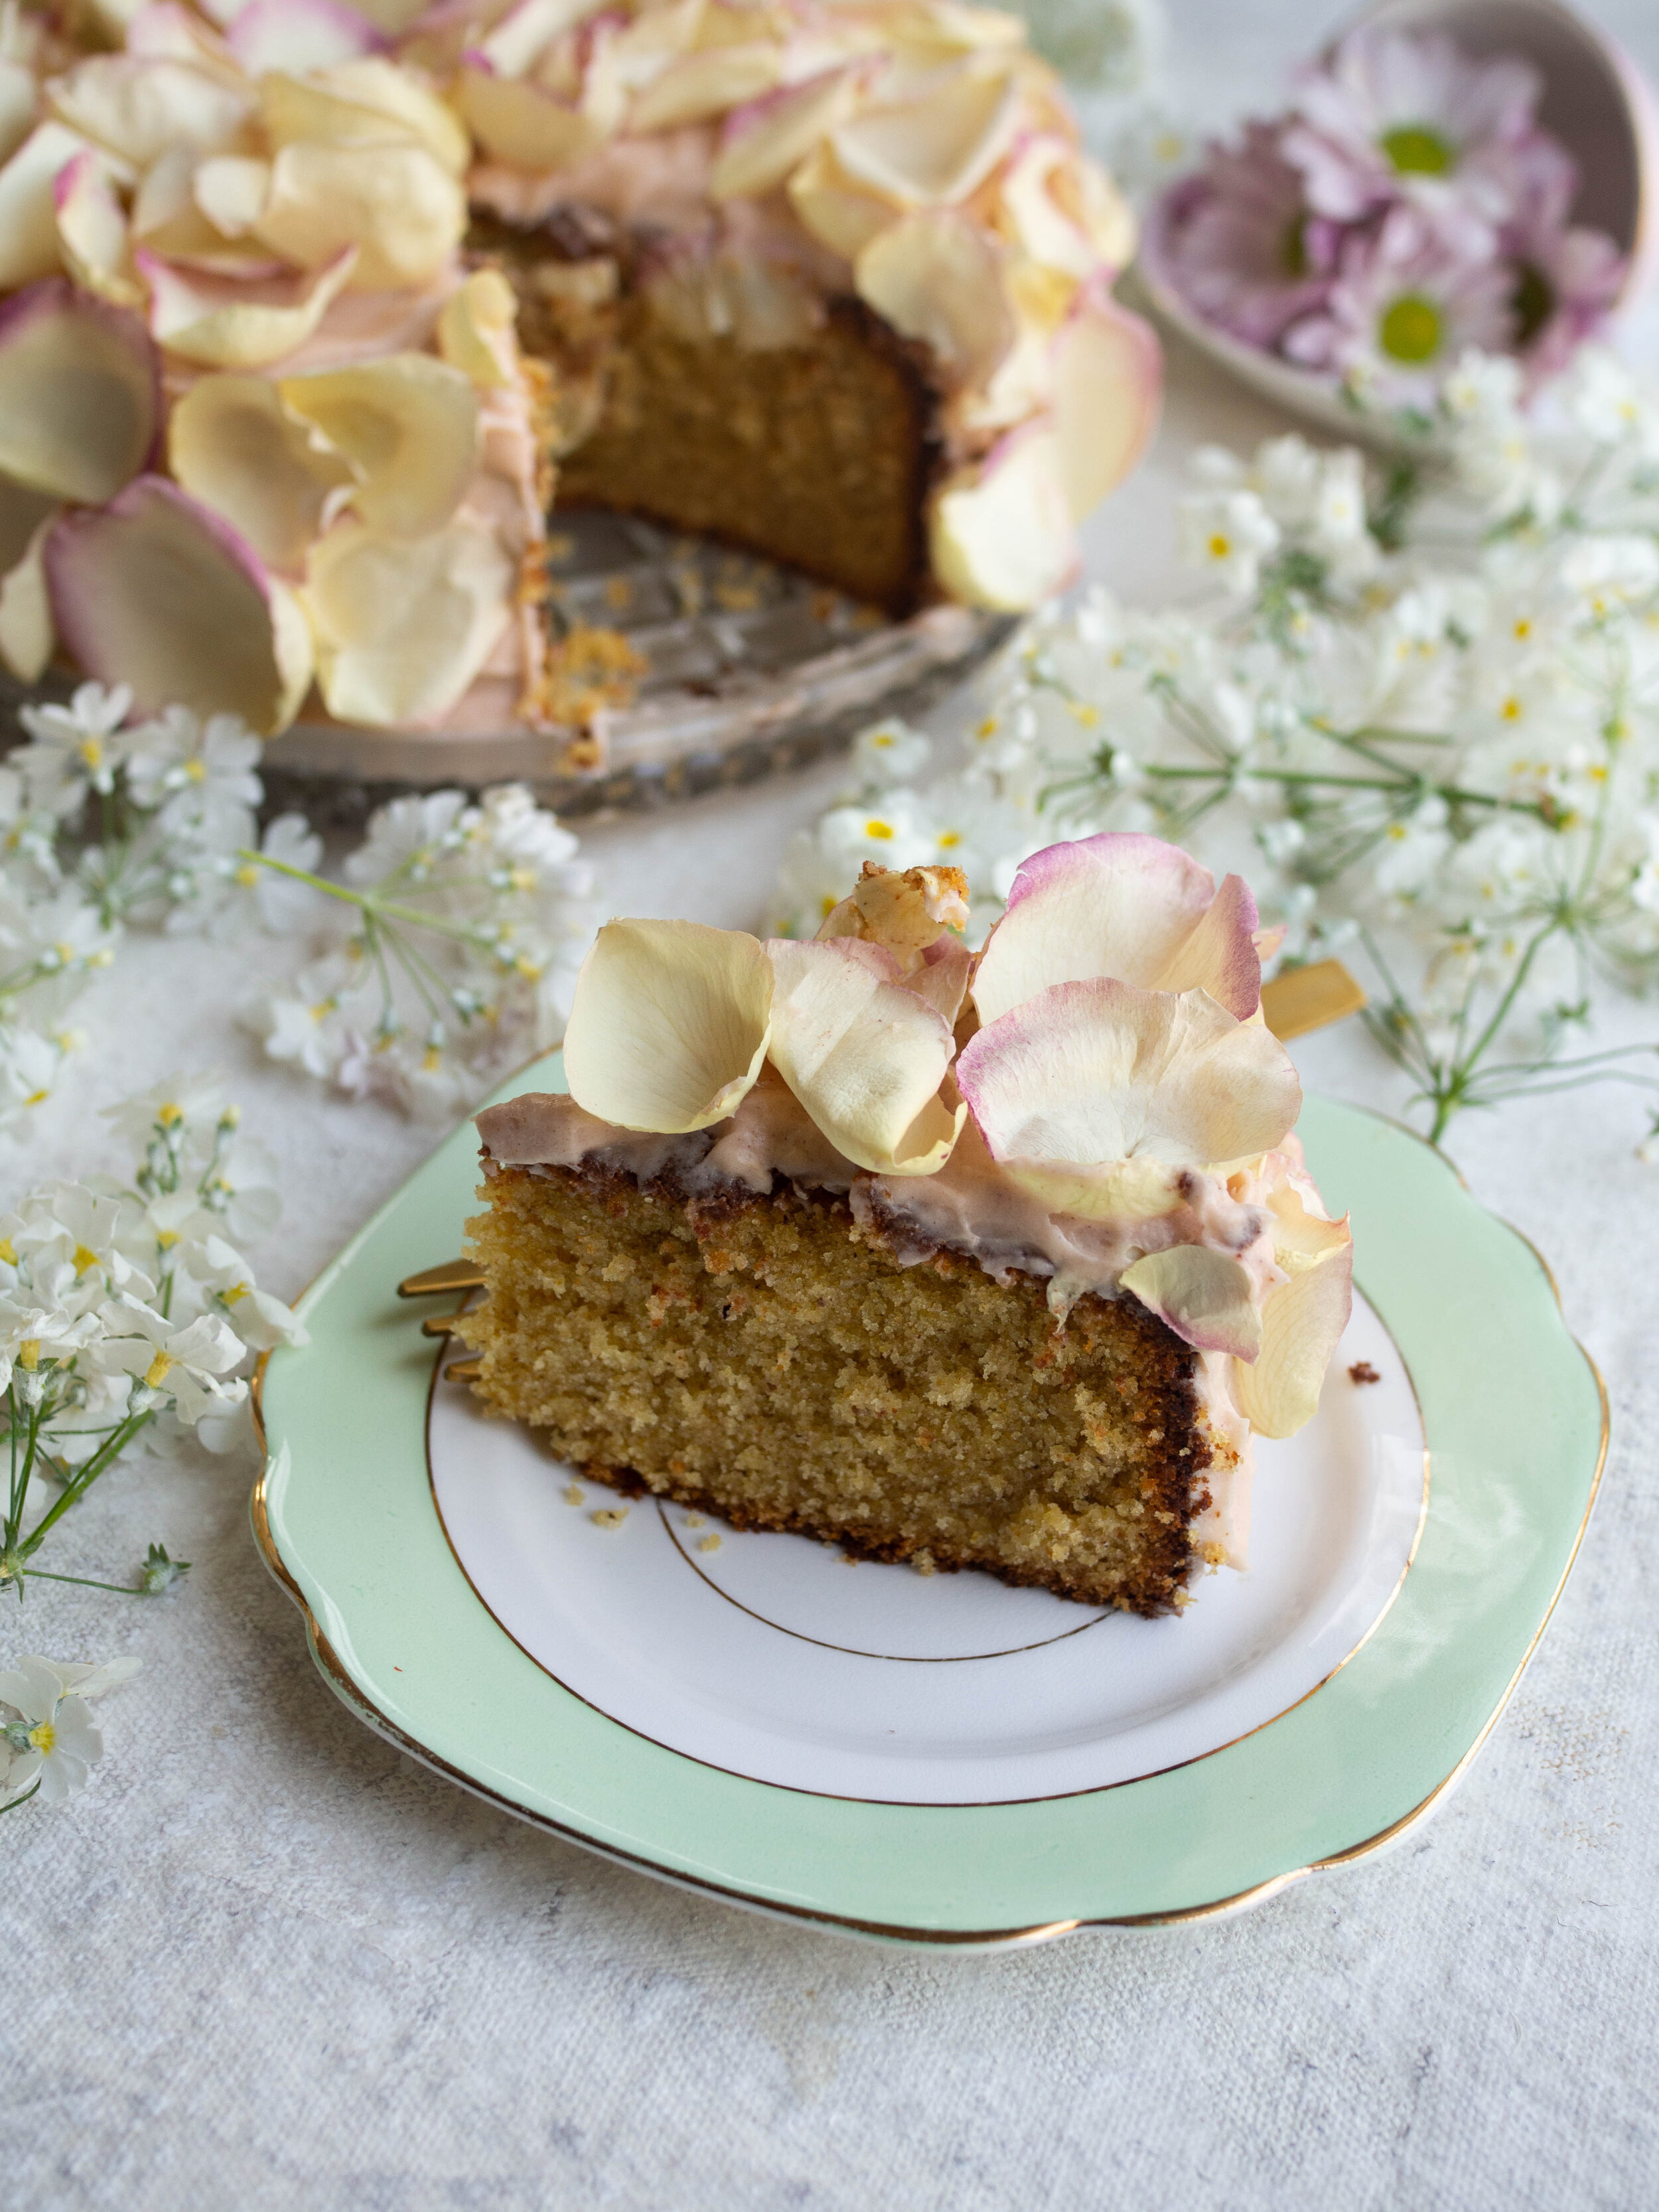
Another pistachio and rose cake. I promise this one is a bit different to the rest. 

Pistachio and rose is a flavour combination I will never tire of, and since I am still enjoying my new found like of buttercream, I decided a rose buttercream would be worth a try. 

I have used freeze dried raspberry powder to colour my icing, however any pink food colouring will also work well. I find the rose flavour comes through really well the day after this cake is made, so if you wanted to make it in advance you definitely could, I would just leave the final decorations till the day you wished to serve it (if using any kind of edible flowers). 

Unlike the last few pistachio cake recipes I have posted here, this cake only needs raw pistachios blitzed to a crumb/meal, rather than a ready made pistachio spread. Which I hope makes this cake a bit easier to make and more accessible ingredient wise too. 

round cake with pink icing decorated with rose petals

Another Pistachio and Rose Cake a.k.a Pistachio Cake with Rose Buttercream

Ingredients: 

150g pistachios

175g unsalted butter, softened
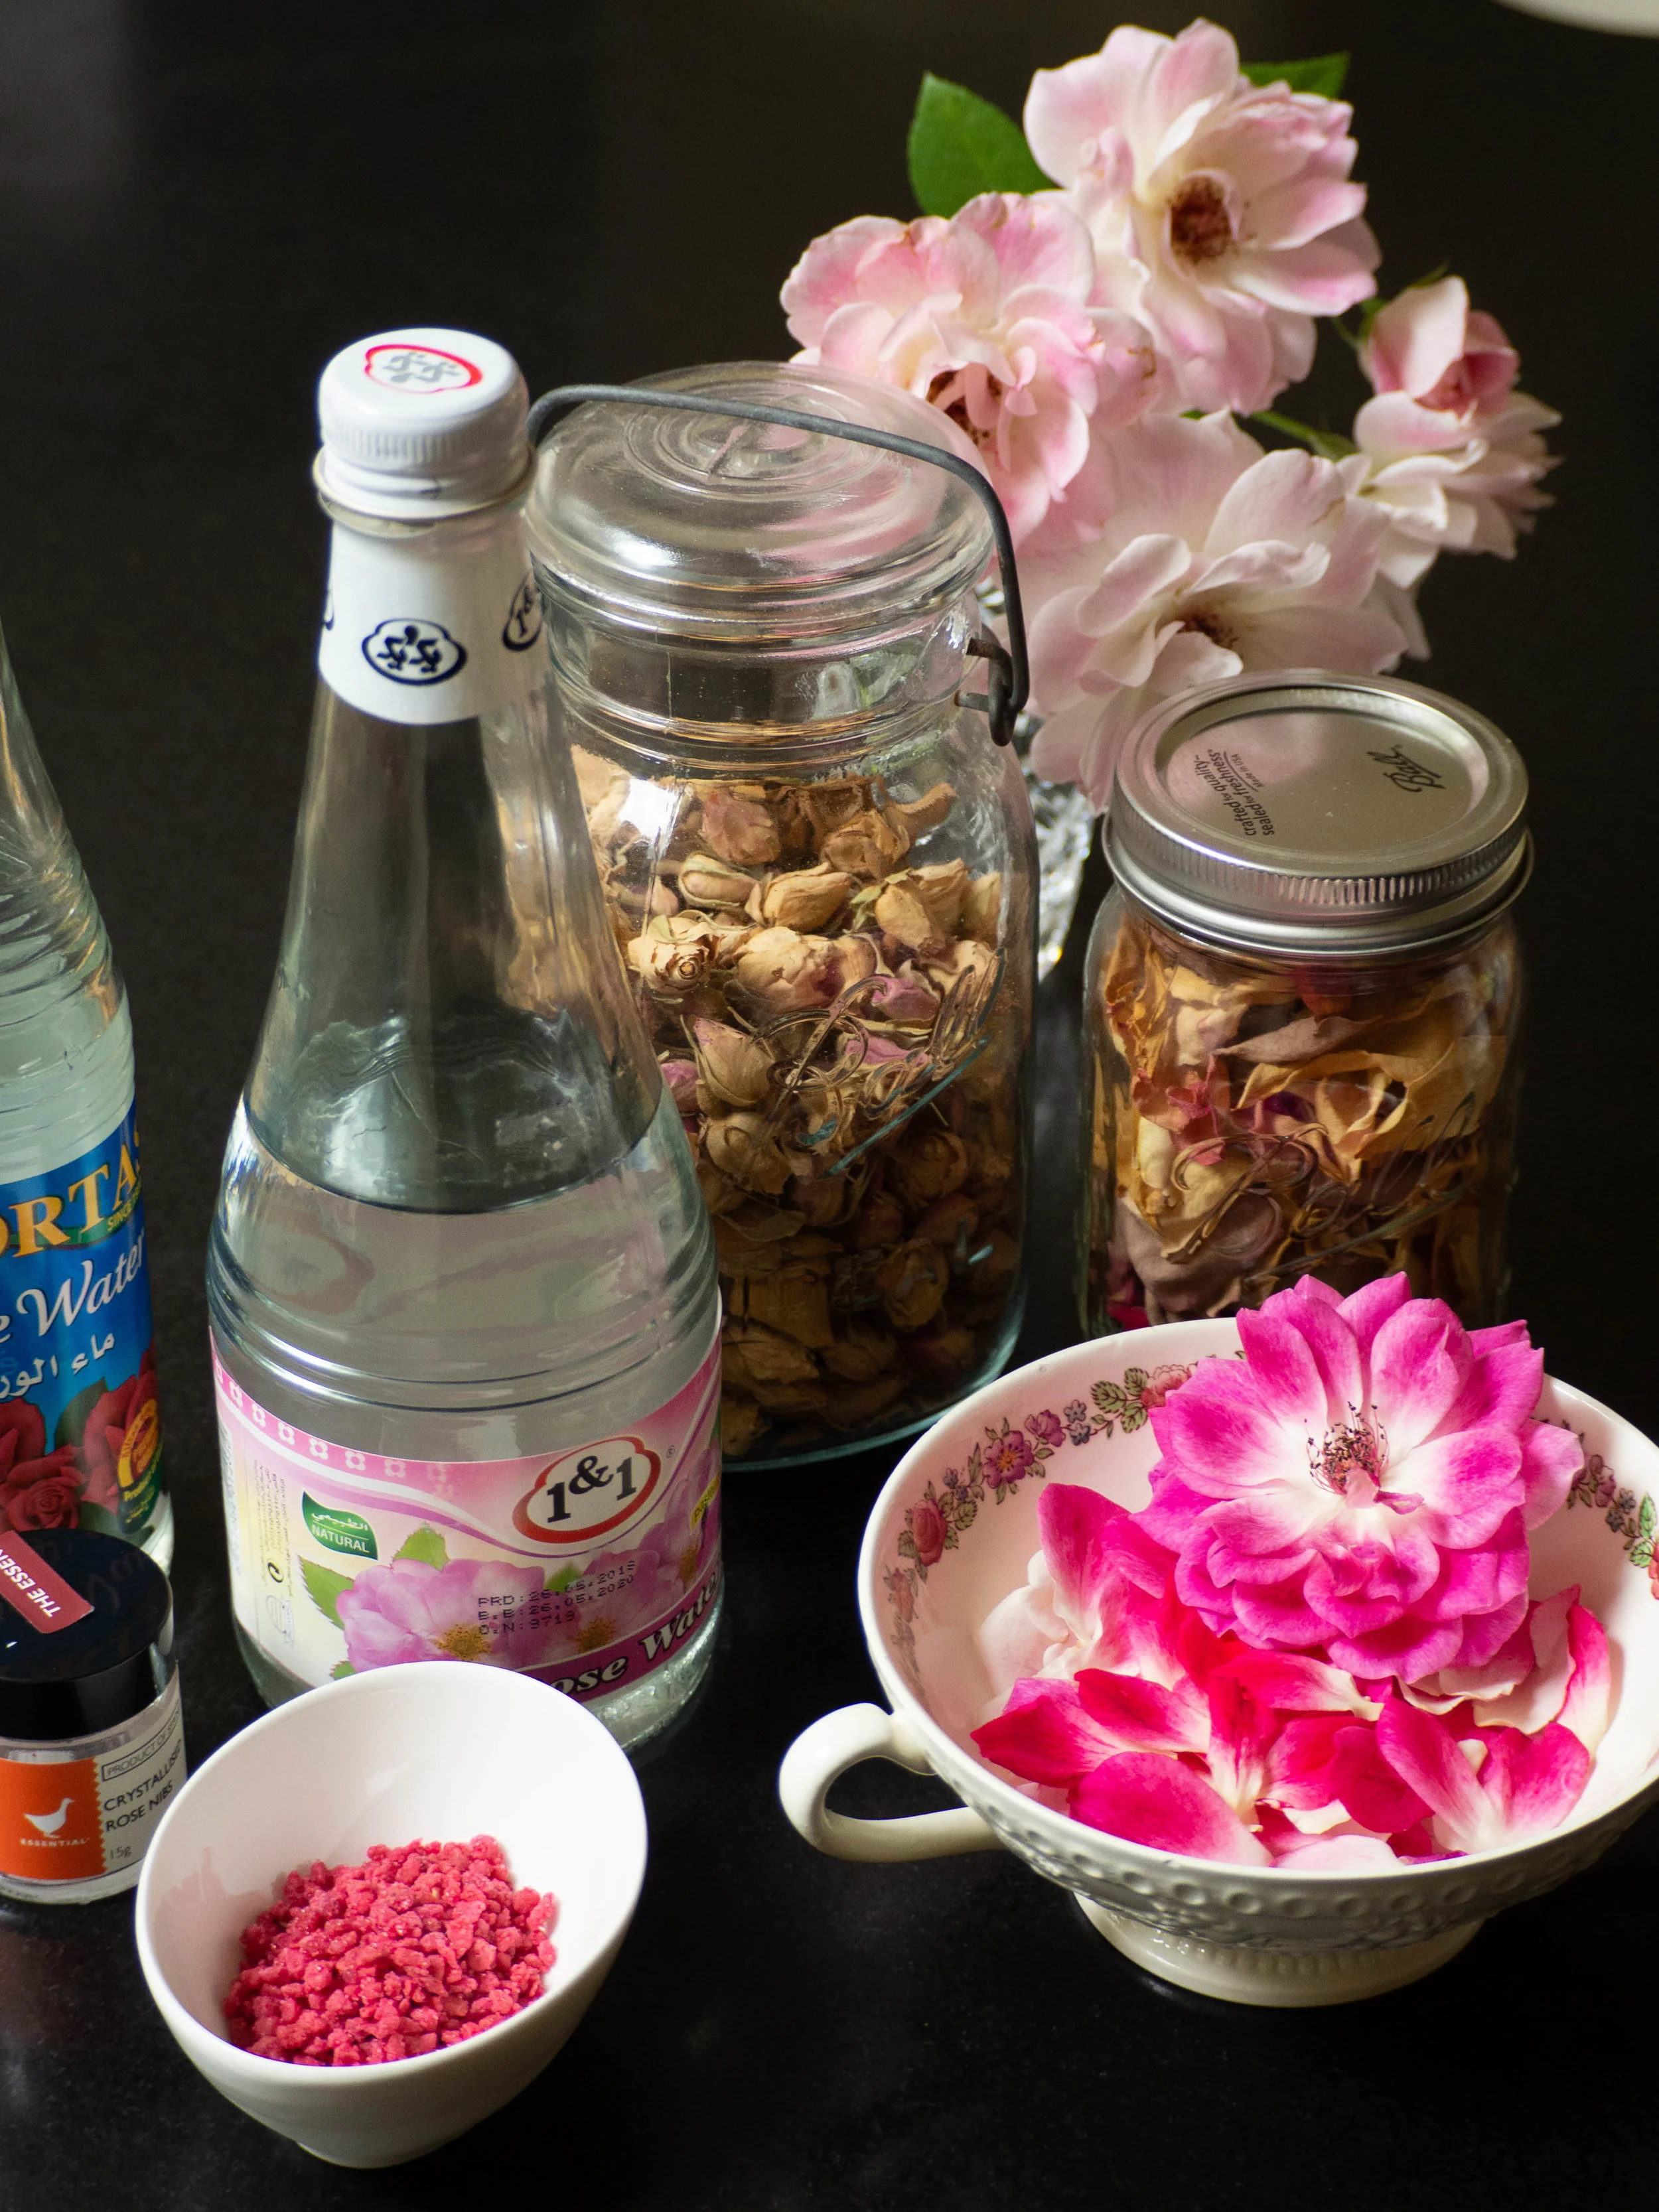
2 tsp rosewater

100g light brown sugar

75g caster sugar

3 eggs

150g self raising flour

Ingredients for the Icing: 

150g unsalted butter, at room temp 

1.5 tbsp rosewater

190g icing sugar, sifted

Pink food colouring/2-2.5 tsp freeze dried raspberry powder, optional

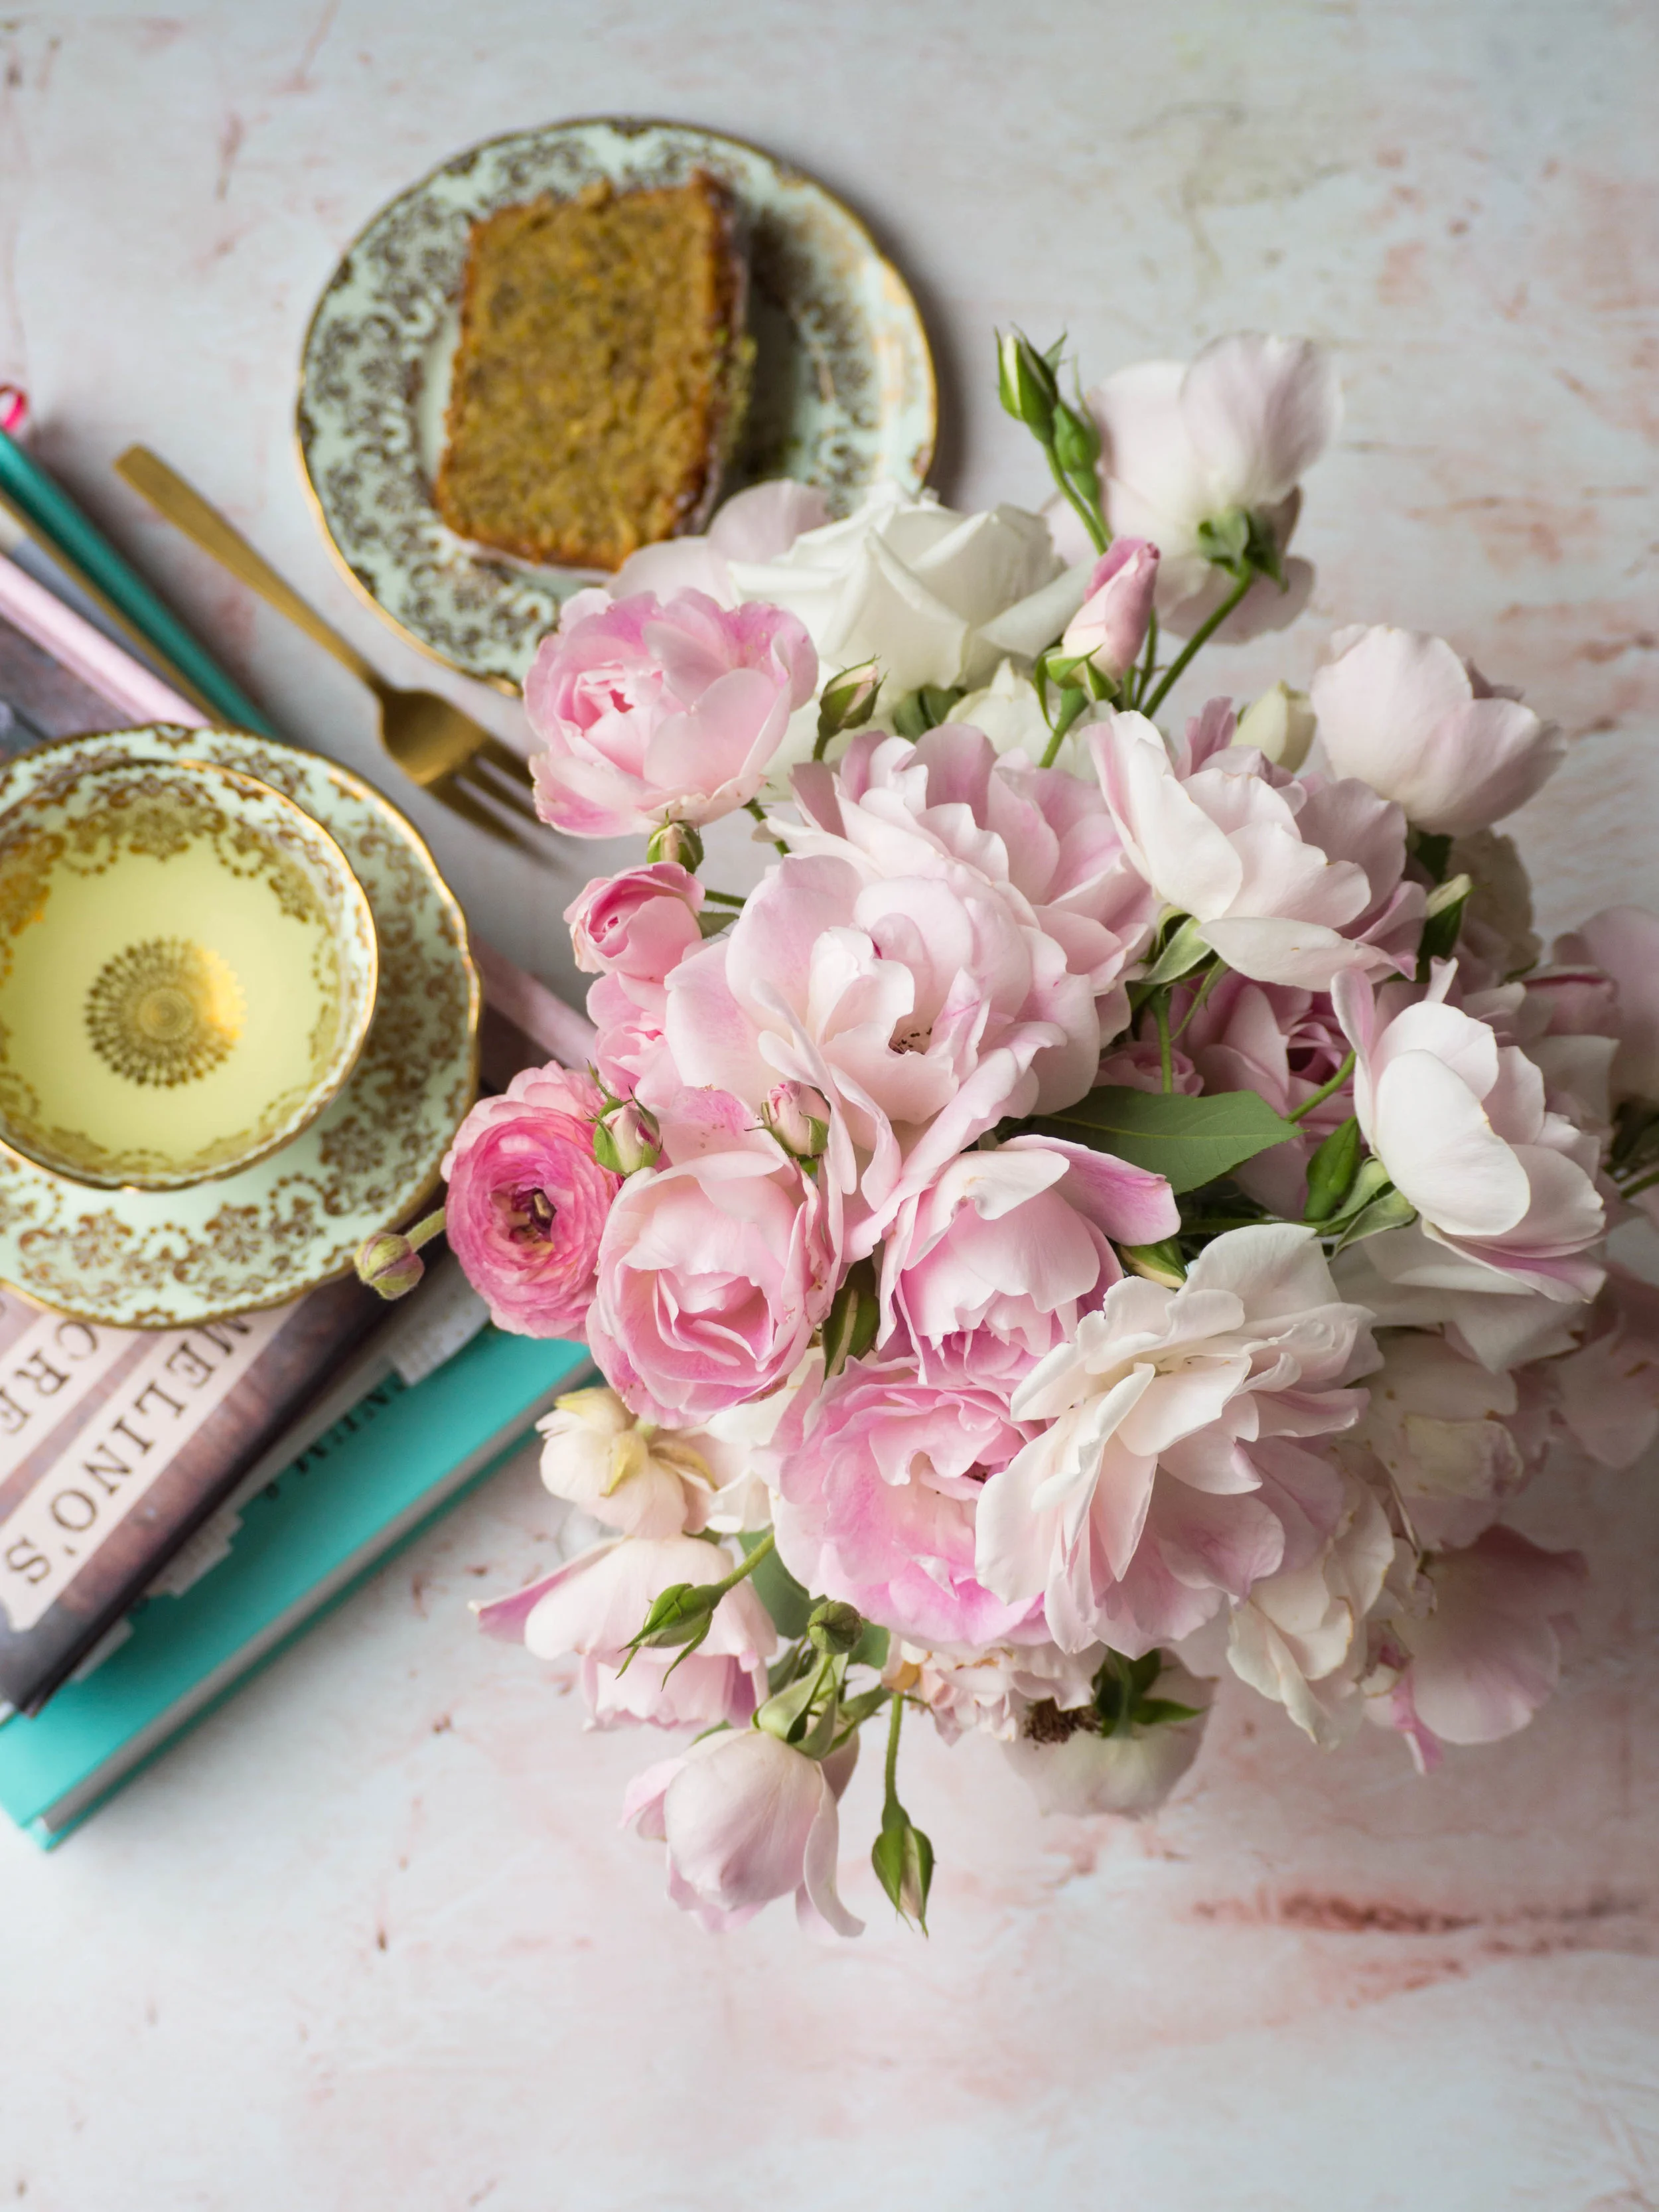
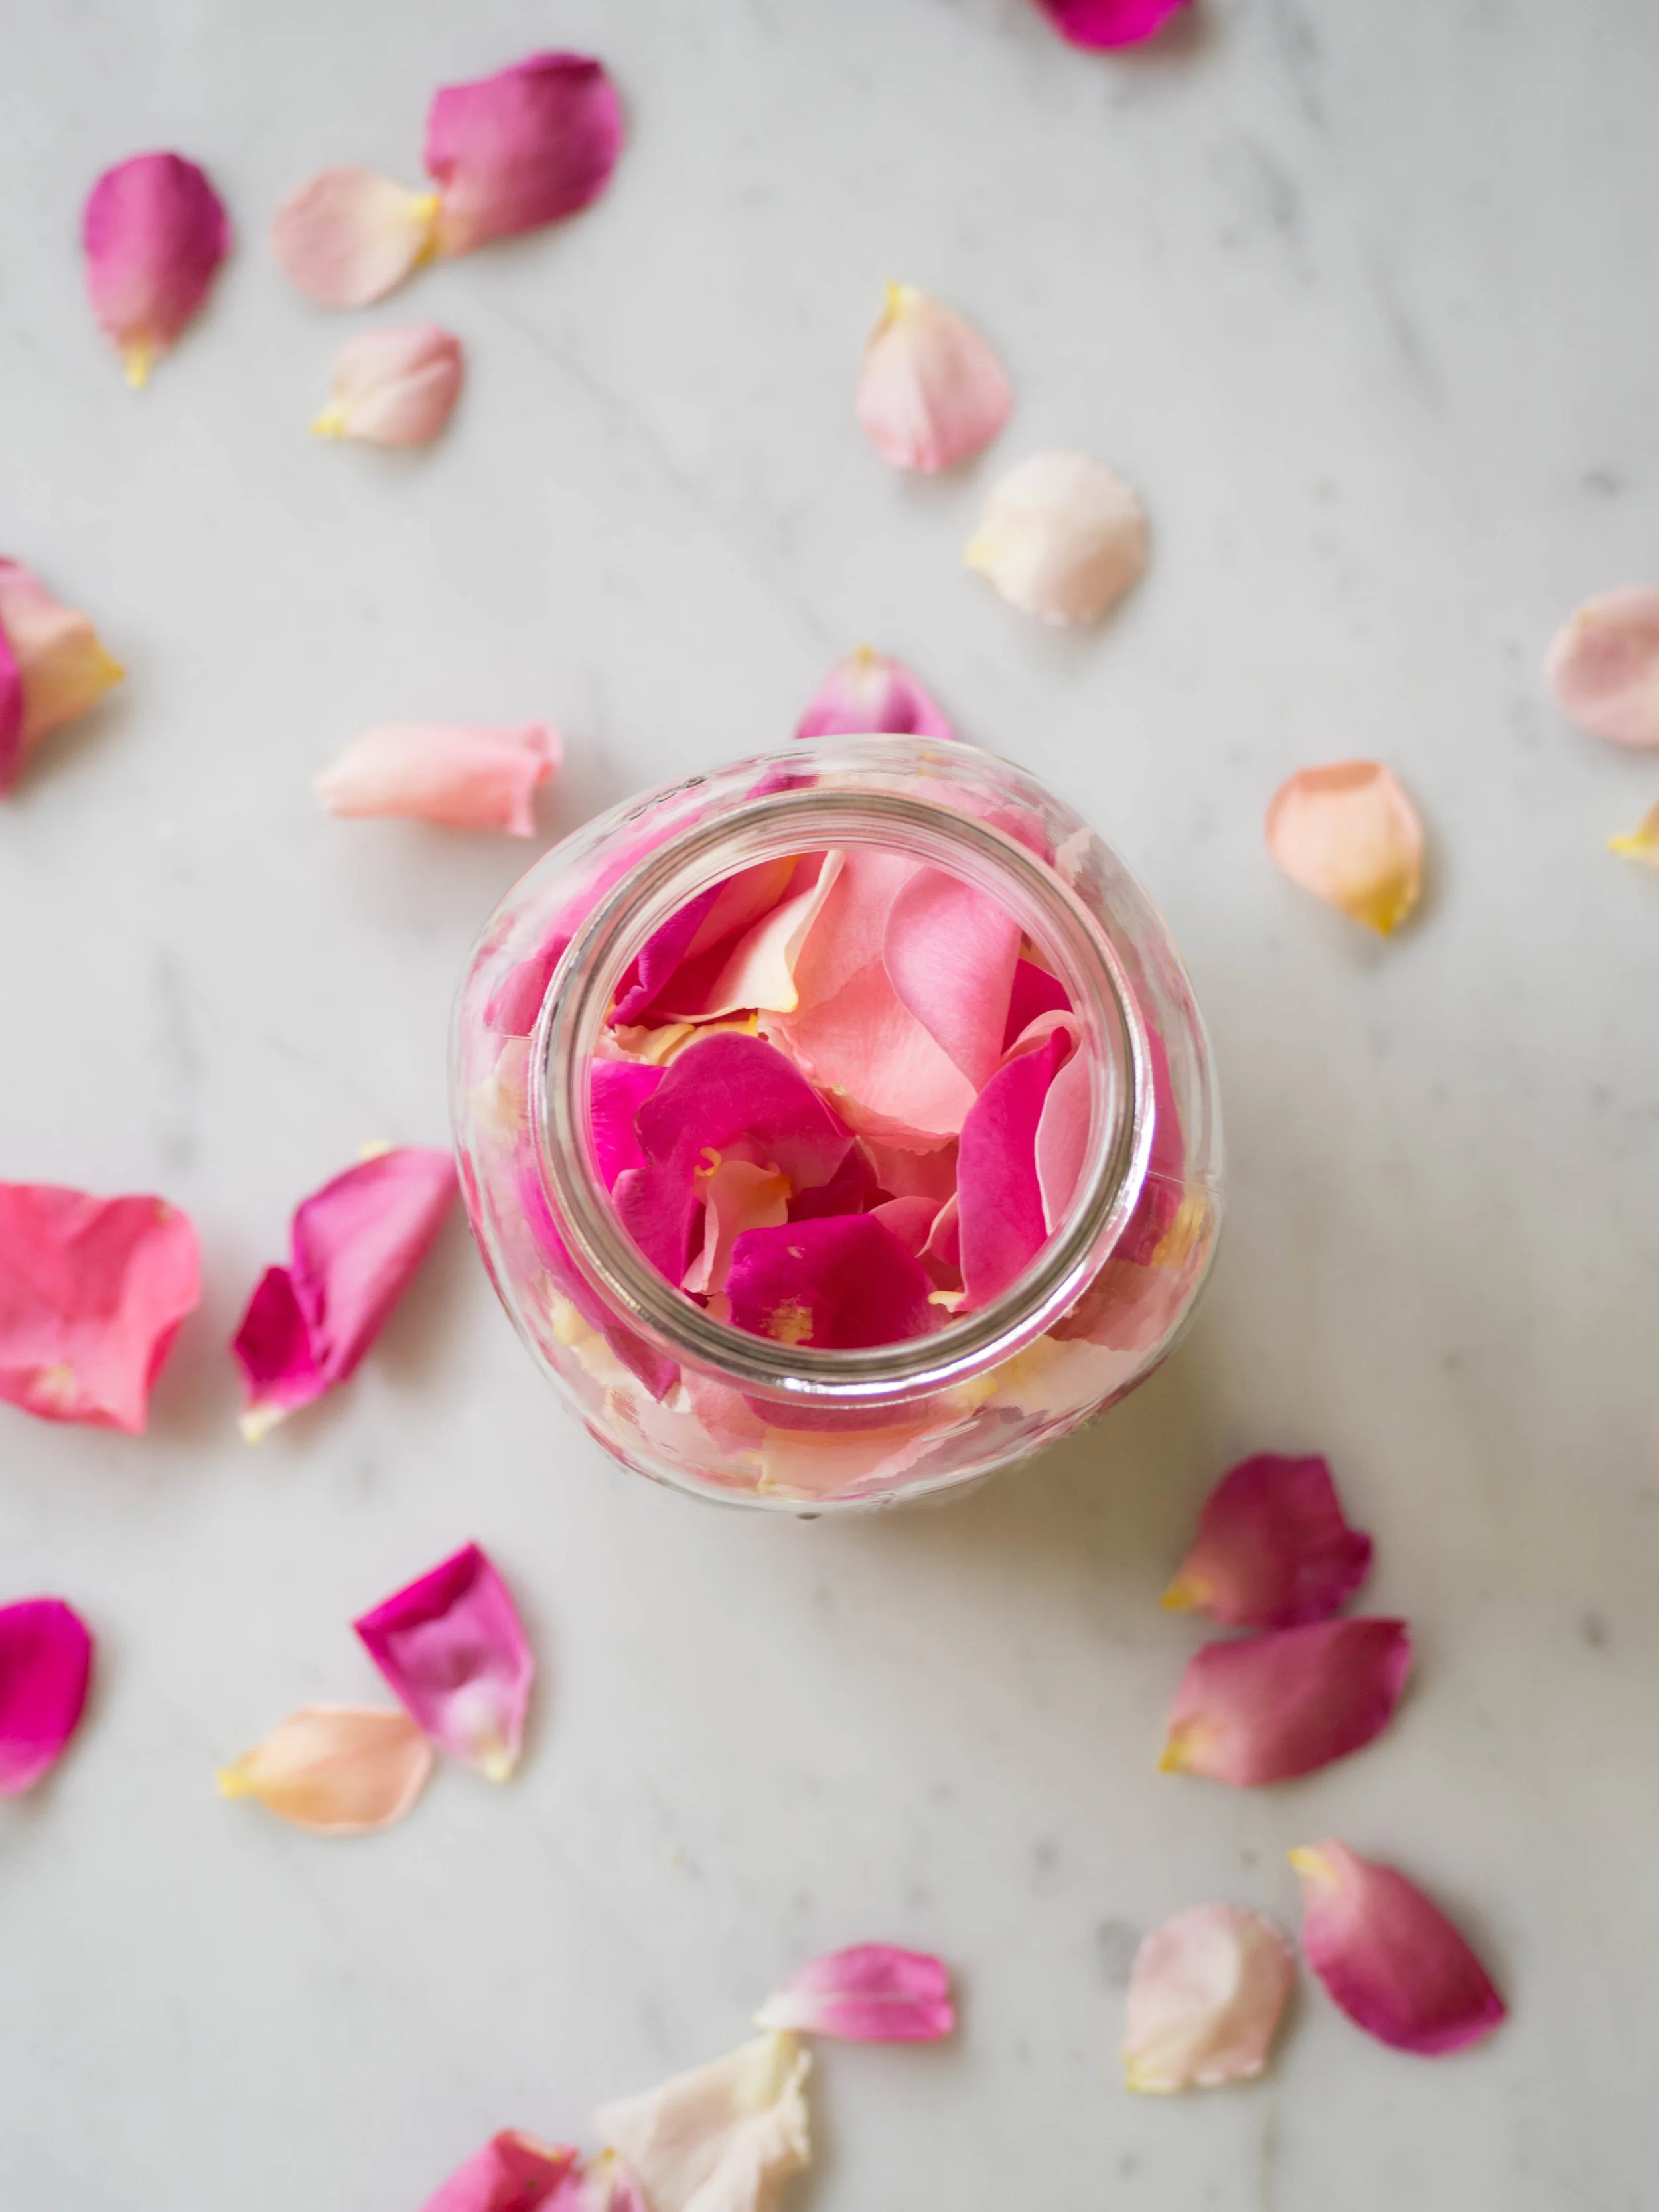
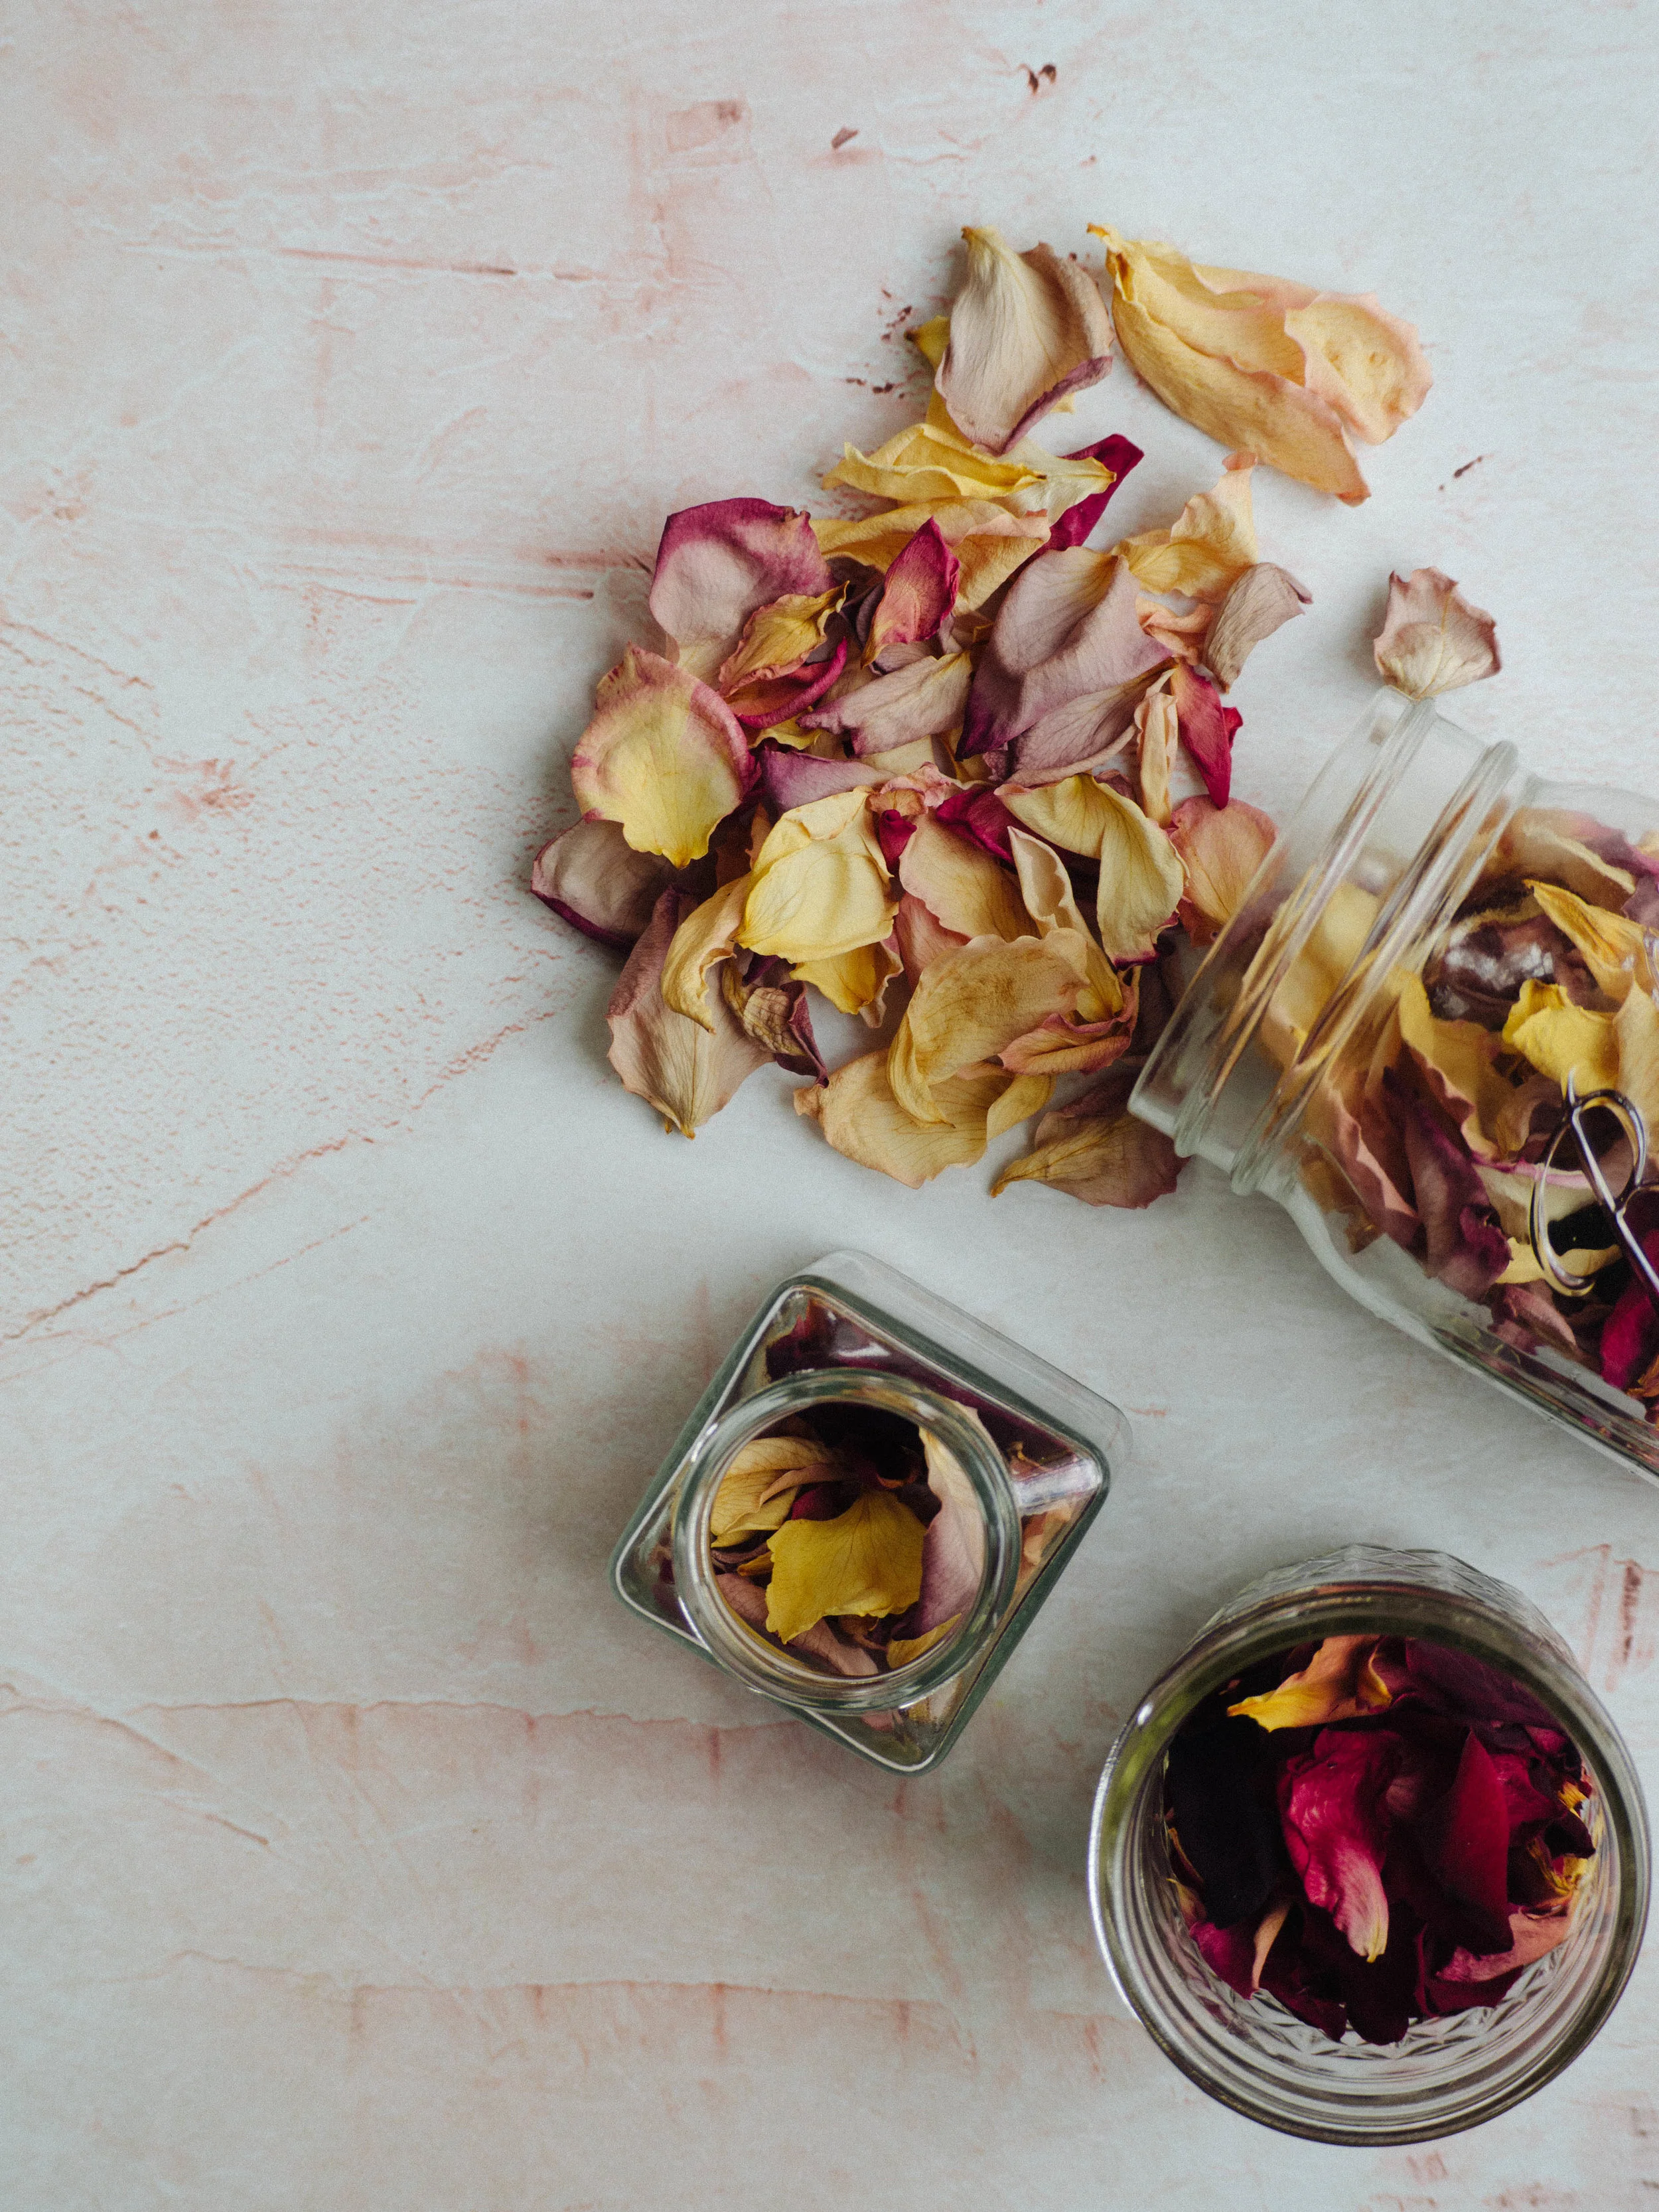
Edible flowers fresh or dried, to decorate (optional)

1 tbsp slivered or roughly chopped pistachios, to decorate

Method: 

Pre-heat oven to 160 degrees Celsius and grease and line a 20cm round springform cake tin.

While the oven is heating up, place the pistachios on a lined baking tray to gently toast. Remove the pistachios once the oven has pre-heated or after 3 minutes or so. 

Allow the pistachios to cool down a bit, then place in a food processor and blitz until a fine crumb/meal forms.

In the bowl of a stand mixer beat the butter, rosewater and sugars using the paddle attachment. Beat until light and fluffy. 

Then add the eggs one at a time, beating well after each. Gently mix in the blitzed pistachios until combined.

Add the self raising flour and gently fold by hand using a spatula in until combined.

Transfer the cake batter into the tin and smooth the top. 

Bake for about 50 minutes or until the cake is springy to the touch and a skewer comes out clean when inserted into the cake. 

Leave the cake to cool before removing from the tin. 

Once the cake has cooled, place it on a serving plate. 

Then make the icing by beating the butter and 1 tbsp of the rosewater in the bowl of a stand mixer with the paddle attachment. Beat for about 1-2 minutes, or until the butter is nice and fluffy. 

Add the icing sugar and 2 tsp of the freeze dried raspberry powder (if using), and beat again until the icing is soft and fluffy, about 1 minute. 

If using food colouring, add that in now, starting with a small amount and adding more as needed. You can also add in the extra 1/2 tbsp of rosewater if you would like a stronger rose flavour, and if using the freeze dried raspberry powder, add in the additional 1/2 tsp to deepen the colour of the icing if you wish. 

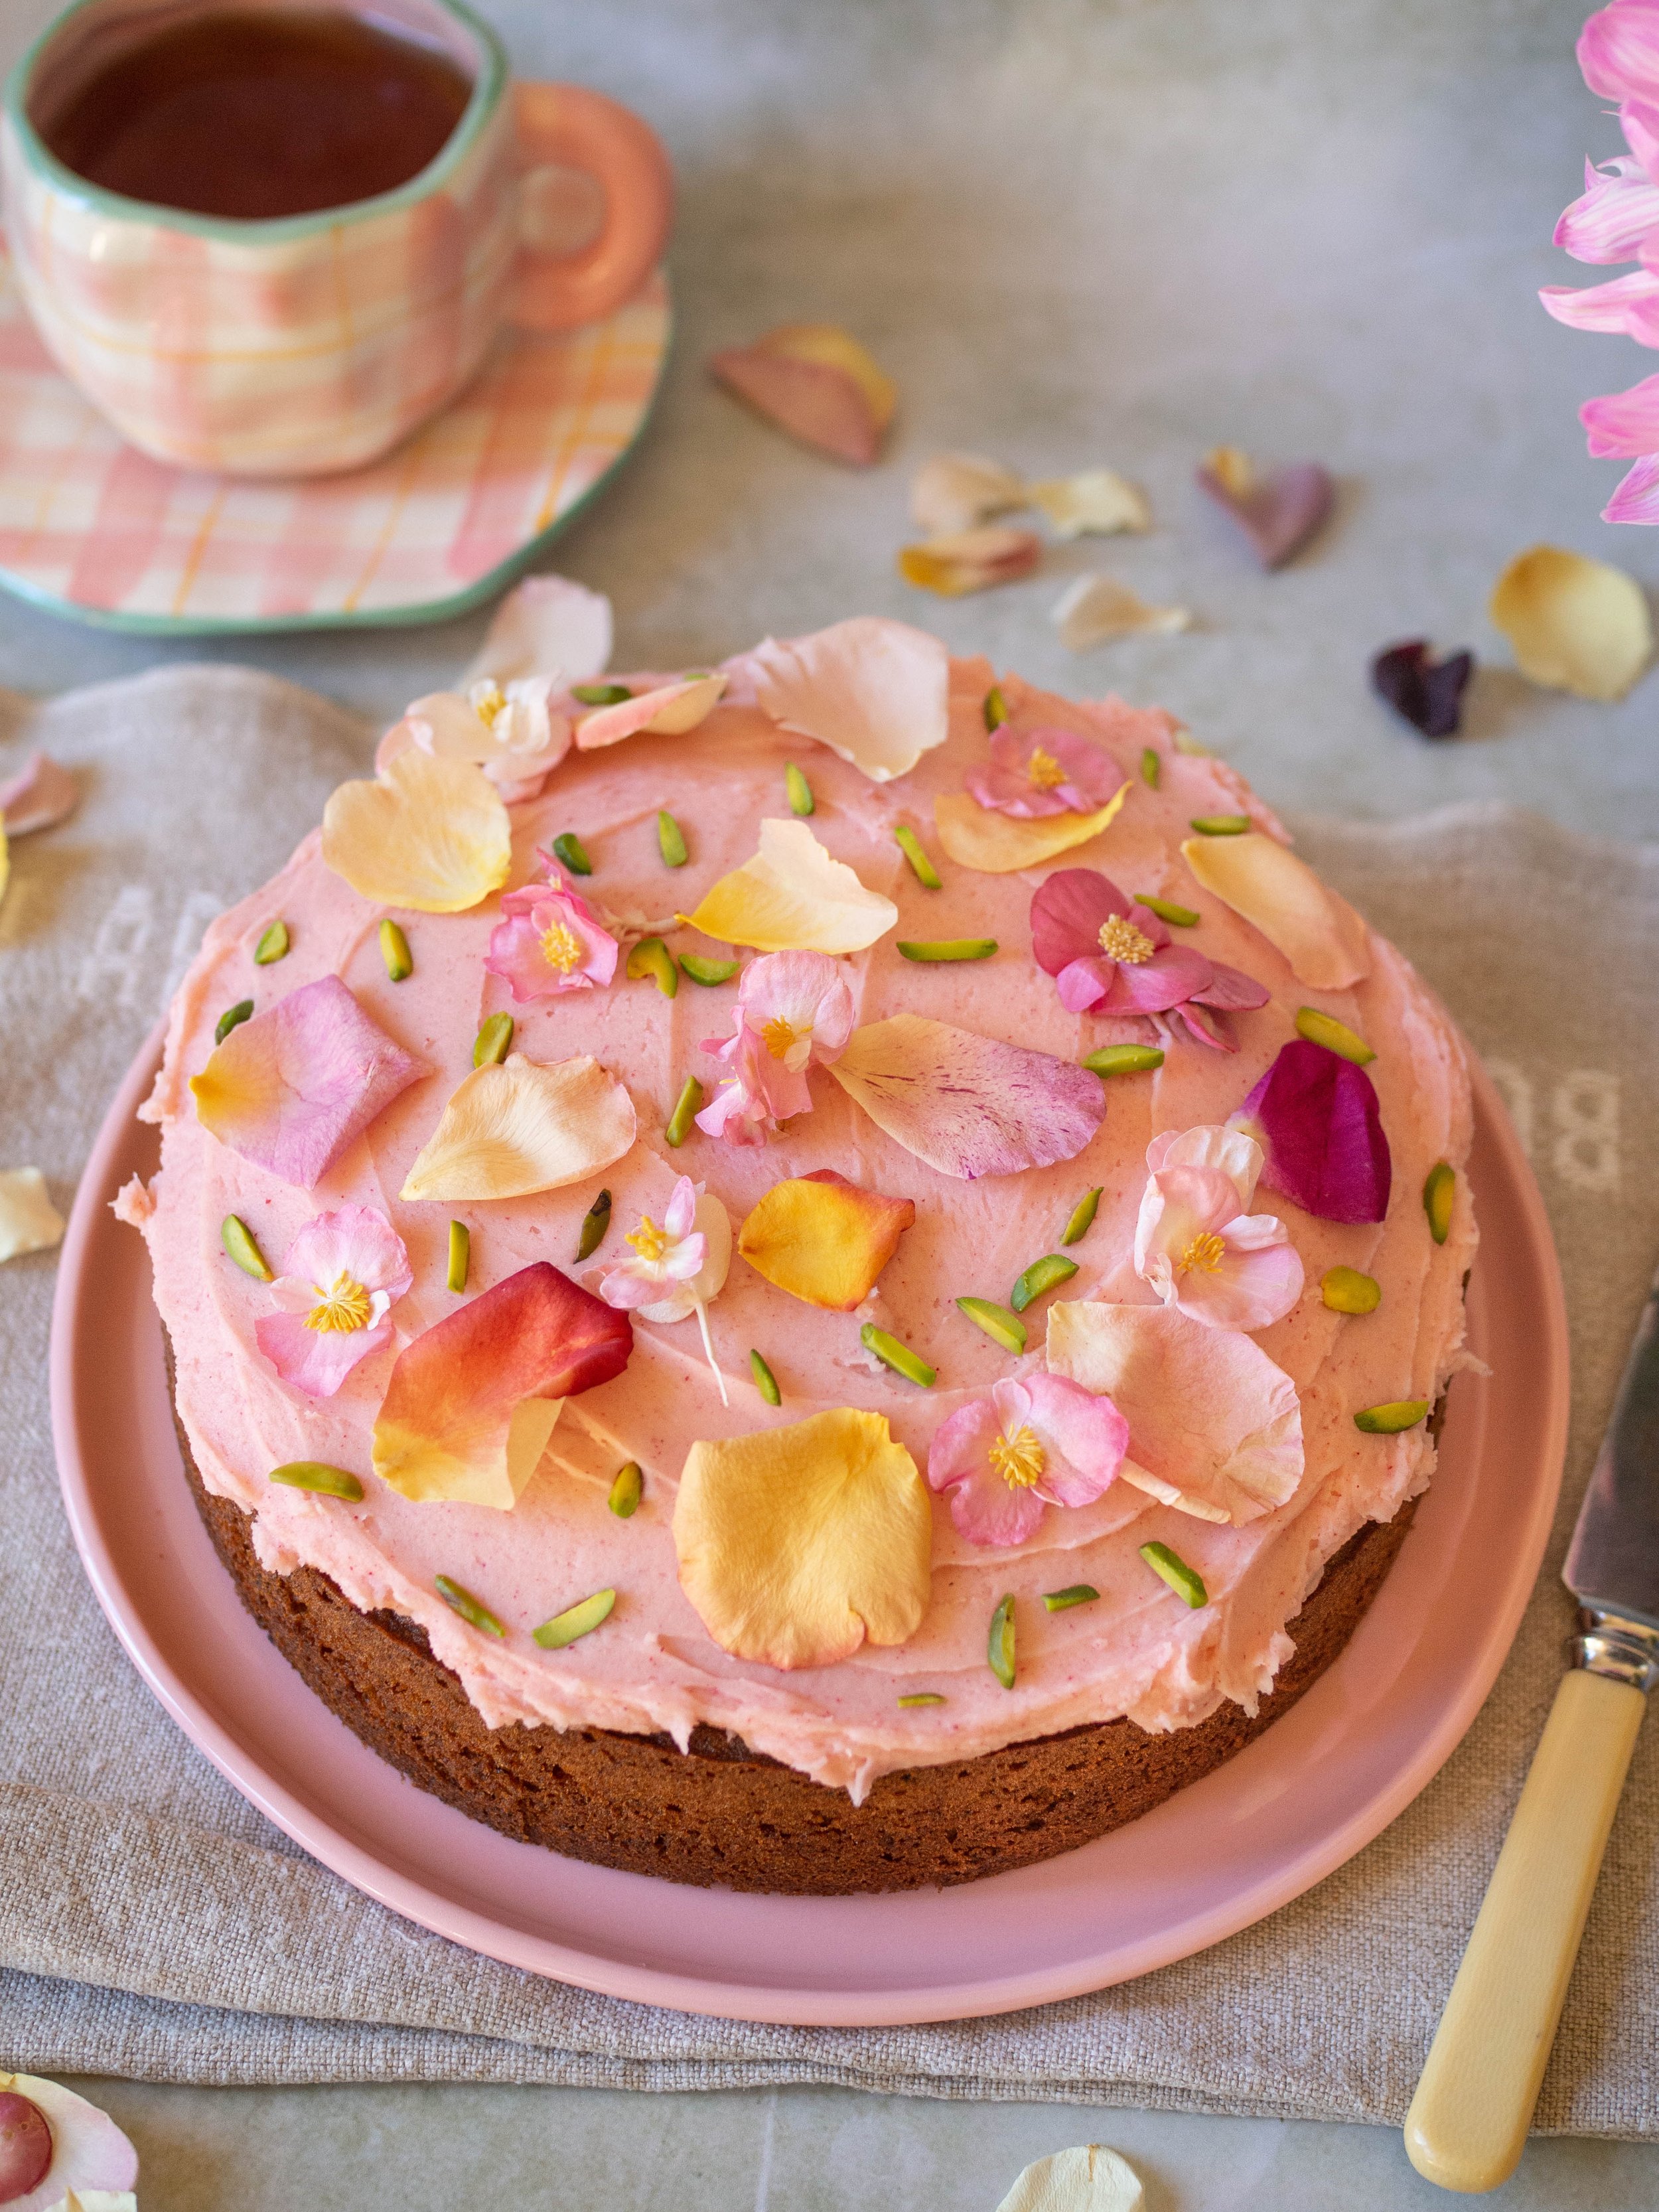
Evenly spread the icing over the top of the cake, then decorate with any edible flowers you may have, and some slivered or roughly chopped pistachios. 

Serves 8-10. Will keep for a few days at room temperature in an airtight container.

slice of cake side on, cake is light green in colour with layer of pink icing on top
In Cakes & Slices Tags Pistachio, Rose, Buttercream, cake
2 Comments
Pistachio Loaf with Rose Icing

Pistachio Loaf with Rose Icing

Kath October 5, 2021

I think my love of pistachio is fairly widely know by now. Sometimes people even send me messages or tag me in things on Instagram about pistachio related things or products they think I should know about. I love it. 

I genuinely crave pistachio flavoured things, and this cake is no exception. 

It is a slight adaptation of a loaf cake from my Cosy Winter Bakes eBook, and closely related to this Rose Petal and Pistachio Cake. The recipe in its original form came from Skye McApline, and like any really good recipe, it has lent itself to many adaptations and variations. It’s been the recipe that keeps on giving. 

This version uses a subtly scented rose glaze icing to complement the pistachio cake, and is my new favourite version of this recipe.

Pistachio and Rose Cake

Pistachio Loaf with Rose Icing

Ingredients: 

200g unsalted butter, softened

190g caster sugar

1 tsp vanilla extract

120g pistachio butter*

60g white chocolate, melted

3 eggs

120g yoghurt

200g self raising flour 

Ingredients for the Icing: 

170g icing mixture

1.5-2 tbsp rosewater

dried edible rose petals, to decorate

slivered or roughly chopped pistachios, to decorate

Method: 

Preheat oven to 170 degrees Celsius and line a 22 x 10 x 8.5 cm (approx.) loaf tin.

In the bowl of a stand mixer beat the butter, sugar and vanilla until pale and creamy. Mix together the pistachio butter and melted white chocolate, then add to the butter mixture and mix until combined. 

Add in the eggs one at a time, then add the yoghurt and mix until well combined. Add the flour and mix on low speed until combined and the batter is smooth.

Transfer the batter to the prepared cake tin and bake for 50 minutes. Then cover the cake with foil and bake for a further 20-25 minutes, or until the cake is cooked through. 

Allow the cake to cool in its tin for a few minutes, then turn out on a wire rack to cool further.

Once the cake has almost completely cooled down make the icing by, mixing together the icing sugar and 1 tbsp of the rosewater, adding more a little at a time until you have a smooth spreadable icing (it shouldn’t be really runny or it will run off the cake). 

Spread the icing over the cake, allowing it to fall over the sides a little. Sprinkle with some dried edible rose petals and slivered pistachios to decorate. 

*or the same quantity of lightly toasted pistachios blitzed in a food processor until it forms a butter (10-20 minutes). 

Pistachio Butter Cake

Reference: ‘A Table for Friends’ by Skye McAlpine (Bloomsbury Publishing, 2020) p.232.

Pistachio Loaf with Rose Icing
In Cakes & Slices Tags Pistachio, Pistachio Cake, Pistachio Butter, Skye McAlpine, Rose, Cake
Comment
Rose Petal and Pistachio Cake

Rose Petal and Pistachio Cake

Rose Petal and Pistachio Cake

Kath September 10, 2020

The idea for this cake came about as my lovely Instagram friend Lauren (@foldgently)had an idea for a week of floral inspired cakes to mark the beginning of Spring - check out #fgfloralweek on Instagram for more gorgeous floral cakes.

As I’m sure is quite obvious, I jumped at the chance to create a floral inspired cake - it doesn't take much (or any) persuading for me to add rose to just about everything! I had an idea to use a pistachio cake recipe I’ve been using a lot over the past year or so, then ice it in rose icing then completely cover the cake in edible rose petals (I used some from Simply Rose Petals).

I think this could be the ultimate celebration cake, though while I am celebrating absolutely nothing (except maybe finishing a new series on Netflix), it was still a joyous cake to eat. I don’t think there are any small problems or bad moods that can’t be helped with a slice of cake like this one (and a cup of tea).

I have added links to some of the ingredients I have used in case you have trouble finding them. You can also make your own pistachio butter by lighting roasting 120g raw unsalted or blanched pistachios then blitzing them in a food processor until it becomes a nice nut butter consistency.

A light pink food colouring can also be used instead of the rose powder to add some colour to the icing.

Rose Petal and Pistachio Cake

Rose Petal and Pistachio Cake

Ingredients: 

200g unsalted butter, softened

200g caster sugar

1 tsp rose water (I use this one)

120g pistachio butter (I use this one)

60g white chocolate, melted

3 eggs

120ml buttermilk or 120g plain Greek style yoghurt

200g self raising flour

Ingredients for the Icing: 

200g icing sugar (confectioners)

125g unsalted butter, at room temp

120g cream cheese, at room temp

2 tsp rose powder (I use this one)

1 tsp rose water 

Fresh, dried or freeze dried rose petals for decoration

Method: 

Preheat oven to 170 degrees Celsius and line a 20cm round cake tin. 

In the bowl of a stand mixer beat the butter, sugar and rose water until pale and creamy. Mix together the pistachio butter and melted white chocolate, then add to the butter mixture and mix until combined. 

Add in the eggs one at a time, then add the buttermilk/yoghurt and mix until well combined. Add the flour and mix on low speed until combined and the batter is smooth.

Transfer the batter to the prepared cake tin and bake for 50 minutes. Then cover the cake with foil and bake for a further 20-25 minutes, or until the cake is cooked through. 

Allow the cake to cool in its tin for a few minutes, then turn out on a wire rack to cool further. I like to keep the bottom side of the cake at the top as it is nice and flat to put the icing on a little later. 

Once the cake has cooled completely, make the icing by mixing together all the ingredients (except the rose petals) in a stand mixer or with a hand held mixer, until the icing is smooth. 

Spread over the top and sides of the cake, and decorate with the rose petals if using.

Serves about 8, store in fridge if using the cream cheese icing.

Rose Petal and Pistachio Cake

Reference: ‘A Table for Friends’ by Skye McAlpine (Bloomsbury Publishing, 2020) p.232.

Rose Petal and Pistachio Cake
In Cakes & Slices Tags Rose Cake, Rose, Pistachio Cake, Pistachio, Pistachio Butter, cake
Comment
Homemade Rocky Road Easter Eggs

Rose Rocky Road Easter Eggs

Kath April 8, 2020

The idea for this recipe came to me quite late in the piece. With only two weeks to go until Easter at the time I knew I would be lucky to get everything I needed in time. But with my ability to buy Easter treats severely limited this year, I felt I really needed to make something. And preferably something I would enjoy eating (which means no milk or dark chocolate!). 

I really liked the rocky road I made last year, and felt making it into a more Easter themed shape would be just perfect. I finally found some half Easter egg moulds online, they took ages to arrive hence why this post is only ready two days before Easter! 

I also decided to buy marshmallows rather than make my own. I thought making marshmallows right now just felt a little wasteful in terms of ingredients and since one batch makes so many, and I couldn’t really share them as I usually would, I thought buying some would be best. My favourite bought marshmallows are from Grounded Pleasures, so I bought their massive 700g box which will also hopefully get us through a few Wintery isolation hot chocolates too! 

Grounded Pleasures Marshmallows

Grounded Pleasures Marshmallows

This recipe is mostly an assembly job, and an even easier version of my Rose Rocky Road I posted last year. You can of course use other types of chocolate, and other moulds or cake tins to shape your rocky road. I made a Rocky Road Wreath for Grounded Pleasures at Christmas last year, so there is another idea for how to shape your rocky road.  

I prefer to use good quality chocolate, which is why the recipe is long as it needs to be properly tempered. You can use baking chocolate, just follow the instructions on the packet to melt and you shouldn’t need to temper as below. 

Tempering chocolate can be tricky, and I would definitely recommend a chocolate thermometer if using good quality chocolate. Don’t worry if it doesn’t turn out perfectly, if your chocolate blooms (if using milk or dark chocolate) it will still taste great and if it has trouble setting just store it in the fridge. I am definitely no expert when it comes to properly tempering chocolate, but it always tastes good regardless! Plus there are plenty of resources available online if you want to know more.

I hope everyone has a clam and quiet Easter/long weekend. Let me know in the comments if you have a go at making some rocky road or what other baking adventures you have been up too. 

Rocky Road Ingredients
Rocky Road Easter Basket

Rose Rocky Road Easter Eggs

Ingredients: 

500g good quality white chocolate

pink colouring (suitable for use with chocolate)

rose flavouring (suitable for use with chocolate)

30g slivered almonds, roasted

160-170g marshmallows

dried edible flowers, for decoration (optional)

1 tsp freeze dried raspberry, for decoration (optional)

cooking spray

Method: 

Very lightly spray 6 medium half Easter eggs moulds (approx. 120ml capacity) with the cooking spray. Arrange the moulds on a tray with sides so the moulds aren’t about to move about too much. 

Have all the rocky road elements ready to go next to your prepared moulds.  

Place a small pot with a little water on the stove and allow to very gently simmer. Using another pot or bowl that will comfortably sit over the top of the water pot, measure out 300g of the white chocolate. 

Place this pot over the gently simmering water (ensuring the water does not touch the base of the pot above) and melt the chocolate. Ensure the chocolate is constantly stirred. Once the chocolate reaches 45 degrees Celsius on chocolate thermometer, remove from the heat and continue stirring while gradually adding the remaining 200g of white chocolate. Add a little at a time and allow to melt before adding more. 

Continue to check the temperature of the chocolate, once it has fallen to 34 degrees Celsius, the remaining chocolate should have all been added. Continue stirring to allow the chocolate to cool further to 32 degrees Celsius. Sometimes I find not all my chocolate has melted at this point, it can depend on the room temperature and the temperature of the chocolate to start with. I place my chocolate back over the warm water in the pot I used previously, and turn the heat on to very low. I keep stirring the chocolate and check that the temperature doesn’t rise about 34 degrees Celsius again. Once the chocolate has almost completely melted, remove from the heat again and continue to stir and allow the chocolate to return to 32 degrees Celsius. 

Add a little pink colouring at this point, and a few drops of the rose flavouring. Start small with both and add more if you think it’s necessary. 

Once the chocolate has reached 32 degrees Celsius, it is ready to use. 

Spoon in about a tablespoon of the melted chocolate into each mould. and spread it around so the inside of each mould. Place a few marshmallows into each mould (I found I could fit four marshmallows into each mould), and cover with more chocolate (try to distribute the chocolate evenly amongst each mould). I didn’t fill each mould to the brim, leave a gap at the top as this will help you remove the chocolate later. Tap each mould onto the bench gently to encourage the chocolate to evenly distribute and remove any air bubbles. 

Sprinkle some almonds over the top of each, and follow with the dried petals and freeze dried raspberries if using. 

Leave to set at room temperature if you are in a cool environment, otherwise place in the fridge for about 30 minutes to set. 

Once set remove from the moulds and store in an airtight container.

I prefer to keep the rocky road in the fridge. Keeps for about 2-3 weeks. 

Makes 6 medium half Easter eggs. 

Homemade Rocky Road Easter Eggs

Reference: ‘Bourke Street Bakery All Things Sweet’ by Paul Allam and David McGuinness (Murdoch Books, 2017), pp.104-105 + 119.

Rose Flavoured Chocolate Rocky Road
In Confectionary, Holidays Tags Rose, Rocky Road, Grounded Pleasures, Easter, Chocolate, Rose Chocolate, Holiday Baking
Comment
Ginger Date & Rose Cupcake - recipe from my eBook ‘Baking with Rose’

Ginger Date & Rose Cupcake - recipe from my eBook ‘Baking with Rose’

Ginger Date & Rose Cupcakes + Baking with Rose eBook is Here!

Kath May 1, 2019

My new eBook, ‘Baking with Rose’ is here! And to celebrate I am sharing one of my favourite recipes from the book, these Ginger Date and Rose Cupcakes.

It wasn’t until recently I discovered rose and ginger go really well together. While I like both flavours a lot, I had never thought to put them together. That changed when I saw this recipe for Gingersnaps with Rose icing. I made them, and loved them! I then began to think of all the other ways I could use ginger and rose together and these cupcakes are one of the ideas I came up with.

I love the flavour combination of these cupcakes, and the rose is fairly subtle as it’s only in the icing. The date molasses and panela sugar add a gentle sweet flavour, however regular molasses or brown sugar would be good substitutes if you don’t have date molasses or panela.

For more rose recipes like this, check out my new eBook ‘Baking with Rose’!

View fullsize Ginger Date and Rose Cupcakes
View fullsize Baking with Rose eBook
purchase ebook!
Fresh Edible Rose Petals

Fresh Edible Rose Petals

Ginger Date and Rose Cupcakes

Ingredients: 

250g softened unsalted butter

200g panela sugar 

2 eggs

310g date molasses

230ml water

410g plain flour 

1 1/2 tsp ground cinnamon 

1 tsp baking powder

1 tsp bicarb soda

1 tsp ground ginger

1 tsp ground nutmeg

1/2 tsp ground all spice 

1/2 tsp ground cardamom 

2cm piece of fresh ginger, finely grated

Ingredients for Icing: 

170g icing sugar

1.5-2tbsp rosewater

fresh edible rose petals to decorate, optional

Method: 

Line two 12 capacity cupcake trays with cupcake cases and pre heat oven to 160 degrees Celsius. 

In a large bowl, cream butter and panela sugar until light and fluffy. Beat in the eggs. Then beat in the water and date molasses. 

Sift flour, baking powder, bicarb and the spices and add to the mixture. Add the fresh ginger. Beat on a low speed until the flour begins to combine, then beat on a medium speed for 2 minutes or until mixed well. 

Pour the batter into the prepared cupcake tins and bake for 20-30 minutes or until cupcakes are cooked through and are springy to the touch. Remove from the oven, and remove cakes from the tins and allow to cool on a cooling rack. 

To make the icing, mix together the icing sugar and 1 tbsp of the rosewater in a medium bowl, to form a paste. If the icing is too thick gradually add a little more rosewater. Spread icing over each cake, allow to dry a little before decorating with the rose petals. 

Makes 24.

Ginger Date and Rose Cupcakes
Fresh Edible Rose Petals

Fresh Edible Rose Petals

Recipe is an extract from ‘Baking with Rose - Recipes Showcasing the Best of Rose in Baking and Confectionary’ by Kath Vincent (kulinaryadventuresofkath.com, 2019), p.7.

purchase ebook!
In Cakes & Slices Tags Rose, Dates, Ginger, Cupcakes, E-Book
Comment
How to Bake with Rose

Tips for Baking with Rose + A New eBook!

Kath April 27, 2019

I am very excited to announce that I have a new eBook coming out on April 29th! This book is all about baking with rose, since it is a flavour I absolutely love. I also spent such a long time working out how to make all the various recipes, and basics (like crystallised rose petals) that I thought it would be a great idea to put all that information in one place. 

In the next few days I will share a recipe from the eBook here on the blog, though if you are on my mailing list this recipe will be emailed to you on Monday morning (April 29th), along with a special subscribers discount code to use when you purchase your copy. If you would like to join my mailing list please click here. 

The below are a few tips for baking with rose, which I have found helpful over the years and will assist you in creating some great bakes with rose. If you have any further questions, leave them in the comments below and make sure you check out my new eBook ‘Baking with Rose’ on April 29th! 

‘Baking with Rose’ eBook - release date 29/04/2019 - sign up to my mailing list for more information

‘Baking with Rose’ eBook - release date 29/04/2019 - sign up to my mailing list for more information

How to Store Rose Petals

To store fresh rose petals, line a tupperware container with a piece of damp paper towel and seal with a lid. Place in the fridge (preferably in the crisper), for a shelf life of at least a week. 

For storage of dried rose petals, ensure they are in a well sealed container, preferably glass, away from direct sunlight. If the rose petals have been dried correctly, they will last for years stored like this. 

Tips for Baking with Rose Petals

Where to Buy Rose Ingredients

Sometimes ingredients such as fresh rose petals can feel very elusive, but it helps to know where to look! If looking for fresh rose petals, I recommend looking at smaller more gourmet green grocers, or ask around friends and family to see if anyone has roses that aren't sprayed. If based in Australia, Petite Ingredient will ship them when in season. They can also sometimes be found at Harris Farm Markets.

I would recommend buying rosewater from Persian grocers. You know it's the real deal, and you can often get bigger bottles of it for more reasonable prices than delis etc. 

Dried rose petals are more readily available in gourmet grocers, delis as well as Persian grocers. Pariya brand has a good range of products, that are also available in many stores and online.

In Australia crystallised rose petals have been very hard to find, however they are now sold via The Essential Ingredient and Petite Ingredient online! 

Of course if you have access to fresh unsprayed rose petals you can make many of these ingredients at home. The recipes for how to make crystallised rose petals, rose syrup, dried rose petals (see recipe below also) and rose petal sugar can be found in my new eBook ‘Baking with Rose’. 

How to Bake with Rosewater

Substitutes for Rose in Baking

I know not everyone loves the flavour of rose. If you are undecided or have had a bad experience with it in the past, I would definitely recommend making something with rose yourself at home. This way you can control how much rose is added to the dish and you can taste test along the way to ensure it suits your palate. Start with small quantities (even smaller than a recipe states) and work your way up until you are happy. 

If you would prefer to use another flavour, lemon often works really well. Any recipe with a rose glaze icing (one made with icing sugar and a liquid like rosewater, like the one used in this Rose Cake) can easily be substituted with fresh lemon juice, or even water for a more simple icing. Rosewater or rose syrup used in cakes can often be substituted for vanilla extract or some citrus zest, or if you like violet or orange blossom they can often be good substitutes too.

To get started with baking with rosewater, I would recommend making these Cardamom and Rosewater Macaroons. Both the cardamom and rosewater quantities can be reduced, and the rosewater can be left out of the biscuit entirely. For a subtle hint, wet your hands with some rosewater before rolling the macaroons into balls rather than adding it to the main mixture.

The icing of this Rose Cake could be substituted for lemon juice

The icing of this Rose Cake could be substituted for lemon juice

How to Dry Rose Petals at Home 

Preheat oven to 80 degrees Celsius, and scatter rose petals on a baking tray. Try to ensure they aren't sitting on top of each other too much. Place in the oven and allow to dry for about 20 minutes, checking every 5 minutes or so. The petals will be done when their colour has darkened, they have shrivelled, and they are completely crunchy in texture. Store in an airtight container (preferably glass) away from direct sunlight. If stored correctly they should last for years.

How to Dry Rose Petals for Baking

To grab your copy of my Baking with Rose ebook click the link below!

Ebook!
In Other Desserts Tags Rose, E-Book
Comment
  • The Blog
  • Older
  • Newer

recipes

  • Biscuits/Cookies 39
  • Breads Etc. 9
  • Breakfast 7
  • Cakes & Slices 67
  • Confectionary 5
  • Drinks 6
  • Events 14
  • Food Photography Tips 3
  • From The Mailing List 24
  • Heirloom Recipes 12
  • Holidays 44
  • Ice Cream 9
  • Jams Preserves & Spreads 9
  • Muffins 4
  • Off the Shelf 47
  • Other Desserts 25
  • Savoury Dishes/Meals 15
  • Scones 4
  • Tarts & Pastry 9
  • Travel 13

Sign up to Friday Food Chat with Kath, a weekly newsletter for more food, baking, cookbook chat and more!

Sign Up Here!
instagram-unauth pinterest facebook url

Website Accessibility: To enable text to speech function on the blog, click the sound button to the right of each blog post.

All images & content are the property of Kathryn Vincent, unless stated otherwise. Please do not use without permission.

Kulinary Adventures of Kath

Food Photography, Recipes & Baking

instagram-unauth pinterest facebook url