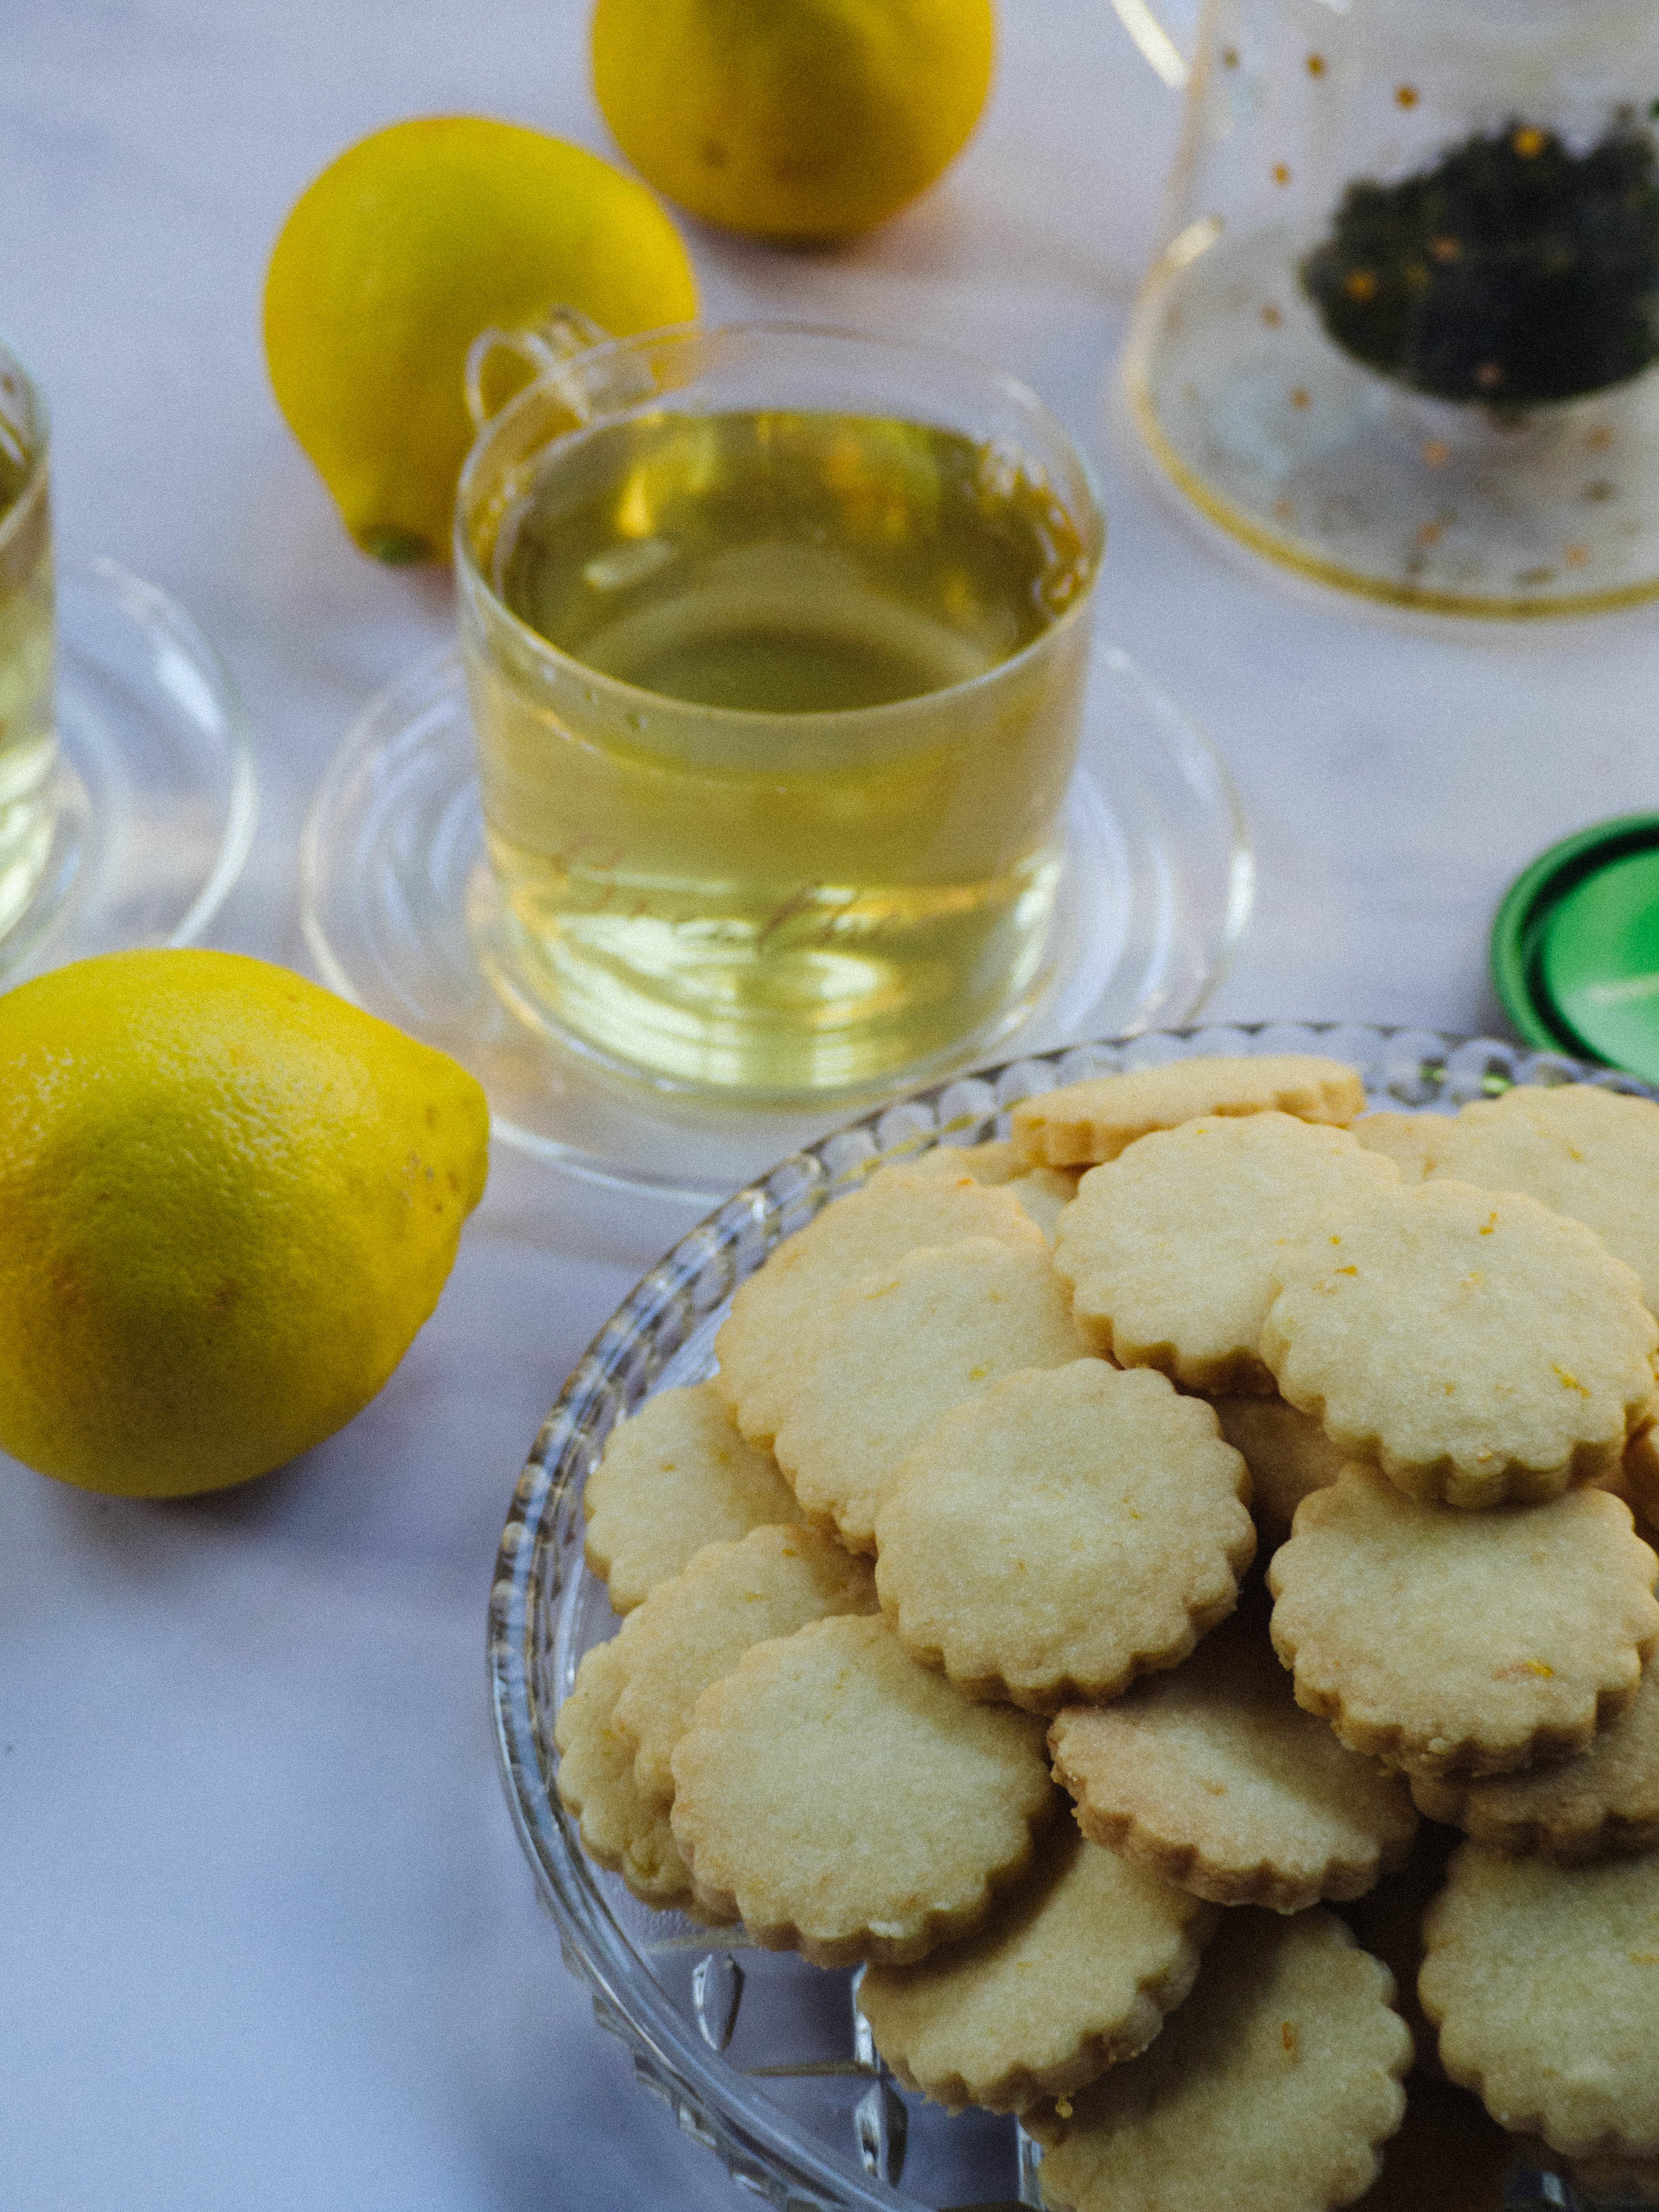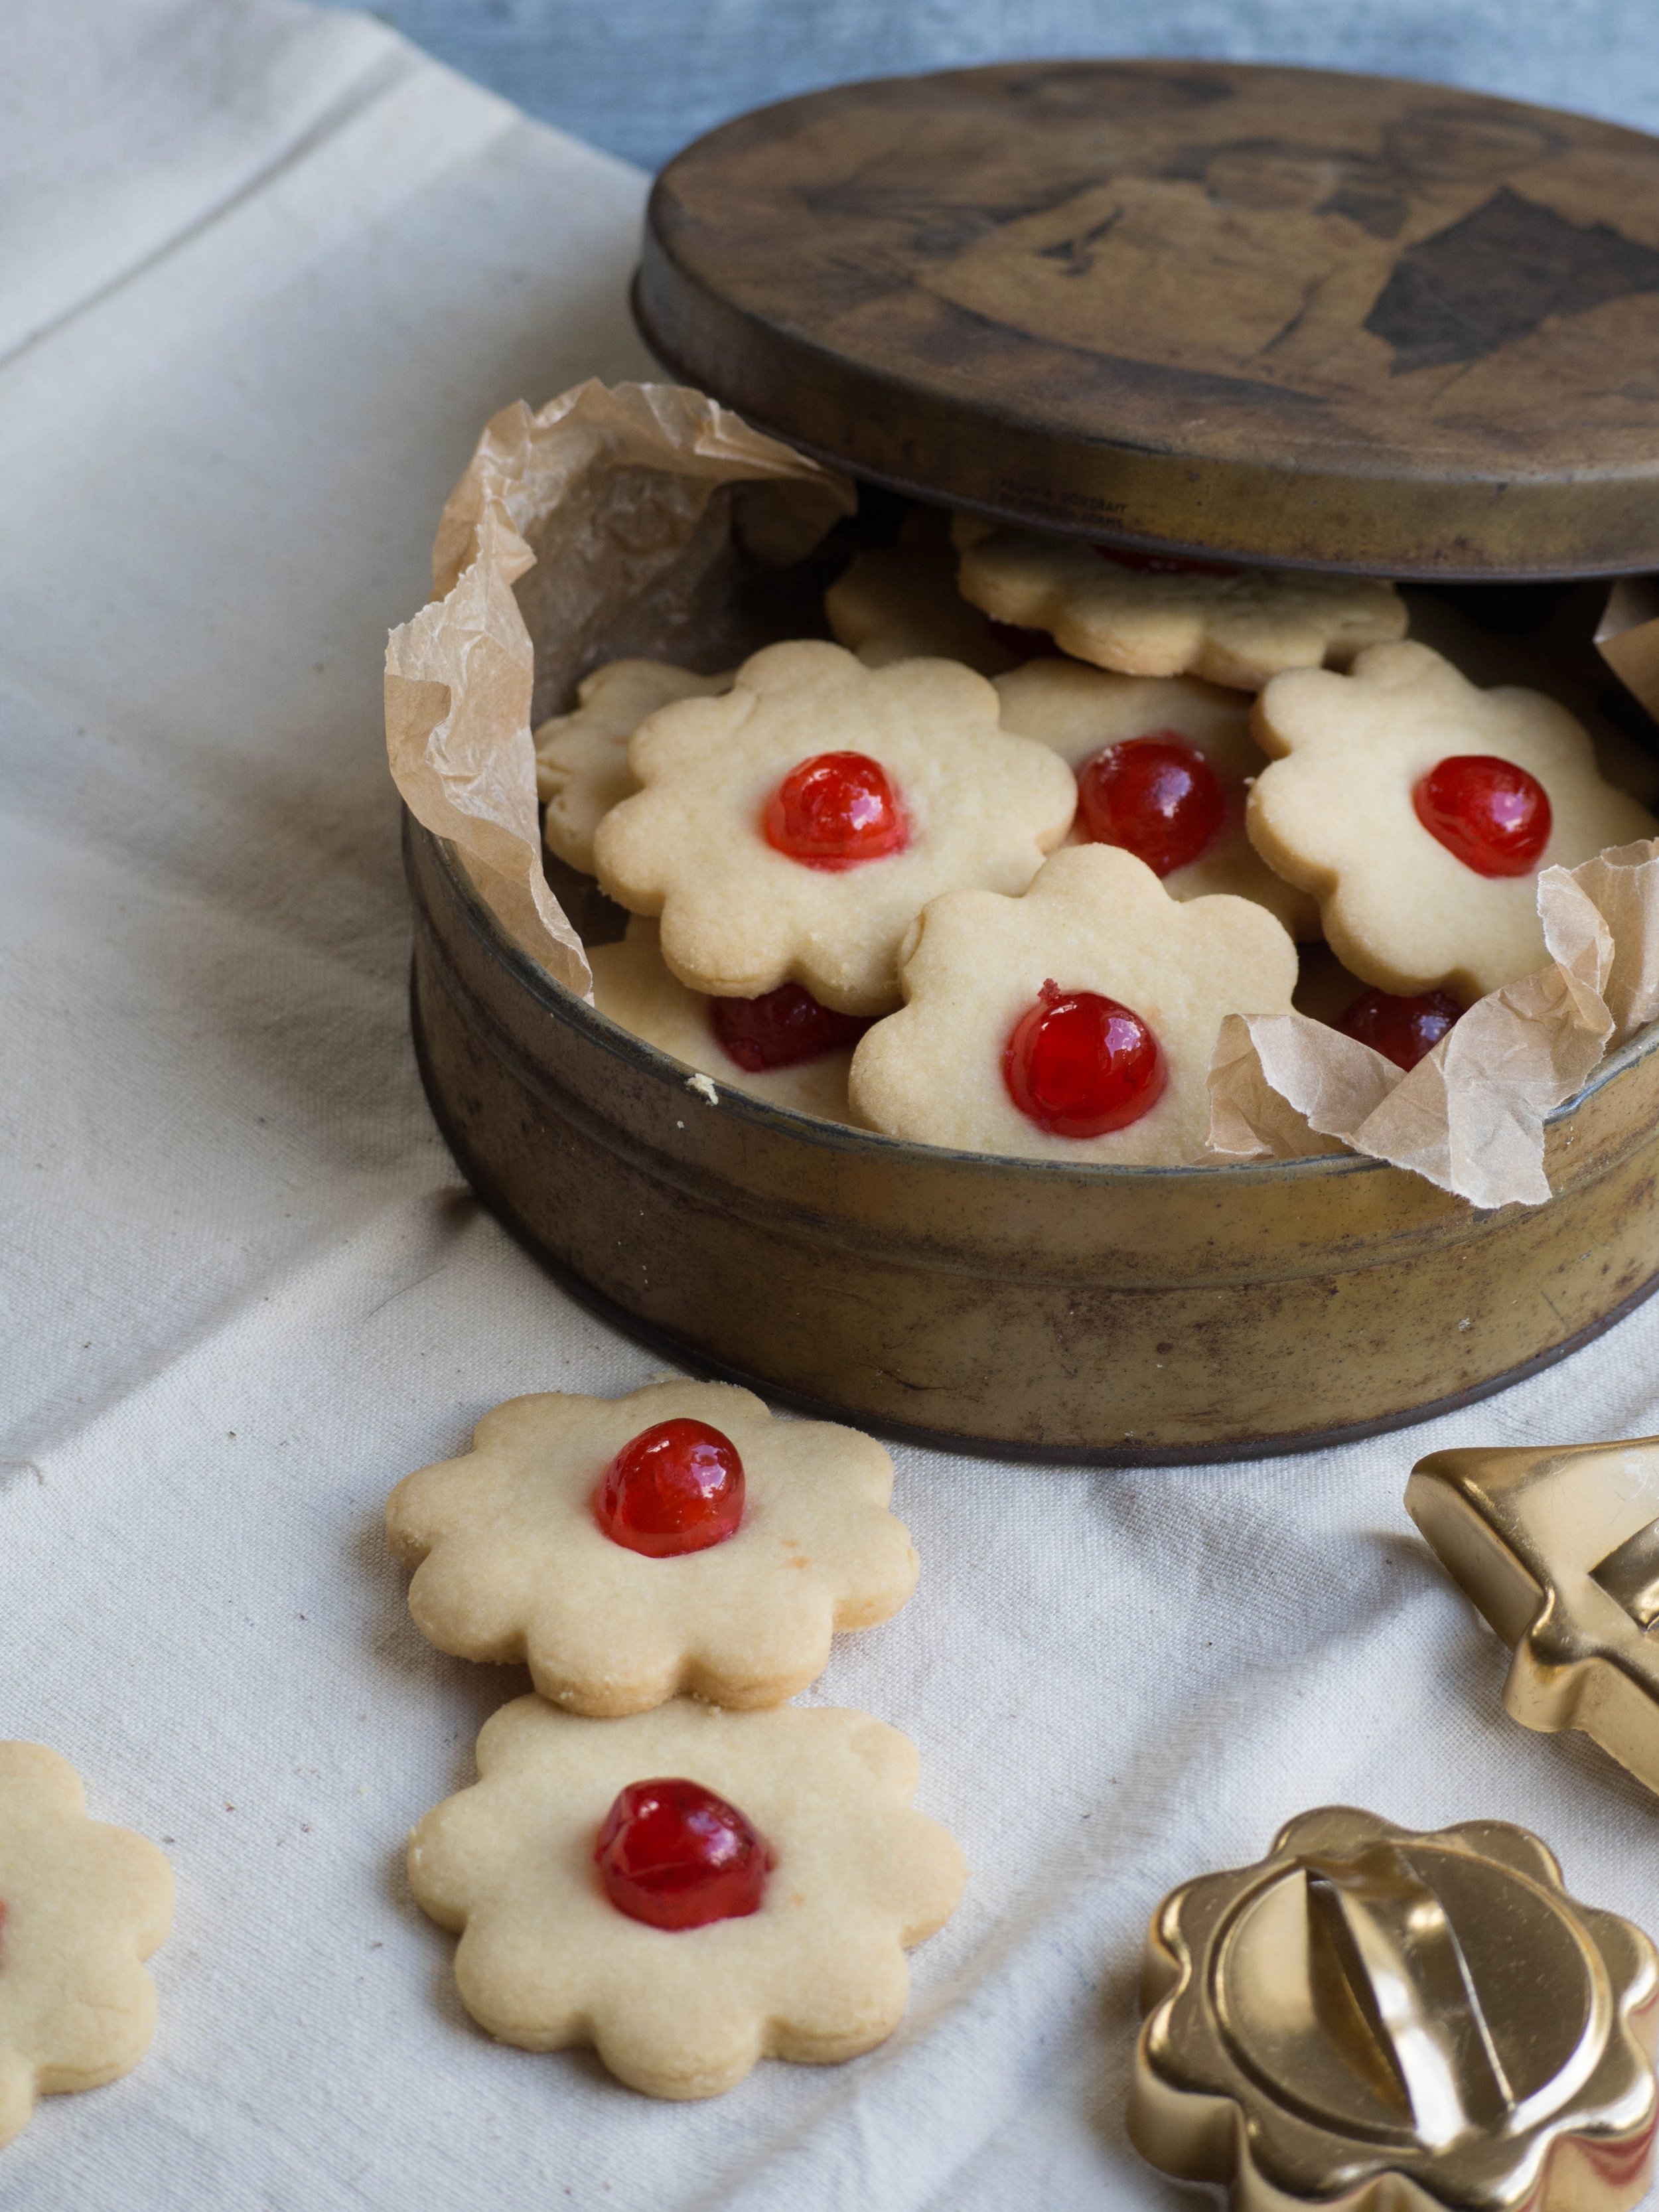
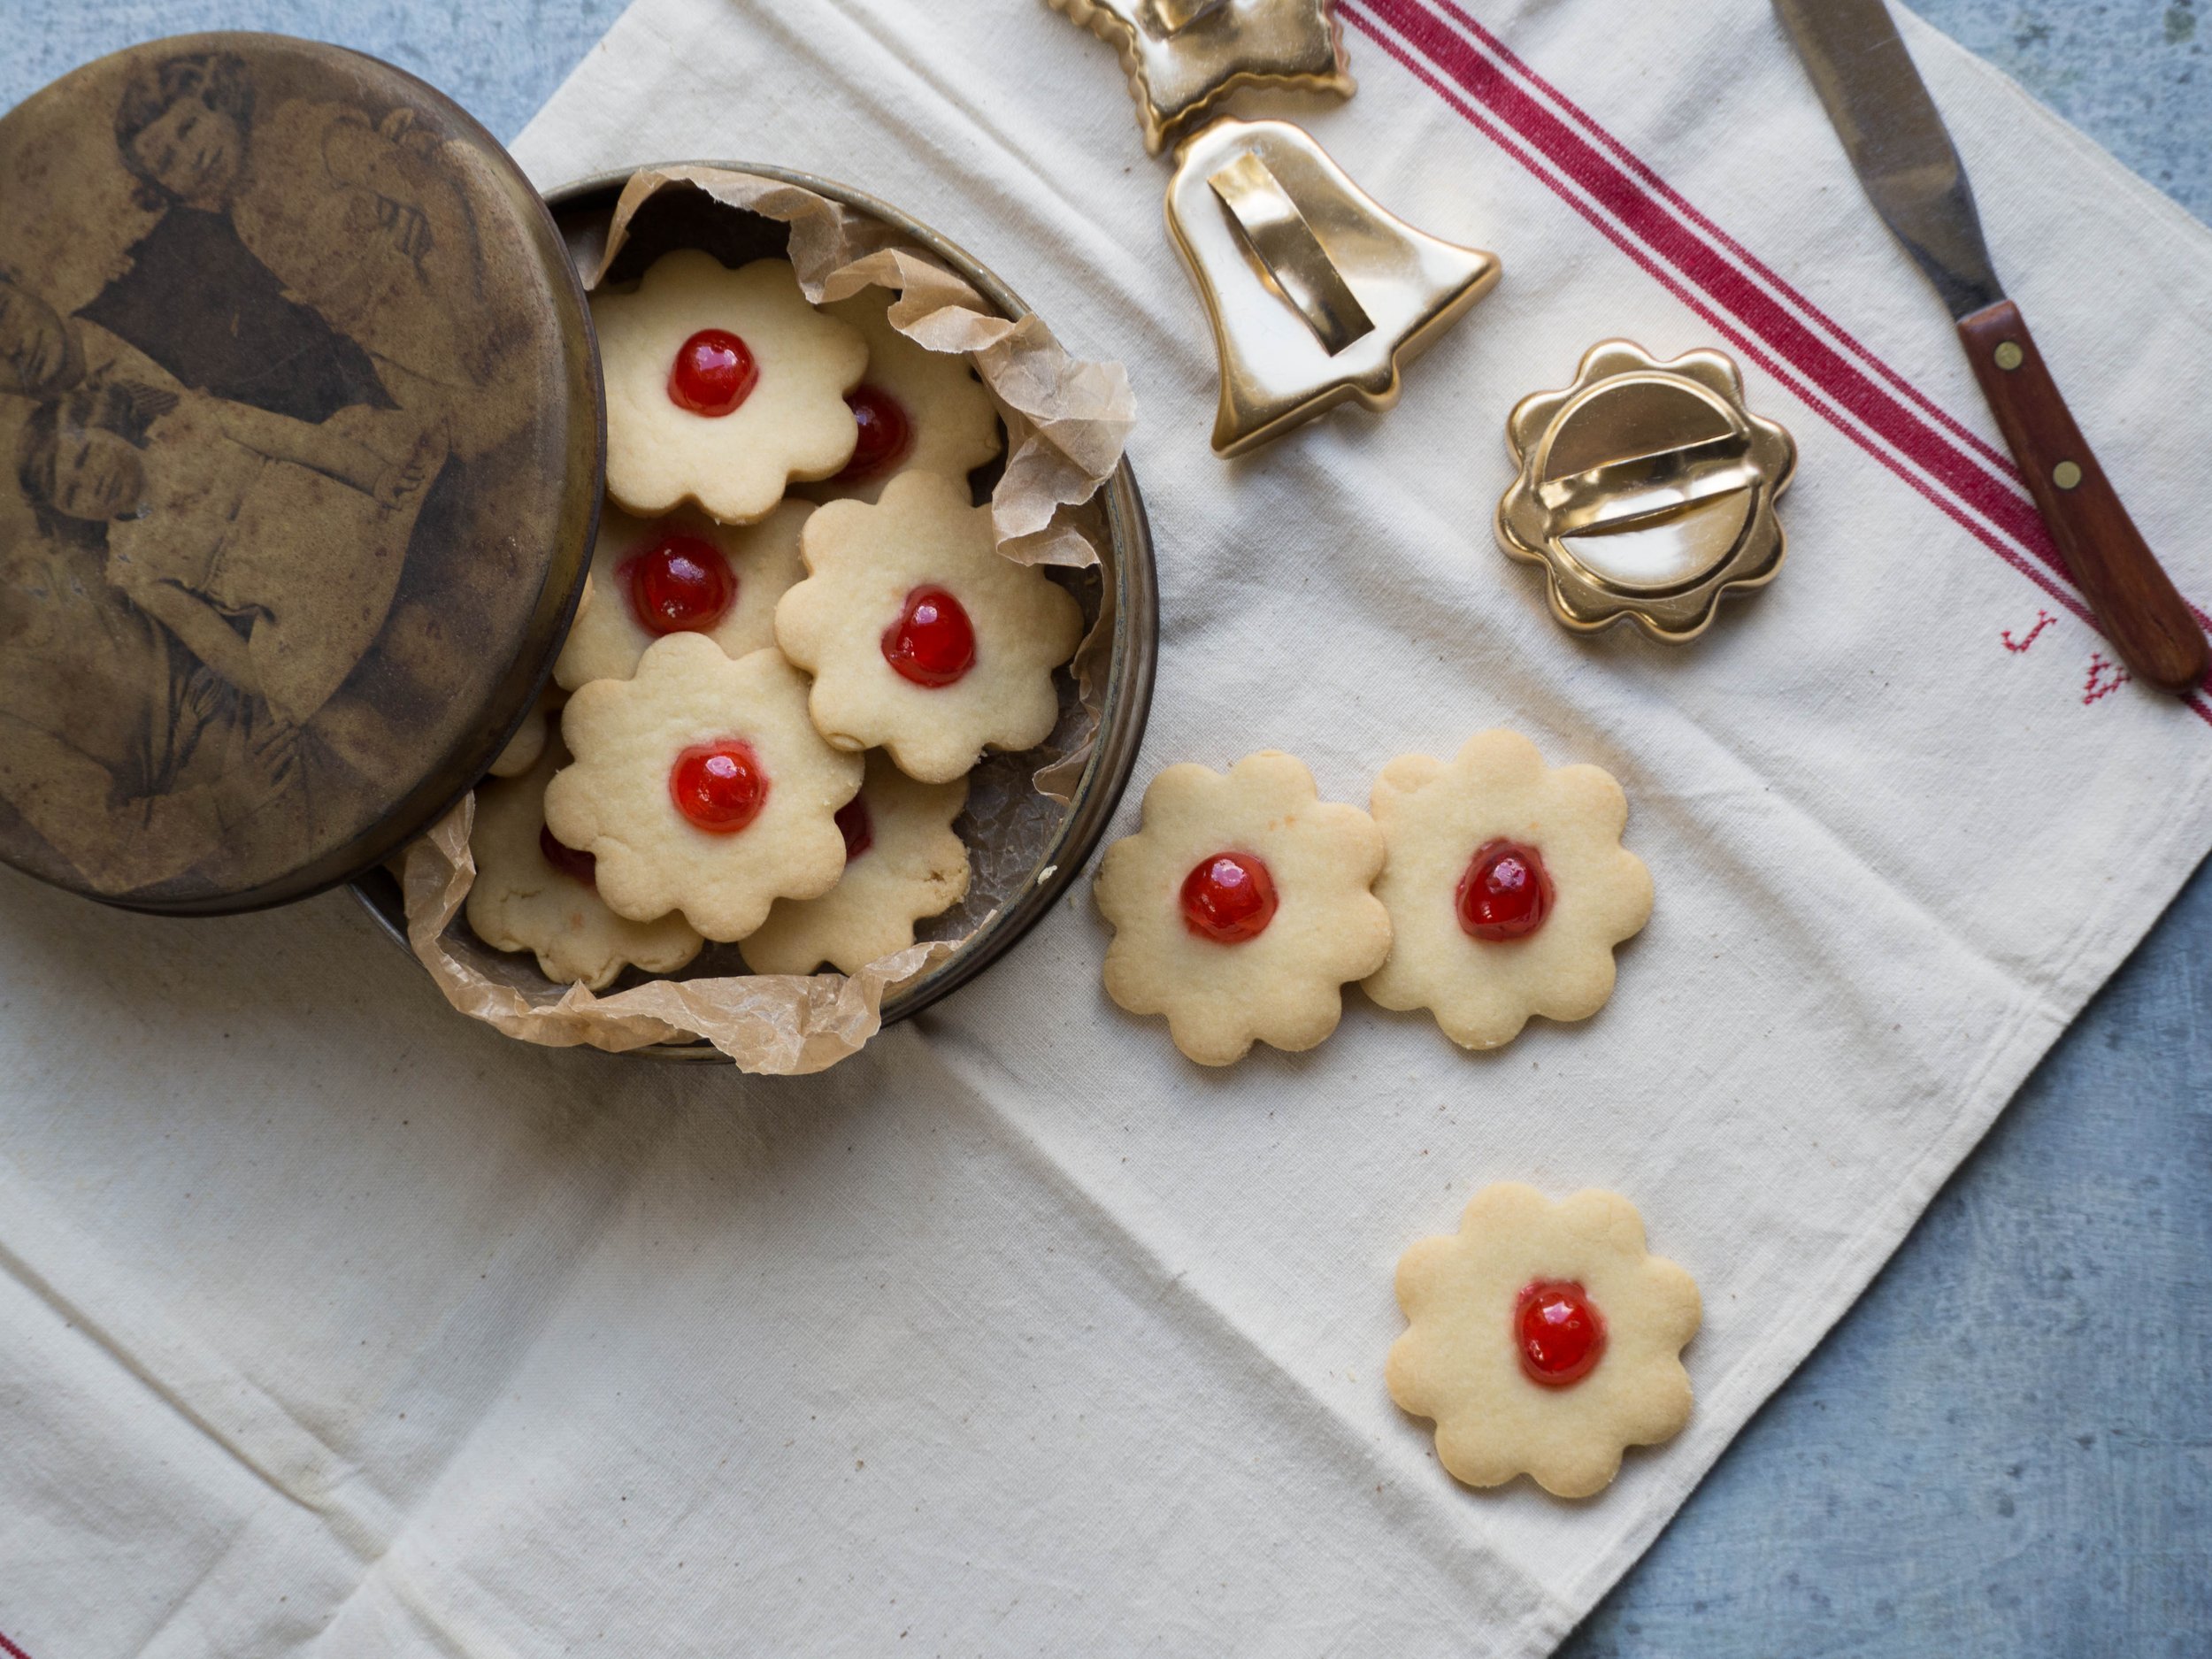
This recipe for shortbread is exactly how my Grandma made them. Cut into shapes (using the cutters pictured), topped with half a glacé cherry.
I have always loved this recipe, and even though it’s not strictly a festive recipe, I find Christmas is when I most often think of it and want to make it.
Along with Pavlova (you can find my Grandma’s recipe for that here), these shortbread were my favourite thing Grandma made. I recall making them with her as a child, and eating the glacé cherries before they even made it on to the biscuits!
I even remember the last time she ever made them for me. I had an afternoon tea for my 21st birthday and Grandma asked what she could bring. I initially said she didn’t need to bring anything, but I could tell she was a little disappointed at that response.
I then thought of these biscuits and called her back and asked her to make them for my birthday. I’m so glad I did, as even though that was a few years before she died, I don’t recall enjoying her shortbread again.
Now I make them, often at this time of year. I use the cutters she used, and the taste and smell of them reminds me of her. They are simple to make, yet super delicious. Even if you don’t have much time to bake over the holidays, give these a go as the few ingredients and little time needed culminate in the most comforting cheery biscuit.
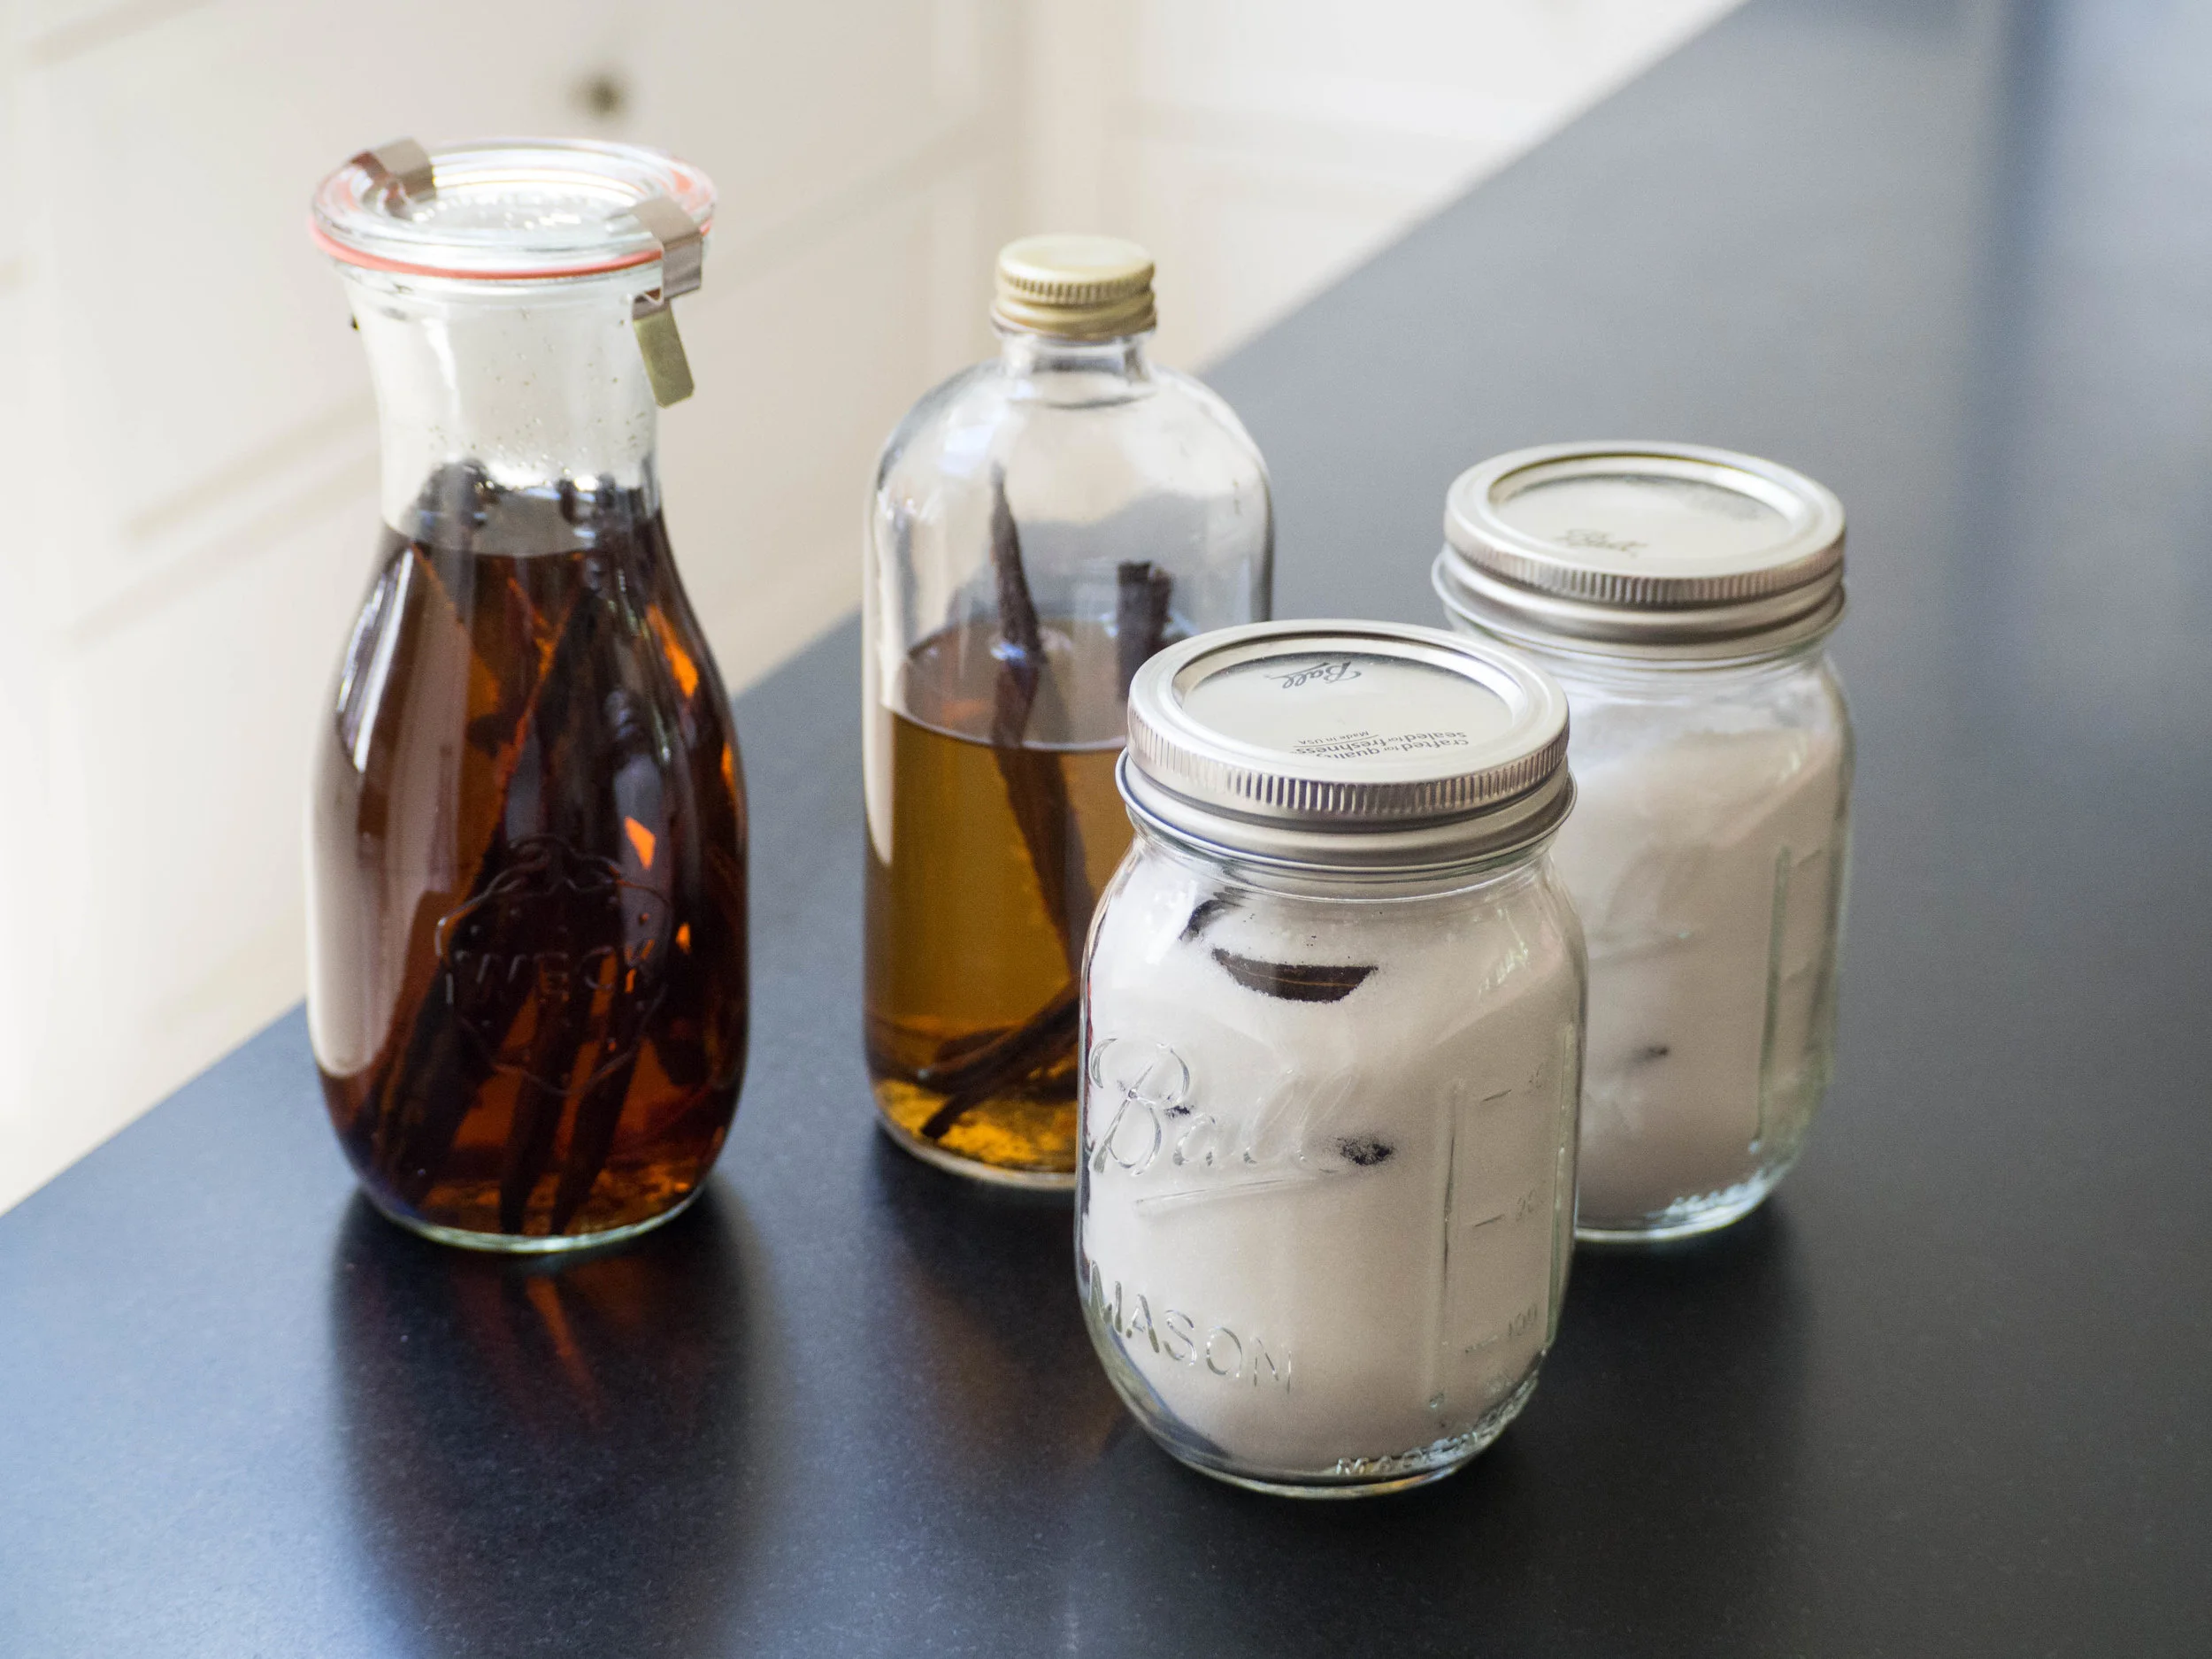
If you like you can add the seeds of one vanilla bean or 1 tsp of vanilla extract or paste to the biscuit dough when you are mixing the butter and sugar together. I love using vanilla, but since my Grandma didn’t include it in her recipe I have left it out this time.
Christmas Shortbread Biscuits
Ingredients:
160g unsalted butter, softened (at room temp)
60g caster sugar
250g plain flour
14 red glacé cherries, approx.
Method:
Preheat oven to 150 degrees Celsius, and line two large baking trays with baking paper.
Place the butter and sugar in the bowl of the stand mixer and beat with the paddle attachment until well combined.
Add the flour and mix on low until a dough starts to form.
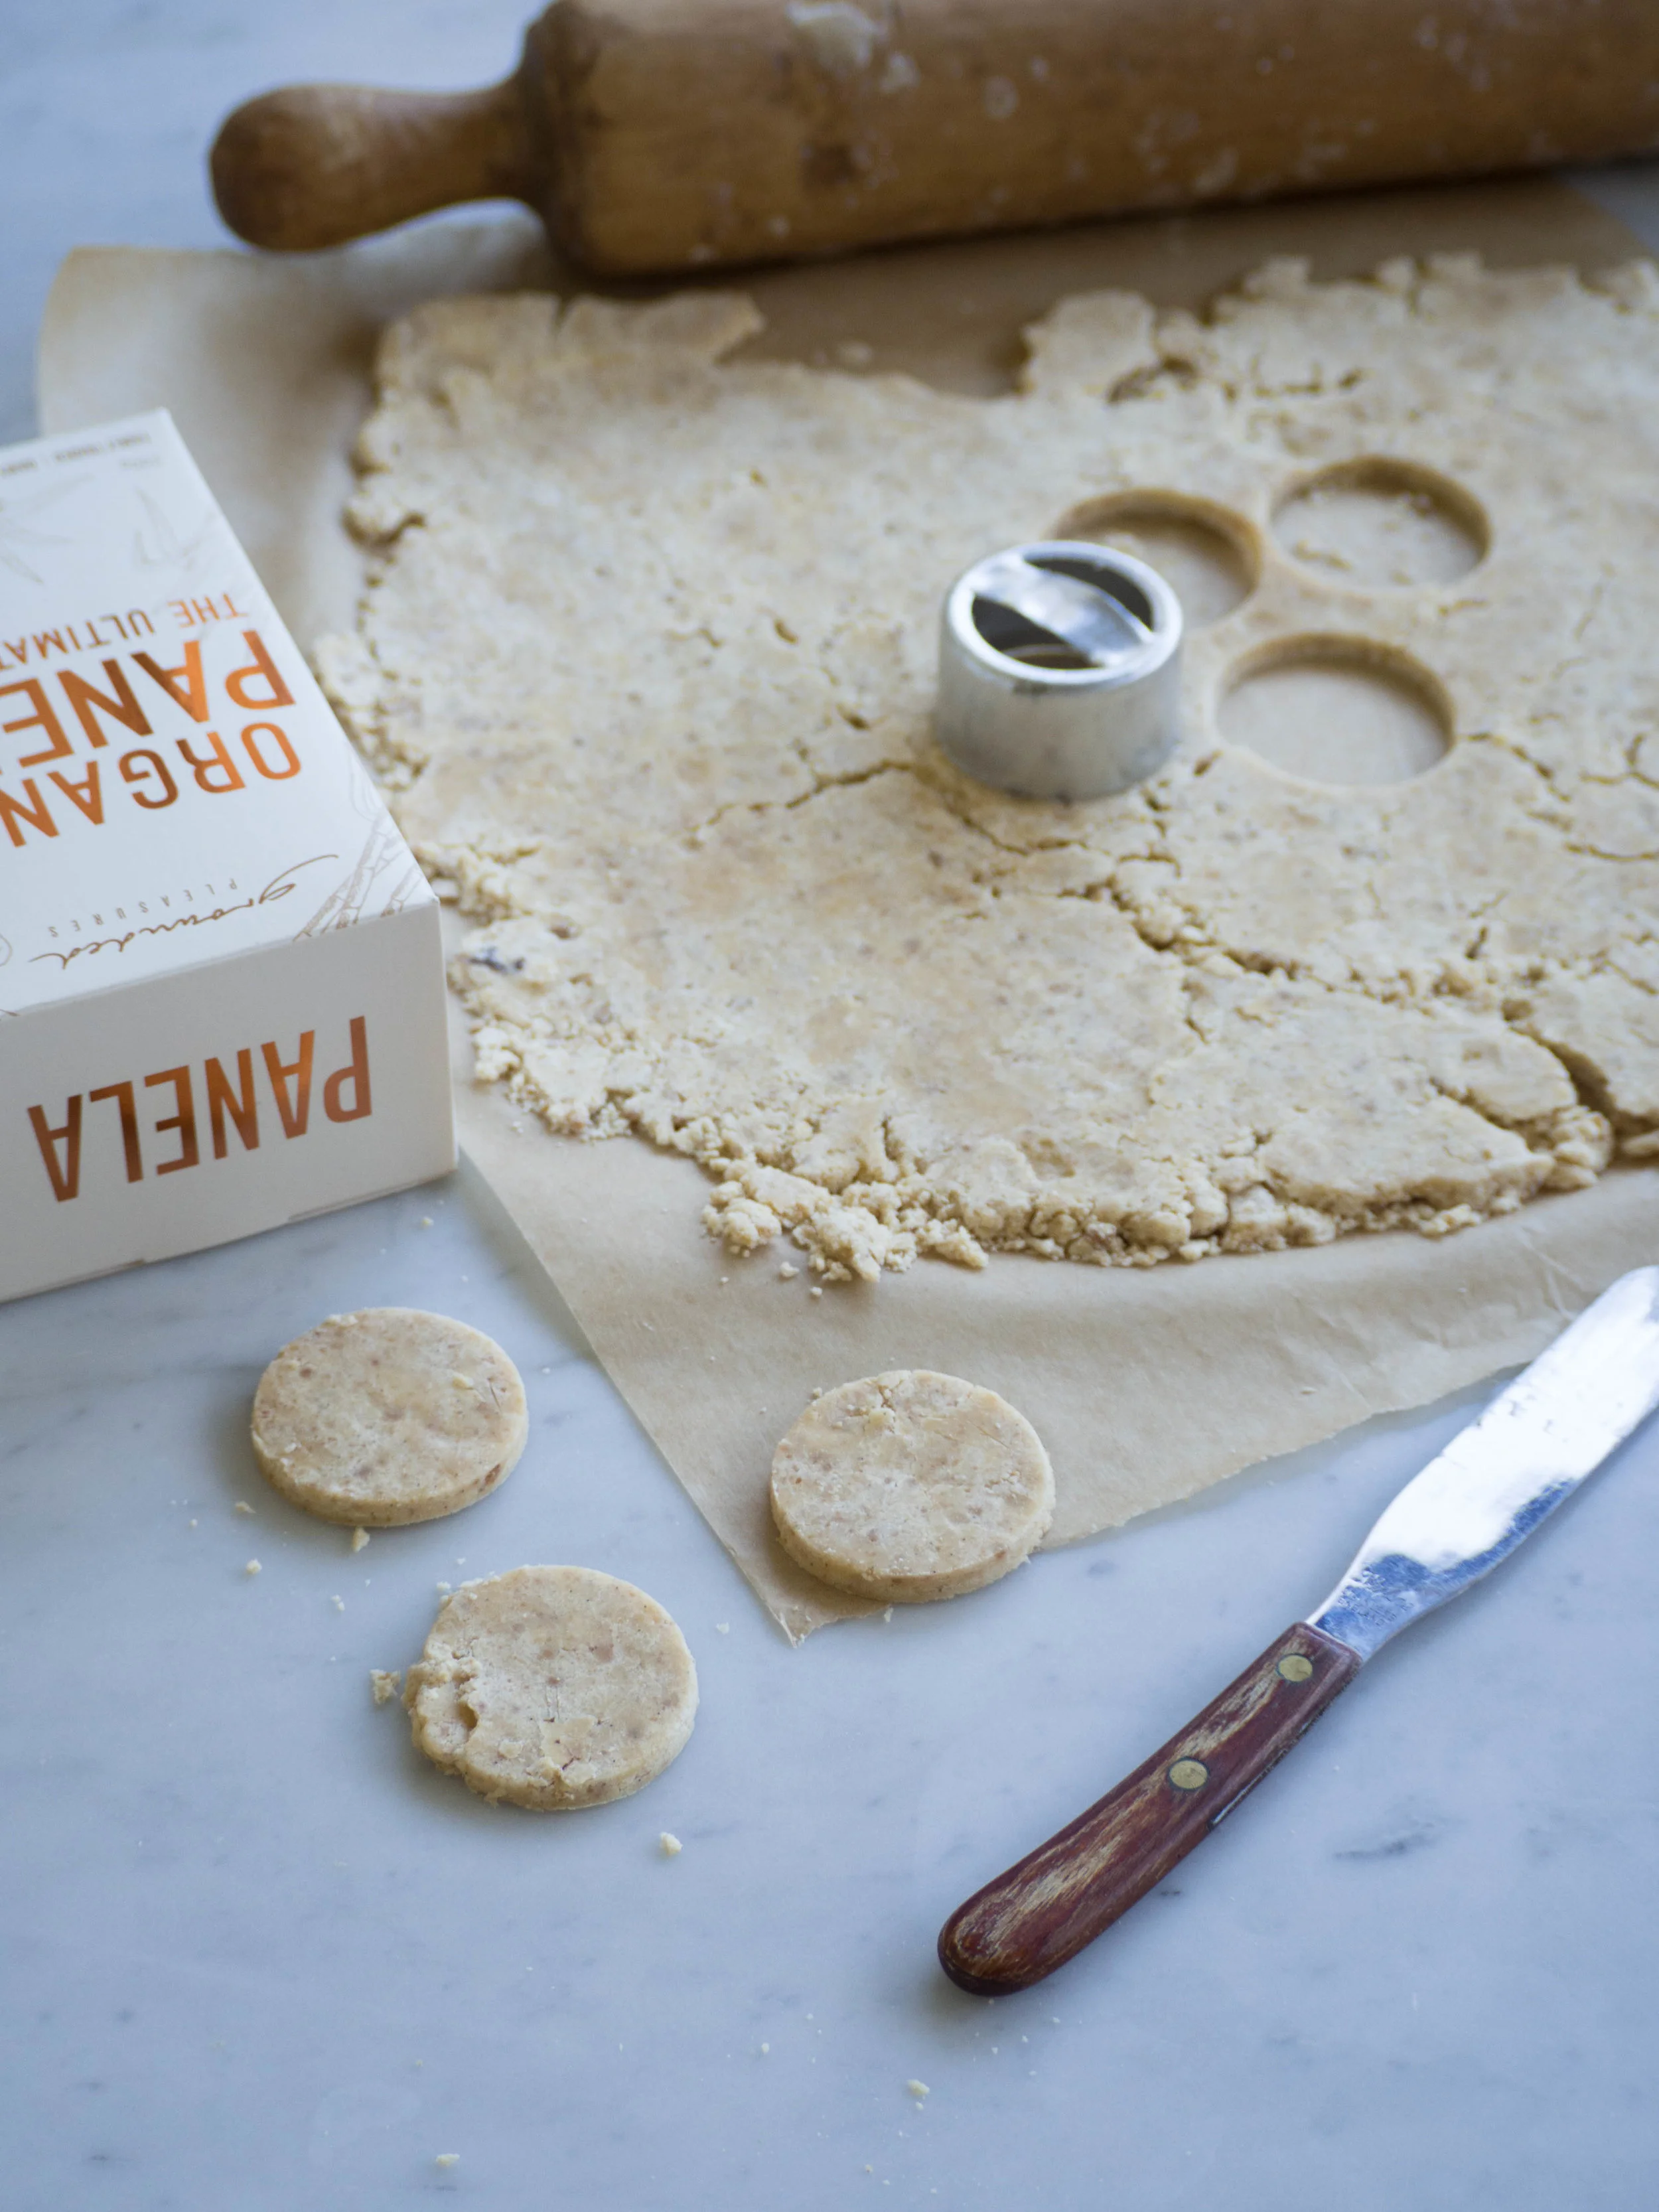
Lightly flour your work surface, and tip the dough out. Bring together with your hands then roll out with a rolling pin until it is about 2mm thick. Dust the top of the dough and the rolling pin with a little flour if the dough sticks to your rolling pin.
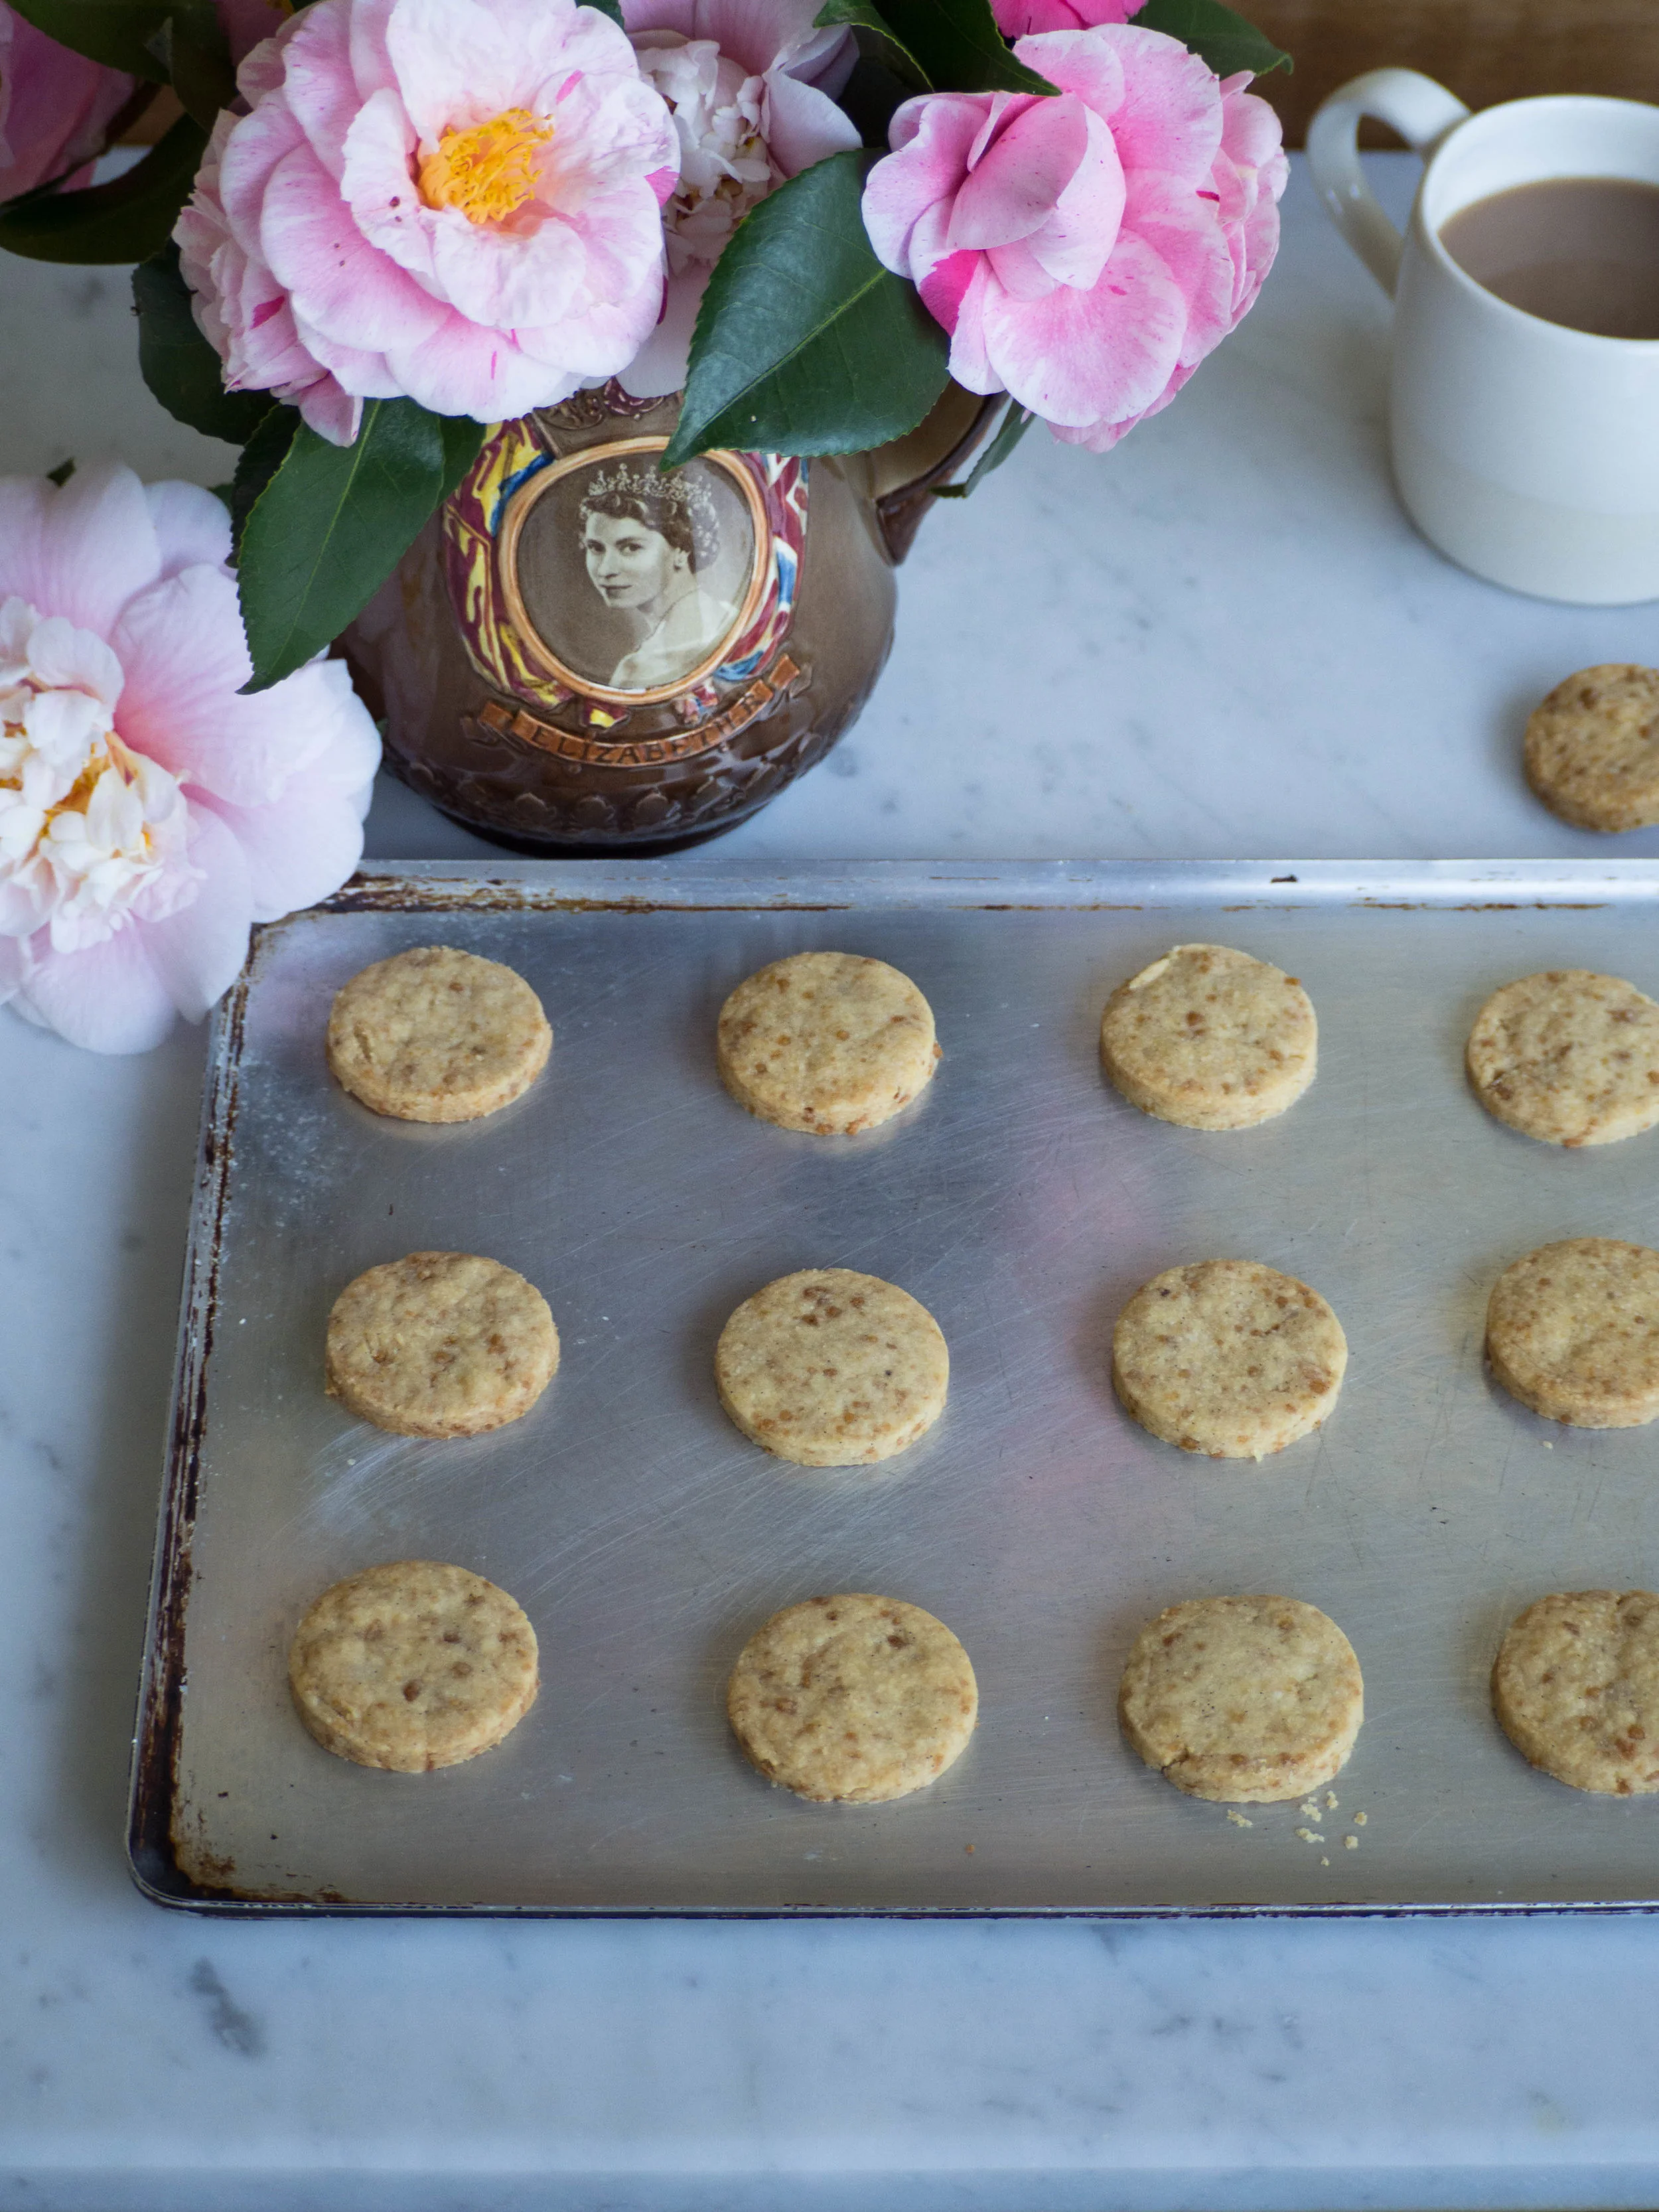
Cut out biscuits with a 6cm (approx.) biscuit cutter, and transfer to the prepared trays using a palette knife. Bring the scraps of dough together with your hands, roll out again and cut out more biscuits, repeat until the dough is all used up.
Cut the glacé cherries in half, and gently push half into the centre of each biscuit.
Bake for 15-20 minutes, turning the trays around halfway through to ensure even cooking.
The shortbread shouldn’t go very golden in the oven, they will be ready when the edges start to colour and if you gently check the underneath of one you can see it has cooked and is a little golden in colour.
Allow to cool on the trays or transfer to a wire rack.
Makes about 28 biscuits with a 6cm biscuit cutter, however it will depend on the size of the cutter you use.