Happy Easter!
I hope everyone is enjoying celebrating Easter/Passover/the long weekend! It’s about 30 degrees Celsius here in Sydney, so it kinda seems odd that it’s Easter and technically meant to be Autumn. I am very much looking forward to the weather cooling down and really getting back into the kitchen again. Summer was hot here this year, and it definitely kept me away from the kitchen after the necessities of cooking for Christmas were over. Slowly I am finding moments in the kitchen, mostly to prepare for the work week, but also gradually getting back into the habit of baking and cooking purely for the joy if it.
This long weekend I plan to make my annual lot of hot cross buns and have my first foray into making matzo ball soup. I’m thinking these are the best dishes of the two religious holidays celebrated this weekend so it is only fitting to give it them both a go. I have tried Matzo ball soup only once before, so I have been looking through my cookbooks and comparing the recipes from the likes of Yotam Ottolenghi and the Monday Morning Cooking Club to get all the tips and advice possible! Here’s hoping it goes well!
But now on to the scrolls!
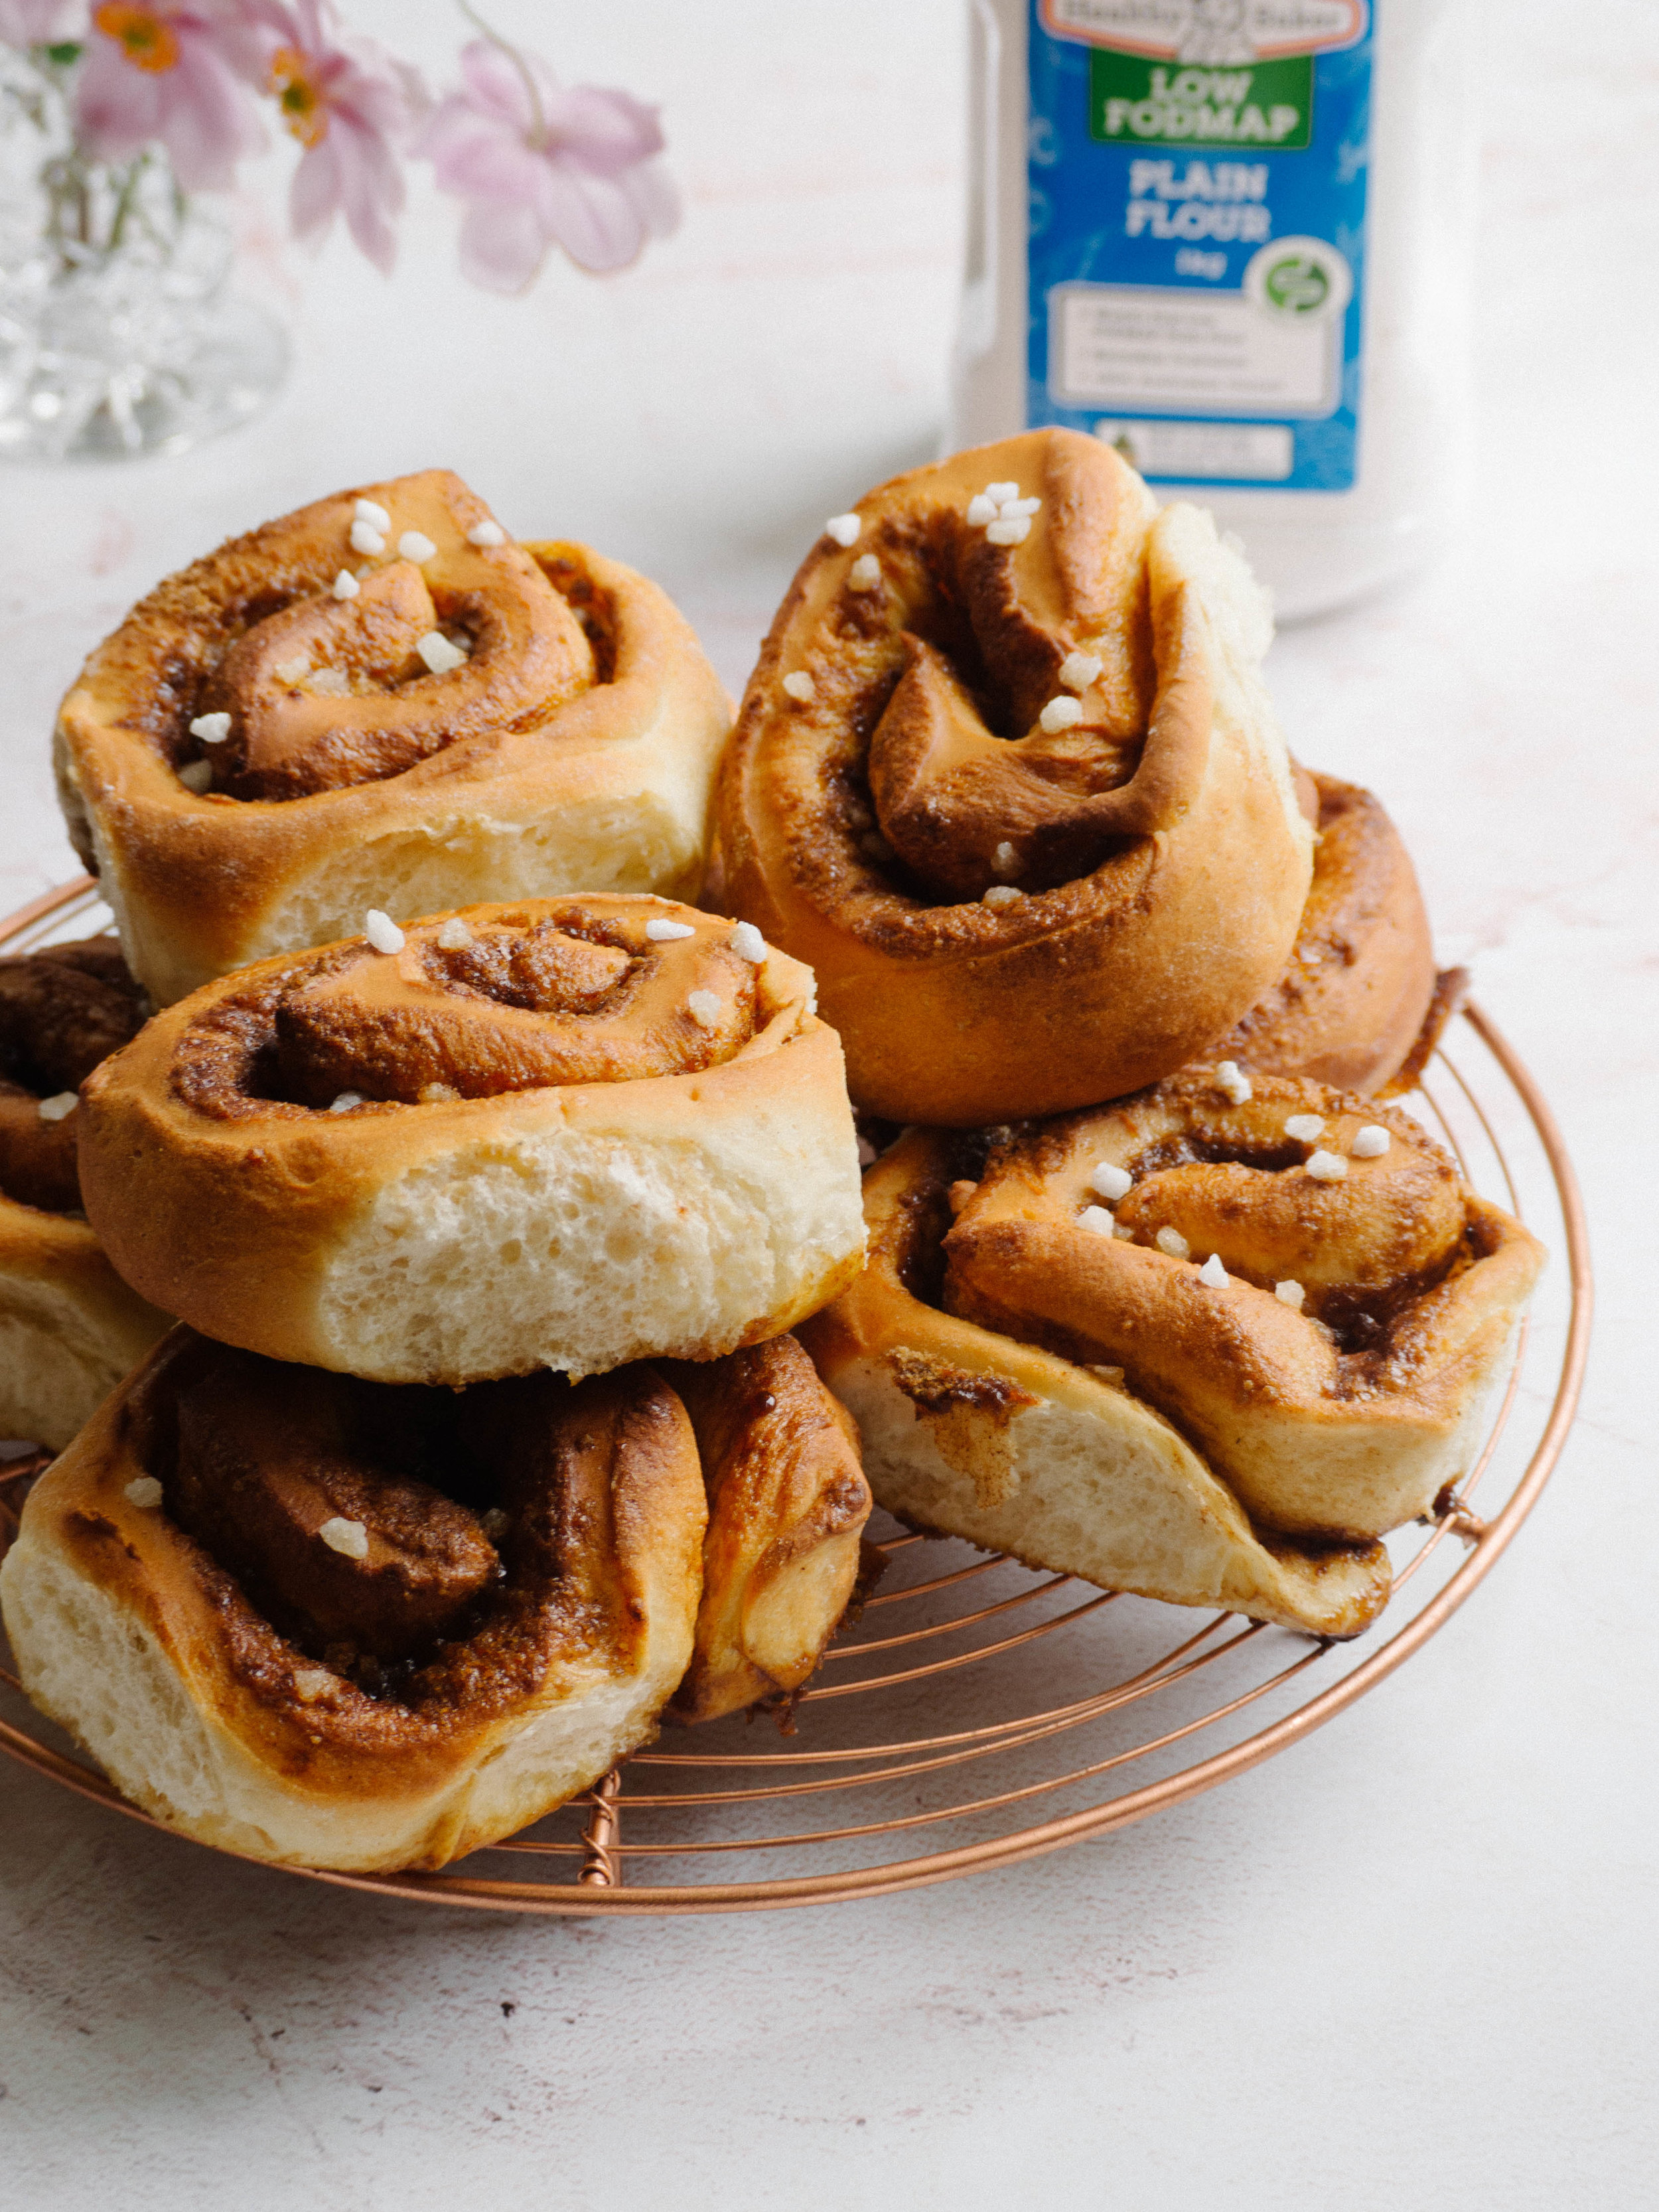
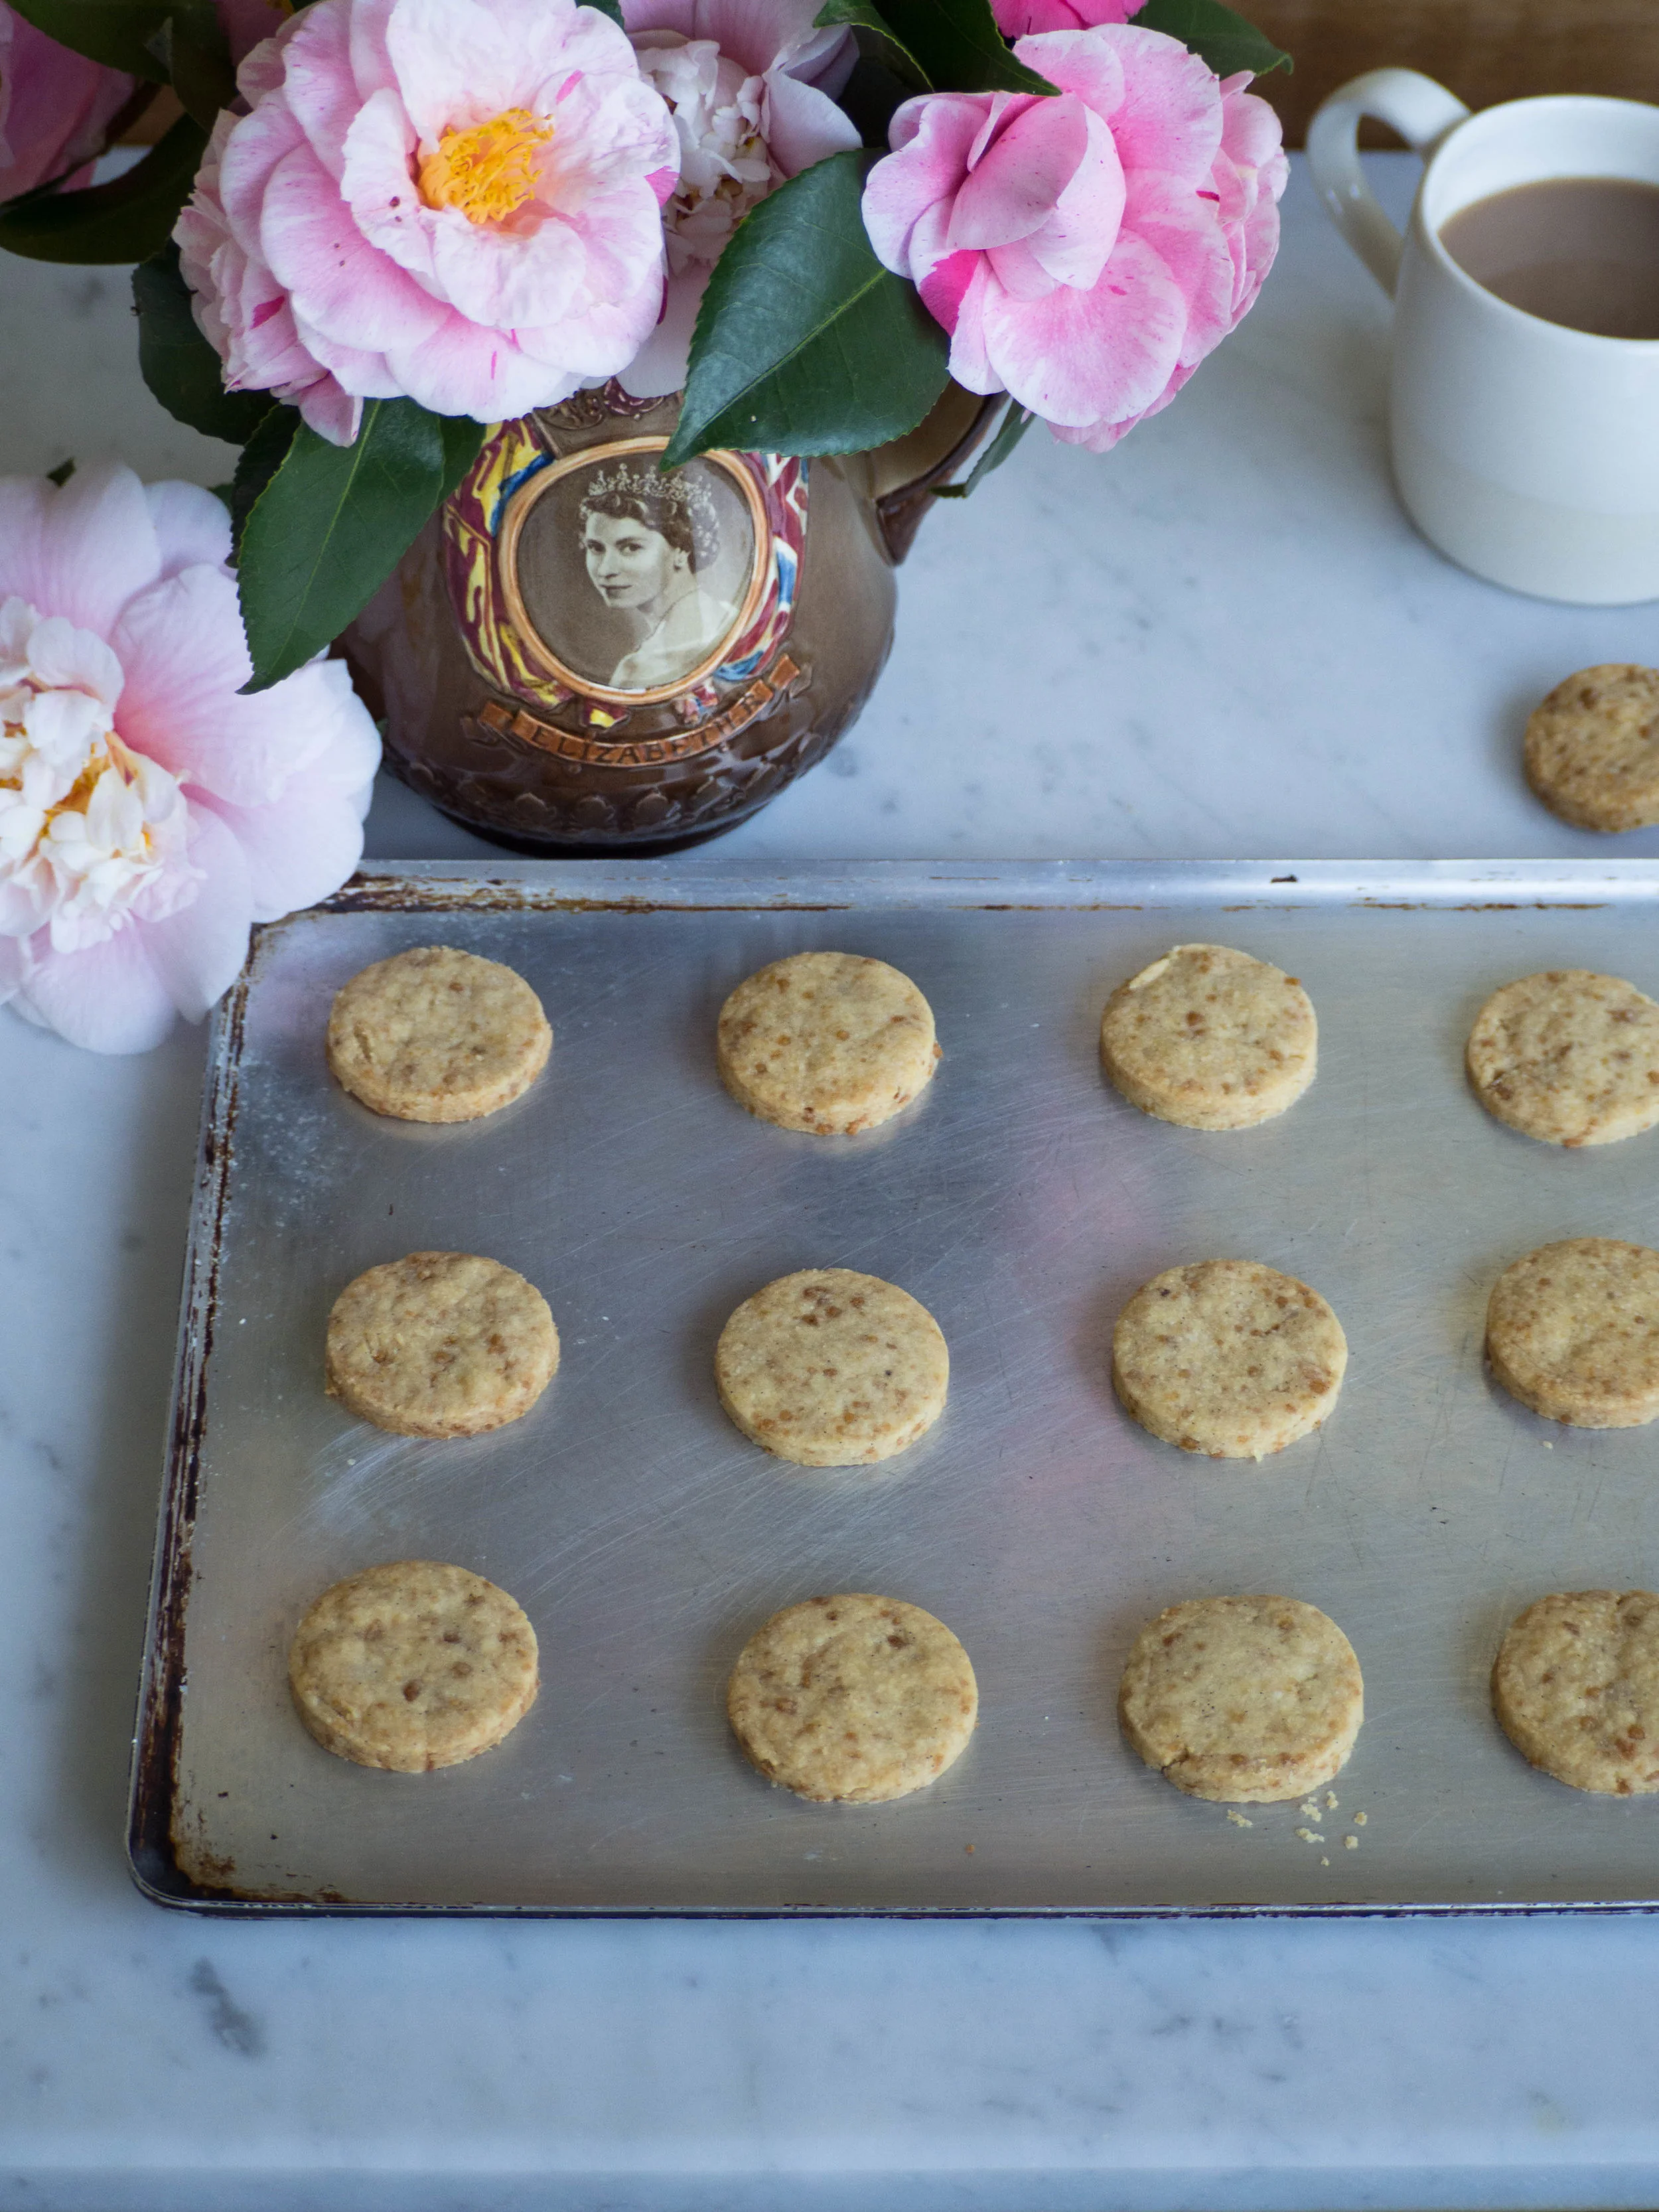
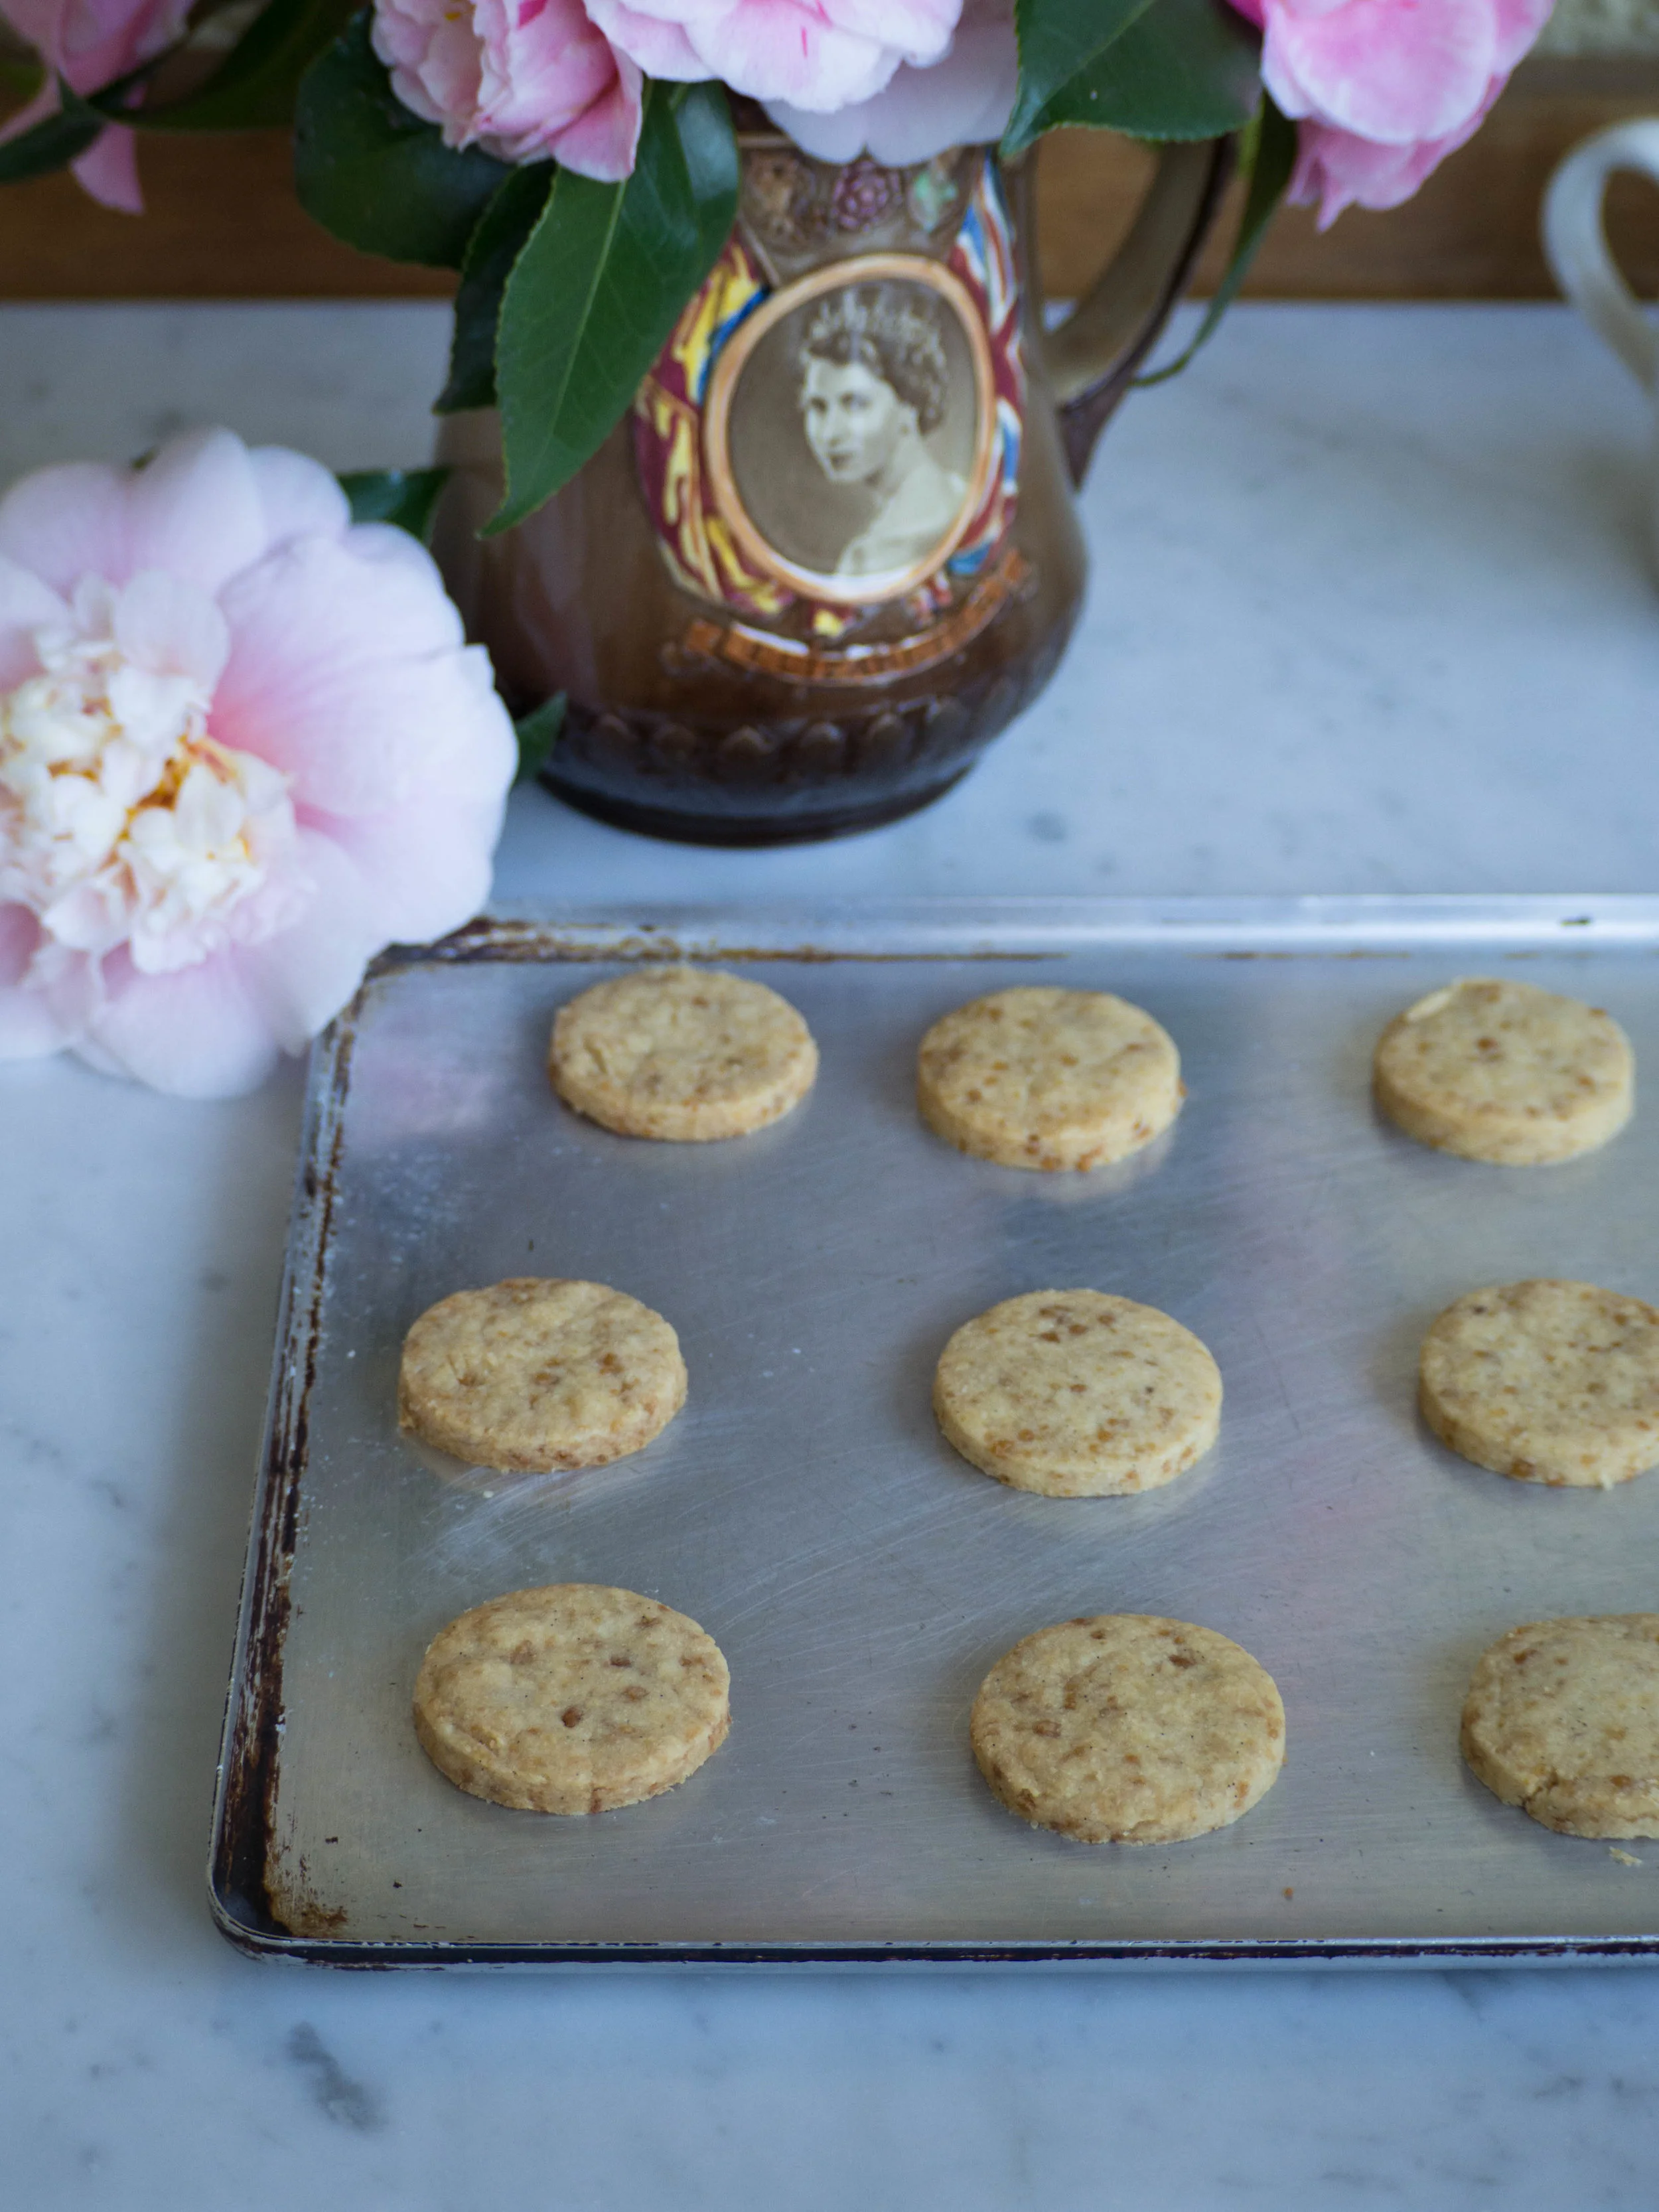
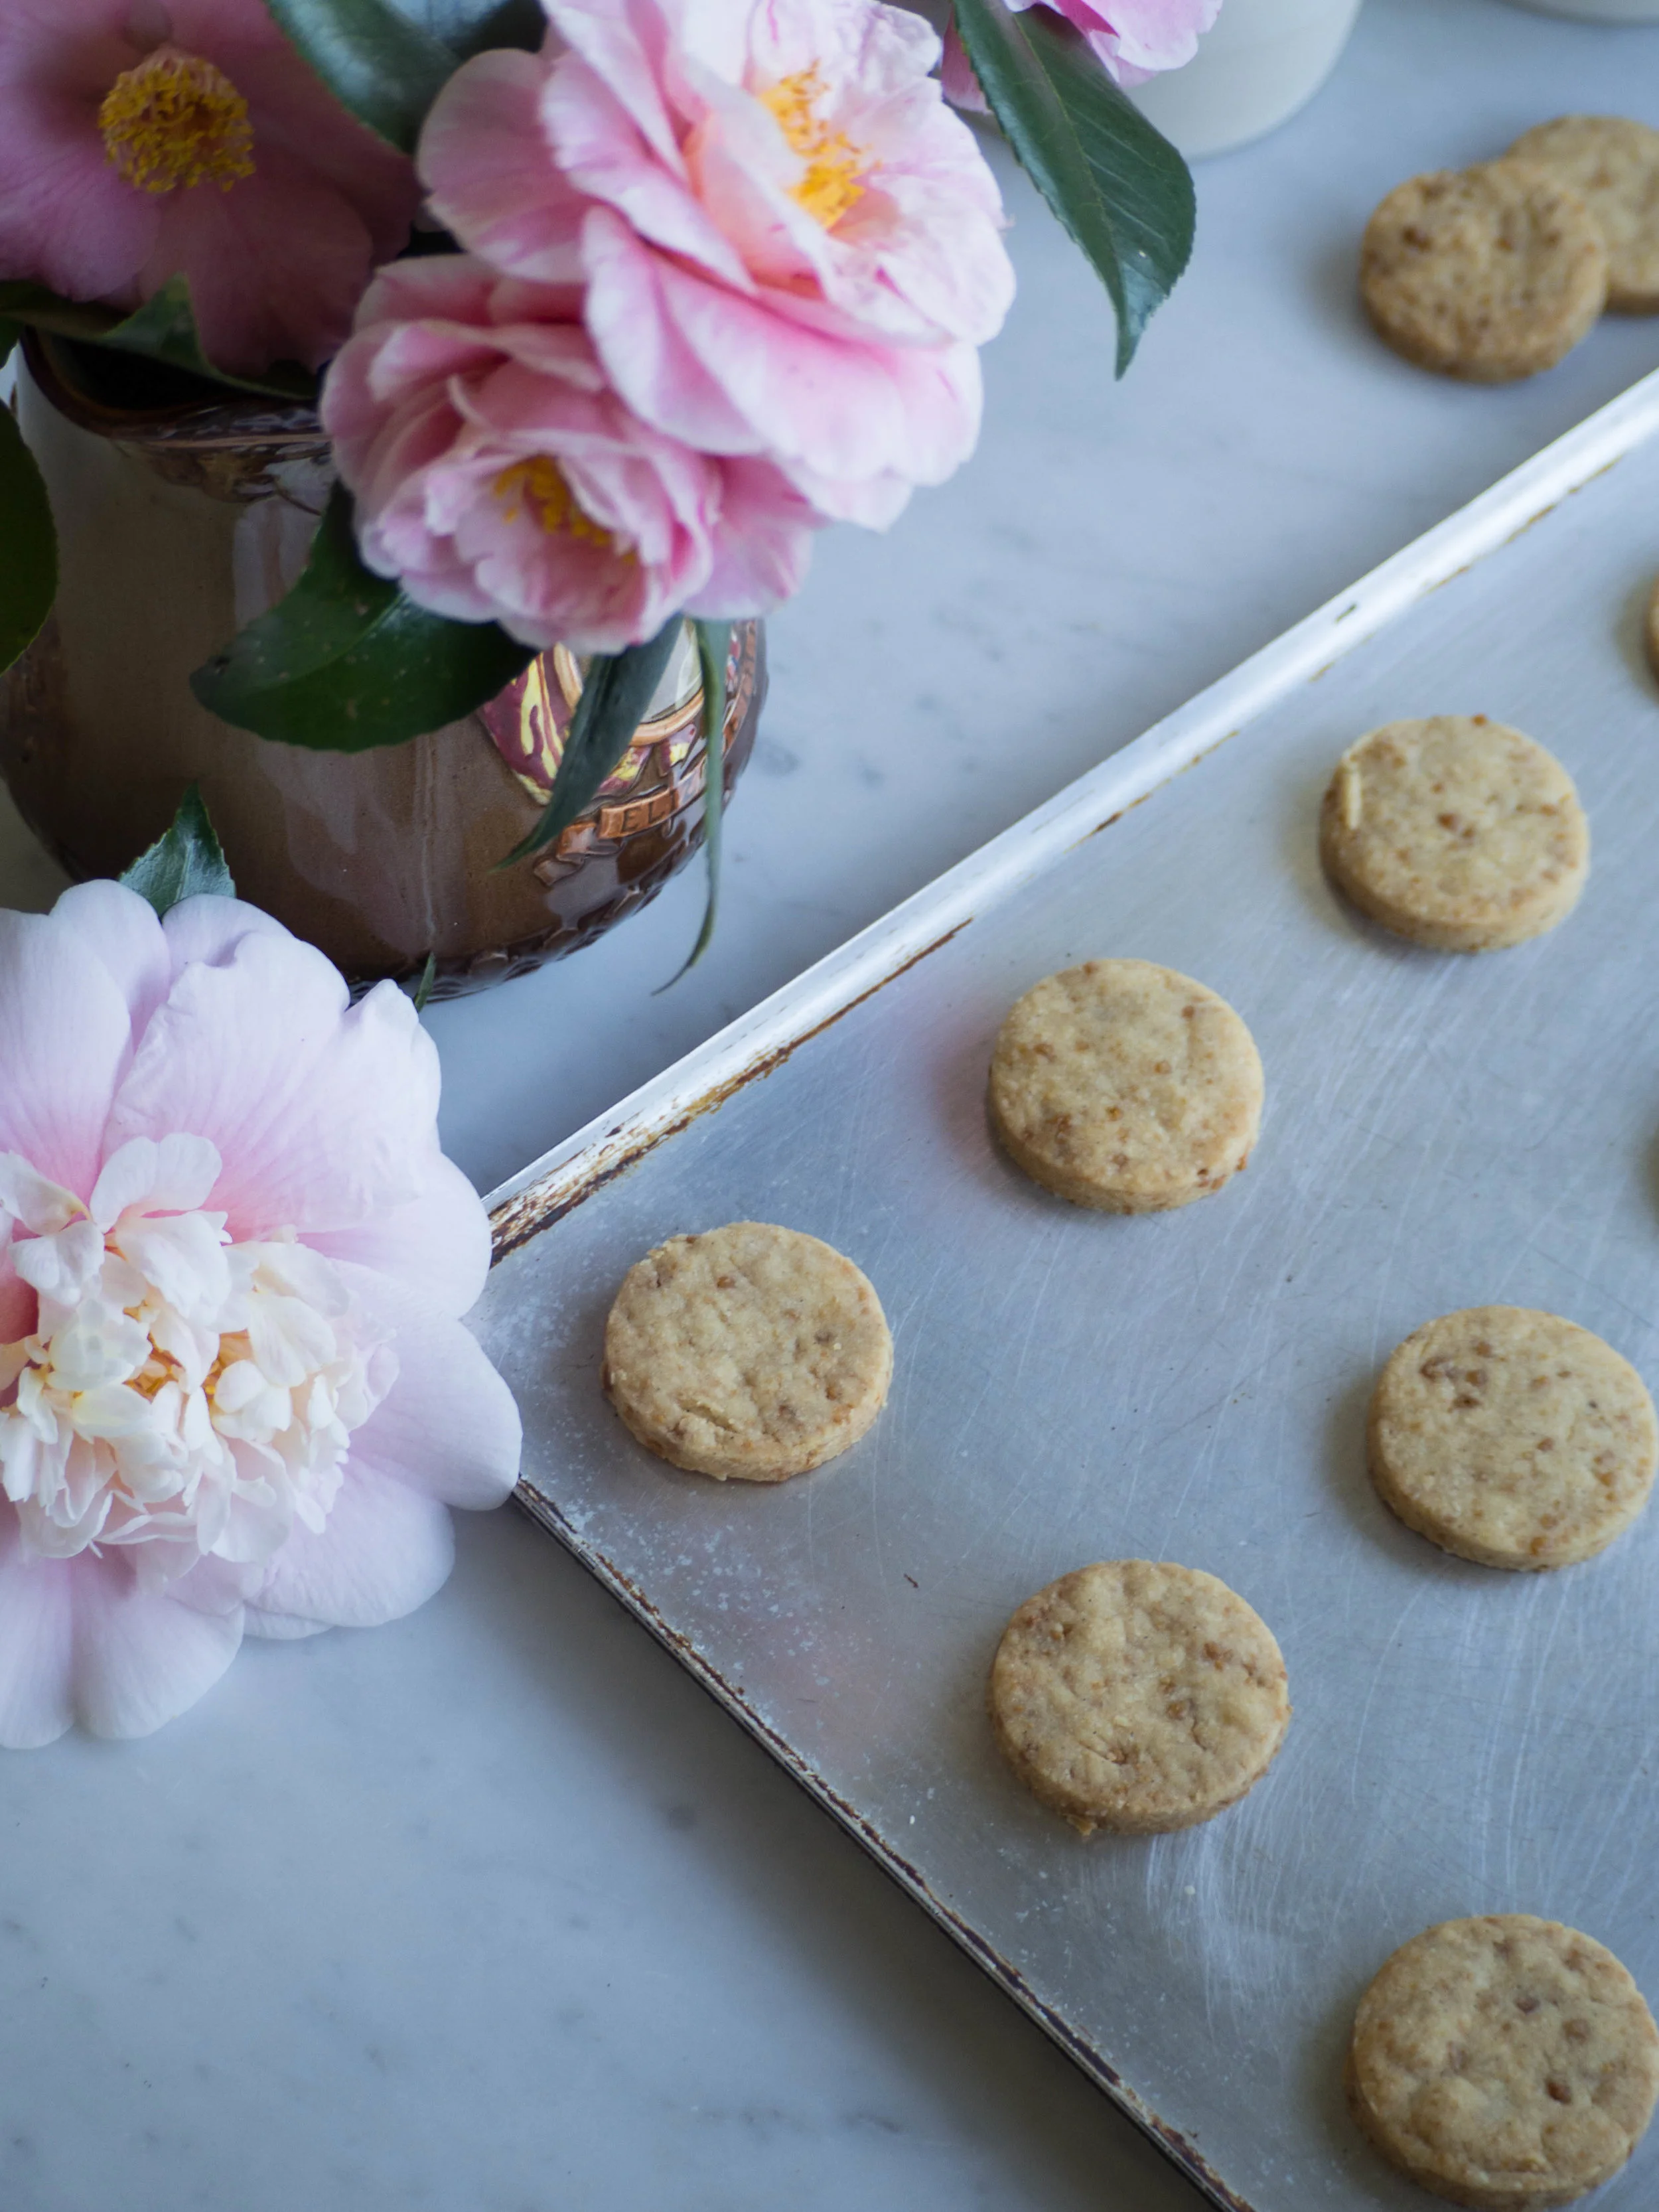
Low FODMAP Easter Spiced Hot Cross Buns
A couple of weeks ago I was generously sent some of The Healthy Baker’s Low FODMAP Plain Flour, so I decided that I would use that in my Easter baking and see how it goes.
Since receiving this flour I have done a little research on the low FODMAP diet, and suffice to say the diet cuts out quite a few things across all food groups.
The low FODMAP diet was developed by Monash University and aims to provide relief for those suffering IBS. Luckily the diet isn’t intended as a long term thing, rather a 6 or so week program to determine what high FODMAP foods someone may be reacting to. They can then reintroduce other high FODMAP foods to their diet and continue to minimise those that still act as triggers.
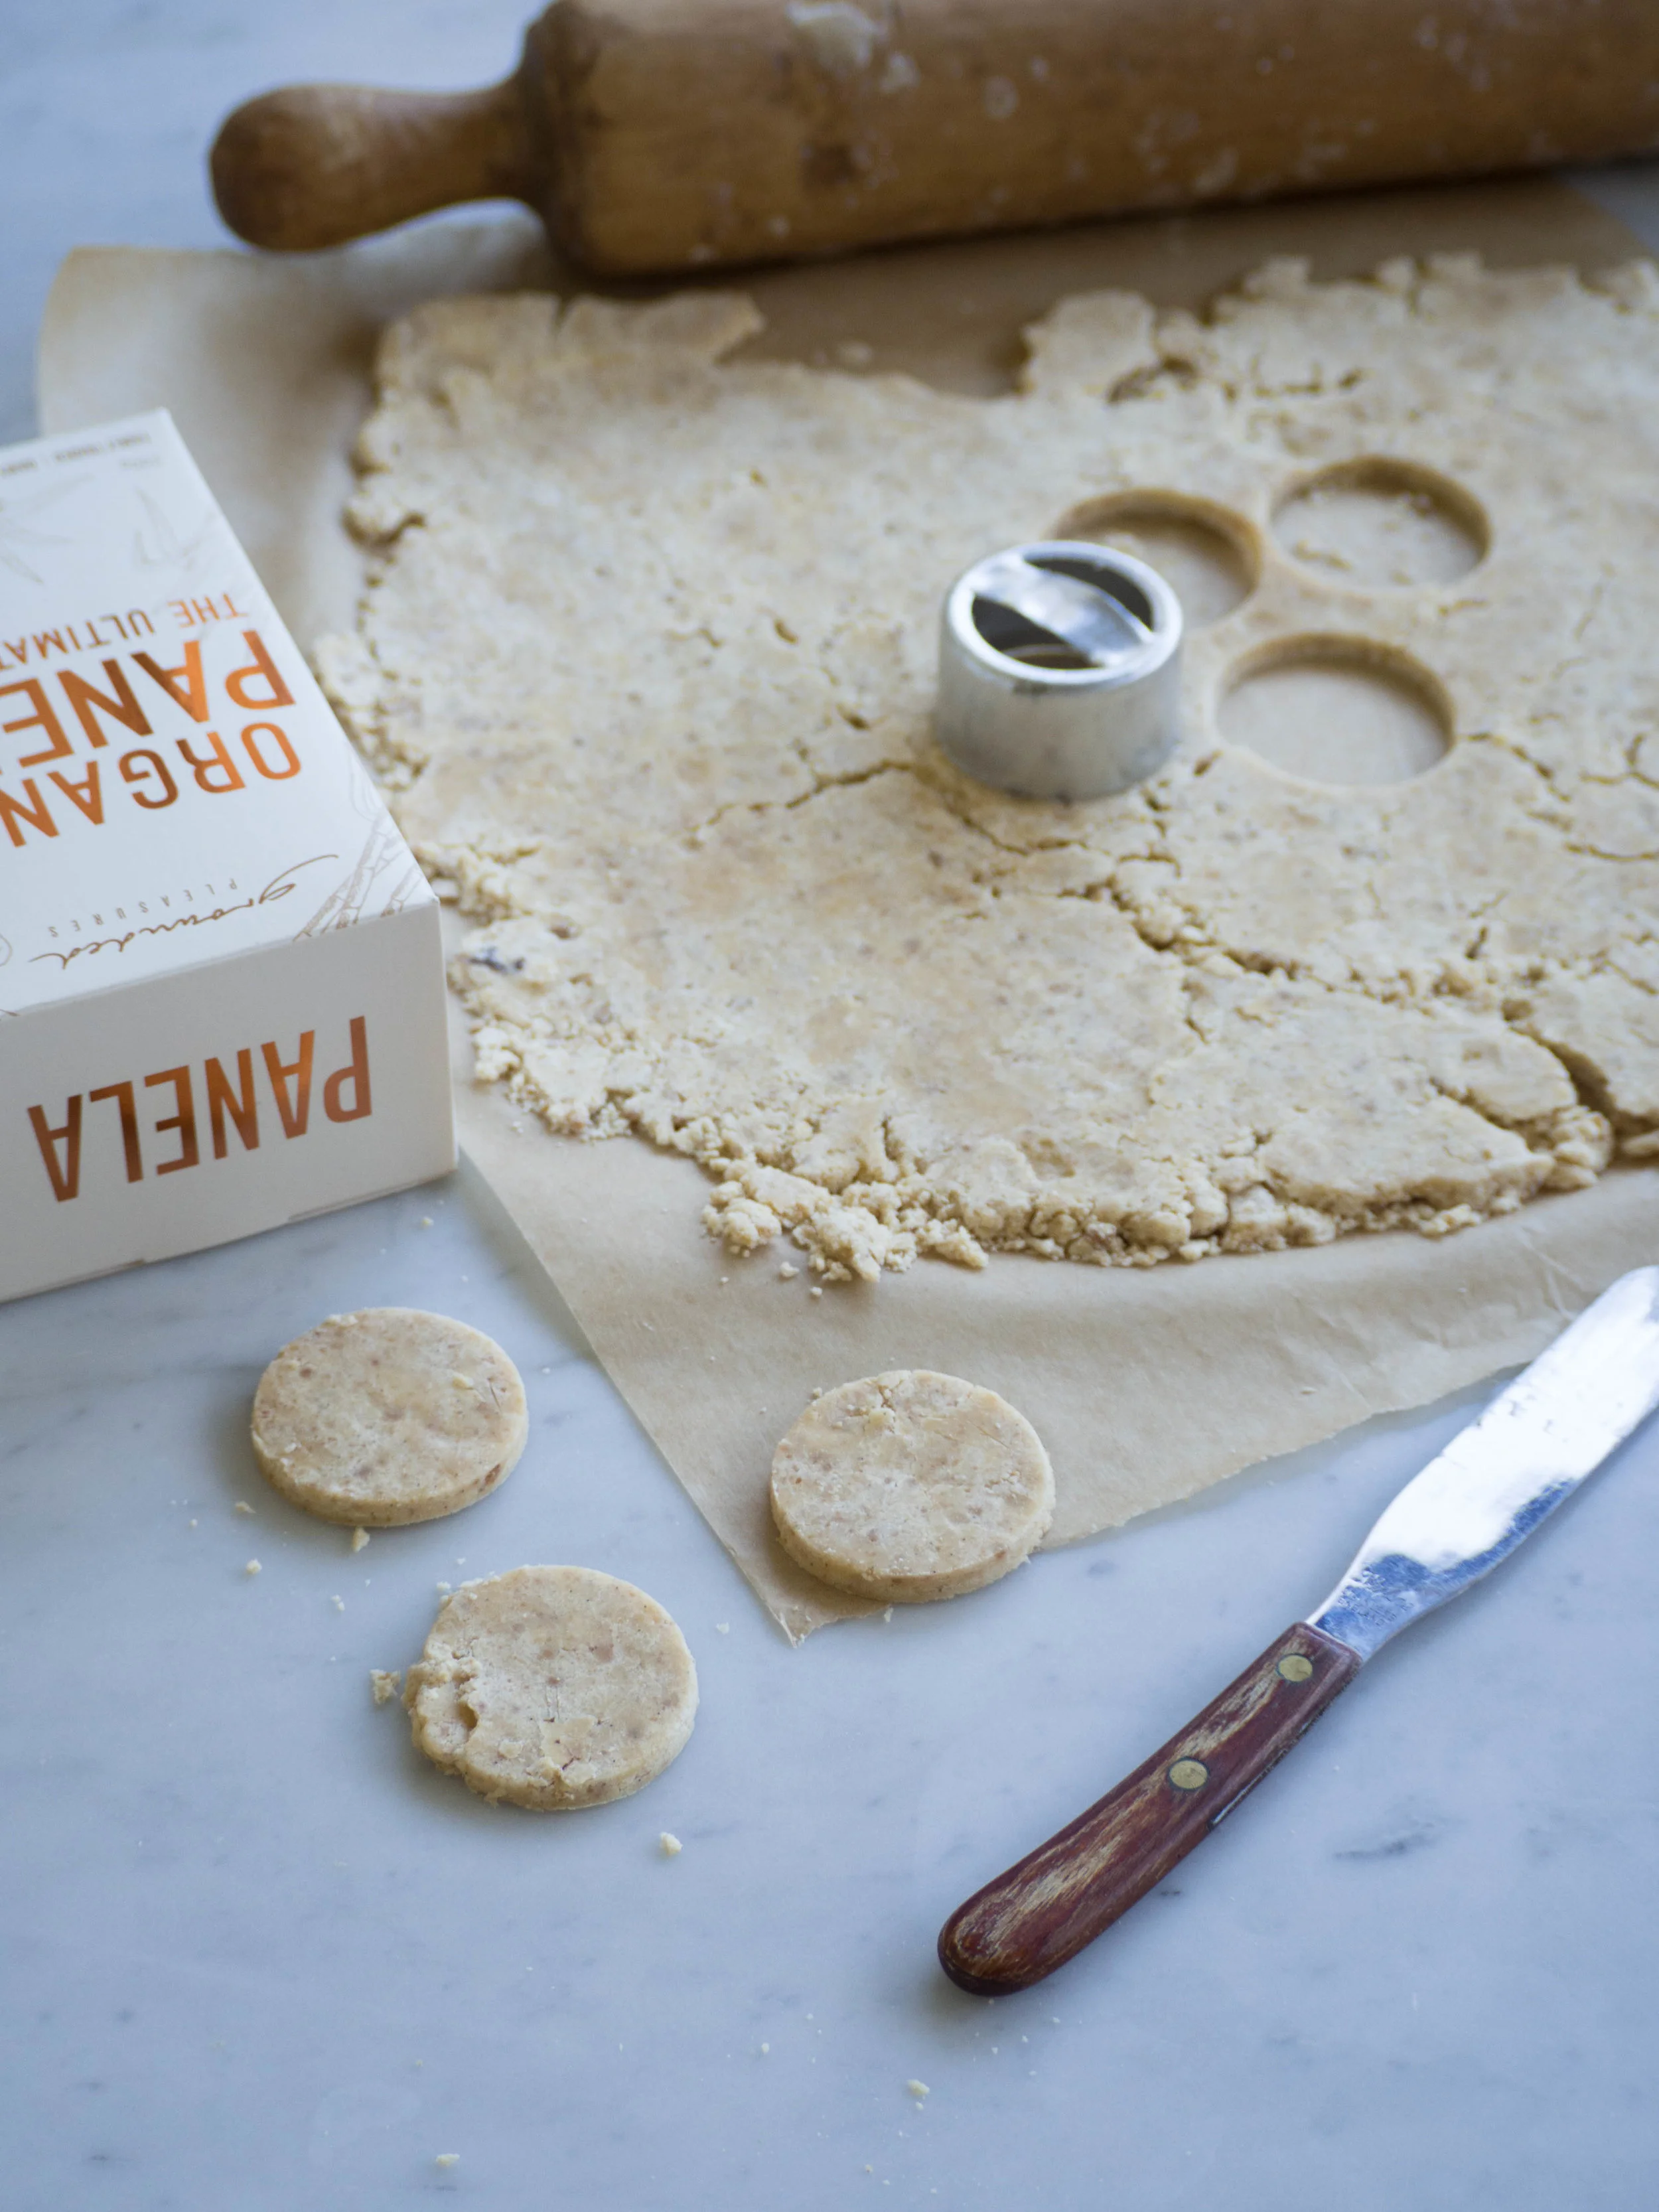
For these scrolls I have used a tried and tested brioche recipe so I could compare how they turned out using this new flour. And honestly, there is no comparison. The texture of the brioche is exactly the same as using regular plain flour. Which is great as it means everyone can enjoy all sorts of homemade baked goods without compromising on the quality of their bakes and not having to feel unwell after. I have tried to make these as hot cross bun inspired as possible by adding the same types of spices as I would to my hot cross buns. You can however use whatever combination you like, or in keeping with these being low FODMAP and for Easter, use dark chocolate instead.
To make these scrolls Low FODMAP not only can you use The Healthy Baker’s flour but also substitute dairy milk for almond. I was also going to add dried fruit to the dough to make the scrolls even more like hot cross buns, but as dried fruit are high FODMAP I have left them out this time - so I guess these brioche scrolls can be like a better version of a fruitless hot cross bun for Easter!
To get an idea about what other foods are low or high FODMAP check out the Monash University website which as some really good resources.

Easter Spiced Brioche Scrolls using The Healthy Baker's Low FODMAP Plain Flour
Ingredients for the Dough:
250ml milk (use lactose free for Low FODMAP)
10g dried yeast
75g caster sugar
2 eggs, beaten
485g Healthy Baker Low FODMAP Plain Flour, plus extra for dusting
75g unsalted butter, cubed and softened, plus extra for greasing
Ingredients for the Filling:
85g unsalted butter, softened
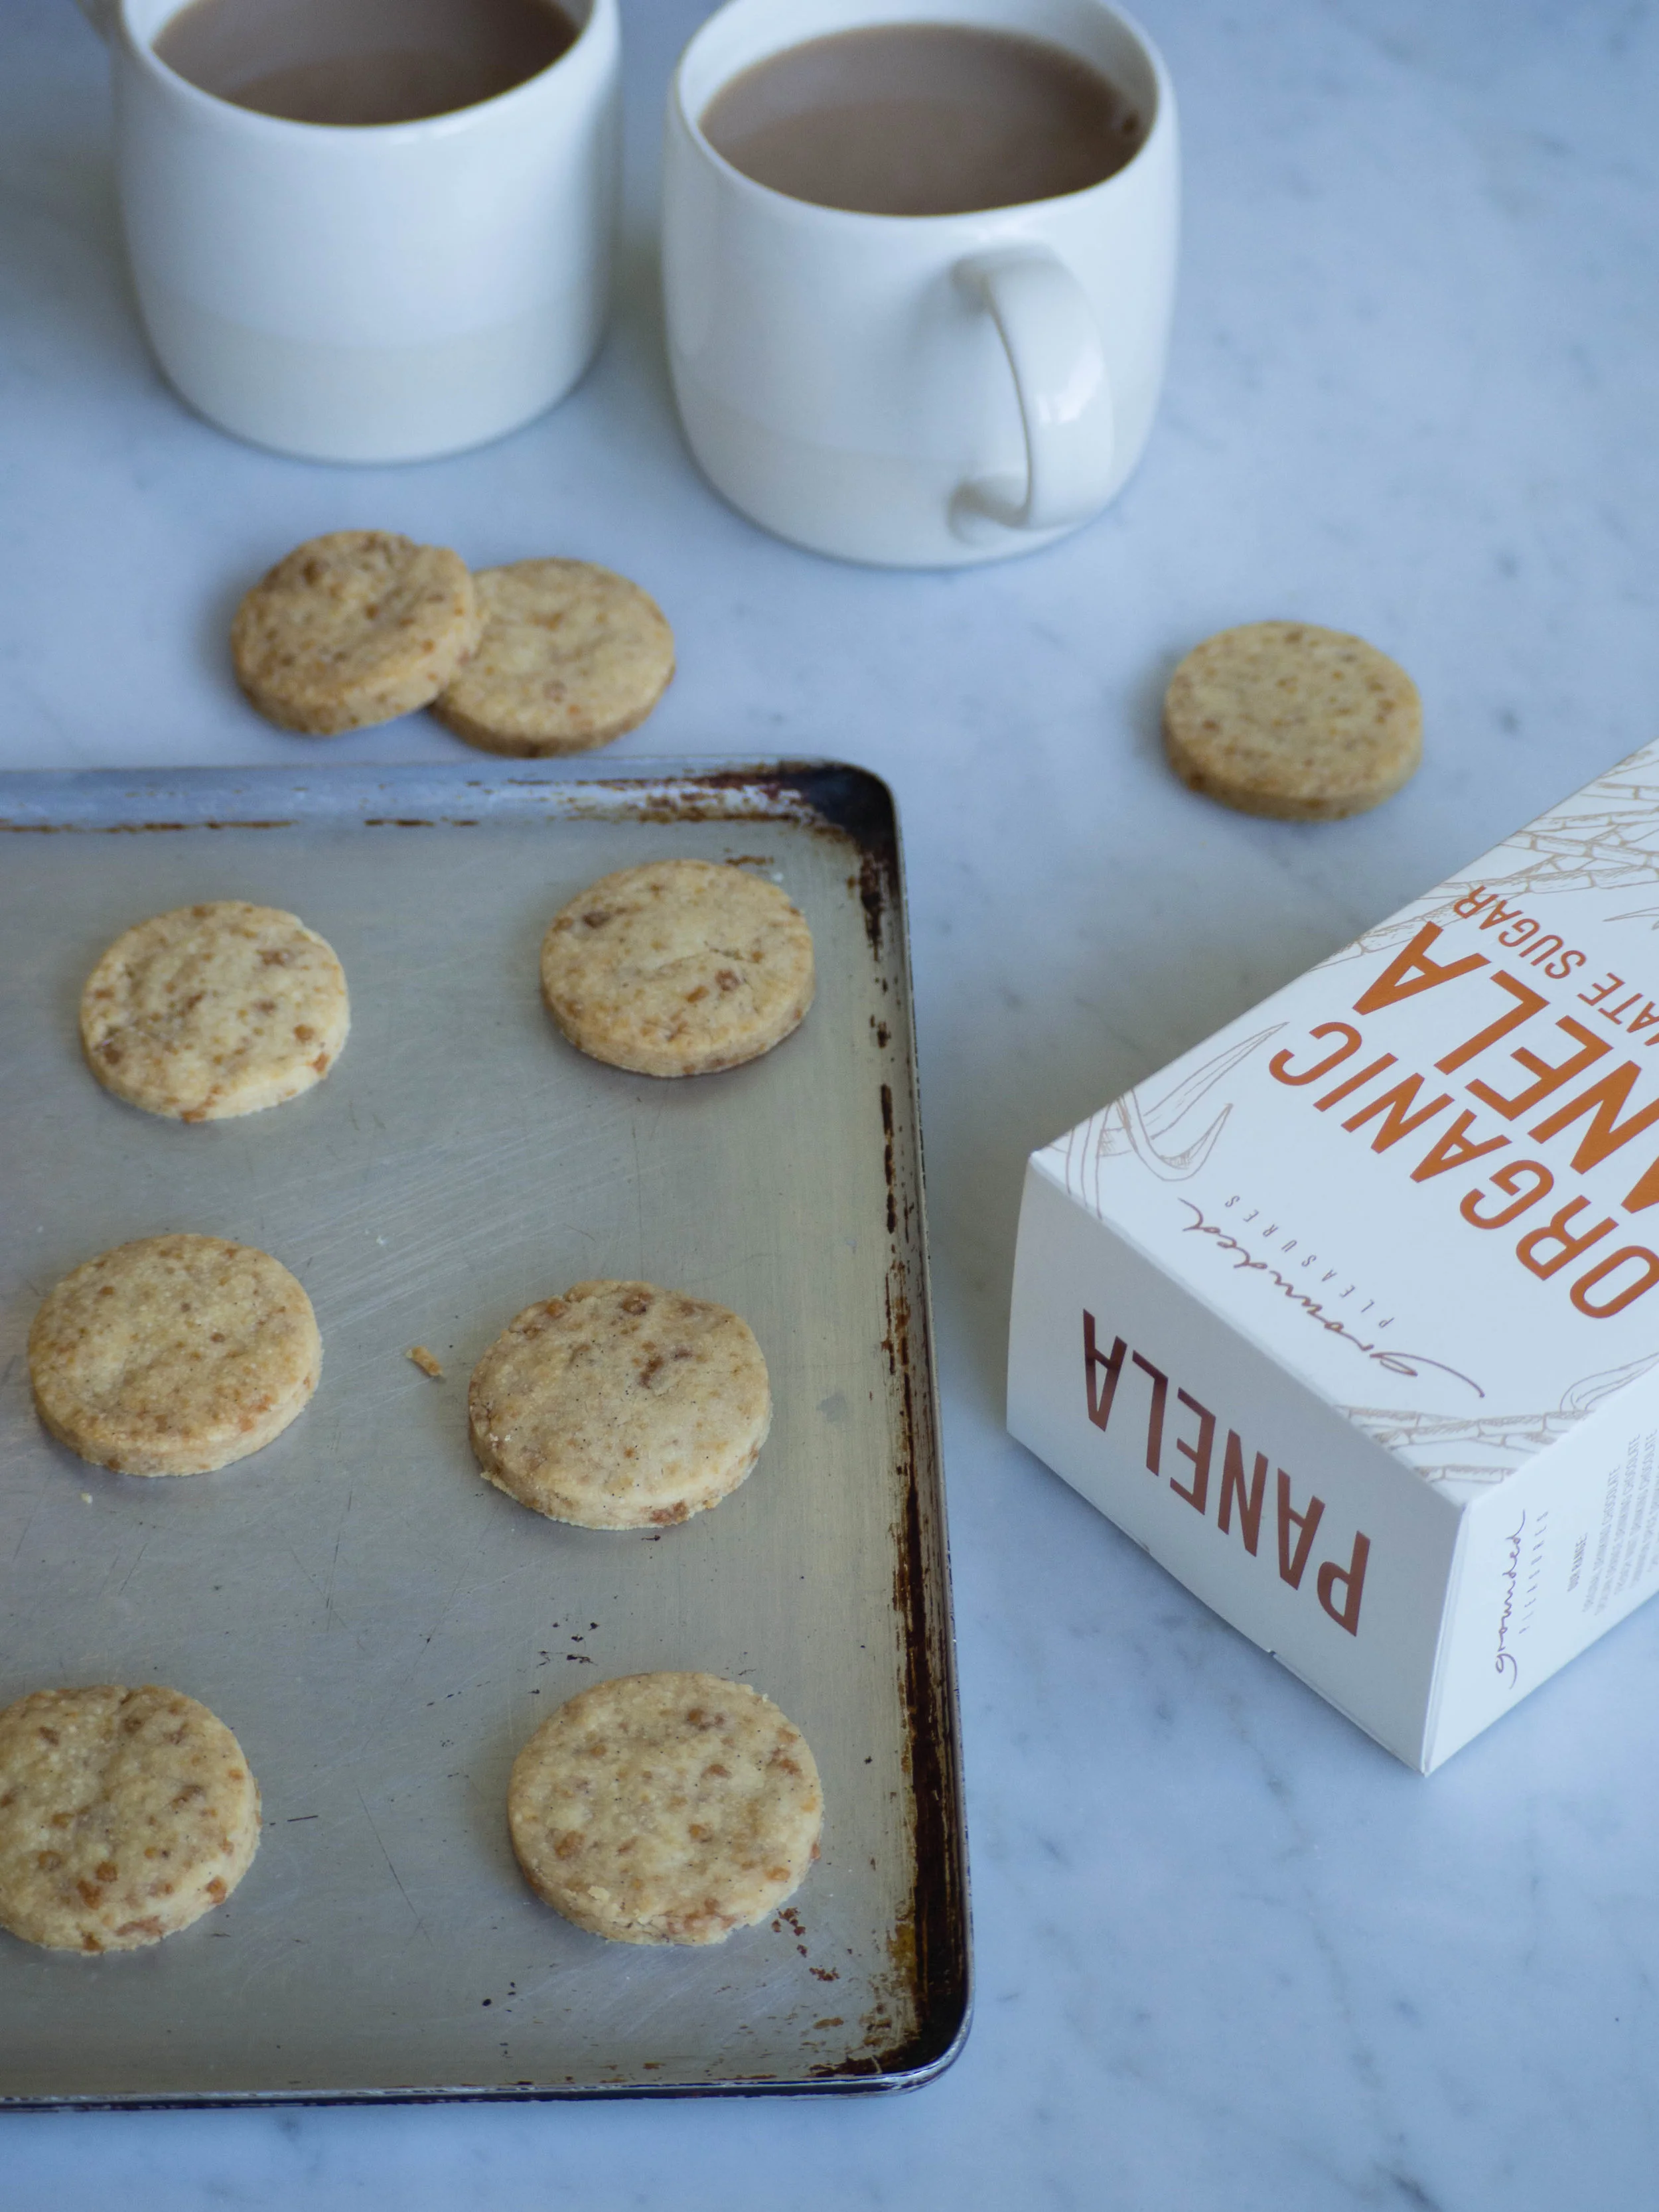
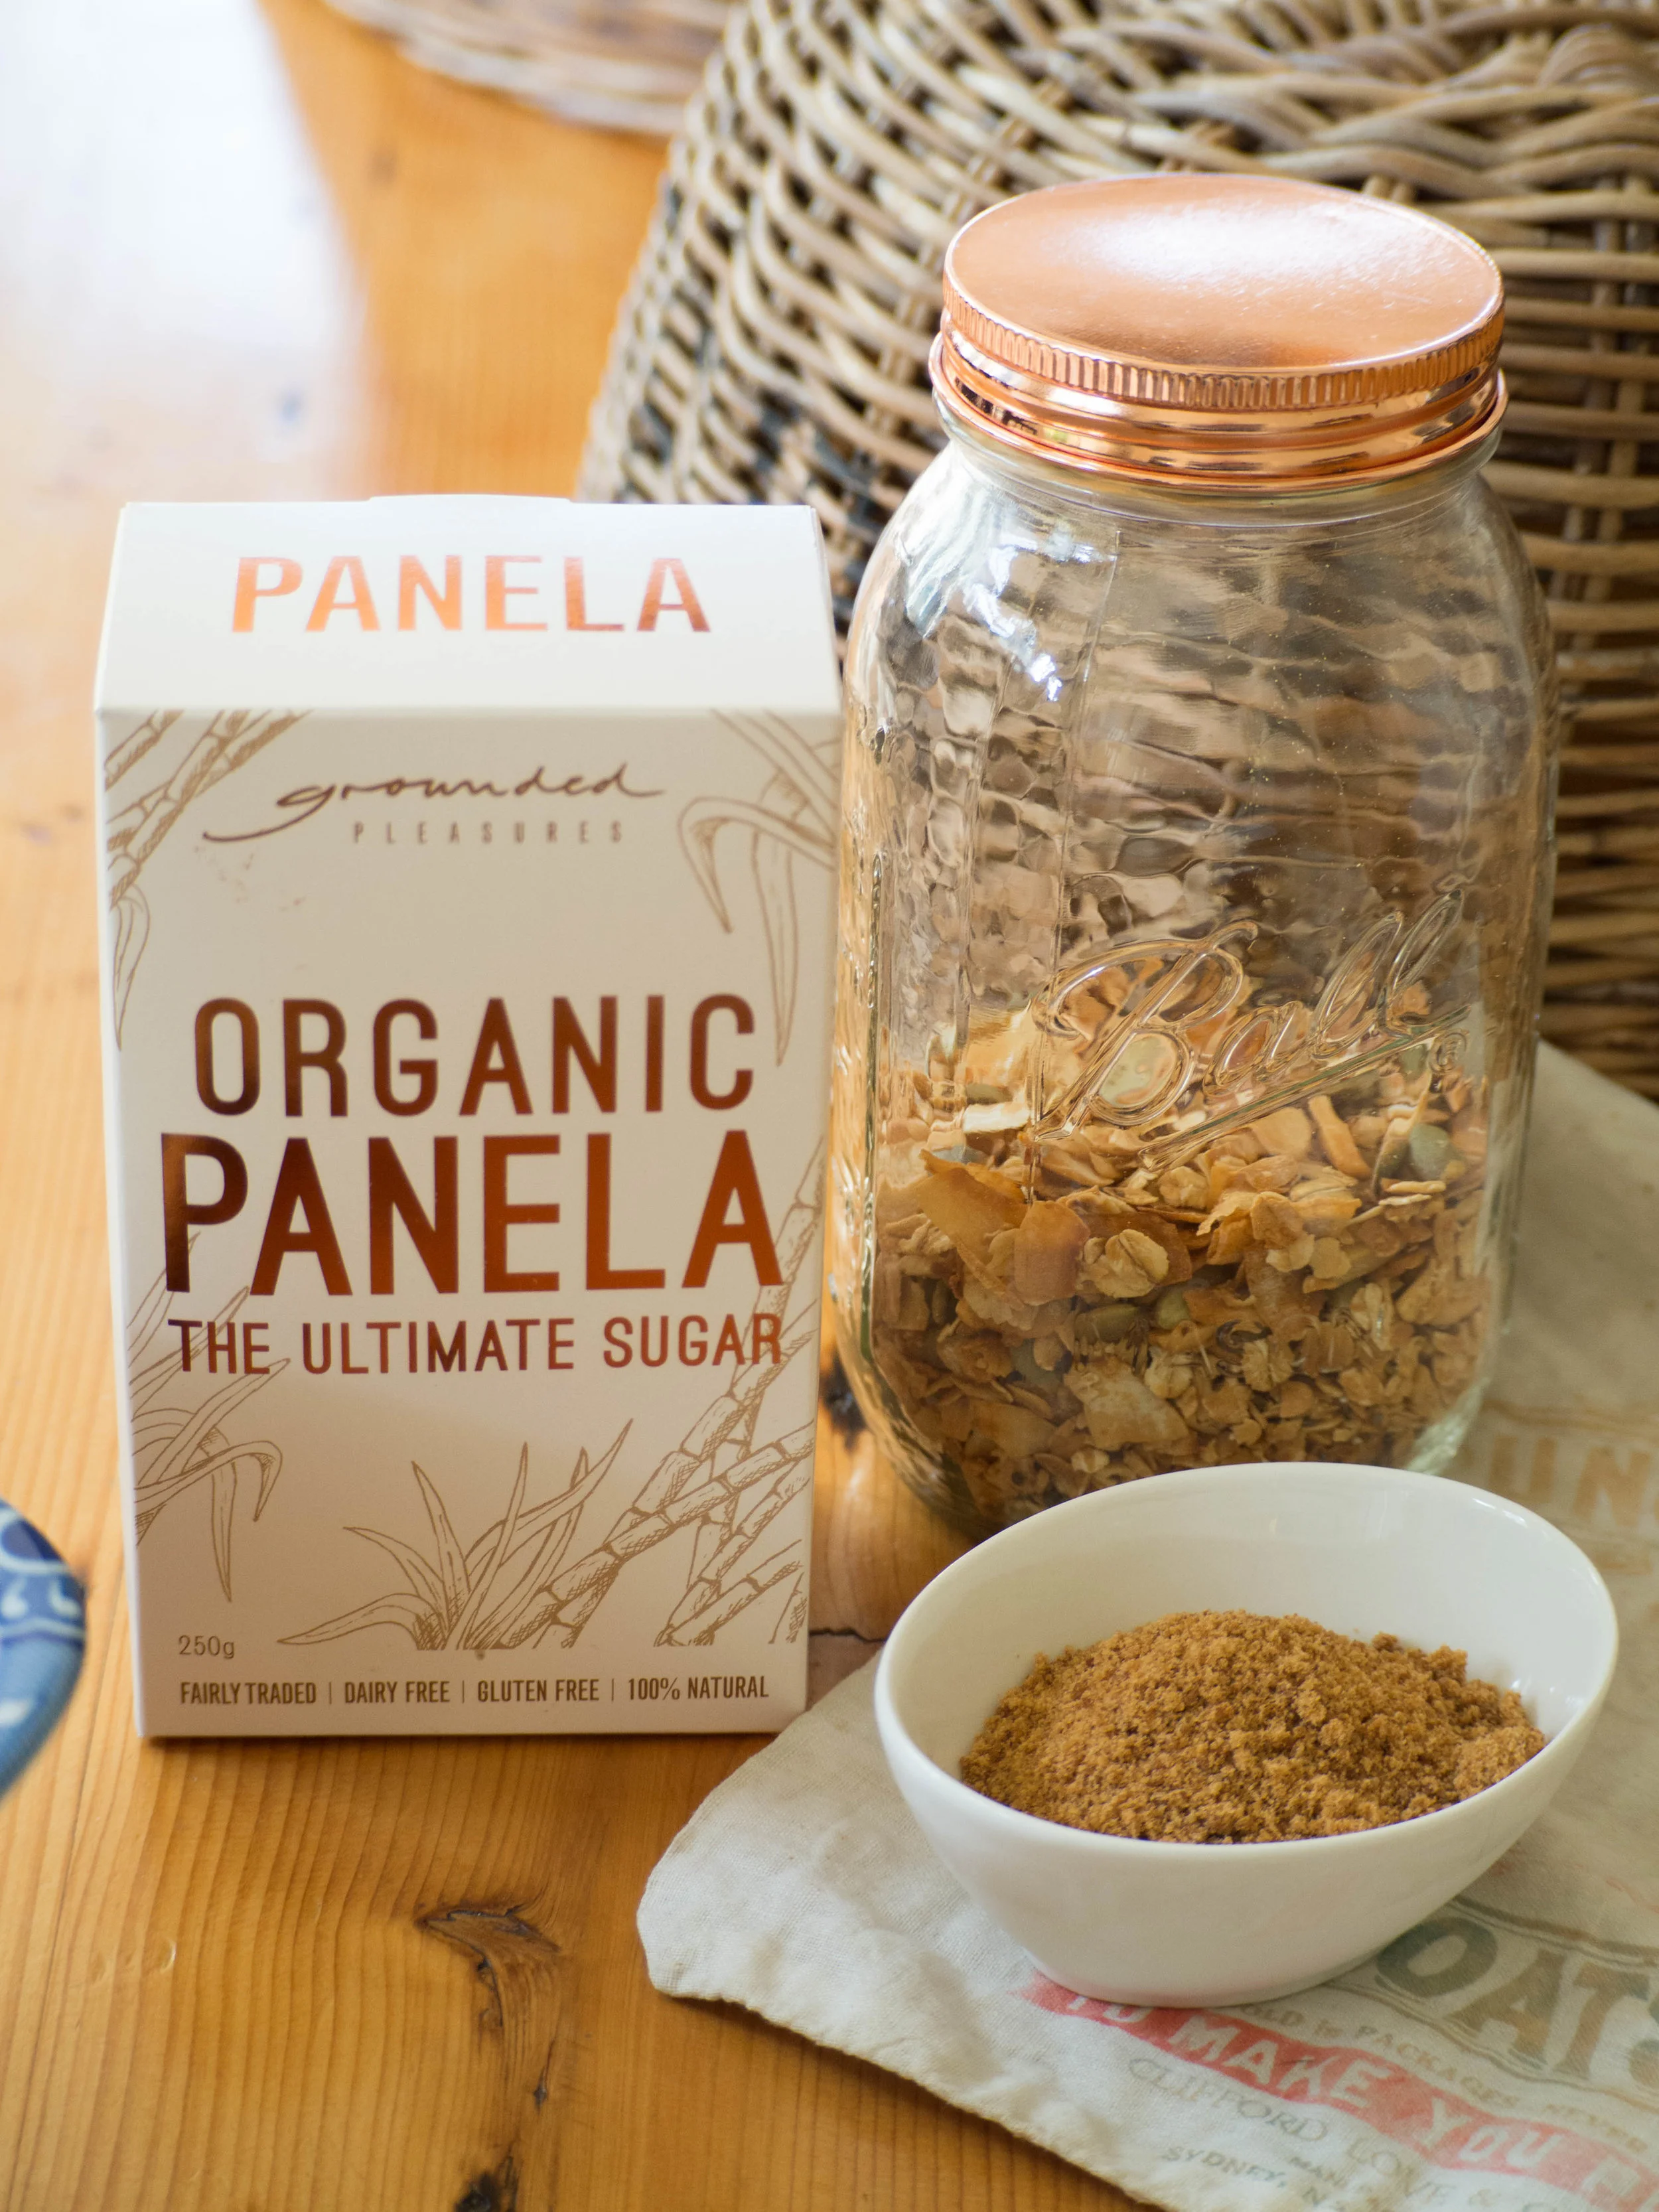
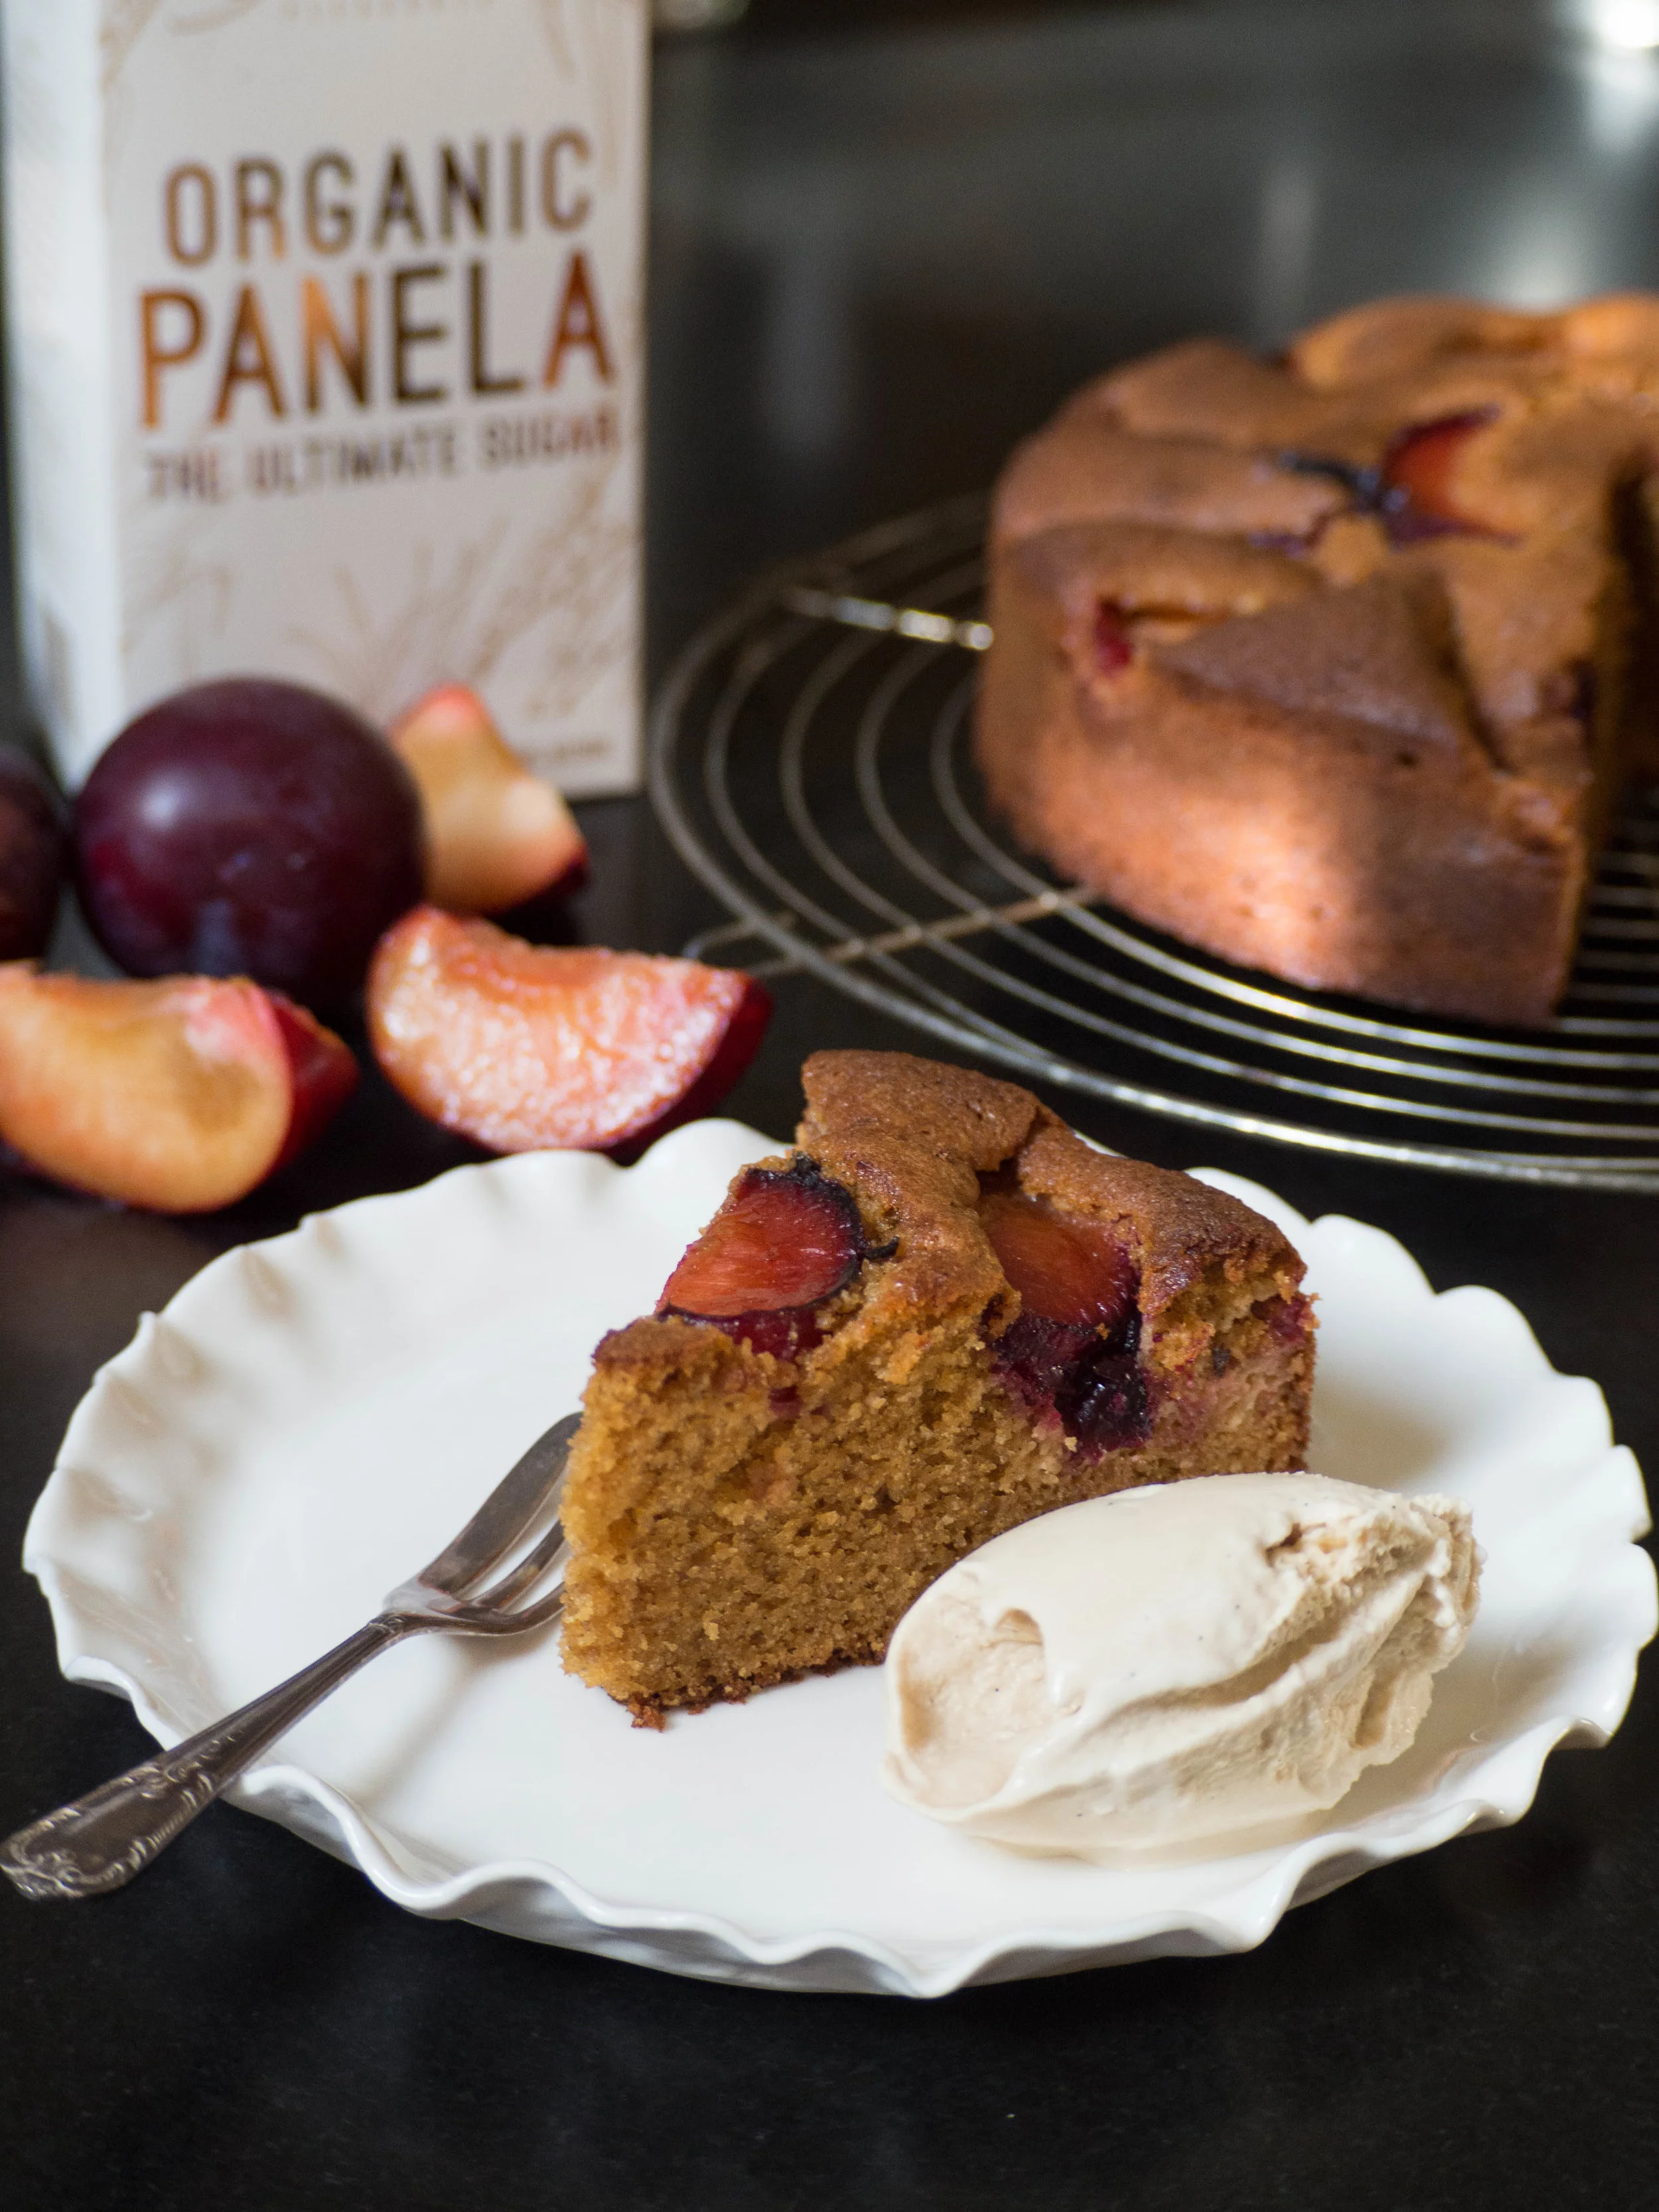
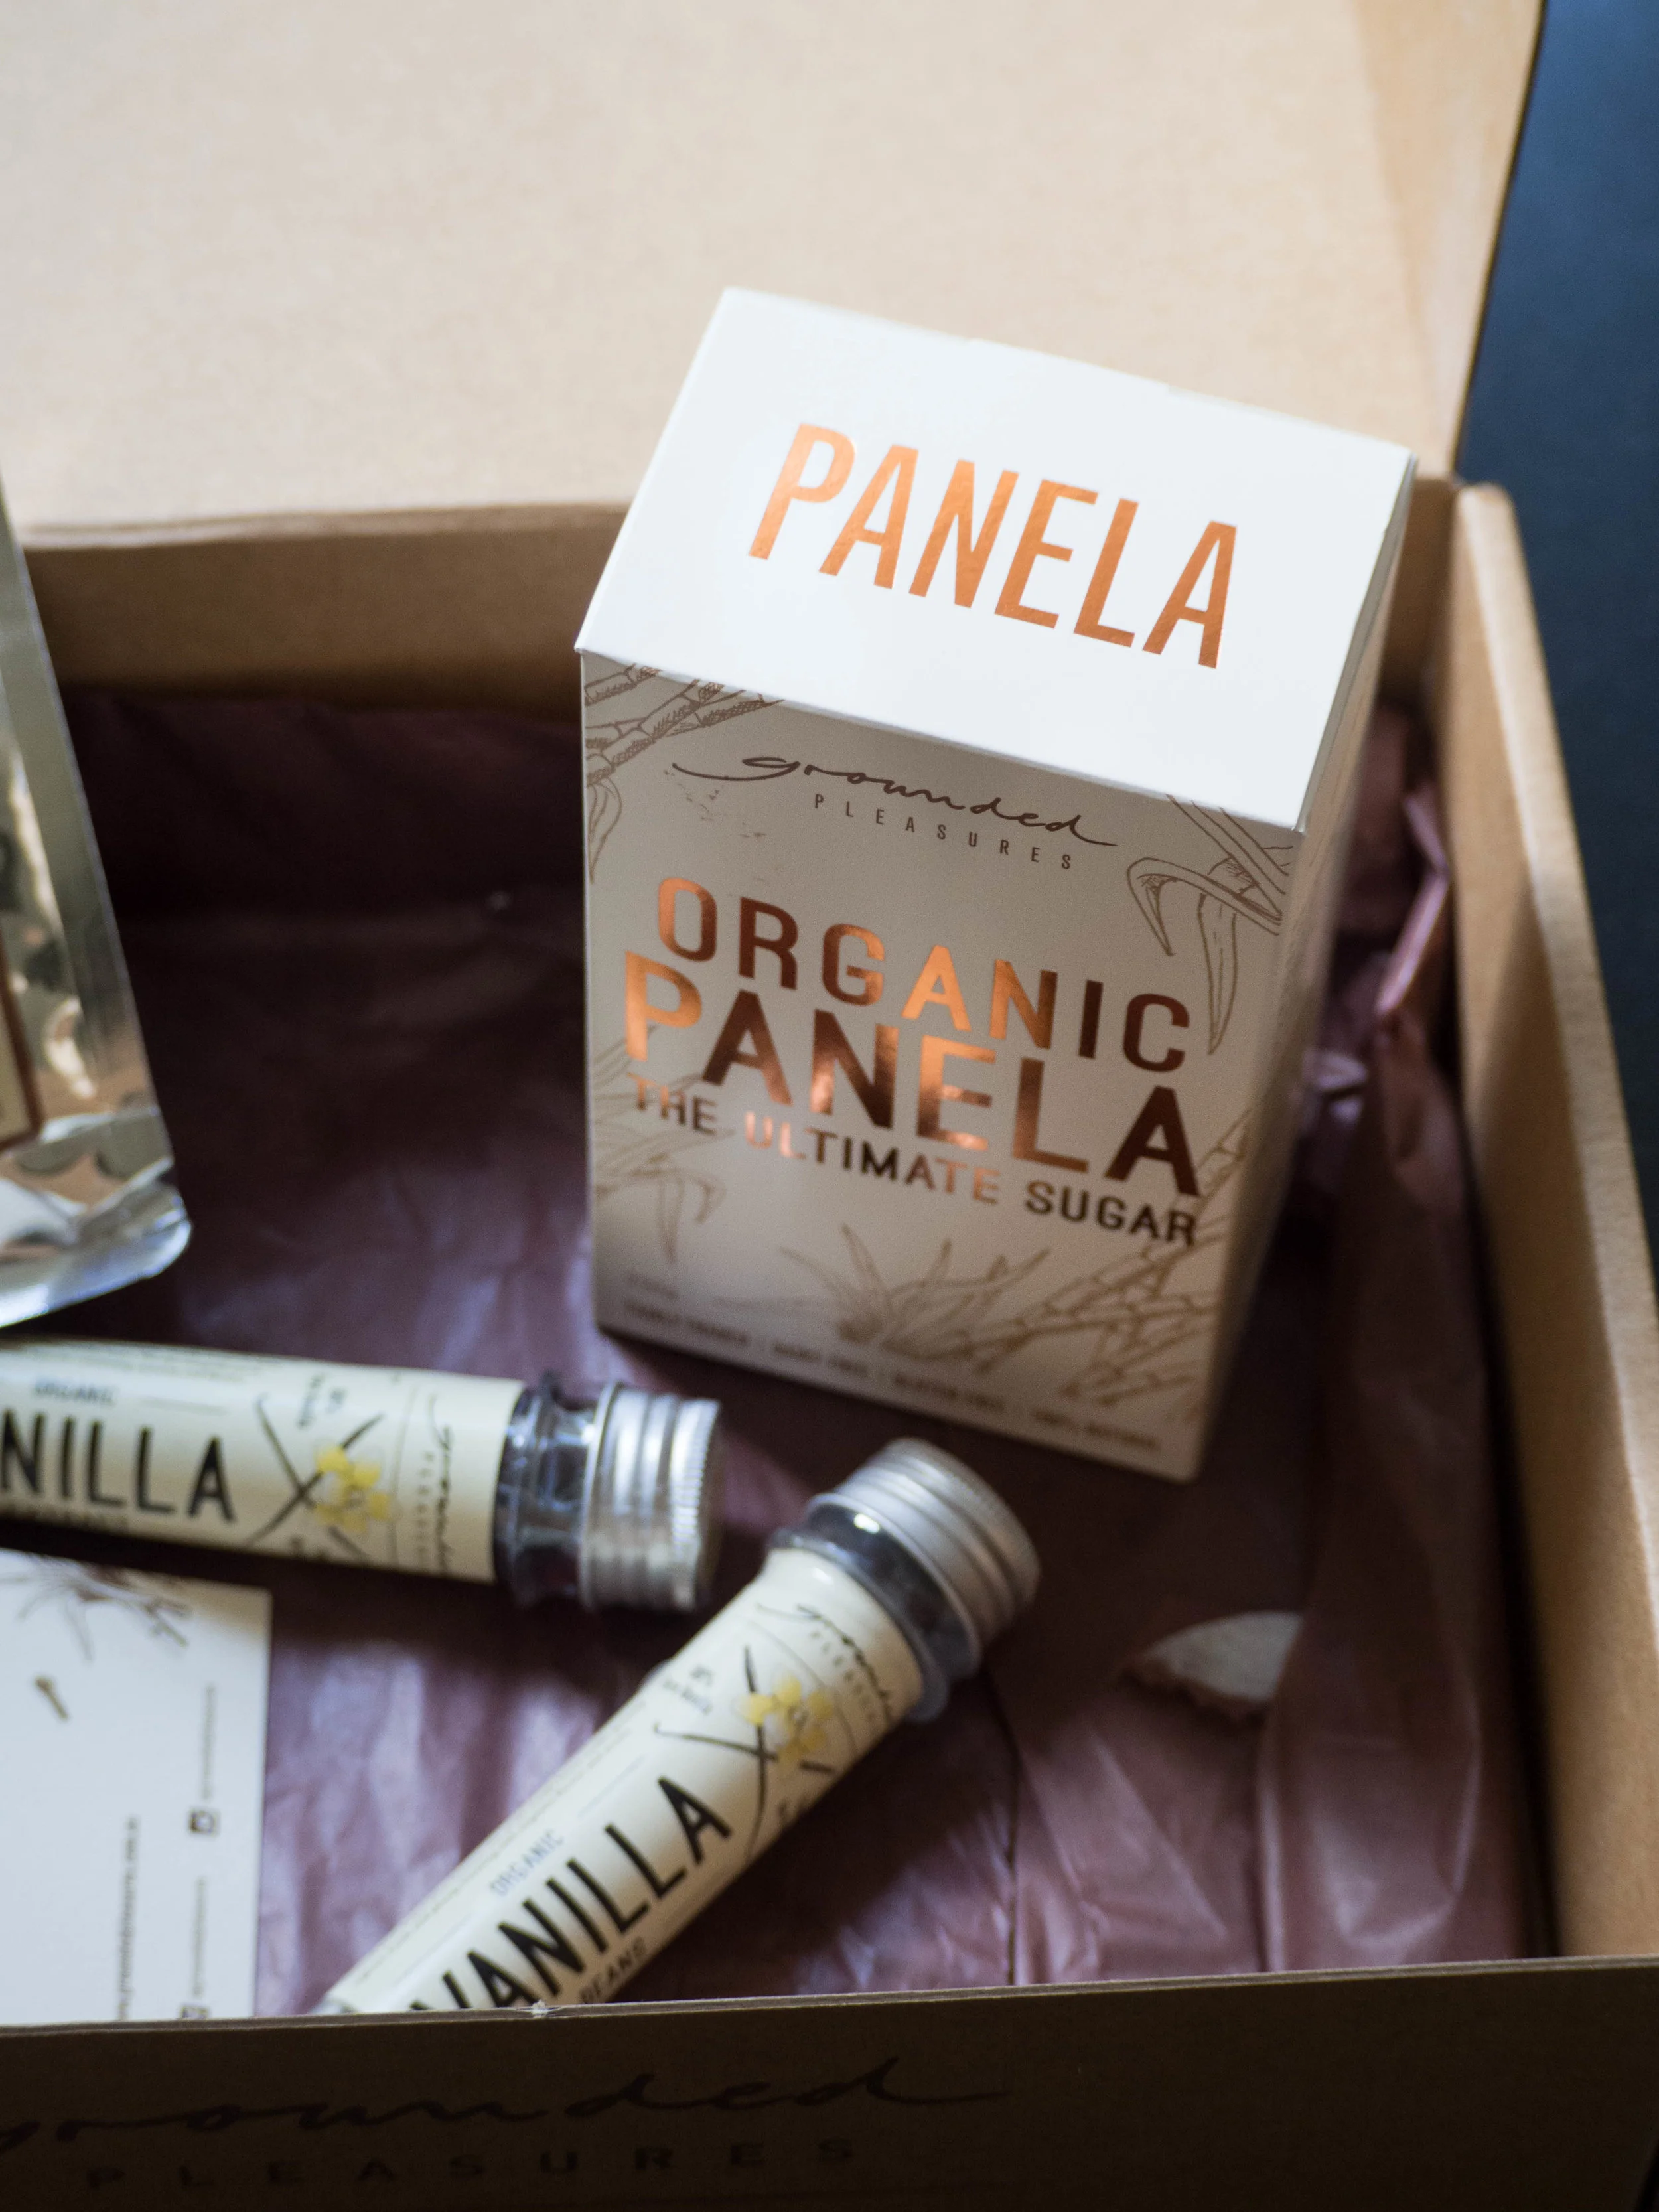
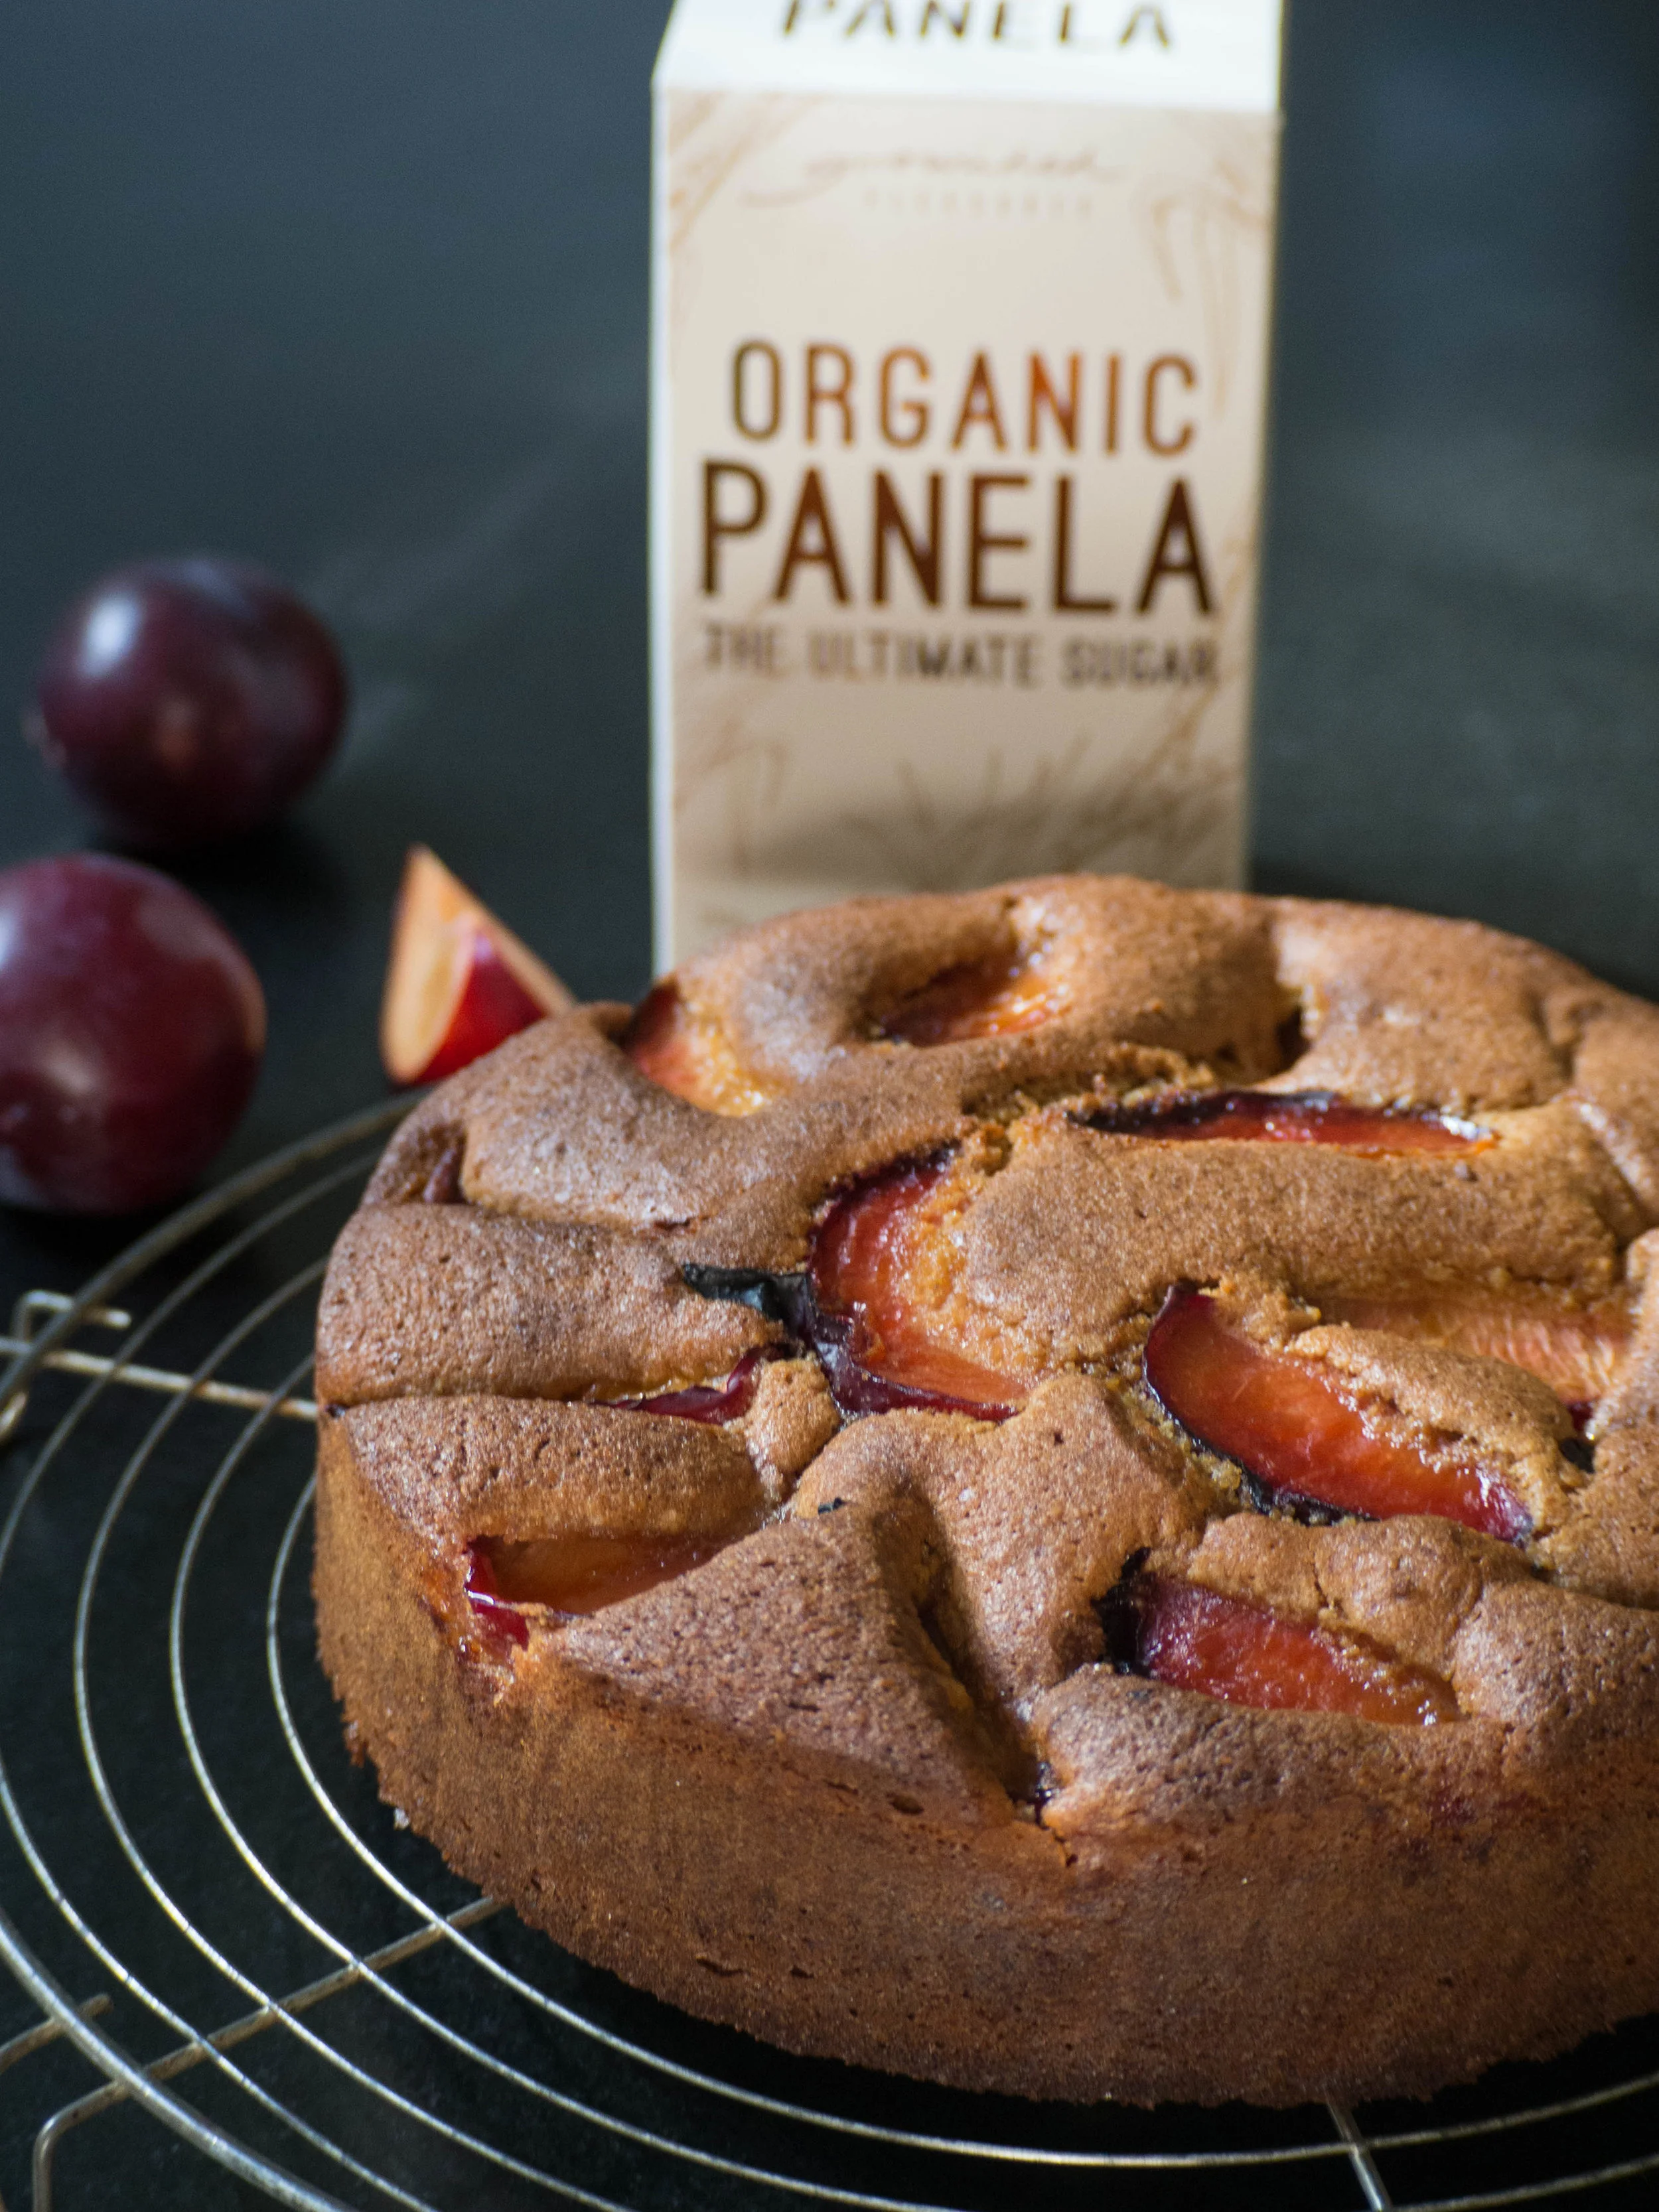
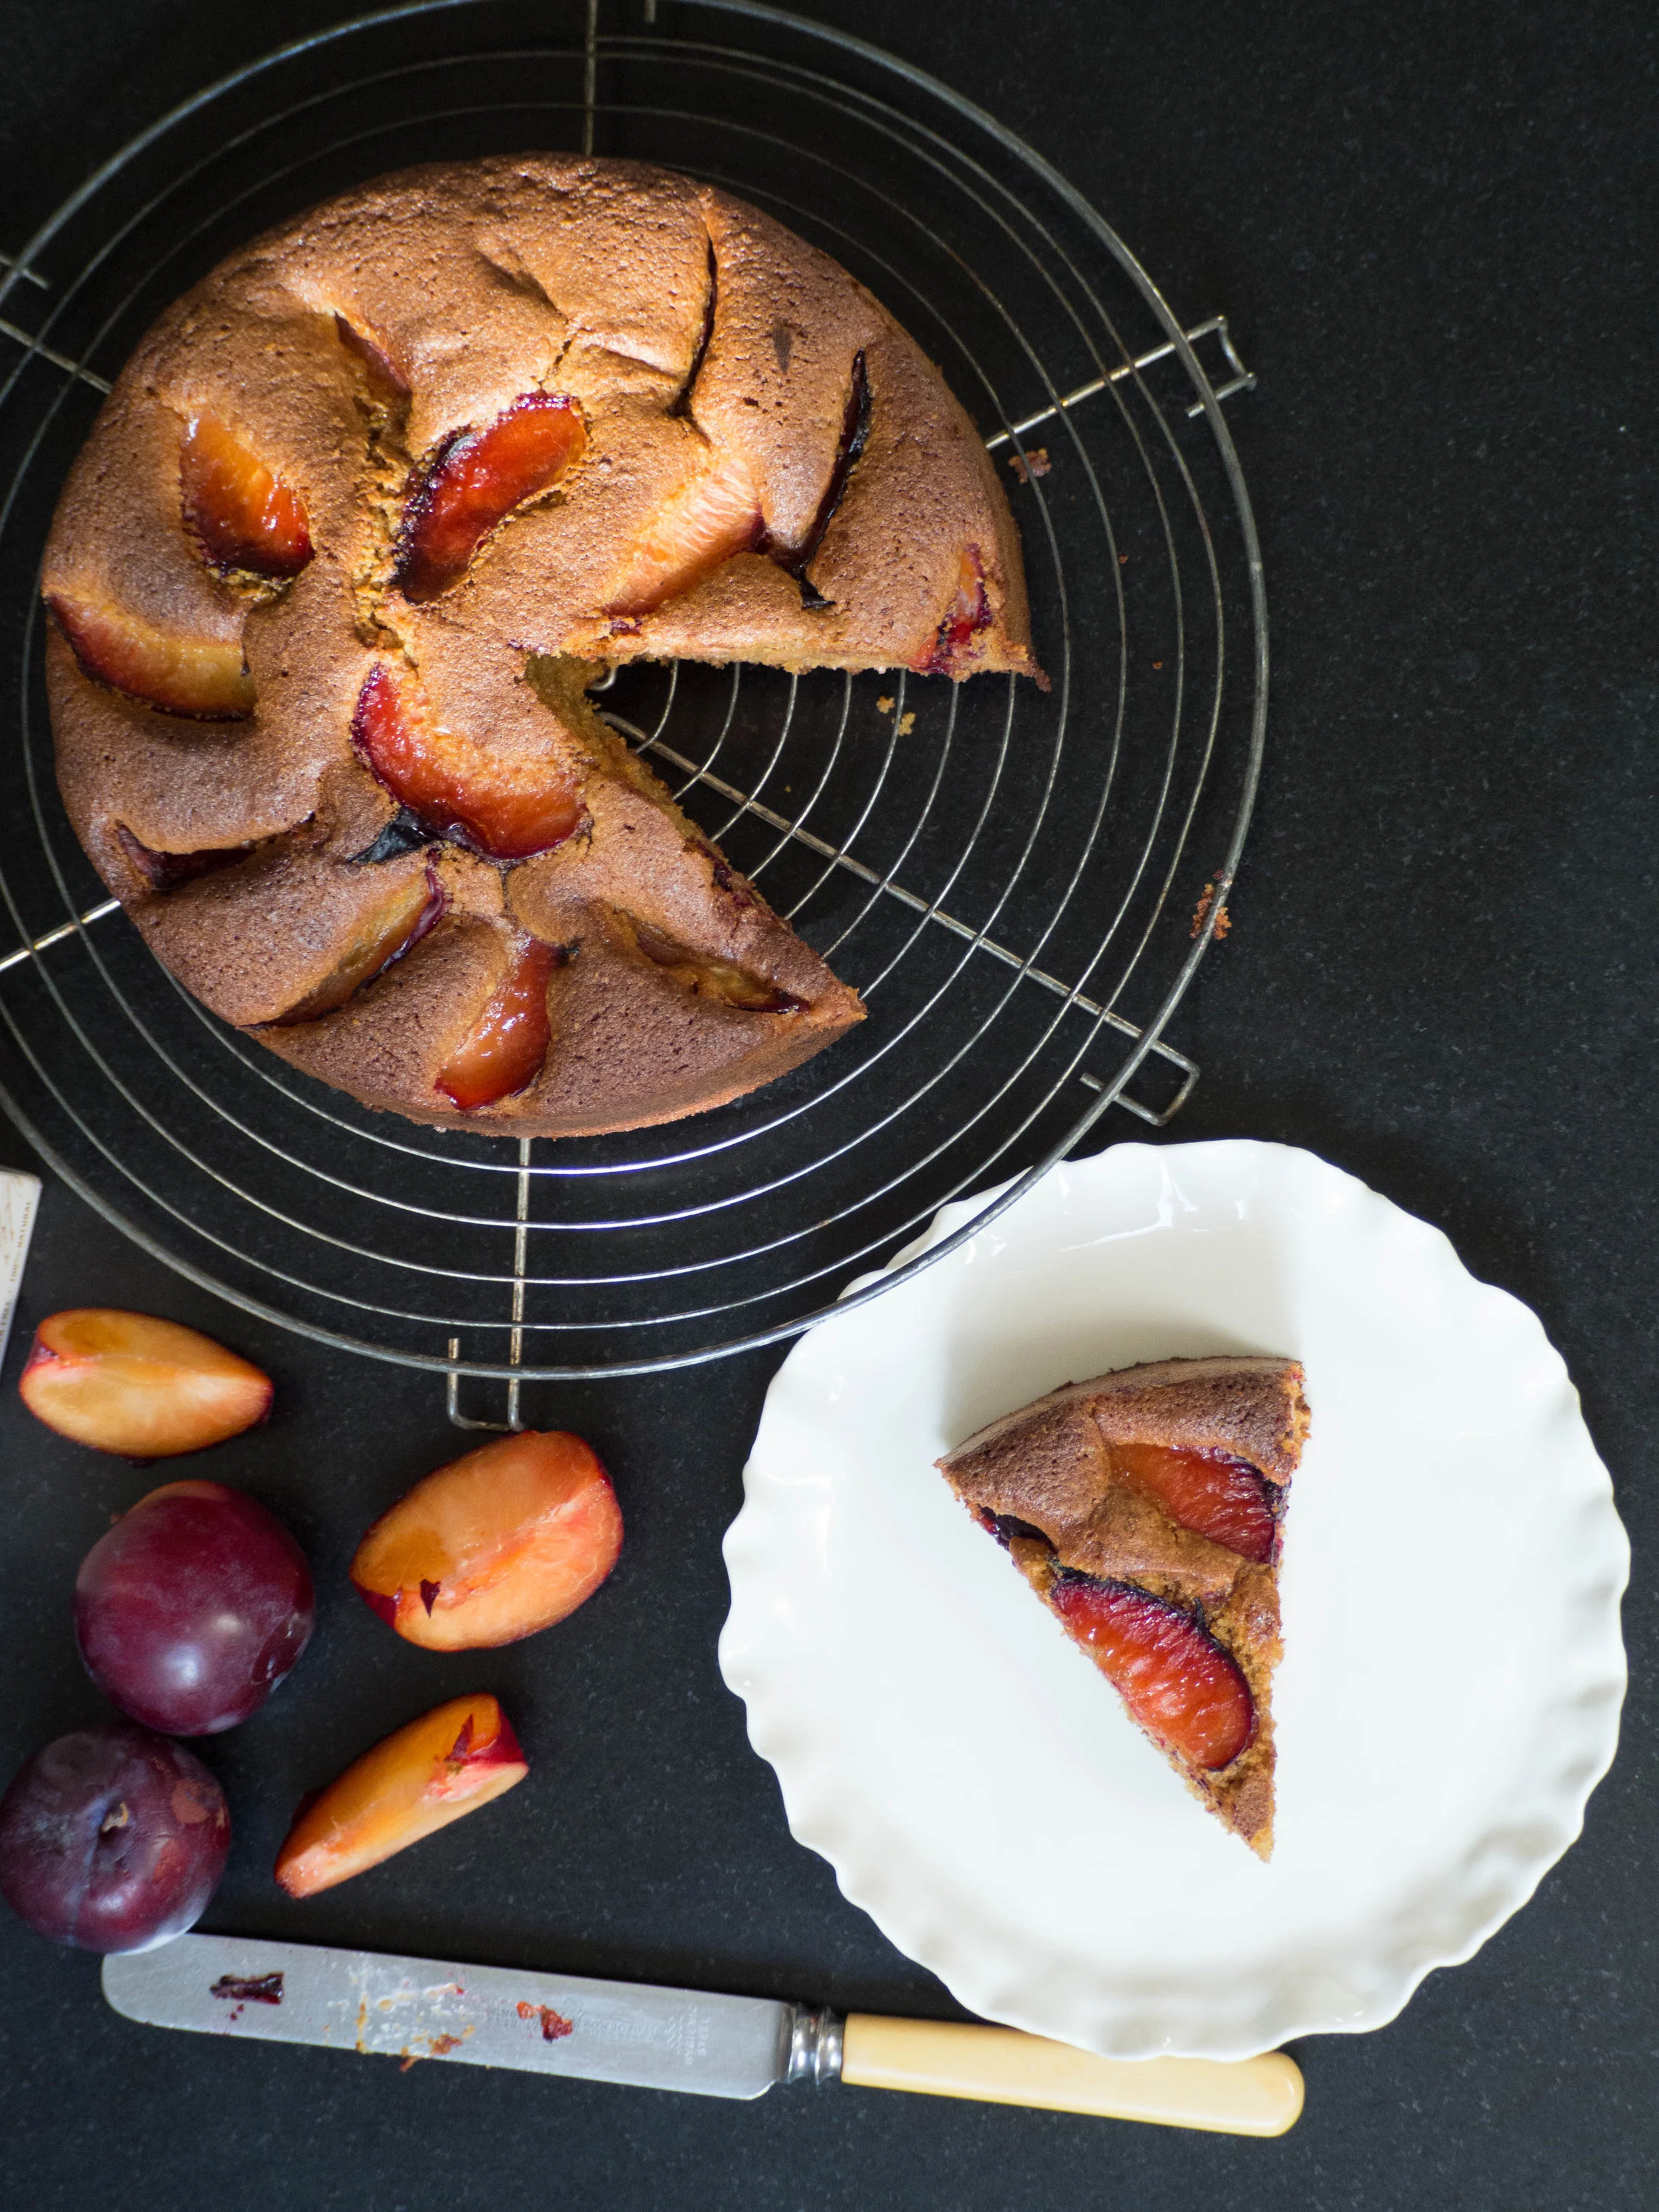
120g panela sugar
1tsp ground cinnamon
1tsp mixed spice
1/2tsp ground ginger
1/4tsp ground cardamom
Pearl sugar*, optional
Method:
In a small saucepan warm the milk over low heat until lukewarm. Add the yeast, sugar and eggs and stir to combine.
In the bowl of a stand mixer fitted with a dough hook, add the flour then the milk mixture and mix on a low speed until the ingredients are starting to combine and a dough is beginning to form. Increase the speed to medium-high for 5 minutes. Add the butter and mix on medium speed until it has been incorporated into the dough, and the dough is smooth and elastic.
Use some butter to lightly grease a large bowl then place the dough inside. Cover with plastic wrap and leave to rise in a warm place for about 40 minutes until the dough has doubled in size.
While the dough is rising prepare the spiced sugar for the filling by combining the panela sugar, cinnamon, mixed spice, ginger and cardamom in a small bowl.
Once the dough has doubled in size, lightly flour your work surface and place the dough on top. Gently roll the dough into a rectangle (approx. 25 x 48 cm) allowing it to remain about 1 cm thick.
Spread the softened butter over the dough then sprinkle over the spiced sugar mix. Roll the dough from the long edge to form a log, then cut into about 12 pieces. Line a large baking sheet with baking paper and place the cut scrolls on the sheet in rows leaving room in between each so they can rise. Loosely cover with plastic wrap and leave to rise again for about 30 minutes until the scrolls have doubled in size.
While the scrolls are rising, pre-heat oven to 180 degrees Celsius.
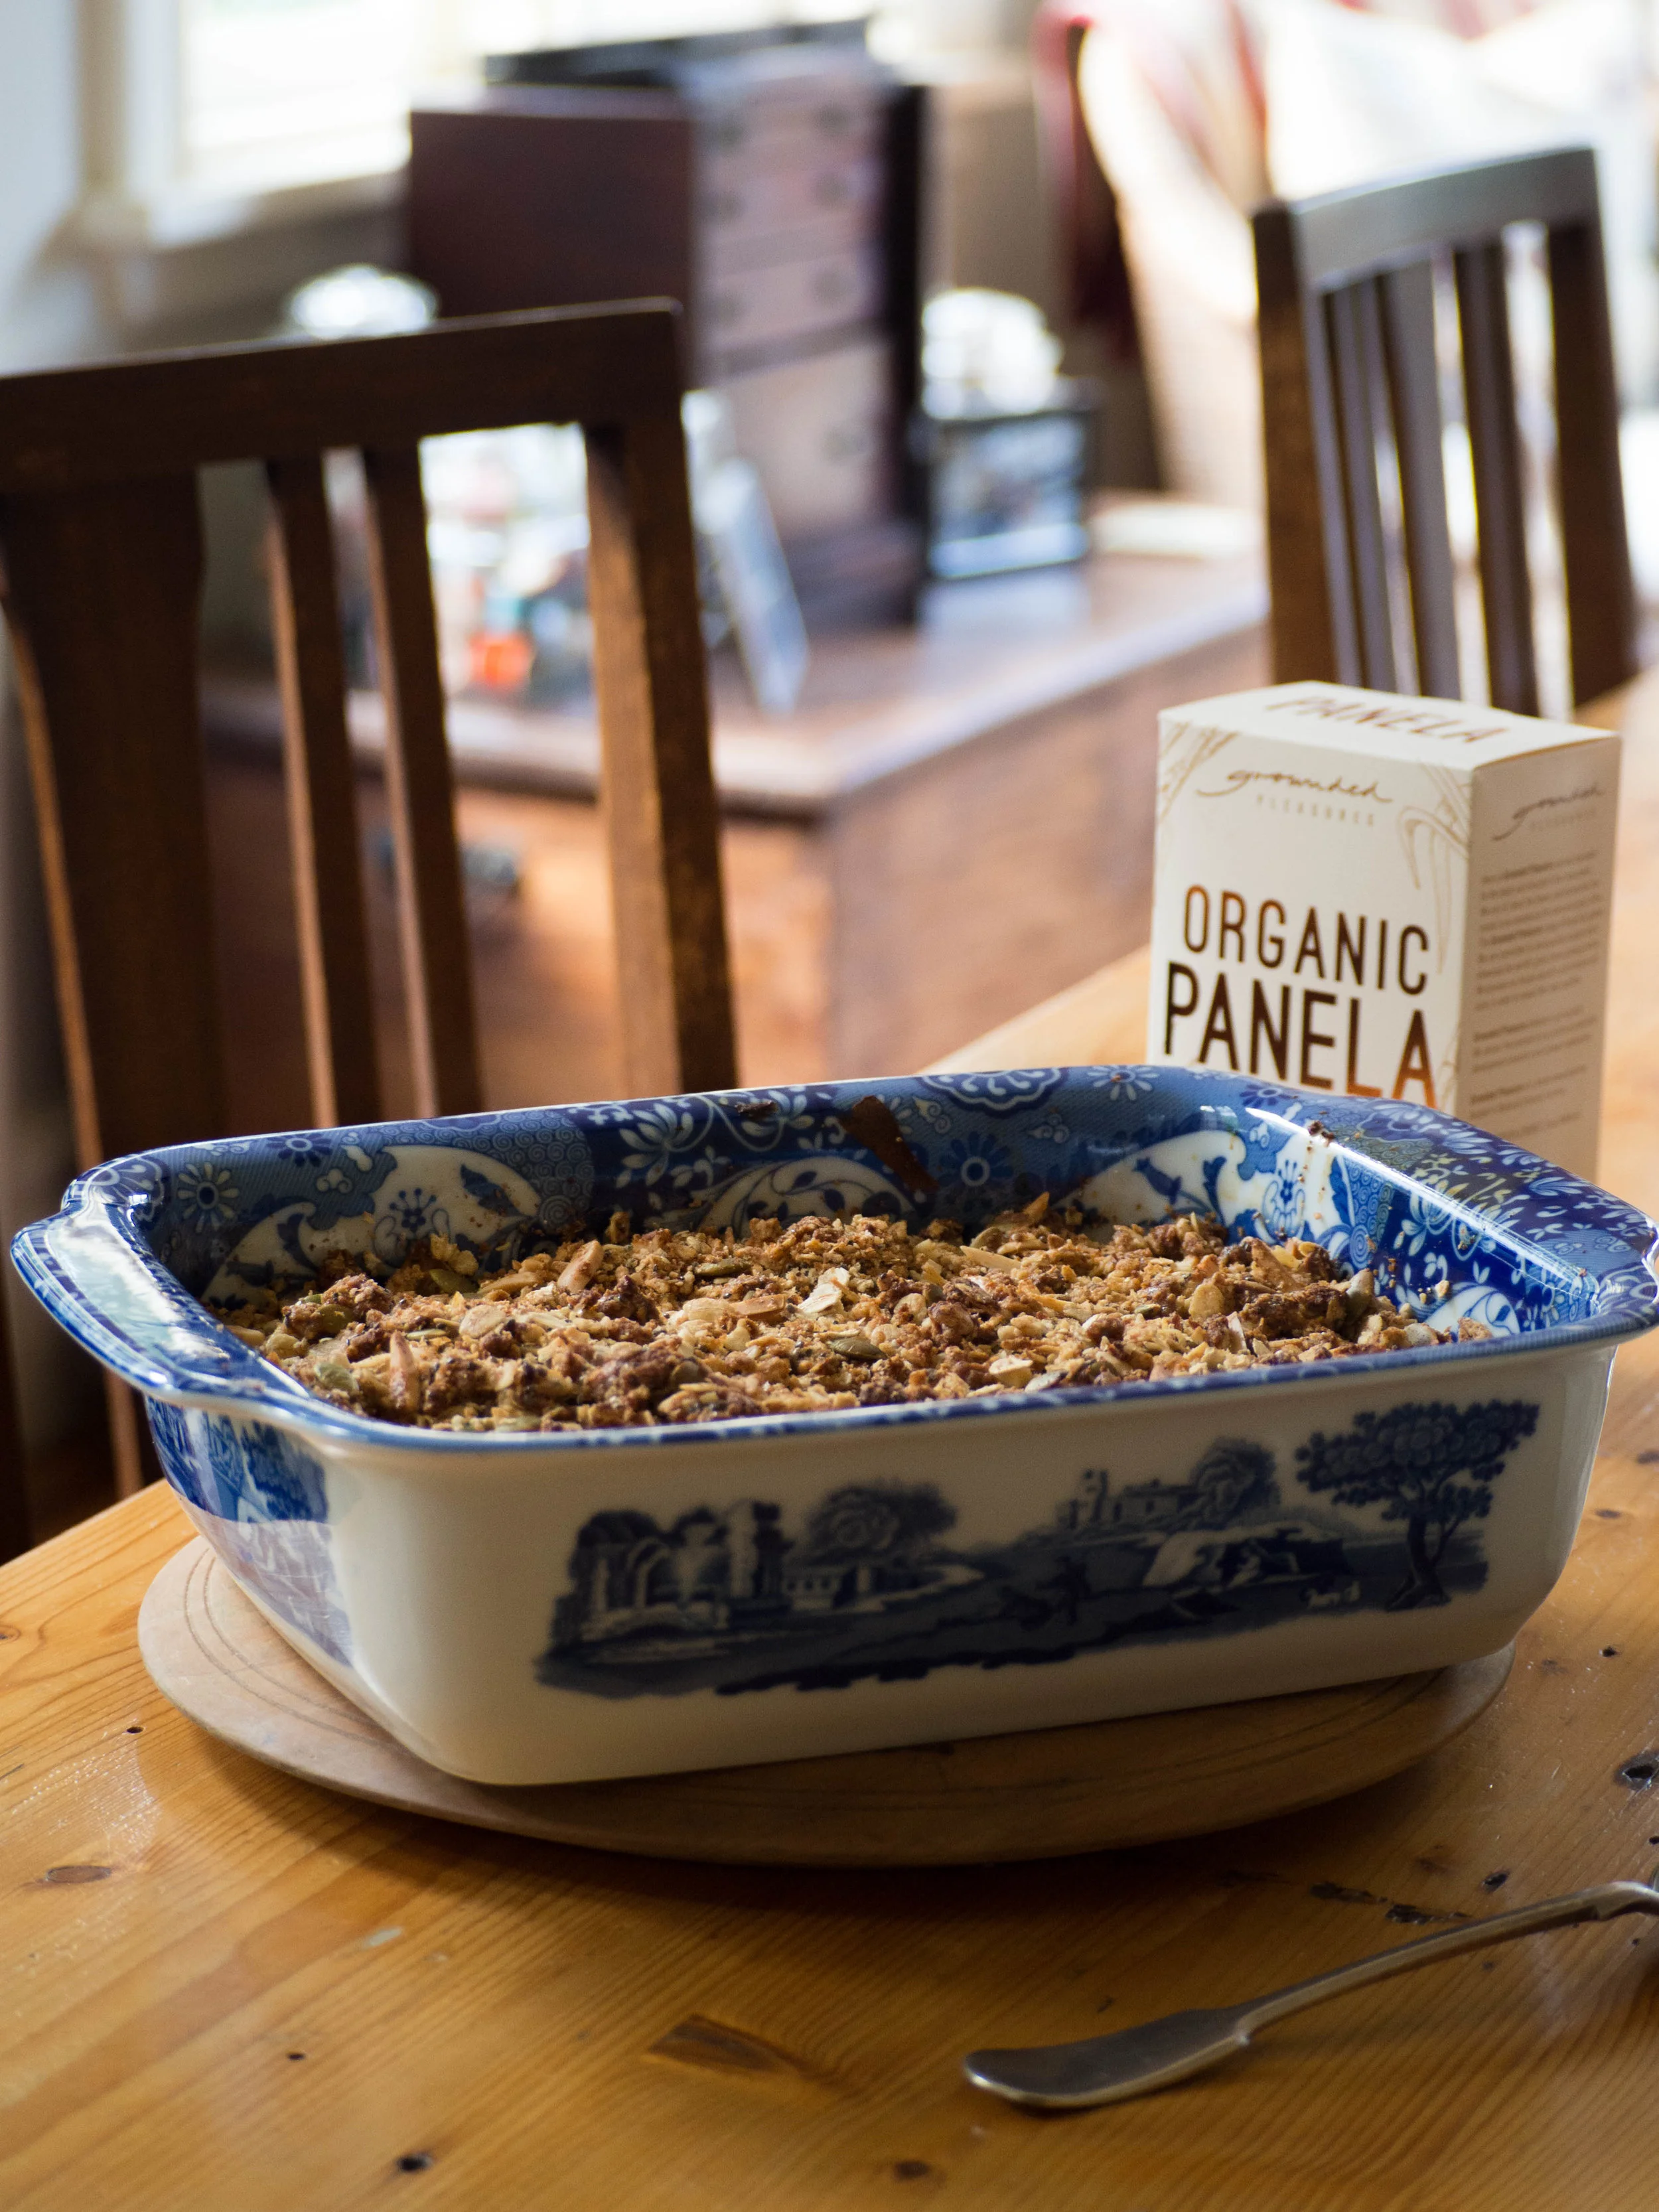
Once the scrolls have doubled in size, sprinkle with pearl sugar if you wish, and bake for 15-20 minutes or until they are golden brown and sound hollow when tapped.
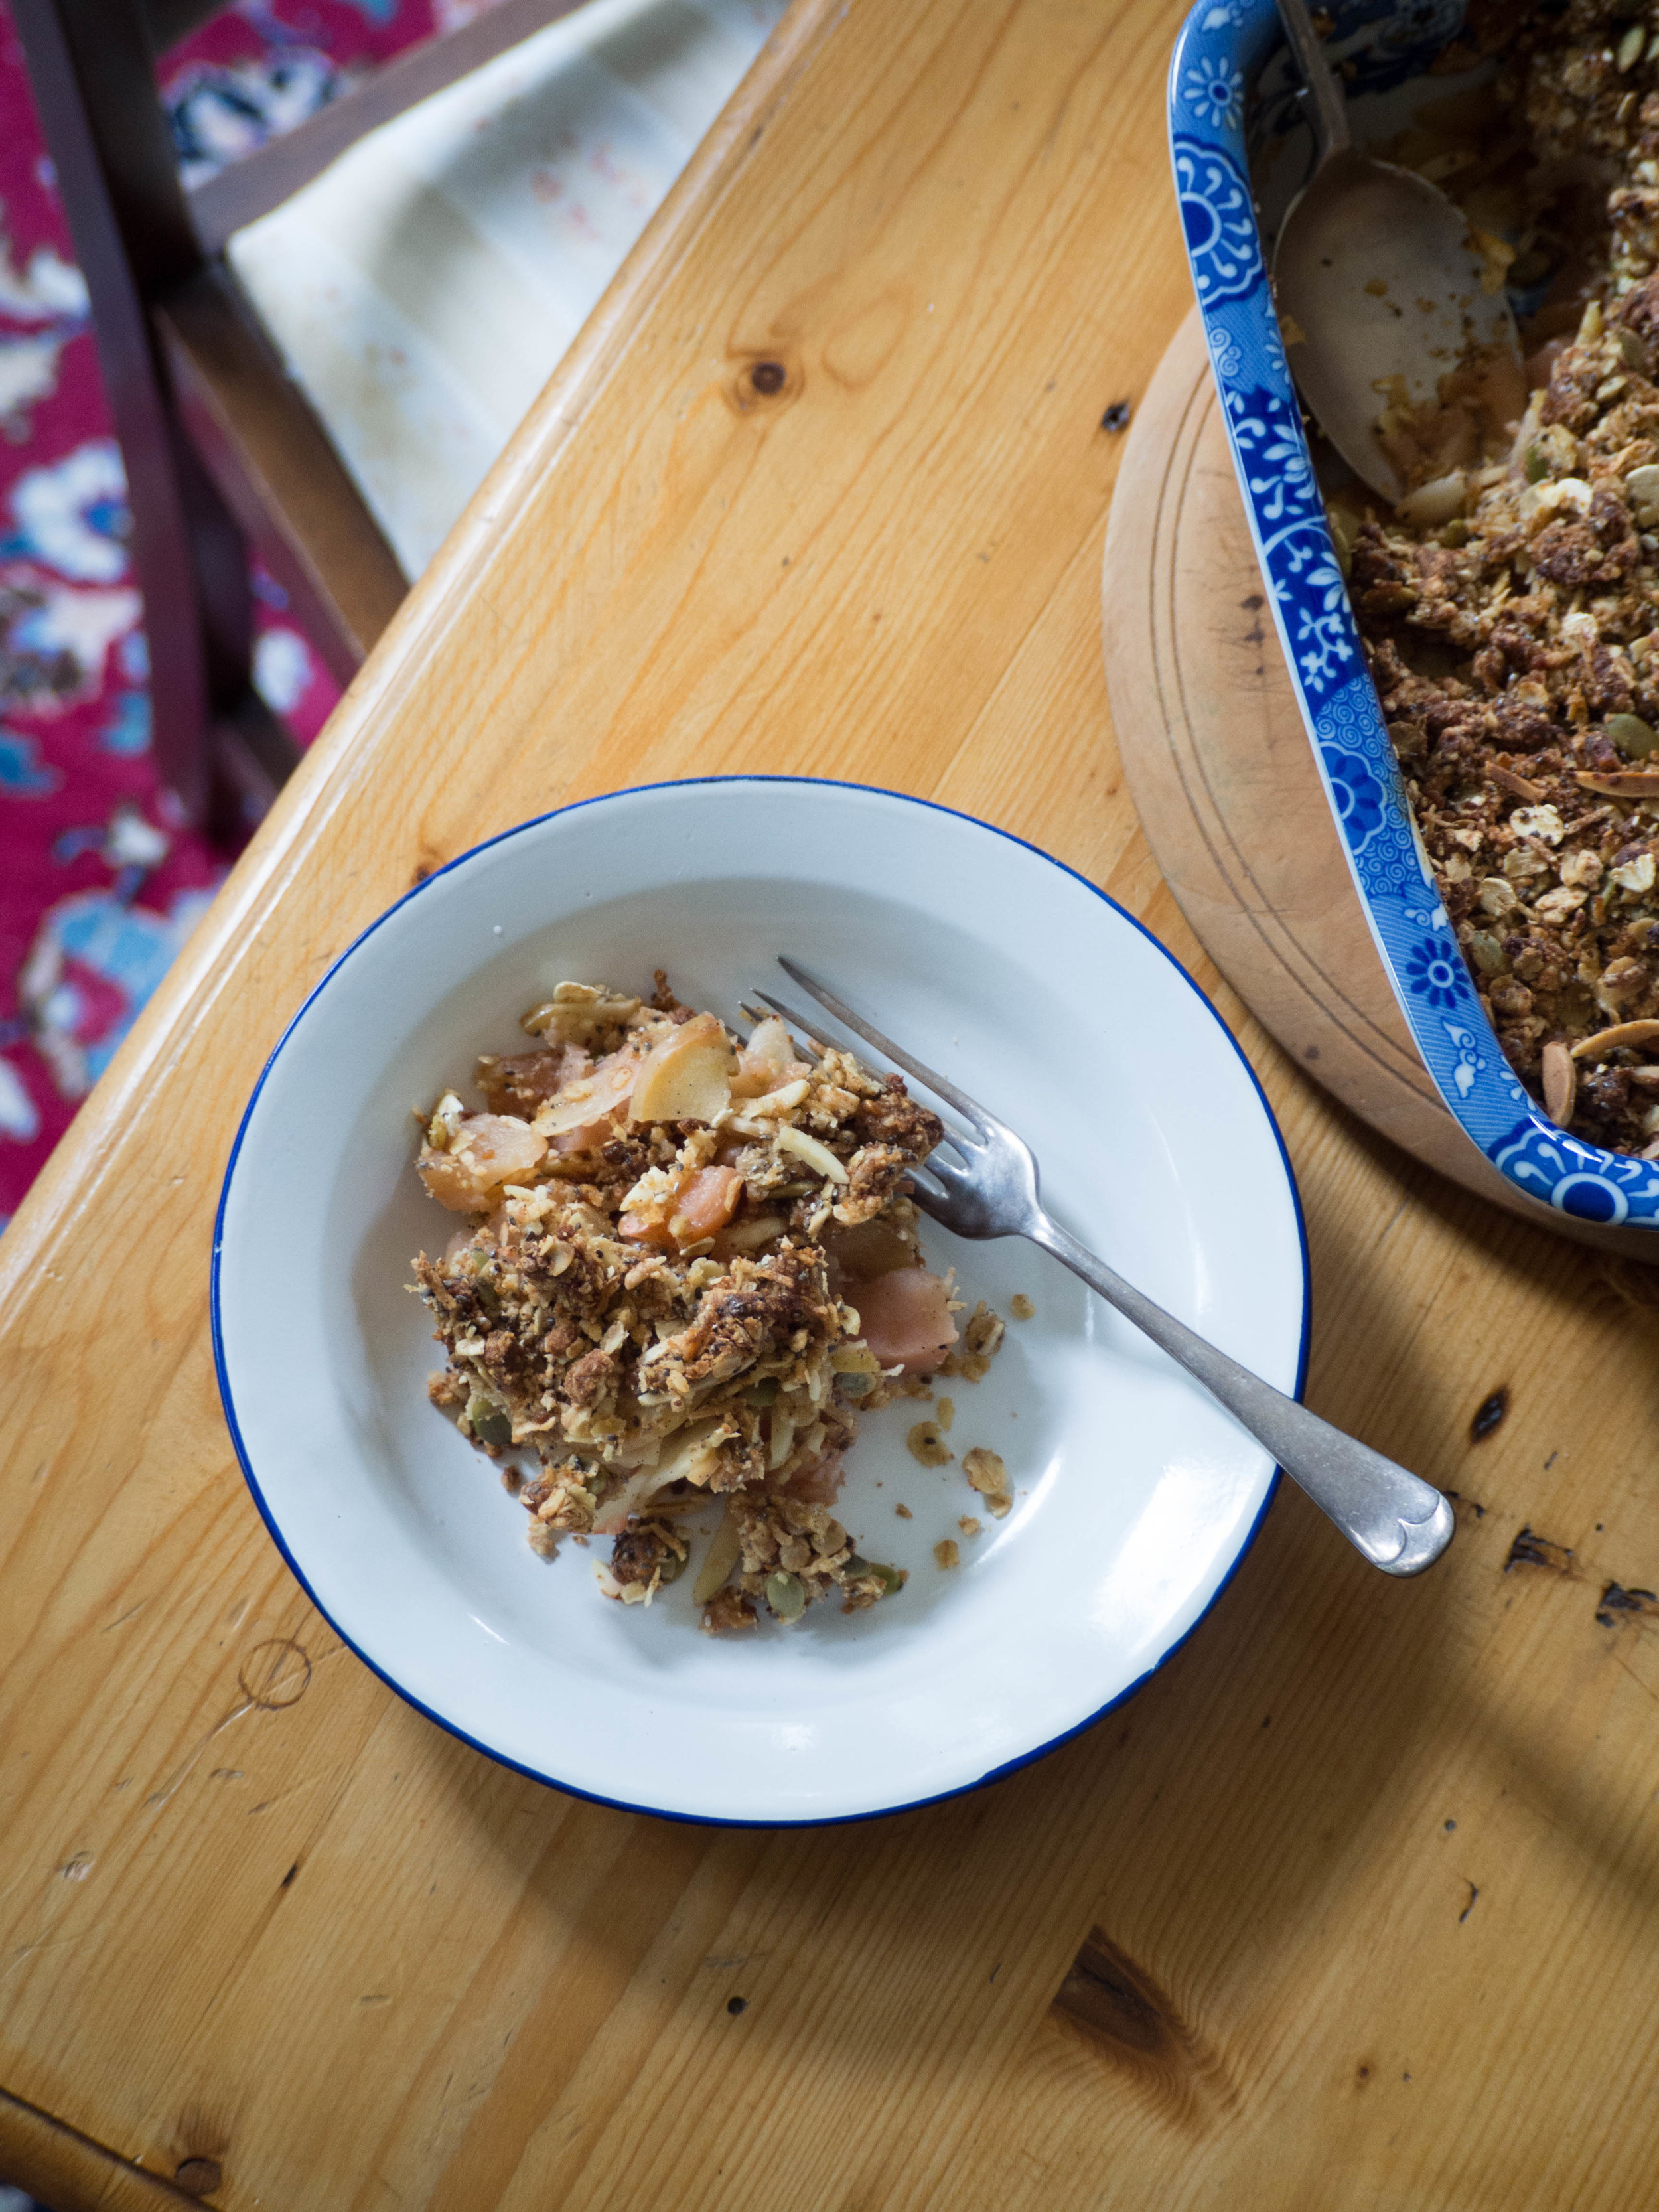
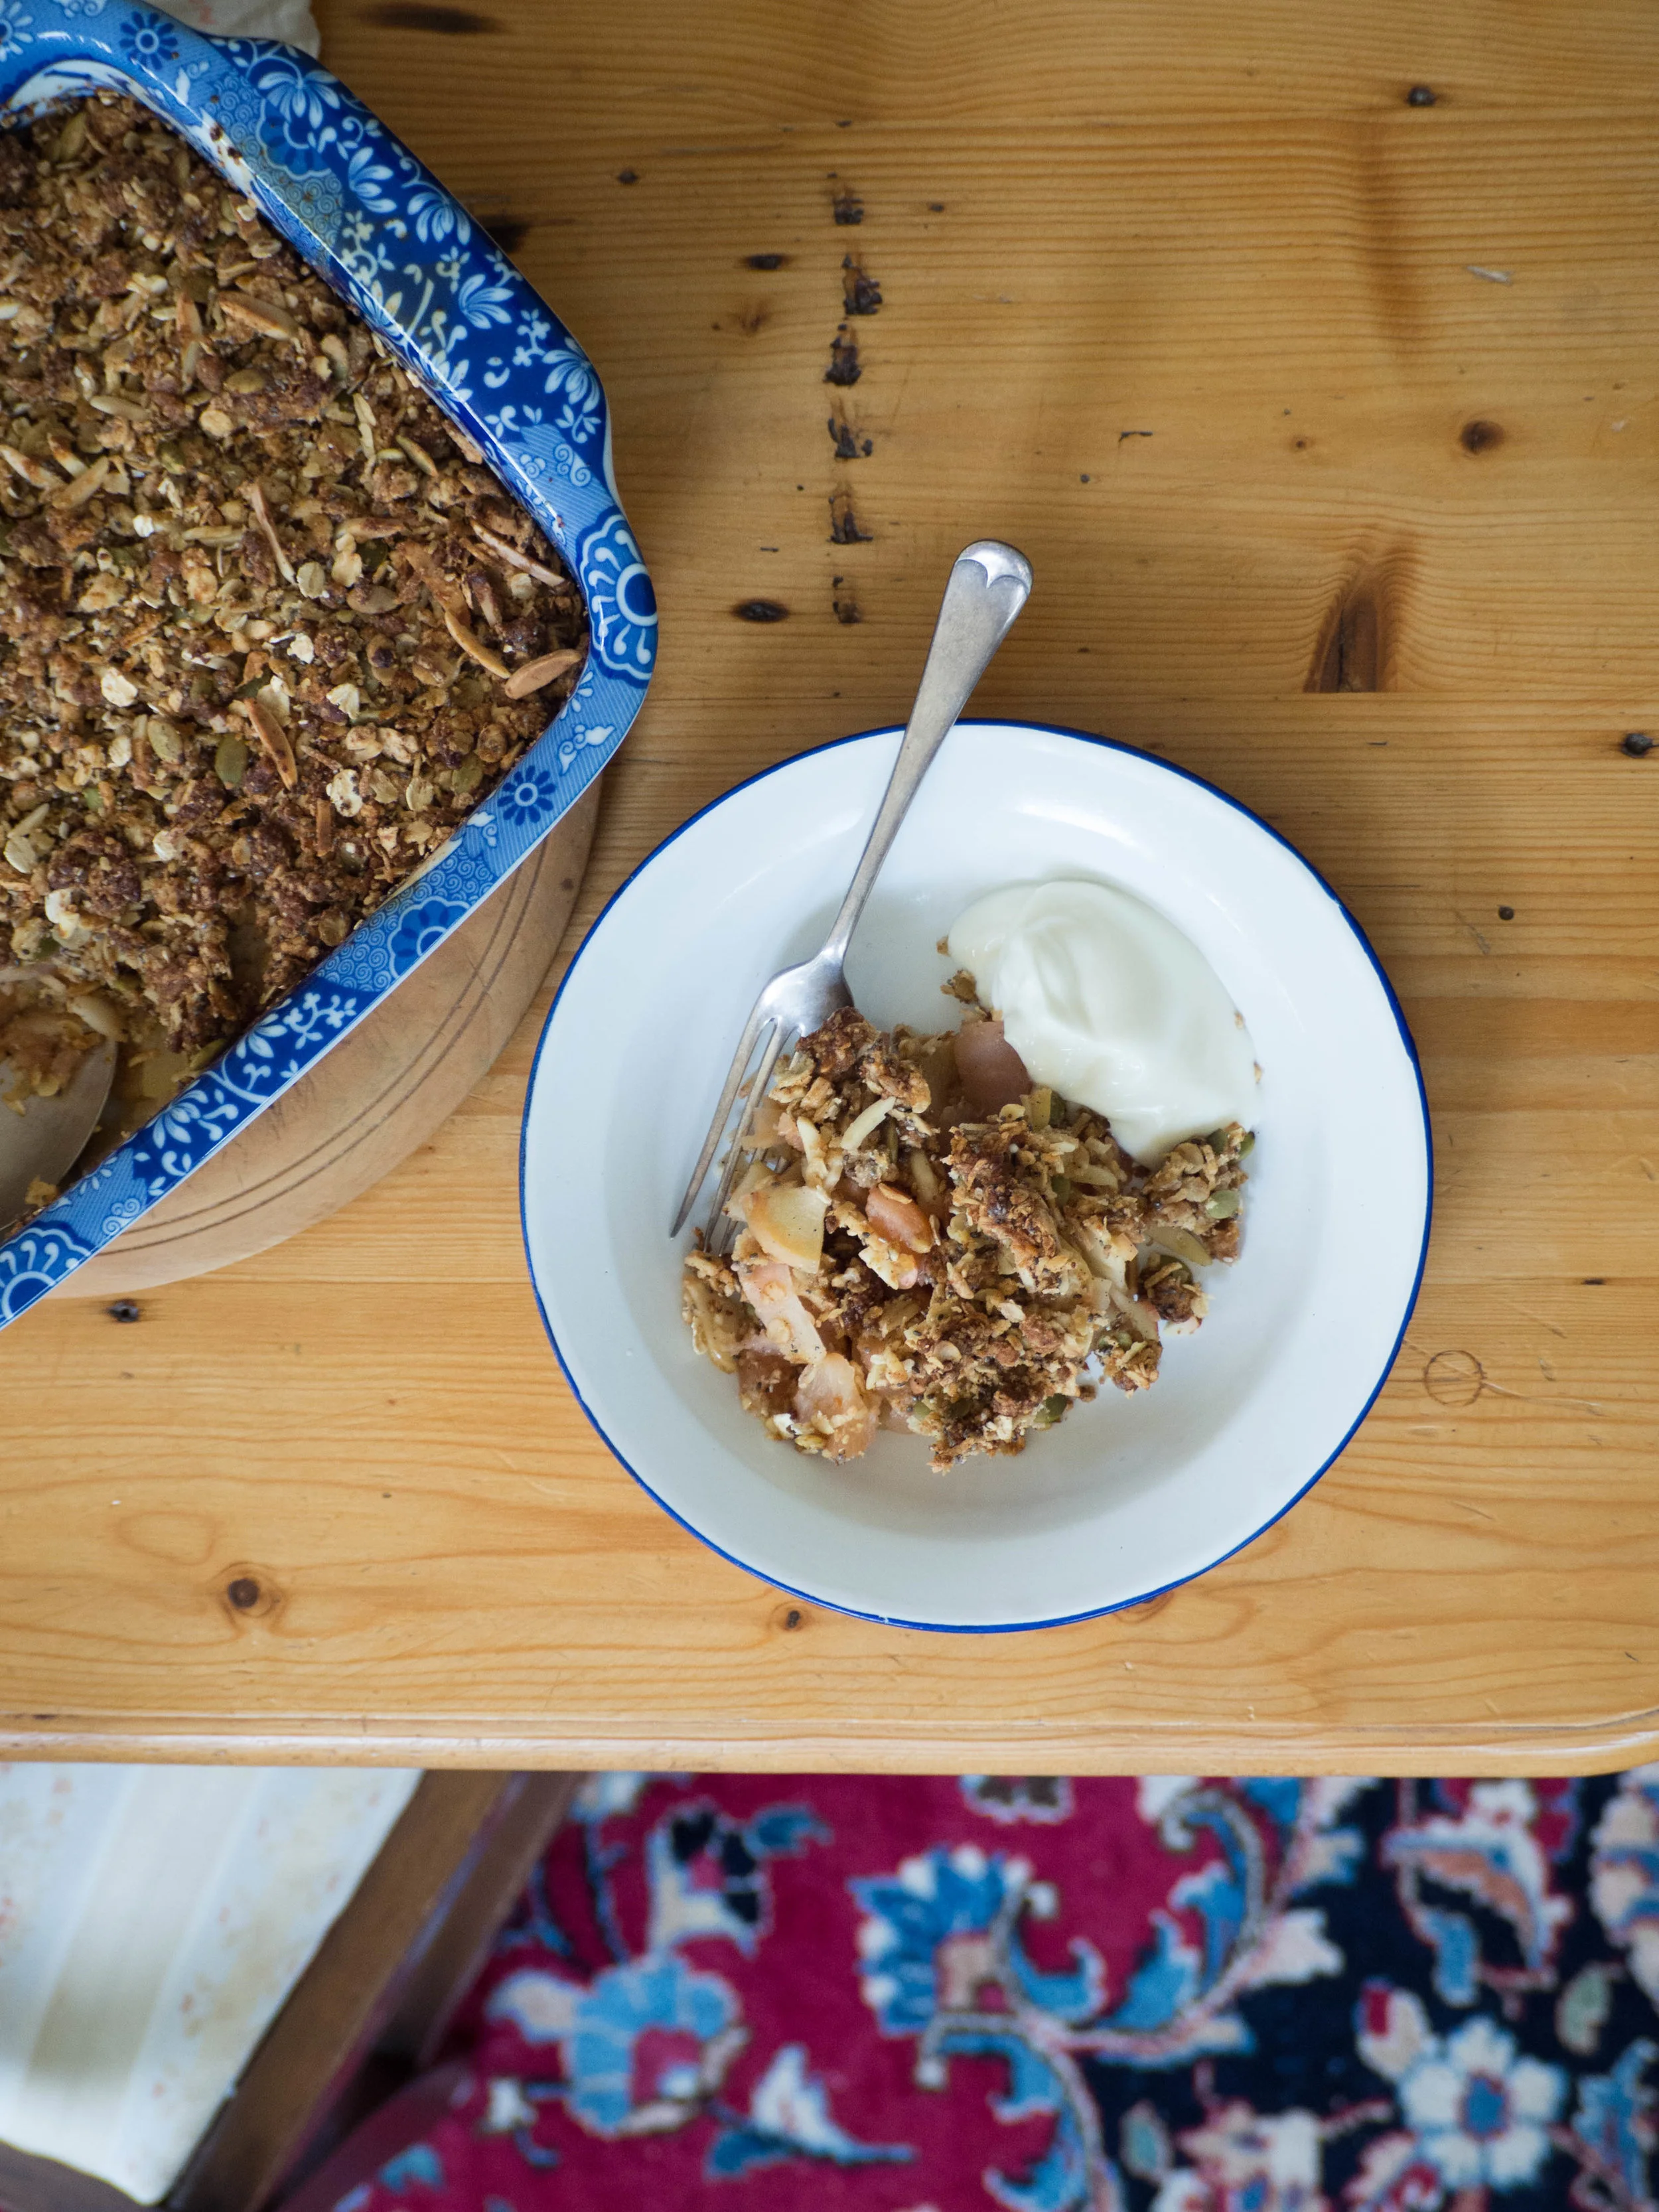
Serve warm and if there are any leftovers freeze them in zip lock bags to enjoy later.
*Pearl sugar (or nib sugar) does not melt at high temperatures and can be used to decorate baked goods. It can be found at specialty food shops.

Easter Spiced Brioche Scrolls
Reference: The Cook and Baker by Cherie Bevan and Tass Tauroa (Murdoch Books, 2015), p.124.

Thank you to The Healthy Baker for providing me with some of their fantastic Low FODMAP Plain Flour!