Kulinary Adventures of Kath

Food Photography, Recipes & Baking
  • home
  • About
  • Work with Kath
  • Shop
  • Blog
    • The Blog
    • Recipe Archive
  • Newsletter
  • Contact
  • home
  • About
  • Work with Kath
  • Shop
    • The Blog
    • Recipe Archive
  • Newsletter
  • Contact
Raspberry Pistachio Rose Cake (23 of 25).jpg

The Blog

Recipes and Food Photography by Kath Vincent.

  • The Blog
  • Recipe Archive
  • All
  • Biscuits/Cookies
  • Breads Etc.
  • Breakfast
  • Cakes & Slices
  • Confectionary
  • Drinks
  • Events
  • Food Photography Tips
  • From The Mailing List
  • Heirloom Recipes
  • Holidays
  • Ice Cream
  • Jams Preserves & Spreads
  • Muffins
  • Off the Shelf
  • Other Desserts
  • Savoury Dishes/Meals
  • Scones
  • Tarts & Pastry
  • Travel

Simple Summer Celebration Cake & Two Years of Blogging

Kath January 17, 2016

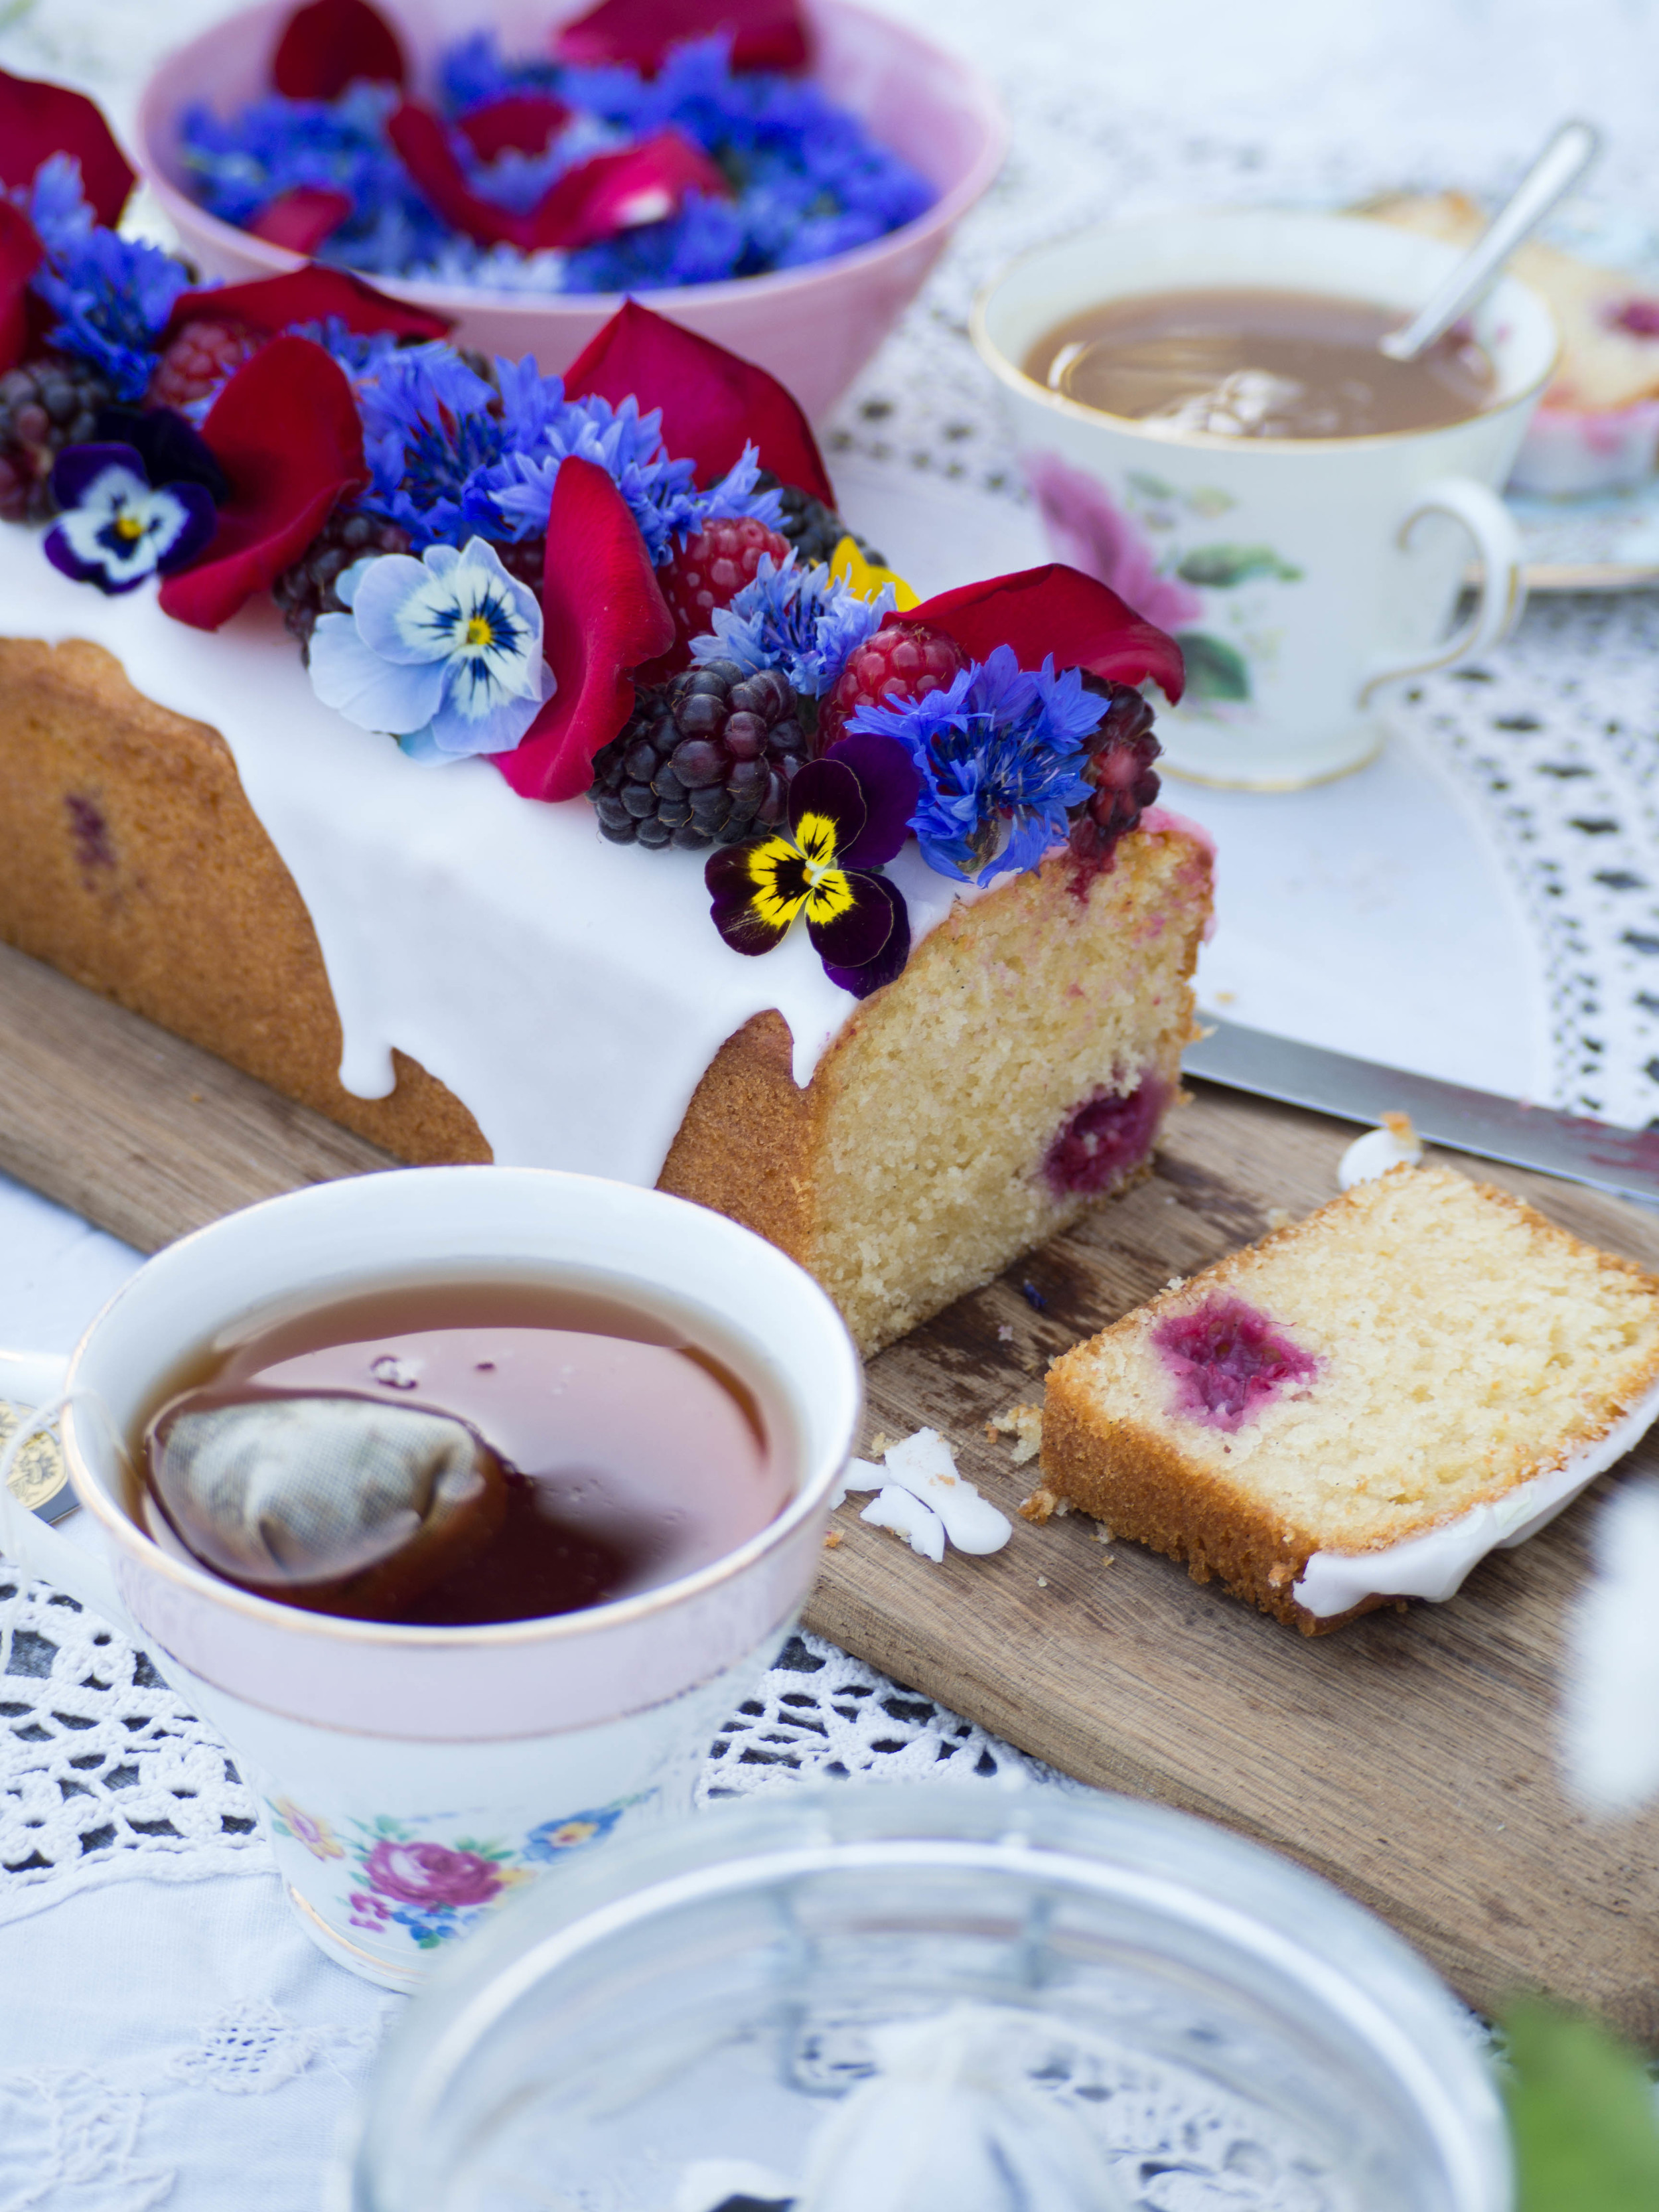
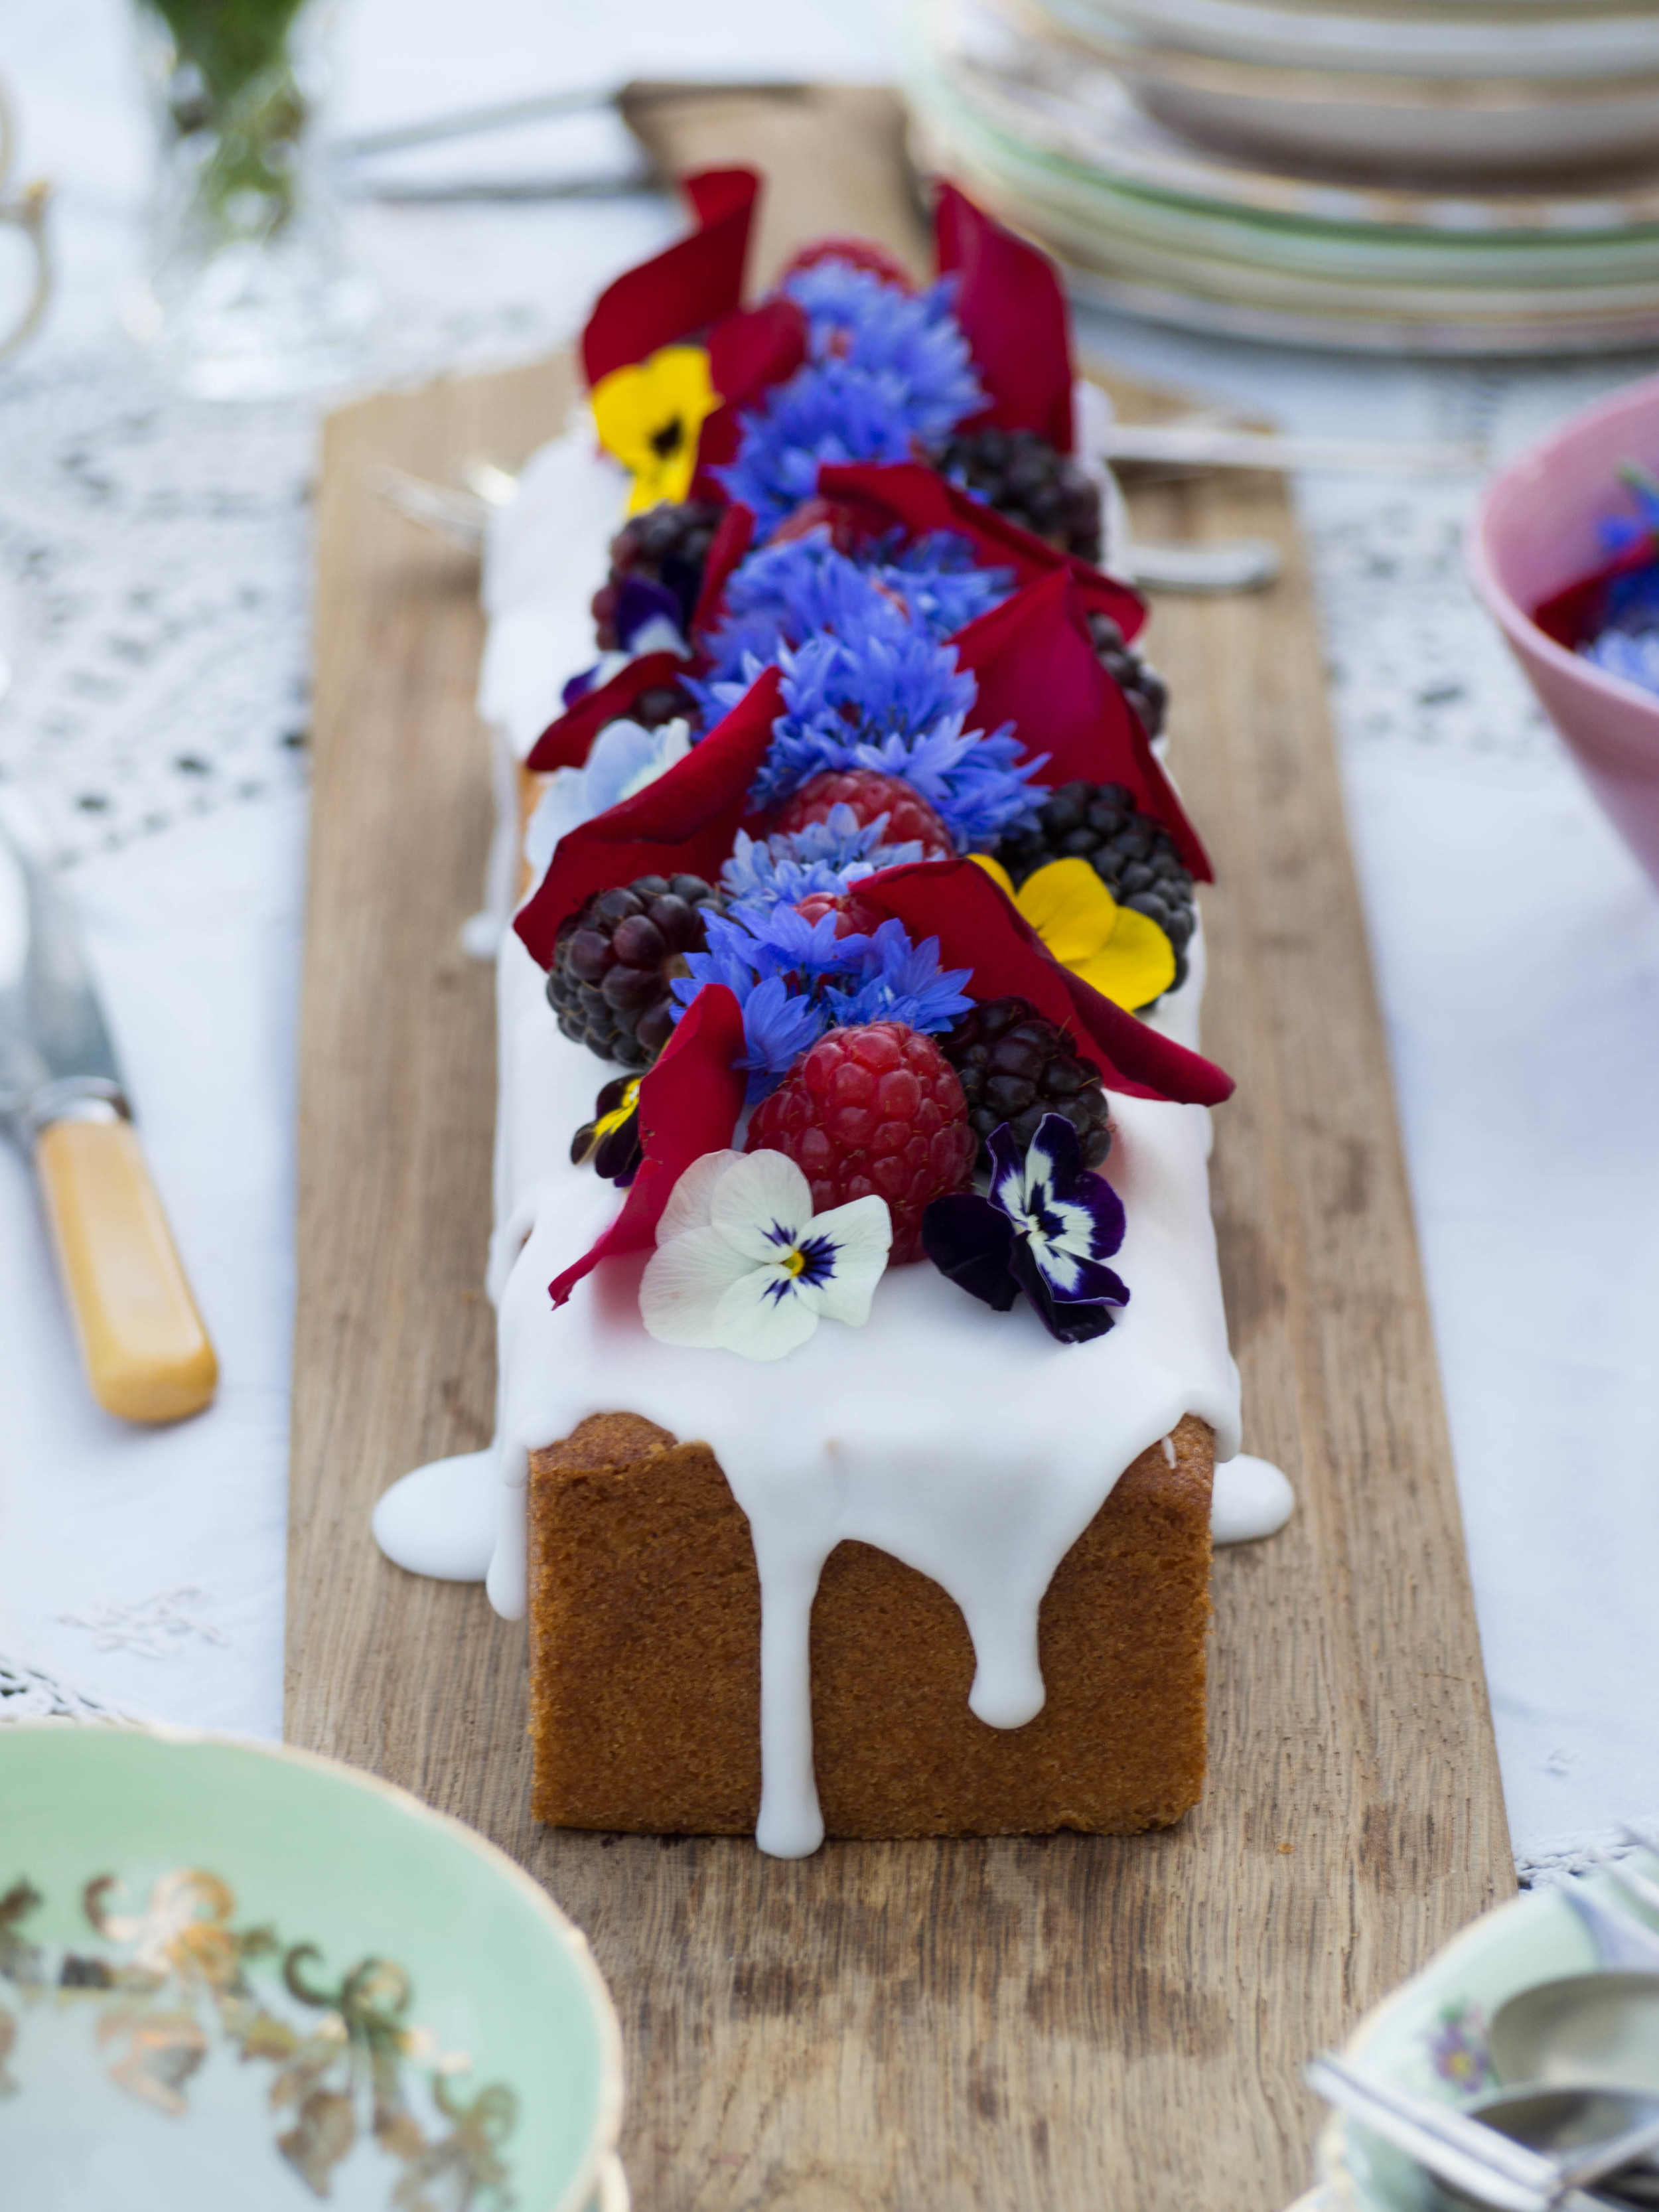
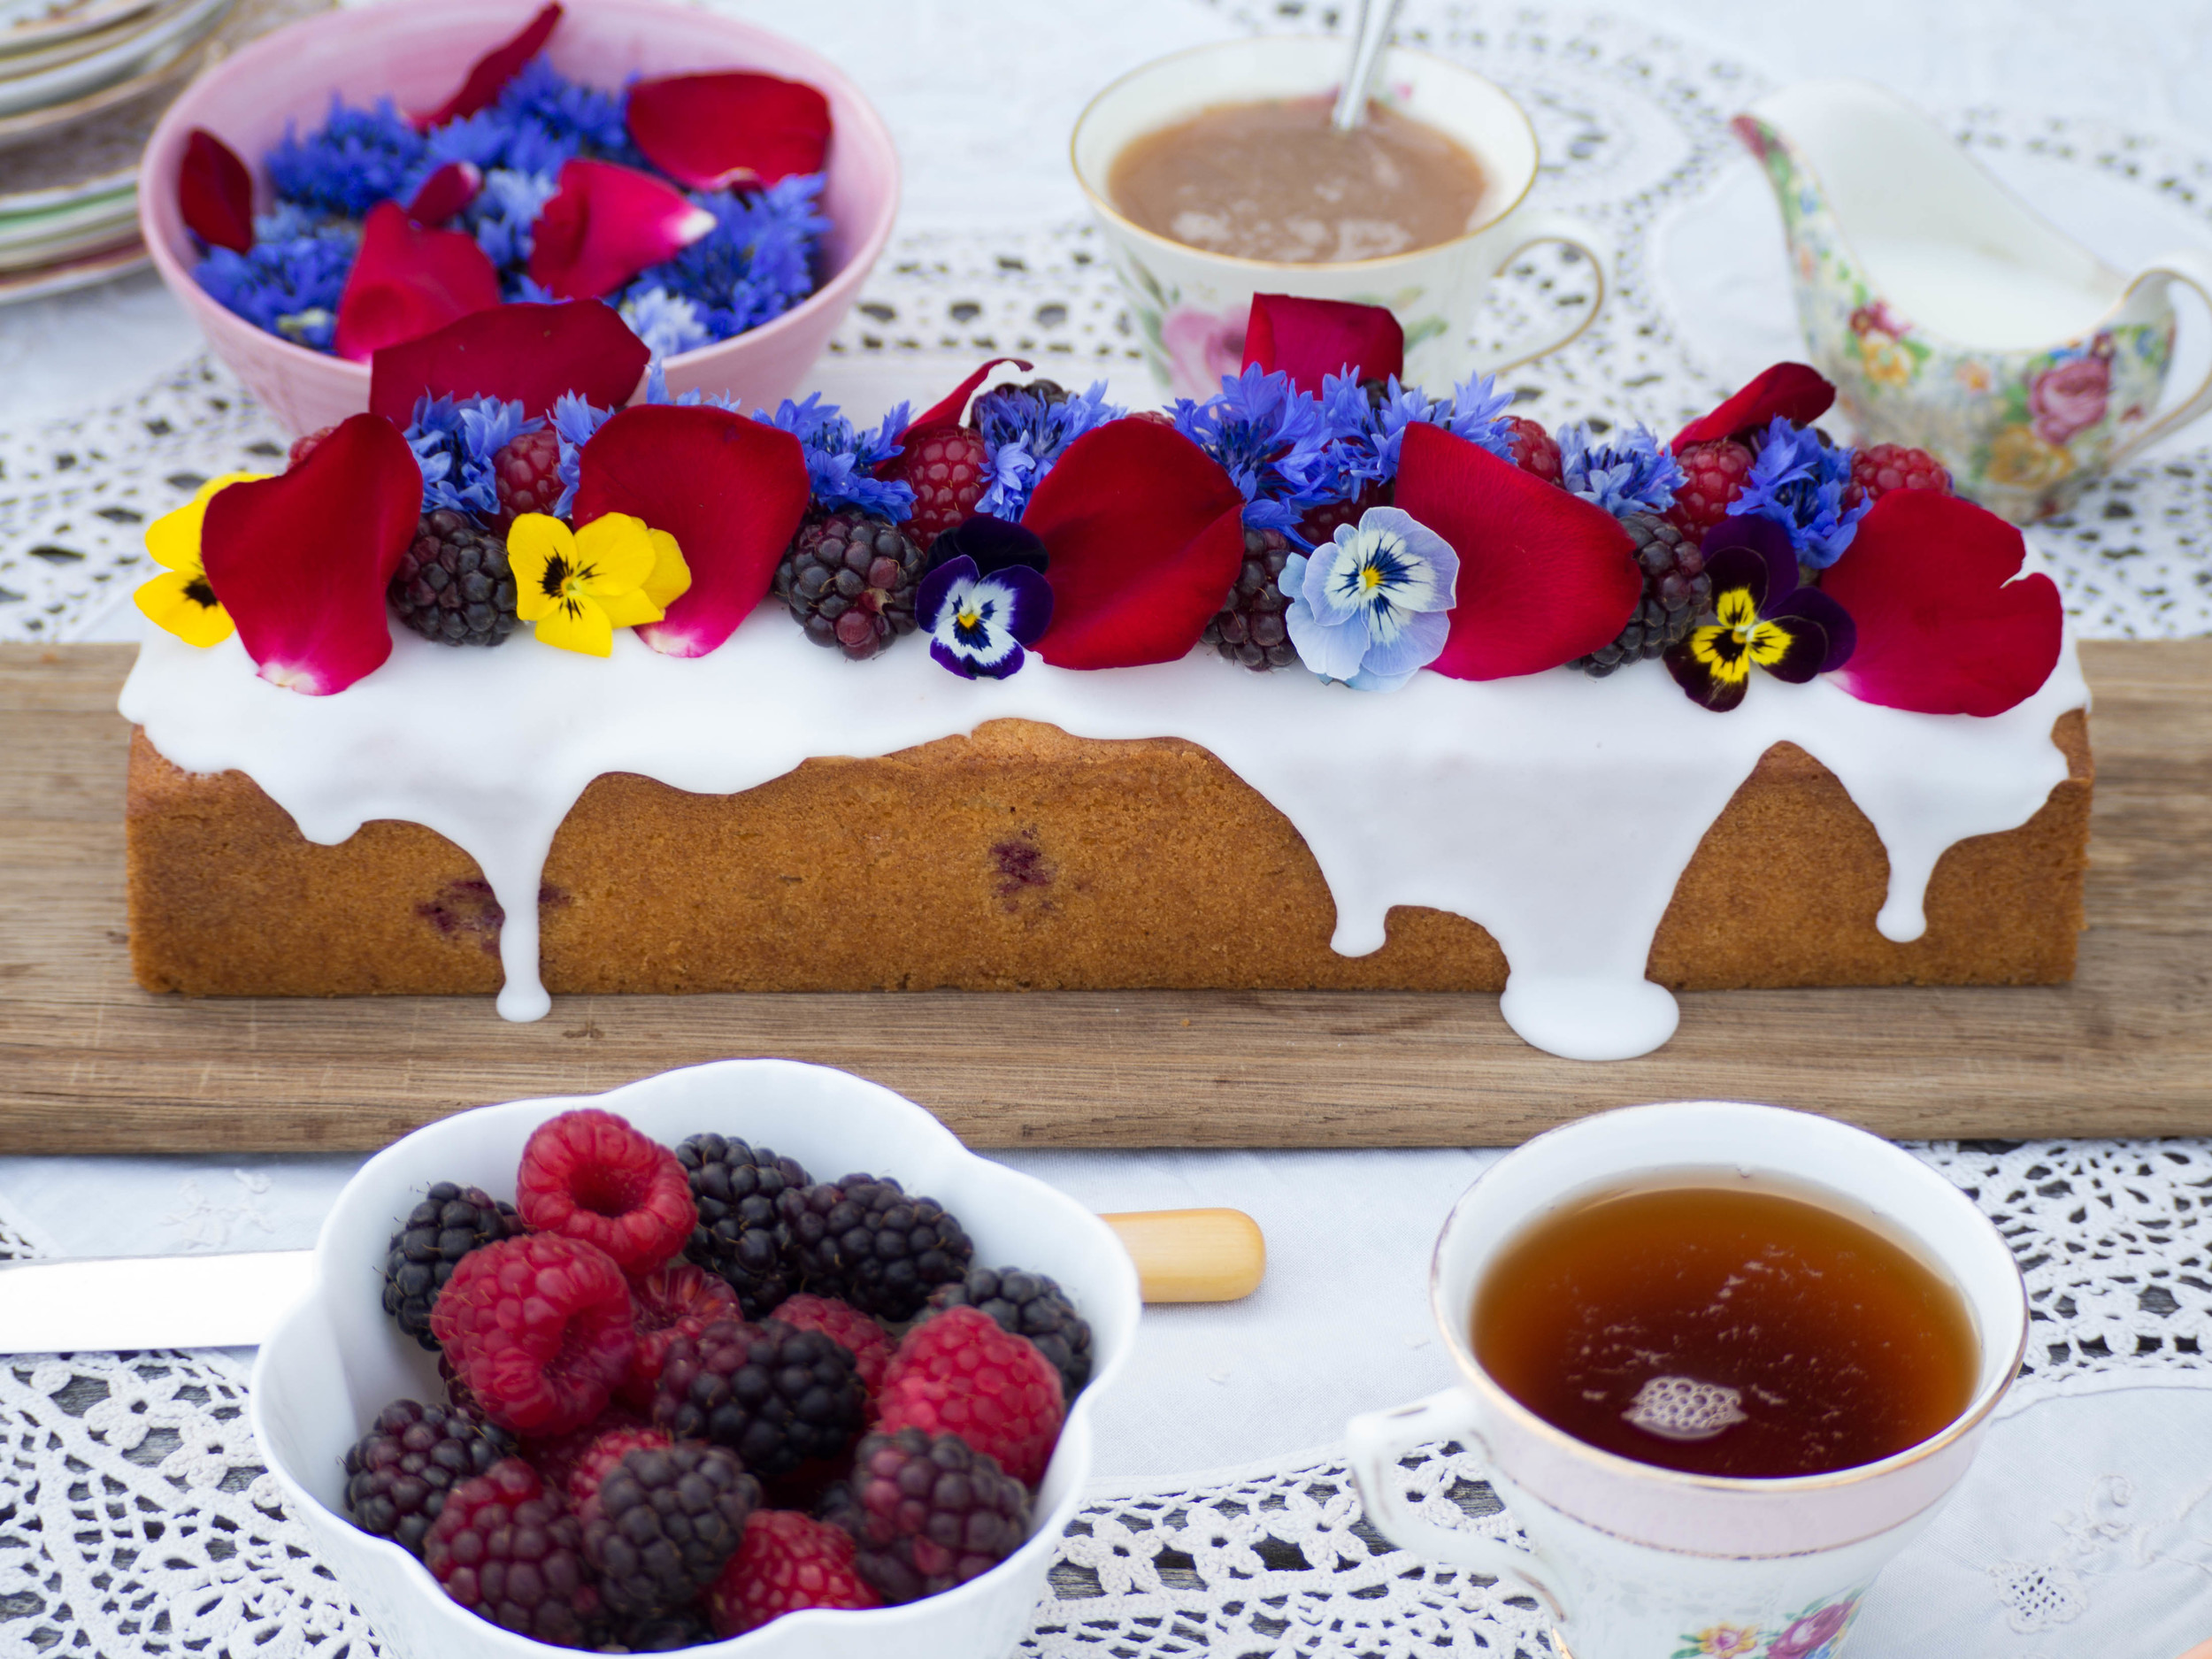
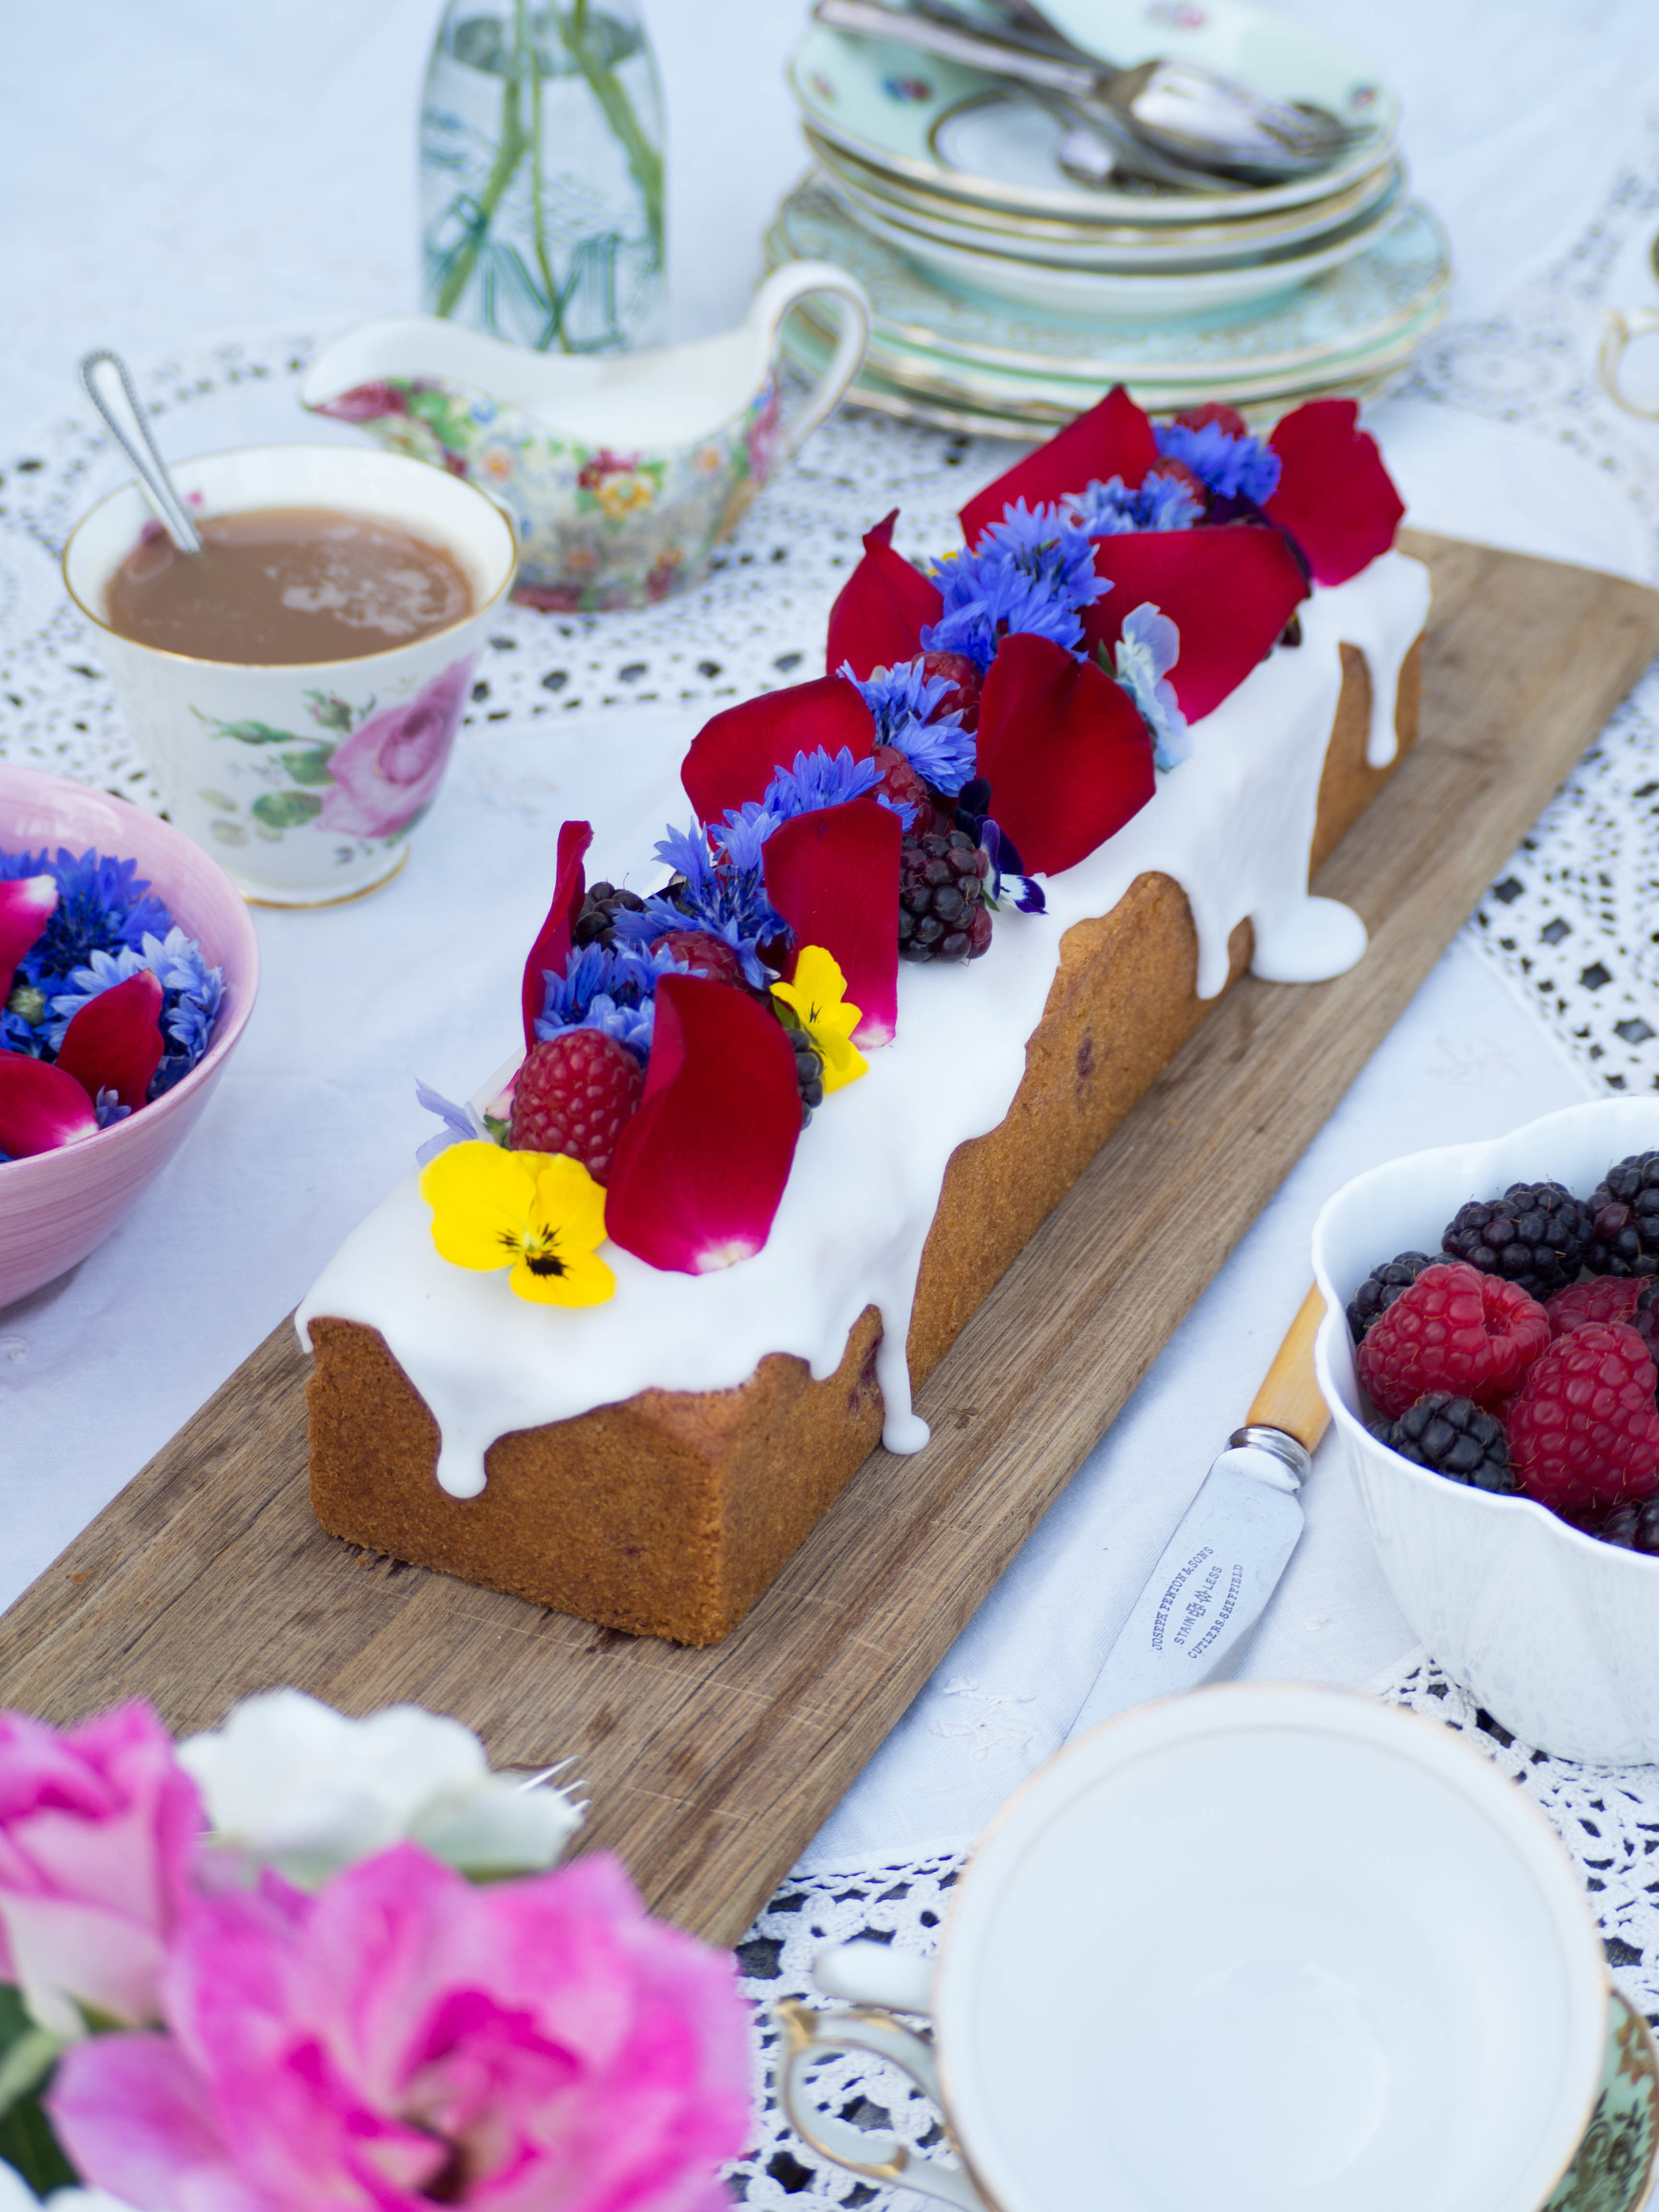
Happy New Year! I hope everyone had a lovely start to the new year. This is my first blog post for 2016, and I am quite excited about 2016 on the blog front. I have lots of new recipes to try and lots of ideas for my own, and I can’t wait to share them with you. The first of which, is this cake. This cake is my idea of using the best summer berries and edible flowers, and creating something very simple yet still spectacular. 

And for this post, I am using this simple yet spectacular cake to celebrate two years since I started this blog. It’s quite surreal to think about how that amount of time has gone by already. I love looking back at the recipes I have done in the past, and seeing how even now, some of them are still the most popular recipes on the blog. I am very much looking forward to working on this blog into the future, and I hope you will all continue to check back here every now and then and see where my kulinary adventures have led. 

The base recipe for this cake, has appeared in various forms on the blog a few times in the past two years. This is probably my favourite to date, although the passionfruit version would have to be a super close second. The idea for this particular cake came from my undying and rather obsessive need to use edible flowers. And once I (finally, oh finally!) found some, in the amazing fruit market near my work nonetheless, this cake was born. As a side note to explain how obsessive I have become on this, ever since I found that this fruit market sells edible flowers, I check back almost every lunch time to see if they have any and whether my obsessive need to use them will be fulfilled yet another time - I may require some kind of intervention at some point, just FYI, I’ll let you know when the situation becomes dire.

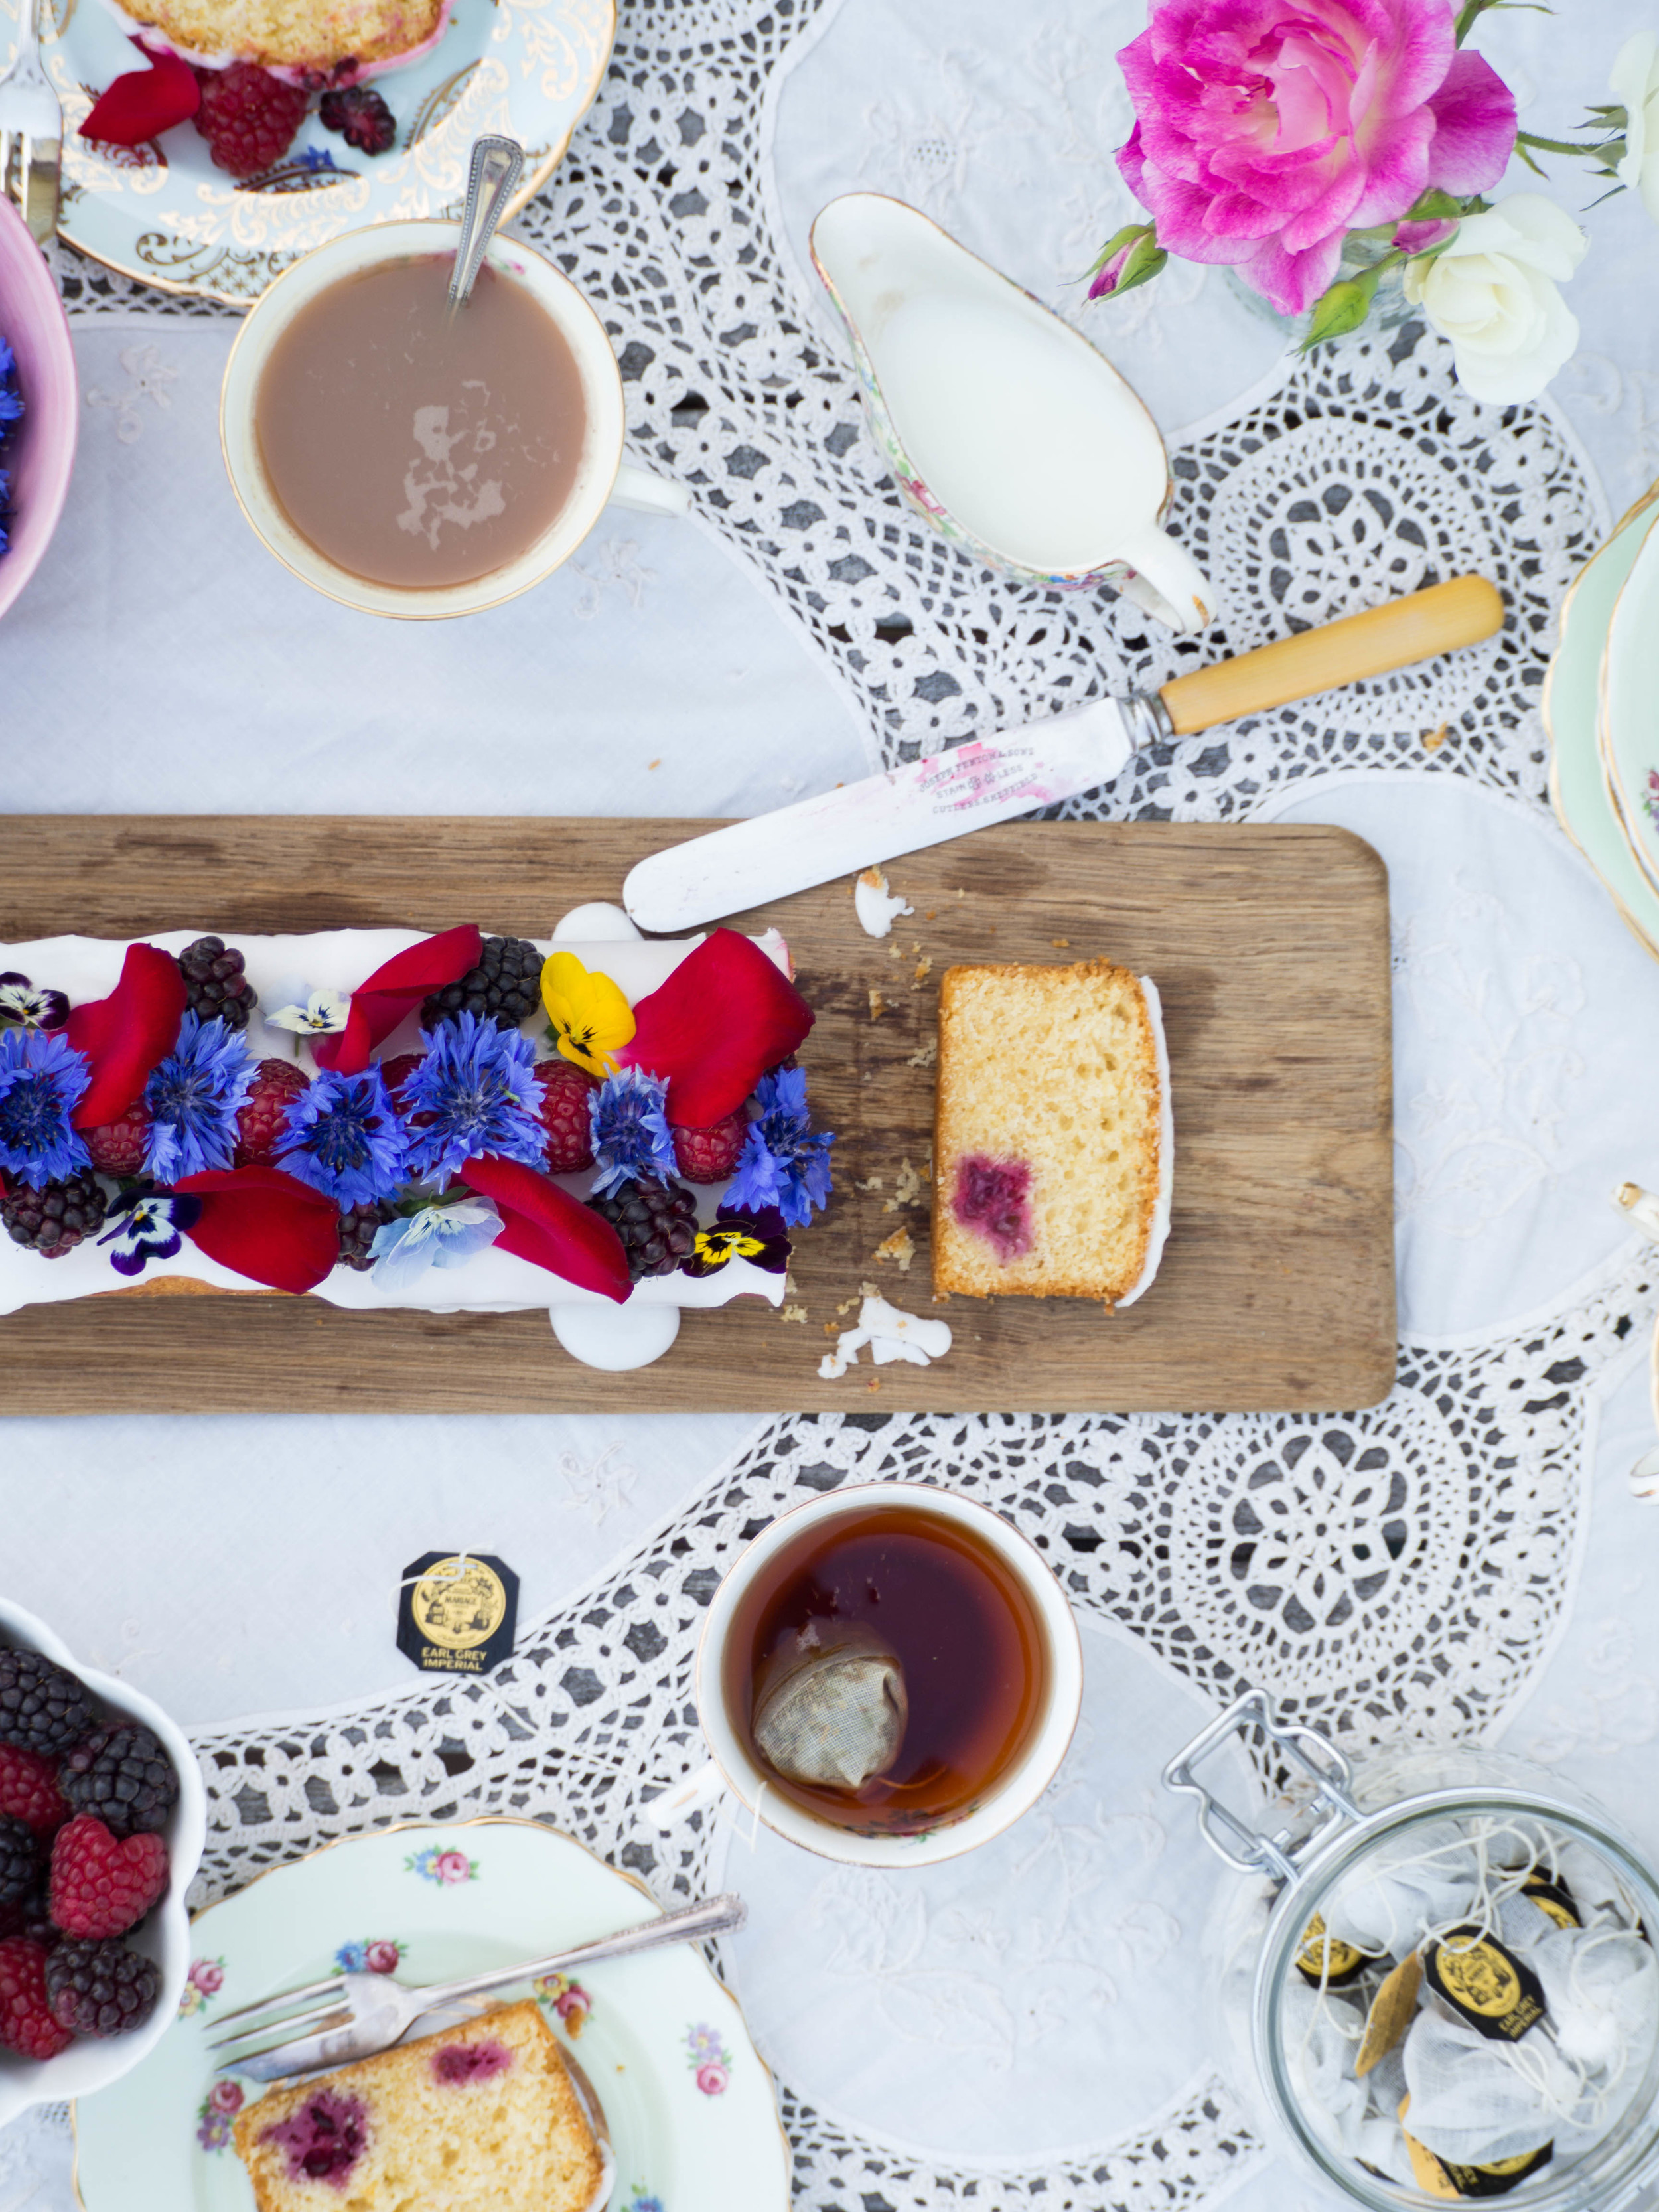
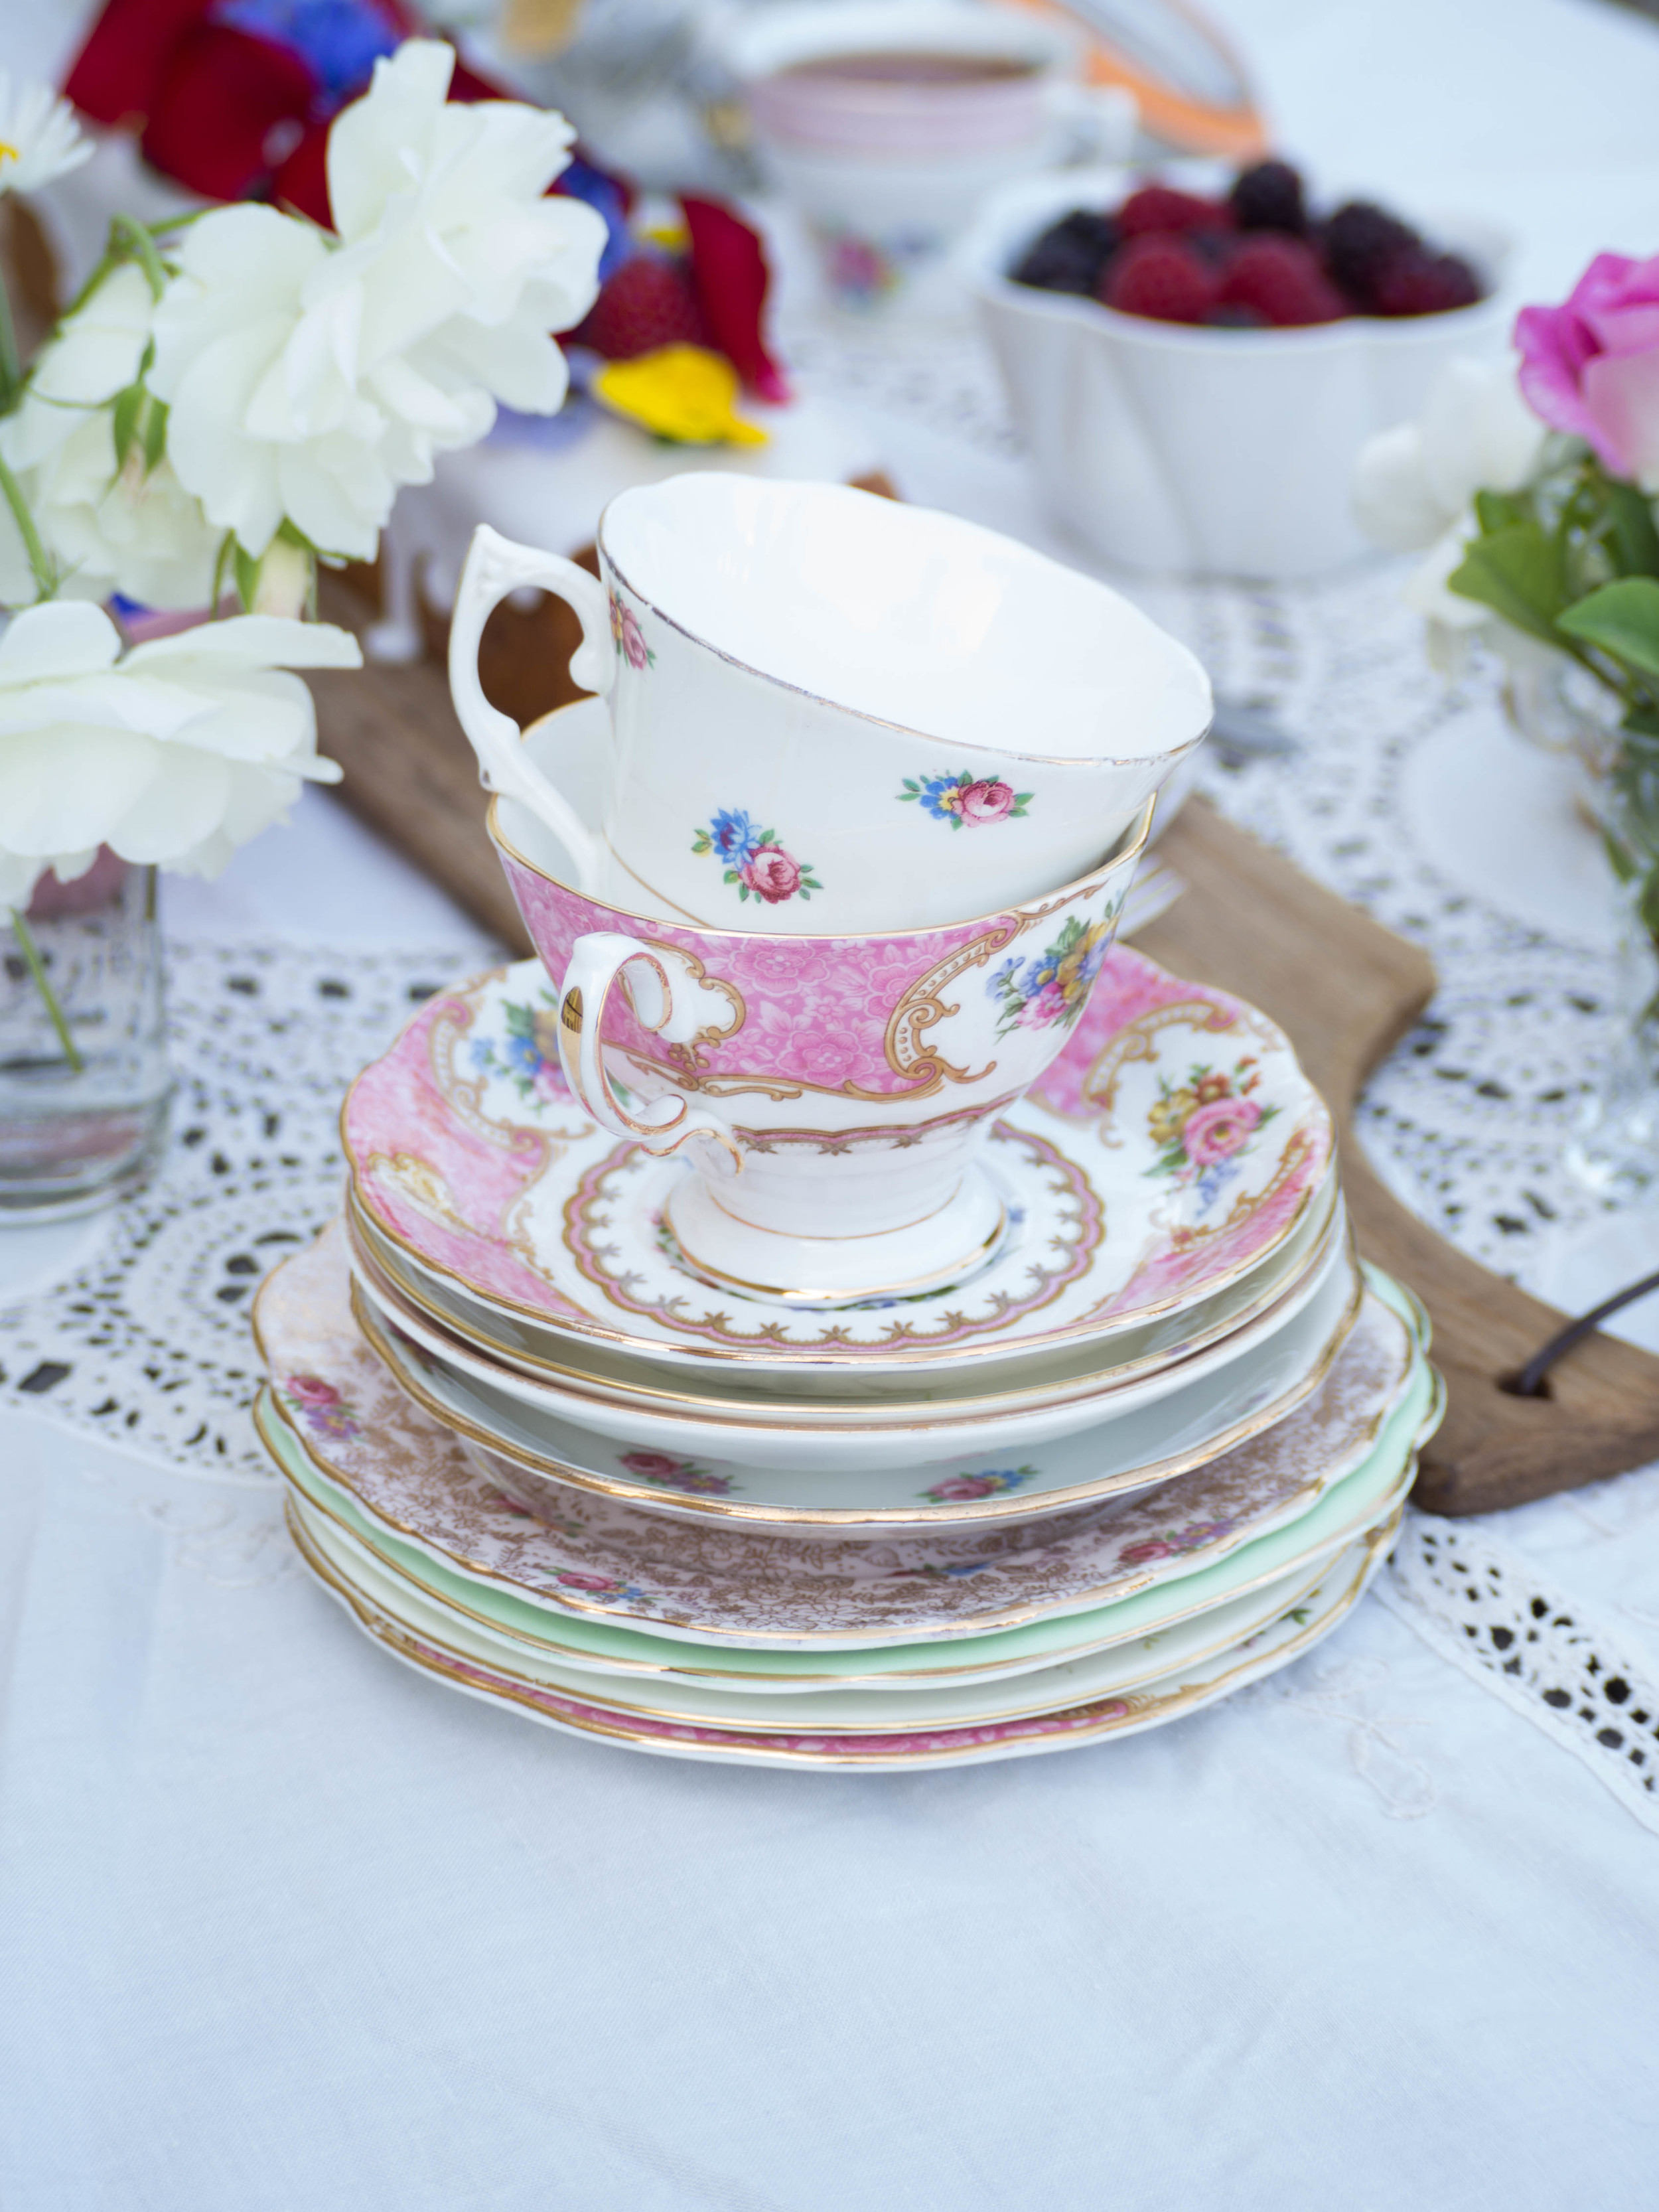
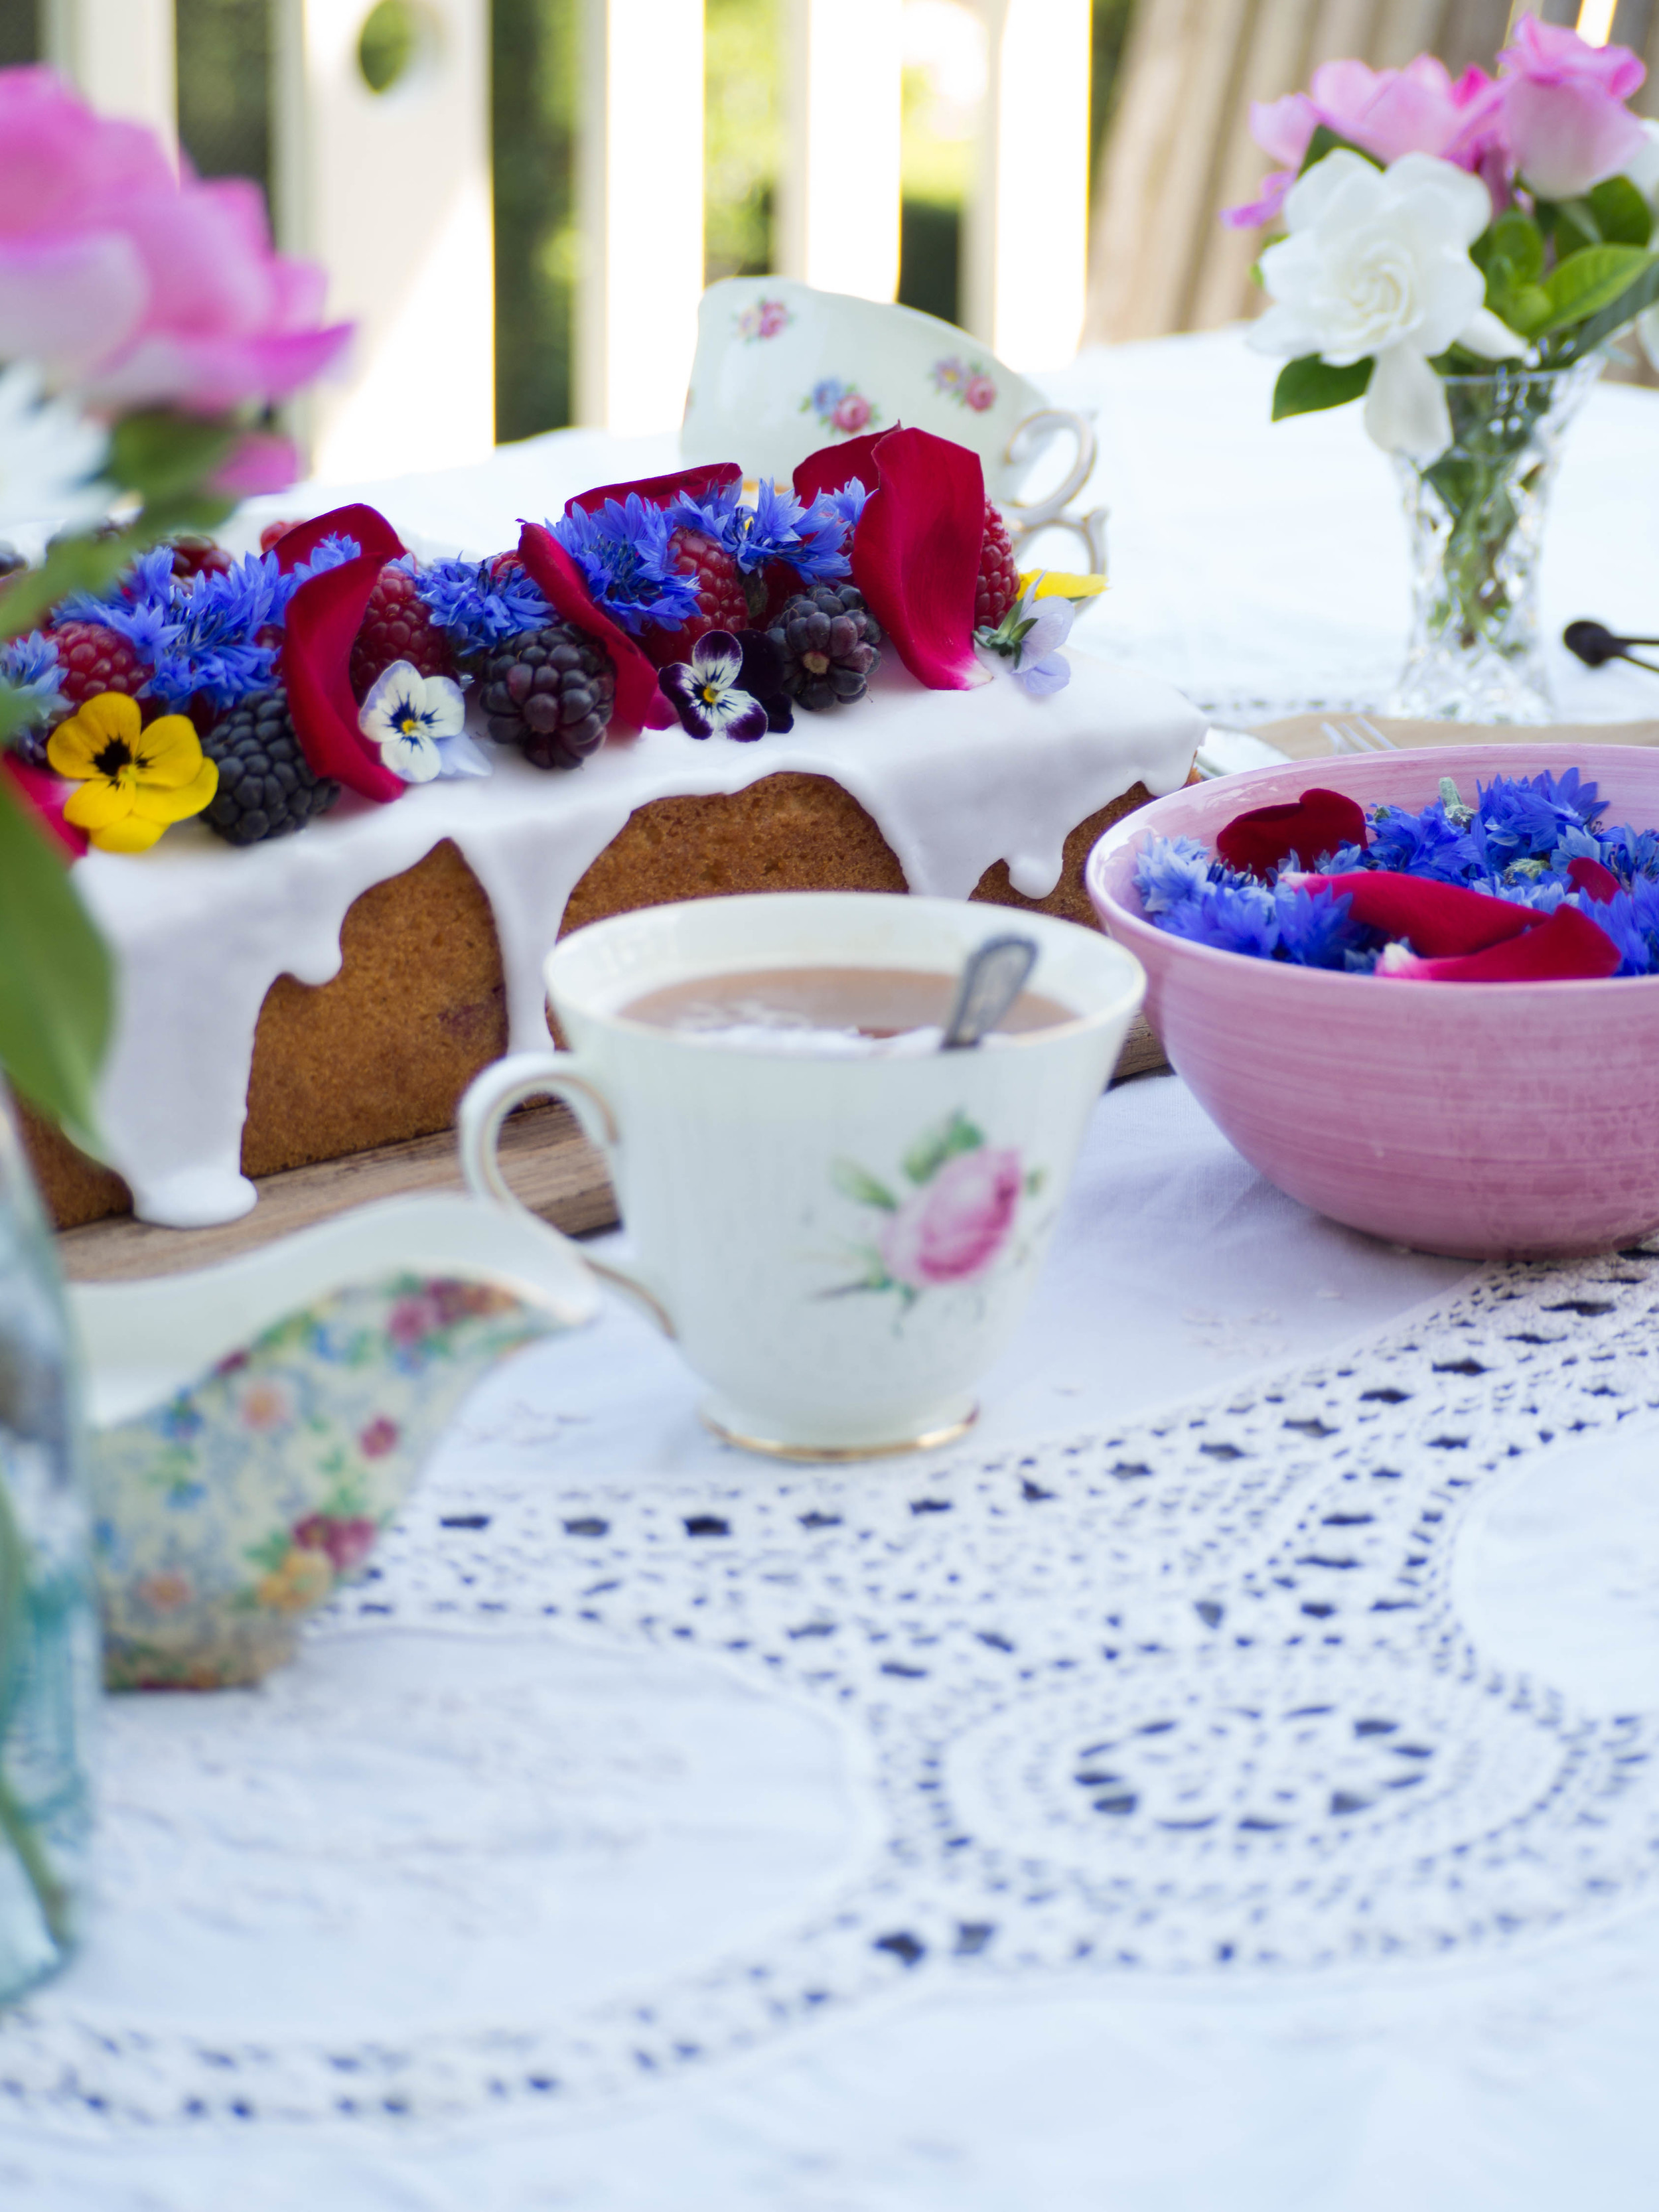
Obsessiveness aside, I think this cake would be fantastic for lots of occasions, but kitchen teas, afternoon teas and birthdays spring to mind first. Use whatever edible flowers you can find, otherwise a nice combination of berries will still look lovely. A regular loaf tin will work too, I found this long skinny one at Donna Hay’s pop up shop at Fox Studios in Sydney. 

Simple Summer Celebration Cake

Ingredients: 

125g margarine, or unsalted butter (softened)

165g caster sugar

1 tsp vanilla bean paste/vanilla extract

2 eggs 

250g self-raising flour

105ml milk (preferably skimmed)

100g raspberries


For the Icing: 

1 1/2 cups icing sugar 

1-2 tbsp rosewater

berries (raspberries, blackberries) and edible flowers (rose petals, violets, cornflowers), to decorate 


Method: 

Pre-heat oven to 160 degrees Celsius, and line a loaf tin with baking paper. 

In the bowl of an electric mixer, beat the margarine, sugar and vanilla until light and fluffy. 

Beat in the eggs one at a time, then add half the flour and half the milk and mix. Add the remaining flour and milk and mix on medium speed until well combined. Gently fold in the raspberries. 

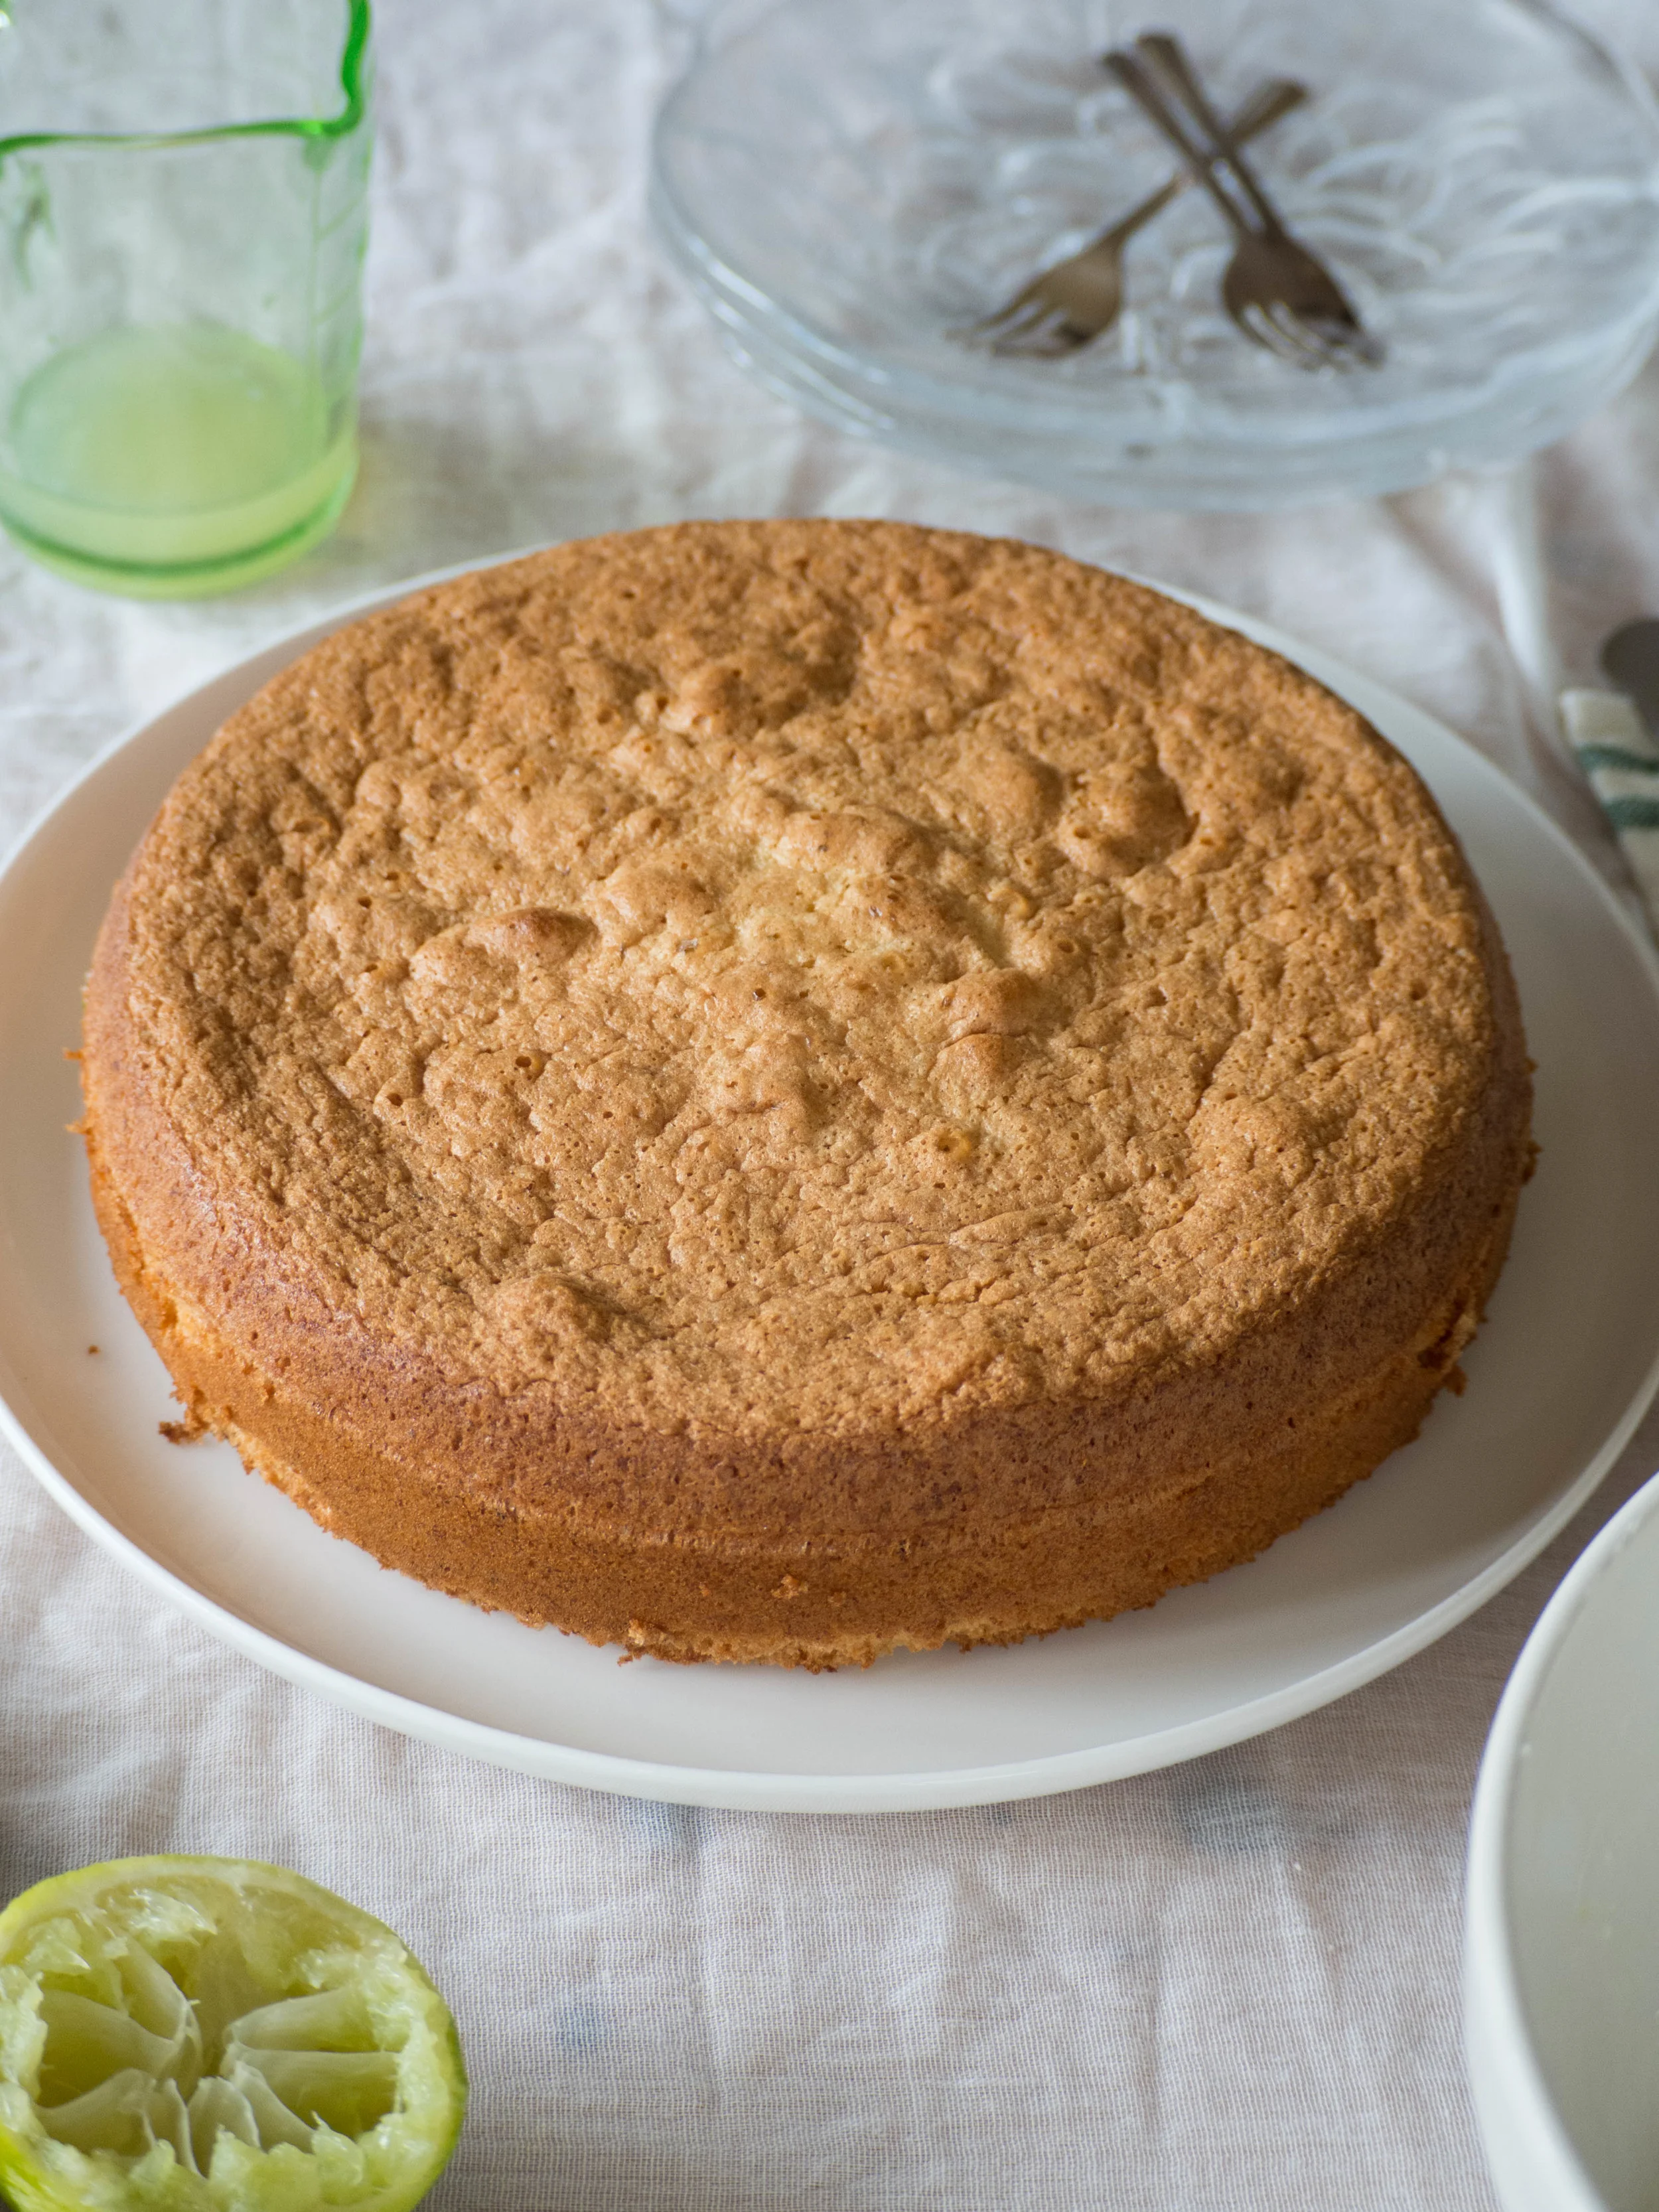
Transfer the mixture into the loaf tin, smoothing the top. Bake for 50 minutes, or until the cake springs back when touched lightly and a skewer comes out clean. 

Cool in the tin for a few minutes then transfer to a cooling rack, leaving the baking paper underneath the cake (this will prevent the cake from sticking to the rack, and catch any runaway icing later). 

Once the loaf has cooled completely, sift the icing sugar into a bowl. Add one tablespoon of rosewater, and stir. Continue to add rosewater (or water for a more subtle flavour) and stir well, until the icing is a nice smooth consistency. Drizzle the icing over the cake, allowing it to fall down the sides. Decorate with the berries and edible flowers immediately. Allow the icing to set a little before serving. If there are any leftovers store in the fridge, as the decoration will not store well at room temperature. 

Original cake recipe adapted from The Australian Women’s Weekly Cakes & Slices Cookbook, p.89.

In Cakes & Slices Tags cake, Summer, Berries, Raspberries, Blackberries, Edible Flowers, Rose Petals, Violets, Cornflowers, Celebration cake, blogging
Comment

Lime, Coconut & Macadamia Cake (Dairy Free)

Kath October 18, 2015

This is the original recipe I used when I made my Blood Orange cake from my previous post. It is a nice and light cake, that could easily be made gluten free. The flavours are Summery, and definitely suit the very warm weather we have been experiencing here lately. 

I originally made this cake back in August, and while the zingy flavour of the lime was really nice, it didn’t really go well with the Winter weather! I shared some of the cake with a friend and she commented that the cake was definitely a Summer one! And I agree. Which is why I have waited a little to share the recipe with you. It would be lovely at the end of a weekend meal, or taken to BBQ or picnic in the warmer months. 

The recipe comes from one of Bill Granger’s many great cookbooks. Every one of his books have great recipes, and most are fairly easy, yet packed with flavour. I am always disappointed when I try a recipe that looks easy, and doesn’t take much time, but has compromised on flavour to do so. Bill’s recipes never disappoint, and this salmon recipe in particular, has become a tasty and quick weeknight staple in our house. 

But back to the cake… I added a few slices of lime on top of the cake, as I didn’t like the way the cake looked just with the icing. The top of the cake wasn’t even, and so the icing showed all its flaws. I coated a few very finely sliced pieces of lime in white sugar, and cooked them on a low temperature in the oven for 40-50mins. They caramelised a little, and covered the top of the cake nicely. I did ensure I had allowed the excess liquid from the slices to drain however, or they will make the cake soggy. You could use lime or kaffir lime leaves, or coconut to decorate the cake if you wanted however. 

Lime, Coconut & Macadamia Cake

Ingredients: 

200g macadamia nuts 

40g self-raising flour

6 eggs, separated 

165g caster sugar

finely grated zest of one lime 

45g desiccated coconut 


Ingredients for Icing: 

125g icing (confectioners) sugar

2 tbsp lime juice

1 tsp finely grated lime zest


Method: 

Pre heat oven to 180 degrees Celsius and grease and line the base of a 23cm spring form cake tin. 

In a food processor, blitz the macadamia nuts and flour until the nuts are ground (about the consistency of almond meal).

Beat the egg yolks and sugars in a bowl for about 3 minutes, or until they are pale and fluffy. Fold in the zest, coconut and macadamia mixture. 

In a separate bowl, whip the egg whites until stiff peaks form. Using a large metal spoon, gently fold the egg whites into the egg yolk and macadamia mixture, a third at a time. 

Pour the batter into the prepared tin and bake for 40 minutes, or until lightly golden and cooked through. 

Allow the cake to cool in the tin for 5 minutes, then transfer to a wire rack to cool (the cake can be iced when still a little warm, if you want the icing to drizzle down the sides of the cake).

To make to icing, sift the icing sugar into a bowl and add the lime zest. Gradually add the lime juice, until you have a smooth icing. Spread over the cooled cake. 

Reference: ‘Bill’s Open Kitchen’ by Bill Granger (Murdoch Book Pty Ltd, 2003), p.91.

In Cakes & Slices Tags Lime, Macadamia, Coconut, Bill Granger, cake, Summer, Dairy Free
Comment

Summer Afternoon Tea with The Girls

Kath December 17, 2014

In my last post, I mentioned that soon I would have a couple of things to share with you all. This is one of them! 

I am very excited to share, that in collaboration with Liveability, I have created an event guide for a Summer Afternoon Tea. 

I organised, styled, catered and photographed the event, and have put together the guide and mood board for the event which can be viewed on the Liveability site. 

A few of the recipes made on the day, and shared in the Liveability post are my own creations as well. 

Afternoon Tea (10 of 142).jpg

I have always enjoyed a good afternoon tea. I love a good pot of tea, especially when the tea can be drunk from a lovely tea cup. Scones are of course, essential, as are a few sweet treats. As the weekend of this event was fairly warm, I opted to have more cold drinks than actual tea. I made an iced tea, a cordial and also provided water. 

Much of the tea ware and serving plates were vintage, mostly from my own collection. In the Liveability post I have listed my favourite shops to find vintage wares. My current favourite is The Lost and Found Department, which is based on Sydney’s Northern Beaches. 

To see the event guide in full click here. 

Many thanks must go to Cecille and Liveability for allowing me the opportunity to do this. I really appreciate it. Thanks! 

Thanks also to those who attended the event. Thanks for being my wonderful hand models for the afternoon! It means a lot that you came and made the effort for me. 

Thanks also to Jackielyn (Inside the Treasure Chest) for my head shot. I didn’t realise we were shooting one at the time, but I’m very glad you took that photo! Thanks for sharing it with me. 

If you are interested in my catering, styling or photography, please contact me at kulinaryadventuresofkath@gmail.com, or via the contact form on this site.

All baking, styling & photography for this post by Kathryn Vincent of Kulinary Adventures of Kath. 

In Events Tags Afternoon Tea, Liveability, Styling, Photography, Food Photography, Catering, Baking, Inside the Treasure Chest, The Lost & Found Department, Summer, Iced Tea, Scones
Comment
Passionfruit & Strawberry Iced Tea

Passionfruit & Strawberry Iced Tea for Summer

Kath October 11, 2014

Ok. I know my last post was based on passionfruit, but, it’s summer and they are so good at the moment! I also thought this recipe would be great considering how hot it has been in Sydney lately! 

This recipe was inspired by a drink I ordered at the T2 Tea House called ‘Summer Pash’. Technically the ingredients are the same, but my version comes out so different that it hardly ends up being the same thing. Which is good. Because now I can make it at home, and still enjoy their version at the Tea House! 

I found panama passionfruit during the week and used them here. I know I’ve said it before, but if you can get them, do. They are so good and the flavour is just so fantastic! 

This recipe makes about three litres. However, it is quite easy to halve the quantities and only make one and a half litres. 

Passionfruit & Strawberry Iced Tea
IMG_0355.jpg

Ingredients: 

2 litres of cloudy apple juice 

18-20 g green tea - I use ‘Green Rose’ from T2

800ml water, approx.

pulp from 3 panama passionfruit (or 5-6 ordinary passionfruit)

strawberries, to serve 


Method: 

Place tea in a three litre capacity jug (I use a jug that has a removable part for the tea). Heat the water to 80 degrees Celsius, or if using boiling water, allow to cool for a few minutes and add a little cold water to bring the temperature down. Green tea shouldn’t be brewed at 100 degrees Celsius. 

Pour the water over the tea, and allow to brew for 10-15 minutes. Once the tea has brewed, remove tea leaves from the jug. Using a fine strainer or sieve and extra bowl or jug, pour the tea through the sieve to remove any extra fine bits of tea. Rinse the original jug out and pour the tea back into the jug. You may want to pour the tea through the sieve again if there are still bits of tea left after the first time. Leave to cool for a while. 

Once the tea has cooled, add the apple juice and the passionfruit pulp to the jug. Stir everything in. Keep refrigerated. This iced tea tastes better when it has had time to infuse. I always make it the afternoon or evening before.  Add cut up strawberries and ice cubes to serve. You can add the strawberries to the whole jug of tea, I just find the tea won’t keep as long with the strawberries in. Without the strawberries, the tea should last in the fridge for 5-7 days. But really in Summer, how could it last that long?! 

IMG_0358.JPG

 Originally Posted January 21, 2014.

In Drinks Tags Summer, Iced Tea, T2, Drinks
Comment

recipes

  • Biscuits/Cookies 39
  • Breads Etc. 9
  • Breakfast 7
  • Cakes & Slices 67
  • Confectionary 5
  • Drinks 6
  • Events 14
  • Food Photography Tips 3
  • From The Mailing List 24
  • Heirloom Recipes 12
  • Holidays 44
  • Ice Cream 9
  • Jams Preserves & Spreads 9
  • Muffins 4
  • Off the Shelf 47
  • Other Desserts 25
  • Savoury Dishes/Meals 15
  • Scones 4
  • Tarts & Pastry 9
  • Travel 13

Sign up to Friday Food Chat with Kath, a weekly newsletter for more food, baking, cookbook chat and more!

Sign Up Here!
instagram-unauth pinterest facebook url

Website Accessibility: To enable text to speech function on the blog, click the sound button to the right of each blog post.

All images & content are the property of Kathryn Vincent, unless stated otherwise. Please do not use without permission.

Kulinary Adventures of Kath

Food Photography, Recipes & Baking

instagram-unauth pinterest facebook url