Kulinary Adventures of Kath

Food Photography, Recipes & Baking
  • home
  • About
  • Work with Kath
  • Shop
  • Blog
    • The Blog
    • Recipe Archive
  • Newsletter
  • Contact
  • home
  • About
  • Work with Kath
  • Shop
    • The Blog
    • Recipe Archive
  • Newsletter
  • Contact
Raspberry Pistachio Rose Cake (23 of 25).jpg

The Blog

Recipes and Food Photography by Kath Vincent.

  • The Blog
  • Recipe Archive
  • All
  • Biscuits/Cookies
  • Breads Etc.
  • Breakfast
  • Cakes & Slices
  • Confectionary
  • Drinks
  • Events
  • Food Photography Tips
  • From The Mailing List
  • Heirloom Recipes
  • Holidays
  • Ice Cream
  • Jams Preserves & Spreads
  • Muffins
  • Off the Shelf
  • Other Desserts
  • Savoury Dishes/Meals
  • Scones
  • Tarts & Pastry
  • Travel

Vanilla Sprinkle Melting Moments

Kath November 3, 2022

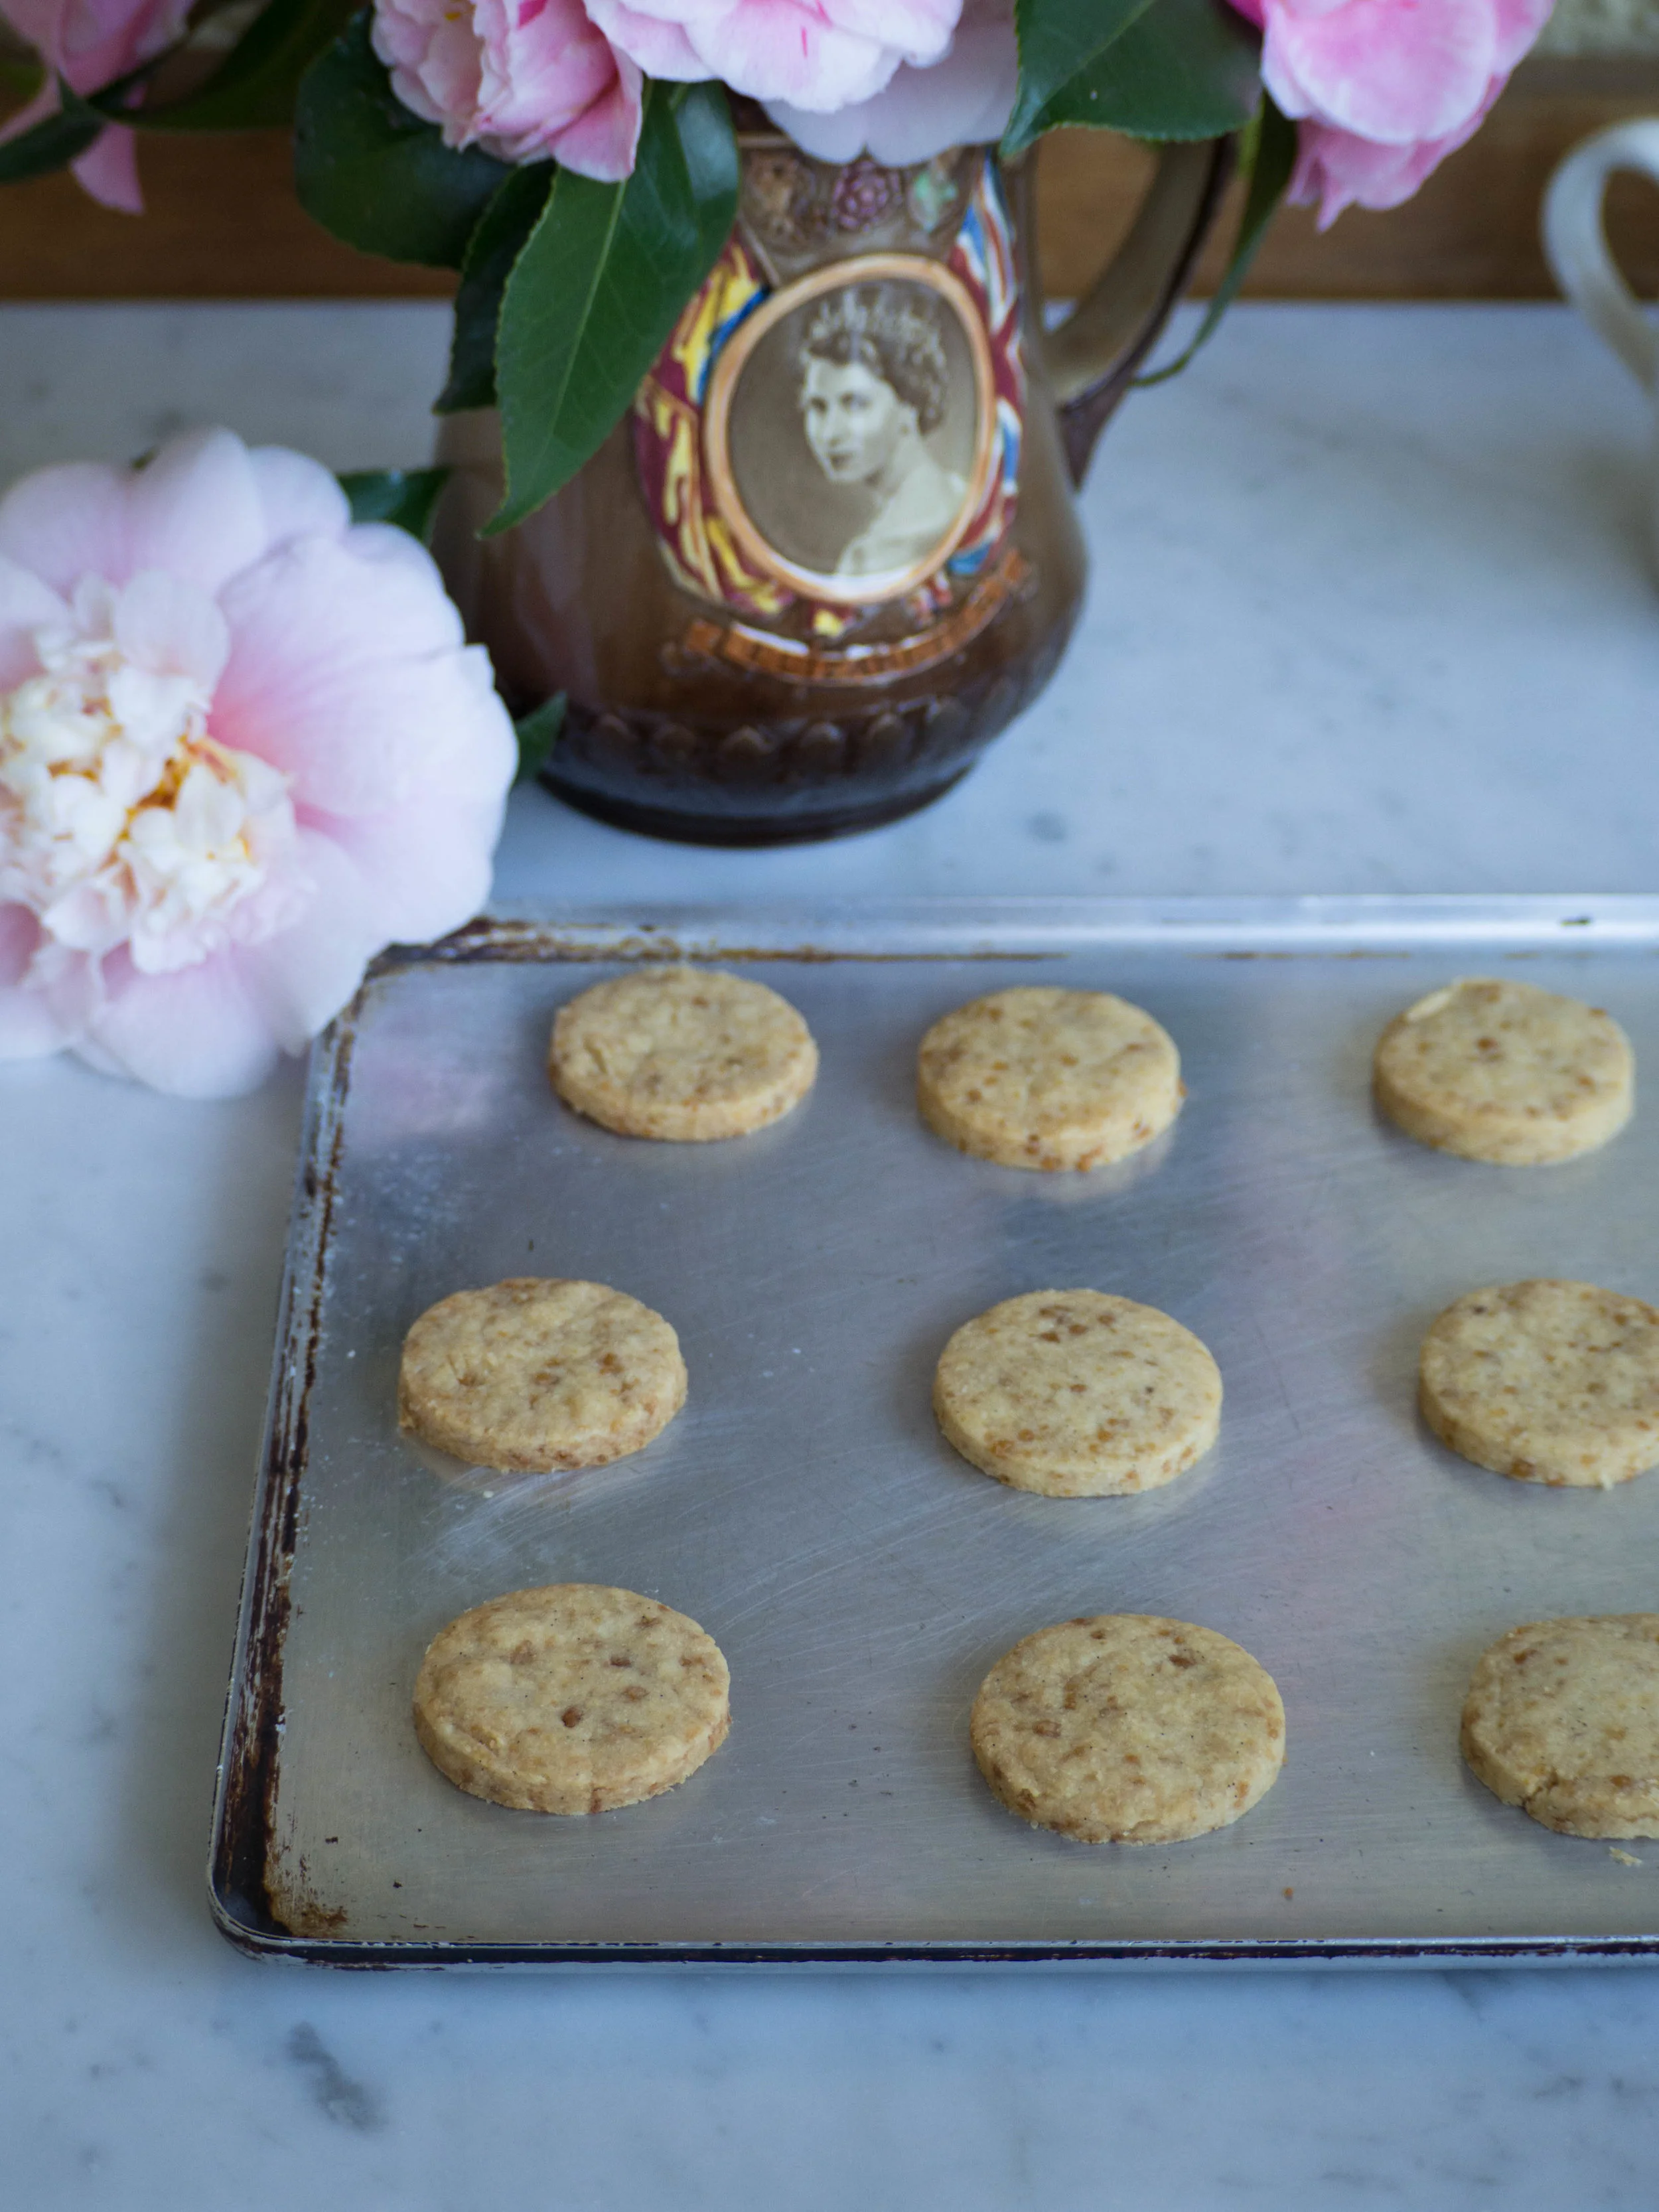
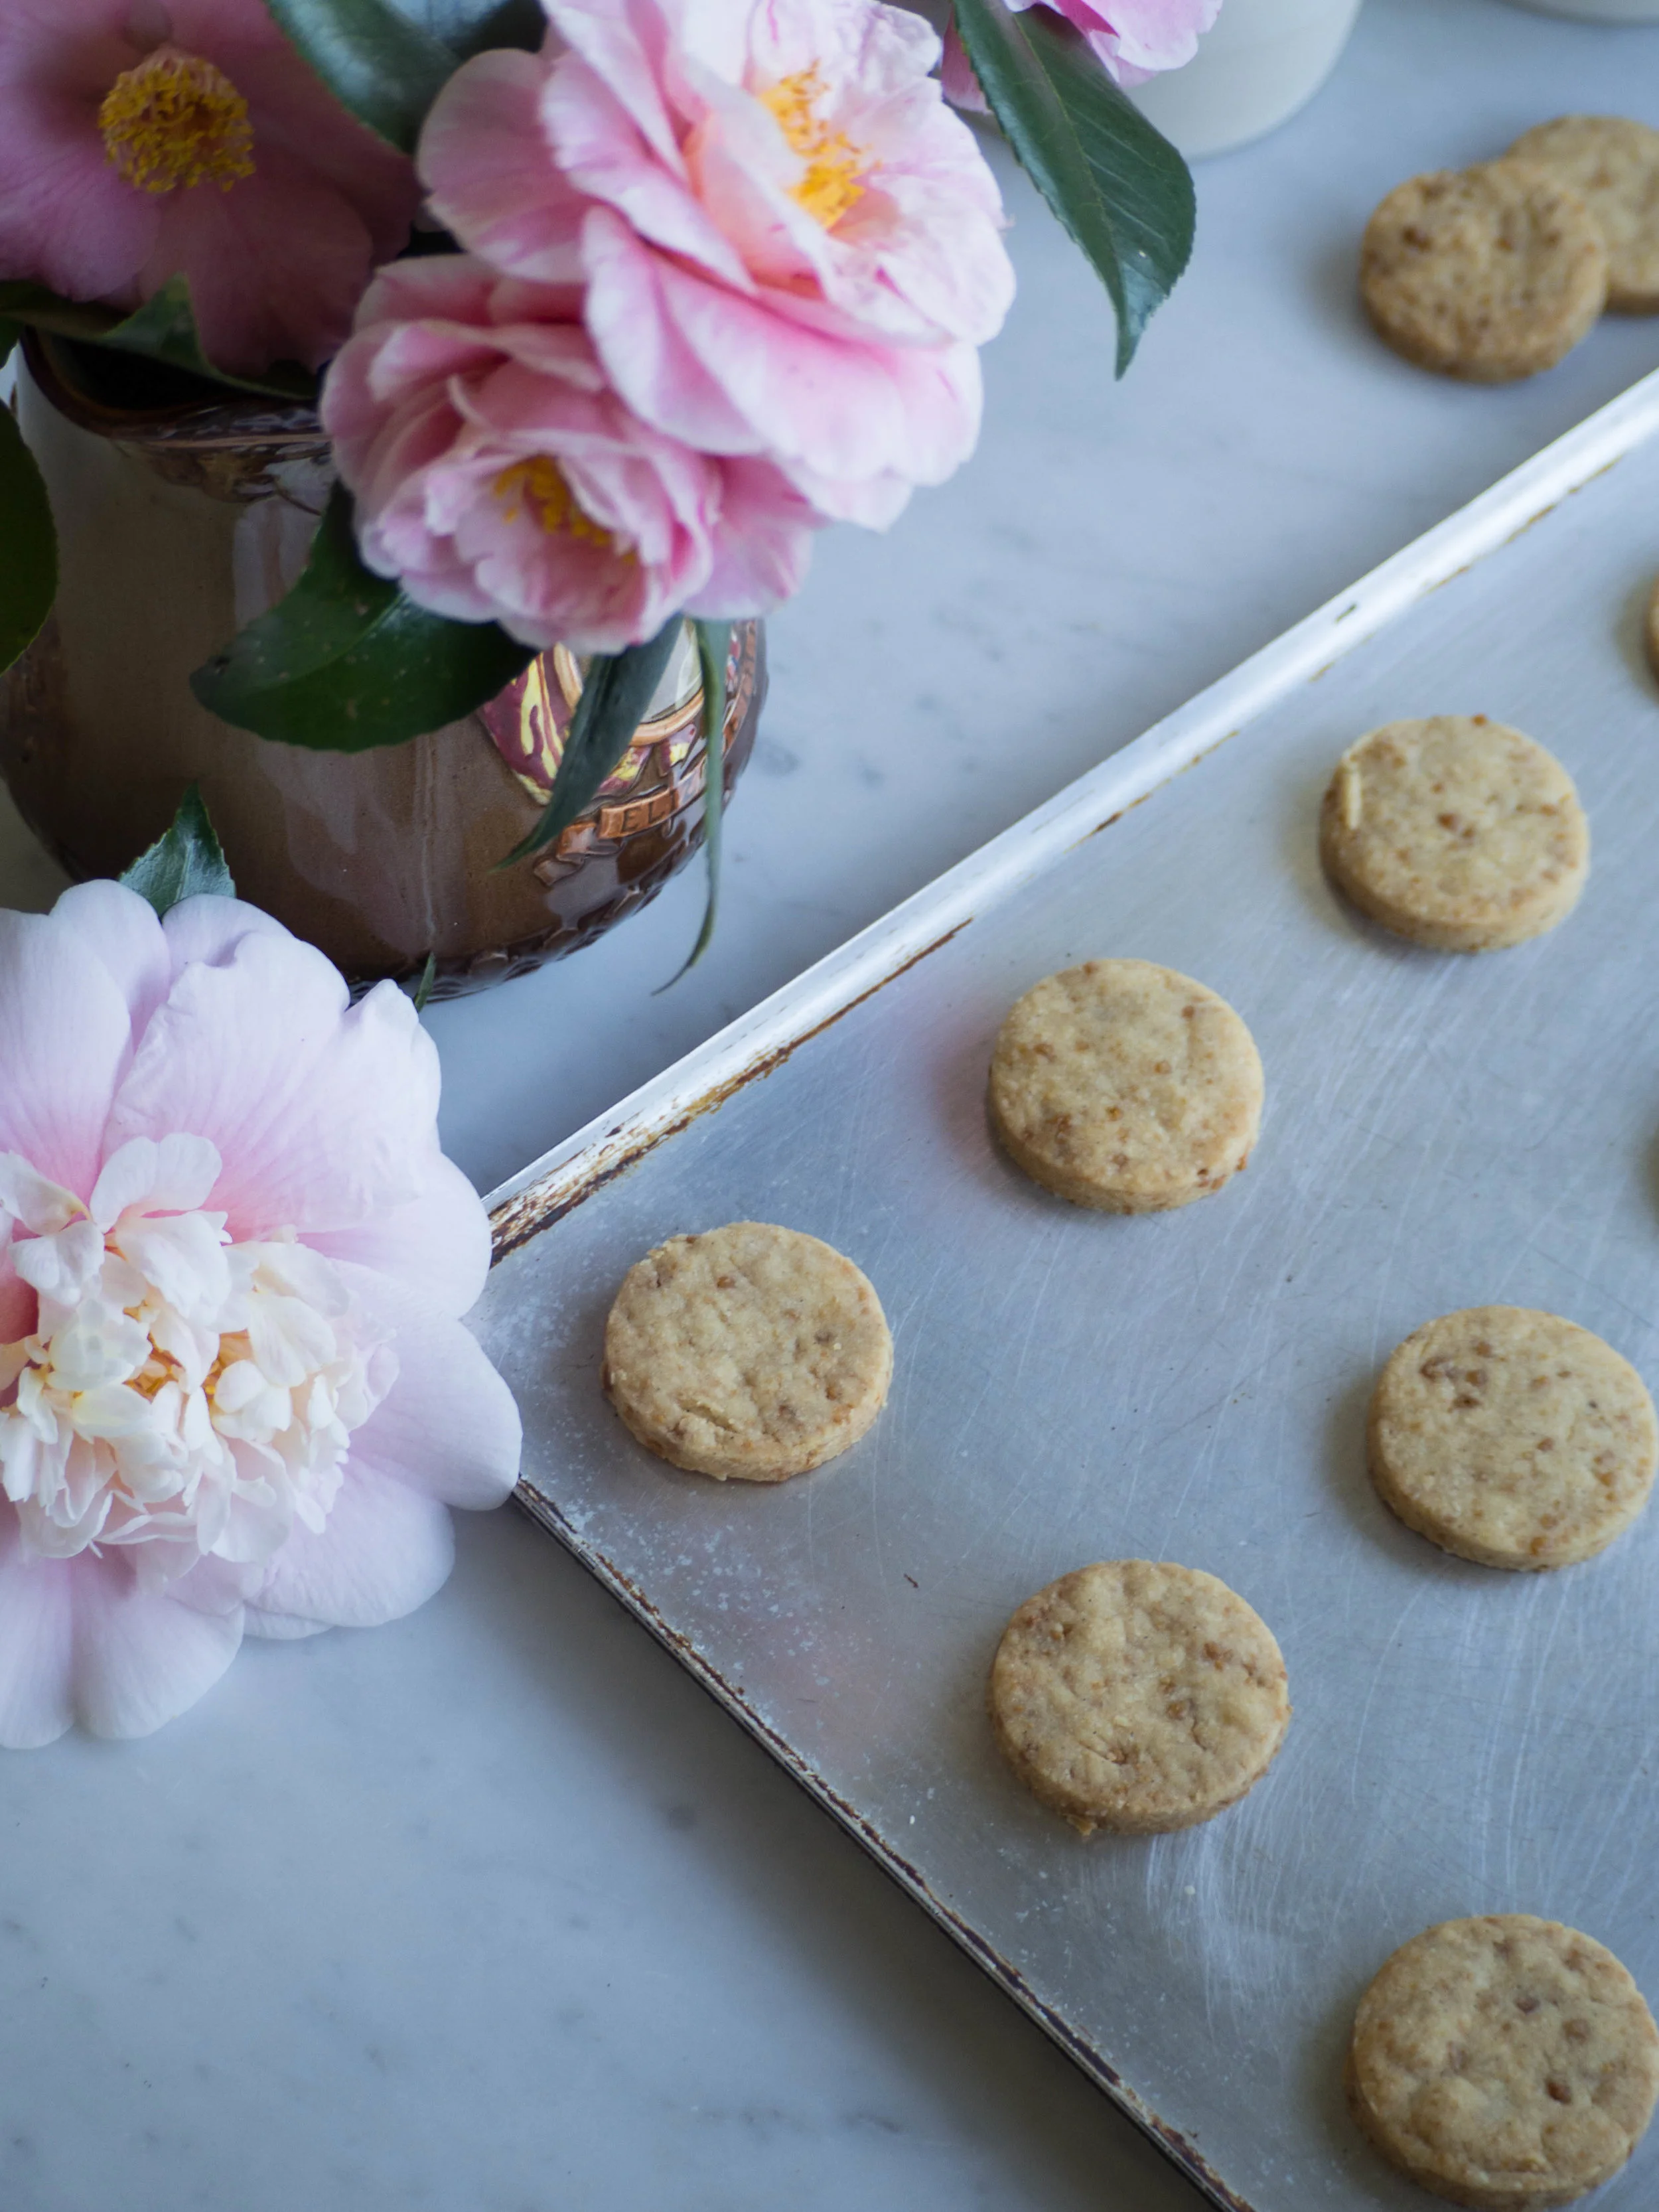
I was inspired to make these simple vanilla sprinkle melting moments after eating some delicious biscuits made by The Flour Millers Wife. Em of The Flour Millers Wife is based in Manildra NSW and bakes delicious biscuits that are sold in a few stores across the Central West of NSW. 

I have been following Em on Instagram for a little while, and always thought the biscuits she makes look so good. I managed to find some when I was in Orange recently and they tasted as good as they looked! 

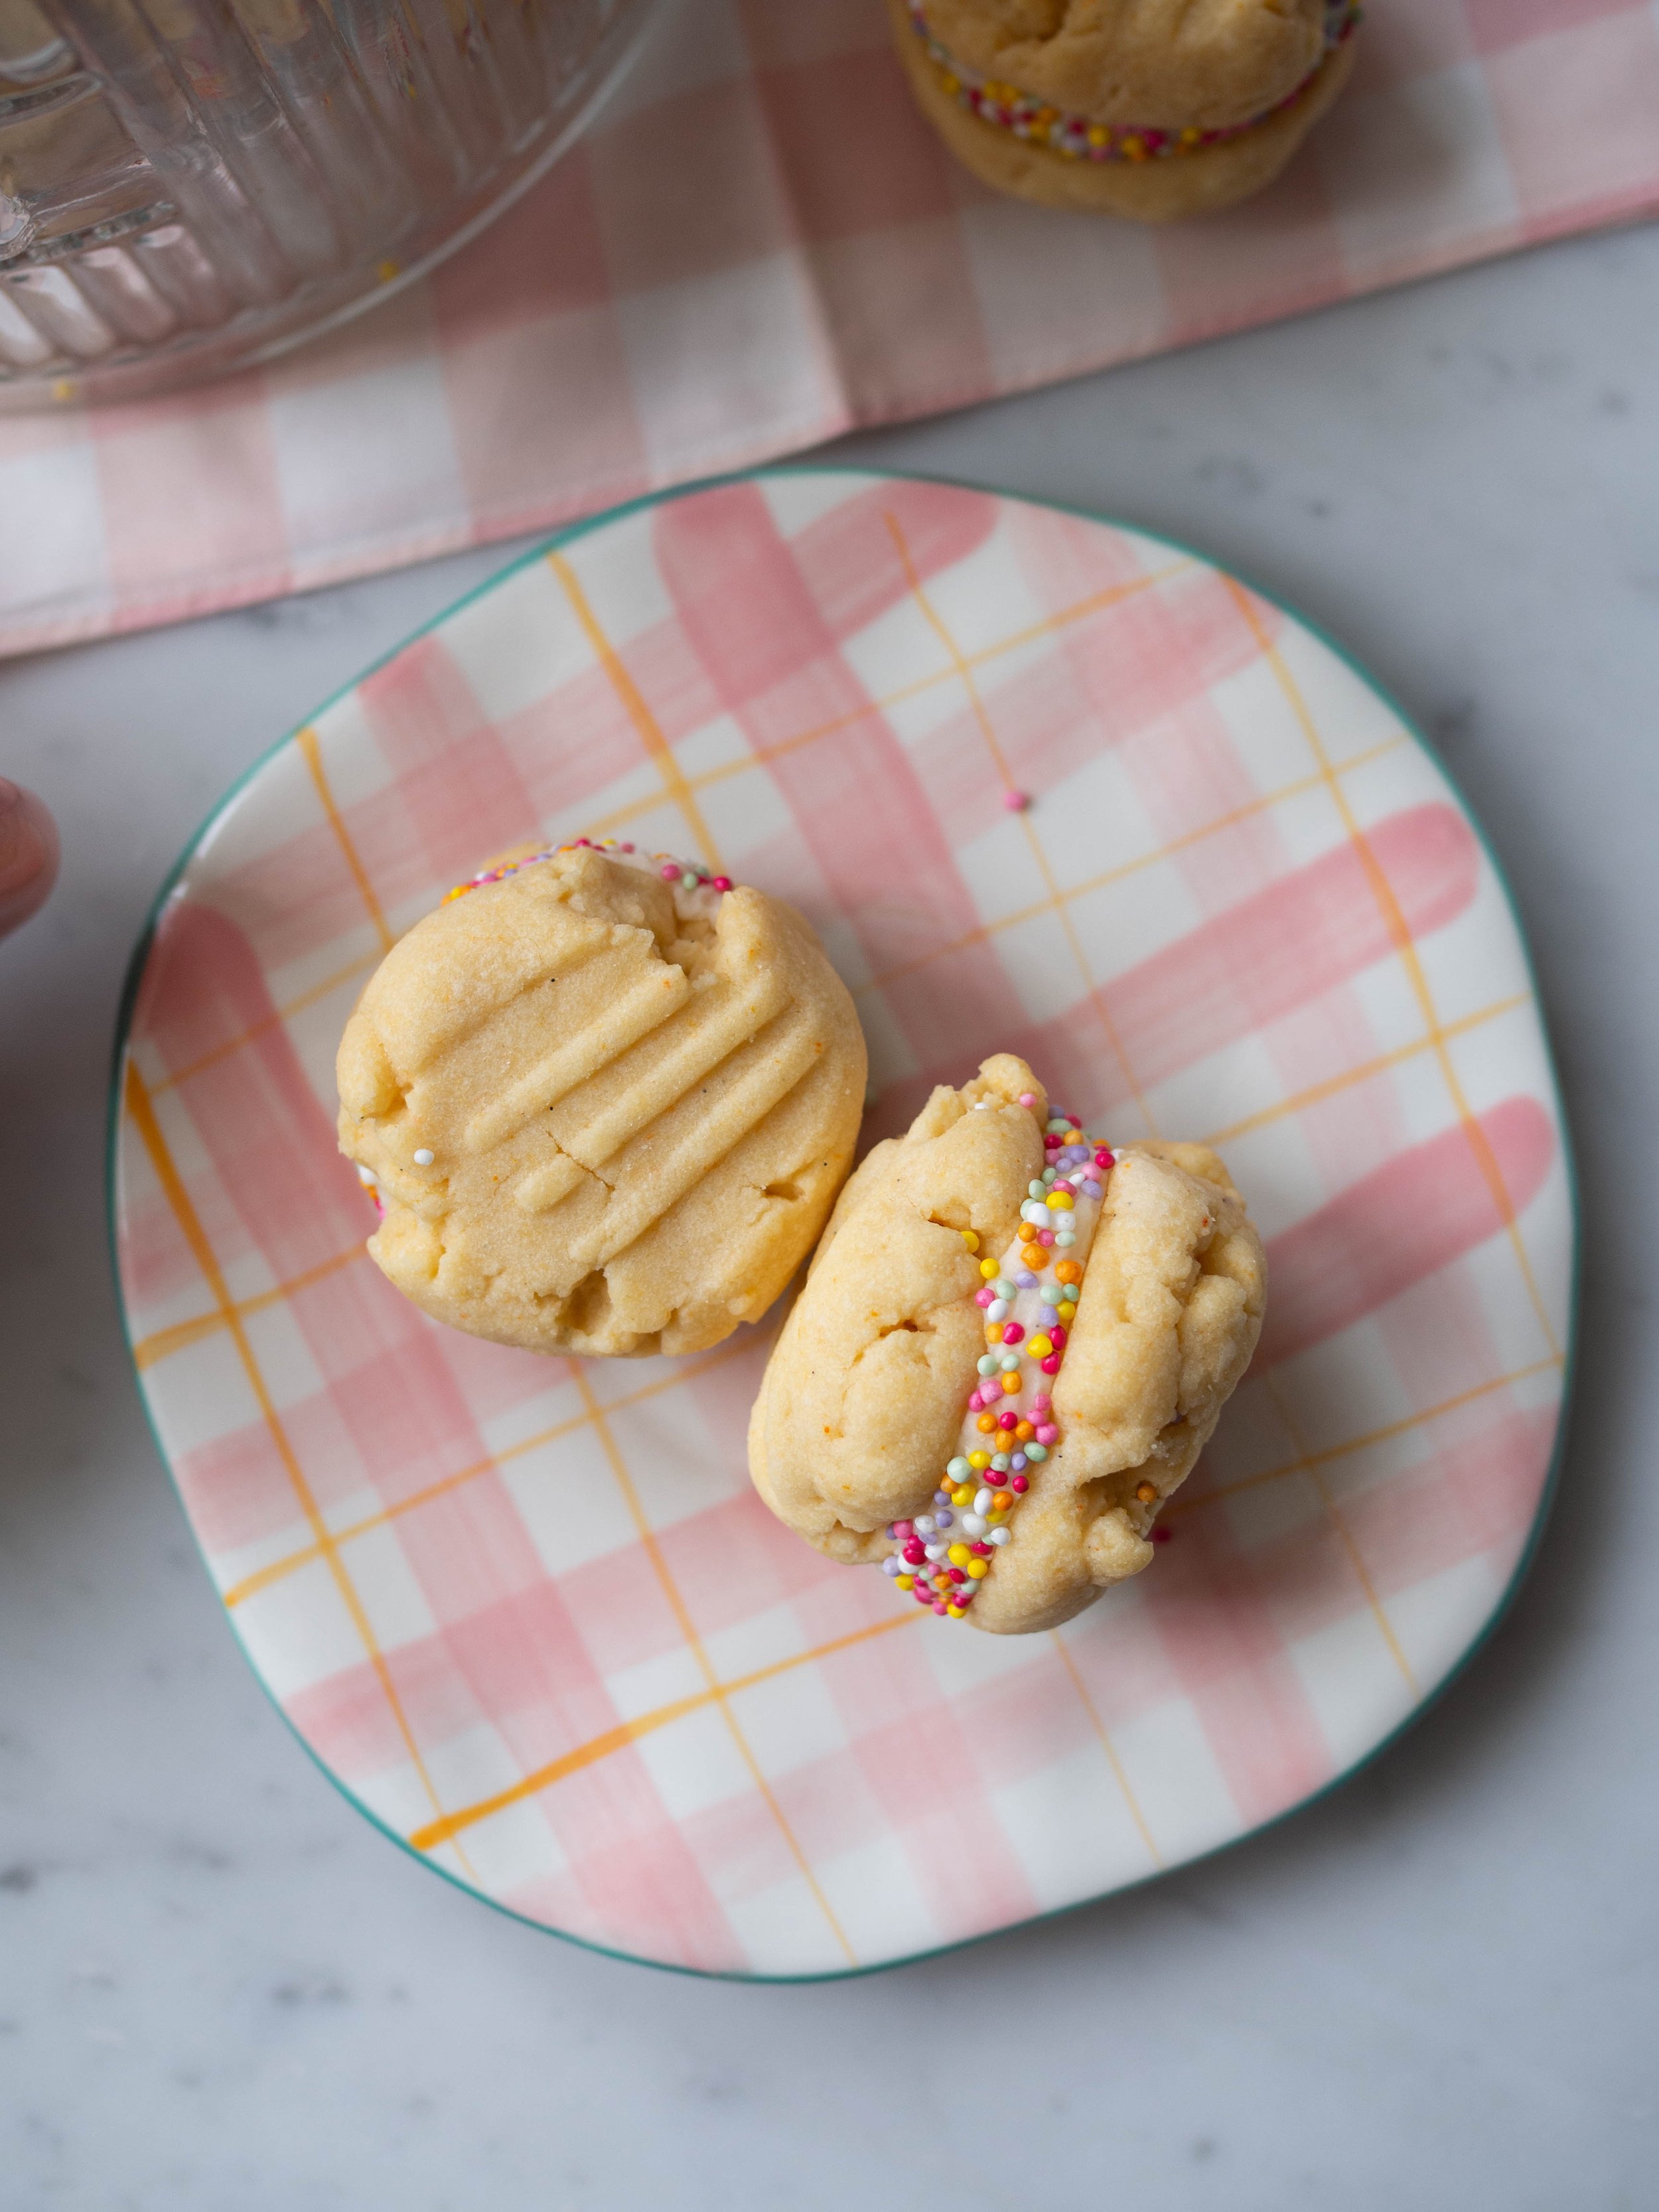
I especially enjoyed Em’s Sprinkle Yo-Yos, which are what gave me the inspiration to make these melting moments. I’m not sure exactly what the difference between melting moments and yo-yos are, or even if there is much of a difference. But since I have adapted my original melting moment recipe to make these, I haven’t altered the name. 

Biscuits by The Flour Millers Wife

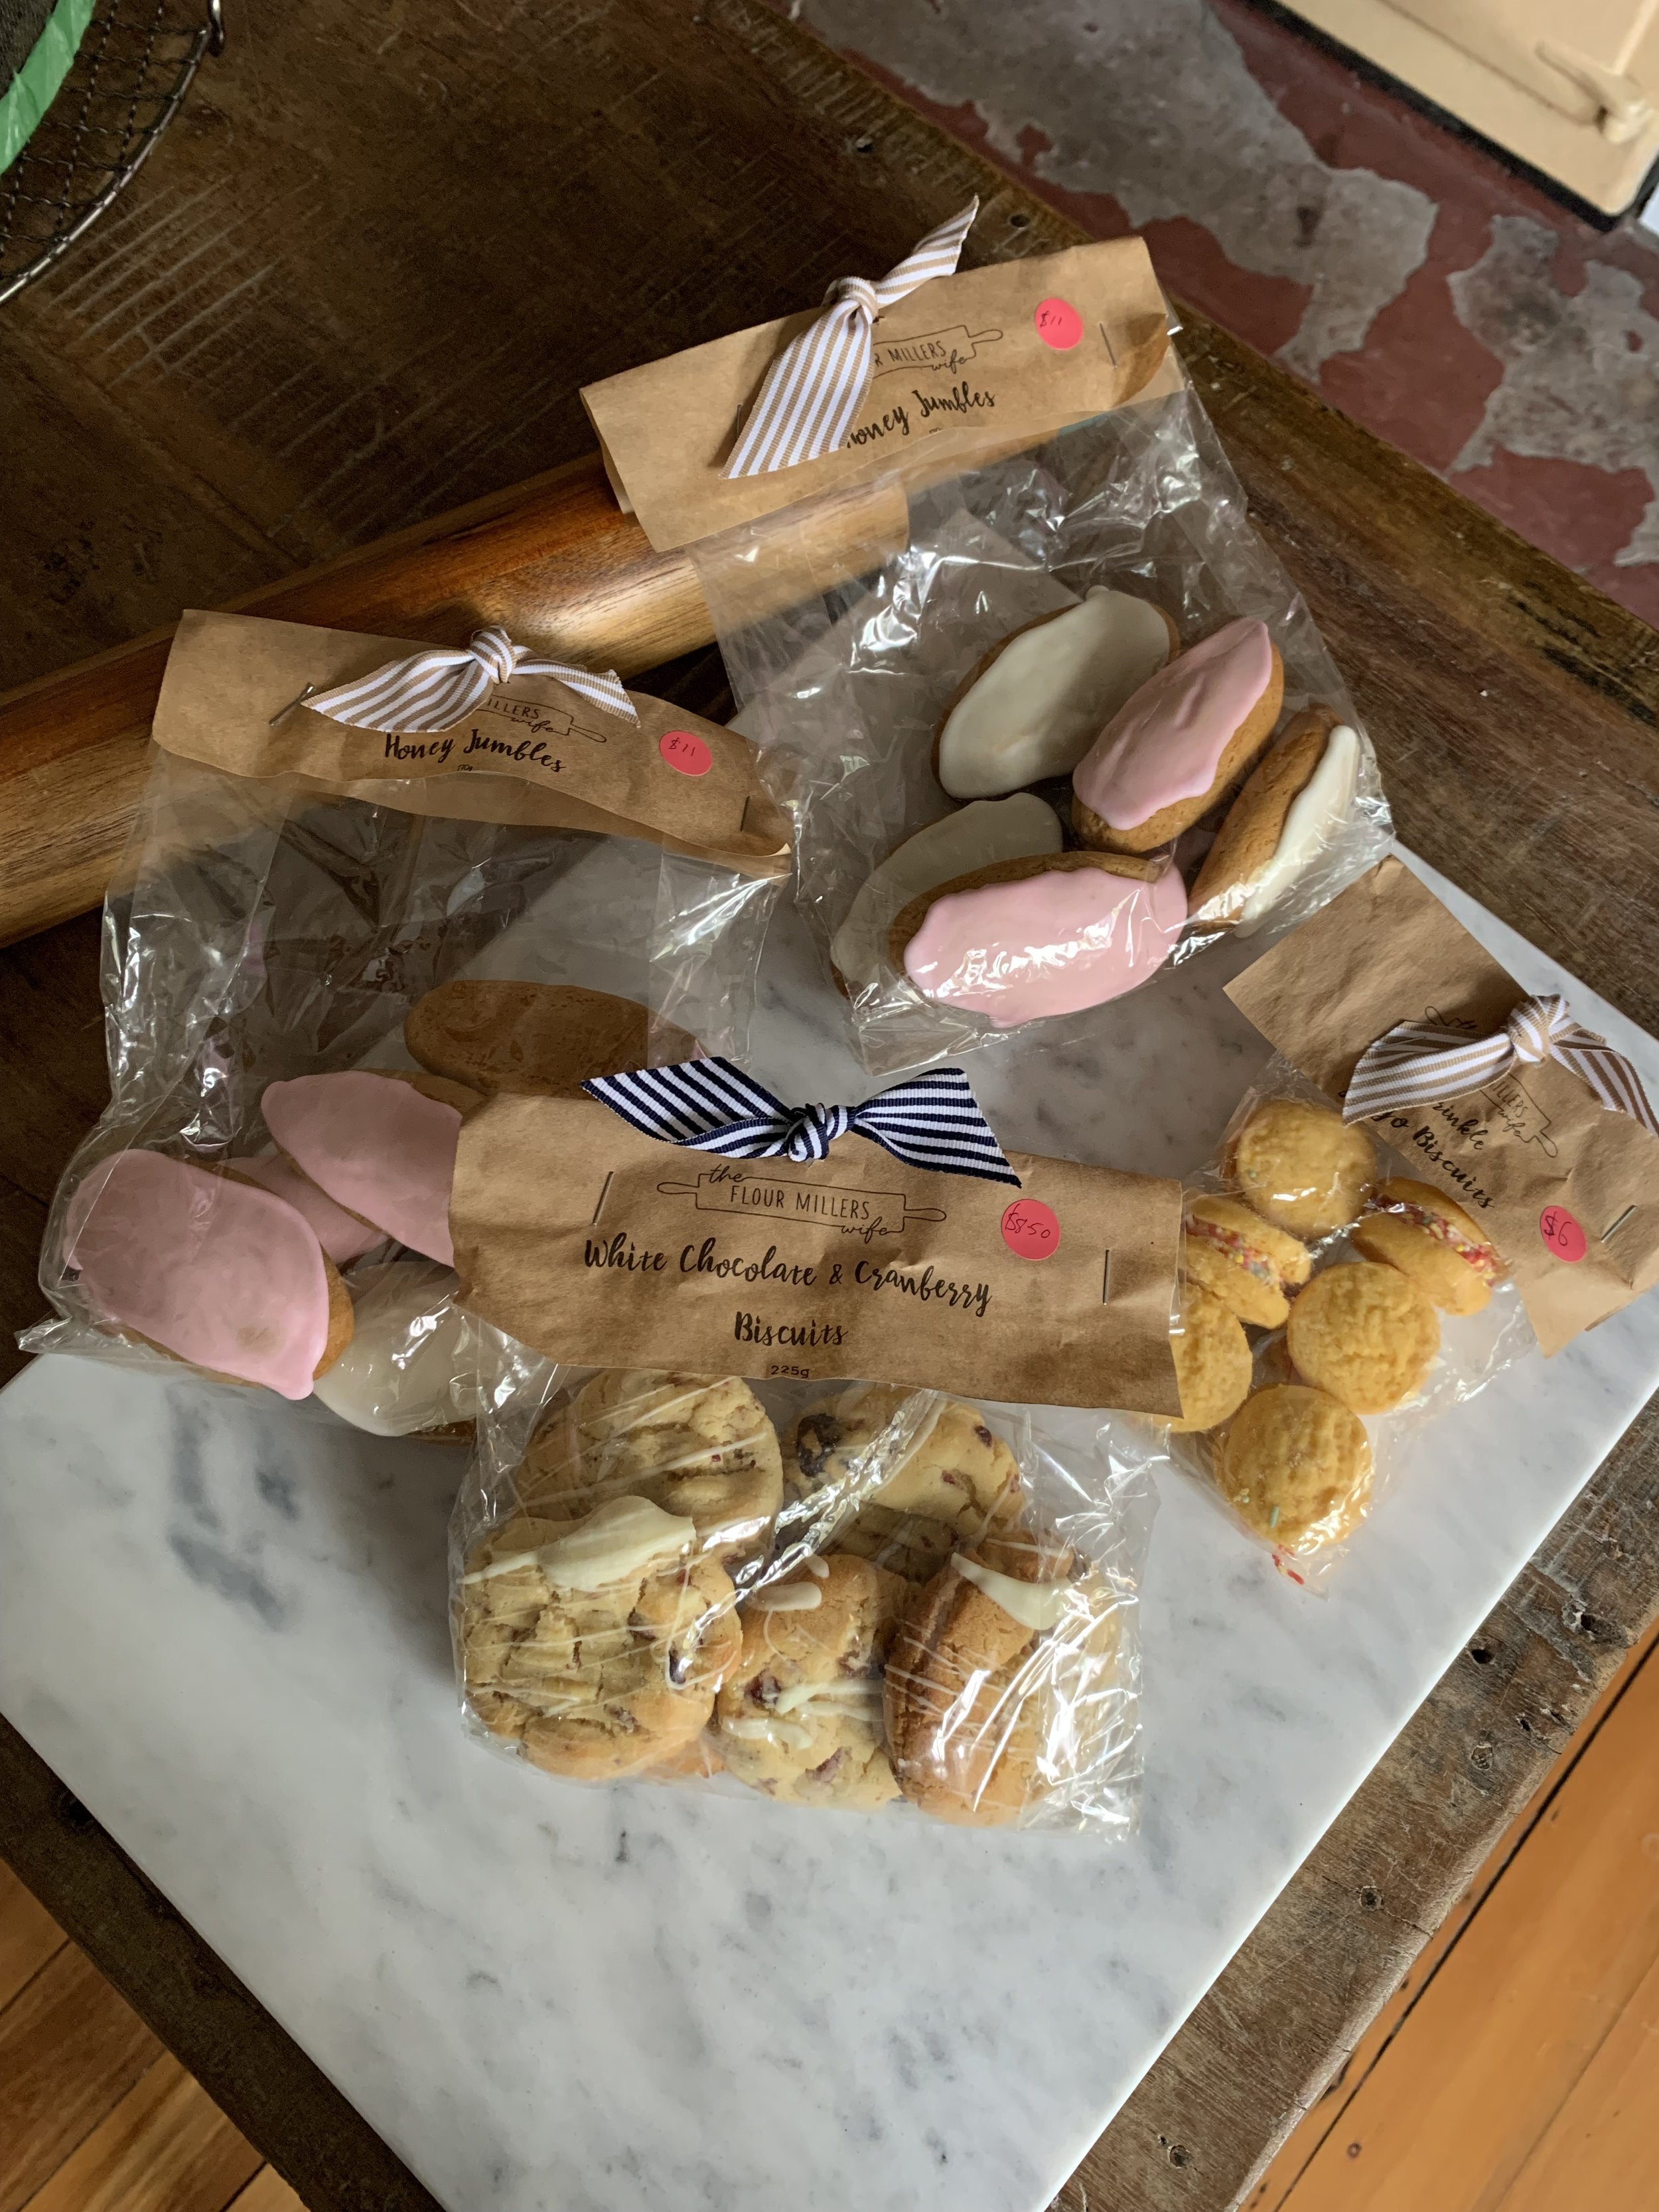
Biscuits by The Flour Millers Wife I bought in Orange - Two packets of honey jumbles, white chocolate and cranberry biscuits and the Sprinkle Yo-Yo Biscuits.

My version are very different from Em’s which are much smaller and have a softer crumblier style biscuit, but I think that’s the joy of finding inspiration in what other people bake. It’s not about replicating it exactly, but using it as inspiration to create a new recipe. 

And this way I can enjoy my own melting moments, and still look forward to having some of The Flour Miller’s Wife’s creation next time I am in the Central West! Thank you for the inspiration Em! And keep any eye out for her biscuits if you are around Orange, Molong or Carcoar - and in the mean time, have a go at the recipe below!

Vanilla Sprinkle Melting Moments

Ingredients:                                       

300g unsalted butter, softened

1 tsp vanilla bean paste

1 tsp vanilla extract

100g icing sugar/mixture

420g plain flour

50g custard powder

Ingredients for the filling:

80g unsalted butter, softened

200g icing sugar/mixture

1 tsp vanilla bean paste

Sprinkles/100s and 1000s, to decorate

Method: 

Preheat oven to 145 degrees Celsius, and line three large baking trays with baking paper. 

In the bowl of a stand mixer using the paddle attachment, beat the butter, sugar and vanillas until creamy.

Add the flour and custard powder to the creamed butter, and mix on the lowest speed until a dough forms. 

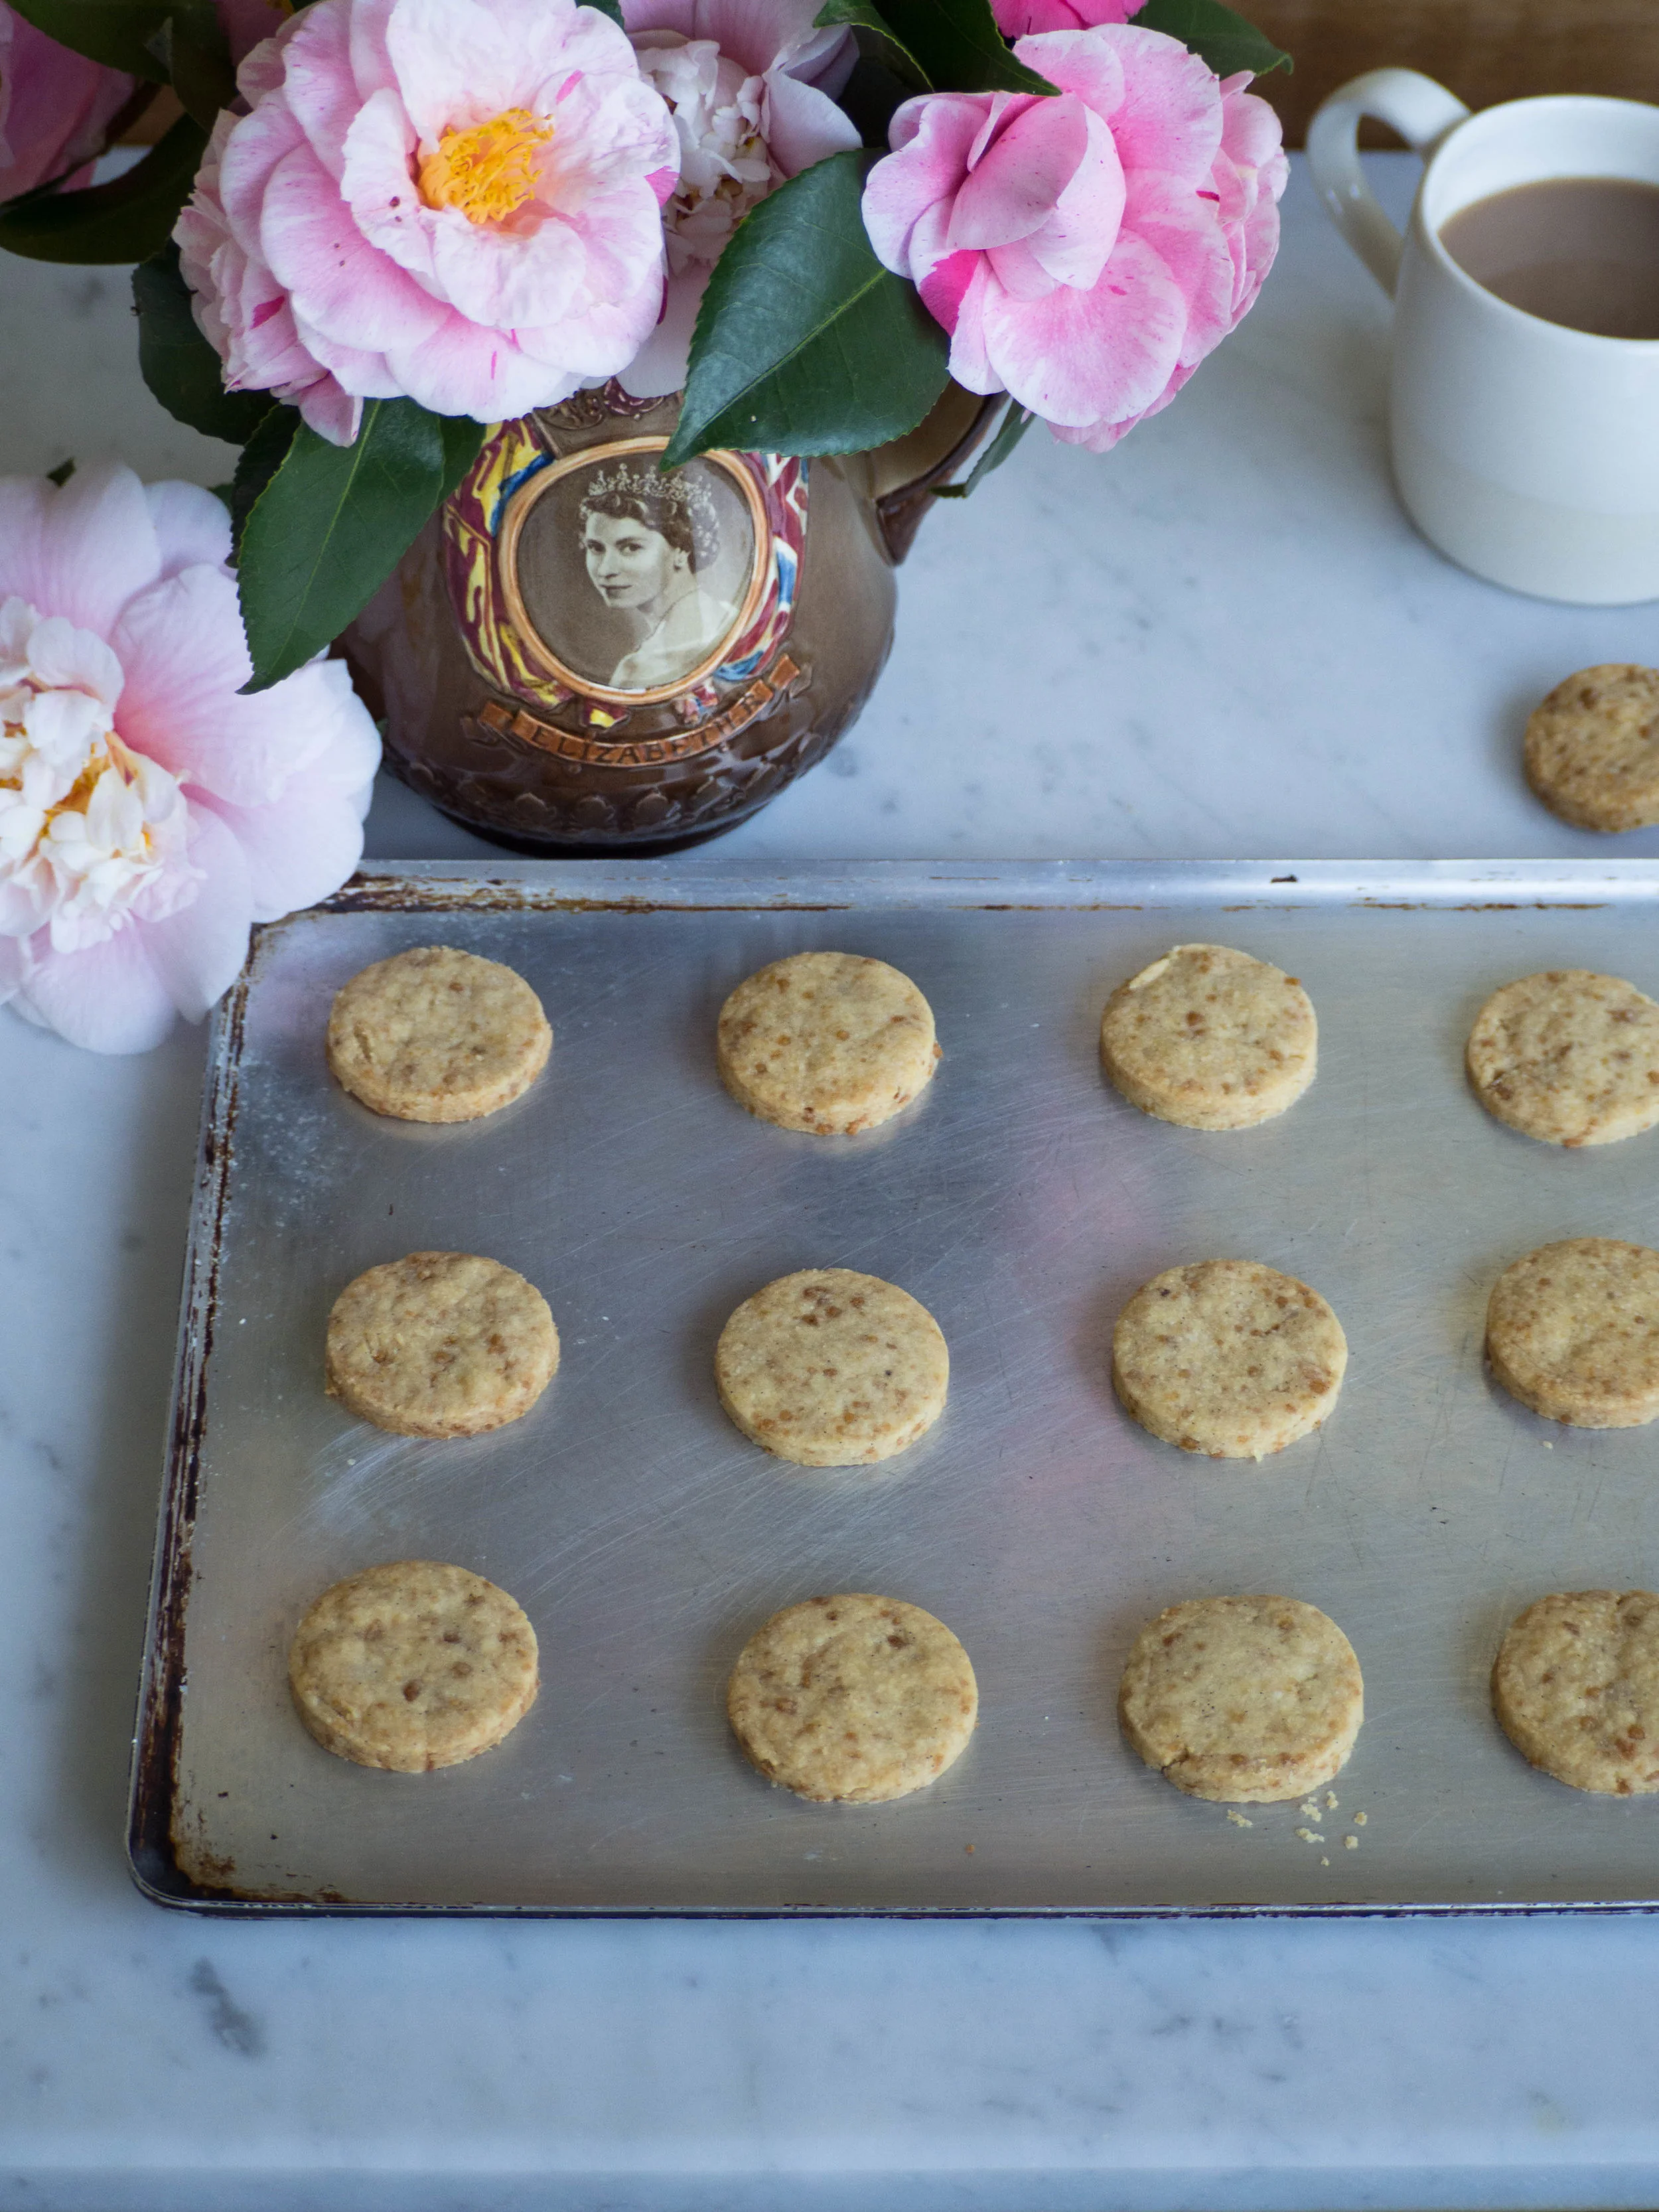
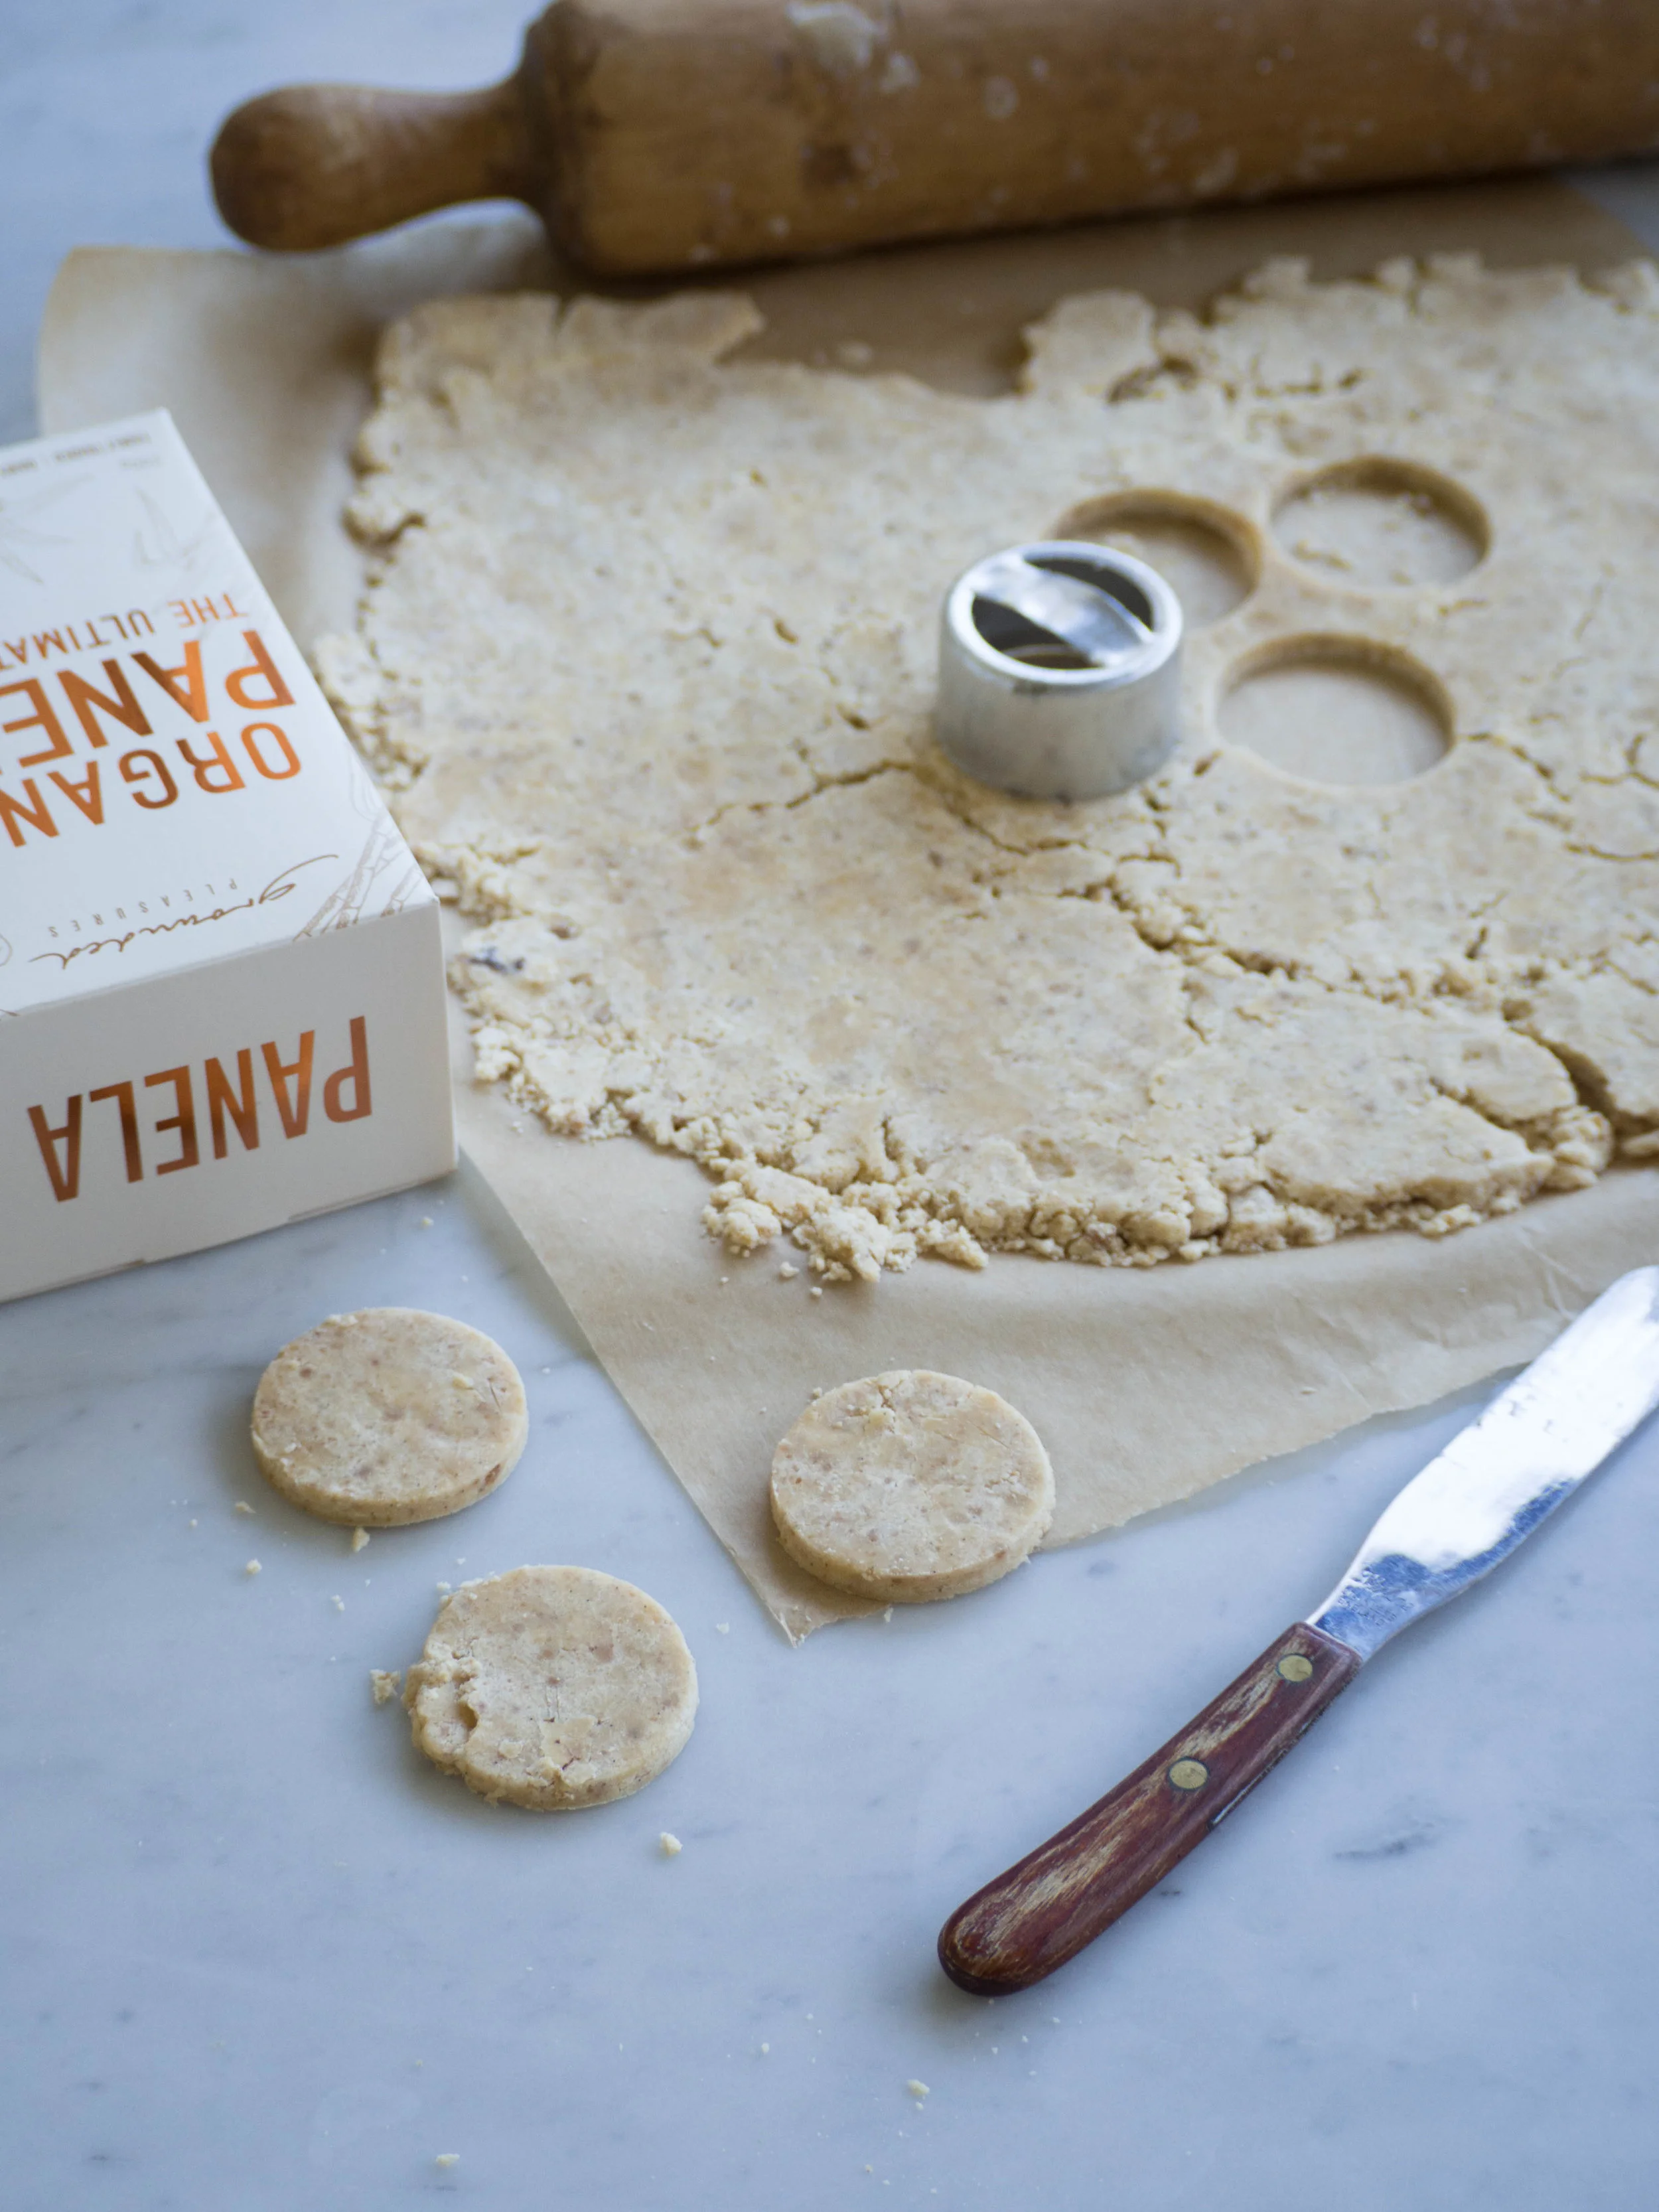
Roll teaspoonfuls of the dough into balls and place on the prepared trays (you should end up with 40-44 individual dough balls/biscuits) leaving a little space in between each (they won’t spread much when baking). Then lightly press down each ball with the back of a fork so they flatten out a little. Dip your fork in flour if it is sticking to the dough.

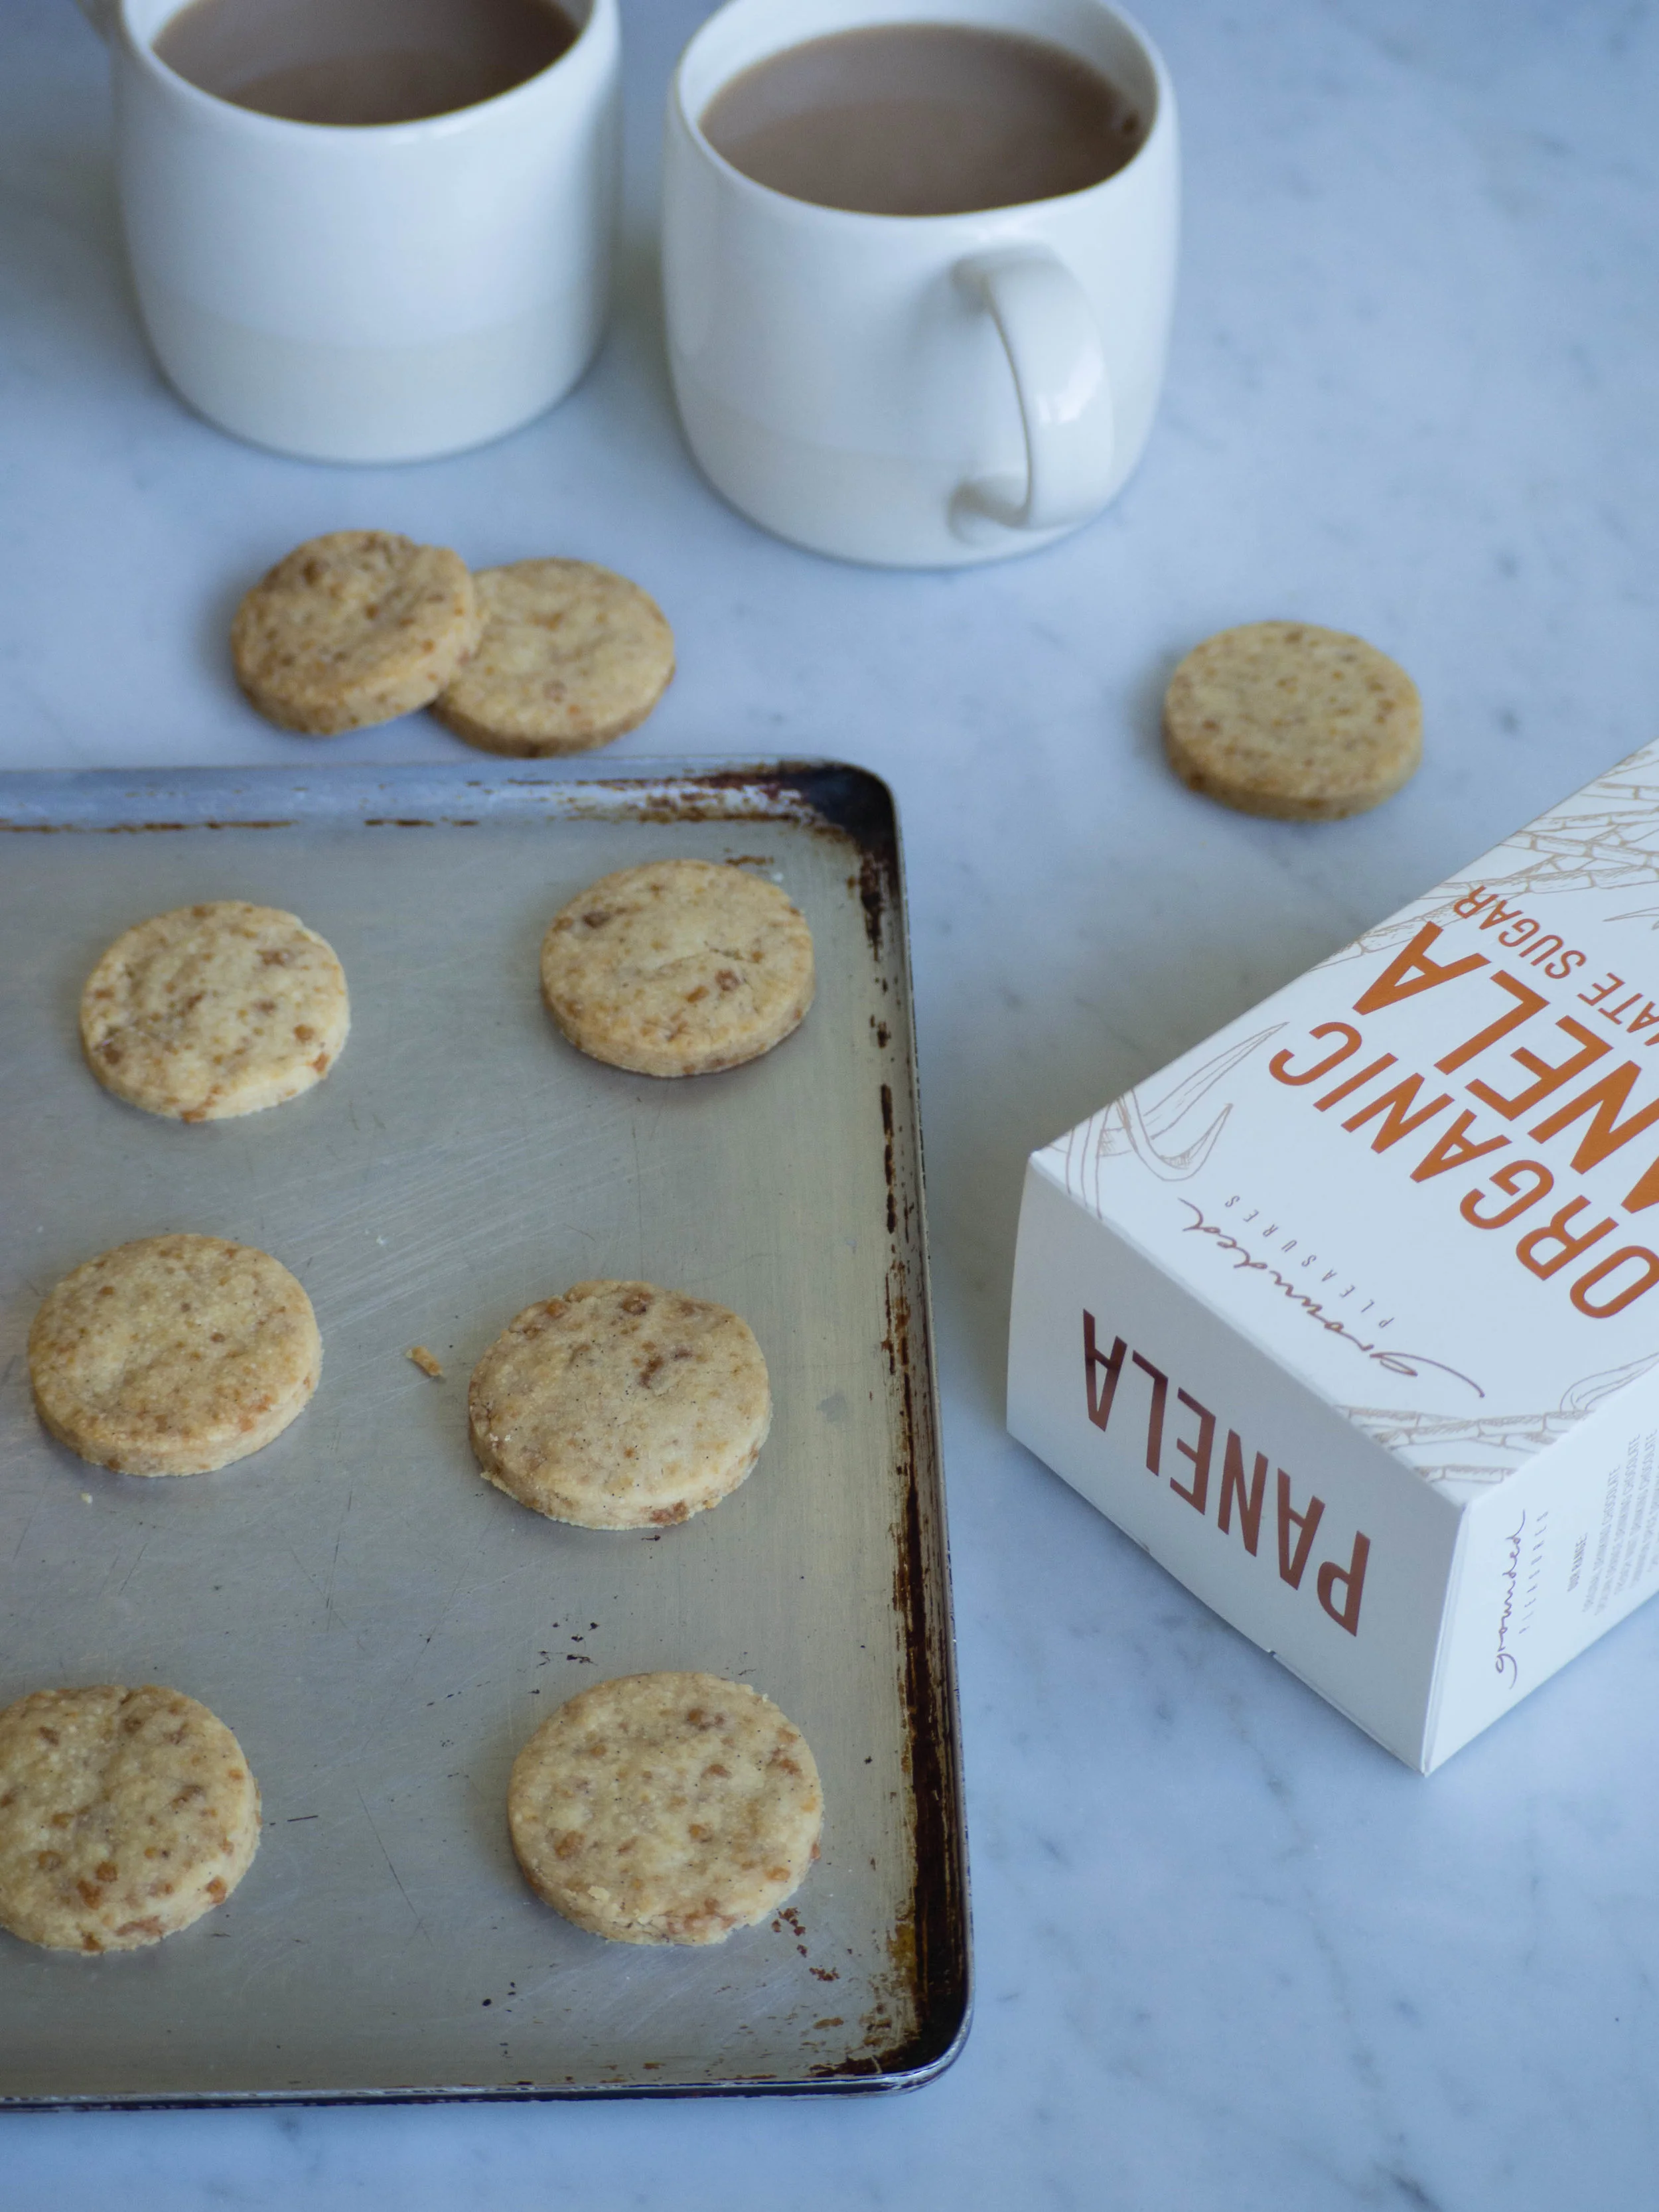
Bake for 25 minutes. They will be cooked when the undersides of the biscuits are lightly golden. To ensure a even bake, rotate the baking trays in the oven around half way through. 

Allow to cool on their trays.

Once the biscuits have cooled make the filling by beating all the ingredients except the sprinkles in the bowl of a stand mixer using the paddle attachment or by using a hand held mixer. Mix until light and fluffy and everything is well combined. 

Pair up the cooked biscuits, and turn one from each pair over so the underside is facing up. Spread or pipe the filling on to the underside of one biscuit in each biscuit pair, then gently sandwich the paired biscuits together. 

Pour some sprinkles into a bowl and dip the edges of each sandwiched biscuit into it, pushing the sprinkles into the sides of the filling.

Leave the biscuits for half an hour or so for the filling to firm up a bit (you can do this in the fridge in warmer weather). Biscuits will store well in an airtight container for a few days. 

Makes 40-44 individual biscuits and 20-22 sandwiched biscuits. 

In Biscuits/Cookies Tags Melting Moments, Vanilla, Sprinkles, The Flour Millers Wife, Biscuits/Cookies
2 Comments
Raspberry and Vanilla Snacking Cake

Raspberry and Vanilla Snacking Cake

Kath January 16, 2022

This cake came about because I bought 12 punnets of raspberries for $12 and then had a freezer full of raspberries. Not a bad problem to have, but amongst all the bread we also had in the freezer it felt like something needed to be used up! 

I liked the idea of just adding some of the raspberries to a nice plain vanilla cake and being able to snack on it whenever it felt necessary. This cake is fairly decent in size so you could definitely snack on it with a few other people as well.

The cake could have a few more raspberries in it than I have suggested in the recipe, maybe 200g or 2 cups if you would like it more filled with fruit. 

The cake could be iced with a simple glaze icing if you like, but I liked the simplicity and ease of a dusting of icing sugar. Plus I love the crisp top and sides of a plain cake like this one on the first day it is baked, which will get a bit lost if there is icing. It also means you don’t have to wait for the cake to be completely cool to eat it if you aren’t waiting to ice it - a win win in my books!

Raspberry and Vanilla Snacking Cake

Raspberry and Vanilla Snacking Cake

Ingredients:

225g unsalted butter, softened

340g caster sugar  

1 tsp vanilla bean paste

1 tsp vanilla extract

3 eggs

375g self raising flour 

220ml milk 

150g (1.5 cups) frozen raspberries

1-2 tsp icing sugar, for dusting

Method: 

Preheat oven to 160 degrees Celsius and line a 23cm square cake tin with baking paper.

In the bowl of a stand mixer cream the butter, sugar and vanillas until pale and fluffy.

Add the eggs one at a time, mixing well after each. 

Then add half the flour mix to combine. Add the milk and mix (you might want to cover your mixer with a tea towel for the first few seconds while the milk begins to incorporate). Then add the remaining flour and gently mix on low speed until it is incorporated and there are no lumps.

Pour half the batter into the prepared cake tin, then top with half the raspberries and push them into the batter a little. Then cover with the remaining batter and top with the remaining raspberries (no need to push the raspberries into the batter, the batter will swallow them up as it cooks and rises).

Bake for about 1 hour or until the cake is nicely golden and a skewer comes out clean. 

Allow to cool in it’s tin for a few minutes before turning out onto a wire rack to cool further. 

Once the cake has cooled down a bit, but is still a little warm dust over the icing sugar and serve (with nice cream if you have it). 

Serves 12 (at least), store in an airtight container, will keep for a few days. 

Every cup of tea requires a piece of cake
View fullsize Rasp Cake and Flowers (8 of 11).jpg
View fullsize Rasp Cake and Flowers (9 of 11).jpg
In Cakes & Slices Tags Raspberries, Vanilla, Easy Baking, cake, Mixer Free Recipes
2 Comments
Grounded Pleasures Vanilla Cake

The Ultimate Vanilla Cake

Kath June 28, 2021

While the word ‘vanilla’ can be used to mean kinda boring, but there is nothing boring about this cake! When I was tasked with the idea of creating the Ultimate Vanilla Cake, I knew I could create something delicious and moorish.

The key is to use good quality vanilla. The variety of vanilla out there is incredible, but getting paste, extract or beans that are good quality is essential for the flavour and end result of your bake.

The brief for this cake was also to tie in with Mother’s Day, and I couldn’t think of any better way to decorate this cake than covering it with beautiful edible flowers for the occasion. I was inspired by this image of a cute little cake decorated with edible flowers for this project, however you could also used dried edible flowers to decorate this cake.

This Ultimate Vanilla Cake was created for Grounded Pleasures, using their excellent vanilla extract and beans. The recipe can be found on their website via the link below.

Ultimate Vanilla Cake Recipe
Grounded Pleasures Ultimate Vanilla Cake

Grounded Pleasures Ultimate Vanilla Cake

Recipe development projects like this one, are my favourite part of my job. Creating a recipe with businesses products means I get to think of new ideas, be creative and also try new things. I also get to eat the cake after, which is a pretty good job perk if you ask me!

If you have a product you’d love me to create some recipes with, just contact me and we can chat about what your business needs. Recipes for your website or blog are great ways to show your customers how to use your products, and the images are great for social media and other marketing content too!

Click here to find out a little bit more about working with me, and check out the links below to see more of my recipe development work.

Easter Chocolate Cupcakes for Grounded Pleasures

S’mores with Homemade Honey Graham Crackers for Grounded Pleasures

Mocha Sponge Cake for The Healthy Baker

Pistachio and Vanilla Shortbread for Cultivator Magazine

Product Photography for Little Big Dairy Co & Here

In Cakes & Slices, From The Mailing List Tags Vanilla, Grounded Pleasures, Recipe Development, cake
Comment
Challah Hot Cross Buns

Vanilla Scented Challah Hot Cross Buns

Kath March 28, 2020

Yes, I know what you are thinking. Again with the challah? I made a babka with challah dough not that long ago, and as I said then, I believe challah is the best type of bread so it could only ever improve a recipe. 

I am also aware that this recipe is in no way ‘kosher’. Challah is a Jewish bread most commonly eaten at Friday night Shabbat, and hot cross buns are made to celebrate the Christian holiday of Easter. I am also quite aware that the Jewish holiday of Passover often falls at the same time as Easter (as it does this year), and that leavened foods such as challah are not eaten during this time. So, definitely not ‘kosher’. 

Despite this, I maintain that challah is the best kind of bread, so trying to make hot cross buns with it was always going to happen for me. And if the religious contradictions are just too much, call them (challah) spiced fruit buns (great for any time of year) and leave it at that.

I often find when making hot cross buns, that I can never get them to look identical, and that using the same recipe doesn’t always yield a batch that looks the same as last time. I have found this occurs for a few reasons. Firstly, I never weigh the dough so I never get my individual buns exactly the same weight/size. I may try this next time I make them (which should be soon since we are socially isolating right not and not going to the shops to specifically buy hot cross buns so homemade is it for now!), and if I do I will update the recipe below. 

Secondly, I find it depends how my dough proofs. When making bread dough in warmer conditions I don’t have any issues with my dough rising. Now the weather has cooled down a bit, I am finding my bread doughs are not rising the same amount in the same time frame. To combat this, the last time I made these, I proofed the dough in our plate warming drawer under our oven, at 30 degrees Celsius (which is it’s lowest temperature) leaving the drawer open as the ideal temperature for proofing dough is about 25-28 degrees Celsius. 

First Attempt
First Attempt
Second Attempt
Second Attempt

This batch of challah hot cross buns turned out larger than the previous batch, which had been proofed closer to room temperature. This first batch were smaller, and had cracks in the dough on the top, which I later found out was a sign that a dough is under proofed. For some more tips on proofing bread dough check out this blog post from BakeClub I found quite helpful. 

Thirdly, I always do the final proof and bake of my hot cross buns on a flat baking tray. This means the dough can spread in away way it wants. Using a baking tray with sides may help get a more even look to my hot cross buns as the dough will not be able to rise and spread in any which way. Again, if I try it this way next time I will update the recipe below. 

On a final note, you don’t have to soak the sultanas in anything but I prefer them to be a little plumped up. The addition of the vanilla when soaking the sultanas is lovely, and the more fragrant the vanilla extract you use the better - I have found using the vanilla extract from Grounded Pleasures yields the best flavour. Just make sure the sultanas are well drained before adding to the dough. And for reference the quantity of spices I use for the dough adds up to approximately 12-13g, so if you wish to alter the quantities of individual spices or types of spices just keep it to that total weight (or add in more plain flour to make up the difference). 

Challah Hot Cross Buns

Vanilla Scented Challah Hot Cross Buns

Ingredients for the Dough: 

200g golden sultanas or raisins (cut in half if very large)

2 tbsp vanilla extract

2 tbsp hot water

490g plain flour, plus extra

250ml warm water

9g dried yeast

85g golden caster sugar

3/4 tsp salt

1 egg, beaten

63ml canola or vegetable oil, plus extra

1 tsp vanilla bean paste

2 tsp ground cinnamon

1 tsp ground ginger

1 tsp ground cardamom

1/2 tsp ground nutmeg

1/2 tsp mixed spice

Ingredients for the Glaze: 

100ml water

50g caster sugar

50g vanilla sugar (see here for how to make your own vanilla sugar)

Ingredients for the Cross (if using): 

90g plain flour

8g icing sugar (confectioners)

pinch of salt

15ml canola or vegetable oil

75ml water (room temperature/tepid is best)

Method:

Place the sultanas in a small bowl, and cover with the hot water and vanilla. Set aside. 

Place the flour into a large bowl (one that fits your stand mixer if you have one). Make a well in the centre of the flour, then pour in the warm water. Add the yeast and 60g of the golden caster sugar and stir (don’t mix in the flour at this stage). Leave for 10-15 minutes, or until the yeast has become foamy. 

Then add the salt and remaining sugar, stir again (don’t mix in the flour at this stage), and wait 5-10 minutes for the yeast to become foamy again. 

Once the yeast is foamy, add the egg, oil and vanilla to the yeast mixture and combine. Then start to gradually incorporate the flour into the wet mixture. Once everything is combined, attach your bowl to your stand mixer fitted with the dough hook, add the spices, and knead on a medium speed for about five minutes. The dough will be smooth and a little sticky once done. If the dough is too sticky, add a little more flour (1-2 tbsp). 

While the dough is kneading, lightly oil a large bowl and drain the raisins well. 

Dust your work surface with flour and tip the dough out. Add the raisins and knead by hand to combine into the dough. Add small amounts of flour if necessary to counterbalance any moisture the sultanas have added and to make the dough a bit less sticky. There is no need to knead the dough for too long, as your stand mixer has done most of the work already. 

Once the sultanas are incorporated into the dough, place into the oiled bowl and cover. Leave in a warm spot for about 1.5 hours, or until the dough has risen and doubled in size. 

While the dough is proofing, make the glaze. Place all ingredients into a small saucepan and place over medium/high heat. Bring to the boil, and allow to bubble for 30 seconds. Remove from the heat and set aside to cool. 

Line a baking tray with baking paper.

Once the dough has risen, flour your work surface and tip the dough out. Lightly flour the top of the dough if necessary. Cut the dough into 12 equal pieces - I do this by shaping the dough into a fat log shape, then cutting it in half, then dividing the two halves into six pieces each. 

Roll each piece of dough into a bun shape by folding the sides of each piece to the centre and pinch to close. This will now be the underside of your bun. Place the pinched side down, and cover your hand over the ball of dough like a loose claw. Rotate the ball of dough under your hand using the claw shape, to gently smooth the dough and form into a nice ball shape.

Place each ball of dough on the prepared tray, in a 4 x 3 formation. I usually leave a little space in between each to allow for more rising during the final proof and during baking. 

Cover the dough again and leave in a warm spot for about 30 minutes, or until the dough has risen. 

While the dough is rising, preheat oven to 180 degrees Celsius.

If using, make the cross paste by whisking together all the ingredients in a medium bowl until it is a smooth yet paste like consistency. The warmer the water is in this the runnier it will be, I often use warm water rather than room temperature, which is why my crosses are thicker and fat as the paste is a little runnier.

Place a piping bag or zip lock bag inside a large glass and turn the edges of the bag over the outside of the glass. Fill the piping bag with the cross mixture, and twist the top to close (I like use a peg to seal the top a bit more). 

Once the dough has risen, cut a small amount of the piping bag tip off and pipe the cross over each bun. Do this by piping one long line over each row of buns, then finish it off doing the same in the other direction. 

Bake for 20-25 minutes, rotating the tray in the oven about half way to help the buns cook and brown more evenly. The buns will be ready when they are golden on top and sound hollow when tapped. 

Remove from the oven, and place the tray on a wire rack. Using a pastry brush, paint the tops of each hot cross bun with the glaze. You will not need all of the glaze - if you think you will make another batch soon, store it in a jar in the fridge and it can be used again (just bring it to room temperature before glazing).  

These challah hot cross buns are delicious served warm from the oven, or toasted under a grill the next day. They also freeze well, and I recommend you do so if they won’t all be eaten soon after baking. 

Recipe Notes (12/04/2020):

  • The next couple of times I made these I have weighed the dough and each bun needed to weigh between 97-100g. I found this did help make them look even more uniform. So I would definitely recommend weighing your dough after the first proofing and dividing that number by 12 to get exactly the weight of each bun based on your dough at the time.

  • I have found that one batch of the sugar syrup is enough for 4 separate batches of hot cross buns.

  • The amount of mixture you need for the cross seems very dependent on how big or small you cut into your piping bag. Sometimes I feel a barely have enough for all the buns as I have cut a larger slit into the bag, other times there are leftovers as I have cut a much smaller slit!

Vanilla Hot Cross Buns

References: ‘Monday Morning Cooking Club - The Food, The Stories, The Sisterhood’ by Merelyn Frank Chalmers, Natanya Eskin, Lauren Fink, Lisa Goldberg, Paula Horwitz and Jacqui Israel (HarperCollins, 2013), p.263; ‘Beatrix Bakes’ by Natalie Paull (Hardie Grant Books, 2020), pp.176 & 192-3.

Vanilla Hot Cross Buns
In Breads Etc., Holidays Tags Hot Cross Buns, challah, Passover, Vanilla, Easter, Breads, Holiday Baking
2 Comments
Rose & Vanilla Bean Ice Cream

Rose & Vanilla Bean Ice Cream

Rose & Vanilla Bean Ice Creams (Egg Free)

Kath July 17, 2018

This is one of those super Summery recipes that I just can’t get enough of. Having said that, yes I know I am posting this while we are in the middle of Winter here in Australia, and feeling particularly cold if I do say so myself. 

I first made these late last year, when we were at the beginning of what felt like one of the hottest and longest Summers ever. I was inspired by a milkshake I used to order at one of my favourite city haunts, The Tea Salon. Rose and vanilla is a winning combination for me, and in the Summer months it was always nice to have a good alternative to a hot tea. I met up with friends there often, it really became our go to place. 

Located in the Sydney City Westfield it was easy to get to and ticked the boxes in terms of the menu, and the pretty pink decor didn’t hurt either! The Tea Salon closed down a few months ago, much to my friends and my dismay. It felt like the end of an era, and I’m not quite sure what will replace our regular city haunt yet. 

View fullsize Rose & Vanilla Bean Milkshake at The Tea Salon
View fullsize Scone at The Tea Salon

Until we find somewhere just as good, I will have to be content with this recipe being the legacy of our many catch ups over the years at The Tea Salon. And while now doesn’t feel like the opportune time to be posting a recipe for ice cream for most of us here in Australia, it is definitely the perfect time for everyone in the Northern Hemisphere who seem to be enjoying endless Summer days. 

Not being a warm weather person, I am certainly not jealous of the weather everyone up there is having. I am however loving all the beautiful Instagram posts with all the Summer blooms, beautiful fashions, and fun outdoor activities. Summer in the UK in particular, through the lens of Instagram, looks utterly delightful compared to the hot and humid, sometimes almost 40 degrees days we can have here in Sydney. 

I can definitely see myself enjoying some of this ice cream again later in the year when the weather warms up, and maybe reminisce over some of the good times this recipe was inspired by. But for now I’ll just leave this recipe here till then, and continue to enjoy my warming cups of tea, soups and multitudes of blankets. 

Rose & Vanilla Bean Ice Creams

Rose & Vanilla Bean Ice Creams

Rose & Vanilla Bean Ice Creams

Rose & Vanilla Bean Ice Creams

Rose & Vanilla Bean Ice Creams (Egg Free)

Ingredients: 

165ml milk 

6 tbsp white sugar

250ml pouring cream 

1 vanilla bean seeds scraped or 1 tsp vanilla bean paste

2 tbsp rosewater (or to taste) 

Dried rose petals chopped, optional


Method: 

Whisk the milk and sugar together until the sugar has dissolved and the milk has become frothy. Then add the cream, the vanilla, and rosewater. Whisk until combined and the mixture has thickened a little. 

Transfer mixture into the bowl of an ice cream machine, and process according to machine instructions. I find the churning process takes about 10 minutes (weather depending), and is ready once the ice cream has thickened, slightly frozen and is clinging to the paddle of the ice cream machine. 

Once ready, transfer to a large piping bag and pipe into ice cream mould. Sprinkle some of the dried rose petals over the top, insert food safe wooden sticks into the centre of each one and place in the freezer. To keep the sticks in place I often cover the whole mould with a couple of layers of plastic wrap. Alternatively, transfer ice cream to a freezer safe container (at least 1L capacity) and freeze overnight. 

If making the individual ice creams, carefully remove them from the mould when ready to eat, the ice cream will melt quite quickly in the warmer Summer months! I found it easier to remove all of them from the mould once they were properly frozen and individually wrap them in plastic wrap to store in the freezer. 

Makes 10 individual ice creams or about 1L of ice cream. 

Rose & Vanilla Bean Ice Creams

Rose & Vanilla Bean Ice Creams

Reference: ‘Lomelino’s Ice Cream’ by Linda Lomelino (Roost Books, 2015), p.13

Rose & Vanilla Bean Ice Creams

Rose & Vanilla Bean Ice Creams

Dried Rose Petals

Dried Rose Petals

For more recipes showcasing the best of rose, check out my eBook Baking with Rose by clicking the link below!

get your ebook!
In Other Desserts, Ice Cream Tags Ice Cream, Rose, Rose Petals, Vanilla, The Tea Salon
Comment
Panela Sugar Shortbread

Panela Sugar Shortbread

Panela Sugar Shortbread + How to Make Homemade Vanilla Extract

Kath October 27, 2017

Now that I am well accustomed to using Panela Sugar, I am testing it out in almost every tried and tested recipe I have! And my latest discovering is that Panela Sugar Shortbread is like making a super easy version of a caramel shortbread! The bigger crystals of Panela stay whole within each biscuit, and once cooked they caramelise even more and taste like small pieces of caramel in each bite. 

And as Panela sugar is unrefined, it makes me feel a little less guilty about eating a few of these! Other unrefined sugars, such as rapadura, would probably work well too and give a similar caramel flavour to the shortbread.

I made these a little while ago as my contribution for an afternoon tea, and the leftovers were eaten at the host’s work the next day. I am told they went down really well, with one person commenting that they tasted like Irish Shortbread. Now, I had no idea the Irish had their own version of shortbread, so now I think I need to do a little research and brush up on my shortbread knowledge!

Panela Sugar Shortbread

Panela Sugar Shortbread

How to Make Vanilla Extract

  • If using vanilla beans for this recipe (or any other!), don’t throw out the pods after the seeds have been used. Fill a small/medium jar or bottle with vodka and add the pods to it as you use them.

  • Shake the bottle now and then, and keep stored at room temperature. The more pods you add to the vodka the deeper the colour and the better the flavour you will get.

  • Depending on how many pods are infusing, expect to wait at least two-three months before using the vanilla extract. You can judge it by the colour of the extract and the aroma. I think the deeper the colour the better - I’d rather wait longer to use it and have a more intense vanilla flavour. See below for progress shots of making vanilla extract from day one to four months.

  • I have mentioned before that vanilla pods can also be used for vanilla sugar, and now that I am using my vanilla sugar I have been rinsing the pods off from that and adding them to the extract too - they still have lots of flavour and it would be such a shame to waste them!

  • If you are looking for a good bought vanilla extract, I would of course recommend the one made by Grounded Pleasures! It has a rich colour and really wonderful intense flavour, and each tube comes with a vanilla pod inside - and you don’t have to wait a few months to use it!

View fullsize Vanilla Extract Day One
View fullsize Vanilla Extract One Week
View fullsize Vanilla Extract One Month
View fullsize Vanilla Extract Four Months
Homemade Vanilla Extract and Vanilla Sugar

Homemade Vanilla Extract and Vanilla Sugar

Panela Sugar Shortbread

Panela Sugar Shortbread

Panela Sugar Shortbread and Homegrown Camellias

Panela Sugar Shortbread and Homegrown Camellias

Panela Sugar Shortbread

Panela Sugar Shortbread

Panela Sugar Shortbread

Ingredients: 

160g unsalted butter, at room temperature

60g Grounded Pleasures Organic Panela Sugar

1 Grounded Pleasures Organic Vanilla Bean, seeds scraped 

250g plain flour


Method: 

Pre-heat oven to 150 degrees Celsius and line two large baking trays with baking paper.

In the bowl of a stand mixer fitted with a paddle attachment, place the butter (135g), Panela sugar and the vanilla bean seeds. Beat until well combined. 

Add the flour and mix on low speed until the flour has incorporated. Mix on a low-medium speed until a dough starts to form. If the mixture remains too crumbly, add the remaining butter and mix well.

Sprinkle some flour on your work surface, bring the dough together with your hands, then turn onto the floured surface. Using a rolling pin, roll the dough out, dusting with more flour as needed, so it is flat and and about 2mm thick. 

Cut the biscuits out using a small round biscuit cutter (mine is 4.5cm), using a small spatula to lift them over to the prepared tray. 

Bake biscuits for about 15 minutes, or until the edges are slightly golden. I like the check the underneath of a couple of biscuits too, if that is a little golden then the biscuits are definitely cooked. 

Cool the biscuits on the trays and store in an airtight container. 

Makes about 45 small biscuits.

Panela Sugar Shortbread

Panela Sugar Shortbread

Panela Sugar Shortbread

Panela Sugar Shortbread

Panela Sugar Shortbread

Panela Sugar Shortbread

Homegrown Camellias

Homegrown Camellias

Thanks to Grounded Pleasures for sponsoring this post and providing the yummy Panela Sugar & Vanilla Beans!

In Biscuits/Cookies Tags Shortbread, Panela Sugar, Grounded Pleasures, Sponsored Posts, Vanilla, vanilla sugar, Vanilla Extract
Comment
  • The Blog
  • Older
  • Newer

recipes

  • Biscuits/Cookies 39
  • Breads Etc. 9
  • Breakfast 7
  • Cakes & Slices 67
  • Confectionary 5
  • Drinks 6
  • Events 14
  • Food Photography Tips 3
  • From The Mailing List 24
  • Heirloom Recipes 12
  • Holidays 44
  • Ice Cream 9
  • Jams Preserves & Spreads 9
  • Muffins 4
  • Off the Shelf 47
  • Other Desserts 25
  • Savoury Dishes/Meals 15
  • Scones 4
  • Tarts & Pastry 9
  • Travel 13

Sign up to Friday Food Chat with Kath, a weekly newsletter for more food, baking, cookbook chat and more!

Sign Up Here!
instagram-unauth pinterest facebook url

Website Accessibility: To enable text to speech function on the blog, click the sound button to the right of each blog post.

All images & content are the property of Kathryn Vincent, unless stated otherwise. Please do not use without permission.

Kulinary Adventures of Kath

Food Photography, Recipes & Baking

instagram-unauth pinterest facebook url