Kulinary Adventures of Kath

Food Photography, Recipes & Baking
  • home
  • About
  • Work with Kath
  • Shop
  • Blog
    • The Blog
    • Recipe Archive
  • Newsletter
  • Contact
  • home
  • About
  • Work with Kath
  • Shop
    • The Blog
    • Recipe Archive
  • Newsletter
  • Contact
Raspberry Pistachio Rose Cake (23 of 25).jpg

The Blog

Recipes and Food Photography by Kath Vincent.

  • The Blog
  • Recipe Archive
  • All
  • Biscuits/Cookies
  • Breads Etc.
  • Breakfast
  • Cakes & Slices
  • Confectionary
  • Drinks
  • Events
  • Food Photography Tips
  • From The Mailing List
  • Heirloom Recipes
  • Holidays
  • Ice Cream
  • Jams Preserves & Spreads
  • Muffins
  • Off the Shelf
  • Other Desserts
  • Savoury Dishes/Meals
  • Scones
  • Tarts & Pastry
  • Travel

White Chocolate Chai Hot Cross Buns

Kath April 9, 2025

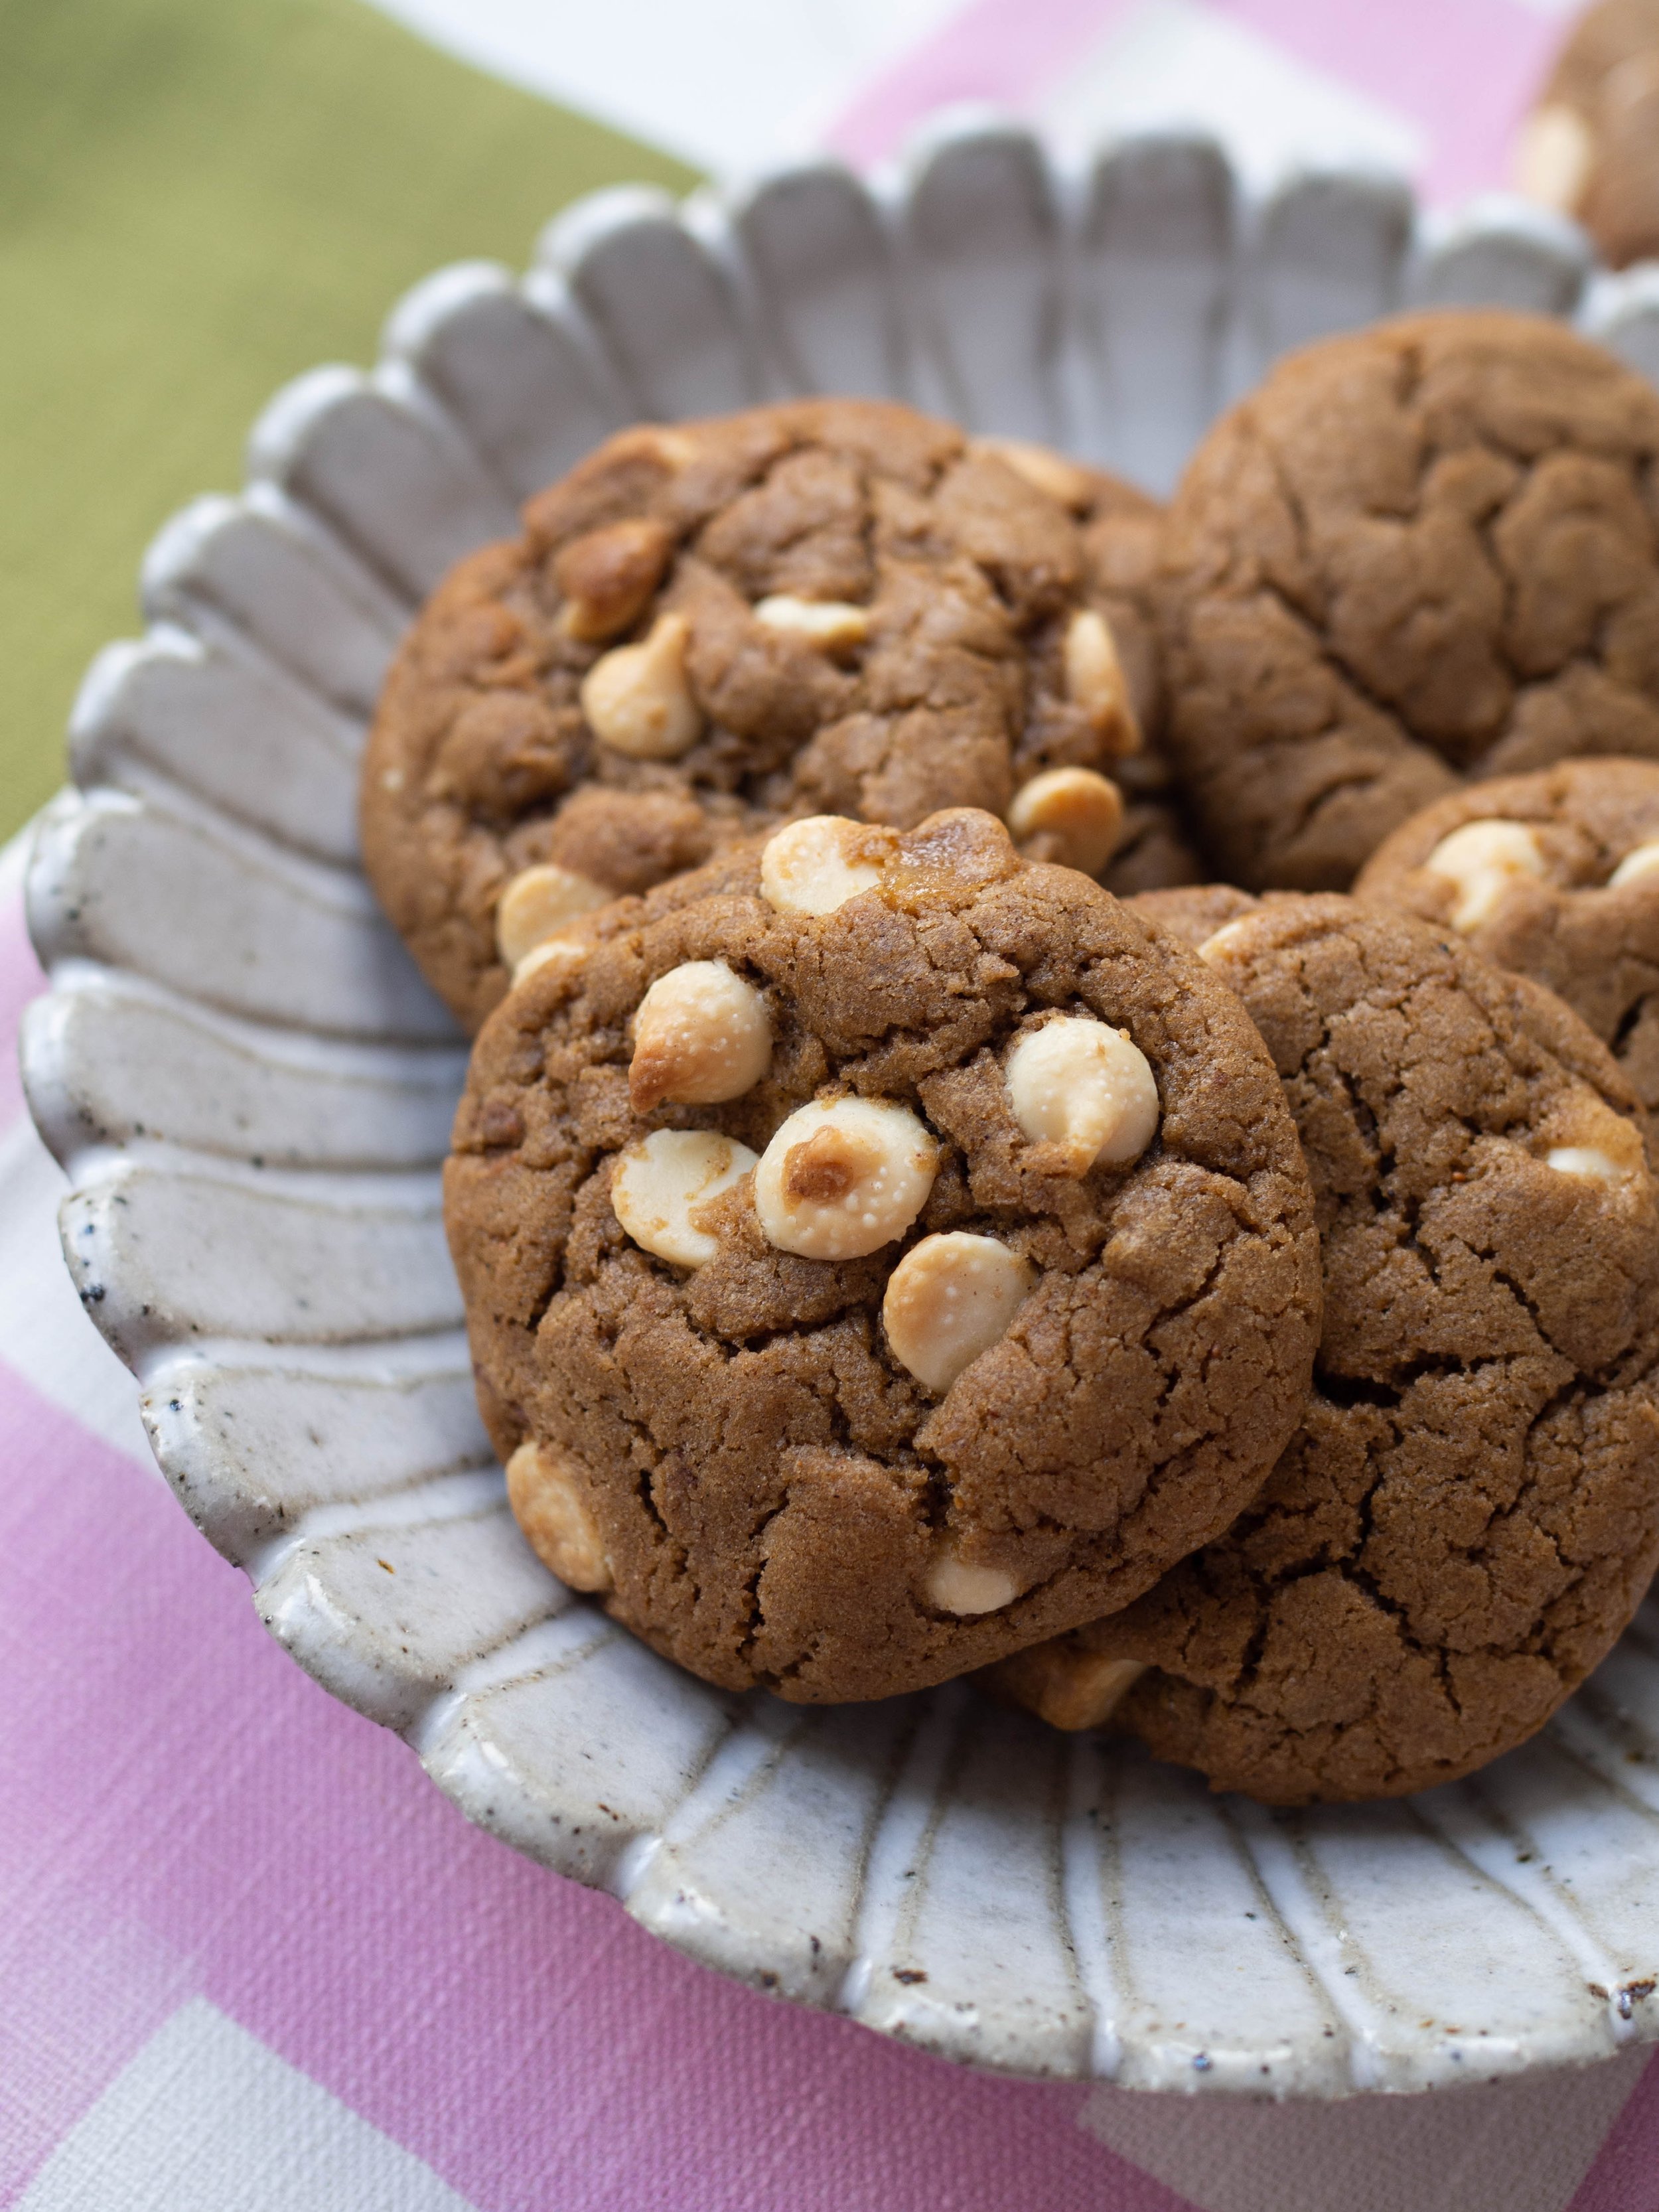
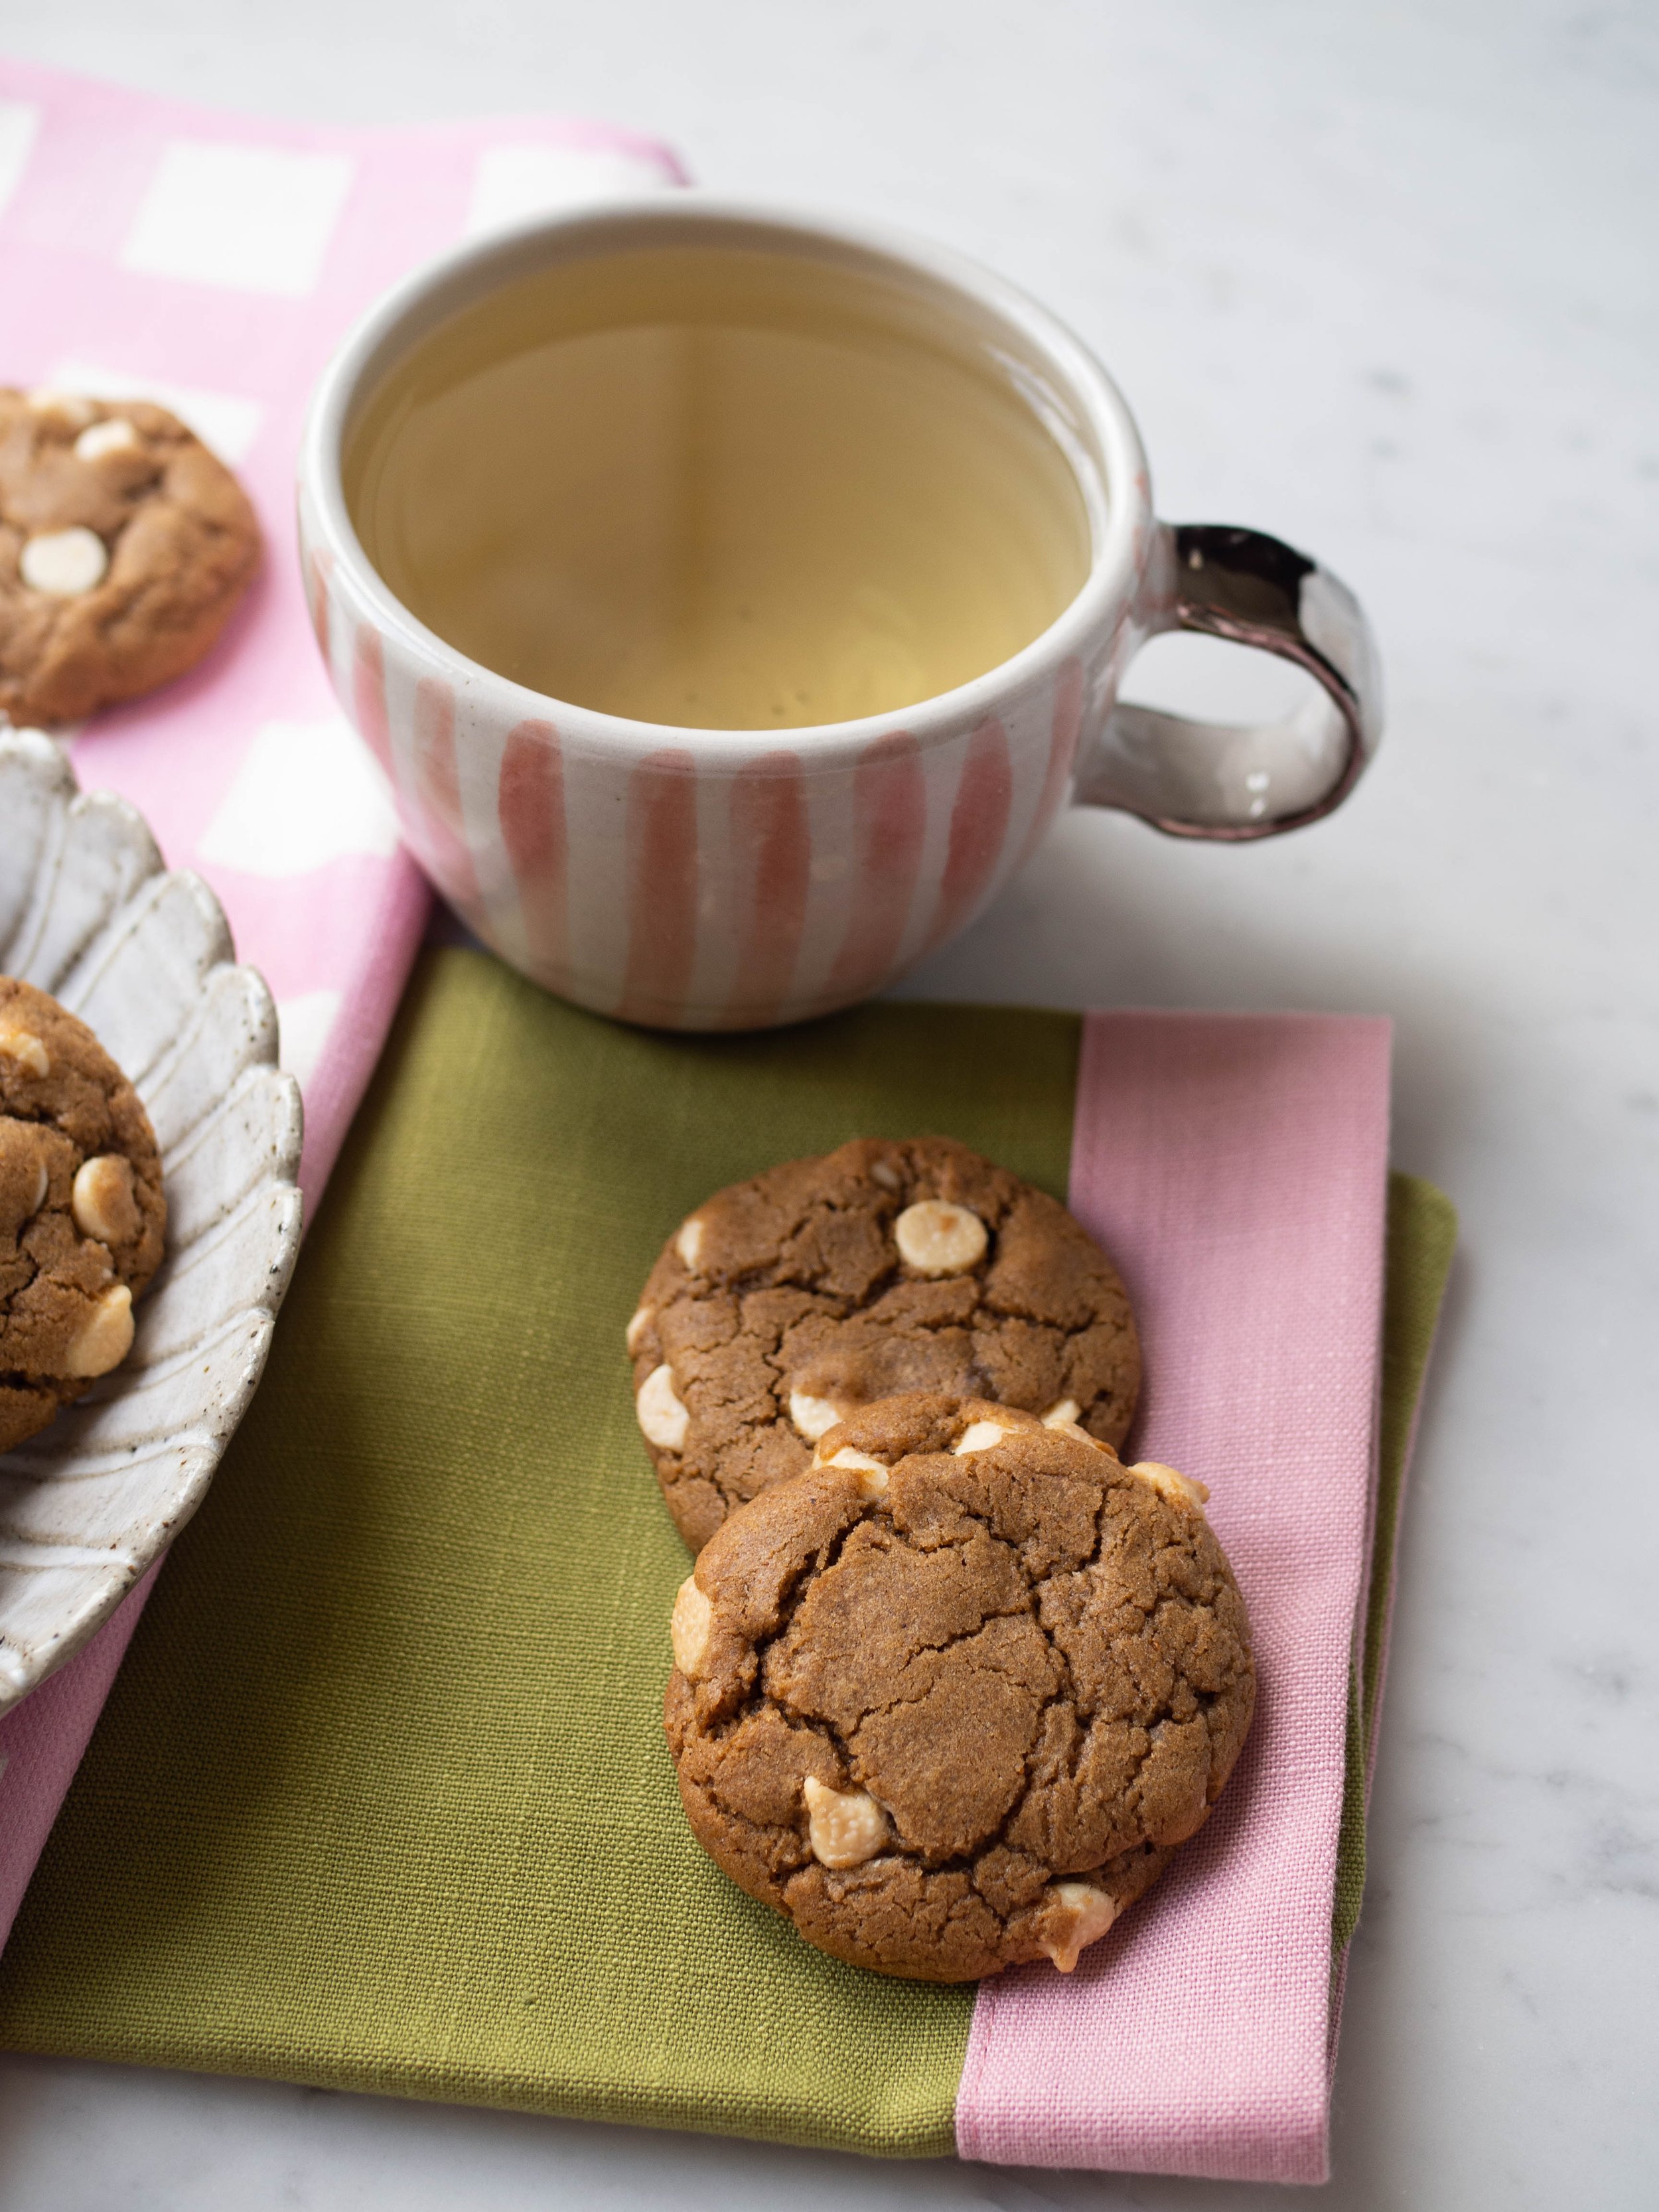
A little twist on traditional hot cross buns. I really like the combination of white chocolate and chai and they work really well in a bun like this. The cross is optional, it doesn’t really add anything flavour wise to the buns, it’s just for the look and nod to Easter.

I also decided against a more traditional sugar syrup style glaze for these buns, they are sweet enough with the white chocolate, plus I don’t really like the sticky-ness it adds to the buns. I always freeze my hot cross buns, and defrosting them with a glaze on top is honestly just annoying! I’ve gently and lightly brushed these with a beaten egg before baking so they have a bit of shine.

White Chocolate Chai Hot Cross Buns

Ingredients for the Buns:

250ml milk

85g (golden) caster sugar

9g dried yeast

490g plain flour, plus extra

10g ground chai spice powder

2 eggs

63ml canola, vegetable or sunflower oil, plus extra

1 tsp vanilla bean paste

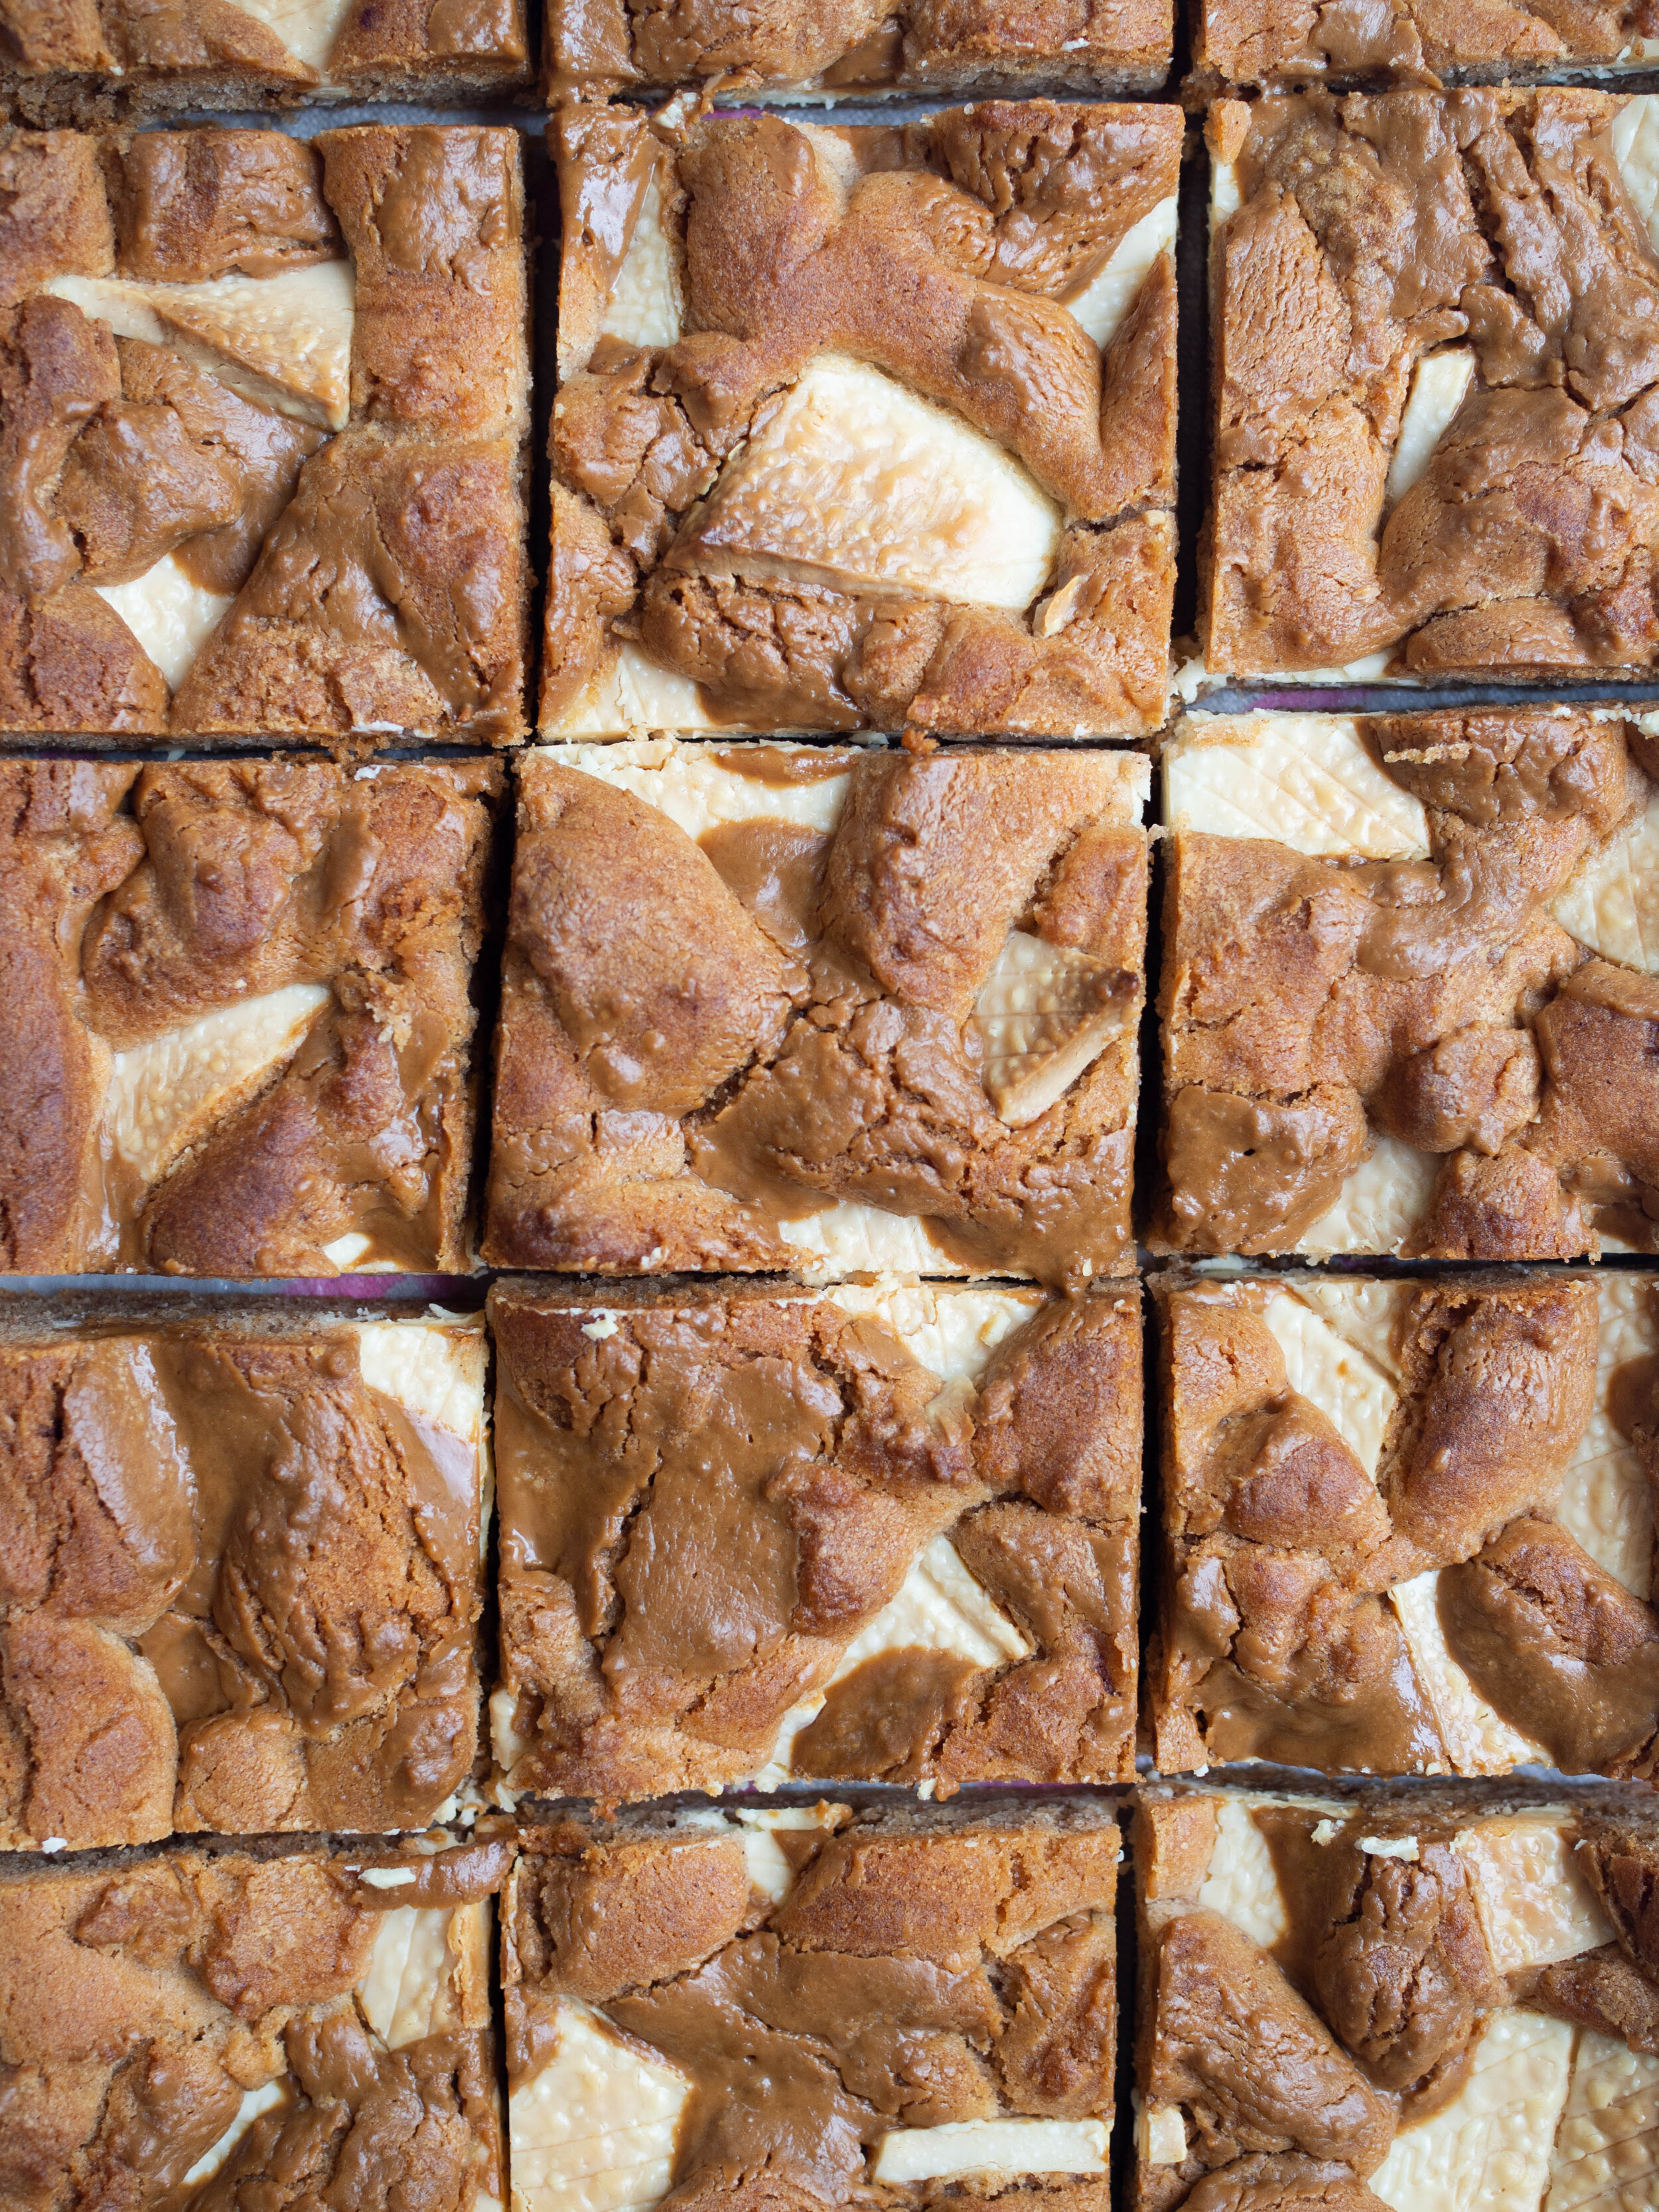
200g packet of white chocolate chips/bits (not melts)

Ingredients for the Cross (if using): 

90g plain flour

8g icing sugar (confectioners)

1/4 tsp ground chai spice powder

pinch of salt

15ml canola or vegetable oil

75ml water (room temperature/tepid is best)

Method:

In a small saucepan gently heat the milk and 60g of the sugar. Heat until lukewarm, then remove from the heat and mix in the yeast. Leave for 10-15 minutes, or until the yeast has become foamy - if the yeast does not foam, it may be out of date and no longer active, or if the liquid is too hot it may kill the yeast. It is best to discard the liquid and yeast and begin again if this happens.

Place the flour, salt, chai spice powder and remaining sugar into a large bowl (one that fits your stand mixer if you have one), and mix together. 

In a jug, whisk together one of the eggs with the oil and the vanilla paste.

Once the yeast is foamy, add to the flour mixture, along with the egg and oil mixture. Mix together with a wooden spoon until a rough dough forms. 

Then attach the bowl to your stand mixer fitted with the dough hook, and knead on a medium speed for about five minutes. The dough will be smooth and a little sticky once done. If the dough is too sticky, add a little more flour (1-2 tbsp). 

While the dough is kneading, lightly oil a large bowl.

Dust your work surface with flour and tip the dough out. Add the white chocolate chips bit by bit and knead by hand to combine into the dough. Add small amounts of flour if necessary to make the dough a bit less sticky - the dough will be a bit sticky to touch, but it shouldn’t be really wet. There is no need to knead the dough for too long, as your stand mixer has done most of the work already. 

Place into the oiled bowl and cover. Leave in a warm spot for 1.5 hours, or until the dough has risen and doubled in size. 

Line a baking tray with baking paper.

Once the dough has risen, flour your work surface and tip the dough out. Lightly flour the top of the dough if necessary. Cut the dough into 12 equal pieces - you can weigh the dough and divide by 12, then weigh out each dough ball to ensure they are a relatively even size or by shaping the dough into a fat log shape, then cutting it in half, then dividing the two halves into six pieces each. 

Roll each piece of dough into a bun shape by folding the sides of each piece to the centre and pinch to close. This will now be the underside of your bun. Place the pinched side down, and cover your hand over the ball of dough like a loose claw. Rotate the ball of dough under your hand using the claw shape, to gently smooth the dough and form into a nice ball shape.

Place each ball of dough on the prepared tray, in a 4 x 3 formation. I usually leave a little space in between each to allow for more rising during the final proof and during baking. 

Cover the dough again and leave in a warm spot for about 30 minutes, or until the dough has risen. 

While the dough is rising, preheat oven to 180 degrees Celsius.

If using, make the cross paste by whisking together all the ingredients in a medium bowl until it is a smooth yet paste like consistency. If the paste seems too thick, add a little more water.

Place the paste in a piping bag or zip lock bag and twist the top to close.

Once the dough has risen, cut a small amount of the piping bag tip off and pipe the cross over each bun. Do this by piping one long line over each row of buns, then finish it off doing the same in the other direction. Whisk the remaining egg, and gently brush the buns with some egg wash (focusing more on the buns than the cross).

Bake for 20-25 minutes, rotating the tray in the oven about half way to help the buns cook and brown more evenly. The buns will be ready when they are golden on top and sound hollow when tapped. 

Remove from the oven, and place the tray on a wire rack. Allow the buns to cool a little, before sliding the buns off the tray onto the wire rack using the paper they are sitting on. If you leave the buns on the tray too long, they may get a little wet underneath from the steam.

Serve warm. Can be frozen.

Makes 12 hot cross buns.

In Breads Etc., Holidays Tags Easter, Hot Cross Buns, Chai, White Chocolate
Comment

Pistachio White Chocolate Blondie

Kath May 16, 2023

I seem to be incapable of not thinking of recipes that use pistachio, or specifically crema di pistachio spread. I am well and truely obsessed, and I can’t see that changing any time soon. 

While the combination of pistachio and white chocolate is very good, you could also adapt this recipe to use a chocolate hazelnut spread (or similar) if thats more your thing (and it is certainly easier to buy than crema di pistachio) and swap out the chopped pistachios for chopped hazelnuts and the white chocolate could be substituted for milk or dark chocolate as well. 

You can essentially make this blondie recipe your own - as long as you keep the quantities of everything the same it will work a treat. 

I personally steer clear of actual chocolate in my blondie recipes as I can’t eat milk or dark chocolate, and therefore, do not want any in my blondie. For me it’s not a blondie if it has any milk or dark chocolate in it, as to me it becomes as inedible as an actual brownie. However feel free to make any adaptations that suit you, I know I’m most probably in the minority when it comes to not eating proper chocolate (i.e. all chocolate that is not white chocolate). 

And a final note on the recipe, I use panela sugar in my blondie as I much prefer the flavour and texture it gives. It creates a nice slightly caramel flavour without being sickly sweet which I think works really well. You can substitute with light or dark brown sugar if you don’t have any panela - though I do highly recommend you try it!

Pistachio Blondie 

Ingredients: 

135g unsalted butter, melted 

250g panela sugar 

3 eggs

2 tsp vanilla extract

270g plain Flour

1/2 tsp baking powder

1/2 tsp salt

150g white chocolate, chopped

50g + 2 tbsp pistachios, chopped

1/4 cup crema di pistacchio or pistachio butter, optional

Method: 

Preheat oven to 160 degrees Celsius and line a 23cm square cake or brownie tin with baking paper. 

In a large bowl, combine the melted butter, panela sugar, eggs and vanilla extract with a whisk. 

Add the plain flour, baking powder and salt and mix again with a whisk until combined. 

Add in the chopped white chocolate and 50g pistachios and briefly mix together with a spatula or wooden spoon. 

Pour the blondie mixture into your prepared tin, and smooth the top with the spatula or wooden spoon you were just using. 

If using, dollop teaspoonfuls of the pistachio spread over the surface of the blondie, then using a knife, swirl the spread into the blondie. 

Sprinkle with the 2 tbsp of chopped pistachios.

Bake for 20-25 minutes, or until golden and a skewer comes out clean. 

Allow the blondie to cool in its tin, then remove and cut into 9 very generous slices or about 12 slightly less generous slices - or you can cut it however suits you. 

Store in an airtight container.

Serves about 12. 

In Cakes & Slices Tags Pistachio, White Chocolate, Blondie, Crema di Pistacchio, Slices, Mixer Free Recipes, Easy Baking
Comment

White Chocolate and Macadamia Cookies

Kath April 20, 2023

There are probably quite a number of recipes for white chocolate and macadamia cookies around, but I really felt a need to add mine to the mix. 

Originally I was making the recipe by Natalie from Beatrix (Melbourne), who shared her recipe on the TV show Everyday Gourmet. The recipe is online, and I’ve made it a couple of times. It is of course very good, but I have to say it is a more cakey kind of cookie which isn’t my top pick when eating a cookie. The cookie dough is very soft and almost wet, even after chilling in the fridge for 24 hours, it is still quite a messy dough to work with. 

I personally prefer a chewier crunchier cookie, and one that isn’t as messy to roll into balls before baking too. I also found due to the texture of the dough it was hard to make smaller sized cookies, which is usually my preference. Natalies recipe is meant to make really jumbo sized cookies, and even when trying to make them smaller the wetness of the dough prevented me getting them the size I really wanted.

So inspired by the Beatrix recipe, I have created my own, using my trusty cookie base recipe that I have used again and again as I am yet to find something I like as much, and something that is so easy to make. 

I have taken the idea from Natalie’s recipe to toast the macadamias first as it makes such a difference to the flavour. I have also used a combination of light and dark brown sugars as the addition of dark brown sugar adds a nice deeper flavour, without overdoing the sweetness. And this cookie can definitely go overboard with sweetness if you let it, there is something about the combination of white chocolate and macadamias that is inherently sweet so the addition of dark brown sugar tempers that a bit, along with the addition of salt. 

You can also sprinkle a little flakey sea salt over the biscuits before they are baked. I just don’t as I find the salt in the dough enough (I’m not one for adding salt to things on the whole, so it really comes down to personal preference), and I also inevitably forget to do it and realise only once the cookies have been baking for a few minutes and decide its too late now anyway…

I have tried making this recipe with lightly salted butter (the Lurpak brand) and it worked well with that - no need for additional salt sprinkling in this case. 

White Chocolate and Macadamia Cookies

Ingredients:

170g macadamias

125g unsalted butter, melted 

125g caster sugar

50g light brown sugar 

50g dark brown sugar

2 tbsp golden syrup

1 tbsp vanilla bean paste

1 egg

290g self raising flour

1/4 tsp kosher salt

100g white chocolate chips


Method:

Preheat oven to 150 degrees Celsius and line three large baking trays with baking paper.

Toasted the macadamias in the preheated oven for a few minutes (5-8 mins), or until they are nicely golden brown - keep an eye on them as you don’t want over toasted macadamias at this stage as they will go in the oven again later. Once the macadamias have cooled a bit, roughly chop so they are in varying sizes and shapes.

In a large bowl whisk together the melted butter, sugars, golden syrup, vanilla and egg.

Then add the flour, the chocolate chips and chopped macadamias, and mix to combine with a wooden spoon.

Place the dough in the fridge for at least 20 mins, to allow it to firm up a bit.

Increase your oven temp to 170 degrees Celsius.

Once chilled, roll heaped teaspoonfuls of the dough into balls and place on the trays. The cookies will spread as they bake so leave enough room in between. 

If you can’t fit all the dough on your prepared trays (or oven), place the dough back into the fridge until you can bake it.

Bake for 12-14 minutes or until the cookies have spread a bit and are golden brown. Rotate the trays in the oven about halfway through to ensure the cookies cook evenly.  

Allow to cool on their trays, then store in an airtight container. 

Makes about 33 cookies.

In Biscuits/Cookies Tags White Chocolate, Macadamia, Cookies, Beatrix Bakes, Biscuits/Cookies, Mixer Free Recipes, Easy Baking
Comment
Ginger Molasses Cookies

Ginger Molasses White Chocolate Cookies

Kath February 15, 2023

I have had this recipe on my mind since before last Christmas. I bought some cookie dough via Pepe Saya, that was a collab between them and Butterboy. Both are business that I really like, and this festive cookie dough sounded perfect for me - brown butter ginger bread. Filled with white chocolate, spices and rolled in sugar this cookie dough added a nice festive cookie hit that lasted well into January as I had frozen the dough and just baked some as I wanted it. 

This cookie dough got me thinking about creating my own version of this cookie. I needed my version to be heavier on the spices and more flavoursome in that respect, and the Pepe Saya x Butterboy cookies were lacking the ginger flavour for me. I have added 2 tsp of ground ginger to my cookies (you can add just 1 tsp if you want a milder flavour), and I also added some chopped stem ginger to add another layer of that ginger flavour. Crystallised ginger would also work well, but this element can also be left out completely if you wish. 

I also made my cookies a smaller size than the Pepe Saya x Butterboy cookies end up being. Butterboy is known for massive cookies, but when I bake my own I like smaller sized cookies so that one cookie doesn’t end up being almost a full meal (and more than one could comfortably be consumed in one sitting). You can play around with what size you’d like to make your cookies, just keep in mind it may alter the cooking time, you will need to leave more space between each on the trays if making them bigger (which may mean cooking in batches) and your yield for the recipe will also differ from what I have specified below.

This recipe will probably be added to my Christmas baking list when the time comes, but I think they are too good not to bake and eat all year round.

Ginger Molasses Cookies

Ginger Molasses White Chocolate Cookies

Ingredients:

125g unsalted butter, melted

125g caster sugar

100g dark brown sugar 

2 tbsp molasses

1 egg

280g plain flour

1/2 tsp bicarb soda

2 tsp ground ginger

1 tsp ground cinnamon

1/2 tsp ground nutmeg

1/2 tsp all spice 

200g white chocolate chips

2 tbsp chopped stem ginger (drained of syrup) or crystallised ginger, optional 


Method:

Preheat oven to 170 degrees Celsius and line three large baking trays with baking paper.

In a large bowl whisk together the melted butter, sugars, molasses and egg.

Then add the flour, then sift in the bicarb soda and add the spices. Add the chocolate chips and chopped stem ginger (if using), and mix to combine with a wooden spoon.

Place the dough in the fridge for about 20 mins, to allow it to firm up a bit.

Once chilled, roll heaped teaspoonfuls of the dough into balls and place on the trays. The cookies will spread as they bake so leave enough room in between. 

Bake for 12-14 minutes or until the cookies have spread a bit and are golden brown. Rotate the trays in the oven about halfway through to ensure the cookies cook evenly.  

Allow to cool on their trays, then store in an airtight container. 

Makes about 30 cookies.

Ginger Molasses Cookies
In Biscuits/Cookies Tags Ginger, White Chocolate, Cookies, Pepe Saya, Butter Boy Bake, Biscuits/Cookies, Mixer Free Recipes, Easy Baking
4 Comments
Biscoff White Choc Cookie Slice

Biscoff & White Chocolate Cookie Slice

Kath September 28, 2021

I have been thinking a lot lately about the impact of over three months of lockdown, plus restrictions for so long before that with all these ‘unprecedented times’ (or are they just ‘precedented’ times now?) we have been experiencing. 

Some changes have been big, and have taken a lot to adjust to. Others have been smaller and seem to have crept up on me with what feels like little warning. One major change I have noticed since this lockdown began in late June, is that coming up with new recipes has proved more of a challenge. A lot of my inspiration for recipes comes from going to the shops and seeing what is in season and stumbling across a new ingredient I just have to try. In store food shopping these days is few and far between, there is no browsing or looking, its just get in and out as quick as humanly possible. 

Eating out can also prove to be a great inspiration for new recipes too, but that has been almost non-existent for some time now. 

When coming up with new recipes for my blog, technically the possibilities are endless. But somehow that lack of structure means no new ideas come at all, especially when inspiration is few and far between. When I work with clients on recipes they will have their own requirements and ideas on what they want, so there are automatically boundaries around what a new recipe will be. These boundaries help narrow things down and I find it a easy to come up with new ideas. 

The only source of food inspiration now comes from the few special home deliveries I have been able to get, which I spoke about in this recent post. These deliveries prove to be welcome in more ways than one, especially as they provide a tiny element of food inspiration and a window into what might be happening outside my own home. 

This particular slice recipe was inspired by a cookie delivery I got from Butter Boy Bake. I have ordered twice from them now and have really enjoyed them and will definitely miss them if they cease delivering once lockdown ends. 

The combination of cinnamon, white chocolate and biscoff spread forms the basis of Butter Boy’s ‘snickerdoodle’ cookie and the combination got me thinking about how I could made something similar, but even easier. Which then make me think of my Funfetti Cookie Slice and how that could be adapted to incorporating Butter Boy’s ‘snickerdoodle’ cookie flavours. 

I am happy to report that these flavours work so well in a cookie slice and I can now rest easy that even if I never get a delivery from Butter Boy Bake again, or never actually get to visit their store in Manly, I will always be able to recreate at least one of their flavours myself.

I hope you enjoy making this cookie slice as well, it is a lot easier to make than many other baked goods even if you are low on time or motivation, is excellent to snack on and very tasty. 

Biscoff Slice
Snickerdoodle Slice

Biscoff and White Chocolate Cookie Slice 

a.k.a Butter Boy Bake’s Snickerdoodle Cookie but in a Slice

Ingredients:

120g unsalted butter, melted

200g caster sugar 

2 tbsp golden syrup

1 tsp vanilla extract

1 egg

290g self raising flour

2 tsp ground cinnamon

120g Biscoff Spread

120g white chocolate, roughly chopped

Method:

Preheat oven to 180 degrees Celsius and line a 30x20cm brownie or Lamington tin with baking paper. 

In a large bowl whisk together the butter, sugar, golden syrup, vanilla and egg.

Then add the flour and cinnamon and mix to combine with a wooden spoon.

Tip the dough into the prepared tray, and spread it out, pushing it into the sides. Dollop the Biscoff spread over the dough and swirl/push in with a knife. Scatter the chopped white chocolate over the dough, pushing them in a little.

Bake for 15-20 minutes or until golden brown and cooked through. 

Allow to cool completely in the tin. Then remove and cut into slices or chunks of your choice.

Serves 12-15. 

Butter Boy Bake Snickerdoodle Slice
In Biscuits/Cookies, Cakes & Slices Tags Butter Boy Bake, Snickerdoodle, biscoff spread, White Chocolate, Biscuits/Cookies, Slices, Mixer Free Recipes, Easy Baking
Comment
Cranberry and Caramilk Cookies

Cranberry and Caramilk Cookies

Cranberry and Caramilk Cookies

Kath December 29, 2019

I had the idea for these cookies (or biscuits, I am still feeling conflicted as to which they should be called!), at work one day. A colleague of mine is American and her and another in our team where talking about Thanksgiving foods, as Thanksgiving was the following week. I heard them mention something about cranberry, and for some reason the idea for these biscuits just popped into my head. It probably wasn’t long after I had made my Raspberry and White Chocolate biscuits, on which this recipe is based. Maybe I just had biscuits on the brain. 

While I didn’t get a chance to make my new cookie idea before Thanksgiving, I did ensure I tried them out on Boxing Day. I had kept a bar of Cadbury Caramilk for my next biscuit batch, as while this white chocolate is already caramelised, I thought it would be great used in biscuits where the white chocolate has extra time to further caramelise in the oven. I’m so glad I used it as the Caramilk tastes great in these cookies, and if I can find anymore I will buy some and keep it for my next batch. 

These cookies are also great for this time of year, when we all hopefully have some time to bake, and maybe have some leftover dried fruit from making other Christmas-y things. I love using cranberries, but I’m sure other chopped dried fruit would be great too. 

I hope you are having a lovely festive season, and have a great start to 2020. If you want to keep up with my news and more baking talk, my weekly newsletter will be restarting a couple of weeks into January - to sign up click here. 

Cranberry and Caramilk Cookies

Cranberry and Caramilk Cookies

Ingredients: 

250g unsalted butter, softened or margarine (I use Proactiv Buttery)

200g brown sugar

100g white sugar

1/2 tsp vanilla extract

3 egg yolks

325g plain flour

3/4 tsp baking soda

200g dried cranberries, roughly chopped

180g bar Caramilk (or other white chocolate), chopped

Method: 

Beat the butter or margarine and sugars in the bowl of a stand mixer with the paddle attachment until combined. Add the vanilla extract, then the egg yolks mixing until combined. 

In a separate bowl, whisk together the flour and the baking soda, then add to the butter mixture and mix on a low speed until almost combined. Then add the cranberries and chopped Caramilk and mix until combined.

Remove the bowl from the stand mixer, cover and refrigerate for at least 30-40 minutes (the dough can also be shaped into two logs, covered with plastic wrap or baking paper and frozen at this point too). 

Pre-heat oven to 160 degrees Celsius and line 3-4 trays with baking paper. Once the dough has been in the fridge for 30-40 minutes, scoop out heaped tablespoons of the mixture and place on the prepared baking trays (leaving room for the biscuits to spread as they cook).

Bake for about 18 minutes (rotating trays halfway). The biscuits will be golden once done.

Allow to cool on their trays.

Store in an airtight container, they will keep for about 1 week.

Makes about 55 biscuits.

Cranberry and Caramilk Cookies

Reference: ‘The Violet Bakery Cookbook’ by Claire Ptak (Ten Speed Press, 2015), pp.140-1.

Cranberry and Caramilk Cookies
In Biscuits/Cookies Tags Caramilk, Cranberry, Cookies, Biscuits, White Chocolate, Biscuits/Cookies
Comment
  • The Blog
  • Older
  • Newer

recipes

  • Biscuits/Cookies 39
  • Breads Etc. 9
  • Breakfast 7
  • Cakes & Slices 67
  • Confectionary 5
  • Drinks 6
  • Events 14
  • Food Photography Tips 3
  • From The Mailing List 24
  • Heirloom Recipes 12
  • Holidays 44
  • Ice Cream 9
  • Jams Preserves & Spreads 9
  • Muffins 4
  • Off the Shelf 48
  • Other Desserts 25
  • Savoury Dishes/Meals 15
  • Scones 4
  • Tarts & Pastry 9
  • Travel 13

Sign up to Friday Food Chat with Kath, a weekly newsletter for more food, baking, cookbook chat and more!

Sign Up Here!
instagram-unauth pinterest facebook url

Website Accessibility: To enable text to speech function on the blog, click the sound button to the right of each blog post.

All images & content are the property of Kathryn Vincent, unless stated otherwise. Please do not use without permission.

Kulinary Adventures of Kath

Food Photography, Recipes & Baking

instagram-unauth pinterest facebook url