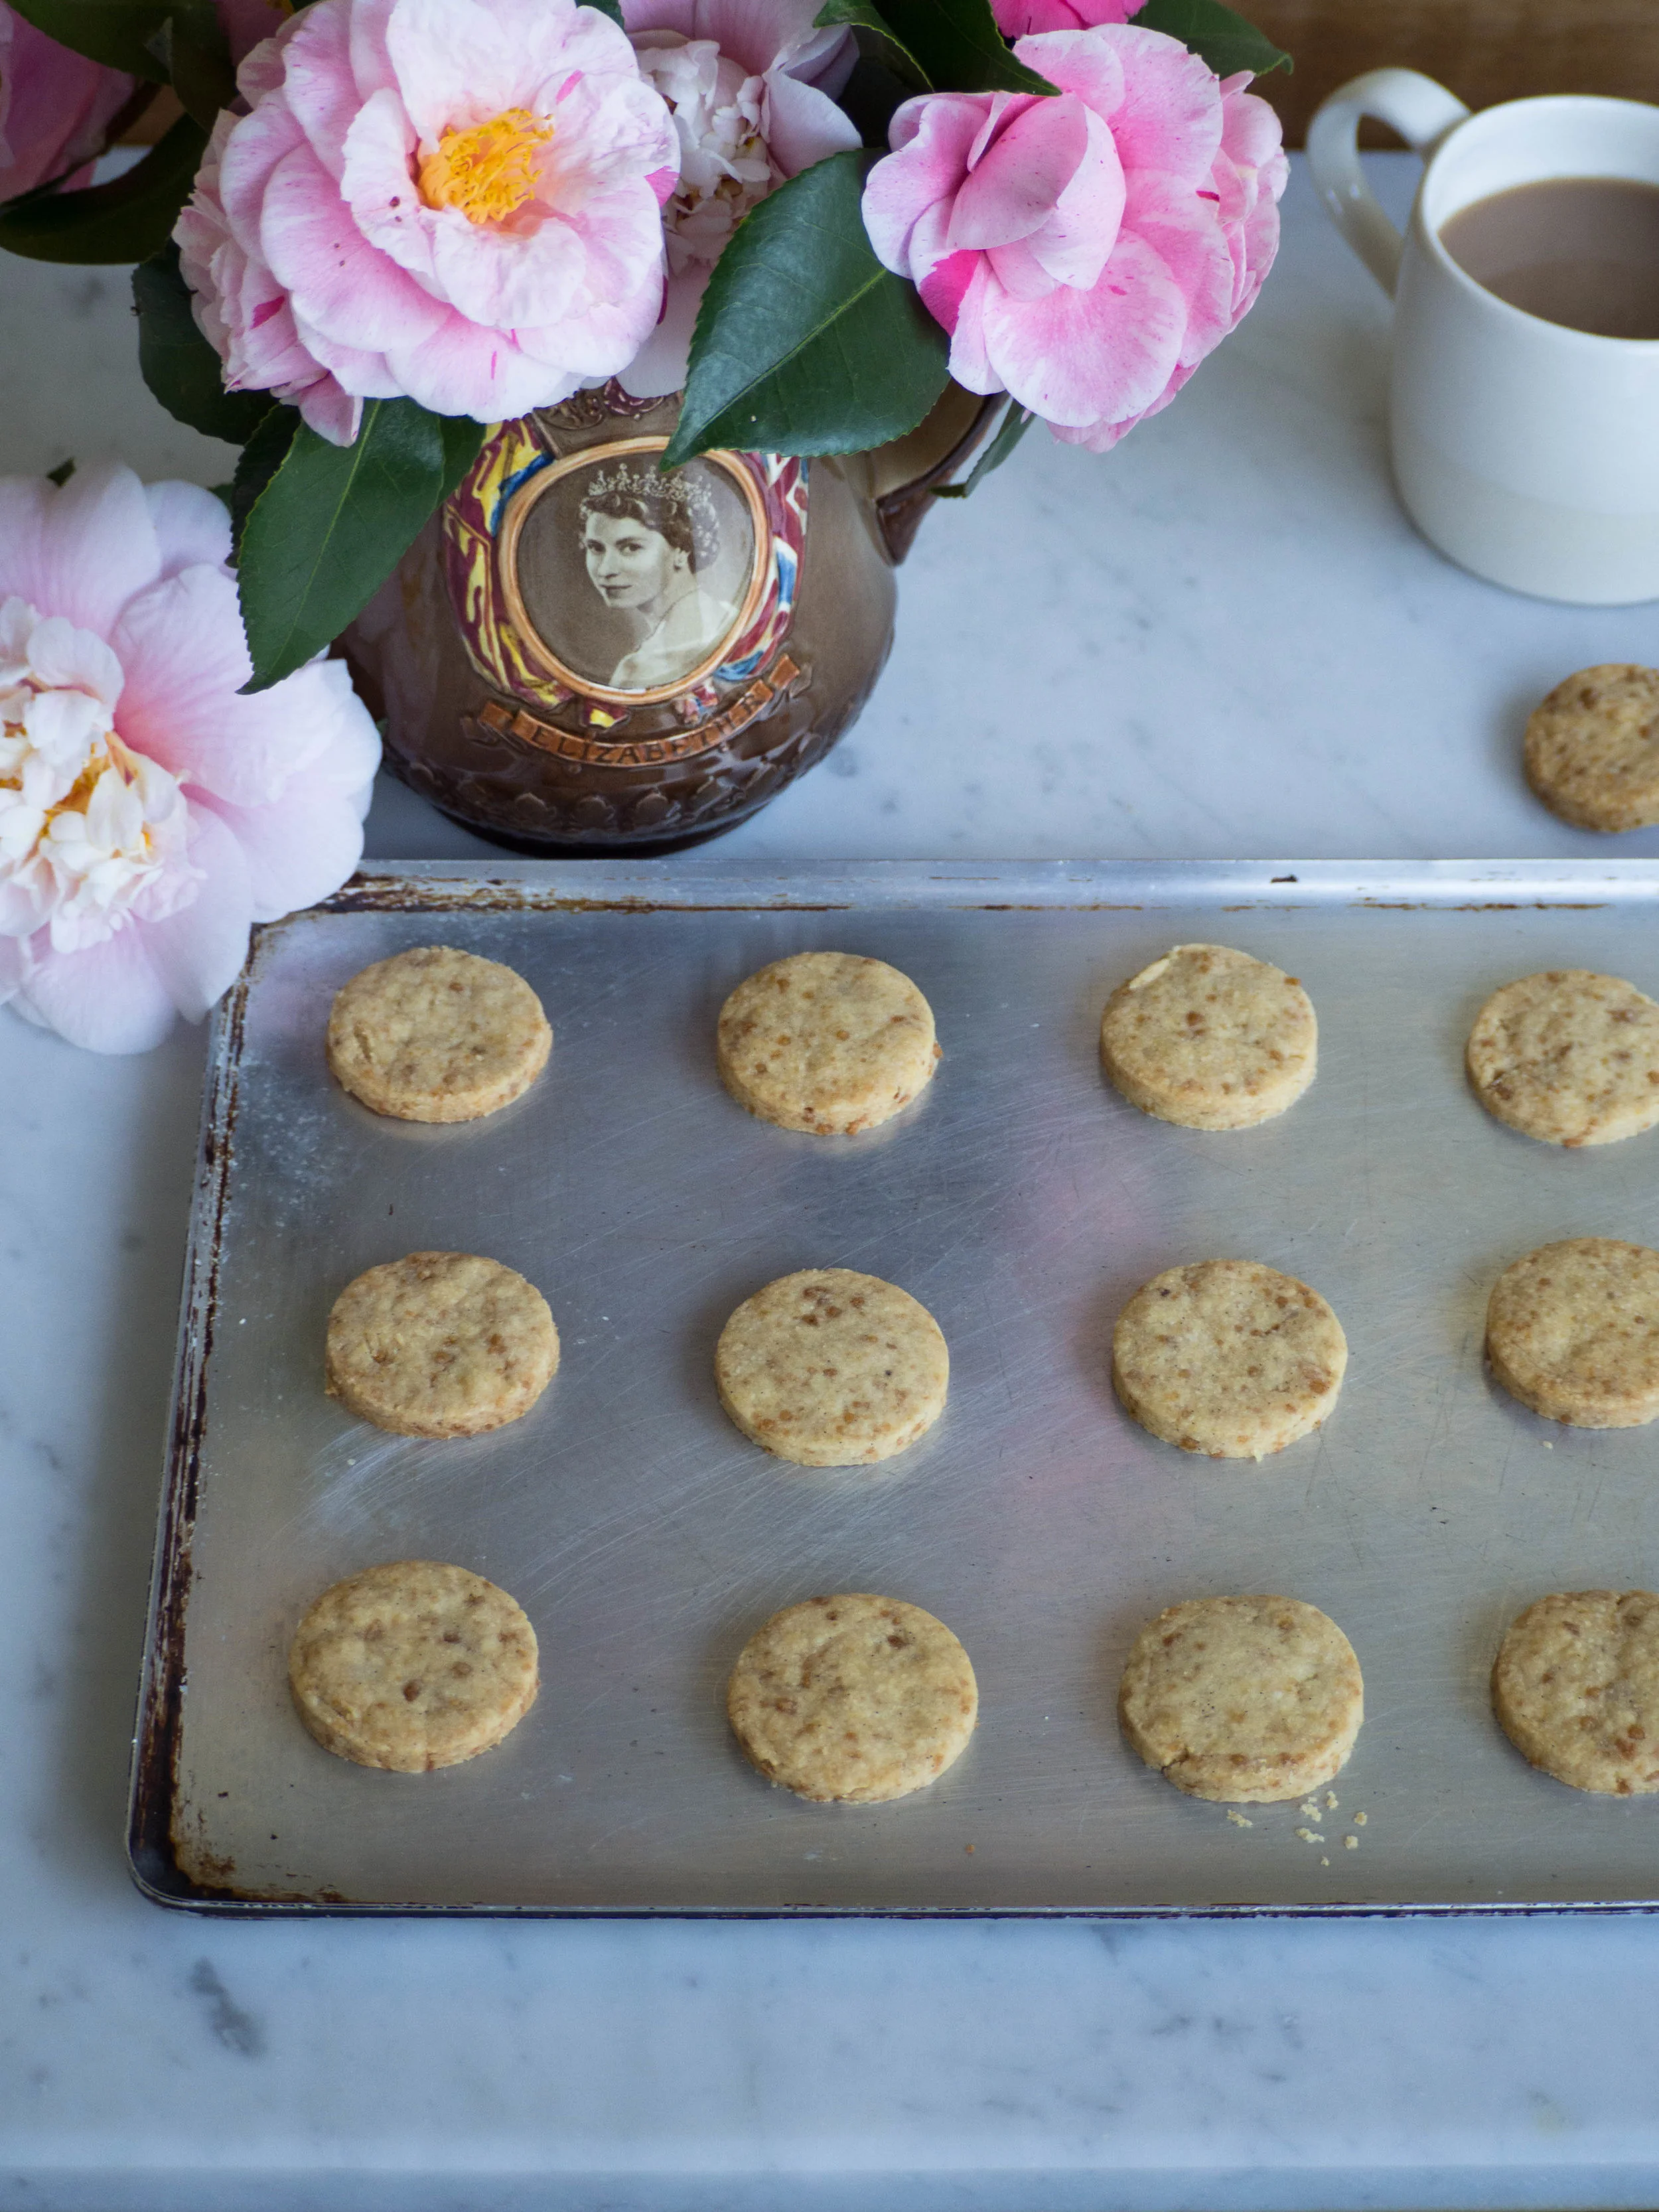
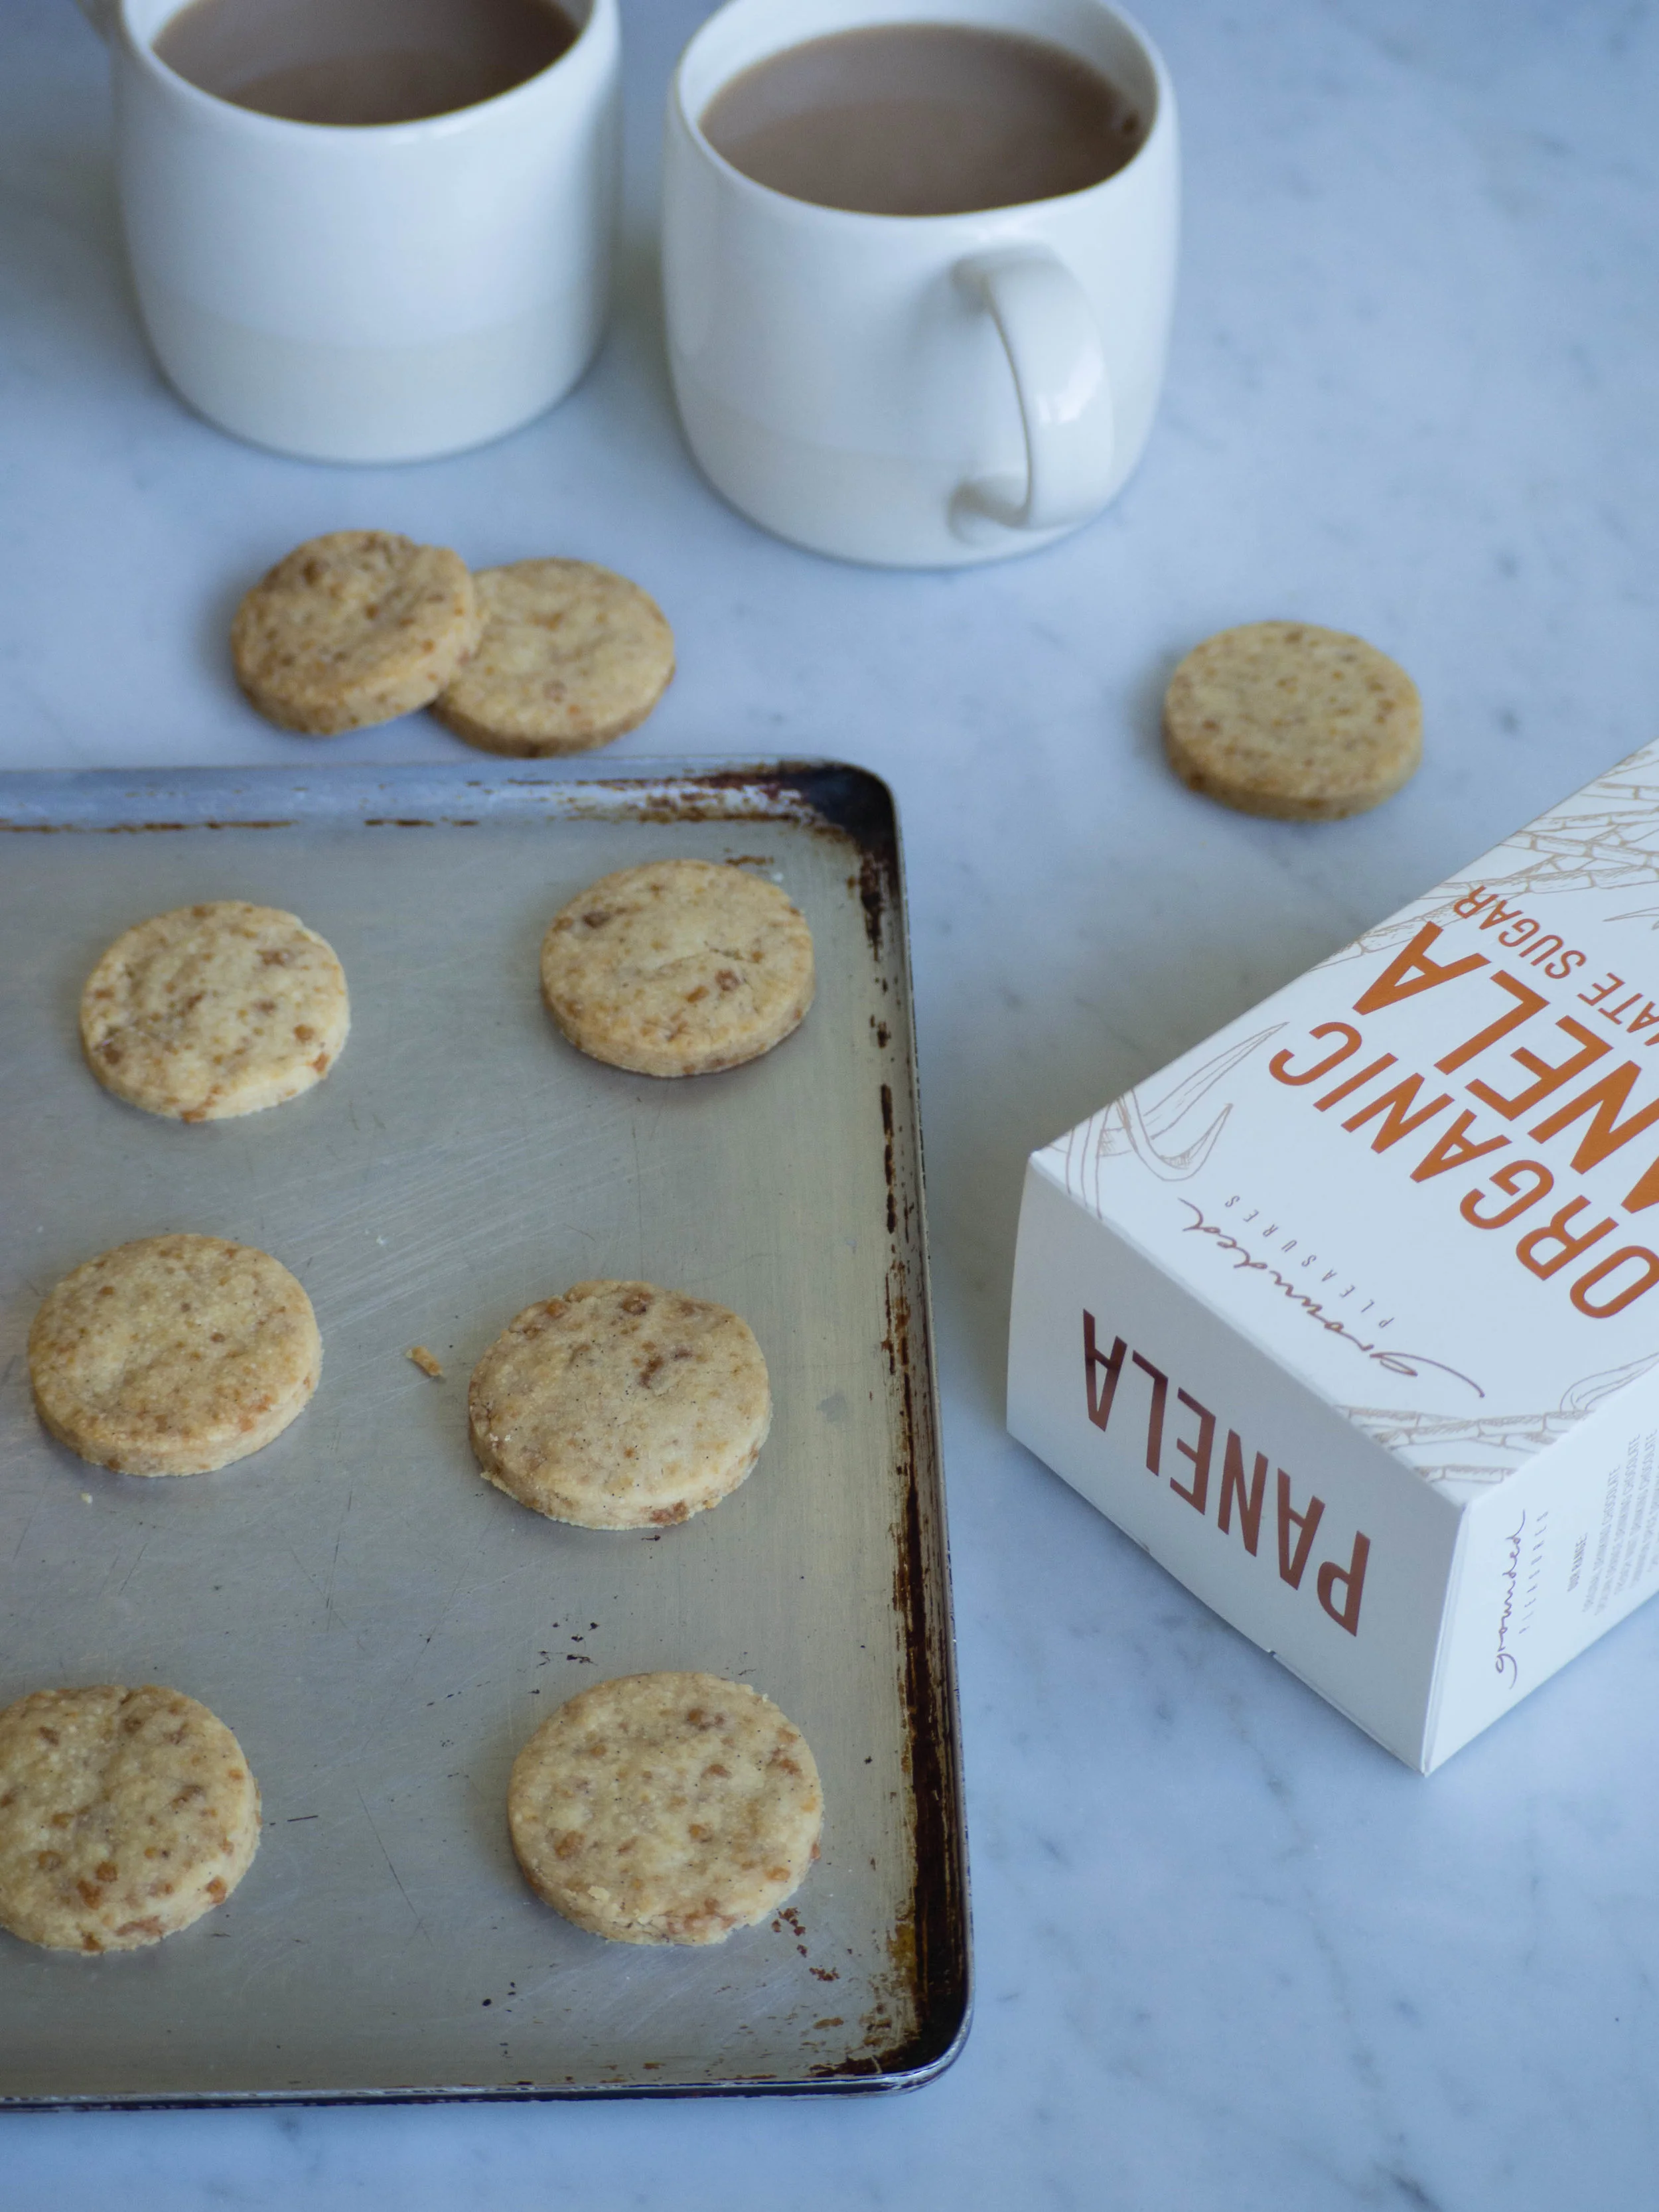
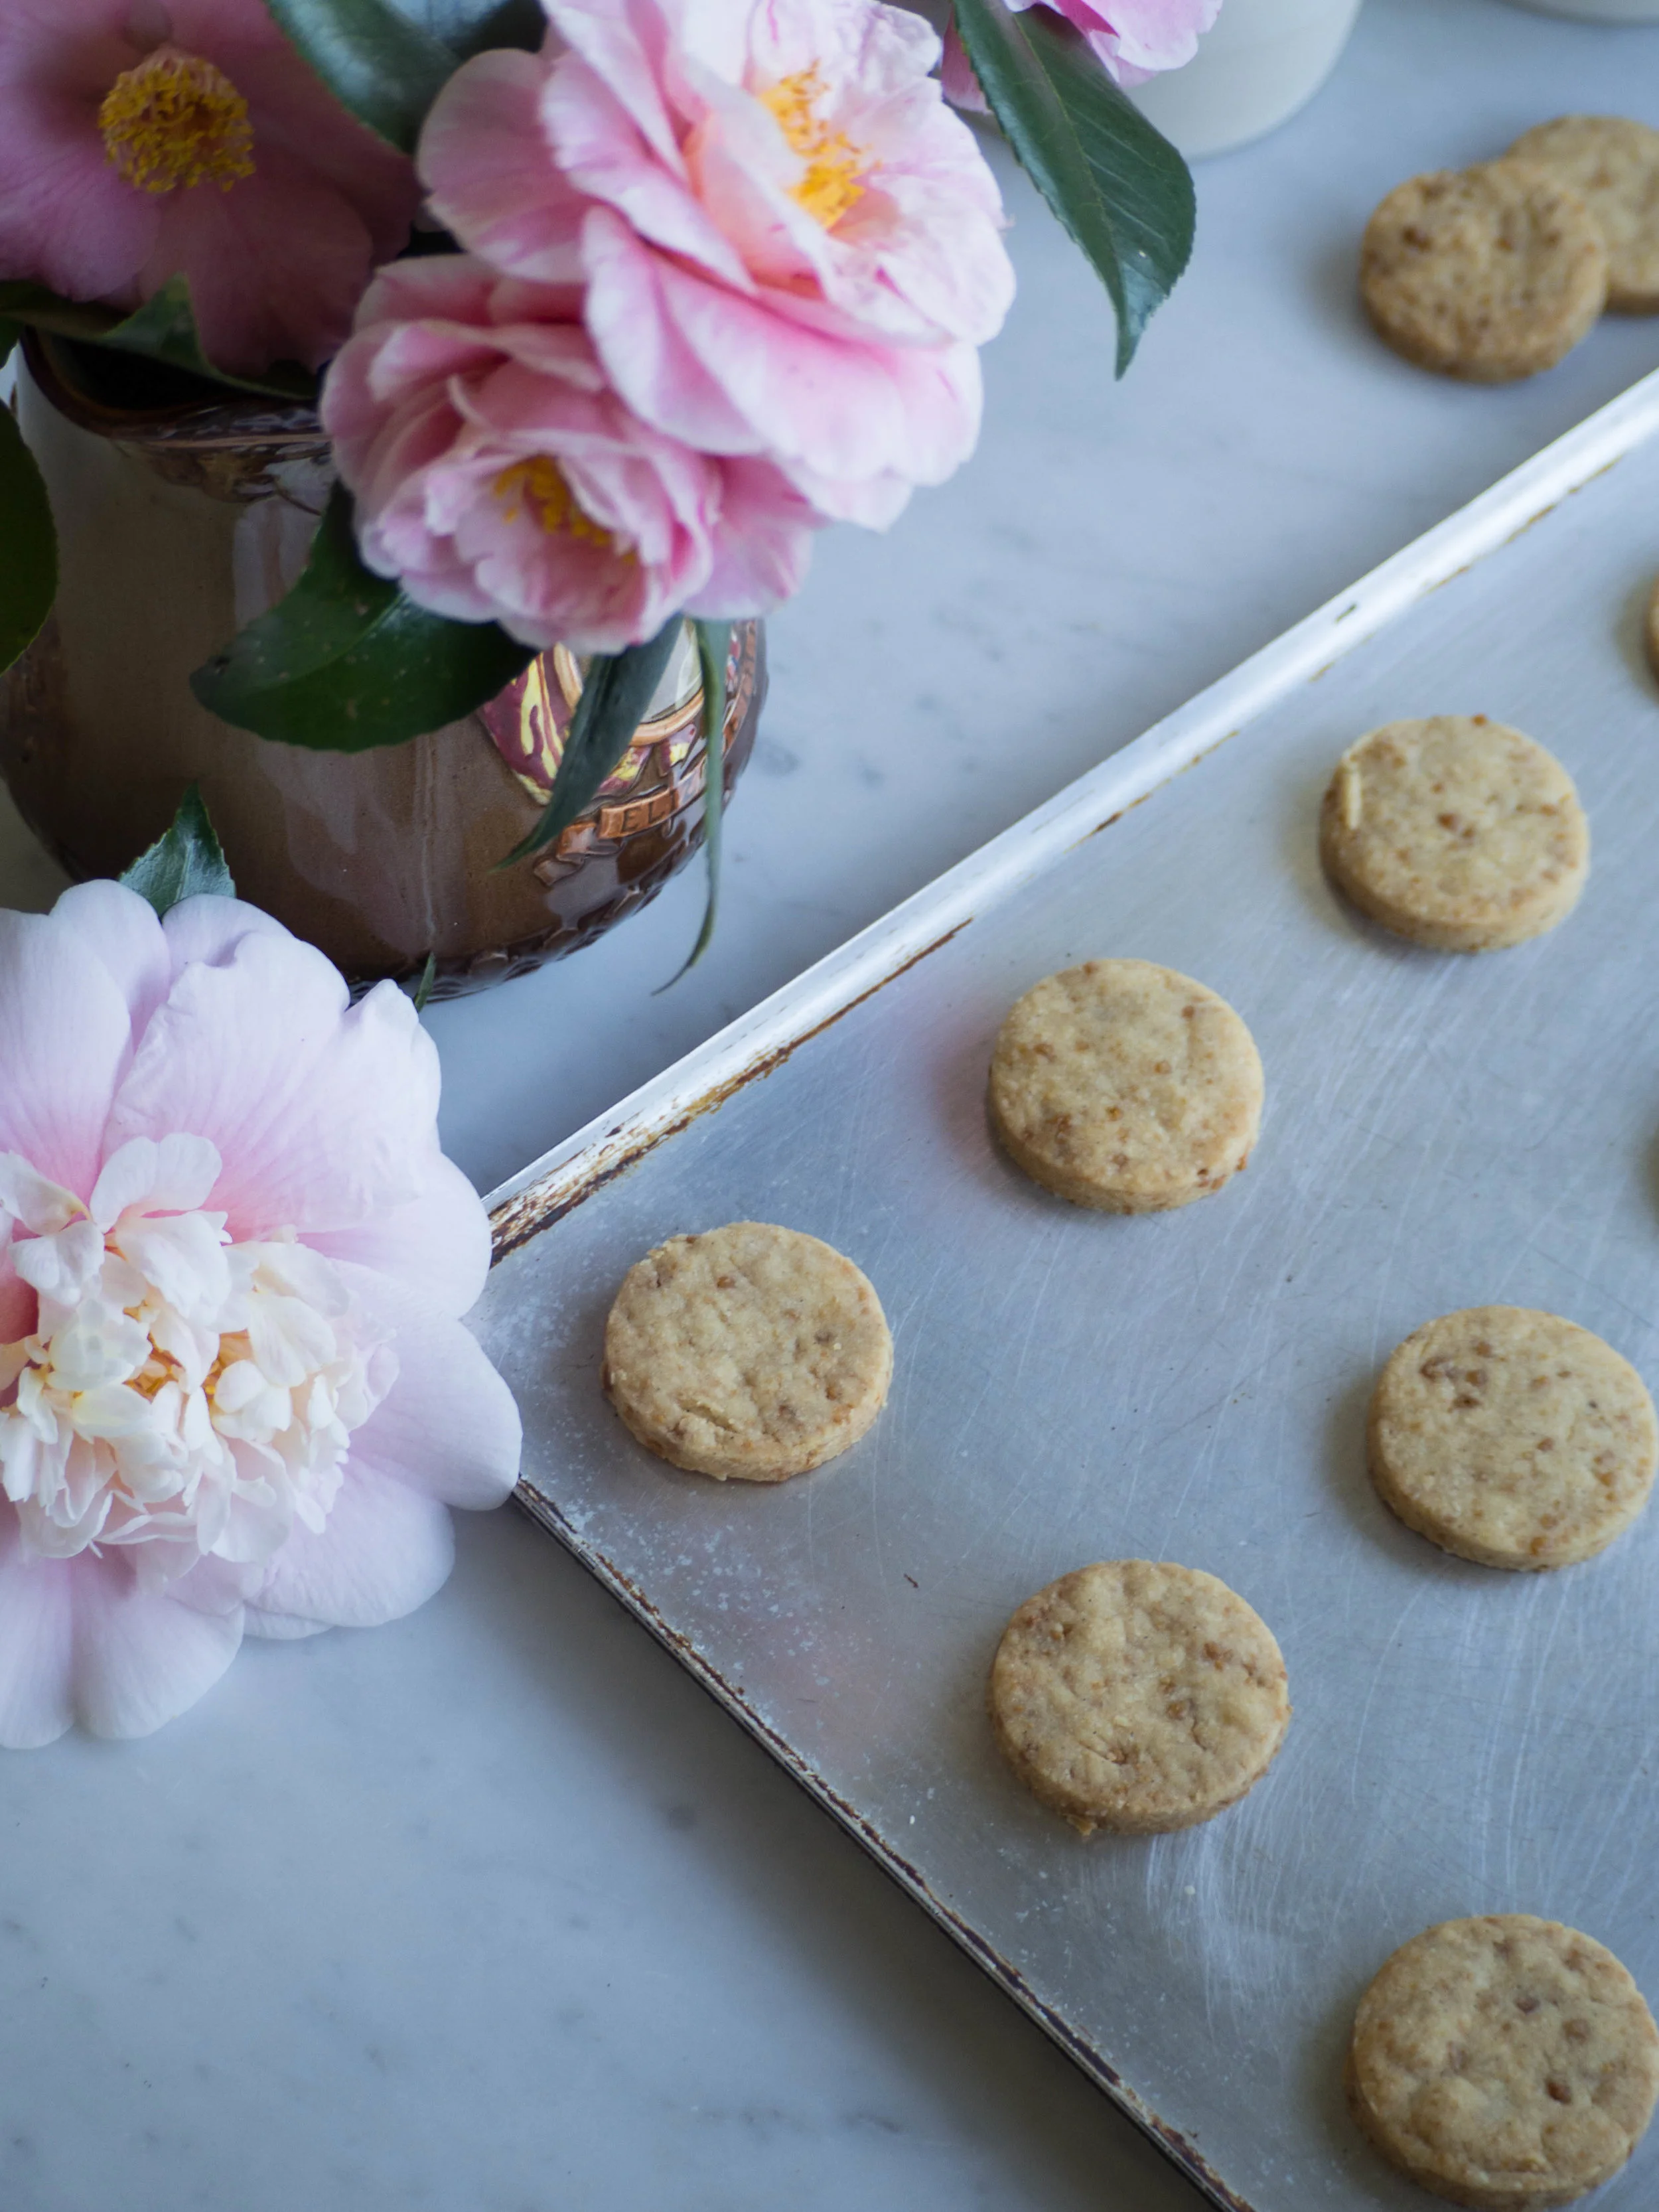
Now that I am well accustomed to using Panela Sugar, I am testing it out in almost every tried and tested recipe I have! And my latest discovering is that Panela Sugar Shortbread is like making a super easy version of a caramel shortbread! The bigger crystals of Panela stay whole within each biscuit, and once cooked they caramelise even more and taste like small pieces of caramel in each bite.
And as Panela sugar is unrefined, it makes me feel a little less guilty about eating a few of these! Other unrefined sugars, such as rapadura, would probably work well too and give a similar caramel flavour to the shortbread.
I made these a little while ago as my contribution for an afternoon tea, and the leftovers were eaten at the host’s work the next day. I am told they went down really well, with one person commenting that they tasted like Irish Shortbread. Now, I had no idea the Irish had their own version of shortbread, so now I think I need to do a little research and brush up on my shortbread knowledge!
Panela Sugar Shortbread
How to Make Vanilla Extract
If using vanilla beans for this recipe (or any other!), don’t throw out the pods after the seeds have been used. Fill a small/medium jar or bottle with vodka and add the pods to it as you use them.
Shake the bottle now and then, and keep stored at room temperature. The more pods you add to the vodka the deeper the colour and the better the flavour you will get.
Depending on how many pods are infusing, expect to wait at least two-three months before using the vanilla extract. You can judge it by the colour of the extract and the aroma. I think the deeper the colour the better - I’d rather wait longer to use it and have a more intense vanilla flavour. See below for progress shots of making vanilla extract from day one to four months.
I have mentioned before that vanilla pods can also be used for vanilla sugar, and now that I am using my vanilla sugar I have been rinsing the pods off from that and adding them to the extract too - they still have lots of flavour and it would be such a shame to waste them!
If you are looking for a good bought vanilla extract, I would of course recommend the one made by Grounded Pleasures! It has a rich colour and really wonderful intense flavour, and each tube comes with a vanilla pod inside - and you don’t have to wait a few months to use it!


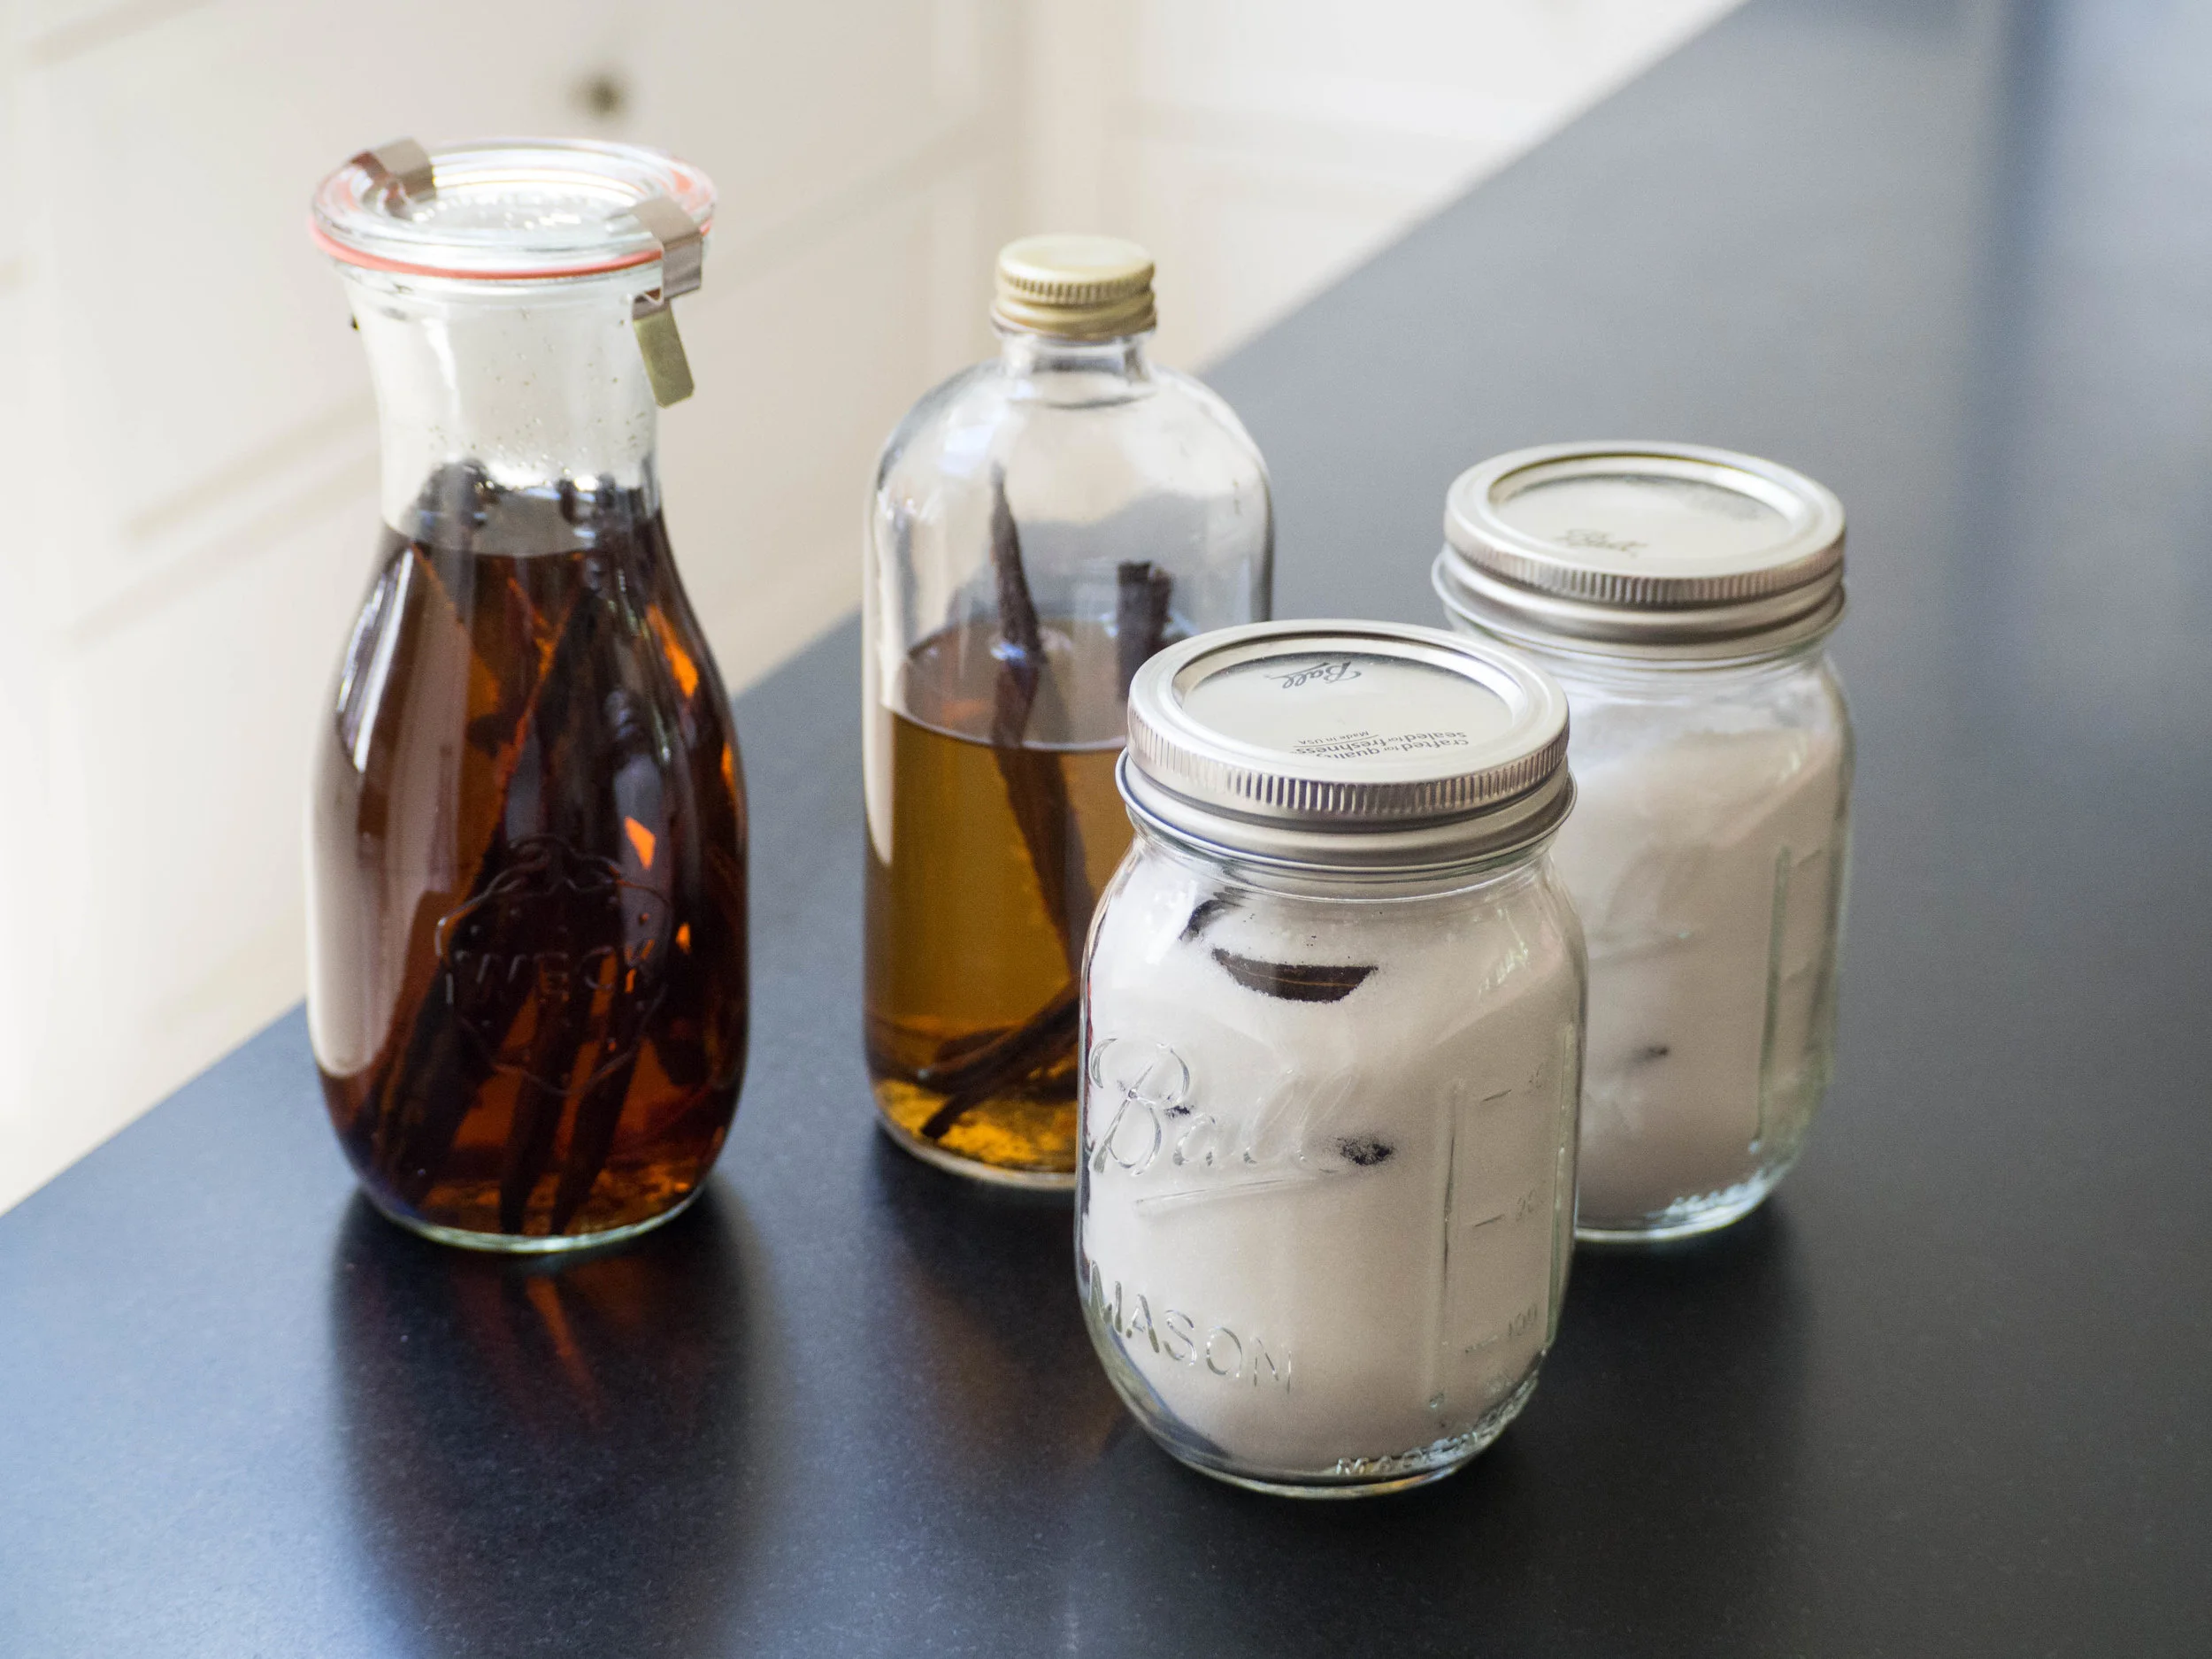
Homemade Vanilla Extract and Vanilla Sugar

Panela Sugar Shortbread
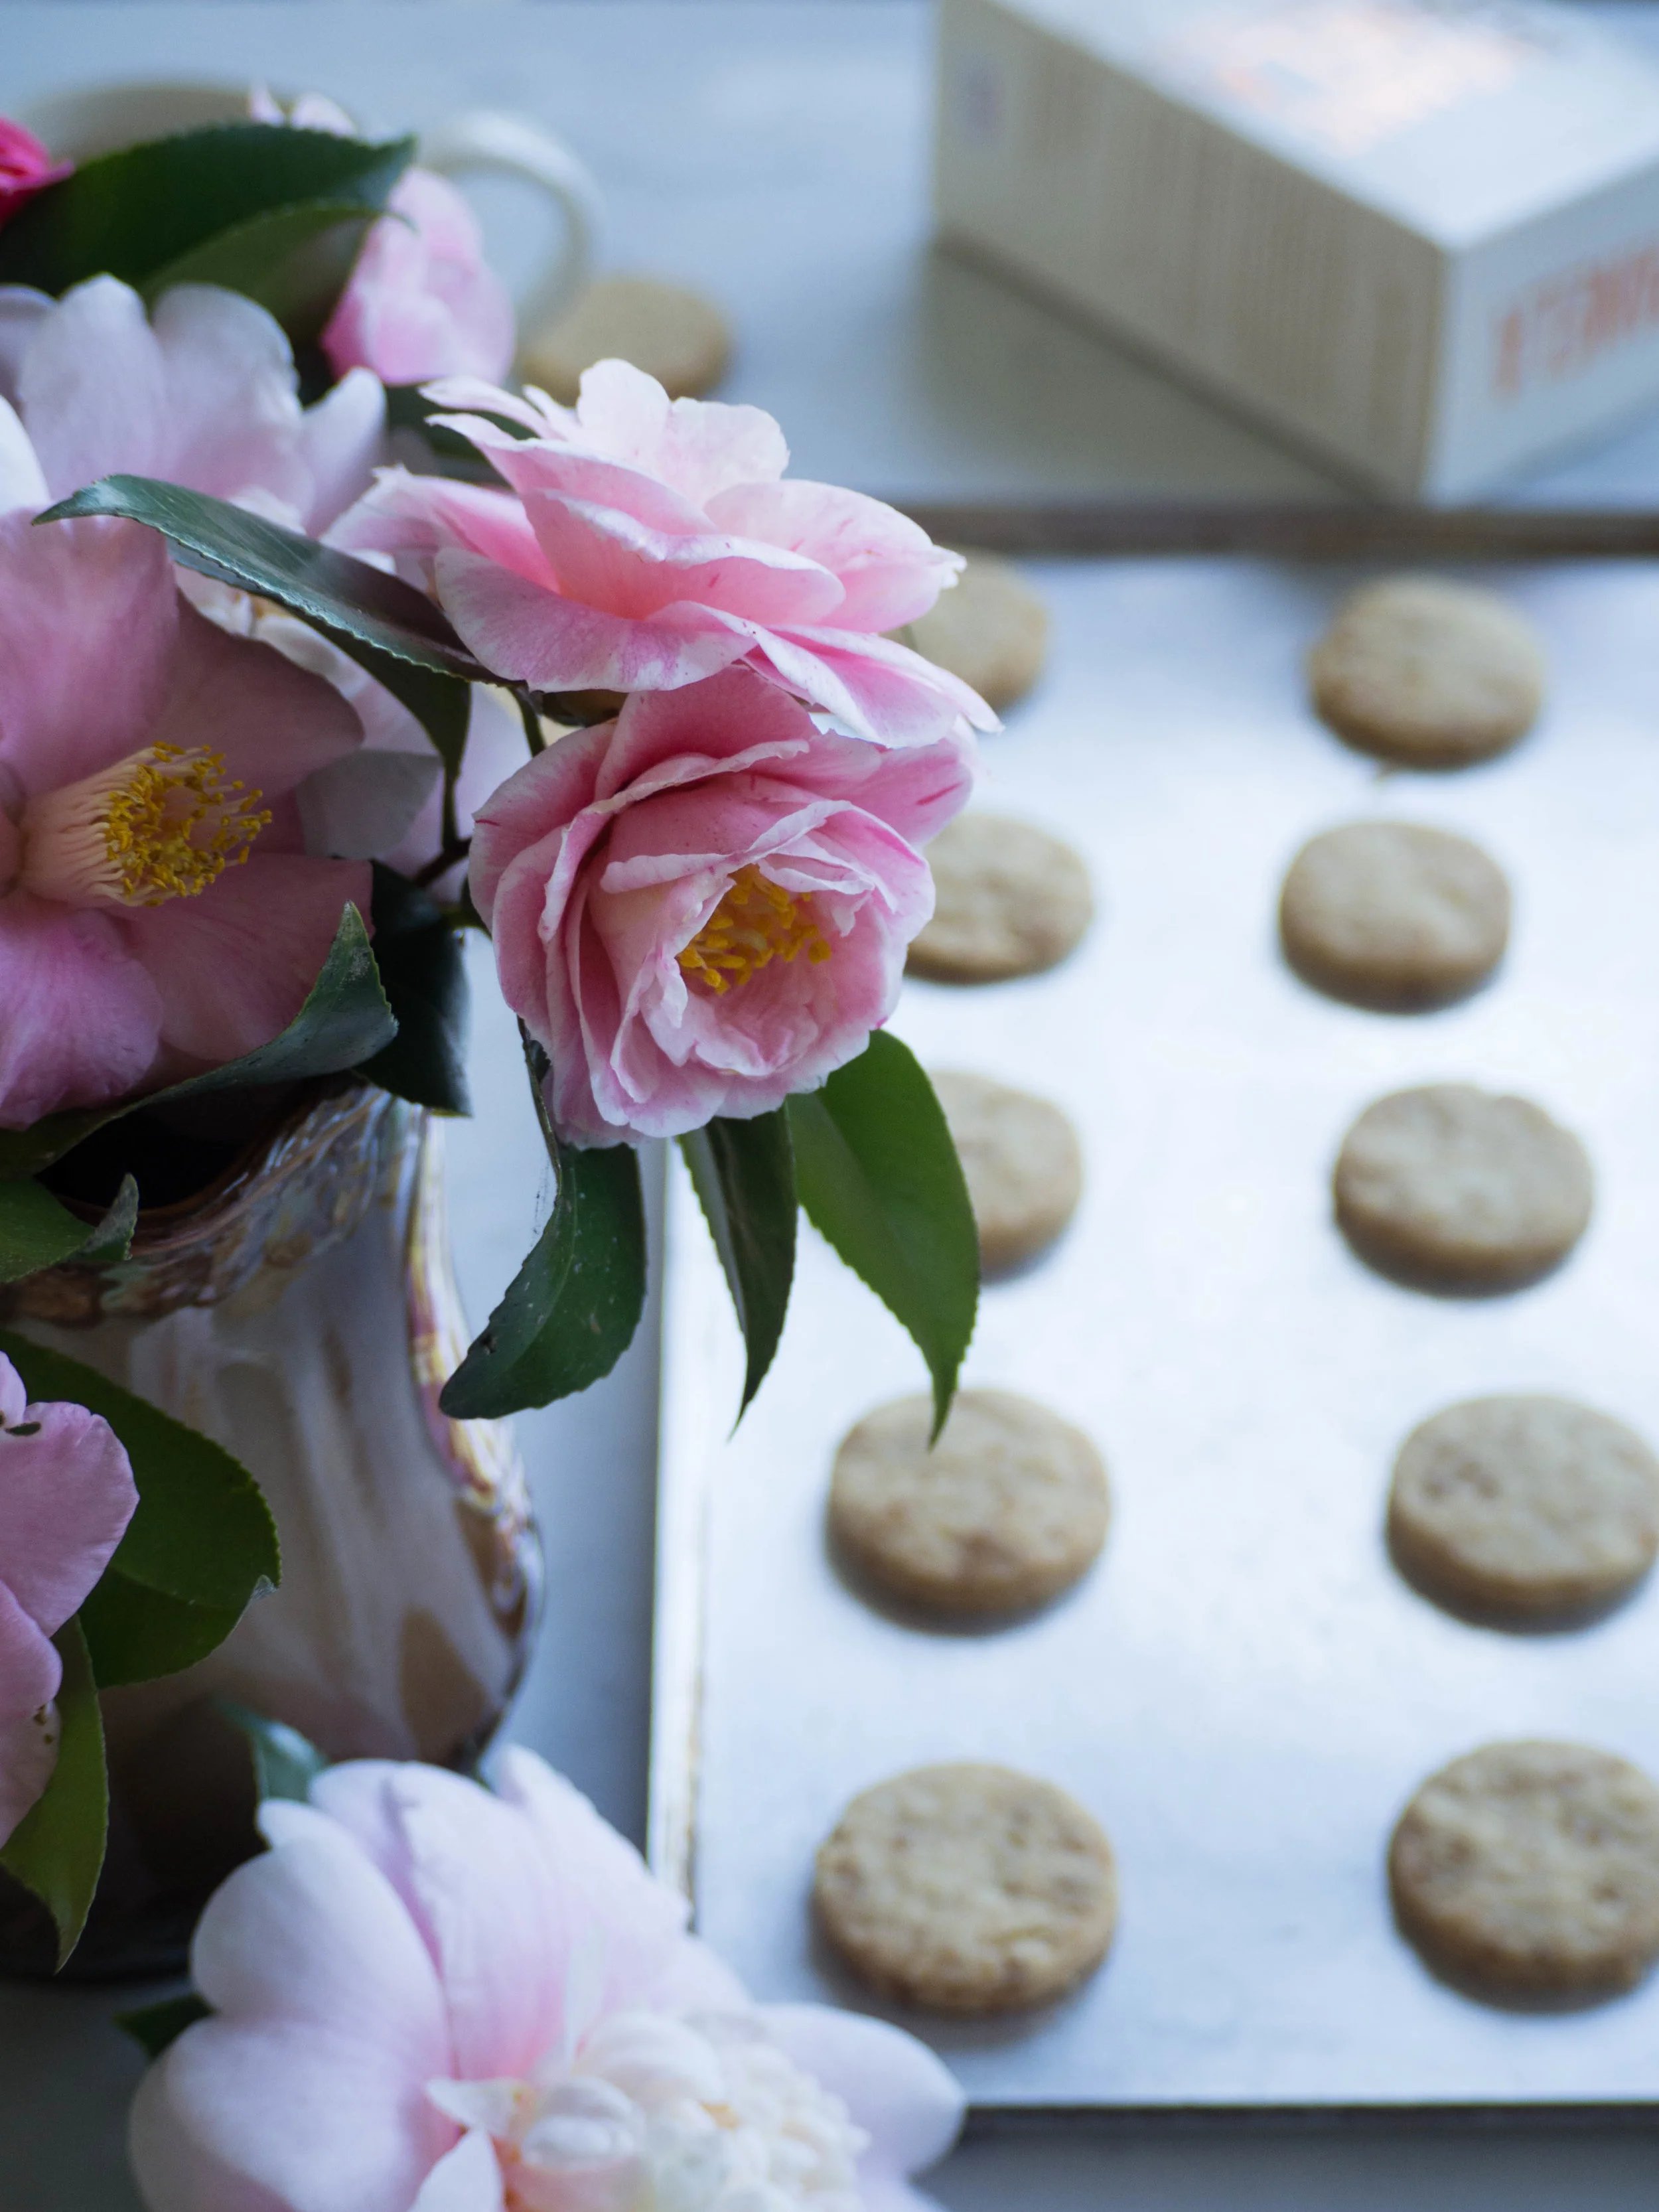
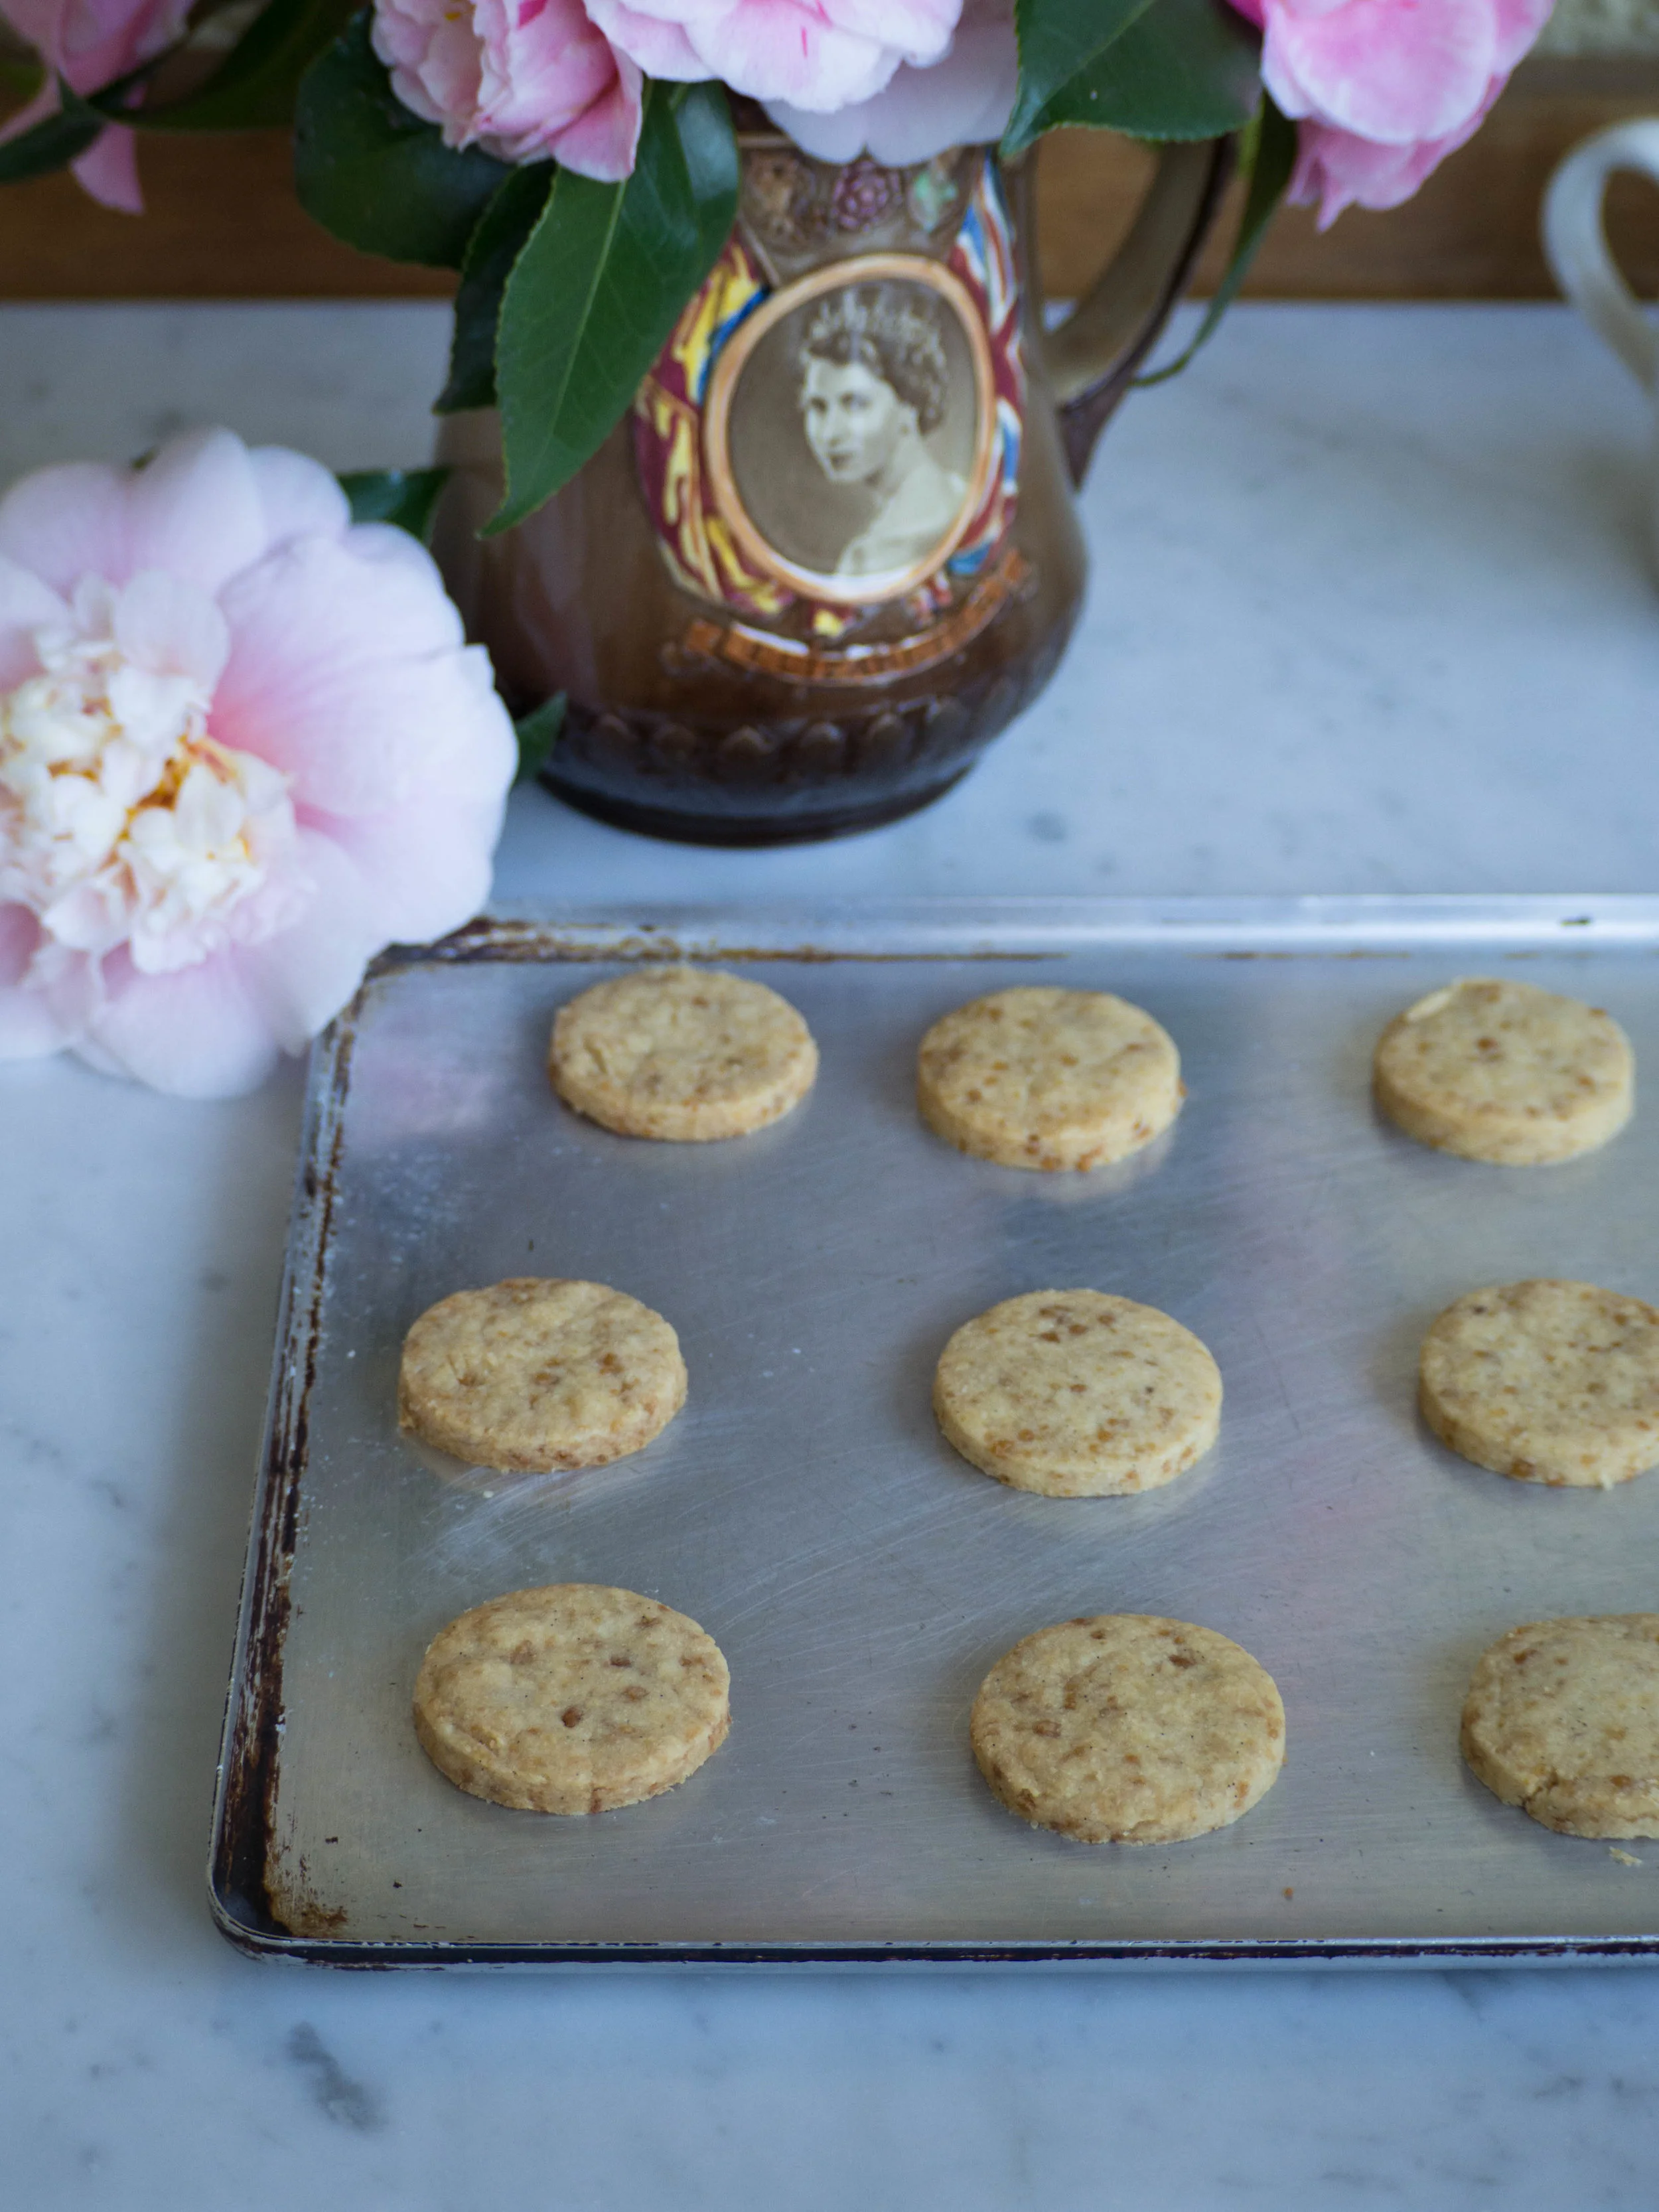
Panela Sugar Shortbread and Homegrown Camellias
Panela Sugar Shortbread
Panela Sugar Shortbread
Ingredients:
160g unsalted butter, at room temperature
60g Grounded Pleasures Organic Panela Sugar
1 Grounded Pleasures Organic Vanilla Bean, seeds scraped
250g plain flour
Method:
Pre-heat oven to 150 degrees Celsius and line two large baking trays with baking paper.
In the bowl of a stand mixer fitted with a paddle attachment, place the butter (135g), Panela sugar and the vanilla bean seeds. Beat until well combined.
Add the flour and mix on low speed until the flour has incorporated. Mix on a low-medium speed until a dough starts to form. If the mixture remains too crumbly, add the remaining butter and mix well.
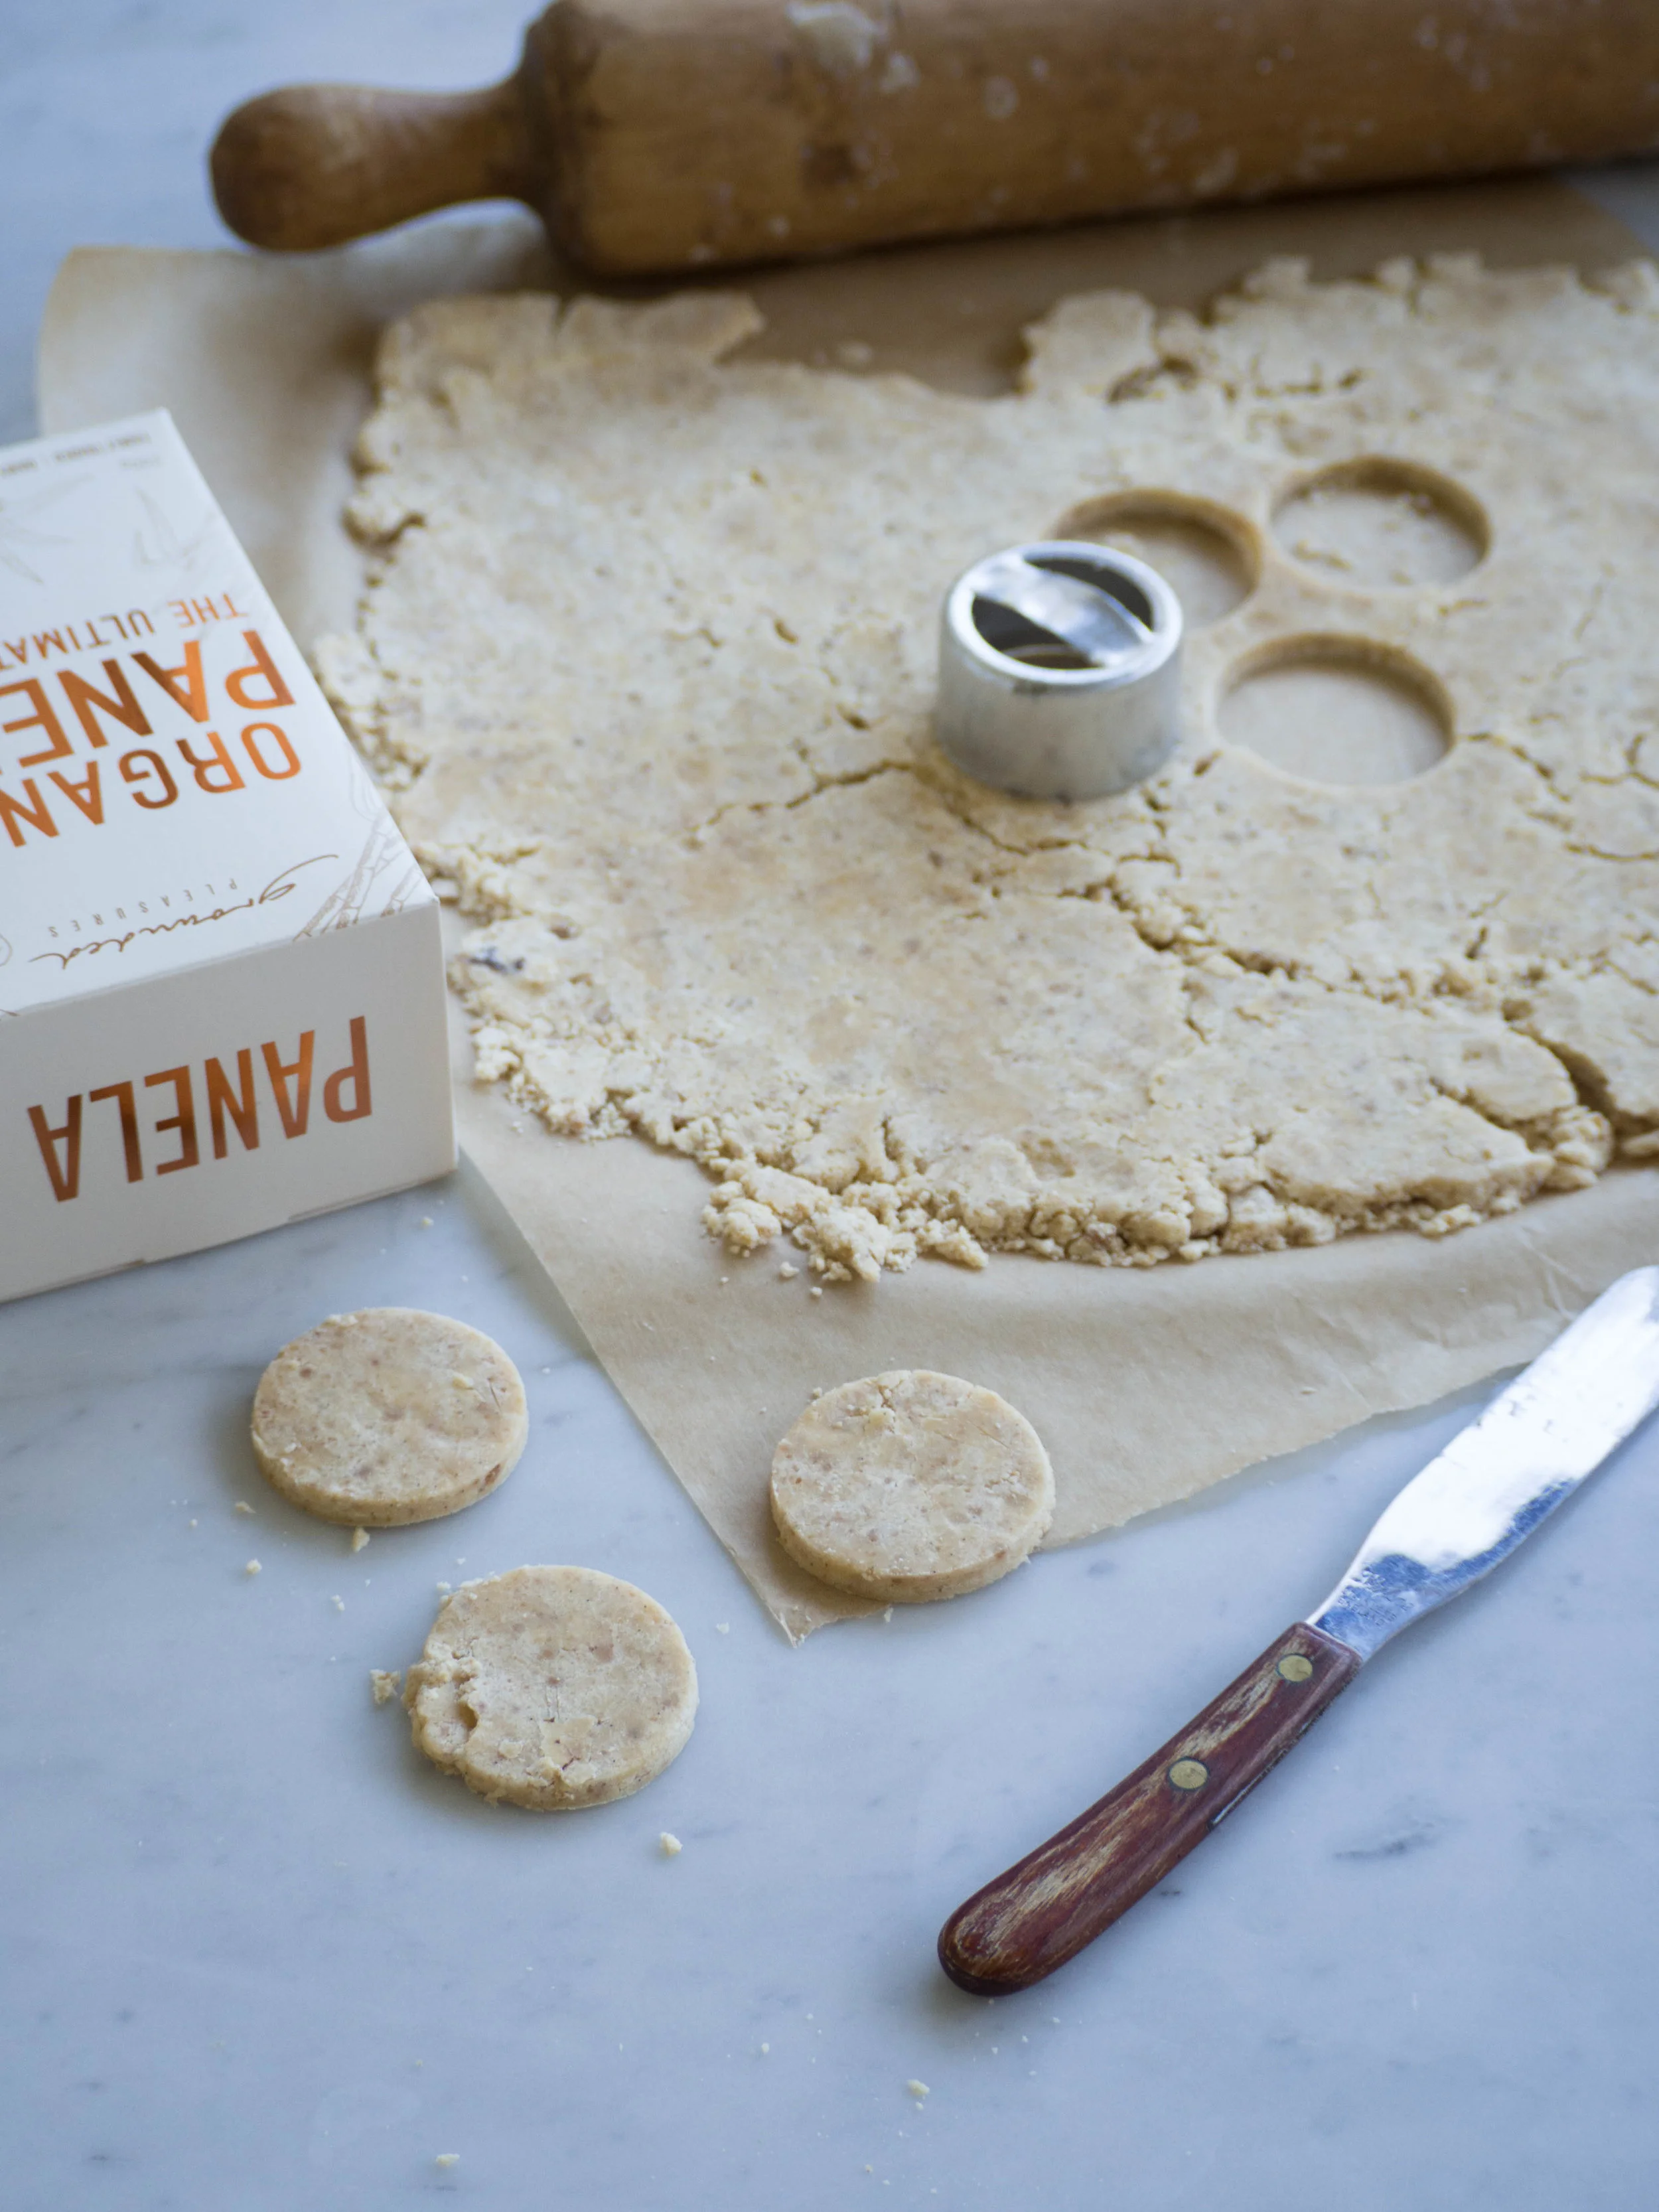
Sprinkle some flour on your work surface, bring the dough together with your hands, then turn onto the floured surface. Using a rolling pin, roll the dough out, dusting with more flour as needed, so it is flat and and about 2mm thick.
Cut the biscuits out using a small round biscuit cutter (mine is 4.5cm), using a small spatula to lift them over to the prepared tray.
Bake biscuits for about 15 minutes, or until the edges are slightly golden. I like the check the underneath of a couple of biscuits too, if that is a little golden then the biscuits are definitely cooked.
Cool the biscuits on the trays and store in an airtight container.
Makes about 45 small biscuits.
Panela Sugar Shortbread

Panela Sugar Shortbread
Panela Sugar Shortbread
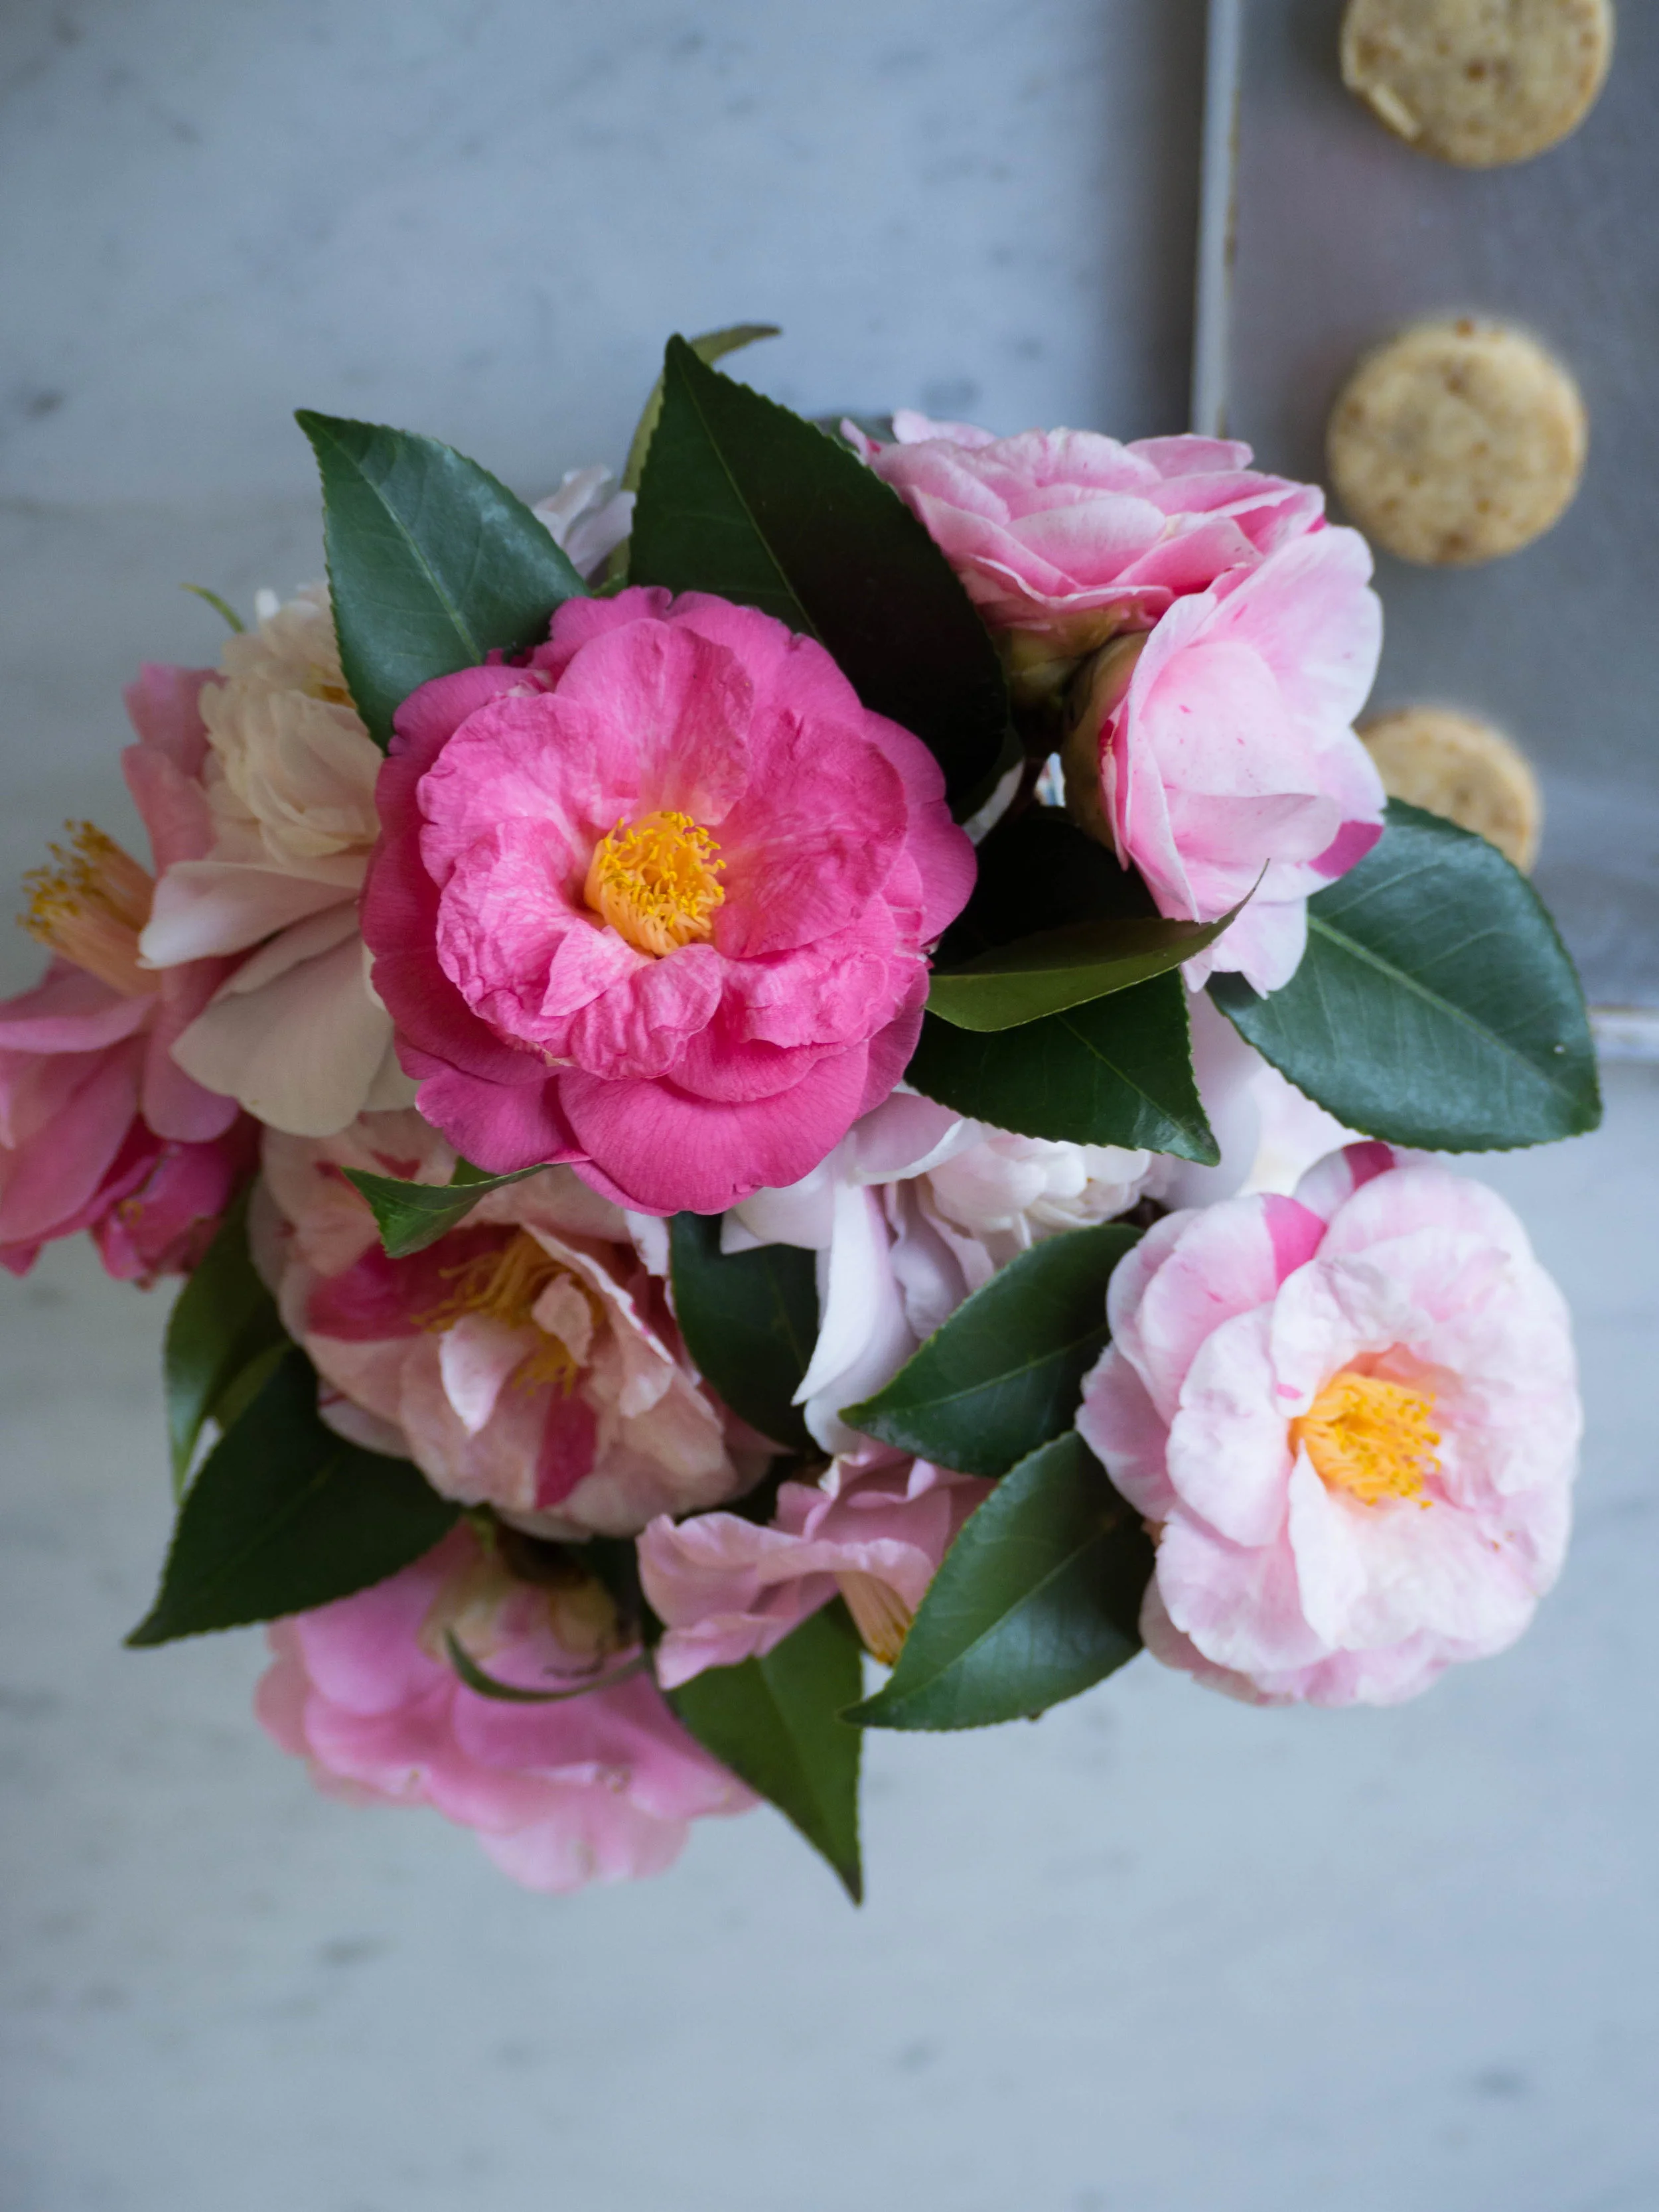
Homegrown Camellias
Thanks to Grounded Pleasures for sponsoring this post and providing the yummy Panela Sugar & Vanilla Beans!