Kulinary Adventures of Kath

Food Photography, Recipes & Baking
  • home
  • About
  • Work with Kath
  • Shop
  • Blog
    • The Blog
    • Recipe Archive
  • Newsletter
  • Contact
  • home
  • About
  • Work with Kath
  • Shop
    • The Blog
    • Recipe Archive
  • Newsletter
  • Contact
Raspberry Pistachio Rose Cake (23 of 25).jpg

The Blog

Recipes and Food Photography by Kath Vincent.

  • The Blog
  • Recipe Archive
  • All
  • Biscuits/Cookies
  • Breads Etc.
  • Breakfast
  • Cakes & Slices
  • Confectionary
  • Drinks
  • Events
  • Food Photography Tips
  • From The Mailing List
  • Heirloom Recipes
  • Holidays
  • Ice Cream
  • Jams Preserves & Spreads
  • Muffins
  • Off the Shelf
  • Other Desserts
  • Savoury Dishes/Meals
  • Scones
  • Tarts & Pastry
  • Travel
Fortnum & Masons's Rose Biscuits with Homemade Crystallised Rose Petals

Fortnum & Masons's Rose Biscuits with Homemade Crystallised Rose Petals

Fortnum & Mason’s Rose Biscuits Revisited + How to Make Crystallised Rose Petals

Kath March 7, 2016

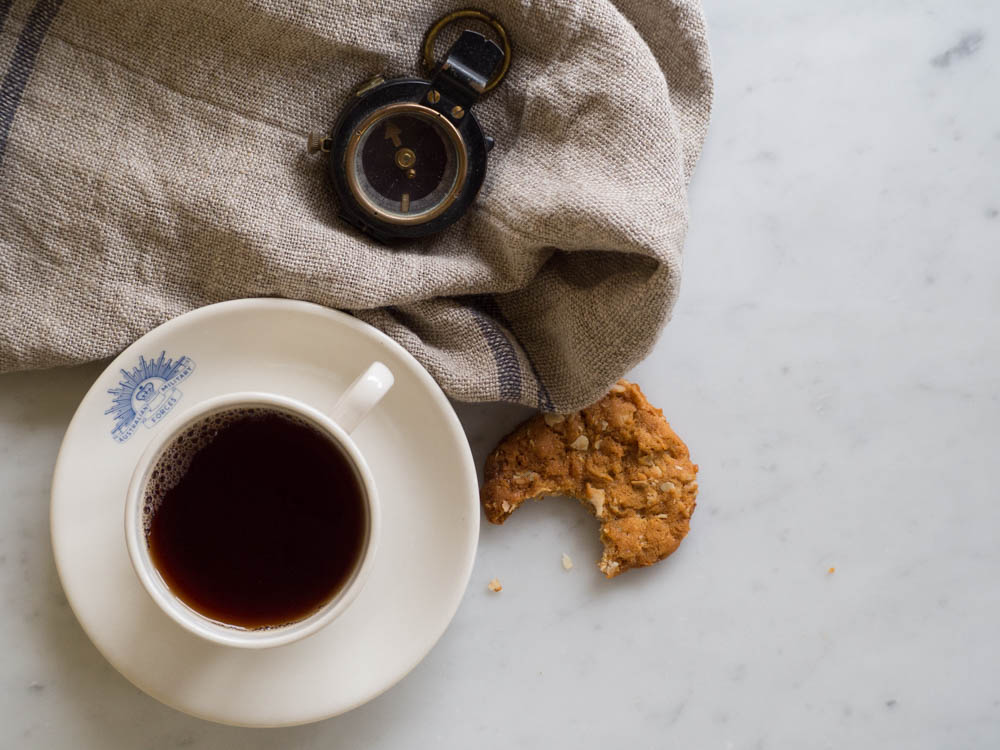
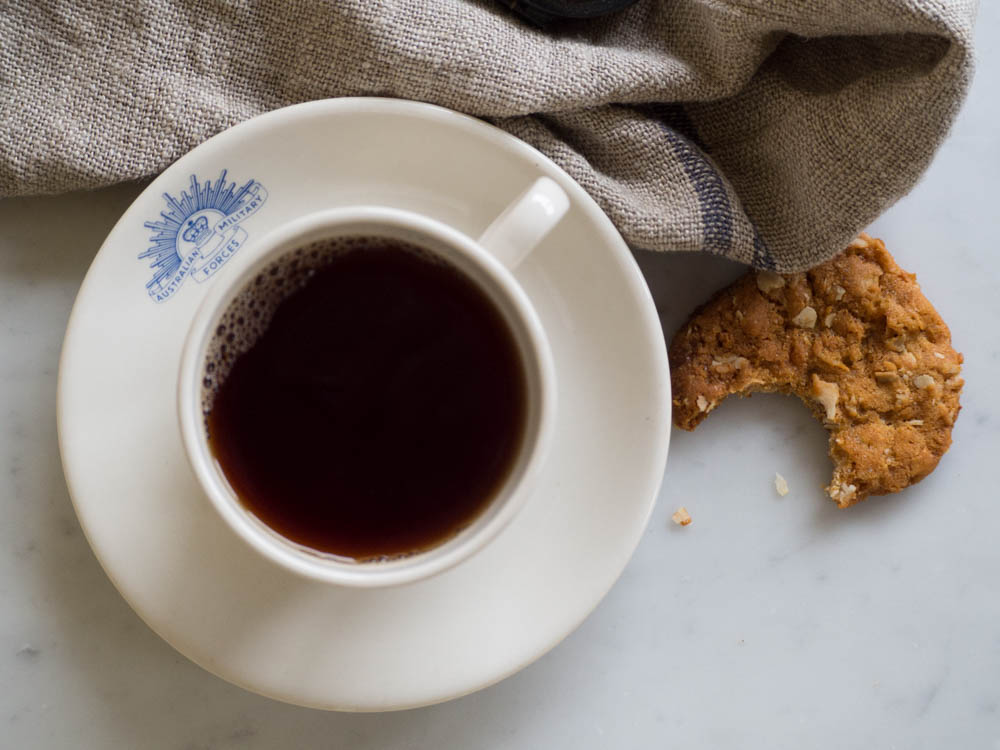
It has been about two years since I was last at Fortnum & Mason, and almost the same amount of time since I first attempted making these biscuits. In a previous post, which can be found here, I shared my version of Fortnum & Mason’s rose biscuits. And over the past couple of years, I have noticed it has consistently been a popular post on the blog - which I love, as I feel it means there are others out there who either like me have an obsession with using rose in baking, or, are just as in love with Fortnum & Mason’s biscuits as I am. 

The original recipe for Fortnum & Mason’s rose scented biscuits requires some crystallised (or sugared) rose petals, of which I have never been able to find in Australia. I still dream of the packets of crystallised rose and violet petals I saw in the shop G. Detou in Paris, and still kick myself for not buying them. Since I could never find any crystallised rose petals, and fresh edible rose petals still eluded me then, my version of Fortnum & Mason’s rose scented biscuits omitted the rose petals, but included a rose icing to enhance the flavour. While I have always been happy with my adaptation, I still kept the original recipe in mind, just in case I was ever able to make it properly. 

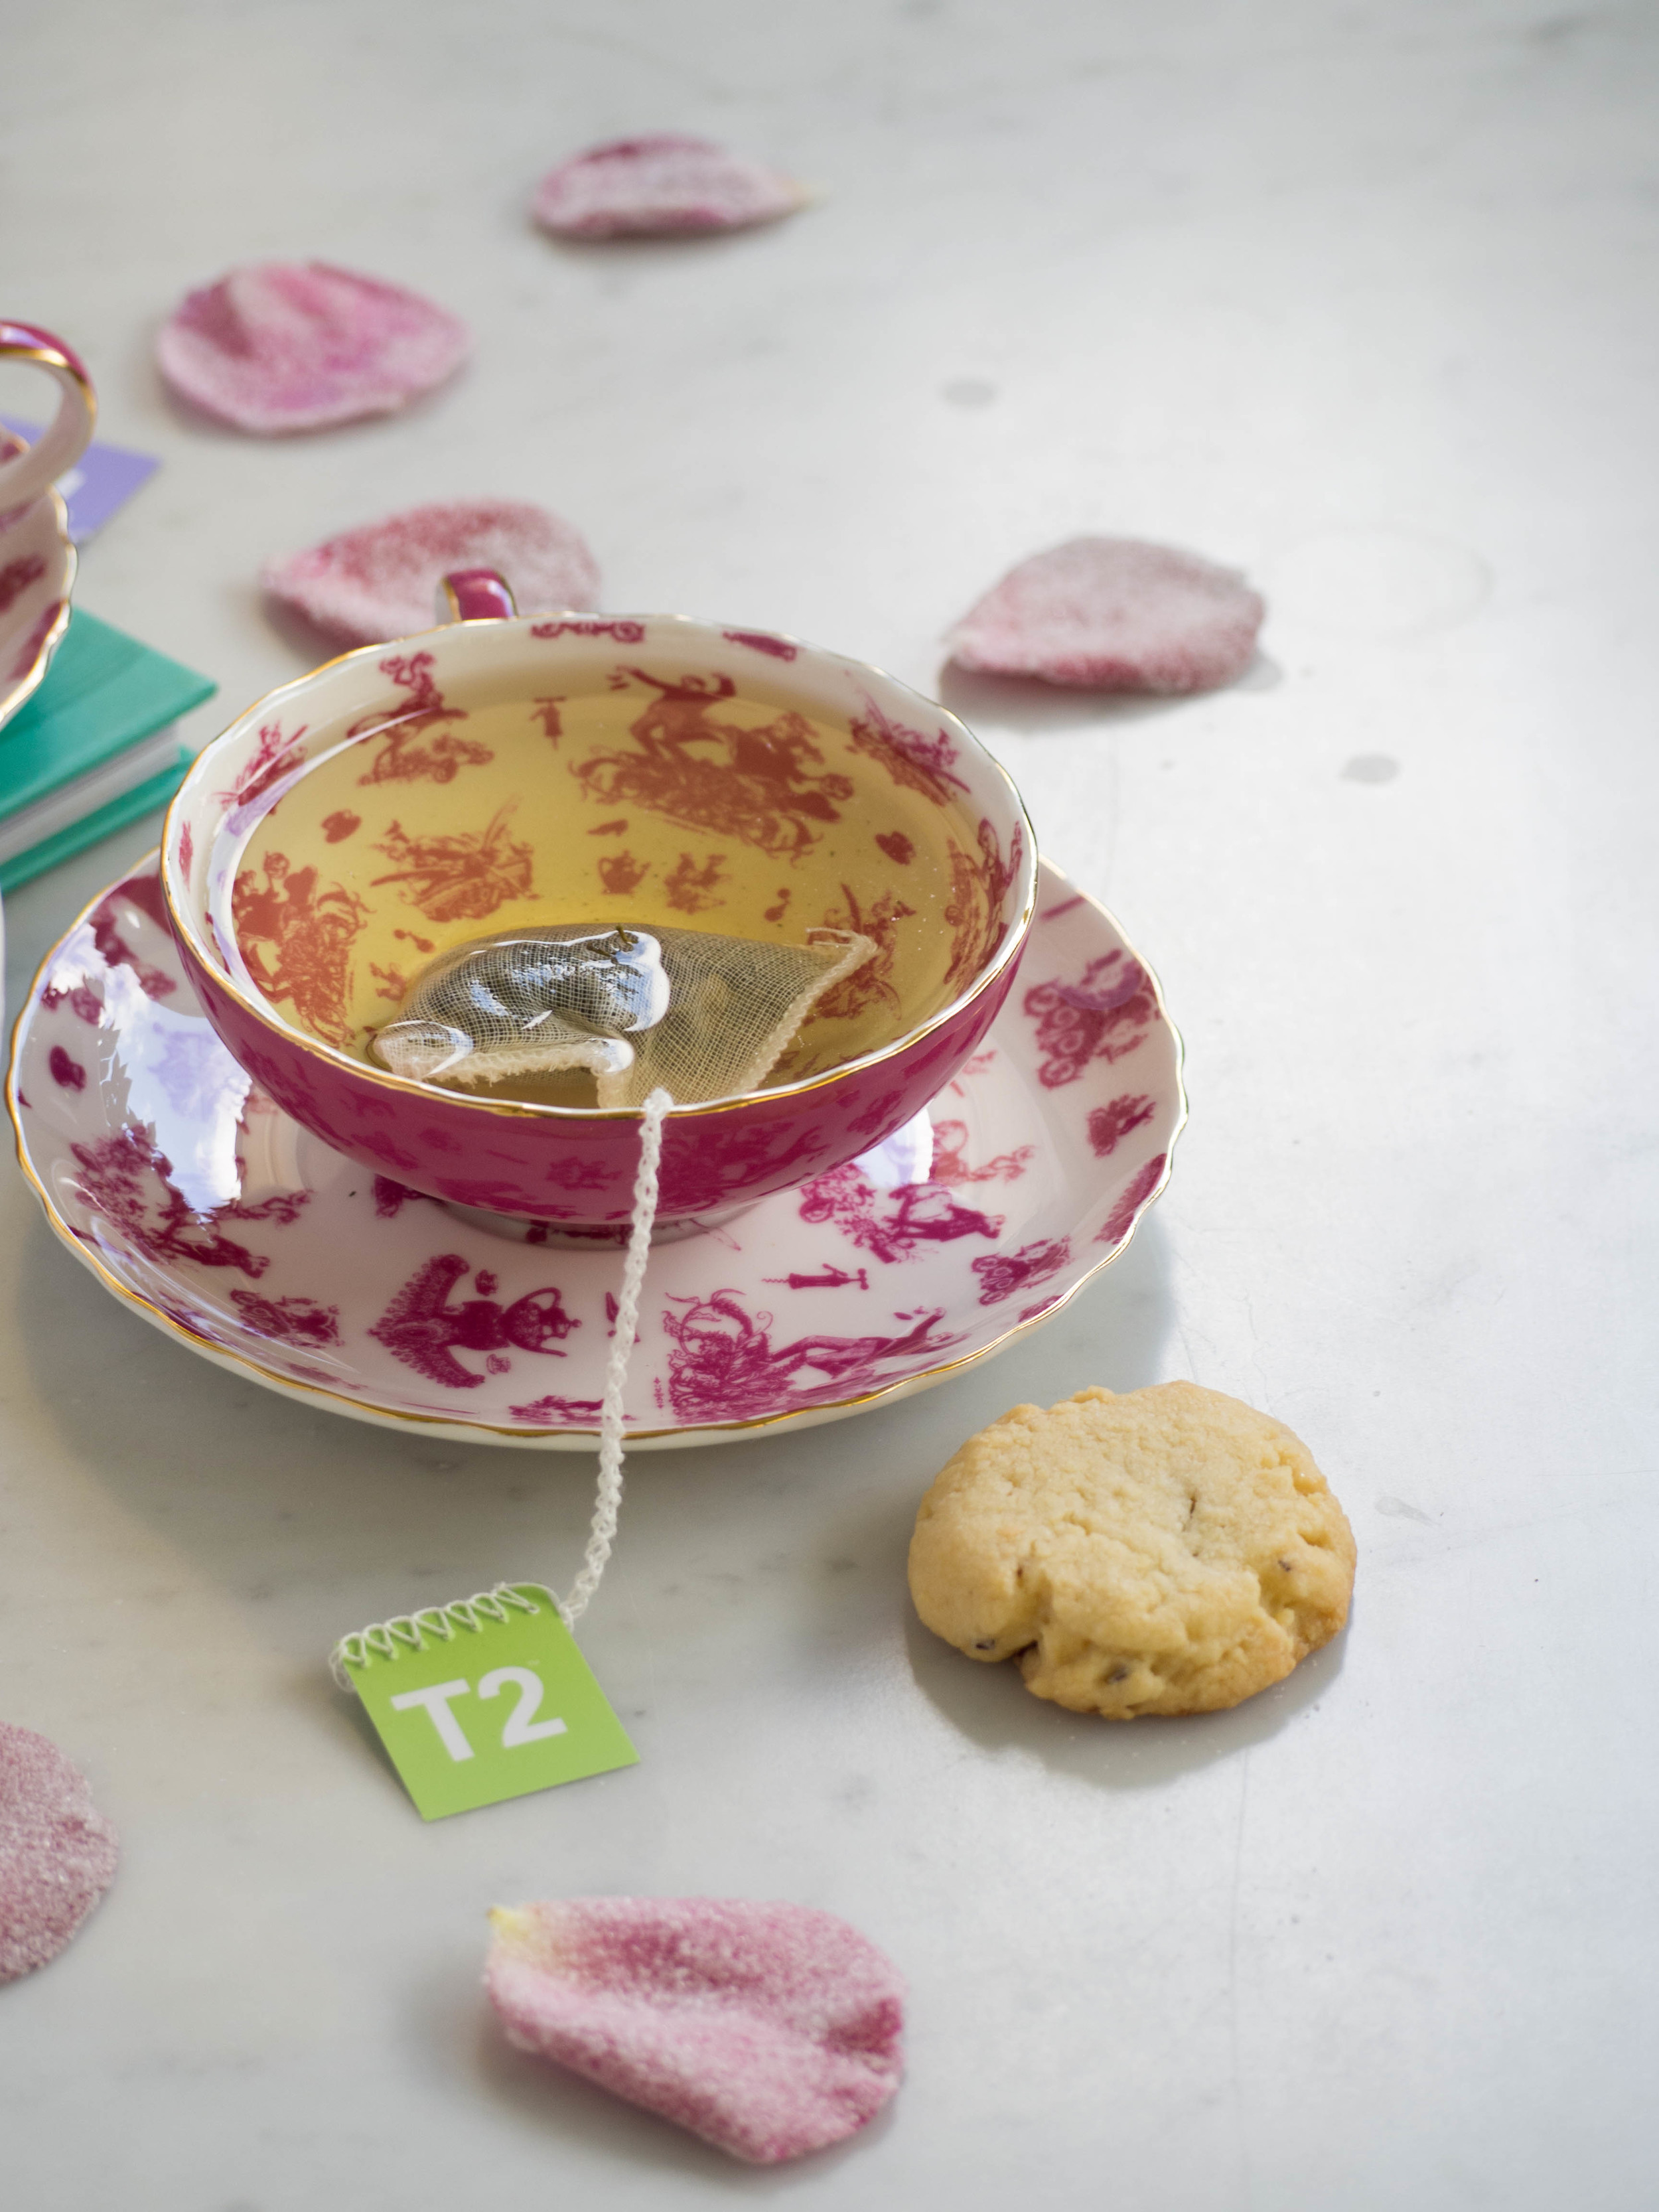
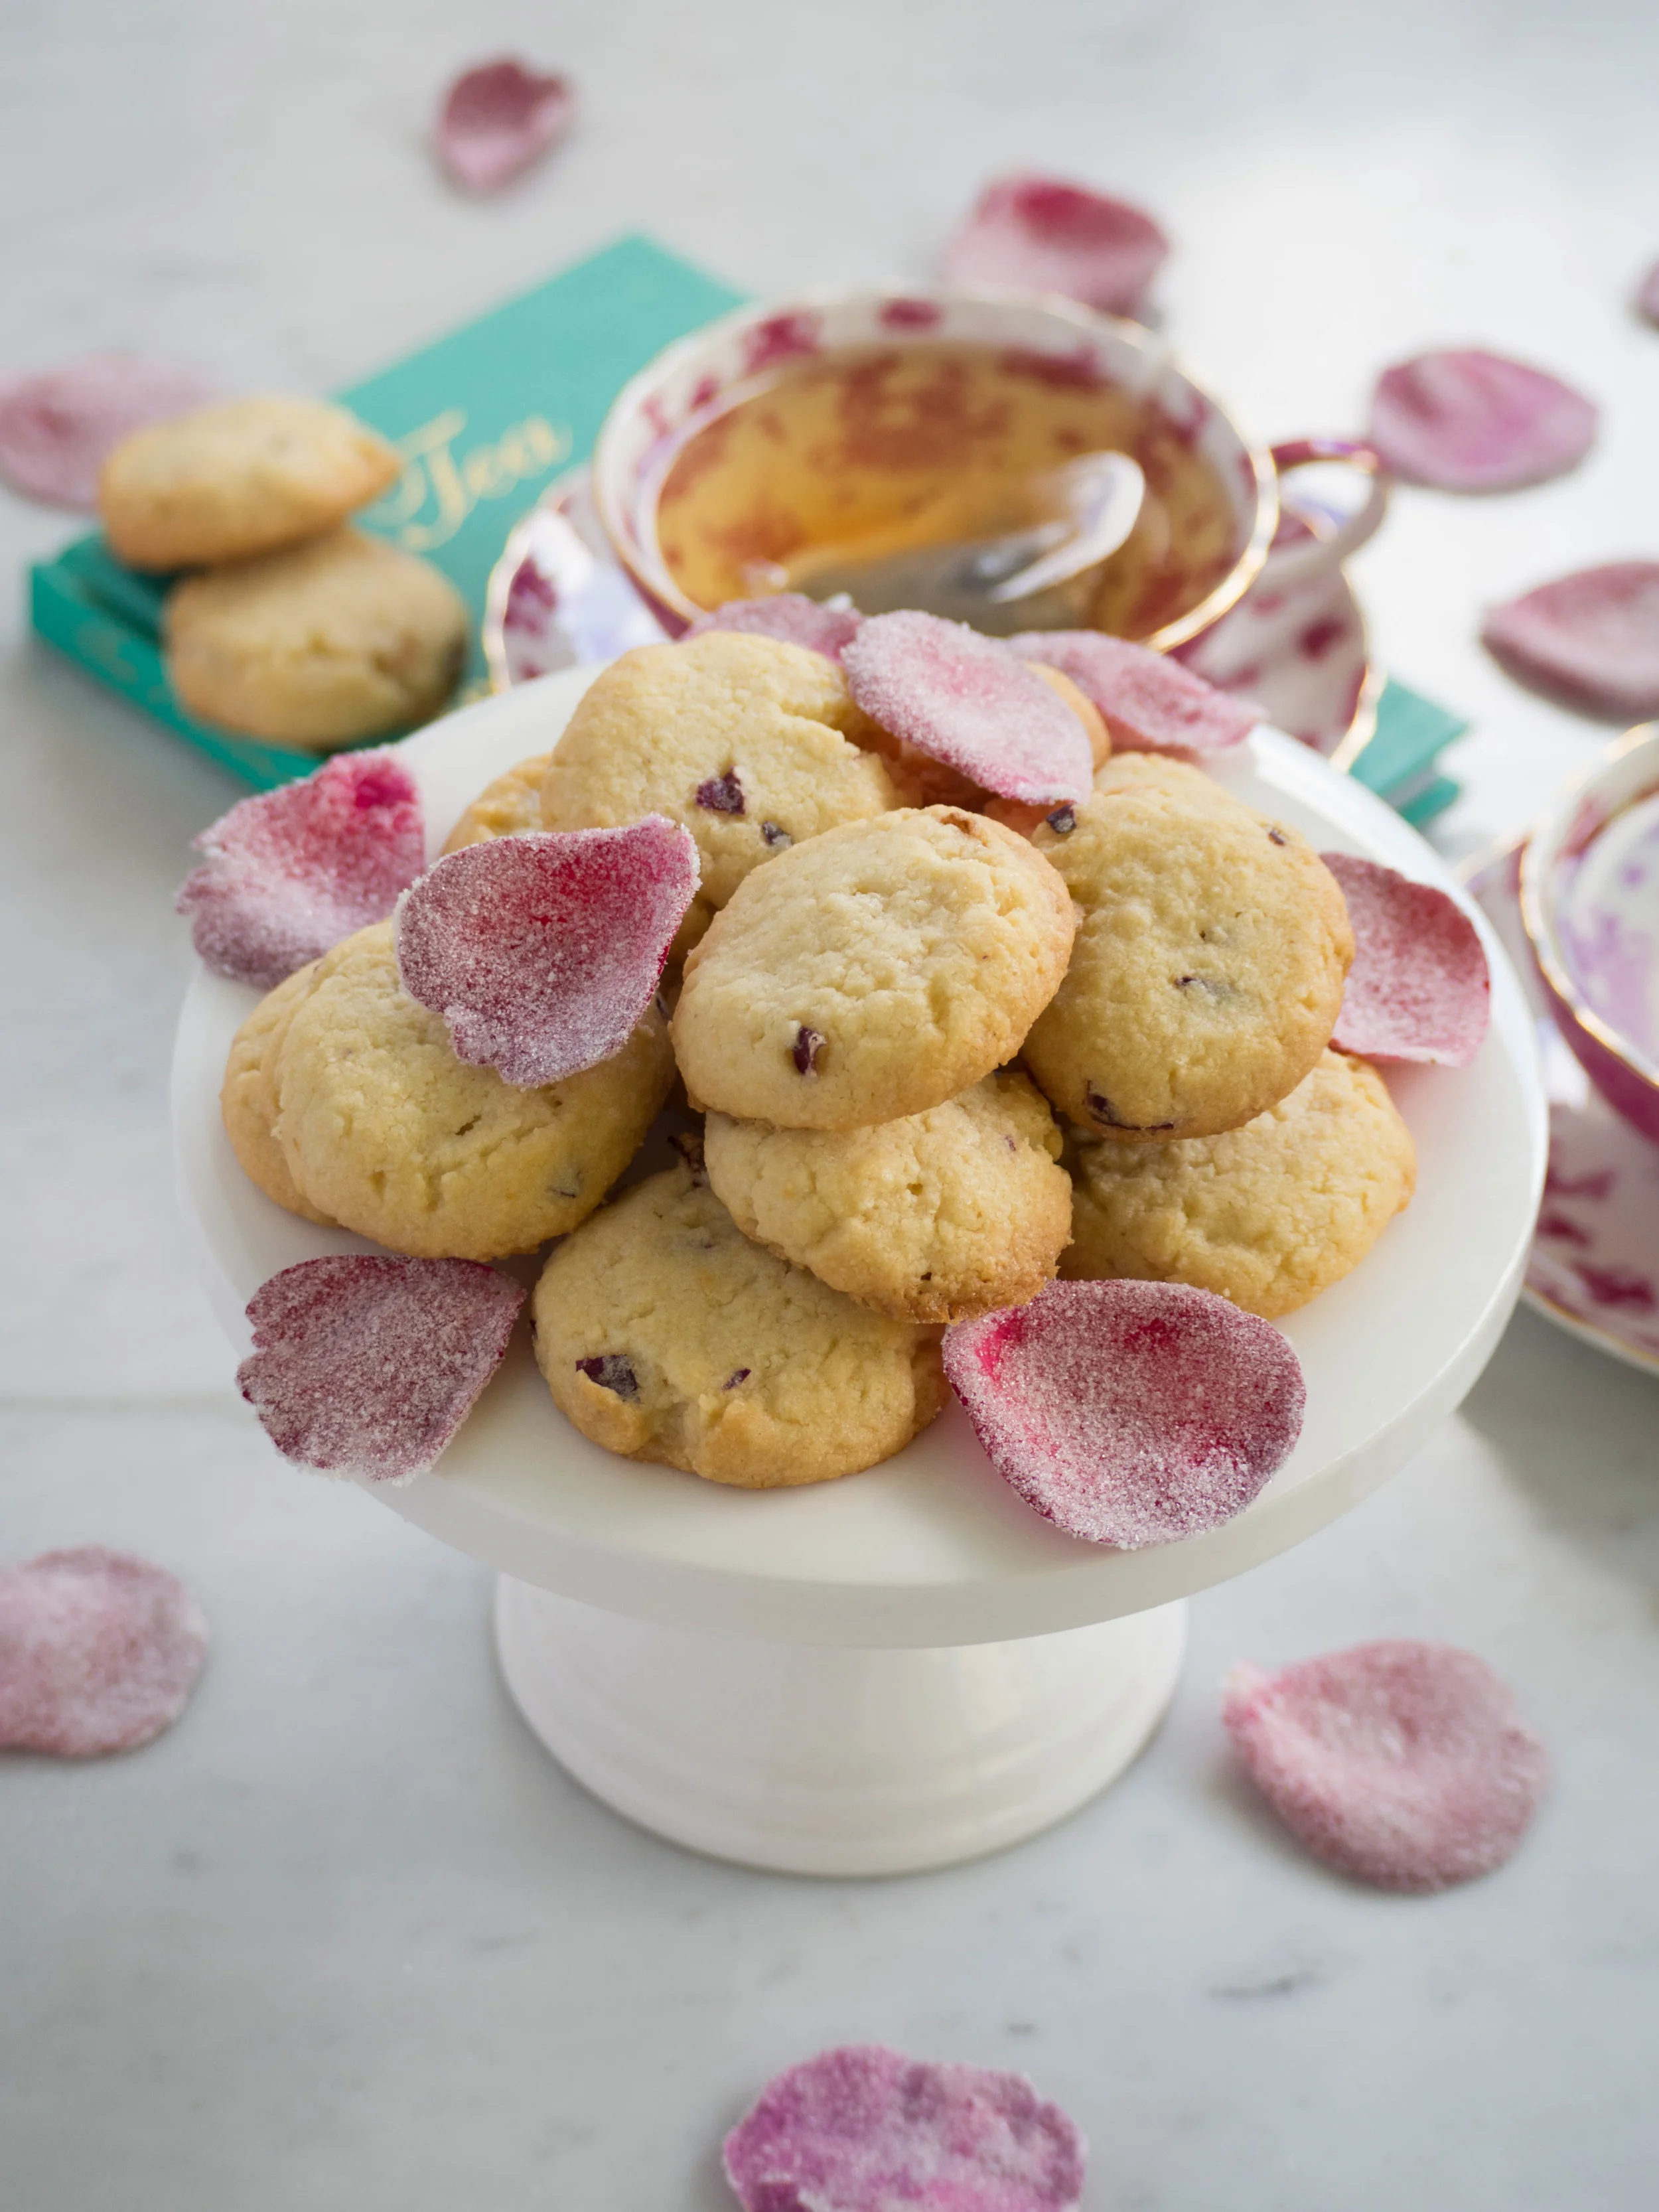
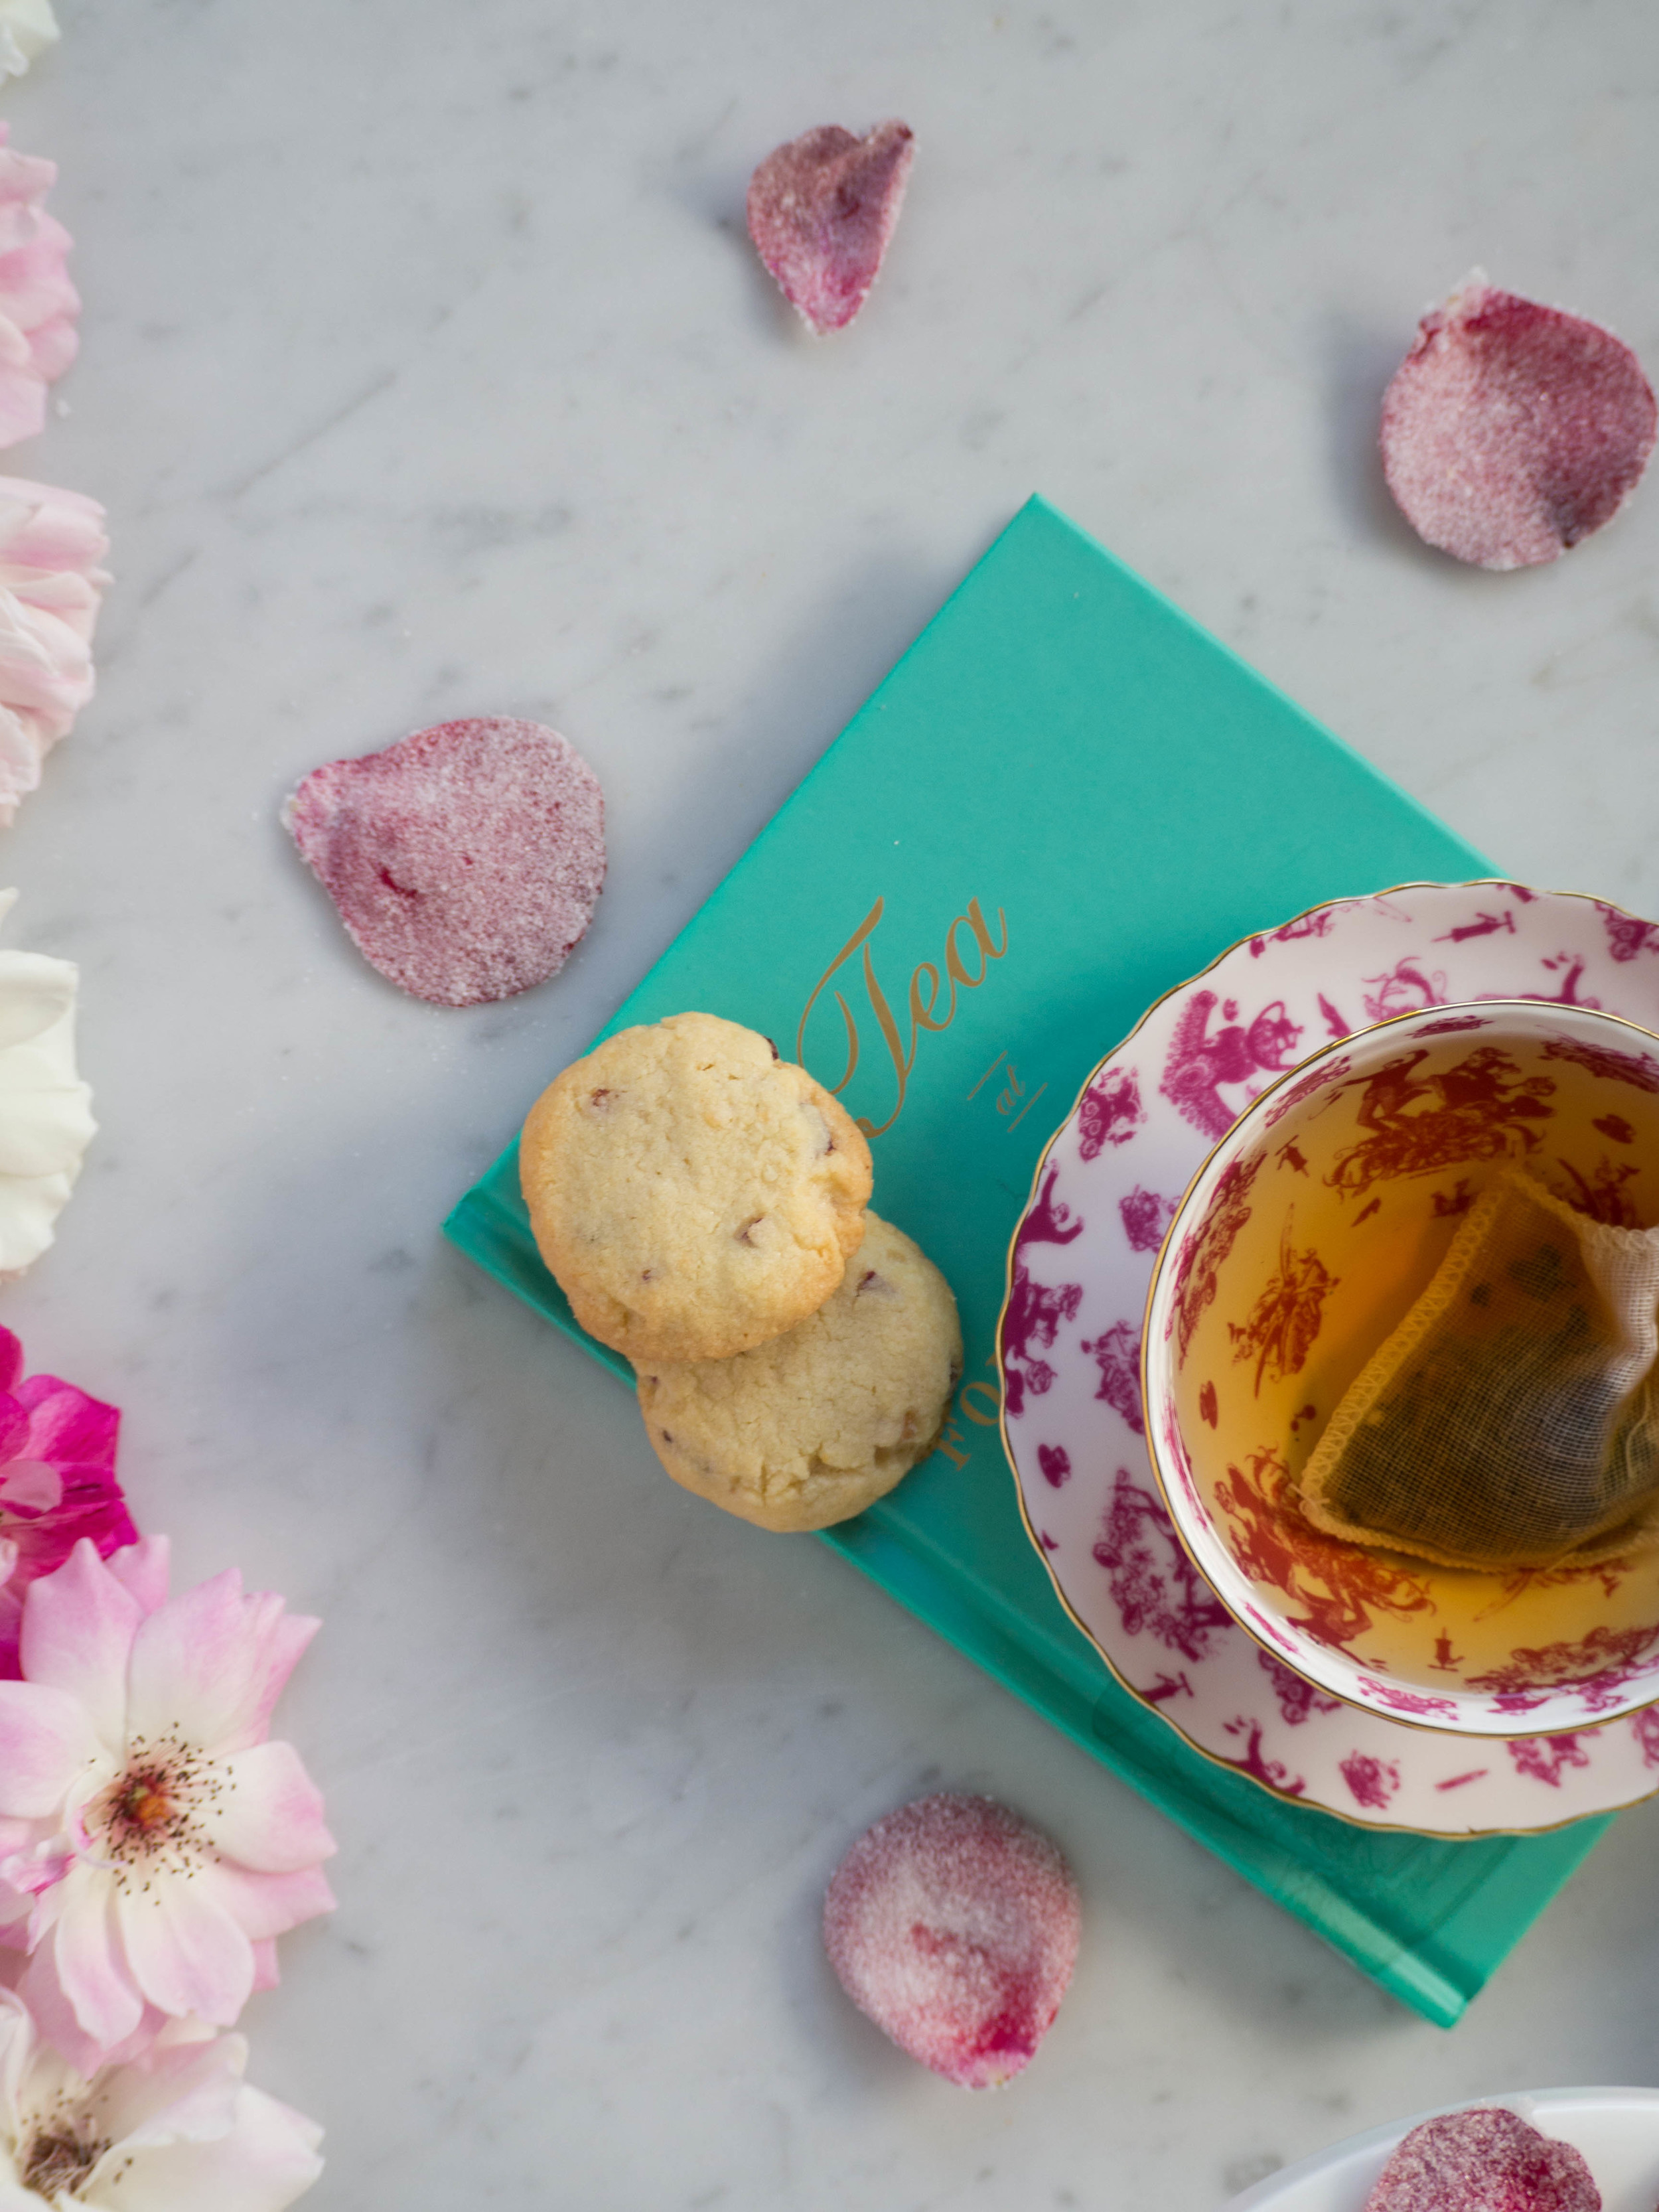
More recently, I posted a recipe for a cake which used edible flowers, including rose petals to decorate the cake. I mentioned in that post how exciting it finally was to find edible flowers, and the recipe in this post is another reason why. I was able to crystallise the rose petals myself, then add them to the biscuit mixture as per the original Fortnum & Mason recipe. I am so very glad I was finally able to make these biscuits. They taste exactly like the ones Fortnum & Mason sell packaged in the pretty pink cylindrical tins. 

How to Crystallise Rose Petals

If you wish to make the biscuit recipe below, I would suggest making the crystallised rose petals first, a few hours in advance to give them time to dry out before making the biscuits. I did not find the rose petals, once crystallised, had a very long shelf life, so I would not advise making them days in advance.

Ingredients: 

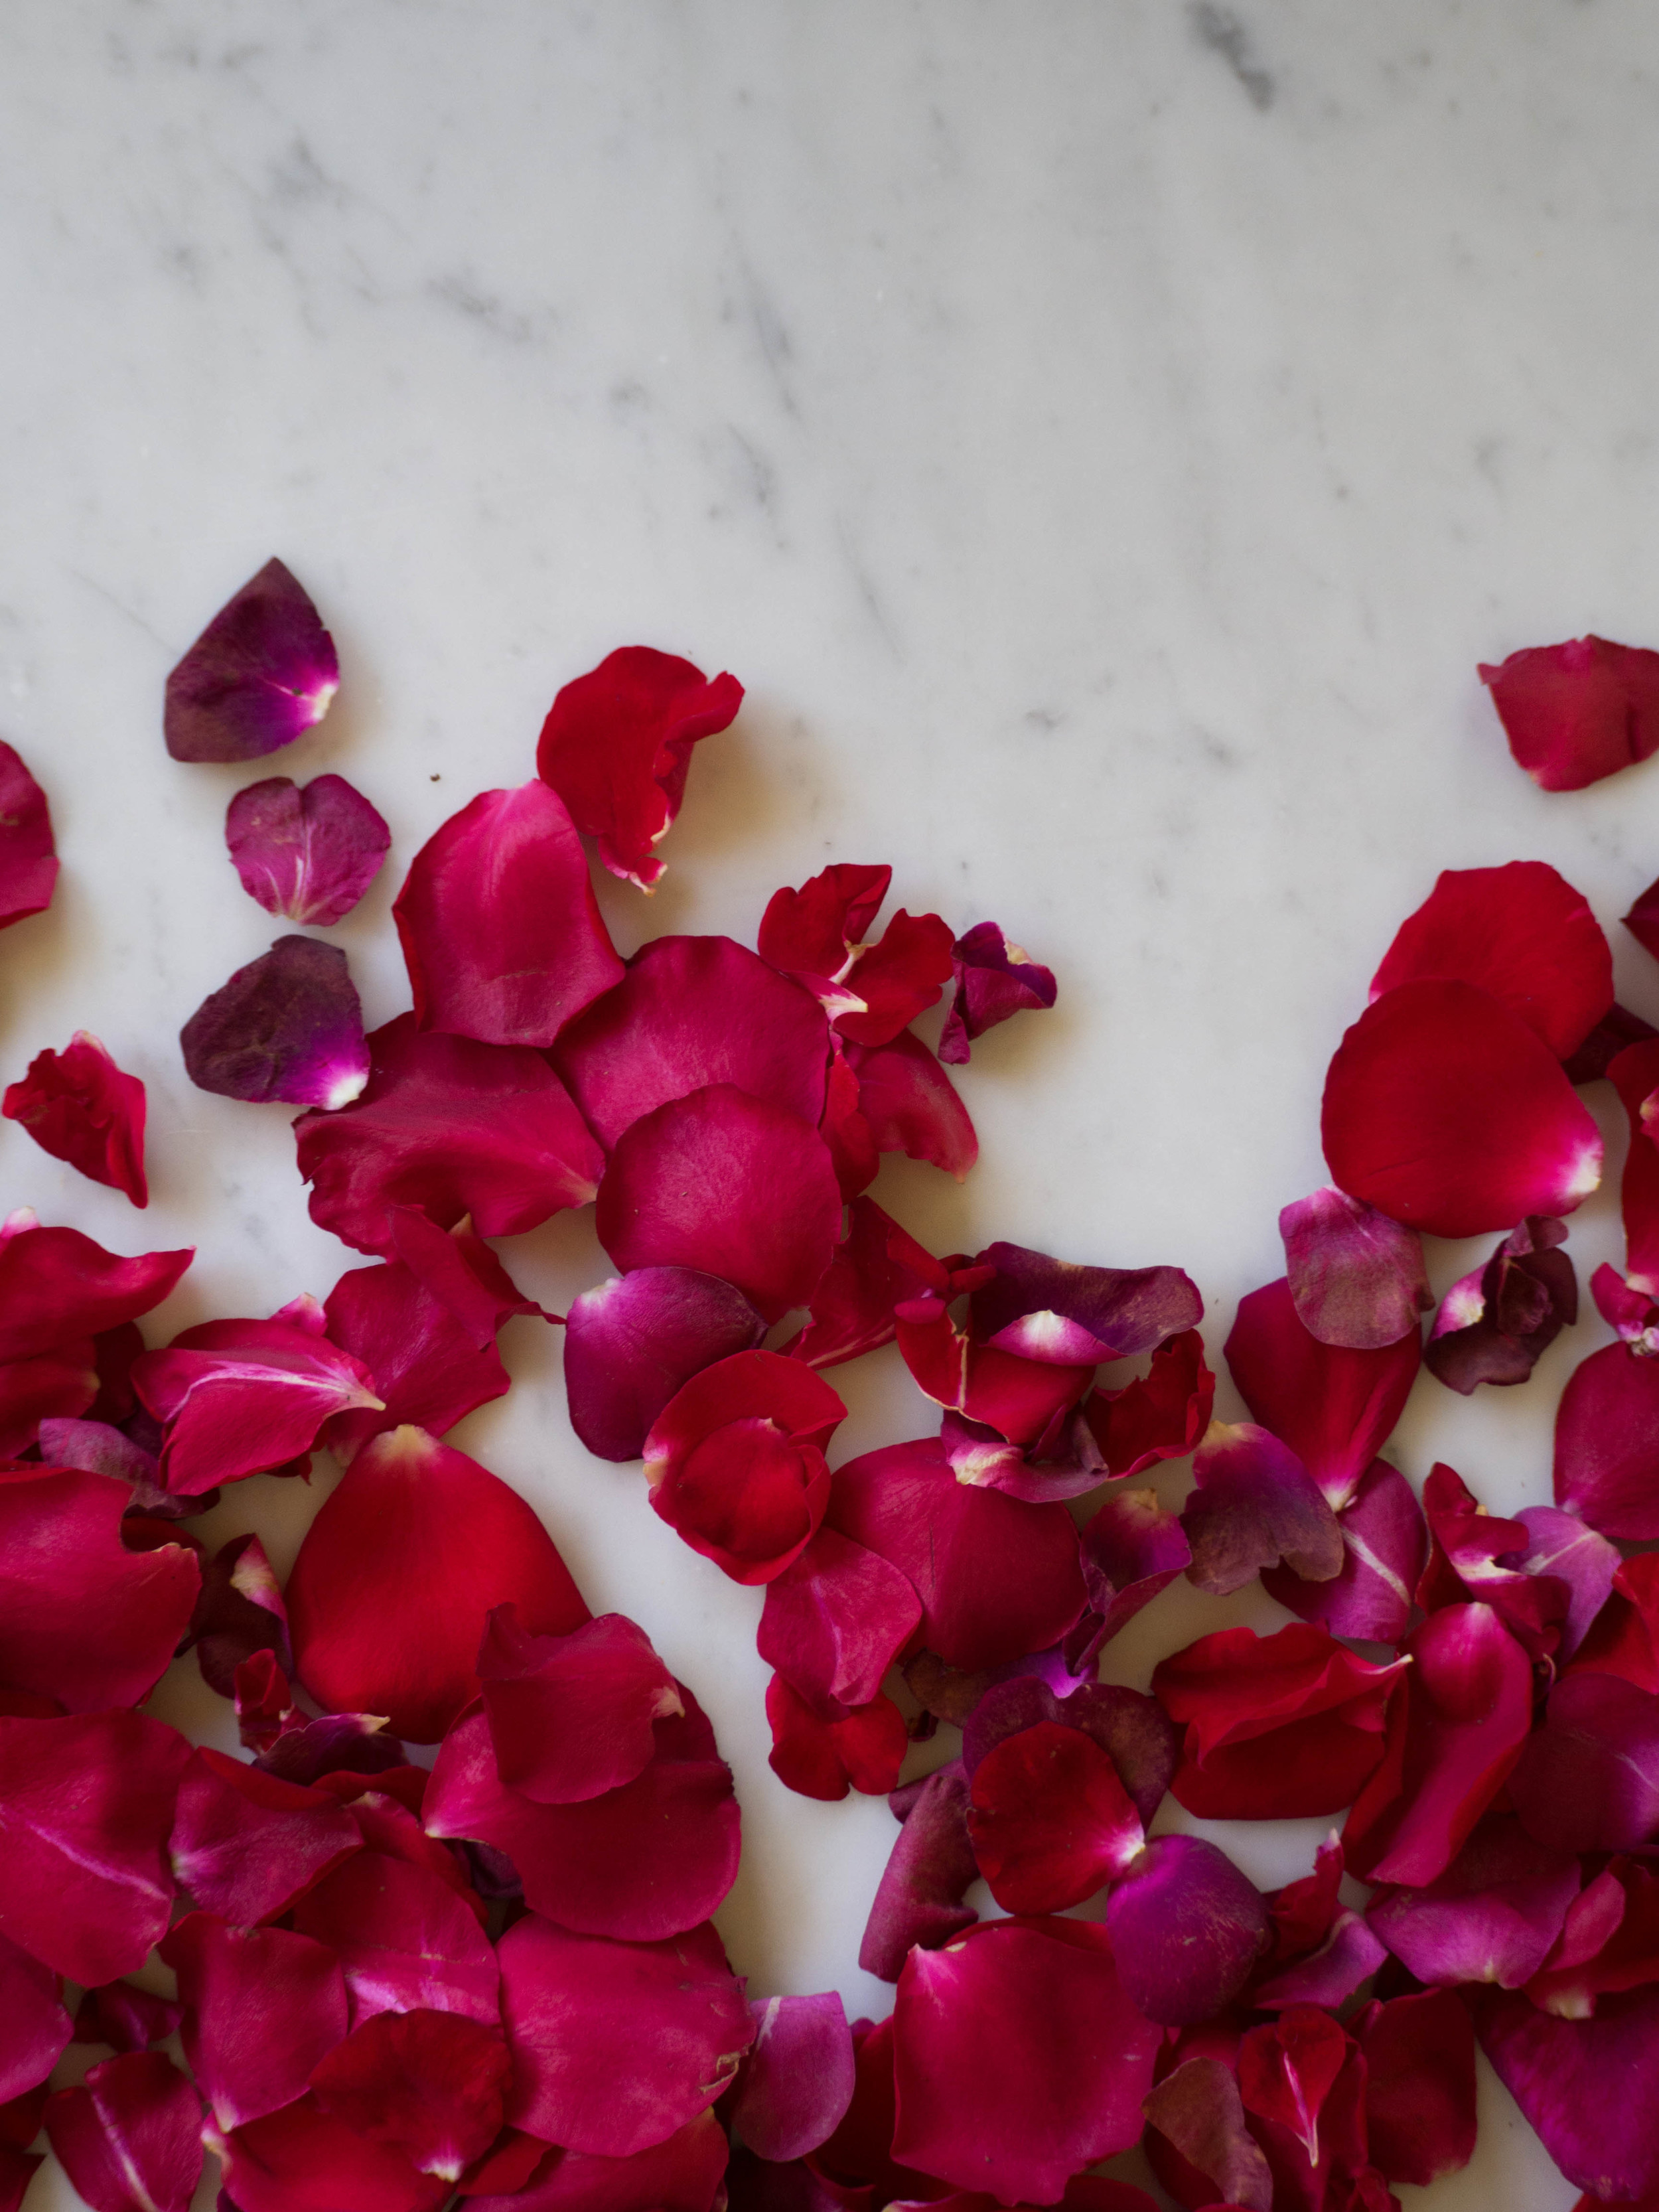
Fresh unsprayed rose petals, gently rinsed and dried

1 egg white

50g sugar (approx.) 


Method: 

Prepare two or three large baking trays by lining them with baking paper. 

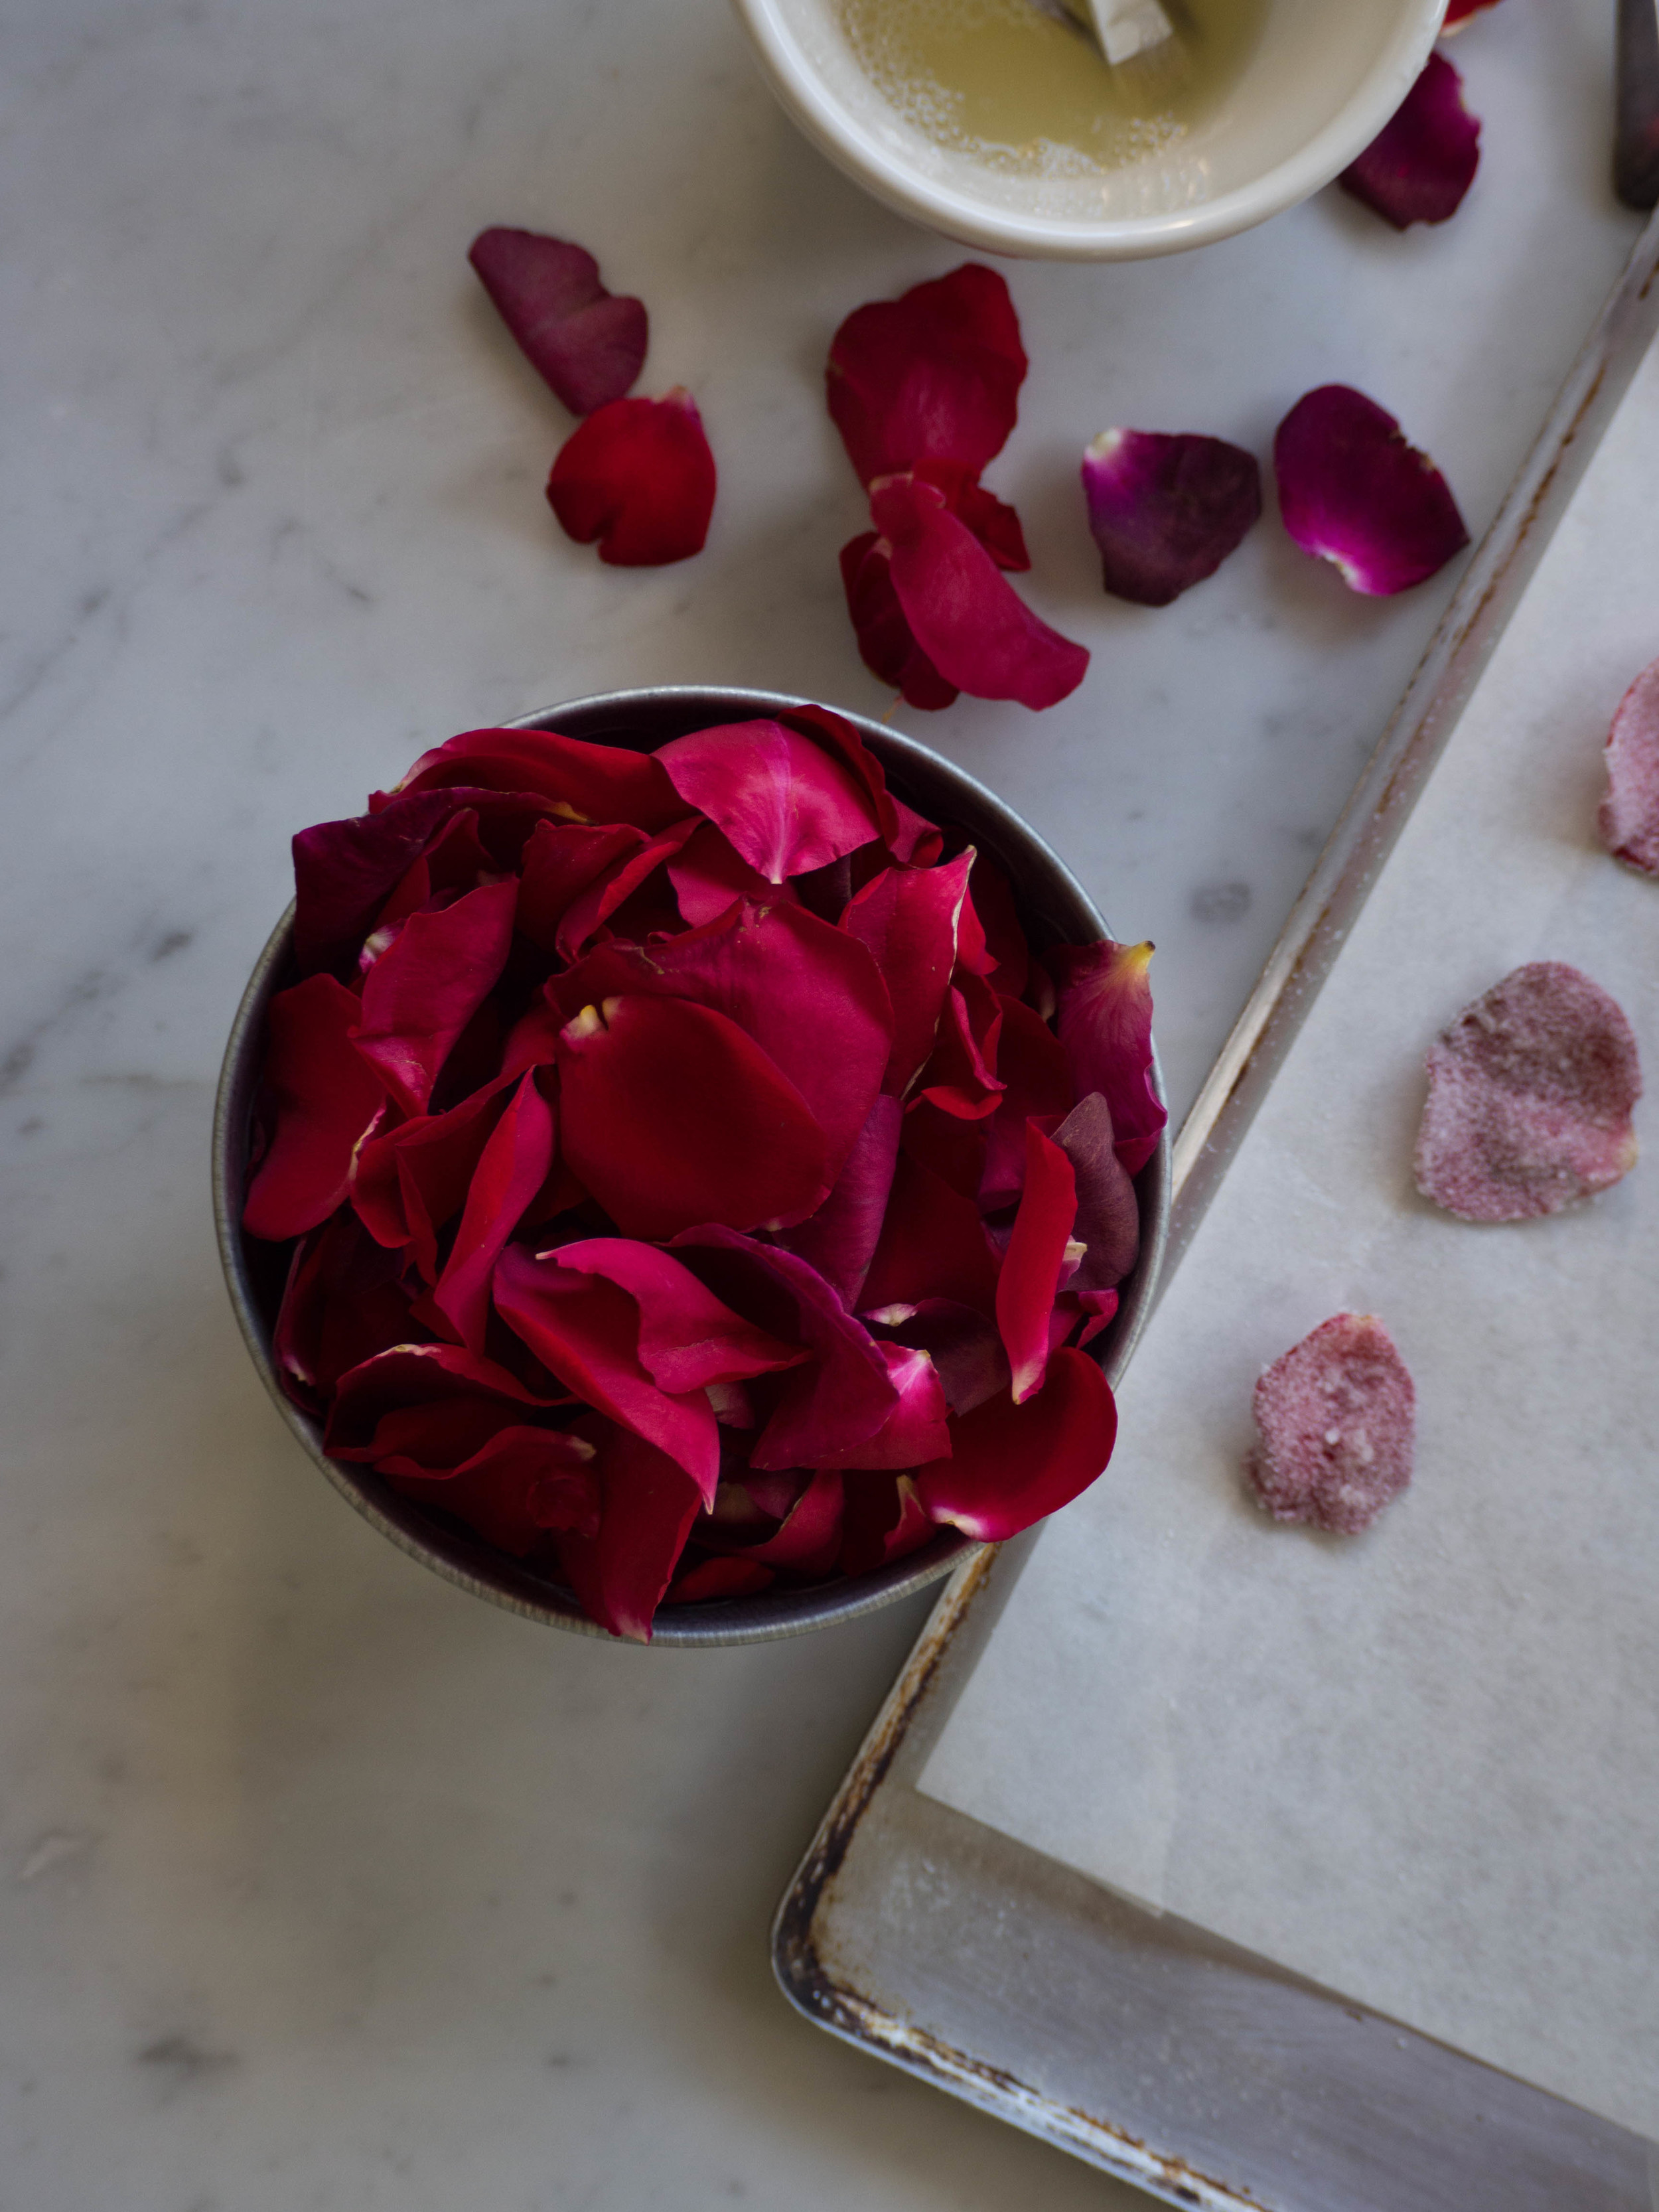
Gently whisk the egg white with a fork until lightly frothy. 

Working slowly and doing each rose petal individually, use a small soft bristled (new or kitchen purpose) paint brush, and brush a small amount of the egg white over both sides of the rose petal. Ensure every part of the petal is covered in egg white. It is easiest to hold the rose petal at the narrower end, where it is a little white in colour. 

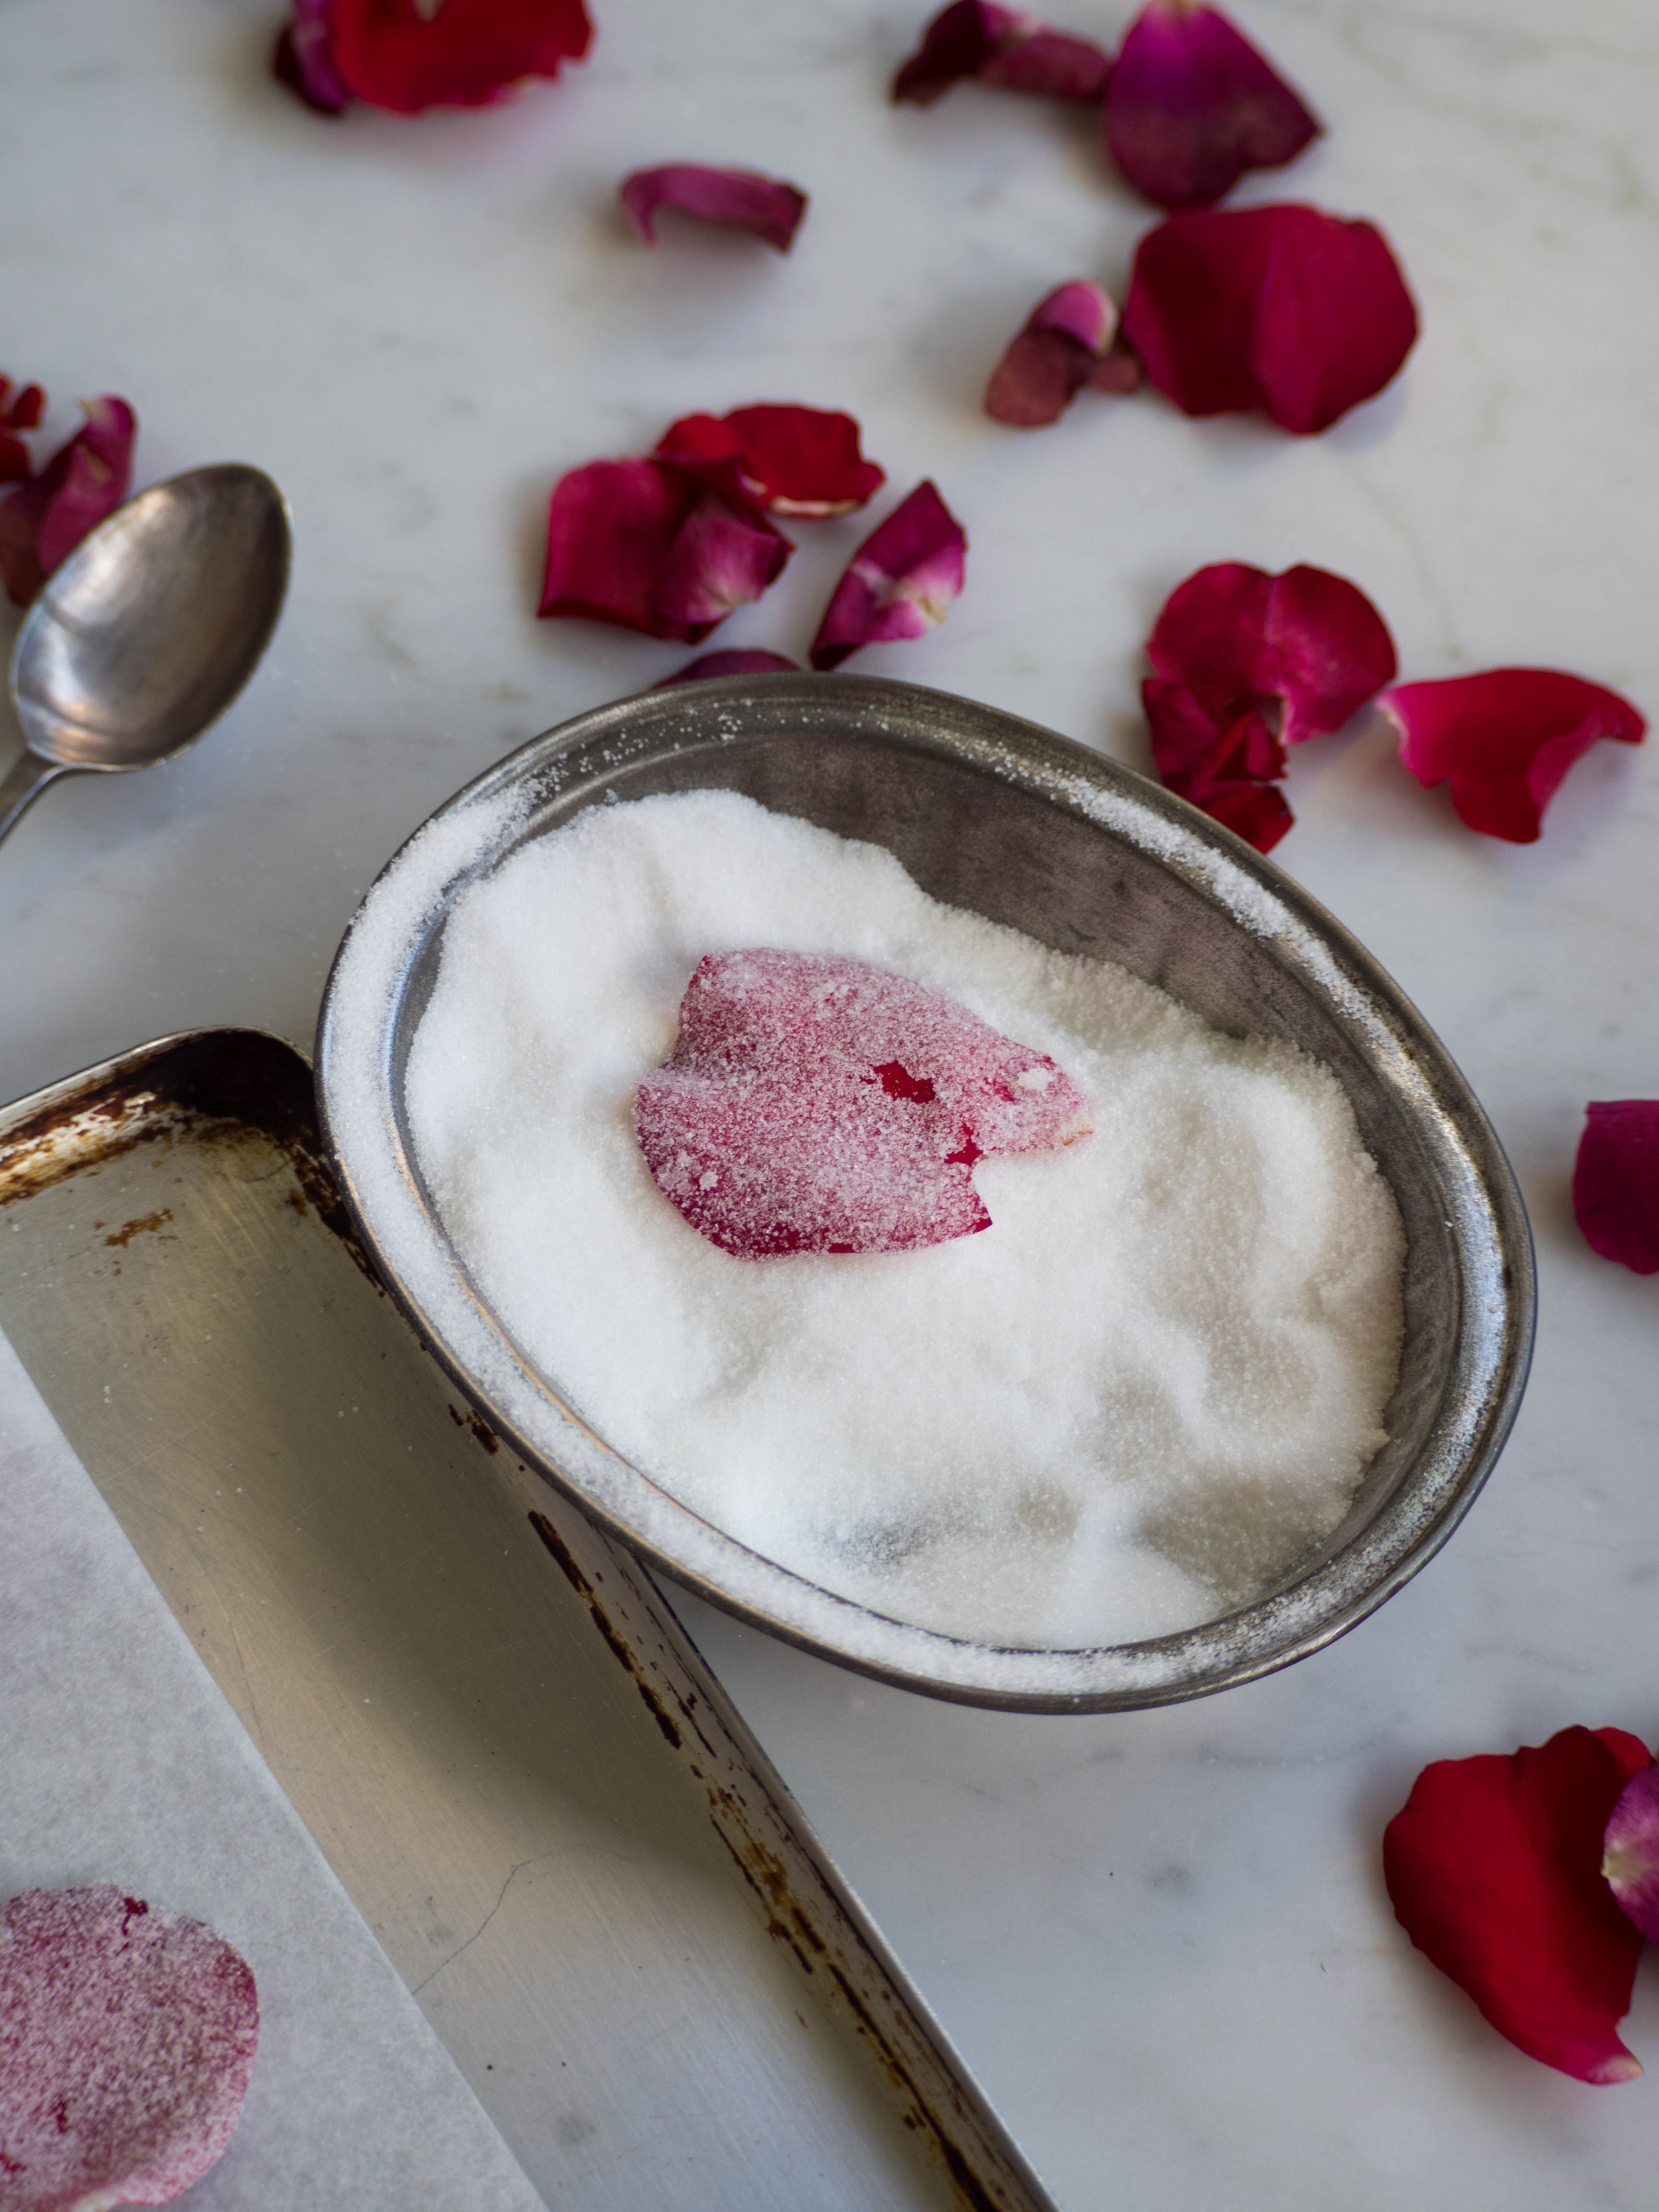
Then, gently toss the petal in some of the sugar, again ensuring the whole petal has been coated in the sugar. Dust of any excess sugar, and place on one of the prepared trays. 

Continue doing the same for each rose petal. Leave the sugared rose petals to dry on the prepared trays for at least a couple of hours.

In humid conditions the petals may take longer to crystallise, and they can be dried out in the oven at an extremely low temperature, about 20 degrees Celsius. I tried both methods of drying and found they dried better when left out for a couple of hours or so. 

Once the petals have dried they will be crunchy and ready to use in the recipe below or as a garnish for cakes and desserts. 

Homemade crystallised rose petals last a maximum of a couple of days after crystallising, when they are left out so they remain dry. I found keeping them in an airtight container wasn’t the best option for storing them. 

Homemade Crystallised Rose Petals

Homemade Crystallised Rose Petals

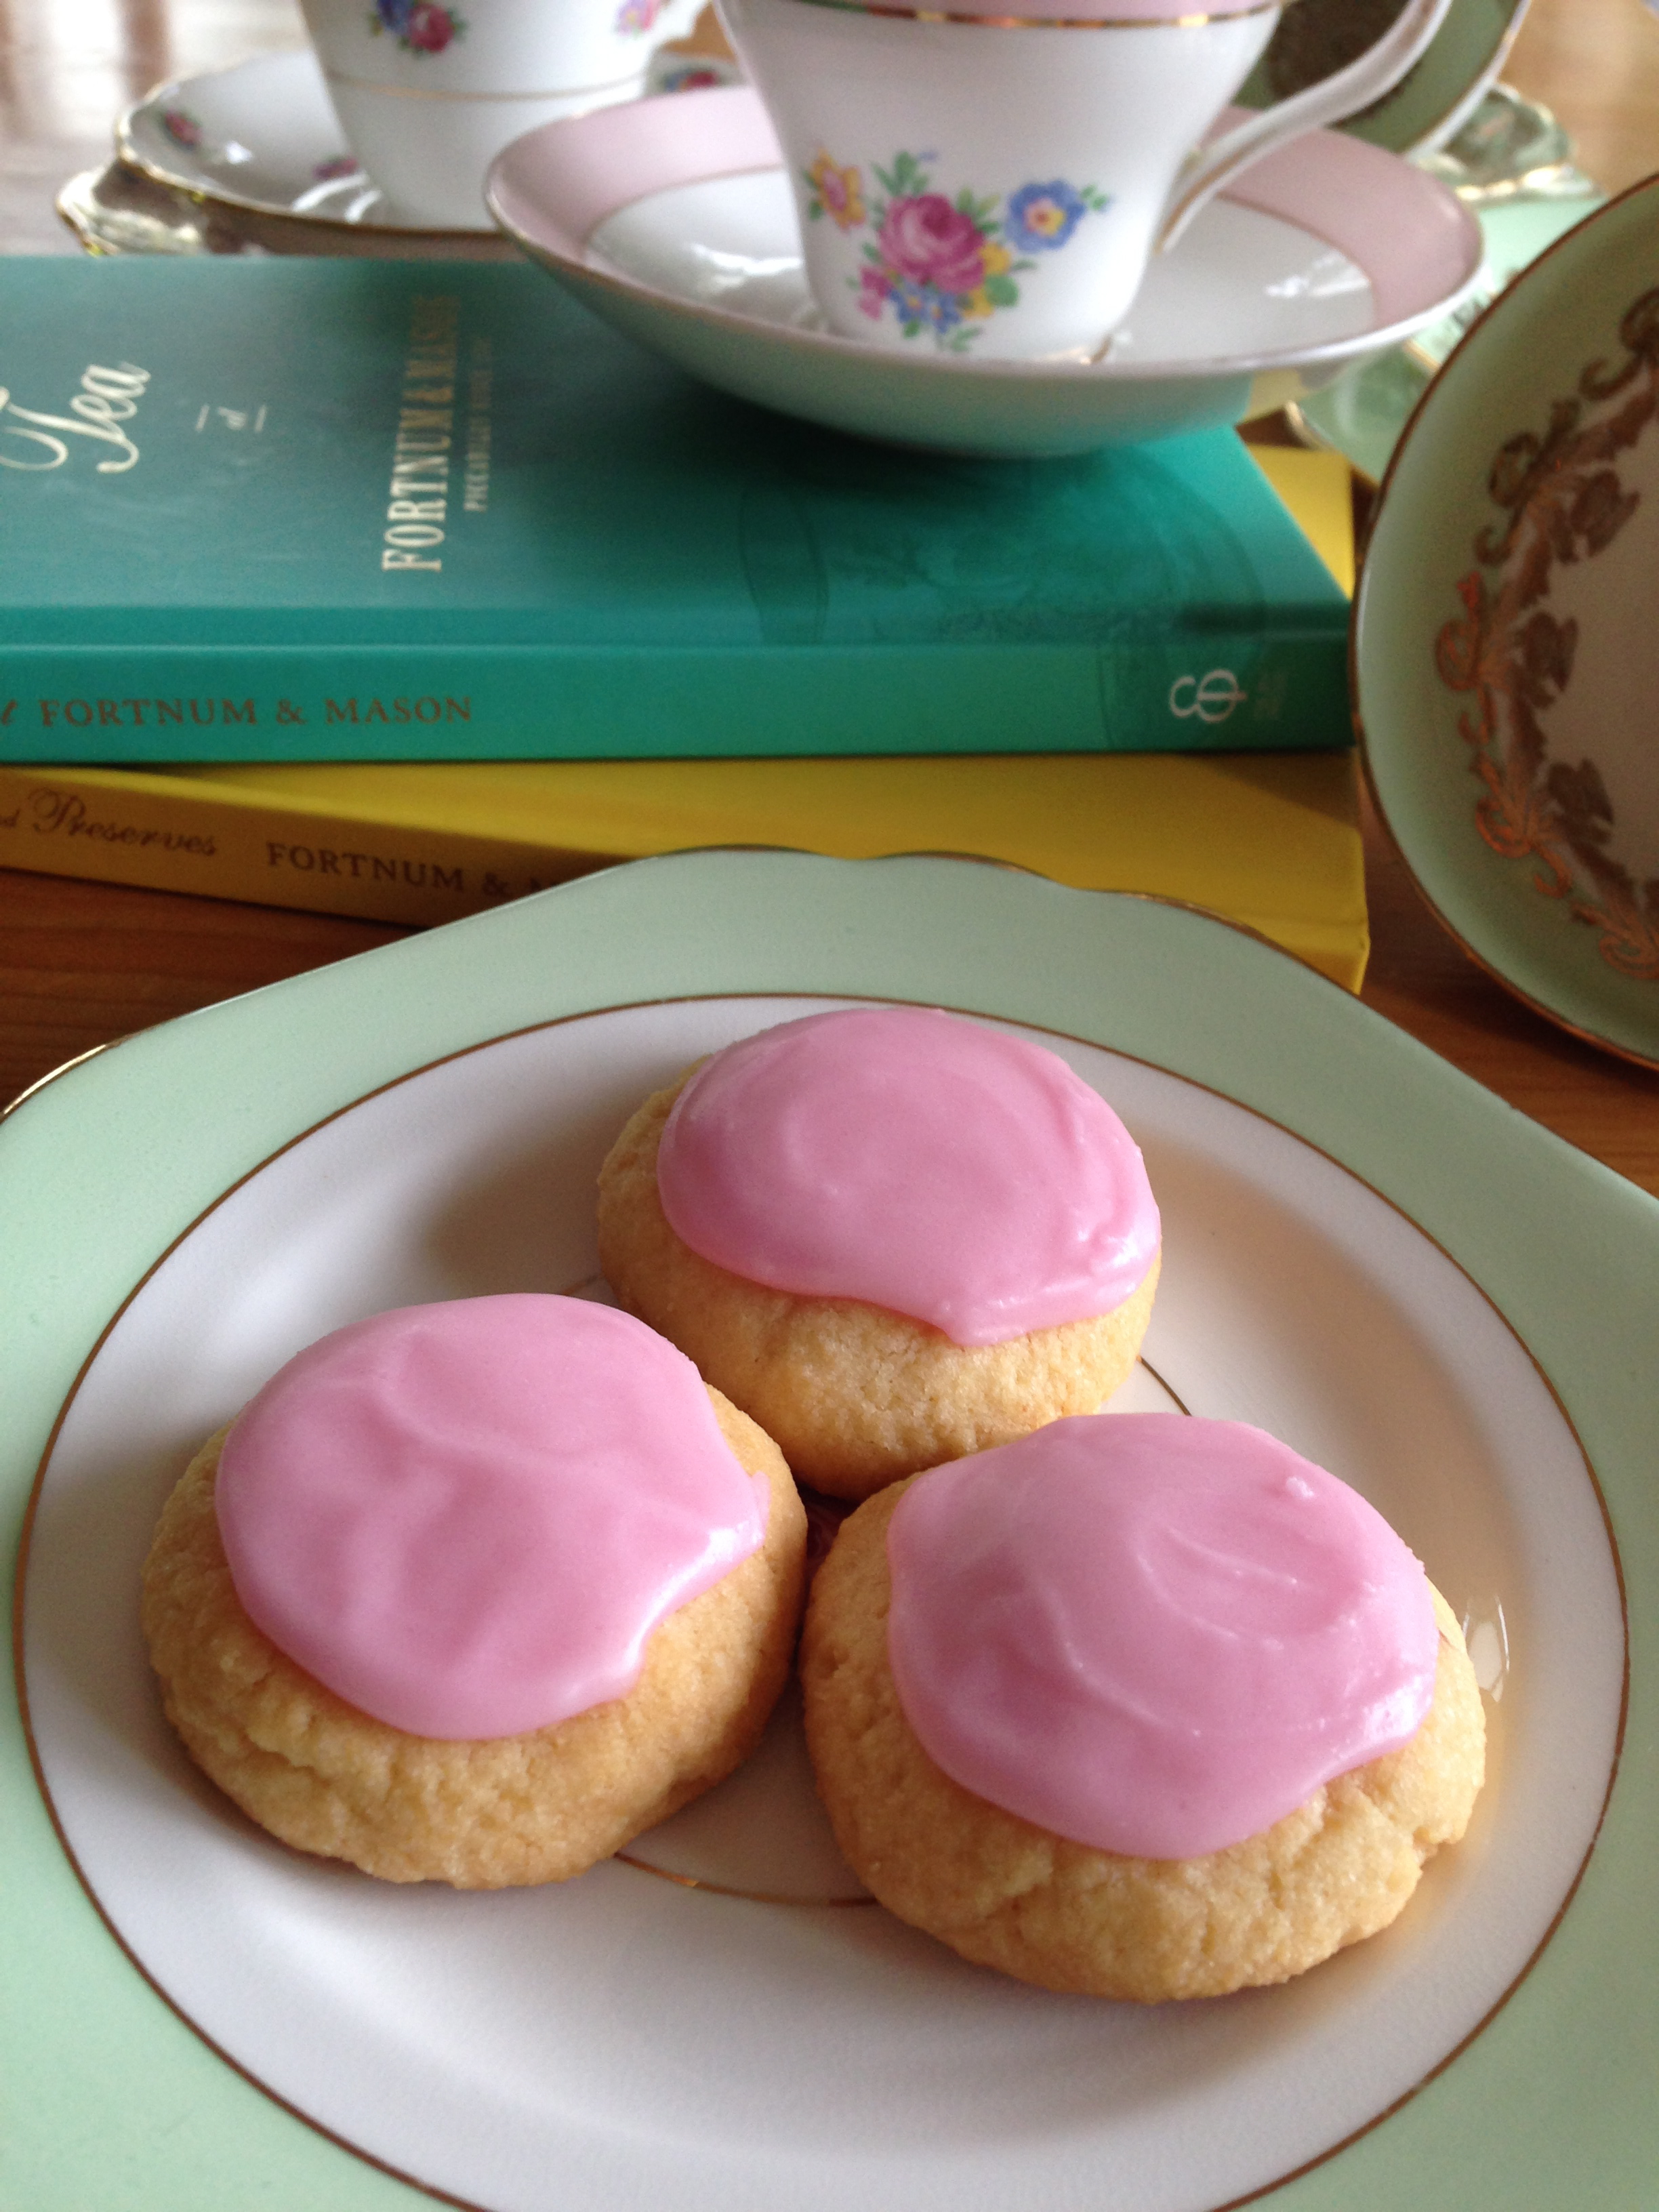
Some examples of recipes where crystallised rose petals would make a great garnish can be found in the links below: 

Raspberry & Rose Cupcakes

Pavlova

Rose Sponge Cake

Summer Celebration Cake

Raspberry & Almond Layer Cake

Rose Pound Cake

Rose & Pistachio Cake

Raspberry & Rose Celebration Cake

Fortnum & Mason’s Rose Scented Biscuits

Ingredients: 

100g unsalted butter, softened

50g golden caster sugar or caster sugar 

1 tbsp rosewater

100g plain flour

50g almond meal

15 g/10 medium/large (whole) crystallised rose petals, roughly chopped


Method: 

Preheat oven to 180 degrees Celsius, and line a baking tray with baking paper. 

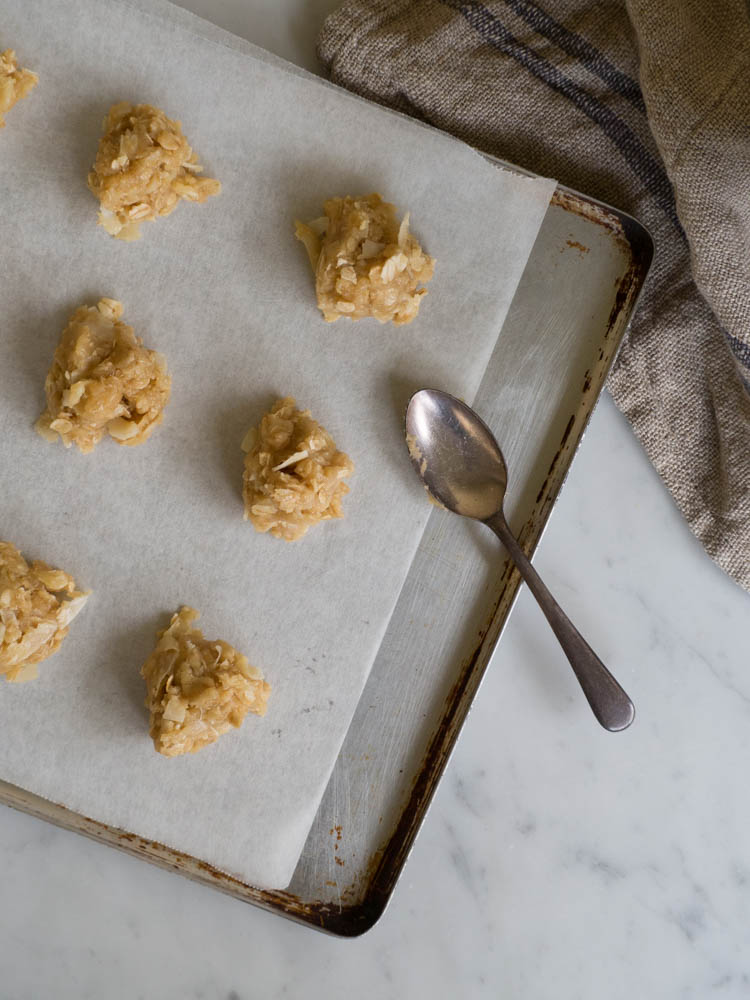
In a large bowl, cream butter, sugar and rosewater until all combined. Sift in the flour, add the almond meal and crystallised rose petals and mix until combined. 

Using a teaspoon, take spoonfuls of the mixture and roll into balls and place on the baking trays. Flatten the balls a little so they form fat round discs. 

Cook for 15-20 minutes, or until slightly golden. If you are unsure if they are cooked, use a palette knife to gently lift a biscuit - if it is evenly golden on the base of the biscuit, it is cooked. Cool biscuits on the trays or on a wire rack. 

This recipe only makes about 20 biscuits, but after all the fuss of crystallising your own rose petals, I suggest doubling the quantities and making more! The cooked biscuits last about one week.

Reference: ‘Tea at Fortnum and Mason’ (Ebury Press, 2010), p.61.

For more recipes showcasing the best of rose, check out my eBook Baking with Rose by clicking the link below!

get your ebook!
In Travel, Biscuits/Cookies Tags Fortnum & Mason, Fortnum and Mason, Crystallised Rose Petals, Sugared Rose Petals, Rose Biscuits, Rose Petals, Edible Flowers, London, Biscuits, Cookies
Comment

Peggy Porschen London + How to Make Peggy Porschen Style Easter Biscuits

Kath April 27, 2015

I made these biscuits over Easter, hence the Easter egg and bunny shapes. But they would be lovely in any shape you would like! The book the recipe is from ‘Cookies’ by Peggy Porschen, has many wonderfully suggestions on what shapes to use and how to decorate the biscuits. Most of the biscuits are intricate and probably require a bit more skill and patience than I am will to provide, so I decided to use sprinkles to decorate the biscuits (and hide any evidence of poor piping skills!). 

I came across Peggy Porschen, her cookies, shop and books, via Sweet Bake Shop, who now has her own store in Canada. Peggy is based in London, and when I was there just over a year ago, Mum and I walked all the way to Belgravia to go to her shop. 

Peggy Porschen's Parlour - 116 Edbury St Belgravia, London.

Peggy Porschen's Parlour - 116 Edbury St Belgravia, London.

I think we both agreed the walk was worth it. The shop was very cute, the cakes were lovely and the tea was good too. The areas of Chelsea and Belgravia are also quite nice to have walk around in as well. We ate cupcakes and sipped on tea, on some outside seats in the cold, but thoroughly enjoyed the experience! 

I walked away with one of Peggy’s iced biscuits, a biscuit cutter and a copy of her ‘Cupcakes’ book. This ‘Cookies’ book came out later, as was given to me for my birthday last year. There are lots of hints and tips in the book about making the biscuits and icing them, and gives step by step instructions on how to do all of it. I used the vanilla biscuit recipe, and learnt that for such ‘sugar cookies’, you should chill the cut biscuits on their trays before baking for at least 30 minutes to ensure they don’t spread in the oven. 

Tea and cake at Peggy Porschen, London.

Tea and cake at Peggy Porschen, London.

I kept the icing for these biscuits white, as I wanted to decorate them with sprinkles. If you want to add colour, add it at the first stage of the icing, before you add more water to create soft peak icing for piping the edges or flooding icing to fill the biscuits. Add a small amount of colour to the mixture, and gently mix together with a palette knife. If you want multiple colours for the biscuits, you will have to divide the royal icing up at the first stage, and add the colours separately, and continue on with the following stages for each colour. Keep a bit of the white royal icing to the side (covered with a damp cloth), so you can adjust the shades of the icing colours. 

I served these biscuits with simple flavoured milks, but now that the weather has got chillier, they would probably be best with a nice hot chocolate! 

Ingredients for the Biscuits: 

200 g unsalted butter, softened

200 g caster sugar

1 tbsp vanilla bean paste 

pinch of salt

1 egg, lightly beaten 

400 g plain flour, plus extra for dusting 


Method: 

Line 3 baking trays with baking paper. 

Cream the butter, sugar, vanilla and salt in a large bowl until combined. Beat the egg in a glass or jug, and add slowly to the butter mixture. Mix until well incorporated. Sift in the flour and mix until just combined. Pull the dough together, and wrap in cling film and chill in the fridge for at least 30 minutes. 

Place the dough on a lightly floured surface and knead briefly. Roll the dough out, until it’s about 4-5mm thick. 

Cut out shapes with biscuit cutters, and place on the prepared trays. Once all the dough has been used, place the trays in the fridge so the dough can chill for a further 30 minutes before going into the oven. 

Pre-heat oven to 200 degrees Celsius. 

Bake the biscuits for 8-10 minutes, or until they are slightly golden around the edges and spring back when lightly touched. You may need to rotate the trays in the oven to evenly bake all the biscuits. 

Place on a wire rack to cool. 

Ingredients for the Icing: 

500 g icing sugar, sifted

small squeeze of lemon juice 

2 egg whites 

sprinkles to decorate


Method: 

In a large clean bowl of an electric mixed, place the icing sugar, lemon juice and three-quarters of the egg whites. 

Mix on the lowest speed until the ingredients are well combined. If the mixture is too dry add more egg white. The mixture should be smooth but not wet. Scrape down the sides of the bowl after a couple of minutes, to ensure all the ingredients mix together properly. If the mixture is too runny, add a little more sifted icing sugar. 

Continue to mix on the lowest speed for 4-5 minutes, ensuring the mixture doesn’t become too aerated. The mixture will be ready when stiff peaks form around the edges of the bowl, and has a smooth satiny texture. 

To get the icing to a pipe-able consistency, run a palette knife under water and use to mix the icing. The icing should become glossier and the peaks should be softer. 

Place some of the royal icing in a piping bag, with either a small nozzle or a small cut at the end. Cover the remaining royal icing with a damp cloth so it doesn’t dry out. 

Draw an outline around the edge of each biscuit shape with the icing in the piping bag. 

Now the remaining royal icing needs to be made into ‘flooding’ icing. Add a little water to the mixture, and mix with a spatula. The icing will flow, become shiny and flatten out within a few seconds after it has been mixed (i.e. it will no longer ‘hold its peak’ in any way). Tap the bowl on a bench or table to remove any air bubbles, then fill another piping bag with the icing. This piping bag should have a slightly bigger nozzle, or a slightly larger hole cut at the end. 

If decorating with sprinkles, have a shallow bowl filled with the sprinkles ready, so you can dip the biscuits into it while the icing is still wet.

Flood each biscuit with the icing, keeping within the border you have already piped. Don’t over fill the bordered area of the biscuit with flooding icing or it may run over the piped outline. You may need to use a small palette knife or cocktail stick to push the icing in to small corners of the biscuit. Dip the biscuits (icing side down) in to the sprinkles.

Leave to dry for a few hours (or overnight), or until the icing has dried hard. 

Original recipes from ‘Cookies’ by Peggy Porschen (Quadrille Publishing, 2014), pp.8 & 56-60.

In Travel, Biscuits/Cookies, Holidays Tags Peggy Porschen, Biscuits, Cookies, London, Easter, Sprinkles, Royal Icing
Comment

ANZAC Biscuits Revisited

Kath April 24, 2015

I have posted a fairly similar version of this recipe before. It is one of my favourite recipes from my Grandma’s collection, and often I adapt it to suit what types of ingredients we have or to try some new ingredient I have found. 

More recently, I wanted to play with the ingredients to alter to final texture of the biscuit. The type of sugar you use will determine whether these ANZAC biscuits are crisp and crunchy or softer and chewier. I like to try gain some kind of middle ground between these two opposites, by using a combination of caster sugar and raw sugar. If you like a more chewy biscuit use a combination of caster and brown sugar. 

I also found coconut chips in a deli a while back, and they are great in this recipe. The bigger chunks of coconut give the biscuits a litter more substance and highlight the coconut amongst all the other ingredients just that much more. Any coconut will do, but it’s nice to try something different every once in a while! 

I am posting this recipe again, not just because of my adventures in experimenting with it. It is of course ANZAC Day tomorrow, and a very significant one at that. I’ve said before that the main way I tend to mark these kind of significant holidays or events is with food. Not to lessen the significance of the occasion, but to mark it in my own way. I’m not one, especially on this occasion, for immersing myself in it all too much. Being a modern history major and the relative of some who have served and are currently serving, often makes the connection of the day a little too overwhelming for me. 

So I bake, look through family photos and reflect on the lives of those to whom this Day has real significance. 

Ingredients: 

1 cup rolled oats

1 cup plain flour

1/2 cup caster sugar

1/2 cup raw sugar

3/4 cup coconut chips

1 tbsp golden syrup

110 g unsalted butter

1 tsp bi-carb soda

2 tbsp warm water 


Method:

Pre-heat the oven to 150 degrees Celsius and line three large baking trays with baking paper. 

Mix the oats, flour, sugar and coconut in a large bowl. Melt the golden syrup and butter on a medium-low heat, then mix the bi-carb soda and warm water together and add to the butter. The butter mixture should froth a little. 

Take the butter mixture off the heat and add to the dry ingredients and mix together. 

Place teaspoon sized balls of the mixture on the trays, leaving room for the biscuits to spread. Bake for 10 - 20 minutes, or until golden. 

Makes approx. 32 biscuits.

In Heirloom Recipes, Biscuits/Cookies Tags ANZAC Day, ANZAC, Australia, Biscuits, ANZAC Biscuits, heirloom baking, Grandma
Comment
P5040620.jpg

Passionfruit Biscuits (Egg Free)

Kath October 11, 2014

This recipe has been adapted from the Rose Biscuits I made a little while ago. After making those biscuits, it got me thinking about other flavours I could make. I didn’t take long to choose passionfruit as the next flavour, and the fact that passionfruit season is coming to an end only made me want to try it more!

On the first attempt of these I used vanilla extract in the biscuits, and passionfruit pulp for the icing. They were nice, however the sweetness of the vanilla competed with the passionfruit flavour. When I made them again, I strained some passionfruit pulp and added it to the biscuit mixture. While the difference was fairly subtle, it allows the passionfruit to be the dominate flavour, which is definitely what I wanted! If you don’t want to strain the passionfruit pulp, you can leave it out or add no more than a teaspoon of vanilla extract to the mixture. 


Ingredients: 

200g unsalted butter, softened

100g golden caster sugar (or caster sugar)

200 g plain flour, sifted

100g almond meal

2 tablespoons strained passionfruit pulp (no seeds) 


Ingredients for the Icing: 

2-3 tbsp passionfruit pulp

2 cups icing sugar 


Method: 

Preheat oven to 180 degrees Celsius, and line two baking trays with baking paper. 

In a large bowl, cream butter, sugar and strained passionfruit pulp until all combined. Add the sifted flour and almond meal and mix until combined. 

Using a teaspoon, take spoonfuls of the mixture and roll into balls and place on the baking trays. Flatten the balls a little so they form fat round discs. 

Cook for 15-20 minutes, or until slightly golden. Cool biscuits on the trays or on a wire rack. 

Once the biscuits are cool, place the sifted icing sugar in a medium bowl. Add two tablespoons of passionfruit pulp and mix until the icing is the consistency of a smooth paste. Heat in a microwave for 10 seconds, and continue mixing. If the mixture is too dry, gradually add more of the passionfruit pulp. Add more sifted icing sugar if the icing becomes too runny. If the icing won’t combine well, heat it again for no more than 10 seconds in a microwave. Spread some icing in a circular motion on top of each biscuit and leave to dry for a couple of hours. 

Makes approx. 36-38 biscuits. Store in a airtight container.


Originally Posted June 4, 2014.


In Biscuits/Cookies Tags Biscuits, Passionfruit, Fortnum & Mason
Comment
IMG_5370.jpg

How to Make Traditional Australian ANZAC Biscuits

Kath October 11, 2014

Just a short post today, I’ve been trying to update the site and am finding my lack of IT knowledge very unhelpful! Luckily, these biscuits are easy to make, and don’t require any technical IT knowledge or technical baking knowledge for that matter. 


This is a recipe that my Grandma made often, and I copied down when I was about 11. They are a nice combination between chewy and crisp, and work well with either caster sugar, golden caster sugar, and I have also tried brown sugar as well. It doesn’t matter what type of coconut you use. Desiccated is more traditional, however shredded or flakes are really nice to use as well. 


This recipe is really easy to make and can be easily doubled if you need lots of biscuits for a event or party. I made them for the bake sale I did last year with Confessions of a Glutton and they were probably the easiest and least time consuming thing I made. 


So as ANZAC Day isn’t too far away, try making these instead of buying the packet ones and I think you’ll really notice the difference! 


Ingredients: 

1 cup rolled oats

1 cup plain flour

1 cup sugar (caster or golden caster)

3/4 cup coconut (desiccated, shredded or flakes)

1 tbsp golden syrup

100 g unsalted butter

1 tsp bi-carb soda

2 tbsp warm water 


Method:

Pre-heat the oven to 150 degrees Celsius and line two large baking trays with baking paper. 


Mix the oats, flour, sugar and coconut in a large bowl. Melt the golden syrup and butter on a medium-low heat, then mix the bi-carb soda and warm water together and add to the butter. The butter mixture should froth a little. 


Add the butter mixture to the dry ingredients and mix together. 


Place teaspoon sized balls of the mixture on the trays, leaving room for the biscuits to spread. Bake for 10 - 20 minutes, until golden. 


Makes approx. 32 biscuits.


Originally Posted April 6, 2014.


In Heirloom Recipes, Biscuits/Cookies Tags Biscuits, Grandma, Recipe, ANZAC, Australia
Comment
IMG_5192.jpg

Fortnum and Mason and Rose Scented Biscuits 

Kath October 11, 2014

NOTE: Click here for a more recent post on Fortnum & Mason's Rose Biscuits + How to Make Crystallised Rose Petals. The recipe in this more recent post replicates these biscuits in a truer way than the version in this post - Kath, 25/4/16.

. . . 

The first time I went to Fortnum and Mason, I was 18, not into tea and really had no idea. What a shame. All I remember seeing is the bluey-green of the interior and thinking, ‘So the Royals buy their food here?’ Luckily things have changed. 

My next encounter with Fortnum and Mason was with their Rose Shortbread, in a lovely pink cylindrical tin. Of course, it was the tin that attracted my attention first. Anyone who knows me knows that I am drawn to pink. I can’t help it. The biscuits ended up being beautiful too, so it was a win win really. Later, I found a book by Fortnum and Mason about Tea which had a biscuit recipe for rose biscuits that, I hoped would be the same as the ones that came in the pretty pink tins. Unfortunately, I had the book for a few years and never tried it. Mostly because the recipe called for crystallised rose petals and golden caster sugar. The first seemed to be basically unheard of in Australia and I was just plain confused by the second. I gave up. 

Display of Fortnum & Mason's wonderful biscuits in their London shop.

Display of Fortnum & Mason's wonderful biscuits in their London shop.

When we decided we were going to London, I decided I was not going to miss out on Fortnum and Mason. And I certainly did not. Mum and I ended up going there three separate times! We had tea and scones in The Parlour, looked around the shop, including their great baking section, and admired the lovely tea sets for sale. On another visit I bought tea, and on the third I was so hungry I just had to try their macarons. I tried salted caramel, red velvet and Neapolitan. All were brilliant.

Tea & Scones at the Parlour in Fortnum & Mason London.

Tea & Scones at the Parlour in Fortnum & Mason London.

Salted Caramel, Red Velvet & Neapolitan Macarons from Fortnum & Mason, London.

Salted Caramel, Red Velvet & Neapolitan Macarons from Fortnum & Mason, London.

After a few weeks back at home, I re-opened the ‘Tea’ book from Fortnum and Mason. I decided that I was going to make these rose biscuits and unavailable and unheard of ingredients were not going to stop me. Unfortunately, crystallised rose petals still seem to be unheard of in Australia. Fortunately however, ‘golden caster sugar’ is now available in Australia, so after a little experimentation I have settled on this adaption of the original Fortnum and Mason recipe. I have iced them with a rose icing as the extra subtle hit of rose makes up for the crystallised rose petals.  


Ingredients: 

200g unsalted butter, softened

100g golden caster sugar* or caster sugar 

4 tsp rosewater

200g plain flour, sifted

100g almond meal


For Icing: 

2.5 cups sifted icing sugar (confectioners) 

2 tbsp boiling water

2.5-3 tsp rosewater 

pink food colouring


Method: 

Preheat oven to 180 degrees Celsius, and line two baking trays with baking paper. 

In a large bowl, cream butter, sugar and rosewater until all combined. Add the sifted flour and almond meal and mix until combined. 

Using a teaspoon, take spoonfuls of the mixture and roll into balls and place on the baking trays. Flatten the balls a little so they form fat round discs. 

Cook for 15-20 minutes, or until slightly golden. Cool biscuits on the trays or on a wire rack. 

Once the biscuits are cool, place the sifted icing sugar in a medium bowl. Add the boiling water, one tablespoon at a time, mixing well. Then add the rosewater. Add as much or as little as you like, but I found that 3 teaspoons had a nice scent of rose without being overpowering. 


Once all the liquids are added, check the consistency of the icing. It needs to be a smooth paste. If it is too runny it will run down the sides of the biscuits. Add more sifted icing sugar, in small increments, if the icing is too runny. If the icing is to thick, add more boiling water in small increments. 

Once you have the right consistency, add a small amount of pink food colouring. I use gel colours, and don’t have to use very much to achieve a nice light pink colour. If using traditional food colours that are more fluid, add tiny amounts until you have a nice light pink colour. It won’t take much colouring to get a light pink. Add a litttle more sifted icing sugar/boiling water if the food colour has changed the consistency of the icing. 

Once you have the desired colour and consistency for the icing, spread small amounts on the top of each biscuit. The icing will take at least a couple of hours to dry completely, but they are great to eat even if the icing hasn’t dried. 

Makes 36-38 biscuits. Store in a airtight container.


*‘golden caster sugar’ may be labelled as ‘raw caster sugar’ in Australian supermarkets. However, the UK sugar manufacturer ‘Billington’s’ is available in Thomas Dux stores, Essential Ingredient and Woolworths stores. Billington’s has a range of sugars including ‘golden caster sugar’ and ‘muscovado’ sugars. 

Recipe adapted from ‘Tea at Fortnum and Mason’ p.61 (Ebury Press).

Fortnum and Mason can be found at 181 Piccadilly, London.

Originally Posted March 25, 2014.

For more recipes showcasing the best of rose, check out my Baking with Rose eBook by clicking the link below!

Get your ebook here!
In Travel, Biscuits/Cookies Tags Biscuits, Fortnum & Mason, London, Rose, Rosewater, Travel
Comment
  • The Blog
  • Older
  • Newer

recipes

  • Biscuits/Cookies 39
  • Breads Etc. 9
  • Breakfast 7
  • Cakes & Slices 68
  • Confectionary 5
  • Drinks 6
  • Events 14
  • Food Photography Tips 3
  • From The Mailing List 24
  • Heirloom Recipes 12
  • Holidays 44
  • Ice Cream 9
  • Jams Preserves & Spreads 9
  • Muffins 4
  • Off the Shelf 48
  • Other Desserts 25
  • Savoury Dishes/Meals 15
  • Scones 4
  • Tarts & Pastry 9
  • Travel 13

Sign up to Friday Food Chat with Kath, a weekly newsletter for more food, baking, cookbook chat and more!

Sign Up Here!
instagram-unauth pinterest facebook url

Website Accessibility: To enable text to speech function on the blog, click the sound button to the right of each blog post.

All images & content are the property of Kathryn Vincent, unless stated otherwise. Please do not use without permission.

Kulinary Adventures of Kath

Food Photography, Recipes & Baking

instagram-unauth pinterest facebook url