I’m not usually one for adding food colouring or large amounts of sprinkles to my baked goods, but I think I’m at that point in lockdown where any pop of colour adds a tiny bit of joy to my day.
As does using up an already opened packet of Jimmies (large sprinkles) and some chocolate no one seemed to be eating. With delivery windows in Sydney few and far between from our major supermarkets at the moment, using up things I already have seemed like a good way to go. So there were a couple of motivations for making this recipe, beyond my usual ‘I’d like something nice to eat but don’t want it to take ages to make’.
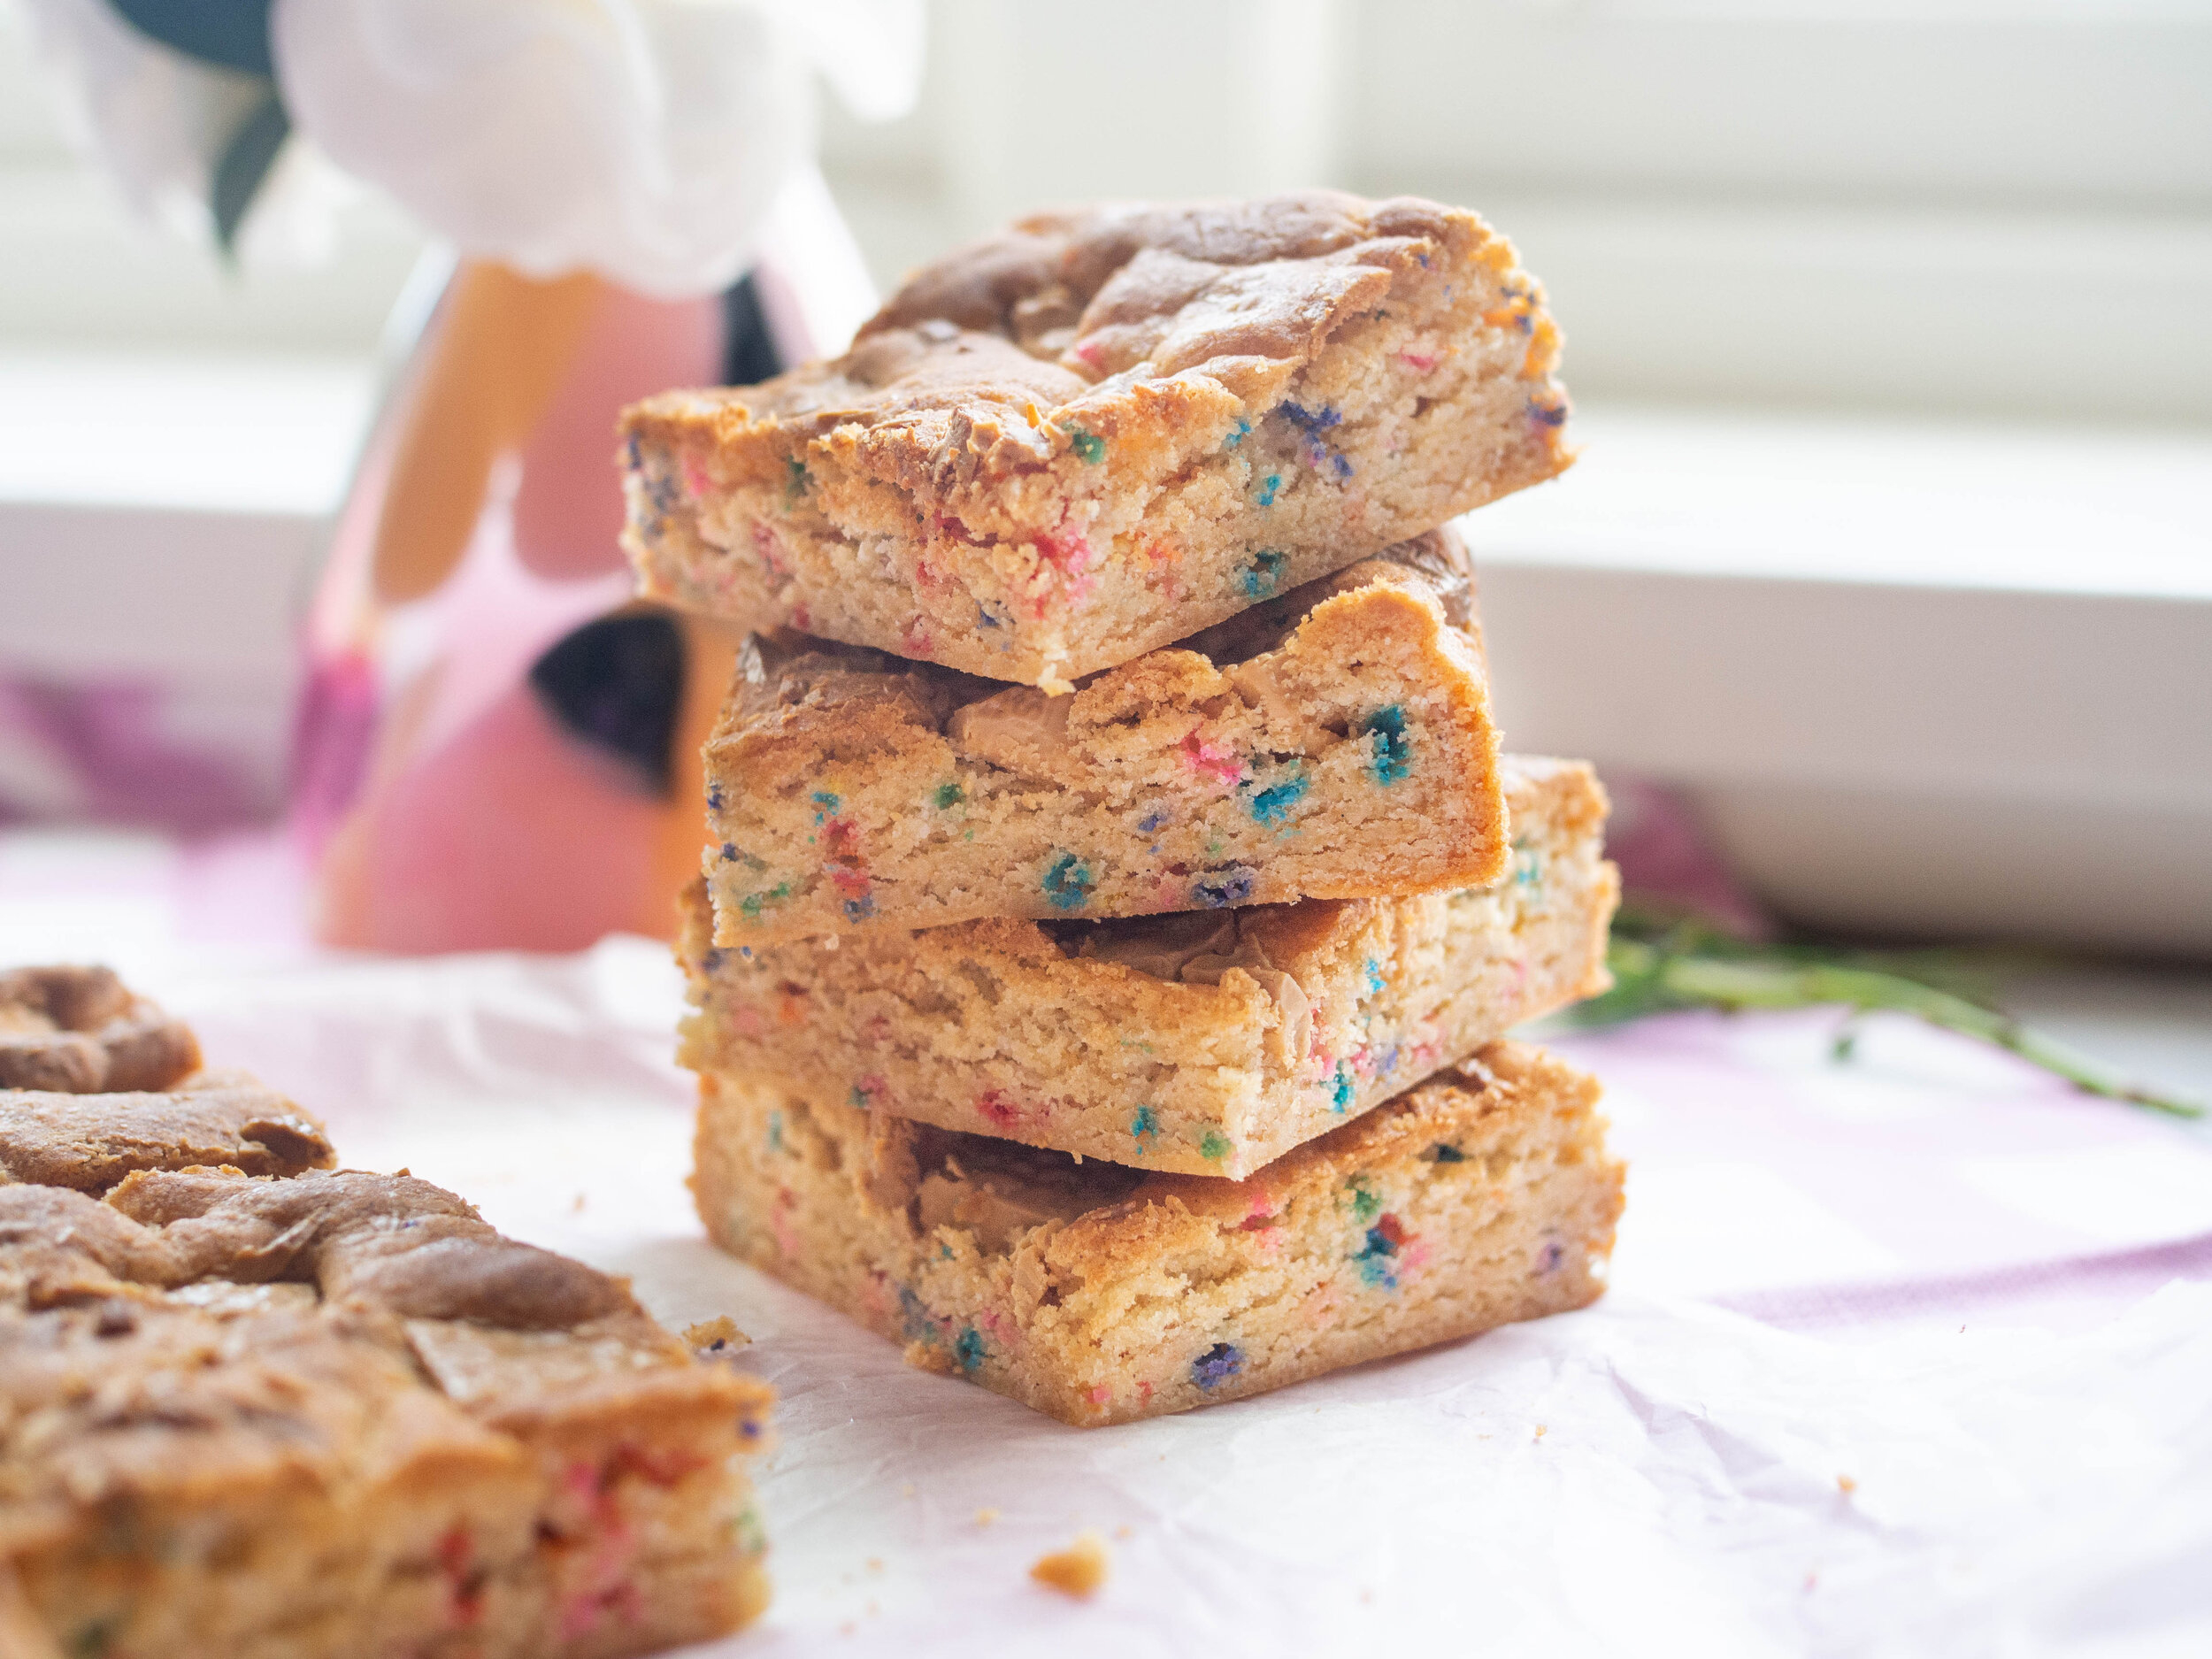
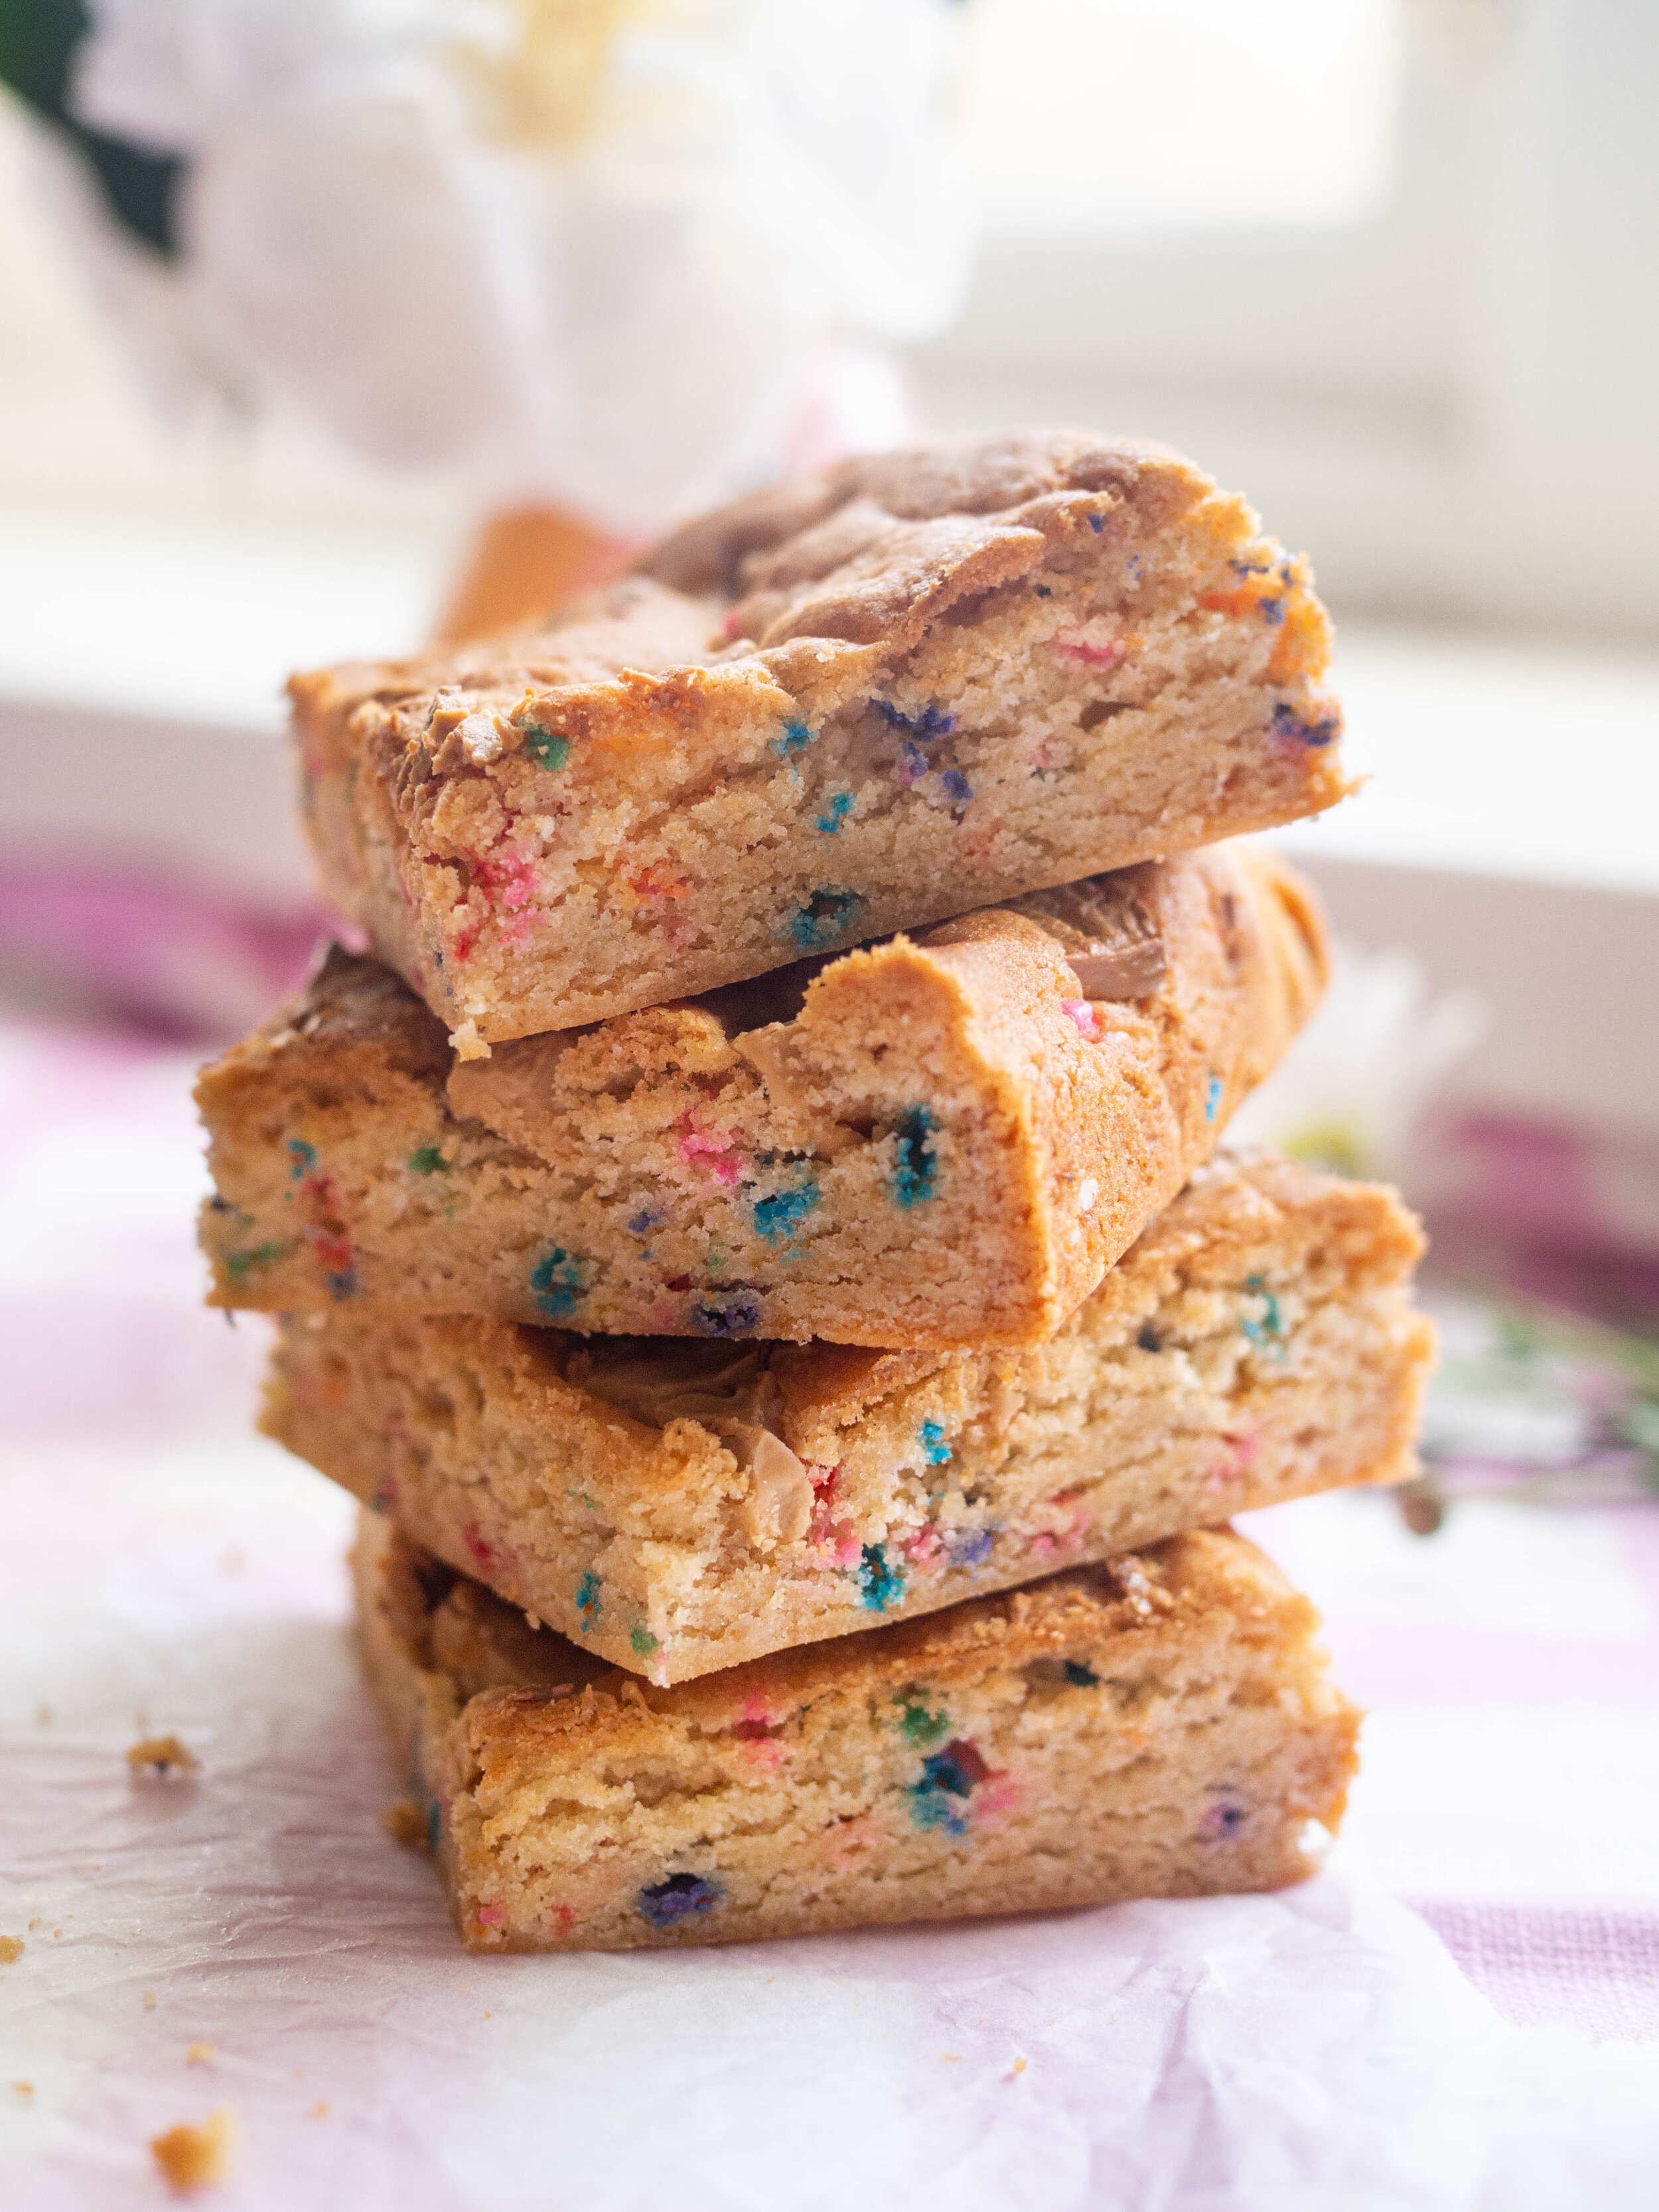
You can leave out the sprinkles if you wish, and use any type of chocolate you want. The sprinkles don’t add any flavour, it’s just for the fun colours. However if you do use some sprinkles, those called Jimmies which are bigger sprinkles than the ones us Aussies are used to buying at supermarket, will work best as their colours won’t bleed through your bake.

Funfetti Cookie Slice
Ingredients:
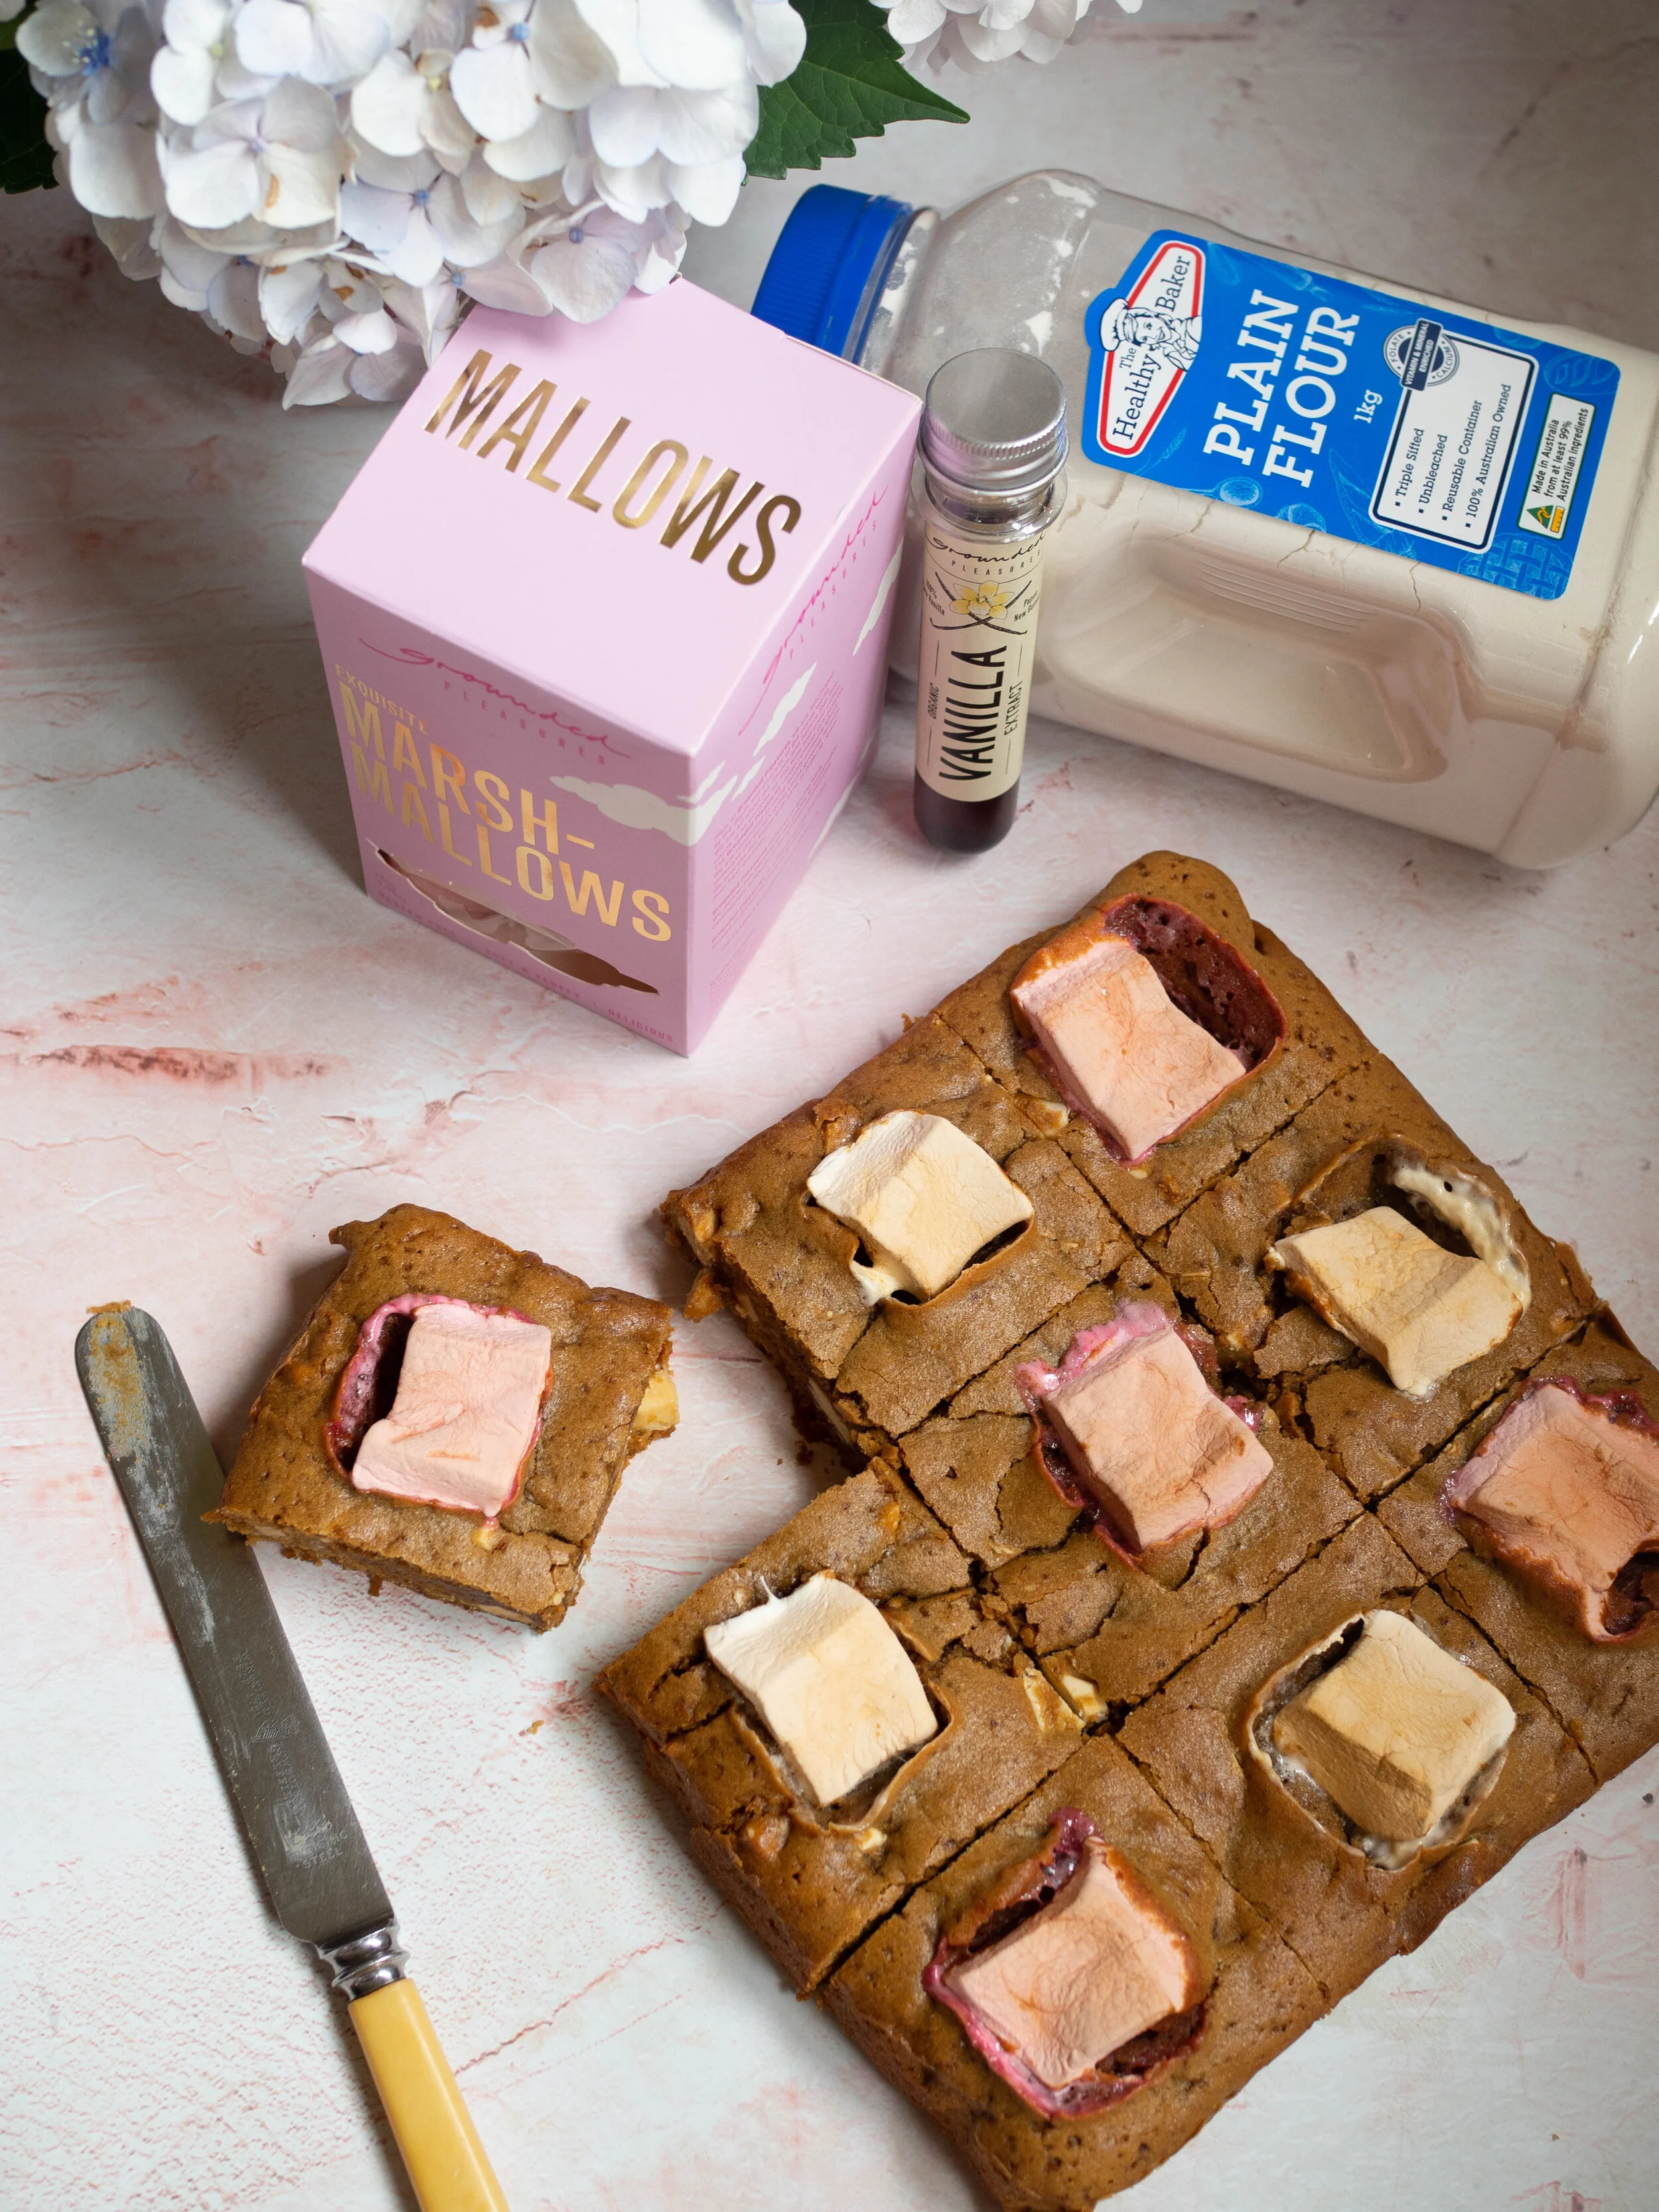
120g butter, melted
200g caster sugar
2 tbsp golden syrup
1 tsp vanilla bean paste
1 egg
290g self raising flour
3.5 tbsp large sprinkles (aka. Jimmies)
120g choc chips (white, Caramilk, milk or dark) or roughly chopped chocolate
Method:
Preheat oven to 180 degrees Celsius and line a 30 x 20cm brownie or Lamington tin with baking paper.
In a large bowl whisk together the butter, sugar, golden syrup, vanilla and egg.
Then add the flour and the sprinkles and mix to combine with a wooden spoon.
Tip the dough into the prepared tray, and spread it out, pushing it into the sides. Scatter the chopped chocolate/choc chips over the dough, pushing them in a little.
Bake for 18-20 minutes or until golden brown.
Allow to cool completely in the tin. The remove and cut into slices or chunks of your choice.
Serves 15.