Ok. Now for the second part of my cake apology. Two cake recipes from ‘Tasty Express’.
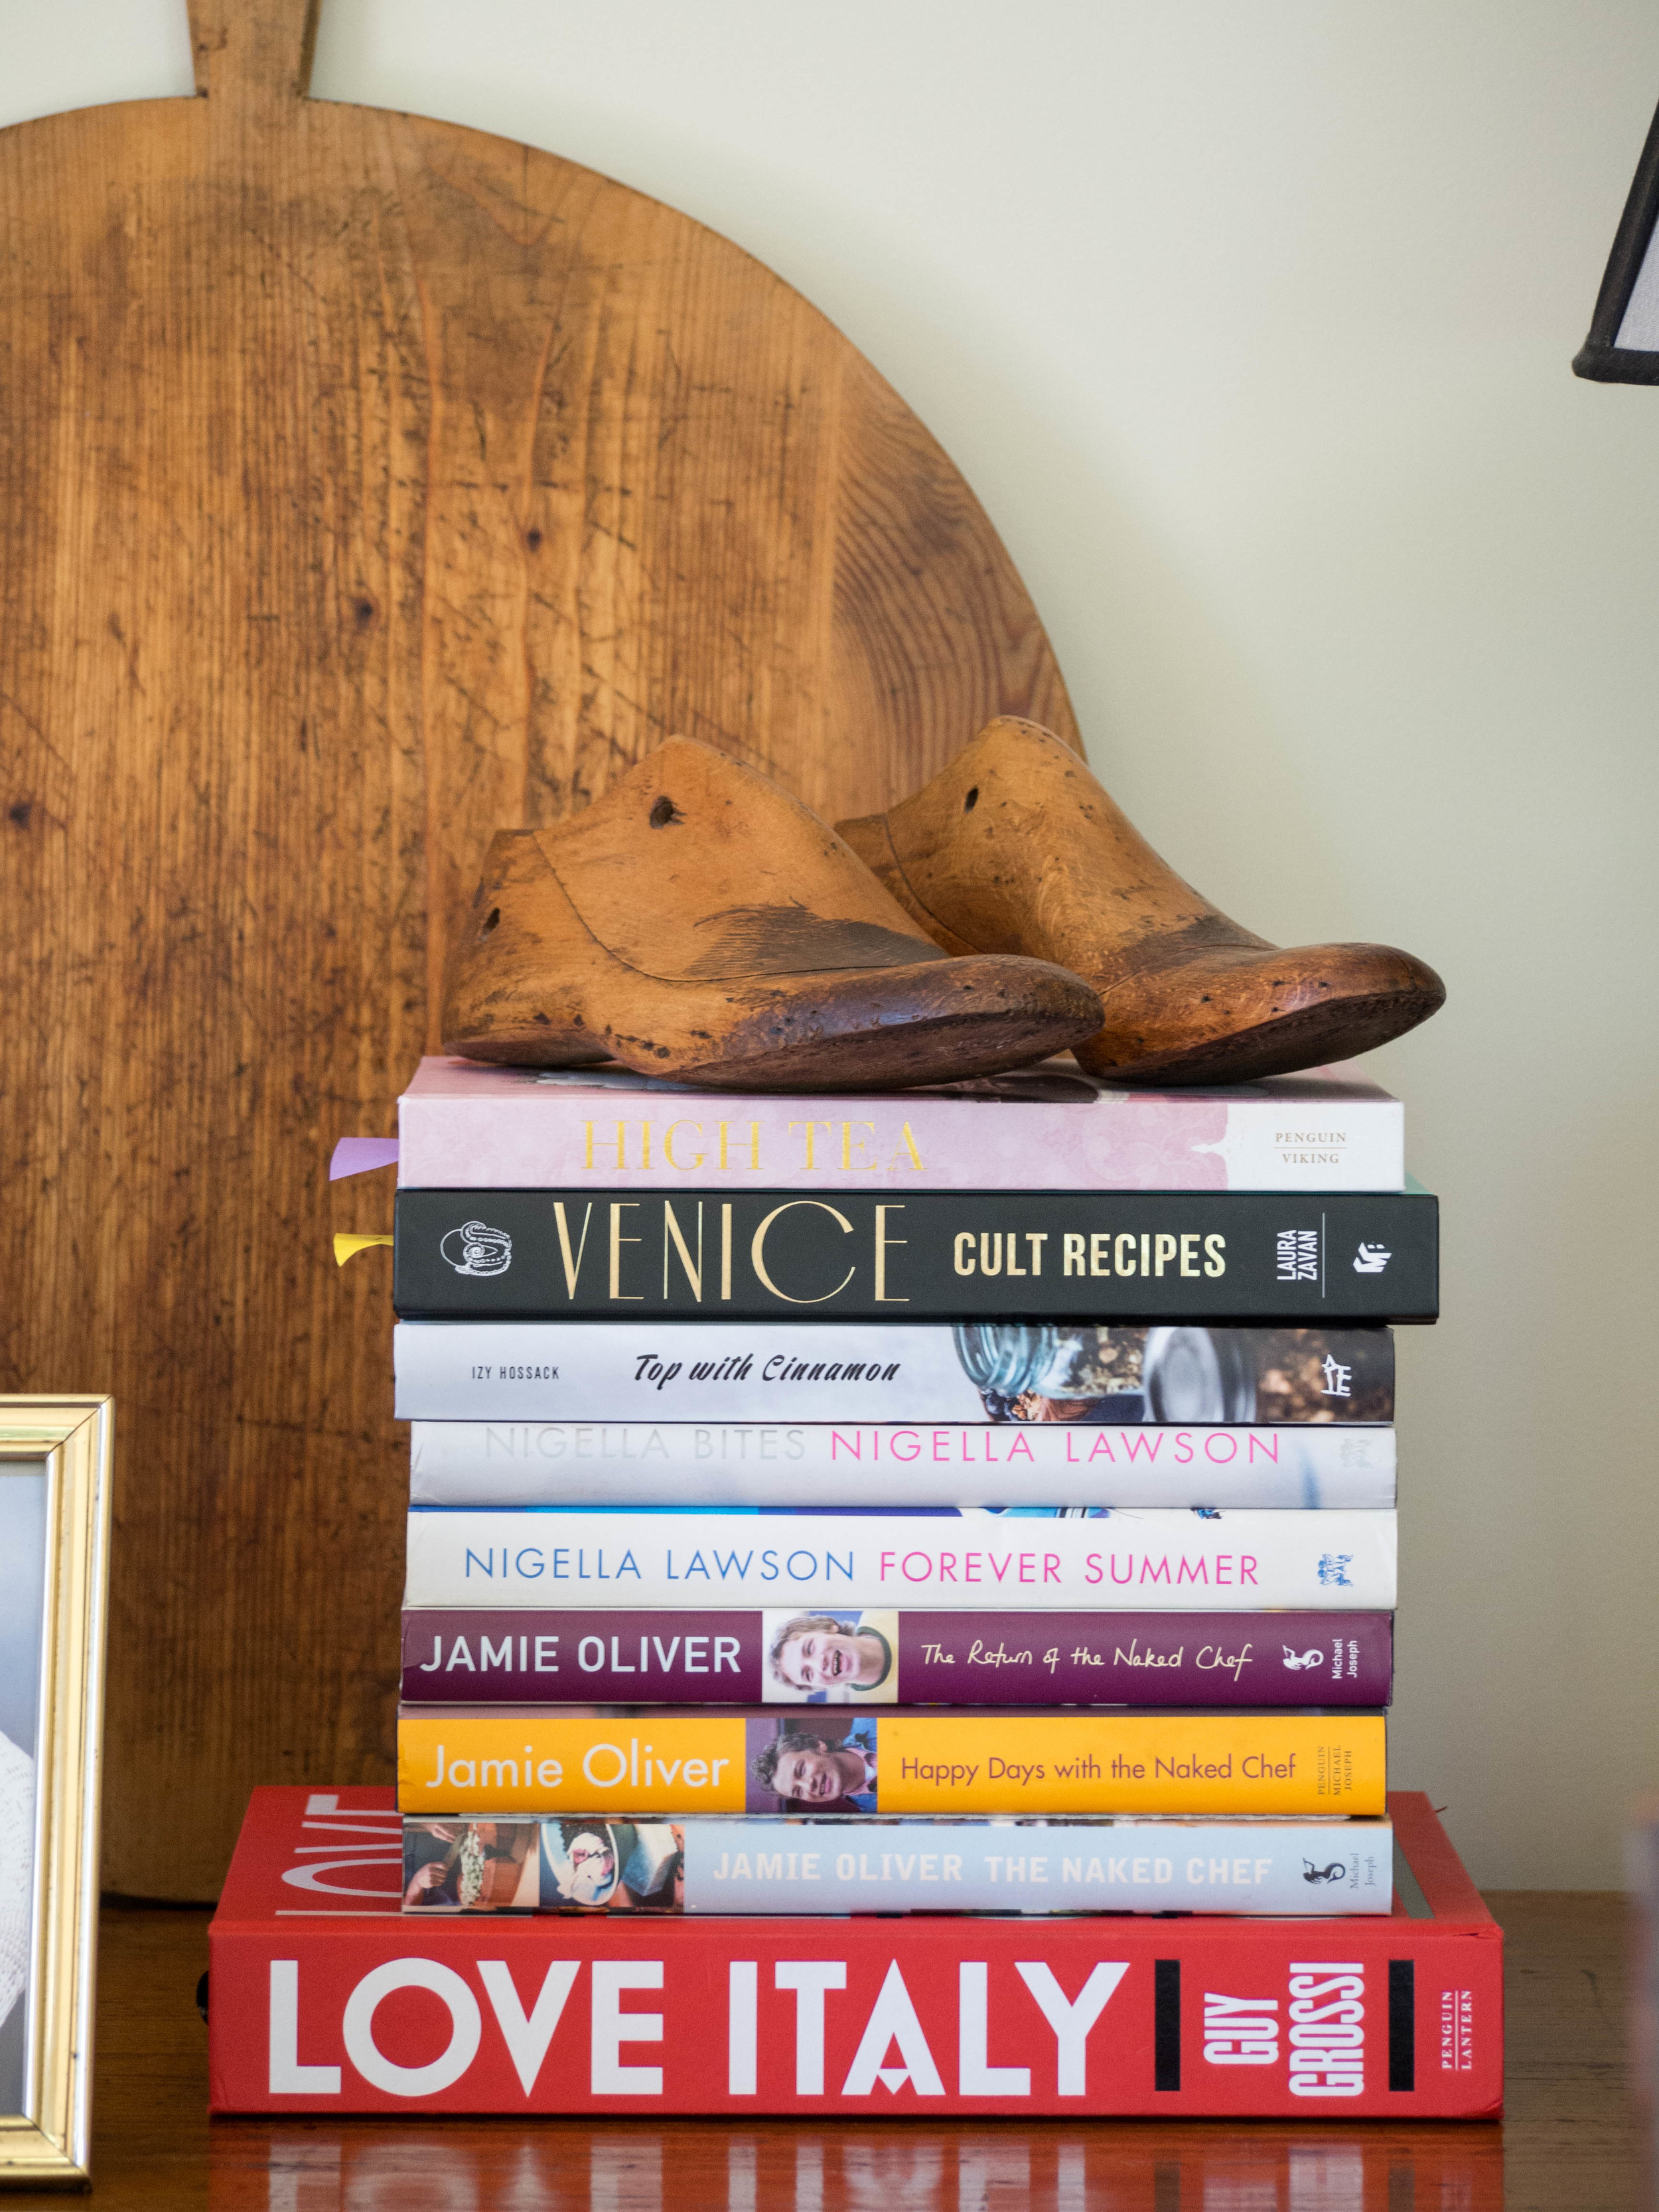
After attending a Cook Republic workshop with Sneh Roy a little while ago, it re-inspired me to getting cooking from her lovely cookbook, ‘Tasty Express’ again. I was in the mood for cake (nothing unusual about that right?!), and couldn’t decide between the lemon cake and the rose and pistachio cake. So I made both.
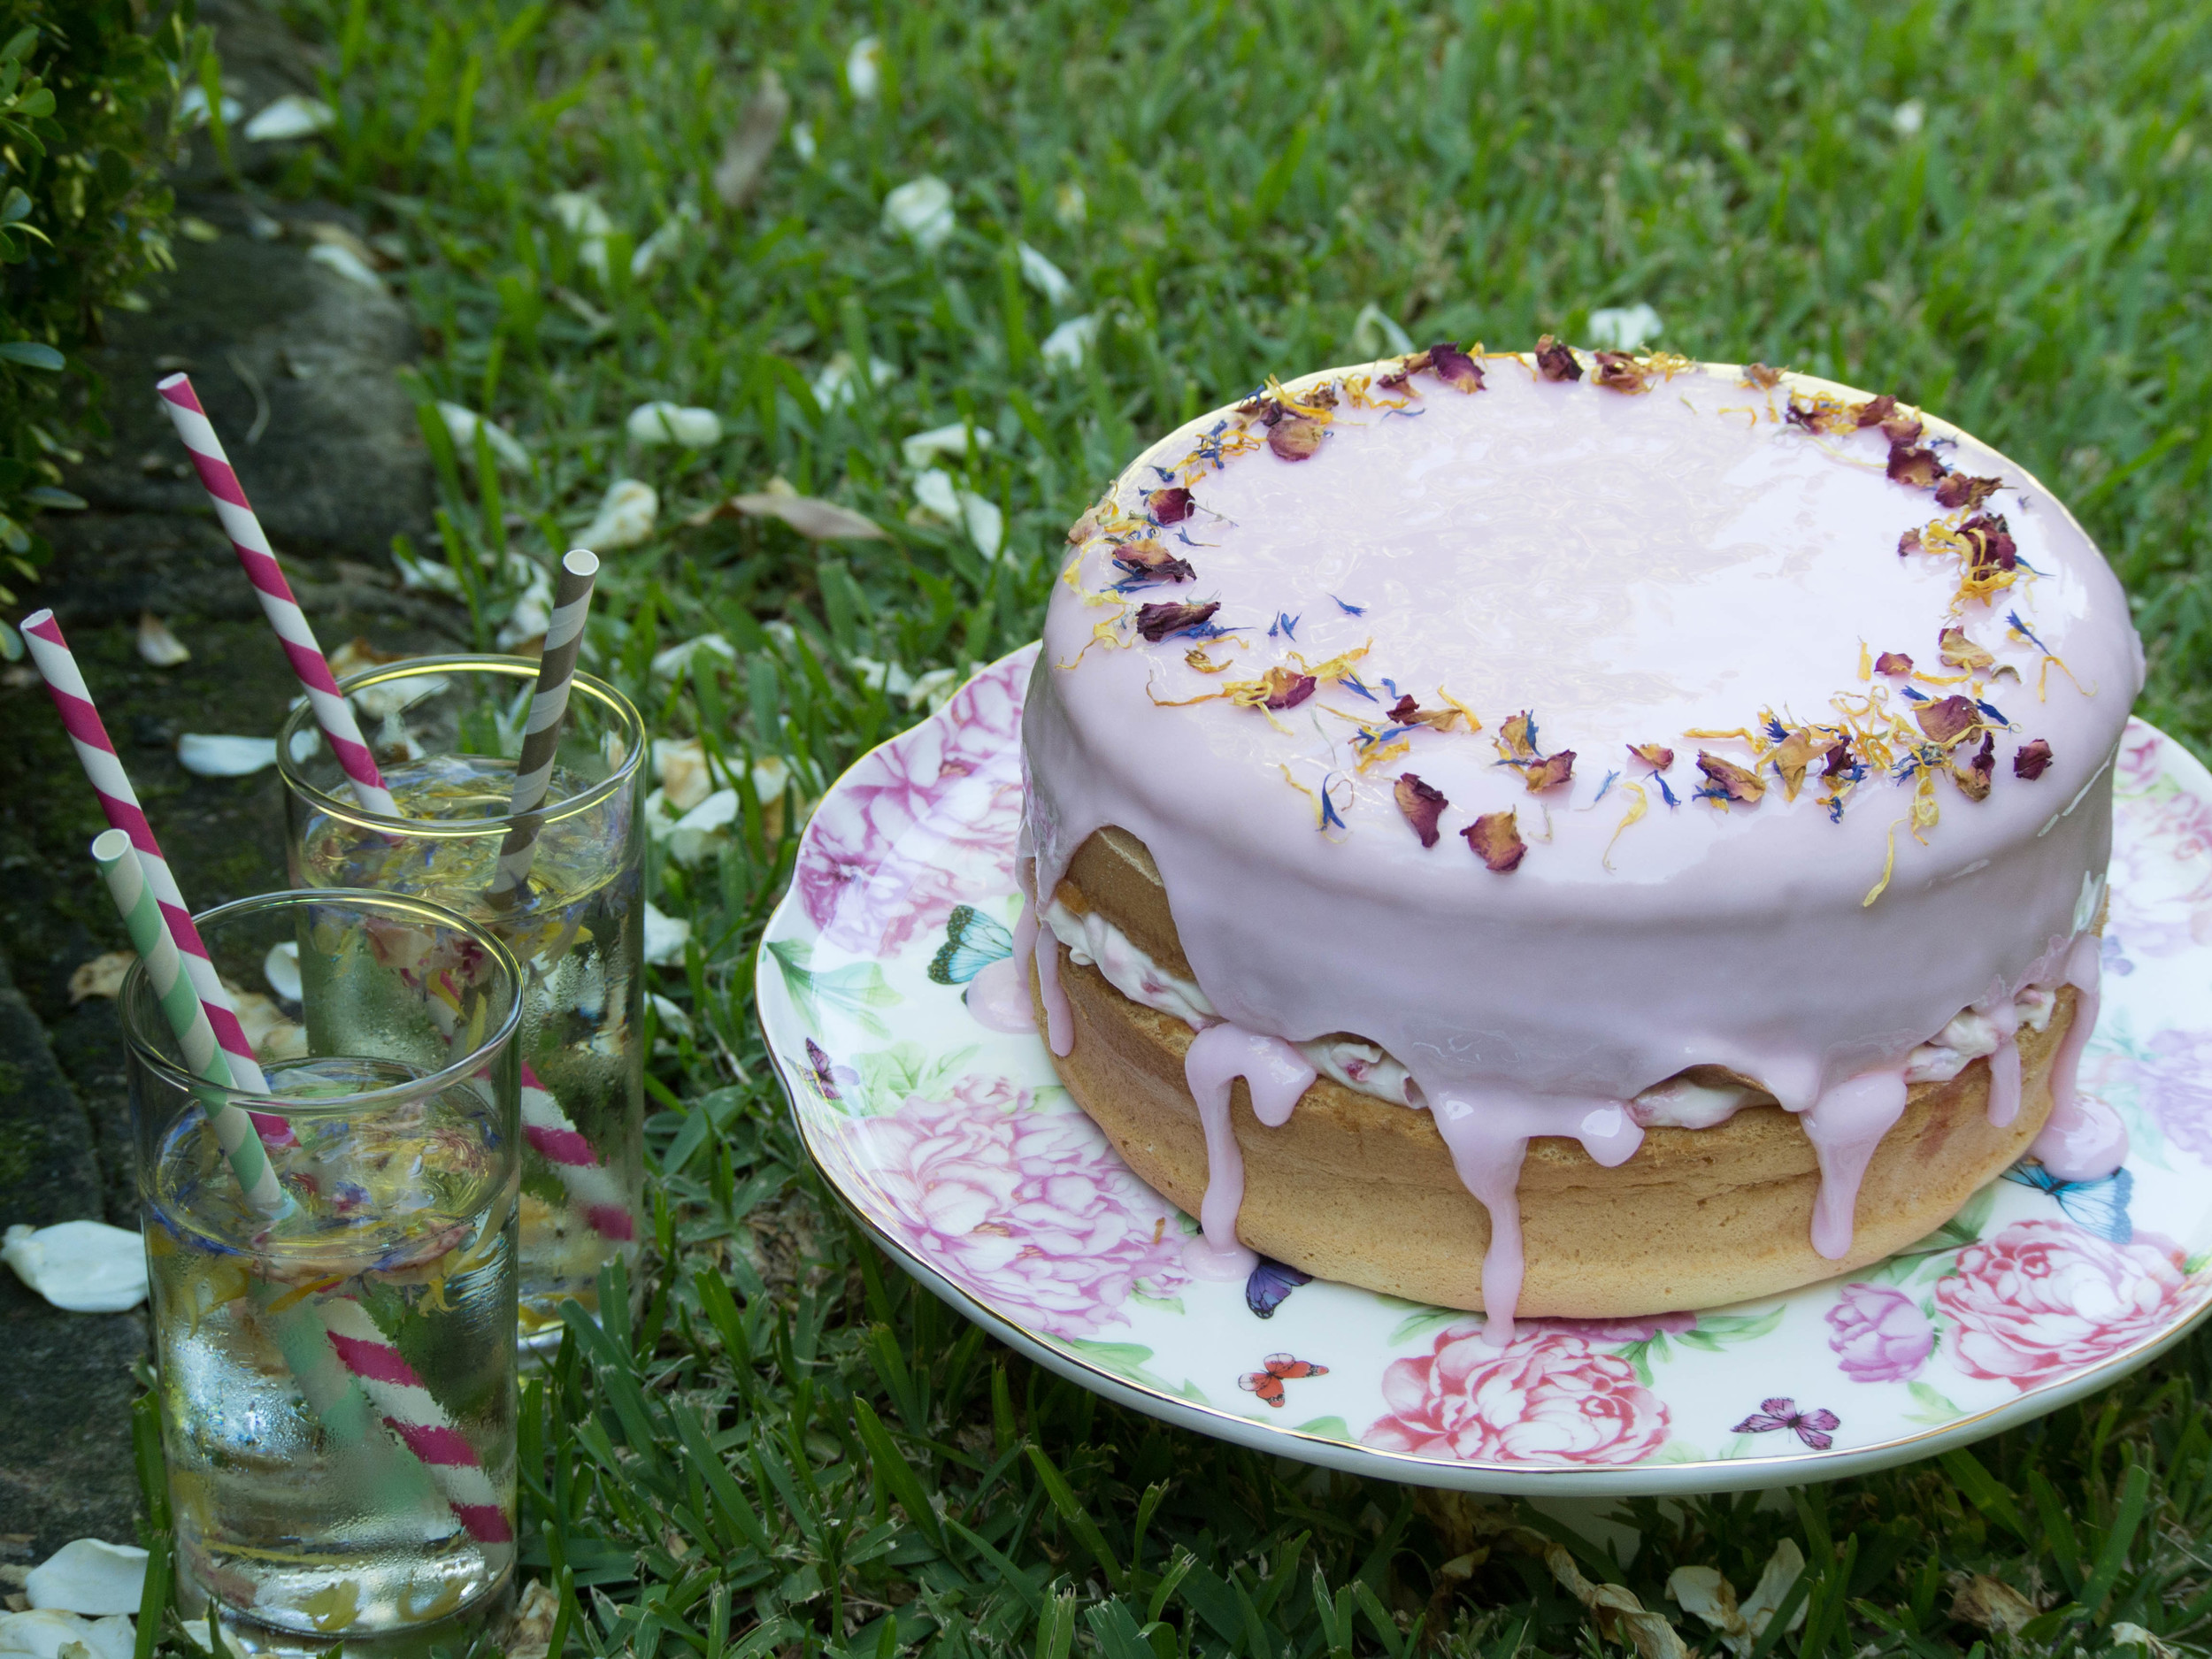
Both cakes are simple to make, yet yield great tasting cakes. It is unusual for me to make cakes without some kind of icing, and though it might seem strange to leave a cake un-iced, these two cakes are quite perfect as they are. Not that the perfect-ness of these cakes should ever have been doubted. They are Sneh’s recipes after all.


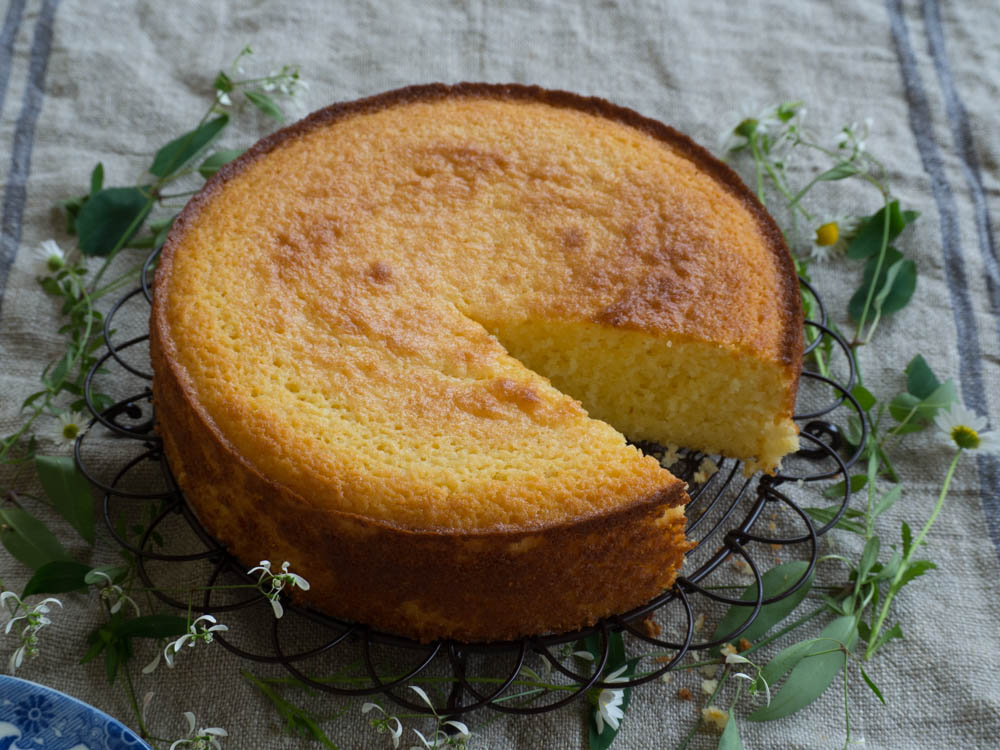
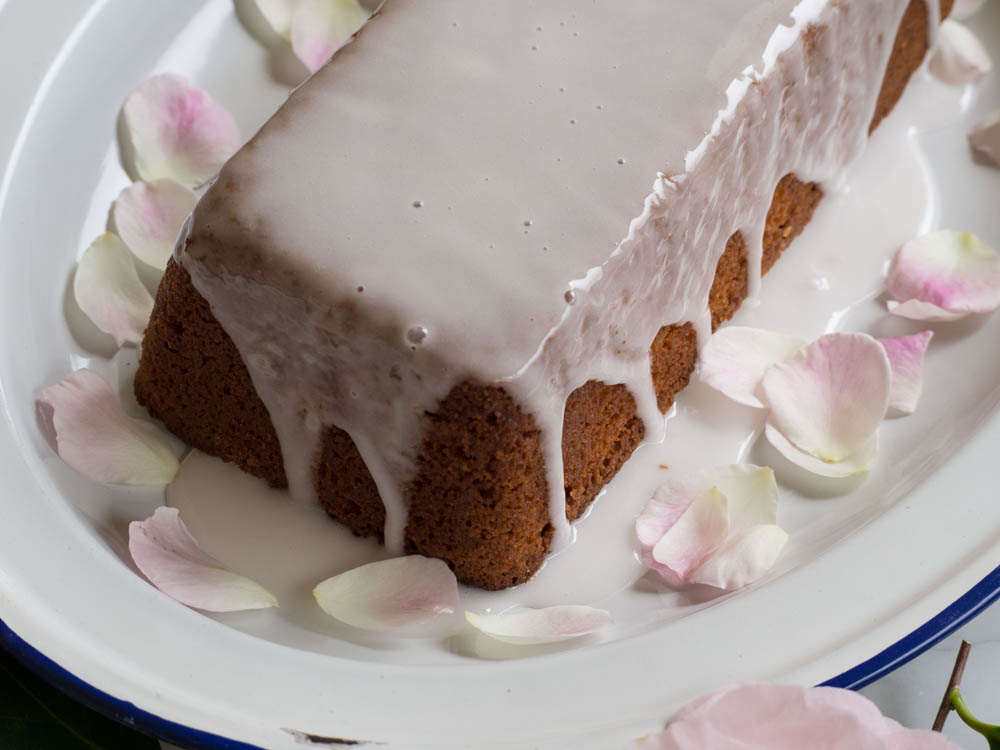
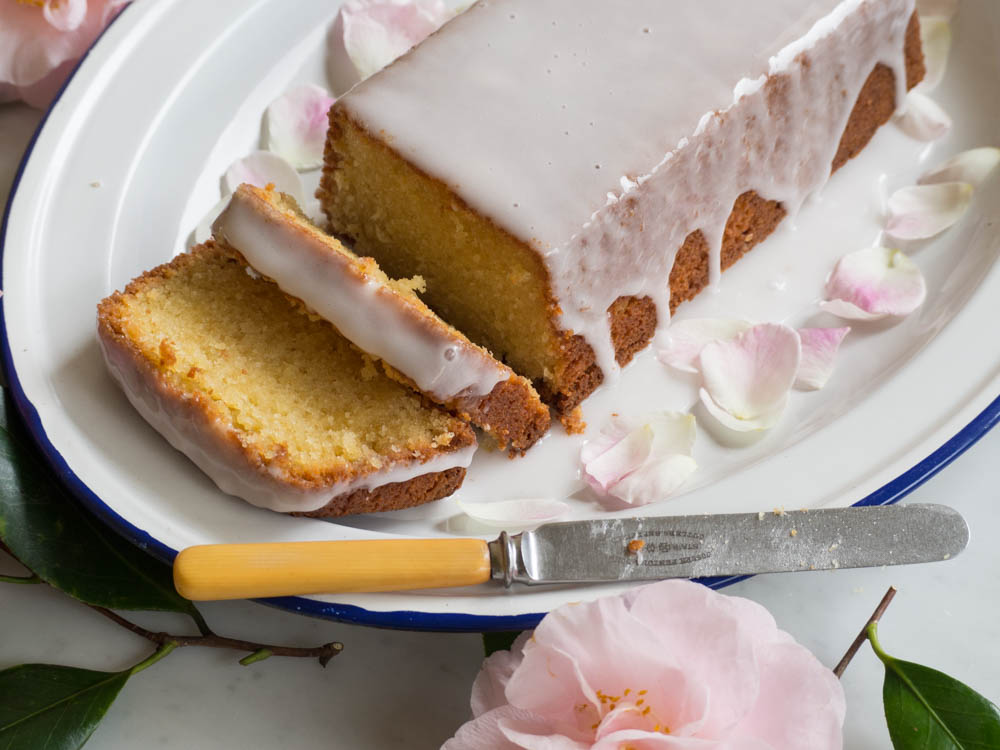
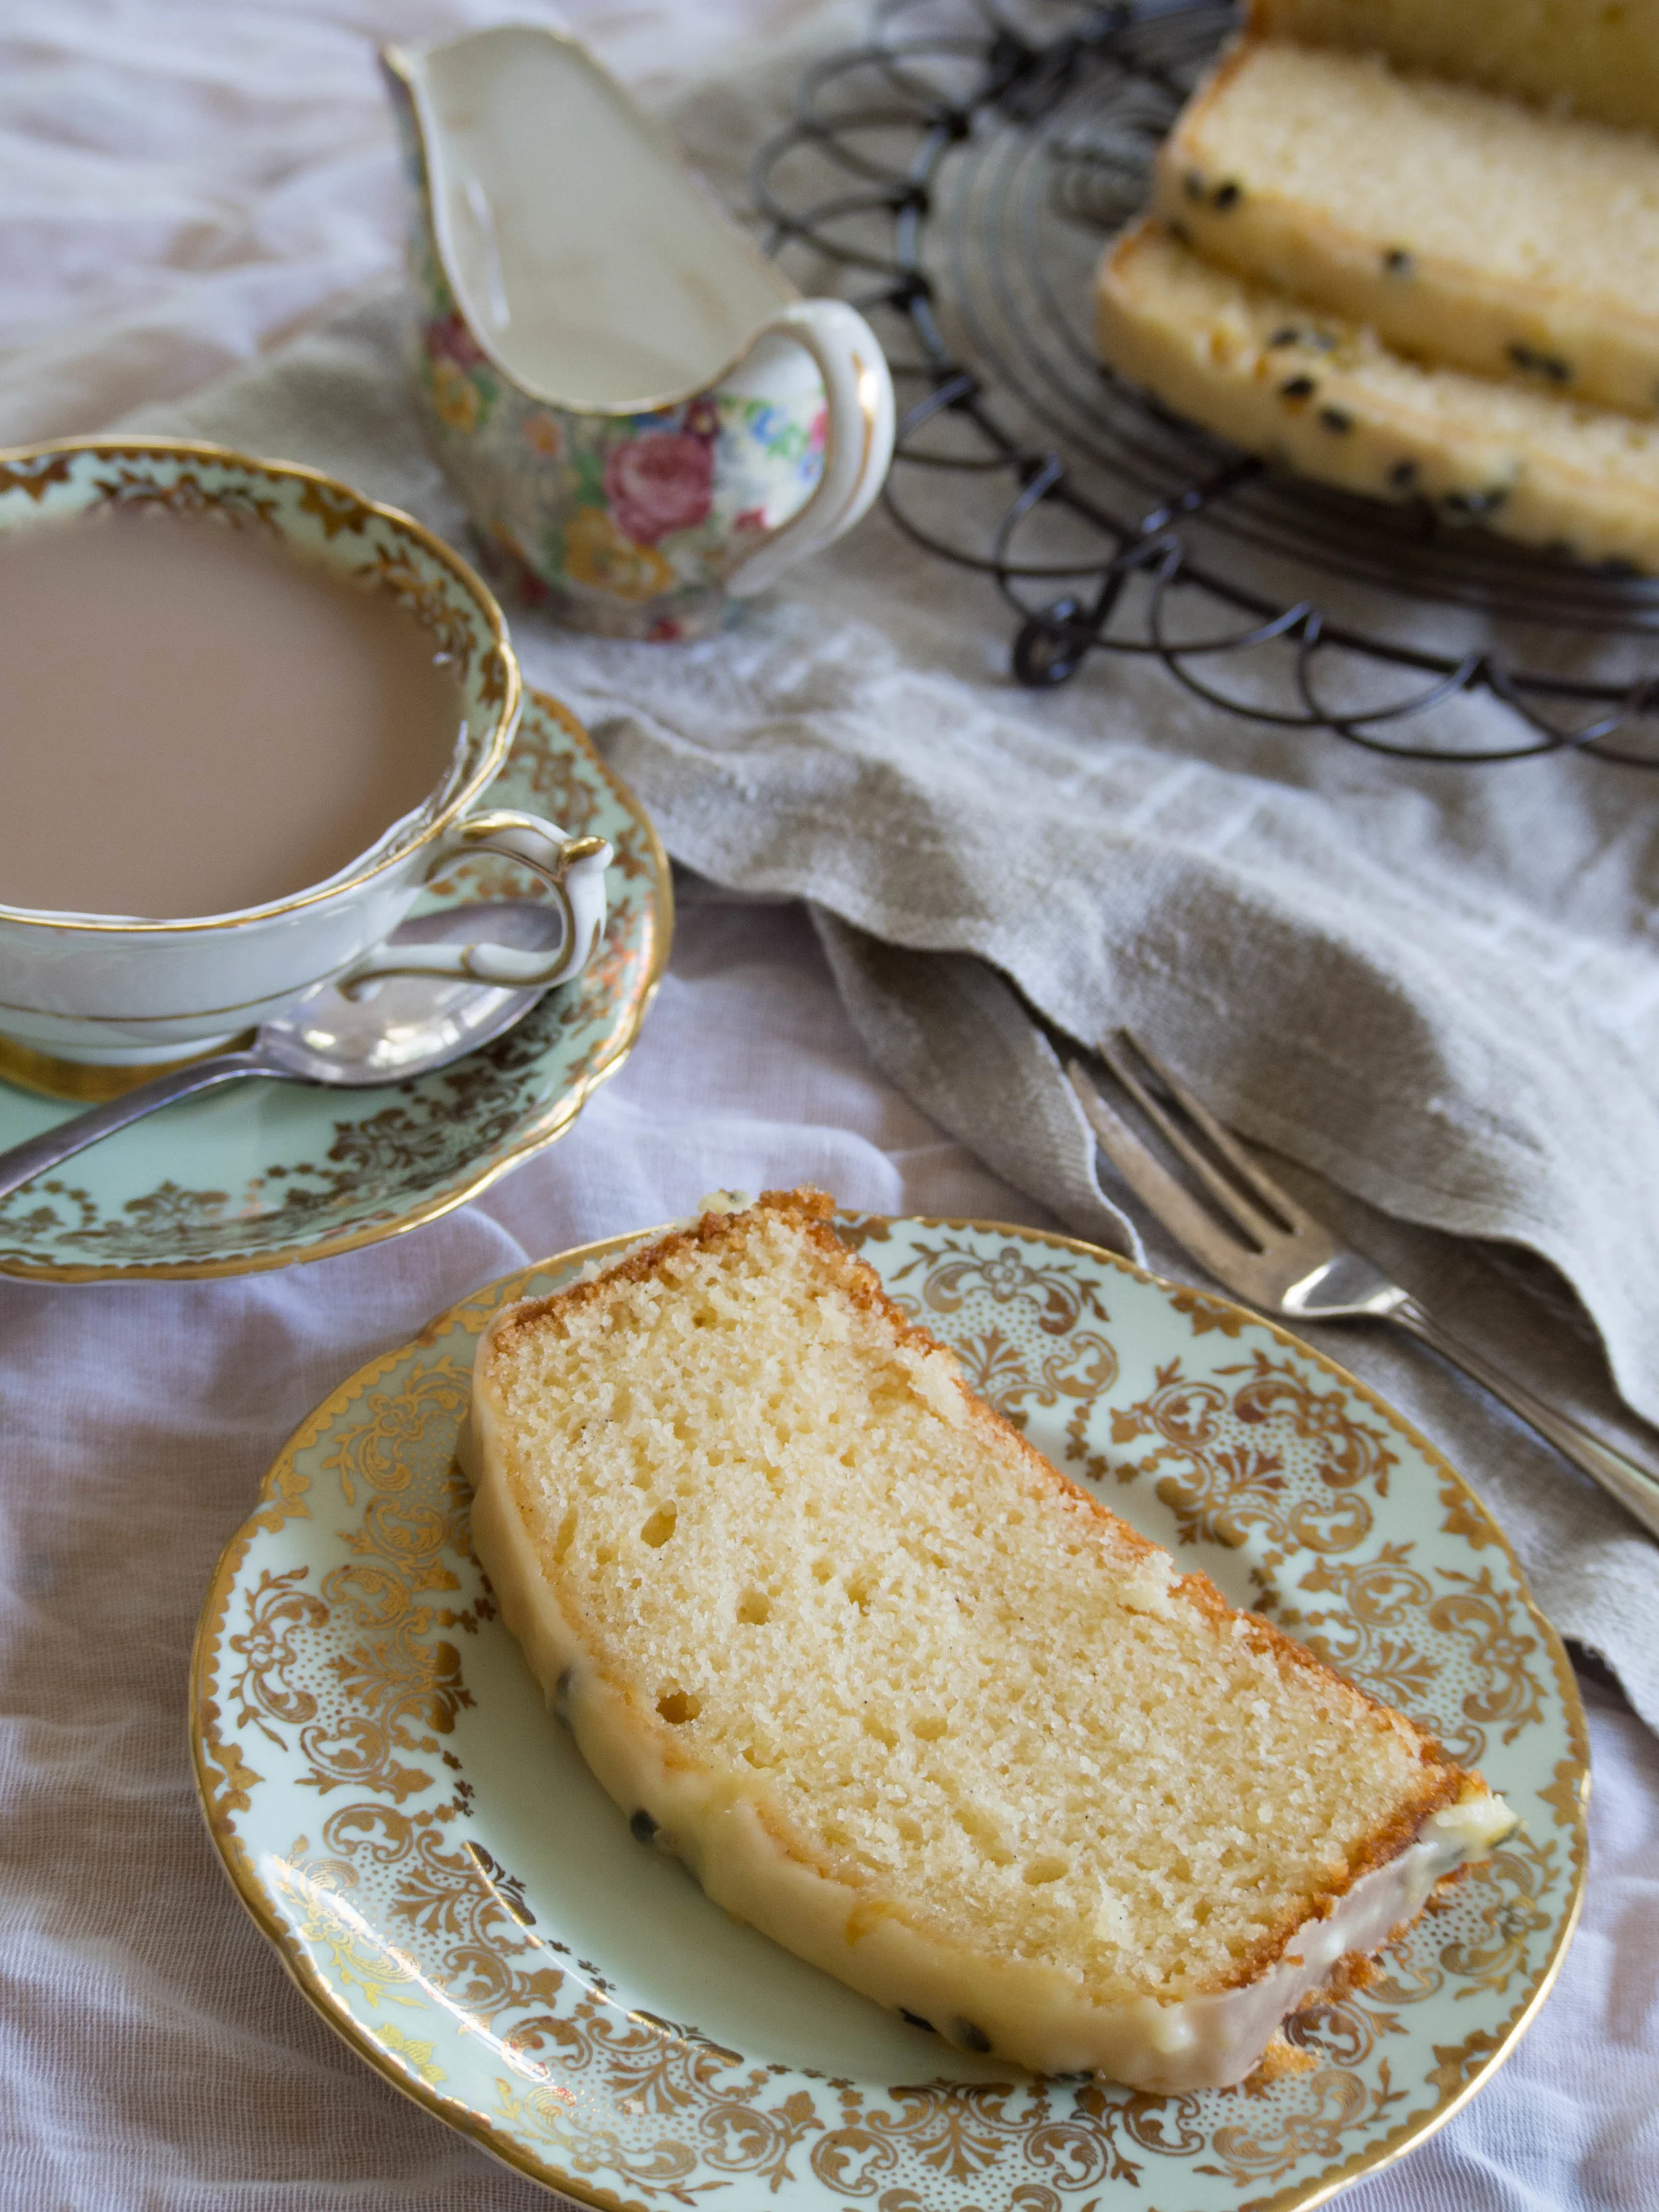
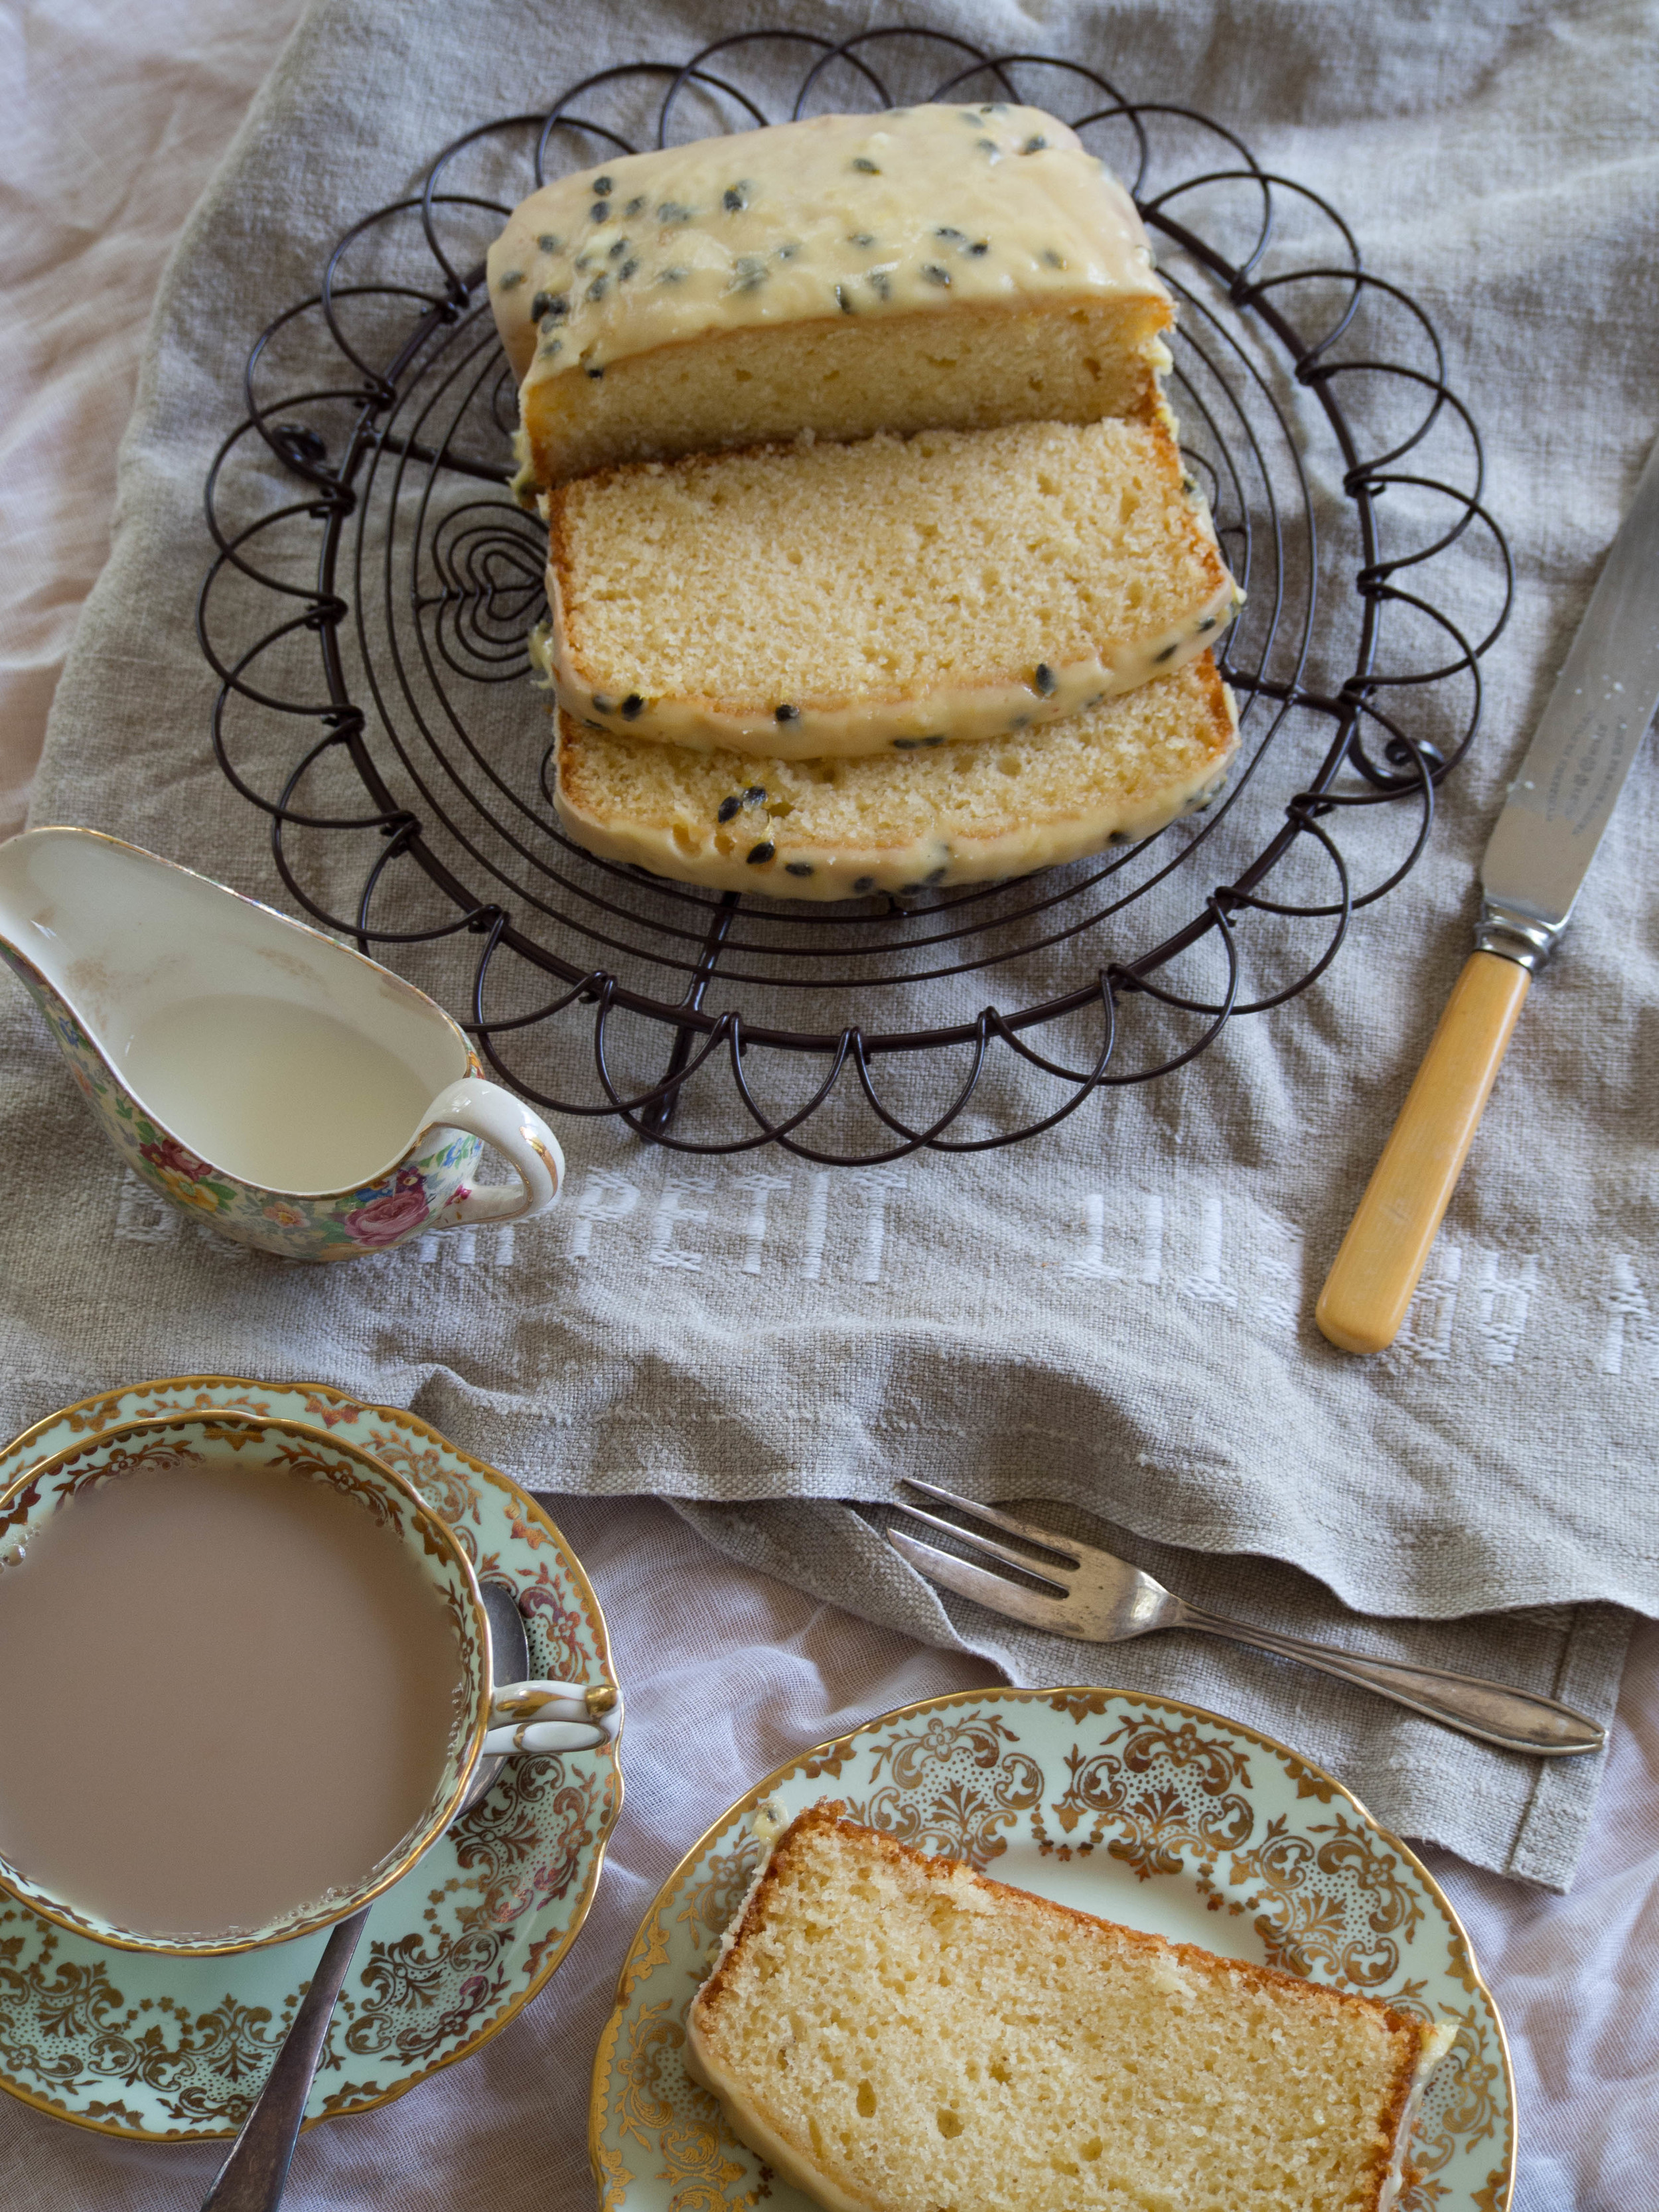
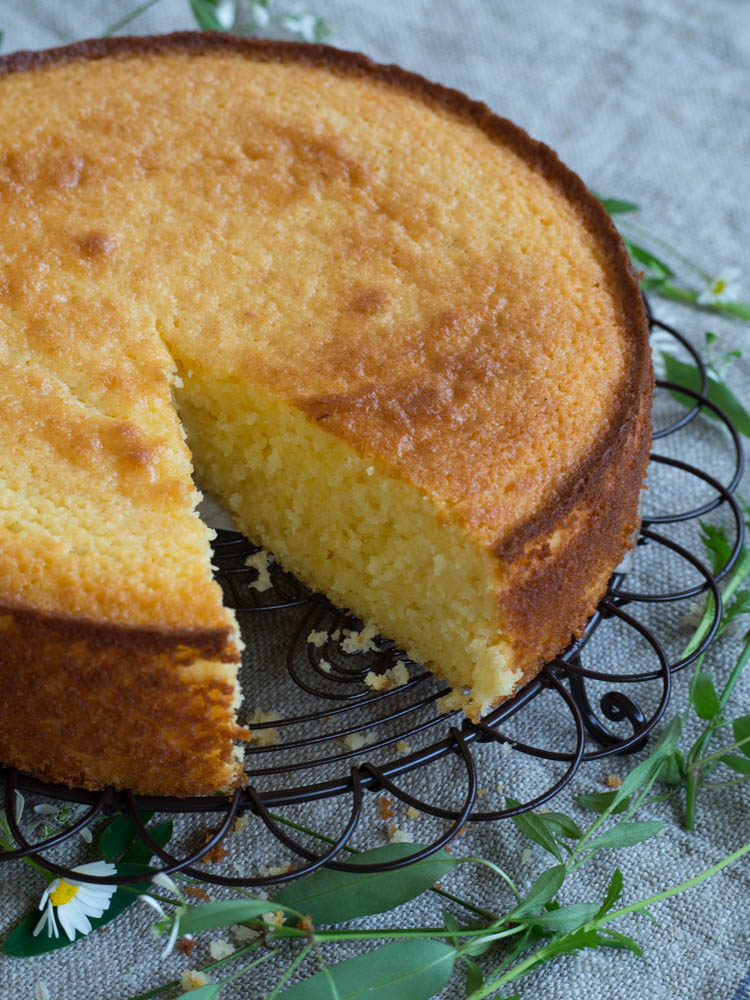
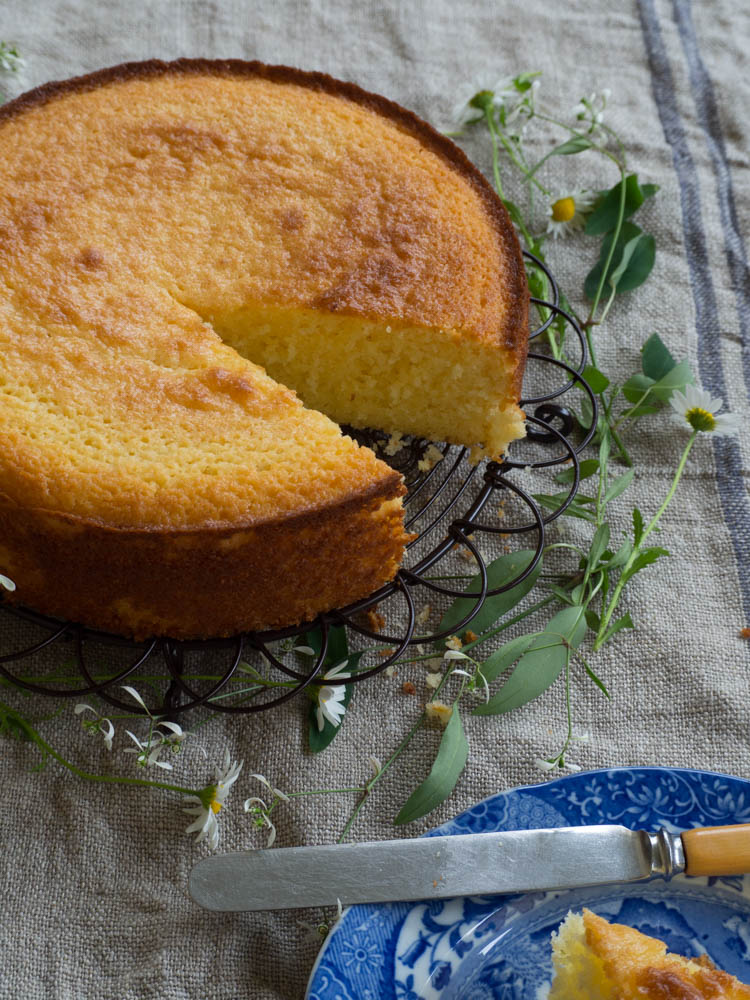
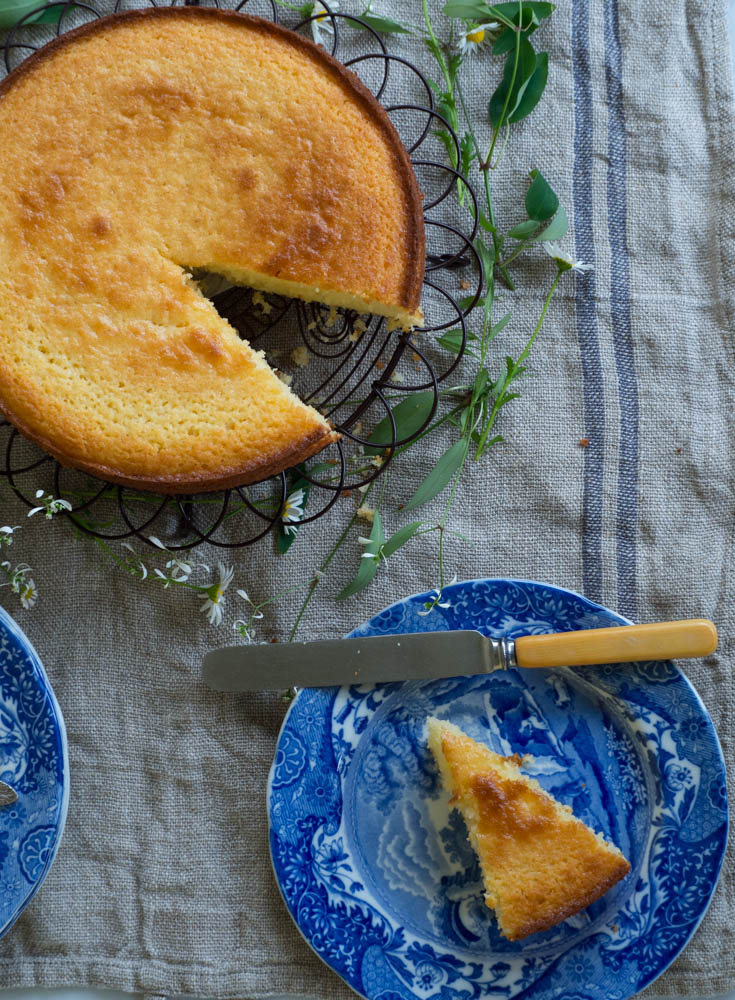
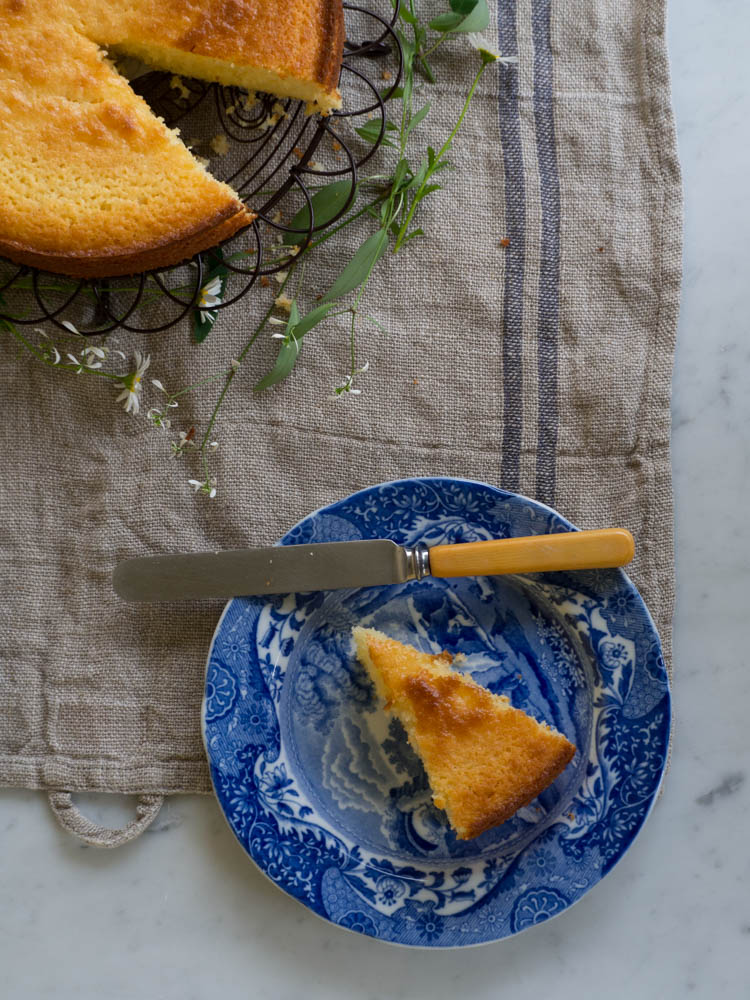
Lemon Cake
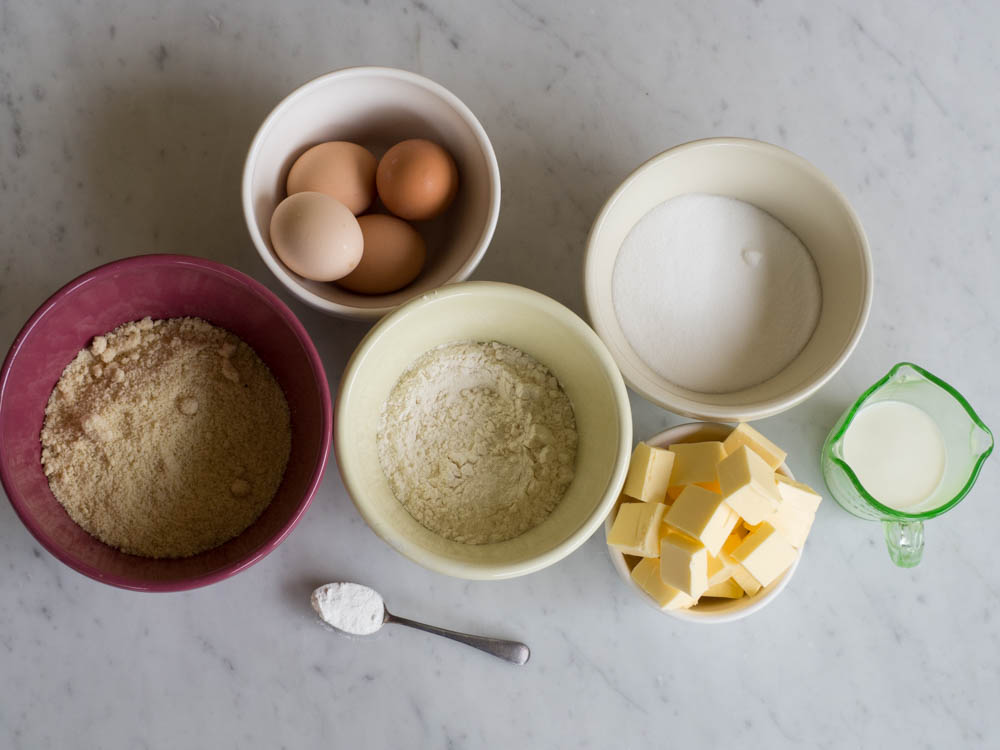
Ingredients:
125g butter, softened
220g caster sugar
Finely grated zest of 2 large lemons
3 eggs
225 g self-raising flour
Juice of one large lemon
125ml milk
Method:
Preheat oven to 180 degrees Celsius and grease and line the base of a 20cm round cake tin.
In a large bowl, beat the butter, sugar and lemon zest until fluffy. Add the eggs one at a time, beating after each addition. Sift in the flour, and add the lemon juice. Beat for a few seconds, then add the milk and mix until just combined.
Pour the batter into the prepared cake tin and tap the tin gently to remove any air bubbles. Bake for 45-50 minutes, or until golden and cooked through.
Leave the cake in the tin for 5 minutes, then turn onto a cooling rack.
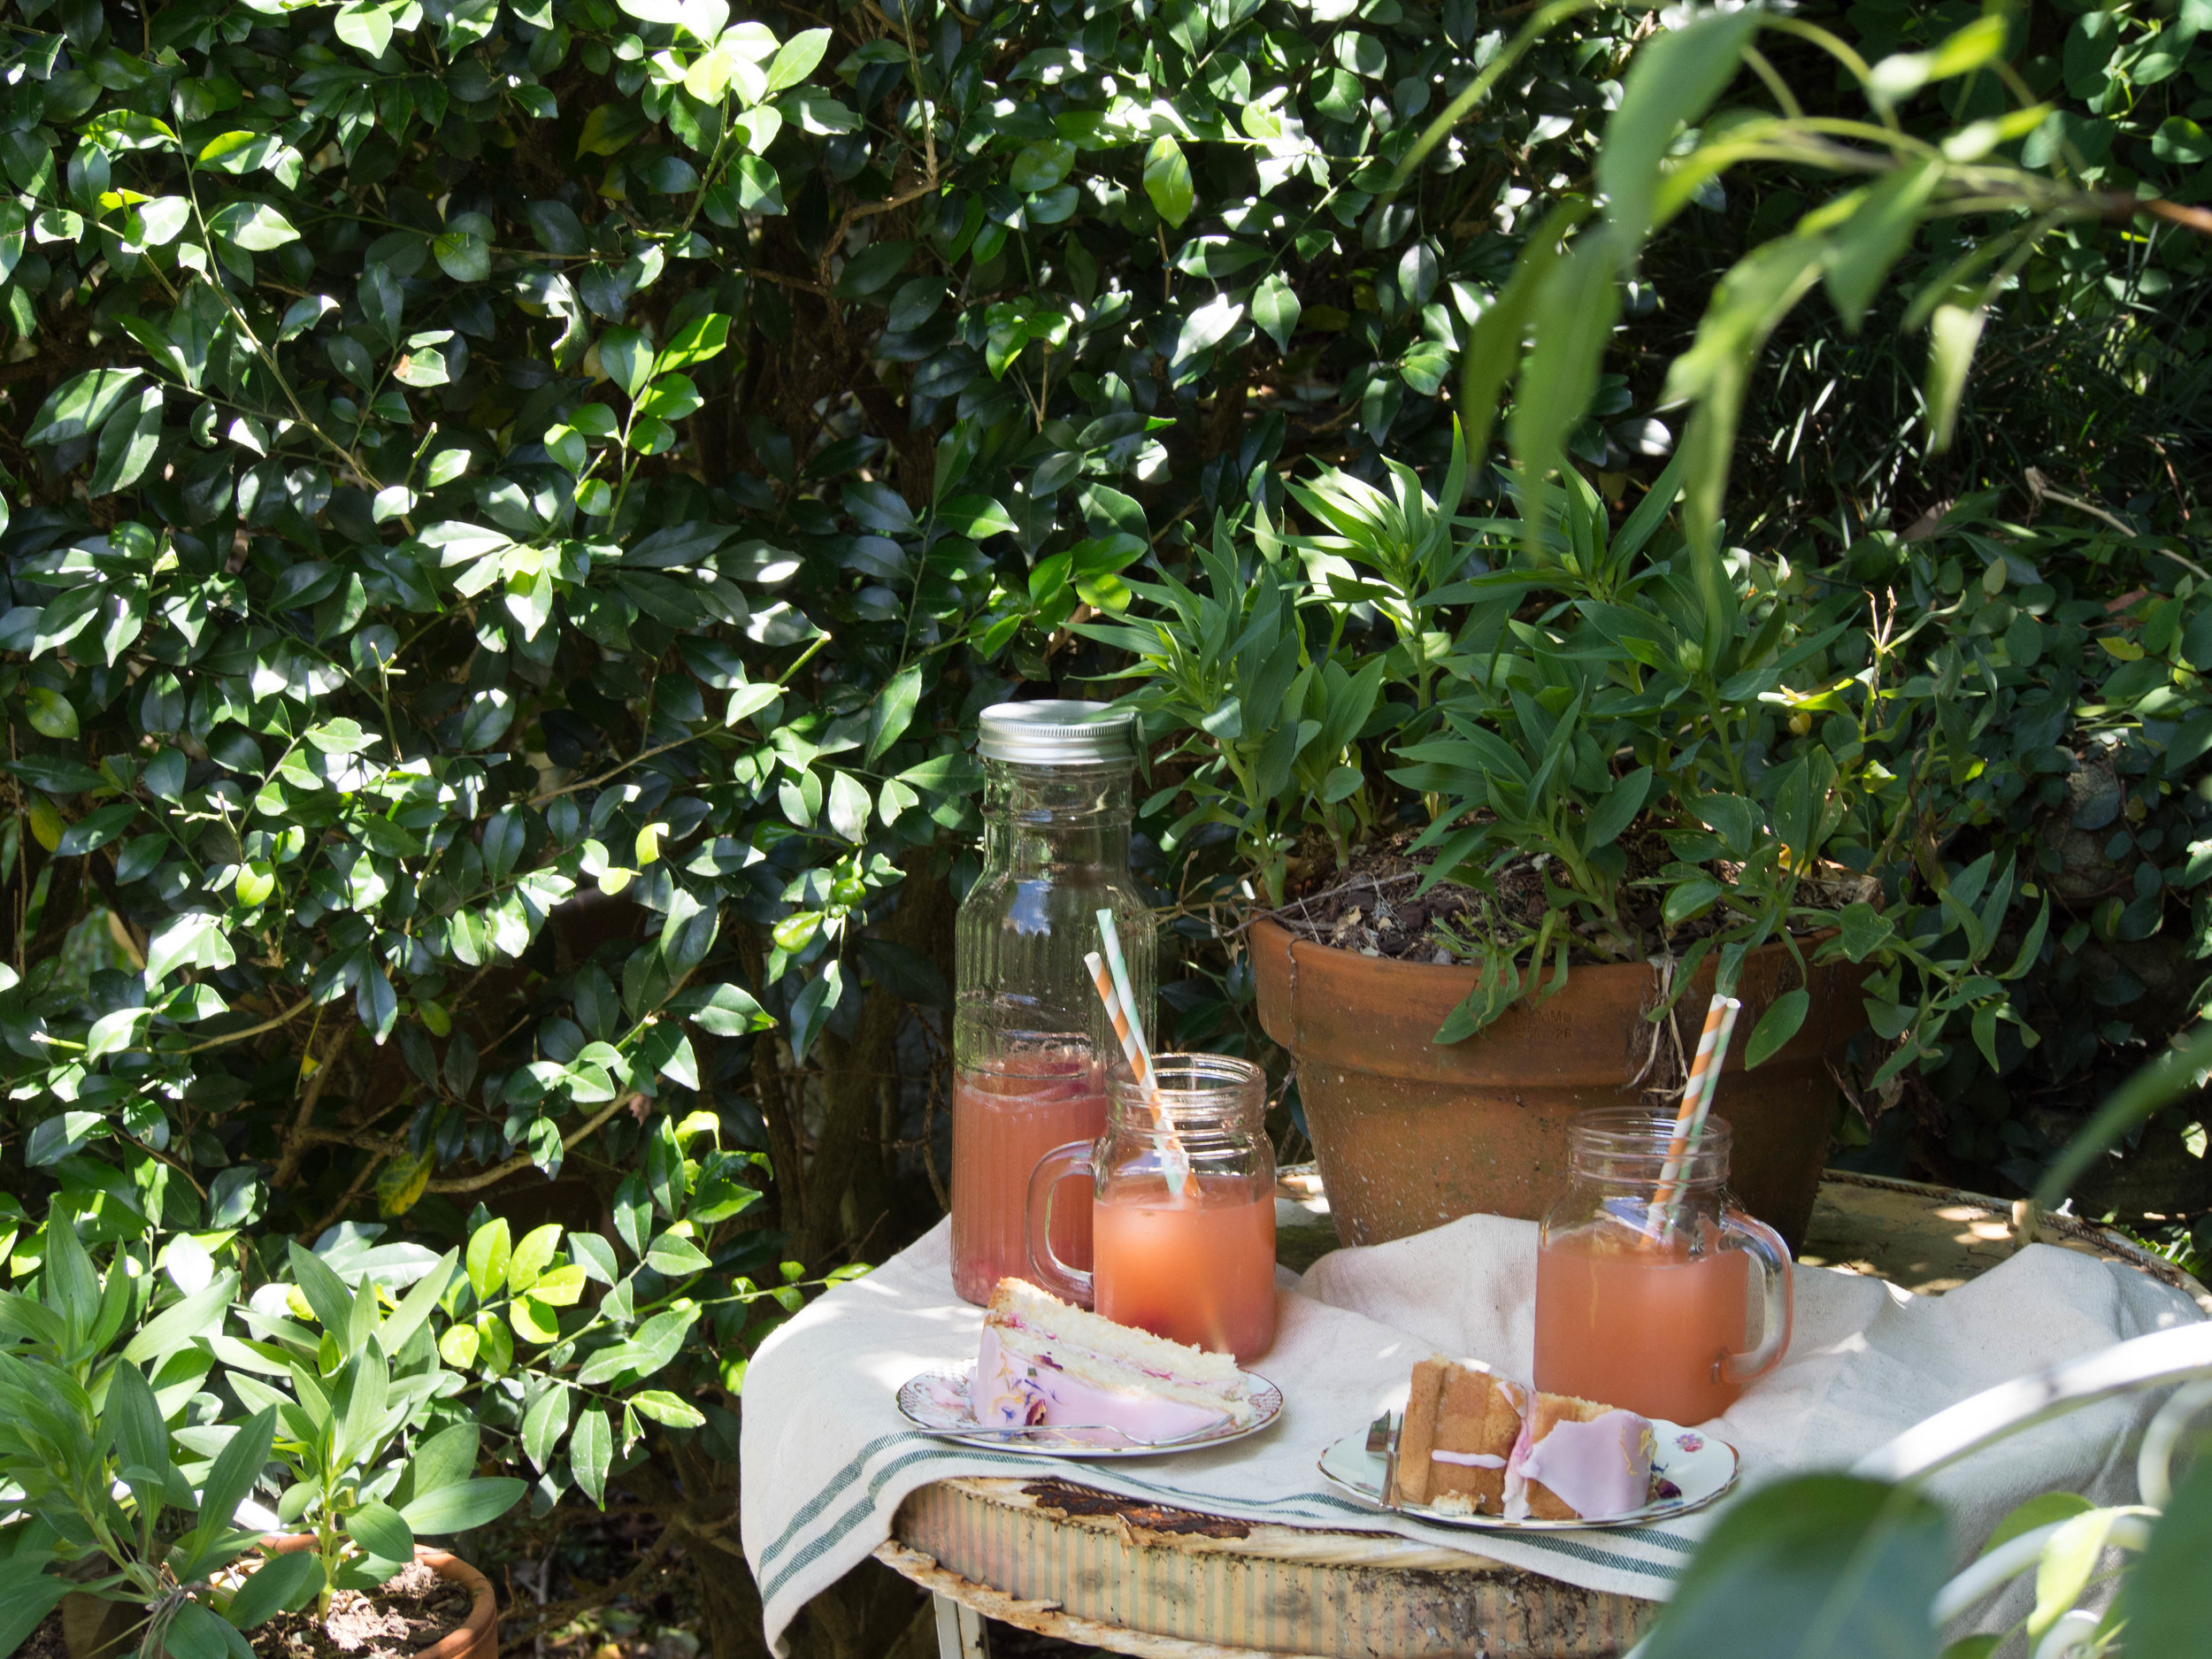
Serve warm or cooled.
Original recipe from ‘Tasty Express’ by Sneh Roy (Ebury Press, 2014), p.192, or via Cook Republic blog.
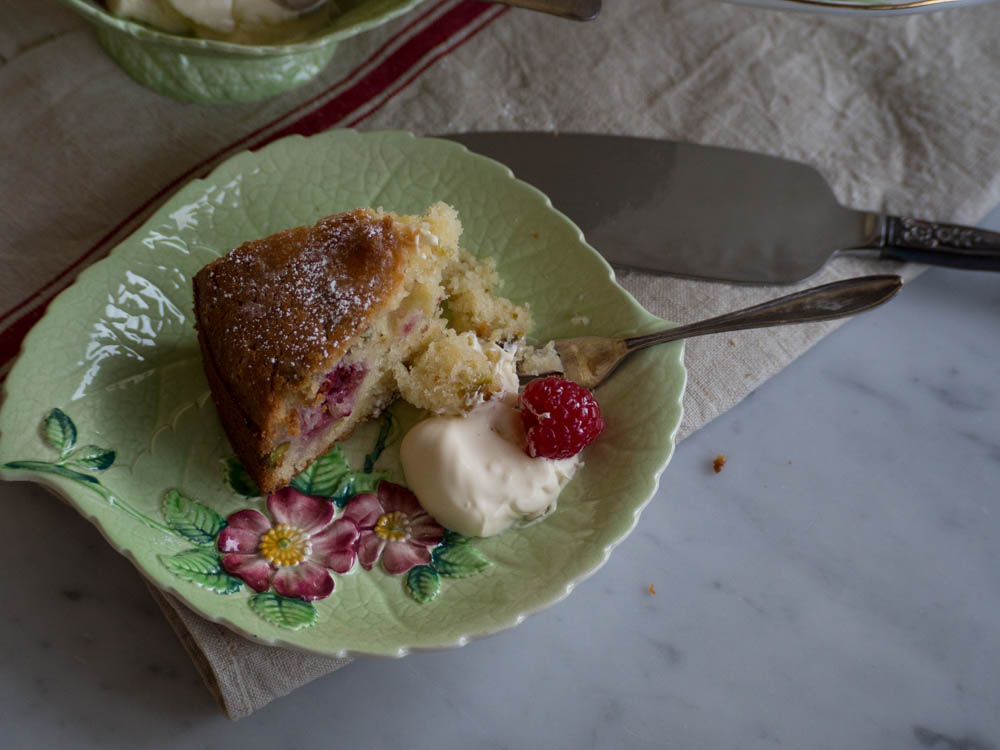
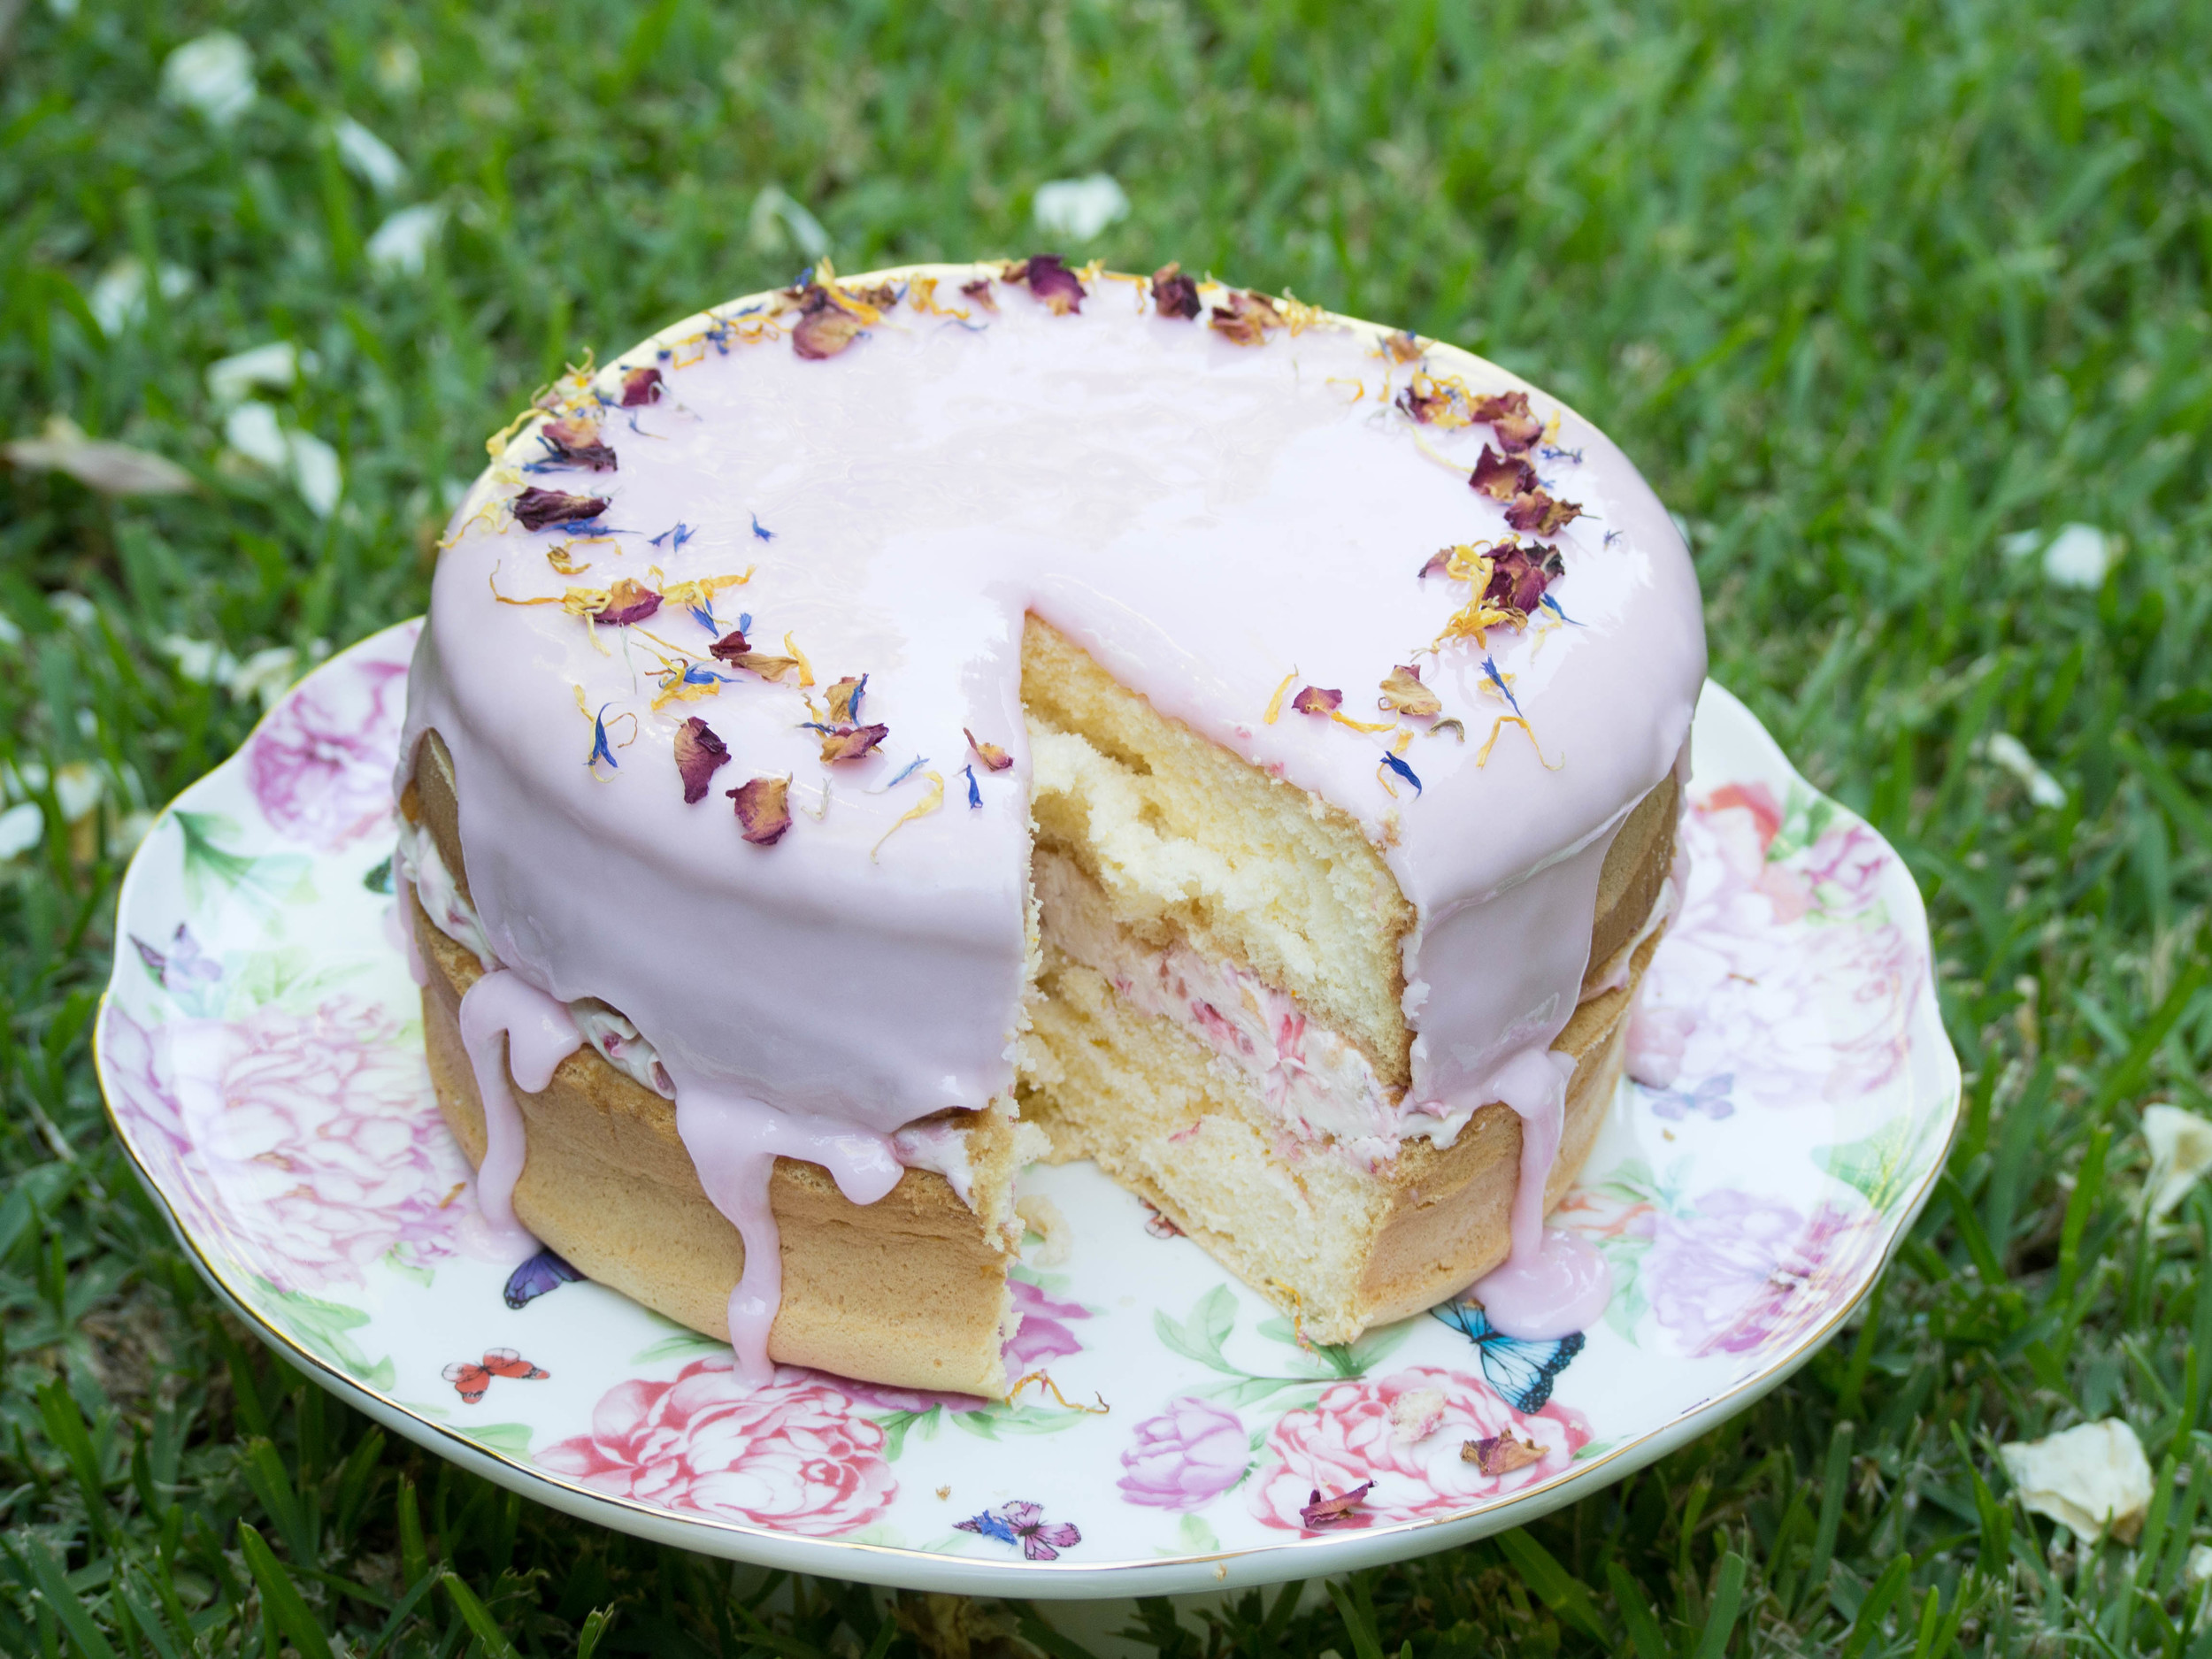
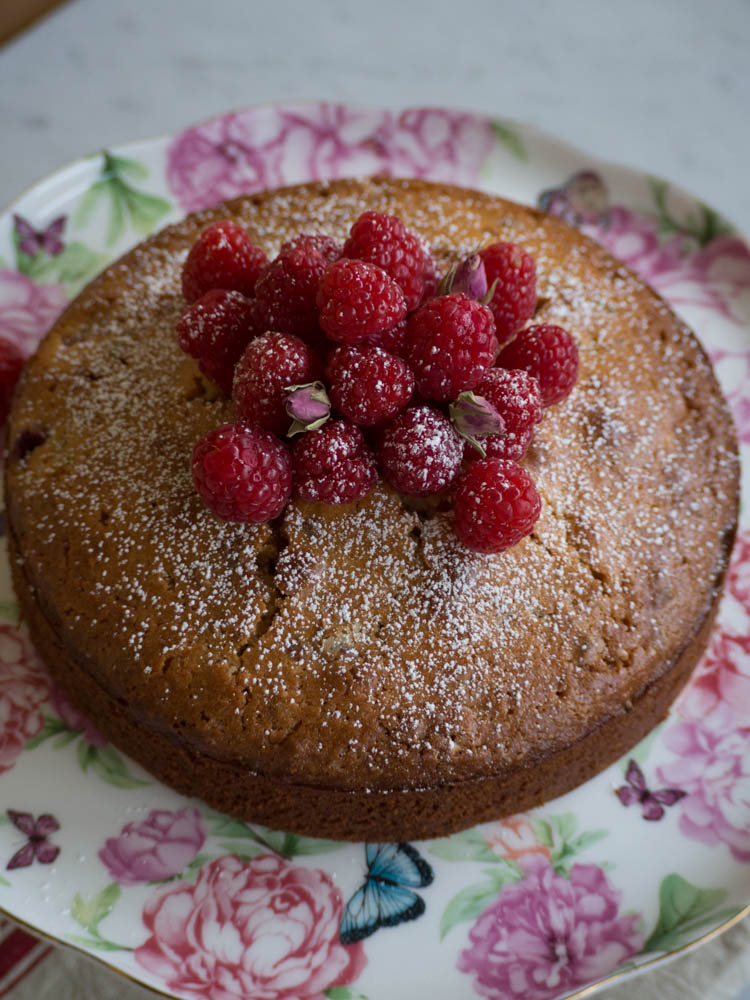
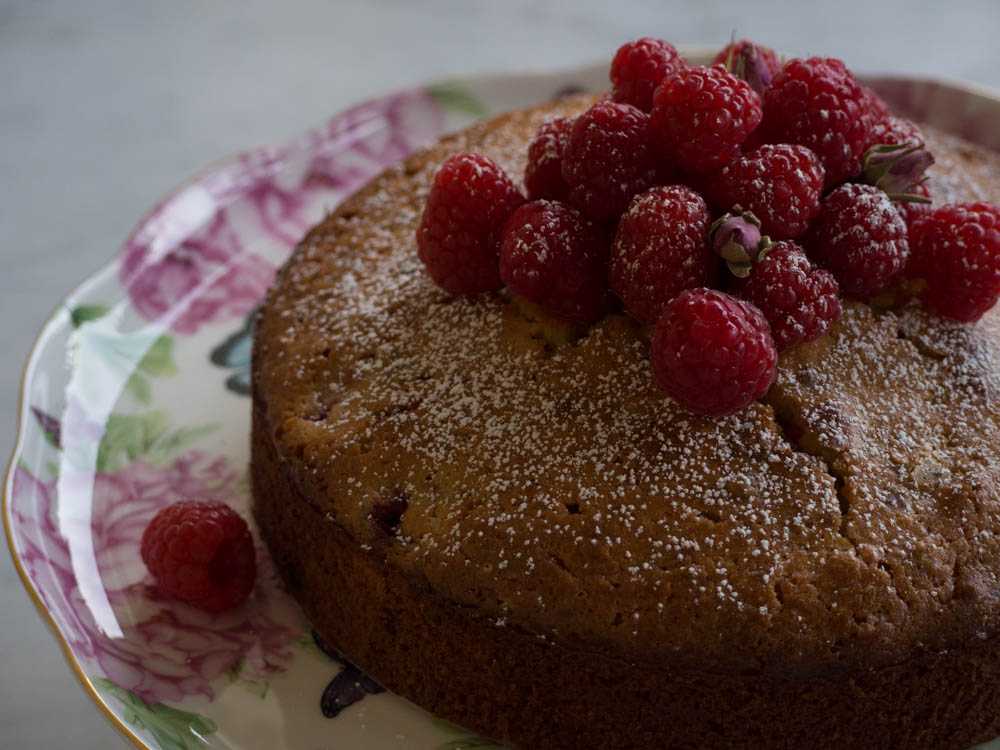
Rose & Pistachio Cake with Fresh Raspberries

Ingredients:
125g butter, softened
220g caster sugar
1 tbsp finely grated orange zest
1 tbsp rosewater
2 eggs
300g plain flour
2 ½ tsp baking powder
¼ tsp salt
165ml milk
70g Greek yoghurt
60 g frozen raspberries
65g pistachio kernels, chopped
Icing sugar, for dusting
Fresh raspberries and cream, to serve
Method:
Preheat oven to 180 degrees Celsius and grease and line the base of a 20cm round cake tin.
In a large bowl, beat the butter, sugar, orange zest, and rosewater for 6 minutes on low speed. Mix until light and creamy. Add the eggs and beat well to combine.
In a separate bowl, sift in the flour, baking powder and salt. Add the butter mixture, milk and yoghurt and fold together until just combined. Gently fold through the frozen raspberries and pistachios.
Spoon the batter into the prepared tin and bake for 50-55 minutes or until golden and cooked through.
Cool in the tin for 5 minutes, then transfer to a cooling rack to cool completely.
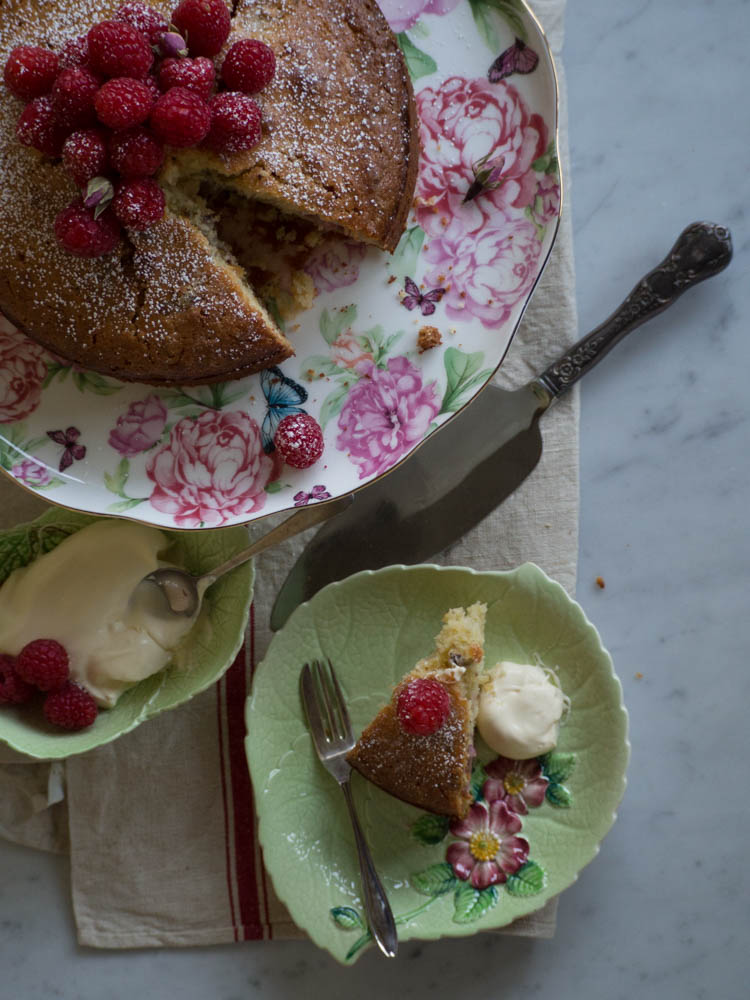
Dust with icing sugar and serve with fresh raspberries and cream.

Original recipe from ‘Tasty Express’ by Sneh Roy (Ebury Press, 2014), p.195.