Kulinary Adventures of Kath

Food Photography, Recipes & Baking
  • home
  • About
  • Work with Kath
  • Shop
  • Blog
    • The Blog
    • Recipe Archive
  • Newsletter
  • Contact
  • home
  • About
  • Work with Kath
  • Shop
    • The Blog
    • Recipe Archive
  • Newsletter
  • Contact
Raspberry Pistachio Rose Cake (23 of 25).jpg

The Blog

Recipes and Food Photography by Kath Vincent.

  • The Blog
  • Recipe Archive
  • All
  • Biscuits/Cookies
  • Breads Etc.
  • Breakfast
  • Cakes & Slices
  • Confectionary
  • Drinks
  • Events
  • Food Photography Tips
  • From The Mailing List
  • Heirloom Recipes
  • Holidays
  • Ice Cream
  • Jams Preserves & Spreads
  • Muffins
  • Off the Shelf
  • Other Desserts
  • Savoury Dishes/Meals
  • Scones
  • Tarts & Pastry
  • Travel
Baked Vanilla Doughnuts with Blood Orange Icing

Baked Vanilla Doughnuts with Blood Orange Icing

Baked Vanilla Doughnuts with Blood Orange Icing

Kath September 22, 2017

Since I really enjoy reading other people’s favourites lists, I thought I would start my own and post some here on the blog or in my newsletter now and then. I find I discover new blogs, recipes, books and podcasts through other bloggers lists, or through similar round ups on podcasts, so I hope you can find the same here! 

  • This new blog post from Beth Kirby of Local Milk - I love Beth’s honesty, and acceptance around the fluidity of her blog and it’s changing focuses over time, and her talk of slow living as “deciding what really matters to you and saying no to everything else”.

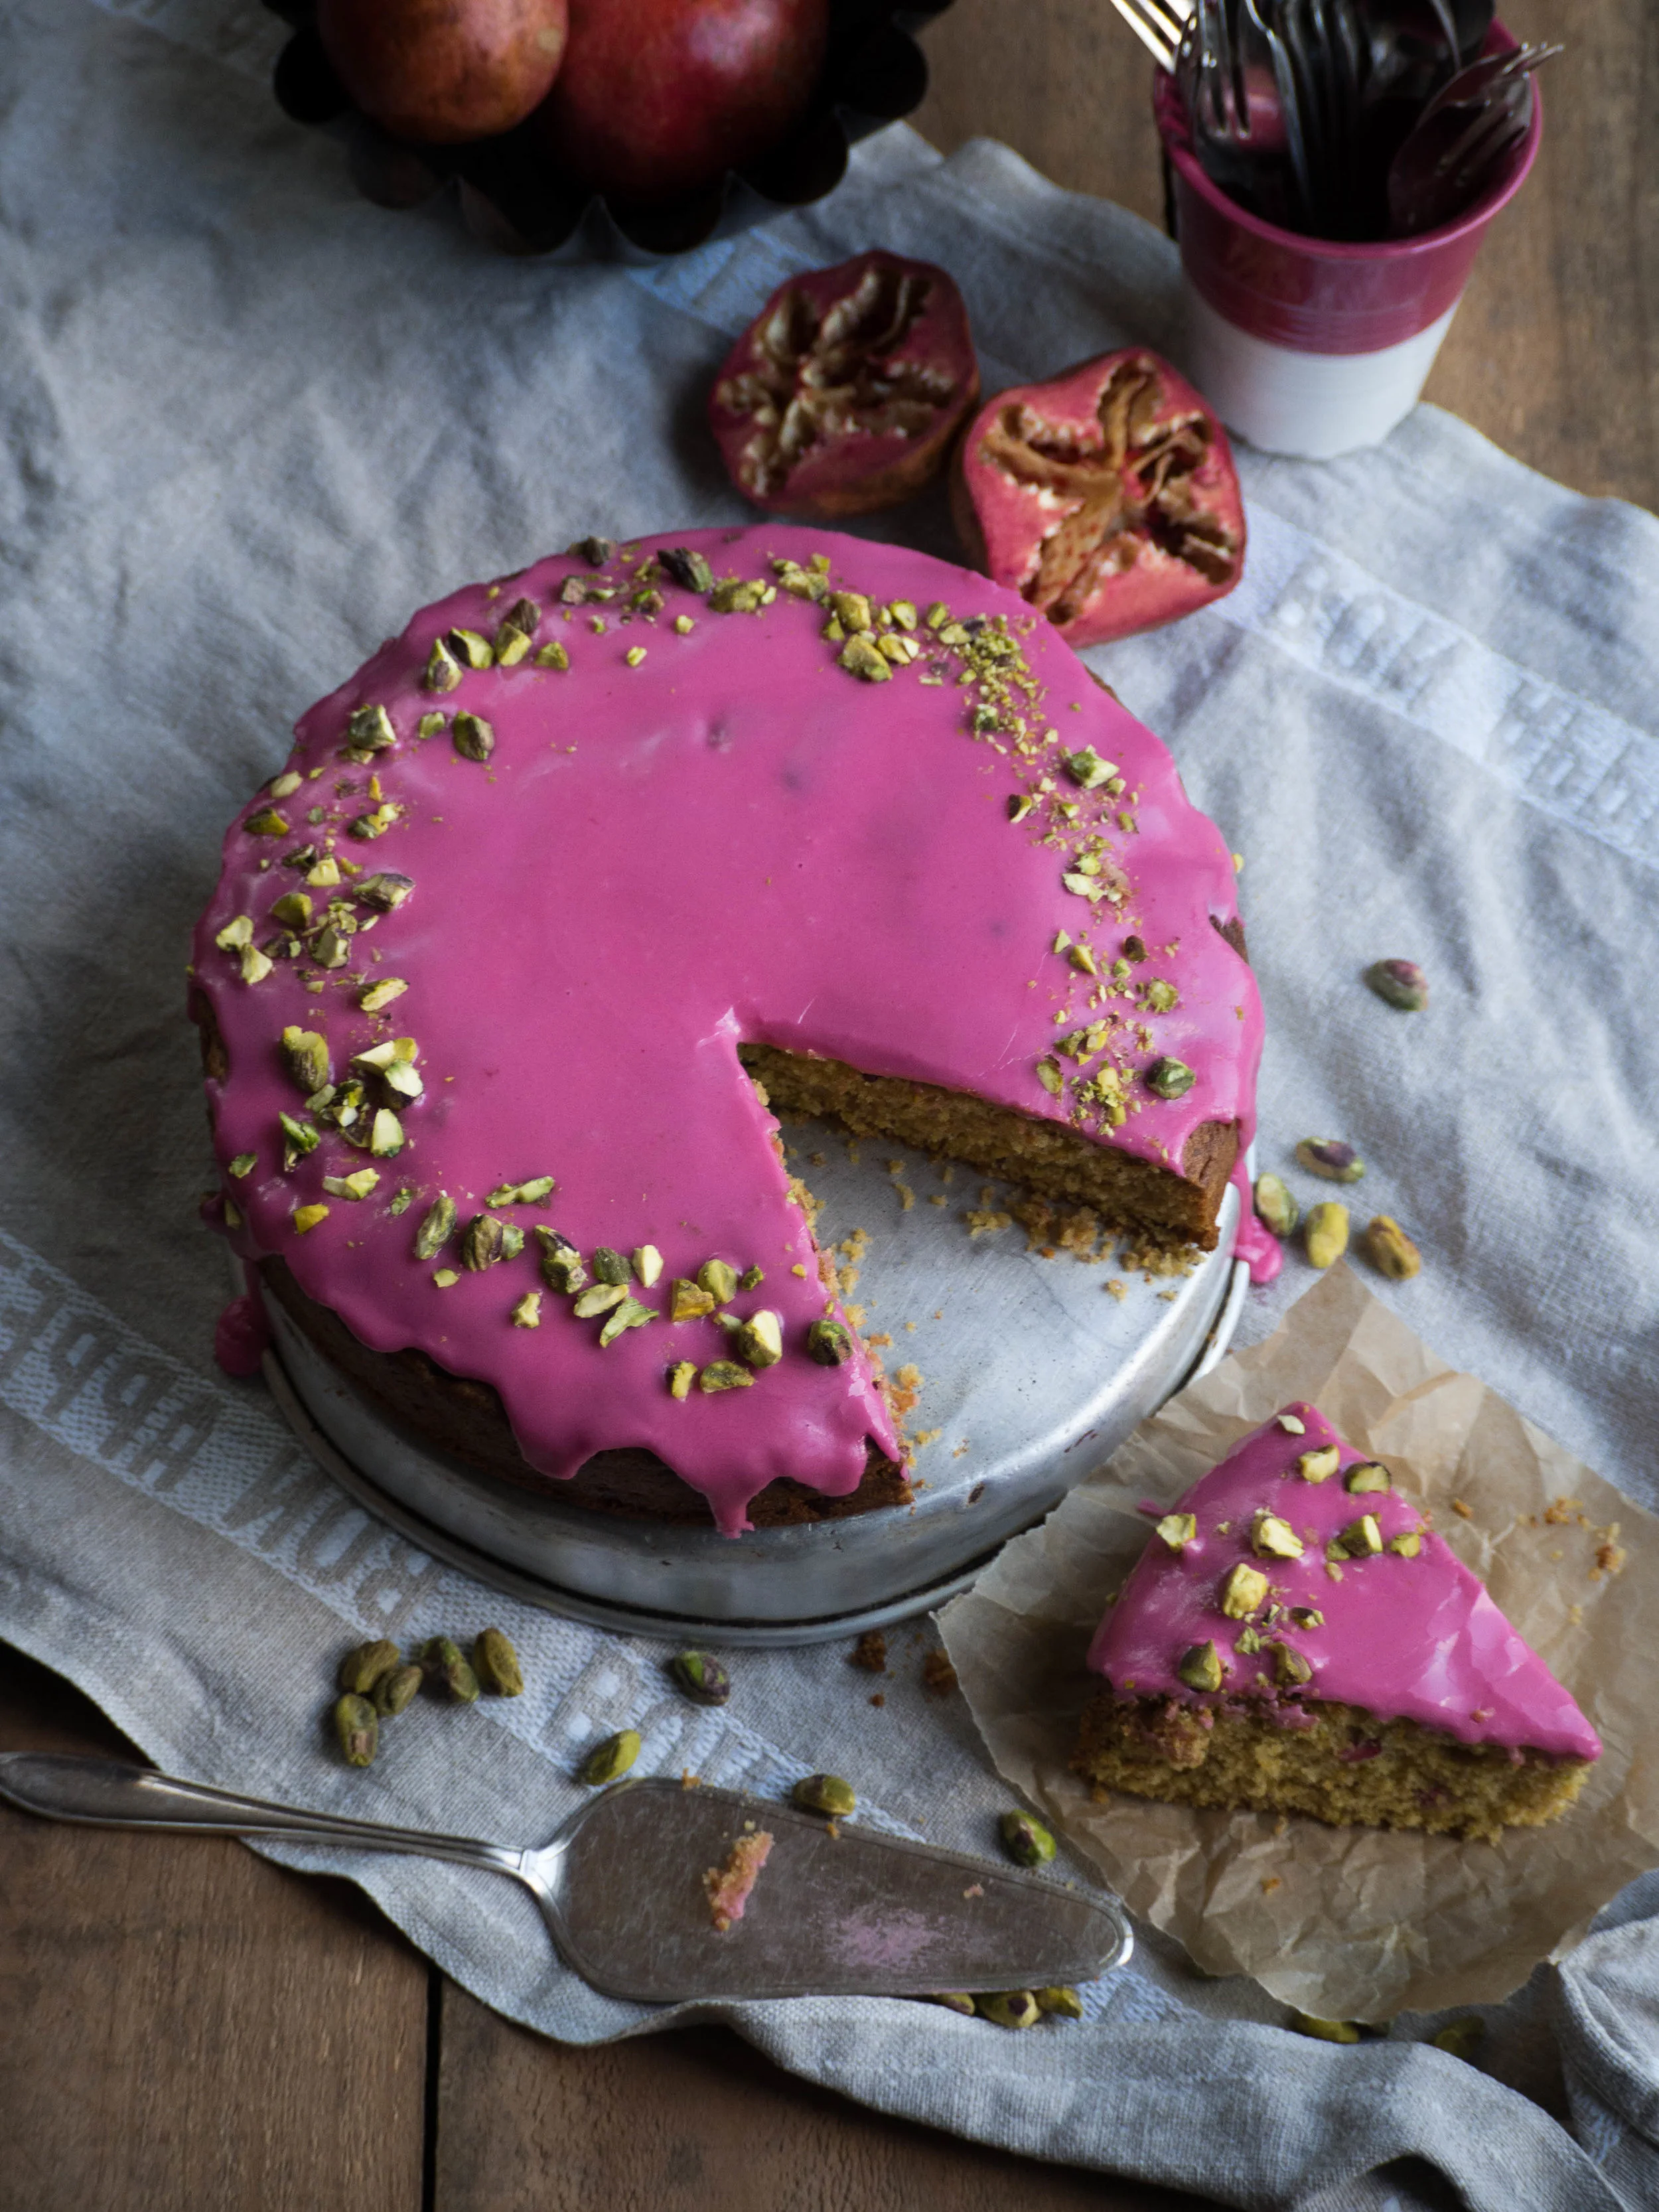
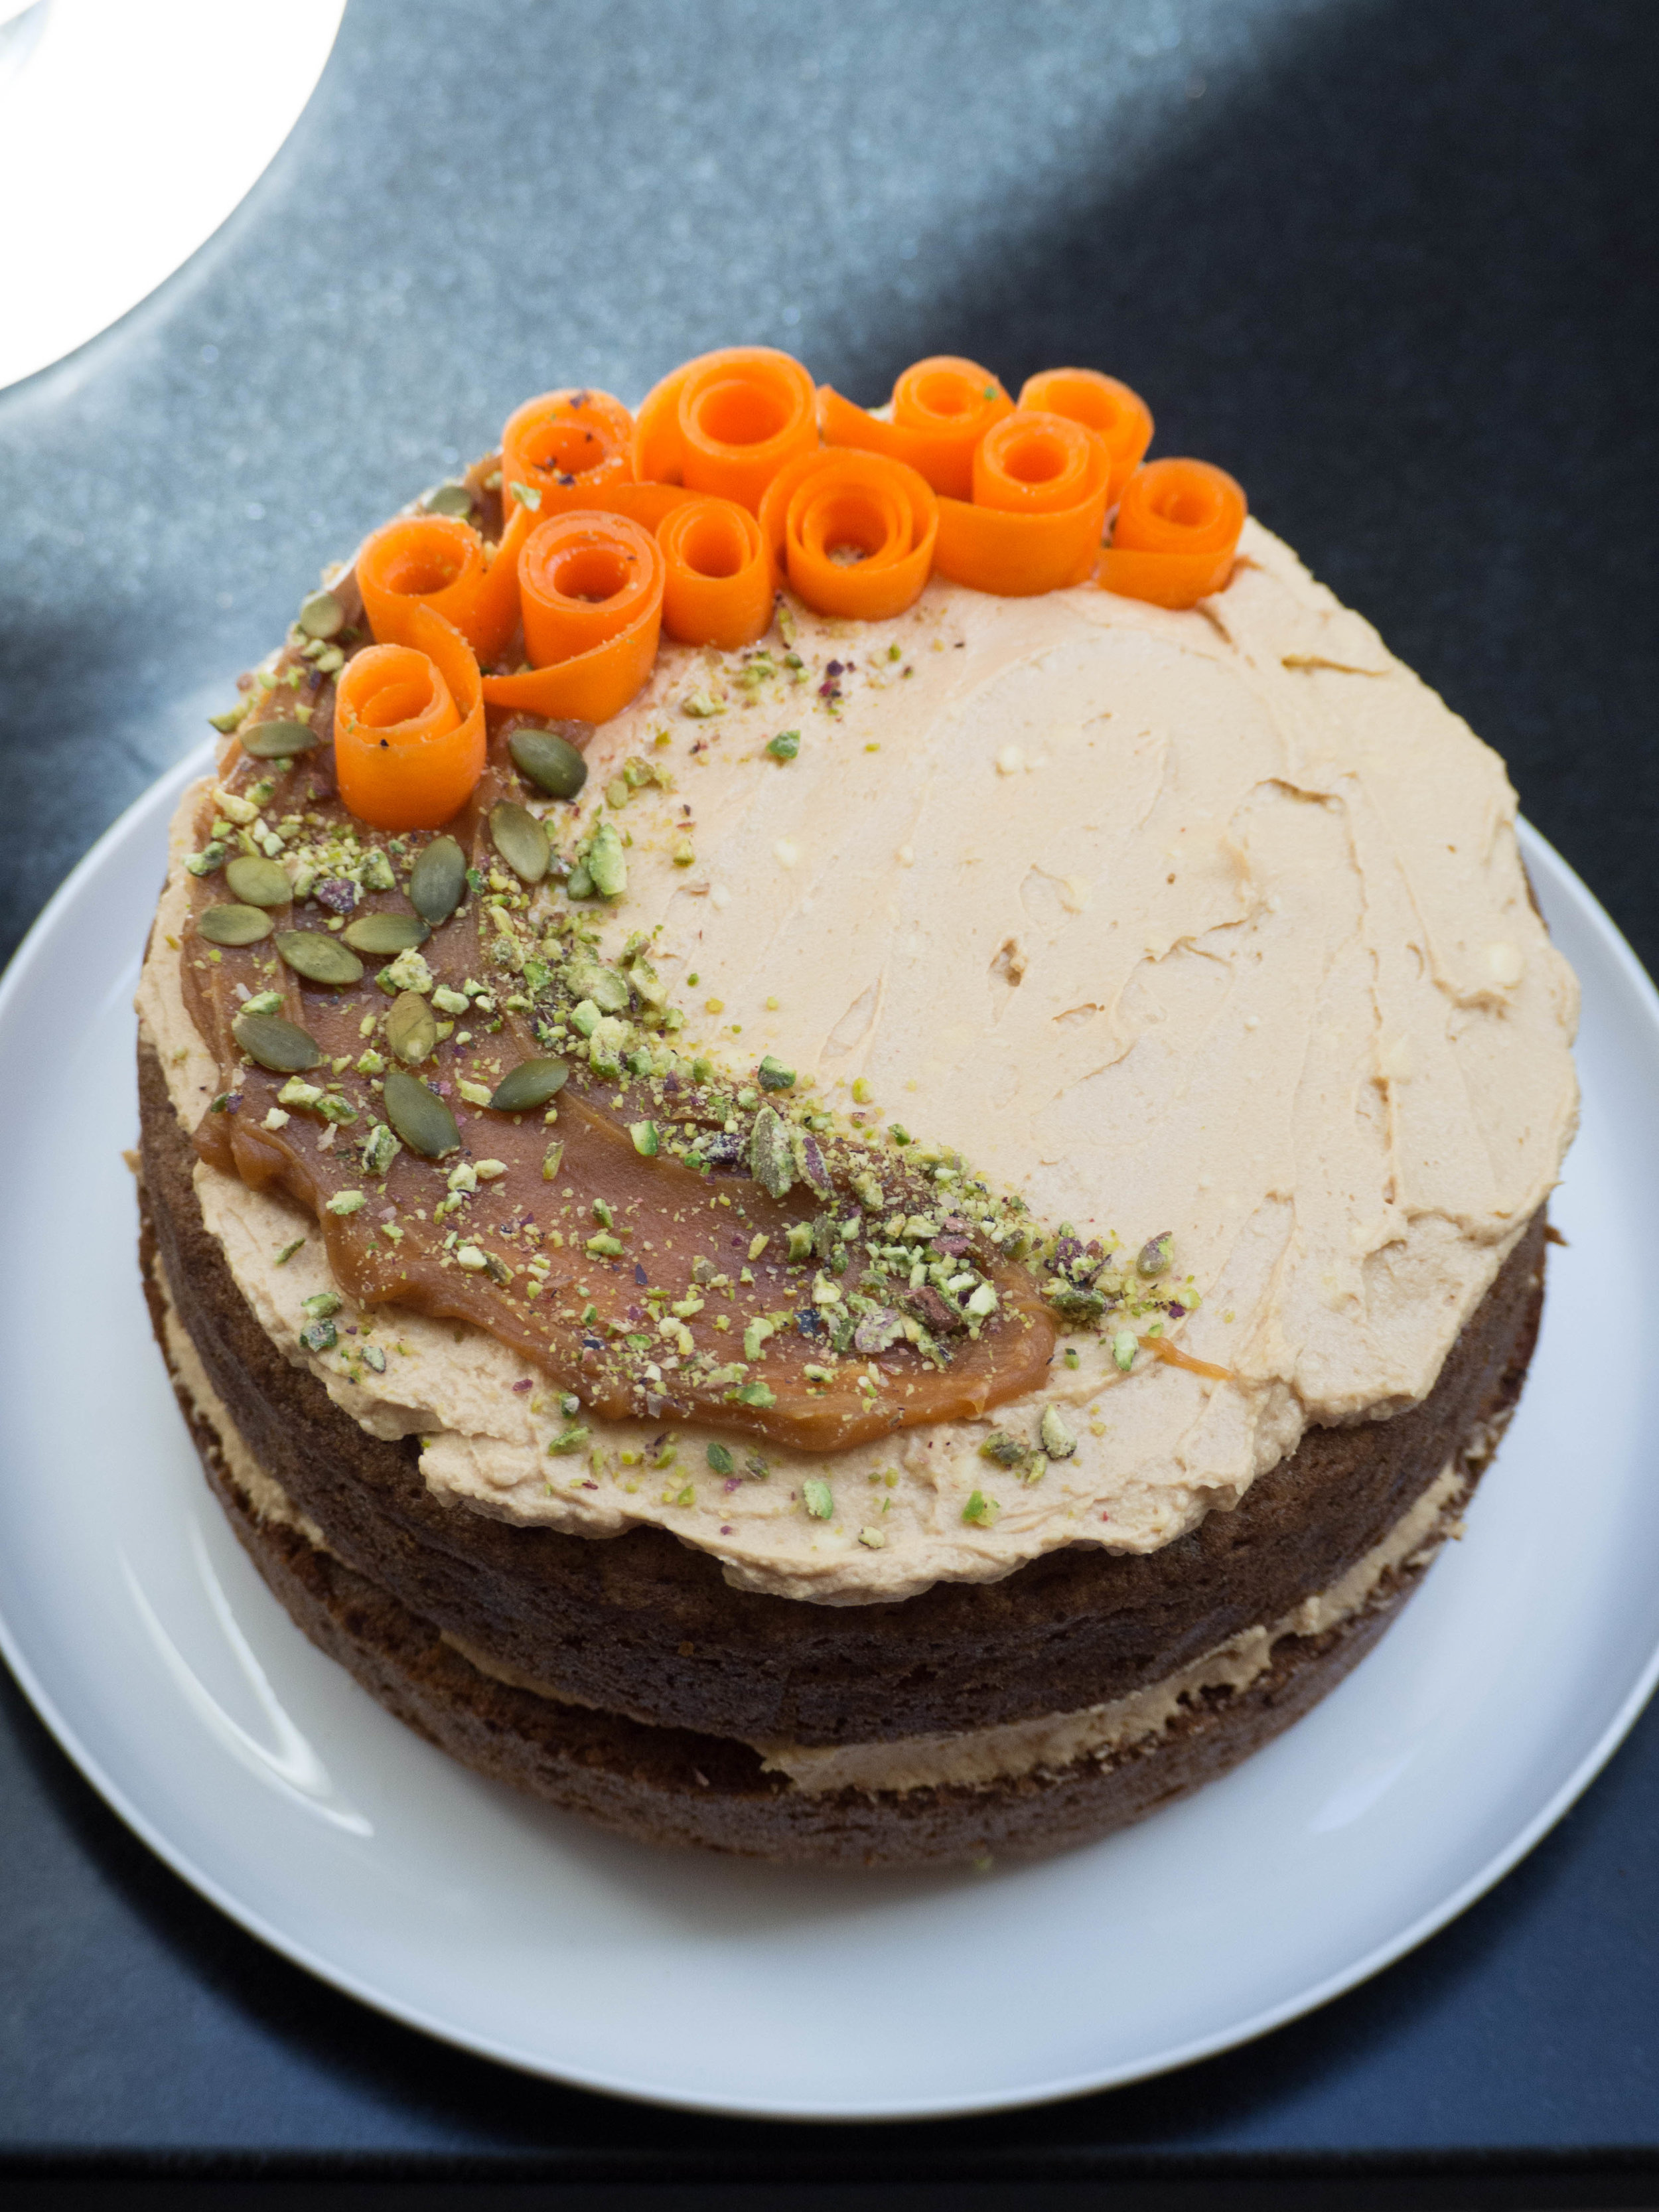
  • This Carrot Cake from My Name is Yeh - I made this (sans tahini) for my Dad’s birthday last month. It is now my favourite carrot cake, as the combination of the hawaij spices, carrot and caramel were just perfect!

  • A Bookish Baker’s blog post on why she is no longer niching her blog - In all the noise around monetising blogs, being an expert on one thing and there only being one path to follow for all this to be successful, sentiment such as that expressed in this post are so welcome and necessary.

  • Courage & Spice Podcast: The Podcast for Humans with Self-Doubt - This is a fairly new podcast from Sas Petherick, who has done extensive research on self-doubt. I am loving hearing Sas’ advice and interviews so far, they often feel like they are great personal pep talks letting me know that self doubt isn’t just something I experience, and there are things I can do to alleviate these feelings and start to boost my confidence.

  • ‘Not Just Lucky’ by Jamila Rizvi - I can’t stop recommending this book (sorry to those who have already heard my insistent arguments on why they should read it!). If you are female you will probably be able to relate to this book. Jamila focuses on women and the work environment, and I can honestly say I related to so much more than I ever thought I would. There were so many moments where I thought, ‘Oh other women feel this way too?’, ‘I’m not the only one?’, and ‘OMG it’s like Jamila knows me’. It’s good to know you aren’t alone in how you feel, particularly in the work environment, and Jamila gives some great advice on how to deal with the gender inequalities that plague our workplaces.

View fullsize Carrot Cake with Hawaij and Caramel Icing
View fullsize 'Not Just Lucky' by Jamila Rizvi

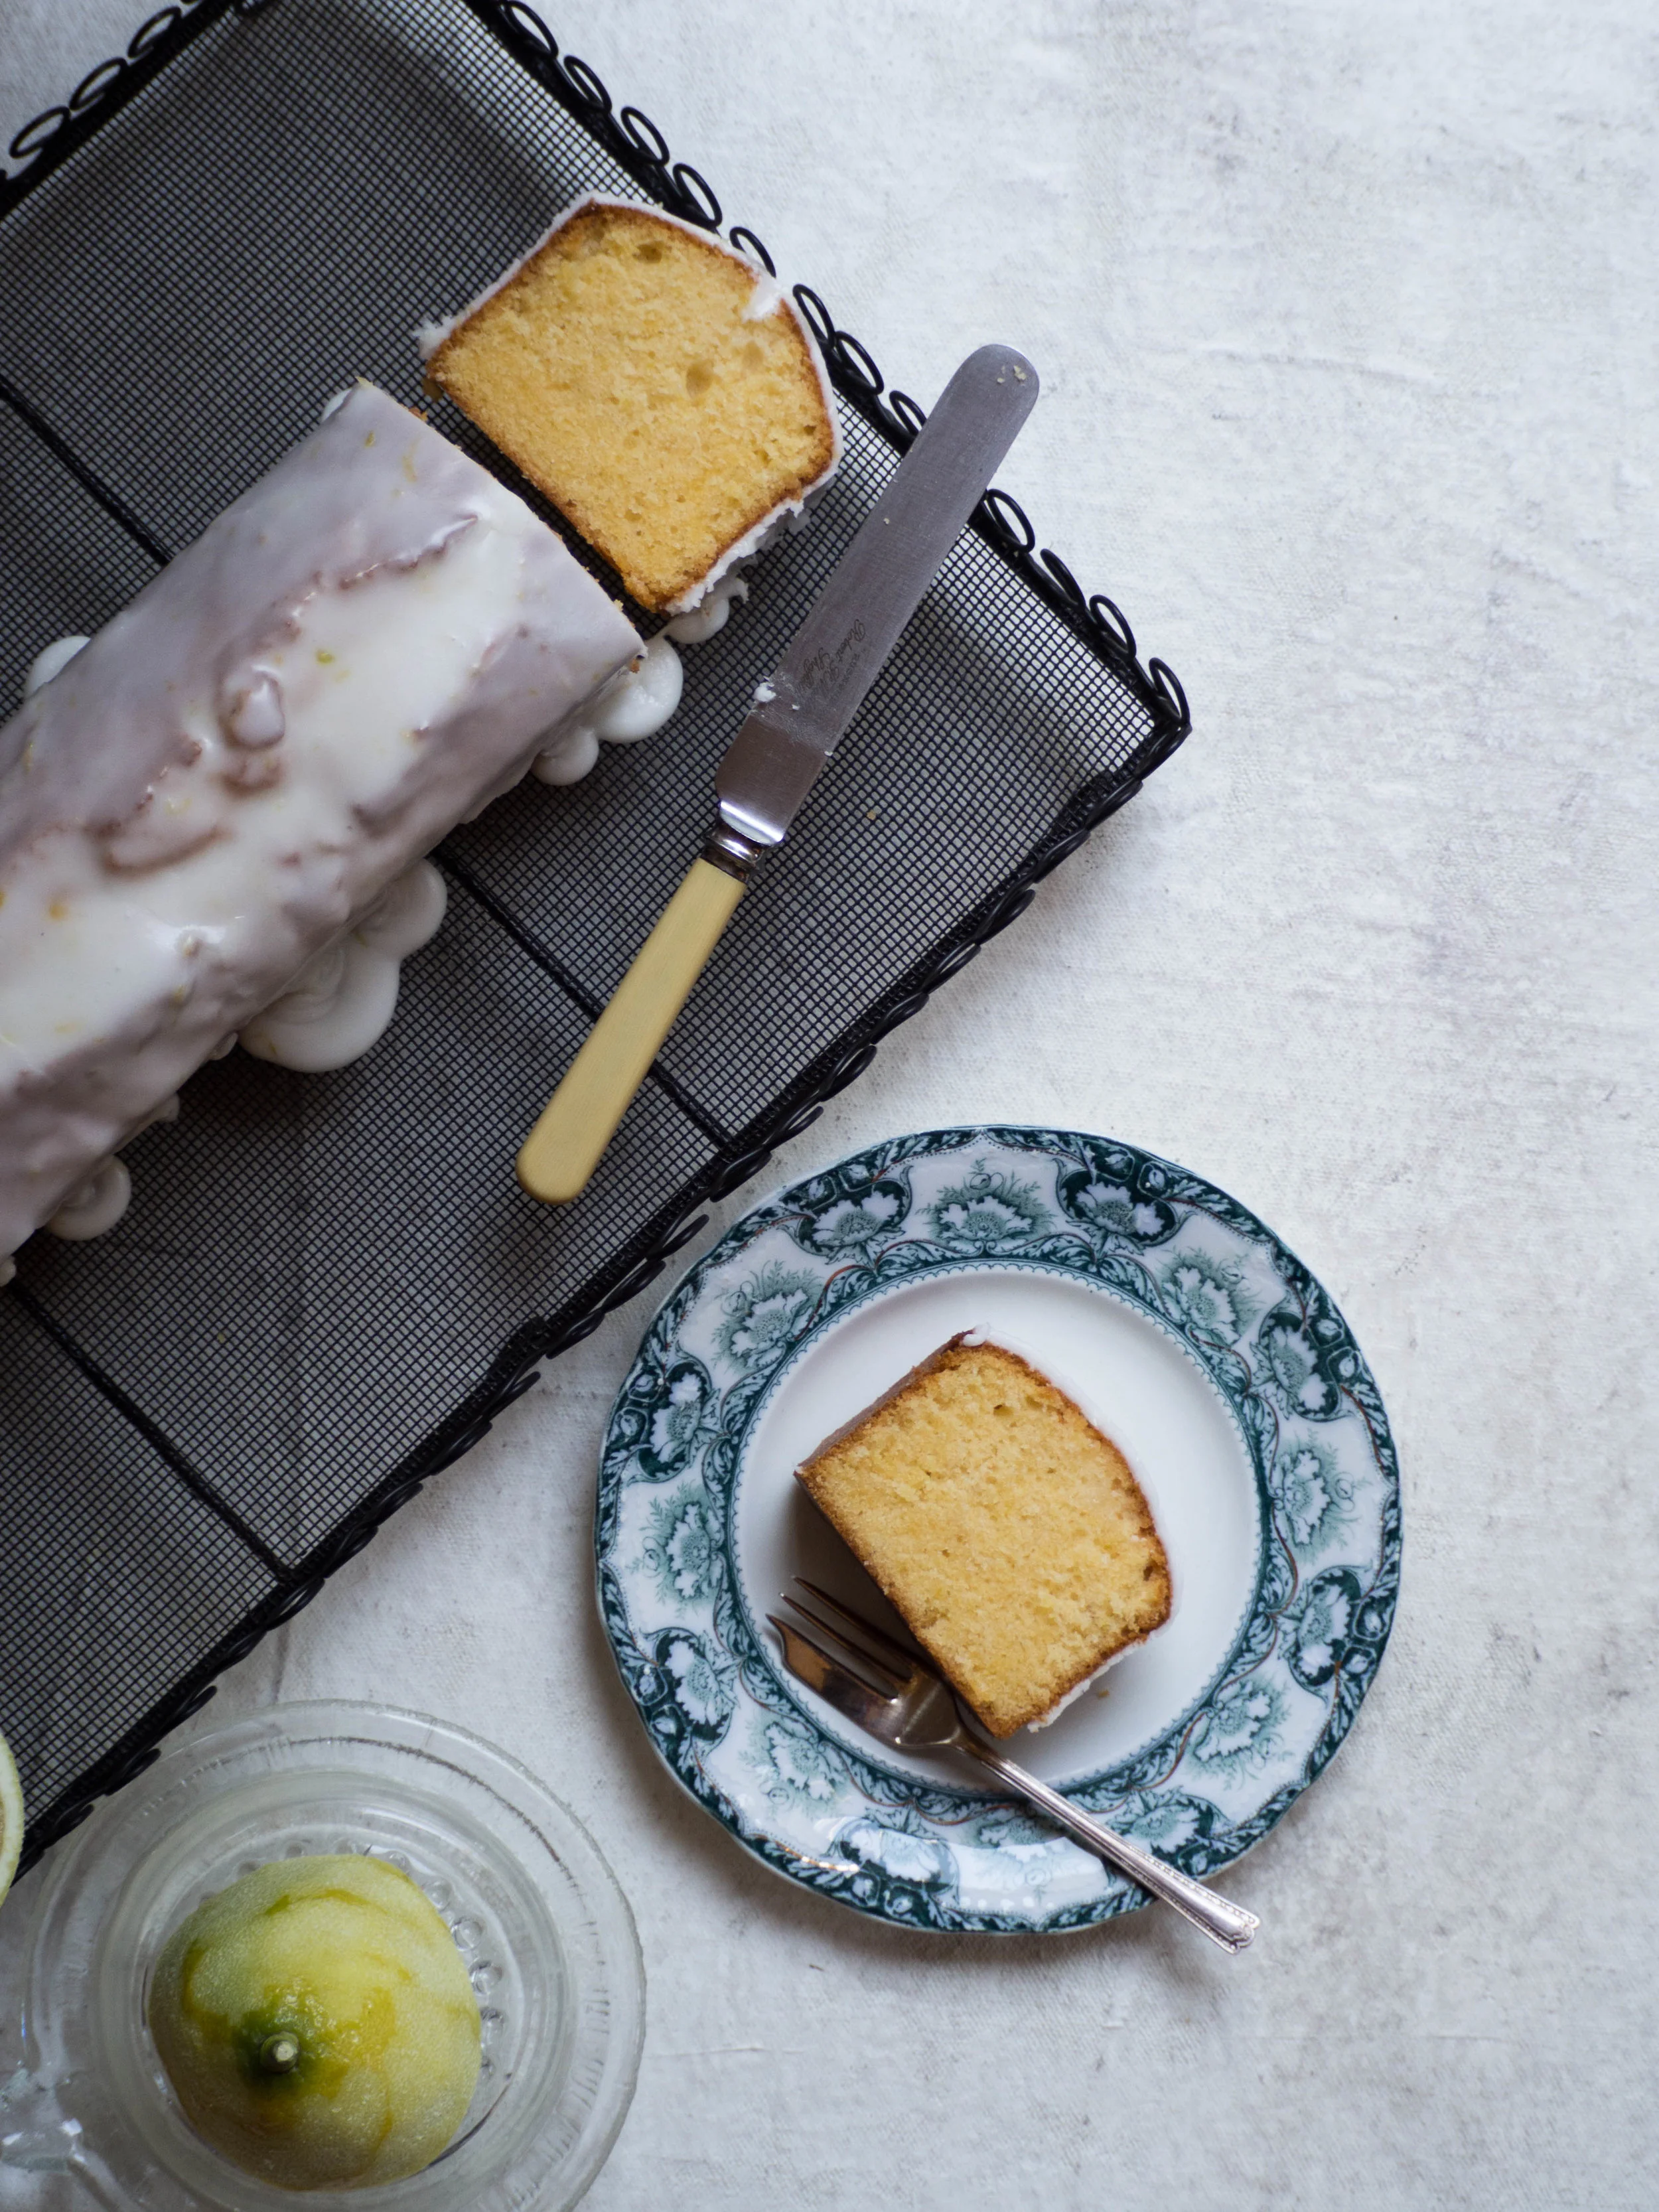
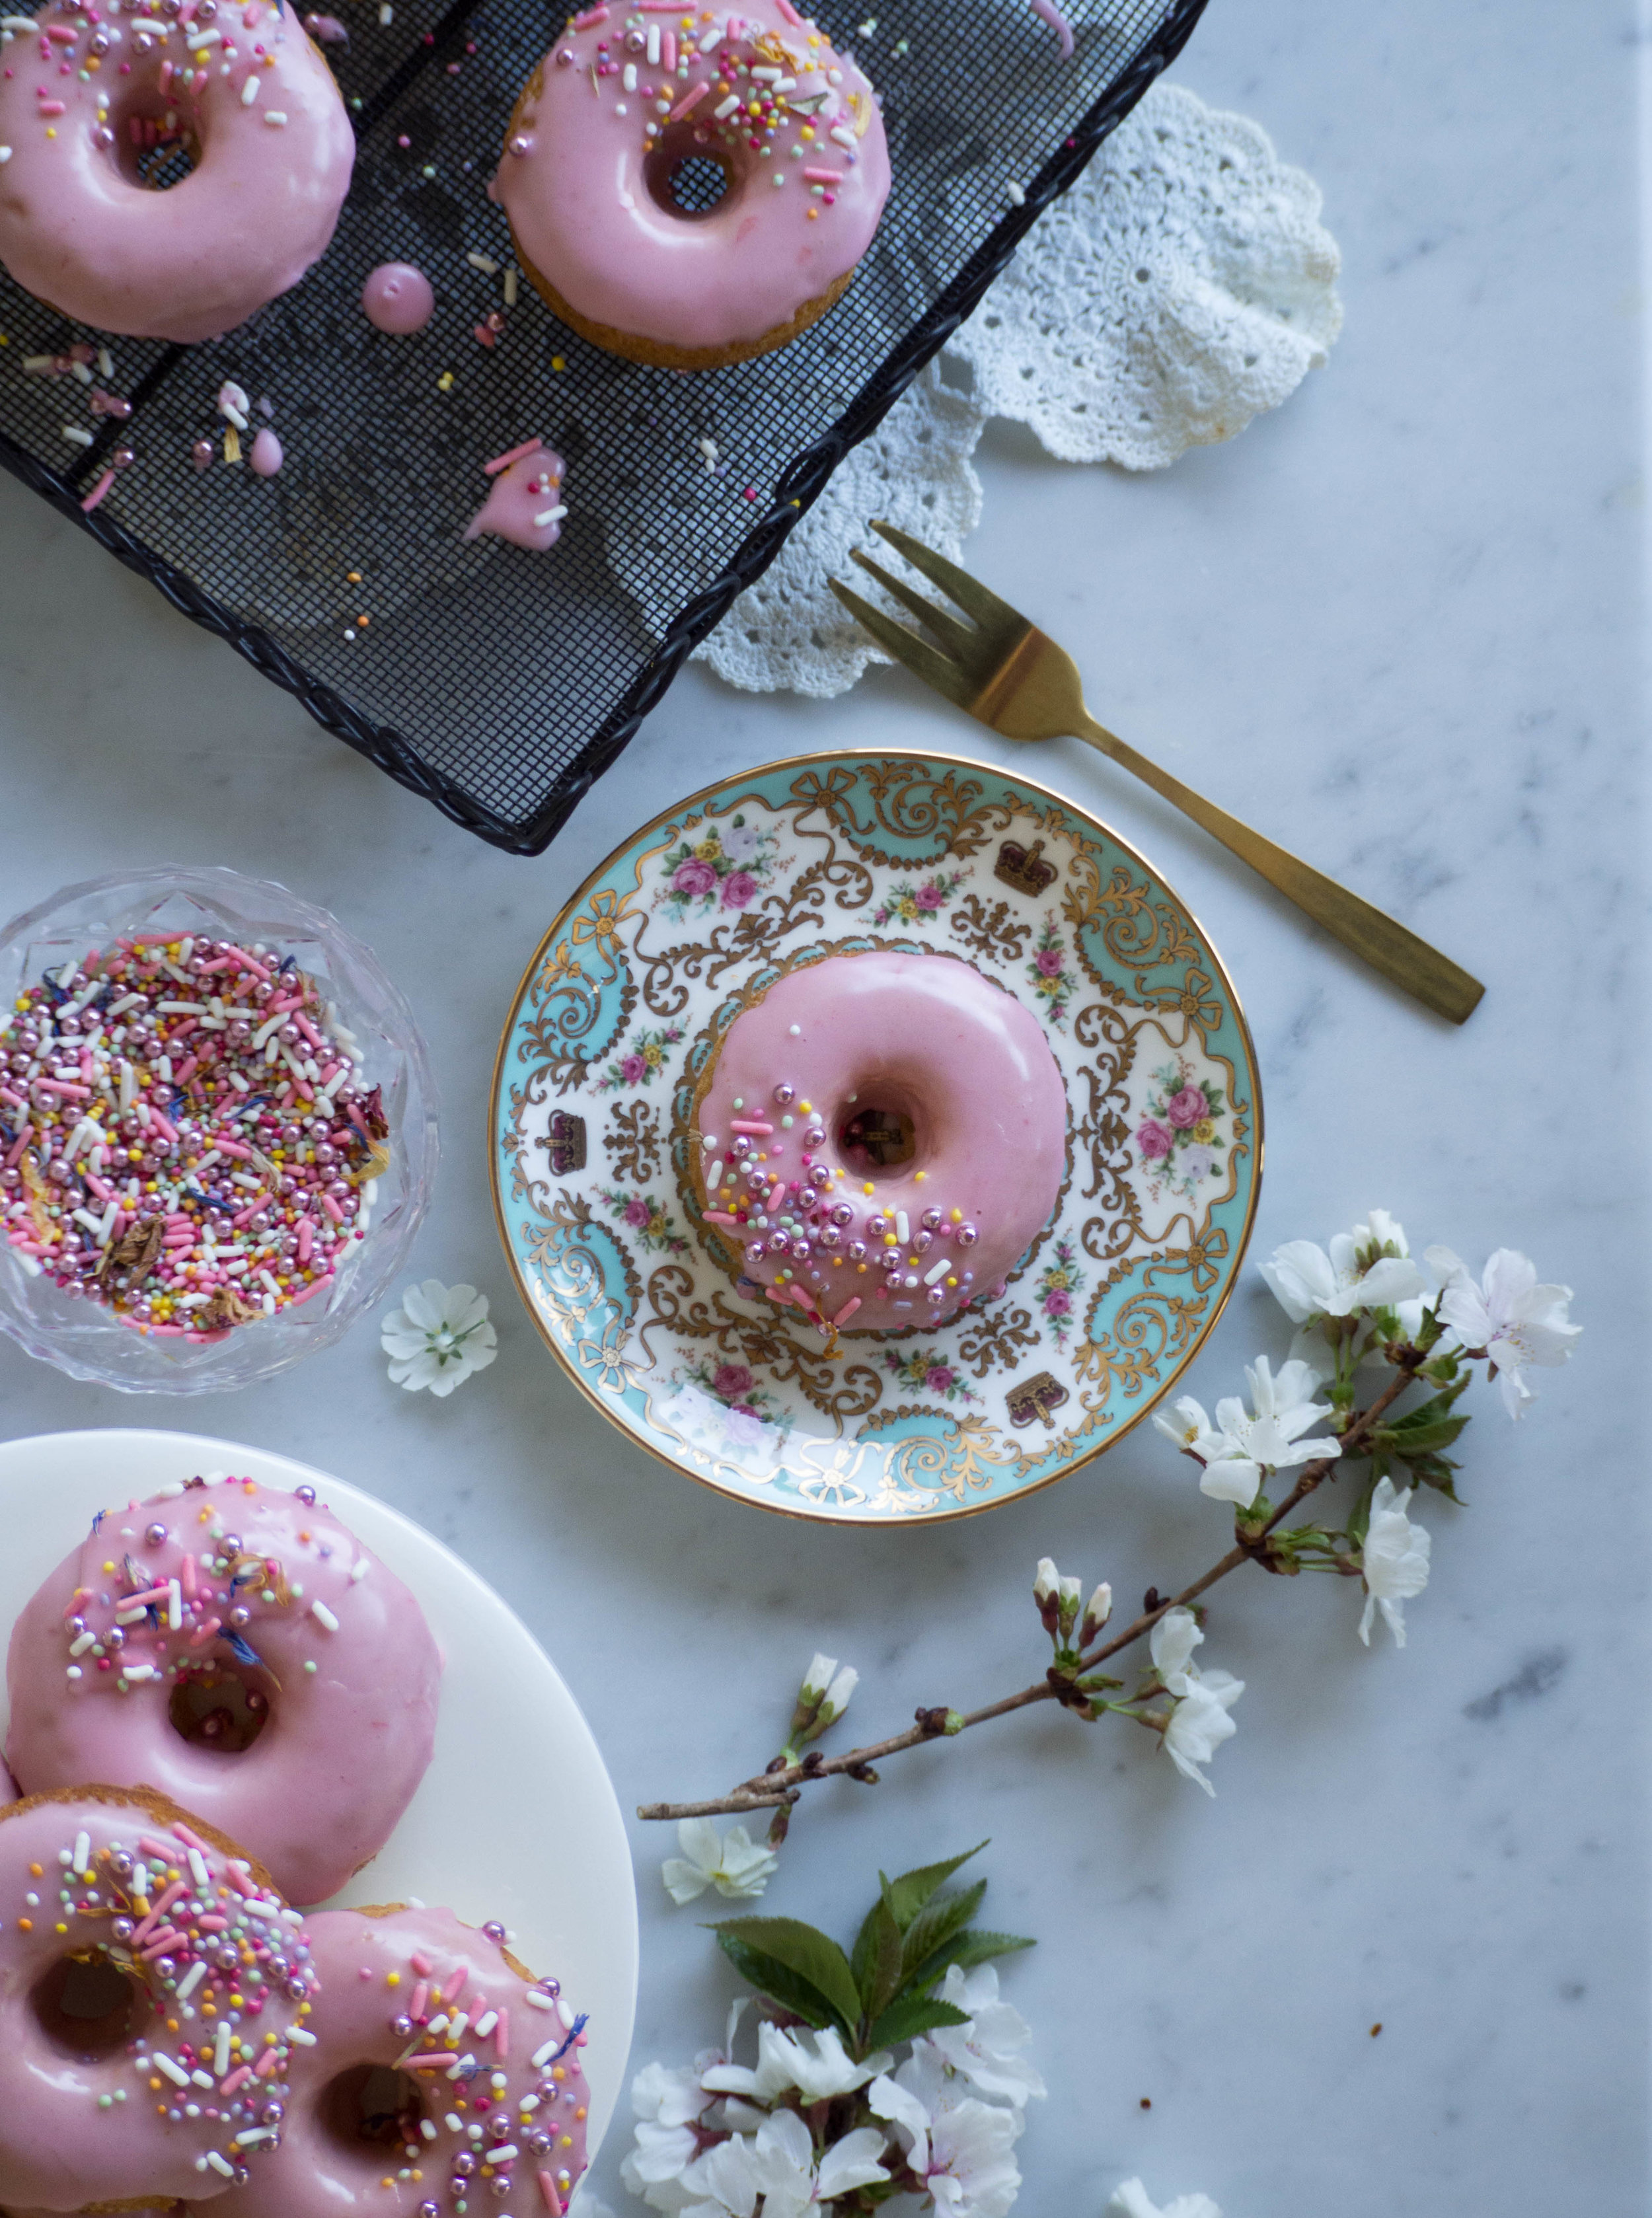
But now on to the doughnuts (or donuts? 🤔I never know which). They are extremely simple to make - they take about 10 minutes to cook, which makes them not only slightly healthier than the traditional fried doughnuts but also much quicker to make. To intensify the vanilla flavour a little, you could use some vanilla sugar instead of the white sugar. I used blood orange juice in the icing, because I love the colour, and I still have lots of blood orange juice frozen from last season!

Baked Vanilla Doughnuts

Baked Vanilla Doughnuts

Baked Vanilla Doughnuts with Blood Orange Icing

Baked Vanilla Doughnuts with Blood Orange Icing

Baked Vanilla Doughnuts with Blood Orange Icing

Baked Vanilla Doughnuts with Blood Orange Icing

Baked Vanilla Doughnuts with Blood Orange Icing

Baked Vanilla Doughnuts with Blood Orange Icing

Baked Vanilla Doughnuts with Blood Orange Icing 

Ingredients: 

135g plain flour

1 tsp baking powder

1/4 tsp bicarb soda

65g white sugar

60ml milk 

60g Greek yoghurt

1 egg

40g margarine/unsalted butter, melted

2 tsp vanilla bean paste 

canola oil spray


For the Icing: 

200-250g icing sugar 

2 tbsp blood orange juice, approx. 

selection of sprinkles, 100s & 1000s, dried edible flowers etc, to decorate 


Method: 

Preheat oven to 180 degrees Celsius, and spray a 12 hole doughnut pan with canola oil spray. 

In a medium bowl whisk together the flour, baking powder, bicarb soda and sugar. If your bicarb soda is a bit lumpy, sift to remove the lumps - there’s nothing worse than biting into a baked good to find a lump of baking soda in there! 

In a jug, whisk together the milk, yoghurt and the egg. Ensure the egg has been fully mixed into the other ingredients. Add the melted margarine and the vanilla bean paste and whisk until combined. Pour this into the flour mixture and mix until just combined - don’t over mix. Similar to muffins, these will toughen up if over mixed. 

Place a medium/large piping bag or zip-lock bag over a large glass to it is easy to fill. Spoon in the batter, then pipe into the donut pan, ensuring you only fill each about three quarters the way up - there is plenty of raising agent in the batter so they will rise and expand, and if each doughnut is overfilled the hole in the centre will disappear! 

Bake for about 10 minutes, or until the doughnuts are slightly golden and spring back to the touch. 

Allow the doughnuts to cool in the tin for a few minutes, then transfer to a cooling rack, using a small icing spatula to gently prise the out if necessary (don’t use a knife as you may scratch your tin in the process). 

Once the doughnuts have cooled, make the icing by mixing the 200g of the icing sugar and 1 tbsp of the blood orange juice together. If the icing is too runny add more icing sugar, if it is too dry add a little more blood orange juice. You don’t want to the icing to be very runny or it will all run off the donuts, and take any decoration with it! 

To ice the doughnuts, dip the top side of each (the side that was facing down in doughnut pan), into the icing and twist to ensure it is evenly coated. Remove and allow any excess icing to drip off. Leave each doughnut to sit with the icing on for a minute or two, then decorate with the sprinkles etc. 

Baked Vanilla Doughnuts with Blood Orange Icing

Baked Vanilla Doughnuts with Blood Orange Icing

Baked Vanilla Doughnuts with Blood Orange Icing

Baked Vanilla Doughnuts with Blood Orange Icing

Reference: ‘Sally’s Baking Addiction’  by Sally McKenney (Race Point Publishing, 2014), p.27. 

Baked Vanilla Doughnuts with Blood Orange Icing

Baked Vanilla Doughnuts with Blood Orange Icing

Baked Vanilla Doughnuts with Blood Orange Icing

Baked Vanilla Doughnuts with Blood Orange Icing

In Cakes & Slices Tags Blood Orange, Vanilla, vanilla sugar, doughnuts, donuts, Local Milk Blog, My Name is Yeh, Courage & Spice Podcast, A Bookish Baker, Jamila Rizvi, Favourites List, Sally's Baking Addiction
2 Comments
Pistachio & Pomegranate Cake

Pistachio & Pomegranate Cake

Pistachio & Pomegranate Cake

Kath September 8, 2017

The idea for this cake came to me whilst I was having coffee with a friend. I can’t quite remember how it came about, but we were talking about pomegranates and how common place they have become now thanks so chefs like Yotam Ottolenghi, Nigella Lawson and Jamie Oliver. Then it hit me, could you make a cake with pomegranate? 

The answer, is yes, kinda. I juiced half a pomegranate for the icing and that worked well. A better colour than any food colouring could give I think! I also added some seeds to the cake batter, however I’m not sure I would add them again. They gave a little crunch and colour to the cake, however they don’t add a lot of flavour and made the process of making the cake more time consuming (and messy). I added them into the batter gently once some of the mixture was already in the cake tin as I didn’t want the seeds to burst before they had gone in the oven. 

I think if you are short on time (or patience) ditch the seeds in the cake, and use the other half of the pomegranate to decorate the cake at the end. I also find that pomegranate juice freezes well, so there is always that option - and then there is definitely no food wastage! 

And don’t be alarmed about using spelt flour in this cake. It does have a more ‘healthy’ connotation (a quick Google search of ‘benefits of spelt flour’ returns some pleasing results, making me think this cake is on it’s way to being healthy 👍🏻😂), but in this recipe it adds an almond meal like denseness to the cake that gives it an excellent crumb. And it doesn’t taste any different to regular plain flour so no one will even know it’s even there! Plain flour can of course be substituted for the spelt if you don’t have any - but give it a go if you can! 

Pomegranate

Pomegranate

Pistachio & Pomegranate Cake

Pistachio & Pomegranate Cake

Pomegranates

Pomegranates

Pistachio & Pomegranate Cake

Ingredients: 

175g margarine or softened unsalted butter

175g light brown sugar

2 eggs

1 tsp vanilla bean paste

125g pistachios, shelled

175g spelt flour (plain or wholemeal)

2 tsp baking powder

pomegranate seeds from one small pomegranate, optional


Ingredients for the Icing:

200g icing sugar, confectioners

juice from 1/2 small pomegranate 

1 tbsp pistachios, roughly chopped


Method: 

Pre-heat oven to 160 degrees Celsius and grease and line a 22-23cm springform cake tin.

Using a food processor, grind the pistachios into a fine crumb/meal (the same consistency as almond meal). Don’t over process or you may end up with pistachio nut butter, rather than pistachio meal. 

In the bowl of a stand mixer add the margarine and sugar. Beat using the paddle attachment until light and fluffy. Add the eggs separately, beating well after each. Add the vanilla and the ground pistachios and mix until combined.

In a separate bowl whisk together the spelt flour and baking powder, then gently fold into the main cake batter. 

If using the pomegranate seeds, spread a third of the cake batter into the prepared tin, then sprinkle half the seeds over the top. Top with another third of cake batter and sprinkle the remaining seeds. Finish with the remaining cake batter. If not adding the pomegranate seeds, transfer the cake batter into the tin and smooth the top. 

Bake for about an hour, or until the cake is springy to the touch and a skewer comes out clean when inserted into the cake. 

Leave the cake to cool before removing from the tin. 

Once the cake has cooled make the icing by whisking the icing sugar and pomegranate juice together. Add more juice if the mixture is to dry, and more icing sugar if the icing is too runny. Ice the cake with the icing, then sprinkle over the chopped pistachios. 

Pistachio & Pomegranate Cake

Pistachio & Pomegranate Cake

Pistachio & Pomegranate Cake

Pistachio & Pomegranate Cake

Pistachio & Pomegranate Cake

Pistachio & Pomegranate Cake

Reference: The Violet Bakery Cookbook’ by Claire Ptak (Ten Speed Press, 2015), p.137.

Pistachio & Pomegranate Cake

Pistachio & Pomegranate Cake

Pistachio & Pomegranate Cake

Pistachio & Pomegranate Cake

In Cakes & Slices Tags Pomegranate, Pistachio, cake, Spelt Flour
Comment
Ginger & Quince Cake with Quince Ice Cream

Ginger & Quince Cake with Quince Ice Cream

How to Bake with Quinces - Ginger & Quince Cake with Quince Ice Cream

Kath August 17, 2017

I seem to have a thing with ginger lately. Maybe it’s just that the warming nature of such spices go so well with Winter, or maybe I’m just a creature of habit. I haven’t always been this on board with ginger, I actually used to hate it. As a child the heat of it was too overpowering for me, and only very mild gingerbread biscuits would do. I remember the one time we all went overseas to the UK as a family, I was about 8 years old, and I become enamoured by Harrods - the lovely building, their constant use of teddy bears, all the food, and the fact they had a shop at the airport. When we were at Heathrow on our way home, I convinced Mum to buy a packet of Harrods Gingerbread as a snack for the plane. 

No doubt the packaging grabbed me, I’m sure it was cute enough to grab a child’s attention. Eating them on the plane, my mouth was on fire. They were so gingery, more than my underdeveloped taste buds could handle. I probably annoyed the air hostesses by asking for so many glasses of water, as I continued to eat the spicy gingerbread men despite the heat - probably as Mum had drilled into me how expensive they were (back then the Pound to Australian Dollar conversion was even worse than it is now), and to be honest as a picky eater I probably preferred them to the airplane food. 

Many years later, after making many a gingerbread man myself, I suddenly realised any aversion to ginger was long gone. I was walking back to the station from my internship, which conveniently meant walking past Bourke Street Bakery. I didn’t stop in very many times over the course of my internship, but the first time I did I decided to get one of their famous Ginger Brûlée Tarts. As I was close to finishing the tart, I realised I really couldn’t taste any ginger. The tart was nice, but thinking I still wasn’t a big ginger fan, I expected the flavour to hit me in the face. It was then I realised I must like ginger much more than I realised, and just kept thinking I didn’t as I hadn’t when I was younger. In fact, I liked it a lot, along with a few other things I hated as a child. 

So now I jump at any opportunity to cook with ground ginger in particular, and this cake is no exception. This cake paired with the quince ice cream is a seriously good way of celebrating the colder seasons (even though it seems to be warming up a little now!) and a good way of using up some poached quince if you have any (or have the inclination to make some). I can vouch for the fact that the ice cream is amazing on its own, so I would highly recommend making it even if you don’t need it as an accompaniment to a cake. 

What ingredients or foods did you hate as a child but like now? Let me know in the comments!

Ginger & Quince Cake with Quince Ice Cream

Ginger & Quince Cake with Quince Ice Cream

Ginger & Quince Cake with Quince Ice Cream

Ginger & Quince Cake with Quince Ice Cream

Ginger & Quince Cake with Quince Ice Cream

Ginger & Quince Cake with Quince Ice Cream

Quince Ice Cream

Ingredients: 

150g poached quince

50g poaching liquid

2 egg whites 

100g caster sugar 

1 tsp golden syrup 

salt

150g whipping cream 

1 tbsp Greek yoghurt 


Method: 

In a blender, puree poached quince with half the poaching liquid until it is smooth. Add the remaining poaching liquid and blend to combine. Set aside. 

Place a pot of water on the stove and heat until it is boiling. In a heatproof bowl, that is able to comfortably sit over the boiling pot of water, add the egg whites, sugar, golden syrup and a pinch of salt. Place the bowl over the boiling water and whisk continuously until the sugar dissolves and the mixture becomes frothy and opaque, or when the mixture reaches 75 degrees Celsius on a candy thermometer. Remove from the heat and transfer to the bowl of a stand mixer fitted with a whisk attachment. Whisk the warmed egg white mixture until it forms stiff peaks of meringue. 

In a separate bowl, whip the cream with the yoghurt until it forms soft peaks. Gently fold in the meringue, then the pureed quince. Pour into an ice cream machine and churn according to the manufacturers instructions. When ready, the ice cream should be softly frozen, thickened and clinging to the paddle of the machine. Transfer to a freezer safe container to freeze until ready to serve. 

Ginger & Quince Cake with Quince Ice Cream

Ginger & Quince Cake with Quince Ice Cream

Ginger & Quince Cake

Ingredients: 

250g self raising flour 

1 tsp ginger

1 tsp mixed spice

1/2 tsp cinnamon 

1 tsp baking powder

120g golden syrup

80g maple syrup 

2 tbsp poaching liquid from quinces

125 flavourless margarine or unsalted butter 

100g poached quince, diced (plus extra for serving, optional)

125 brown sugar 

2 eggs 

240ml milk 


Method: 

Pre-heat your oven to 180 degrees Celsius, then grease and line the base and sides of a 22cm (approx.) square cake tin. 

Sift the dry ingredients together into a large bowl.

In a small saucepan, add the quince, golden and maple syrups and the margarine/butter and warm over low heat so everything melts together. Add the quince and brown sugar and allow the mixture to simmer for a couple of minutes, stirring occasionally so it doesn’t stick to the bottom of the pan. 

In a small bowl, briefly mix the eggs and the milk together. Pour the syrup and butter mixture in to the dry ingredients, and mix well, ensuring there are no lumps of flour. Add the eggs and milk and mix to combine. 

Pour the batter into the prepared tin and bake for 30-35 minutes, or until a skewer comes out clean when inserted into the middle of the cake. Cool the cake in the tin for a few minutes before transferring to a cooling rack lined with baking paper (the cake will stick otherwise). 

Cut the cake into squares and serve warm or at room temperature with a scoop of quince ice cream and some extra poached quince. 

Ginger & Quince Cake with Quince Ice Cream

Ginger & Quince Cake with Quince Ice Cream

Ginger & Quince Cake with Quince Ice Cream

Ginger & Quince Cake with Quince Ice Cream

References: ‘The Violet Bakery Cookbook’ by Claire Ptak (Ten Speed Press, 2015), pp. 184-5; ‘Annie’s Farmhouse Kitchen’ by Annie Smithers (Hardie Grant Books, 2017), pp.52-3.

Ginger & Quince Cake with Quince Ice Cream

Ginger & Quince Cake with Quince Ice Cream

In Cakes & Slices, Other Desserts, Ice Cream Tags Quince, Ice Cream, Ginger, cake, Dessert
Comment
Duck Egg Sponge Cake

Duck Egg Sponge Cake

Duck Egg Sponge

Kath August 2, 2017

Over the last few years, I have been on a somewhat unofficial sometimes unintentional quest to find the best sponge cake recipe. You’d think that a cake with such few ingredients would be the same all round, but they never are! Corn flour or all plain flour, or self raising flour, custard powder, melted butter or no butter? Each time I find a new recipe, it becomes my new favourite until months or years later, I stumble across a new one. 

This particular recipe, was right under my nose the whole time, and it is by far the best I have found during my quest! It is from the book ‘Local is Lovely’, which is a small unassuming book, that is absolutely jam packed full of really good recipes. And when I mean jam packed I mean it! Every time I take a look through, I seem to add more sticky notes to another page for another recipe I want to make. 

On this particular occasion I had bought some duck eggs, which was super exciting, but I wasn’t sure what to make with them. I had heard that duck eggs made good sponge cakes so I went looking for a recipe, and sure enough ‘Local is Lovely’ delivered the goods (again!). It turned out to be the nicest sponge cake ever, so now I can definitively say duck eggs do make really good sponges! The honey added to the cream is also a simple yet utterly amazing idea that gives the whole cake a subtle sweetness that was so incredibly more-ish. 

I now keep an eye out for duck eggs, just in case I am given the opportunity to make this cake again. If you can’t find any, use five larger chicken eggs. 

Duck Eggs

Duck Eggs

Duck Egg Sponge Cake

Duck Egg Sponge Cake

Duck Egg Sponge Cake

Duck Egg Sponge Cake

Duck Egg Sponge Cake

Ingredients: 

x4 duck eggs

140g caster sugar or golden caster sugar 

160g plain flour, plus extra for the tin

2 tsp baking powder 

300ml pouring cream

90 ml honey

dried edible flowers, to decorate (optional)

butter, to grease the tin


Method: 

If your duck eggs have been in the fridge, take them out and allow them to come down to room temperature. 

Preheat oven to 180 degrees Celsius, and butter and flour two 20 cm loose bottomed cake tins. 

In the bowl of a stand mixer, add the eggs and sugar. I suggest cracking each duck egg into a glass and pouring it into the bowl. Duck eggs have a harder shell than chicken eggs and I found that more of the shell shattered away (and into the egg itself) because a little more force was needed to crack them open. This way it is easier to remove any stray bits of shell before adding the eggs to the bowl. 

Whisk the eggs and sugar together for about 10 minutes, on medium to high speed. The mixture will triple in size and become pale and fluffy. 

While the eggs are whisking, measure the flour and baking powder into a separate bowl and whisk together to remove any lumps. Carefully add the flour and baking powder to the whisked eggs, gently and quickly folding it into the eggs with a large metal spoon.

Divide the mixture between the two prepared tins, and bake for 15-20 minutes. The cakes will be golden in colour and spring back when lightly touched. 

Leave the cakes to cool in their tins for a couple of minutes. Place a sheet of baking paper on a cooling rack, and remove each cake from their tins on to the paper. This will prevent the cakes sticking to the cooling racks. Alternatively, you can leave the baking paper that is already on the base of each cake, and place them straight on the racks. 

Once the cakes have cooled (this shouldn’t take too long), prepare the cream filling. Whip the cream until it has thickened and soft peaks are forming. Add the honey and whisk until combined. Place one of the cakes on a cake stand or serving plate, and top with 1/2 - 3/4 of the cream. Place the second sponge on top and finish with the remaining cream. Sprinkle dried edible flowers over the top of the cake to decorate. 

Duck Egg Sponge Cake

Duck Egg Sponge Cake

Duck Egg Sponge Cake

Duck Egg Sponge Cake

Duck Egg Sponge Cake

Duck Egg Sponge Cake

Reference: Local is Lovely by Sophie Hansen (Hachette Australia, 2014), p.50.

Duck Egg Sponge Cake

Duck Egg Sponge Cake

Duck Egg Sponge Cake

Duck Egg Sponge Cake

In Cakes & Slices Tags Duck Eggs, Sponge, Local is Lovely
8 Comments
Bergamot Loaf Cake

Bergamot Loaf Cake

Bergamot Loaf Cake

Kath July 20, 2017

If you’ve been following me on Instagram lately, you may have noticed my slight obsession with bergamots. I seem to be drawn to interesting and lesser known fruits, and bergamots are no exception. Bergamot is a citrus, and is best known for being the flavour in Earl Grey tea. It has a slight floral flavour, which in my opinion not only makes it slightly sweeter and less sour than other citrus, but also it’s best quality. As evidenced by how many times I have used rose in my cooking, it is no surprise that I like the floral notes of bergamot. It may be a little much for some, I guess it depends on what you like, but as far as I’m concerned, it is now my favourite citrus. 

This does however pose a problem. Bergamot being a lesser known variety of citrus, are therefore not grown and sold nearly as readily as other citrus varieties. To the point where I have never seen bergamots being sold anywhere here in Sydney (if you know of anywhere please let me know!). 

As I have mentioned before, last year we were able to buy and plant a bergamot tree. I watched the three bergamots growing on the tree for months, hoping they would survive, and be as tasty as I hoped. Finally last month, they had turned from a bright green, to yellow and were ready to be picked. I deliberated for quite a while about what to make with them, with only three bergamots for the whole season, I needed to make a good choice. 

One of the options I settled on was this loaf cake, which can be made with any other citrus if you don’t have access to bergamots. The zest in the cake, and the juice in the syrup and icing give the cake a lovely flavour that will brighten up any dreary Winter’s day. 

What is your favourite citrus? Have you even eaten or baked with bergamots before? 

Bergamots growing on the tree before they have ripened

Bergamots growing on the tree before they have ripened

Bergamots on tree almost ripened

Bergamots on tree almost ripened

Bergamot on tree almost ripened

Bergamot on tree almost ripened

Homegrown citrus picked fresh from the garden - (top to bottom) lemonades, kaffir limes, mandarin & bergamots.

Homegrown citrus picked fresh from the garden - (top to bottom) lemonades, kaffir limes, mandarin & bergamots.

Bergamot Loaf Cake

Ingredients: 

250g margarine or softened unsalted butter

265g caster sugar

zest of 1 bergamot

3 eggs

265g plain flour

1 1/2 tsp baking powder

100ml milk 


Ingredients for the Syrup:

1 tbsp water

1tbsp caster sugar

2 tbsp bergamot juice (about half a small/medium bergamot)


Ingredients for the Icing: 

250g icing sugar (confectioners) 

2-3 tbsp bergamot juice, approx. (about half a small/medium bergamot)

remaining bergamot zest 


Method: 

Pre-heat oven to 180 degrees Celsius, and grease and line a loaf pan (31 x 7.5 x 8cm, approx). Allow some of the baking paper to come above the sides of the tin so it will be easy to remove the cake from the tin later. 

In using a stand mixer, beat the margarine and sugar until well combined and creamy. Add almost all of the bergamot zest, leaving some to add to the icing later. Mix well then add the eggs separately, ensuring they are well combined. 

In a separate bowl whisk together the flour and baking powder, then add half of this to the cake batter until just combined. Add the milk, then the remaining flour and mix until just combined. 

Transfer the cake batter into the prepared tin and bake for 50-60 minutes, or until the cake is golden, springy to the touch and cooked in the centre (check with a skewer). 

Once the cake is of out of the oven, make the bergamot syrup by gently heating all the ingredients in a small pan over low heat until the sugar has dissolved. Poke holes in the cake using a skewer, then spoon over the syrup so it evenly covers all of the cake. Allow the syrup to soak in and the cake to cool. 

Once the cake has cooled, remove from the tin using the overhanging baking paper to help. Make the icing by whisking the icing sugar in a medium bowl until most of the lumps have been broken up. Add the remaining bergamot zest and 2 tbsp of the juice and whisk until combined. If the icing is too thick add a little more juice (or water), if the icing is too runny add more icing sugar and mix. When you have a good consistency, ice the cake allowing the icing to run down the sides. 

Bergamot Loaf Cake

Bergamot Loaf Cake

Bergamot Loaf Cake

Bergamot Loaf Cake

Reference: ‘The Violet Bakery Cookbook’ by Claire Ptak (Ten Speed Press, 2015), pp.114-115.

Bergamot Loaf Cake served with cream

Bergamot Loaf Cake served with cream

In Cakes & Slices Tags Bergamot, Citrus, Homegrown
Comment

Vanilla Sugar Madeleines + How to Make Vanilla Sugar

Kath April 25, 2017

I love madeleines, and nothing beats a warm madeleine fresh from the oven in my opinion. While they are still great the next day, there is something so wonderful about a freshly baked madeleine. 

When I was in Paris a few years ago, I was determined to find a lovely freshly baked madeleine in one of the many patisseries I planned on going to. While I did try one at Ladurée, I distinctly remember thinking it wasn’t bad, but wasn’t as good as I had expected and sort of wished I had of ordered one the rose réligieuse my Mum was eating. Strangely I also saw packets of pre-made madeleines in the small supermarkets we stopped into to get milk, and felt quite surprised to see such a thing being sold. 

I did however find some lovely very tiny madeleine tins from the cooking supply shop E. Dehillerin. They wrapped them up in brown paper, and I have to admit I didn’t unwrap them for quite a while as it looked so pretty just like that. The shop looked as if it hadn’t changed since it opened in 1820, and buying something from there felt like stepping back in time. I oddly only bought one tray, I think I was overawed by all the baking goods and worried about luggage space, but since the madeleine moulds are so so small, you would need at least four trays to cook a whole batch at once! Hopefully one day I will return to Paris and add to my madeleine tray collection. 

How to make Vanilla Sugar

Use the left over vanilla bean pods - add one or two used vanilla bean pods to 1-2 cups of caster sugar and leave to infuse in a airtight container or glass jar. The longer you leave the sugar and vanilla to infuse, the deeper the flavour you will get. I would recommend leaving it to infuse for about a month before you use it for maximum flavour. The vanilla sugar can then be used in baking or as a garnish.

Vanilla Sugar Madeleines

Ingredients:

80g unsalted butter, softened

100g vanilla sugar, plus extra 

2 eggs

seeds of one vanilla pod (or 1 tsp vanilla bean paste)

100g plain flour

1/2 tsp baking powder


Method: 

The day before you wish to bake the madeleines prepare the batter. Cream the butter with one tablespoon of the vanilla sugar. In a separate bowl whisk the eggs, remaining vanilla sugar and vanilla until the mixture is light and fluffy. 

Whisk the flour and baking powder in a separate bowl to remove any lumps, then gently fold in to the whisked eggs. 

Add one third of the batter to the creamed butter and mix well. Add the remaining batter to the creamed butter and fold in very gently. 

Place a medium-large plastic piping bag over a large glass or jug so it is easy to fill. Transfer the batter into the piping bag and seal the top end with an elastic band. Leave in the fridge overnight (or for at least 3 hours). 

When you are ready to bake the madeleines, preheat the oven to 220 degrees Celsius and prepare two twelve hole madeline trays by greasing them lightly with butter then dusting with flour (if your trays are non stick this isn’t 100% necessary, I forgot one of the times I made these and I didn’t notice any difference). 

Snip a small hole at the piping end of the piping bag containing your madeleine batter and pipe the batter into the prepared tins, filling each hole about 3/4 the way up. 

Reduce the oven temperature to 180 degrees Celsius and bake for 10-12 minutes or until they are lightly golden in colour. Leave in the tins for a few minutes to cool, then cool completely on a wire rack.

Madeleines are best eaten the day of baking and can be served as they are, with a dusting of icing sugar or a sprinkling of vanilla sugar.

Reference: Fanny Zanotti ‘Paris Pastry Club’ (Hardie Grant Books, 2014) p.15.

In Cakes & Slices, Travel Tags madeleines, vanilla sugar, Vanilla, Paris
2 Comments
  • The Blog
  • Older
  • Newer

recipes

  • Biscuits/Cookies 39
  • Breads Etc. 9
  • Breakfast 7
  • Cakes & Slices 68
  • Confectionary 5
  • Drinks 6
  • Events 14
  • Food Photography Tips 3
  • From The Mailing List 24
  • Heirloom Recipes 12
  • Holidays 44
  • Ice Cream 9
  • Jams Preserves & Spreads 9
  • Muffins 4
  • Off the Shelf 49
  • Other Desserts 25
  • Savoury Dishes/Meals 15
  • Scones 4
  • Tarts & Pastry 9
  • Travel 13

Sign up to Friday Food Chat with Kath, a weekly newsletter for more food, baking, cookbook chat and more!

Sign Up Here!
instagram-unauth pinterest facebook url

Website Accessibility: To enable text to speech function on the blog, click the sound button to the right of each blog post.

All images & content are the property of Kathryn Vincent, unless stated otherwise. Please do not use without permission.

Kulinary Adventures of Kath

Food Photography, Recipes & Baking

instagram-unauth pinterest facebook url