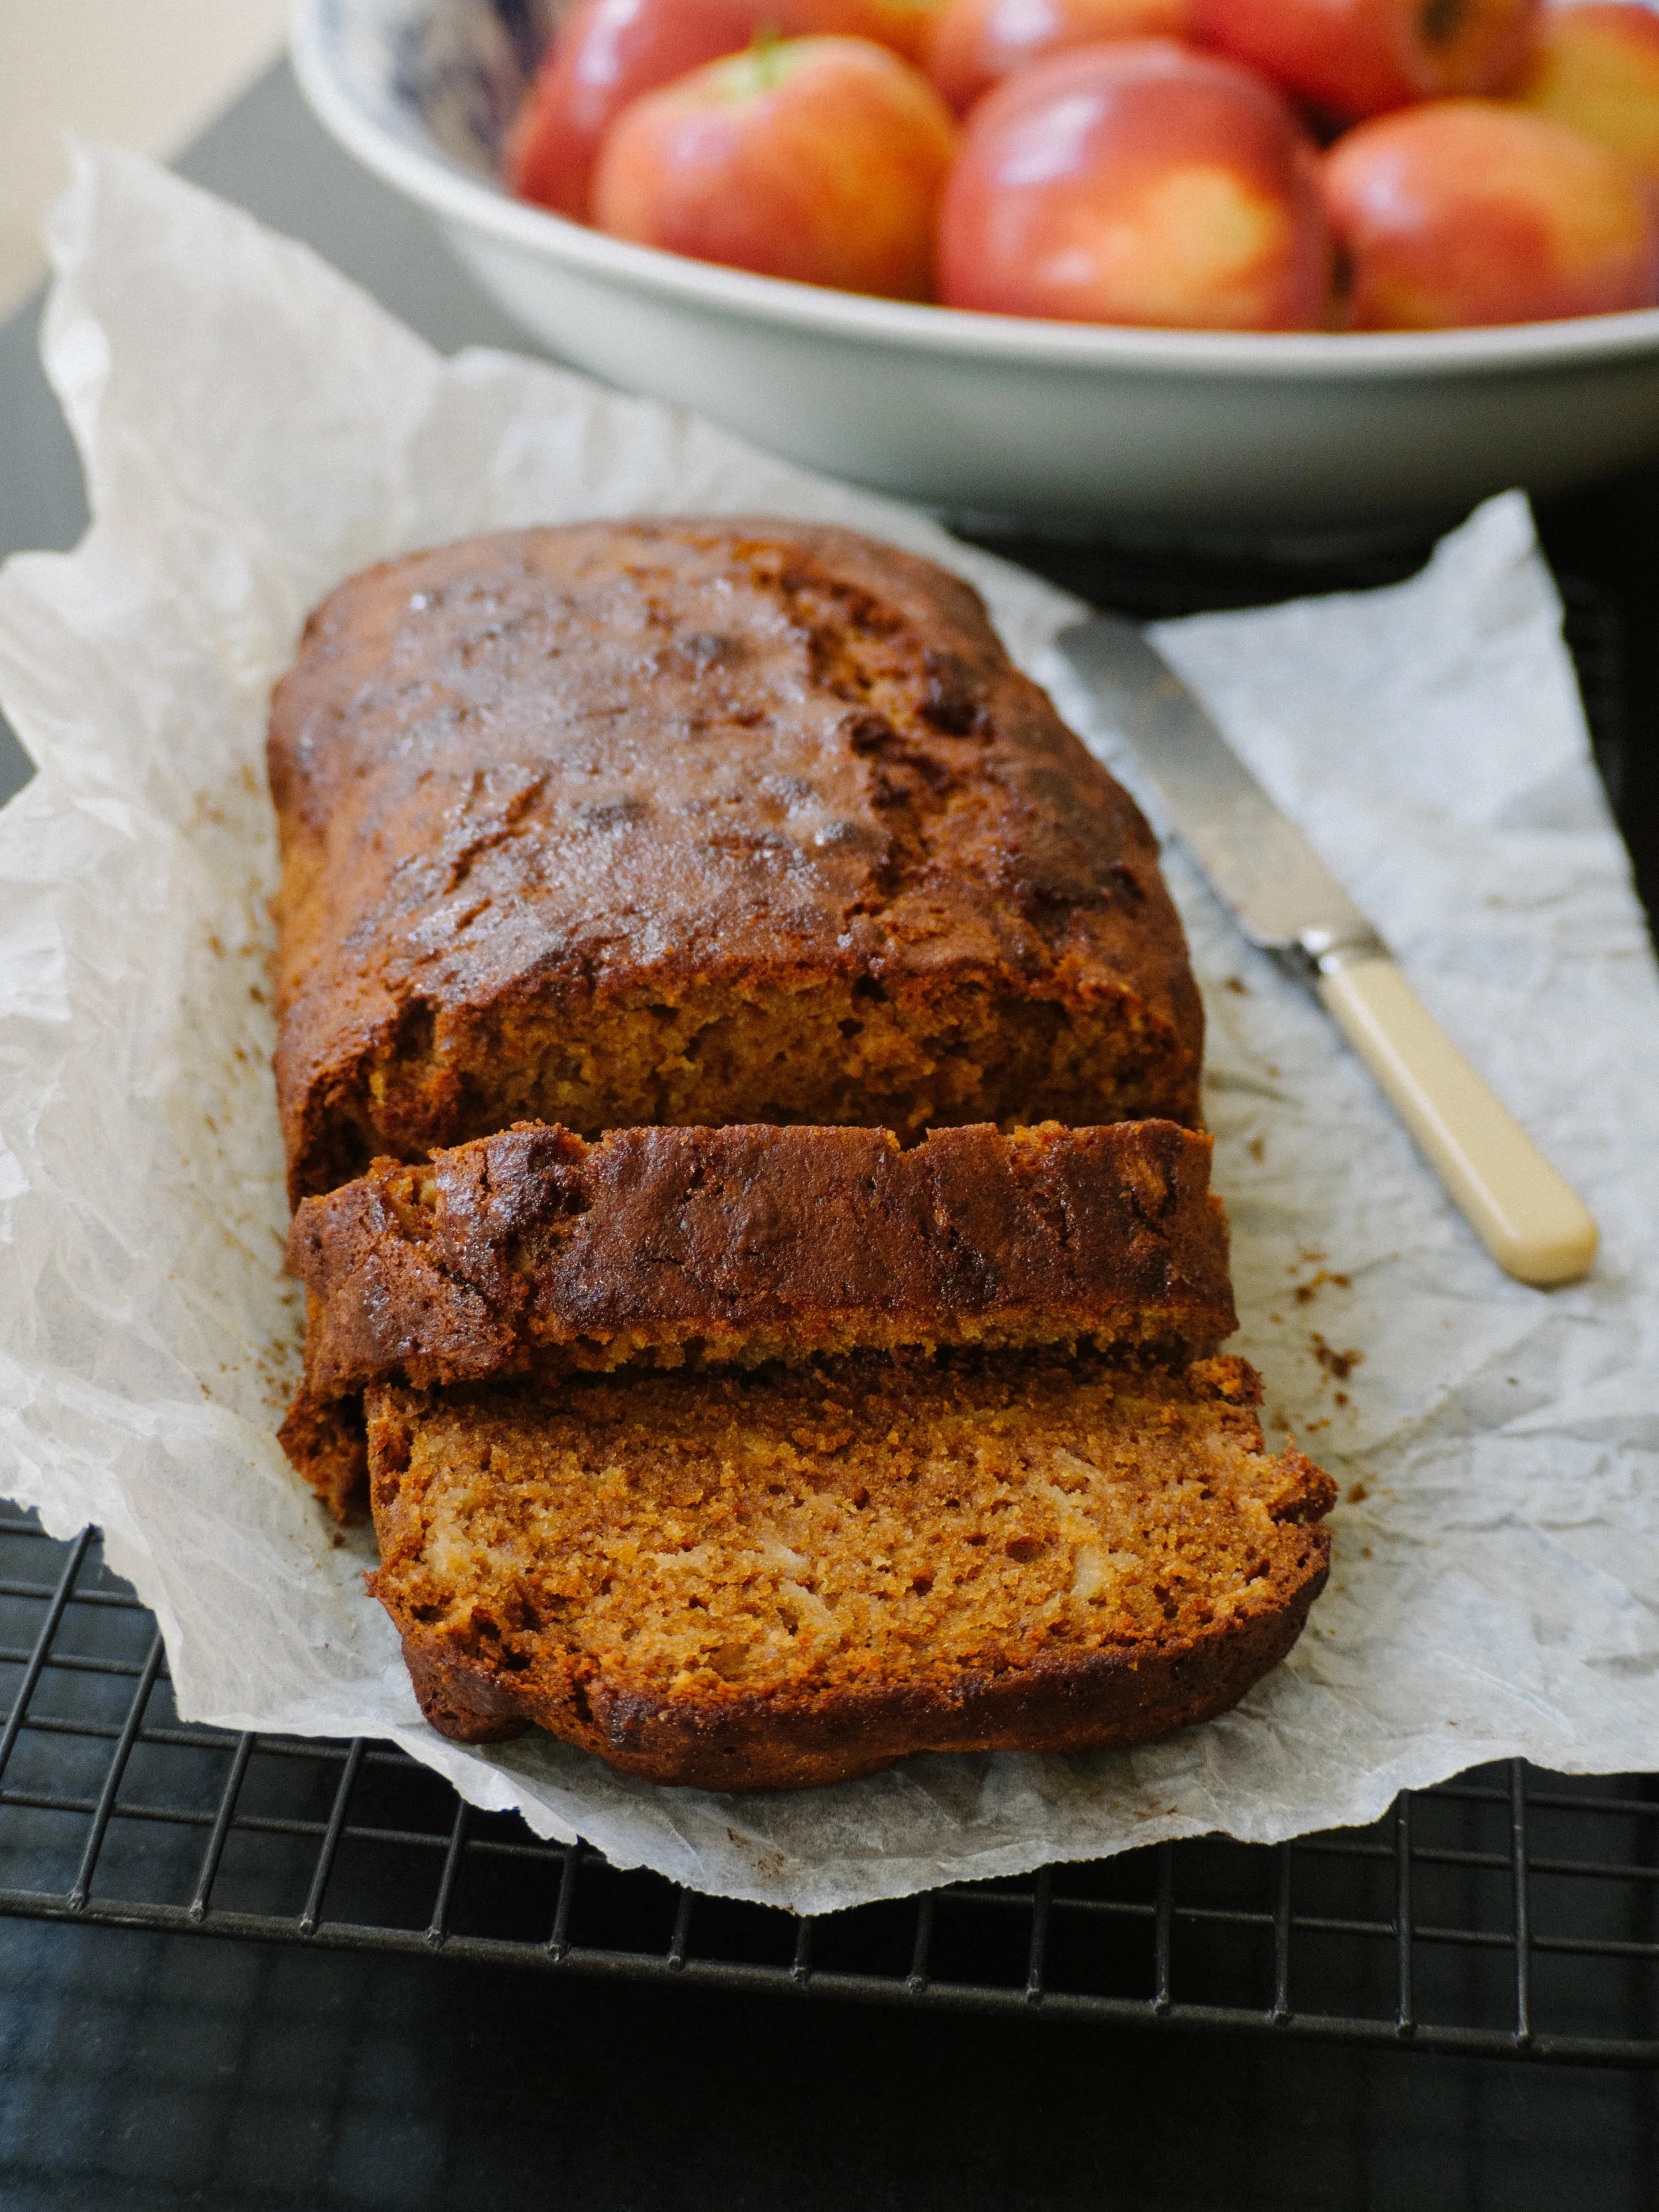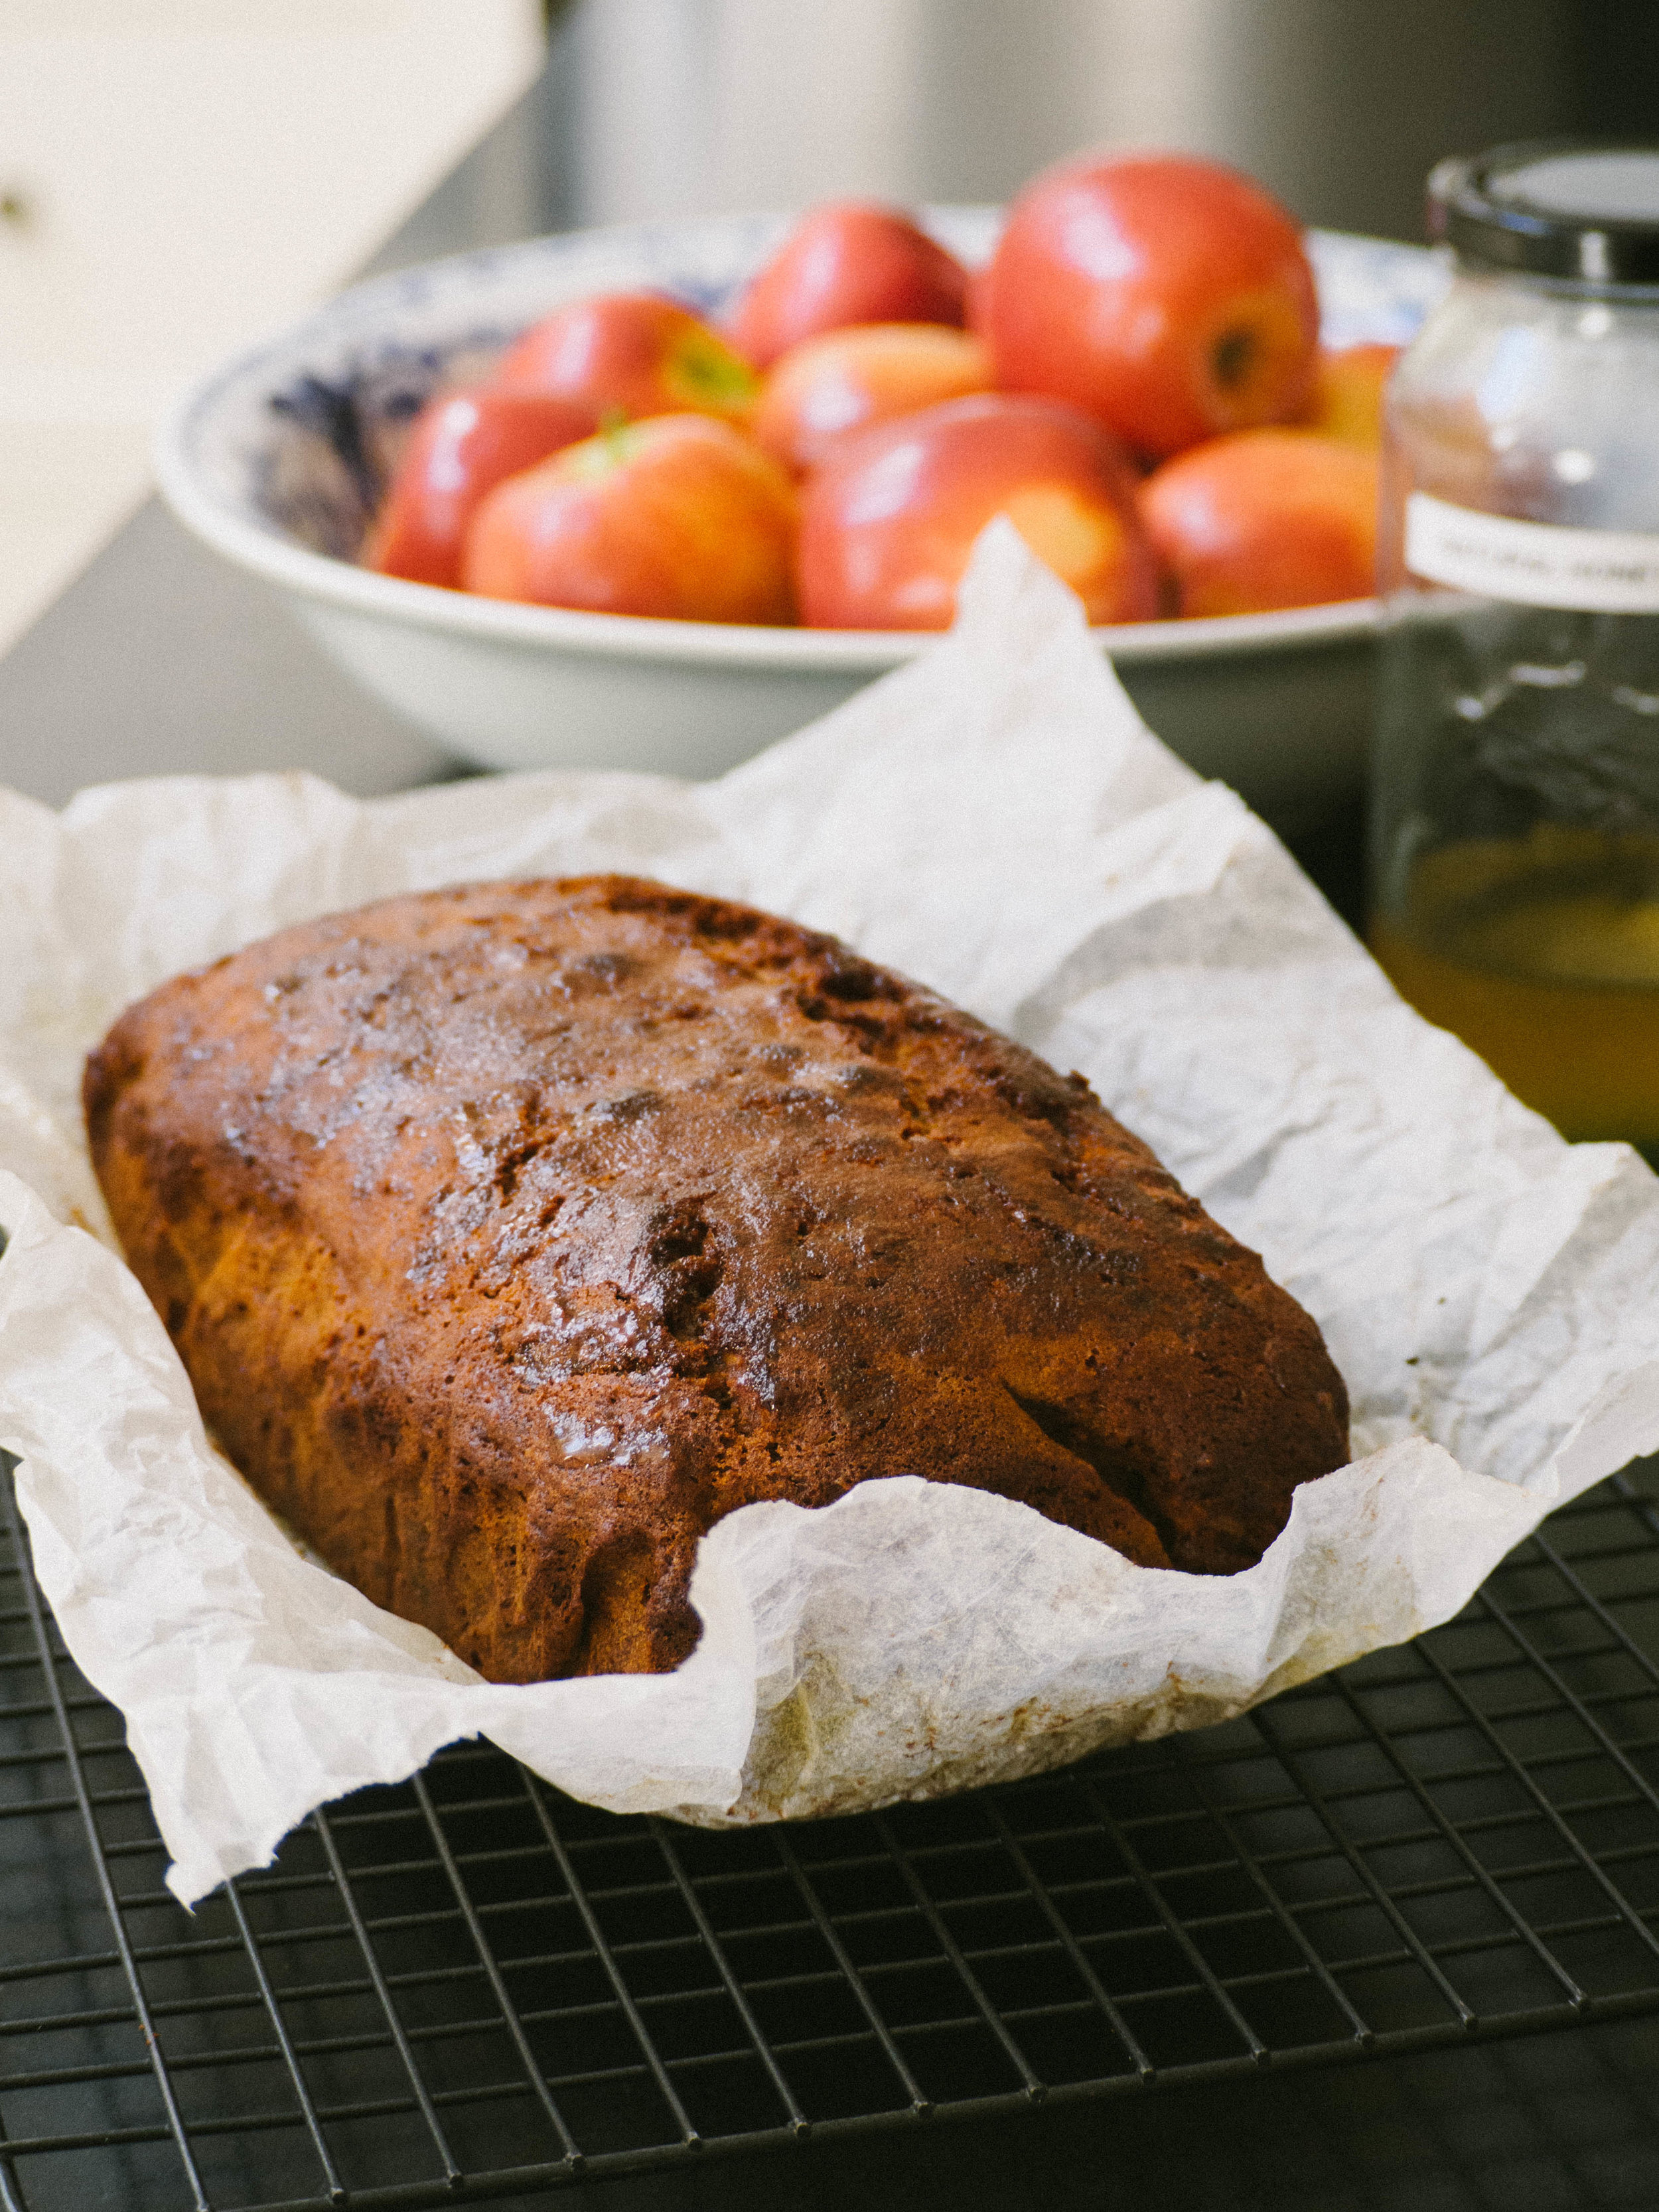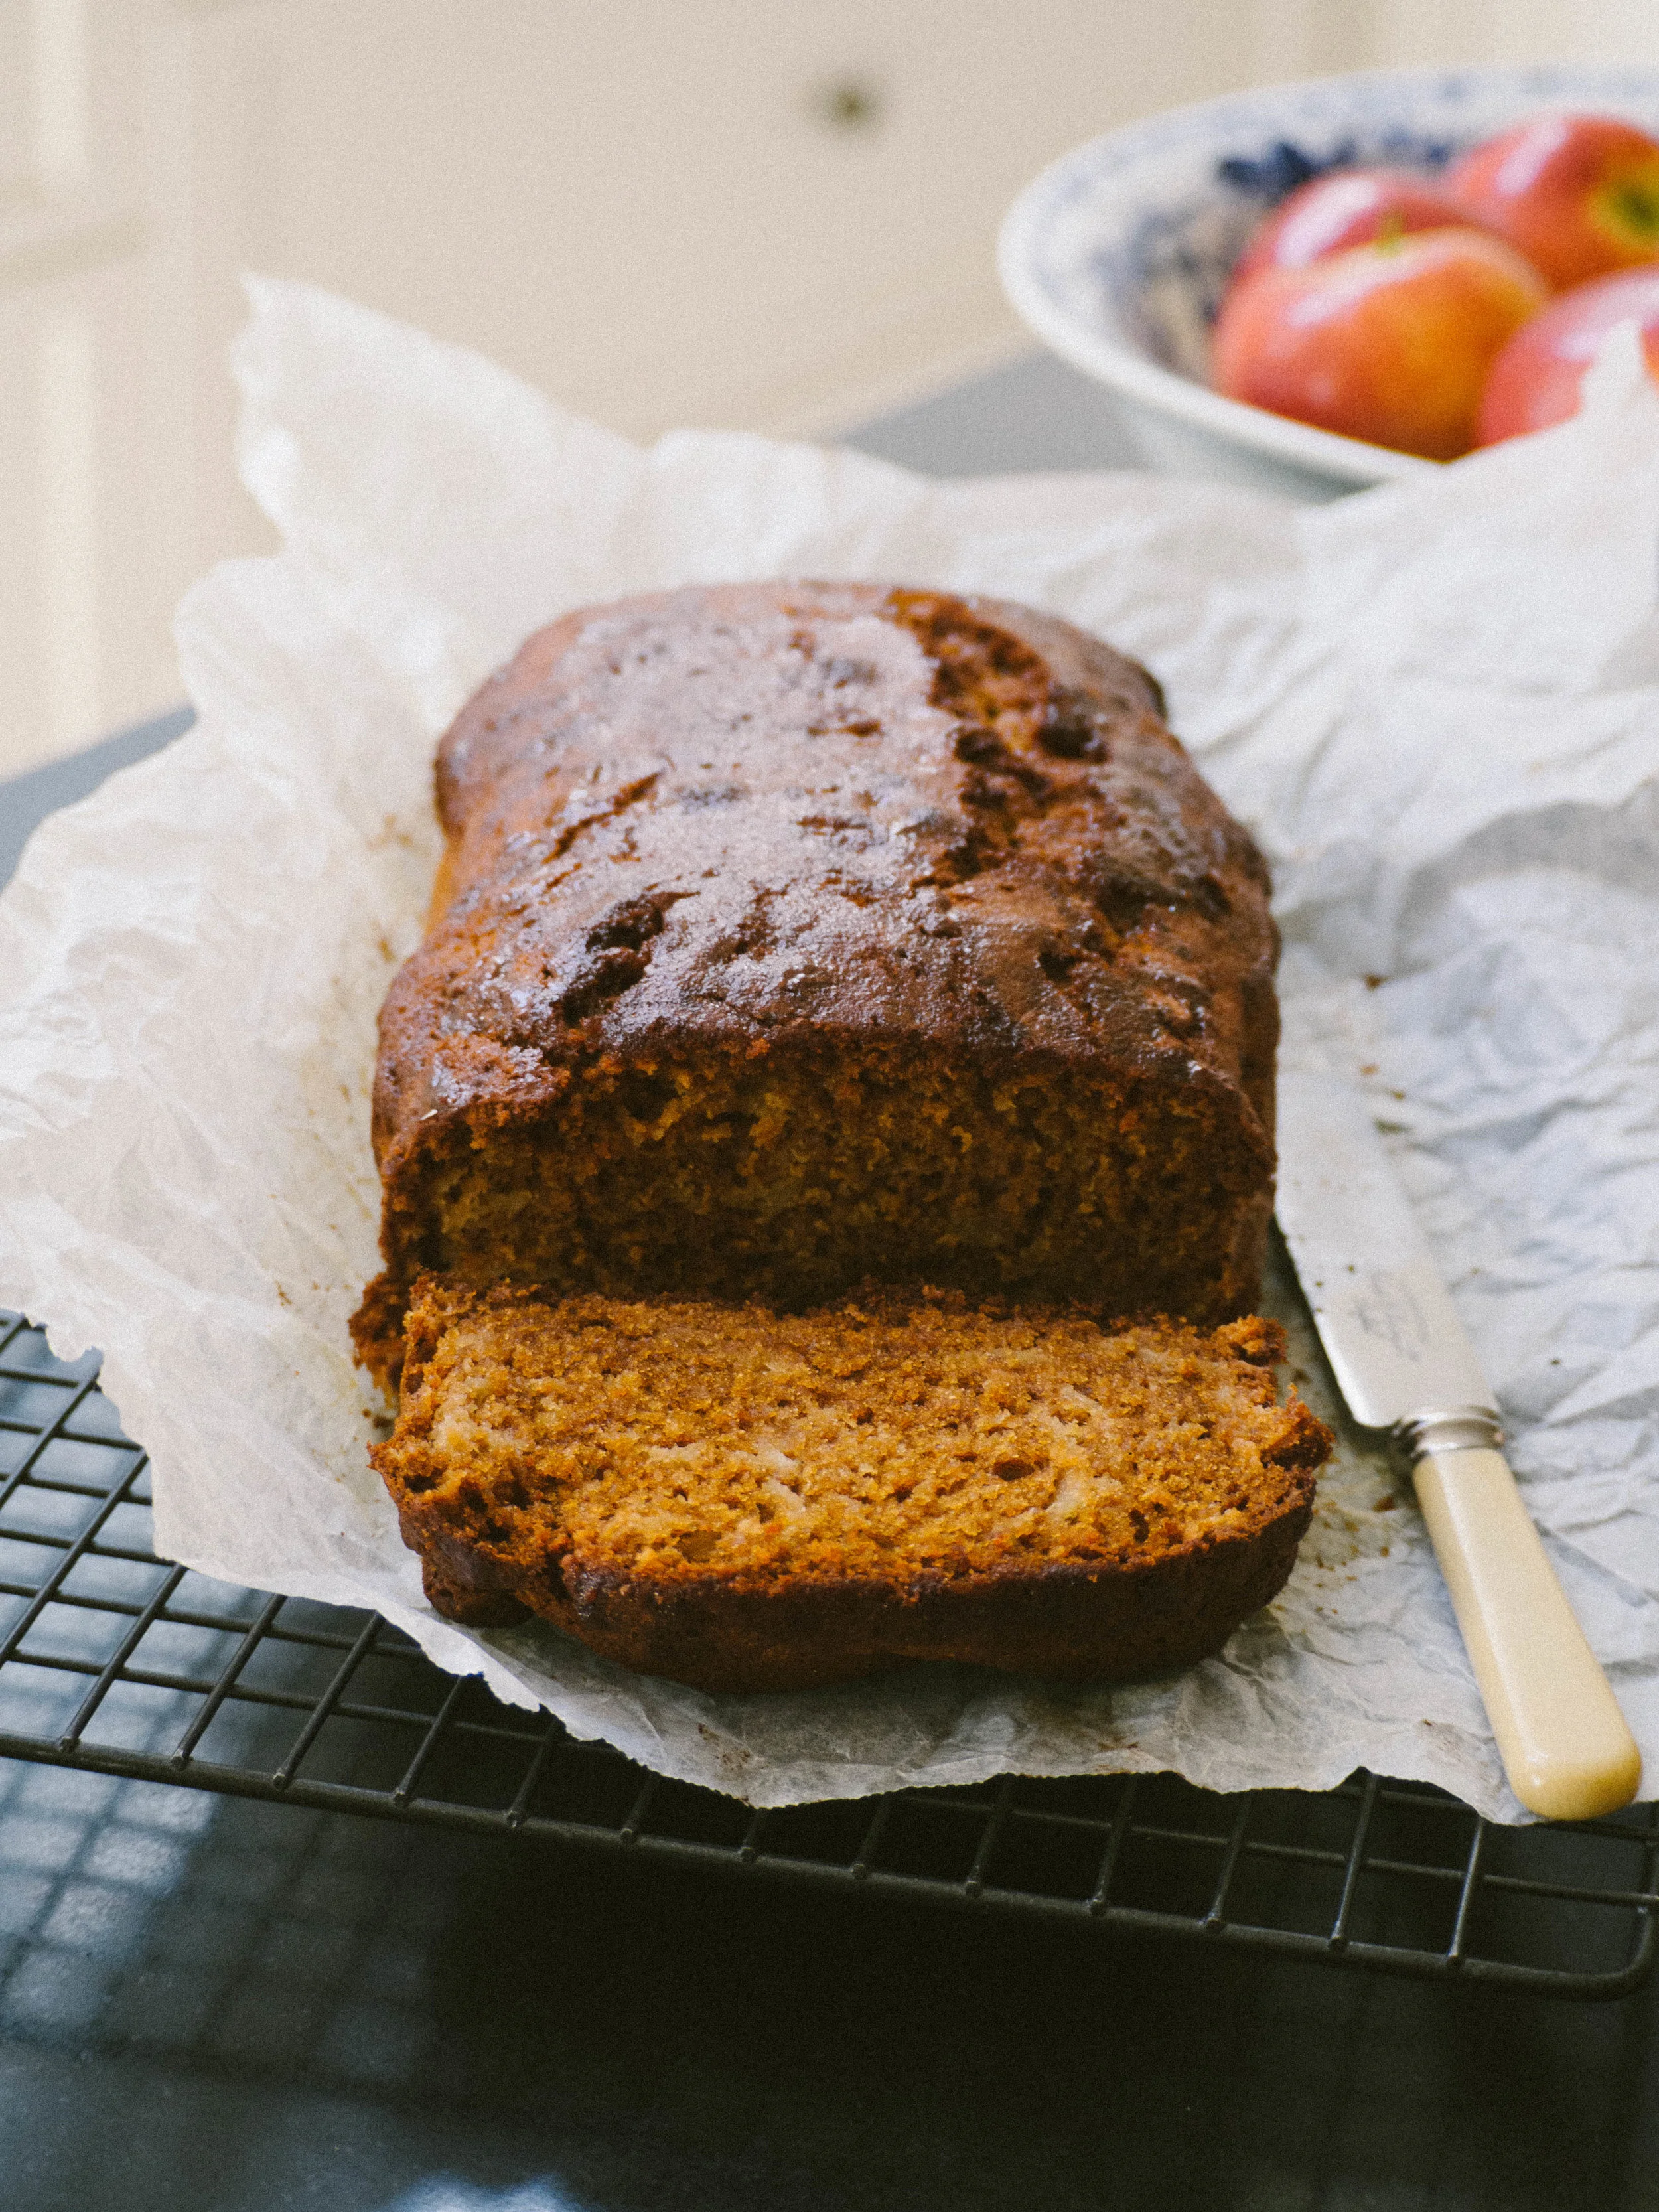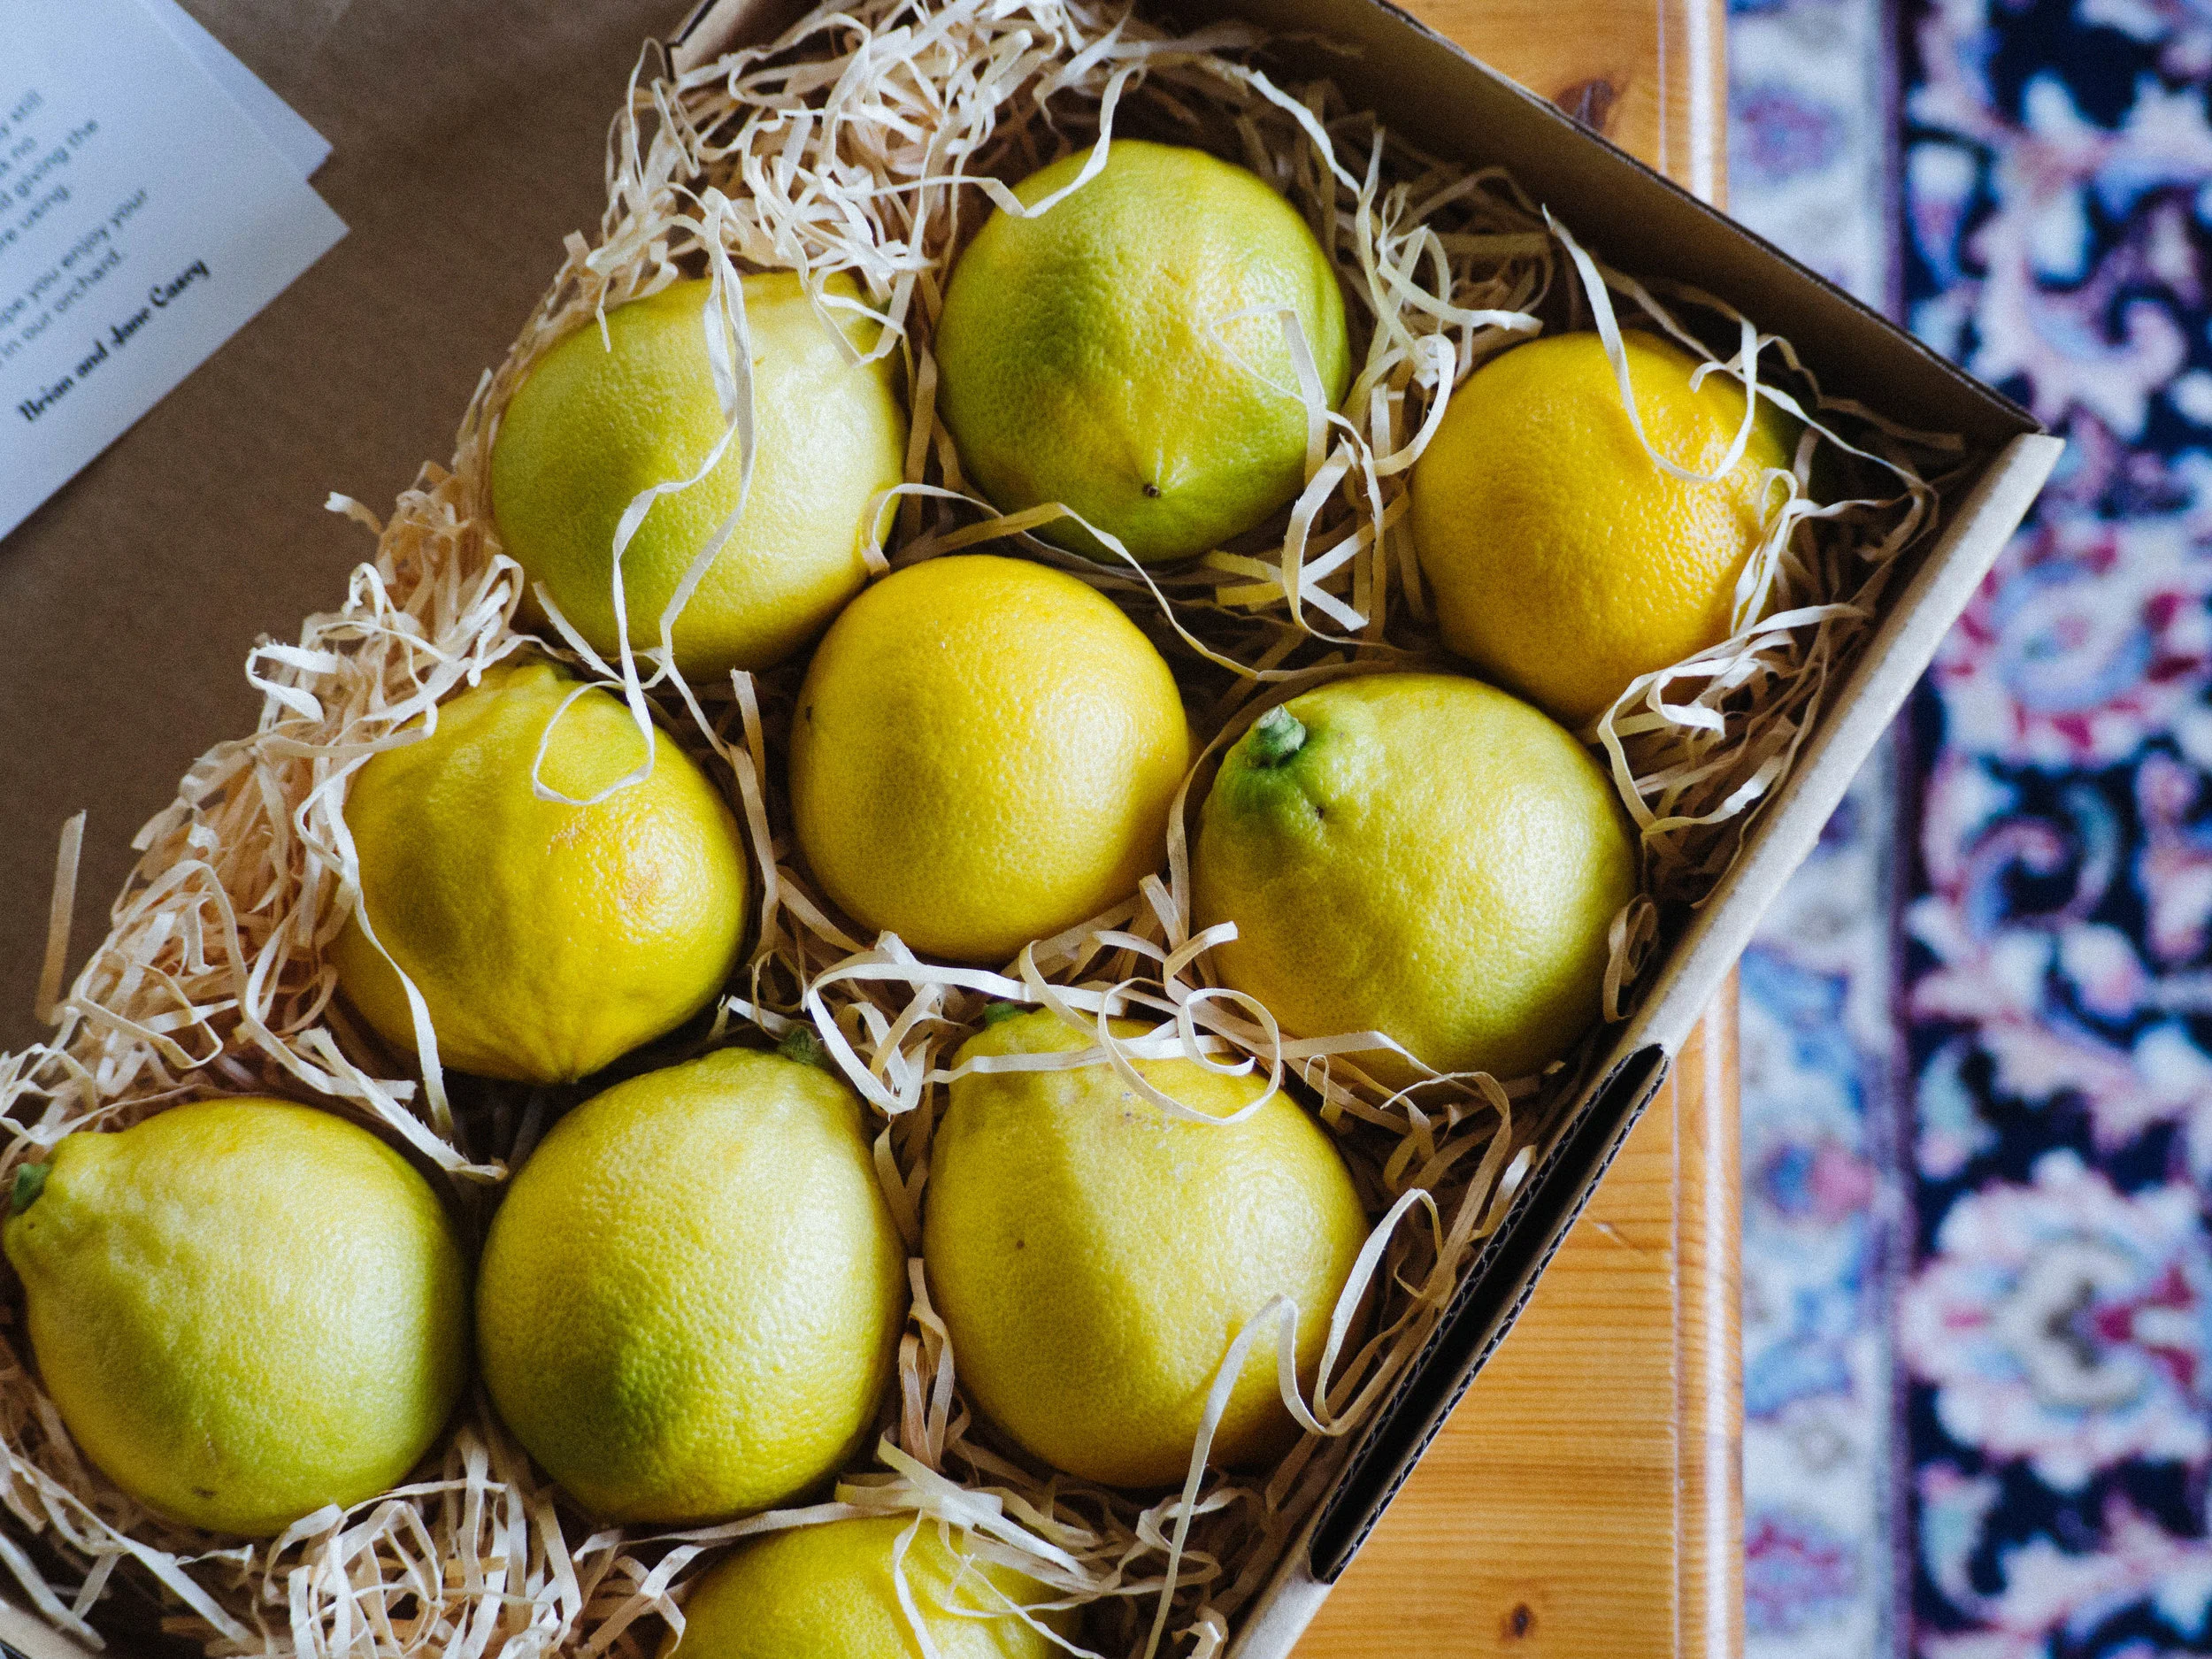
The idea for this cake came to me when I went into a new fruit and veg shop and saw some donut peaches from the USA. Usually, I really try to stick to what is in season, however there are some things (white cherries and donut peaches in particular) that I can’t resist no matter what season or where they have come from.
After I bought them I realised they wouldn’t last long enough for me to end up eating all of them fresh. Then I remembered this White Peach & Passionfruit Jam recipe I had made last year. I already had lots of passionfruit pulp in the freezer so I set about making the jam with the donut peaches. The jam is so tasty, just like Summer in a jar.
I usually serve it with scones, but this time I thought adding it to the filling of a sponge would make a lovely Summery cake for this time of year. I used the same sponge recipe as the Duck Egg Sponge I have previously posted here on the blog, but with regular chicken eggs (5 eggs rather than the 4 duck eggs). If you can find duck eggs I highly recommend using them for a sponge cake like this one, the rise and the texture you get with them are really something else.
Make the jam a day or so before you intend to have the sponge. And since the festive season will soon be upon us, I would recommend putting the jam into smaller jam jars and gifting it to others. It would be such a lovely gift to receive and a great showcase of the Australian produce that is now in season.
If you don’t feel like making the jam, use some extra peach and passionfruit to fill the middle of the sponge as well as decorating the top.

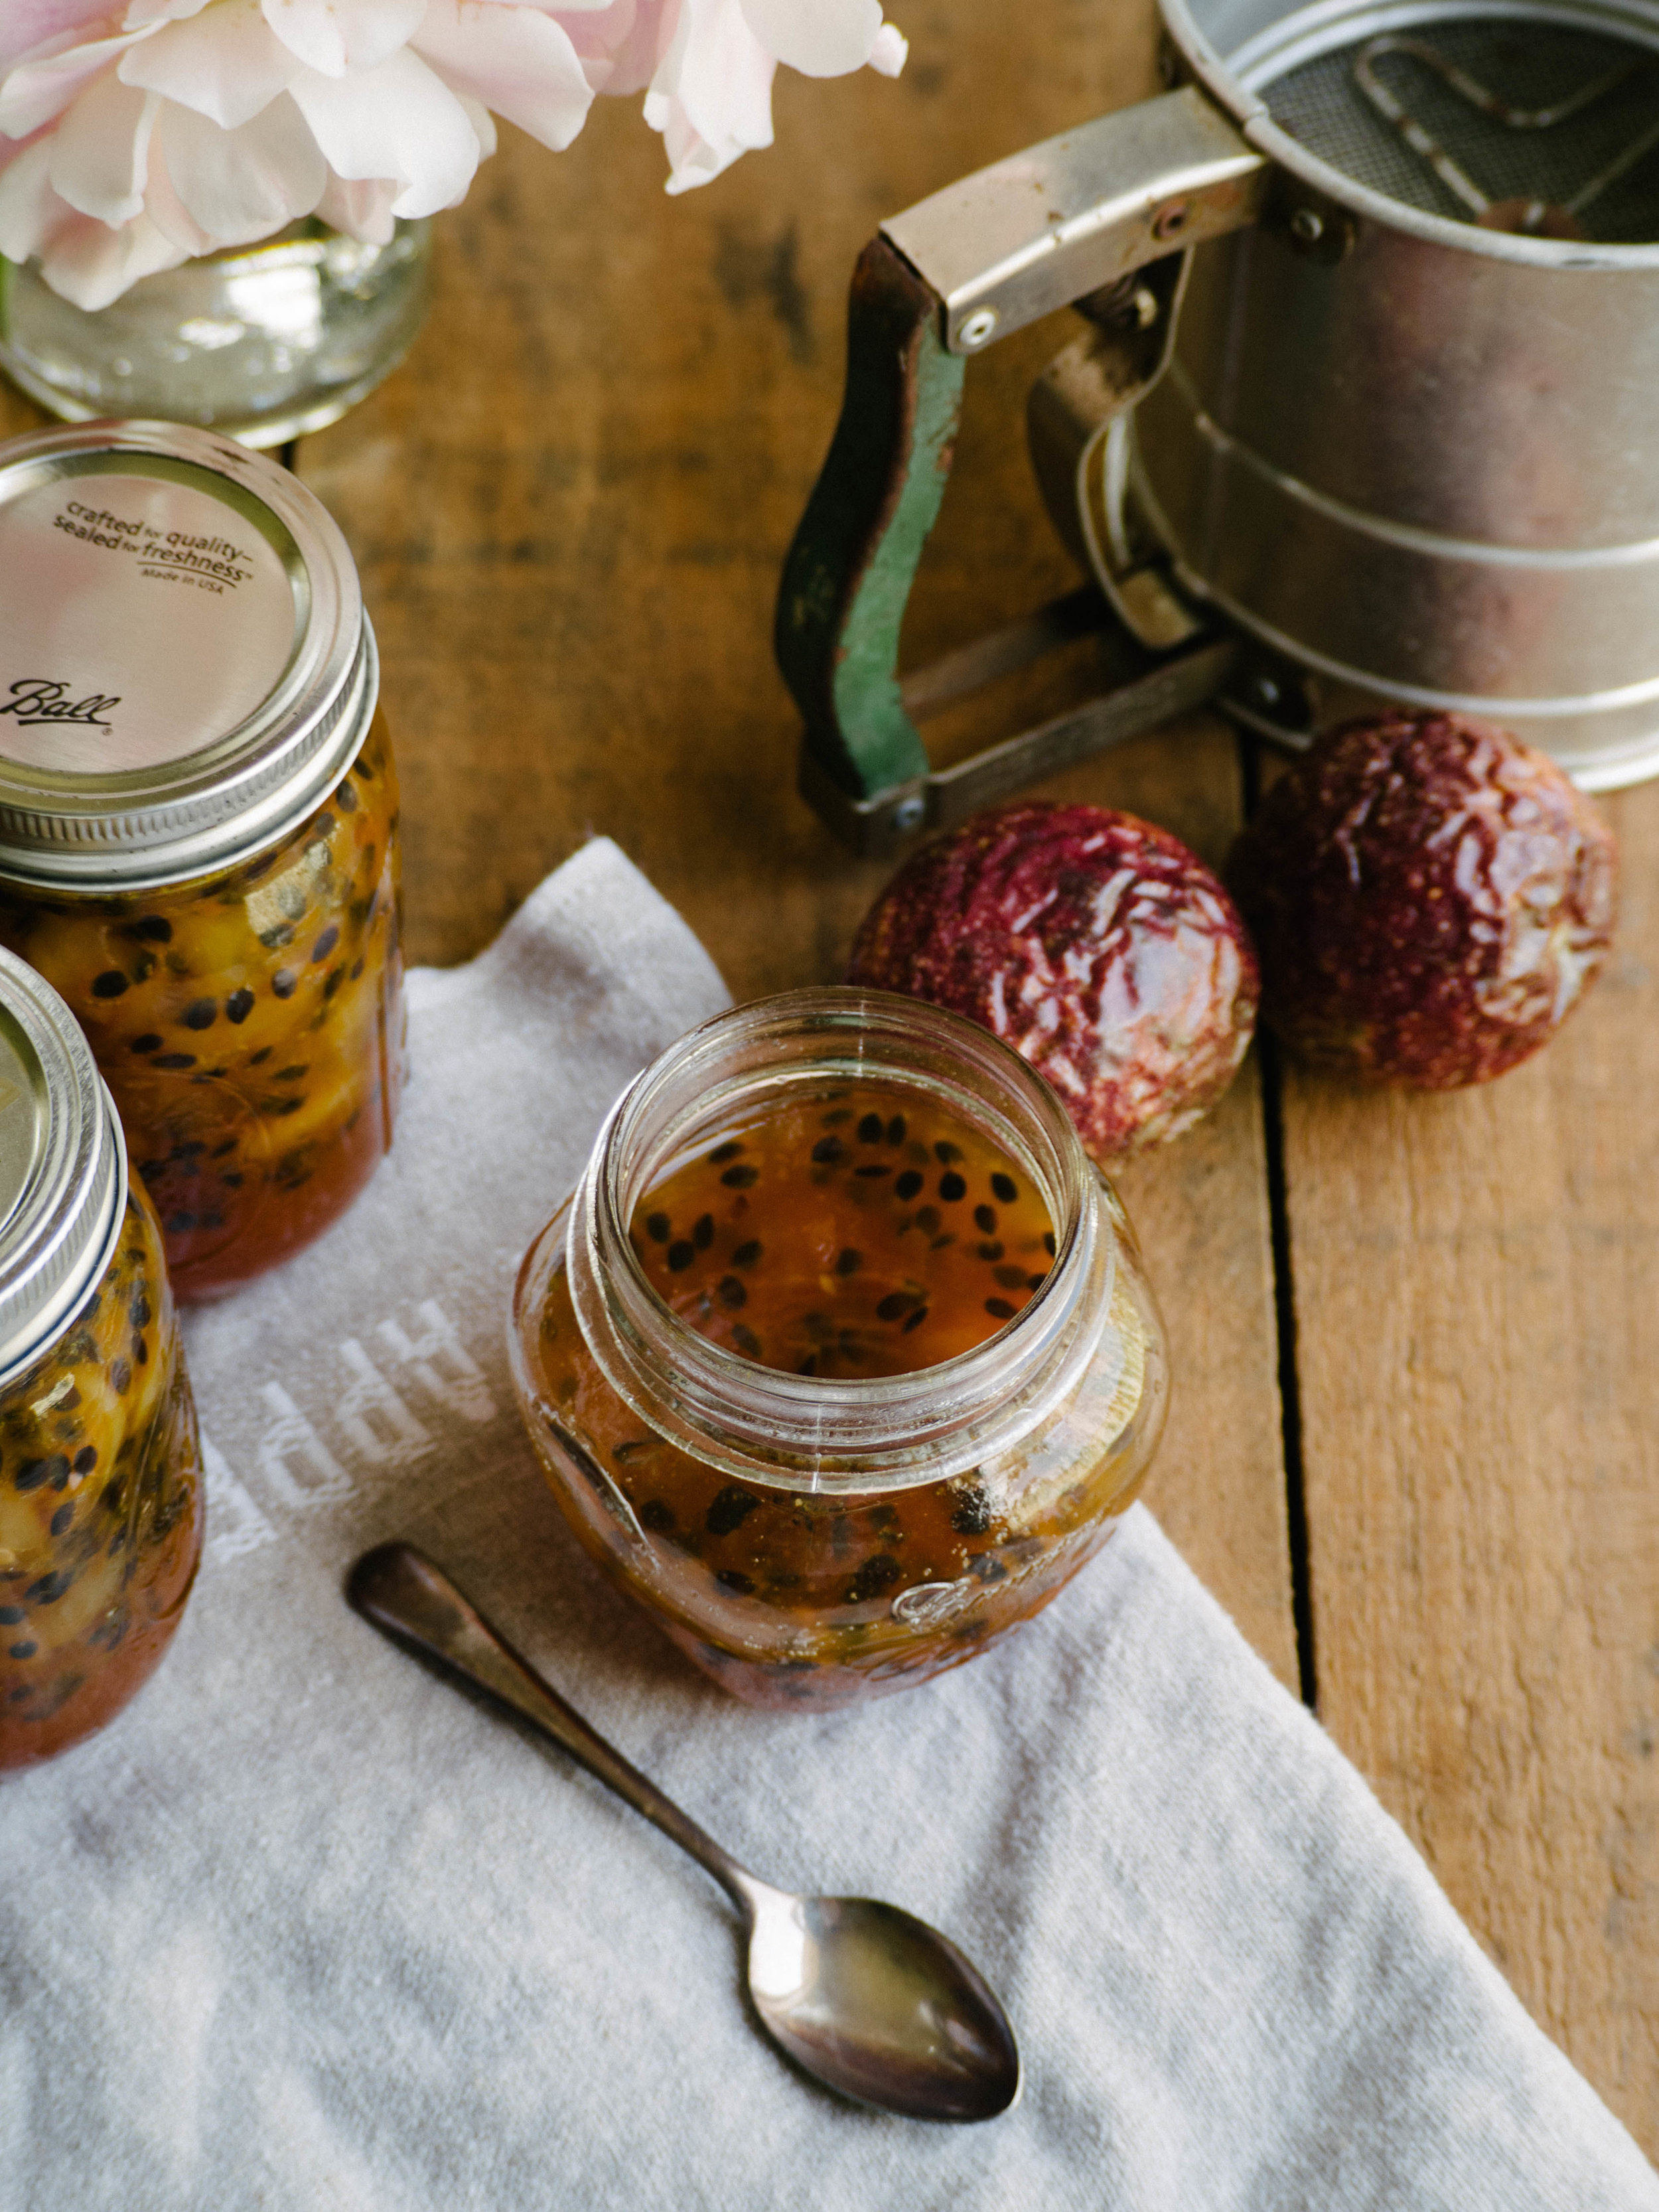
White Peach & Passionfruit Jam
Ingredients:
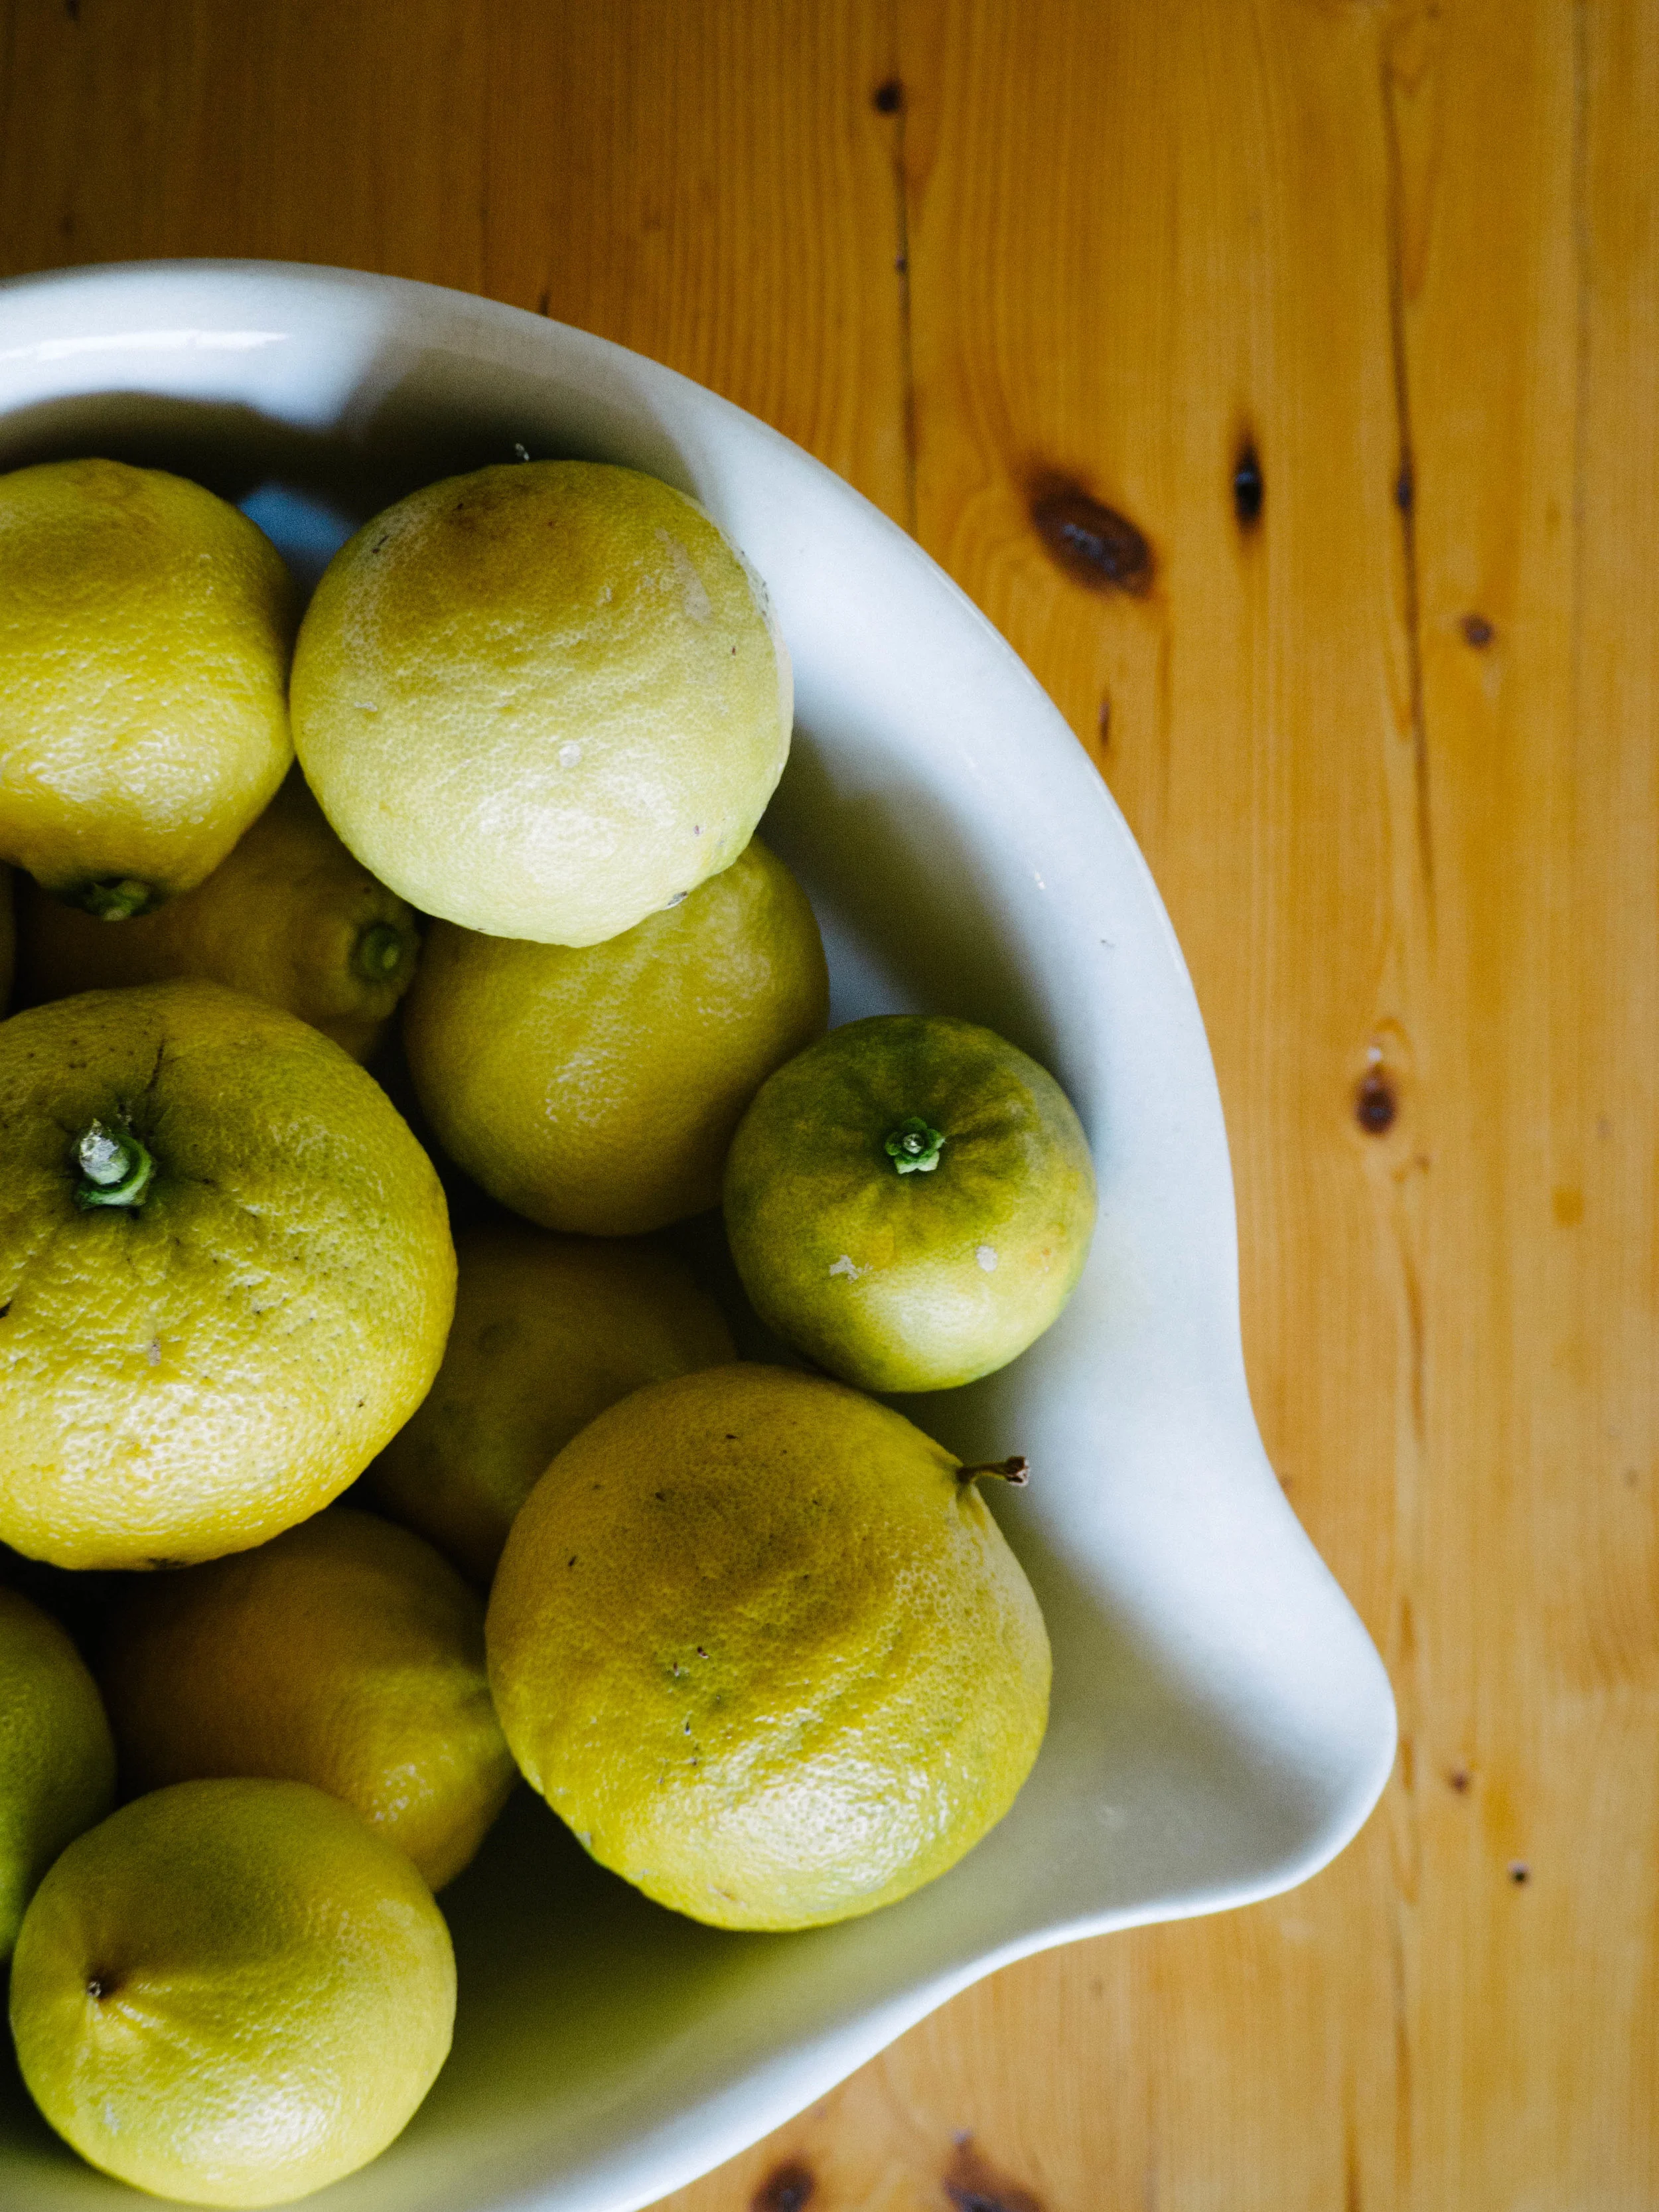
1kg white or donut peaches (just ripe)
10 passionfruit
600g white sugar or jam sugar
100g brown sugar
juice of 1/2 lemon
Method:
Sterilise 3-4 jam jars (about 280-300ml capacity) by washing them in hot soapy water and then placing them in the oven to dry (upside down) at 90 degrees Celsius. Jars can be left for 20 minutes or until they are ready to be used.
Place two small plates in the freezer for later.
Remove the skins from the peaches (if proving difficult don’t worry about it too much), and deseed. Roughly chop and place in a large heavy based saucepan. Scoop the pulp out of each passionfruit and add to the pot, along with the remaining ingredients.
Sit the pot over low heat and stir until the sugar has dissolved and the juices start coming out of the fruit. Increase the heat and stop stirring. Allow the jam to simmer for about 15-20 minutes, then check if it has reaching setting point. Remove one of the plates from the freezer and drop some of the jam onto the plate. Leave for a moment, then run your finger through the jam, If the jam creases it is ready. If not, keep the jam over the heat and test again after another 10 minutes or so. The rate at which the jam sets will depend on the ripeness of the peaches.
Once the jam has reached setting point, remove the jam jars from the oven. Using a ladle and a jam funnel, fill each jar with the jam and secure the lids.
Allow to cool at room temperature, then store in a cool dry place for up to six months. Refrigerate once opened, or if conditions are hot and humid.

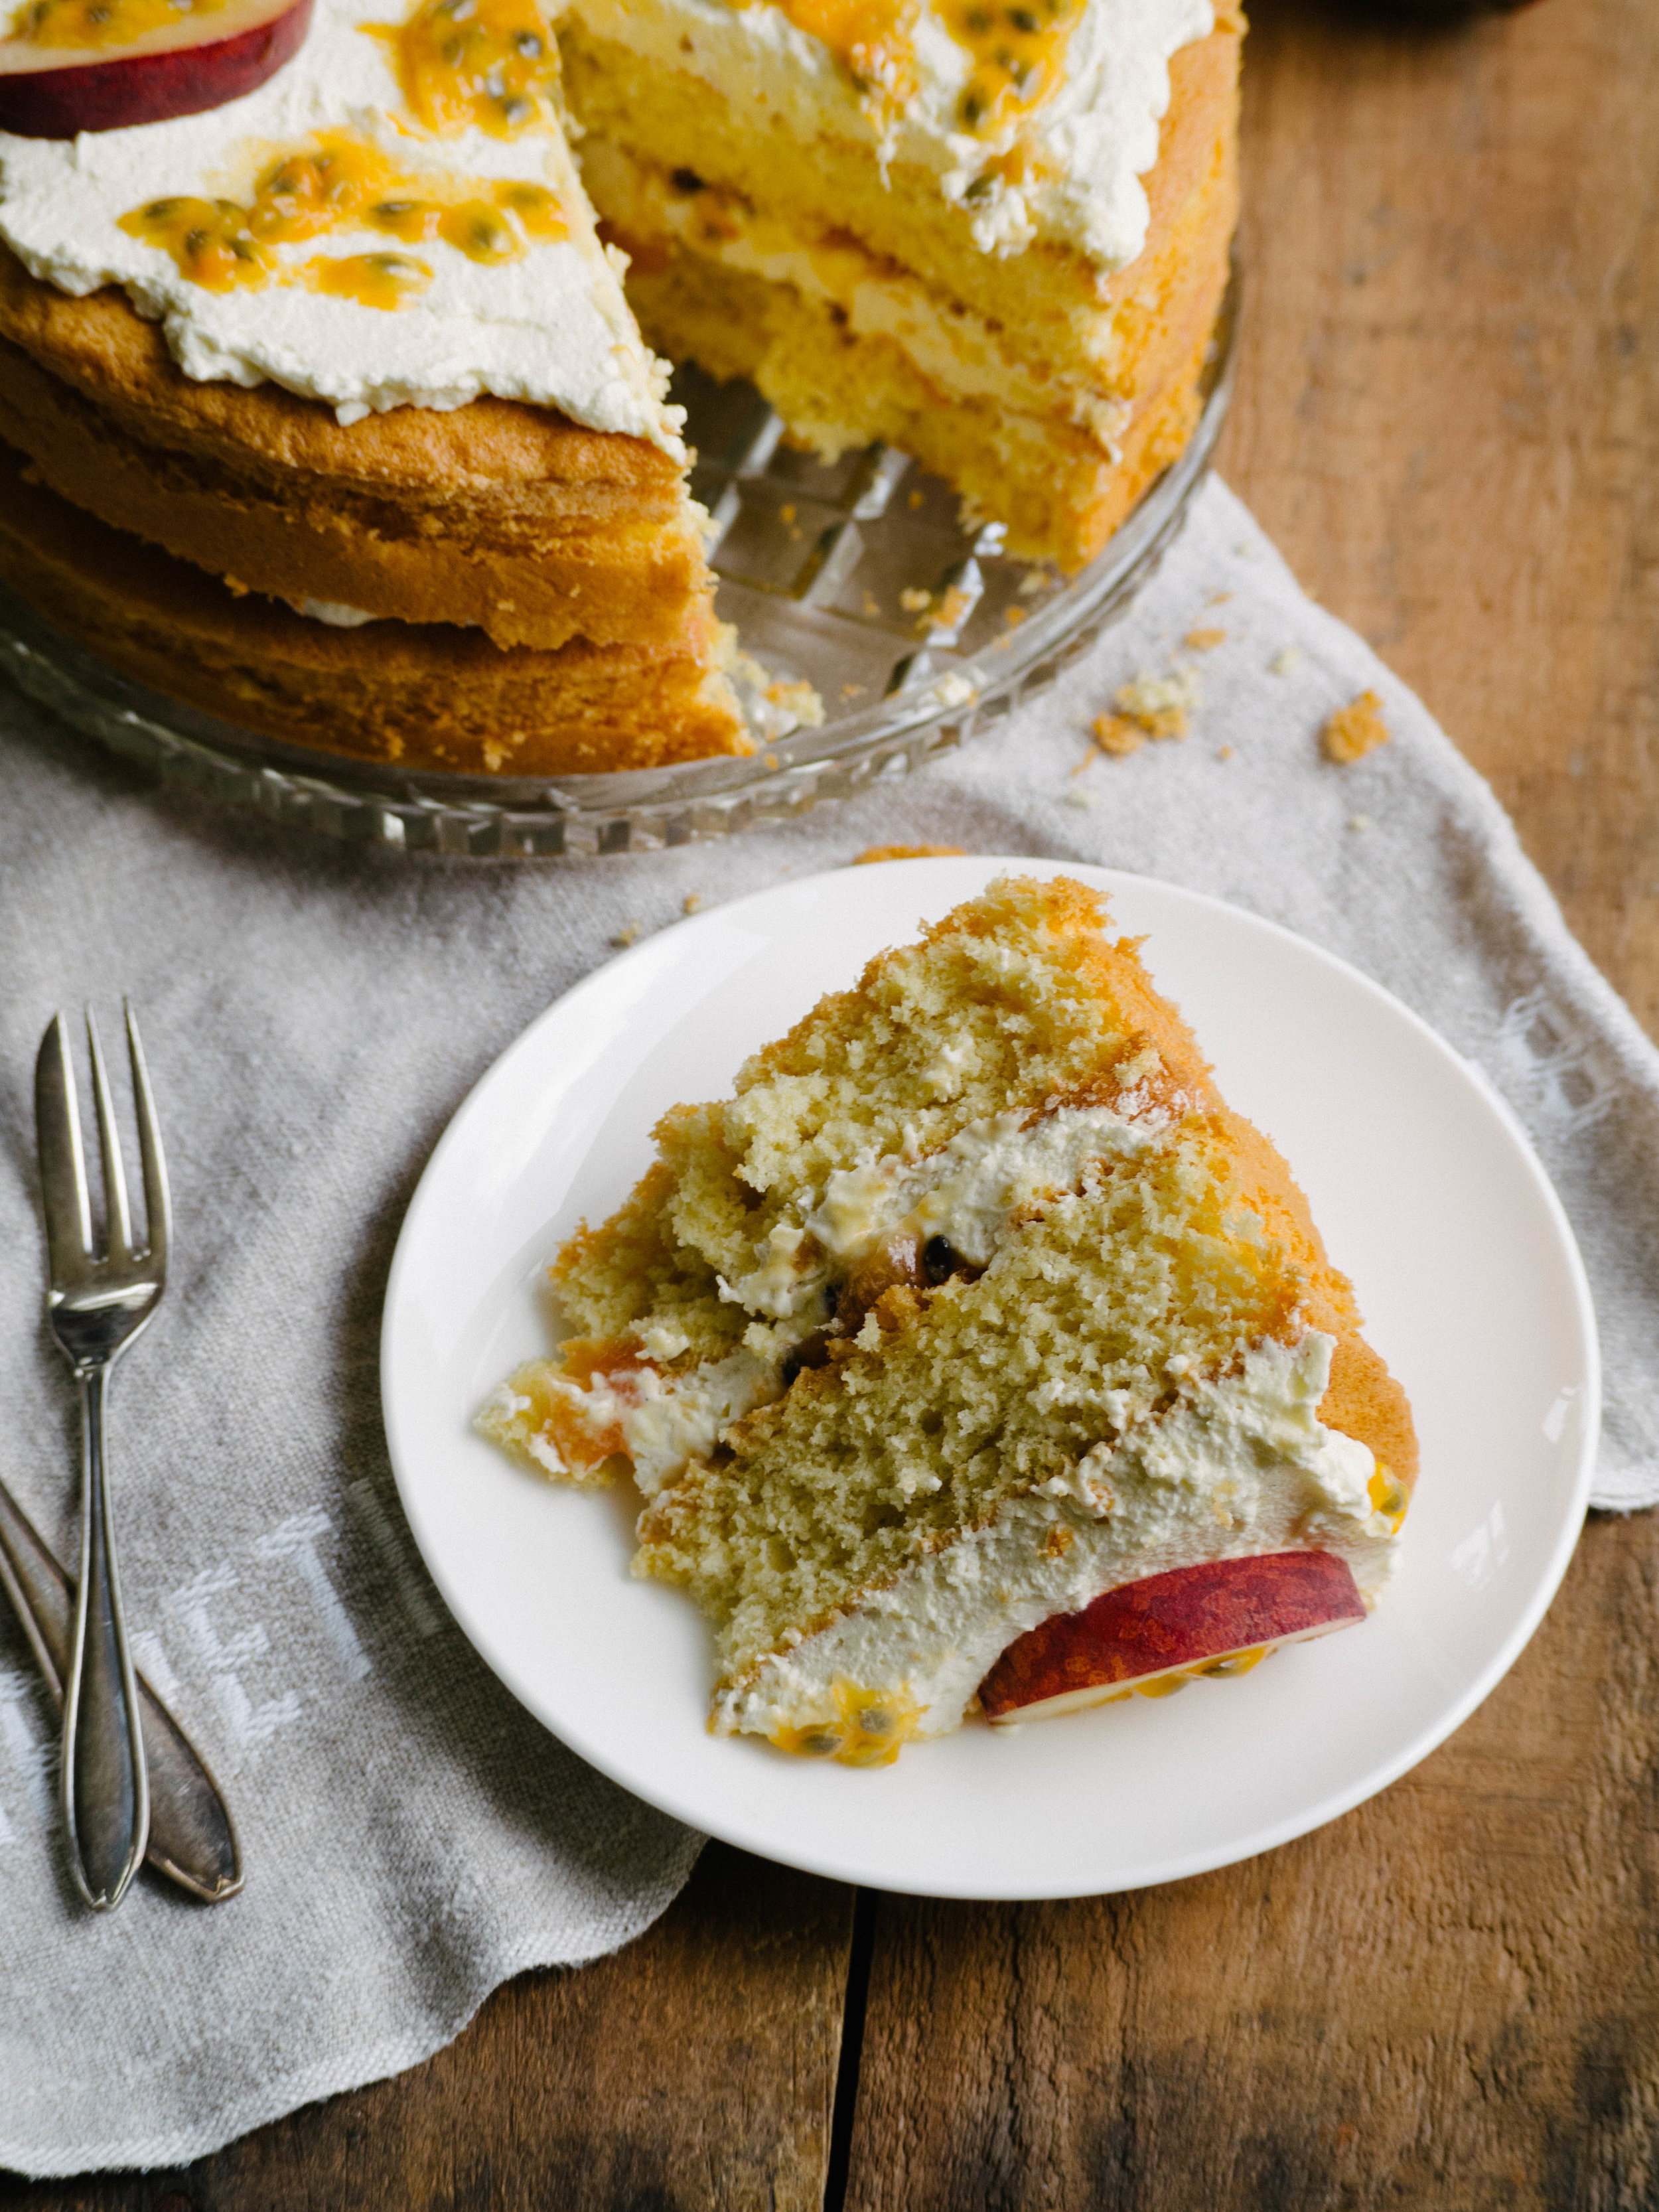
White Peach & Passionfruit Sponge Cake
White Peach and Passionfruit Sponge Cake
Ingredients:
x5 eggs, room temperature
140g golden caster sugar
160g plain flour, plus extra for the tin
2 tsp baking powder
300ml pouring cream
butter, to grease the tin
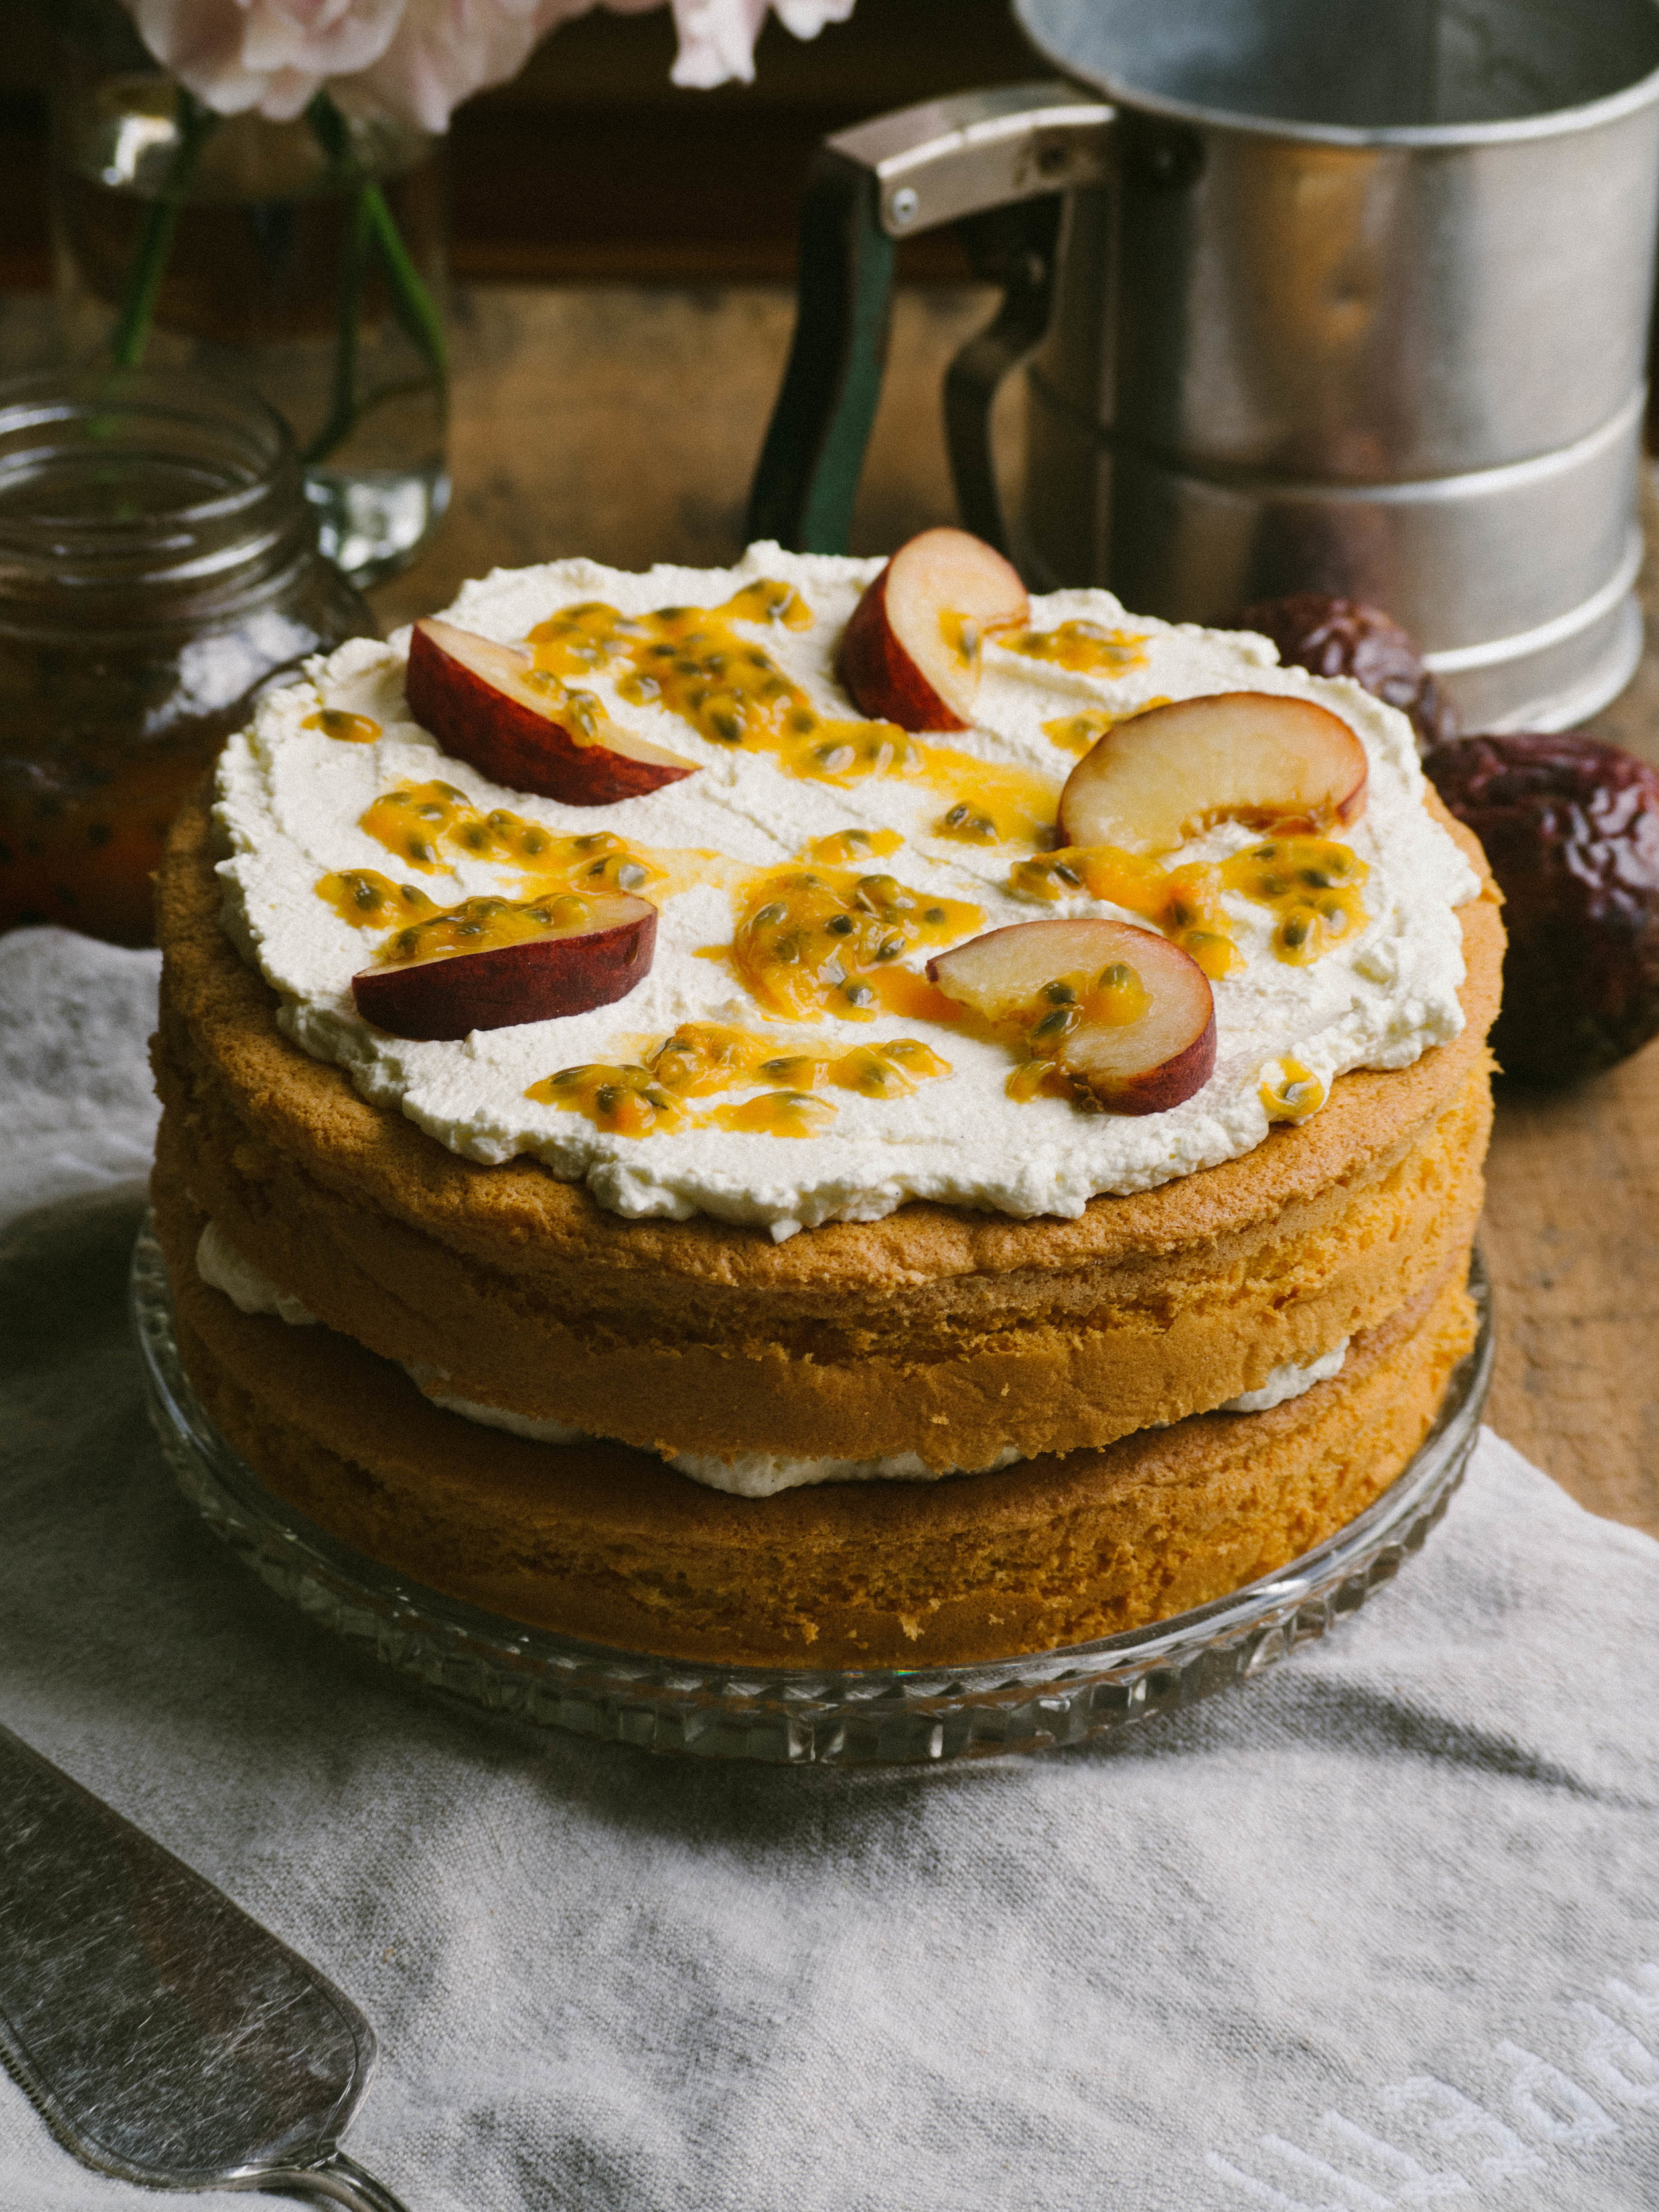
5 tbsp White Peach & Passionfruit Jam, approx.
1 white or donut peach, to decorate
pulp of 1/2 passionfruit, to decorate
Method:
Preheat oven to 180 degrees Celsius, and butter and flour two 20 cm loose bottomed cake tins.
In the bowl of a stand mixer, add the eggs and sugar. Whisk for about 10 minutes, on medium to high speed. The mixture will triple in size and become pale and fluffy.
While the eggs are whisking, measure the flour and baking powder into a separate bowl and whisk together to remove any lumps. Carefully add the flour and baking powder to the whisked eggs, gently and quickly folding it into the eggs with a large metal spoon.
Divide the mixture evenly between the two prepared tins, and bake for 15-20 minutes. The cakes will be golden in colour and spring back when lightly touched.
Leave the cakes to cool in their tins for a couple of minutes. Place a sheet of baking paper on a cooling rack, and remove each cake from their tins on to the paper. This will prevent the cakes sticking to the cooling racks. Alternatively, you can leave the baking paper that is already on the base of each cake, and place them straight on the racks.
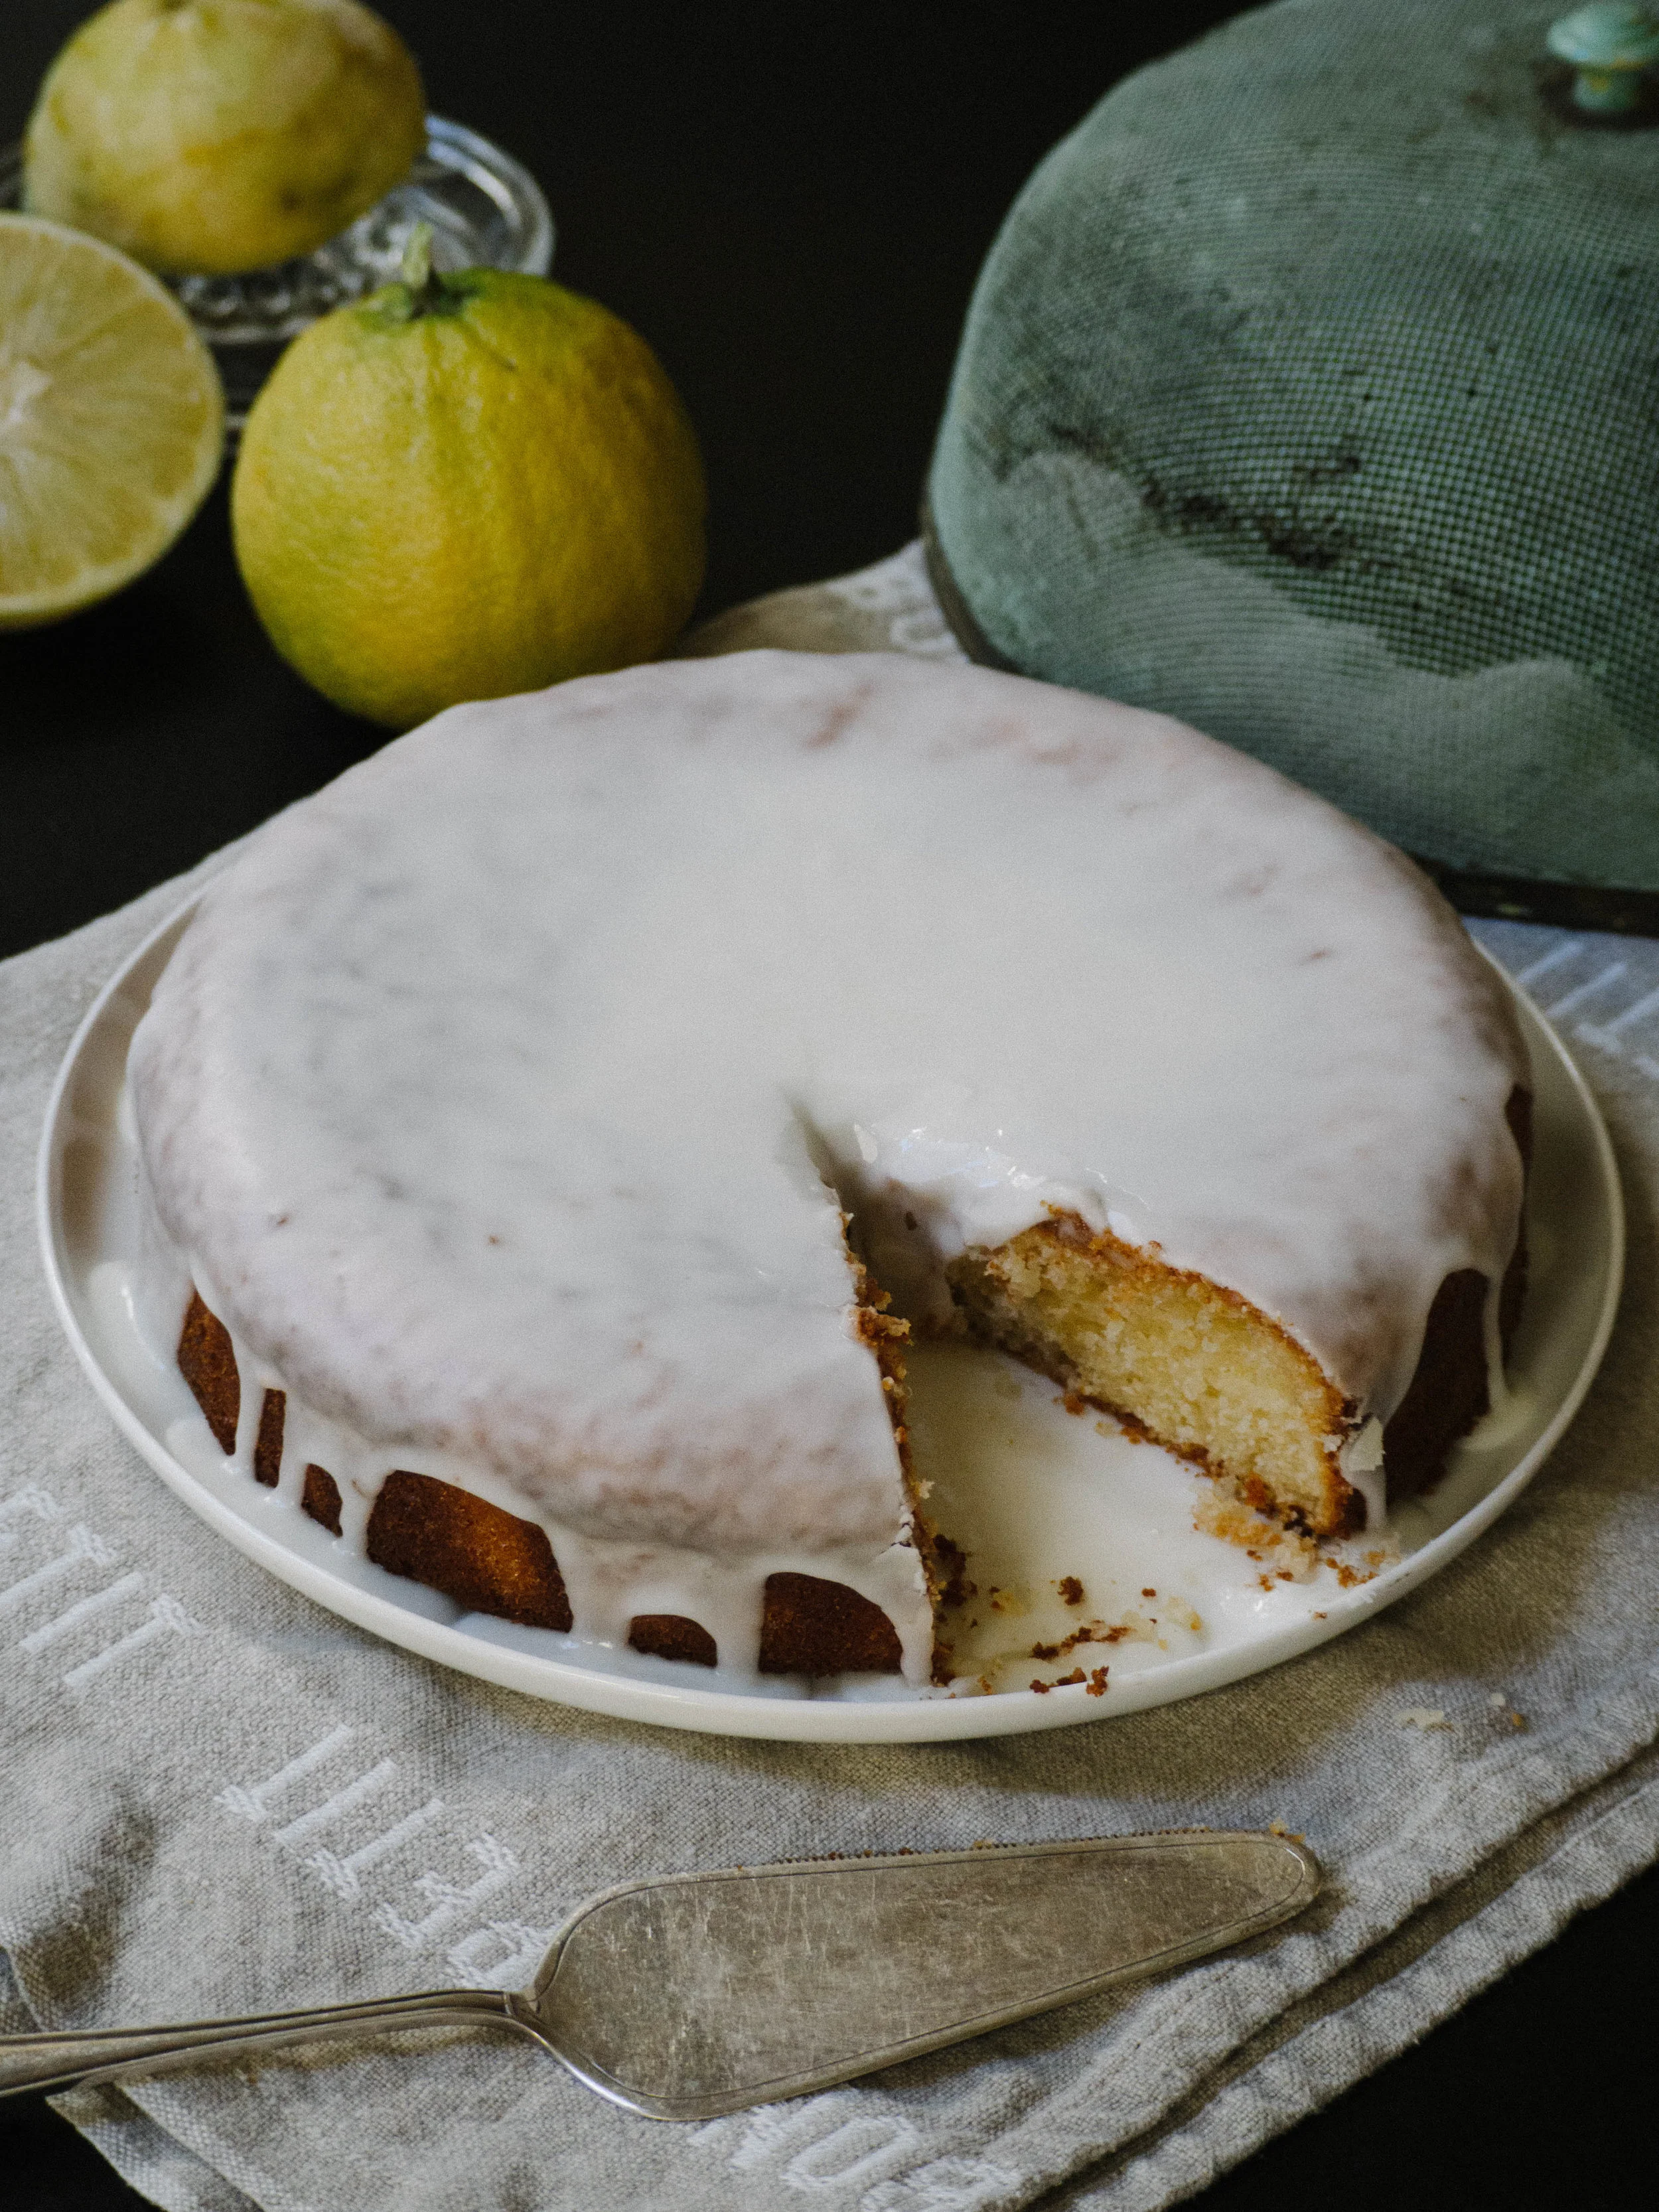
Once the cakes have cooled (this shouldn’t take too long), prepare the cream filling. Whip the cream until it has thickened and soft peaks are forming. Place one of the cakes on a cake stand or serving plate, and top with half of the cream. Dollop over the White Peach and Passionfruit Jam, ensuring it is evenly placed over the cream. Place the second sponge on top and finish with the remaining cream. Slice up the peach and use to decorate the rim of the cake. Sprinkle over the passionfruit pulp to finish.
Serve immediately.


References: ‘Real Food Projects’ by Kate Walsh (Murdoch Books, 2016), p.62; ‘Local is Lovely’ by Sophie Hansen (Hachette Australia, 2014), p.50.