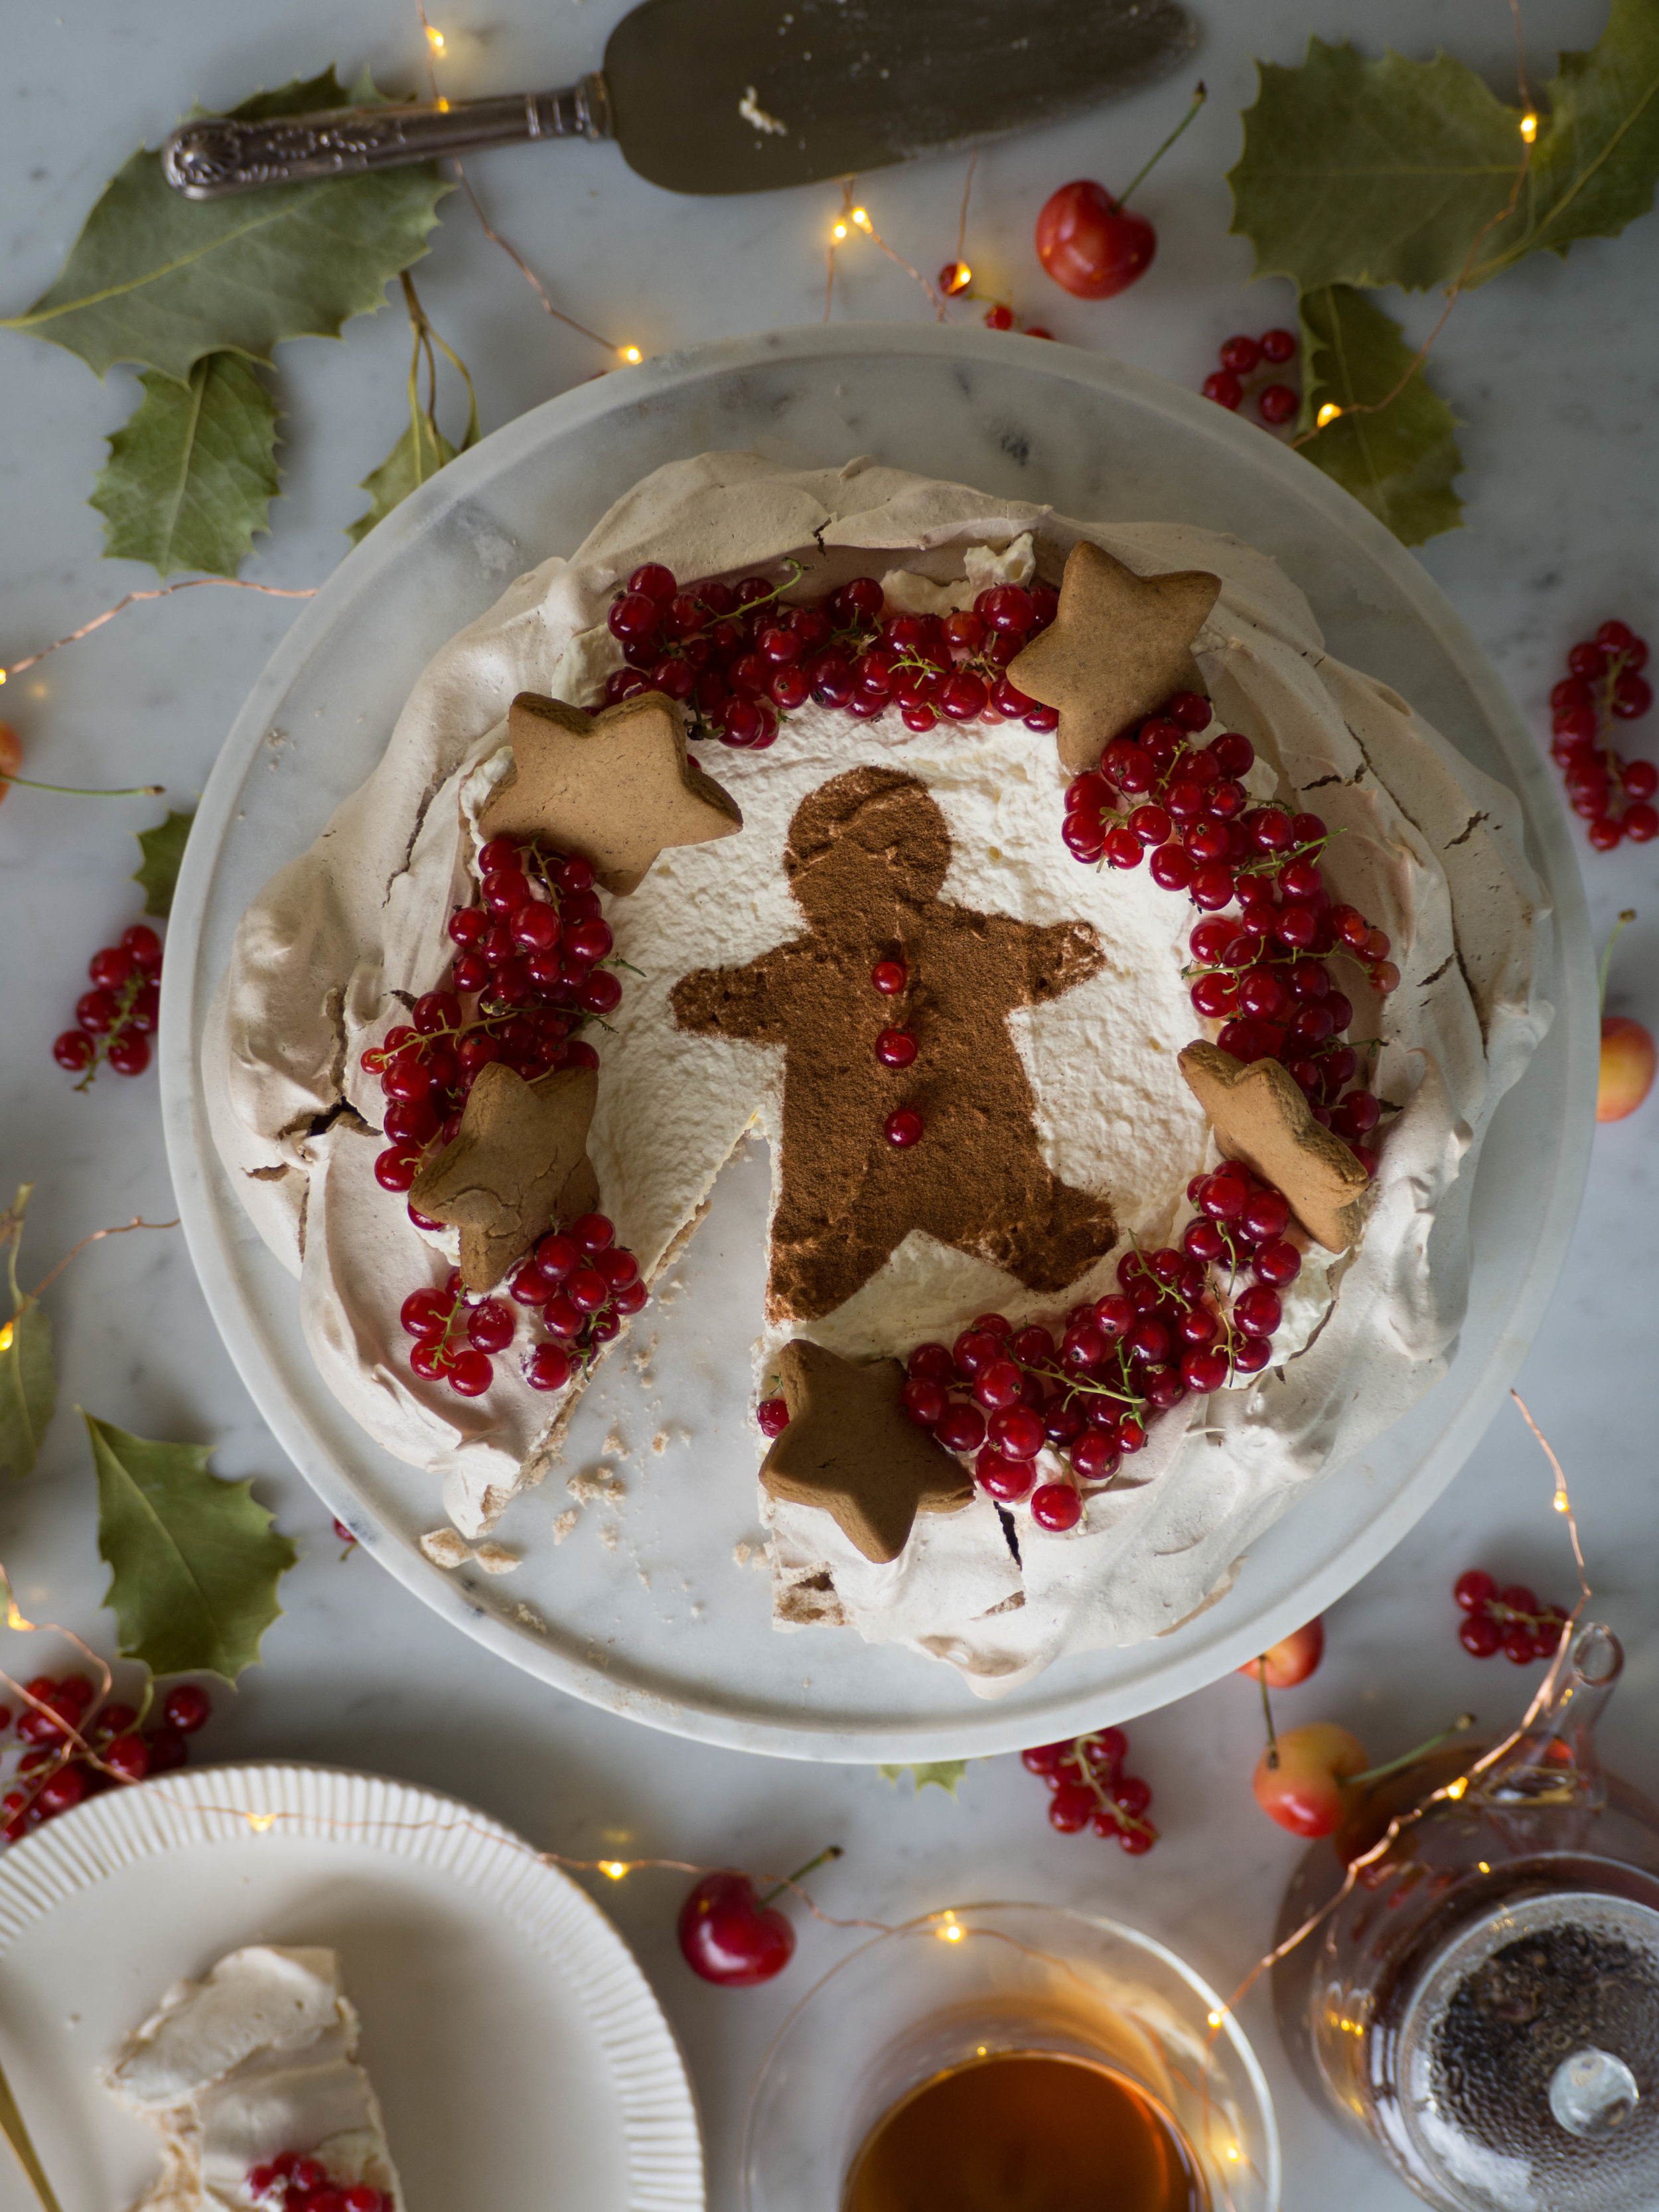
After the research I have done and all I have seen about honey cakes at this time of year, I am quite willing to admit this one isn’t particularly traditional. It is however exactly the kind of honey cake I have been looking for.
I first heard of honey cake through the Rosh Hashanah chapter in Nigella Lawson’s book ‘Feast’. Nigella’s recipe uses golden syrup instead of honey, which for a novice like me at the time was a little confusing. Nigella explains that is just how she likes her honey cakes, with no honey! I have since seen a multitude of recipes for honey cake, and whilst all looking delicious, they all contained at least one ingredient I couldn’t eat - black tea, coffee or orange juice. So I never made them. I did make Nigella’s and whilst it was good (and I would make it again), knowing it wasn’t a very traditional honey cake meant I still had to keep searching for the right one.
Then last month I was making a carrot cake for my Dad’s birthday (recipe from Katie Quinn Davies book ‘What Katie Ate’), and as I was grating the carrots and measuring out the honey I thought, maybe this could work with apples instead of carrots? It then occurred to me that the combination of apples and honey would be perfect for Rosh Hashanah since they are so symbolic for that holiday. The recipe would also be perfect for me if it worked, as it didn’t contain any black tea, coffee or orange juice.


So I tried it. And it most definitely works! For the original cake I made, I added honey to the cream cheese icing as well and it was just so good - the recipe for that cake is in my newly released eBook (which is all about baking cakes with seasonal fruits, yum!). You can get a copy by clicking here or scrolling to the bottom of this post.
After a little deliberation about the icing on the cake - icing on Rosh Hashanah honey cakes isn’t very traditional and mostly considered unnecessary, and the dairy content of the icing would make the cake not kosher depending on the context in which it was served - I opted for a icing free loaf cake. You can brush a little honey over the warm cake if you wish, but this is completely optional. The cake works so well with and without the icing, and I can tell I will be making this many more times!

Apple & Honey Cake with Honeyed Cream Cheese Icing - Recipe in Seasonal Cakes & Bakes eBook
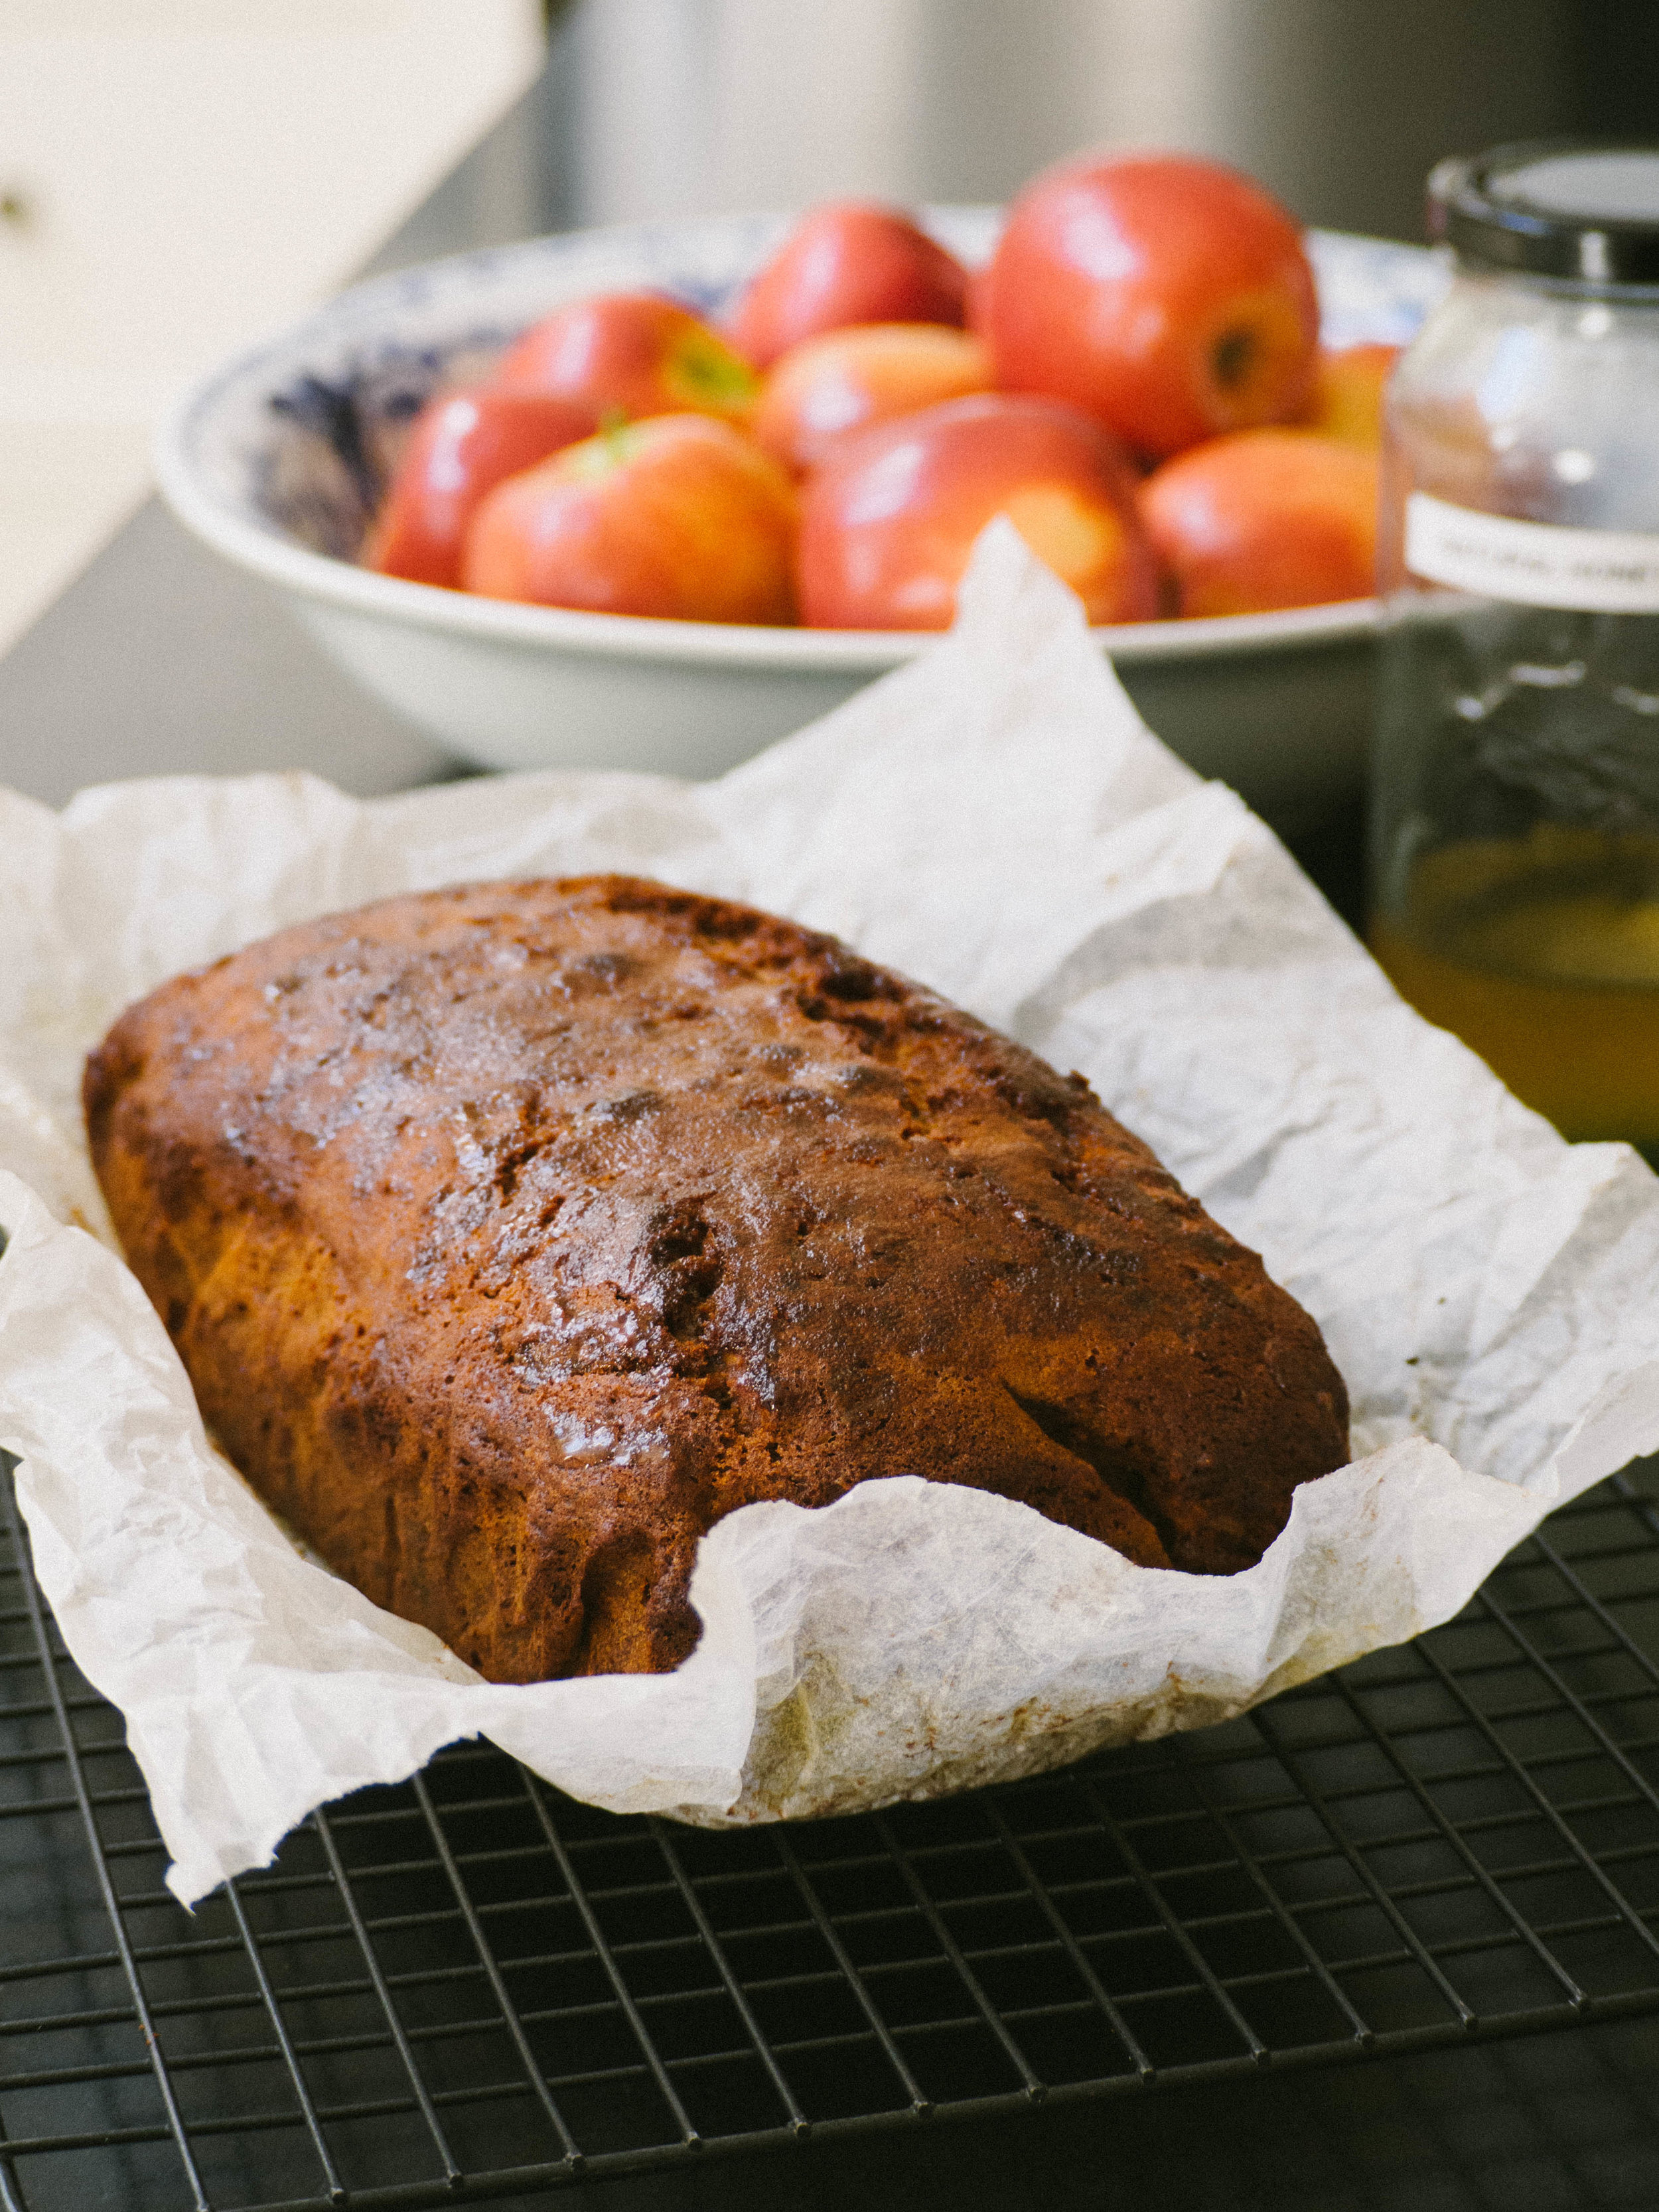
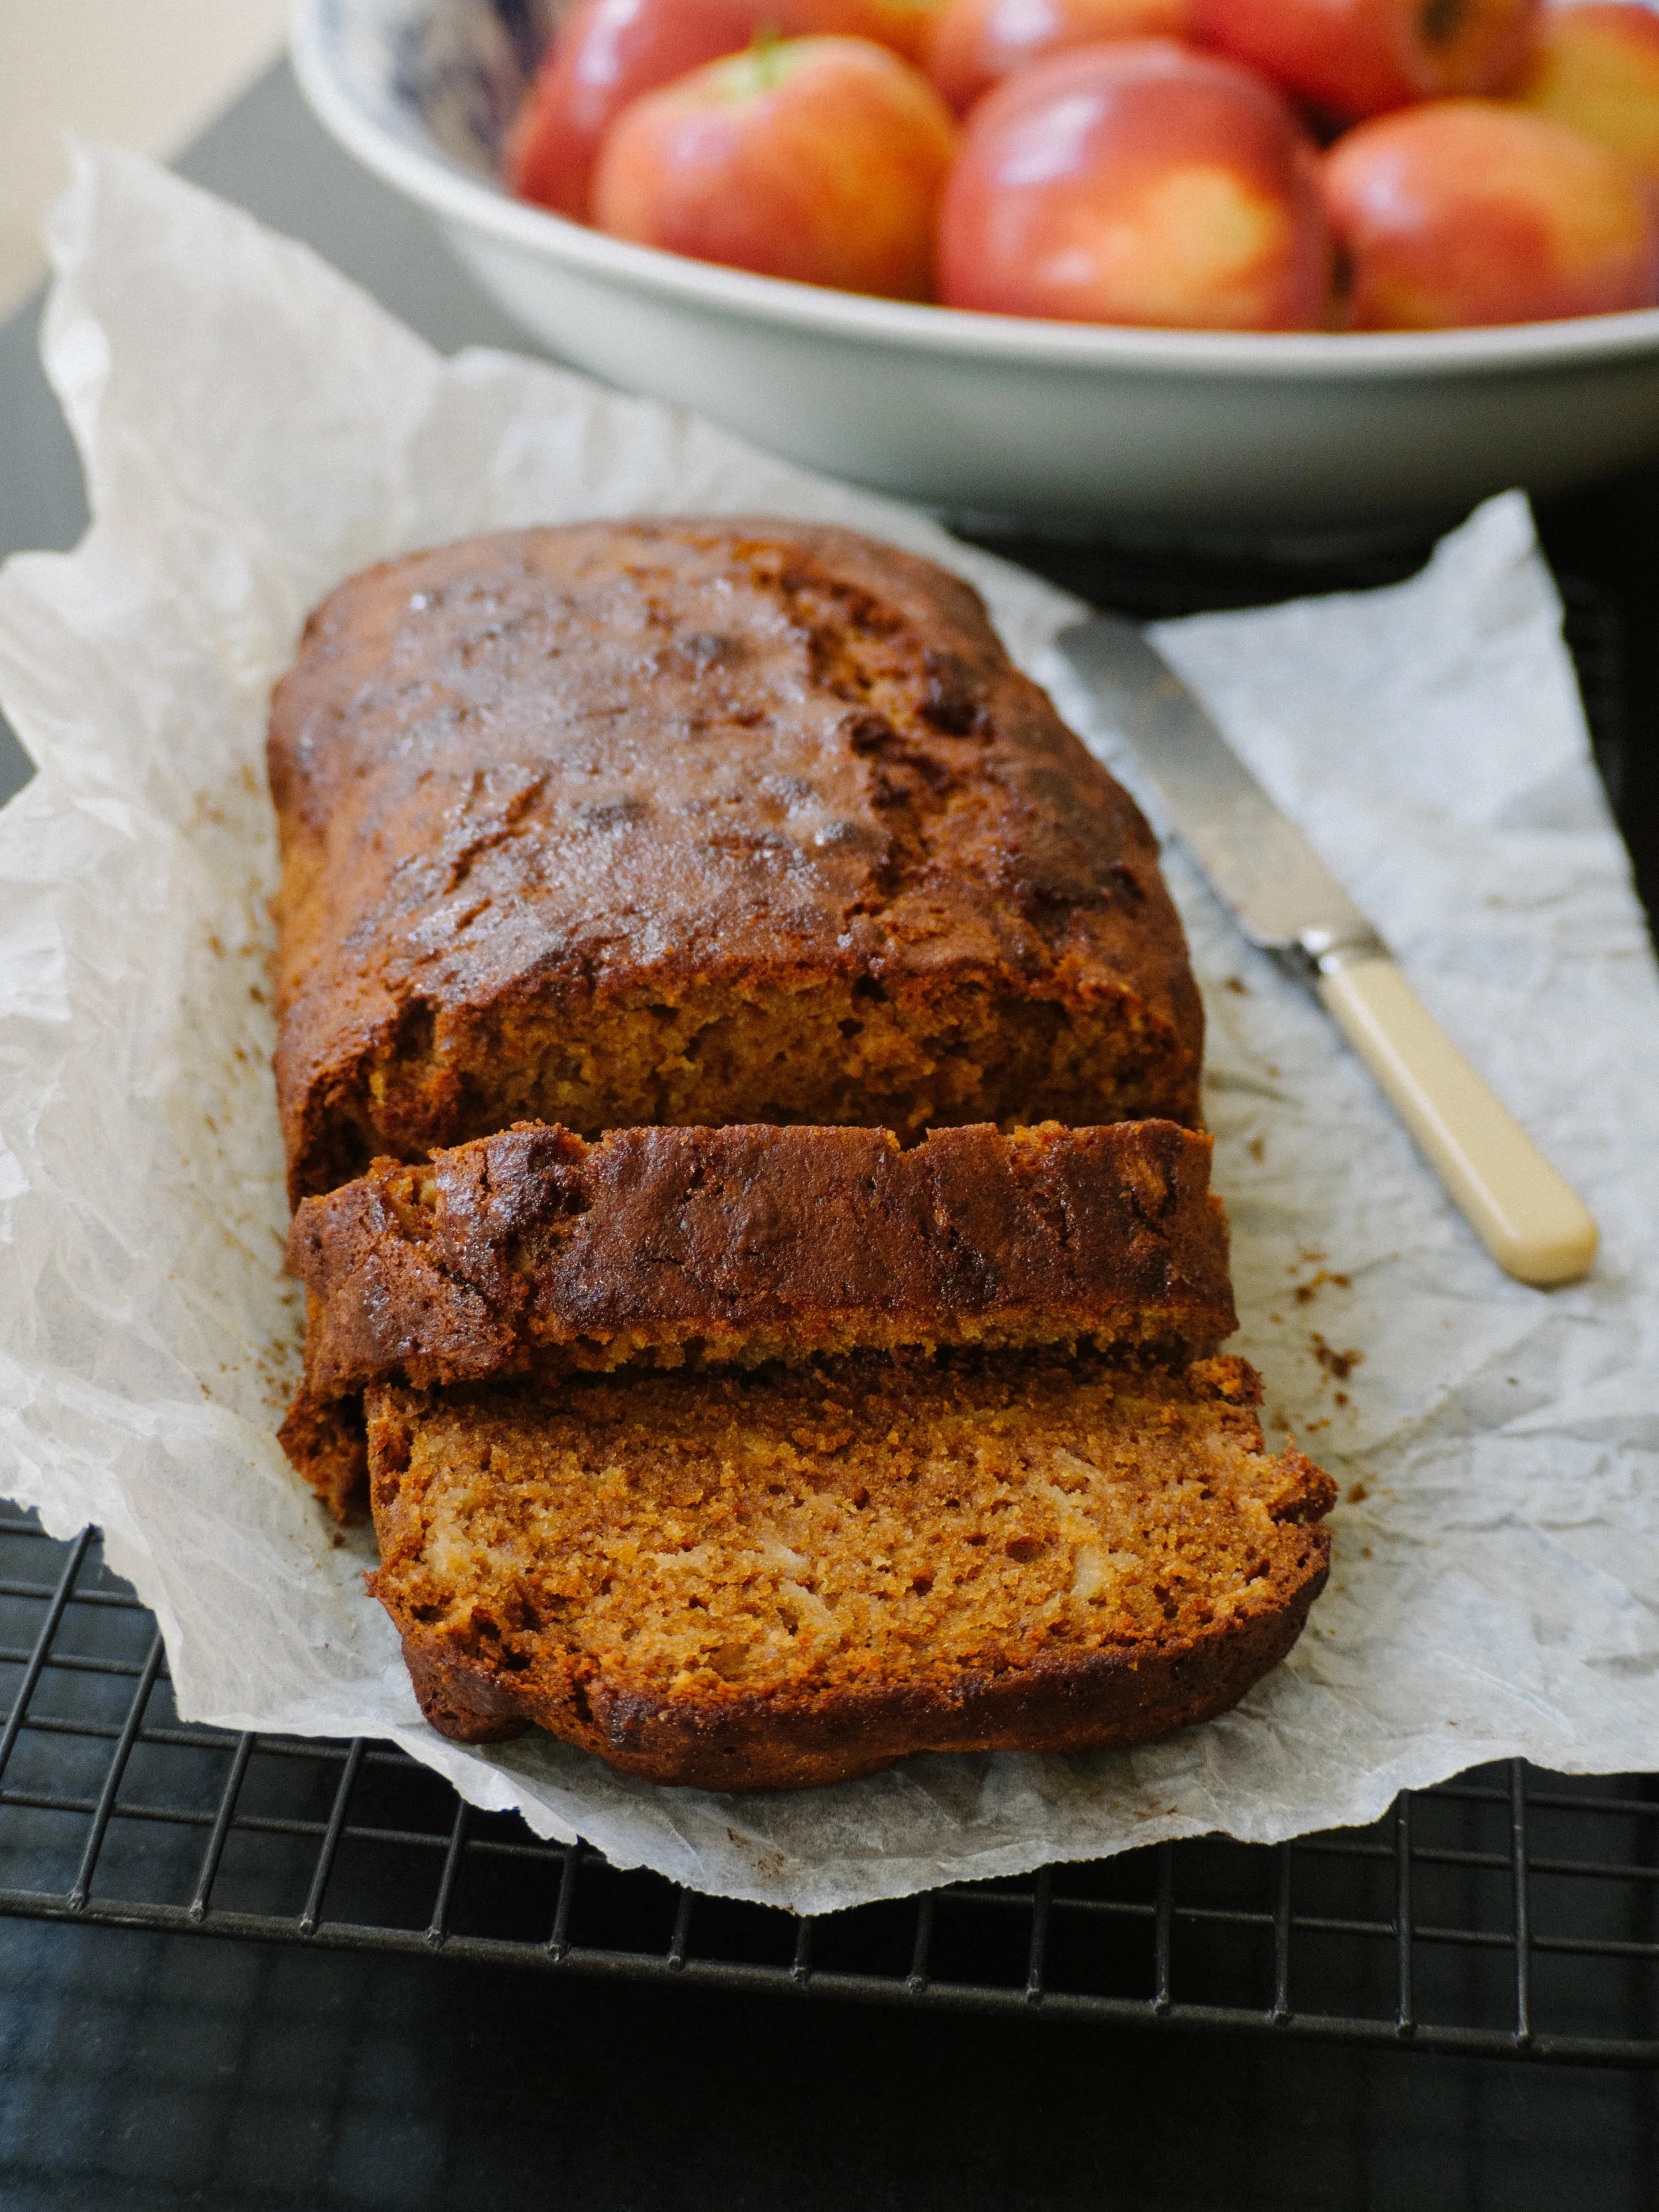
Rosh Hashanah Apple & Honey Cake
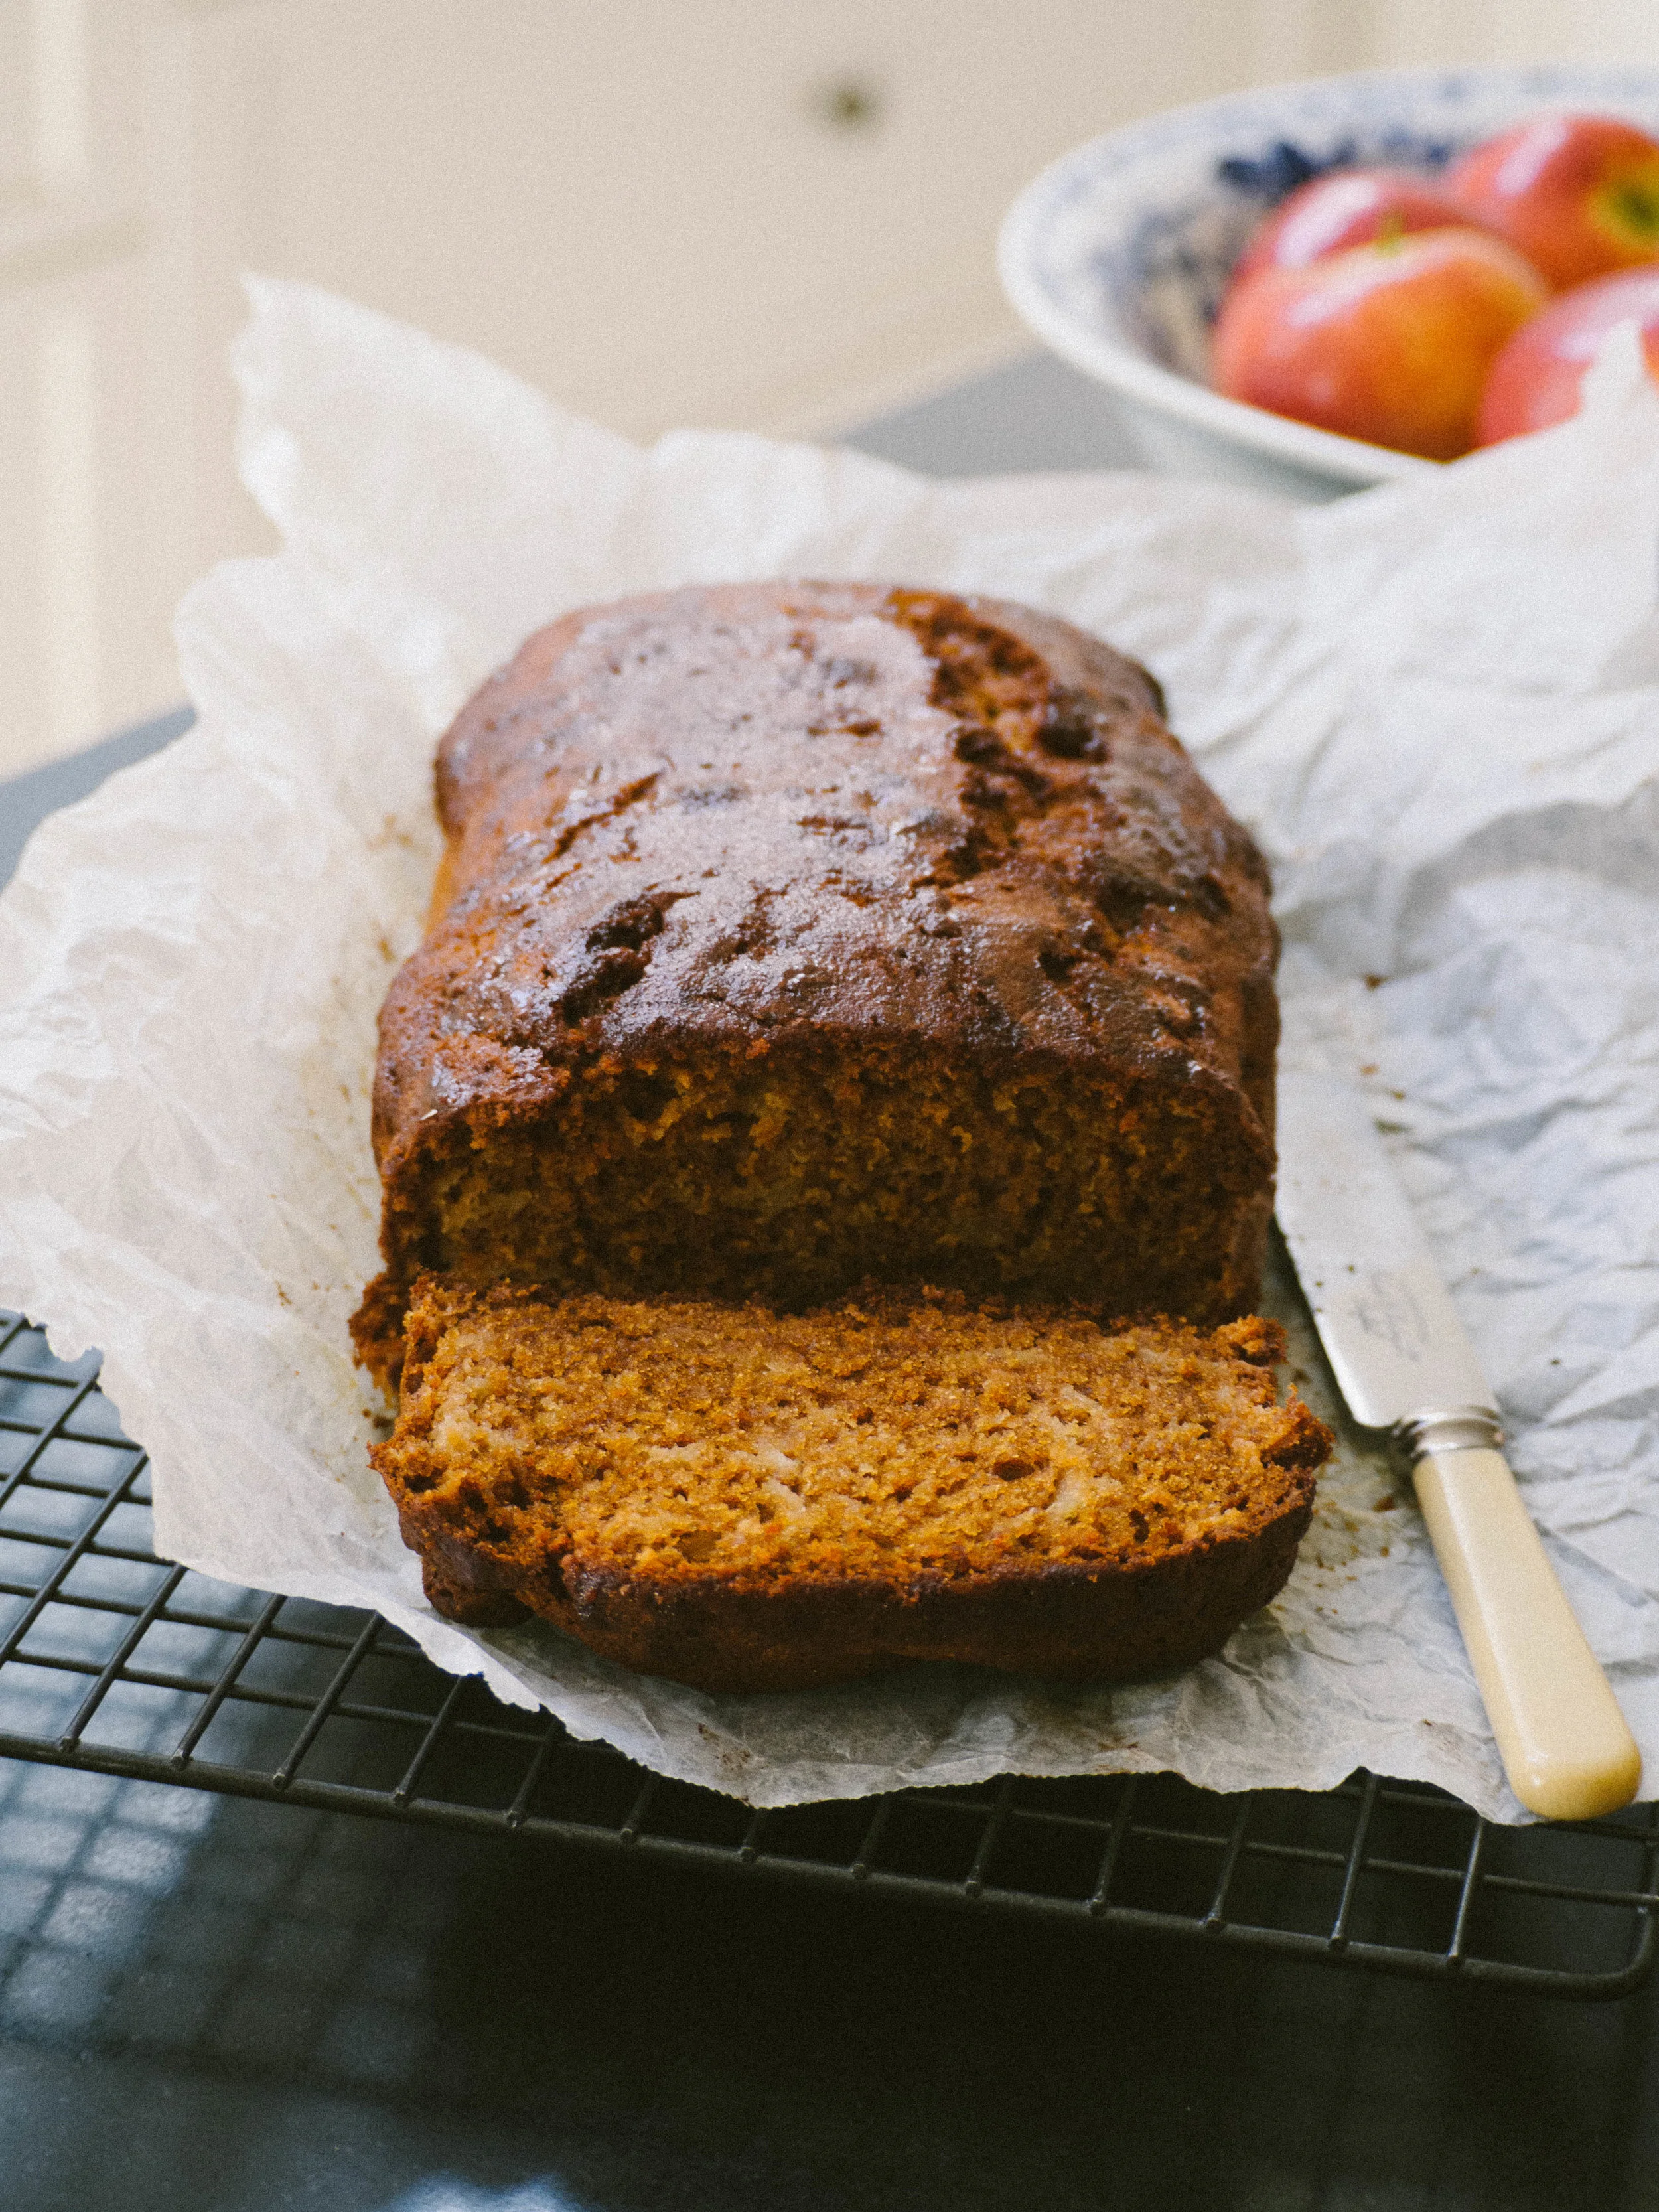
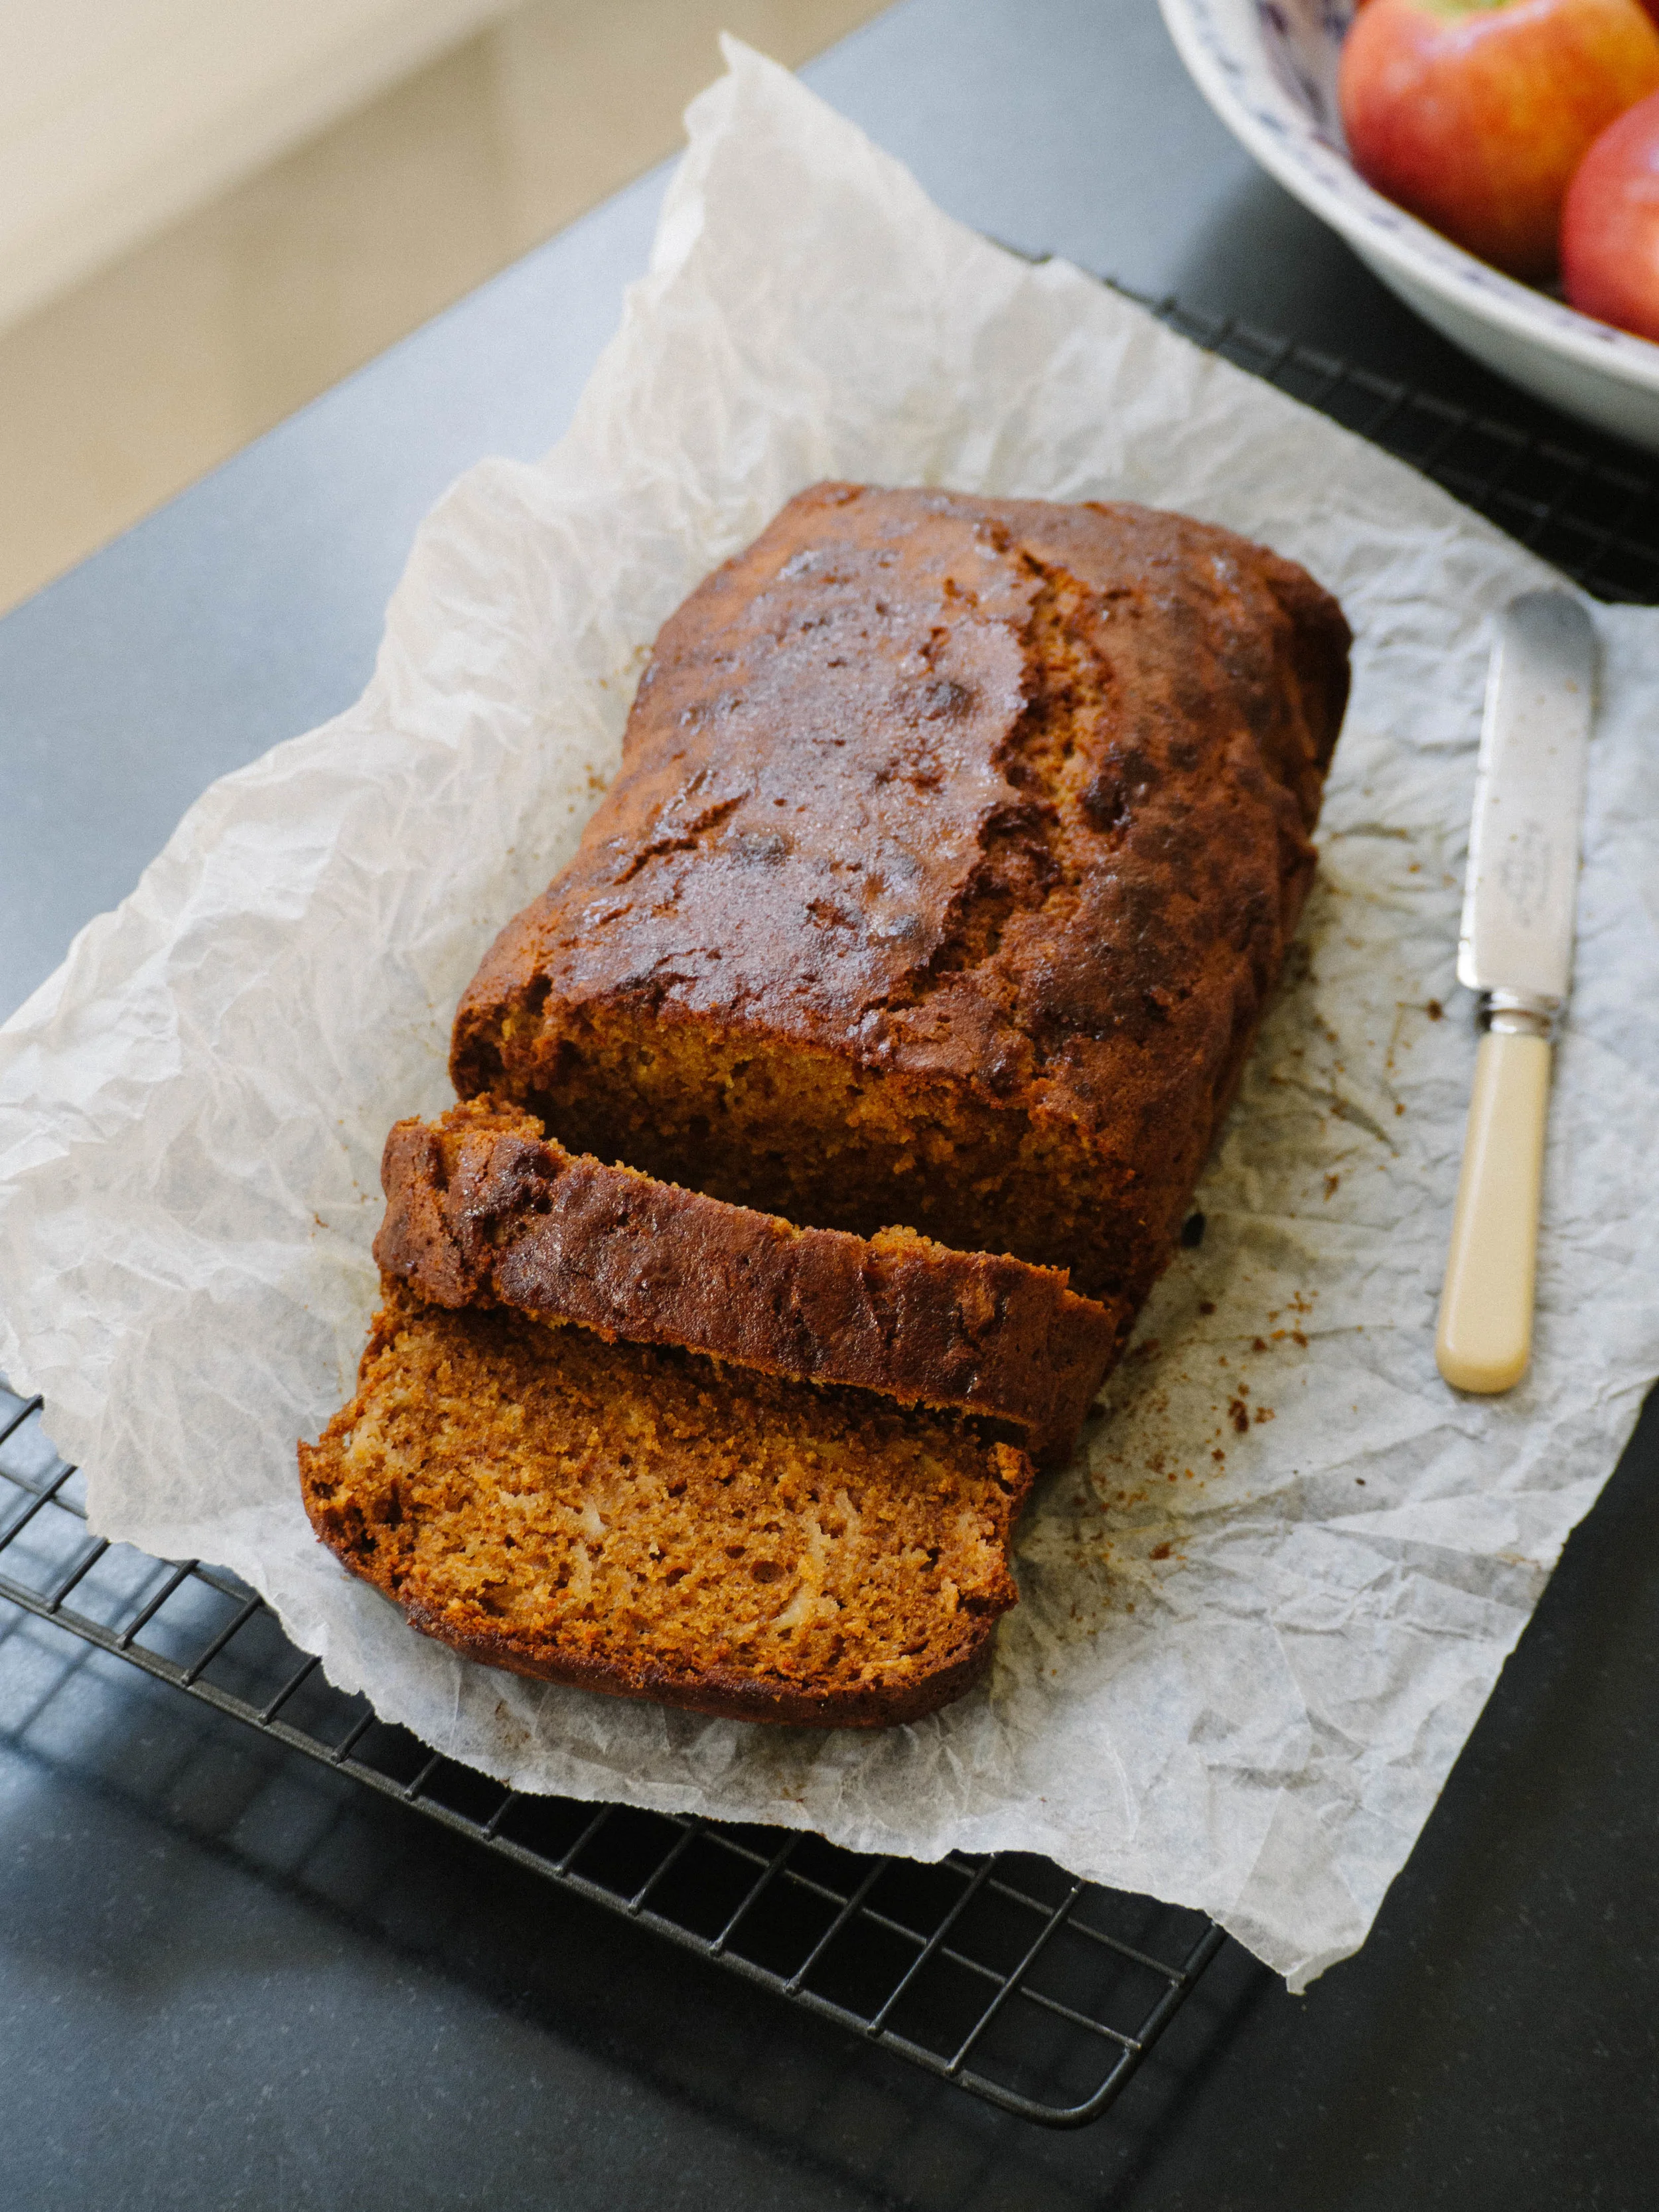
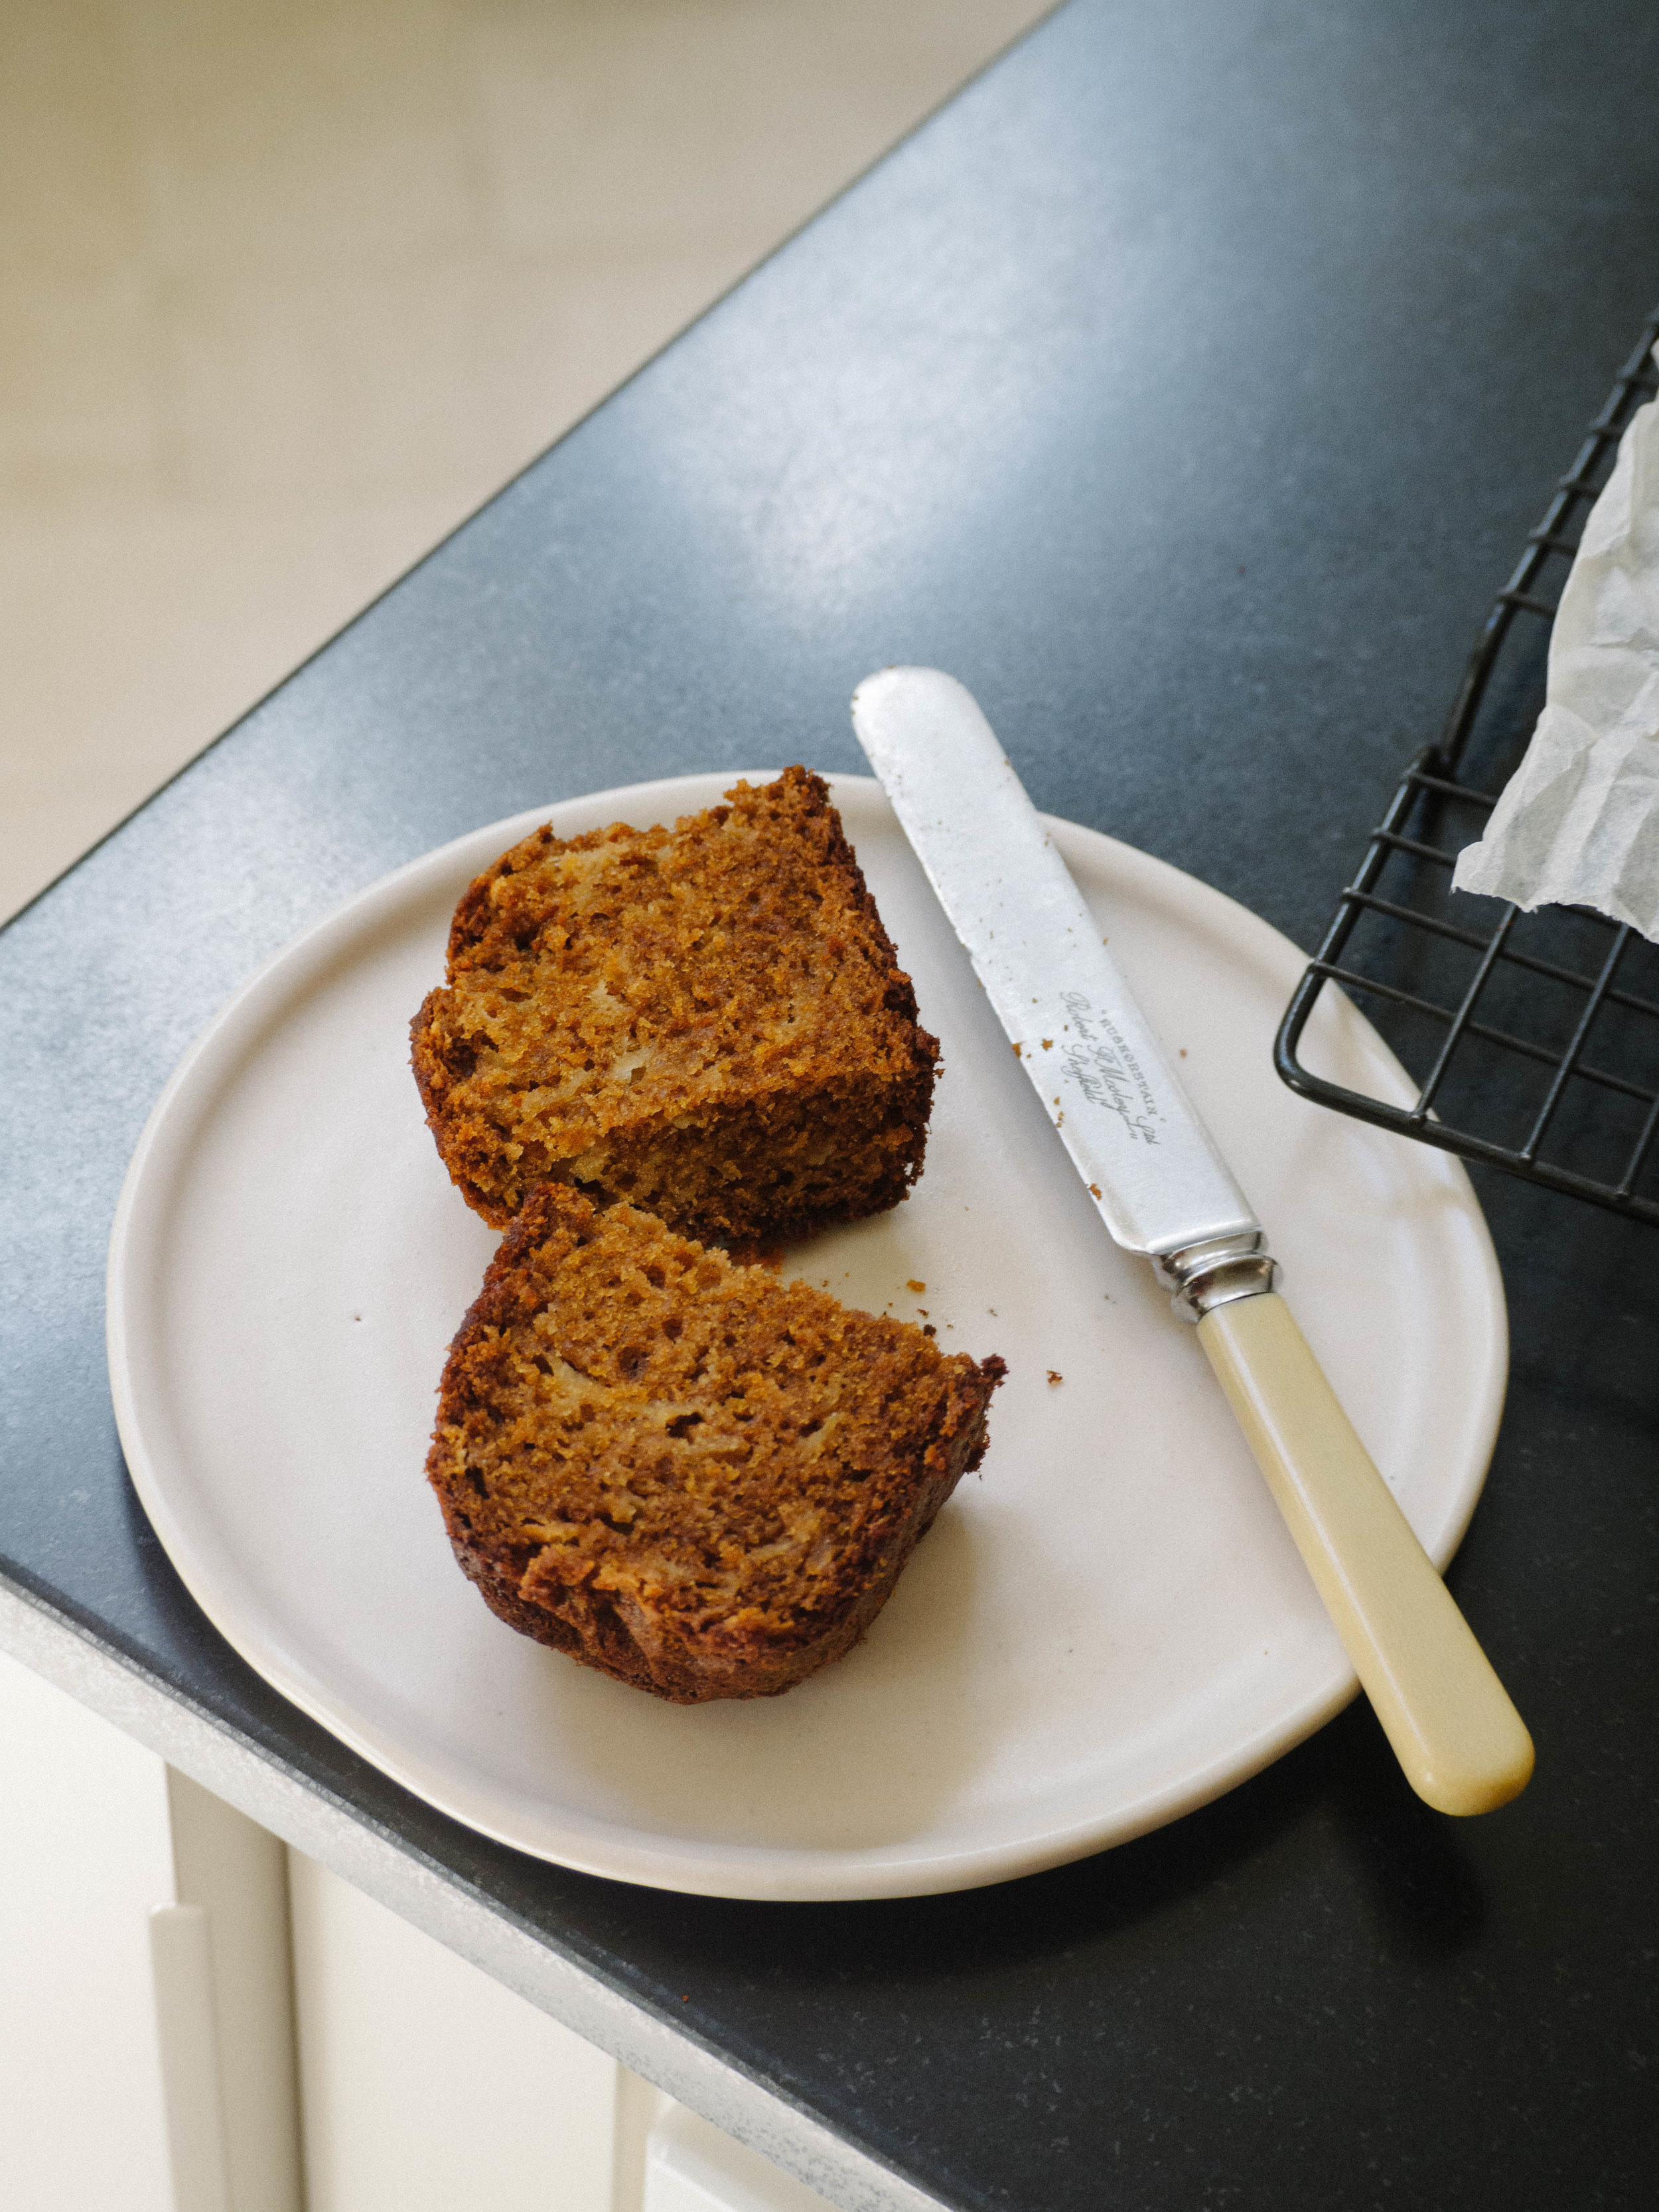
Rosh Hashanah Inspired Apple & Honey Loaf Cake (Dairy Free)
Ingredients:
75g panela sugar (or light/dark brown sugar)
125ml canola/vegetable oil
125ml honey (+ 1tbsp extra, optional)
3 eggs
1 tsp vanilla bean paste
225g plain flour
2 tsp baking powder
1 tsp bicarb soda
1 tsp ground ginger
3 small/medium apples (I used Pink Lady variety)
Method:
Preheat oven to 170 degrees Celsius and line a 20 x 10.5 cm (approx.) loaf tin with baking paper so some of the paper hangs over the sides.
In a large bowl whisk together the sugar, oil, honey, eggs and vanilla.
Then add the flour, baking powder and ginger. Sift in the bicarb soda and whisk together until combined.
Peel and grate the apples. Place a few layers of paper towel inside a medium bowl and place all the grated apple inside it. Squeeze out as much juice from the grated apples as possible using the paper towel. Then add the apples to the cake mixture and mix to combine.
Transfer to the prepared tin and bake for about 50-60 minutes, or until the cake is springy to the touch and a skewer inserted in the centre comes out clean.
Remove the cake from the tin immediately, using the overhanging baking paper to do so. Place on a wire rack, and brush extra honey over the top if using. Serve warm.
Apple & Honey Cake (Dairy Free)
Apple & Honey Cake (Dairy Free)
Rosh Hashanah Apple & Honey Cake