I first tried a slice of this cake when a former colleague brought some into to work around Christmas last year. Her Mum, a keen baker and CWA member had made it.The cake was cut thinly, so the glacé fruit and the nuts were really obvious and it was clear why the cake was called a Stained Glass Window Cake! I was hesitant at first to try some as I never like Christmas style fruit cakes, but this one has definitely become an exception.
I asked my friend what the cake was called and she text her Mum to check. Her Mum came back saying it was called a Stained Glass Window Cake (sometimes known as an American Fruit Cake or Bishops Cake). My colleague also told me how in the past her Mum would make the trip to David Jones Food Hall in the city to get all the glacé fruit. I quickly wrote all that down on a post it note and took it home so I would remember all the details.
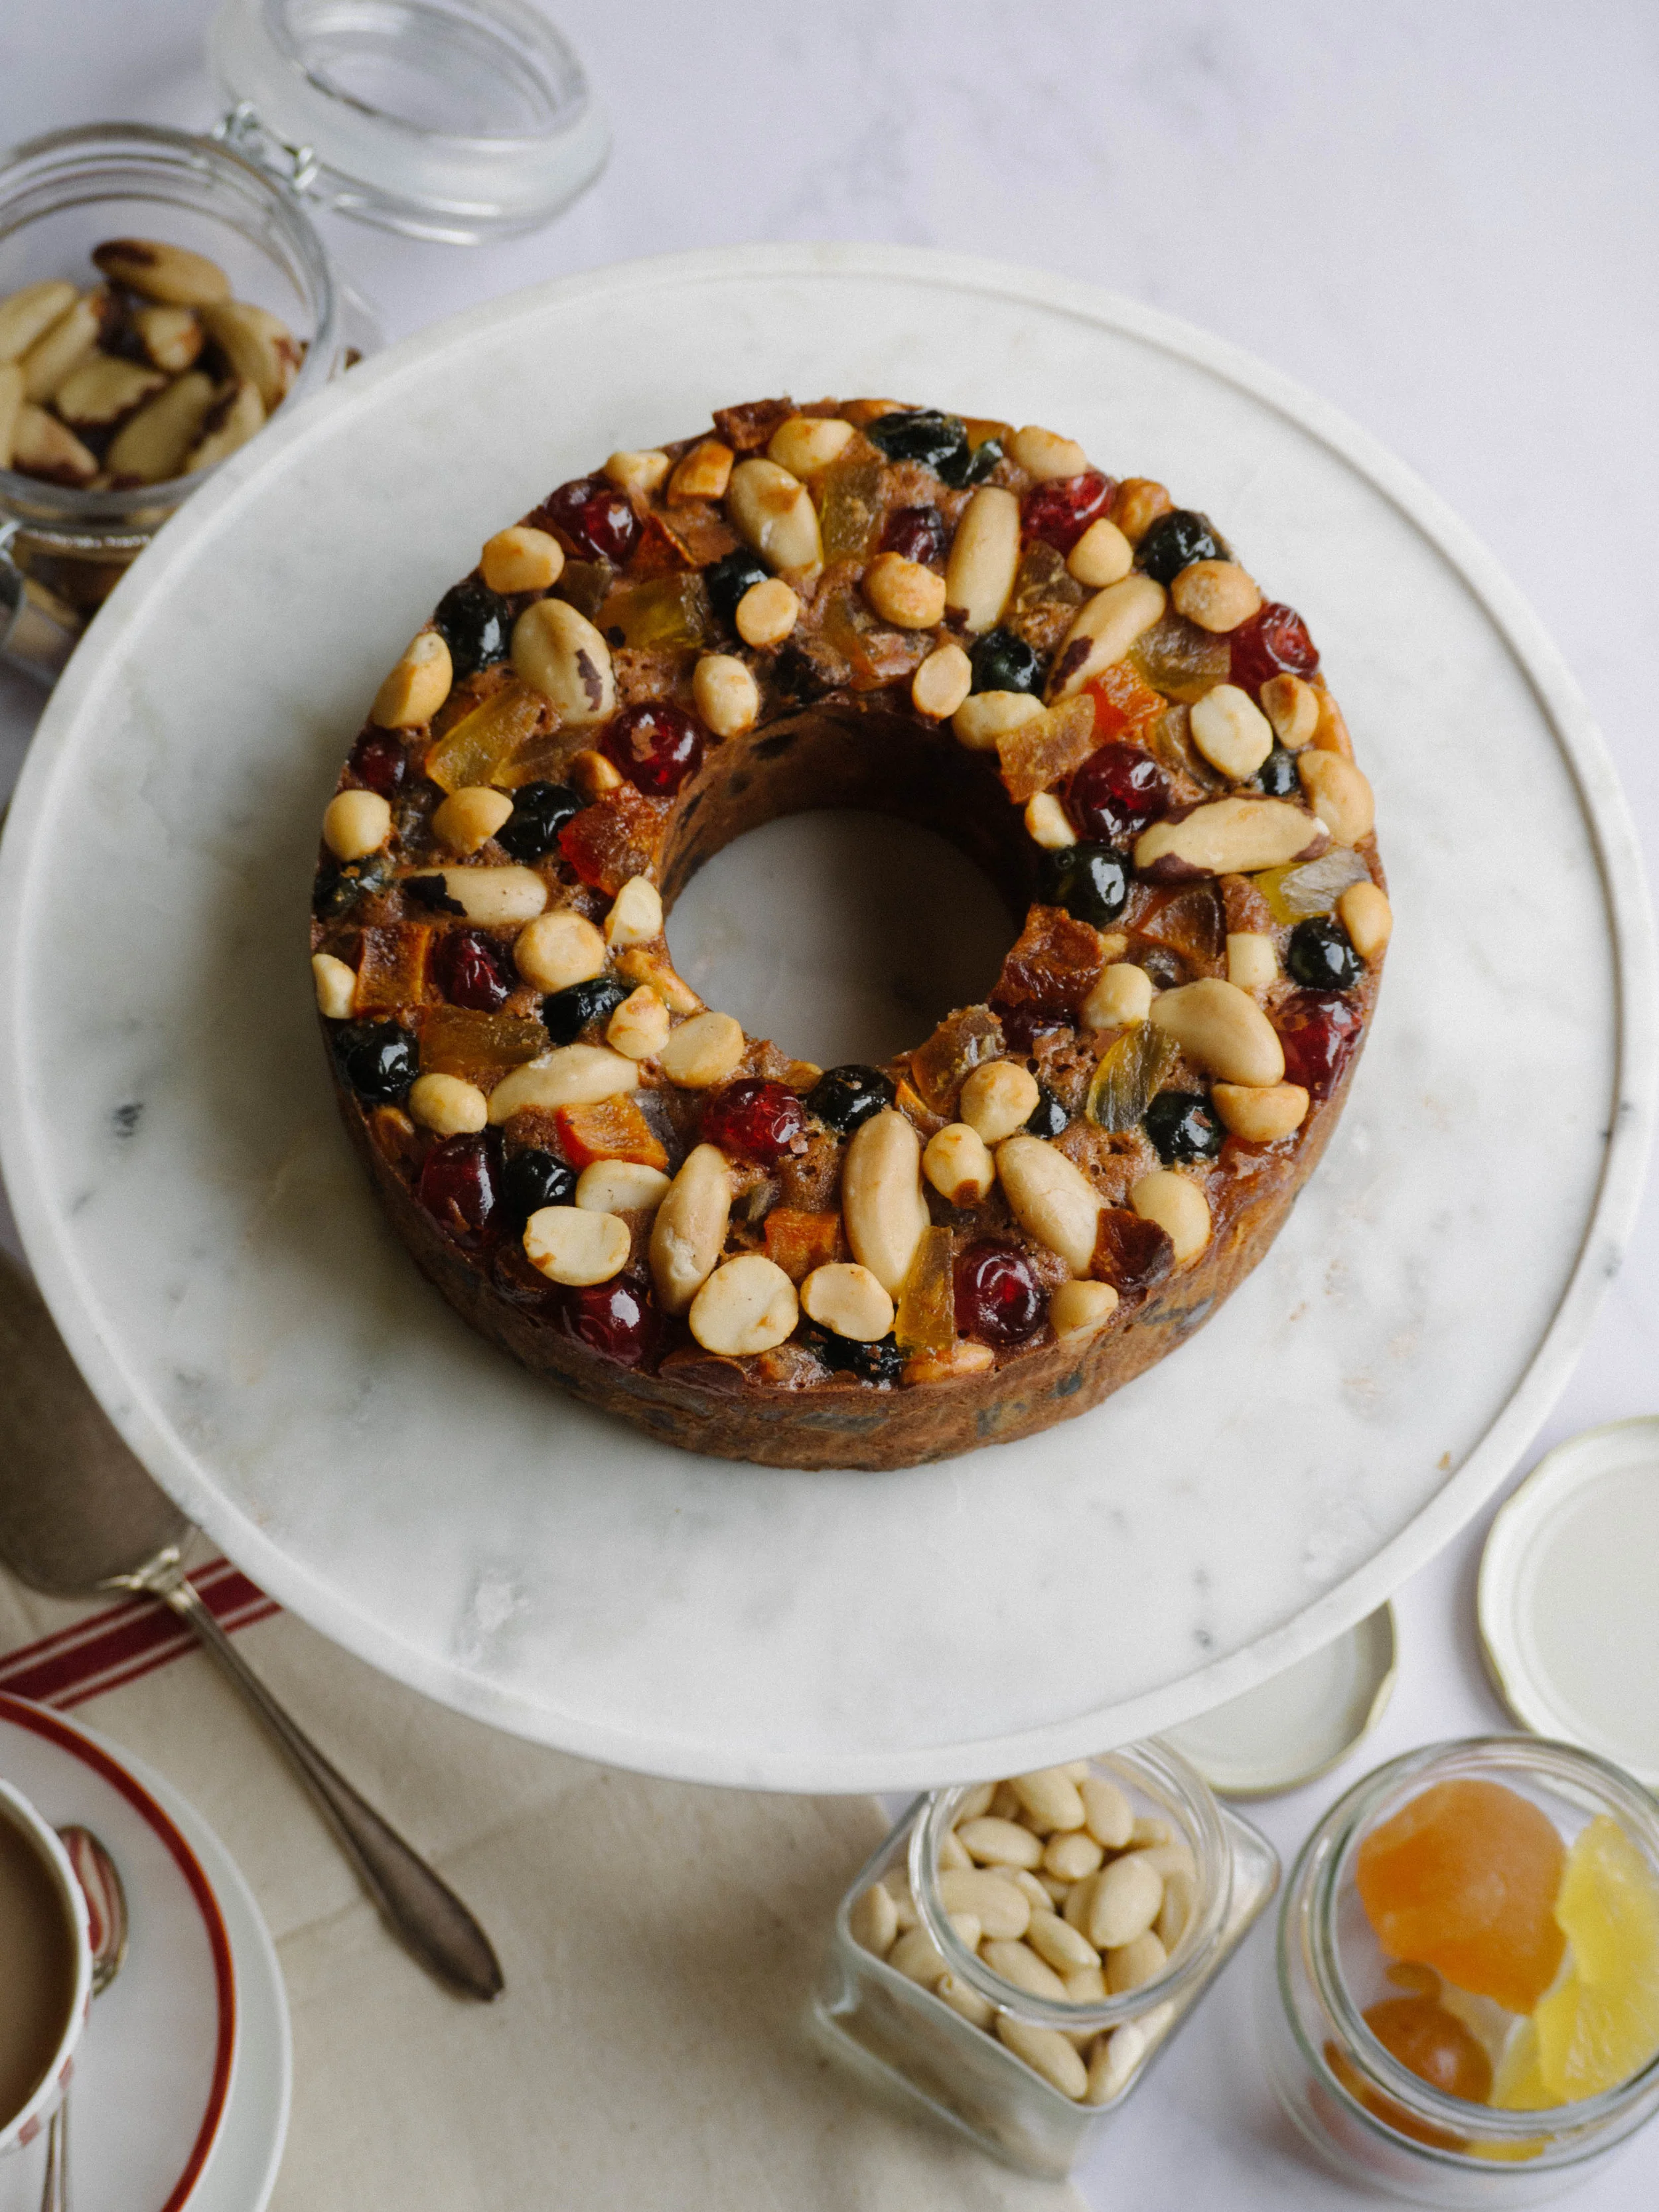
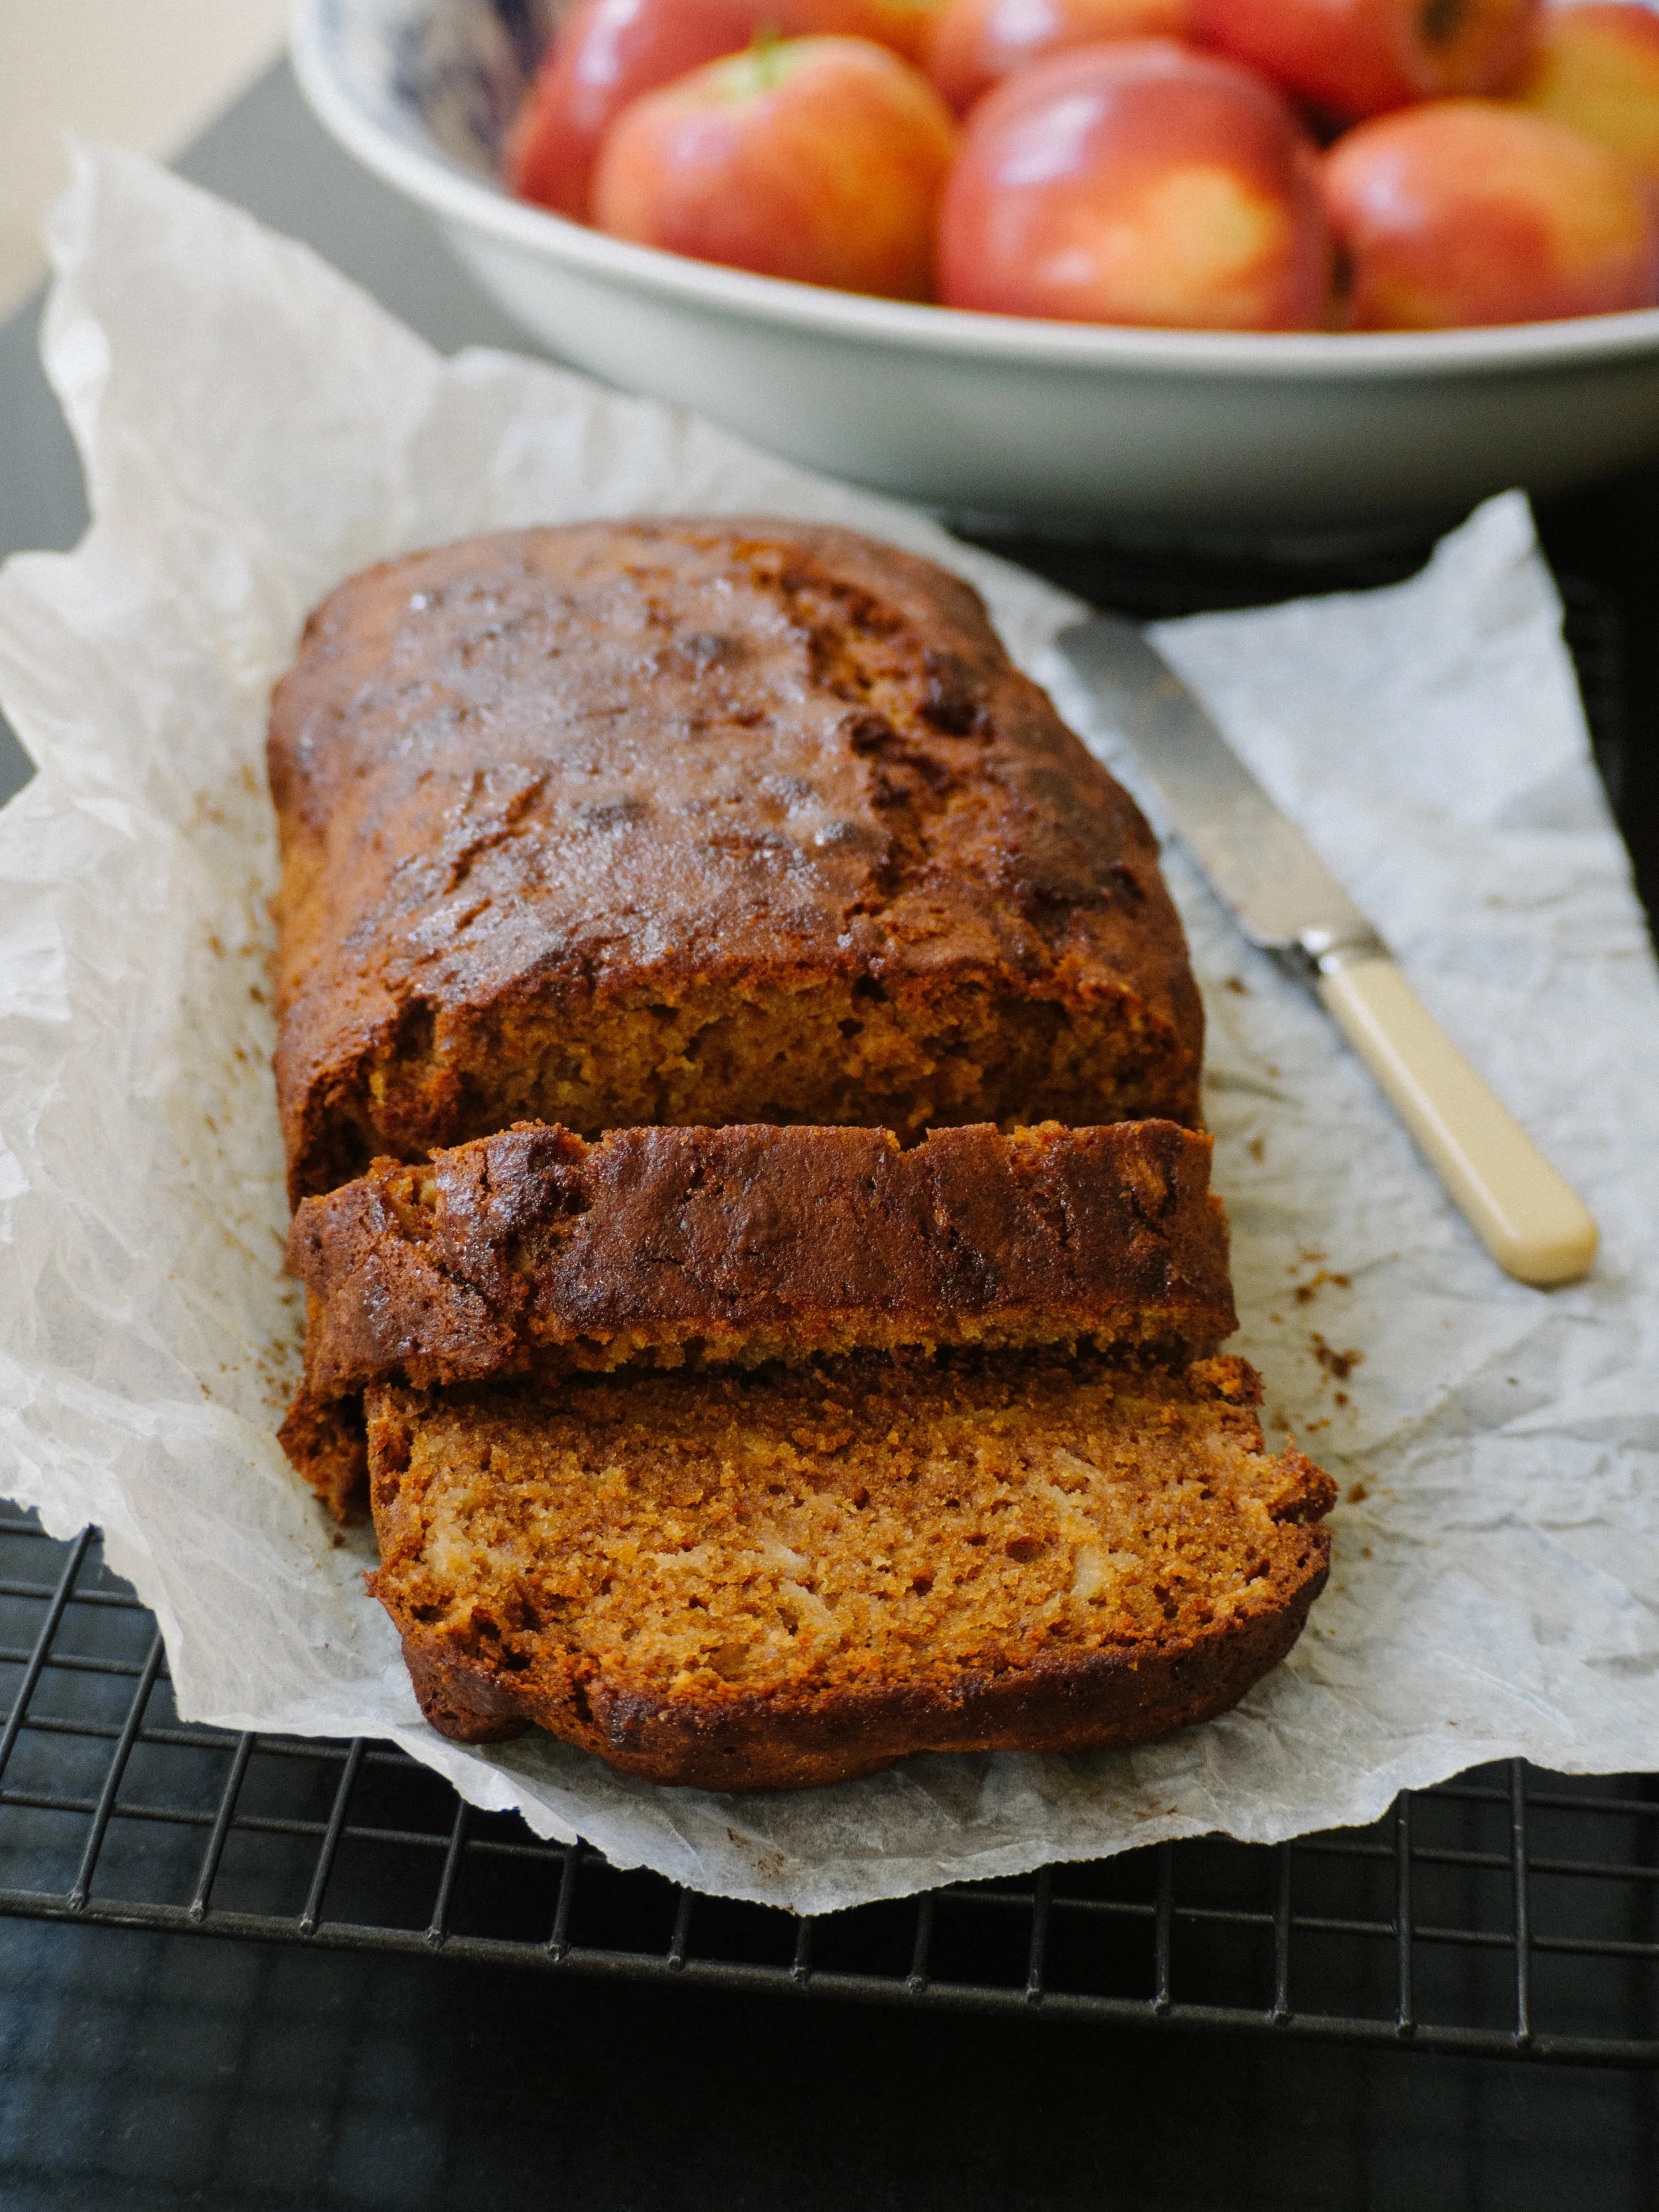
Stained Glass Window Christmas Fruit Cake
Lighter in colour and flavour than a regular Christmas fruit cake, this style of cake is heavy on glacé fruit rather than alcohol soaked dried fruit, which gives the cake a distinctly different flavour and look.
Since the flavour of the alcohols used in fruit cakes is what I really don’t like, I was pleased when I tasted the cake that alcohol wasn’t evident at all. Since having looked at recipes for this type of cake, most call for about 1tbsp of some kind of alcohol (significantly less than a traditional fruit cake!), and some recipes suggested orange juice could be used as a substitute.
Another reason I love this cake is because I have been a fan of glacé fruit for a long time, having grown up eating glacé cherries a lot as a child. My Grandma used them to decorate her Christmas shortbread, and I would always sneak a couple from the open packet in the fridge (much to Grandma’s dismay I think!).

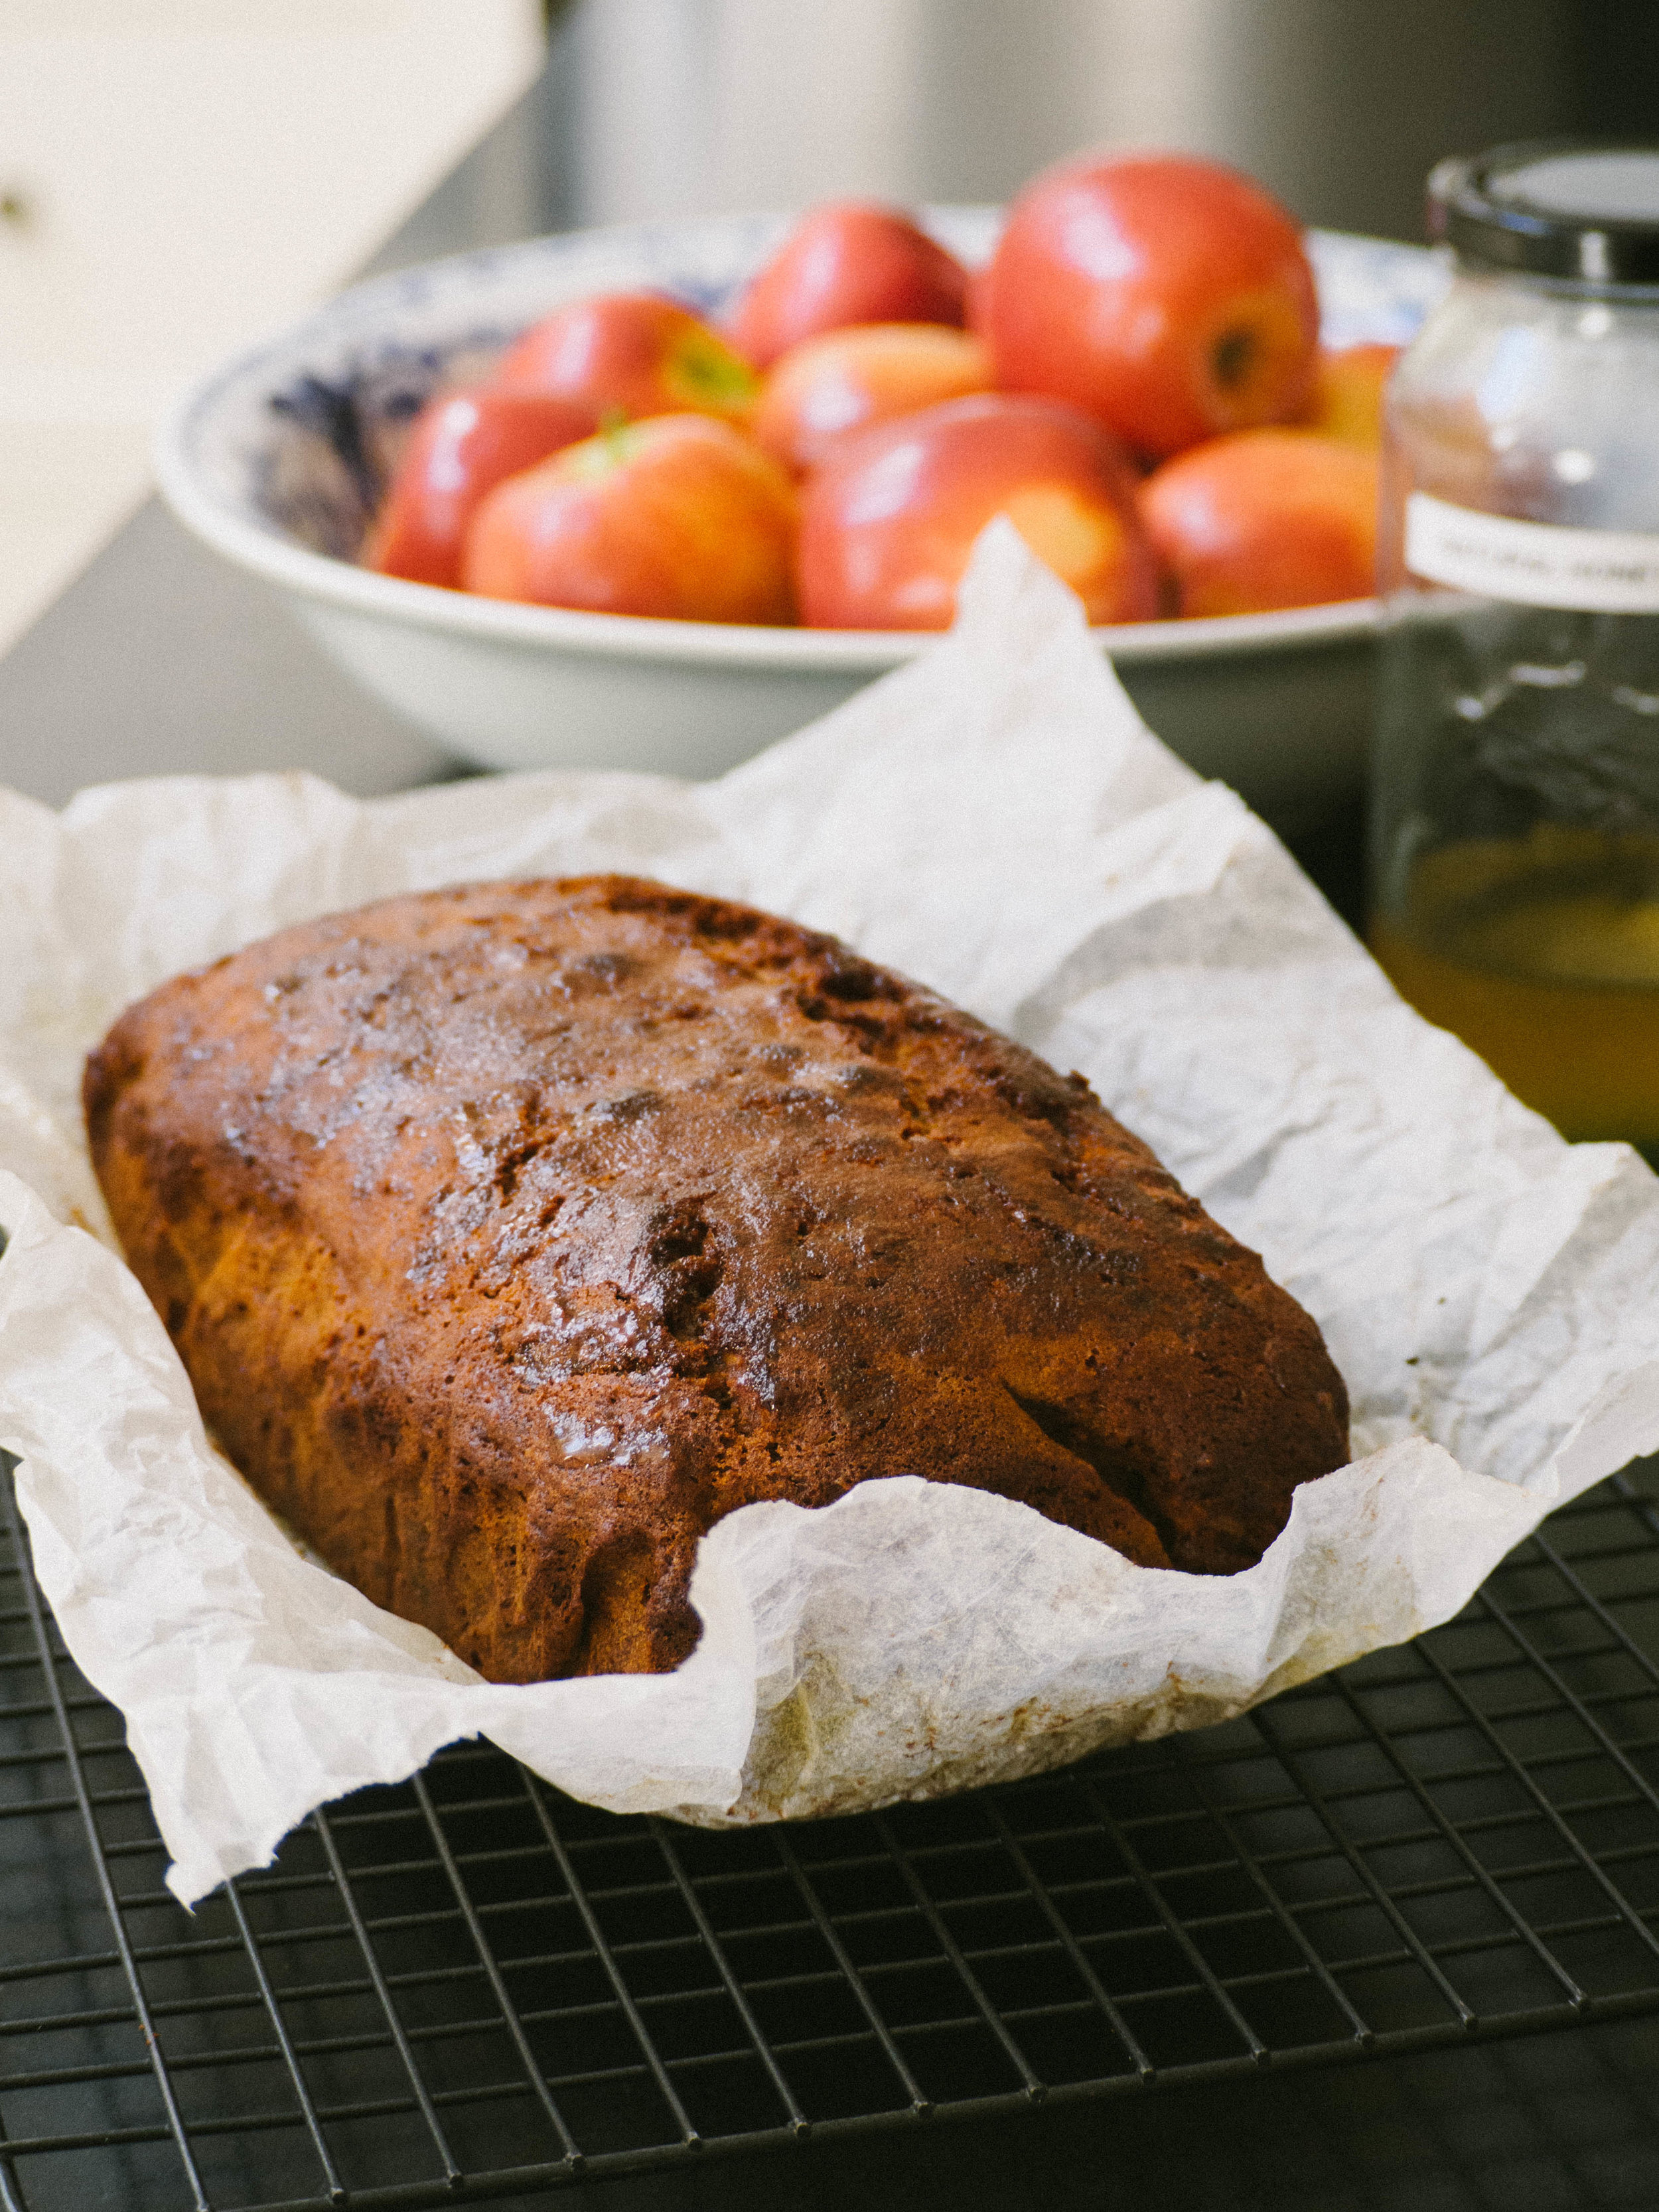
Stained Glass Window Christmas Fruit Cake
I set about finding my glacé fruit for this cake the same as my colleague’s Mum used to. I went to the David Jones Food Hall after work and searched for some. I finally found a very small selection in the deli area where the cheeses etc are sold. There were red glacé cherries and pineapple sold by weight and a packet of mixed glacé fruit. I got the mixed packet, and a few extra slices of pineapple. I have a feeling the selection may have been a bit better in the past when my colleague’s Mum used to go!
I then bought some more at The Source Bulk Foods, who have a good selection of glacé fruits, however not a large quantity of each (not great if you are making something big, but good for this recipe as you only need a few bits of each fruit). I also went to Harris Farm Markets who have a great selection of glacé fruits this time of year.
What kind of Christmas fruit cake do you prefer? Or are you a fan of them at all? Let me know in the comments!


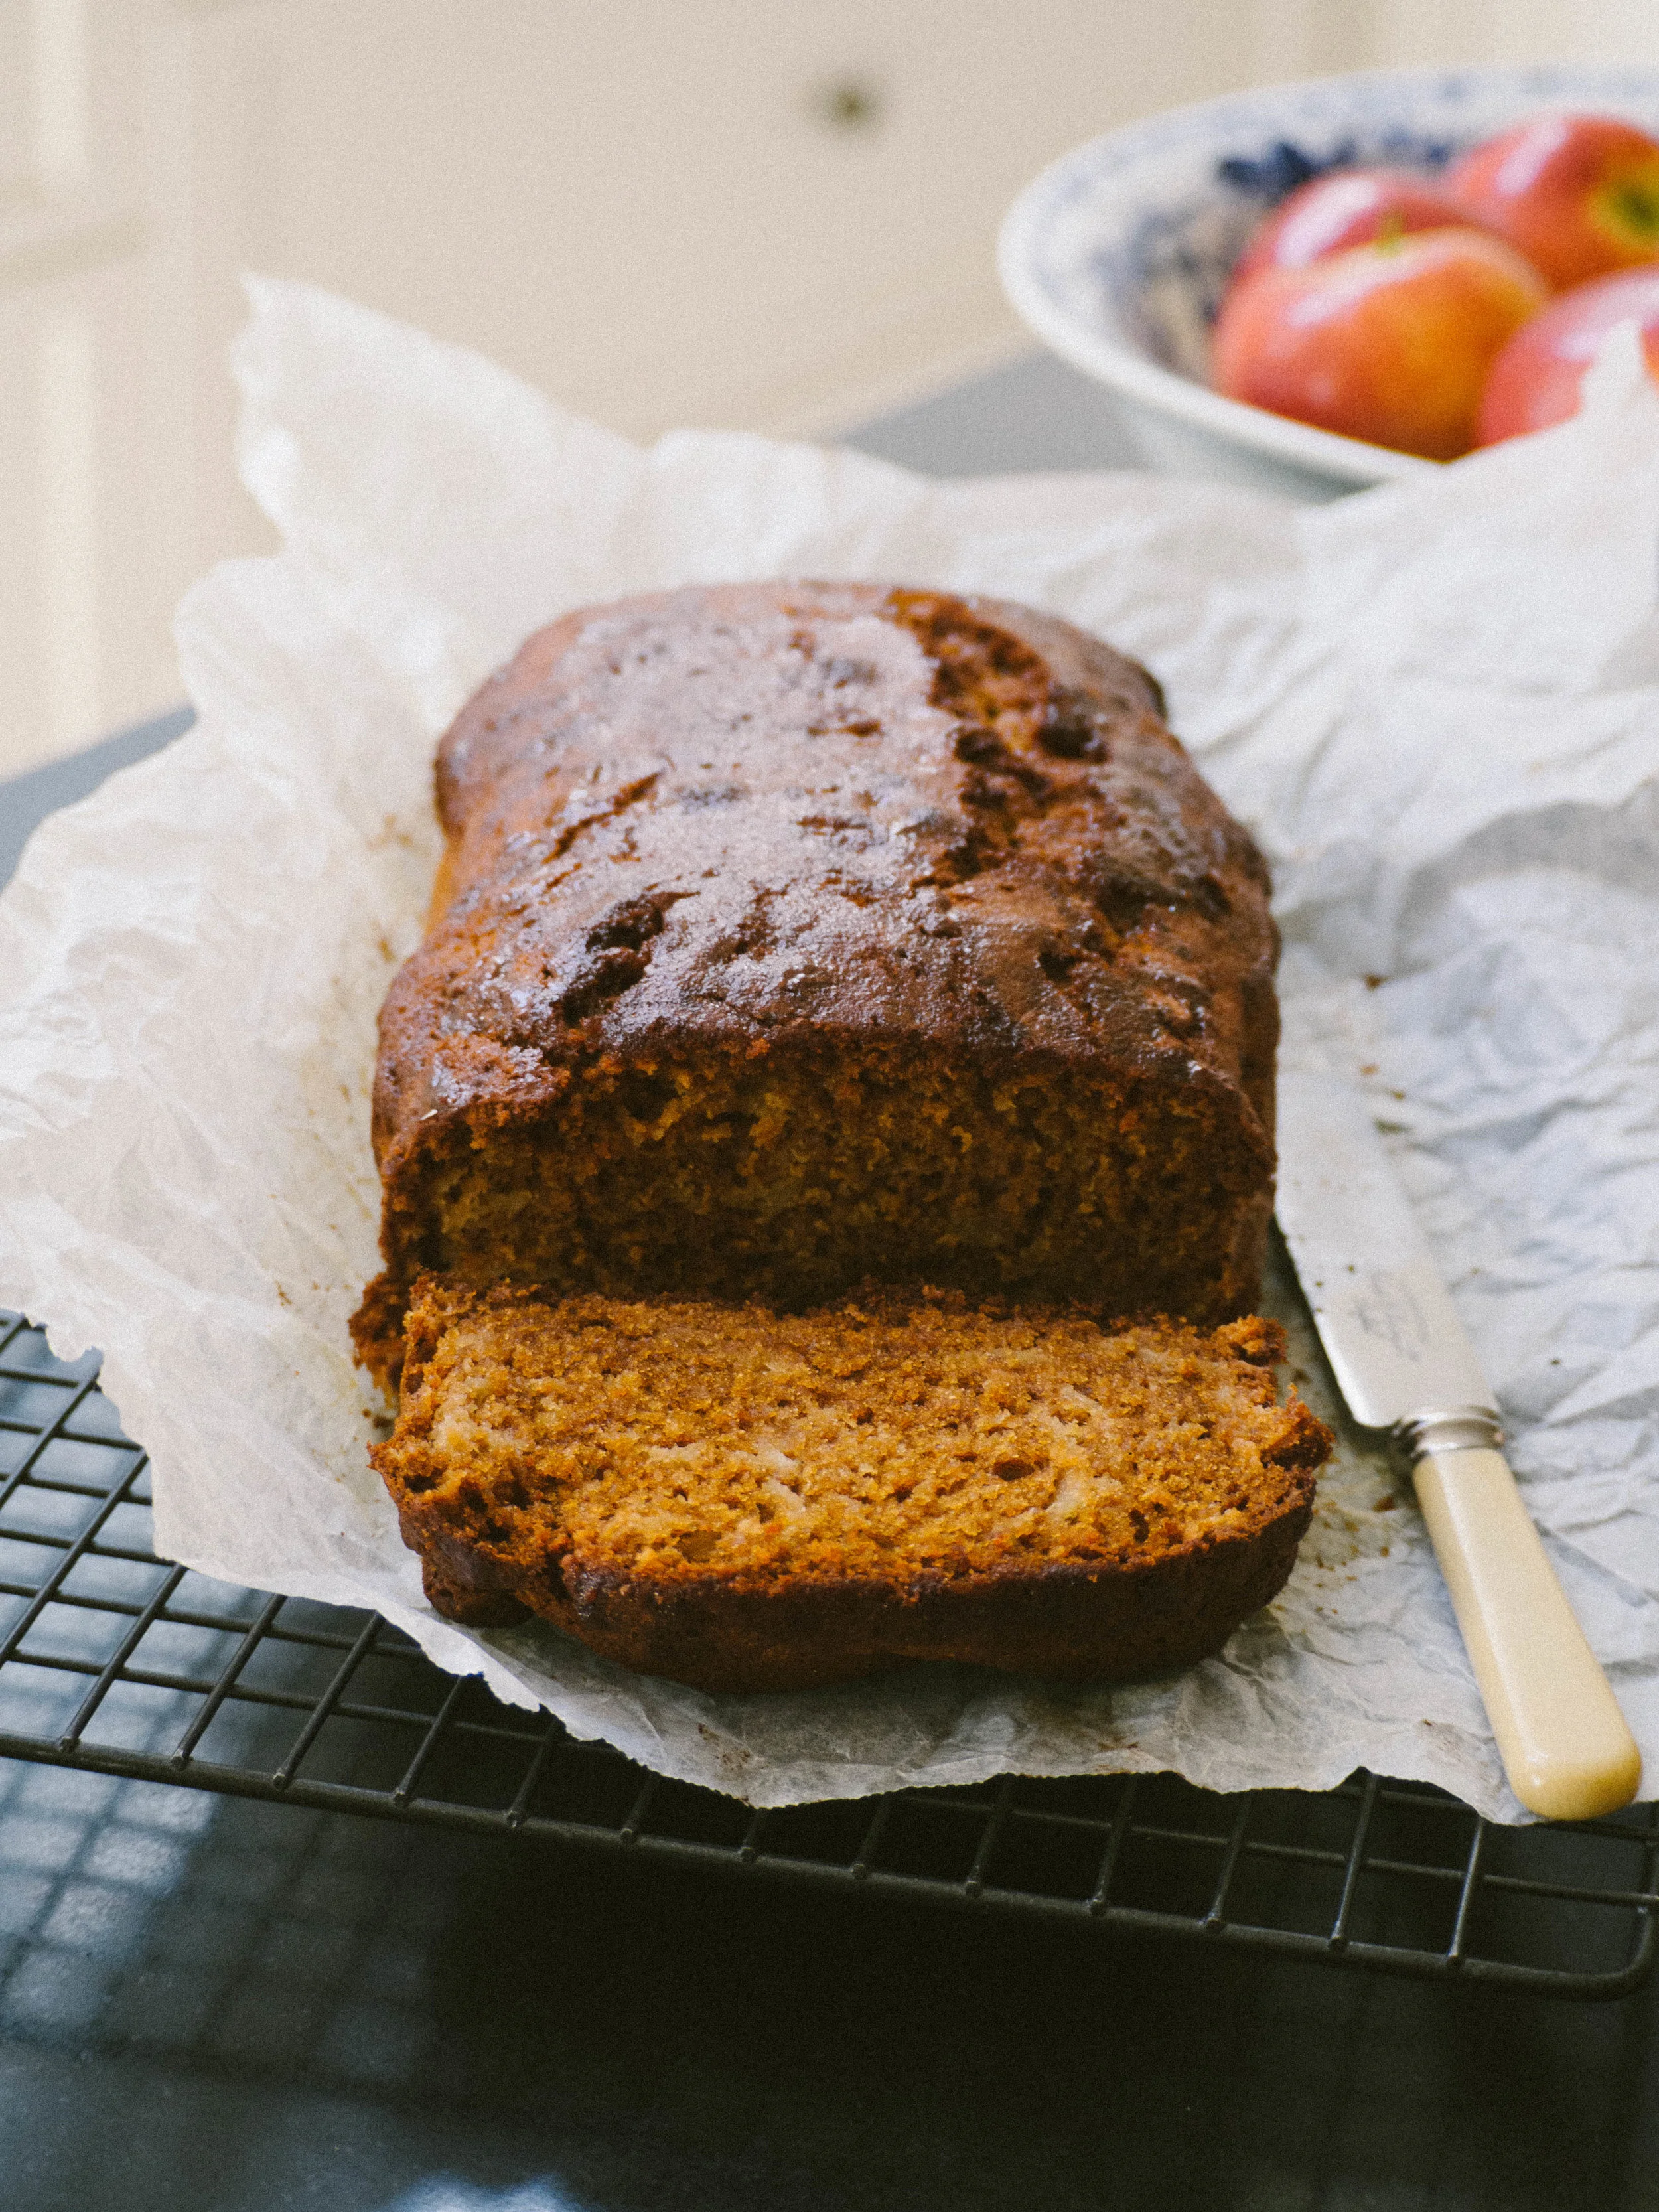
Stained Glass Window Christmas Fruit Cake
Ingredients:
115g glacé pineapple, roughly chopped
125g glacé apricot and/or peach, roughly chopped
250g glacé pear and/or fig, roughly chopped
110g whole red and green glacé cherries
110g roughly chopped pitted dates and/or dried quince (I used dried quince from Singing Magpie Produce)
75g macadamias
85g whole blanched almonds
85g brazil nuts
110g dark brown sugar
2 eggs
zest of one lemon
1tbsp fresh lemon juice
100g butter, melted and cooled
1tsp cinnamon
50g plain flour
35g self-raising flour
Ingredients for the Topping:
75g mixed glacé fruit, roughly chopped (I used pineapple, peach & pear)
55g whole red glacé cherries
55g whole green glacé cherries
40g brazil nuts
35g macadamias
Method:
Pre-heat oven to 150 degrees Celsius/130 degrees Celsius fan-forced. Grease and line a 20cm round ring pan allowing the baking paper to extend a few centimetres above the tin (preferably one with a flat base, not a bundt tin).
Mix together the glacé fruit and the nuts in a large bowl.
In a small bowl whisk together the flours and the cinnamon.
Then in a small/medium bowl, beat the eggs and the sugar with electric beaters (or in a stand mixer) until well combined. Add the lemon juice, melted butter and flour mixture and beat until just combined.
Gently stir the egg mixture into the fruit and nuts. Spoon into the prepared pan, pressing the mixture into the tin. Press down so the top is level. Then press in all the topping ingredients into the top of the cake, ensuring they aren’t sitting loose.
Loosely cover the cake with foil, and bake for 1 hour.
After the hour, remove the foil, and bake for a further 45 minutes. If using a fan forced oven and the cake is not cooked through after 45 minutes, turn the temperature up to 150 degrees Celsius and continue to cook for a further 15 minutes.
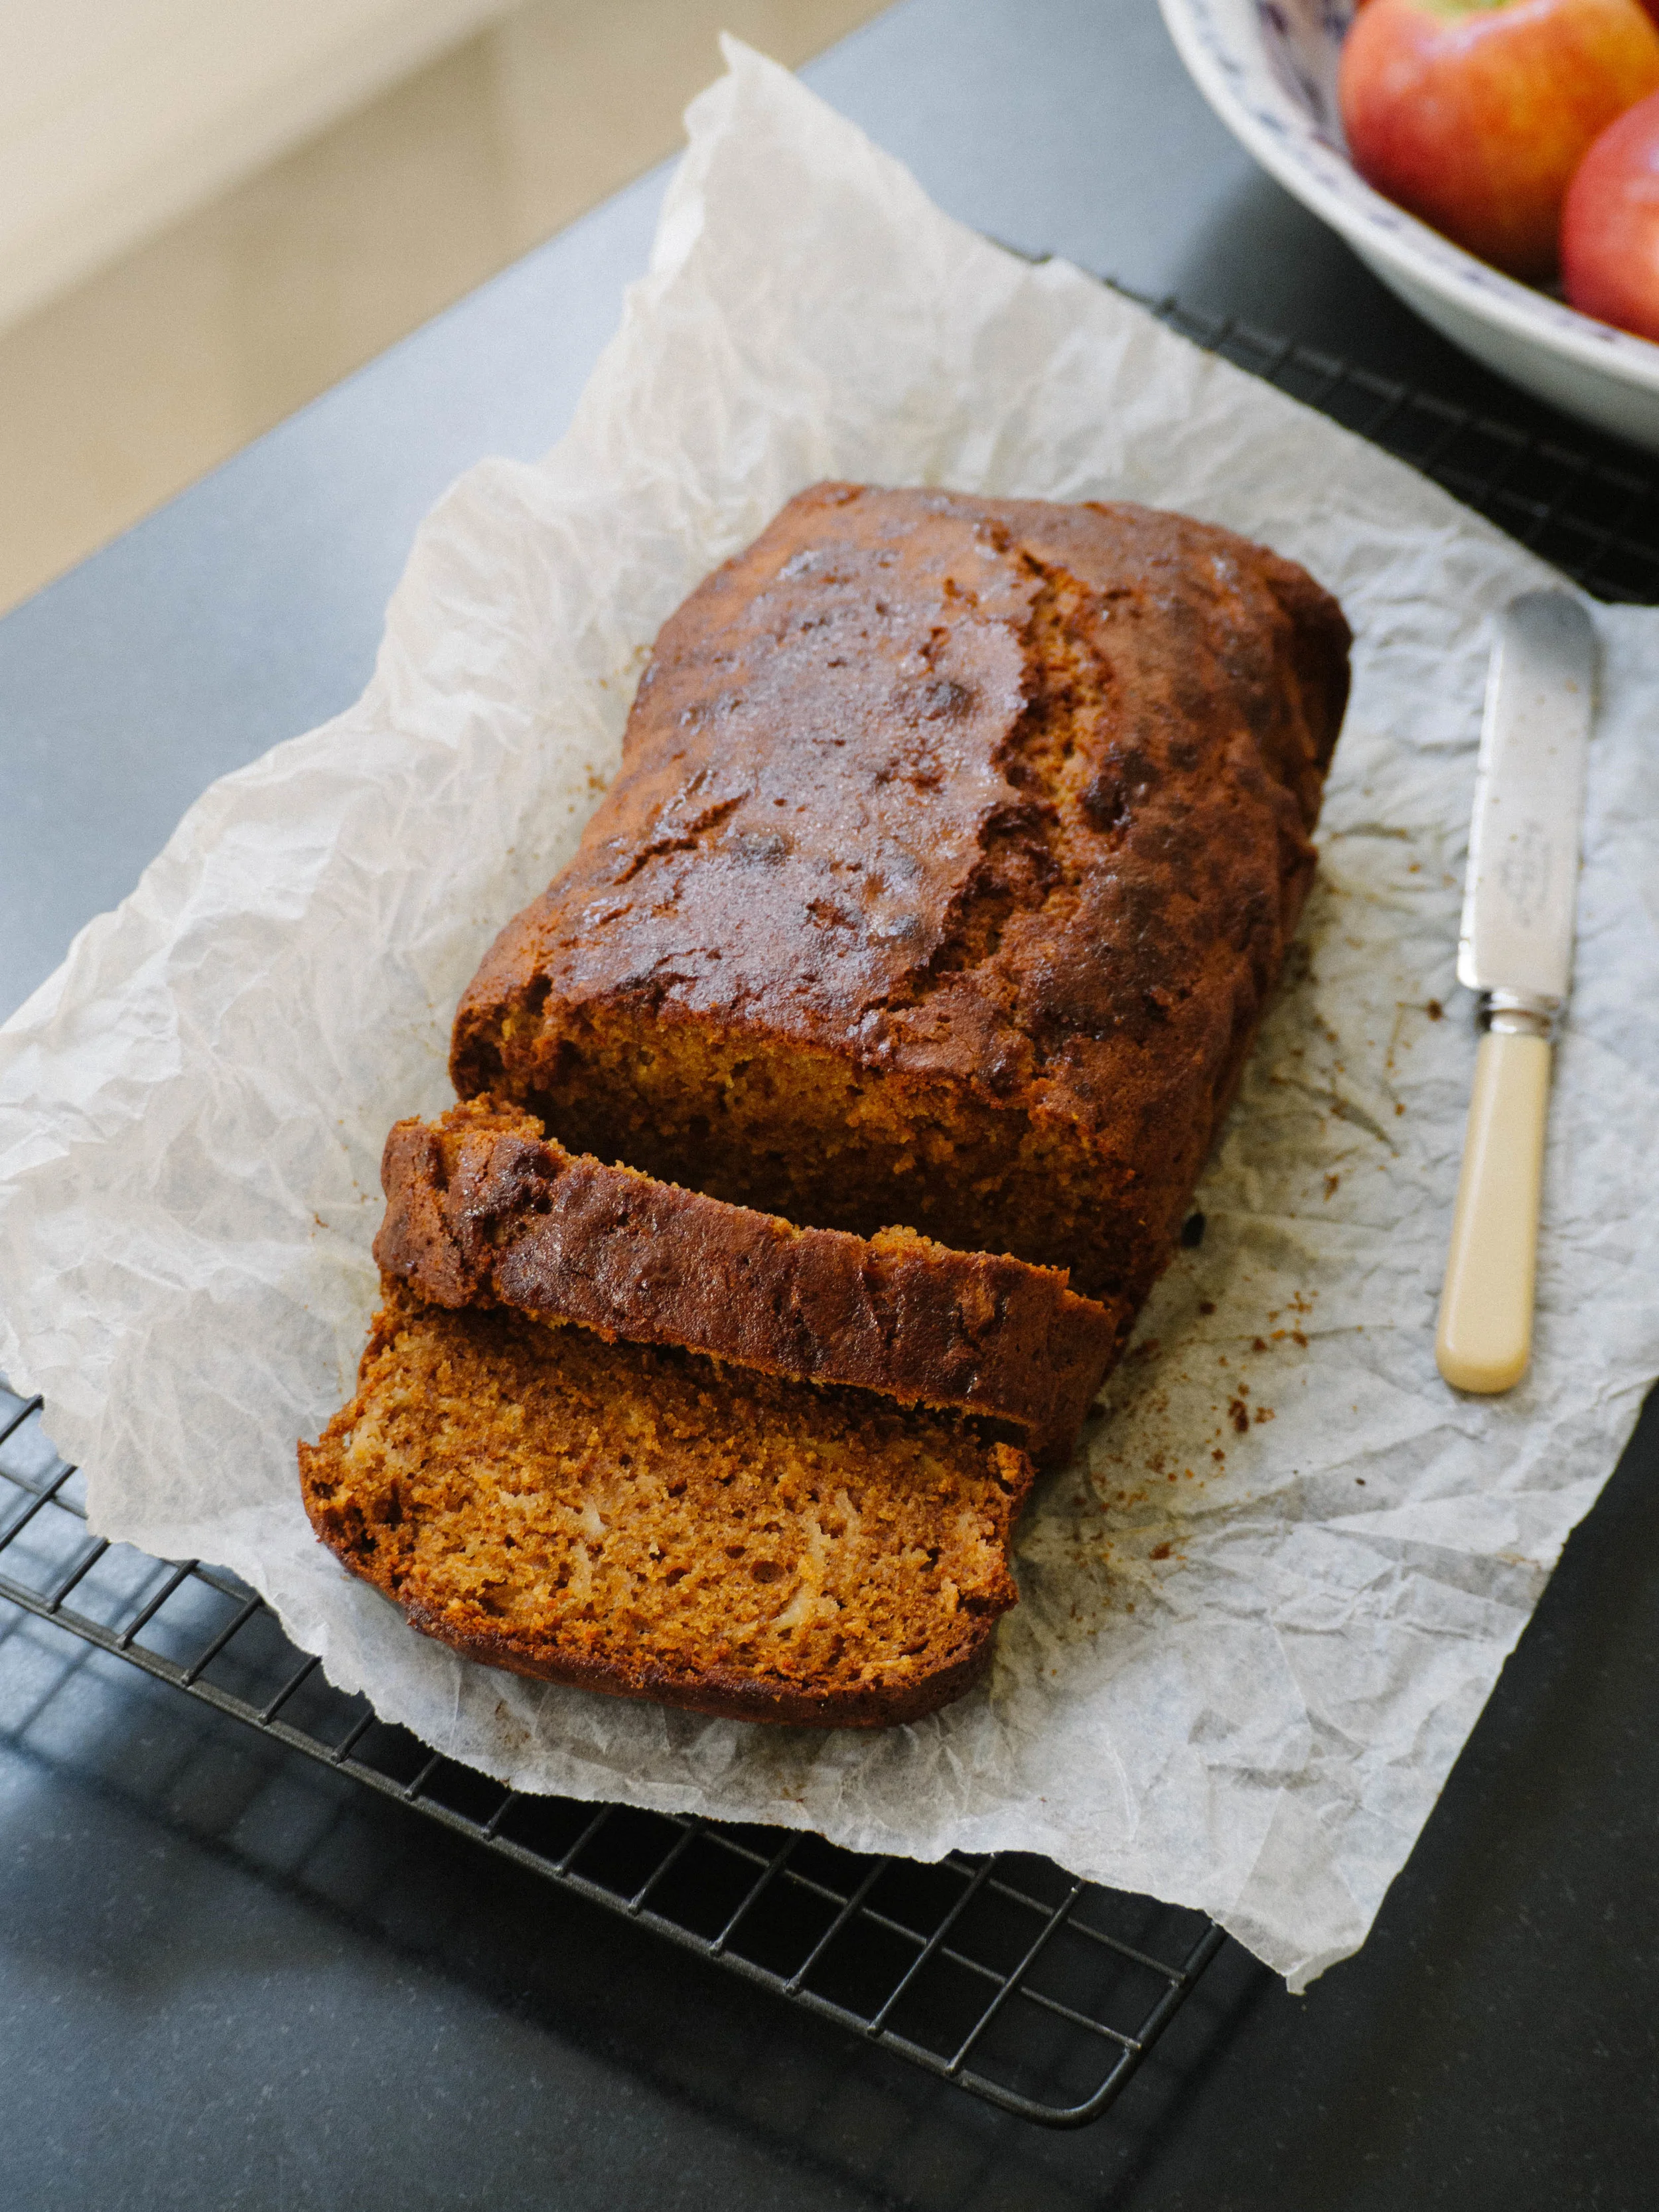
Once the cake is done, remove from the oven and allow to sit in the tin for 10 minutes before carefully removing from the tin and allowing to cool on a wire rack. Keep in mind the top side of the cake when it is in the tin, will remain the top side of the cake once removed from the tin.
The cake slices best when completely cooled (even better when it comes straight from the fridge). Store in the fridge (wrapped in plastic wrap inside an airtight container) if conditions are humid.

Reference: ‘Christmas Food & Craft’ The Australia Women’s Weekly (ACP Books, 2006), p. 95.