I have always been a fan of crumpets. However, it wasn’t until Mum and I ordered some at the Harrods Tea Room that I considered that they weren’t just available from a packet. Mum and I had been from Regent Street to Westminster to Covent Garden that day, and after a big lunch at Jamie Oliver’s Union Jacks restaurant in Covent Garden, we were seeking something light and comforting by the evening. Whilst waiting in the line to get a table at the Tea Room, I considered just getting a pot of tea and something small to eat. I couldn’t go past another pot of tea, especially when the selection of teas at Harrods are so good. Once we were seated, Mum looked over at a table near us and noticed that someone was eating crumpets. Despite it being about 7pm, she exclaimed, ‘That’s it, thats what I am having!’. I quickly looked at the menu and saw they served breakfast all day. I couldn’t believe our luck, this was exactly what we felt like eating!
When our order arrived, the crumpets were under a silver dome to keep them warm. The effect was good, as it made me feel not only very British, but like I had ordered something rather special! Coupled with butter, jam and very nice tea, the crumpets were the best thing ever. It sounds silly that something so simple could be so good, but they tasted so much better than the crumpets from a packet we have at home. This naturally got me thinking. Was it possible to make crumpets from scratch?
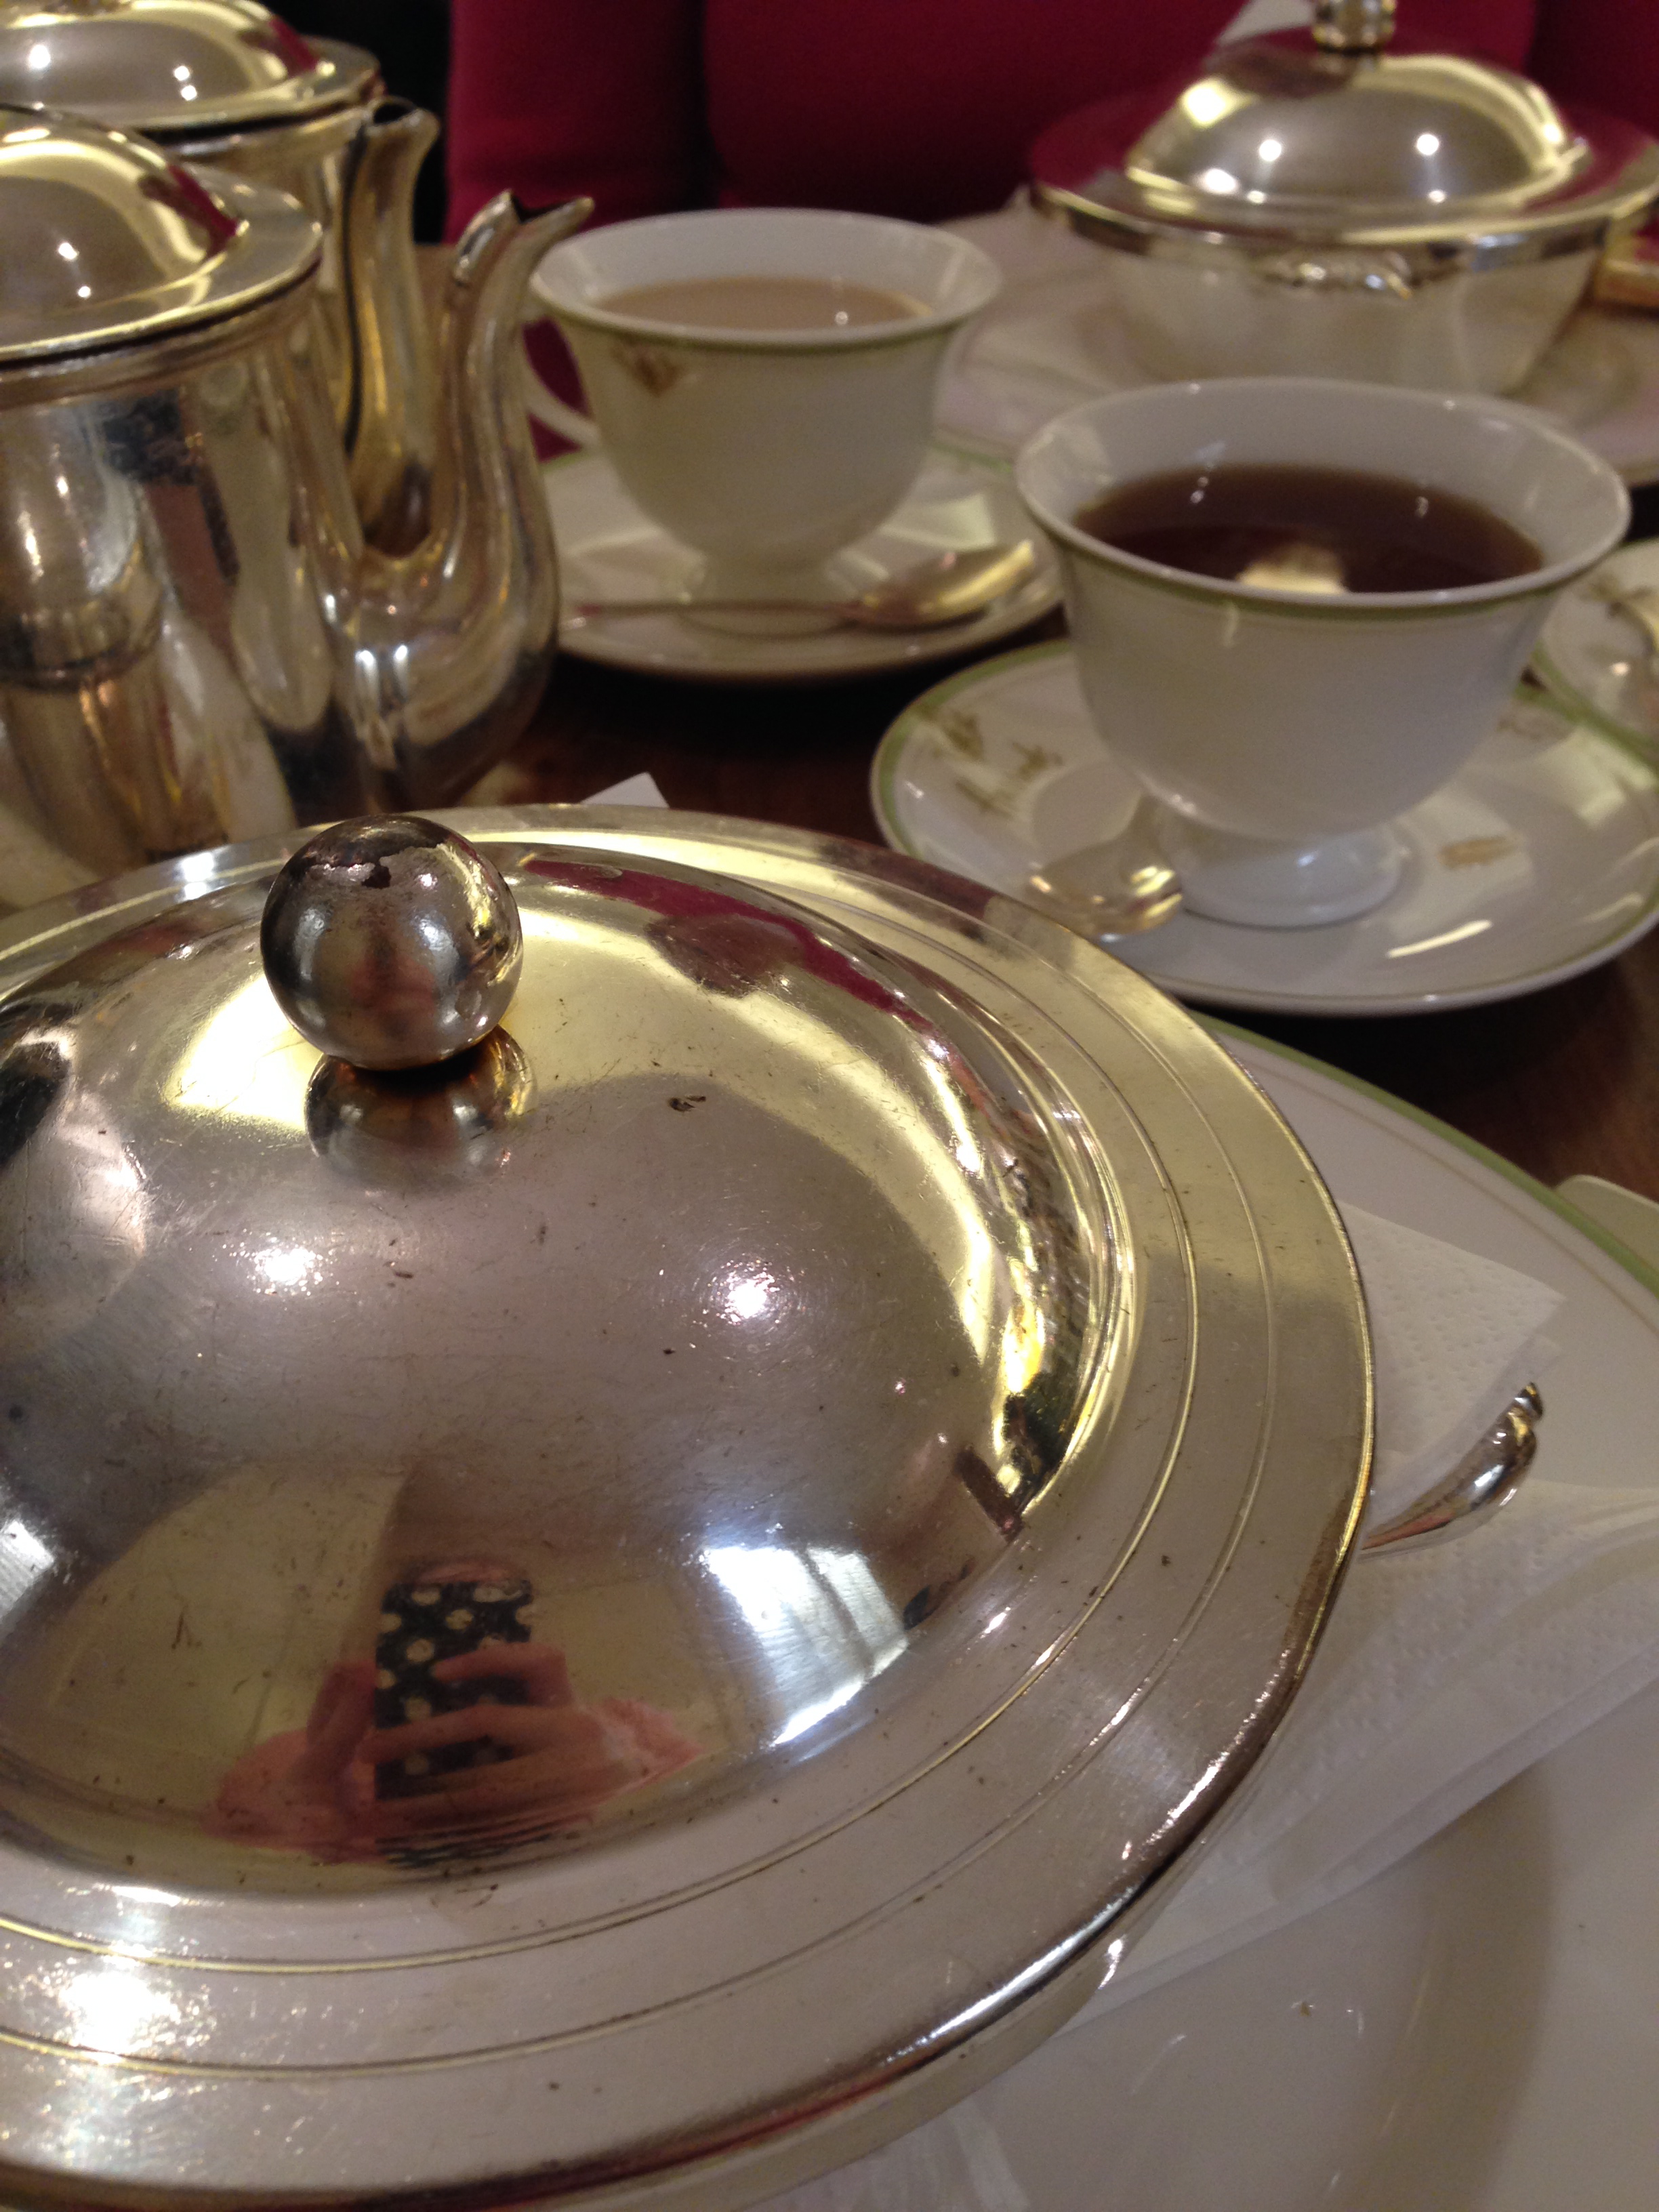
Silver Service in the Harrods Tea Room

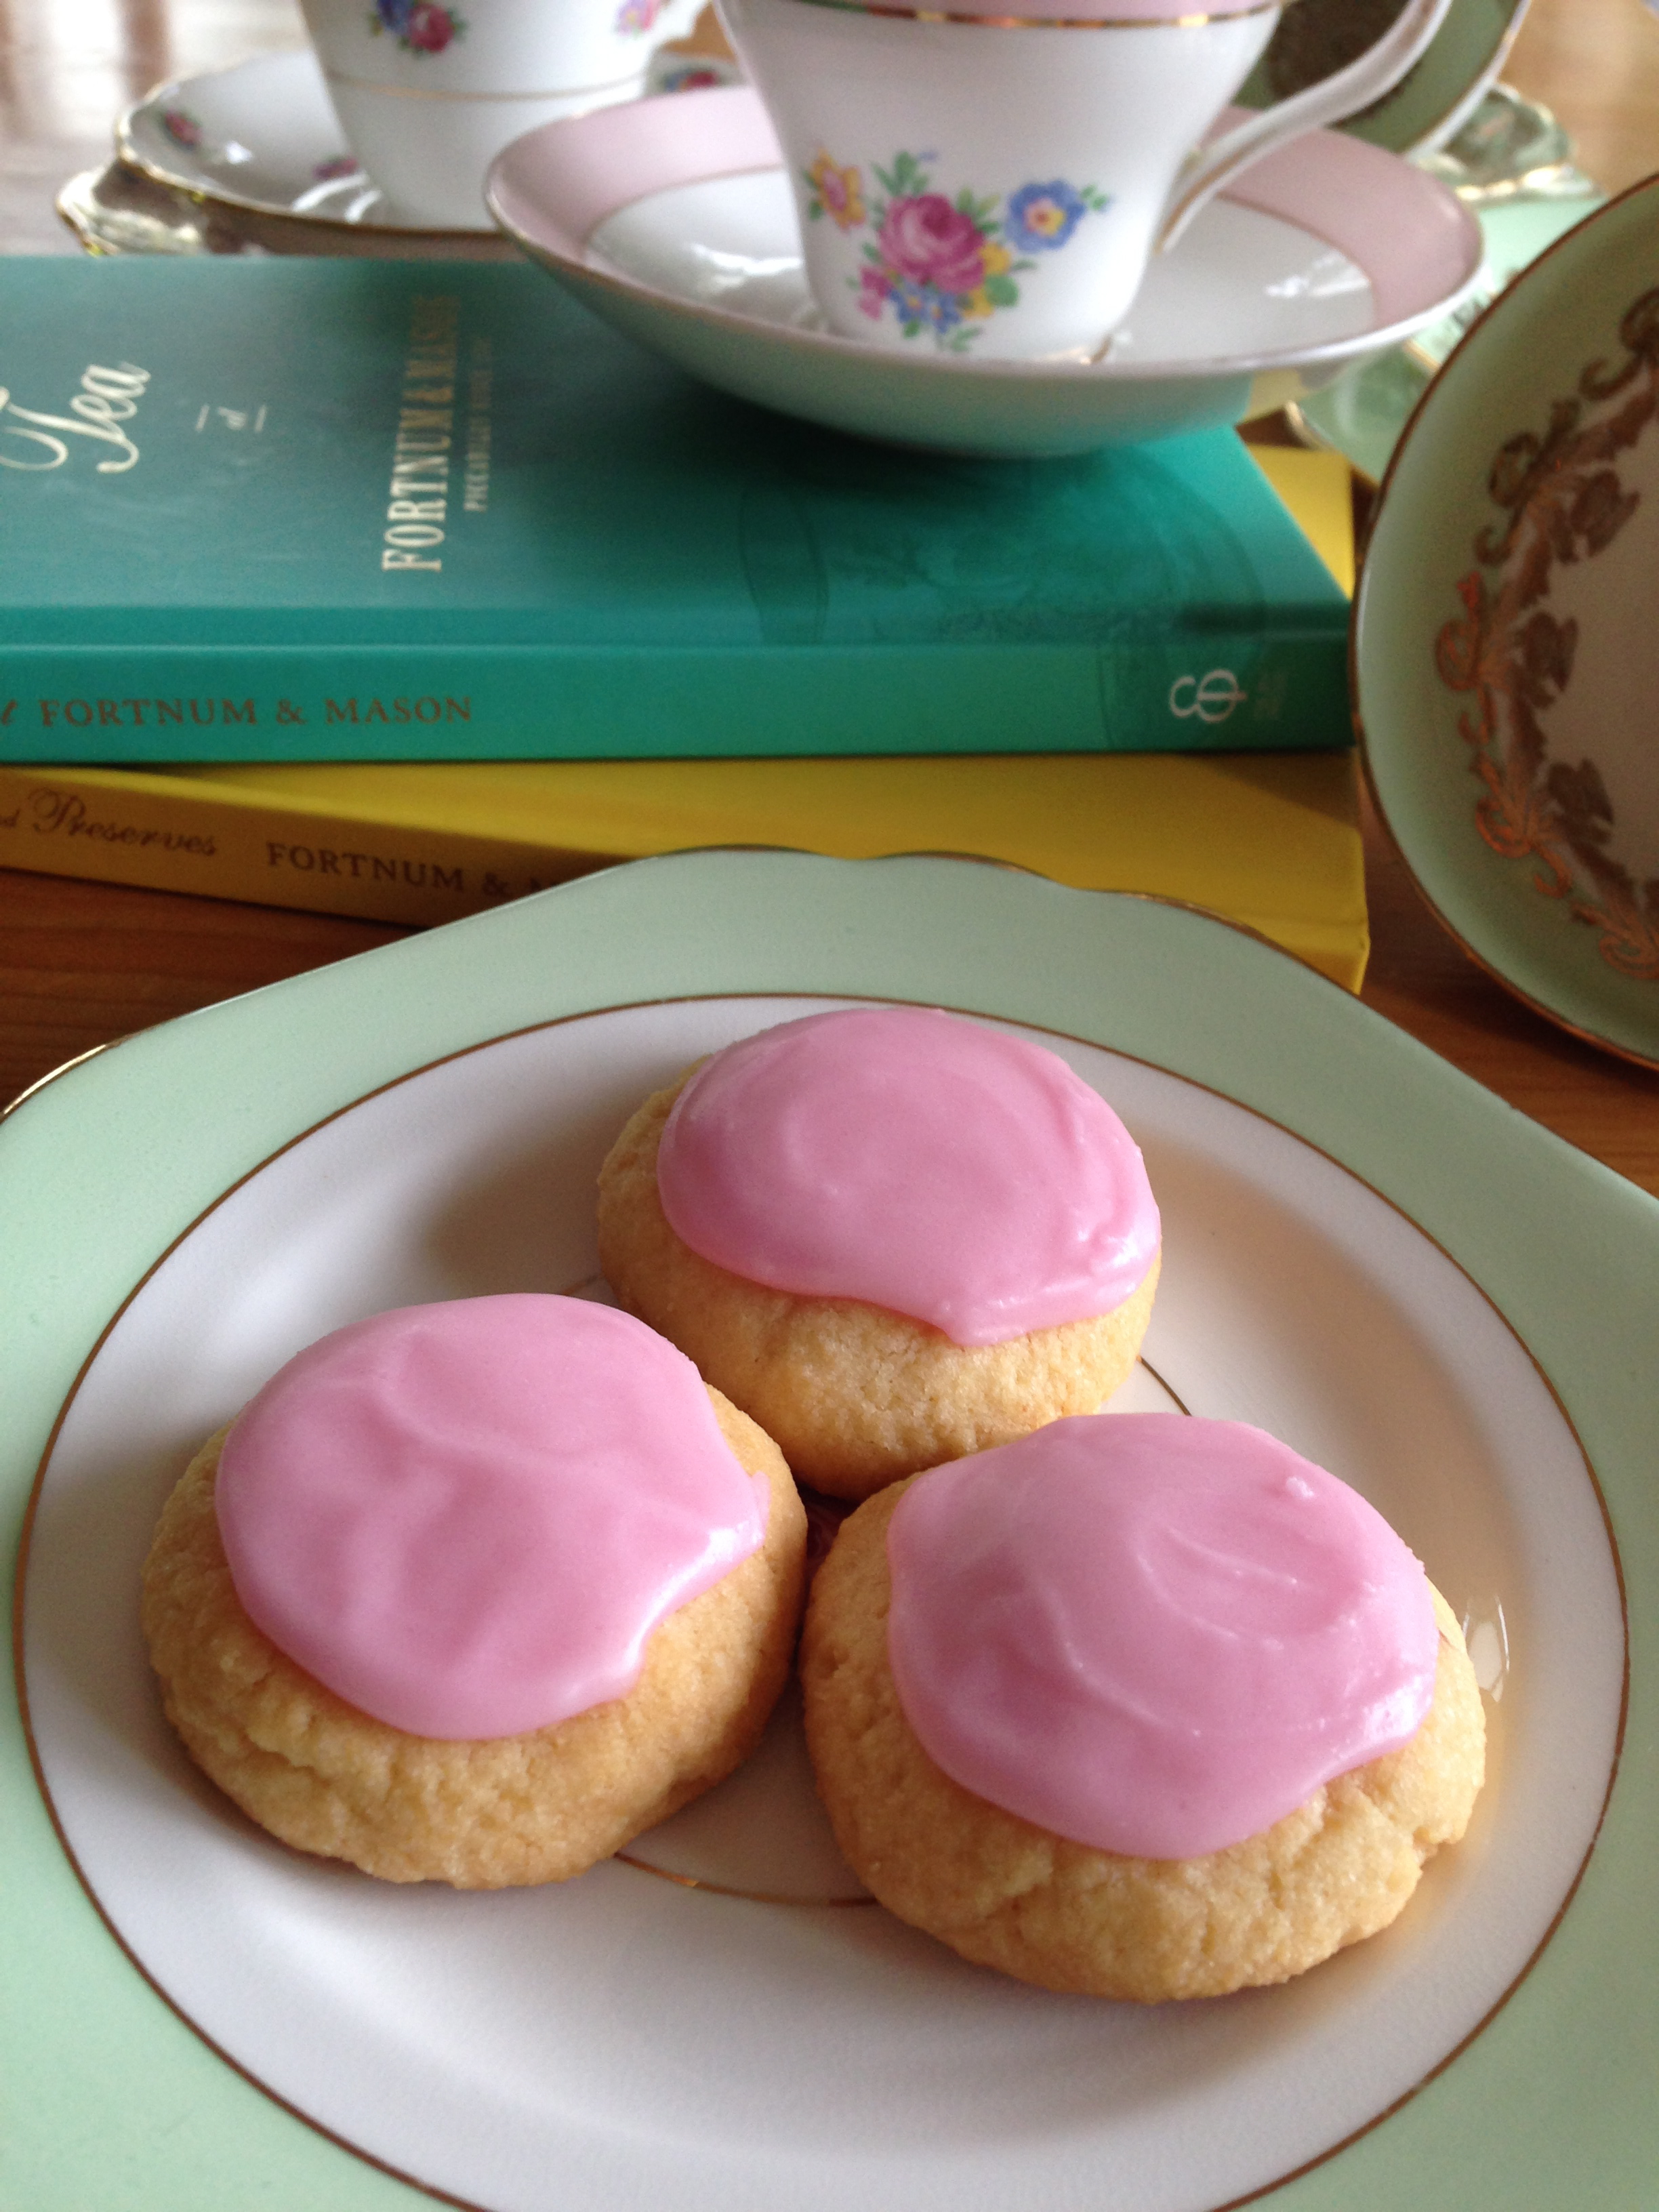
Crumpets & Tea at the Harrods Tea Room.
The answer is, yes.
Ingredients:
1 1/2 cups milk
1 1/2 tsp sugar
7 g sachet dried yeast
375 g plain flour
pinch of salt
1/2 tsp bicarb soda
200ml water
unsalted butter, for cooking
Ingredients for the Raspberry Butter:
1 cup raspberries
1 1/2 tbsp sugar
1 tbsp lemon juice
100g unsalted butter, softened
Method:
Heat the milk in a saucepan until it is just warm then remove from the heat. Transfer to a bowl and add the yeast and sugar and stir a little. Leave to stand for about ten minutes, or until the mixture starts to bubble and is a little frothy.
Sift the flour and salt into a bowl and make a well in the centre. Gradually add the milk and beat using an electric mixer until the batter is smooth. Cover with plastic wrap and leave in a warm place for 1 - 1.5 hours or until doubled in size and has lots of air bubbles. I used my oven to prove this batter. Turn the oven on to 100 degrees and once it has reached the temperature, turn the oven off. Place batter inside oven, with the door propped open, until the temperature has lessened (maybe after 30 mins), then close the door for the remaining proving time. Make sure the bowl you use is heat proof (e.g. glass) and the plastic wrap doesn’t touch the oven, only the top part of the bowl.
Whilst the batter is proving, place the raspberries, sugar and lemon juice in a saucepan over high heat and bring to the boil. Reduce the heat and allow to simmer for about 5 minutes, or until the mixture is syrupy. Remove from the heat and allow to cool. Place the butter in a bowl and whip with a wooden spoon until it is light. Once the raspberry syrup is completely cool, fold it through the butter creating a ripple effect. Transfer to ramekin or butter dish and store in the fridge until needed.
Once the crumpet batter has doubled in size, mix the bicarb soda with the water and then add to the batter using an electric mixer. Heat a fry pan and grease with butter, and greasean 7-8cm egg ring with butter. The cooking process is quite slow, so if you have multiple eggs rings and a larger pan cook multiple crumpets at once. Place the egg ring/s into the pan and place about 2-3 tablespoons of the mixture in to each ring. Don’t overfill them as the mixture will rise and spill over the edges. Cook over a low heat for about 5 minutes, or until the top surface is full of bubbles and the crumpet has formed a skin. I found this process took longer than 5 minutes, but it will probably depend on how even your stovetop distributes heat, and how consistent it is.
Once bubbles and a skin have formed, loosen the egg rings on each crumpet and turn over to cook the other side. Place cooked crumpets on a wire rack with a tea towel covering them whilst cooking the remainder of the batter. Remove the raspberry butter from the fridge, and if crumpets have remained warm serve immediately with the butter. If they have cooled down, or you are serving them at another time, briefly warm them under a grill or in a toaster.
Raspberry butter is best served slightly softened.
Makes around 14-16.
Harrods Tea Room can be found on the second floor, Harrods 87-135 Brompton Road Knightsbridge, London.
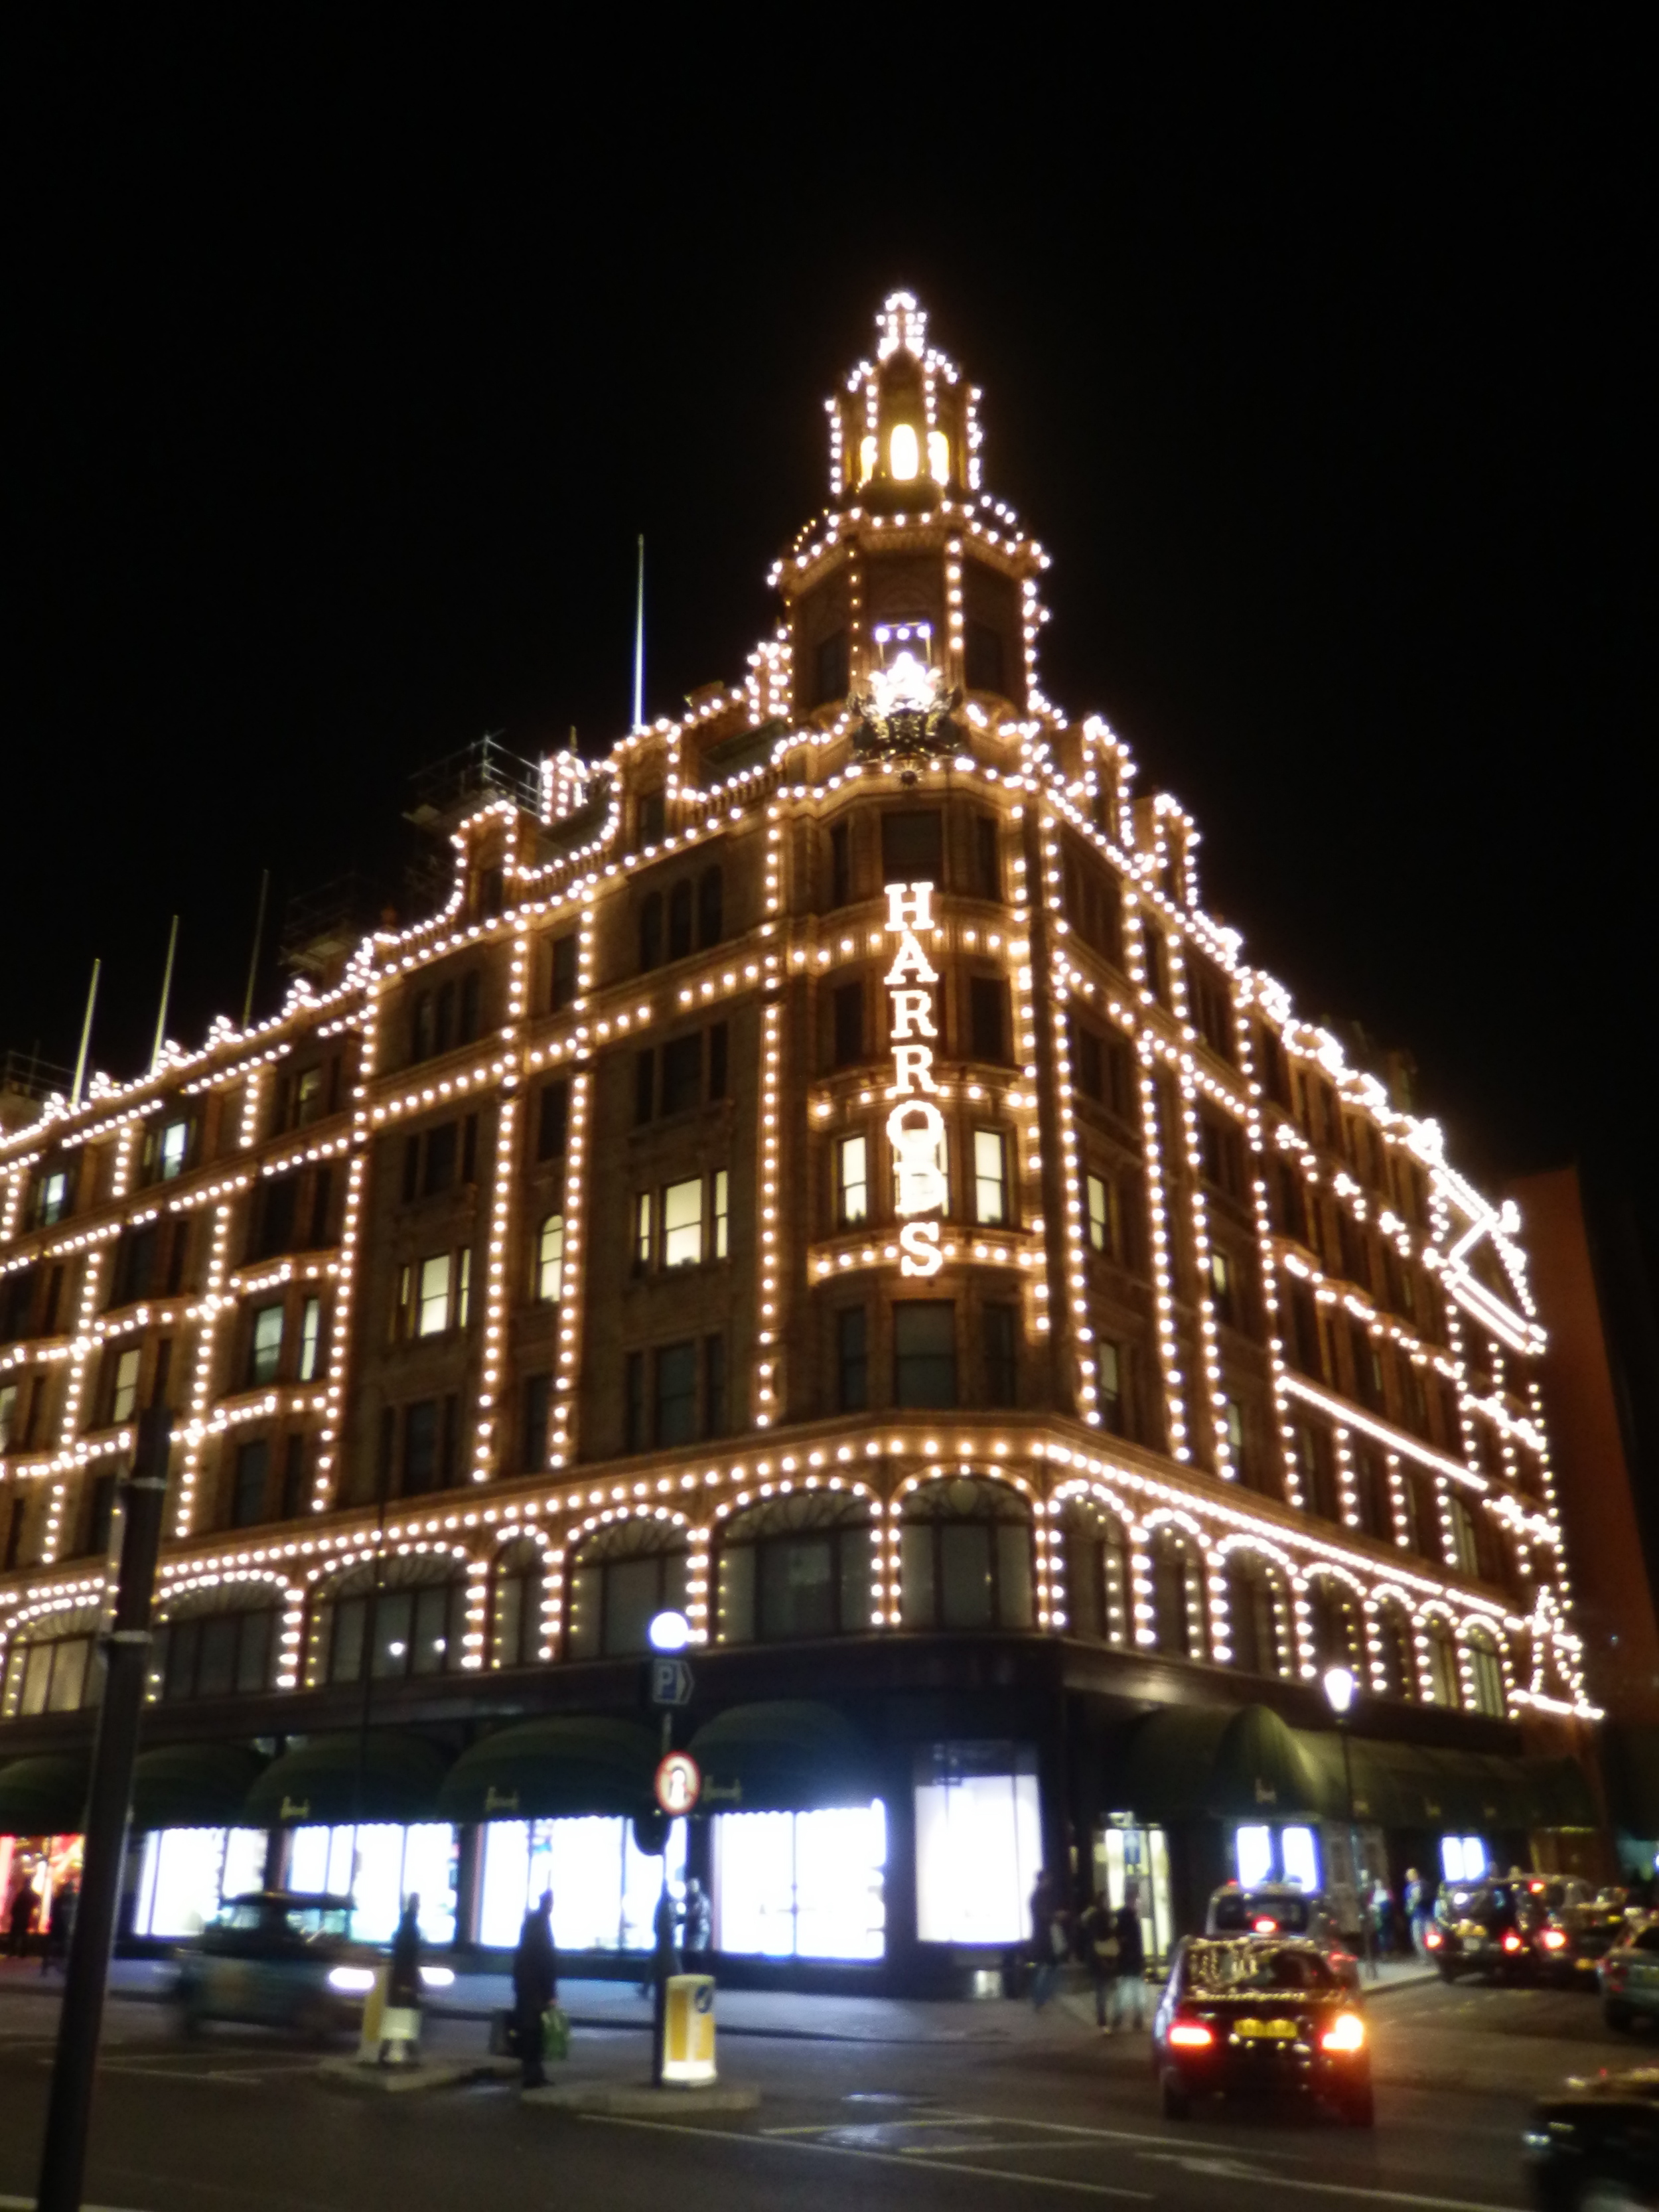
Harrods, London.
Original recipe from ‘bills Sydney Food’ by Bill Granger (2000), page 57.
Originally Posted May 1, 2014.