


Many apologies for my six week or so absence from here. Though I do doubt that anyone is sitting at their computer waiting for me to post a new recipe! I have had an exciting few weeks full of new experiences and new beginnings. All of which meant time spent updating my blog were few and far between.
In summary, during the last few weeks I have taken part in a food photography and styling workshop with Billy Law and Luisa Brimble, baked forty cupcakes and 20 biscuits for a bridal shower, baked 60 biscuits, made 250 mini quiches and 330 finger sandwiches for a wedding afternoon tea, quit my job, bought a new camera and attended a wonderful weekend ‘Slow Living Workshop’ with Beth Kirby, Rebekka Searle and Lusia Brimble (photos of the weekend to come!).
Hopefully you will notice an improvement in my photography and styling skills soon, and fingers crossed I will be able to dedicate more of my time to this blog from now on!
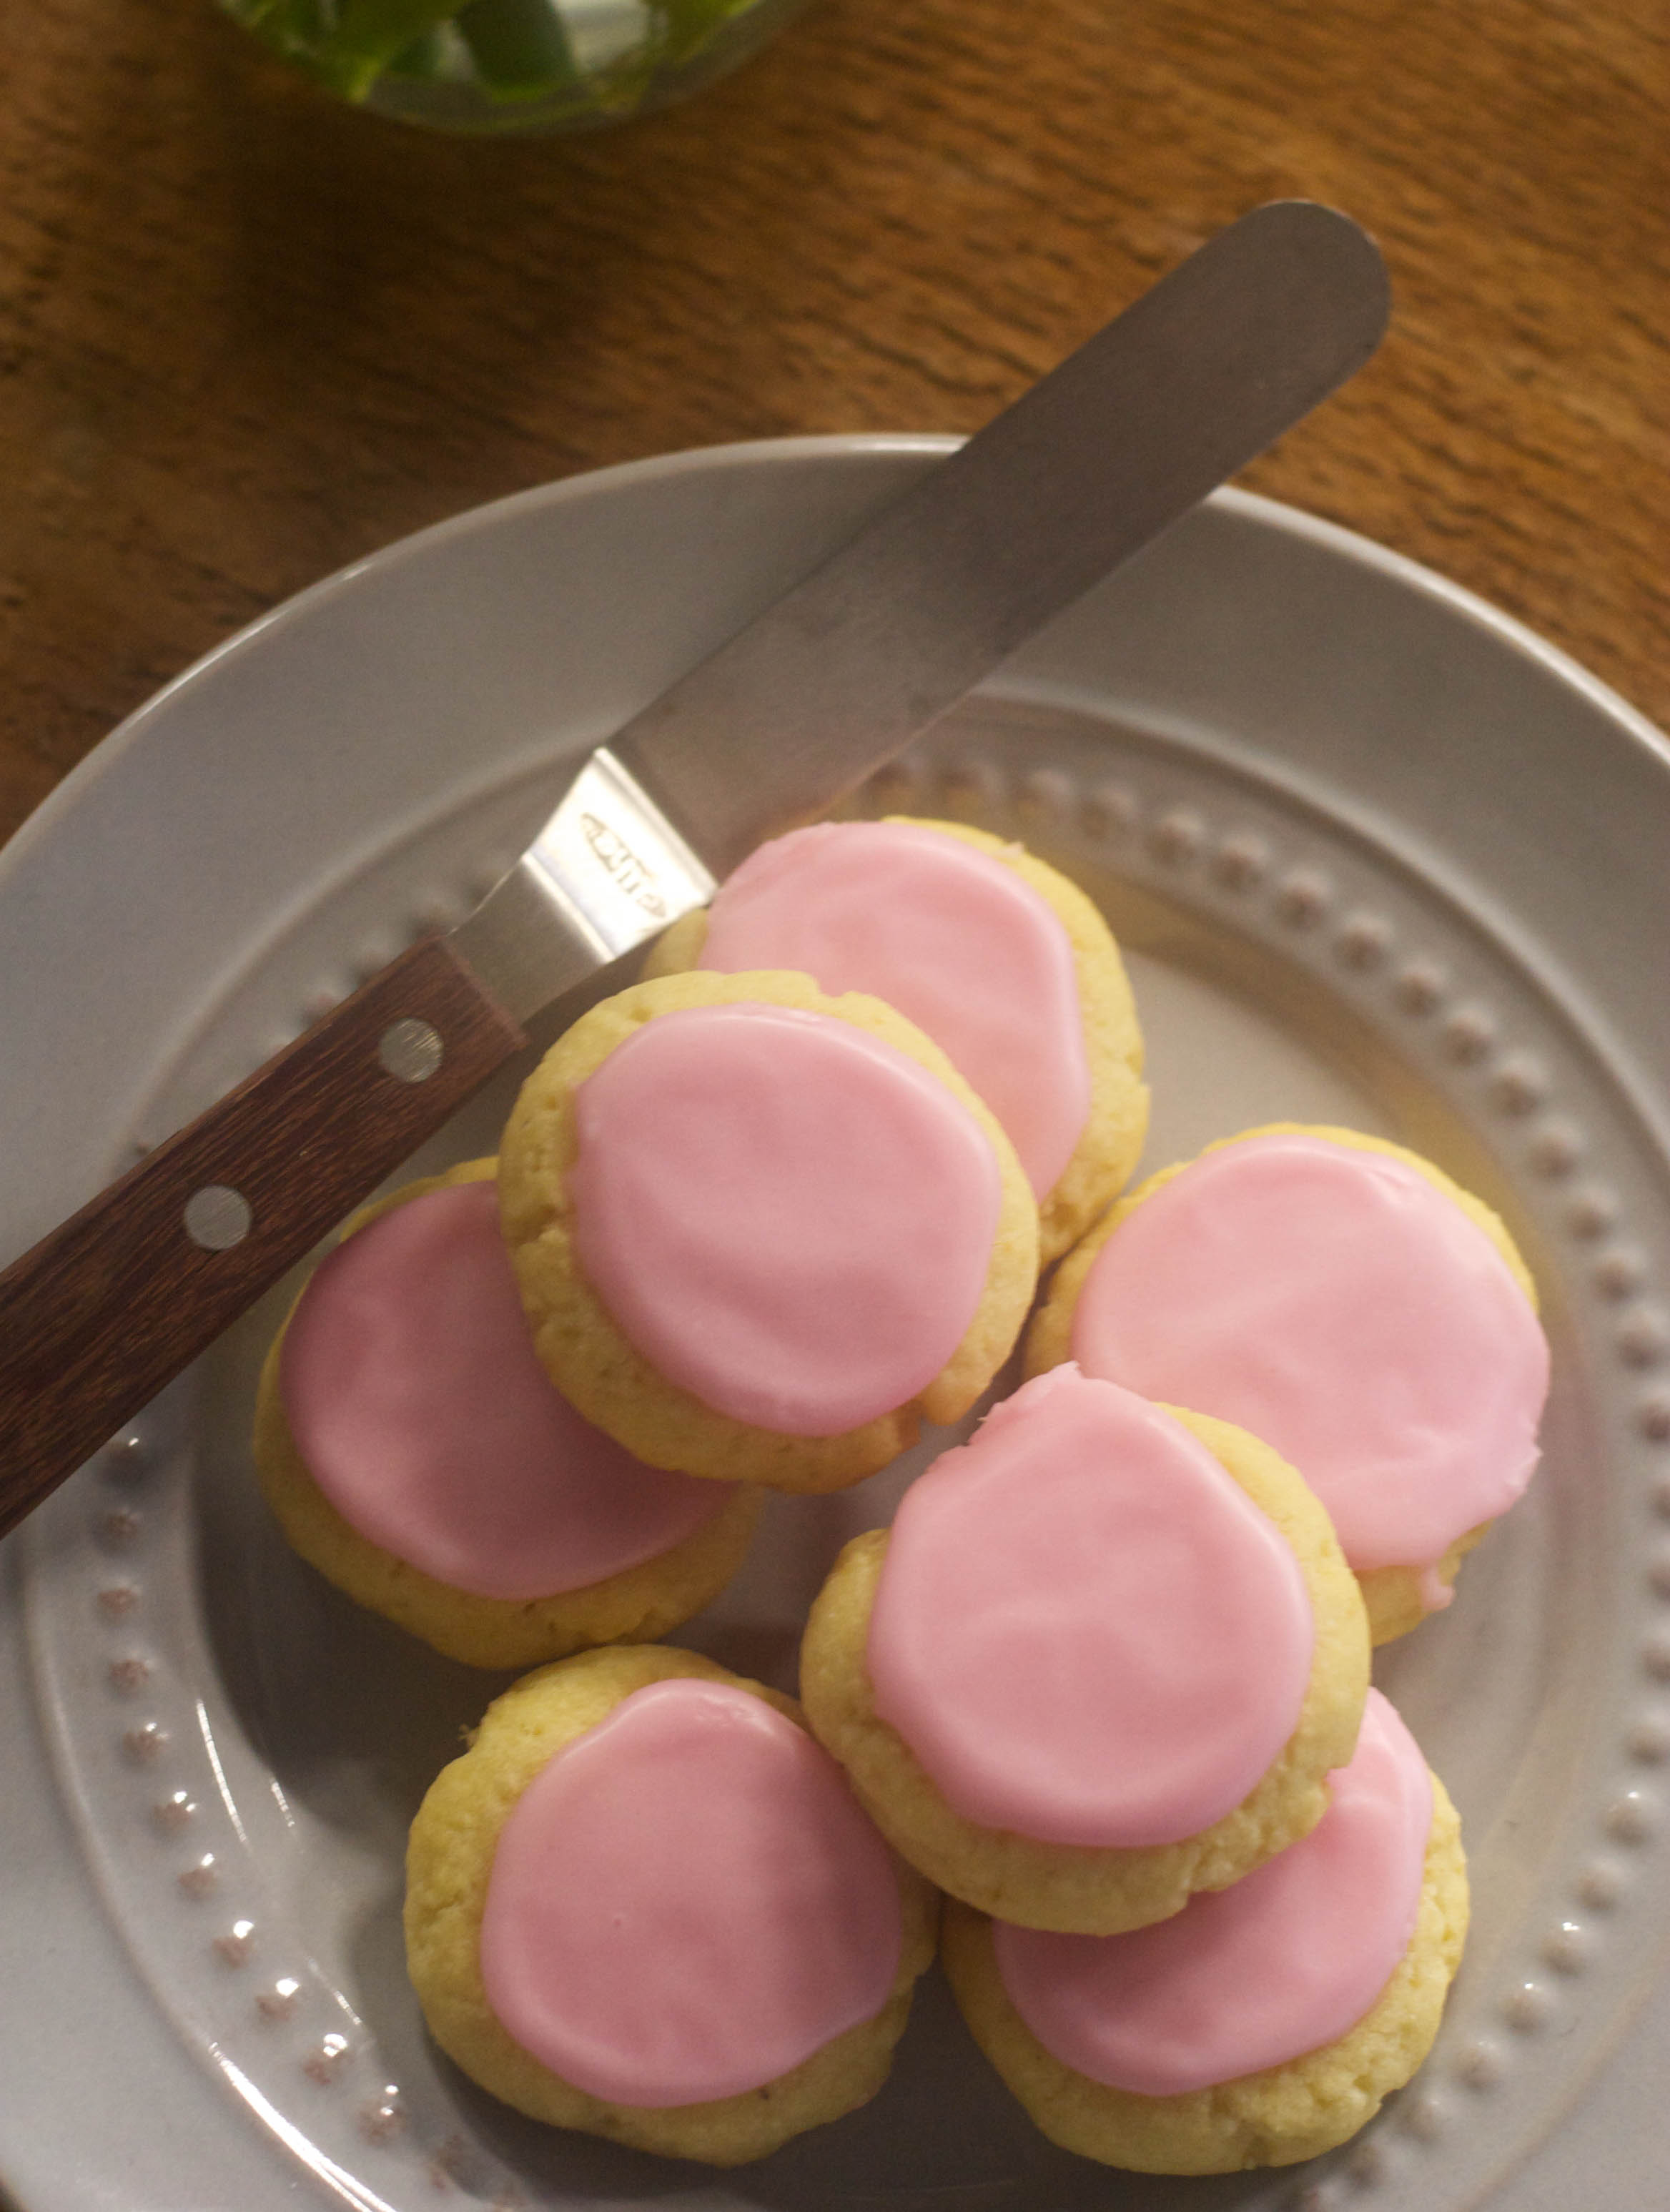
Below are some photos I took at the workshop with Billy and Luisa.


. . . .
The recipe I have decided to post today is something I created a month or so ago. I had been reminiscing about the cakes and teas Mum and I enjoyed while we were in Paris back in February. At Ladurée in Paris we tried a creation called the rose réligieuse. It was a round two layered choux pastry with crème pâtissière and raspberries, decorated with a rose icing on the outside. The flavour combinations were simply wonderful. And of course the presentation was impeccable.
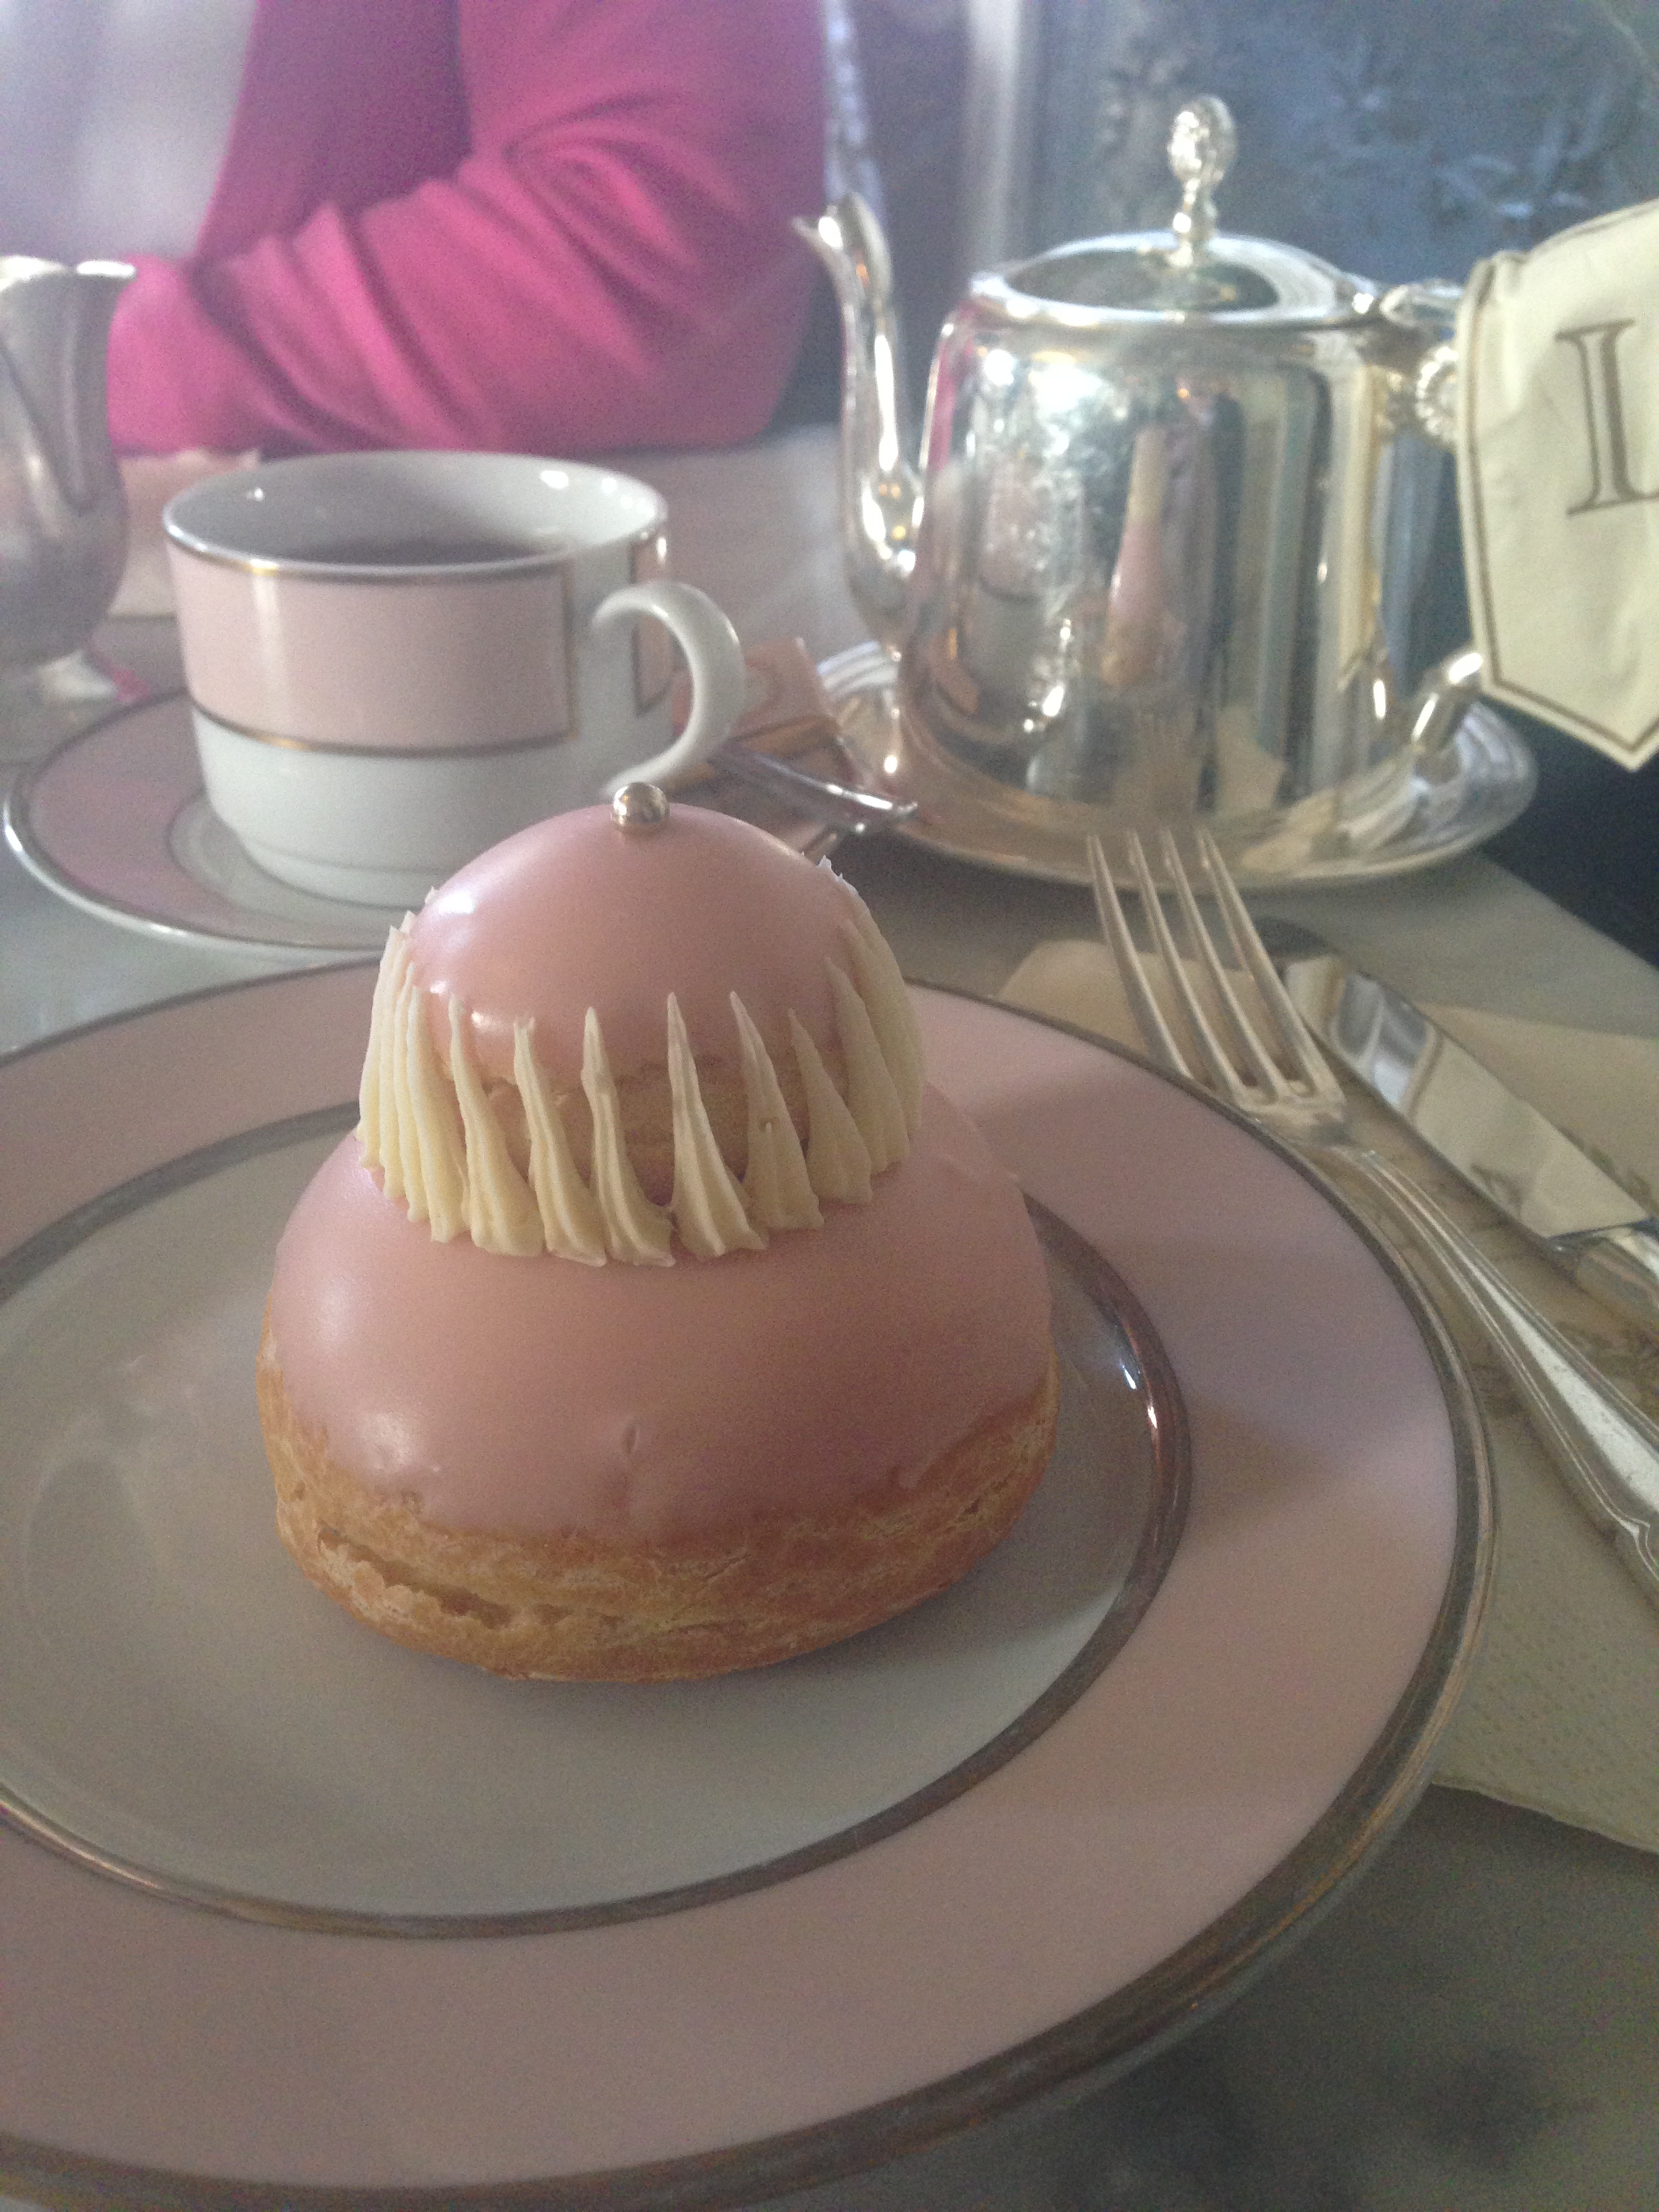
Tea & a Rose Réligieuse at Ladurée, Paris.
I decided to create something using this as an inspiration, and came up with a raspberry and rose cupcake. I am very pleased with how they have turned out, and seem to have become an instant crowd pleaser.
Raspberry & Rose Cupcakes
Ingredients:
125 g margarine (flavourless such as canola oil based)
3/4 cup caster sugar
1 tsp vanilla extract
2 eggs
1/2 cup milk, preferably low fat
1 1/2 cups self-raising flour, sifted
185 g raspberries, roughly chopped (approx. one and a half punnets if using fresh)
Ingredients for Icing:
2 - 2 1/2 cups icing sugar, confectioners
3 tsp rosewater
2 tbsp hot water
pink food colouring
dried rose buds, for decoration
Method:
Pre-heat oven to 160 degrees Celsius and line two cupcake trays with cupcakes cases. The mixture will only make about 15-16 cupcakes, so you won’t need to line all of the second tray.
In a large bowl, cream the margarine, vanilla and sugar until it has combined, and is fluffy and light. Add the eggs one at a time, beating after each addition. Then add the flour and the milk, half of each at a time, beating in between to combine.
Once all the ingredients are combined, add the raspberries to the mixture, gently folding them in with a spoon or spatula (not an electric mixer) until evenly distributed.
Evenly fill each cupcake case with the mixture, approximately 3/4 full.
Cook for 20-25 minutes or until the cakes are lightly golden and spring back when touched.
Allow to cool on a wire rack.
Once the cakes have cooled make the icing. Sift the icing sugar into a bowl, then add the water and rosewater and mix to combine. The icing should be smooth and slightly thick so it doesn’t run down the sides of the cakes. Add the pink food colouring, keeping the colour light. If the icing is too runny, add more sifted icing sugar a little at a time. If the icing is too thick, add more hot water a little at a time.
Spread the icing over each cupcake and place a rose bud in the centre. Allow the icing to dry before storing in a airtight container, or eat straight away!

Original cupcake recipe from The Australian Women’s Weekly Cakes & Slices Cookbook, p.89.
Originally Posted September 8, 2014.


