Kulinary Adventures of Kath

Food Photography, Recipes & Baking
  • home
  • About
  • Work with Kath
  • Shop
  • Blog
    • The Blog
    • Recipe Archive
  • Newsletter
  • Contact
  • home
  • About
  • Work with Kath
  • Shop
    • The Blog
    • Recipe Archive
  • Newsletter
  • Contact
Raspberry Pistachio Rose Cake (23 of 25).jpg

The Blog

Recipes and Food Photography by Kath Vincent.

  • The Blog
  • Recipe Archive
  • All
  • Biscuits/Cookies
  • Breads Etc.
  • Breakfast
  • Cakes & Slices
  • Confectionary
  • Drinks
  • Events
  • Food Photography Tips
  • From The Mailing List
  • Heirloom Recipes
  • Holidays
  • Ice Cream
  • Jams Preserves & Spreads
  • Muffins
  • Off the Shelf
  • Other Desserts
  • Savoury Dishes/Meals
  • Scones
  • Tarts & Pastry
  • Travel

Vanilla Scones & Homemade Strawberry Jam

Kath March 13, 2015

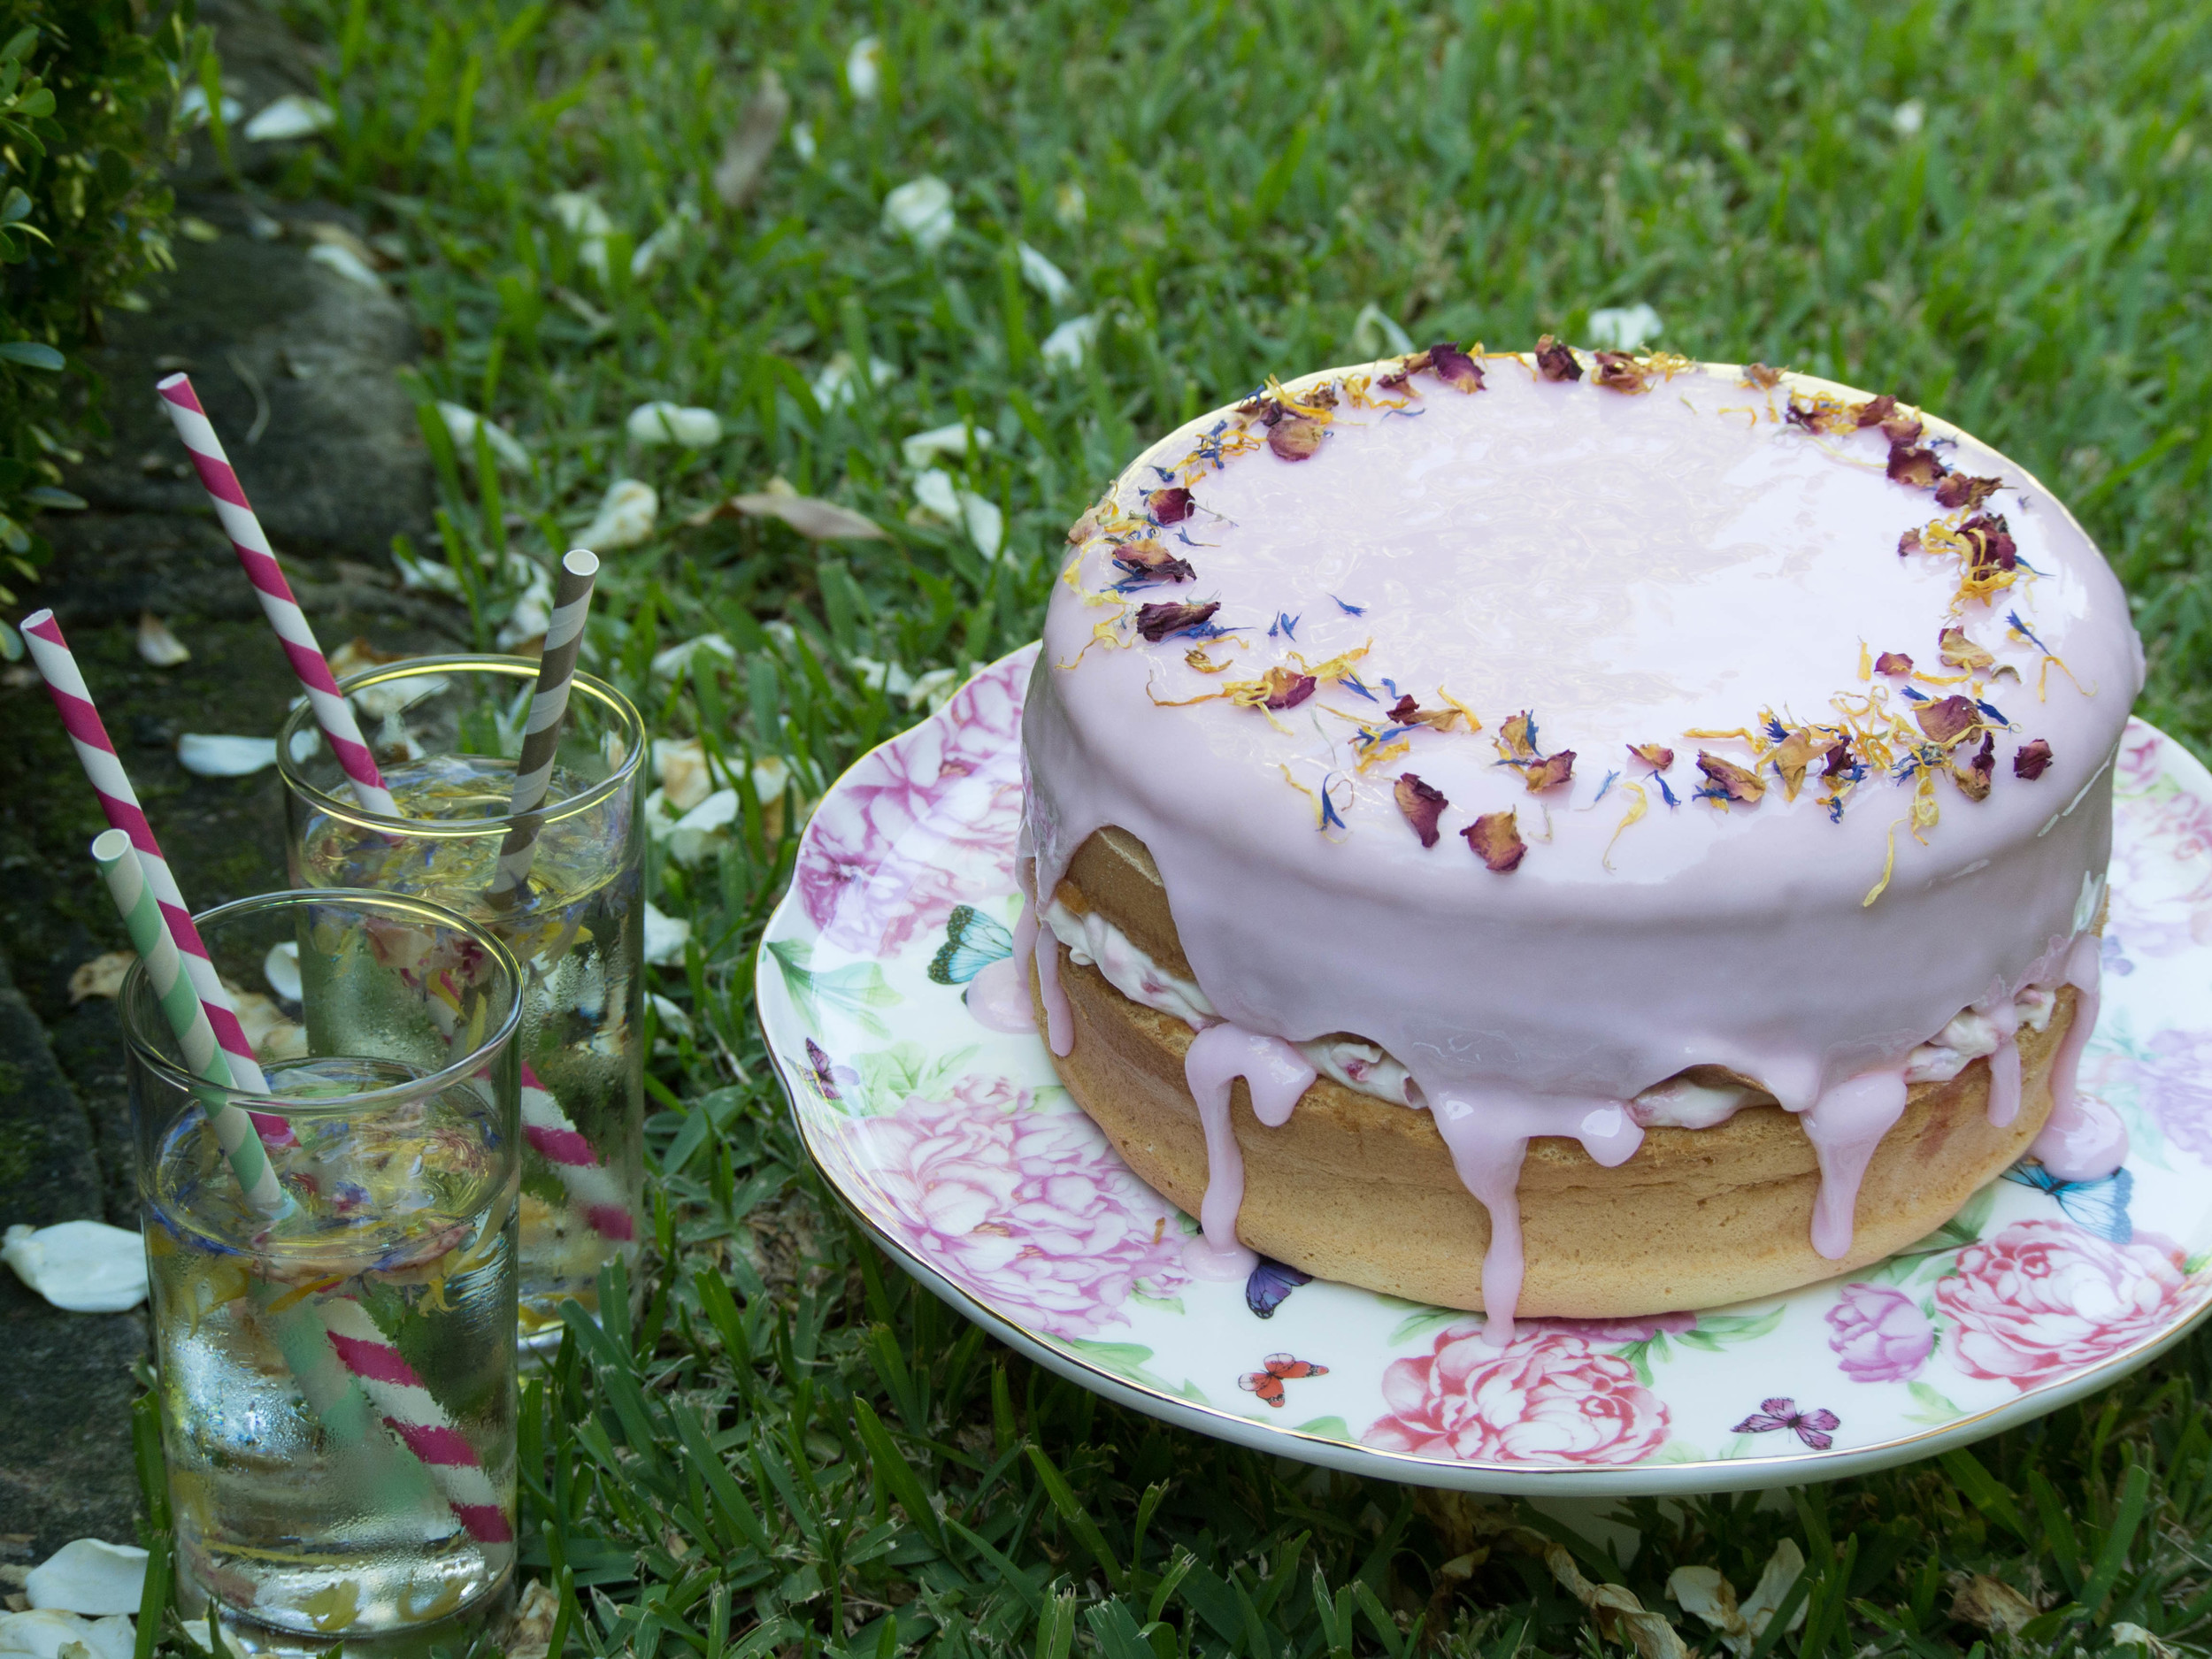
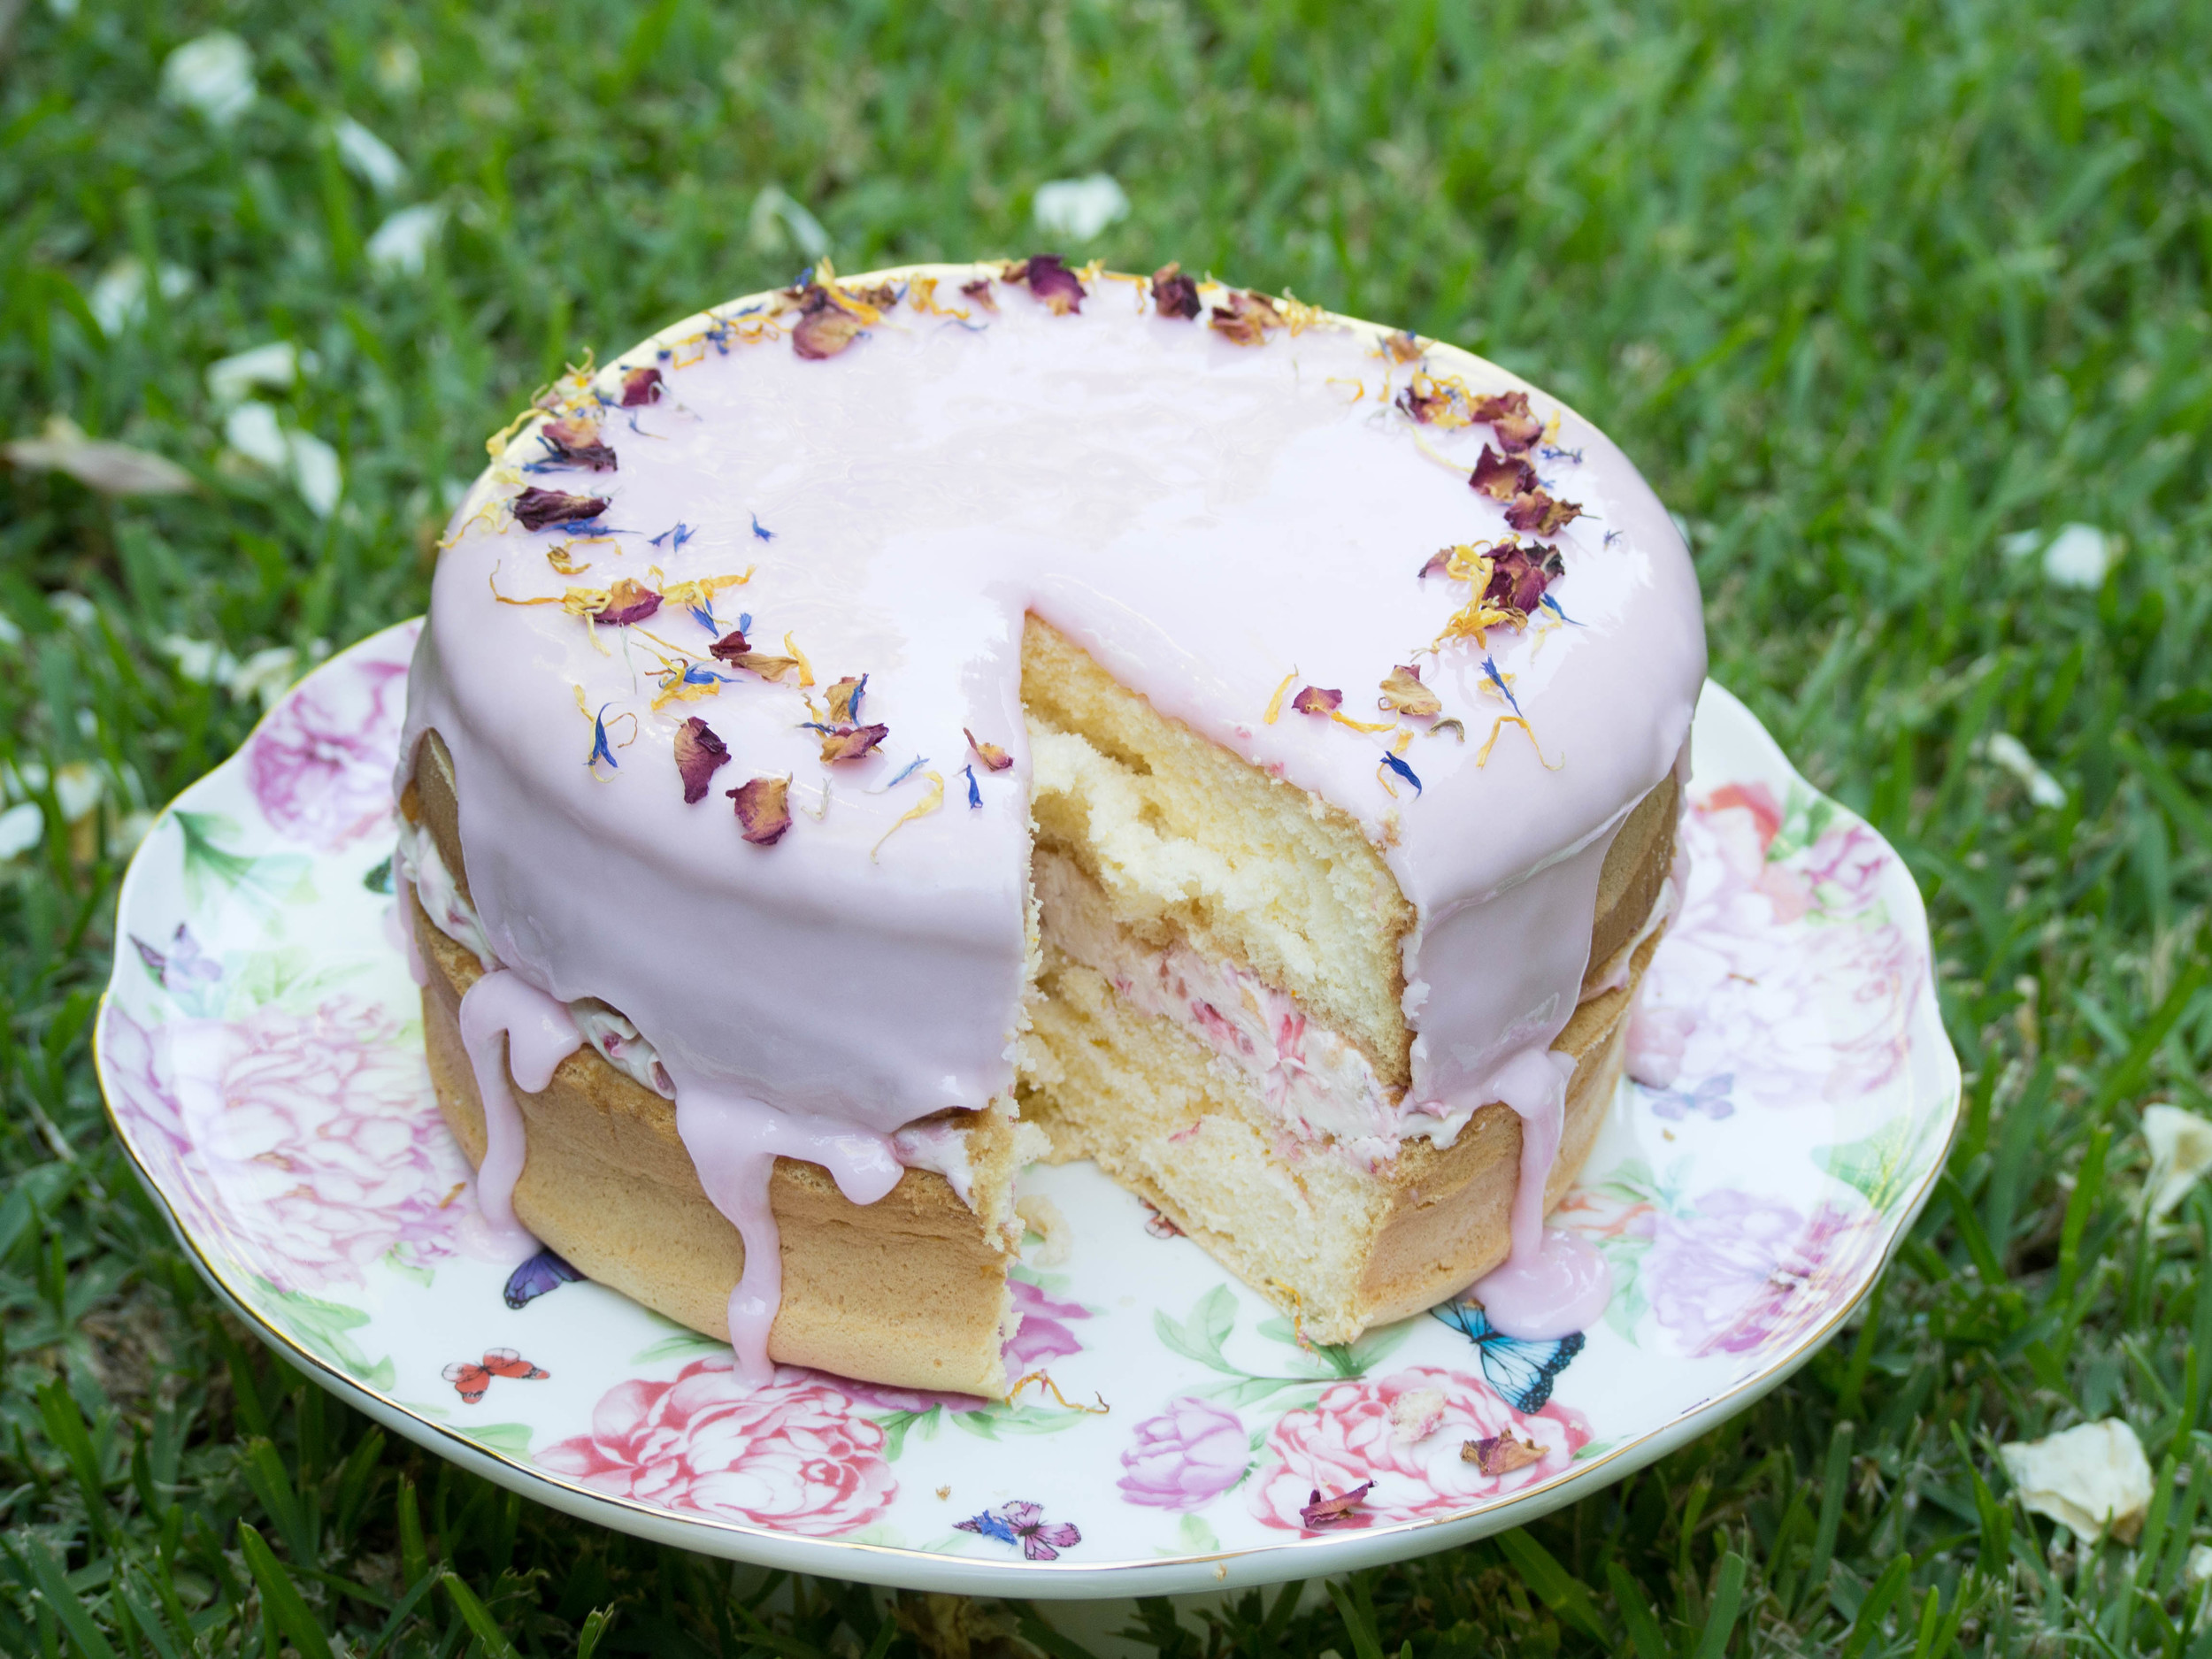
I love scones. I’m pretty sure I’ve made that clear before. But just in case anyone forgot my favourite meal is afternoon tea, I’ve taken the opportunity during my cookbook challenge to use two recipes (from two separate books) to remind you again. 

I’ve made these scones before, and they are super easy to make. This was the first time I have added vanilla to the recipe, however they are equally as good if you leave it out. These scones freeze well, just place them in a zip-lock bag after they have cooled and put them in the freezer. 

I have never made jam before, and when I saw this recipe (in a book I have owned for a few years and never used!), I thought it was worth a try. It is a simple recipe and yields two jars of jam, which will keep in the fridge for 6 months. I found the jam extraordinarily tasty (better than any supermarket bought one), however very runny! I followed the recipe exactly, however if I made it again I would use jam sugar with added pectin instead of caster sugar, in the hope that would help it set a little more. 

If making both these recipes, I suggesting making the jam a day or so before. This gives it ample time to cool, and (hopefully) set. And as it has quite a long shelf life, it does not matter if it’s not made the same day as serving. 

Recipe for Strawberry Jam

Ingredients: 

400g strawberries, hulled and halved 

450g caster sugar 

4 tsp fresh lemon juice 

x 2 375g capacity jars (I used two old ‘Bonne Maman’ jam jars and they were the perfect size). 


Method: 

Pre-heat oven to 140 degrees Celsius or 120 degrees Celsius fan. 

Combine the strawberries and sugar in a medium-large sized saucepan and place on a medium-high heat. Allow to simmer, stirring frequently. 

Reduce the heat to medium and allow to simmer for one hour or until thickened. Stir occasionally. 

During the hour the jam is simmering, prepare the jam jars. Wash both jars (and lids) in hot soapy water, then rinse in warm water. Place jars upside down on a rack in the pre-heated oven, for 30 minutes. 

After the hour or when the jam has thickened, remove from the heat and stir in the lemon juice. 

Pour jam into warm jars, seal with the lid and allow to cool. Store in the fridge. 

Original Recipe from ‘The Vintage Tea Party Book’ by Angel Adoree (Mitchell Beazley (2011), p.84). 

Recipe for Vanilla Scones 

Ingredients: 

4 cups self-raising flour 

1/2 tsp salt

1 cup pouring or thickened cream 

375-400 ml milk 

1 tsp vanilla bean paste 

jam and cream, to serve 


Method: 

Pre-heat oven to 250 degrees Celsius, and line a large baking tray with baking paper. 

In a large bowl, combine the flour and salt, then add the cream, 375 ml of the milk and the vanilla bean paste. Stir using a flat bladed knife or icing spatula to form a soft dough, adding more milk if the dough is too dry. 

Dust a work surface with flour, and turn the dough out. Lightly knead until the dough comes together. 

Press the dough out to 2cm thick. Using a 5.5cm (approx.) round cutter, cut out scones from the dough and place onto the prepared tray so they are just touching. Pull dough scraps together and press out to 2.5cm thick. Cut out remaining scones, and continue to use the scraps (adding .5cm to the thickness each time when pressed out), if necessary. 

Bake for 12-15 minutes. Scones will be risen and golden when ready. Serve warm with jam and cream. 

Recipe Originally from ‘Fast, Fresh & Fabulous’ by Janelle Bloom (Ebury Press (2008), p.141).


All baking, styling and photography for this post by Kathryn Vincent of Kulinary Adventures of Kath.

In Scones, Jams Preserves & Spreads Tags Scones, jam, strawberry
Comment

Roasted Salmon with Asparagus & Pancetta

Kath February 28, 2015

This past week I have been searching through many of the cookbooks in our collection, trying to decide and plan what recipes I will make for my cookbook challenge. I have decided to do a few savoury recipes, which as you might have noticed, I don’t post a lot of on here. 

However, in an attempt to make an effort for dinner (at least on the weekends), I am using my cookbook challenge to try something new for dinner. Granted, some of the recipes I plan to make aren’t exactly ‘new’. They are just ‘new’ for the blog. But not only is the concept of trying something completely new every weekend a little daunting, some of the recipes we have tried before a just too good not to share here. 

This salmon recipe falls into that category. It’s from Bill Granger’s book ‘Bill’s Italian Food’, and it literally takes 10-15 minutes to cook. Which is pretty amazing I think. All the ingredients are easy to come by, and in our house are pretty much always already in the pantry/fridge/freezer. The salmon fillets I used are probably smaller than the ones specified in the recipe, however we tend to buy frozen salmon and keep it for these kinds of quick meals, and we find they are the perfect size (expect sometimes for the men of the house who often eat two fillets each). 

Roasted Salmon, Asparagus and Pancetta with Caper & Basil Mayo 

Ingredients:

1 tbsp capers, drained

8 basil leaves, chopped

juice of 1/2 lemon, plus extra wedges to serve

4 tbsp mayonnaise

4 salmon fillets, skin on (approx. 175g each)

250 g asparagus

8 slices pancetta

2 tbsp olive oil

salt and pepper, to season 


Method: 

Pre-heat oven to 220 degrees Celsius. Mix the capers, lemon juice, mayonnaise and basil in a small bowl. Set aside. 

In a large roasting pan, place the asparagus, pancetta and salmon (skin side up). Season with salt and pepper, drizzle with the olive oil, and cook for 10 minutes, or until the salmon is cooked through (or to your liking) and the pancetta is crisp. 

Serve with the mayonnaise and wedges of lemon. 

Original recipe from ‘Bill’s Italian Food’ by Bill Granger, (HarperCollins, 2013), p.106.

All food preparation, styling and photography by Kathryn Vincent of Kulinary Adventures of Kath.

In Savoury Dishes/Meals Tags Salmon, Bill Granger, cookbook challenge, Dinner, Quick Meals
Comment
Raspberry and Rose Sponge Cake

Raspberry and Rose Sponge Cake

Raspberry & Rose Sponge Cake + Raspberry & Elderflower Cordial

Kath February 17, 2015

These two recipes, raspberry & rose sponge cake and raspberry & elderflower cordial, are current favourites. They are great served together, or separately, and would be lovely additions to an afternoon tea or celebration over the warmer months. 

The flavours raspberry and rose are clearly firm favourites for me, and this cake in particular showcases how well they go together. 

Hopefully, now I have baked and posted these few recipes using flavours and ingredients I particularly love, I can move on to some new or different flavours than those I have been baking with recently. I saw a post on Instagram yesterday from someone who was talking about how they wanted to get more into cooking and was considering taking some classes. They then realised that they had enough cookbooks to inspire them to cook, and probably didn’t need to spend the money on classes! They resolved to try a new recipe from each of their cookbooks during this year. I think this is a great idea. As our cookbook collection spans at least 144 books, I think I should have enough inspiration and recipes to keep me going for a while, without always falling back on the flavours I love the most. 

So, I am giving myself a ‘cookbook challenge’. I am going to try and make something new from each cookbook I own. Hopefully I will discover some new favourites, and hopefully this will challenge me to tackle to daily dilemma that is dinner with more enthusiasm.

A small selection of the cookbook collection.

A small selection of the cookbook collection.

How many cookbooks do you have in your collection? Do you use them often? Let me know in the comments! 

Raspberry & Rose Sponge Cake

Ingredients: 

Butter and plain flour, for greasing cake tins 

4 eggs 

1/2 cup caster sugar

1 cup cornflour 

1 tbsp custard powder 

1 tsp cream of tartar 

1/2 tsp bicarbonate of soda 

1 tsp rosewater


Ingredients for Icing and Filling: 

2 cups icing sugar 

1/2 tbsp boiling water

3 tsp rosewater

pink food colouring

1 tbsp rose syrup

1 punnet raspberries 

1 cup of thickened cream 

edible flowers (fresh or dried), to decorate 


Method: 

Pre-heat oven to 200 degrees Celsius. Use a little butter to grease two (20 cm) sandwich tins, then dust them with some flour. Line the base of each tin with baking paper. 

Separate the eggs, and set the yolks aside. Place the whites into the bowl of an electric mixer and beat until they form stiff peaks. Add the sugar and the rosewater, and beat until the mixture has become stiff and glossy. Add the yolks and beat until just combined. Sift in the dry ingredients, and gently fold into the egg mixture using a large metal spoon.

Divide the mixture between the two tins, and bake for 20 minutes. The cakes will be ready when they are golden in colour and spring back when touched lightly. 

Line two cooling racks with baking paper. Remove cakes from their tins, and allow to cool on the prepared racks. Allow to cool completely before icing or filling the cake. 

Sift the icing sugar into a bowl, add the water and rosewater and mix to form a smooth, slightly thick icing. If the icing is too thick add more water, too runny, more sifted icing sugar. Add a small amount of pink food colouring, and mix to create a light pink icing.

Whip the cream with the rose syrup, then roughly chop the raspberries and gently fold into the cream. Spread the cream over one of the cakes (top side down). It is easiest to ice and fill the cake on the plate you will serve it on. Top with the remaining sponge cake, and ice the cake with the icing. Decorate with edible flowers. 

This cake is best served immediately after it is assembled, however, it will keep in the fridge for a couple of days. 

Original Recipe found in Country Style Magazine, November 2014 Issue, pp.76-77 (article: ’never too late’, recipe originally by Bill Bevan).

Raspberry and Elderflower Cordial

Raspberry and Elderflower Cordial


Raspberry & Elderflower Cordial

Ingredients: 

1/2 cup elderflower cordial

1 cup water 

1 litre cloudy apple juice 

handful frozen raspberries


For Ice Cubes: 

ice cube tray

water

raspberries 


Method:

Prepare the ice cubes the day before. Place small whole raspberries, or roughly chopped larger raspberries, into an ice cube tray. Cover with water and allow to freeze overnight. 

For the cordial, in a 1.5 litre capacity jug, add the elderflower cordial, water and apple juice. Top with a handful of frozen raspberries. Leave in the fridge to chill, and once the frozen raspberries have started to defrost, mix the cordial so it becomes stained with the red colour of the raspberries. 

Once ready to serve, add the raspberry ice cubes to the glasses and pour over the cordial. 

This recipe was originally published via Liveability.

For more recipes showcasing the best of rose, check out my eBook Baking with Rose by clicking the link below!

get your ebook!
In Drinks, Cakes & Slices Tags Sponge, cake, Rosewater, Rose, Raspberry, pink, elderflower, cordial, Afternoon Tea, cookbook challenge
2 Comments

Easy Passionfruit Loaf Cake

Kath February 16, 2015

This recipe came about when I wanted to use up some passionfruit leftover from the sponge cake I made a little while ago. I do find it funny that whenever we have leftover or almost over ripe fruit in the house we use it to bake with! We’d probably be better off just eating it, rather than adding sugar and butter to it, but that wouldn’t be as much fun though would it? 

The base of this loaf cake is one I use often for cupcakes and whole cakes as well. It is quite versatile and has featured on the blog in the past in different forms. You can substitute the margarine for butter, the golden caster sugar for caster sugar, and the buttermilk for regular or skimmed milk. You can even use vanilla extract if you don’t have any vanilla bean paste. This loaf cake is that easy - you don’t even need to have all the right ingredients for it to be great! 

I apologise if anyone is throughly sick of seeing recipes for cake that involve passionfruit from me. Unfortunately, when there is something I like, I keep using it! And when I get an idea for a cake or recipe, I find it hard to think of anything else until the idea has been brought to life! So be prepared for a few more slightly repetitious cakes in the next little while! All of which however, can be altered to suit your tastes or what you have available. This loaf cake for example, would be just as good using lemon juice in the icing. 

On another note, the size of the loaf cake my look a little deceiving in the photos. This is because about half of it had already been eaten by the time I could take photos! 


Ingredients: 

125 g canola based margarine

3/4 cup golden caster sugar (raw caster sugar)

1 tsp vanilla bean paste

2 eggs 

1 1/2 cups self-raising flour

1/2 cup buttermilk 


For the Icing: 

1 1/2 cups icing sugar 

3-4 small passionfruit  


Method: 

Pre-heat oven to 160 degrees Celsius, and line a loaf tin with baking paper. 

In the bowl of an electric mixer, beat the margarine, sugar and vanilla until light and fluffy. 

Beat in the eggs one at a time, then add half the flour and half the buttermilk and mix. Add the remaining flour and buttermilk and mix on medium speed until well combined. 

Transfer the mixture into the loaf tin, smoothing the top. Bake for 1 hour, or until the cake springs back when touched lightly and a skewer comes out clean. 

Cool in the tin for a few minutes then transfer to a cooling rack, leaving the baking paper underneath the cake (this will prevent the cake from sticking to the rack, and catch any runaway icing later). 

Once the loaf has cooled completely, sift the icing sugar into a bowl. Add the pulp of 3-4 passionfruit gradually, mixing after each addition. Stop adding pulp when the icing is a nice smooth consistency. Drizzle the icing over the cake, allowing it to fall down the sides. Leave for 2-3 hours to allow the icing to dry before storing in an airtight container, or eat straight away!

All baking, styling and photography for this post by Kathryn Vincent of Kulinary Adventures of Kath.

In Cakes & Slices Tags cake, Passionfruit, Loaf Cake, Baking
Comment

Lamingtons

Kath January 23, 2015

For those who don’t live in Australia, a lamington is made using sponge cake and coating it in chocolate icing and coconut. I think they came about at some point to use up day old sponge. They are definitely worth a try! Sometimes they are sold with a layer of jam and/or cream in the middle as well. I like my lamingtons simple, with no cream or jam. Just made with good ingredients, and probably fresh sponge! Day old sponge is great to use, I just find fresh sponge easier to work with when coating them in the icing. 

This particular recipe comes from my favourite Aussie cook, Bill Granger. I have made them a couple of times before and they have been very popular. I have altered the quantities of chocolate in the icing recipe, as I like the combination of milk and dark chocolate together better than just dark chocolate on its own. You can use whatever you like or have at home, just keep the total chocolate quantity the same. 

Any type of coconut can be used to cover the lamingtons. I really like using coconut chips, however if you can’t find them just use shredded, desiccated or flaked coconut. Also, make sure you have more coconut ready than the recipe indicates. I always find I am grabbing more handfuls of it out the bag when I am decorating the lamingtons. It’s probably just because it’s quite messy and I end up with lots of coconut all over the bench! 

I try to work quite fast when decorating the lamingtons, as the chocolate will start to set before you have used it all up. You also need to get the coconut on each one straight after it has been coated in chocolate so it will stick. Keep stirring the icing to prevent it from setting, and if you need to thin it out a little to make it more liquid, you could a little more milk or some hot water (1 tsp at a time). The icing should be a little thick however, as it will coat the lamington better than a thin icing. 

 Ingredients for the Sponge Cake: 

6 eggs 

150 g caster sugar 

200 g self-raising flour 

30 g unsalted butter, melted

3 tbsp hot water

Ingredients for the Icing: 

500 g icing sugar

100 g dark chocolate melts 

100 g milk chocolate melts 

15 g unsalted butter

125 ml milk 

375 g coconut chips 


Method: 

Pre-heat oven to 180 degrees Celsius and grease and line a lamington tin (rectangle tin with dimensions approx. 18 x 28 cm and about 4 cm deep). 

Beat the eggs in the bowl of an electric mixer on medium speed for about 5 minutes. The eggs should become light and fluffy in this time. Gradually add the sugar and beat until the mixture is thick and the sugar has dissolved.

Sift in the flour and gently fold into the egg mixture with a metal spoon. Add the melted butter and hot water and gently stir to combine. 

Pour the mixture evenly into the prepared tin and bake for 30 mins, or until the sponge is golden and springs back when lightly touched. 

Once cooked, turn the sponge out onto a baking paper lined cooling rack, and allow to cool completely. 

Once the sponge has cooled, cut into squares (about 15-16). Place the coconut in a large shallow bowl, and have four forks ready. You will also need another baking paper lined cooling rack to place the freshly iced lamingtons on to dry. 

To make the icing, heat a sauce pan with a little water until it is simmering. Place all the icing ingredients (not the coconut), in to a heatproof bowl or saucepan that will fit on top of the saucepan of simmering water. Place the bowl with the ingredients over the simmering water and stir continuously until all the ingredients have melted and combined to form a smooth thick icing. Do not allow the simmering water below to touch the base of the bowl above, as the chocolate may burn. 

Remove the icing from the heat. Using two of the forks, dip one of the sponge squares into the icing. Using the remaining two forks, toss the chocolate coated sponge in the coconut, and place on the prepared rack to set. Continue with the remaining sponge squares, stirring the icing occasionally to stop it setting. 

Leave the lamingtons on the baking paper lined rack until the icing dries. They are best eaten the same day they have been made, however will store in an airtight container for a couple of days (in the fridge if the weather is particularly humid or hot). 

Recipe originally from Bill Granger ‘Everyday’  (Murdoch Books, 2006), p.192. 

In Cakes & Slices Tags Lamingtons, Cake, Chocolate, Coconut, Bill Granger
Comment

A Pink Tinged Birthday Cake

Kath January 15, 2015

This cake was made early last month for my birthday. Yes, I made my own birthday cake! I had seen this recipe in the Australian Women’s Weekly book ‘Indulgent Cakes’ a few months earlier, and never had a reason to make such a big cake. So when it came to deciding what to make for my birthday, I knew it was the perfect opportunity to make it. 

This cake combines two things that I really love - raspberry and rosewater. You may have noticed I use these two ingredients a lot, particularly together. I actually have to try and not use them so much now, so my blog isn’t just a how-to on using raspberries and rosewater! 

The icing of this cake is marshmallowy, and the cake itself is pink. Also two things I love. Marshmallows and anything pink. This cake was definitely the right choice for my birthday! 

I made the cakes the day before and stored them between baking paper in air-tight containers overnight. The icing needs to be made then used straight away. It is also best to assemble and ice the cake just before you want to serve it, as the icing is at its best straight away. 

This cake can (and should) be stored in fridge, and will last a couple of days (the icing will start to dissolve away however). 


Ingredients for the Cake: 

250 g unsalted butter, softened

6 egg whites

2 tsp vanilla extract

2 cups caster sugar 

2 1/2 cups plain flour

1 cup buttermilk

2 tsp bicarb soda

2 tsp white vinegar

3 tsp pink food colouring


Ingredients for the Filling: 

185 g raspberries 

1 tbsp rosewater

300 ml thickened cream

1/4 cup icing sugar 


Ingredients for the Icing: 

3/4 cup caster sugar 

1 tbsp glucose syrup 

2 tbsp water 

3 tsp rosewater 

3 egg whites 

fresh raspberries, for decoration


Method: 

Pre-heat oven to 180 degrees Celsius and line two 20cm round baking tins three times. 

In the bowl of an electric mixer, beat the butter until smooth. Then add the buttermilk, egg whites, sugar, flour and vanilla extract. 

In a separate bowl combine the white vinegar and bicarb soda. This mixture should become foamy. Add the pink colouring to the vinegar mixture. Then add the vinegar mixture to the main cake mix. Beat on a low speed until everything has combined, then beat for a couple of minutes on medium speed until the mixture turns a paler colour. 

Divide the cake mix evenly between the two prepared tins, and bake for 45 minutes. Test cakes with a skewer to ensure they are cooked through. Allow the cakes to stand in their tins for a few minutes, then turn them onto baking paper lined cooling racks (top side of cake facing down). 

Once the cakes are cool, carefully cut them in half. Place one of the layers on a serving plate, cake stand or board. Set aside.

To make the filling, lightly squash the raspberries in a small bowl with the rosewater. In a separate bowl beat the cream and icing sugar until the cream forms stiff peaks. Fold the raspberries into the cream. Spread one-third of the cream onto the base layer of the cake, and top with the next layer. Repeat with the remaining layers, finishing with a final layer of cake. 

To make the icing, place the egg whites in the bowl of an electric mixture. Then place 2/3 cup of the sugar, water, glucose and rosewater in a saucepan and stir over medium heat until the sugar has dissolved. Bring mixture to the boil, and allow to boil for 3 minutes, or until a small amount can be rolled into a soft ball once dropped in cold water. If you have a sugar thermometer, the syrup should be 115 degrees Celsius at this stage. Once the syrup is boiling, start beating the egg whites until soft peaks form. Then beat in the remaining sugar. 

Remove the syrup from the heat and allow the bubbles to settle. With the mixer running, add the syrup to the egg whites in a thin stream. Beat on high speed for about five minutes, by which time the icing should have thickened and cooled.

Use icing immediately, trying to ice the top and sides of the cake evenly. Decorate with fresh raspberries. 


Recipe originally from, The Australian Women’s Weekly ‘Indulgent Cakes’  (2014, Bauer Media Books), pp.140-145.

All baking, styling & photography for this post by Kathryn Vincent of Kulinary Adventures of Kath. 

In Cakes & Slices Tags cake, birthdays, Australian Women's Weekly, Raspberry, Rosewater, Afternoon Tea, Baking
Comment
  • The Blog
  • Older
  • Newer

recipes

  • Biscuits/Cookies 40
  • Breads Etc. 9
  • Breakfast 7
  • Cakes & Slices 68
  • Confectionary 5
  • Drinks 6
  • Events 14
  • Food Photography Tips 3
  • From The Mailing List 24
  • Heirloom Recipes 12
  • Holidays 45
  • Ice Cream 9
  • Jams Preserves & Spreads 9
  • Muffins 4
  • Off the Shelf 51
  • Other Desserts 25
  • Savoury Dishes/Meals 15
  • Scones 4
  • Tarts & Pastry 9
  • Travel 13

Sign up to Friday Food Chat with Kath, a weekly newsletter for more food, baking, cookbook chat and more!

Sign Up Here!
instagram-unauth pinterest facebook url

Website Accessibility: To enable text to speech function on the blog, click the sound button to the right of each blog post.

All images & content are the property of Kathryn Vincent, unless stated otherwise. Please do not use without permission.

Kulinary Adventures of Kath

Food Photography, Recipes & Baking

instagram-unauth pinterest facebook url