The inspiration for this drink recipe came from a mocktail I tried at my birthday dinner late last year at The Glass Brasserie at the Hilton Sydney. It was a great night, with amazing food and the best company. My brother and his girlfriend travelled from interstate to surprise me on the night, which pretty much made it one of the best birthdays ever.

Lychee Rose Mocktail at the Glass Brasserie
I chose the Lychee Rose mocktail, obviously because of the rosewater in it! I love rosewater, as I’m sure you have noticed, and can’t go past anything on a menu that contains it. And in this case, I’m very glad I tried it. Not only was it amazing, but it has inspired a Summer drink that can be made very easily at home.
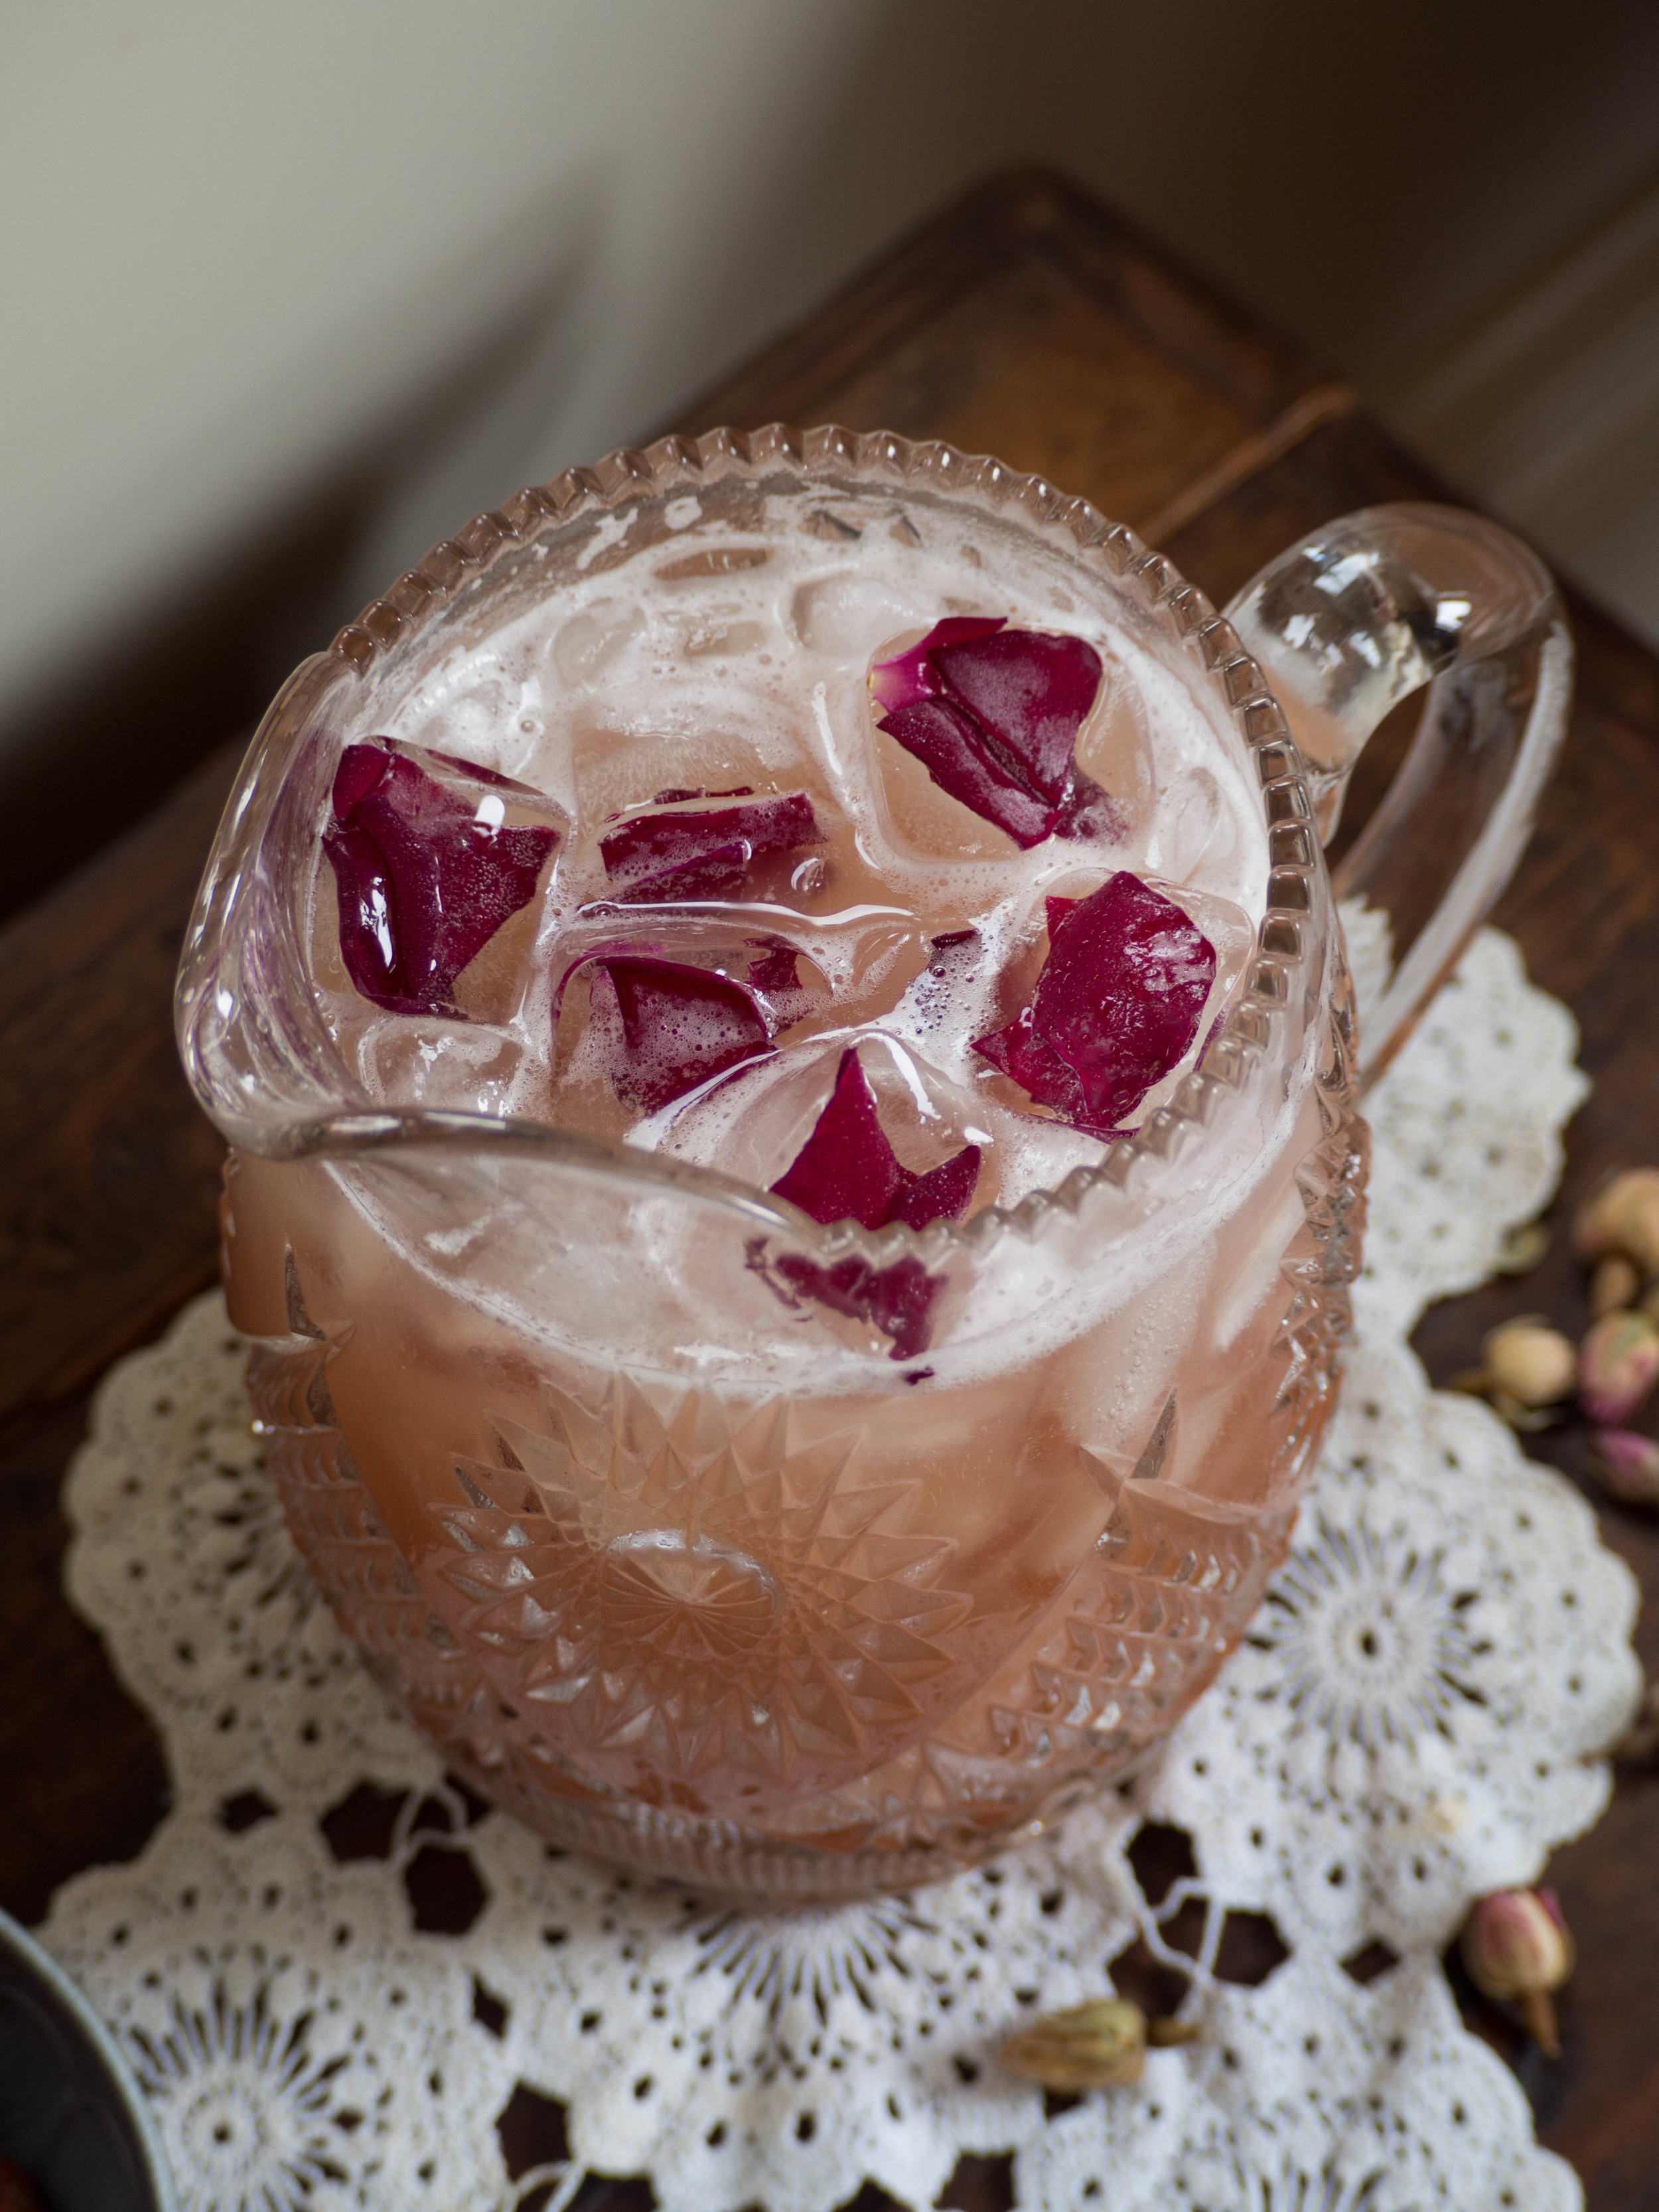
This recipe also showcases lychees while we have them in season, but canned ones (rinsed first) will work well too. I have been enjoying making this drink over the past couple of months, and I find it can last at least a week in the fridge (particularly if the lychees are freshly bought). I have also taken to buying more lychees than I need, pureeing and sieving them, and freezing the juice to use later. I also like making up some ice cubes with a few torn rose petals and a splash of rosewater to add to the jug or glass upon serving. This recipe is also really good frozen into ice block moulds, with a few chunks of lychee dropped into each - perfect for those super hot Summer days!
On another note, this week marks the beginning of our kitchen renovation. It is a slightly daunting and exciting time, but does however mean I won’t be cooking almost anything but toast for quite a few weeks. I have however come prepared! These past couple of months I have been spending almost every weekend baking and shooting in order to have some recipes to share here during the kitchen renovation - this is the reason I have only posted one recipe on the blog this year! All my spare time has been taken up with the baking side of things! I look forward to sharing the end result with you when it’s all done, but until then I hope you enjoy the recipes to come over the next few weeks!

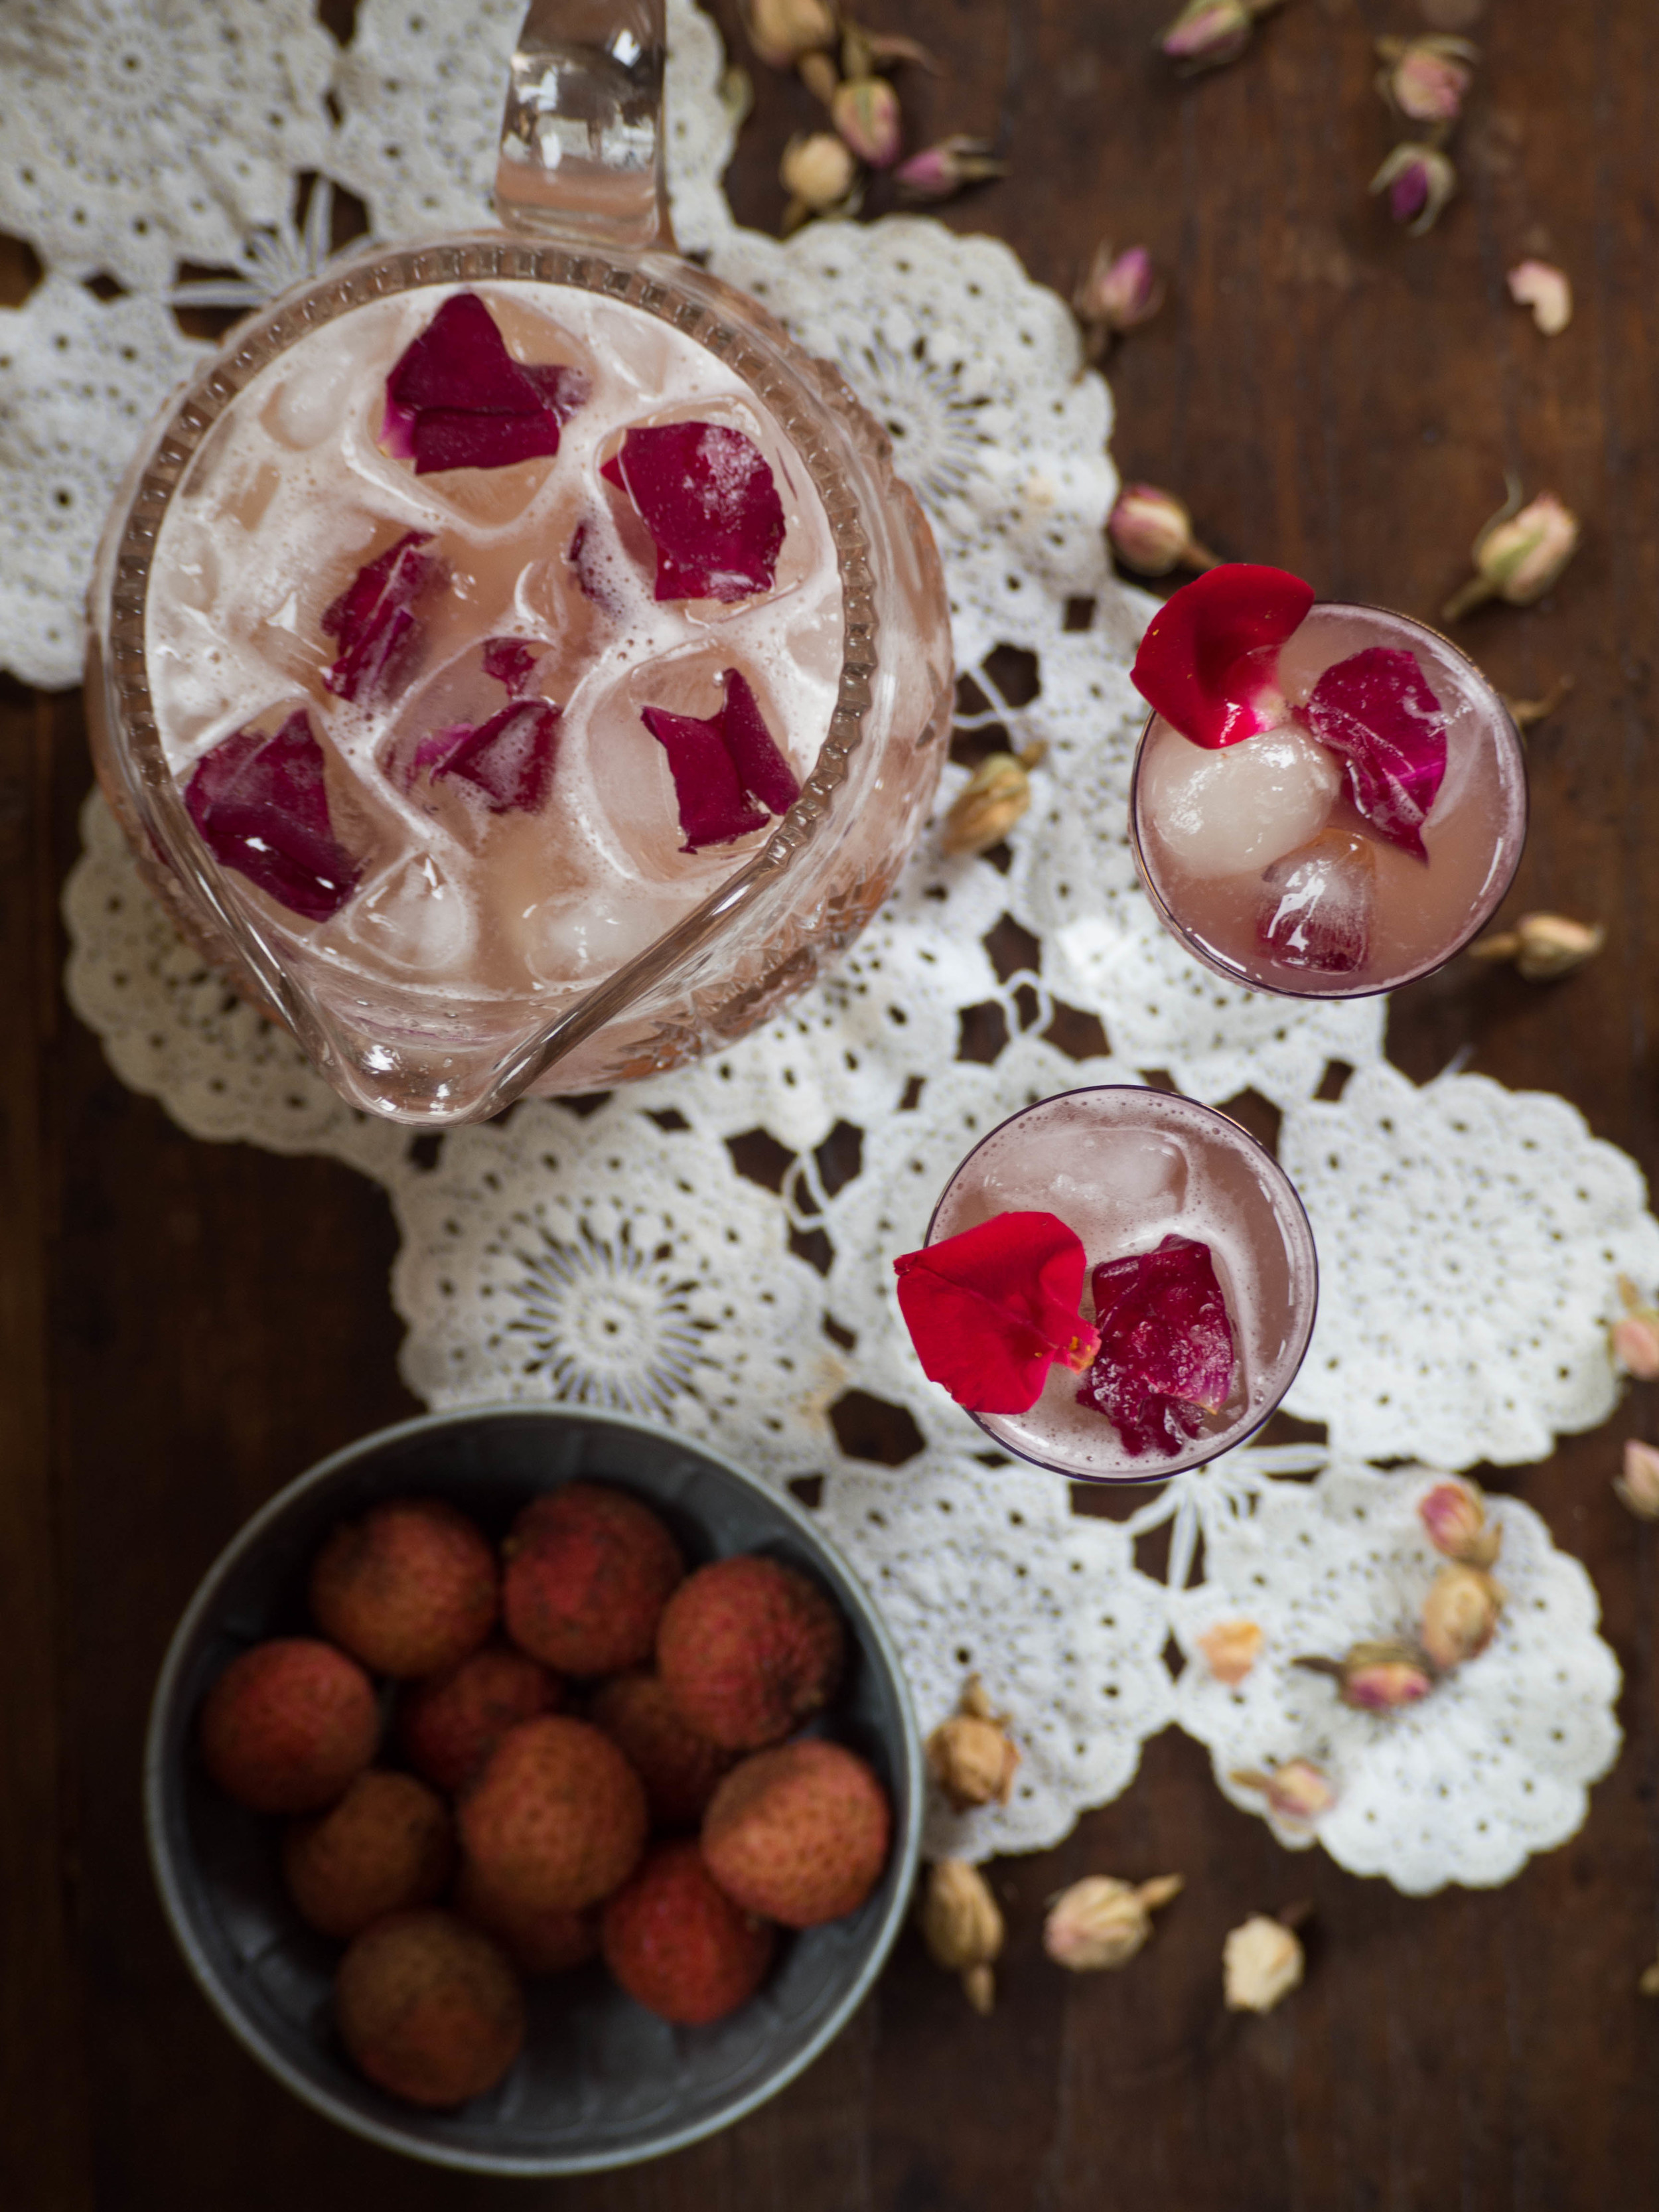
Lychee Rose Summer Cooler
Ingredients:
1L pineapple juice
250ml cranberry juice
250ml water
5 tbsp rosewater
12 fresh lychees, plus extra
fresh rose petals, optional
Method:
You will need a jug of at least 2L capacity for this recipe.
Puree the 12 lychees, and pass through a sieve to remove any lumps. Add all the ingredients, except the rose petals, to the jug and stir. Taste and top up with water if needed, add ice.
Use rose petals and extra lychees to decorate when serving.