Kulinary Adventures of Kath

Food Photography, Recipes & Baking
  • home
  • About
  • Work with Kath
  • Shop
  • Blog
    • The Blog
    • Recipe Archive
  • Newsletter
  • Contact
  • home
  • About
  • Work with Kath
  • Shop
    • The Blog
    • Recipe Archive
  • Newsletter
  • Contact
Raspberry Pistachio Rose Cake (23 of 25).jpg

The Blog

Recipes and Food Photography by Kath Vincent.

  • The Blog
  • Recipe Archive
  • All
  • Biscuits/Cookies
  • Breads Etc.
  • Breakfast
  • Cakes & Slices
  • Confectionary
  • Drinks
  • Events
  • Food Photography Tips
  • From The Mailing List
  • Heirloom Recipes
  • Holidays
  • Ice Cream
  • Jams Preserves & Spreads
  • Muffins
  • Off the Shelf
  • Other Desserts
  • Savoury Dishes/Meals
  • Scones
  • Tarts & Pastry
  • Travel
My Ultimate Cheese Board

My Ultimate Cheese Board

How to Create the Ultimate Cheese Platter

Kath March 21, 2016

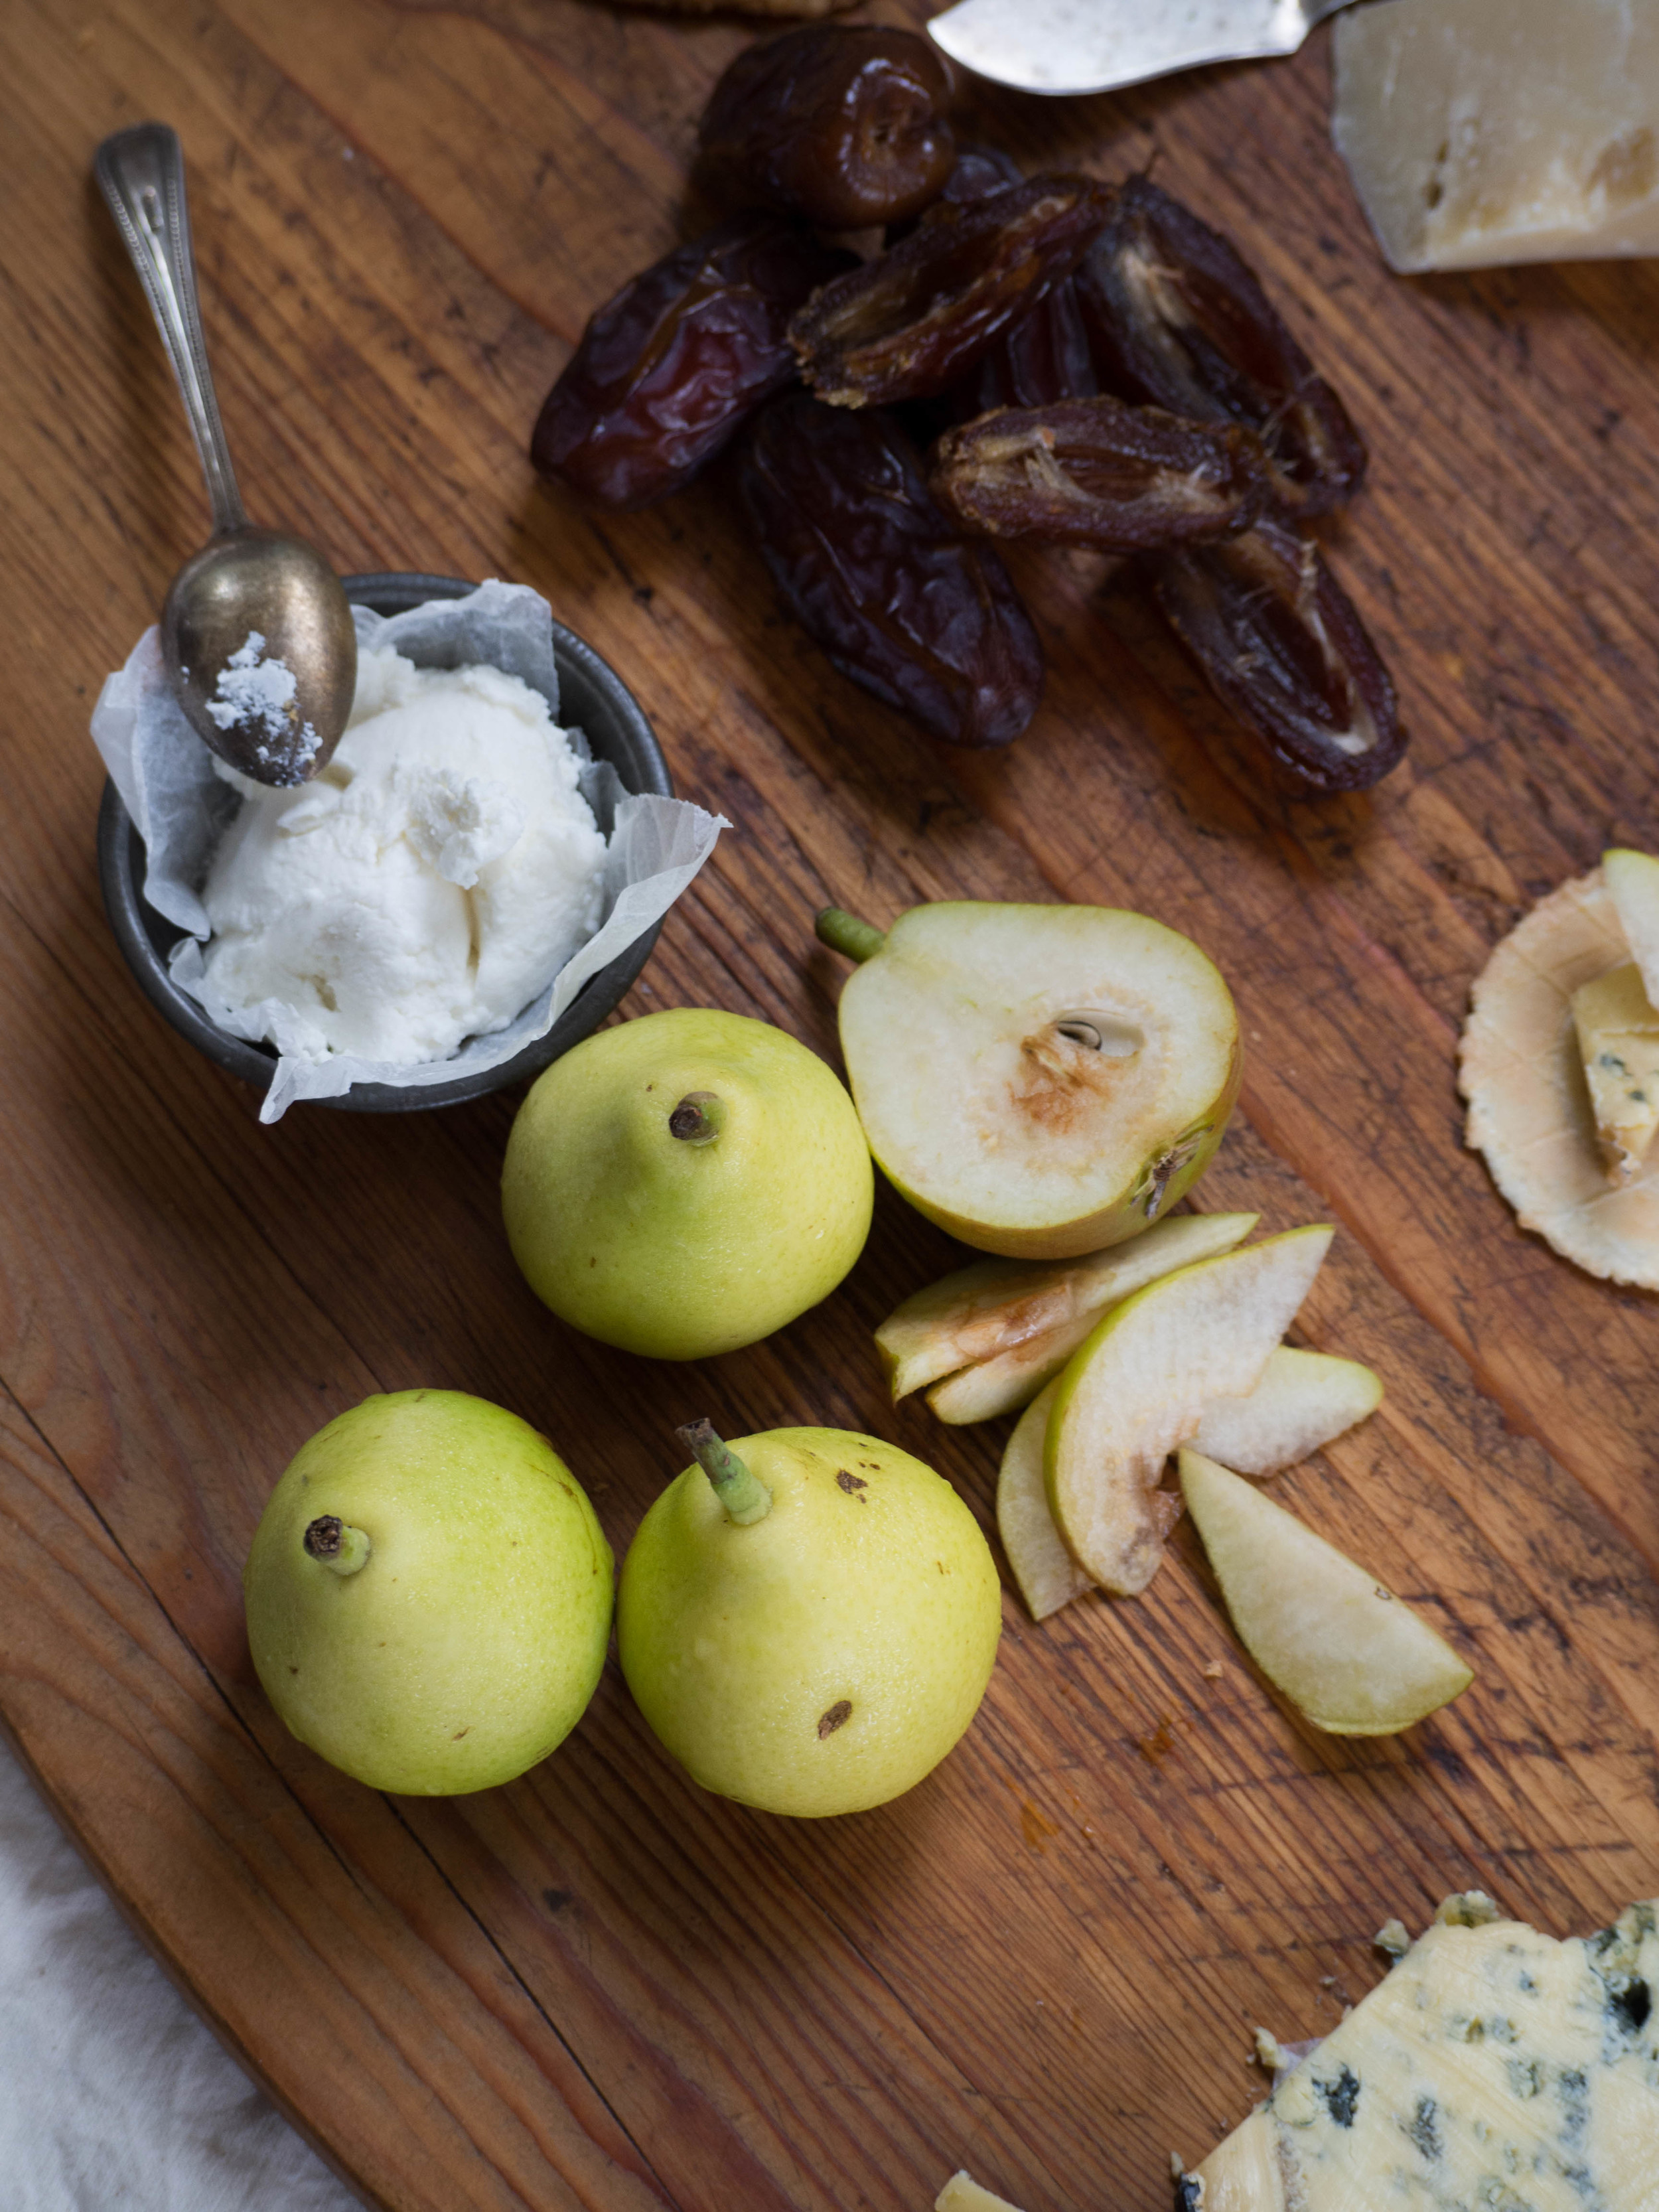
This is my idea of the best cheese platter. Whilst still very much a savoury affair, there are definite sweet notes that keep me and my sweet tooth very happy. You don’t have to make your own biscuits, though these Quinoa Flake Biscuits taste one hundred times better than they sound (just ignore the fact they have quinoa in them!). You must, however, include the sweet pickled strawberries. They are the nicest way I have ever eaten strawberries and go so well with the goats curd in particular that I think they end up being the hero of the whole platter.

The real honeycomb is also a real winner here, and this cheese platter has finally given me an opportunity to utilise it. I have searched for recipes that incorporate honeycomb, only to find cakes or sweets that are based on the lolly made using sugar and bicarb soda. 

I read online during my search for recipes that used honeycomb that some people don’t like the texture of it. Maybe it’s the fact it tastes like honey but has a softly crunchy and chewy texture that throws people off, as if they are expecting to eat honey, the crunchy texture may seem strange. I had no problem with the texture and accompanied with some soft goats curd and the pickled strawberries and the crunch of the biscuits, added a welcome sweetness and chewy-ness. I would suggest buying a plain honeycomb, not a eucalyptus or lavender (etc) variety as any other flavours would overpower the rest of the cheese platter. 

I have left off quantities for the actual cheese platter, as it depends how many people you want to feed. The quinoa flake biscuits last at least a week in an air tight container and the pickled strawberries last one week in the fridge, so they don’t all have to be consumed right away. I found we nibbled all week on the biscuits, goats curd, honeycomb and strawberries in particular, once we were home from work (and ruined our dinner appetites every time!), and were quite disappointed when we had eaten it all. This cheese platter would be a nice thing to bring out over the upcoming Easter long weekend to enjoy with guests, or just for a quiet evening to yourselves. 

To Create My Ultimate Cheese Platter You Will Need: 

Mejool dates, pits removed 

Pears (I used the small paradise pears as they were in season)

Honeycomb

Goats curd (goats cheese would work well too)

A nice blue cheese

A hard cheese such as parmesan or a nice aged cheddar 

Quinoa flake biscuits 

Shop bought wafer biscuits (or any other flavourless biscuit)

Pickled strawberries


Serve with drinks, as an casual entree or even as an after dinner cheese course (in place of dessert). 


Quinoa Flake Biscuits

Ingredients: 

50g butter

125g quinoa flakes (found in the health food/gluten free section of the supermarket)

2 eggs, lightly beaten

250g caster sugar

2 tbsp plain flour 

2 tsp baking powder

zest of one small/medium (or half a large) orange 


Method: 

Pre heat oven to 180 degrees Celsius, and line three baking trays with baking paper. 

Melt the butter, then mix in with the quinoa flakes, sugar and eggs. Sift in the remaining dry ingredients and orange zest and mix until combined. 

Using a teaspoon, place small balls of the mixture on to the trays, ensuring there is enough room for them to spread, because they will! I found I could have made mine even smaller after they spread so much in the oven! 

Bake for 10-12 minutes, or until biscuits are golden. Remove from the oven and leave to cool on the trays or on wire racks. 
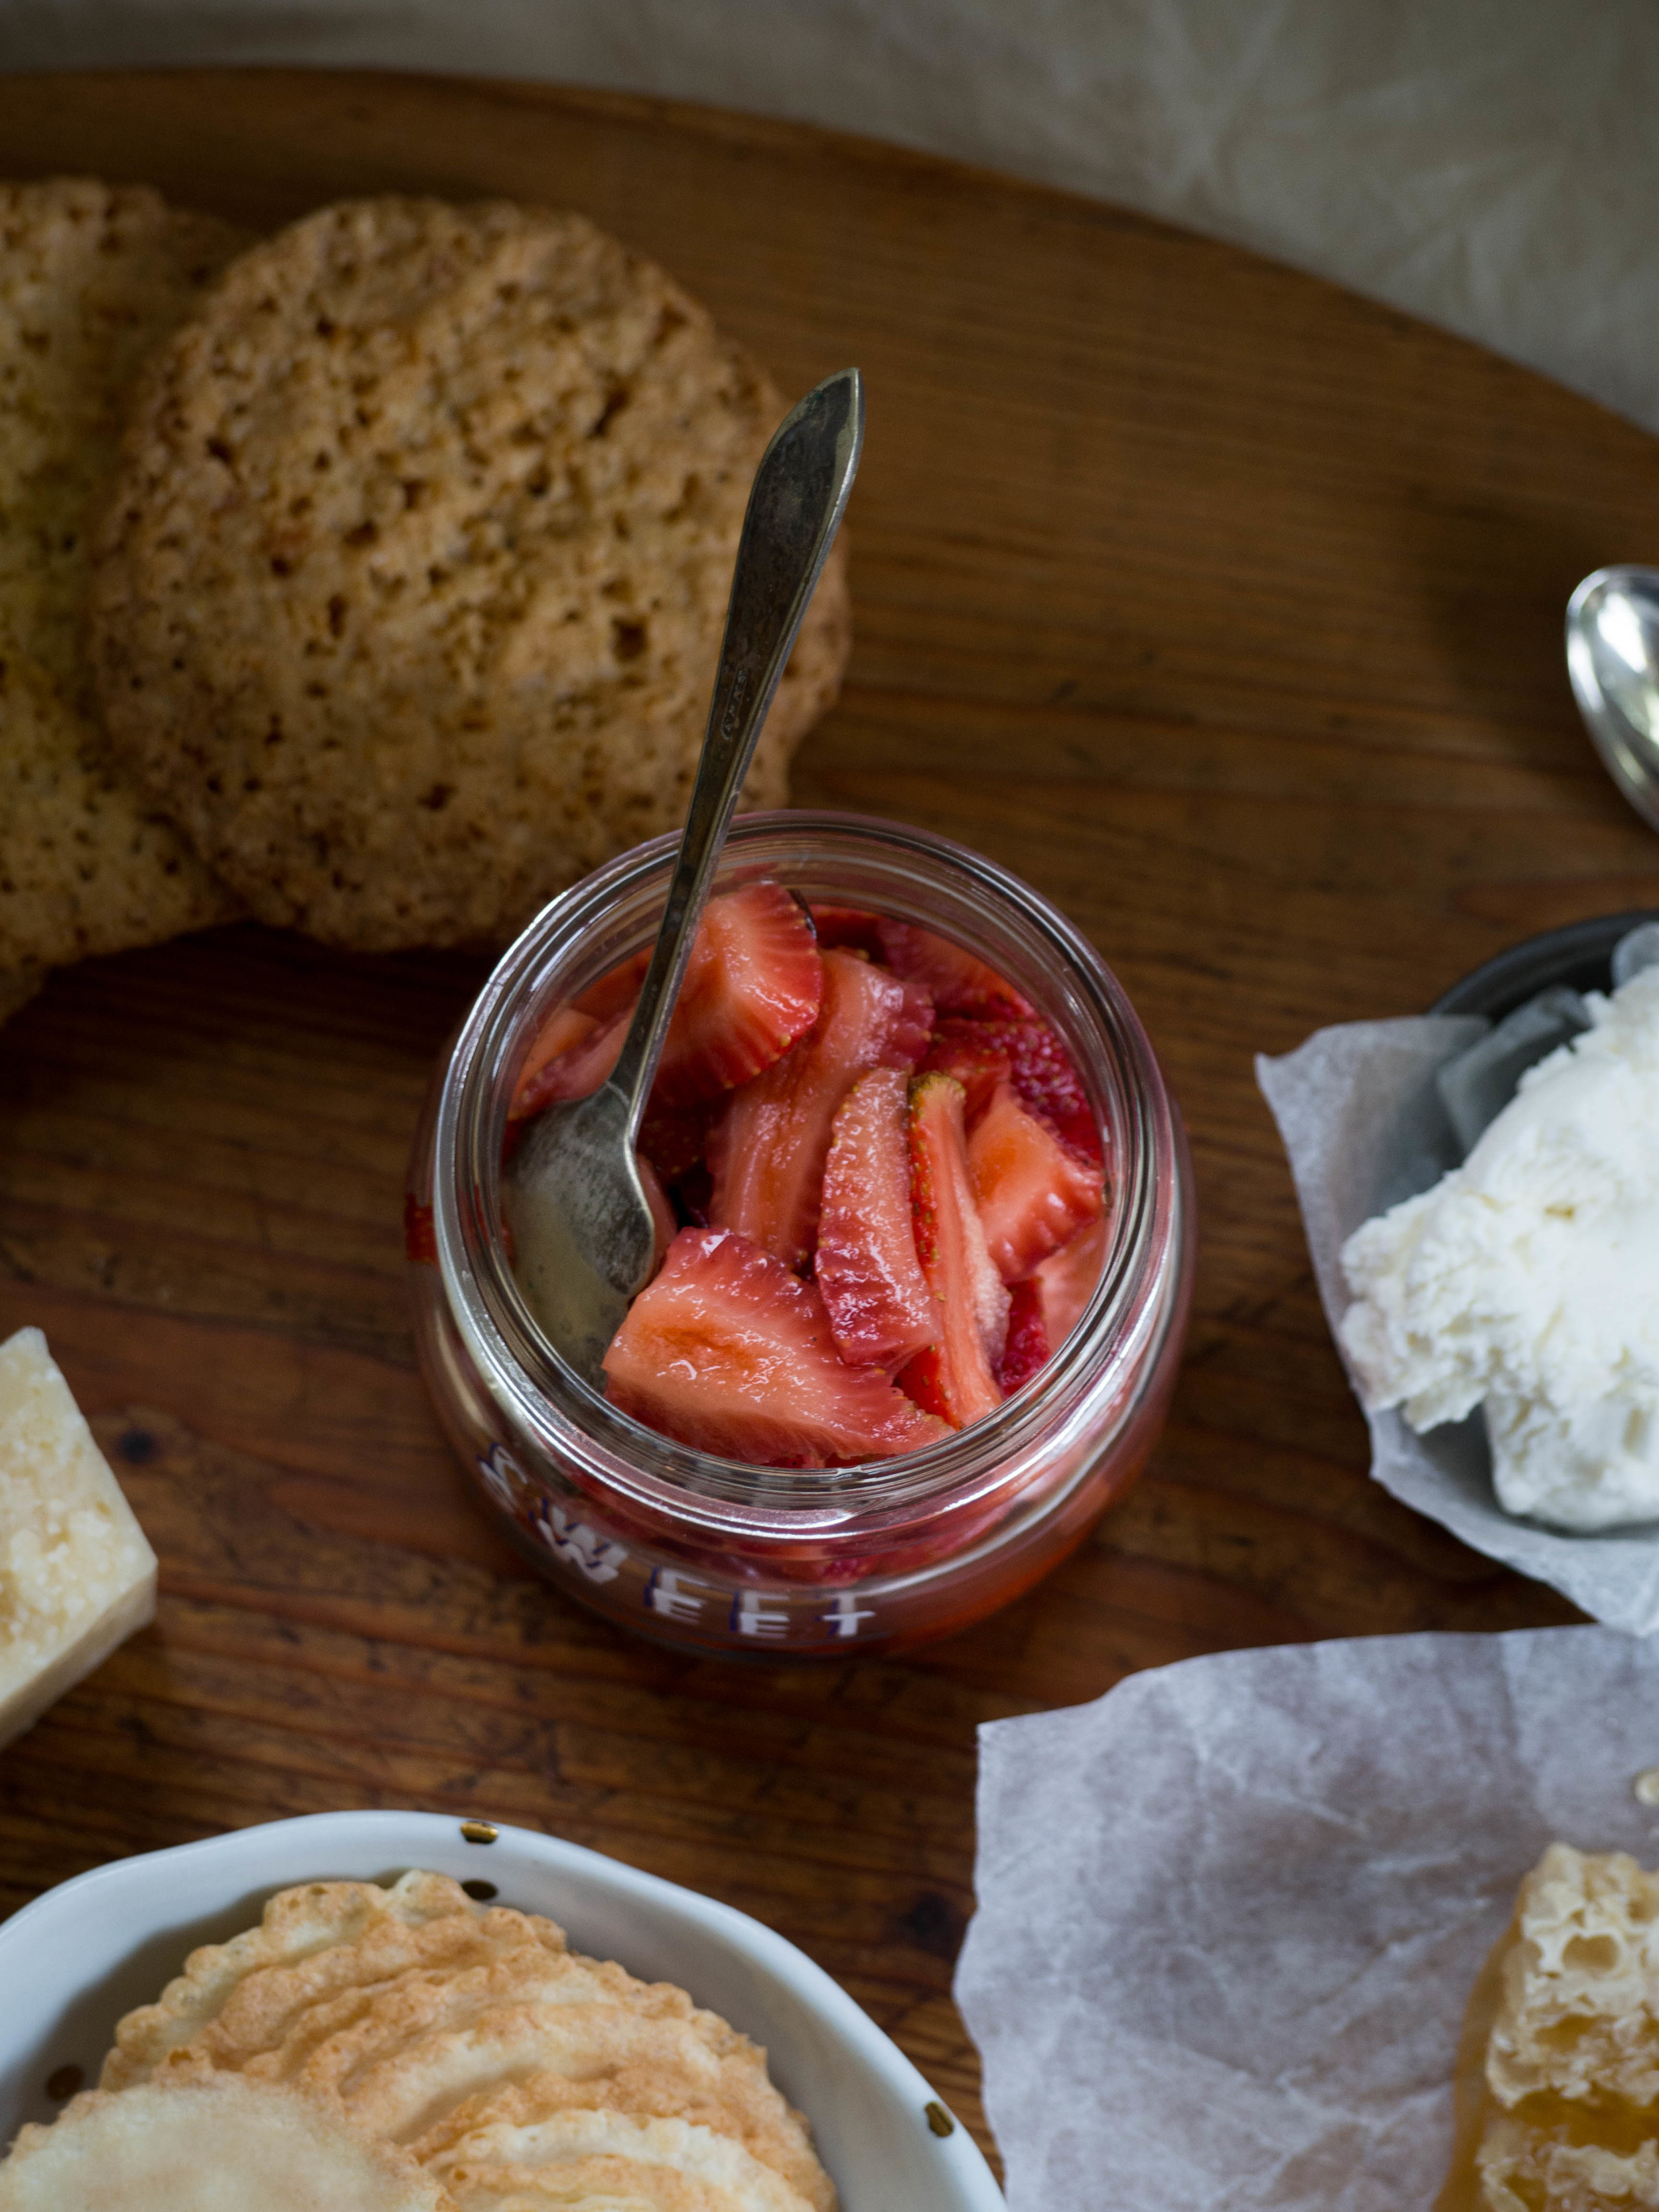
Pickled Strawberries

Pickled Strawberries

Pickled Strawberries

Ingredients: 

500g strawberries 

185ml verjuice (Maggie Beer has a good verjuice in her range of products, many independent grocers and delis sell it) 

100g caster sugar 

115ml water  

1 vanilla bean

1tsp pink peppercorns

rind of one small/medium (or half a large) orange, peeled in larger chunks 


Method: 

Put the verjuice, sugar, water, orange rind and pink peppercorns into a small saucepan. Split the vanilla bean and add to the saucepan. Place on medium-high heat and bring to the boil. Stir occasionally to ensure the sugar dissolves. 

Set verjuice mixture aside for 10 minutes or so to cool a little.

Hull and halve the strawberries (quarter if they are particularly big) and place into a large jar (about 1l capacity) or two smaller jars (about 500ml each, I used two 1 pint (around 470ml) Ball Mason jars). 

Pour over the verjuice mixture and store pickled strawberries in the fridge. 

References: Sophie Hansen of ‘Local is Lovely’ - http://local-lovely.com/sweet-pickles-the-whey-to-go/

In Savoury Dishes/Meals Tags cheese platter, cheese, fresh honeycomb, honeycomb, pickled strawberries, quinoa, quinoa flake biscuits, Long Weekend
Comment
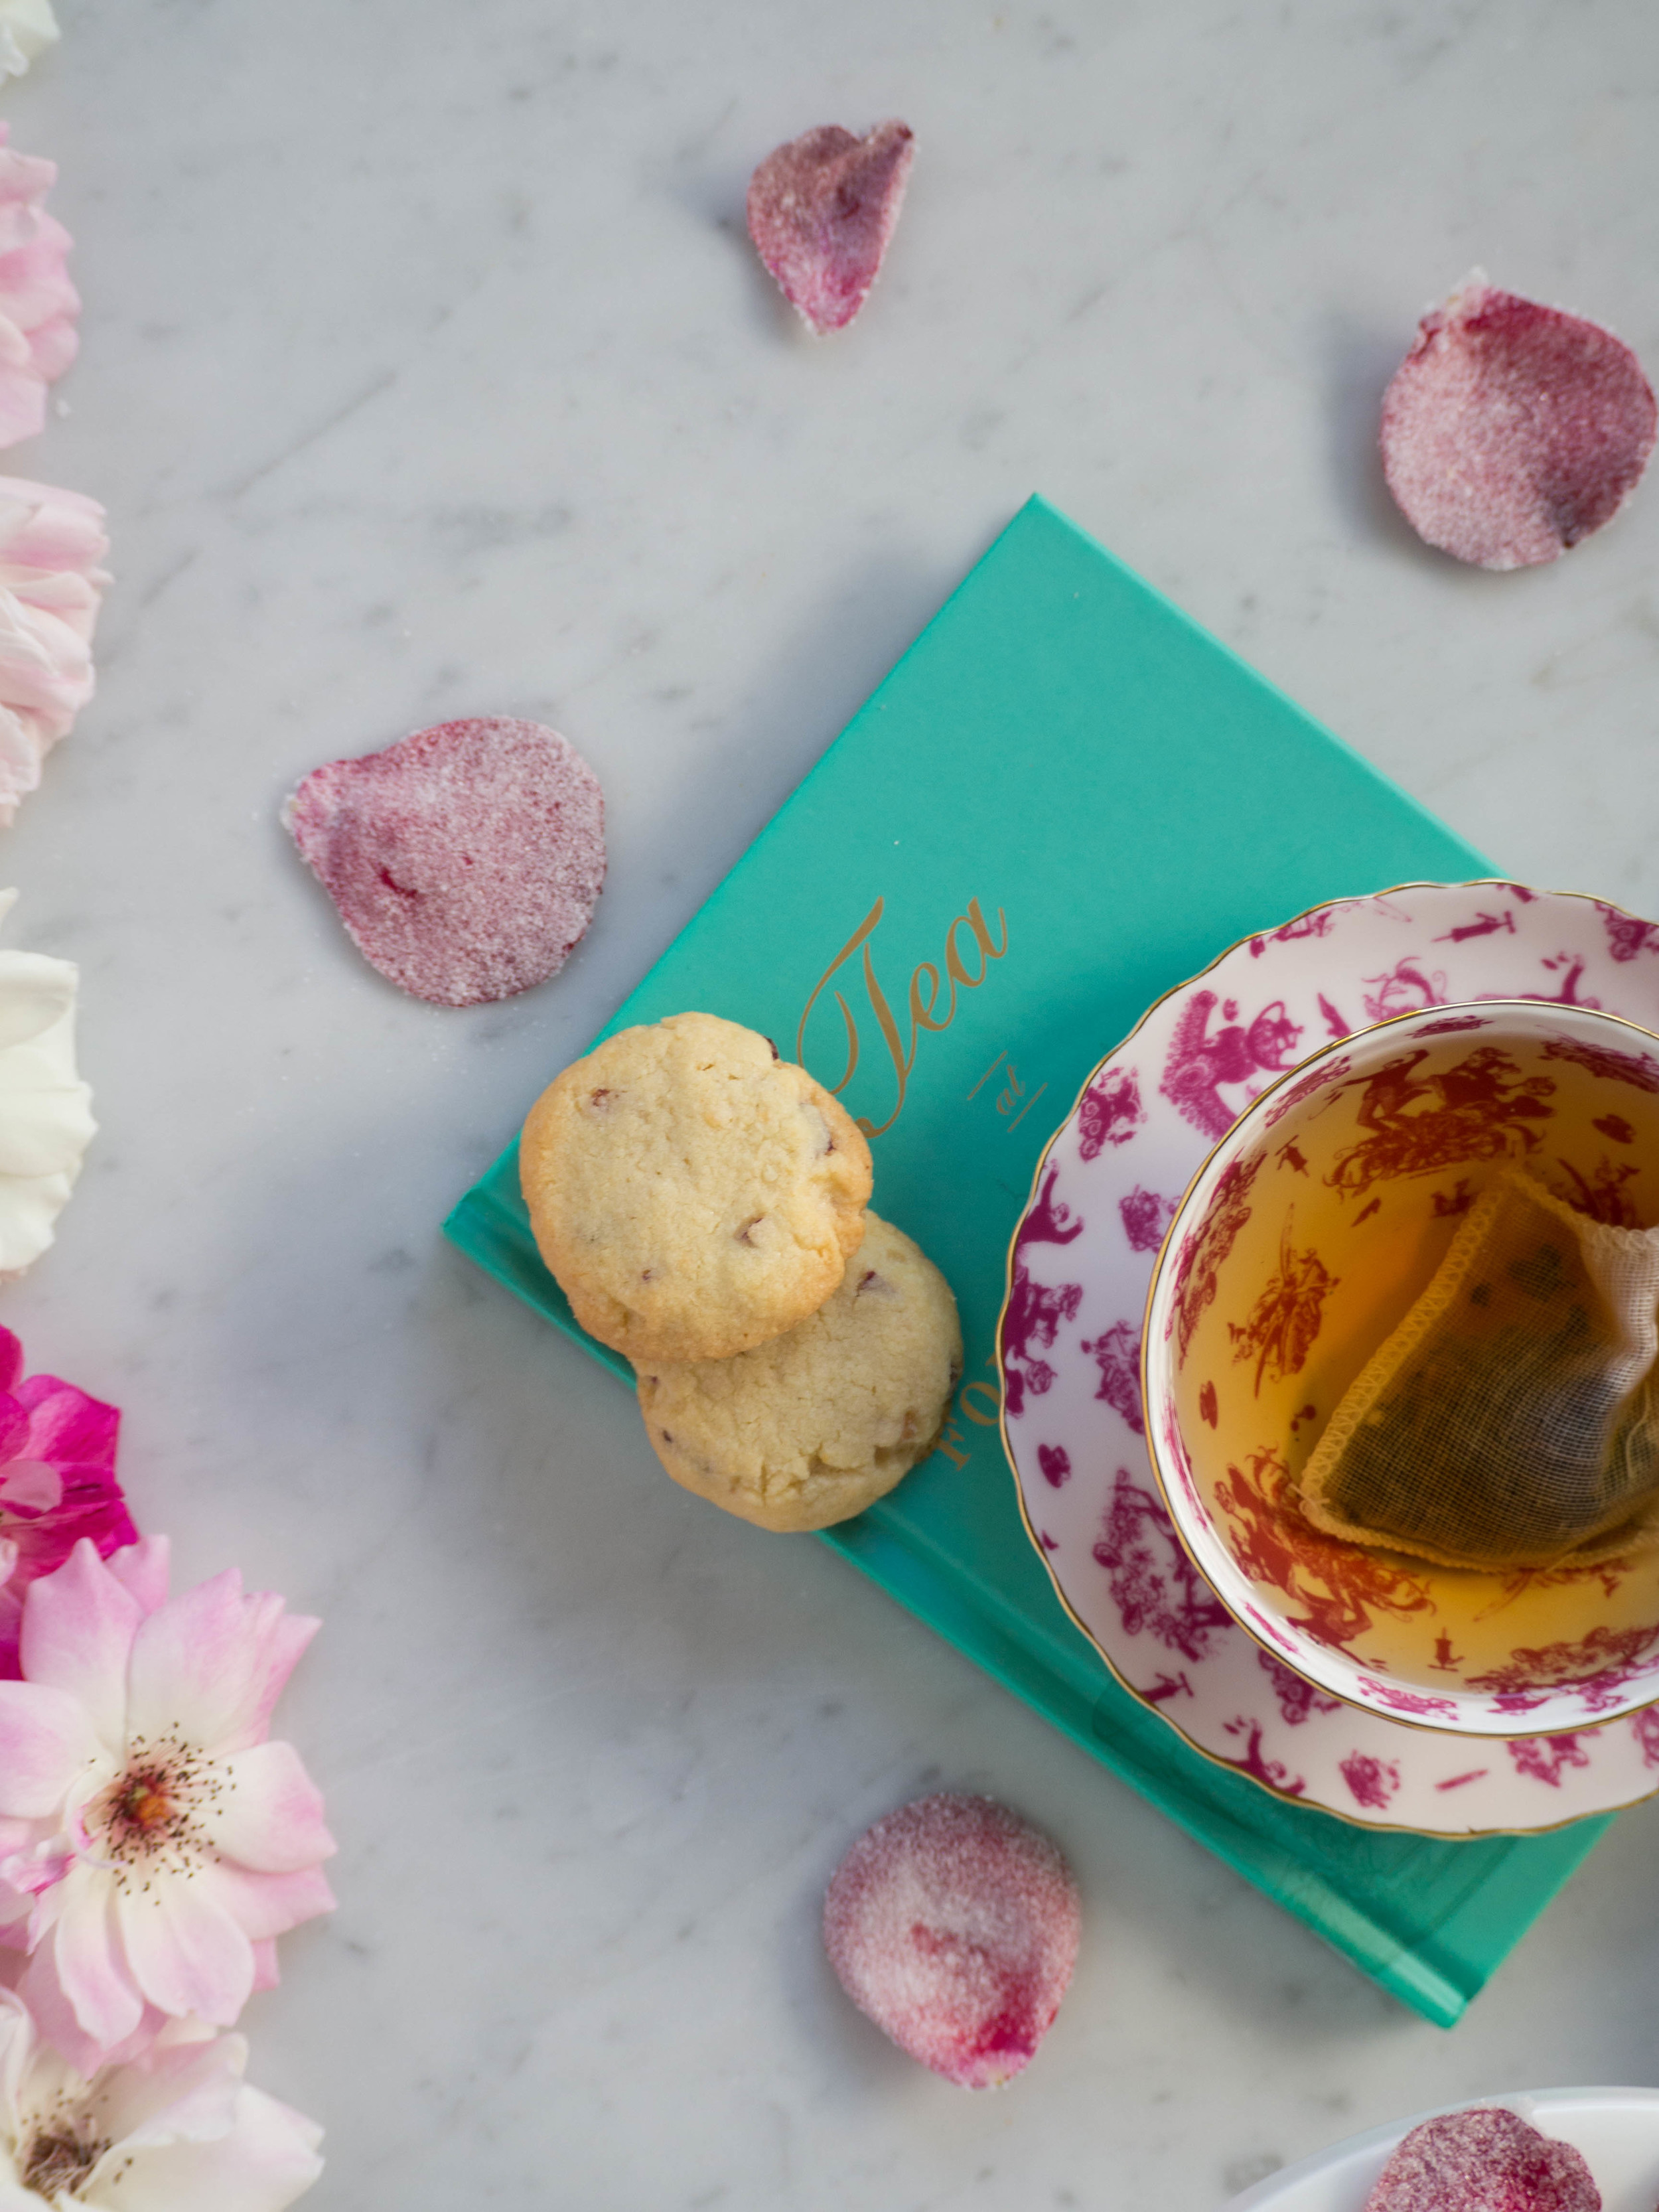
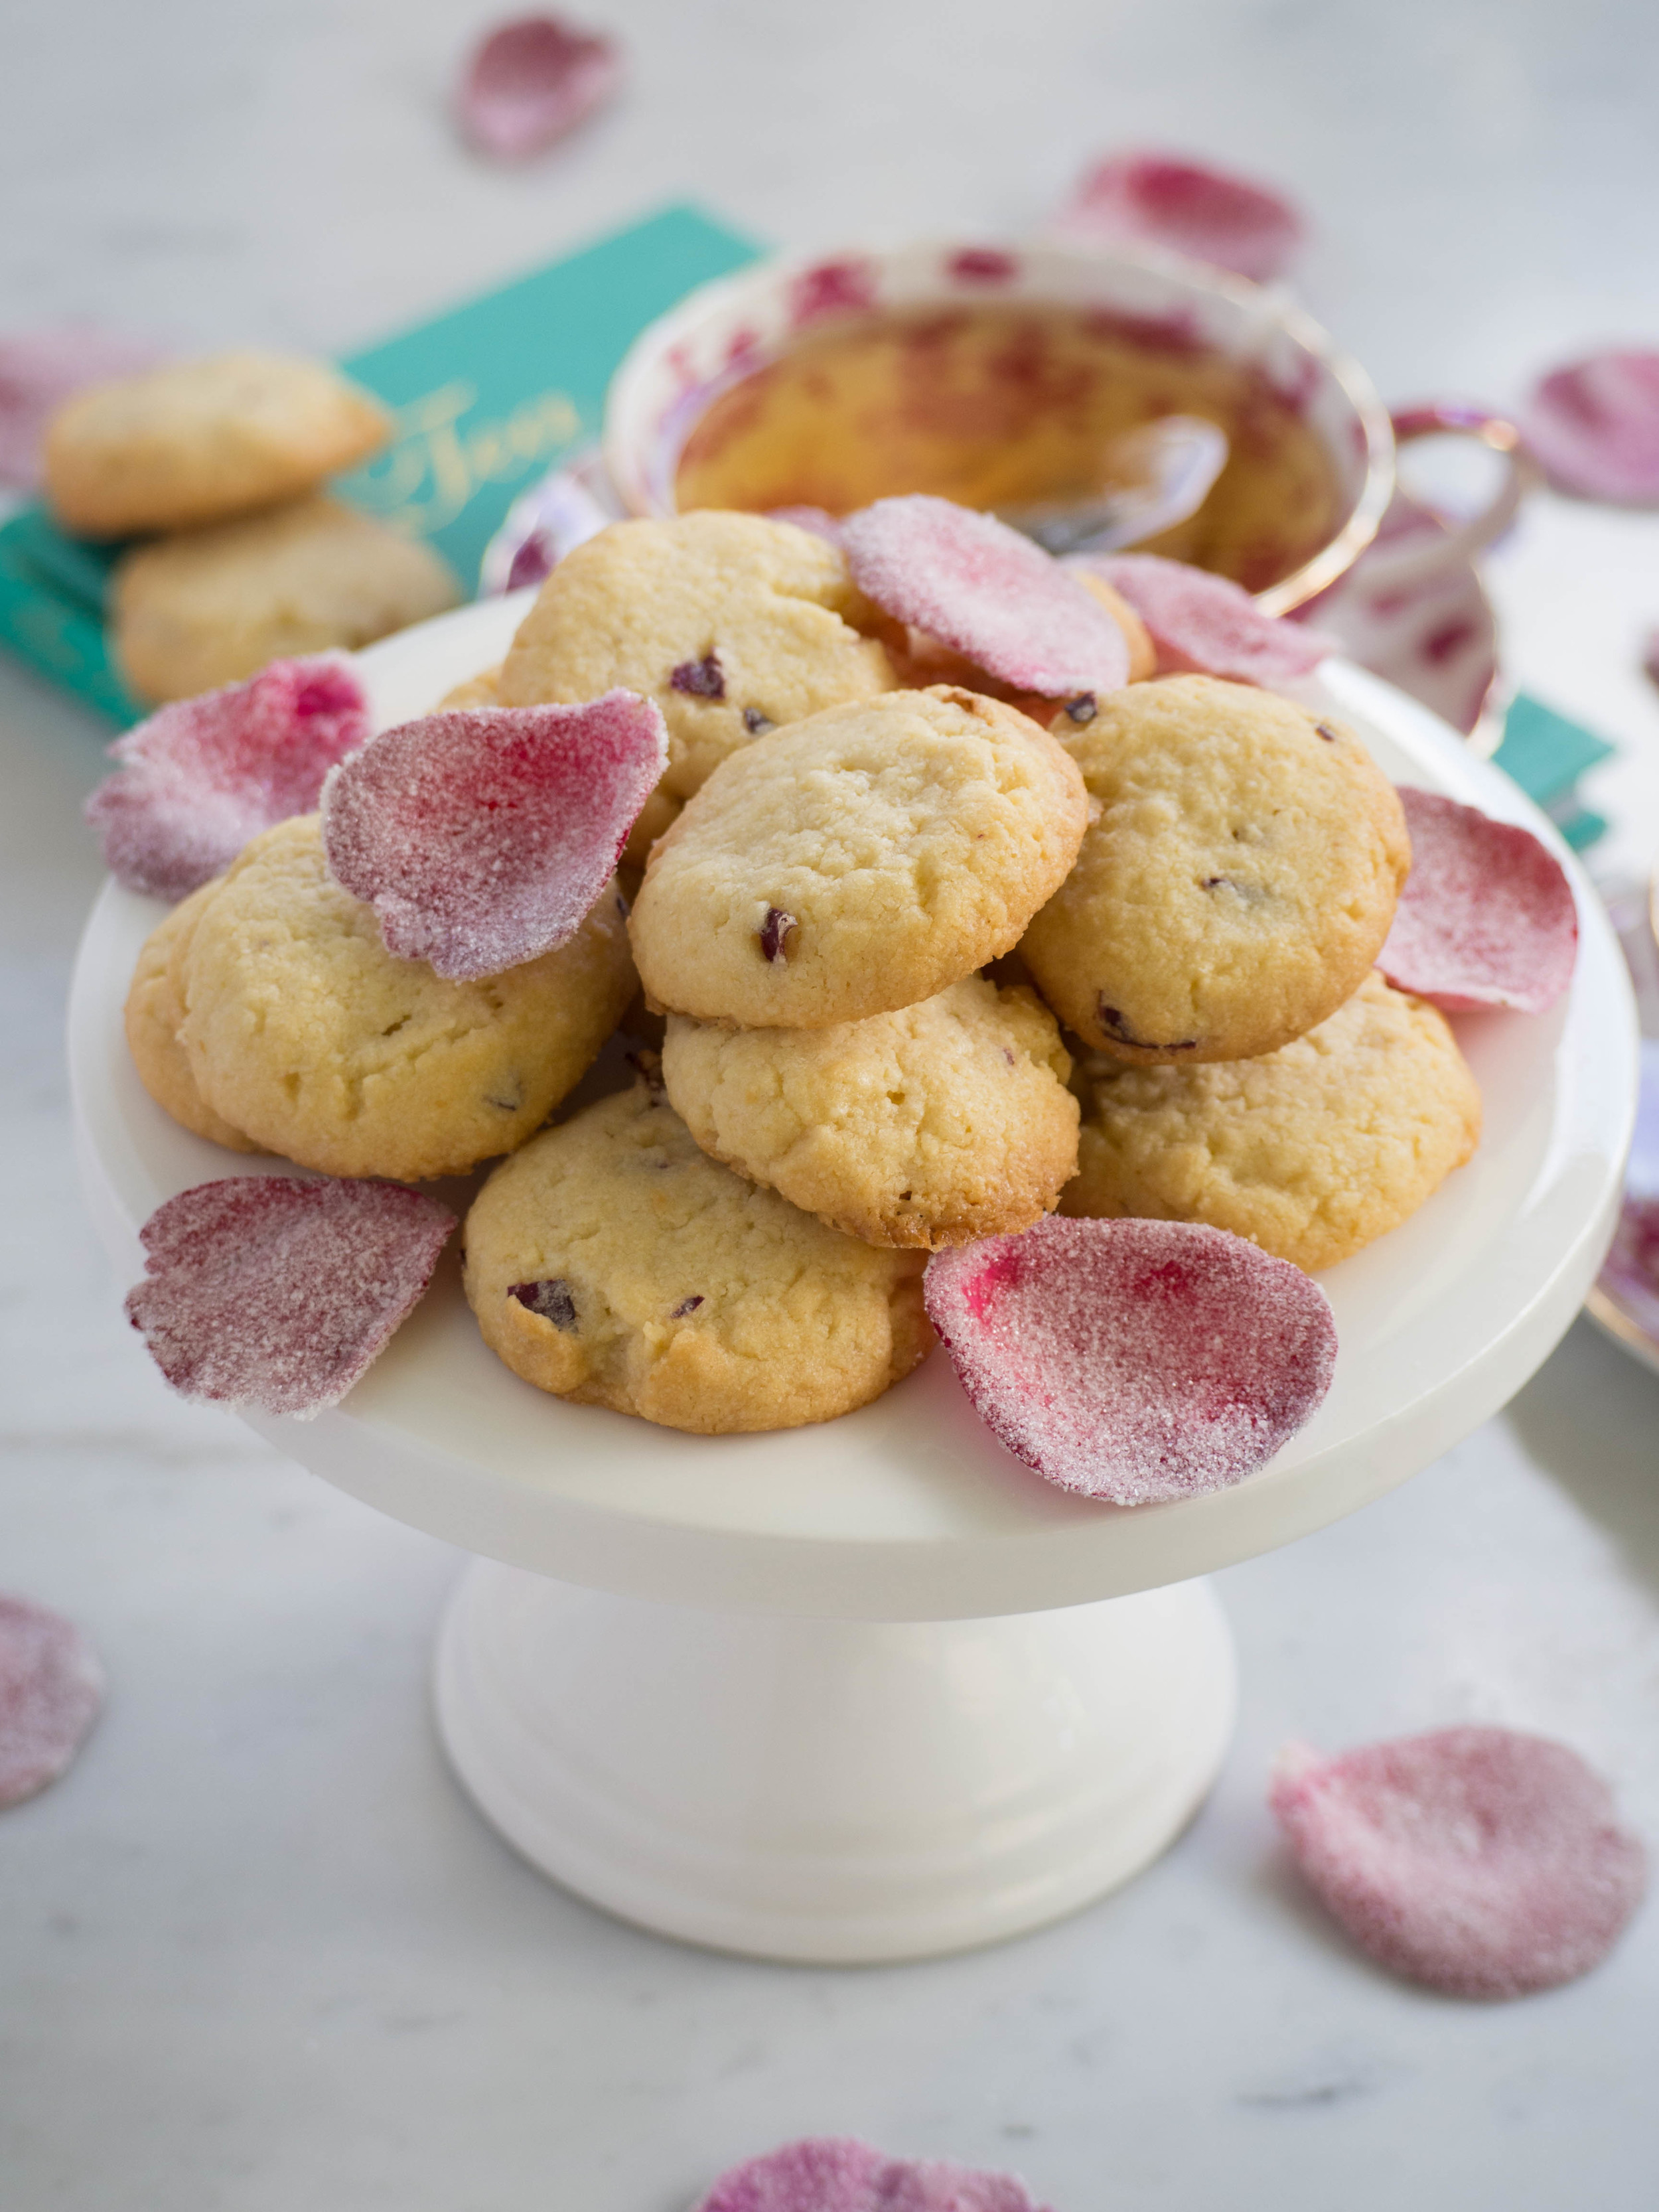
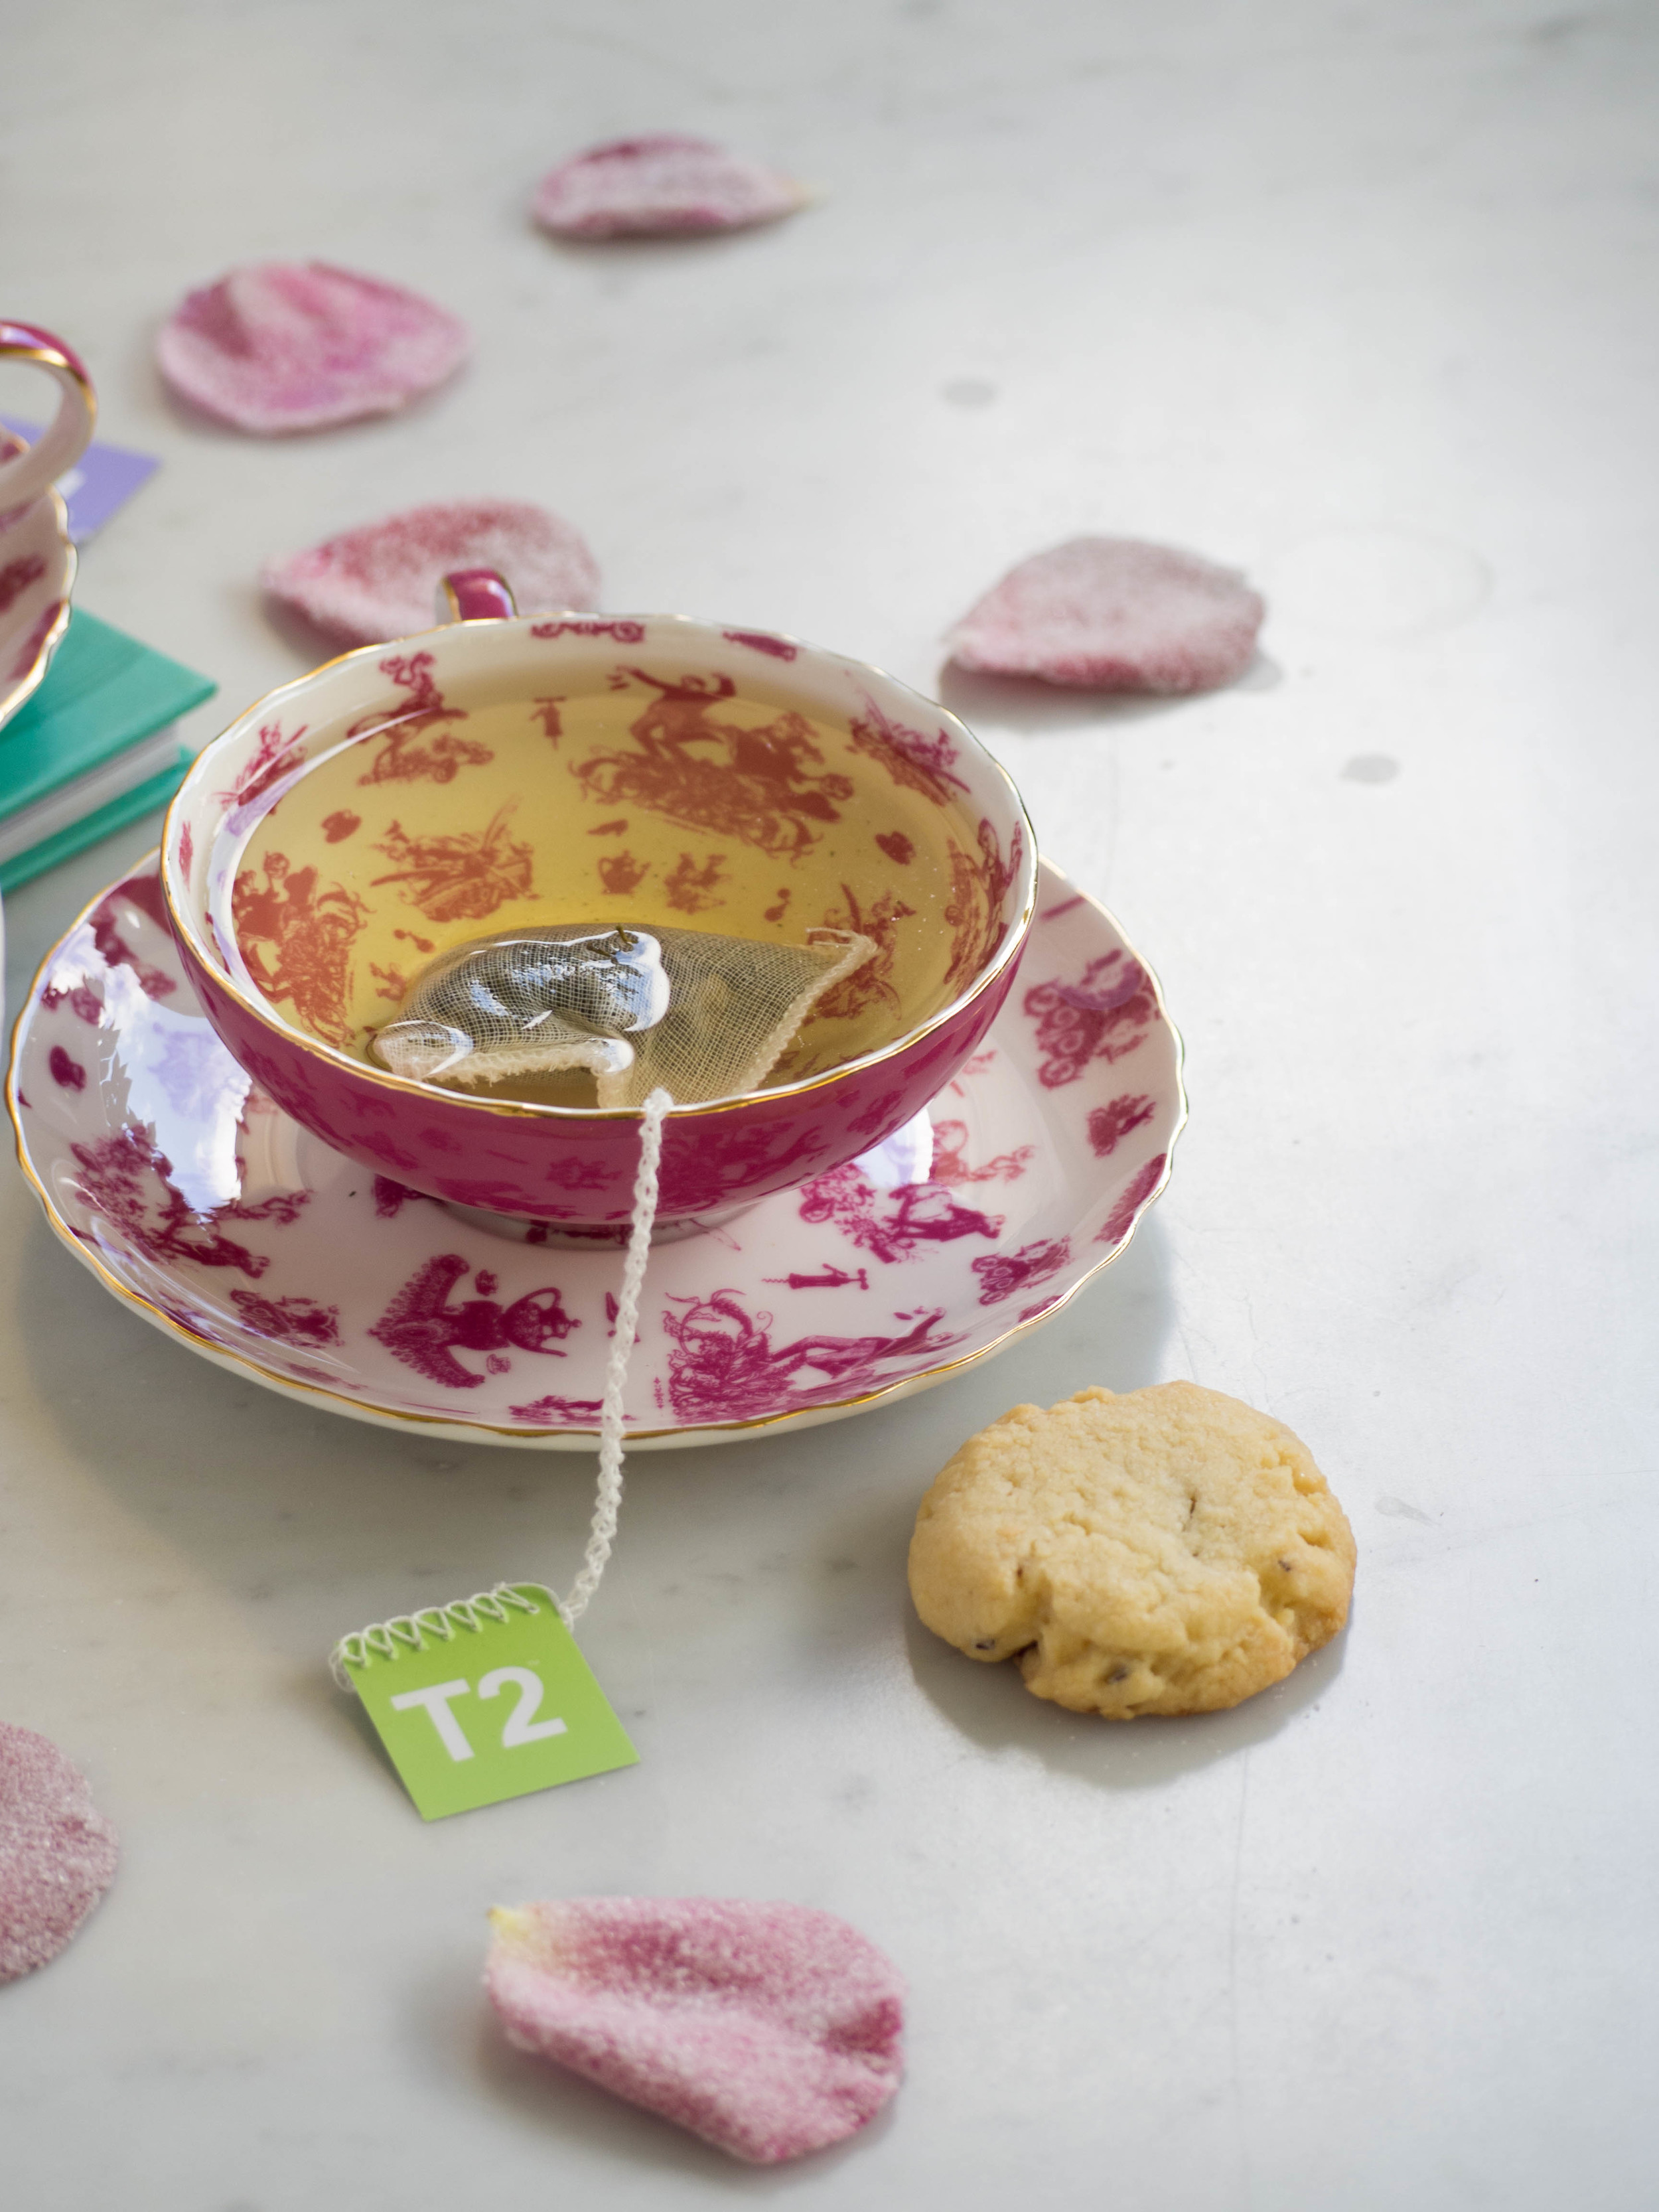
Fortnum & Masons's Rose Biscuits with Homemade Crystallised Rose Petals

Fortnum & Masons's Rose Biscuits with Homemade Crystallised Rose Petals

Fortnum & Mason’s Rose Biscuits Revisited + How to Make Crystallised Rose Petals

Kath March 7, 2016

It has been about two years since I was last at Fortnum & Mason, and almost the same amount of time since I first attempted making these biscuits. In a previous post, which can be found here, I shared my version of Fortnum & Mason’s rose biscuits. And over the past couple of years, I have noticed it has consistently been a popular post on the blog - which I love, as I feel it means there are others out there who either like me have an obsession with using rose in baking, or, are just as in love with Fortnum & Mason’s biscuits as I am. 

The original recipe for Fortnum & Mason’s rose scented biscuits requires some crystallised (or sugared) rose petals, of which I have never been able to find in Australia. I still dream of the packets of crystallised rose and violet petals I saw in the shop G. Detou in Paris, and still kick myself for not buying them. Since I could never find any crystallised rose petals, and fresh edible rose petals still eluded me then, my version of Fortnum & Mason’s rose scented biscuits omitted the rose petals, but included a rose icing to enhance the flavour. While I have always been happy with my adaptation, I still kept the original recipe in mind, just in case I was ever able to make it properly. 

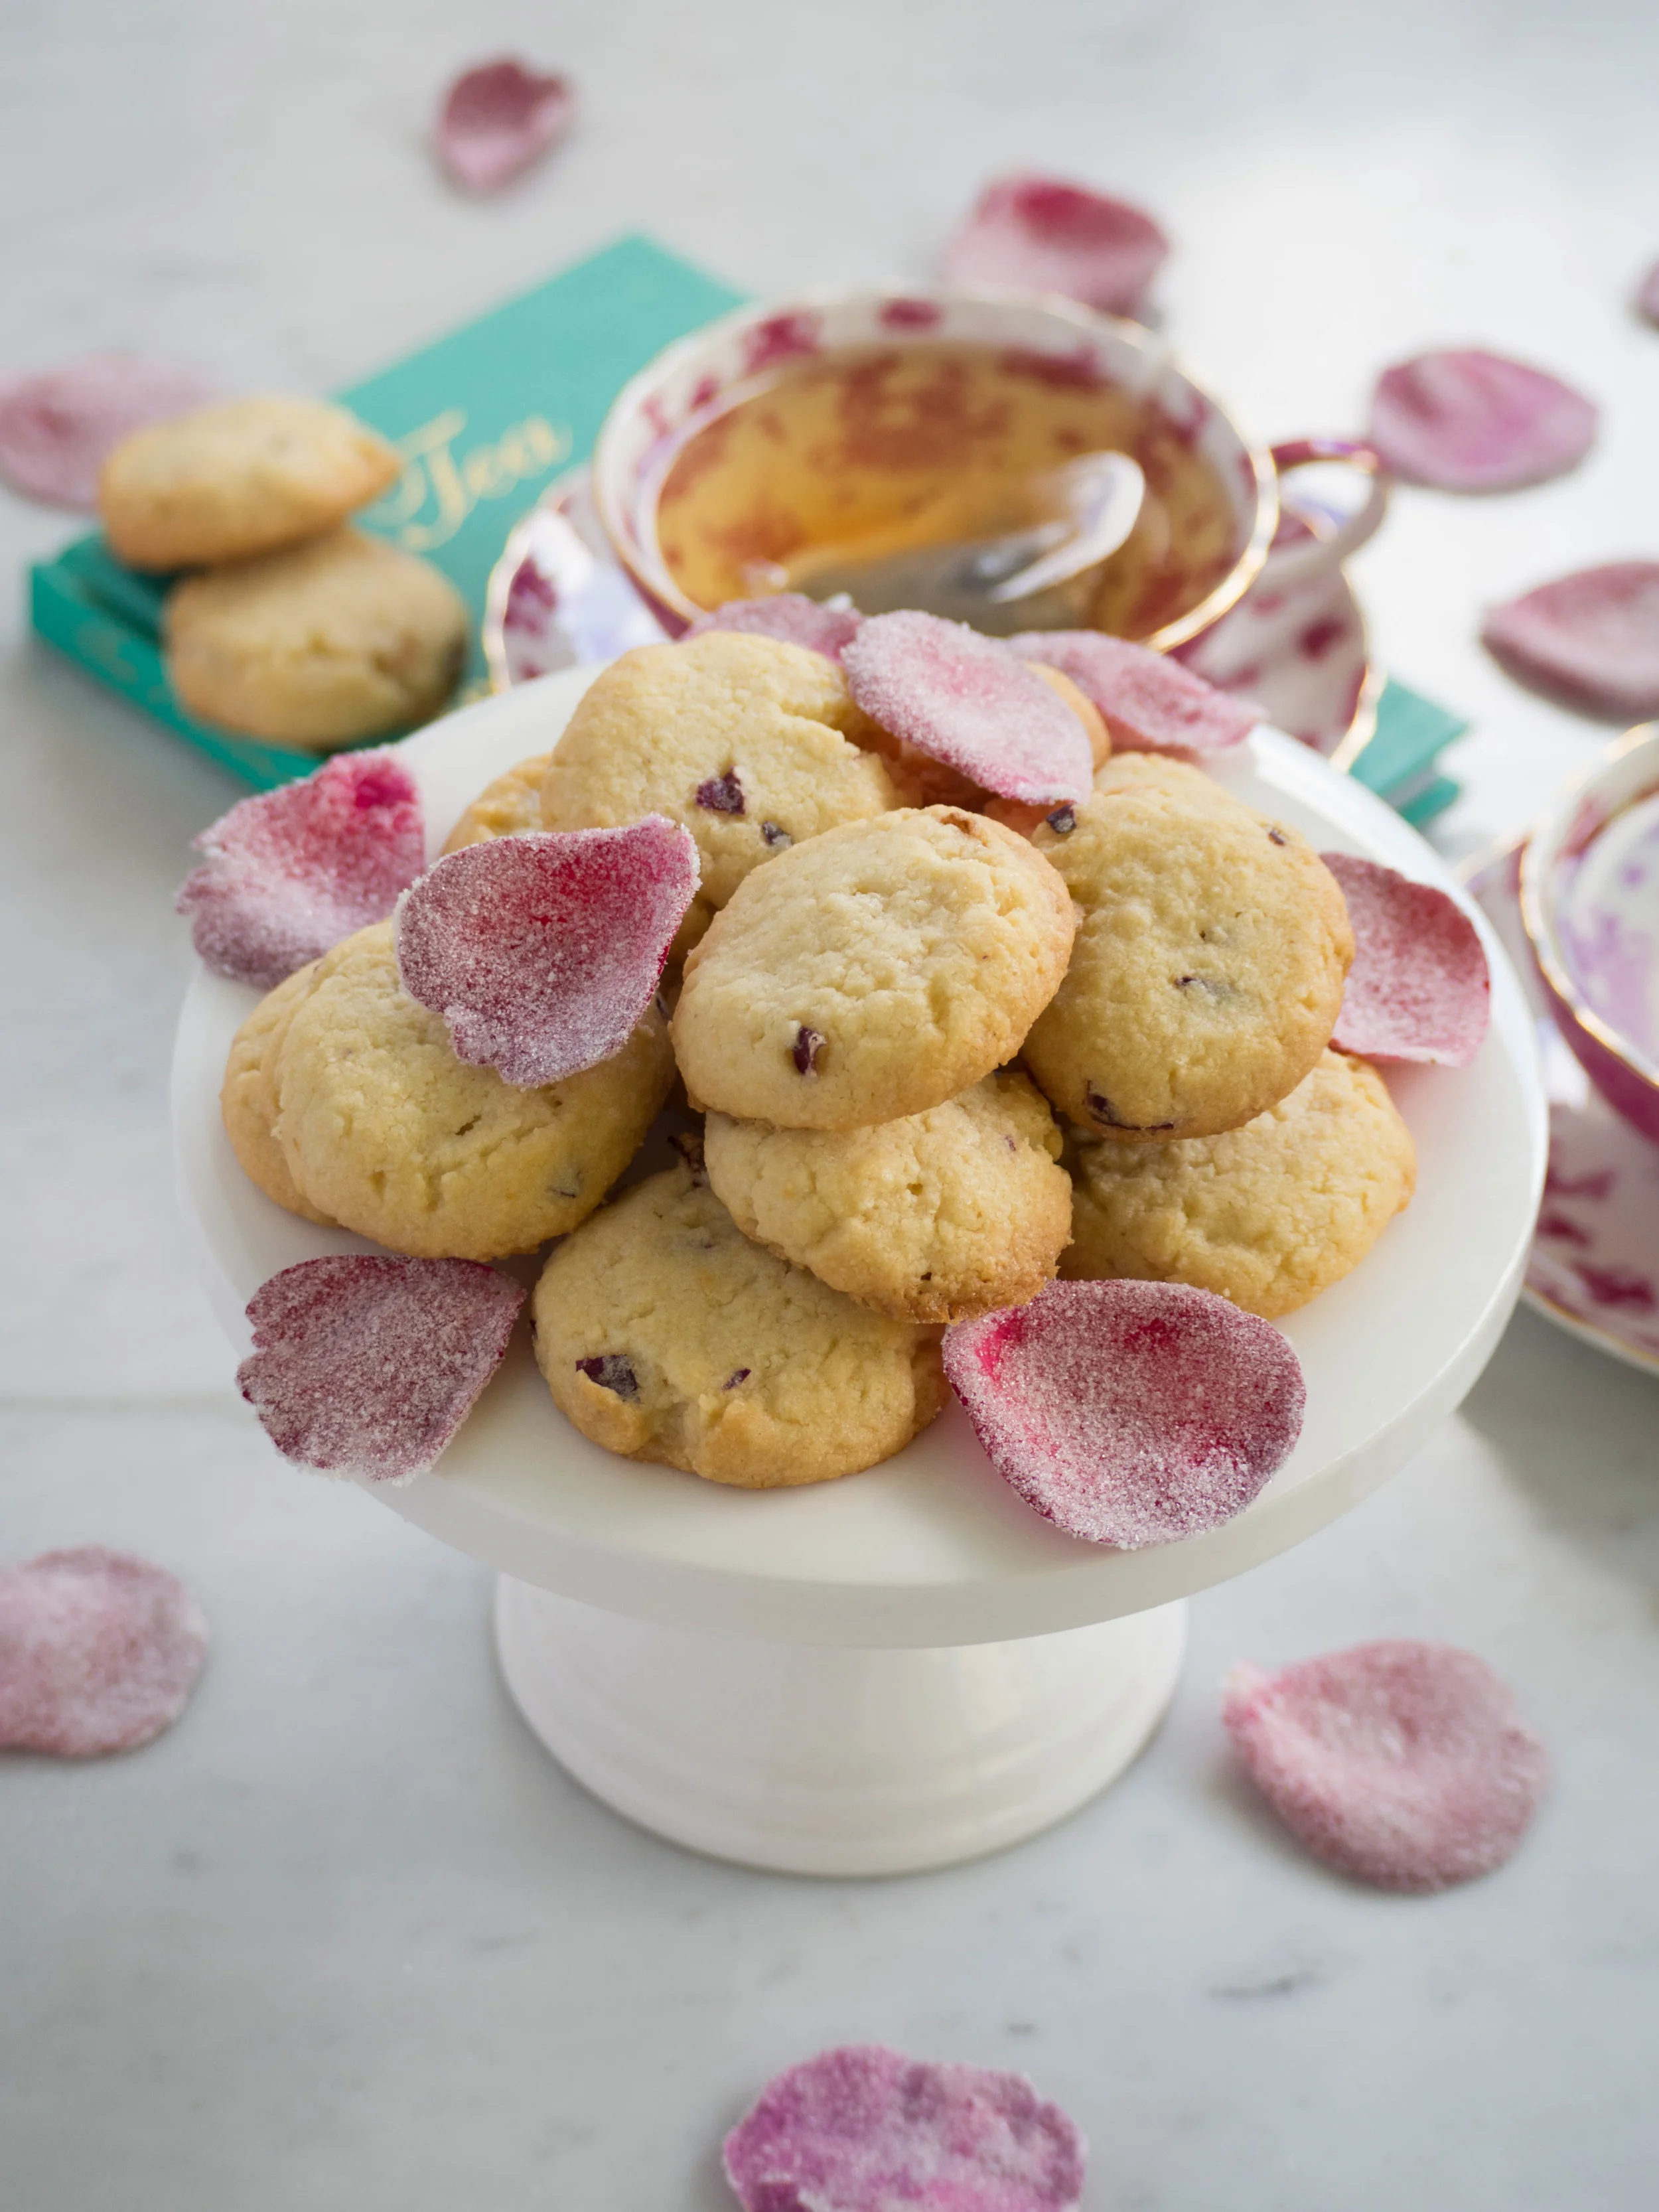
More recently, I posted a recipe for a cake which used edible flowers, including rose petals to decorate the cake. I mentioned in that post how exciting it finally was to find edible flowers, and the recipe in this post is another reason why. I was able to crystallise the rose petals myself, then add them to the biscuit mixture as per the original Fortnum & Mason recipe. I am so very glad I was finally able to make these biscuits. They taste exactly like the ones Fortnum & Mason sell packaged in the pretty pink cylindrical tins. 

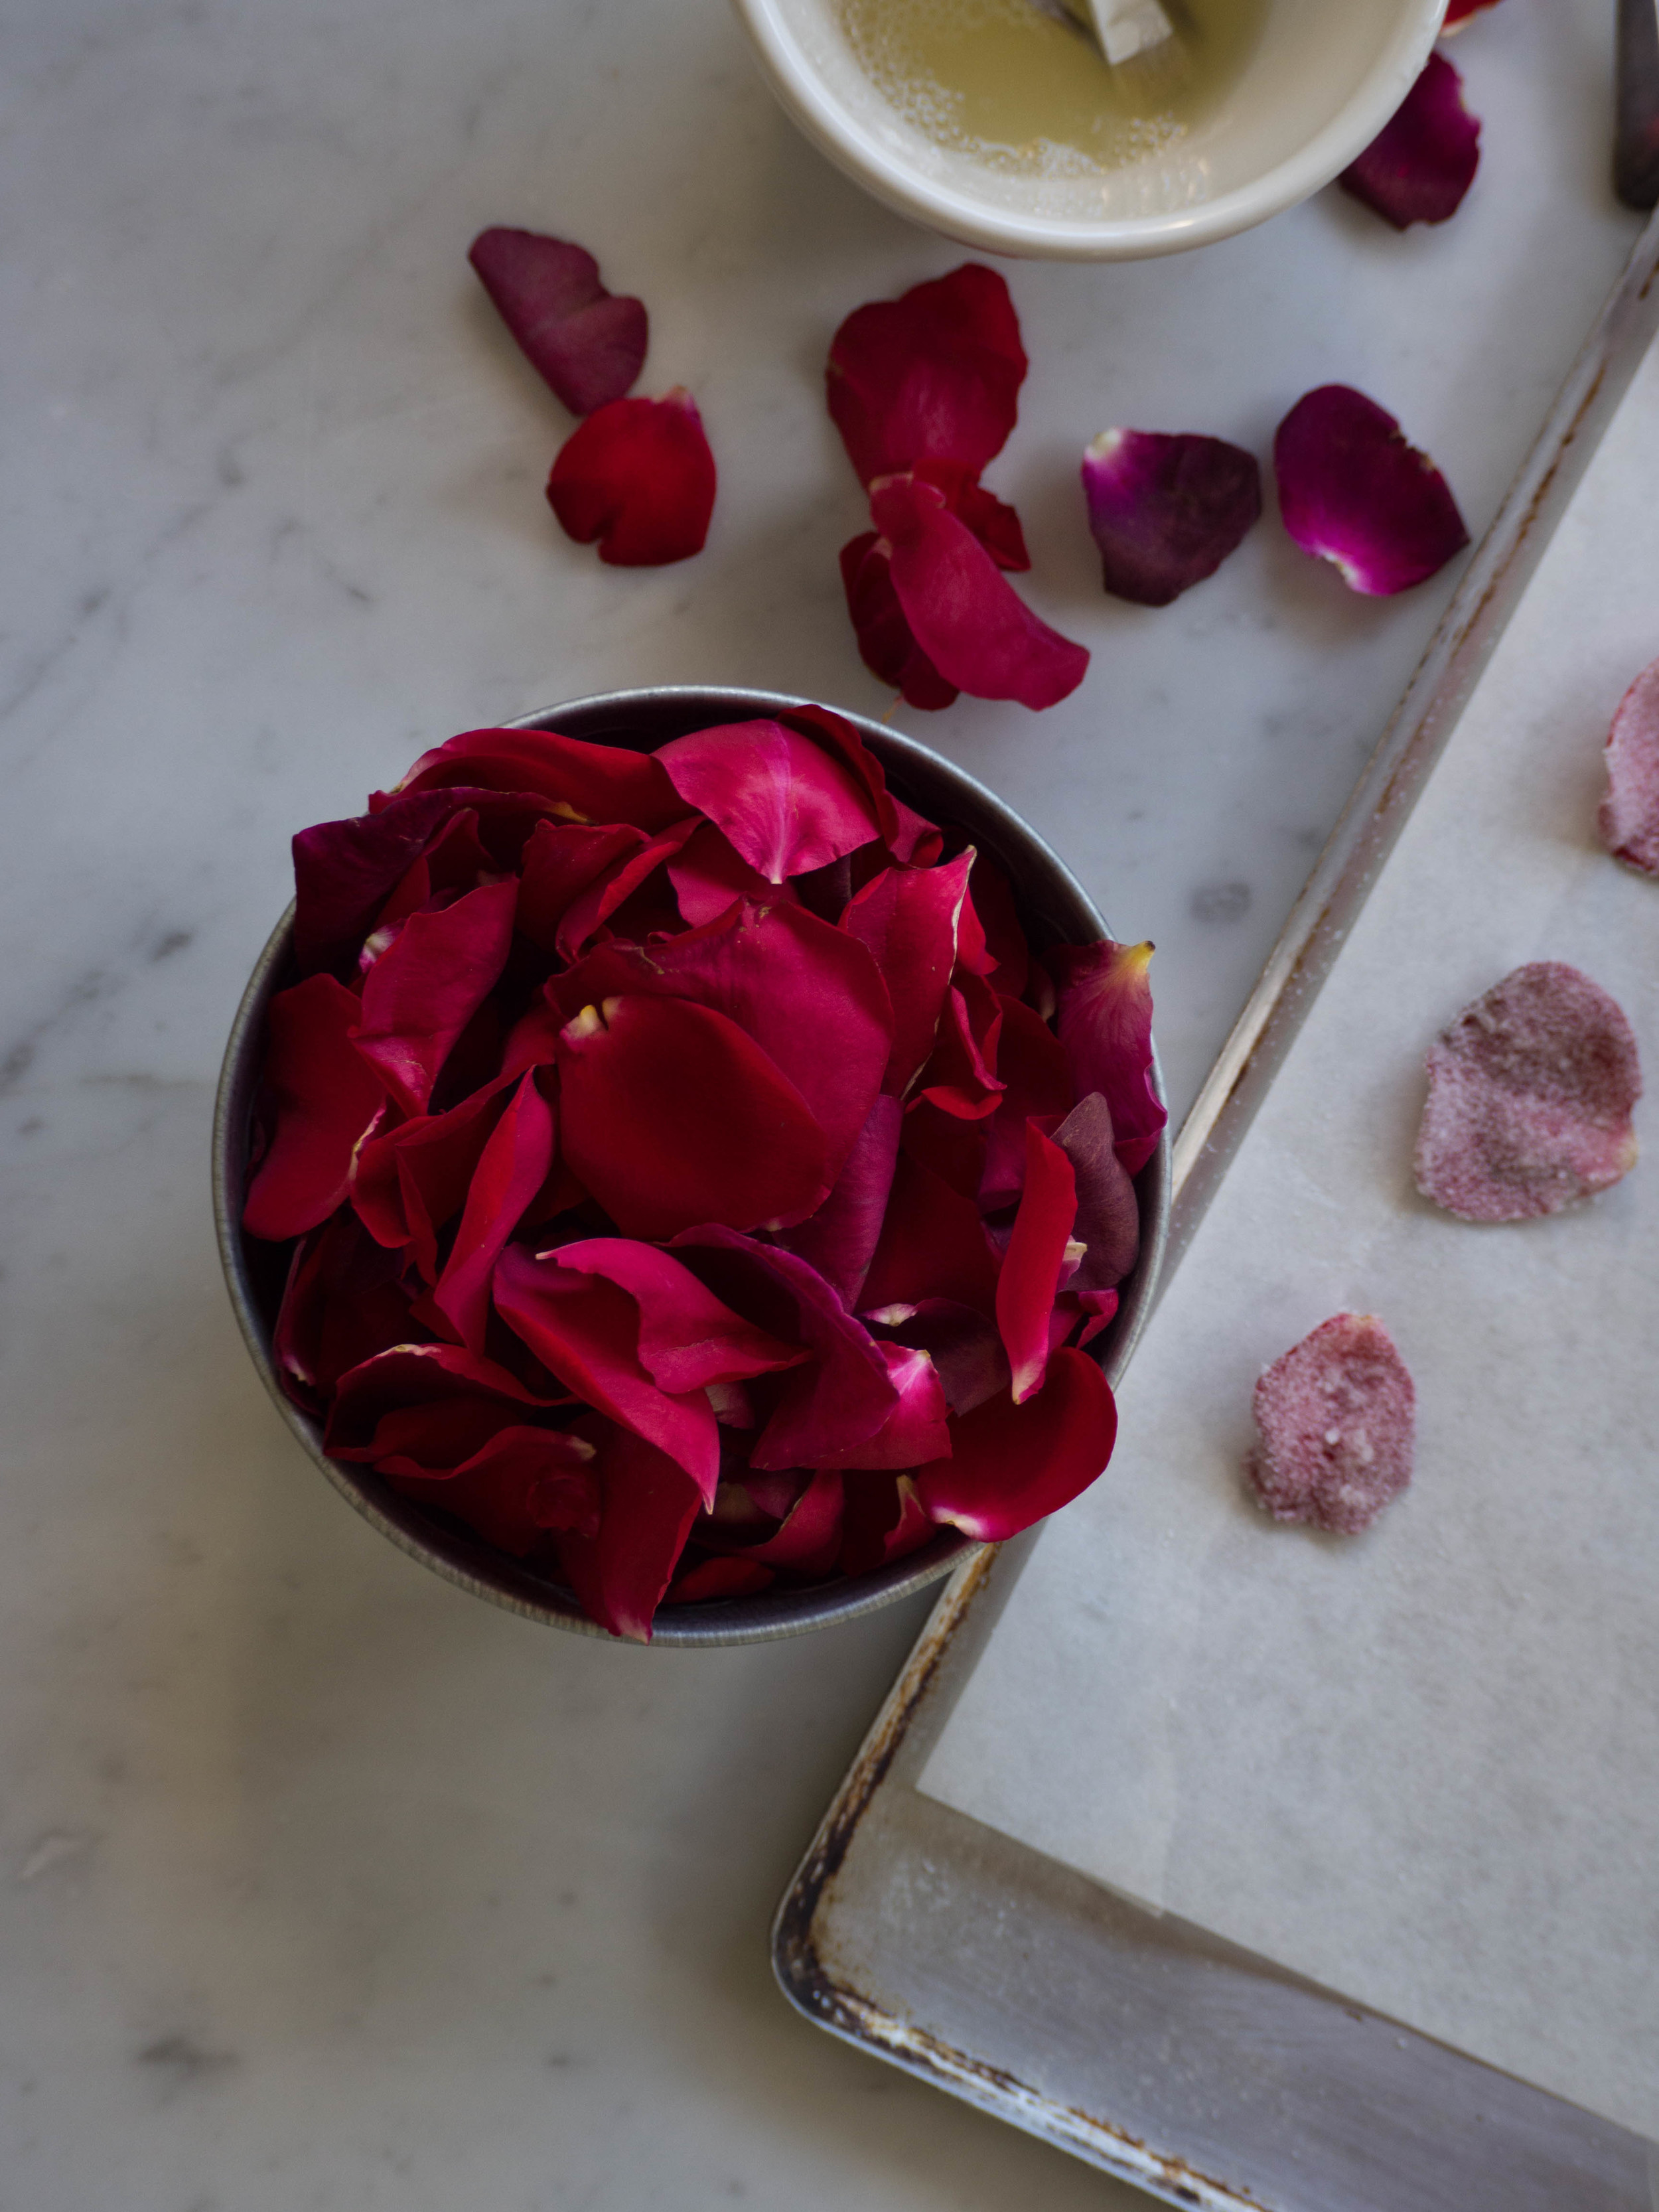
How to Crystallise Rose Petals

If you wish to make the biscuit recipe below, I would suggest making the crystallised rose petals first, a few hours in advance to give them time to dry out before making the biscuits. I did not find the rose petals, once crystallised, had a very long shelf life, so I would not advise making them days in advance.

Ingredients: 

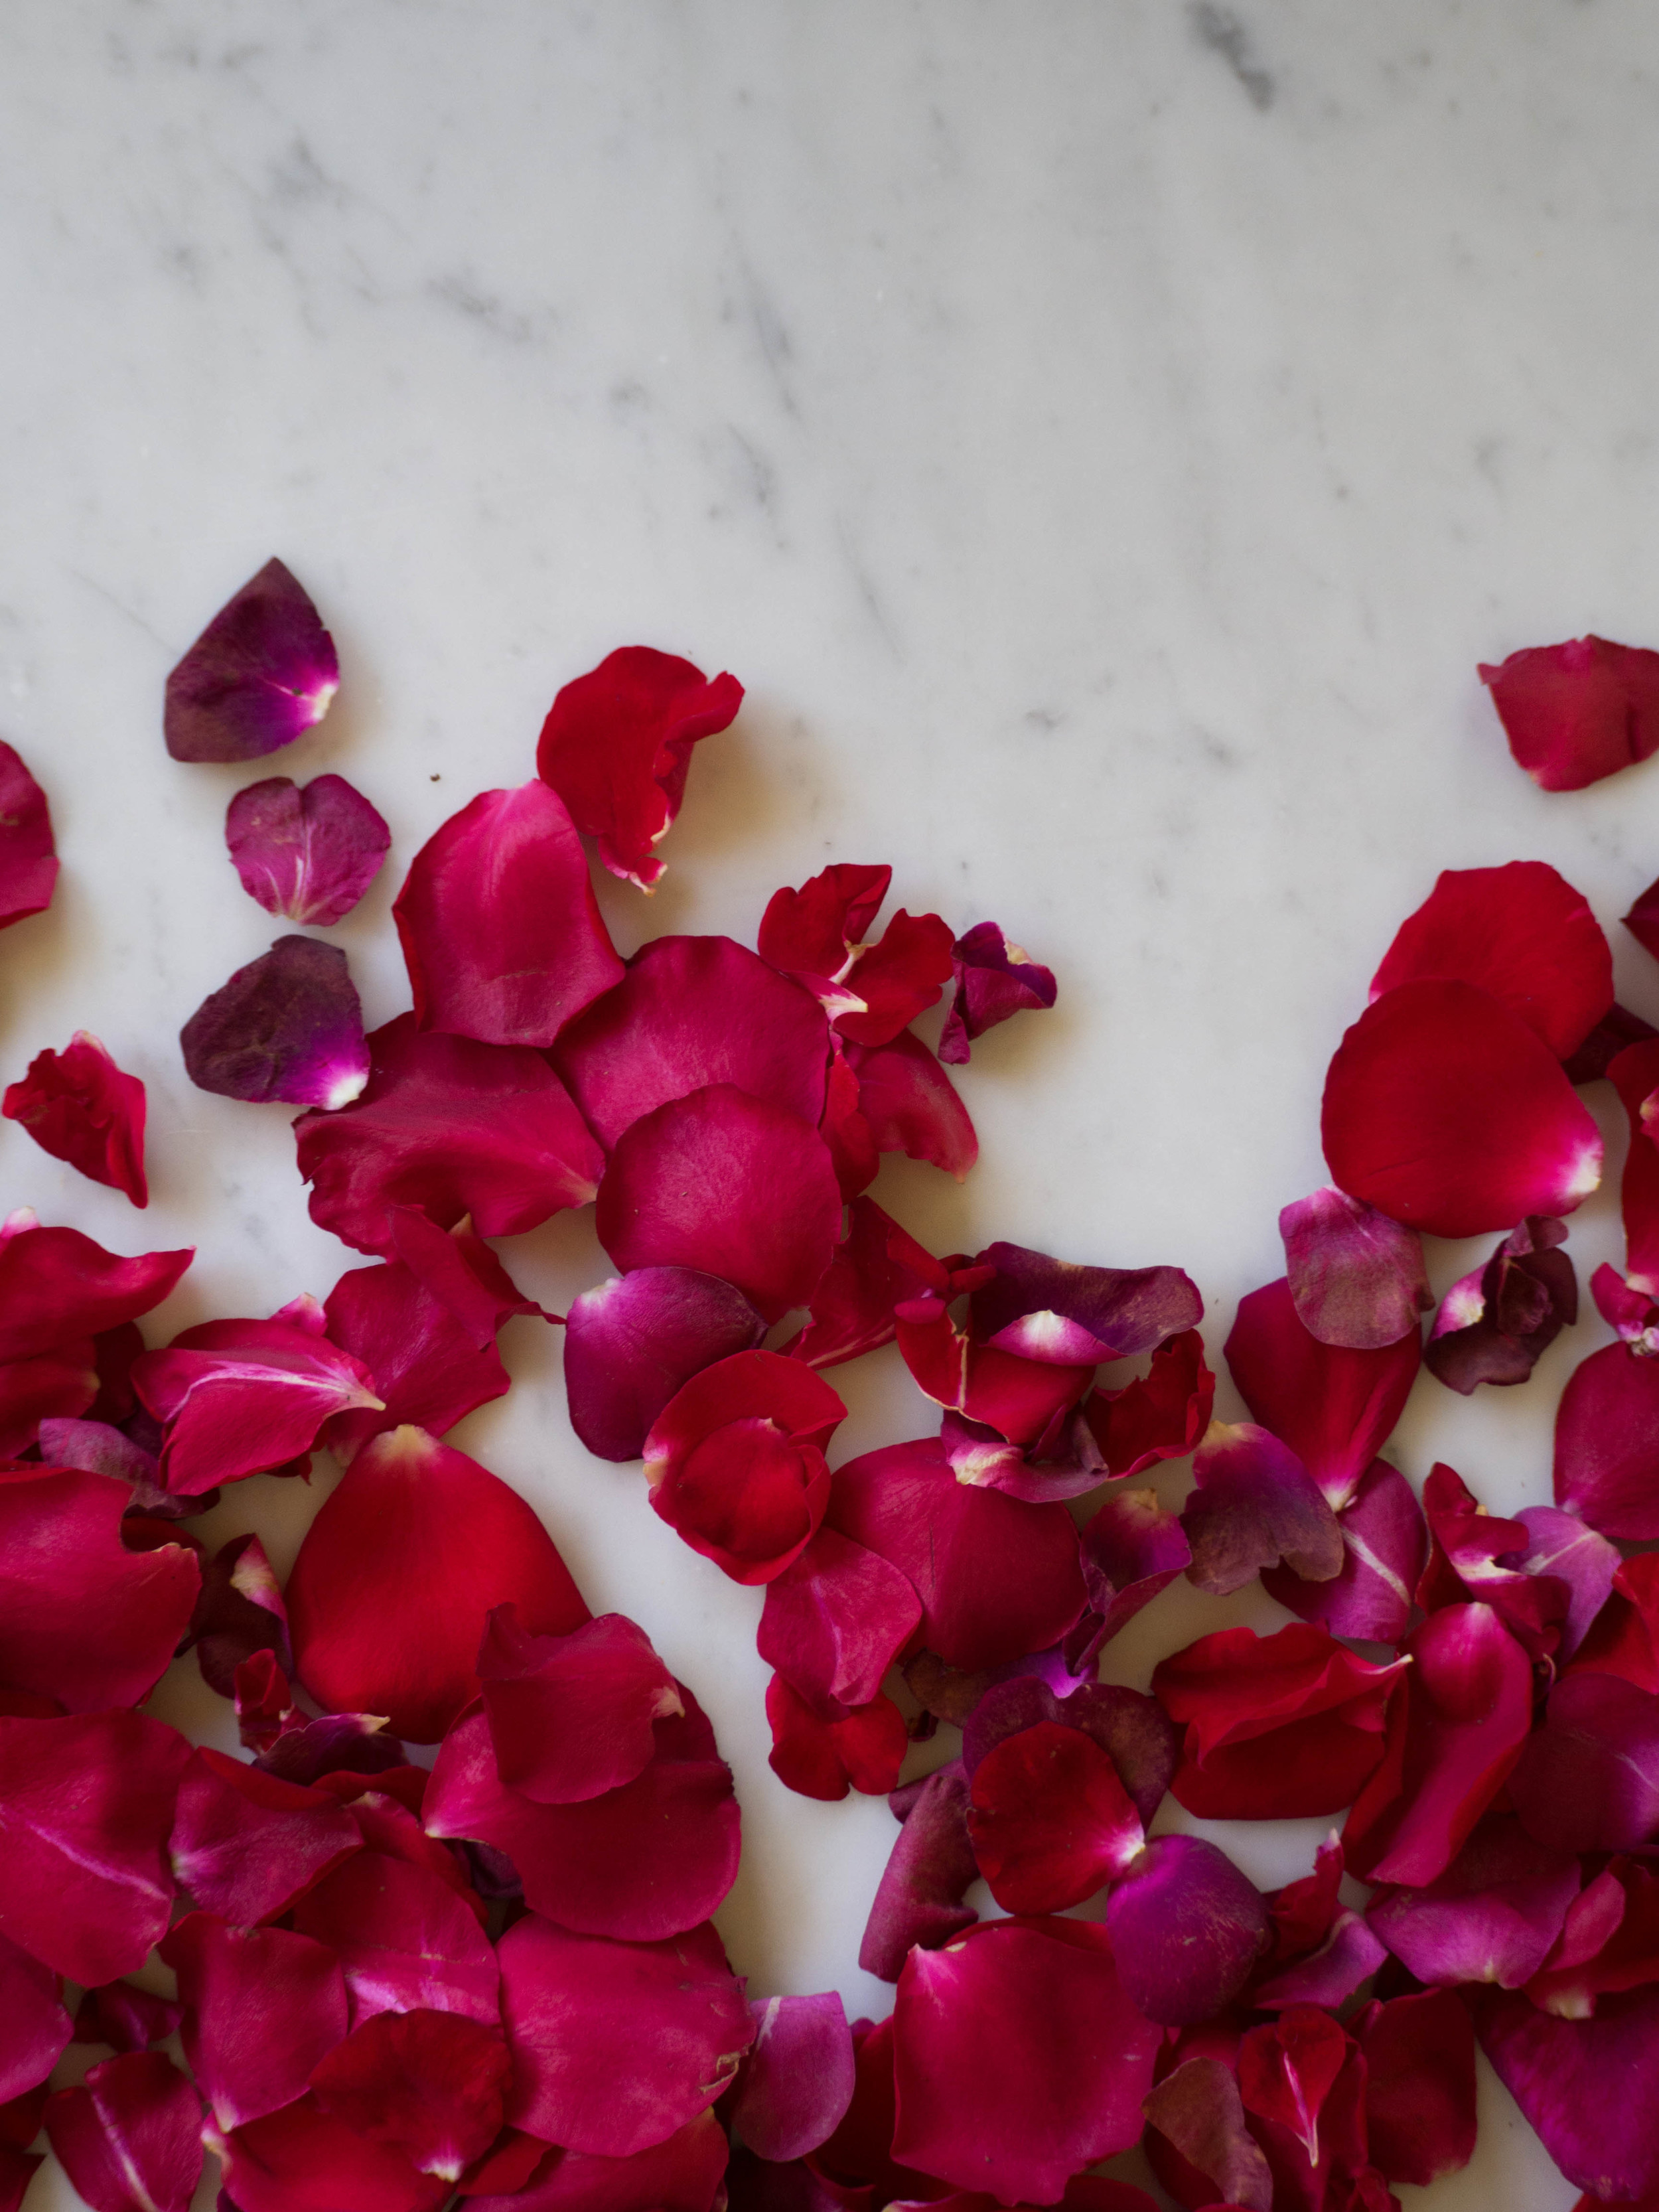
Fresh unsprayed rose petals, gently rinsed and dried

1 egg white

50g sugar (approx.) 


Method: 

Prepare two or three large baking trays by lining them with baking paper. 

Gently whisk the egg white with a fork until lightly frothy. 

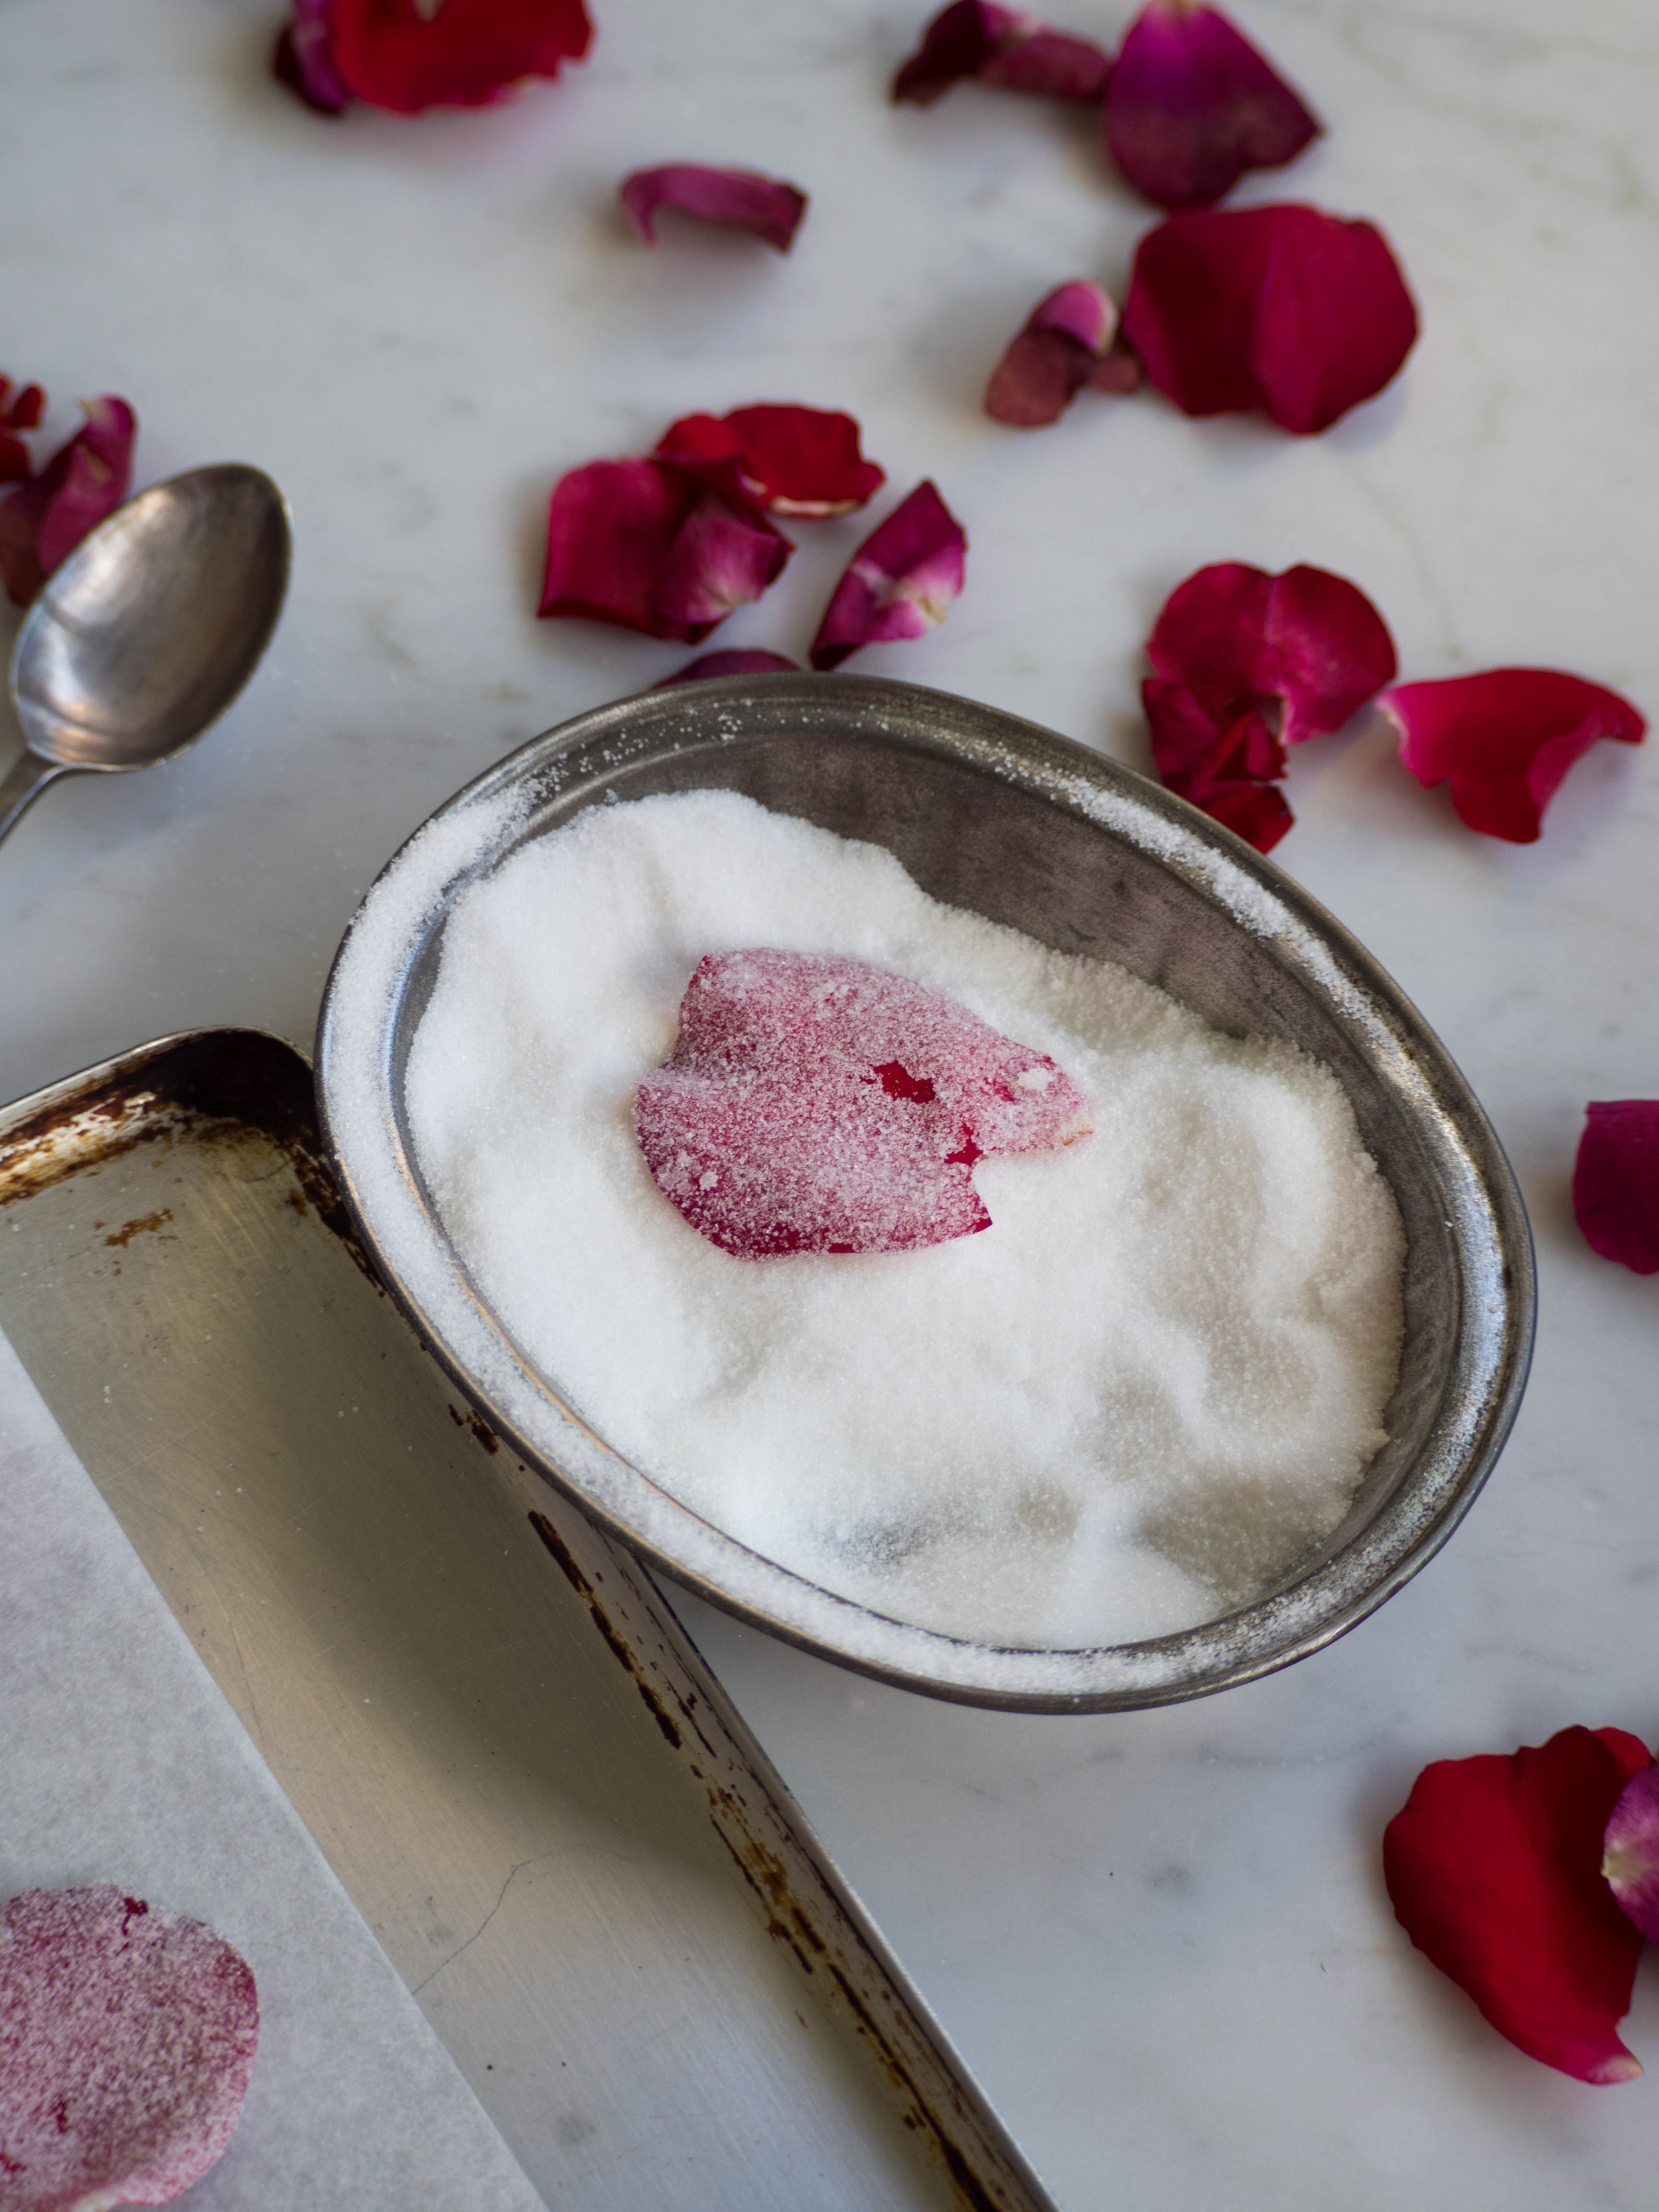
Working slowly and doing each rose petal individually, use a small soft bristled (new or kitchen purpose) paint brush, and brush a small amount of the egg white over both sides of the rose petal. Ensure every part of the petal is covered in egg white. It is easiest to hold the rose petal at the narrower end, where it is a little white in colour. 

Then, gently toss the petal in some of the sugar, again ensuring the whole petal has been coated in the sugar. Dust of any excess sugar, and place on one of the prepared trays. 

Continue doing the same for each rose petal. Leave the sugared rose petals to dry on the prepared trays for at least a couple of hours.

In humid conditions the petals may take longer to crystallise, and they can be dried out in the oven at an extremely low temperature, about 20 degrees Celsius. I tried both methods of drying and found they dried better when left out for a couple of hours or so. 

Once the petals have dried they will be crunchy and ready to use in the recipe below or as a garnish for cakes and desserts. 

Homemade crystallised rose petals last a maximum of a couple of days after crystallising, when they are left out so they remain dry. I found keeping them in an airtight container wasn’t the best option for storing them. 

Homemade Crystallised Rose Petals

Homemade Crystallised Rose Petals

Some examples of recipes where crystallised rose petals would make a great garnish can be found in the links below: 

Raspberry & Rose Cupcakes

Pavlova

Rose Sponge Cake

Summer Celebration Cake

Raspberry & Almond Layer Cake

Rose Pound Cake

Rose & Pistachio Cake

Raspberry & Rose Celebration Cake

Fortnum & Mason’s Rose Scented Biscuits

Ingredients: 

100g unsalted butter, softened

50g golden caster sugar or caster sugar 

1 tbsp rosewater

100g plain flour

50g almond meal

15 g/10 medium/large (whole) crystallised rose petals, roughly chopped


Method: 

Preheat oven to 180 degrees Celsius, and line a baking tray with baking paper. 

In a large bowl, cream butter, sugar and rosewater until all combined. Sift in the flour, add the almond meal and crystallised rose petals and mix until combined. 

Using a teaspoon, take spoonfuls of the mixture and roll into balls and place on the baking trays. Flatten the balls a little so they form fat round discs. 

Cook for 15-20 minutes, or until slightly golden. If you are unsure if they are cooked, use a palette knife to gently lift a biscuit - if it is evenly golden on the base of the biscuit, it is cooked. Cool biscuits on the trays or on a wire rack. 

This recipe only makes about 20 biscuits, but after all the fuss of crystallising your own rose petals, I suggest doubling the quantities and making more! The cooked biscuits last about one week.

Reference: ‘Tea at Fortnum and Mason’ (Ebury Press, 2010), p.61.

For more recipes showcasing the best of rose, check out my eBook Baking with Rose by clicking the link below!

get your ebook!
In Travel, Biscuits/Cookies Tags Fortnum & Mason, Fortnum and Mason, Crystallised Rose Petals, Sugared Rose Petals, Rose Biscuits, Rose Petals, Edible Flowers, London, Biscuits, Cookies
Comment

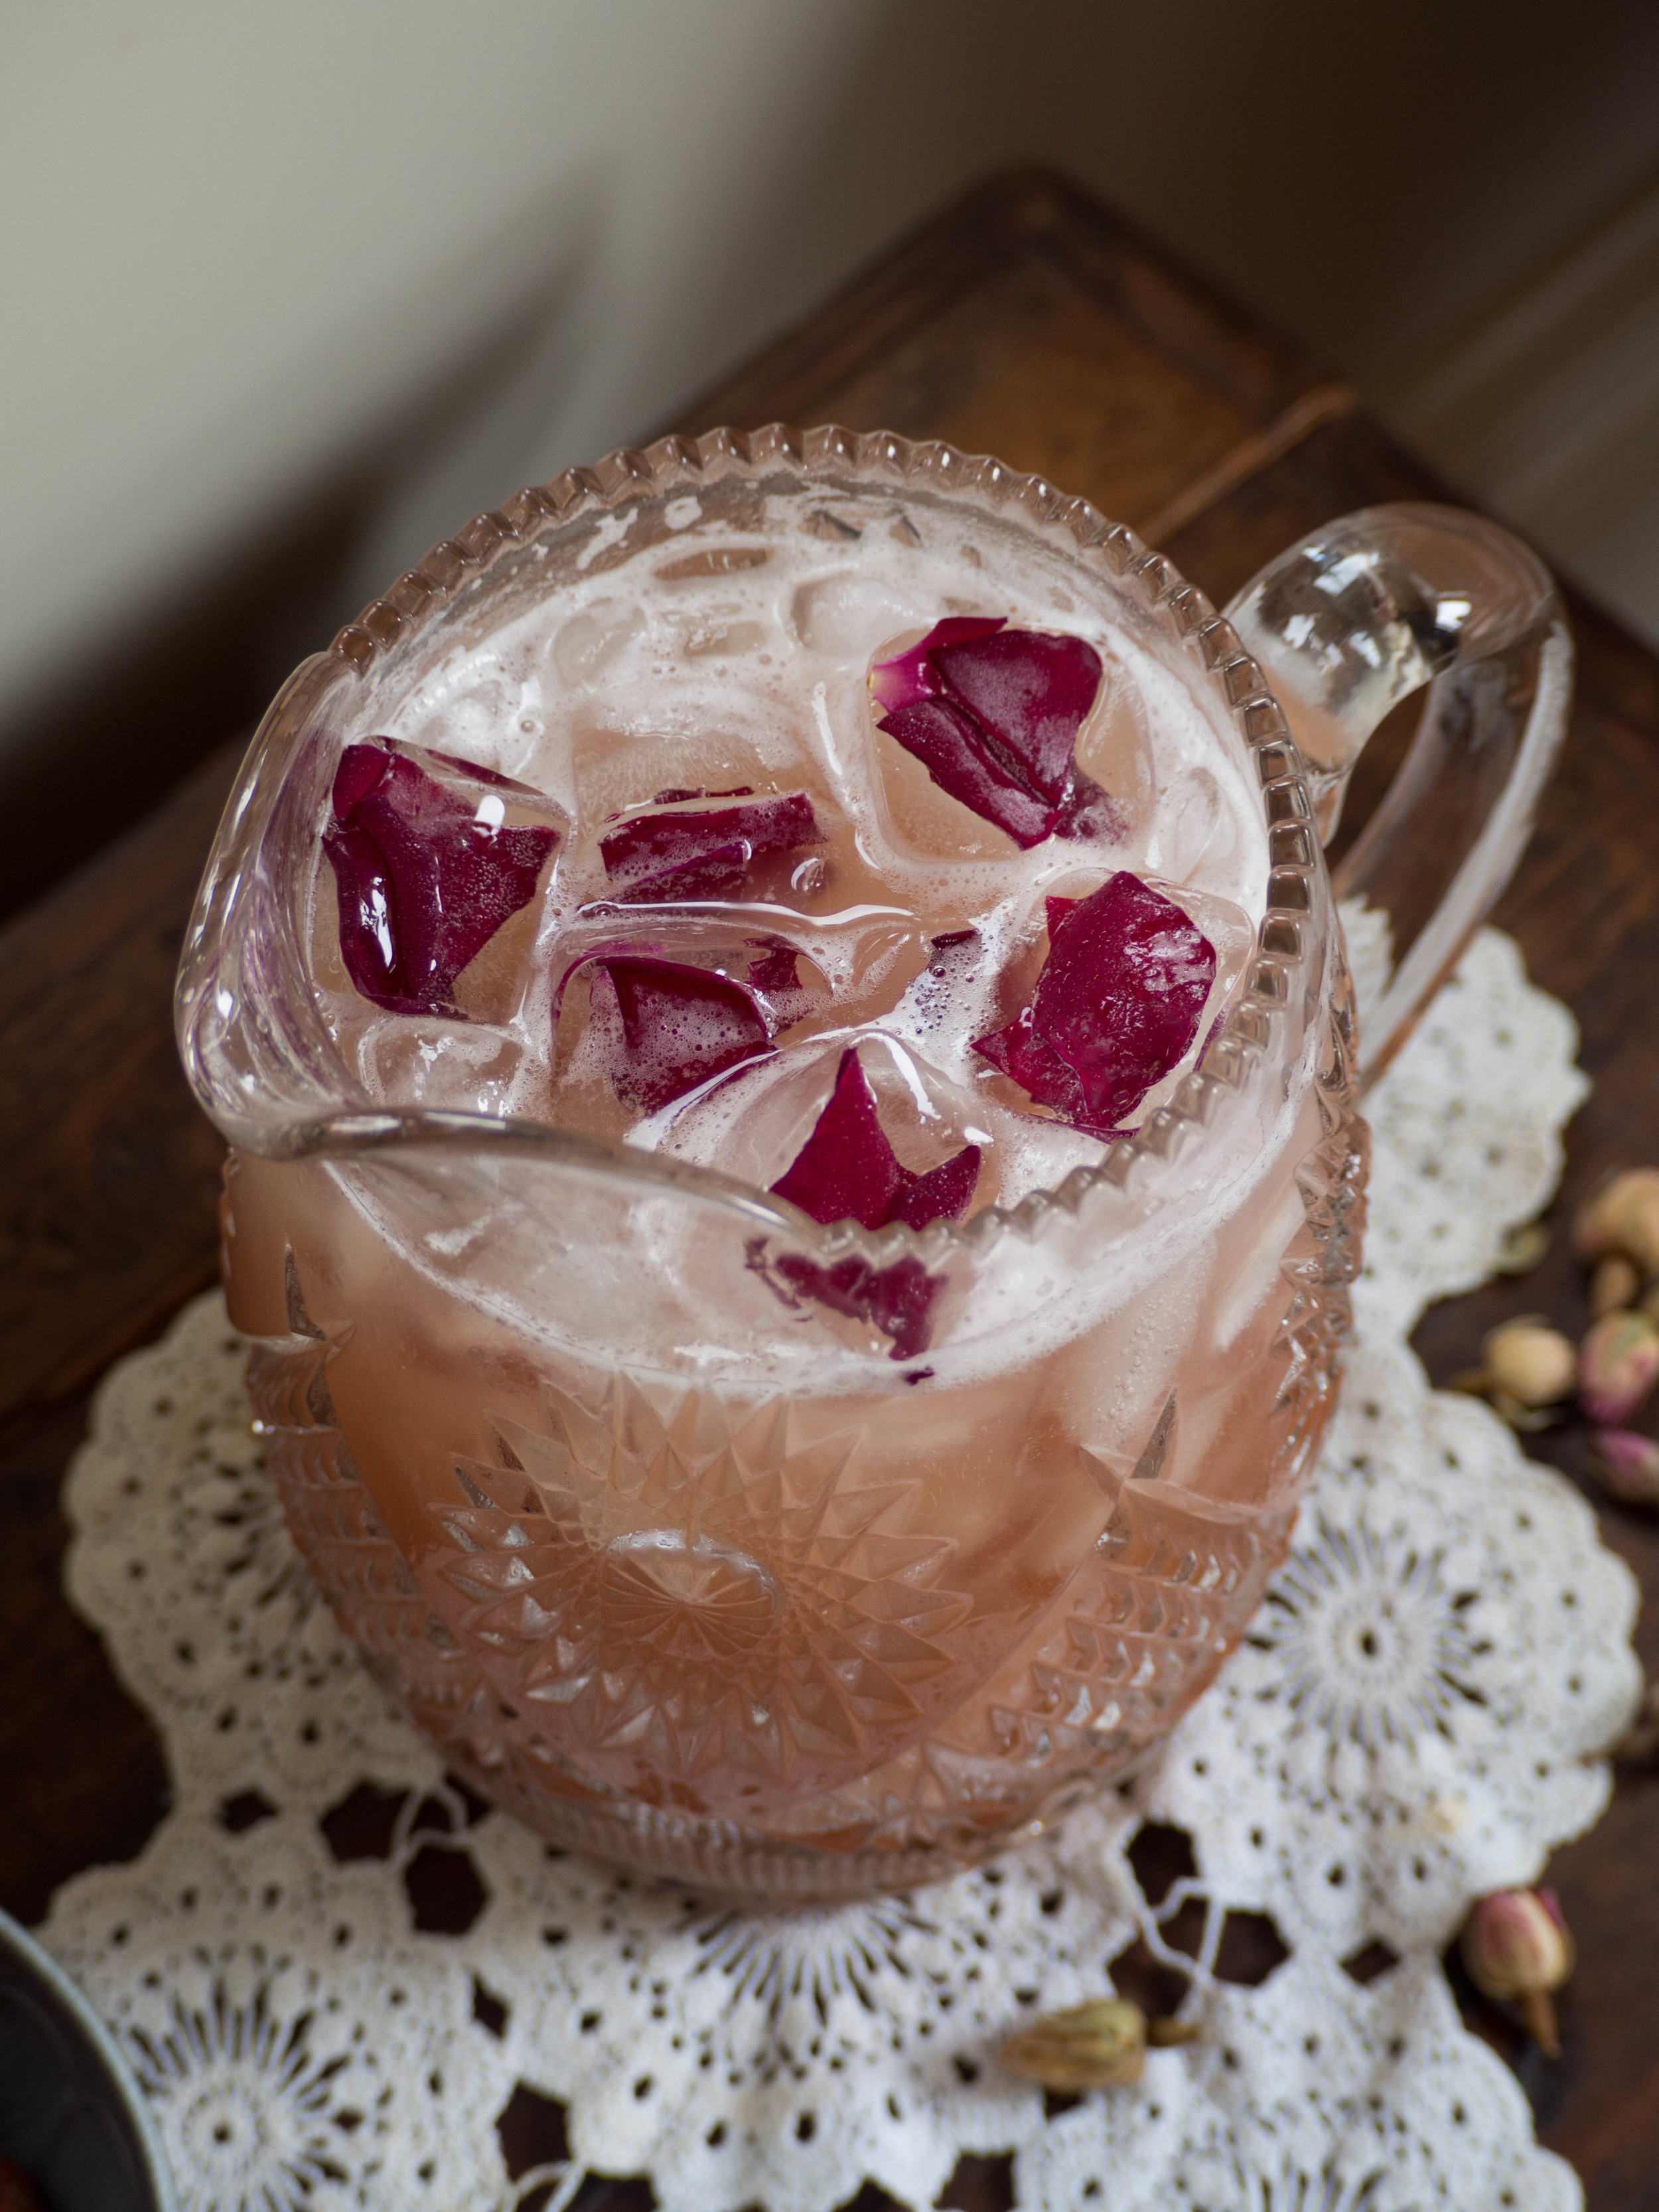
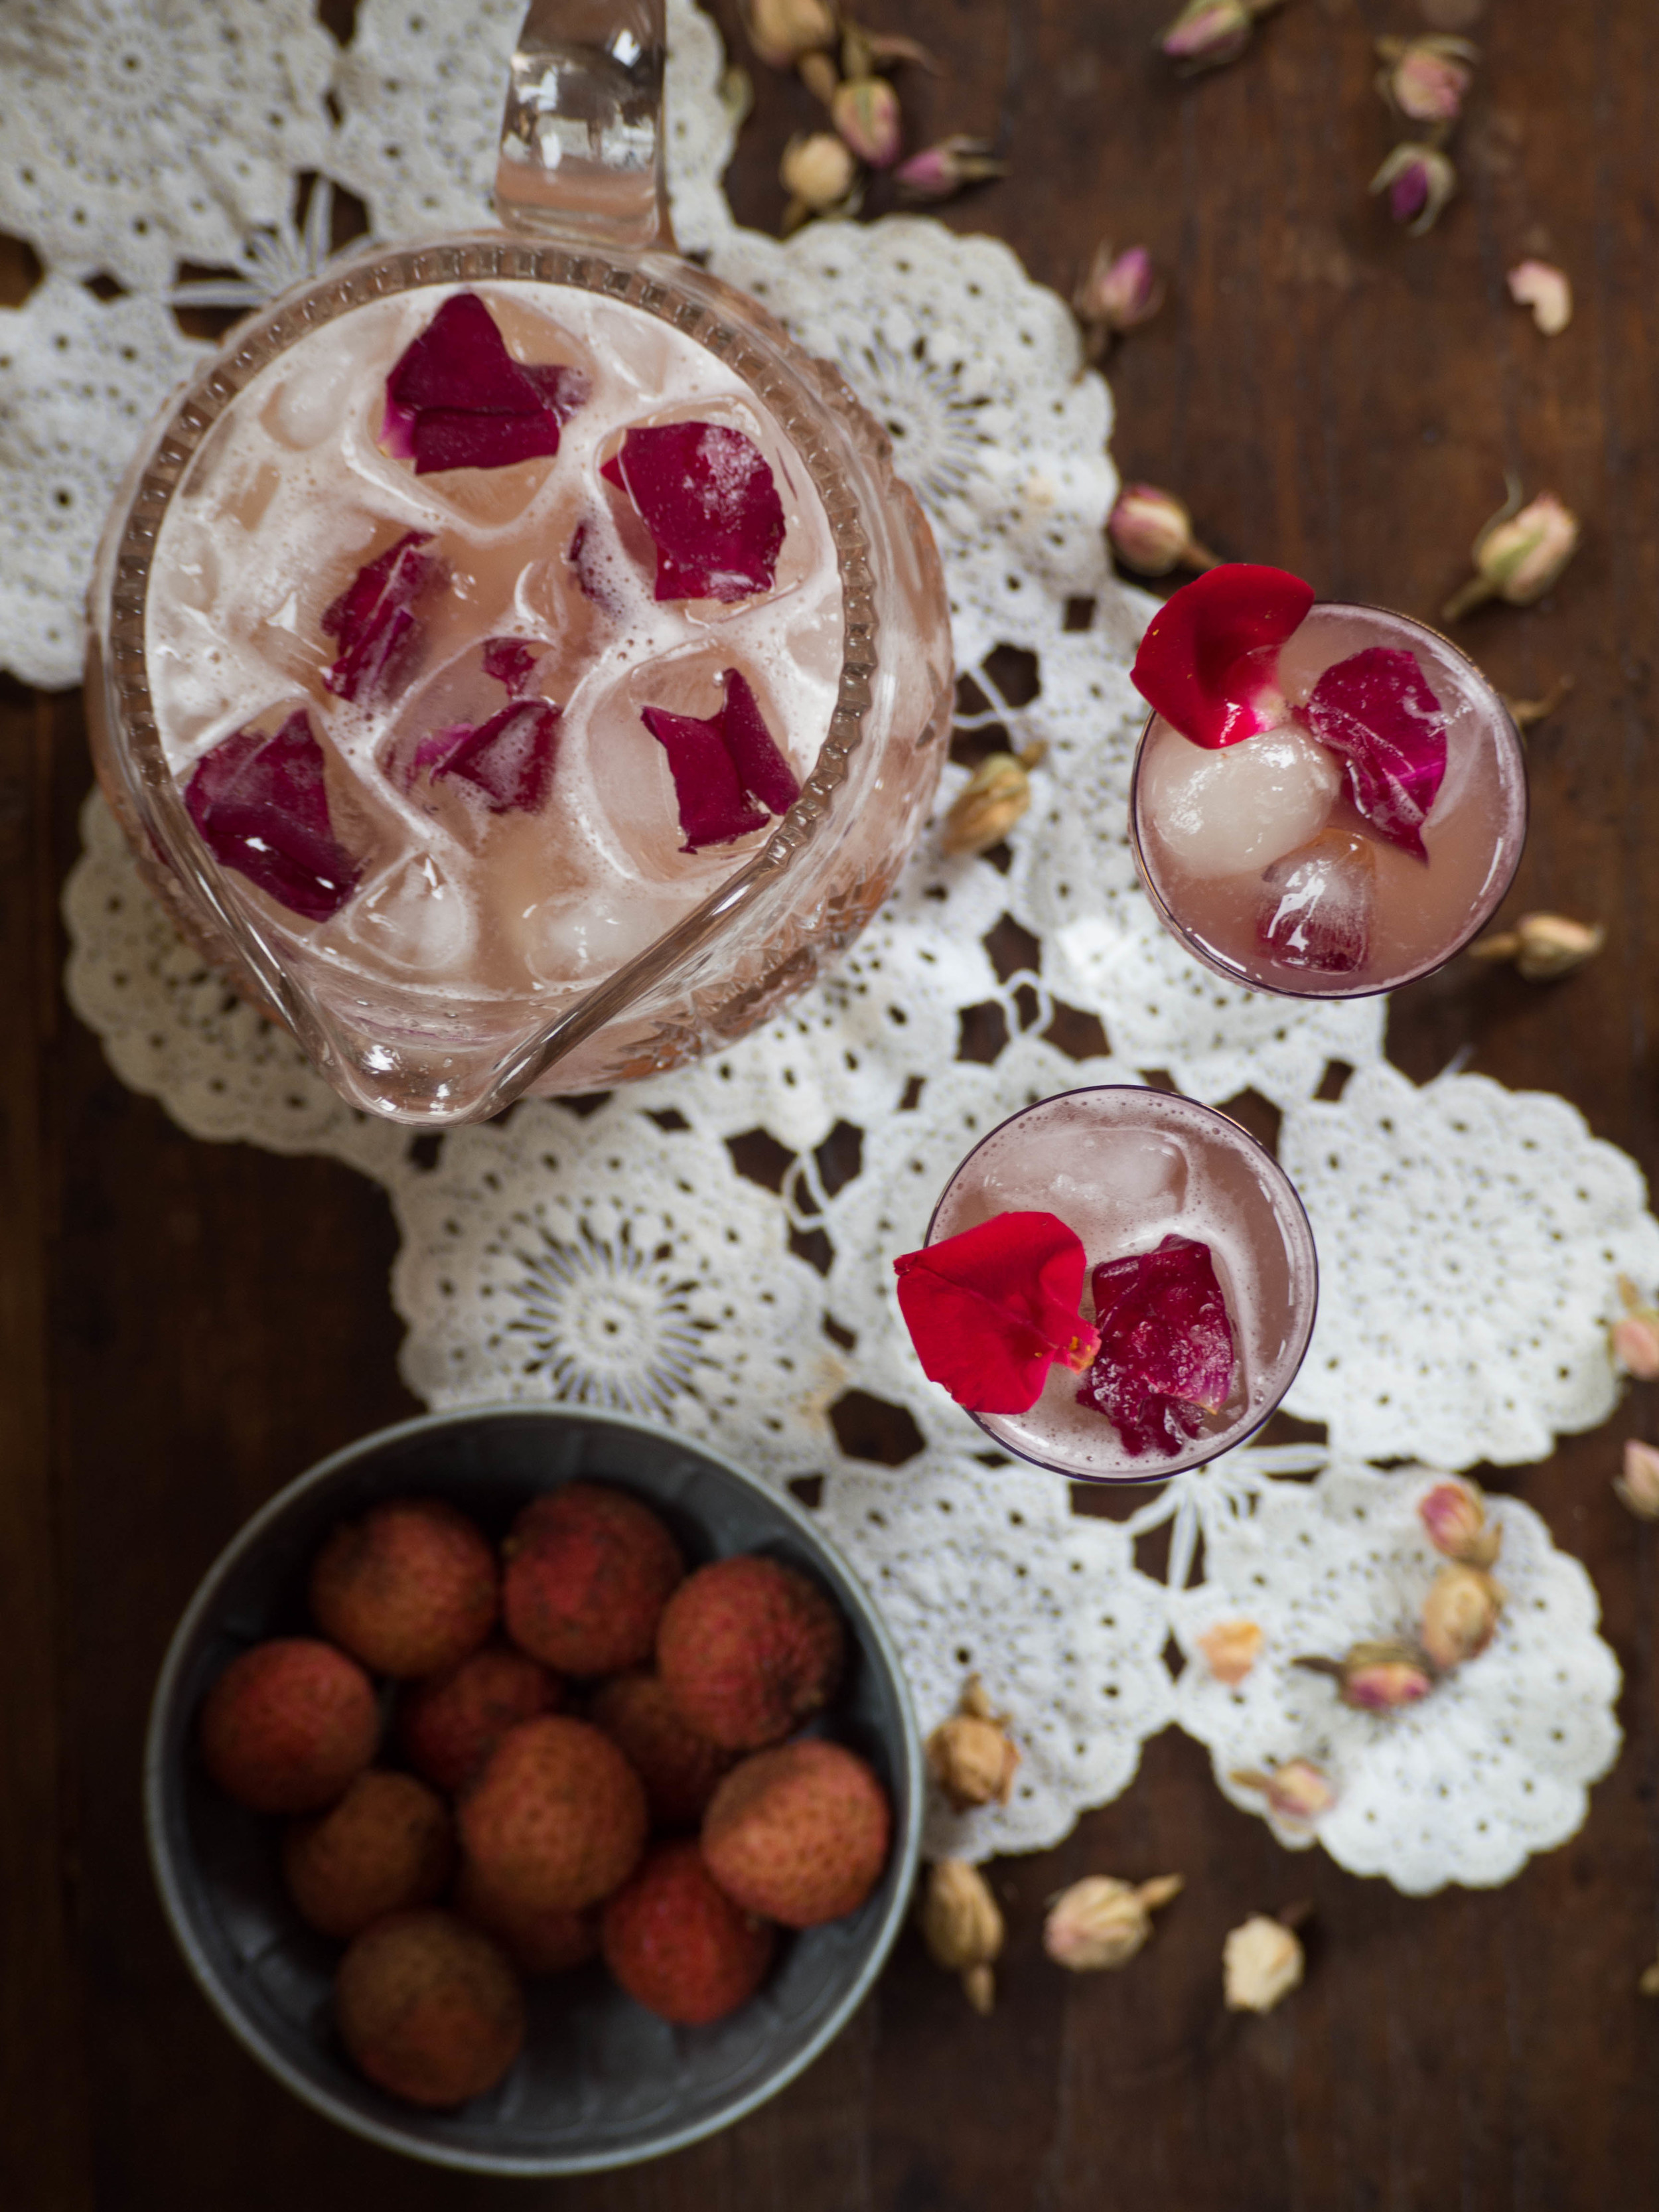
Lychee Rose Summer Cooler

Kath February 21, 2016

The inspiration for this drink recipe came from a mocktail I tried at my birthday dinner late last year at The Glass Brasserie at the Hilton Sydney. It was a great night, with amazing food and the best company. My brother and his girlfriend travelled from interstate to surprise me on the night, which pretty much made it one of the best birthdays ever. 

Lychee Rose Mocktail at the Glass Brasserie

Lychee Rose Mocktail at the Glass Brasserie

I chose the Lychee Rose mocktail, obviously because of the rosewater in it! I love rosewater, as I’m sure you have noticed, and can’t go past anything on a menu that contains it. And in this case, I’m very glad I tried it. Not only was it amazing, but it has inspired a Summer drink that can be made very easily at home. 

This recipe also showcases lychees while we have them in season, but canned ones (rinsed first) will work well too. I have been enjoying making this drink over the past couple of months, and I find it can last at least a week in the fridge (particularly if the lychees are freshly bought). I have also taken to buying more lychees than I need, pureeing and sieving them, and freezing the juice to use later. I also like making up some ice cubes with a few torn rose petals and a splash of rosewater to add to the jug or glass upon serving. This recipe is also really good frozen into ice block moulds, with a few chunks of lychee dropped into each - perfect for those super hot Summer days! 

On another note, this week marks the beginning of our kitchen renovation. It is a slightly daunting and exciting time, but does however mean I won’t be cooking almost anything but toast for quite a few weeks. I have however come prepared! These past couple of months I have been spending almost every weekend baking and shooting in order to have some recipes to share here during the kitchen renovation - this is the reason I have only posted one recipe on the blog this year! All my spare time has been taken up with the baking side of things! I look forward to sharing the end result with you when it’s all done, but until then I hope you enjoy the recipes to come over the next few weeks! 

Lychee Rose Summer Cooler

Ingredients: 

1L pineapple juice 

250ml cranberry juice

250ml water

5 tbsp rosewater 

12 fresh lychees, plus extra 

fresh rose petals, optional 


Method: 

You will need a jug of at least 2L capacity for this recipe. 

Puree the 12 lychees, and pass through a sieve to remove any lumps. Add all the ingredients, except the rose petals, to the jug and stir. Taste and top up with water if needed, add ice. 

Use rose petals and extra lychees to decorate when serving.

For more recipes showcasing the best of rose, check out my eBook Baking with Rose by clicking on the link below!

get your ebook!
In Drinks Tags lychee, Rosewater, Rose, drinks, summer, Hilton Sydney, Glass Brasserie, Gluten Free, Dairy Free
Comment

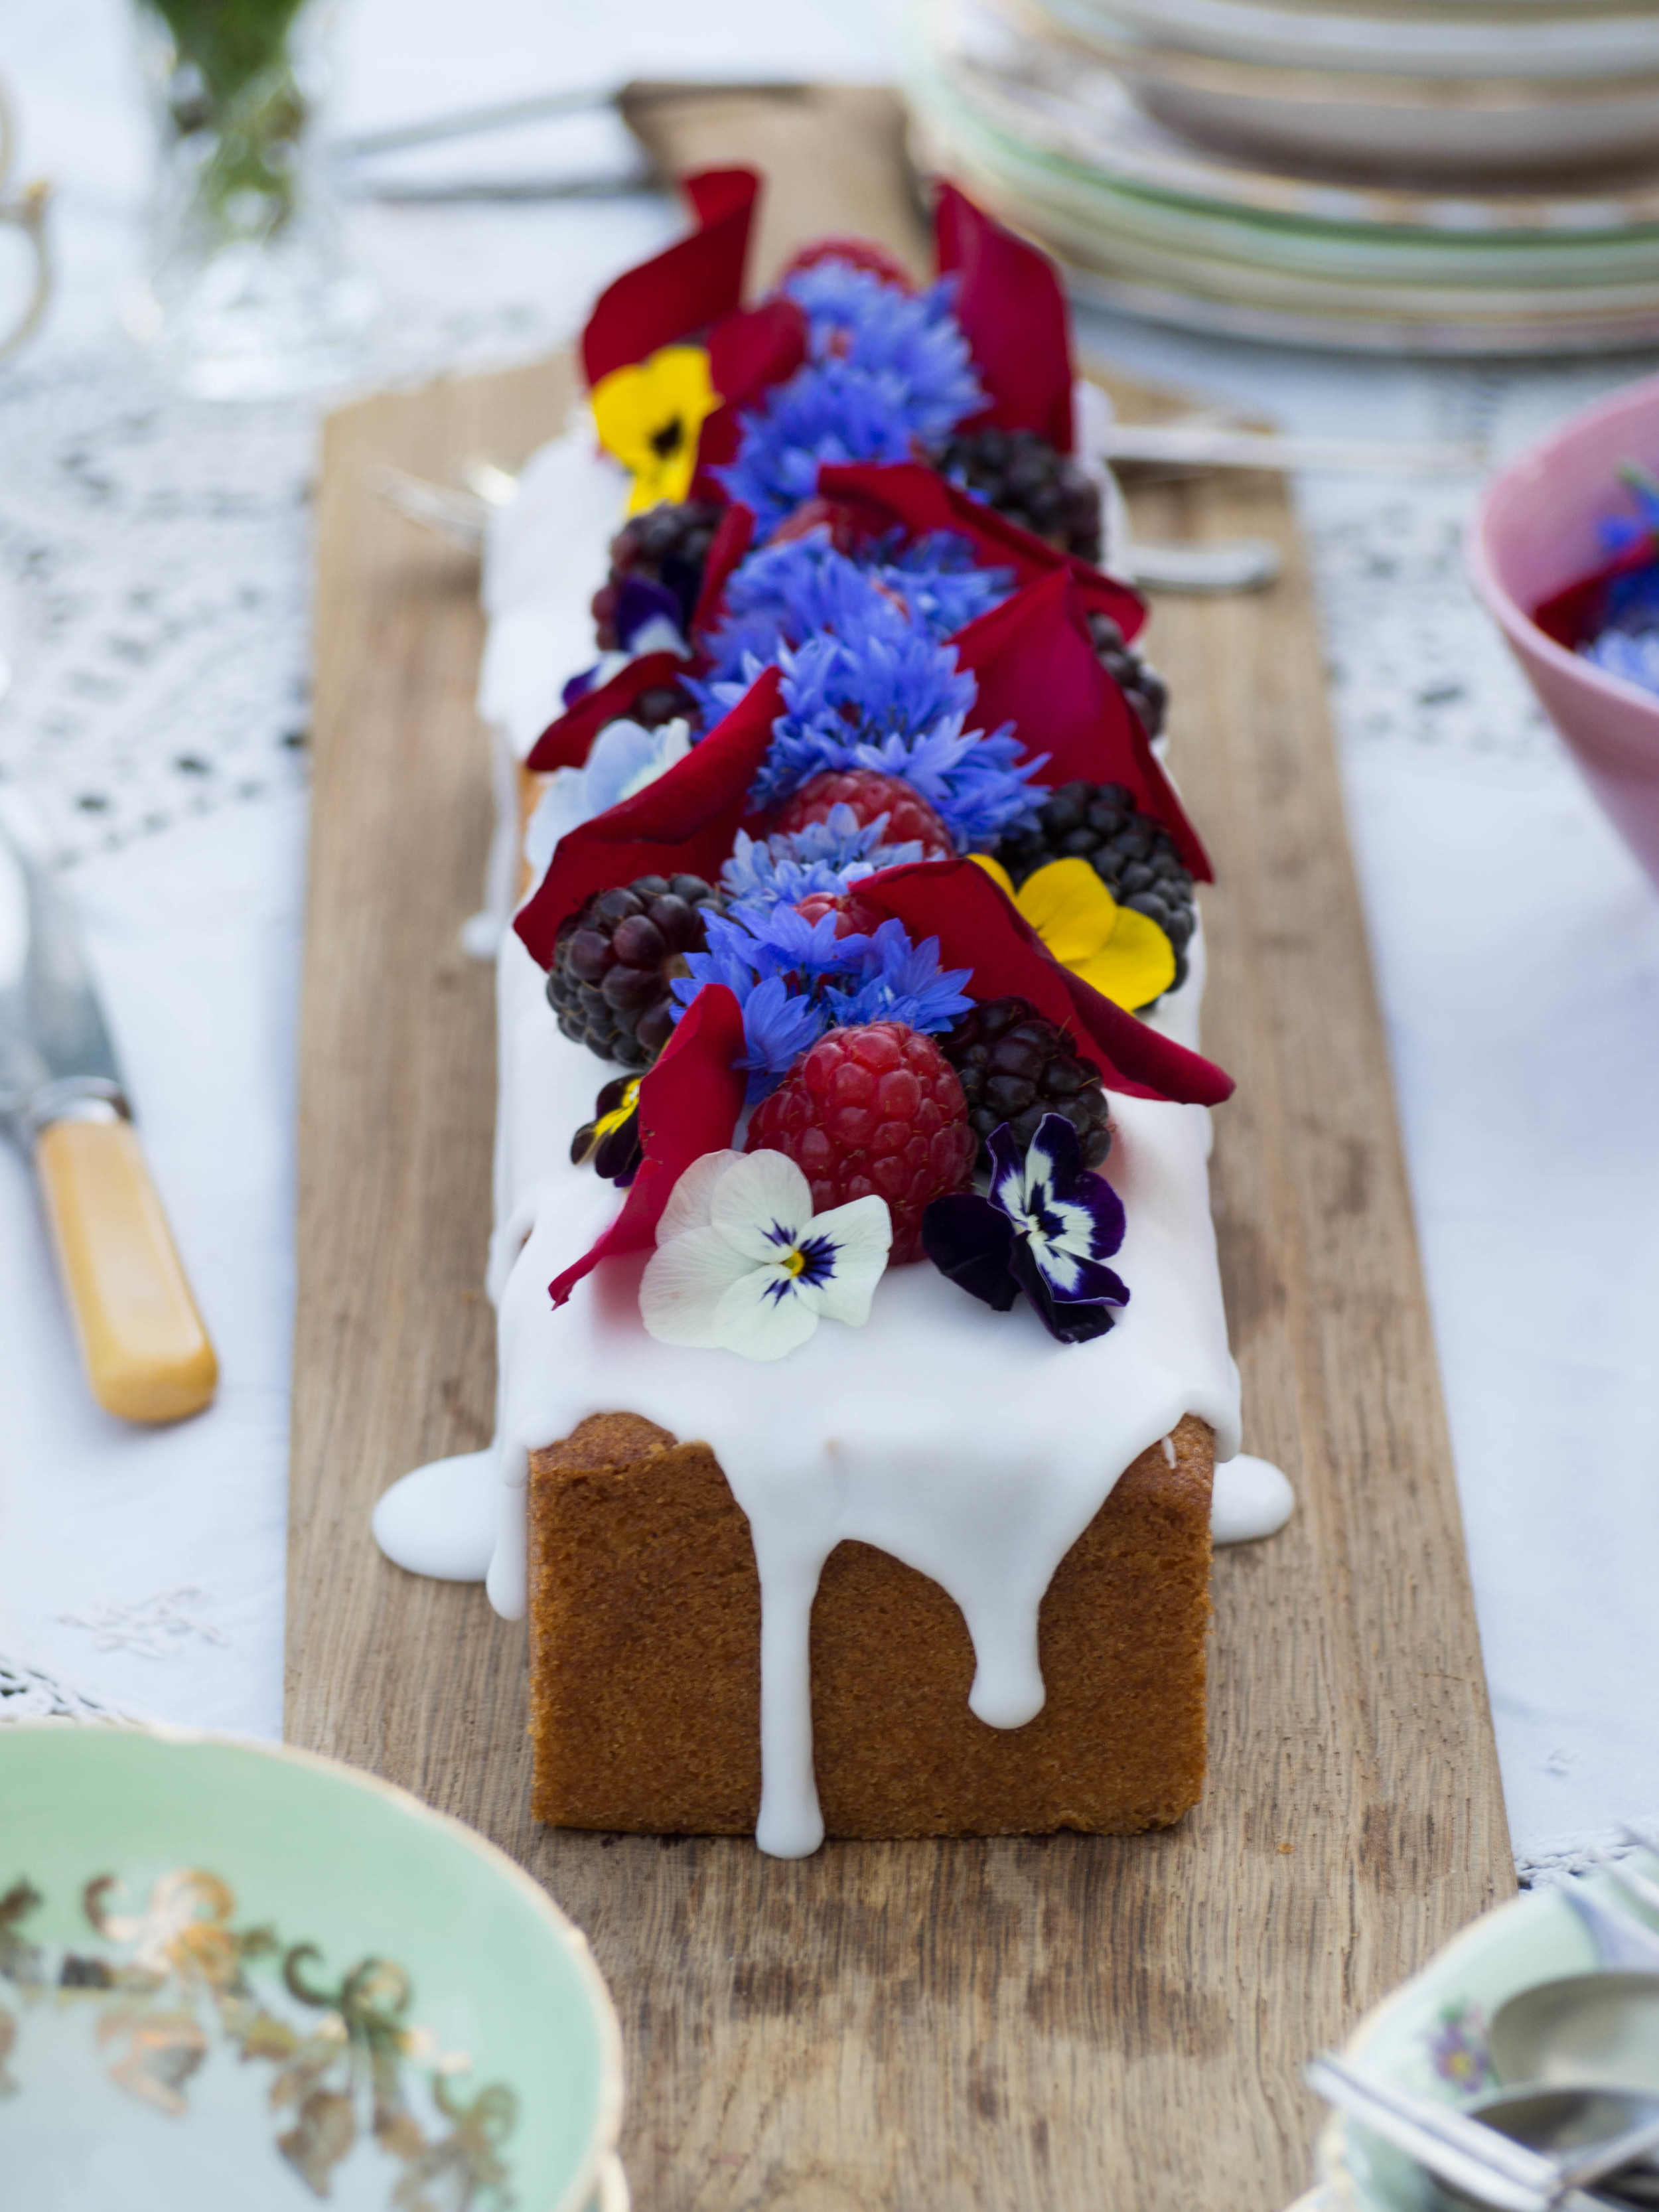
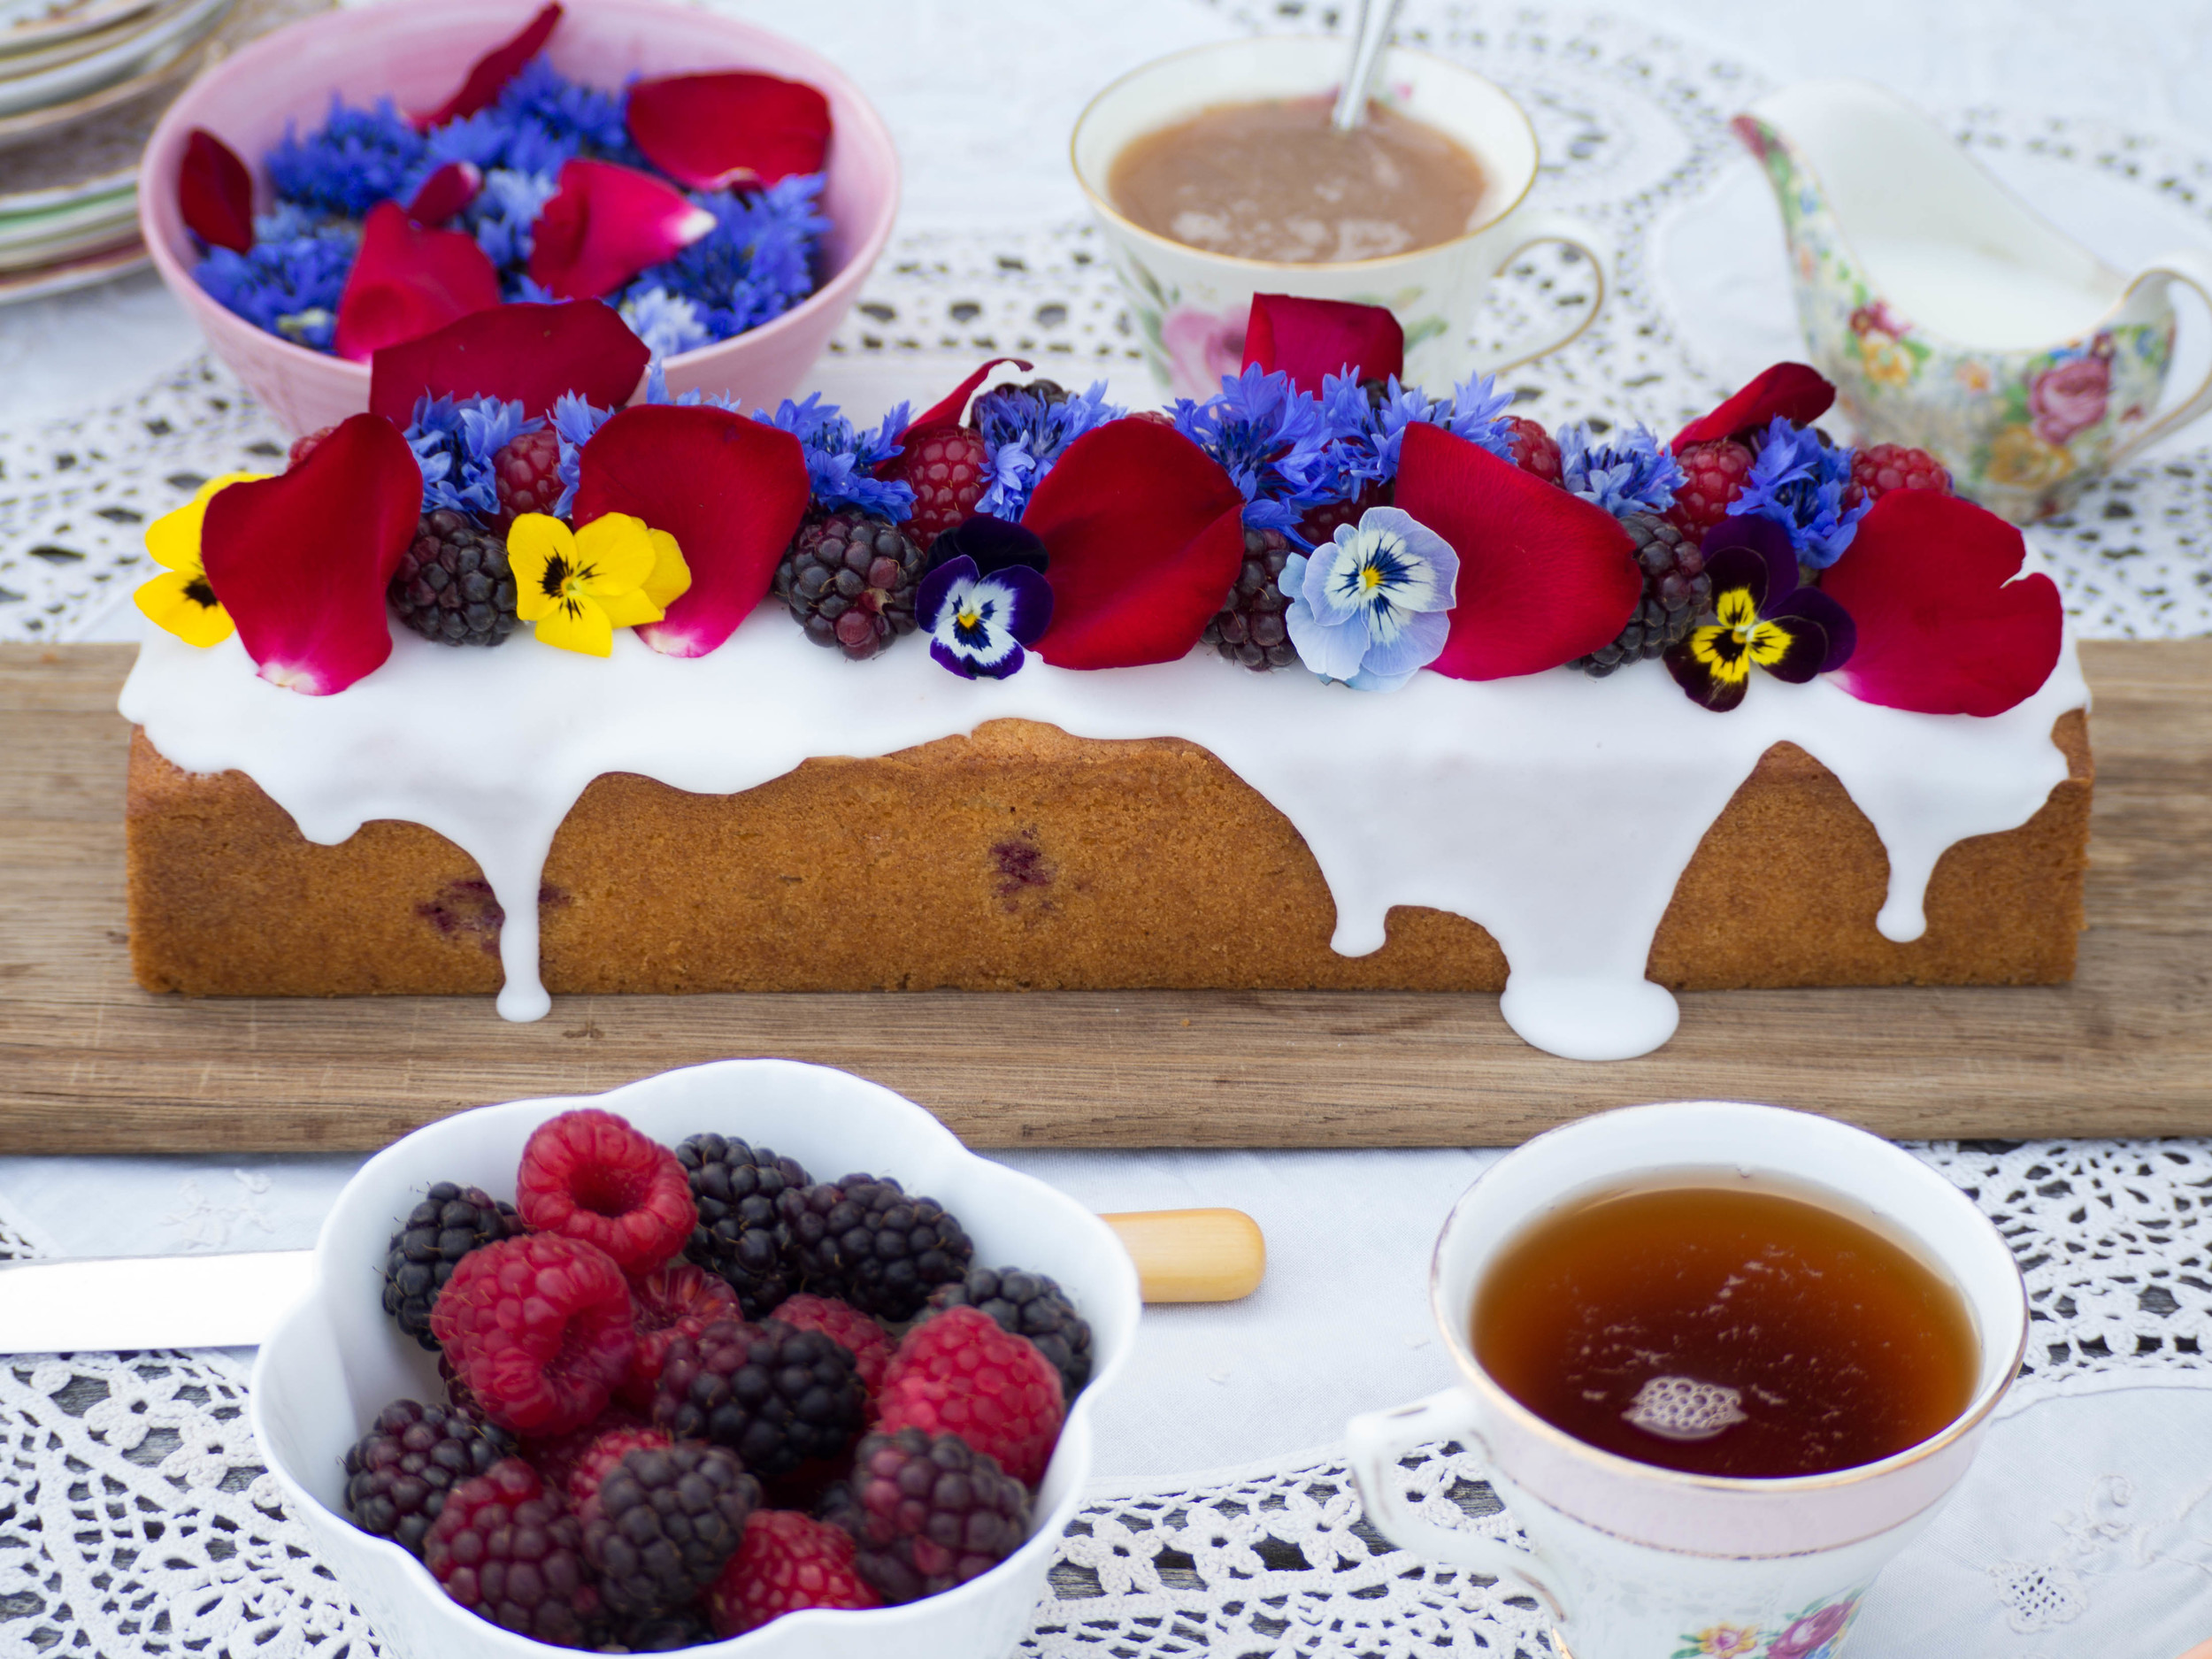
Simple Summer Celebration Cake & Two Years of Blogging

Kath January 17, 2016

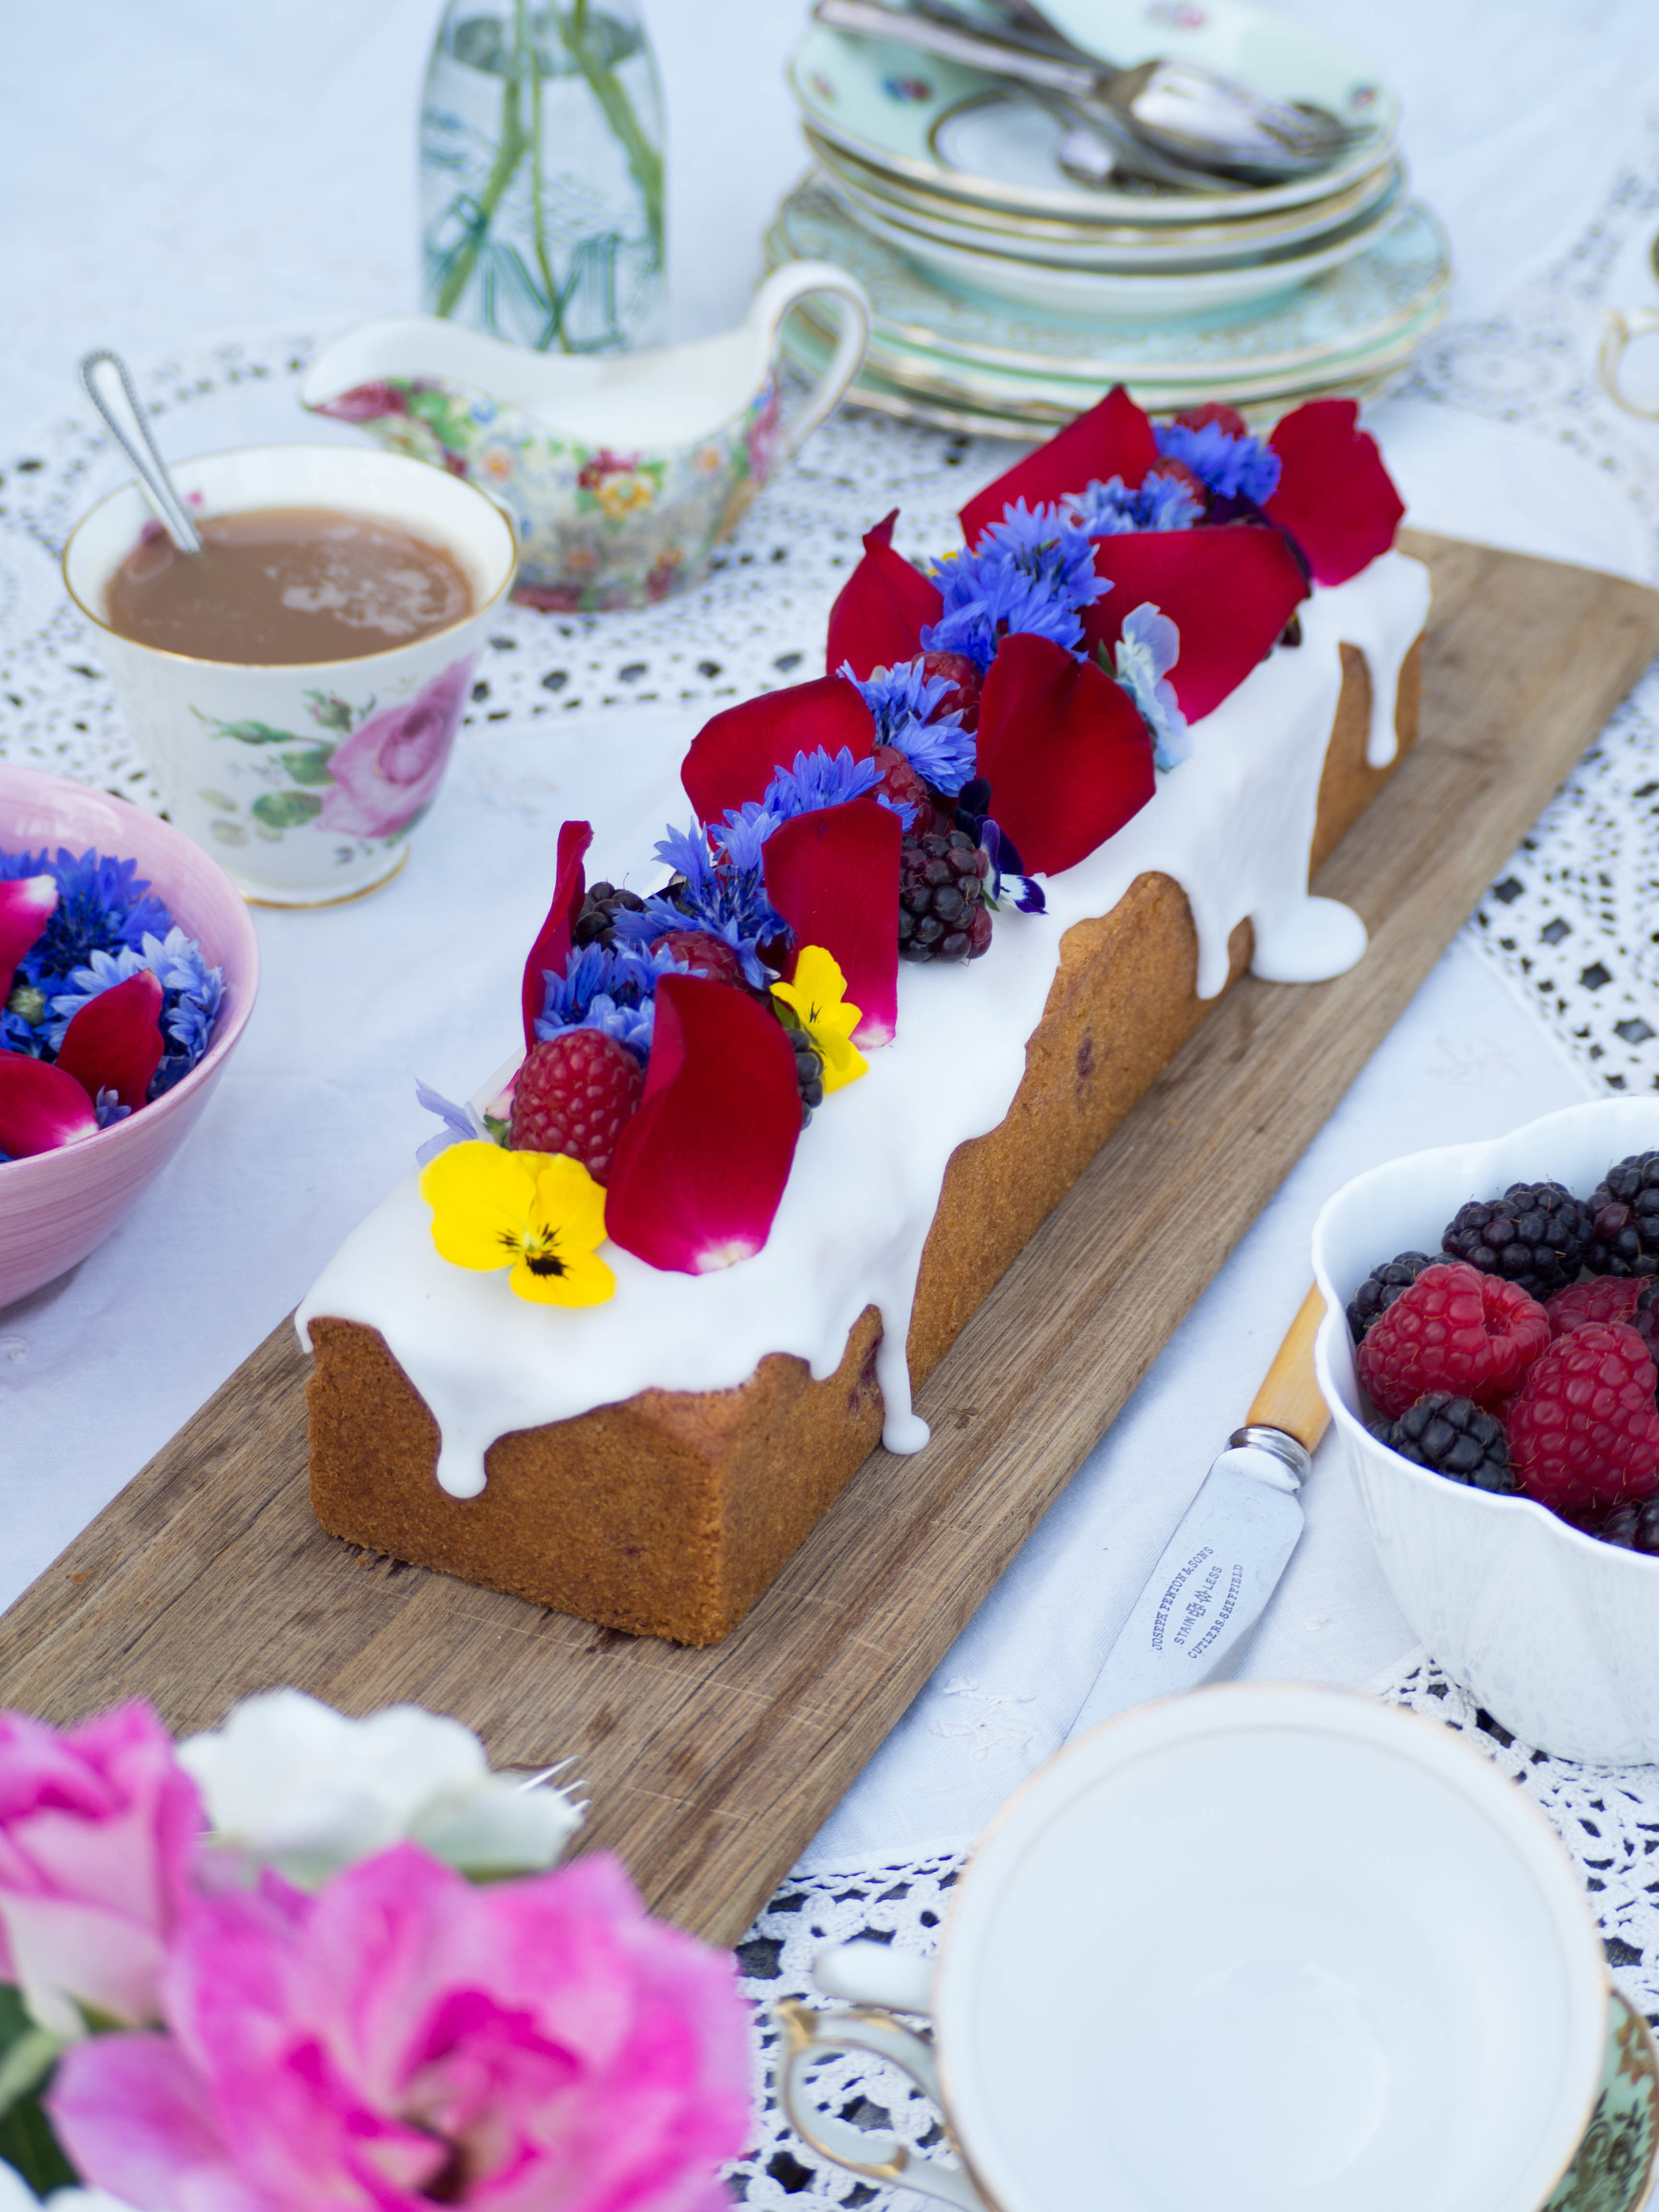
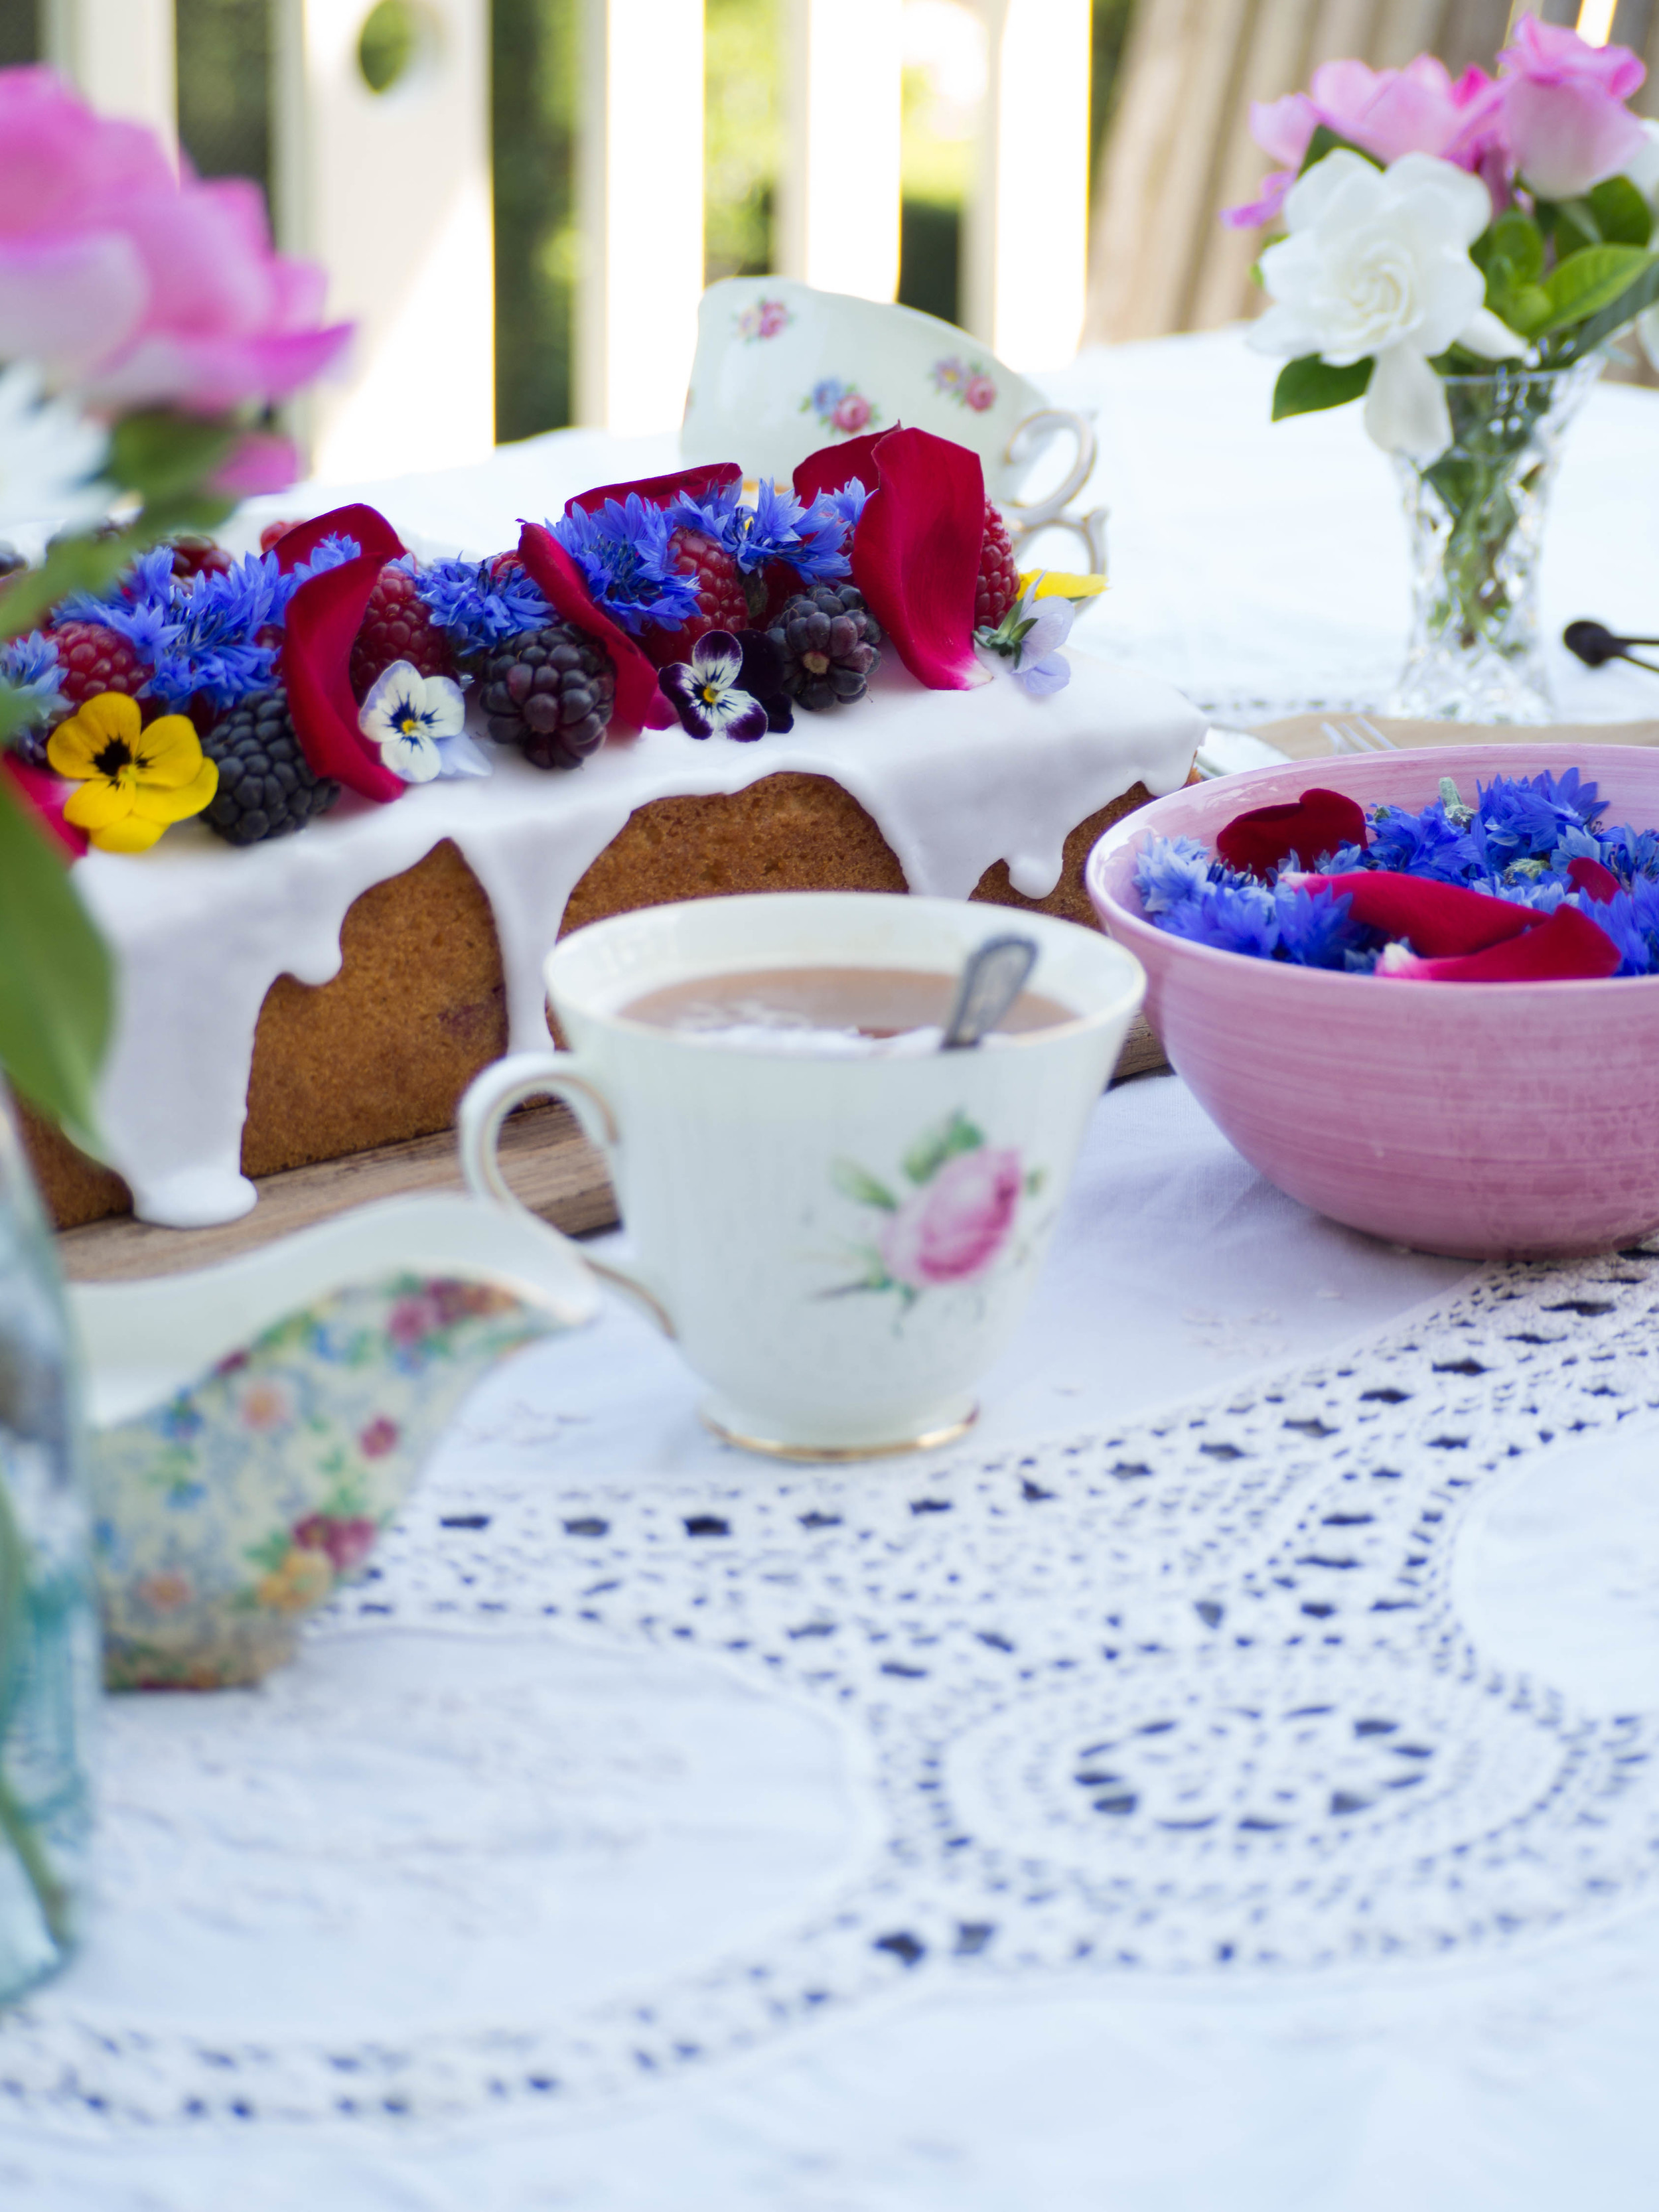
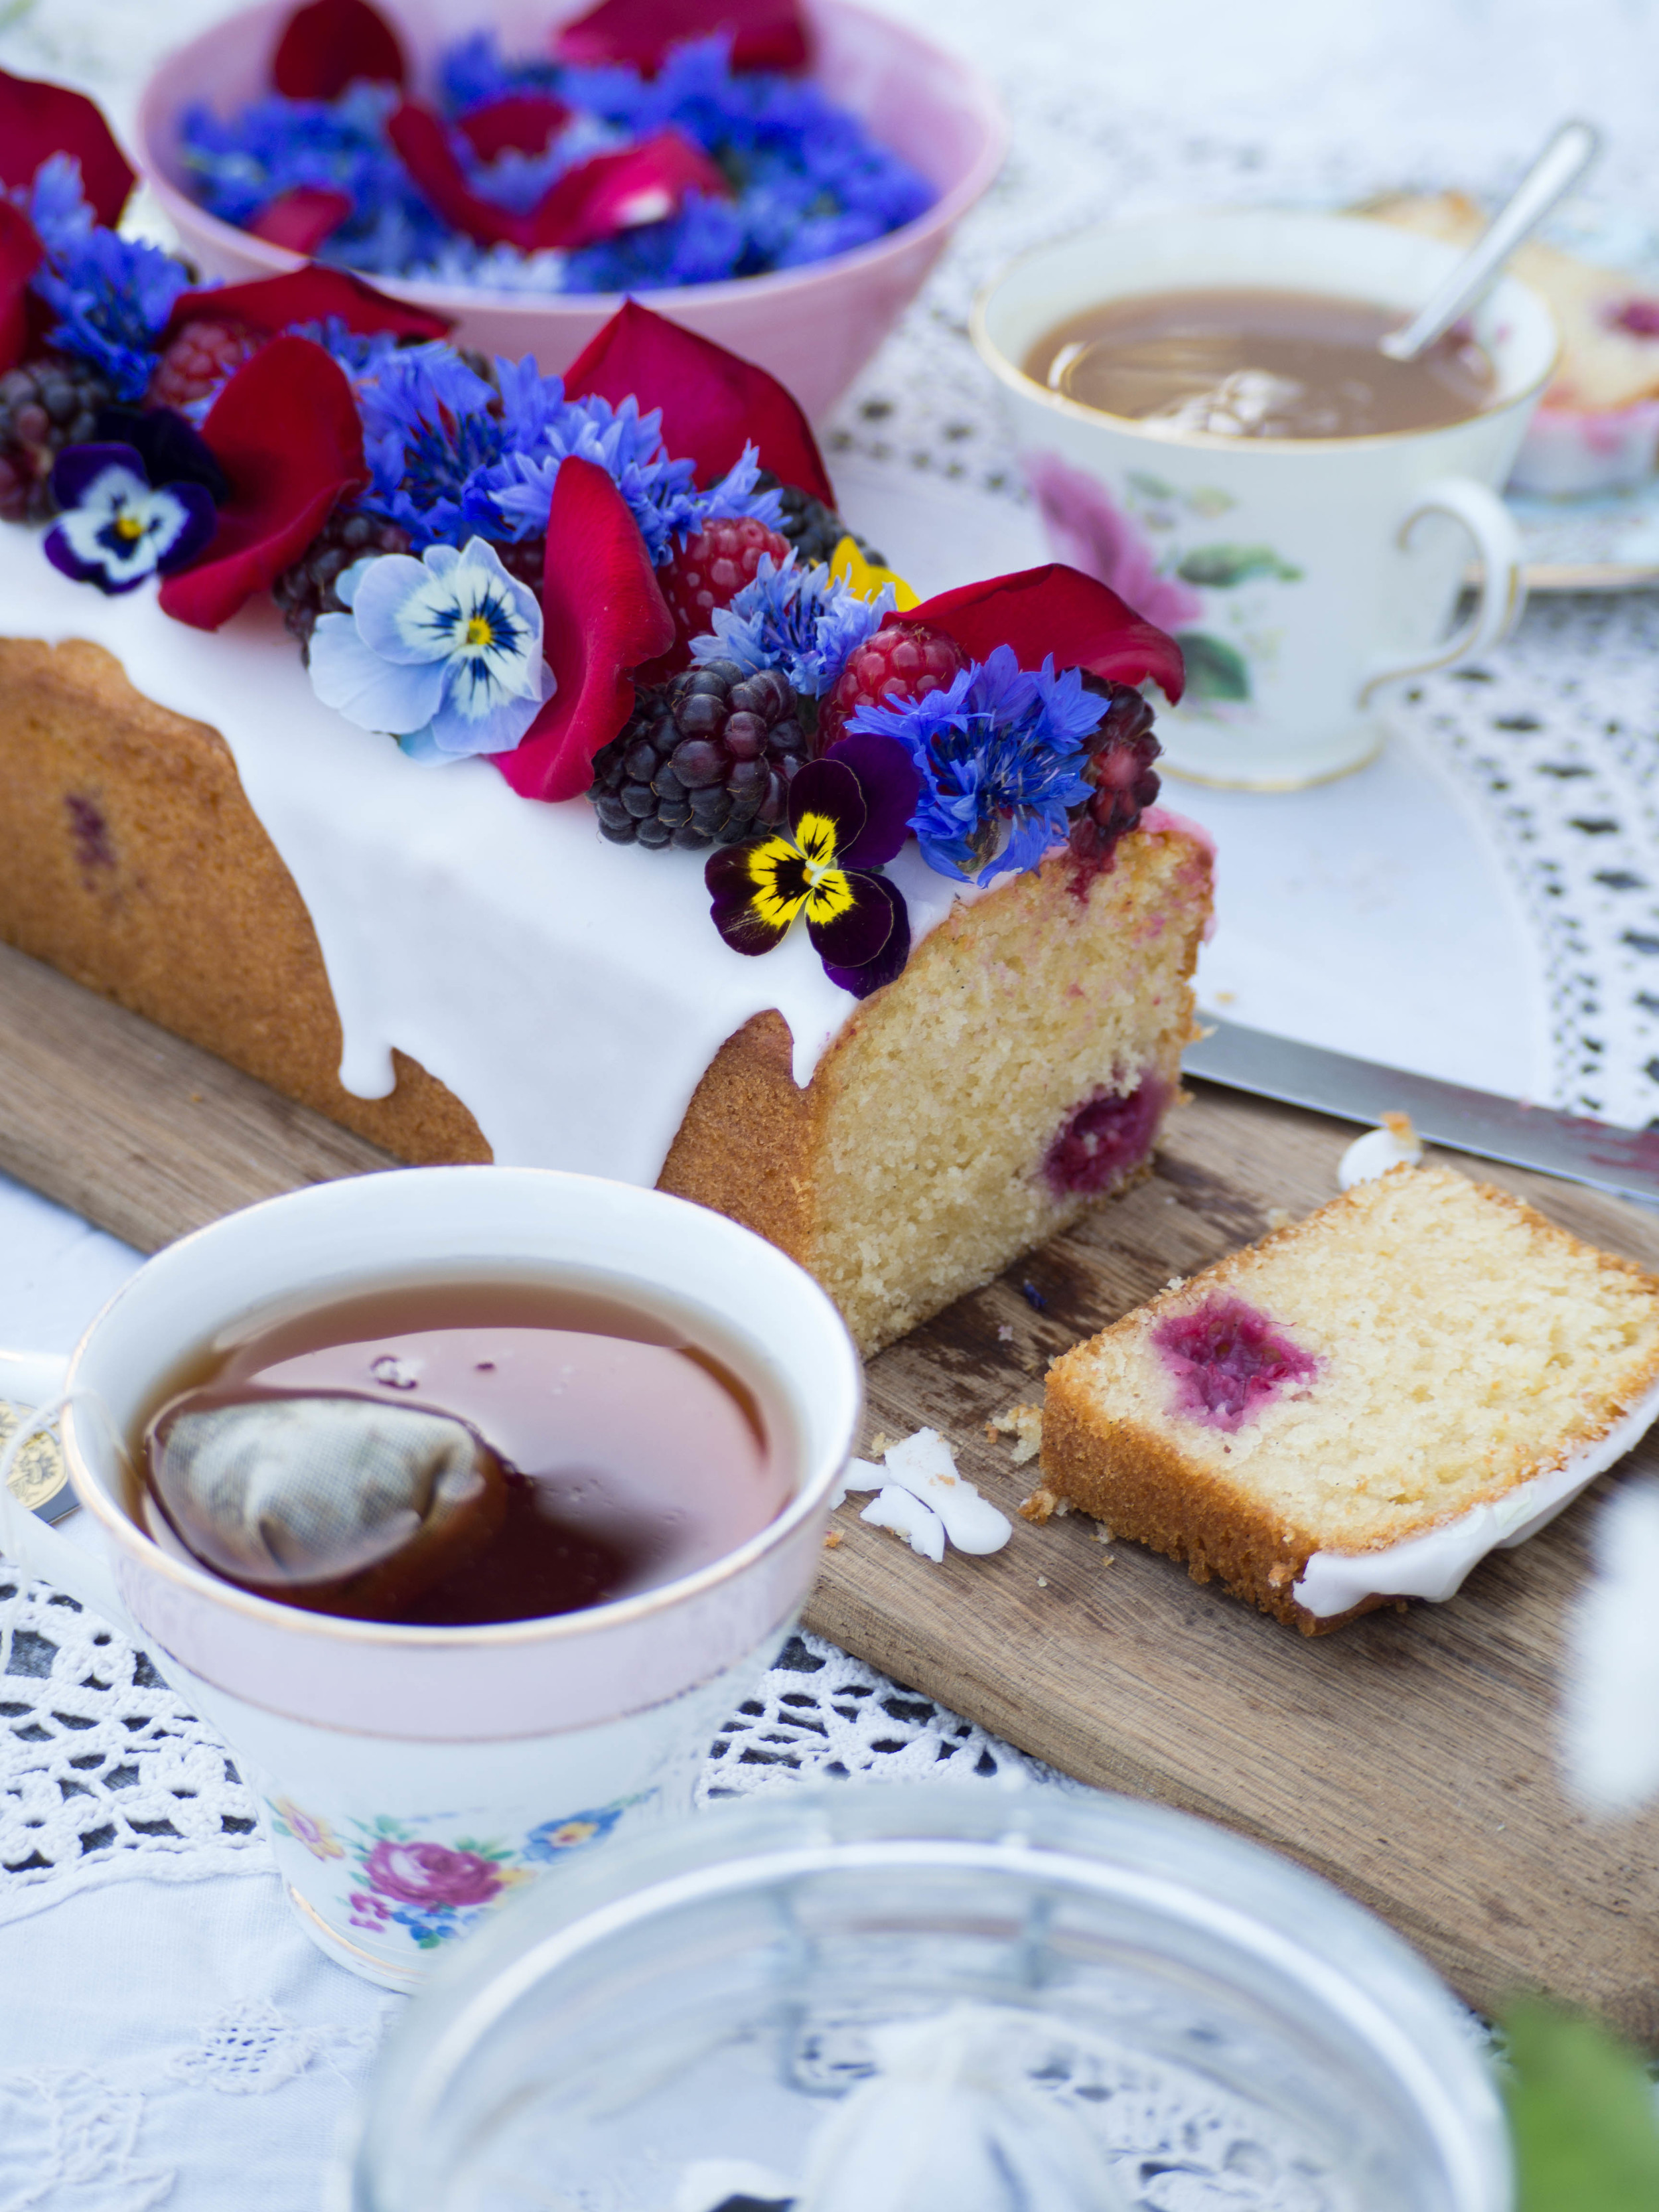
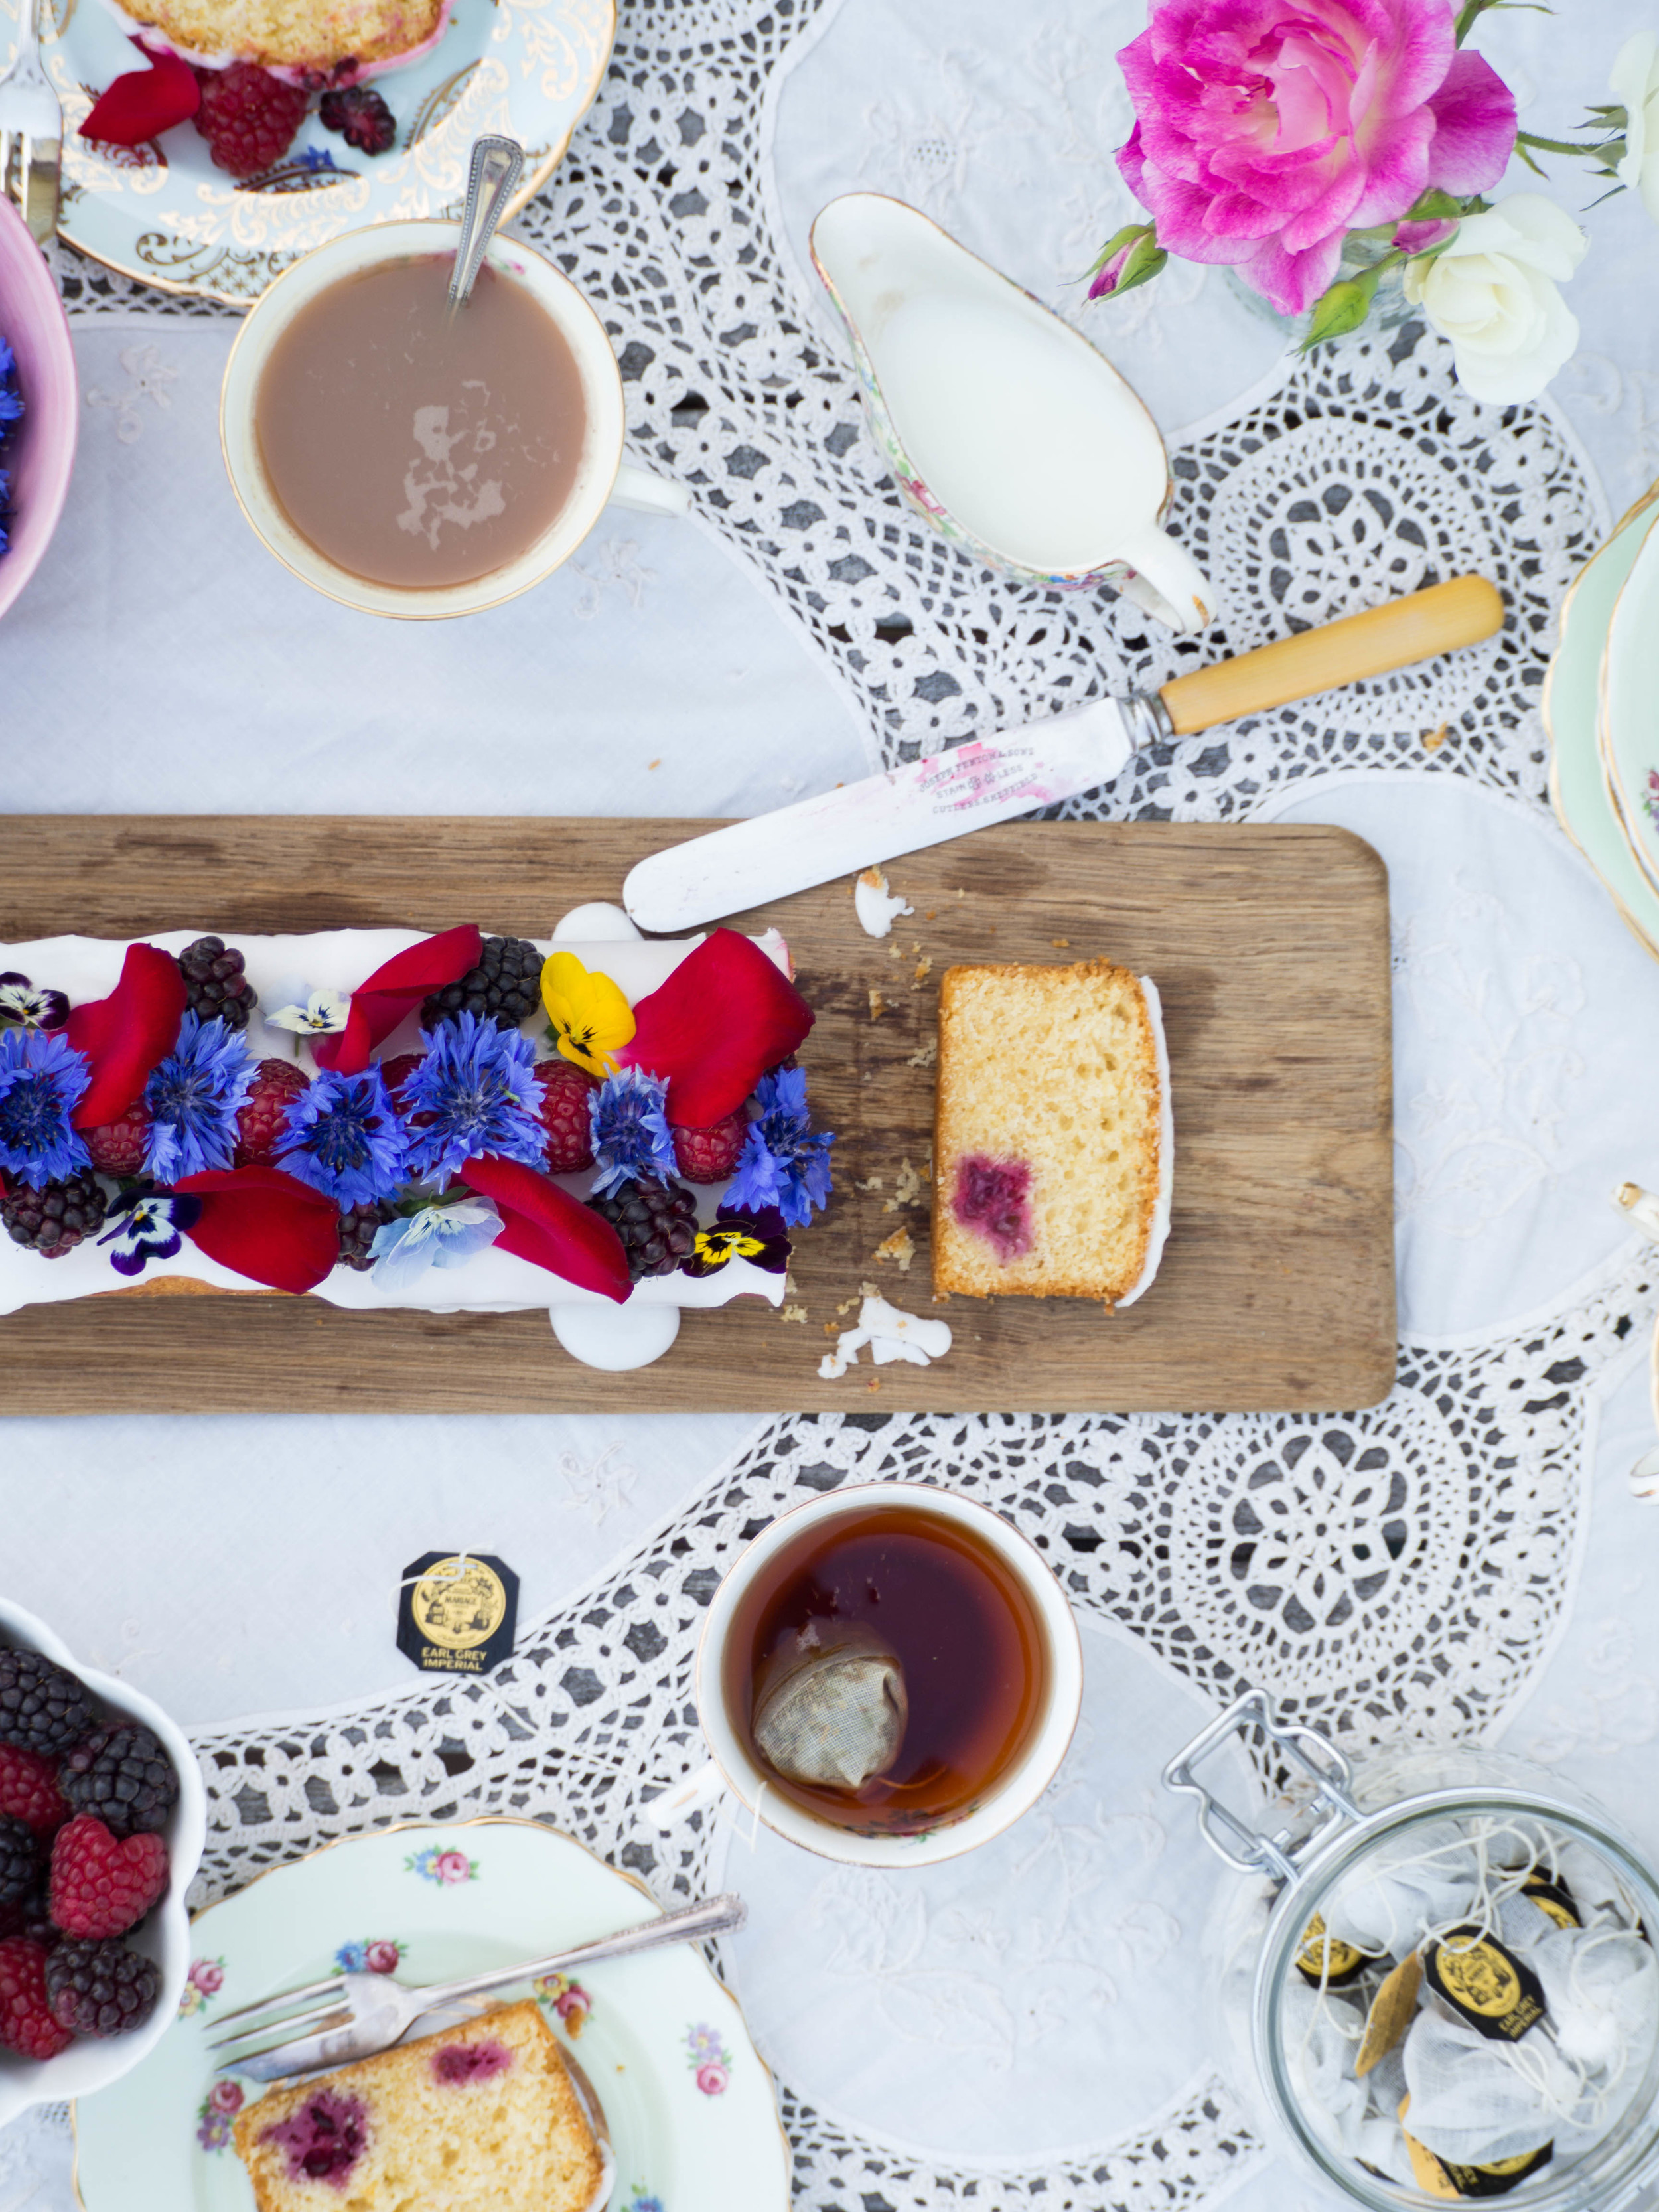
Happy New Year! I hope everyone had a lovely start to the new year. This is my first blog post for 2016, and I am quite excited about 2016 on the blog front. I have lots of new recipes to try and lots of ideas for my own, and I can’t wait to share them with you. The first of which, is this cake. This cake is my idea of using the best summer berries and edible flowers, and creating something very simple yet still spectacular. 

And for this post, I am using this simple yet spectacular cake to celebrate two years since I started this blog. It’s quite surreal to think about how that amount of time has gone by already. I love looking back at the recipes I have done in the past, and seeing how even now, some of them are still the most popular recipes on the blog. I am very much looking forward to working on this blog into the future, and I hope you will all continue to check back here every now and then and see where my kulinary adventures have led. 

The base recipe for this cake, has appeared in various forms on the blog a few times in the past two years. This is probably my favourite to date, although the passionfruit version would have to be a super close second. The idea for this particular cake came from my undying and rather obsessive need to use edible flowers. And once I (finally, oh finally!) found some, in the amazing fruit market near my work nonetheless, this cake was born. As a side note to explain how obsessive I have become on this, ever since I found that this fruit market sells edible flowers, I check back almost every lunch time to see if they have any and whether my obsessive need to use them will be fulfilled yet another time - I may require some kind of intervention at some point, just FYI, I’ll let you know when the situation becomes dire.

Obsessiveness aside, I think this cake would be fantastic for lots of occasions, but kitchen teas, afternoon teas and birthdays spring to mind first. Use whatever edible flowers you can find, otherwise a nice combination of berries will still look lovely. A regular loaf tin will work too, I found this long skinny one at Donna Hay’s pop up shop at Fox Studios in Sydney. 

Simple Summer Celebration Cake

Ingredients: 

125g margarine, or unsalted butter (softened)

165g caster sugar

1 tsp vanilla bean paste/vanilla extract

2 eggs 

250g self-raising flour

105ml milk (preferably skimmed)

100g raspberries


For the Icing: 

1 1/2 cups icing sugar 

1-2 tbsp rosewater

berries (raspberries, blackberries) and edible flowers (rose petals, violets, cornflowers), to decorate 


Method: 

Pre-heat oven to 160 degrees Celsius, and line a loaf tin with baking paper. 

In the bowl of an electric mixer, beat the margarine, sugar and vanilla until light and fluffy. 

Beat in the eggs one at a time, then add half the flour and half the milk and mix. Add the remaining flour and milk and mix on medium speed until well combined. Gently fold in the raspberries. 

Transfer the mixture into the loaf tin, smoothing the top. Bake for 50 minutes, or until the cake springs back when touched lightly and a skewer comes out clean. 

Cool in the tin for a few minutes then transfer to a cooling rack, leaving the baking paper underneath the cake (this will prevent the cake from sticking to the rack, and catch any runaway icing later). 

Once the loaf has cooled completely, sift the icing sugar into a bowl. Add one tablespoon of rosewater, and stir. Continue to add rosewater (or water for a more subtle flavour) and stir well, until the icing is a nice smooth consistency. Drizzle the icing over the cake, allowing it to fall down the sides. Decorate with the berries and edible flowers immediately. Allow the icing to set a little before serving. If there are any leftovers store in the fridge, as the decoration will not store well at room temperature. 

Original cake recipe adapted from The Australian Women’s Weekly Cakes & Slices Cookbook, p.89.

In Cakes & Slices Tags cake, Summer, Berries, Raspberries, Blackberries, Edible Flowers, Rose Petals, Violets, Cornflowers, Celebration cake, blogging
Comment

How to Make Mini Fruit Mince Tarts for Christmas

Kath December 20, 2015

Merry Christmas! I hope everyone is enjoying the final lead up to the big day! 

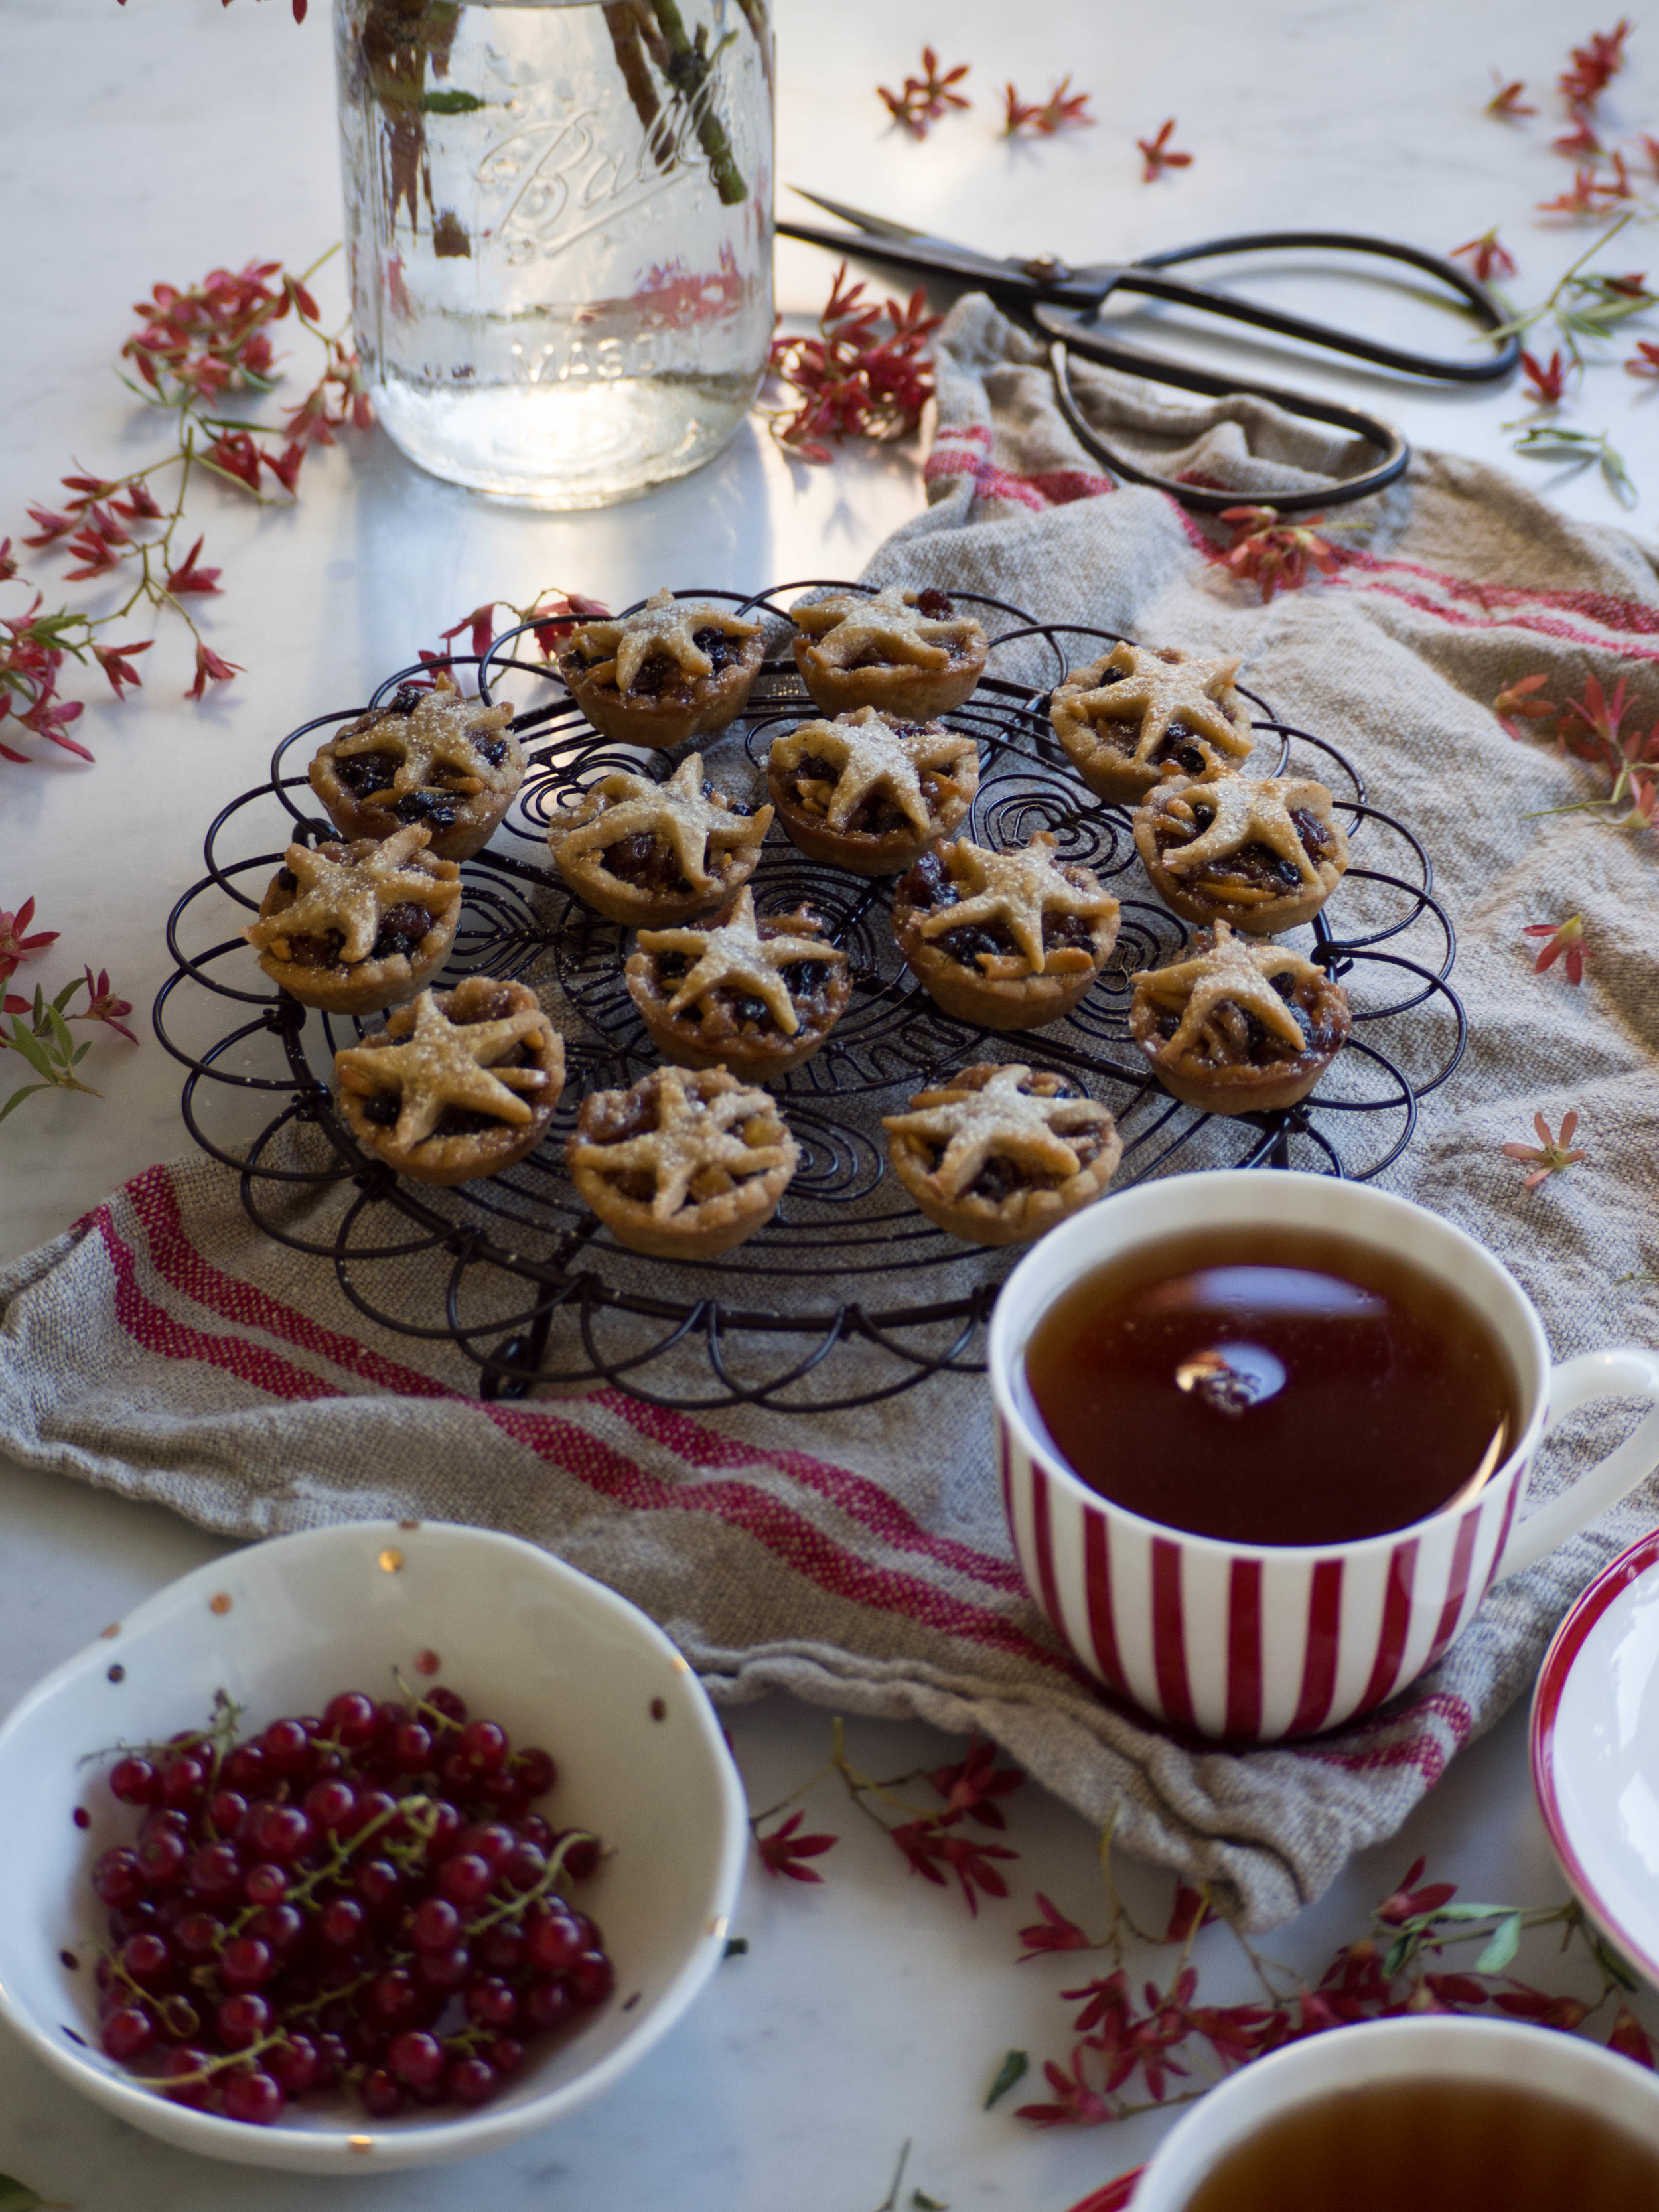
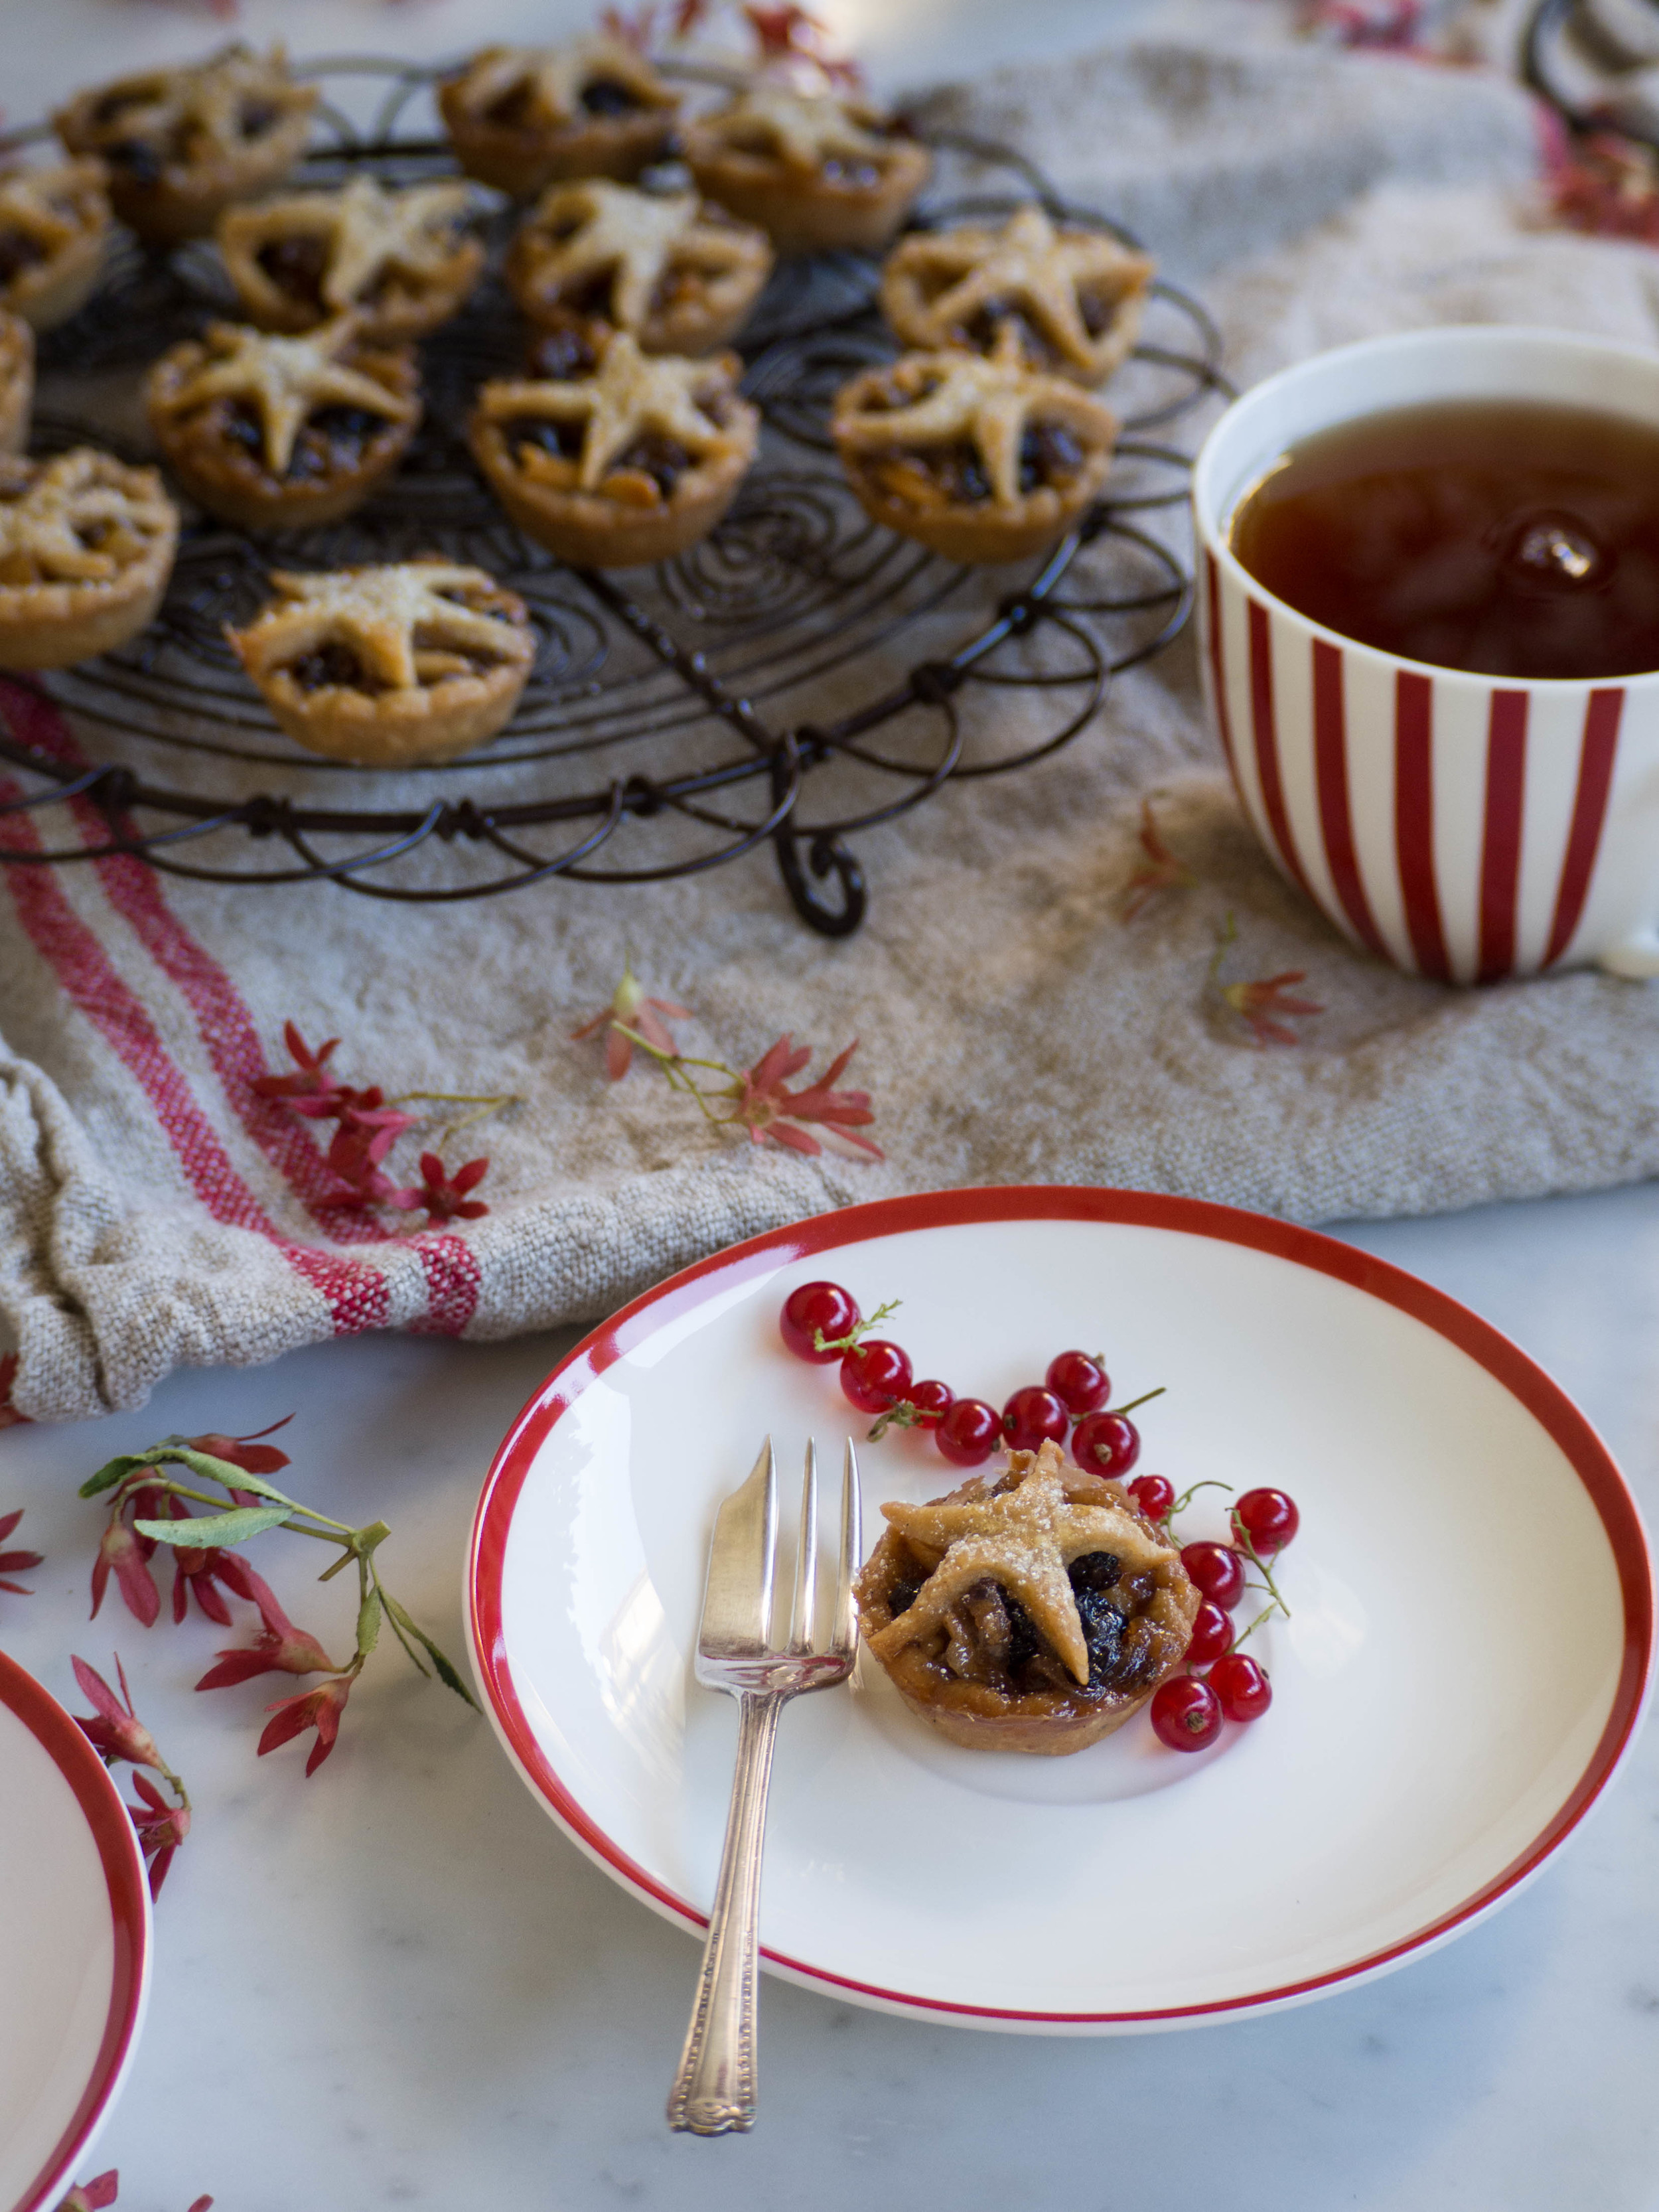
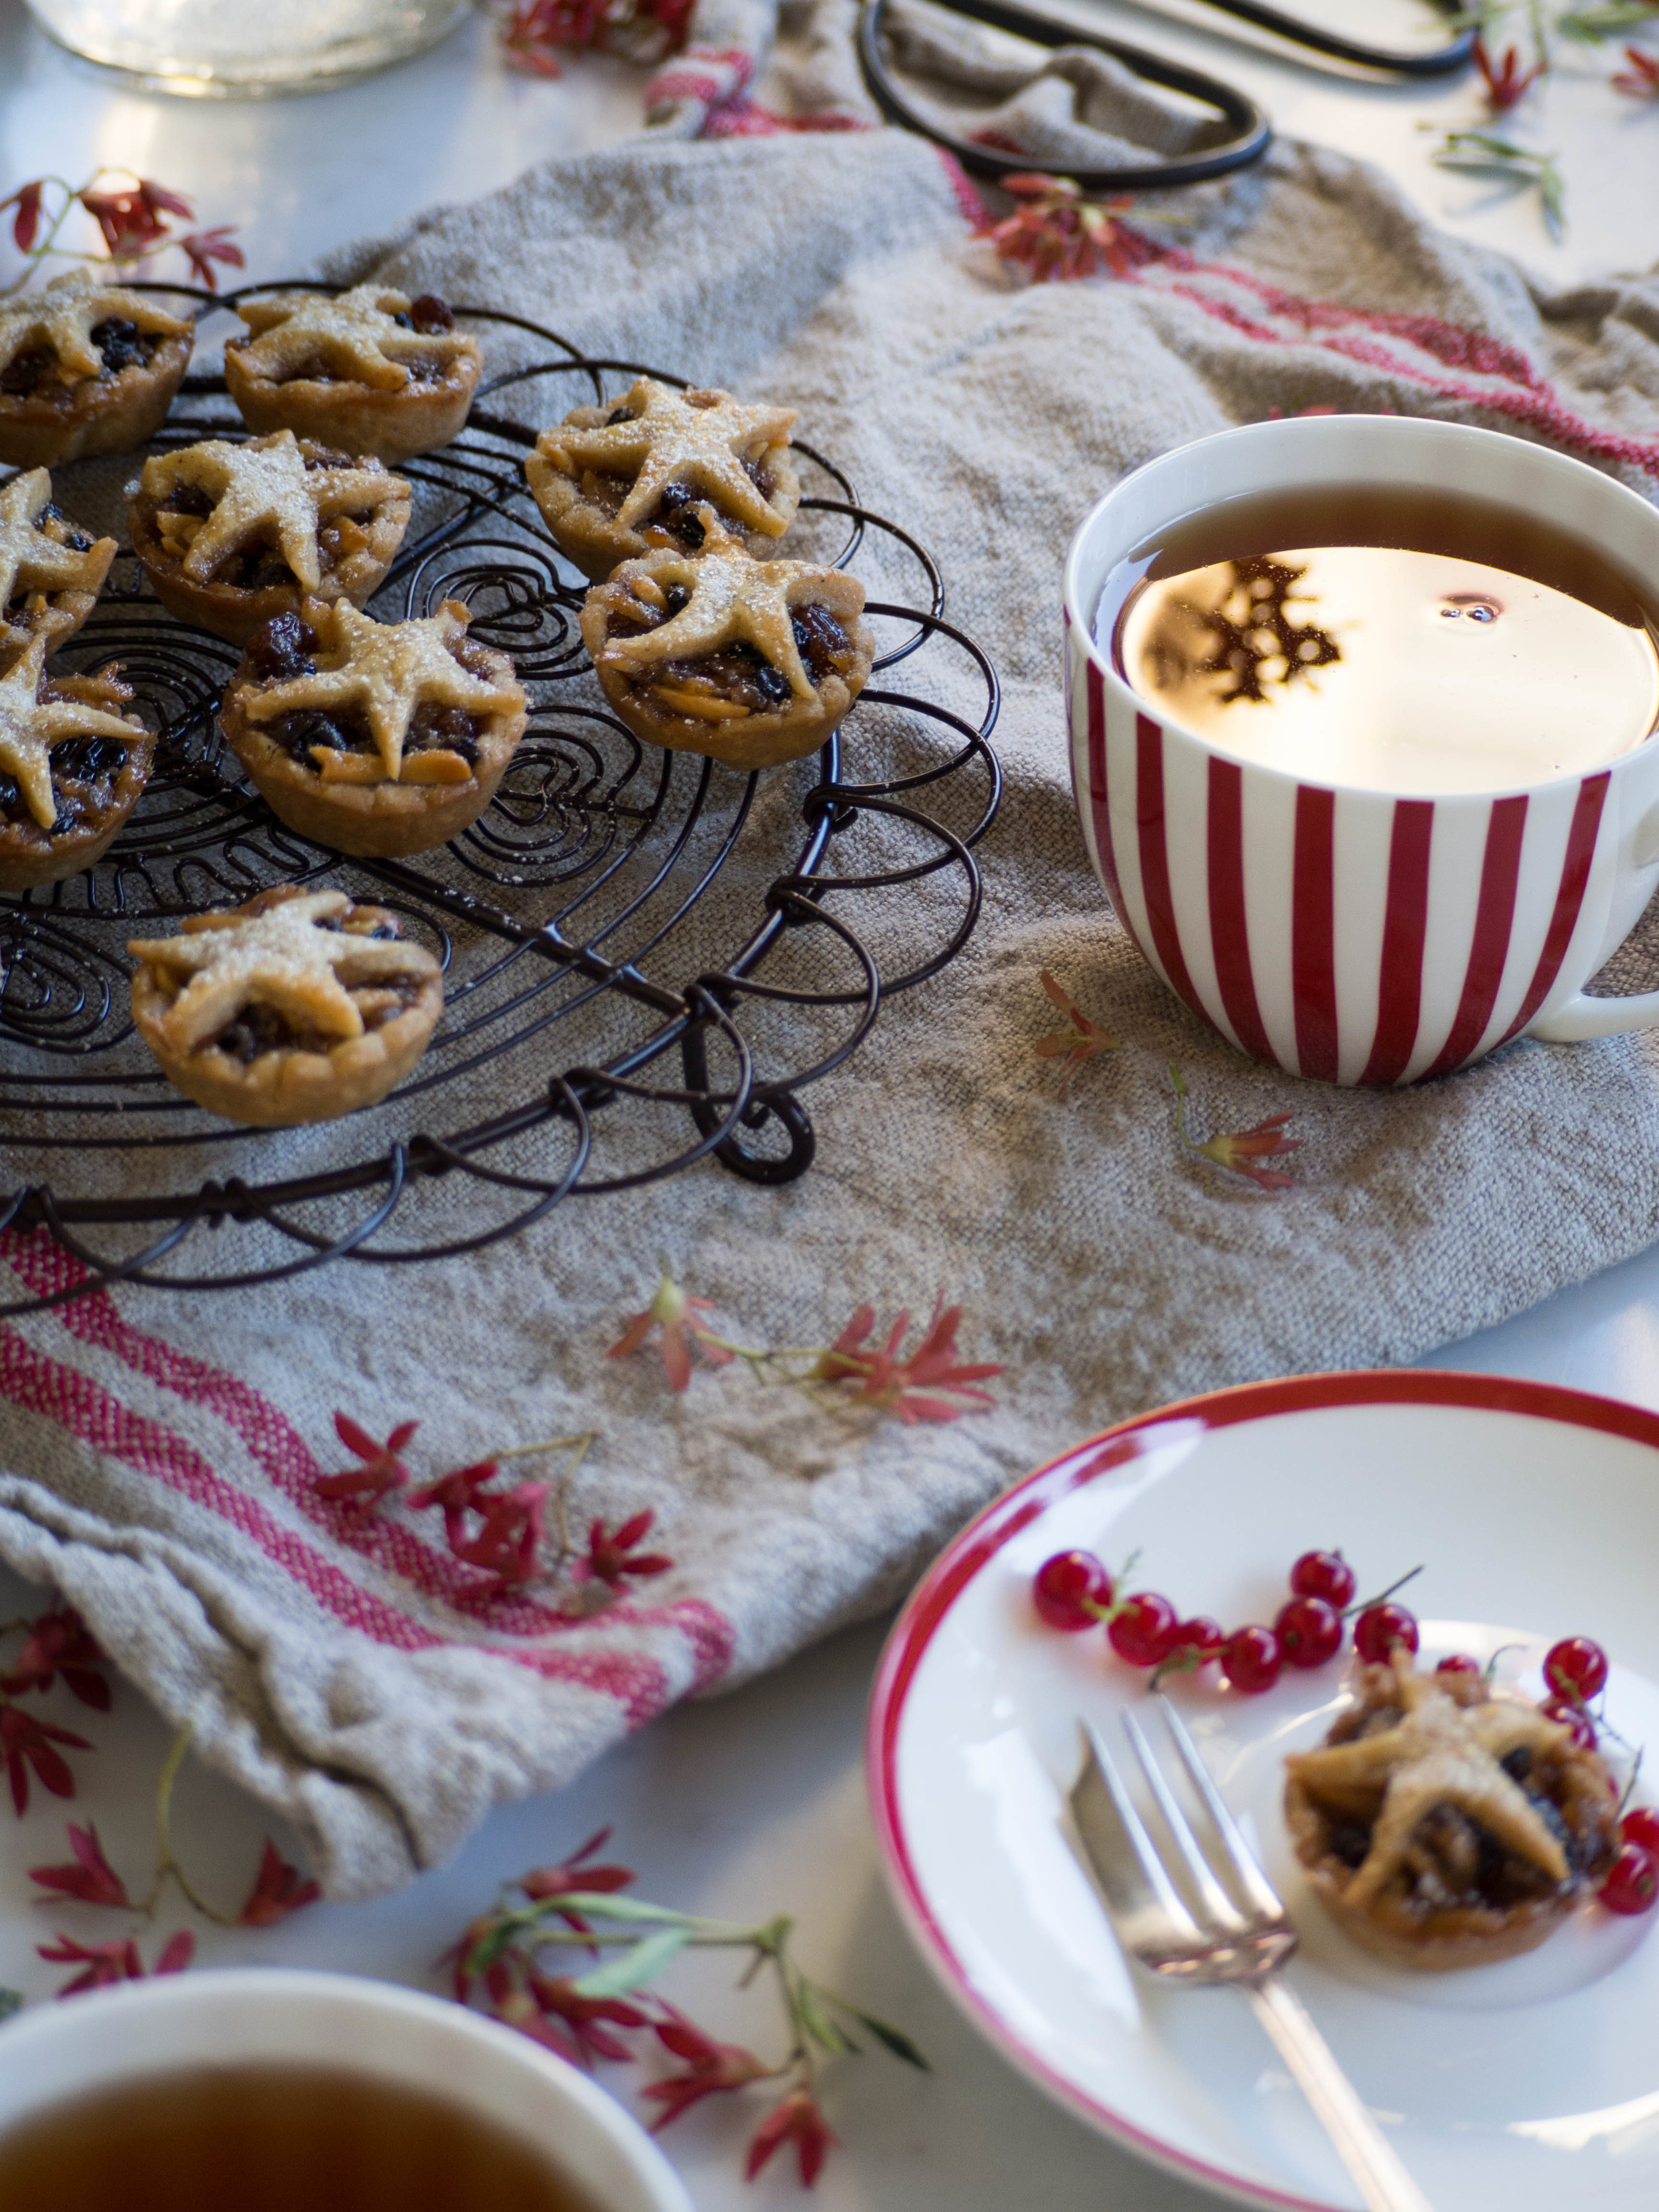
Here is my final festive recipe - star topped mini fruit mince tarts. I first made these two years ago, and was very sceptical as to whether I would like them. I don’t usually like fruit mince pies, or anything else that has dried fruit in it to be honest. So I was extremely surprised when I liked these tarts. 

I made them so small as I think something like this needs to be small and dainty. The flavour is quite rich and I thought a little mouthful was all that was needed. You can make them bigger by using cupcake pans, or fruit mince pie pans if you have one. Use a larger cutter to cut out the pastry (about 7cm), and a larger star cutter for the tops. Making the mini version should get you about 60 tarts - which is good if you are feeding a crowd! Making them a bit larger should get you about 30 tarts. 

The pastry for this recipe has been spiked with some extra festive flavours, but it can be a little harder to work with than normal pastry. I found it to be much softer, and the day I made them was about 35 degrees Celsius, so I had to refrigerate the pastry quite often to keep it from melting! 

I hope everyone has a very happy holiday season, and a great new year! 

Mini Fruit Mince Tarts

Ingredients for the Fruit Mince: 

1 Granny Smith apple, peeled and grated

110g currants

120g sultanas

70g slivered almonds

85g mixed peel

80ml maple syrup

90g brown sugar

60g unsalted butter, chopped

80ml butterscotch liqueur/schnapps

1 egg, lightly beaten

white sugar, for sprinkling

icing sugar, for dusting

Extra butter or canola oil spray, for greasing


Ingredients for the Pastry: 

400g plain flour, plus extra for dusting

300g cold unsalted butter, chopped

90g brown sugar

1/2 tsp ground ginger

1/2 tsp ground cinnamon 

2 eggs

2 tsp vanilla extract 


Method: 

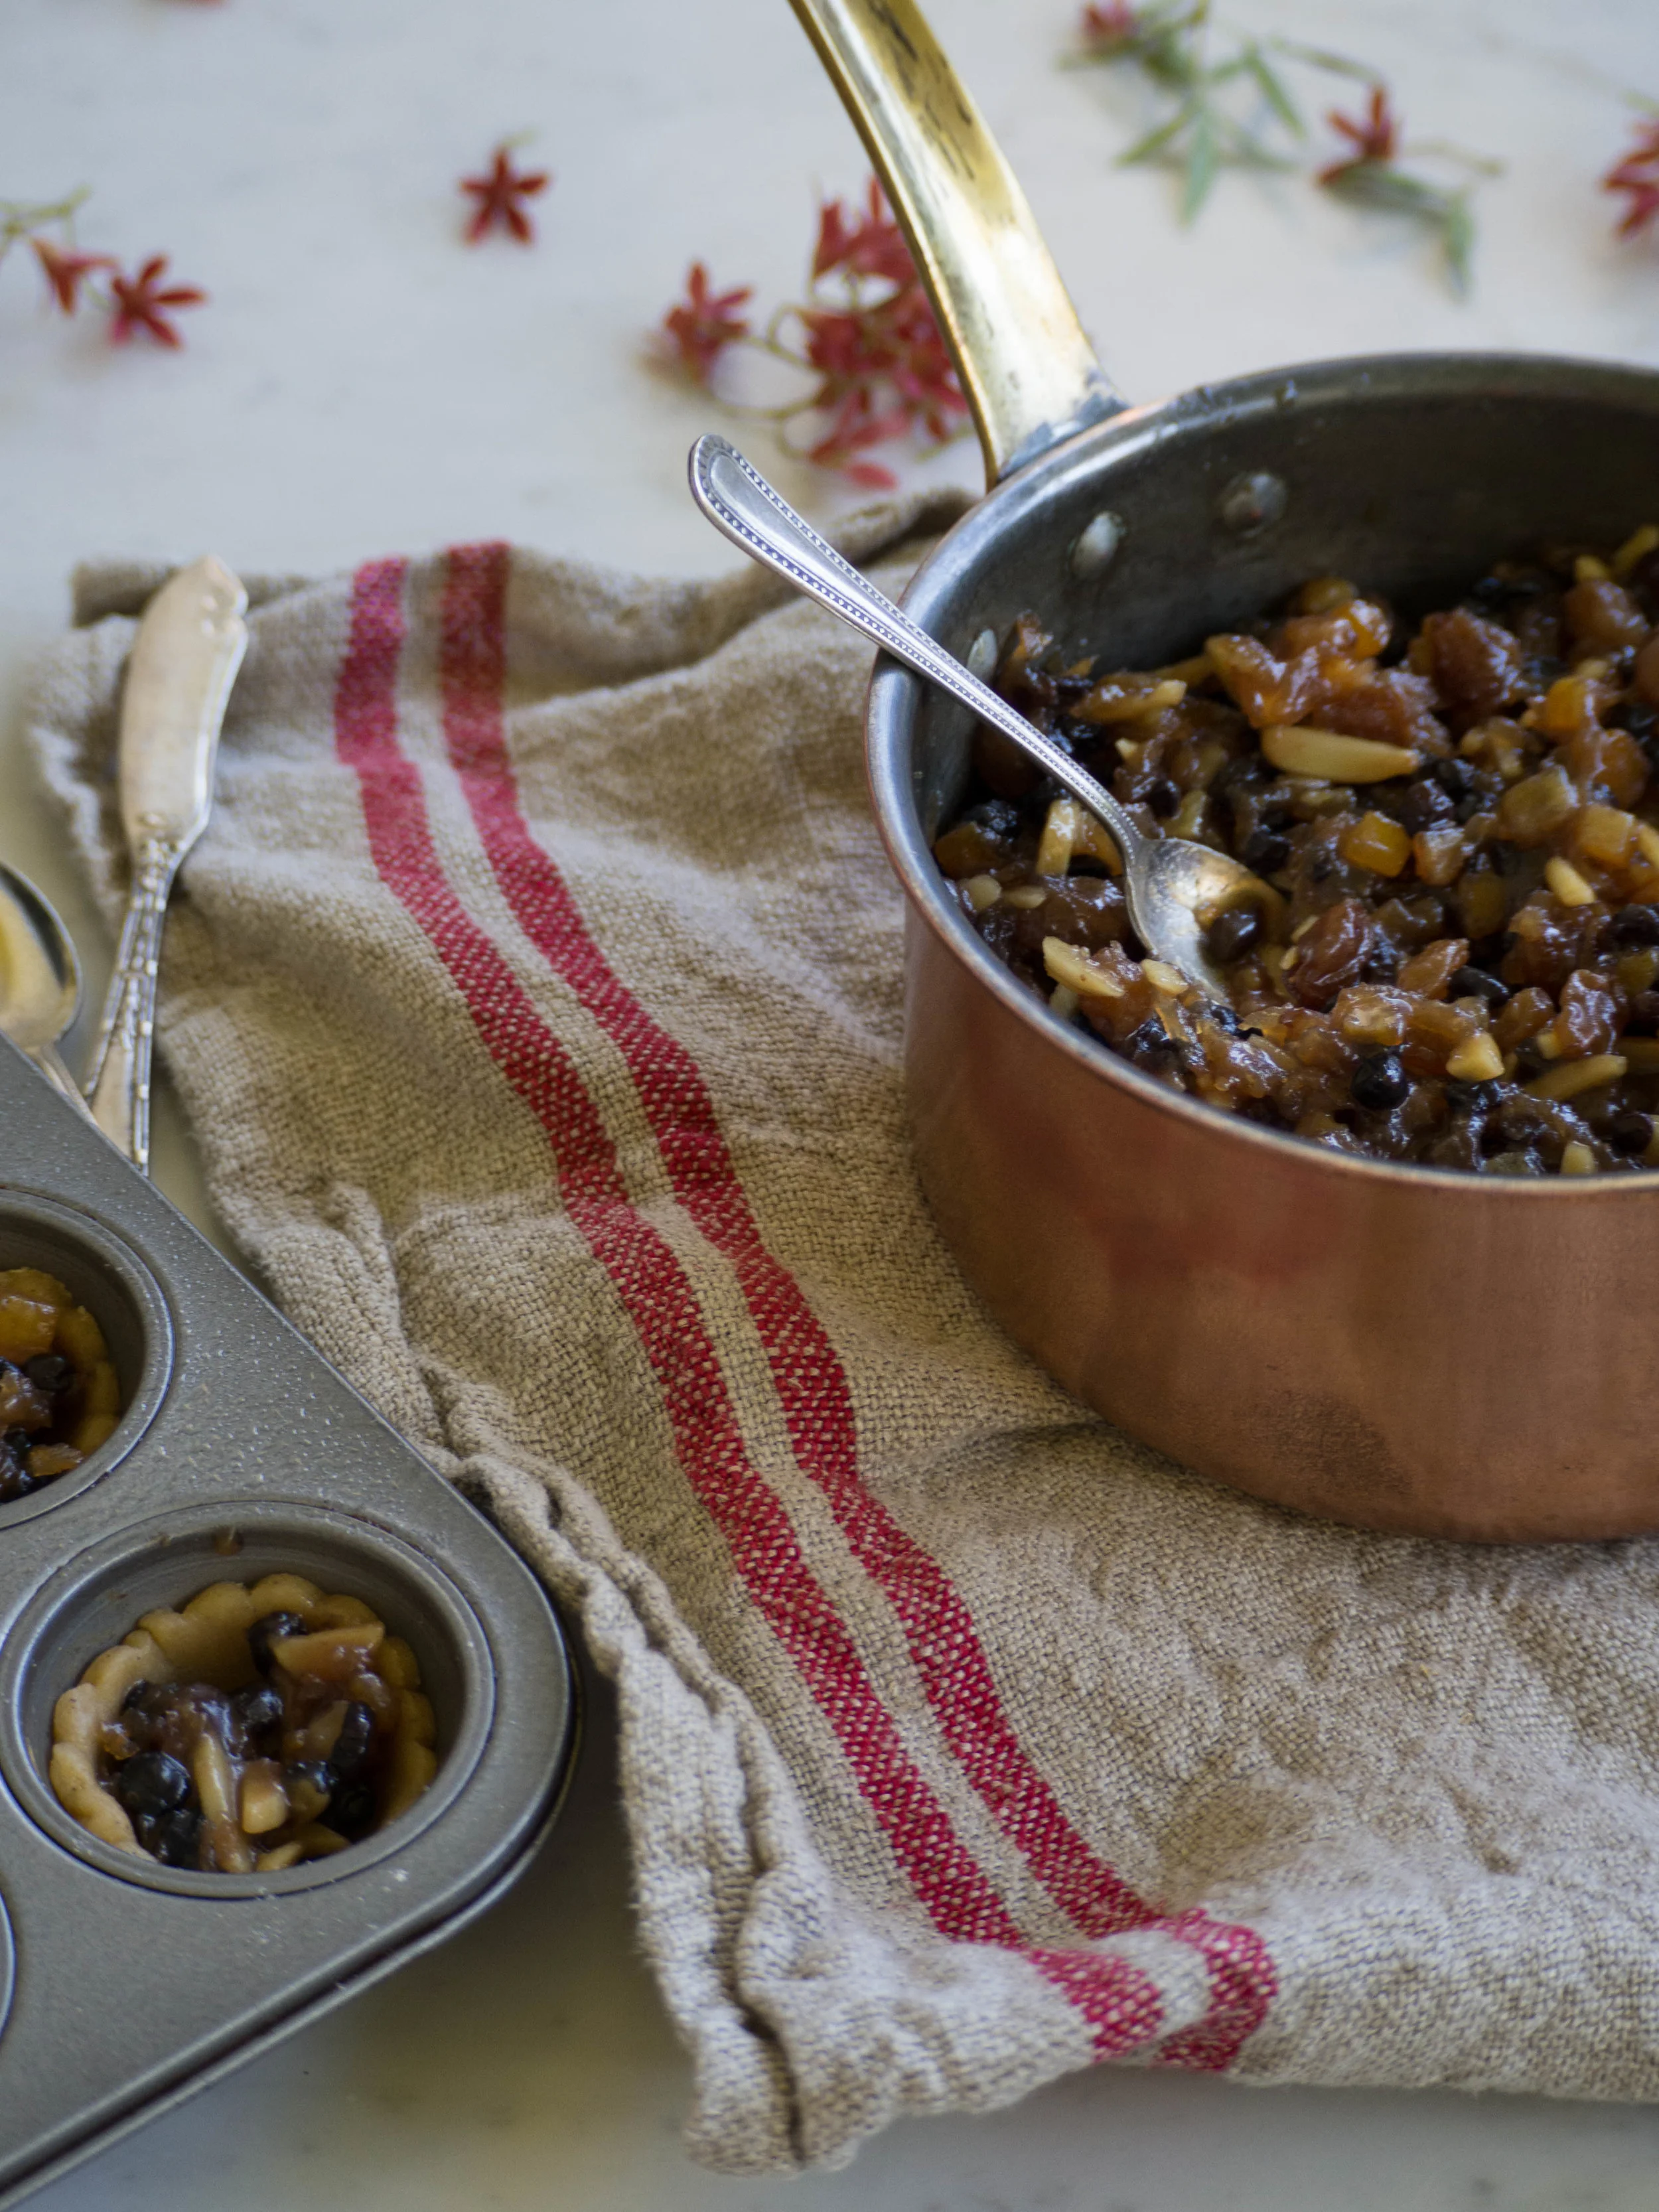
Begin by placing the apple, currants, sultanas, almonds, mixed peel, maple syrup, brown sugar, butter and butterscotch liqueur in a medium saucepan over low heat. Mix to combine and leave on a low/medium heat until all the liquid as been absorbed. Stir occasionally. 

While the fruit is cooking, prepare the pastry. In the bowl of a food processor place the flour, butter, ginger and cinnamon. Process in short bursts until the mixture looks like coarse breadcrumbs. Add the eggs and vanilla and process until the pastry forms a ball. 

Turn out on to a well floured work surface and bring the dough together. Divide the dough in half, and roll each to about 5mm thick in between sheets baking paper. Refrigerate for at least 30 minutes. 

Once the fruit has absorbed all the liquid, allow the mixture to cool completely before using. 

Pre heat the oven to 160 degrees Celsius, and prepare at least four or five 12 hole mini muffin trays by lightly spraying them with canola oil or greasing with butter.  

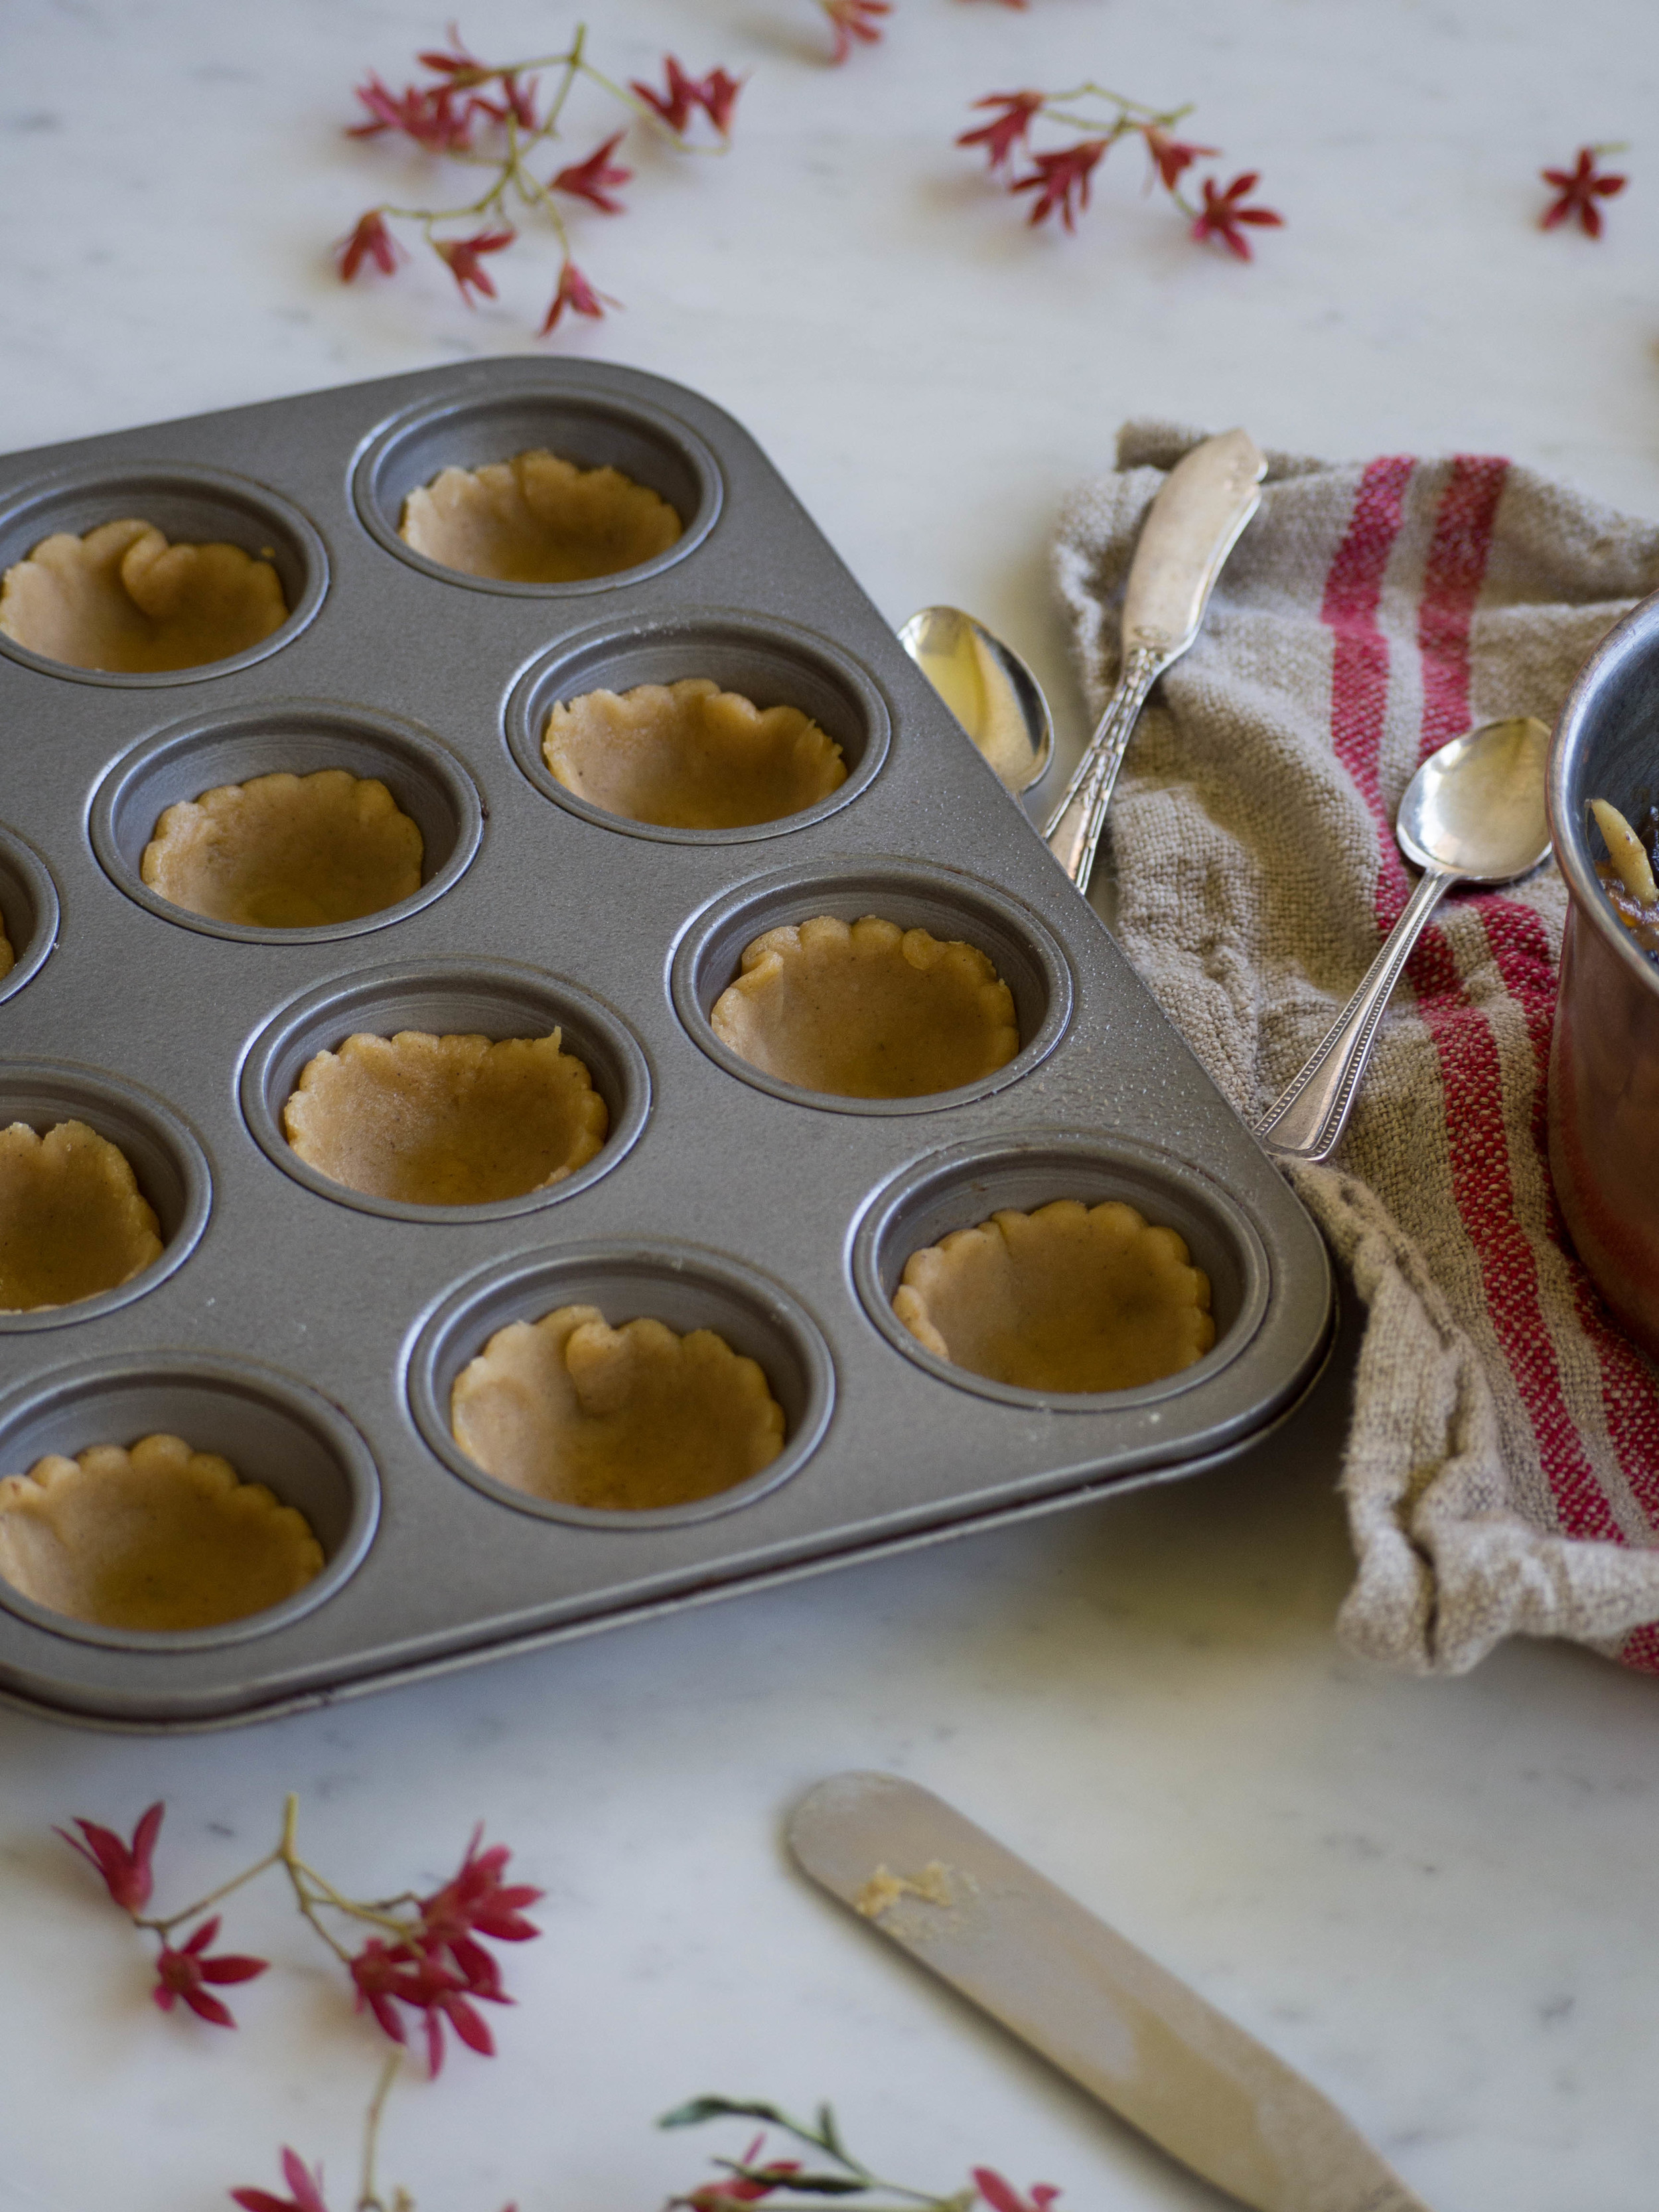
Using a 4.5-5cm fluted biscuit or scone cutter, cut rounds out of the halves of dough (re-roll (and chill if necessary) to use up the scraps). Tease each round out a little with your fingers, gently place into the muffin trays (they should only fill each muffin hole about halfway). Place the trays in the fridge for about 15 minutes to chill (longer if you are working in hot/humid conditions). 

Once the pastry is ready, fill each case with a teaspoon of the fruit mince. Then using a (very) small star cutter, cut stars out of the remainder of the pastry (re-roll (and chill if necessary) to use up the scraps), and gently place on top of each tart. 

Brush each tart with egg wash, and sprinkle with white sugar. Cook for 15-20 minutes, or until the tarts are lightly golden in colour. 

Once cooked, allow to cool for 5 minutes in their tins before removing the tarts to cooling racks. Sprinkle with icing sugar to serve. 

Reference: Donna Hay Magazine Issue 74 December 2013/January 2014, p.135.

In Holidays, Tarts & Pastry Tags Fruit Mince Tarts, Fruit Mince, Fruit Mince Pies, Christmas, Donna Hay
Comment

Festive Gingerbread Cake

Kath December 16, 2015

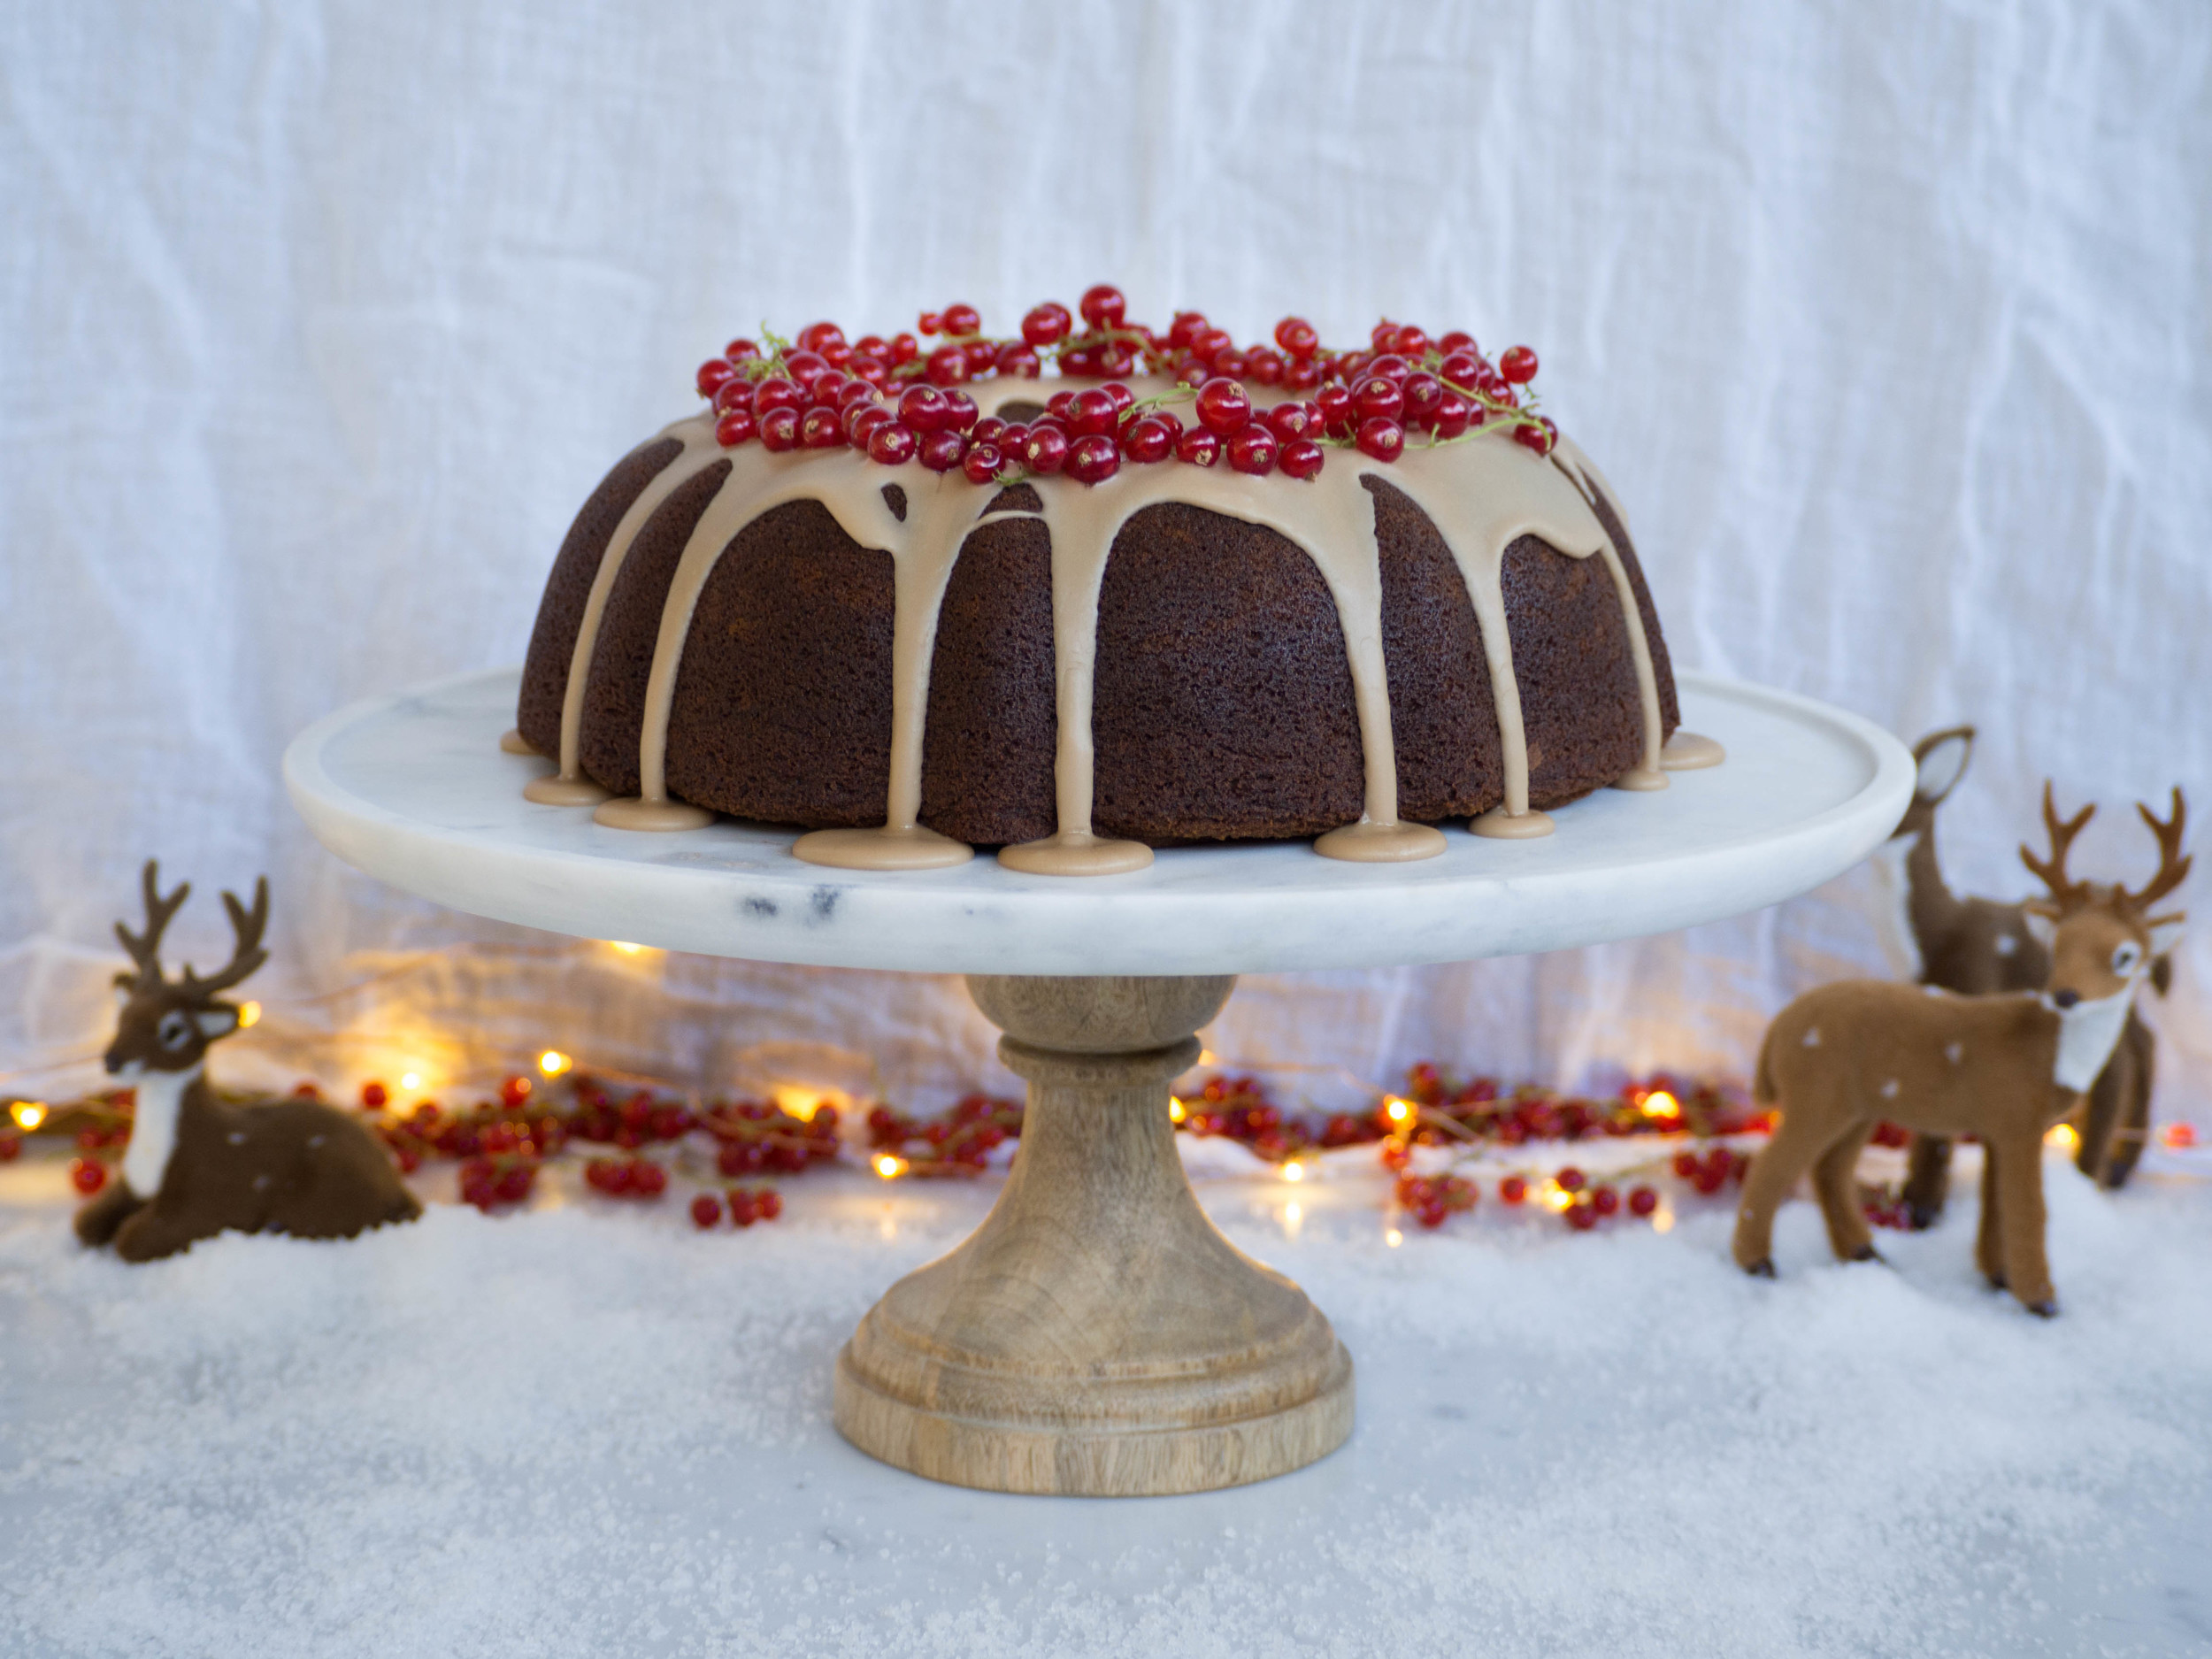
This cake is guaranteed to bring lots of Christmas cheer to your Christmas Day feast, with minimal effort. If you are going all out with your main course for lunch or dinner on the big day, an easy and festive cake like this one could be just what you need to make the Christmas preparation a little easier. 

I have been using this recipe for a few years now, after a good friend of mine showed me the original recipe about three years ago. The original recipe is for gingerbread cupcakes with a maple cream cheese icing. I go back to it again and again, as it is easy and just a little different from other cupcakes I tend to make. And at this time of year, it makes a great festive addition to any occasion.  

This year I decided to adapt the recipe a little, and make it into a larger cake. I love how the cake has turned out, as with the addition of red currants, it looks a little like a Christmas pudding and very festive! I know red currants can be hard to find (I was just lucky to come across them), so you could substitute them for smaller cherries or cranberries. I also used maple extract in the icing (which I found a few months ago at Salt Meat Cheese), but maple syrup (the pure kind) would work too, you might just have to up the amount of icing sugar you use. 

I hope everyone enjoys the holiday season! Let me know what you bake, I’d love to see photos of what you create to celebrate the holidays! 

And if you are still looking for some Christmas baking inspiration, here are some links to a few older posts, including my Epic Pavlova from last year, that might help you decide what to bake this holiday season!

Epic Christmas Pavlova

Gingerbread Biscuits

White Cherry Frangipane Tart

Festive Gingerbread Cake

Ingredients: 

250g softened unsalted butter

200g brown sugar 

2 eggs

310g molasses 

230ml water

410g plain flour 

1 1/2 tsp ground cinnamon 

1 tsp baking powder

1 tsp bicarb soda

1 tsp ground ginger

1 tsp ground nutmeg

1/2 tsp ground all spice 

canola oil spray, for greasing


Ingredients for Icing: 

160g (approx.) icing sugar

1-2 tsp maple extract

red currants, to decorate 


Method: 

Grease a large bundt tin (around 2 litre capacity, approx. 24-26cm diameter) with the canola oil spray and pre-heat the oven to 180 degrees Celsius.

In a large bowl, cream butter and brown sugar until light and fluffy. Beat in the eggs. Then beat in the water and molasses. 

Sift flour, baking powder, bicarb and the spices and add to the mixture. Beat on a low speed until the flour begins to combine, then beat on a medium speed for 2 minutes or until mixed well. 

Pour the batter into the prepared tin and bake for 20-30 minutes at 180 degrees Celsius, then turn the oven down to 160 degrees Celsius for a further 20-25 minutes (this should prevent the cake forming a ‘peak’ on what will be the base of the cake), or until a skewer inserted in the centre of the cakes comes out clean. Cool for 10 minutes in the tin, before turning onto a cooling rack. 

For the icing, sift the icing sugar into a bowl, then add the maple essence one teaspoon at a time, stirring well. The icing should have a nice smooth consistency. If the mixture needs more liquid add a little water and mix well. Drizzle the icing over the cooled cake, allowing it to fall over the sides. Decorate with red currants. 

Reference: http://www.tasteofhome.com/recipes/gingerbread-cupcakes

In Cakes & Slices, Holidays Tags Gingerbread Cake, cake, Christmas, Red Currants, Gingerbread
2 Comments
  • The Blog
  • Older
  • Newer
No results found

recipes

  • Biscuits/Cookies 40
  • Breads Etc. 9
  • Breakfast 7
  • Cakes & Slices 68
  • Confectionary 5
  • Drinks 6
  • Events 14
  • Food Photography Tips 3
  • From The Mailing List 24
  • Heirloom Recipes 12
  • Holidays 45
  • Ice Cream 9
  • Jams Preserves & Spreads 9
  • Muffins 4
  • Off the Shelf 54
  • Other Desserts 25
  • Savoury Dishes/Meals 15
  • Scones 4
  • Tarts & Pastry 9
  • Travel 13

Sign up to Friday Food Chat with Kath, a weekly newsletter for more food, baking, cookbook chat and more!

Sign Up Here!
instagram-unauth pinterest facebook url

Website Accessibility: To enable text to speech function on the blog, click the sound button to the right of each blog post.

All images & content are the property of Kathryn Vincent, unless stated otherwise. Please do not use without permission.

Kulinary Adventures of Kath

Food Photography, Recipes & Baking

instagram-unauth pinterest facebook url