I seem to have a thing with ginger lately. Maybe it’s just that the warming nature of such spices go so well with Winter, or maybe I’m just a creature of habit. I haven’t always been this on board with ginger, I actually used to hate it. As a child the heat of it was too overpowering for me, and only very mild gingerbread biscuits would do. I remember the one time we all went overseas to the UK as a family, I was about 8 years old, and I become enamoured by Harrods - the lovely building, their constant use of teddy bears, all the food, and the fact they had a shop at the airport. When we were at Heathrow on our way home, I convinced Mum to buy a packet of Harrods Gingerbread as a snack for the plane.
No doubt the packaging grabbed me, I’m sure it was cute enough to grab a child’s attention. Eating them on the plane, my mouth was on fire. They were so gingery, more than my underdeveloped taste buds could handle. I probably annoyed the air hostesses by asking for so many glasses of water, as I continued to eat the spicy gingerbread men despite the heat - probably as Mum had drilled into me how expensive they were (back then the Pound to Australian Dollar conversion was even worse than it is now), and to be honest as a picky eater I probably preferred them to the airplane food.
Many years later, after making many a gingerbread man myself, I suddenly realised any aversion to ginger was long gone. I was walking back to the station from my internship, which conveniently meant walking past Bourke Street Bakery. I didn’t stop in very many times over the course of my internship, but the first time I did I decided to get one of their famous Ginger Brûlée Tarts. As I was close to finishing the tart, I realised I really couldn’t taste any ginger. The tart was nice, but thinking I still wasn’t a big ginger fan, I expected the flavour to hit me in the face. It was then I realised I must like ginger much more than I realised, and just kept thinking I didn’t as I hadn’t when I was younger. In fact, I liked it a lot, along with a few other things I hated as a child.
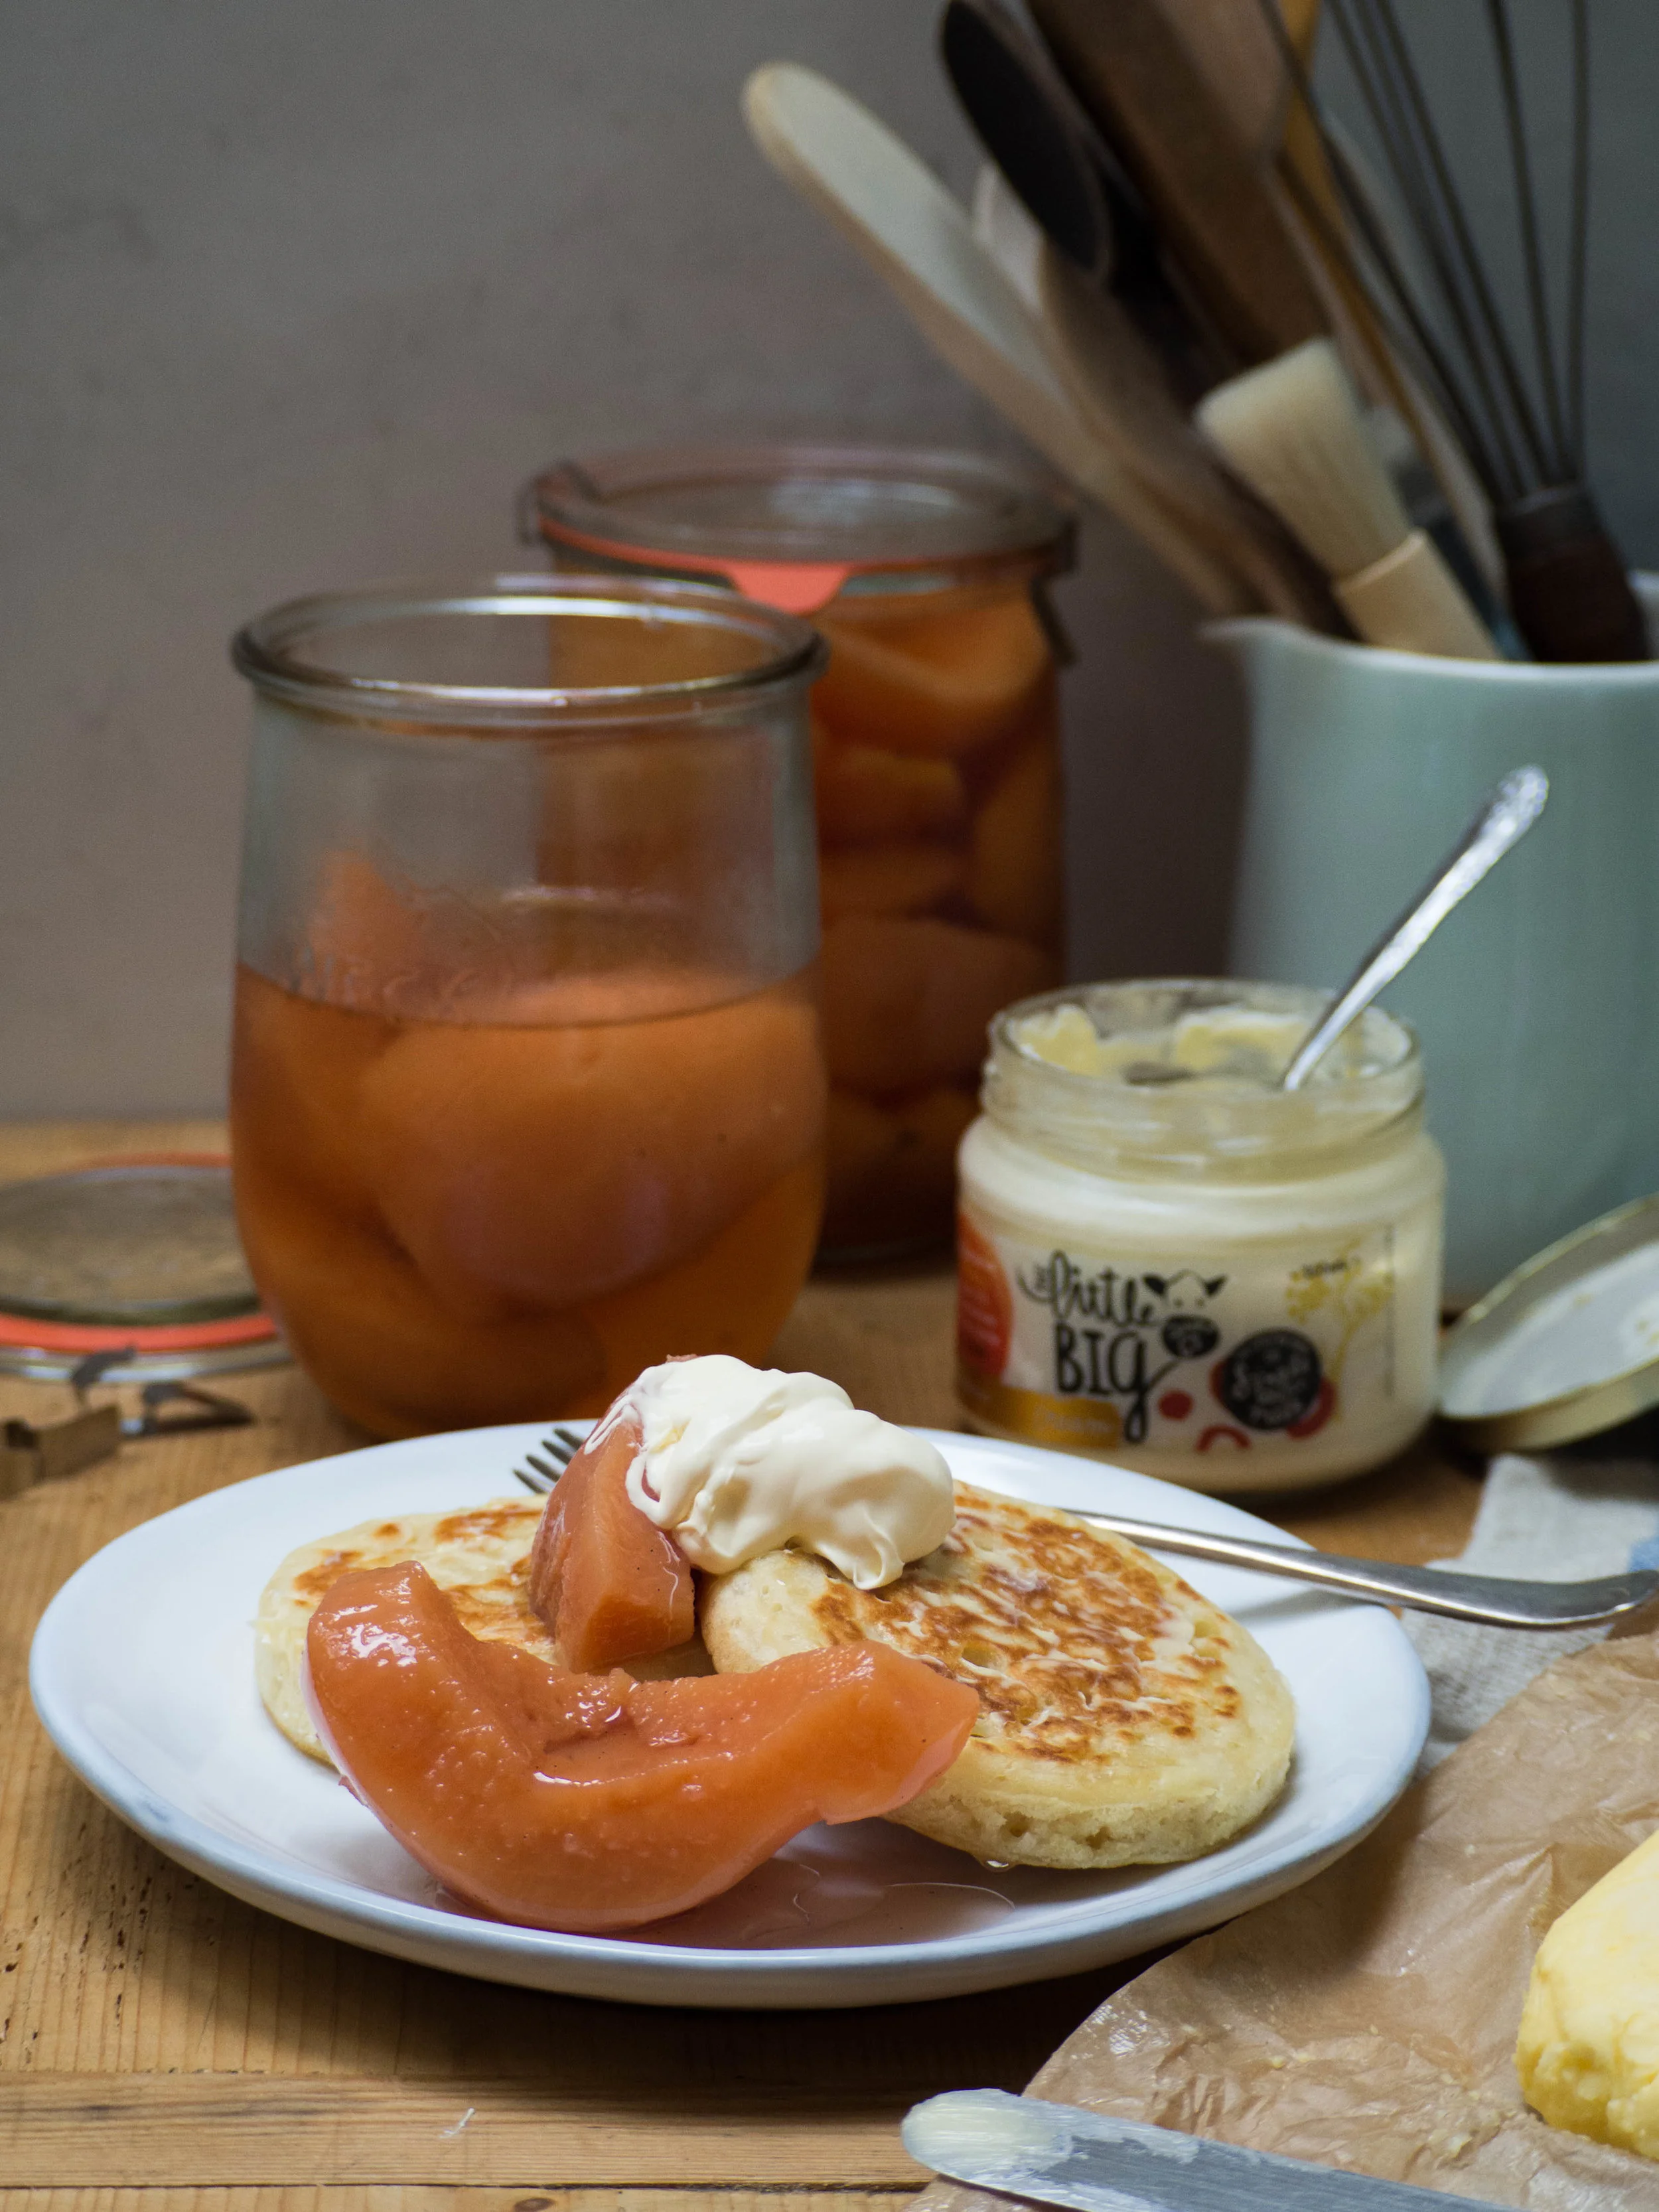
So now I jump at any opportunity to cook with ground ginger in particular, and this cake is no exception. This cake paired with the quince ice cream is a seriously good way of celebrating the colder seasons (even though it seems to be warming up a little now!) and a good way of using up some poached quince if you have any (or have the inclination to make some). I can vouch for the fact that the ice cream is amazing on its own, so I would highly recommend making it even if you don’t need it as an accompaniment to a cake.
What ingredients or foods did you hate as a child but like now? Let me know in the comments!

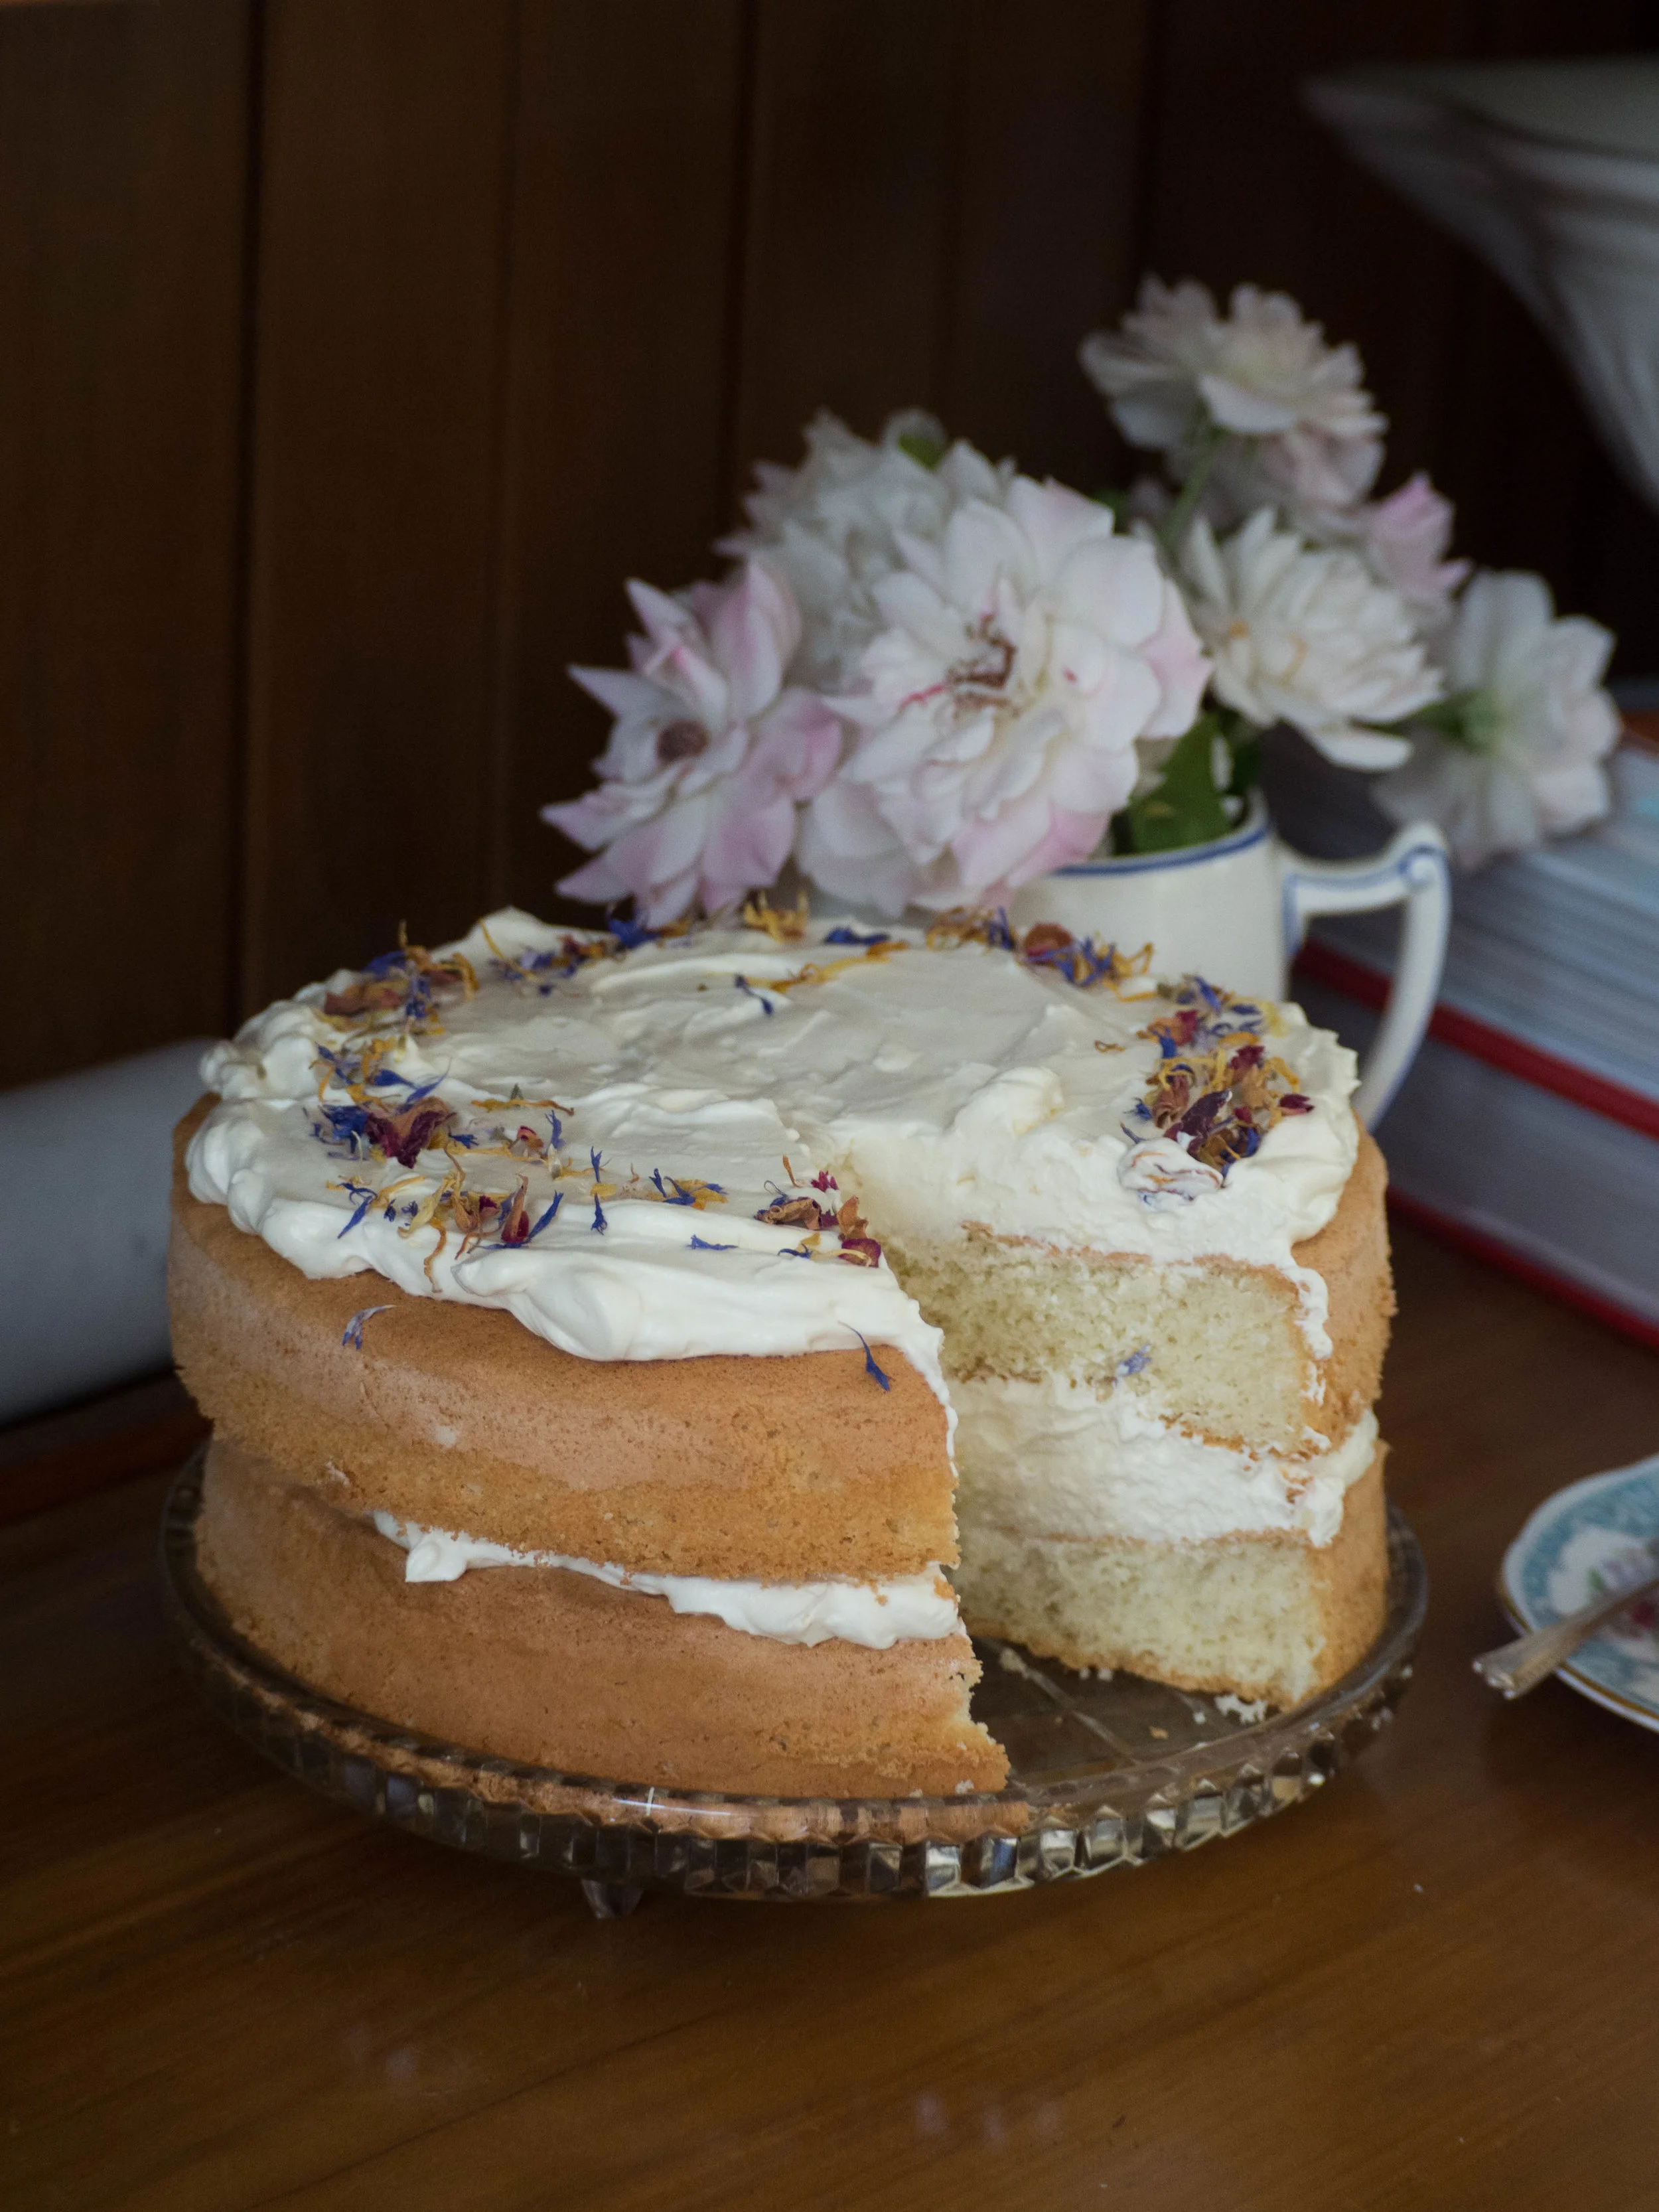
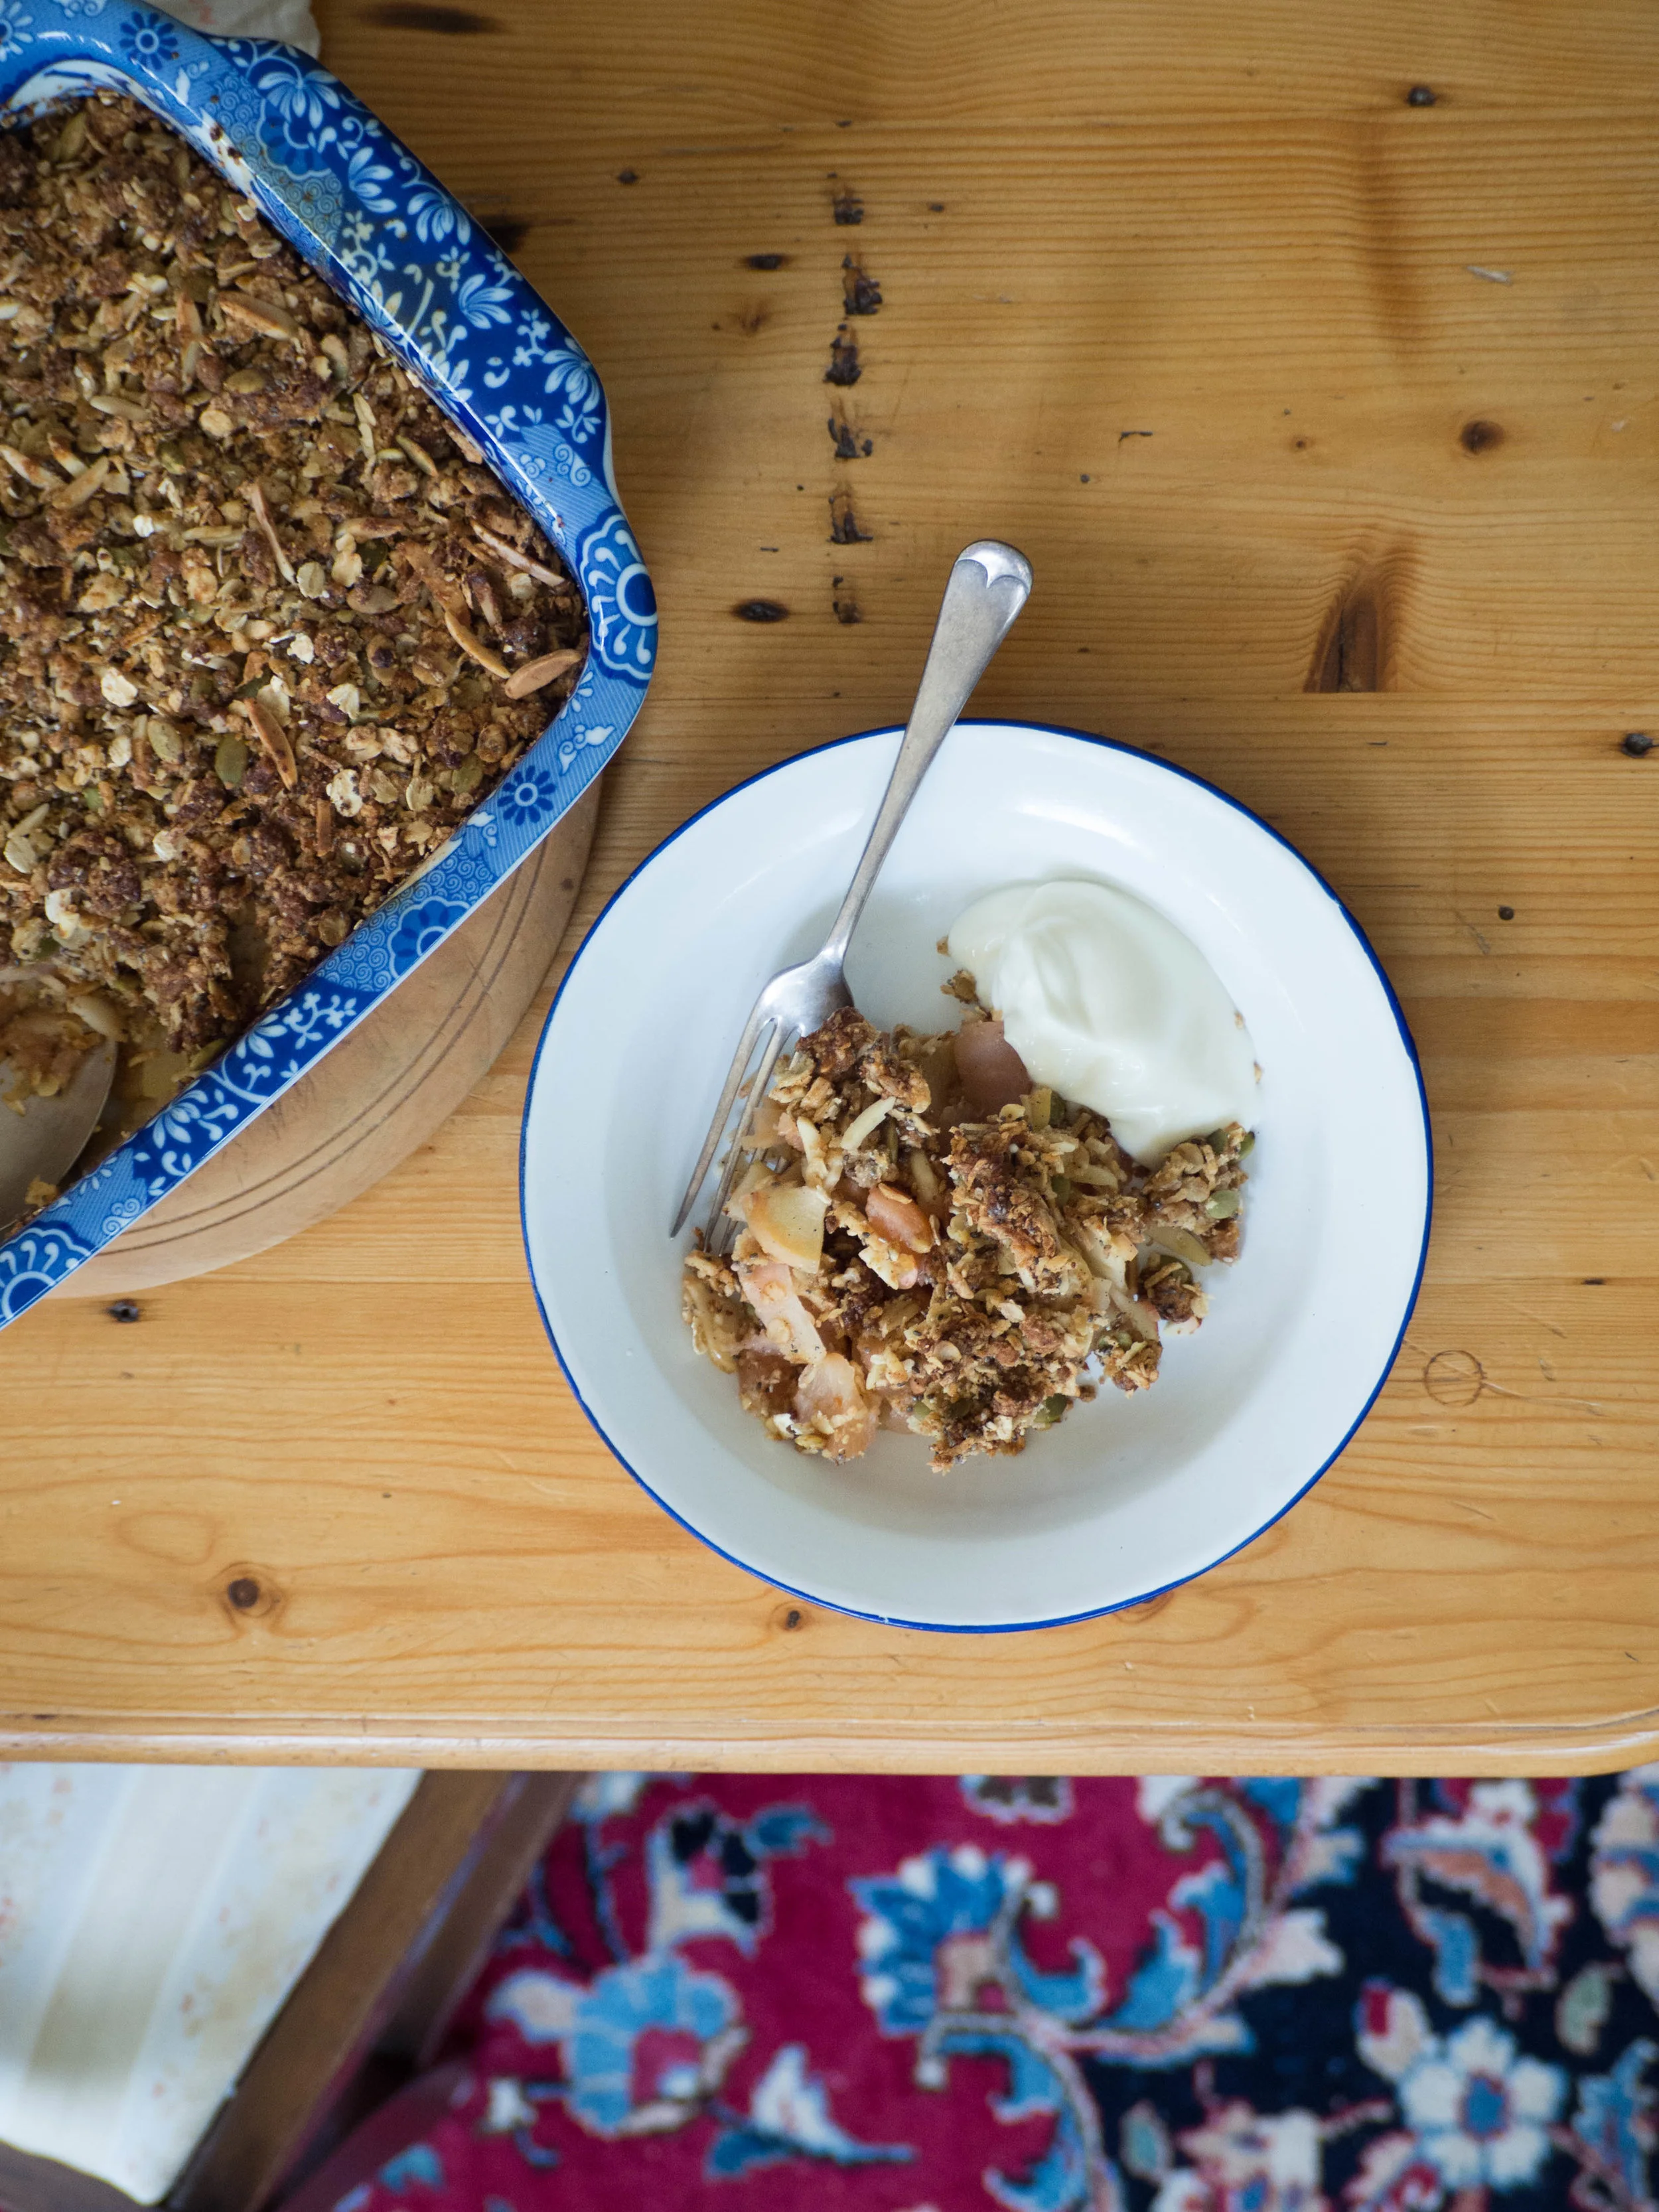
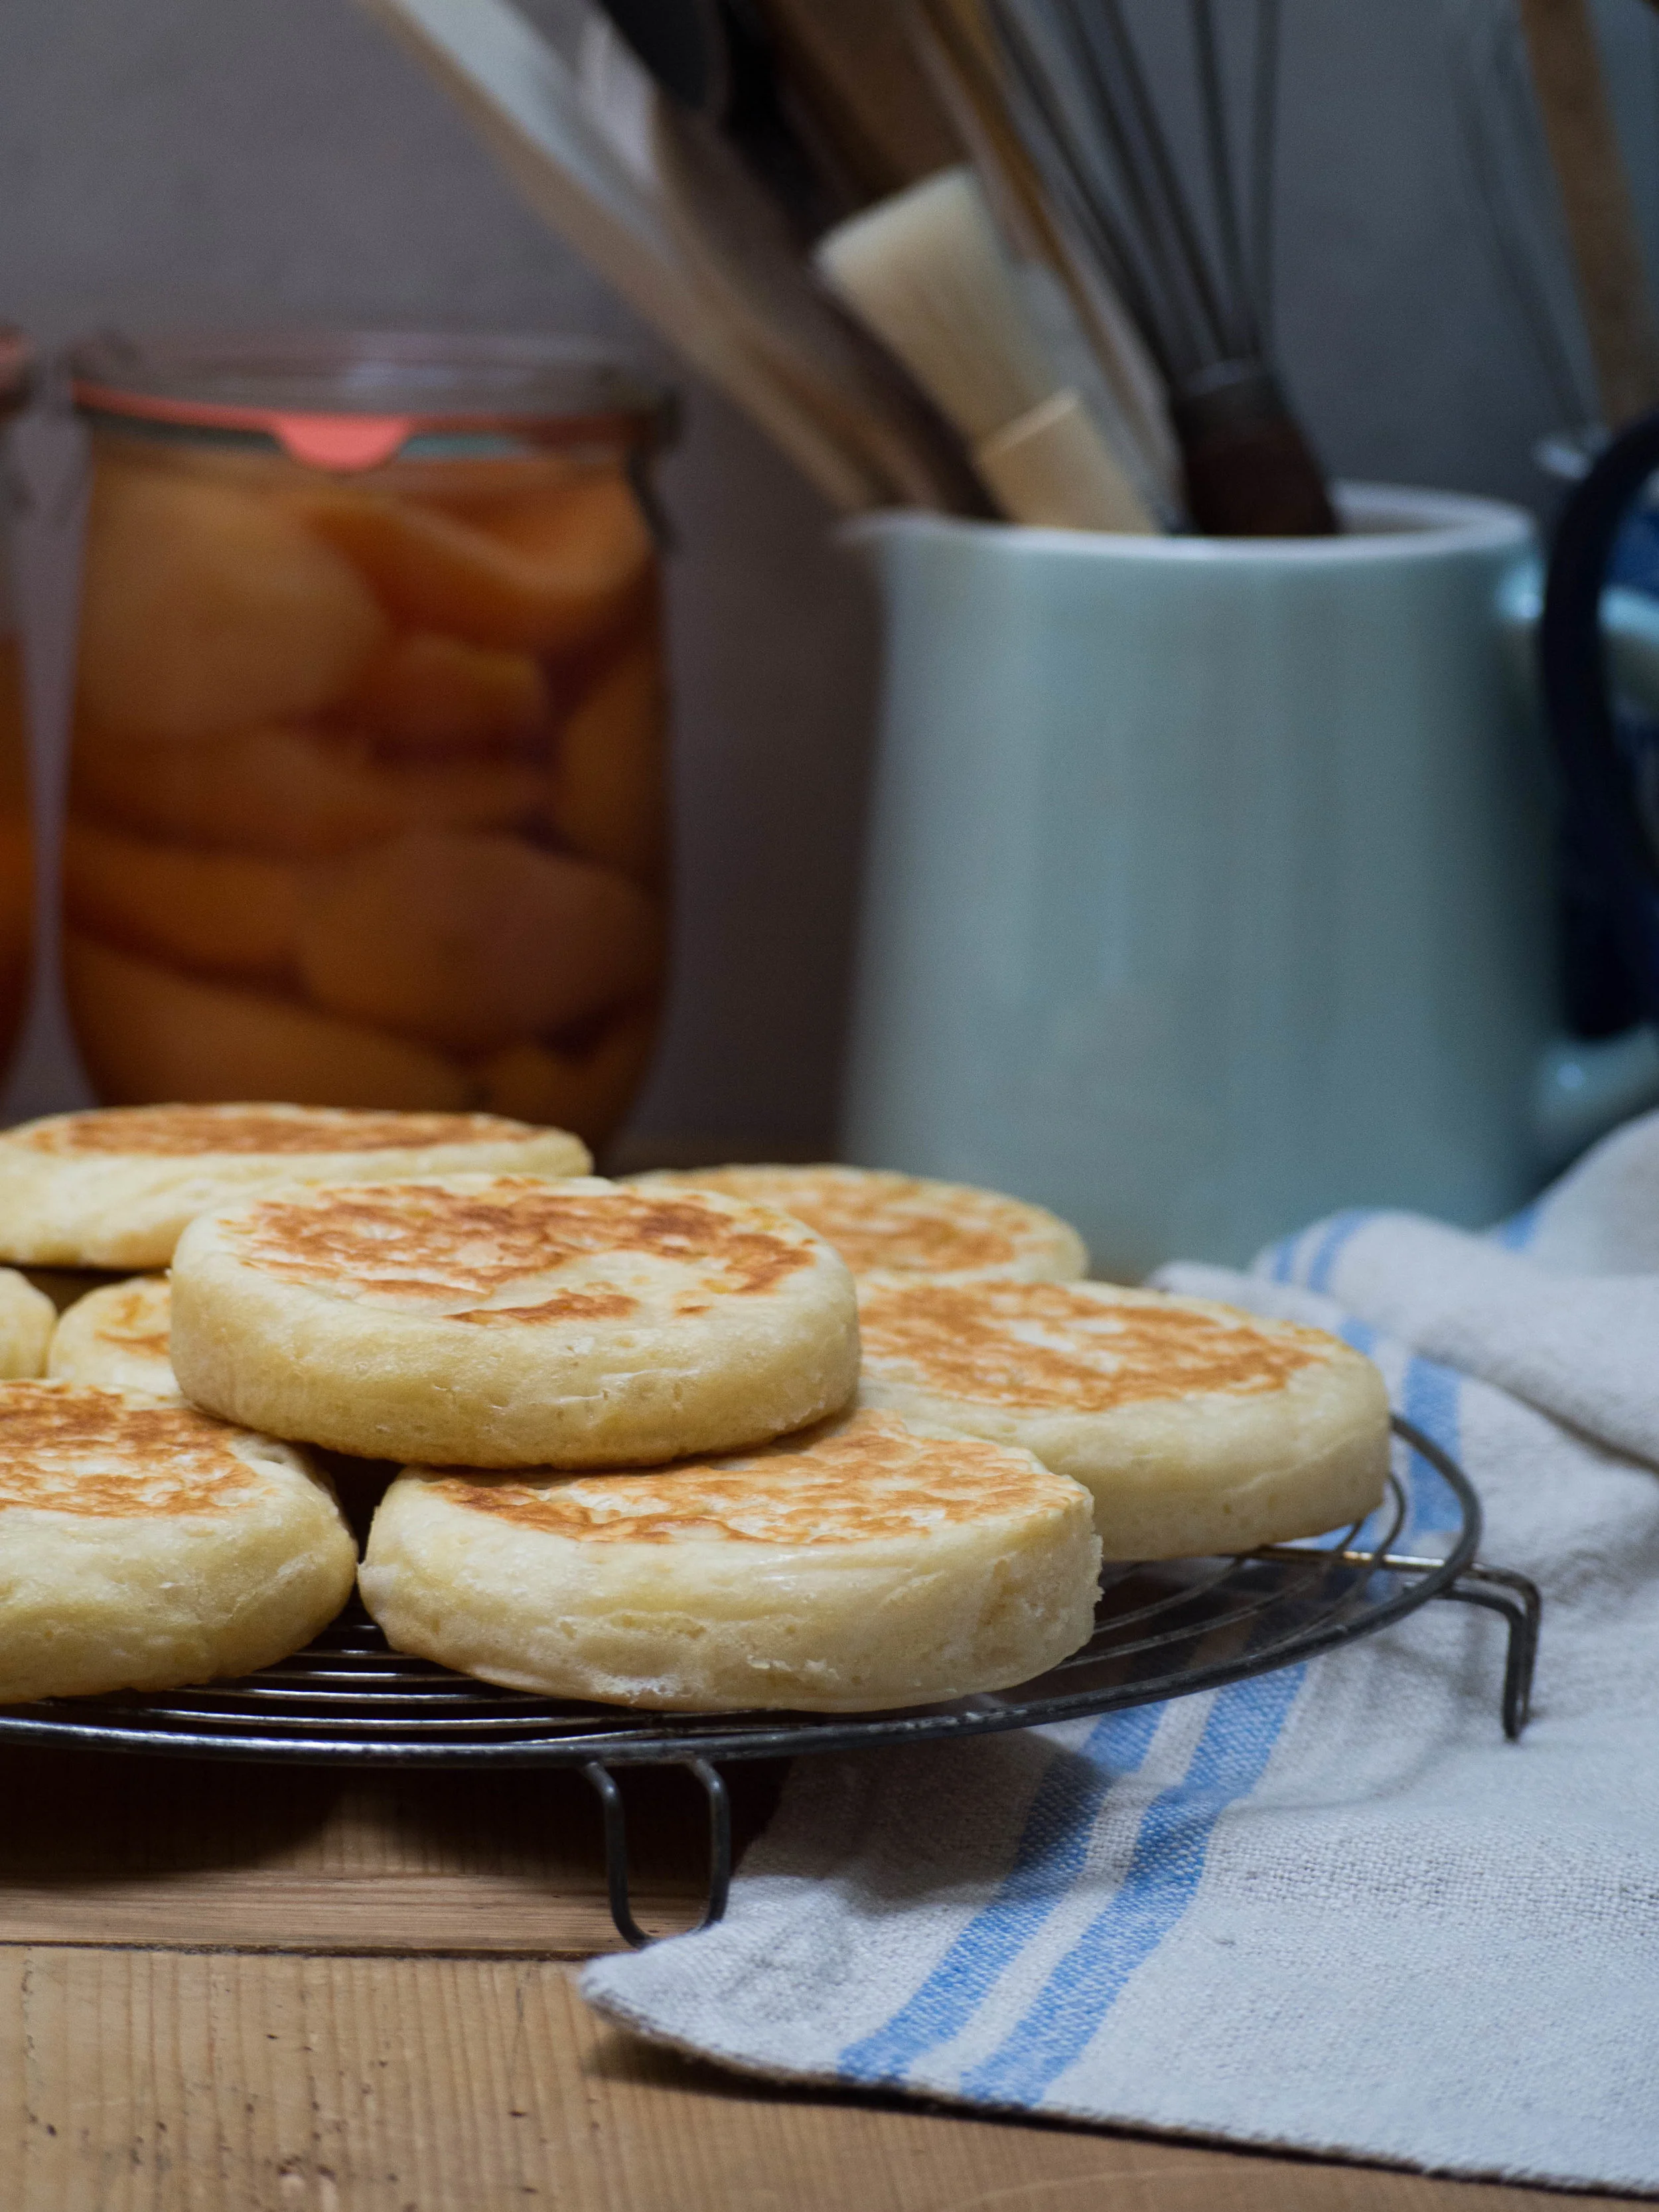
Ginger & Quince Cake with Quince Ice Cream

Ginger & Quince Cake with Quince Ice Cream

Ginger & Quince Cake with Quince Ice Cream
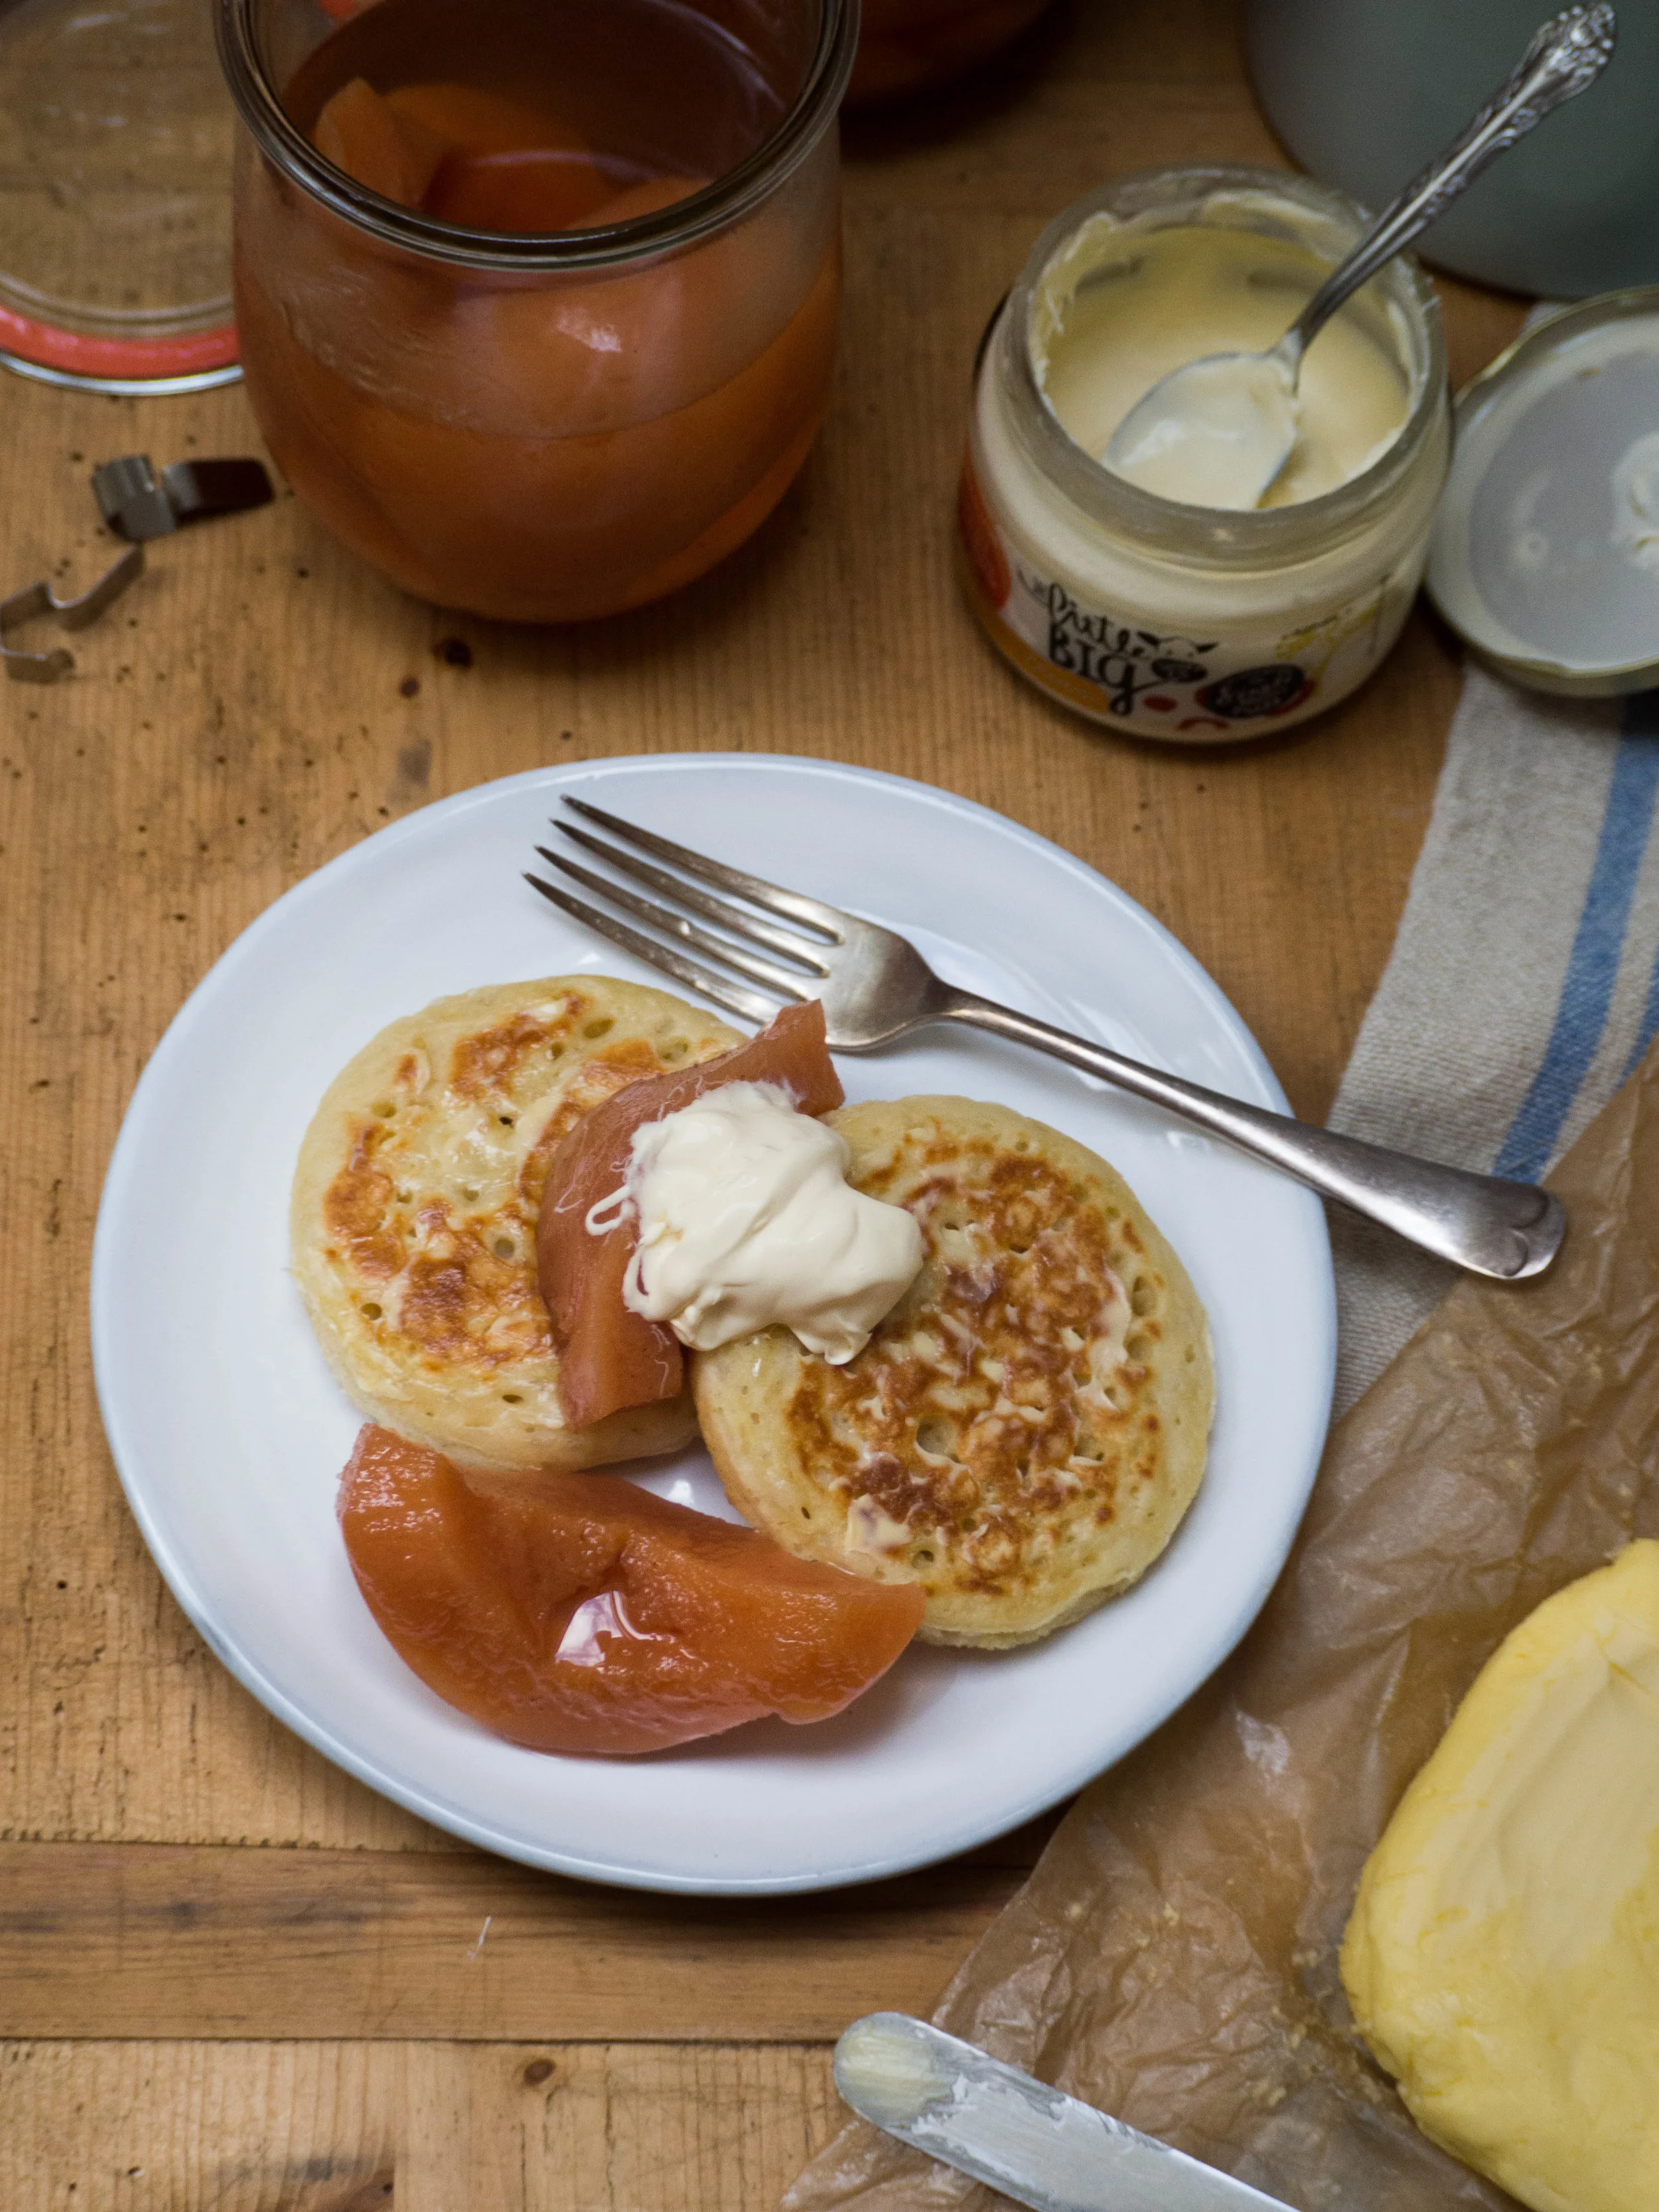
Quince Ice Cream
Ingredients:
150g poached quince
50g poaching liquid
2 egg whites
100g caster sugar
1 tsp golden syrup
salt
150g whipping cream
1 tbsp Greek yoghurt
Method:
In a blender, puree poached quince with half the poaching liquid until it is smooth. Add the remaining poaching liquid and blend to combine. Set aside.
Place a pot of water on the stove and heat until it is boiling. In a heatproof bowl, that is able to comfortably sit over the boiling pot of water, add the egg whites, sugar, golden syrup and a pinch of salt. Place the bowl over the boiling water and whisk continuously until the sugar dissolves and the mixture becomes frothy and opaque, or when the mixture reaches 75 degrees Celsius on a candy thermometer. Remove from the heat and transfer to the bowl of a stand mixer fitted with a whisk attachment. Whisk the warmed egg white mixture until it forms stiff peaks of meringue.
In a separate bowl, whip the cream with the yoghurt until it forms soft peaks. Gently fold in the meringue, then the pureed quince. Pour into an ice cream machine and churn according to the manufacturers instructions. When ready, the ice cream should be softly frozen, thickened and clinging to the paddle of the machine. Transfer to a freezer safe container to freeze until ready to serve.

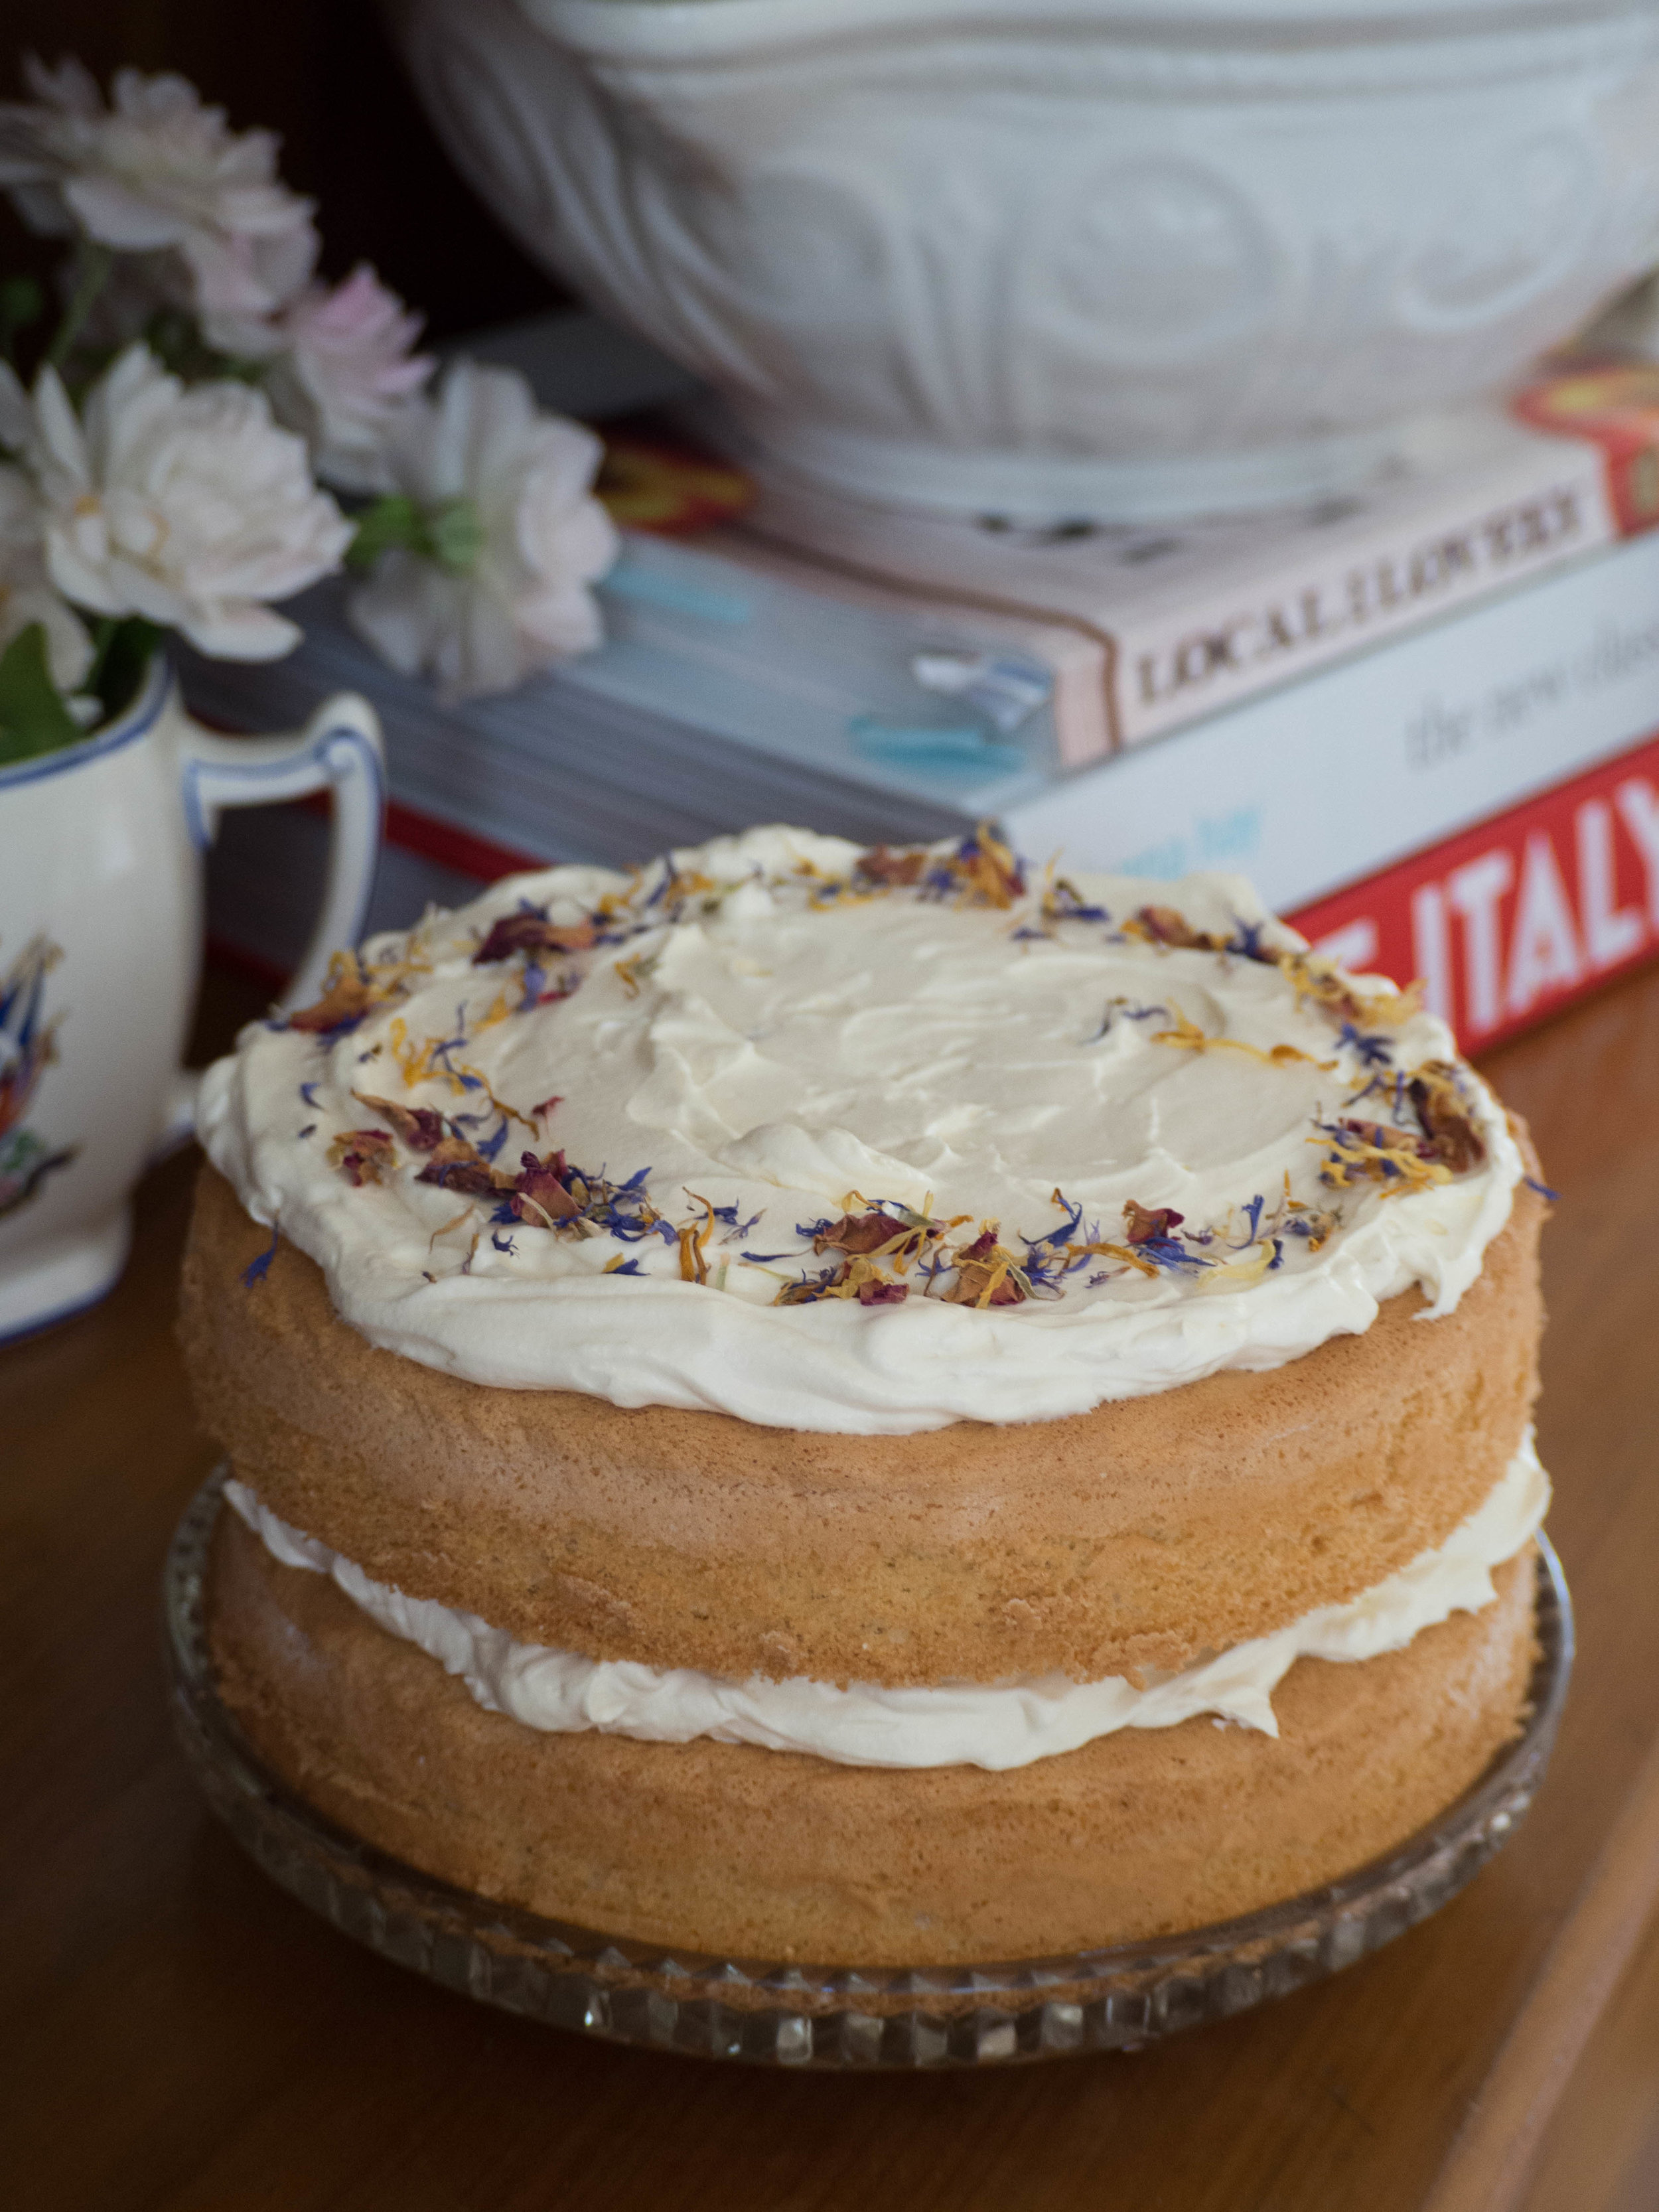
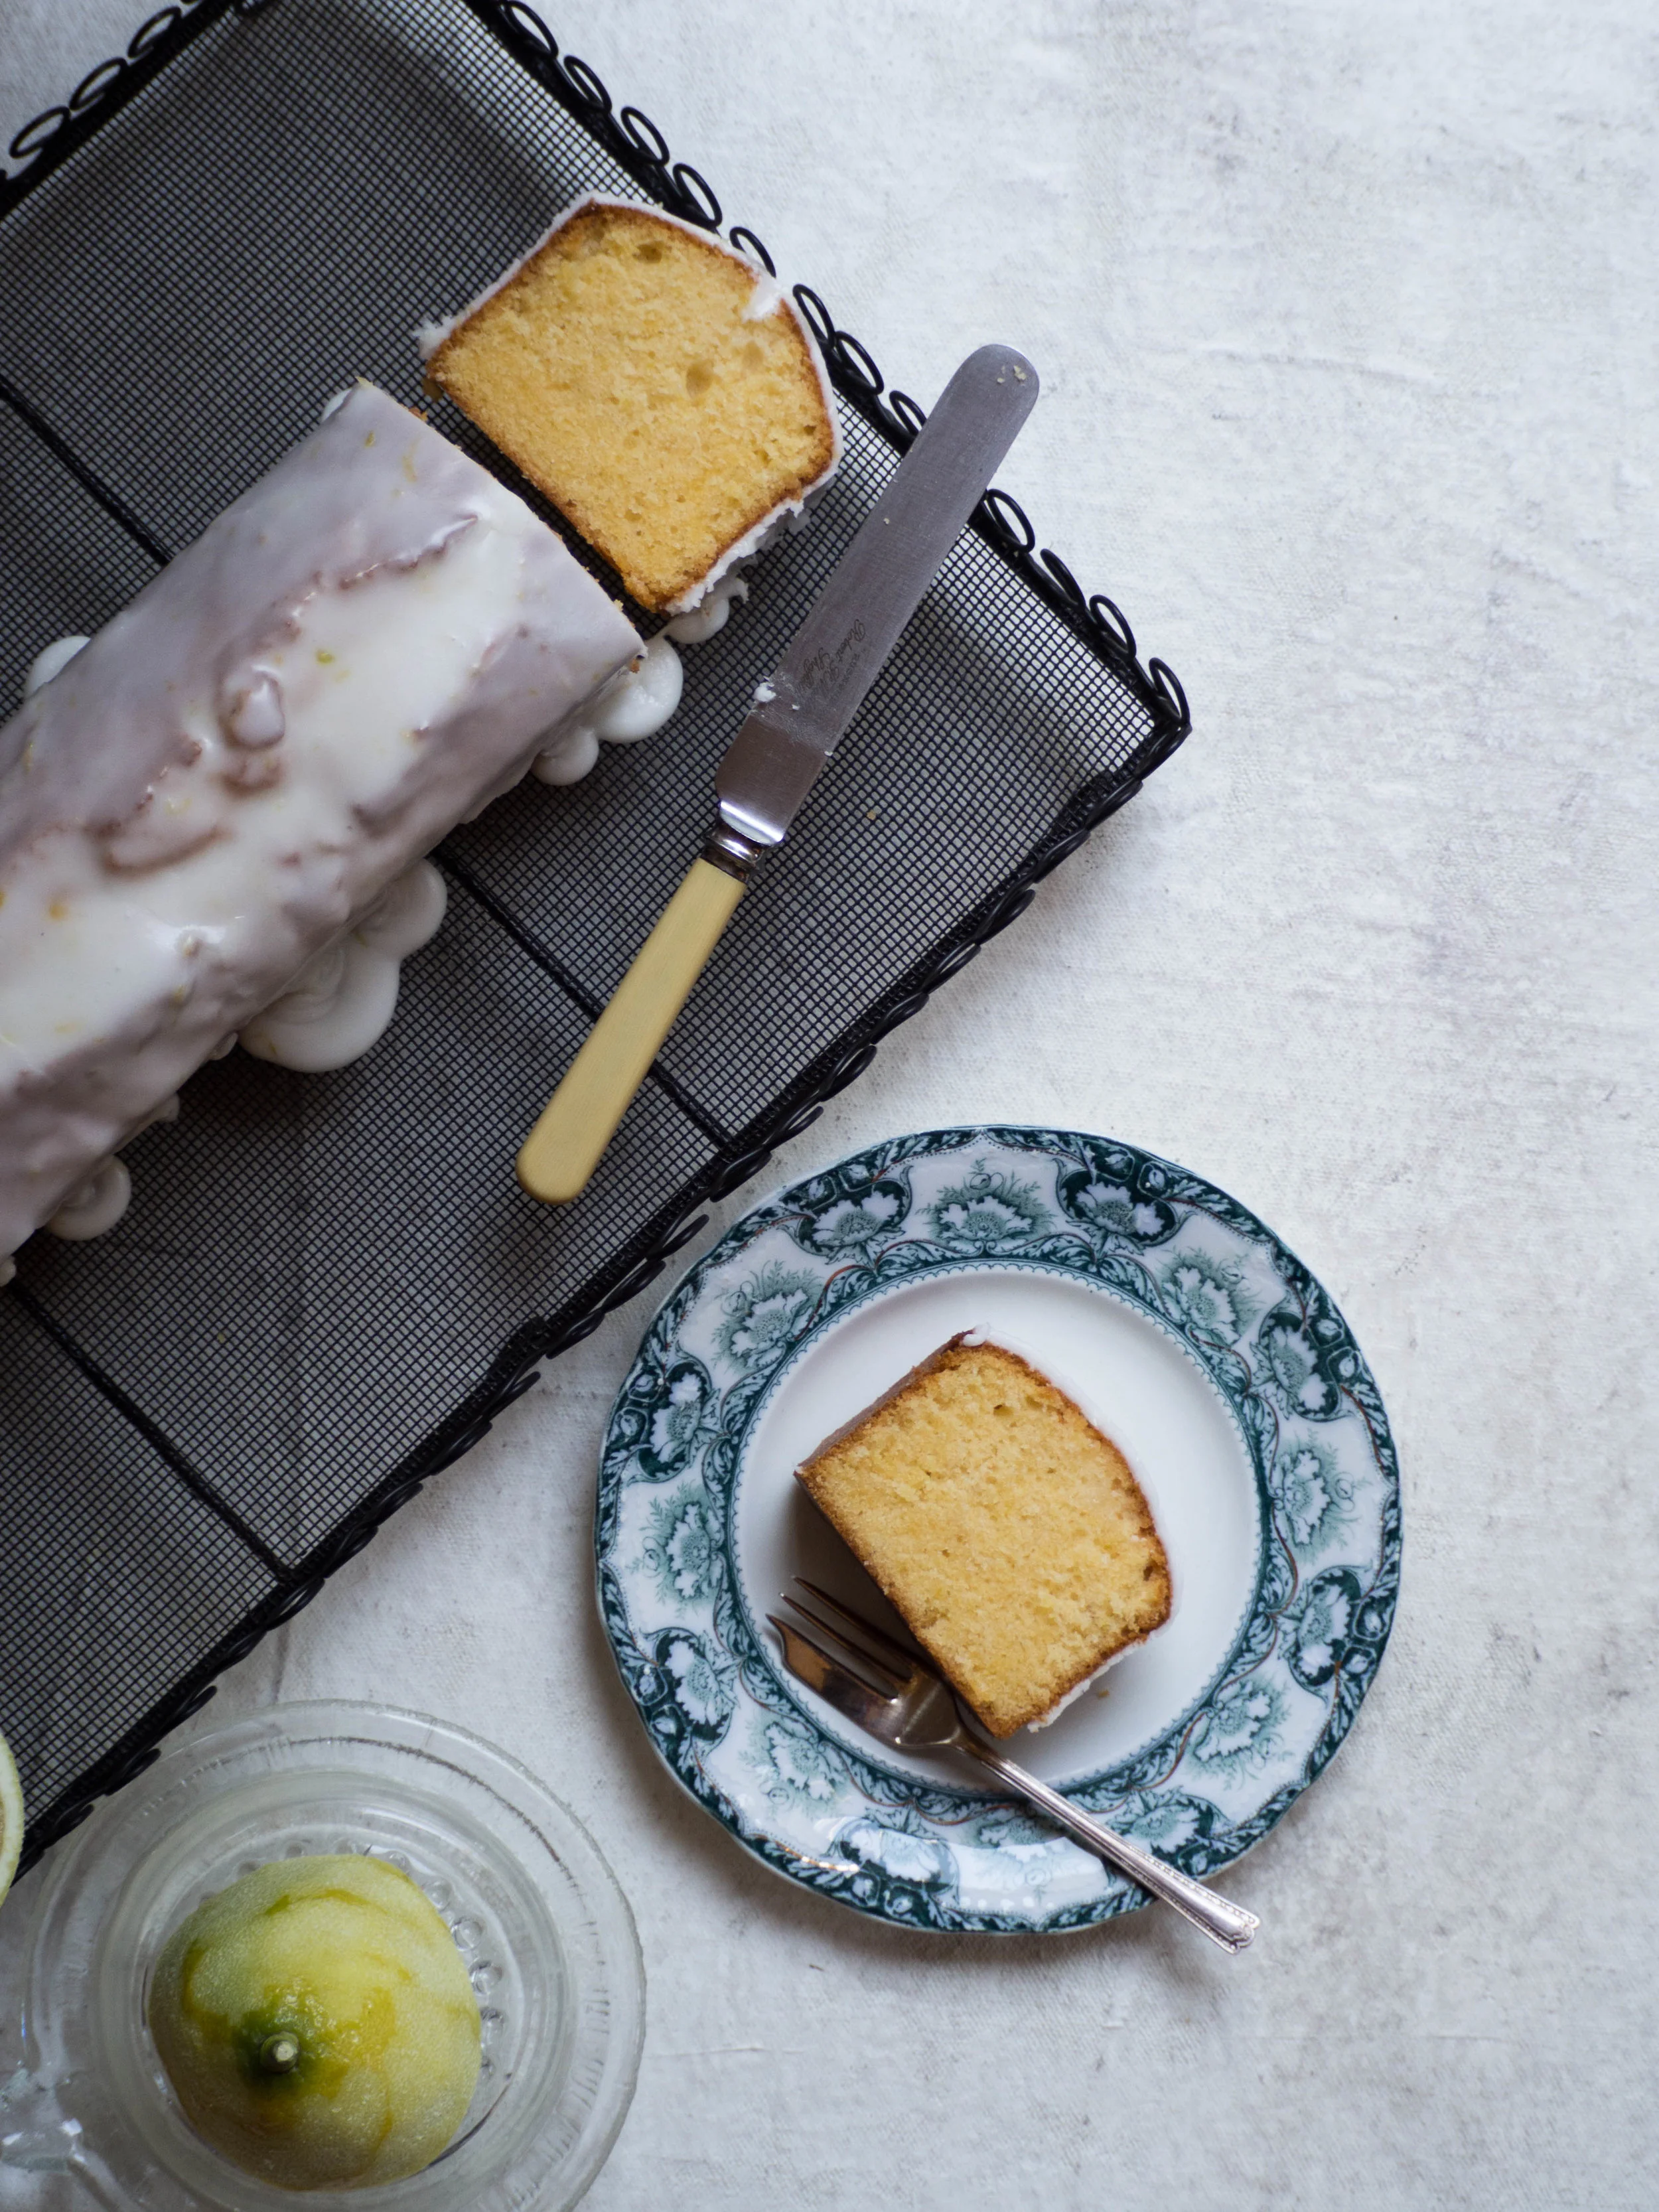
Ginger & Quince Cake with Quince Ice Cream
Ginger & Quince Cake
Ingredients:
250g self raising flour
1 tsp ginger
1 tsp mixed spice
1/2 tsp cinnamon
1 tsp baking powder
120g golden syrup
80g maple syrup
2 tbsp poaching liquid from quinces
125 flavourless margarine or unsalted butter
100g poached quince, diced (plus extra for serving, optional)
125 brown sugar
2 eggs
240ml milk
Method:
Pre-heat your oven to 180 degrees Celsius, then grease and line the base and sides of a 22cm (approx.) square cake tin.
Sift the dry ingredients together into a large bowl.
In a small saucepan, add the quince, golden and maple syrups and the margarine/butter and warm over low heat so everything melts together. Add the quince and brown sugar and allow the mixture to simmer for a couple of minutes, stirring occasionally so it doesn’t stick to the bottom of the pan.
In a small bowl, briefly mix the eggs and the milk together. Pour the syrup and butter mixture in to the dry ingredients, and mix well, ensuring there are no lumps of flour. Add the eggs and milk and mix to combine.
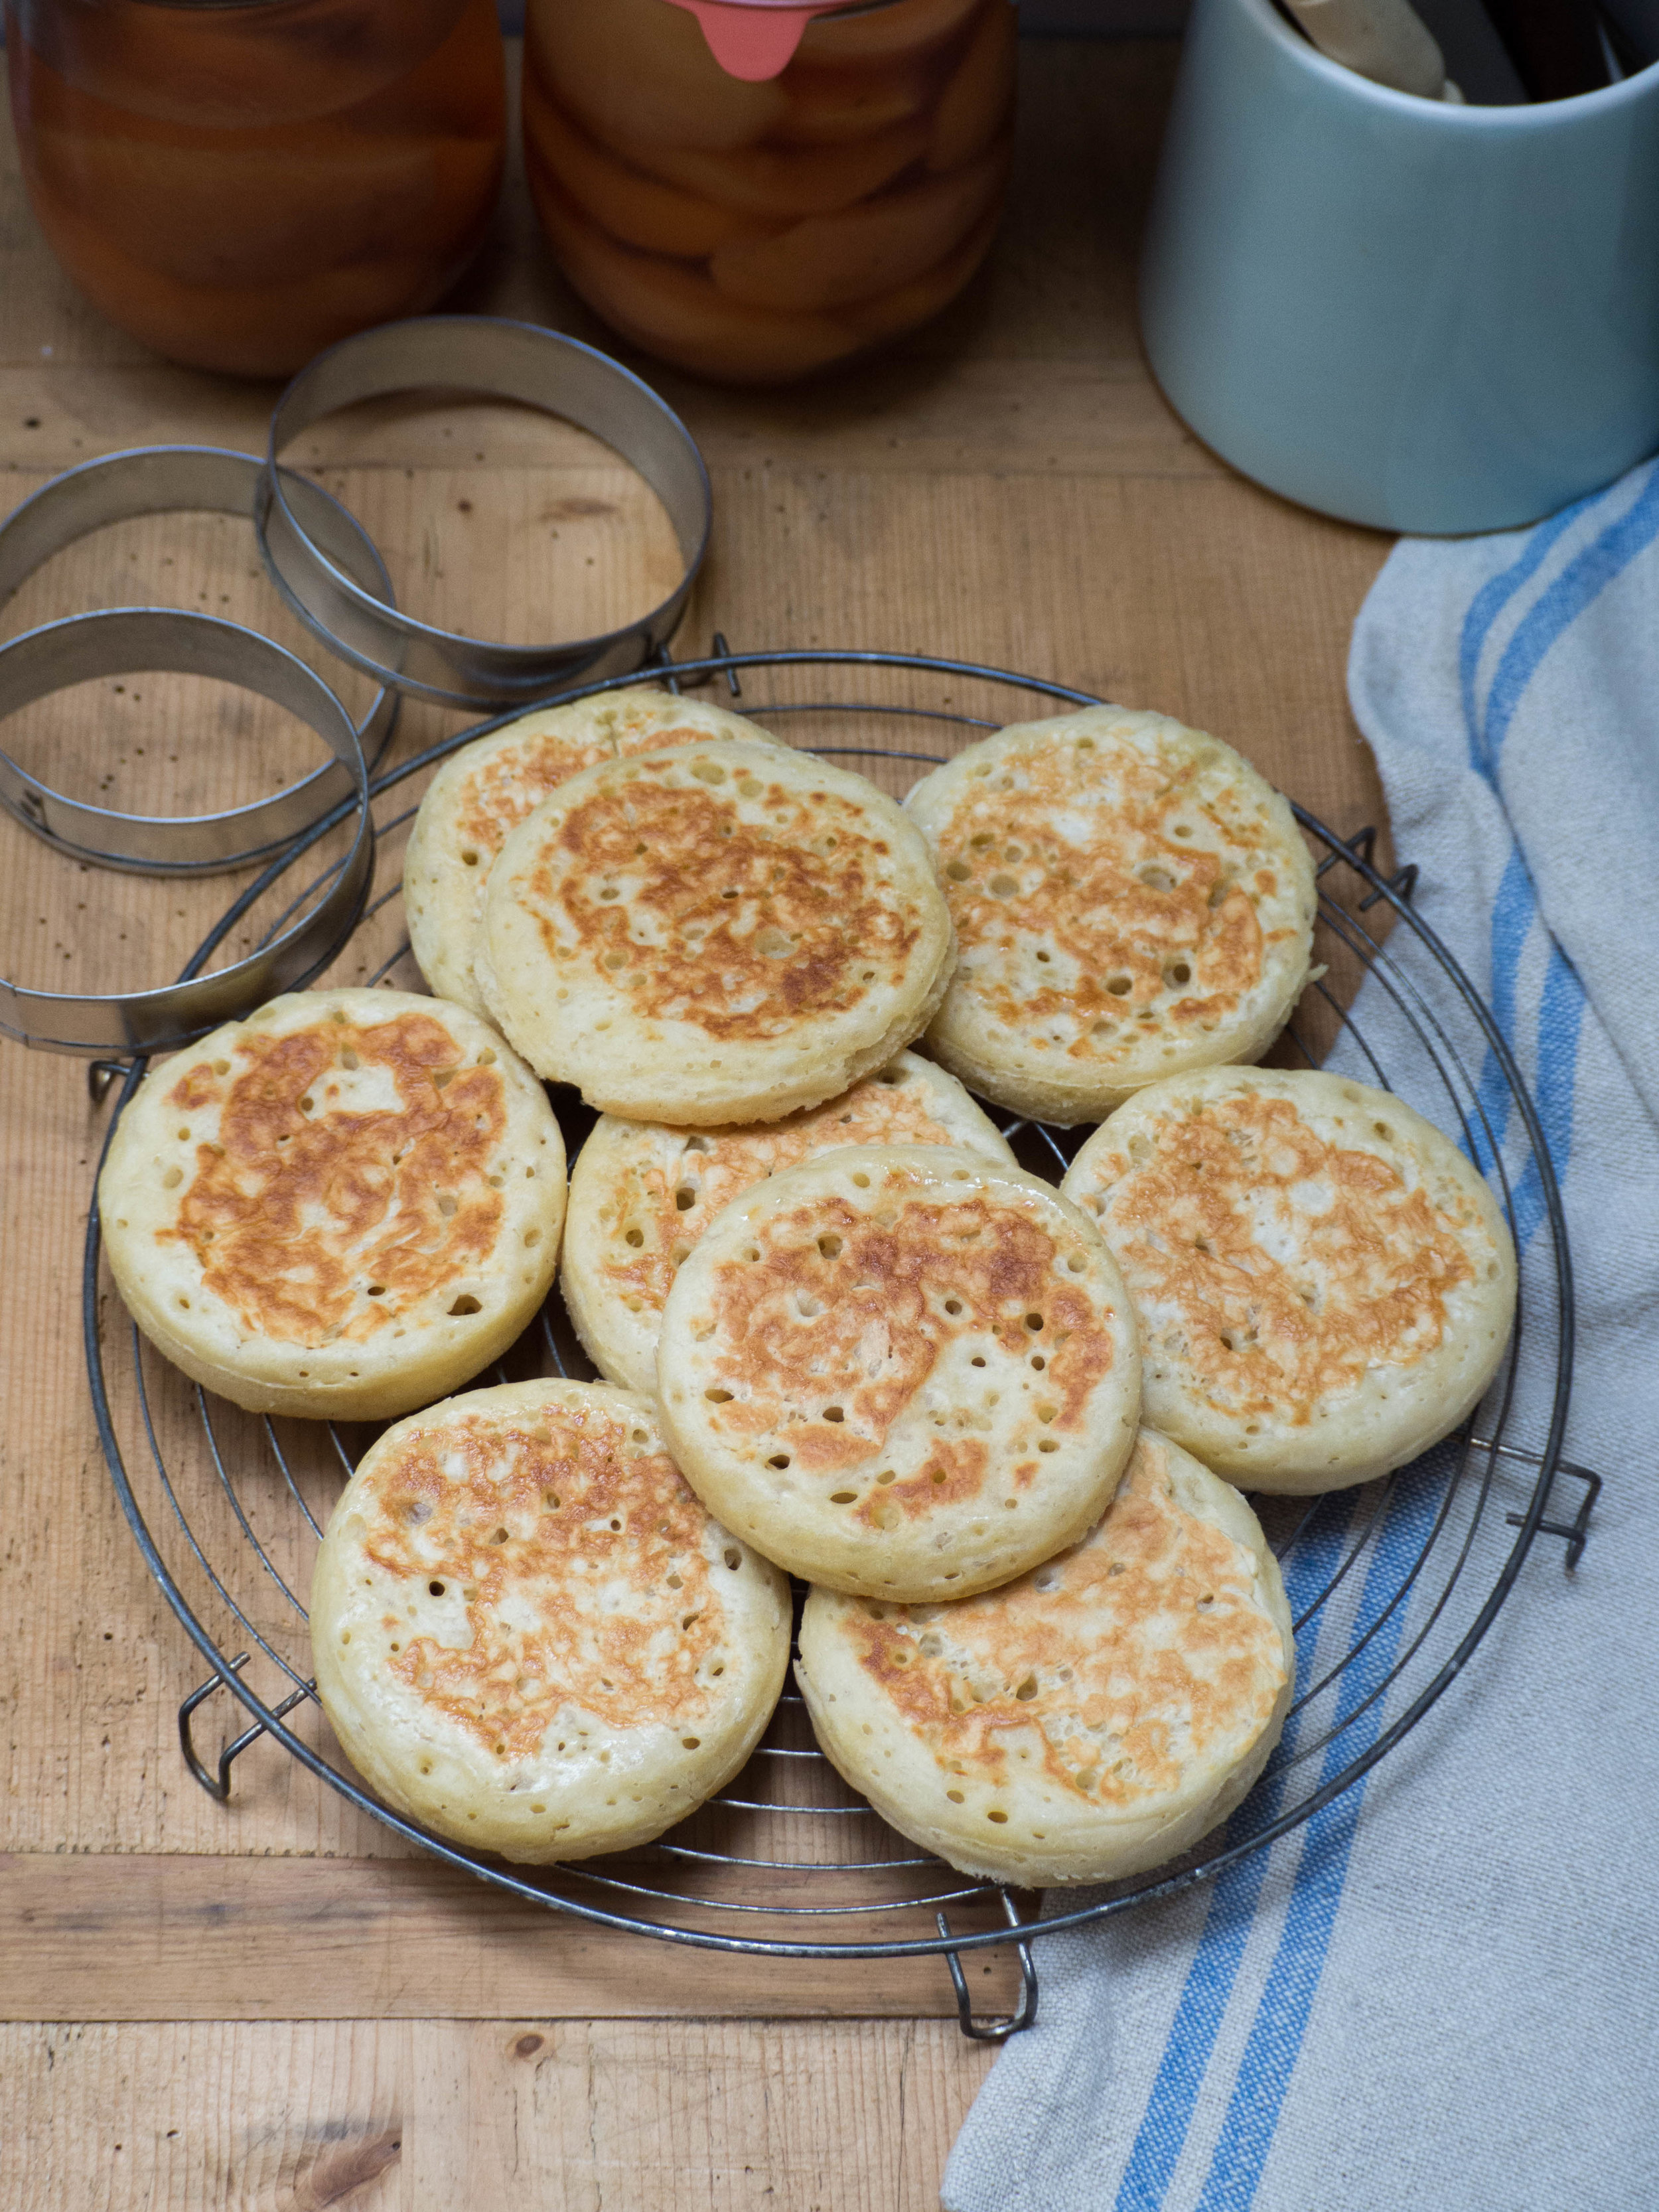
Pour the batter into the prepared tin and bake for 30-35 minutes, or until a skewer comes out clean when inserted into the middle of the cake. Cool the cake in the tin for a few minutes before transferring to a cooling rack lined with baking paper (the cake will stick otherwise).
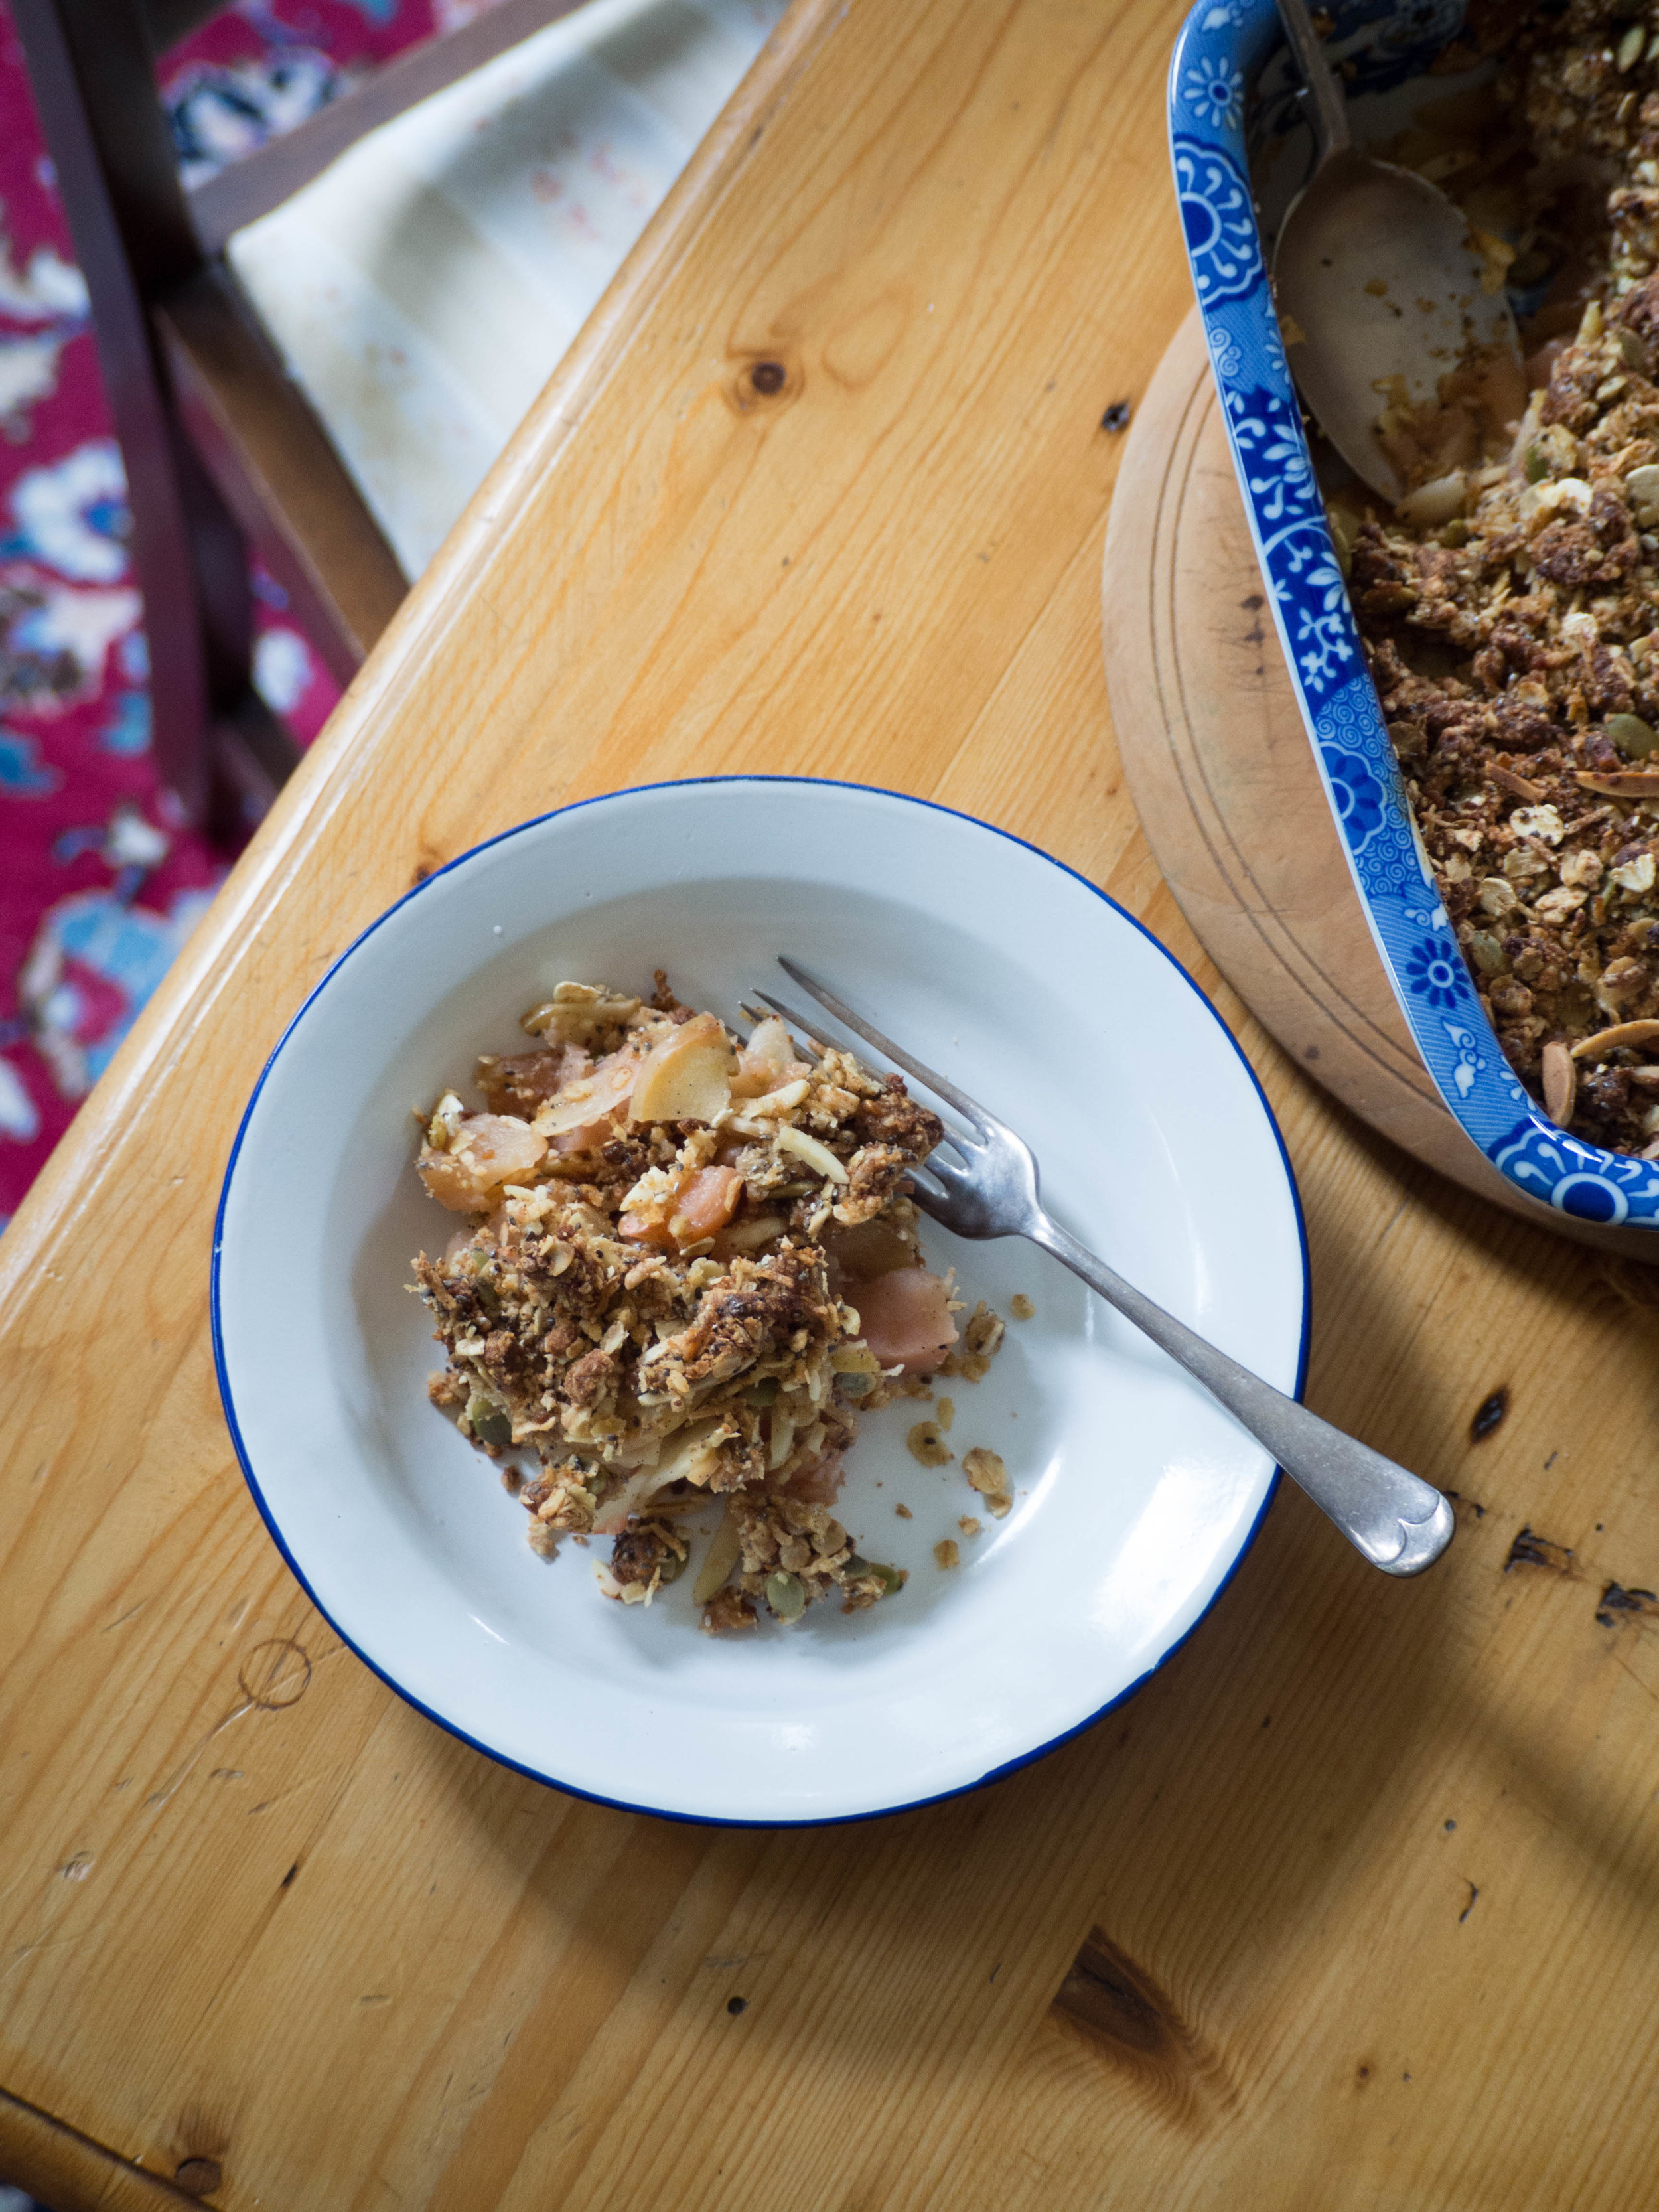
Cut the cake into squares and serve warm or at room temperature with a scoop of quince ice cream and some extra poached quince.

Ginger & Quince Cake with Quince Ice Cream

Ginger & Quince Cake with Quince Ice Cream
References: ‘The Violet Bakery Cookbook’ by Claire Ptak (Ten Speed Press, 2015), pp. 184-5; ‘Annie’s Farmhouse Kitchen’ by Annie Smithers (Hardie Grant Books, 2017), pp.52-3.

Ginger & Quince Cake with Quince Ice Cream