Here are some of the things I have been enjoying this month:
I’m quite late to the party on this one as I think Issue 10 has just been released, but I finally got my hands on Issue 9 of Cherry Bombe Magazine.
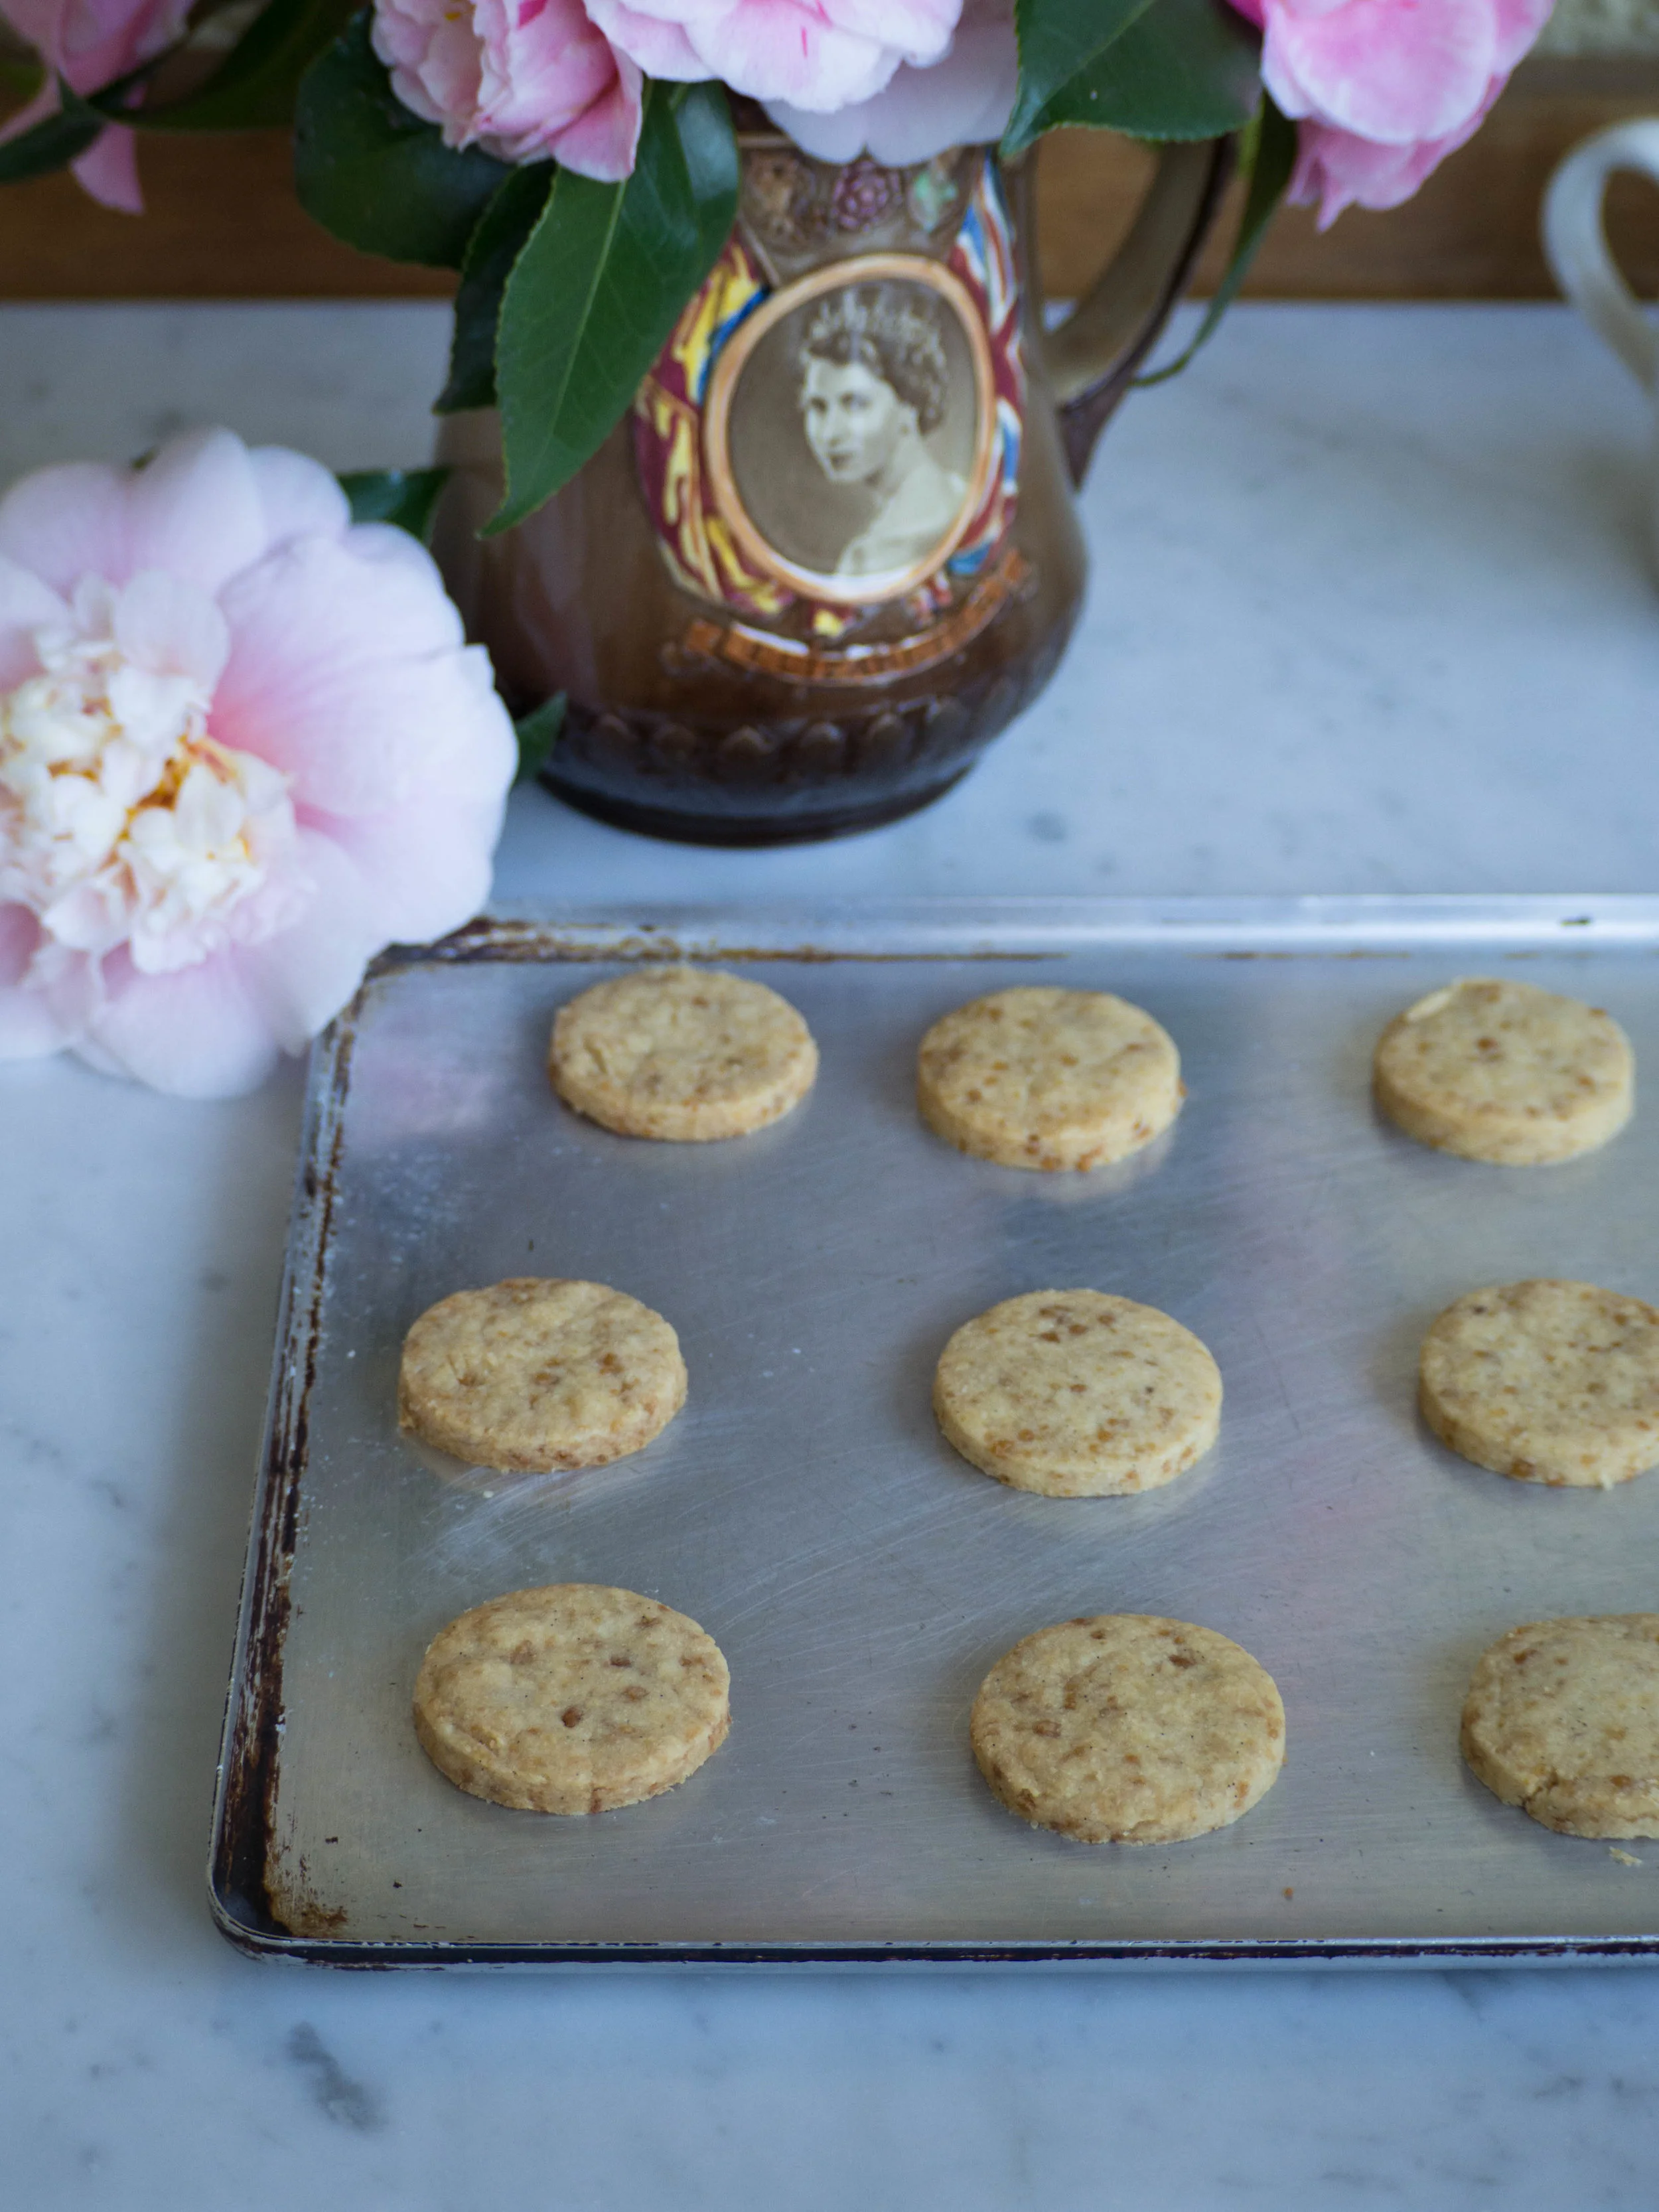
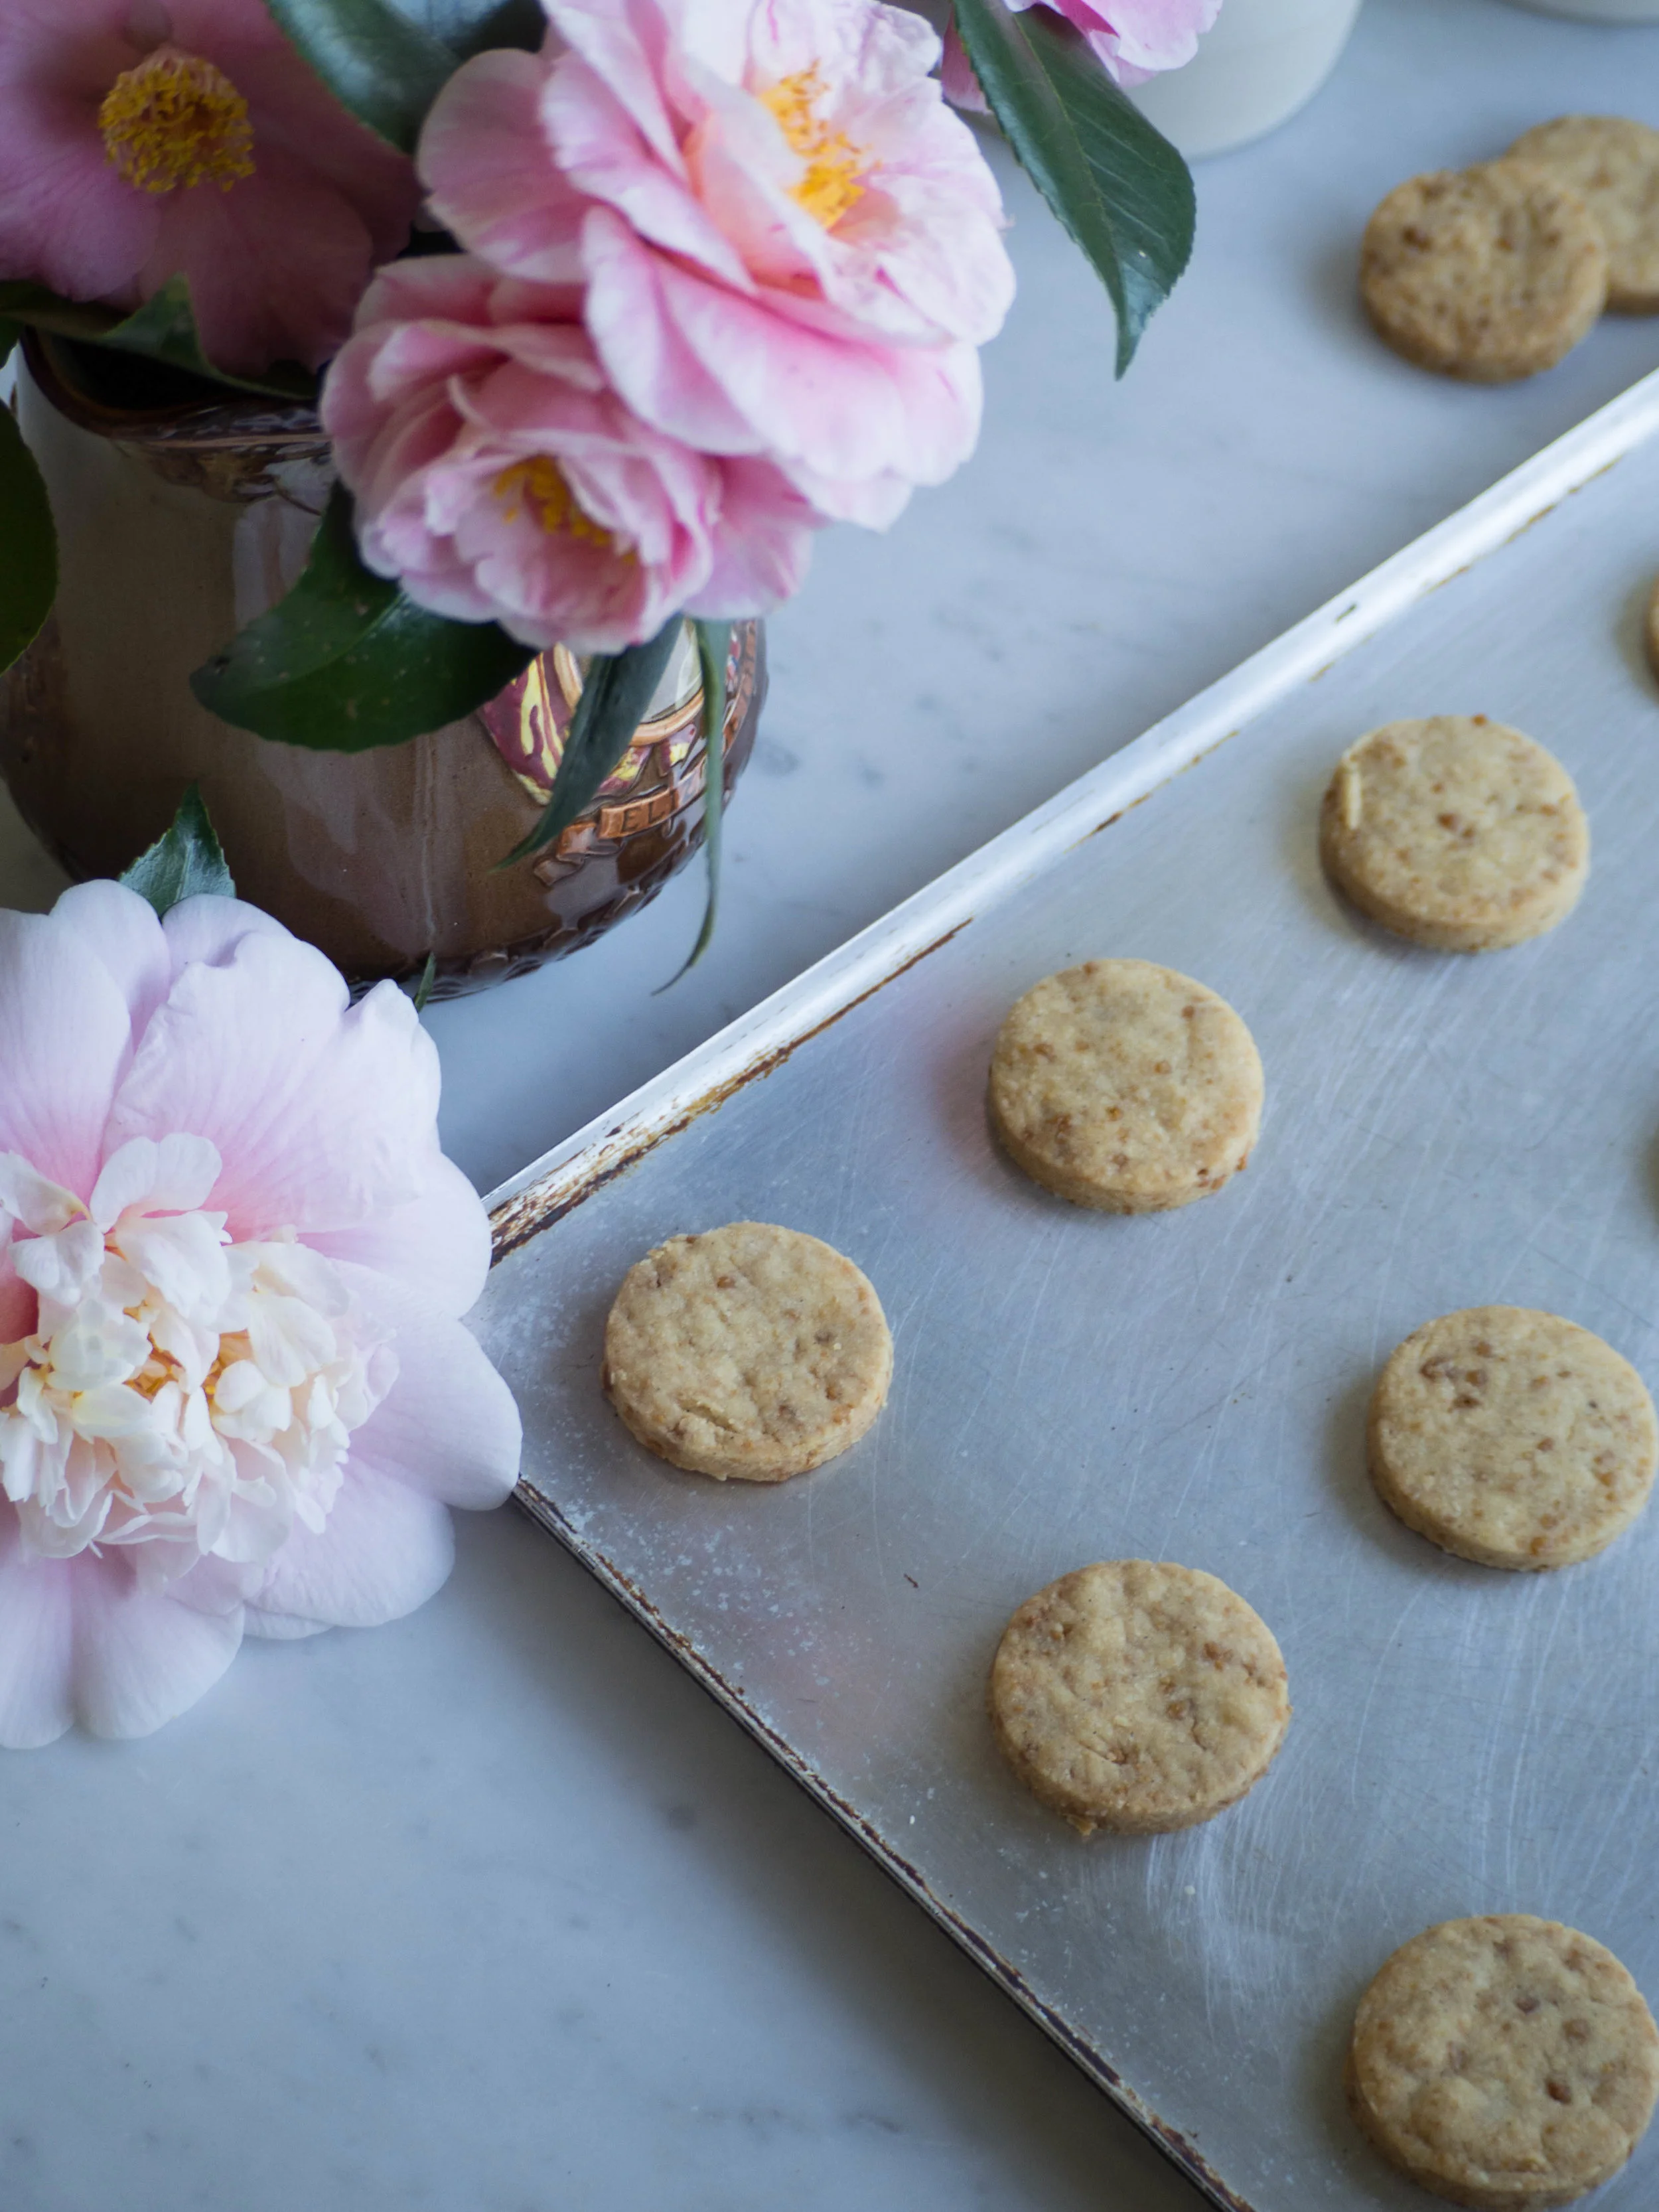
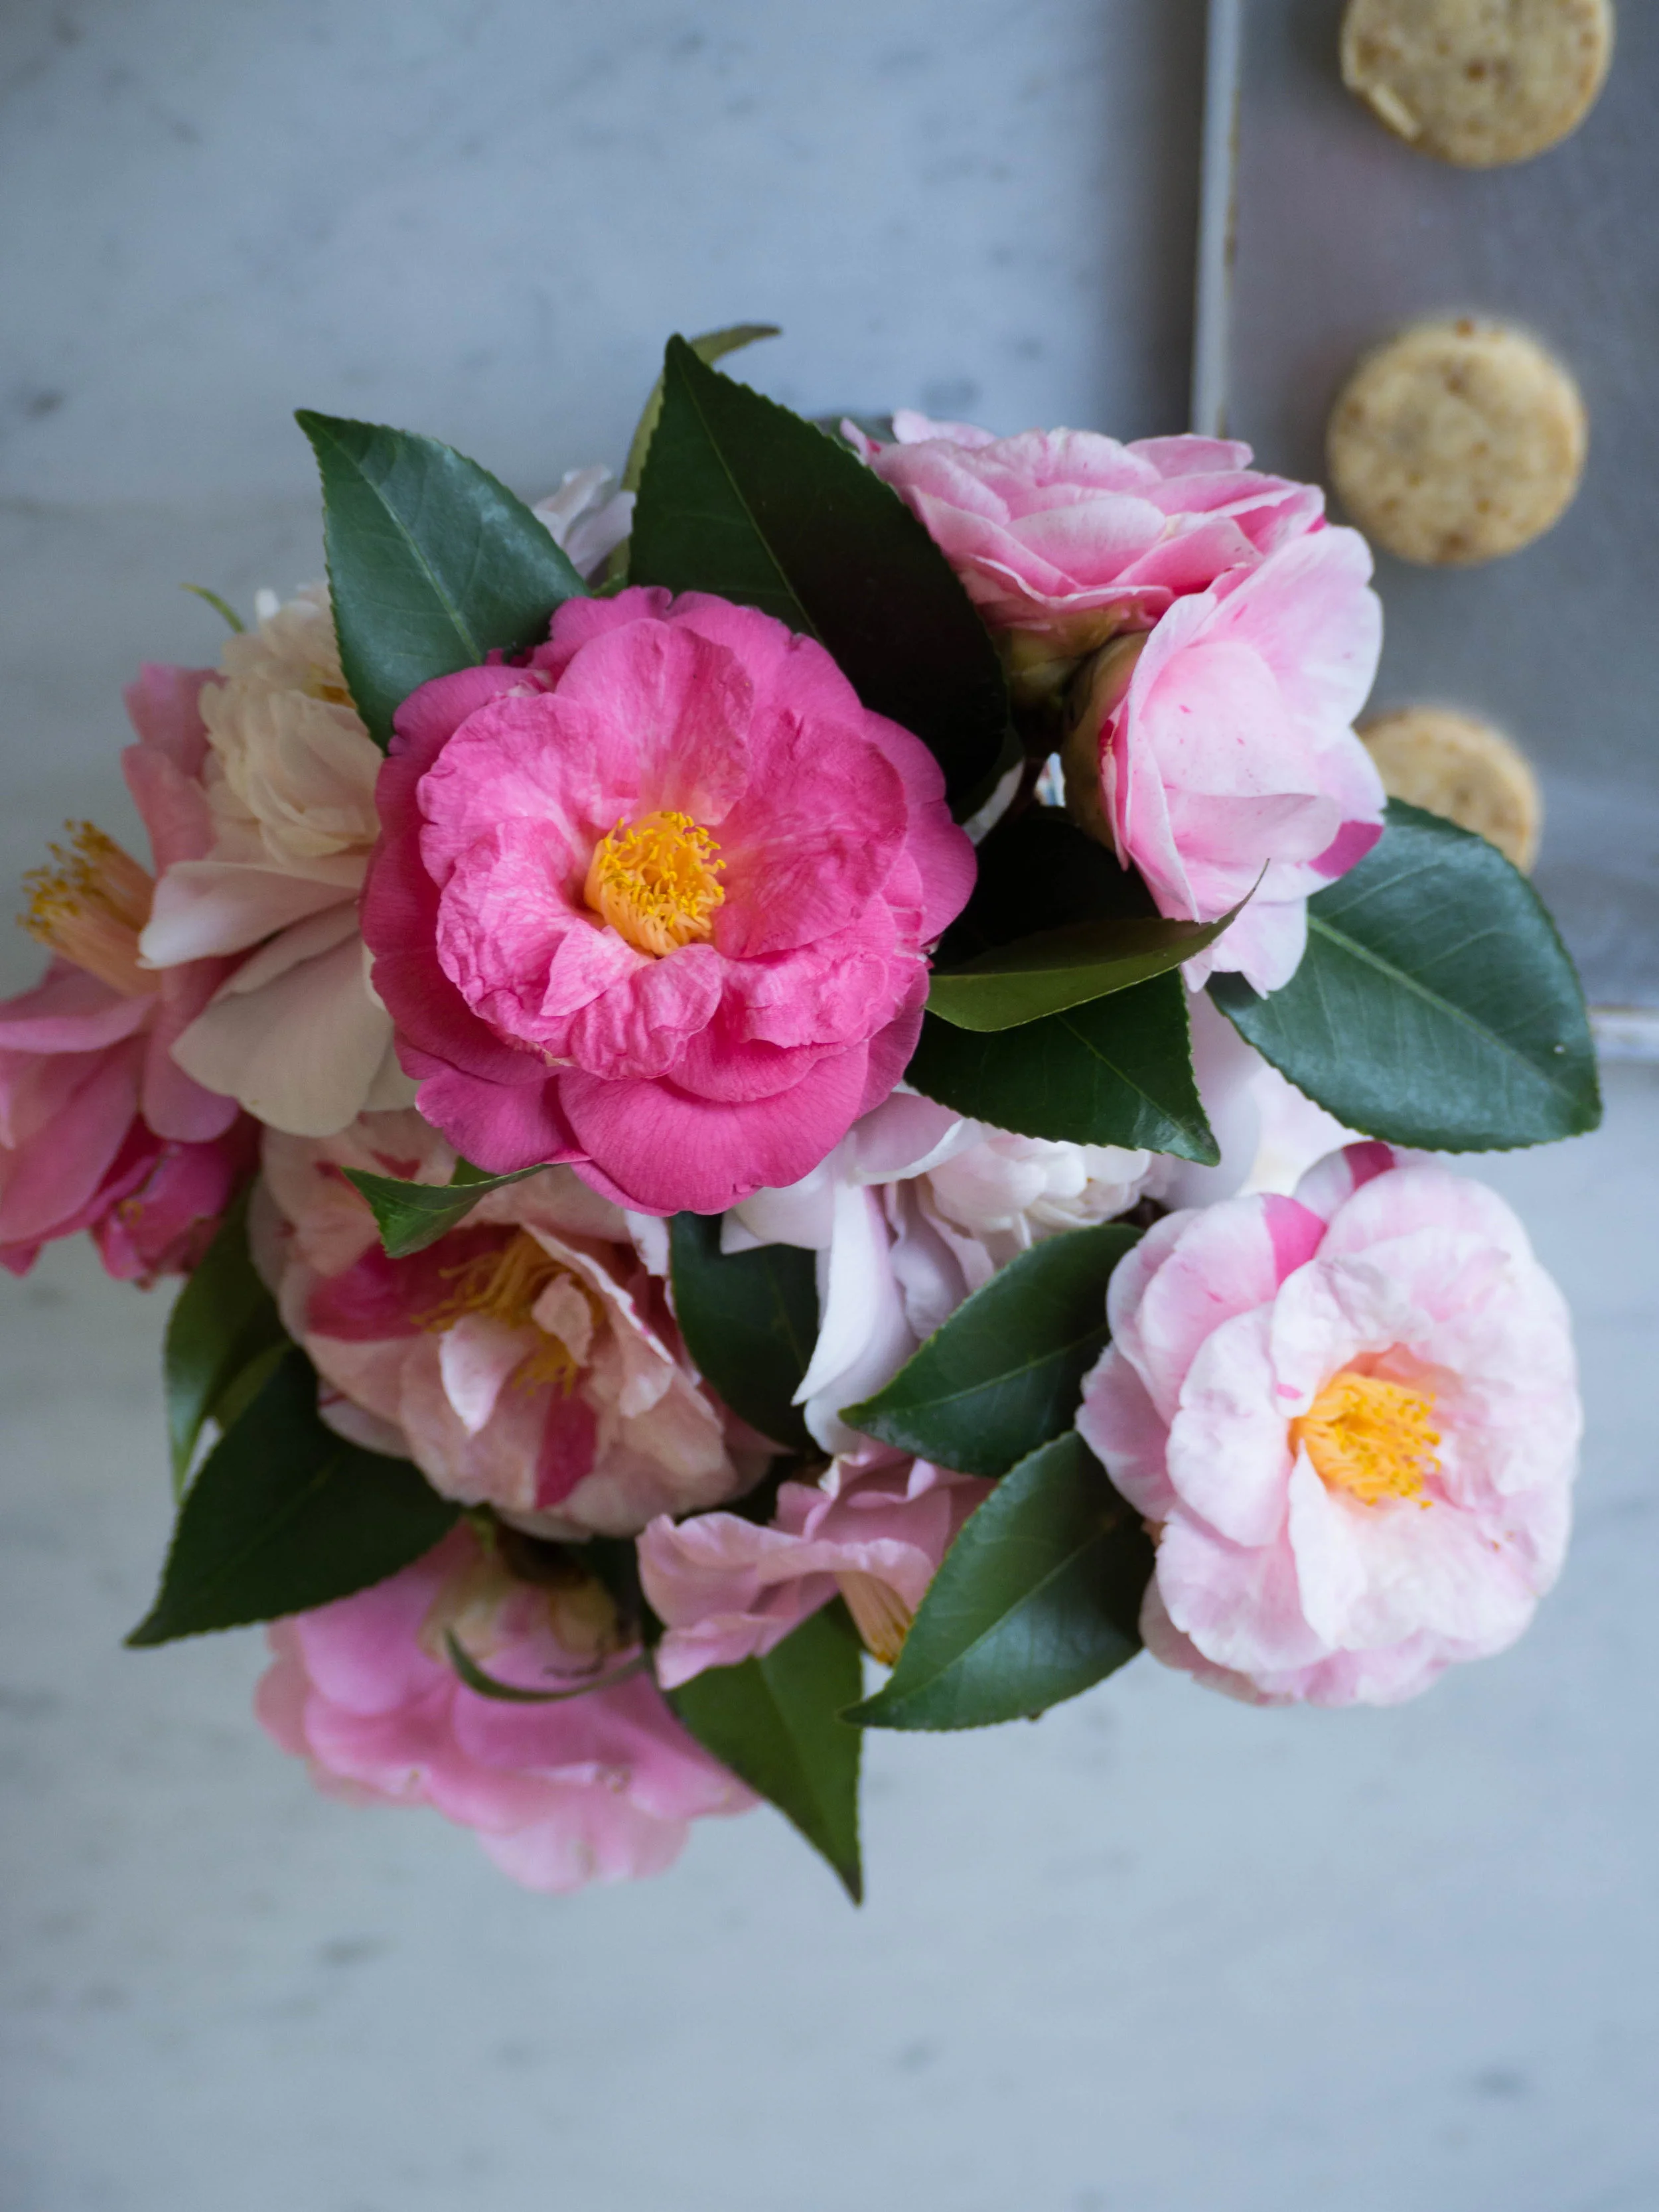
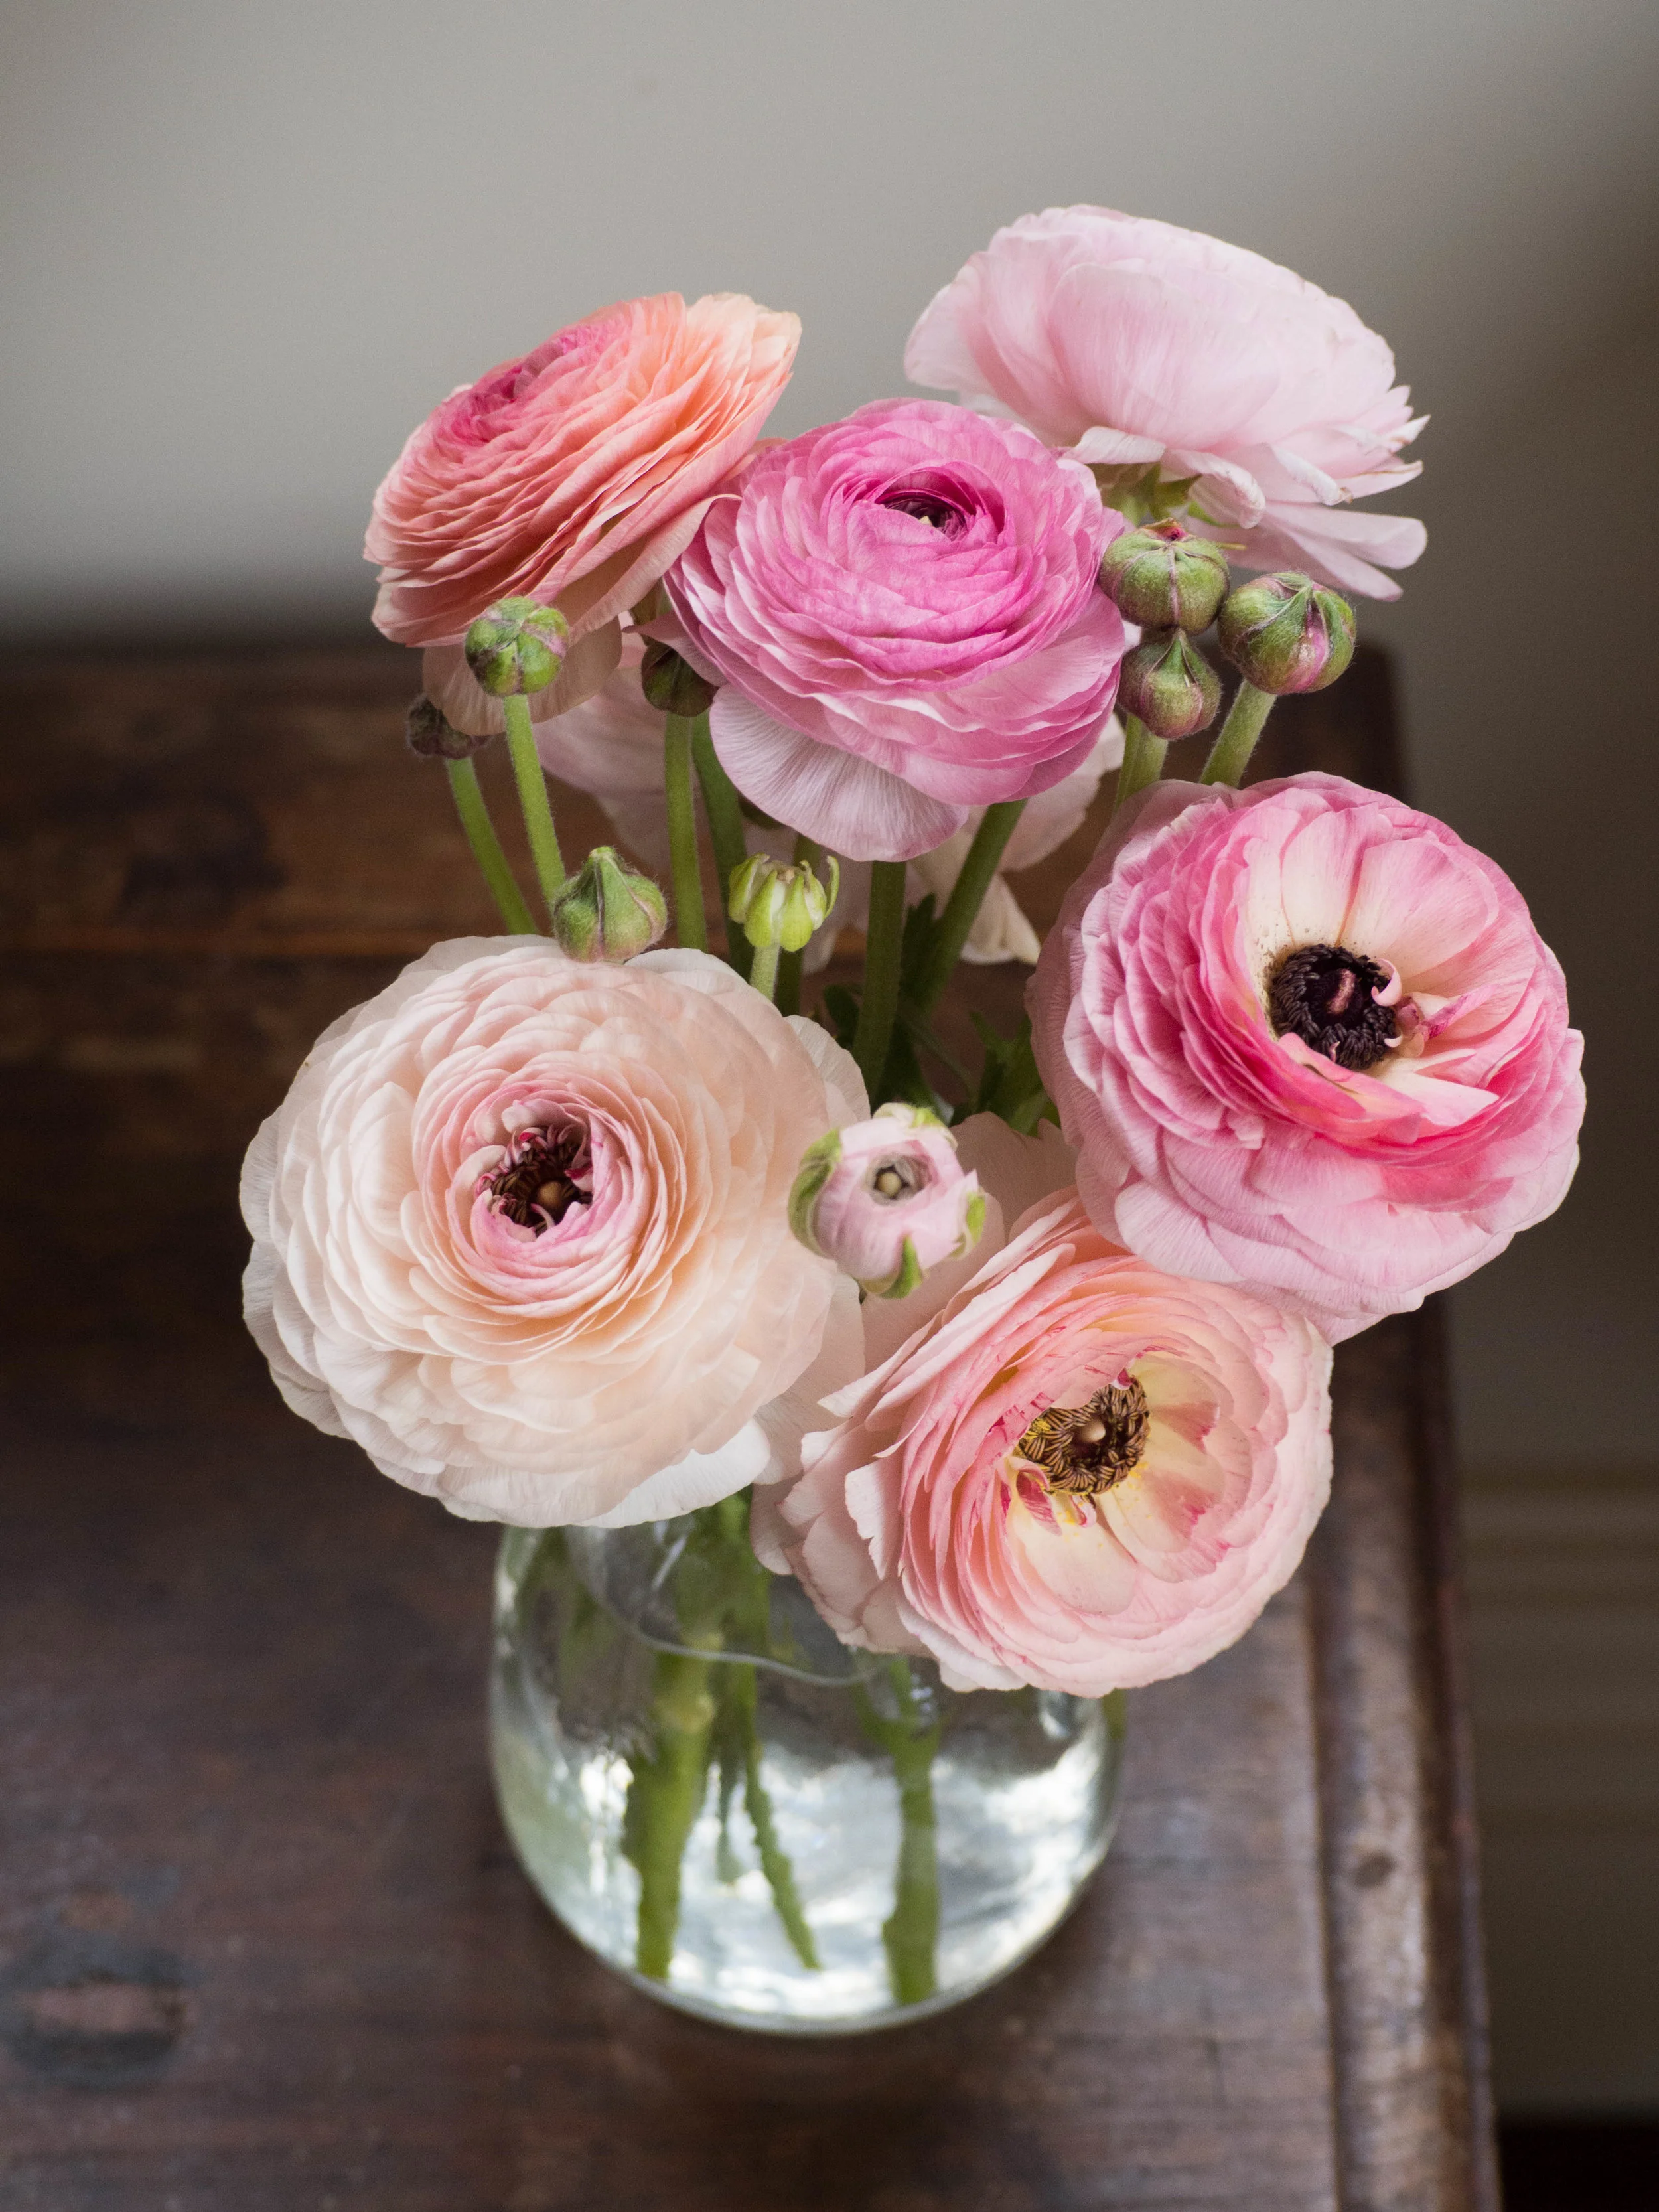
This month I am loving all the lovely Spring flowers. I have enjoyed many a bunch of roses picked from our garden, and have picked a bunch of hydrangeas each week for the last four weeks or so. I also bought a small bunch of peonies and they are taking pride of place on my desk at the moment.
Now that I am back working in the CBD of Sydney, I am enjoying popping over to the Food Hall in David Jones to check out all the lovely food and produce. I was excited to find they sell bagels and challah by Brooklyn Boy Bagels (my freezer is now stocked in case of a bagel emergency!).
I finally started listening to this podcast and am so glad I did.
Starting to think about Christmas and eyeing off all the cute festive things at Kikki-K.


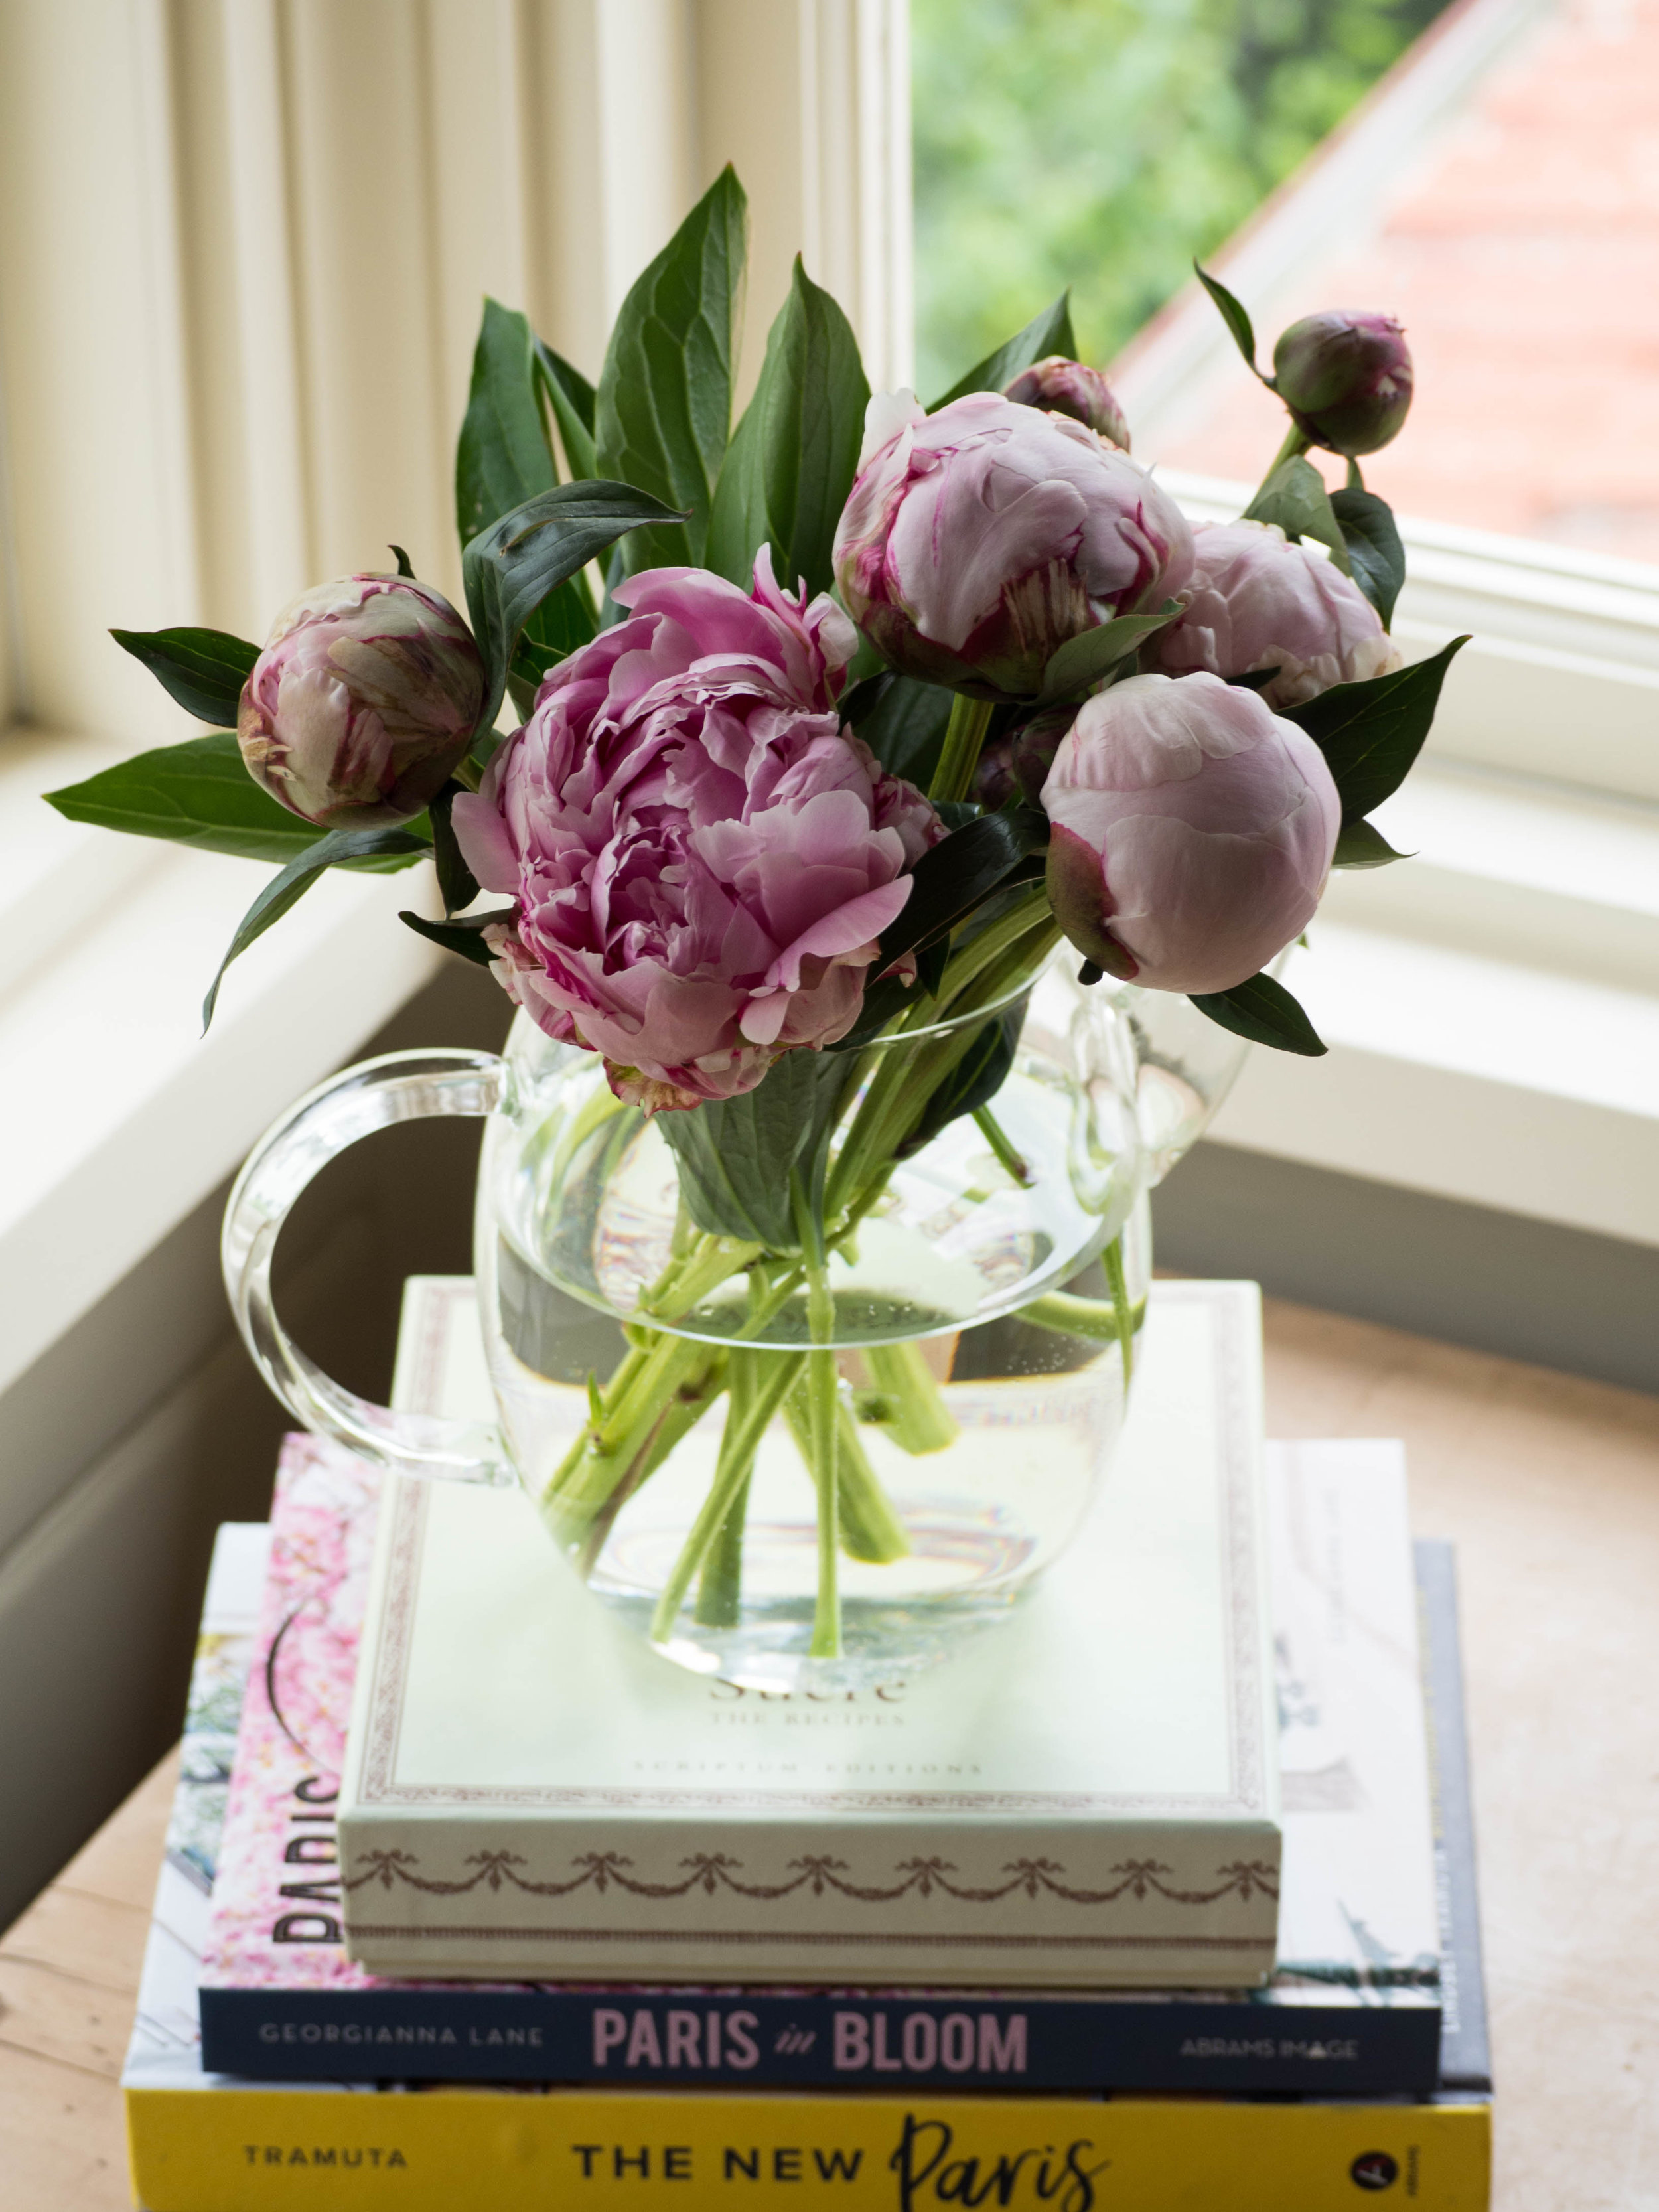

Peonies & Homegrown Hydrangeas
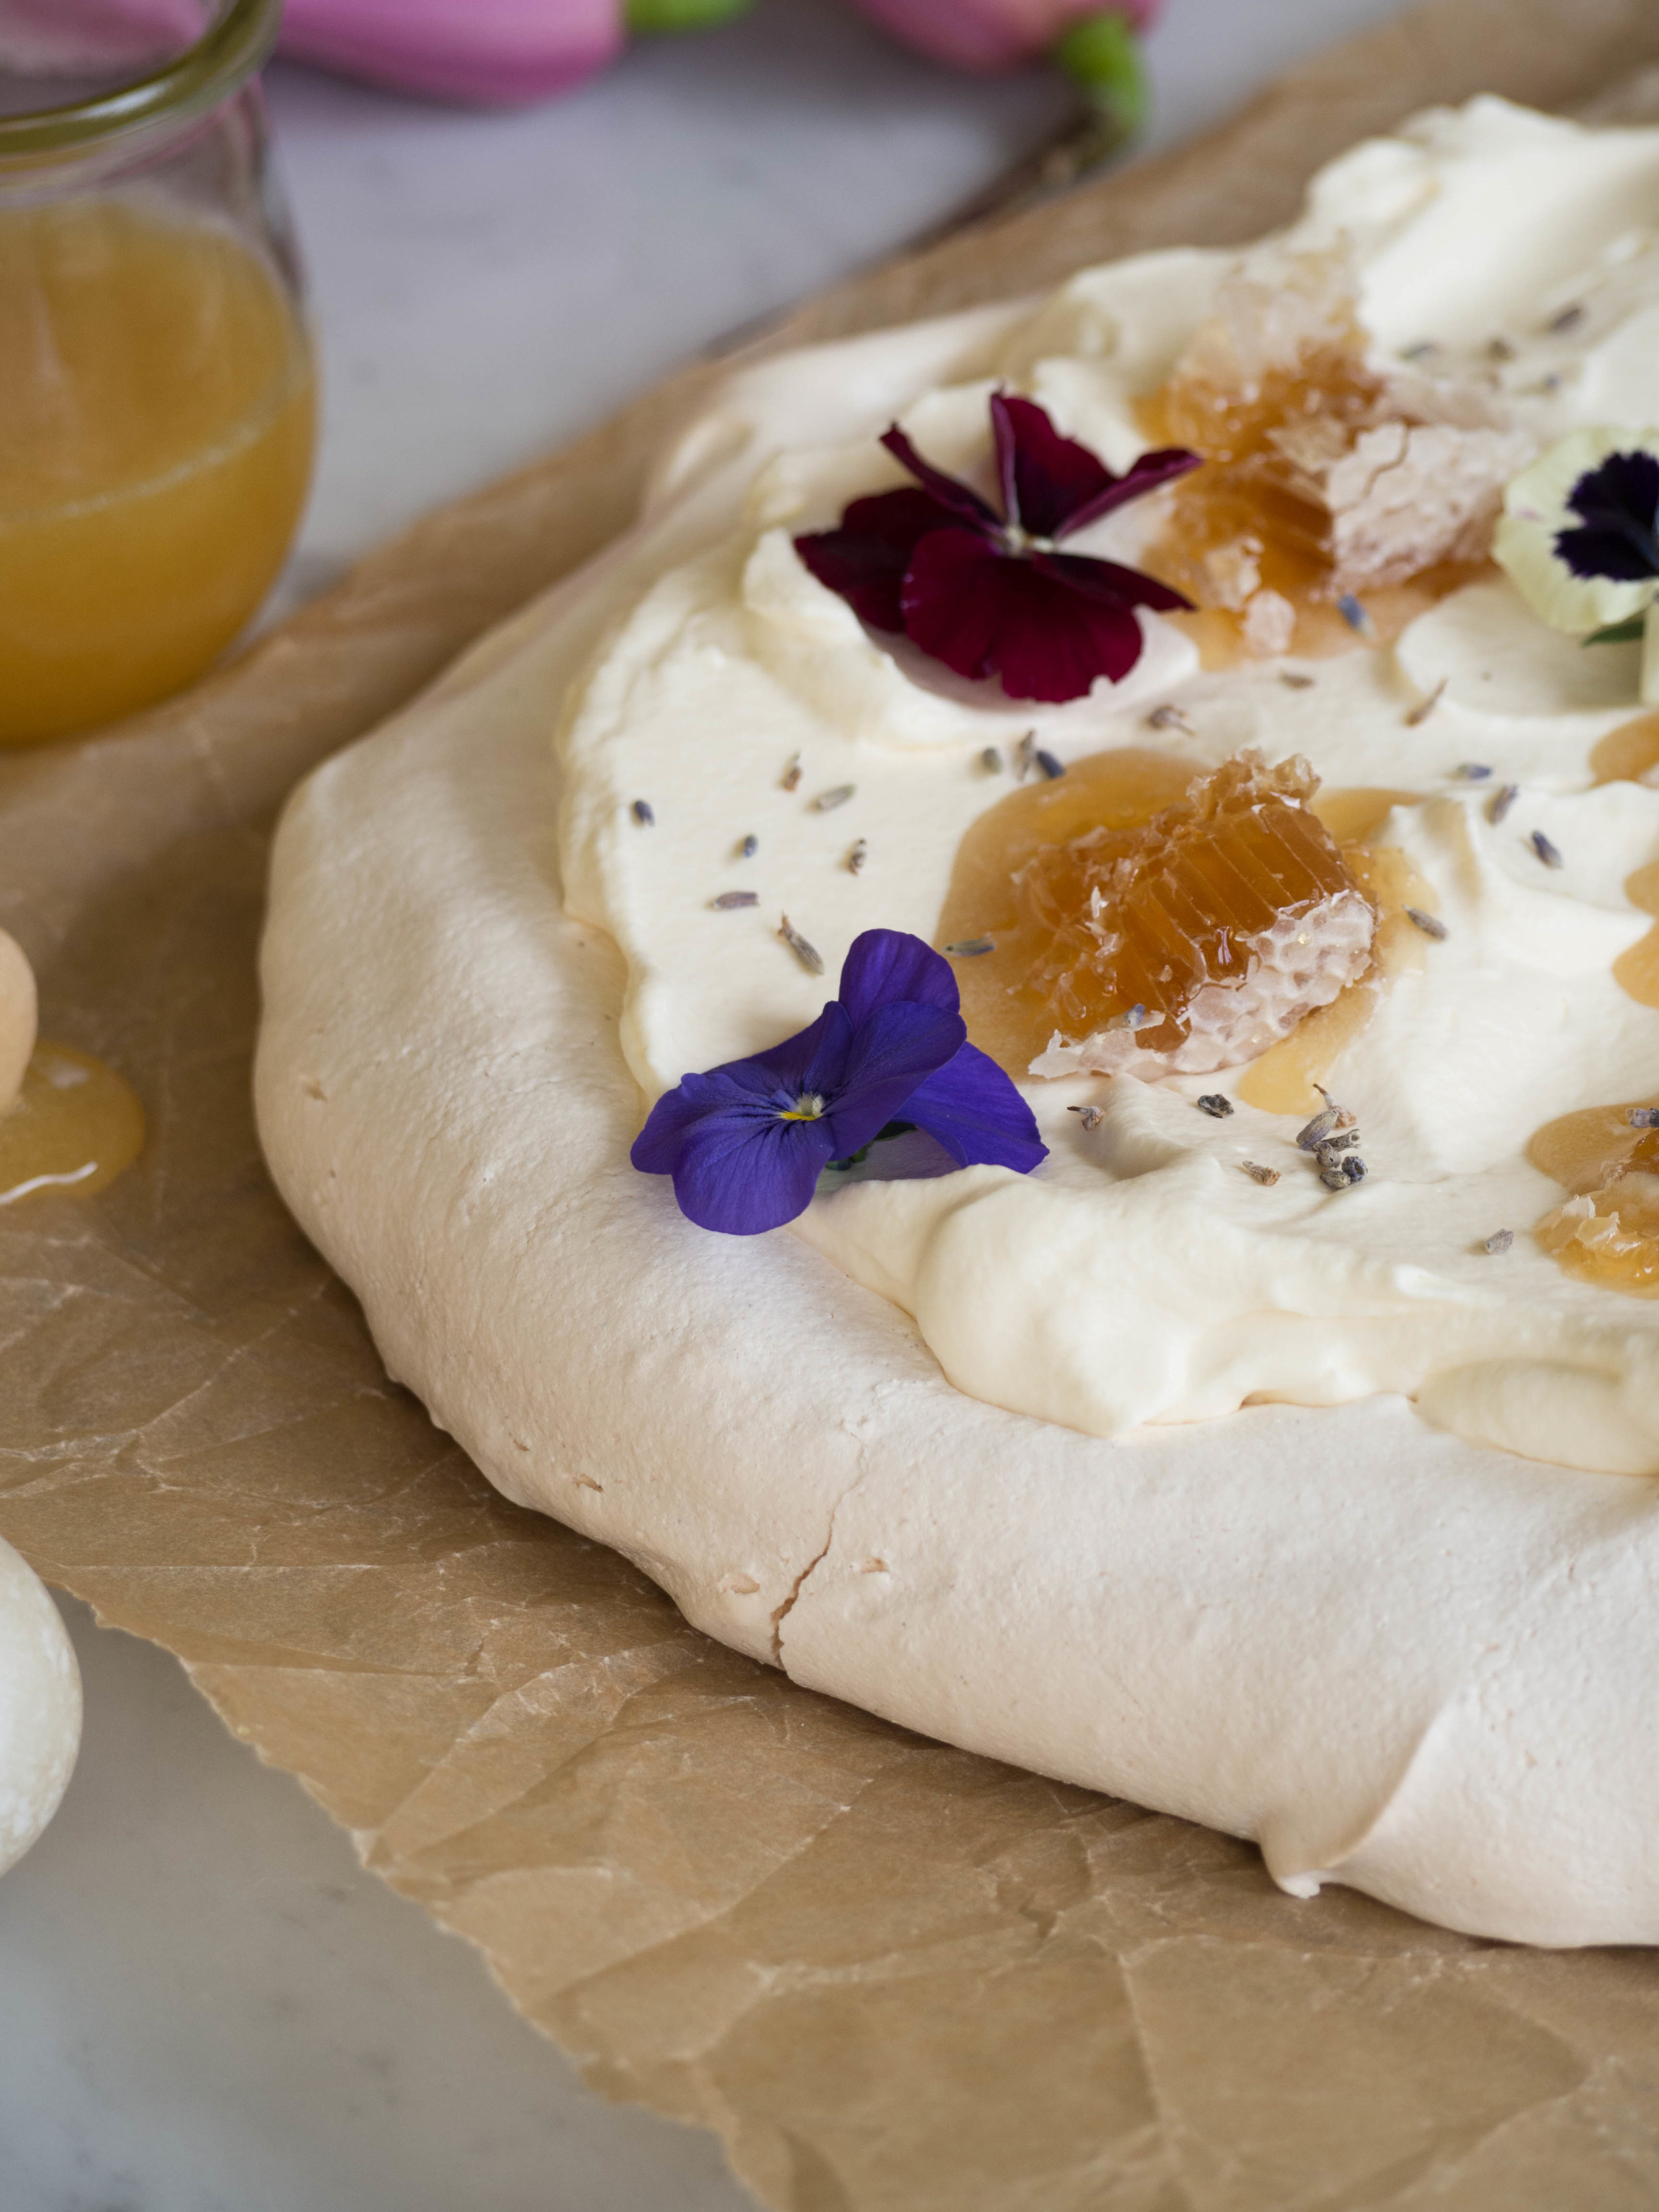
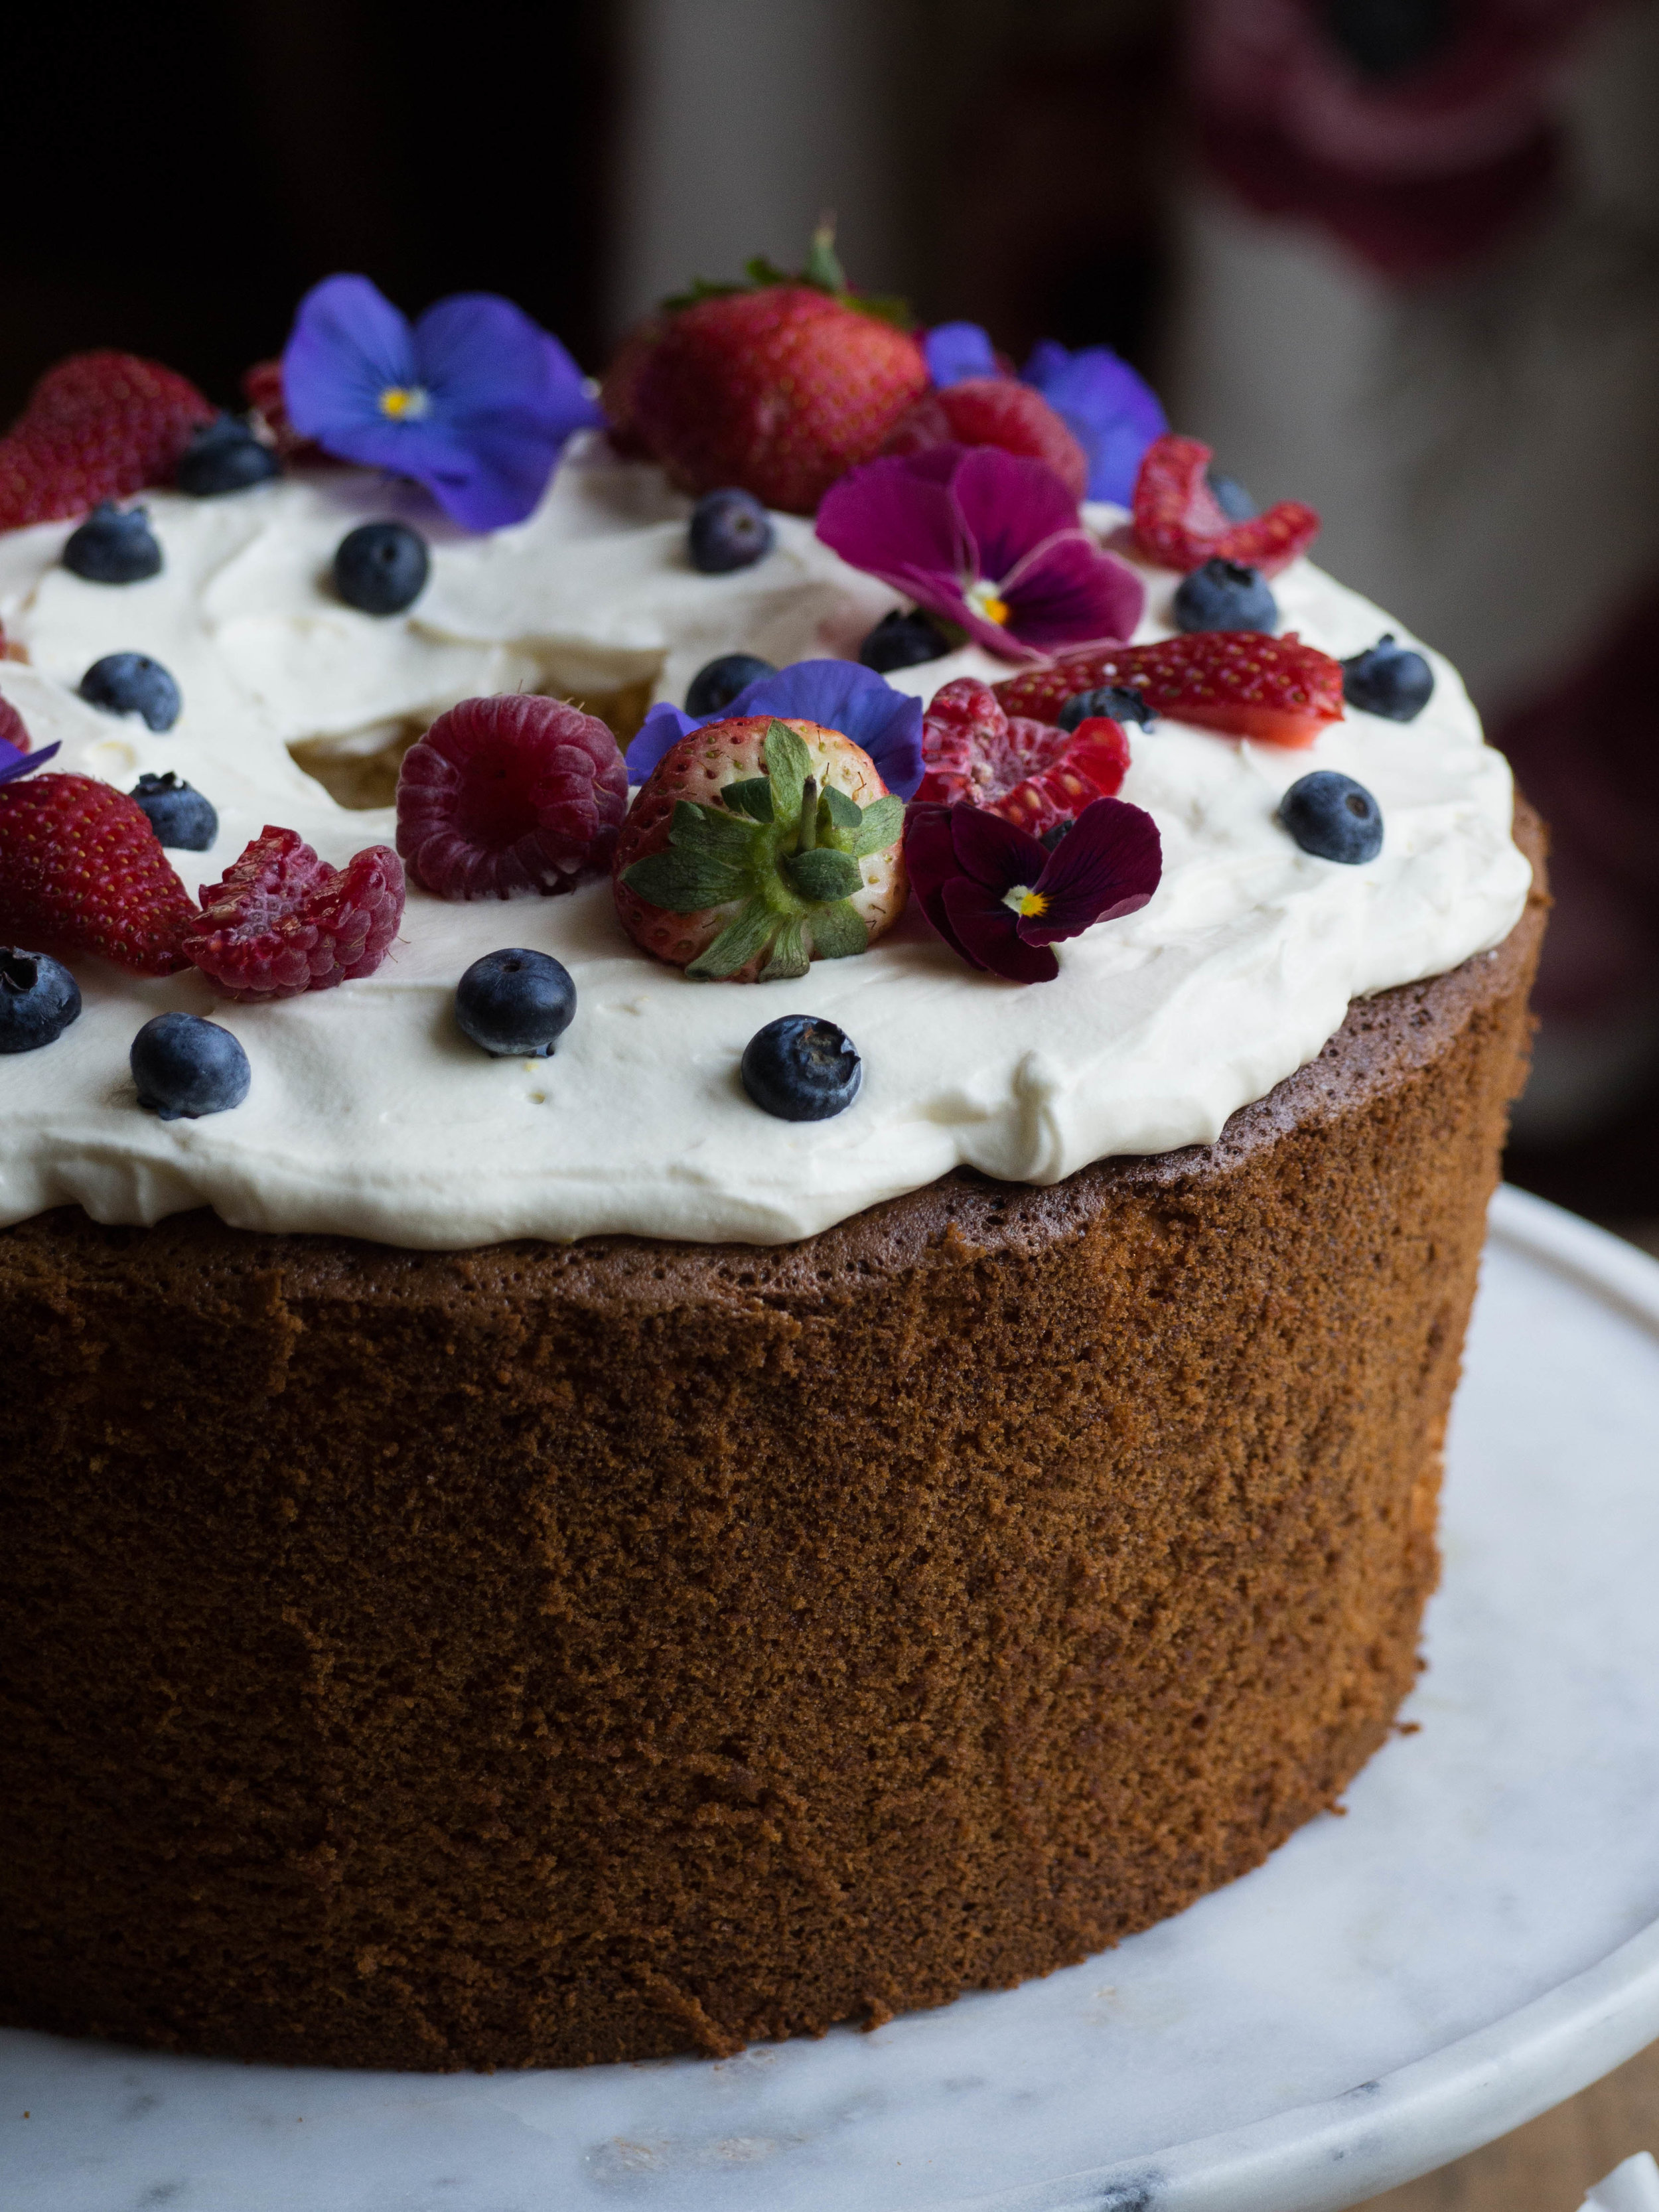
Elderflower Chiffon Cake
This cake is Summer on a plate for me. Elderflower and berries are Summer staples, and they both go so well in this cake. If you don’t have any elderflower cordial you can substitute it in the cake for lemon juice (so 180ml lemon juice in total). For the cake pictured in this post I used duck eggs (which are pictured in the above photos), because I can’t not buy them when I see them! I used 6 as they are much bigger than chicken eggs, and they gave the cake and amazing rise. It was the tallest chiffon cake I have ever made!

Using Duck Eggs to Make the Chiffon Cake


Berries to decorate the cake
Elderflower Chiffon Cake
Ingredients:
300g self-raising flour
330g golden caster sugar
7 eggs, separated
100ml + 1 tsp elderflower cordial
80ml fresh lemon juice
1.5 tbsp finely grated lemon zest
1/2 tsp cream of tartar
200ml pouring cream
berries & edible flowers to decorate, optional
Method:
Preheat oven to 180 degrees Celsius (or 170 degrees Celsius fan forced), and keep an angel food cake pan handy, but do not grease it.
Add 165g of the sugar and the egg yolks to the bowl of a stand mixer, using the paddle attachment, beat for at least 5 minutes or until the egg yolks have become thick and pale in colour.
While the egg yolks are beating, sift the flour at least 3 times to ensure it is well aerated.
With the mixer on low, gradually add the elderflower cordial (100ml), lemon juice, 1 tbsp of the lemon zest to the egg yolks. Mix until combined.
Sift the flour over the egg yolk mixture and gently fold in to the batter. Gently use a whisk if there are lumps of flour remaining in the batter.
Using another large bowl fitted to a stand mixer, beat the egg whites using the whisk attachment until soft peaks form. Sift over the cream of tartar, then gradually add in the remaining sugar (165g), and whisk until the sugar has dissolved and the meringue mixture is stiff and glossy.
Using a large metal spoon, gently fold the meringue mixture into the egg yolks in 2 or 3 batches, and stop mixing once everything is just combined. They key is not to over mix, as the air you have beaten into the egg whites will help give the chiffon cake it’s characteristic rise.
Transfer the mixture into the ungreased angel food cake tin, and smooth the top with a spatula. Bake for 50 minutes or until a skewer comes out clean.
Once the cake is done, invert it so the hole in the middle of the cake tin sits over the neck of a bottle. Leave like this until completely cooled - if the cake is not inverted once it comes out of the oven, it will sink. Once the cake has cooled, remove from the tin by carefully running a knife around the outside, middle and underneath of the cake.
To finish the cake, beat the cream in a small bowl until soft peaks form. Add the remaining lemon zest and elderflower cordial and whisk to combine. Use the cream to decorate the top of the cake, finishing with berries and edible flowers.

Elderflower Chiffon Cake

Elderflower Chiffon Cake
Reference: ‘Indulgent Cakes’ by The Australian Women’s Weekly (Bauer Media Books, 2014) pp.218-9.
Elderflower Chiffon Cake

Elderflower Chiffon Cake