Bought at: received as a gift - thankfully as I had been wanting it so badly after it was released!
Recipes Made: Roasted Baby Carrots with Harissa and Pomegranate p.116, Butternut Squash with Sweetcorn Salsa, Feta and Pumpkin Seeds p.122, Roasted Beetroot with Yoghurt and Preserved Lemon p.125, Pappardelle with Rose Harissa, Black Olives and Capers p.188, Chicken Marbella p.229, Bridget Jones’s Pan Fried Salmon with Pine Nut Salsa p.246, Plum, Blackberry and Bay Friand Bake p.274 and Fig and Thyme Clafoutis p.278.
The Roasted Carrots with Harissa and Pomegranate has a few flavours that I particularly like - honey, coriander and pomegranate seeds, so I was always going to be trying this recipe. I made it as a side to a main meal, and I really enjoyed it. I put much less harissa in than the 2tbsp Ottolenghi says, as I am not a great fan of spicy foods. The pomegranate seeds added a great juicy crunch to the carrots which was lovely, and also gave the dish a great vibrant colour!
The Butternut Squash with Sweetcorn Salsa Feta and Pumpkin Seeds, is great as a side to something else, or as the main thing itself. The Sweetcorn salsa was absolutely amazing and had me wanting to eat more even though I was full! It was a really nice meal to have on a warm Summer night (even though pumpkin isn’t exactly in season then!).
I made the Roasted Beetroot with Yoghurt and Preserved Lemon with golden beetroot, as I find I am unable to walk away from a store without buying them if they have some. As I didn’t have any tahini, I used pistachio butter instead for the yoghurt dressing and also omitted the preserved lemons too. We did have a jar of preserved lemons, and I wanted to use them, but Mum had bought them with the idea of using them for something else. Nonetheless the salad was still great, and I even added some of the leftovers to a frittata a few days later.
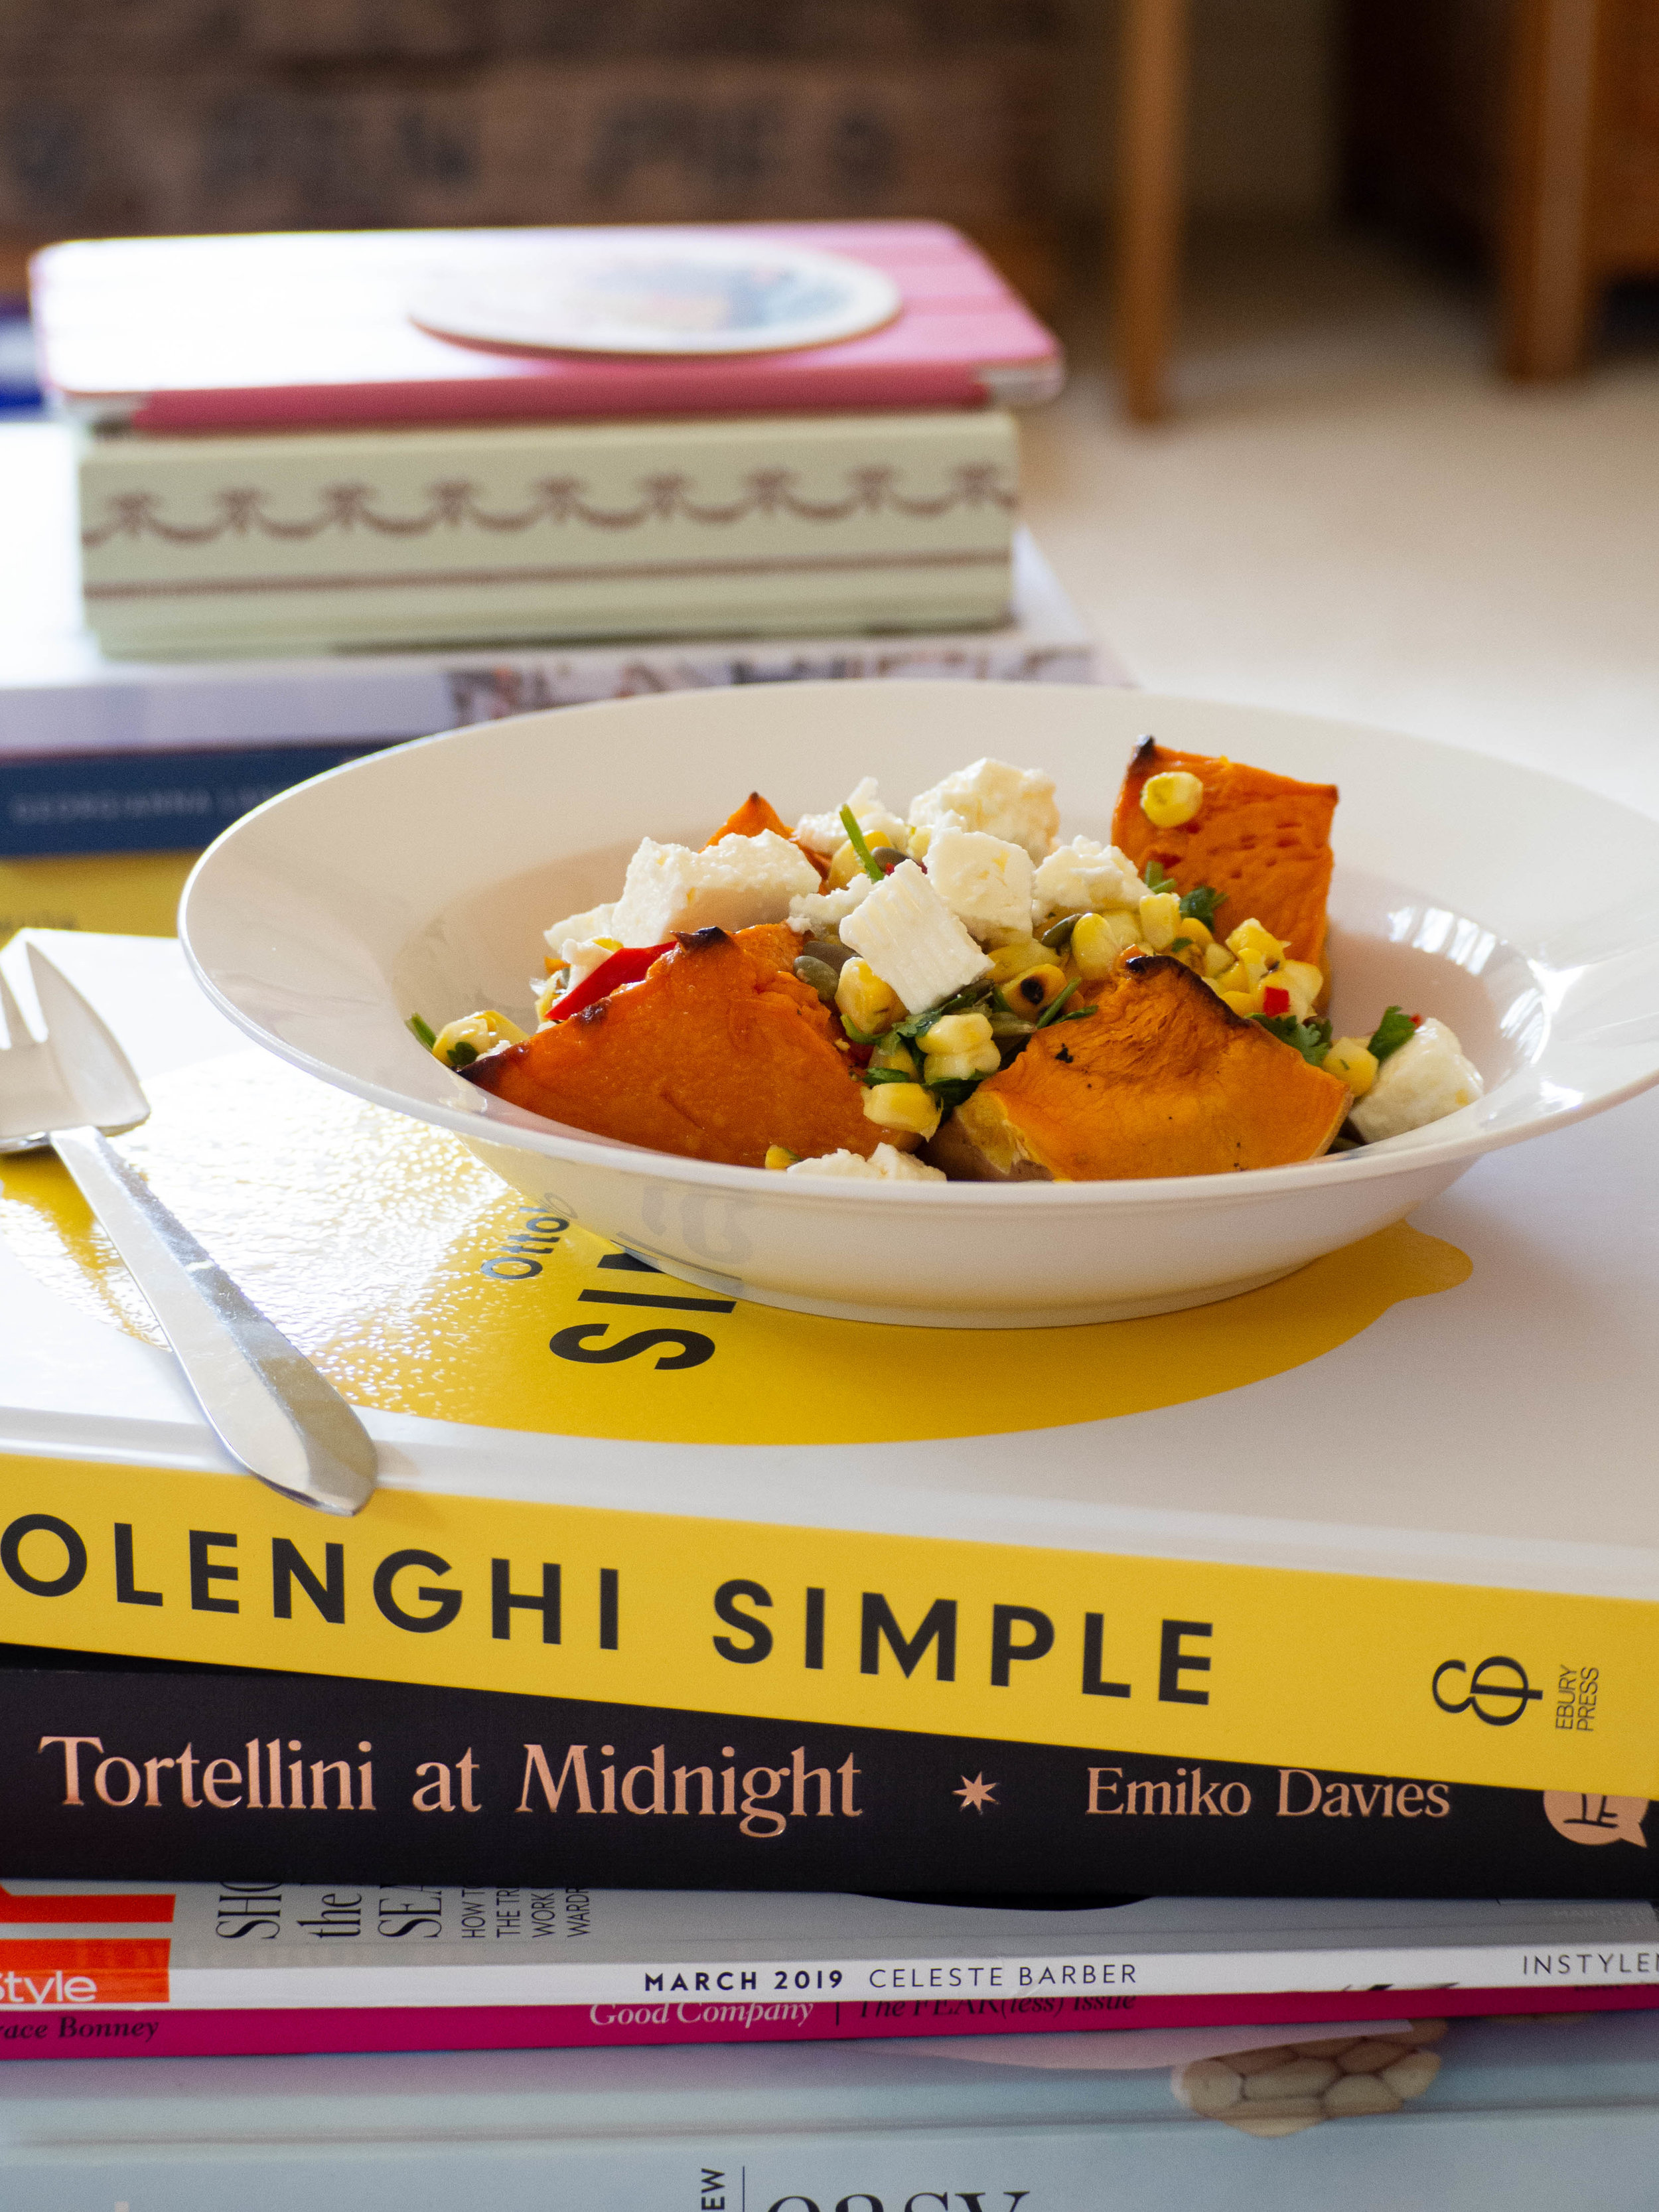
Butternut Squash with Sweetcorn Salsa Feta and Pumpkin Seeds
I really enjoyed the Pappardelle with Rose Harissa Black Olives and Capers (albeit with much less harissa than stated in the recipe!). I had heard about the recipe before I got a copy of Simple, as Yotam made it during one of his podcasts. I remember thinking I needed to make the recipe once I got the book, and it ended up being the first thing I made! I loved the combination of capers and olives in this recipe, as they are two of my absolute favourite ingredients.
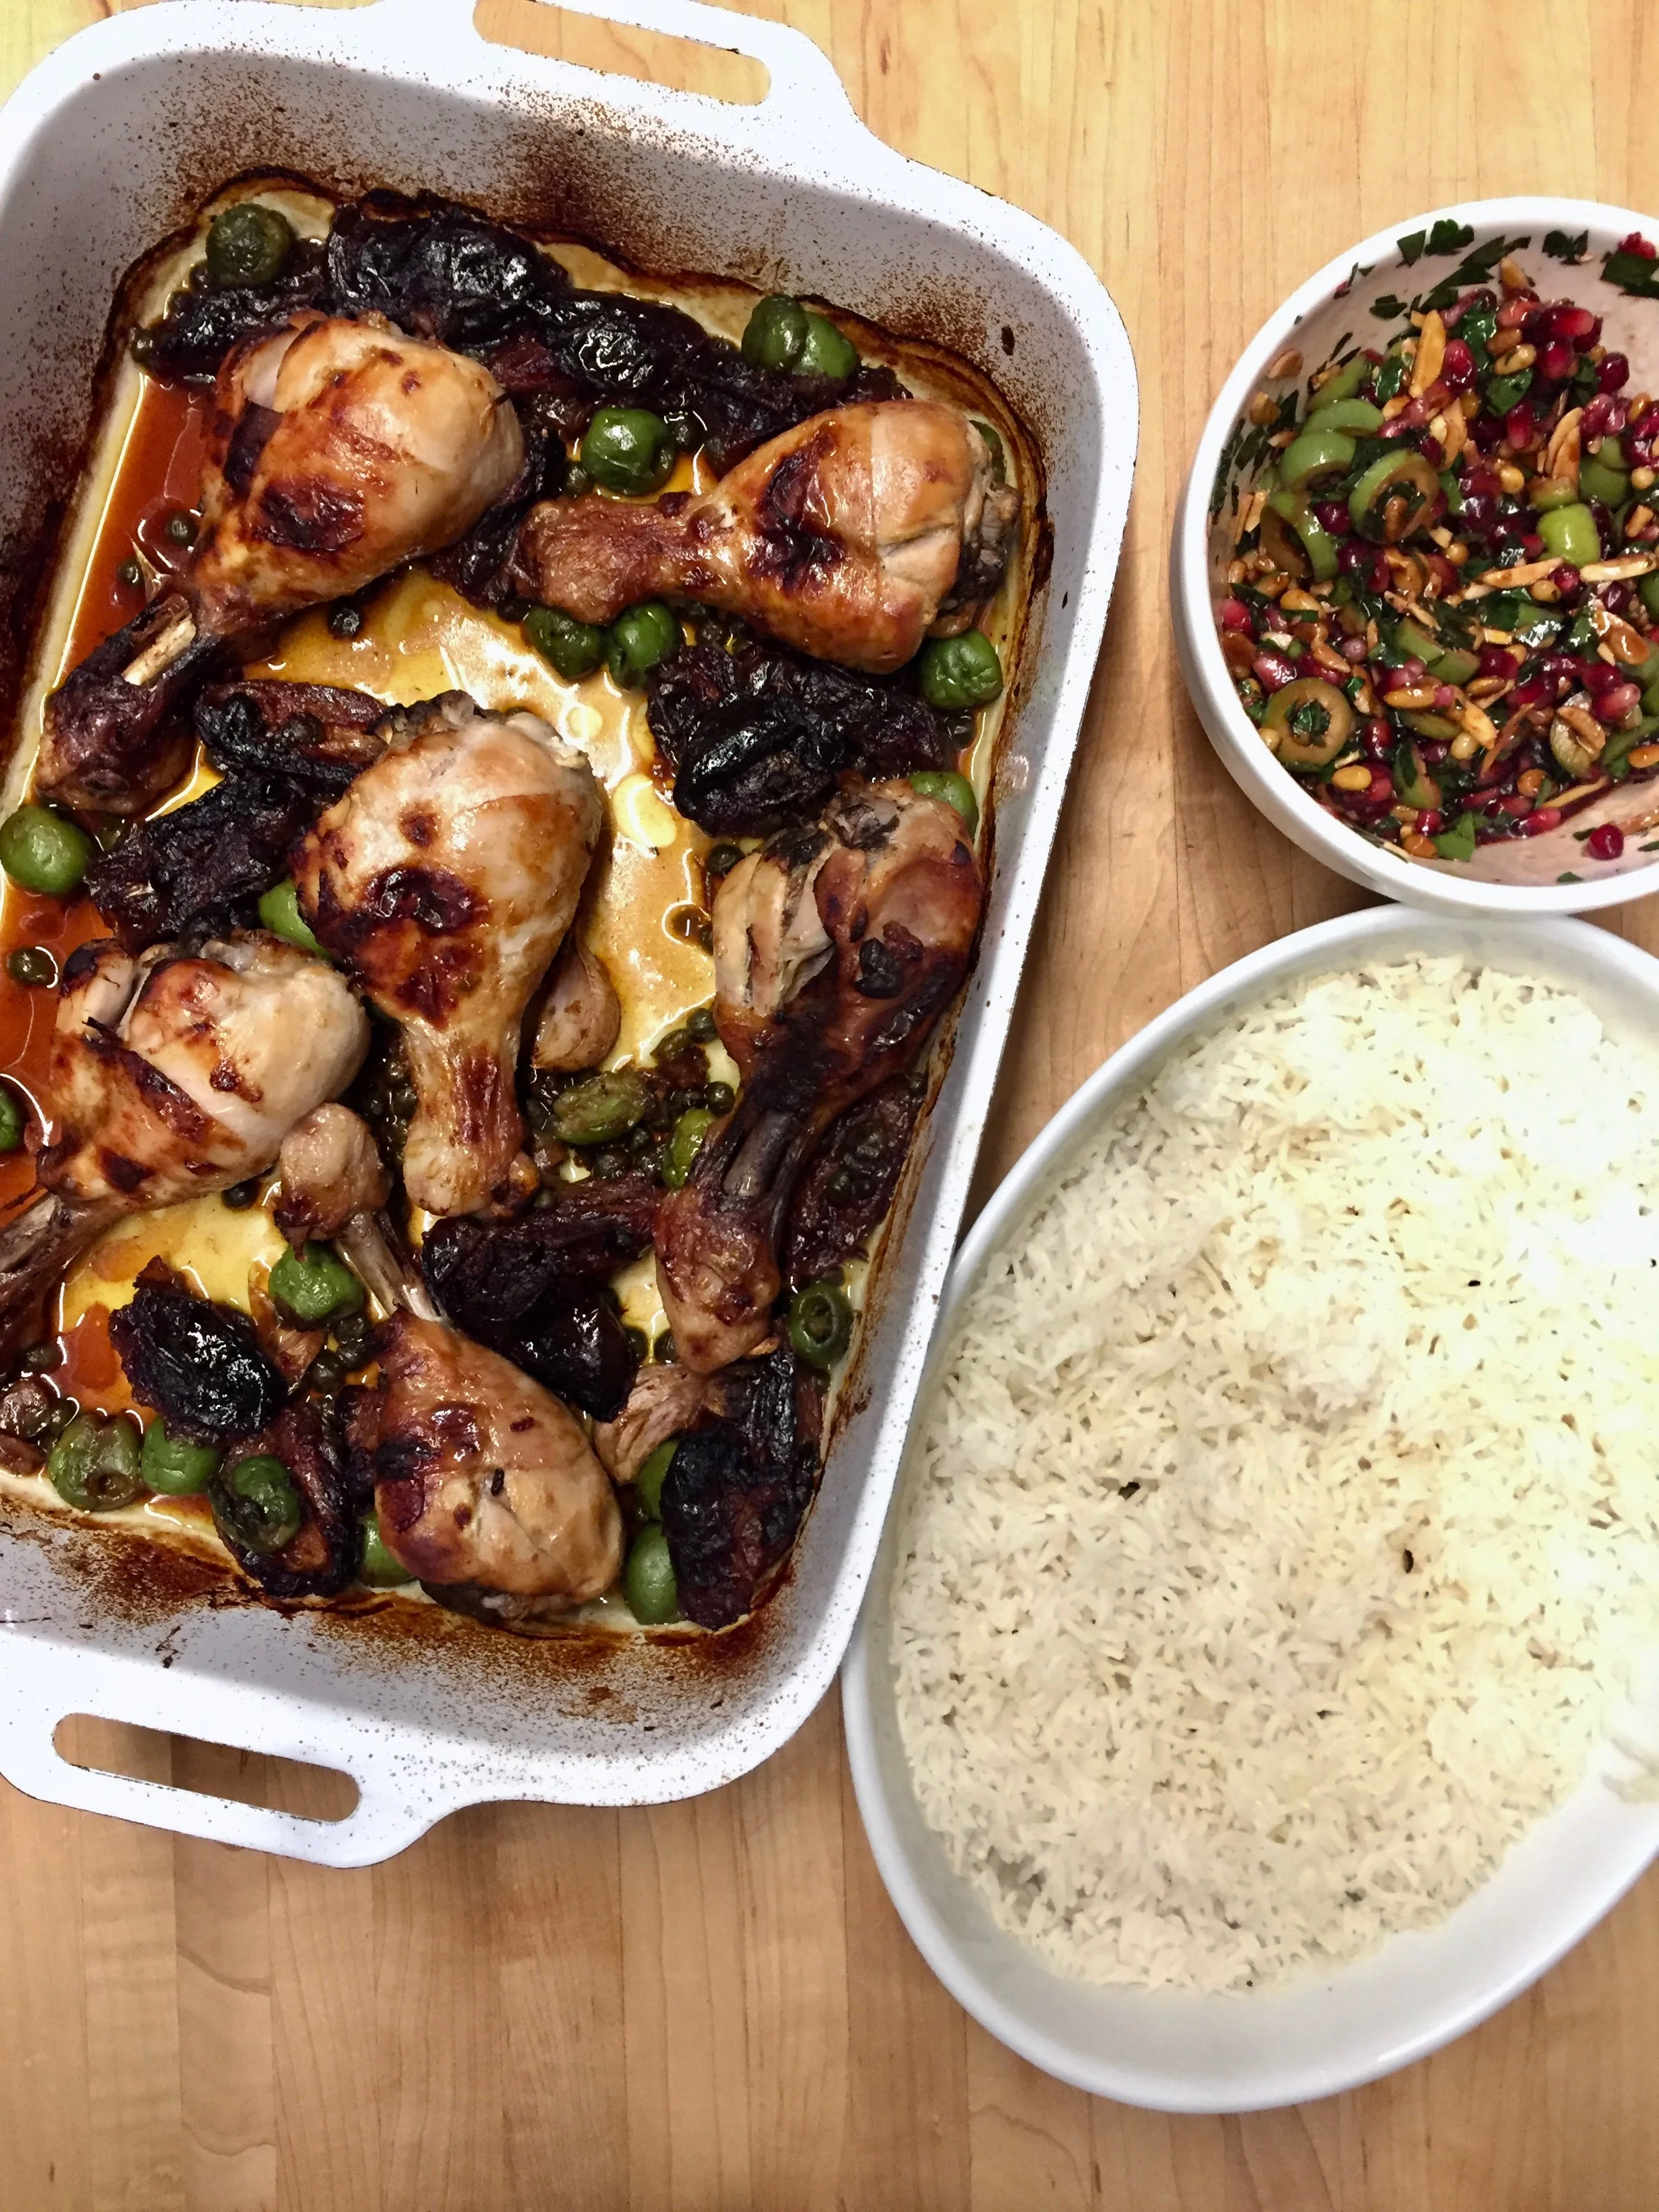
Chicken Marbella with Baked Rice with Pomegranate and Olive Salsa (added 08/08/2019)
The Chicken Marbella is my favourite chicken recipe of the moment. I make it every week or two and I just enjoy it so much. Most of the ingredients we usually have at home already, so I only need to buy some chicken. I haven’t found the specific cut of chicken specified in the recipe, when I have found something similar (like chicken marylands), they just don’t have that much meat on them. I now buy drumsticks (about 6, to feed three people) and it works really well. I always have the chicken marinating overnight, and I even found date molasses in a Persian grocery store here in Sydney (which I have now found more uses for than this recipe!). The combination of chicken, capers, green olives, white wine and vinegar leads to the most moorish chicken dish that has the perfect balance of sweet and acidic flavours.

When I first received a copy of Simple, I sat down and put sticky notes on every recipe I wanted to make. Sure enough I used up a lot of sticky notes as there are so many great recipes in this book. I didn’t however mark the recipe for Bridget Jones’s Pan Fried Salmon with Pine Nut Salsa. I’m not sure why, as I do like salmon and again it uses capers and olives which usually has me bookmarking a recipe in an instant. The fish section in Simple is towards the back of the book, maybe I just had bookmarking fatigue by then? Luckily when my Mum looked at the book this recipe stood out to her and she made it. It was so good, that I now want to eat it all the time. The Pine Nut Salsa cuts through the oiliness of the fish, and the flavours are delicate yet tasty.
My Mum also made the Plum Blackberry and Bay Friand Bake, which was a lovely dessert for the end of a meal. I love friands so a whole cake size of it was just great. Like any friand it is best eaten the day it is made.
Mum also made the Fig and Thyme Clafoutis. And after trying to search for the particular figs mentioned in the recipe (black figs), we ended up just having to buy whatever we could find. This is the only recipe we haven’t really loved from this book so far, and I think it was more because we just aren’t a ‘fig loving family’ unfortunately!

Favourite Things About the Book: The recipes! This book is absolutely jam packed with fantastic recipes. They have Yotam’s characteristic bold flavours, but with a paired back, slightly more simple approach. There is also a great variety of recipes in this book, so it’s one you can add to your collection and know you will use it all throughout the year for all different kinds of meals and occasions. Ottolenghi’s recipes are also very well tested before publication, and it shows, as they all work!
Bookmarked Recipes (to make later!): There are so many, but a few that I would like to try next are Roasted Aubergine with Anchovies and Oregano p.64, Cauliflower, Pomegranate and Pistachio Salad p.91, Sweet Potato Mash with Lime Salsa p.131, Oven Chips with Oregano and Feta p.138, Baked Mint Rice with Pomegranate and Olive Salsa p.171, Pasta alla Norma p.184-5, Orzo with Prawns, Tomato and Marinated Feta p.193, Gnocchi alla Romana p.198 and Fishcake Tacos with Mango, Lime and Cumin Yoghurt p.254.