Kulinary Adventures of Kath

Food Photography, Recipes & Baking
  • home
  • About
  • Work with Kath
  • Shop
  • Blog
    • The Blog
    • Recipe Archive
  • Newsletter
  • Contact
  • home
  • About
  • Work with Kath
  • Shop
    • The Blog
    • Recipe Archive
  • Newsletter
  • Contact
Raspberry Pistachio Rose Cake (23 of 25).jpg

The Blog

Recipes and Food Photography by Kath Vincent.

  • The Blog
  • Recipe Archive
  • All
  • Biscuits/Cookies
  • Breads Etc.
  • Breakfast
  • Cakes & Slices
  • Confectionary
  • Drinks
  • Events
  • Food Photography Tips
  • From The Mailing List
  • Heirloom Recipes
  • Holidays
  • Ice Cream
  • Jams Preserves & Spreads
  • Muffins
  • Off the Shelf
  • Other Desserts
  • Savoury Dishes/Meals
  • Scones
  • Tarts & Pastry
  • Travel
Homemade Pistachio Ice Cream

Homemade Pistachio Ice Cream

Kath September 16, 2019

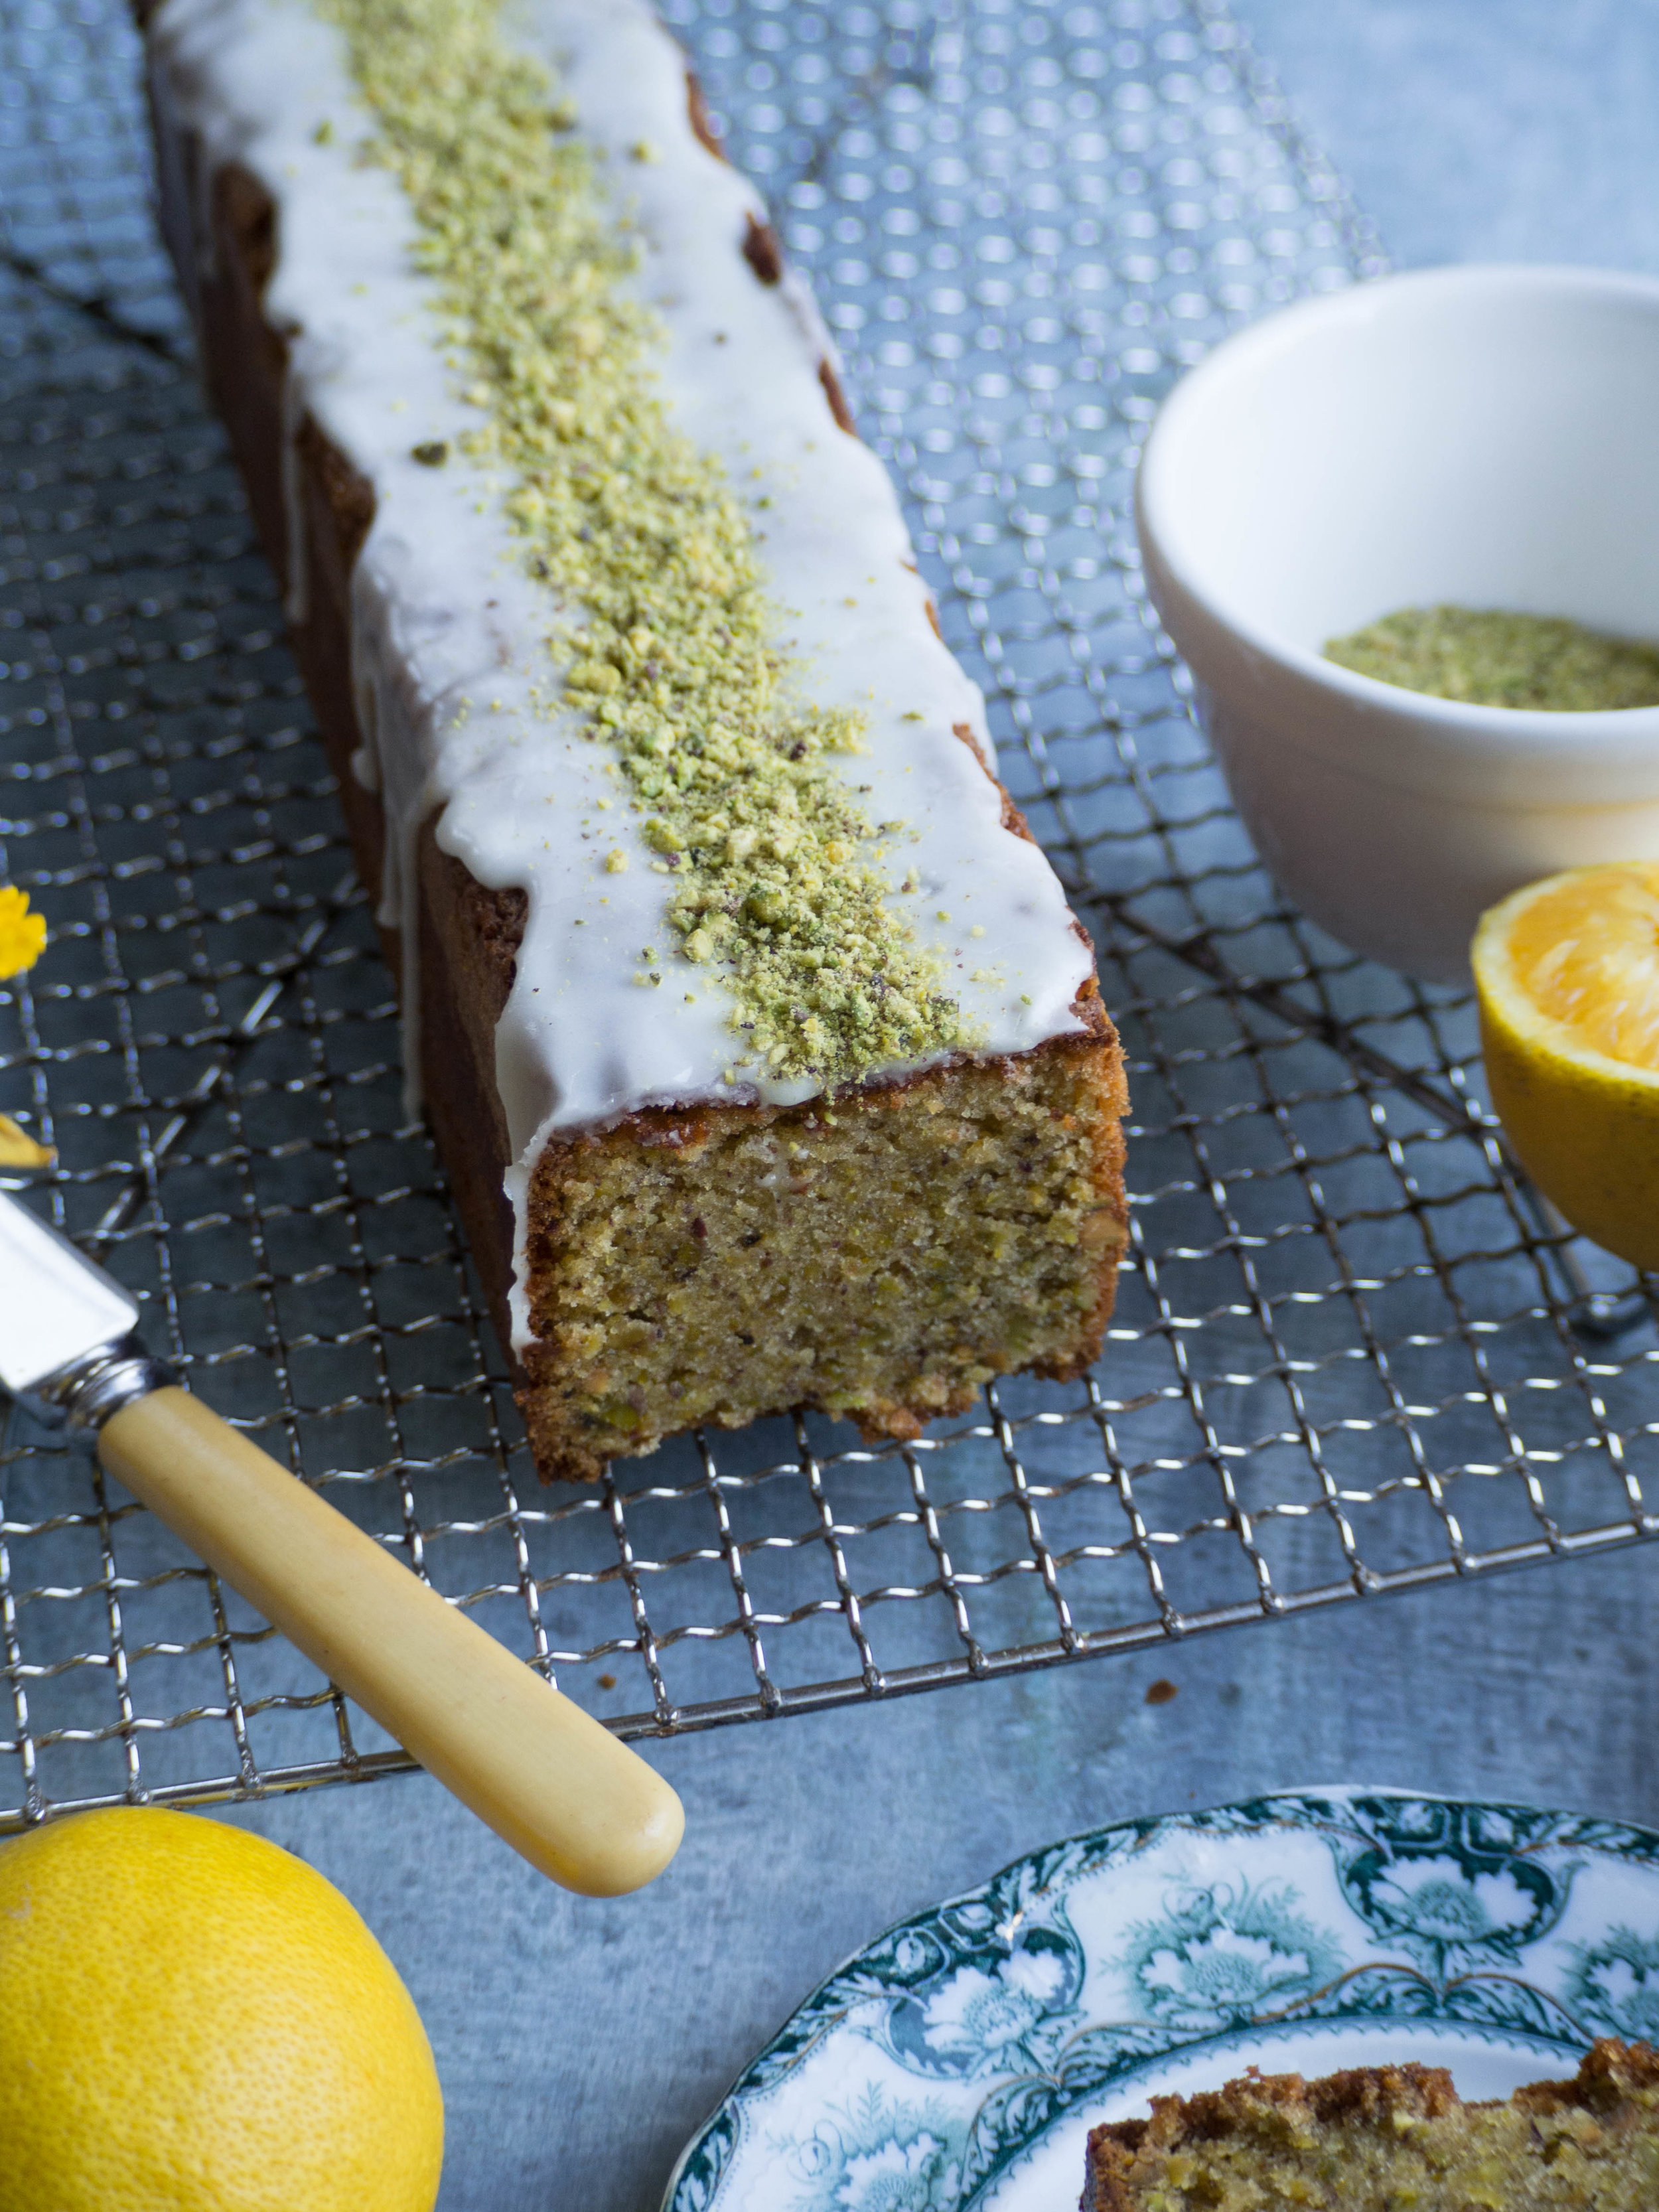
I have quite the obsession with pistachio ice cream and gelato. It is a flavour I would have turned by nose up at as a child, but now the prospect of having a decent pistachio ice cream fills me with joy. 

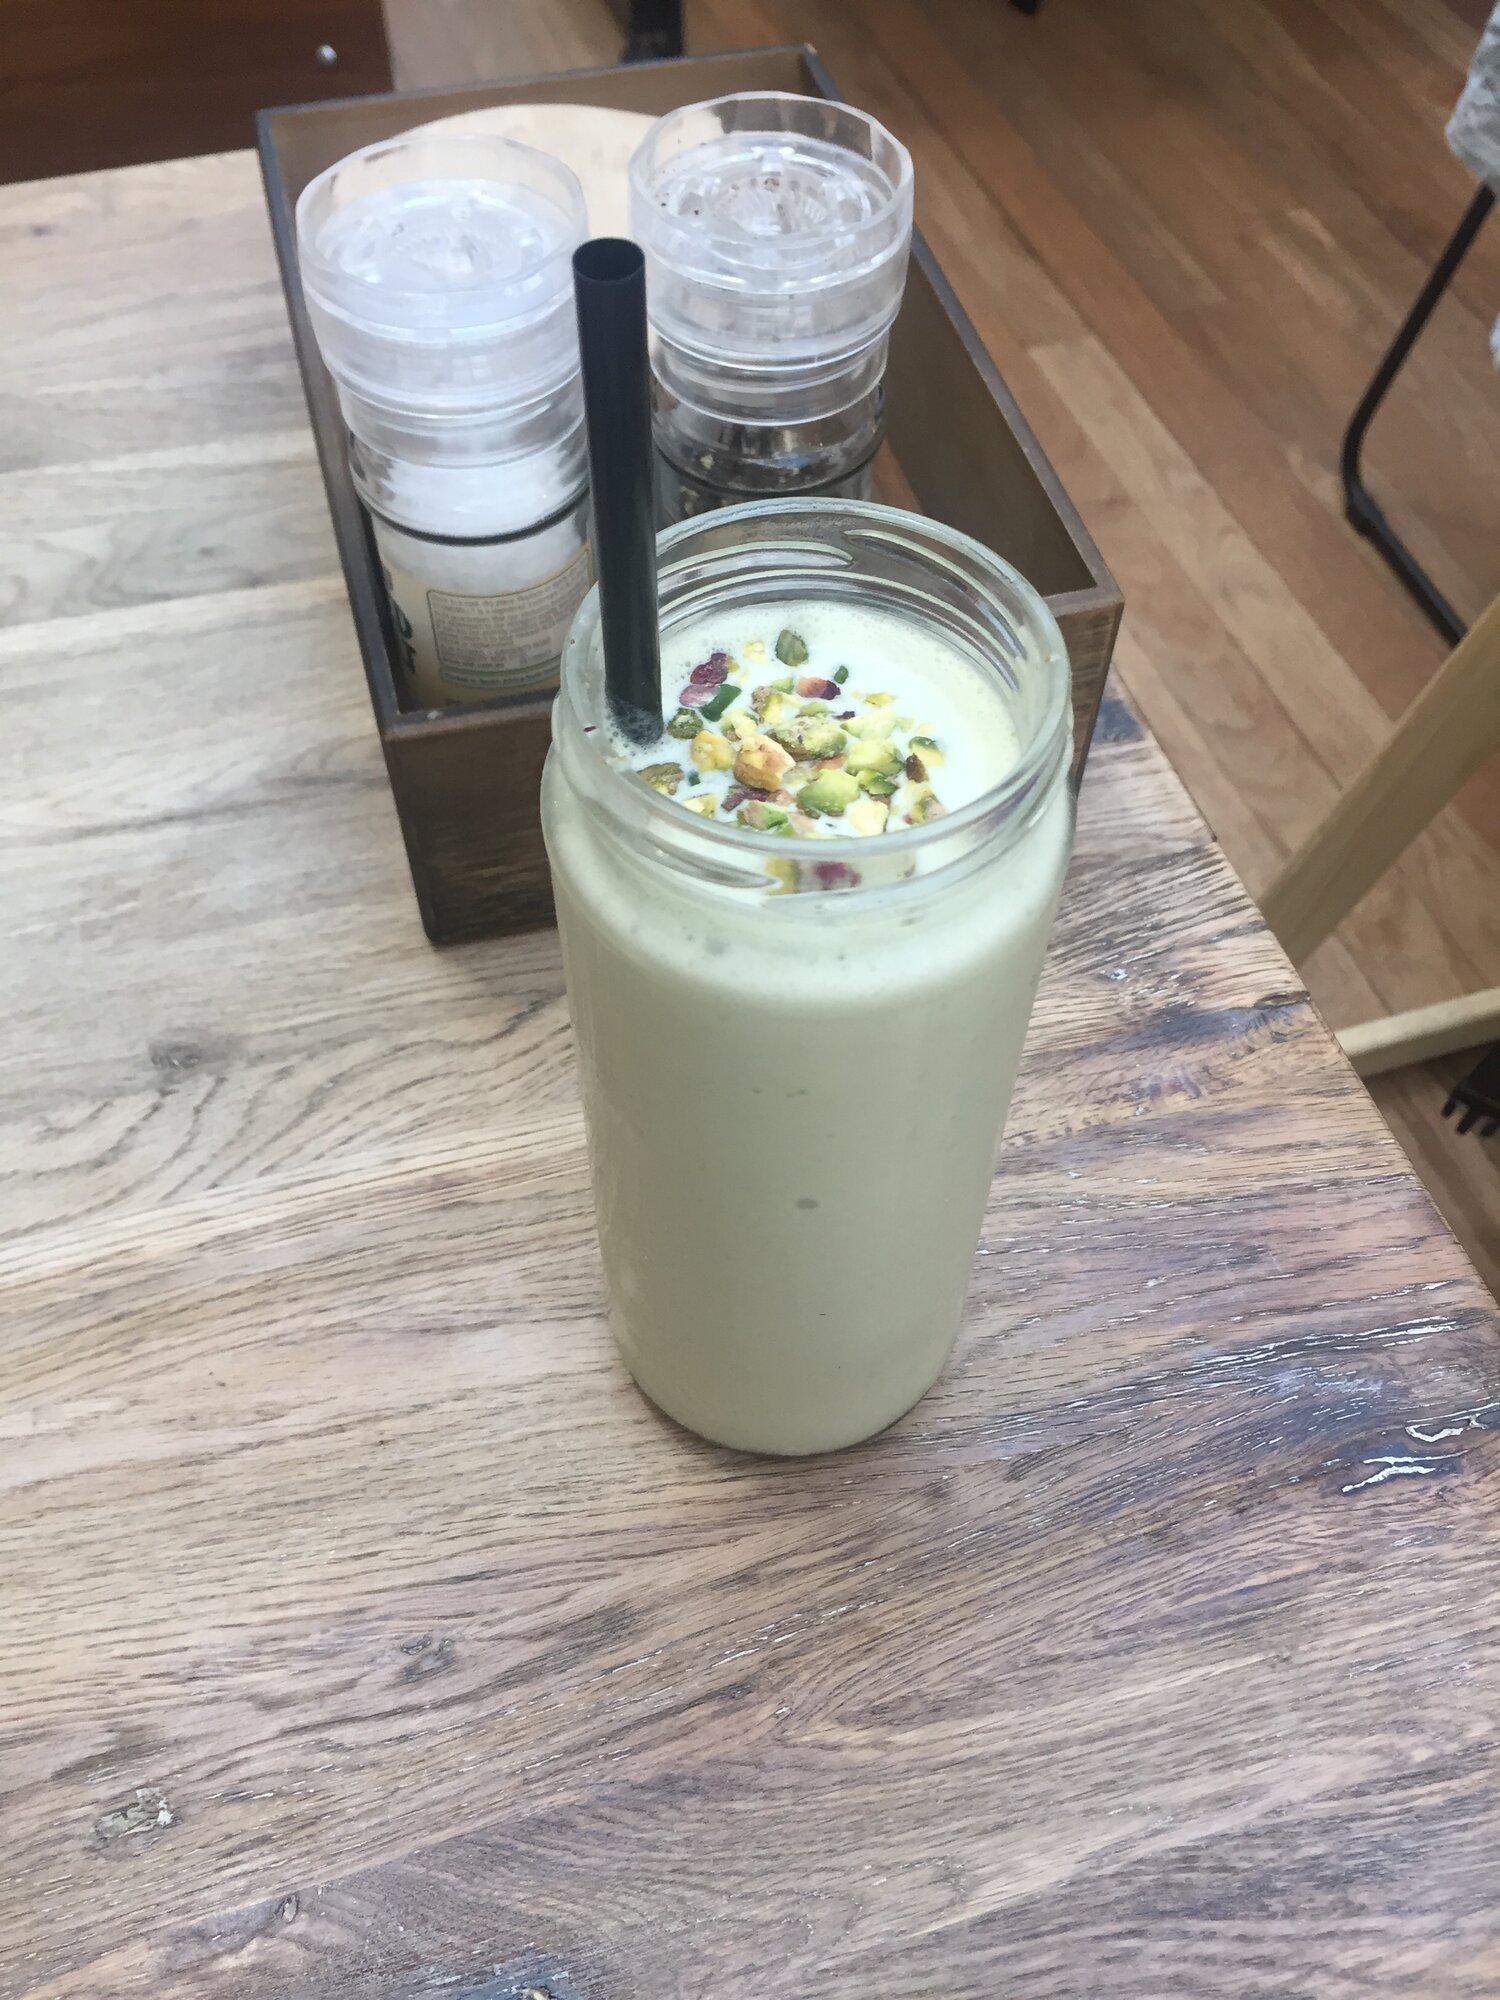
My obsession started earlier this year, with a cafe in my local Westfield serving a pistachio thickshake made with pistachio gelato. It was utter heaven, and I ordered it a few times over those hot Summer months (to the point the waiters at the cafe began to recognise me and my standard order). Then a few months ago, the cafe changed their menu and the pistachio thickshake was long gone. 

I tried a couple of bought tubs of pistachio gelato, and while they were ok, they weren’t exactly what I was looking for. 

I began to research recipes in order to make some at home myself. It became a lot easier when I found a recipe for homemade pistachio paste, as most recipes for pistachio ice cream or gelato use it, however I have never been able to find it here in Sydney. 

View fullsize The Pistachio Thickshake that started it all
View fullsize Pistachio Praline Gelato from Gelato Messina
View fullsize My initial attempt at Pistachio Ice Cream
View fullsize Pistachio Gelato from Piccolina Gelateria

I first tried adding some homemade pistachio paste to my much used easy egg free ice cream recipe. While the flavour was good, the texture was far too firm and it froze like a solid log of ice cream. 

The next recipe I tried as another egg free one from the blog Top With Cinnamon by Izy Hossack. I really liked this recipe, as the flavour was really good and the texture much less icy and solid like my initial attempt. The recipe also made quite a lot of ice cream which I definitely liked. My only issue was it took a really long time to churn in the ice cream maker. The ice cream base was quite thin, and there being so much of it, it did feel like it wasn’t ever going to work! 

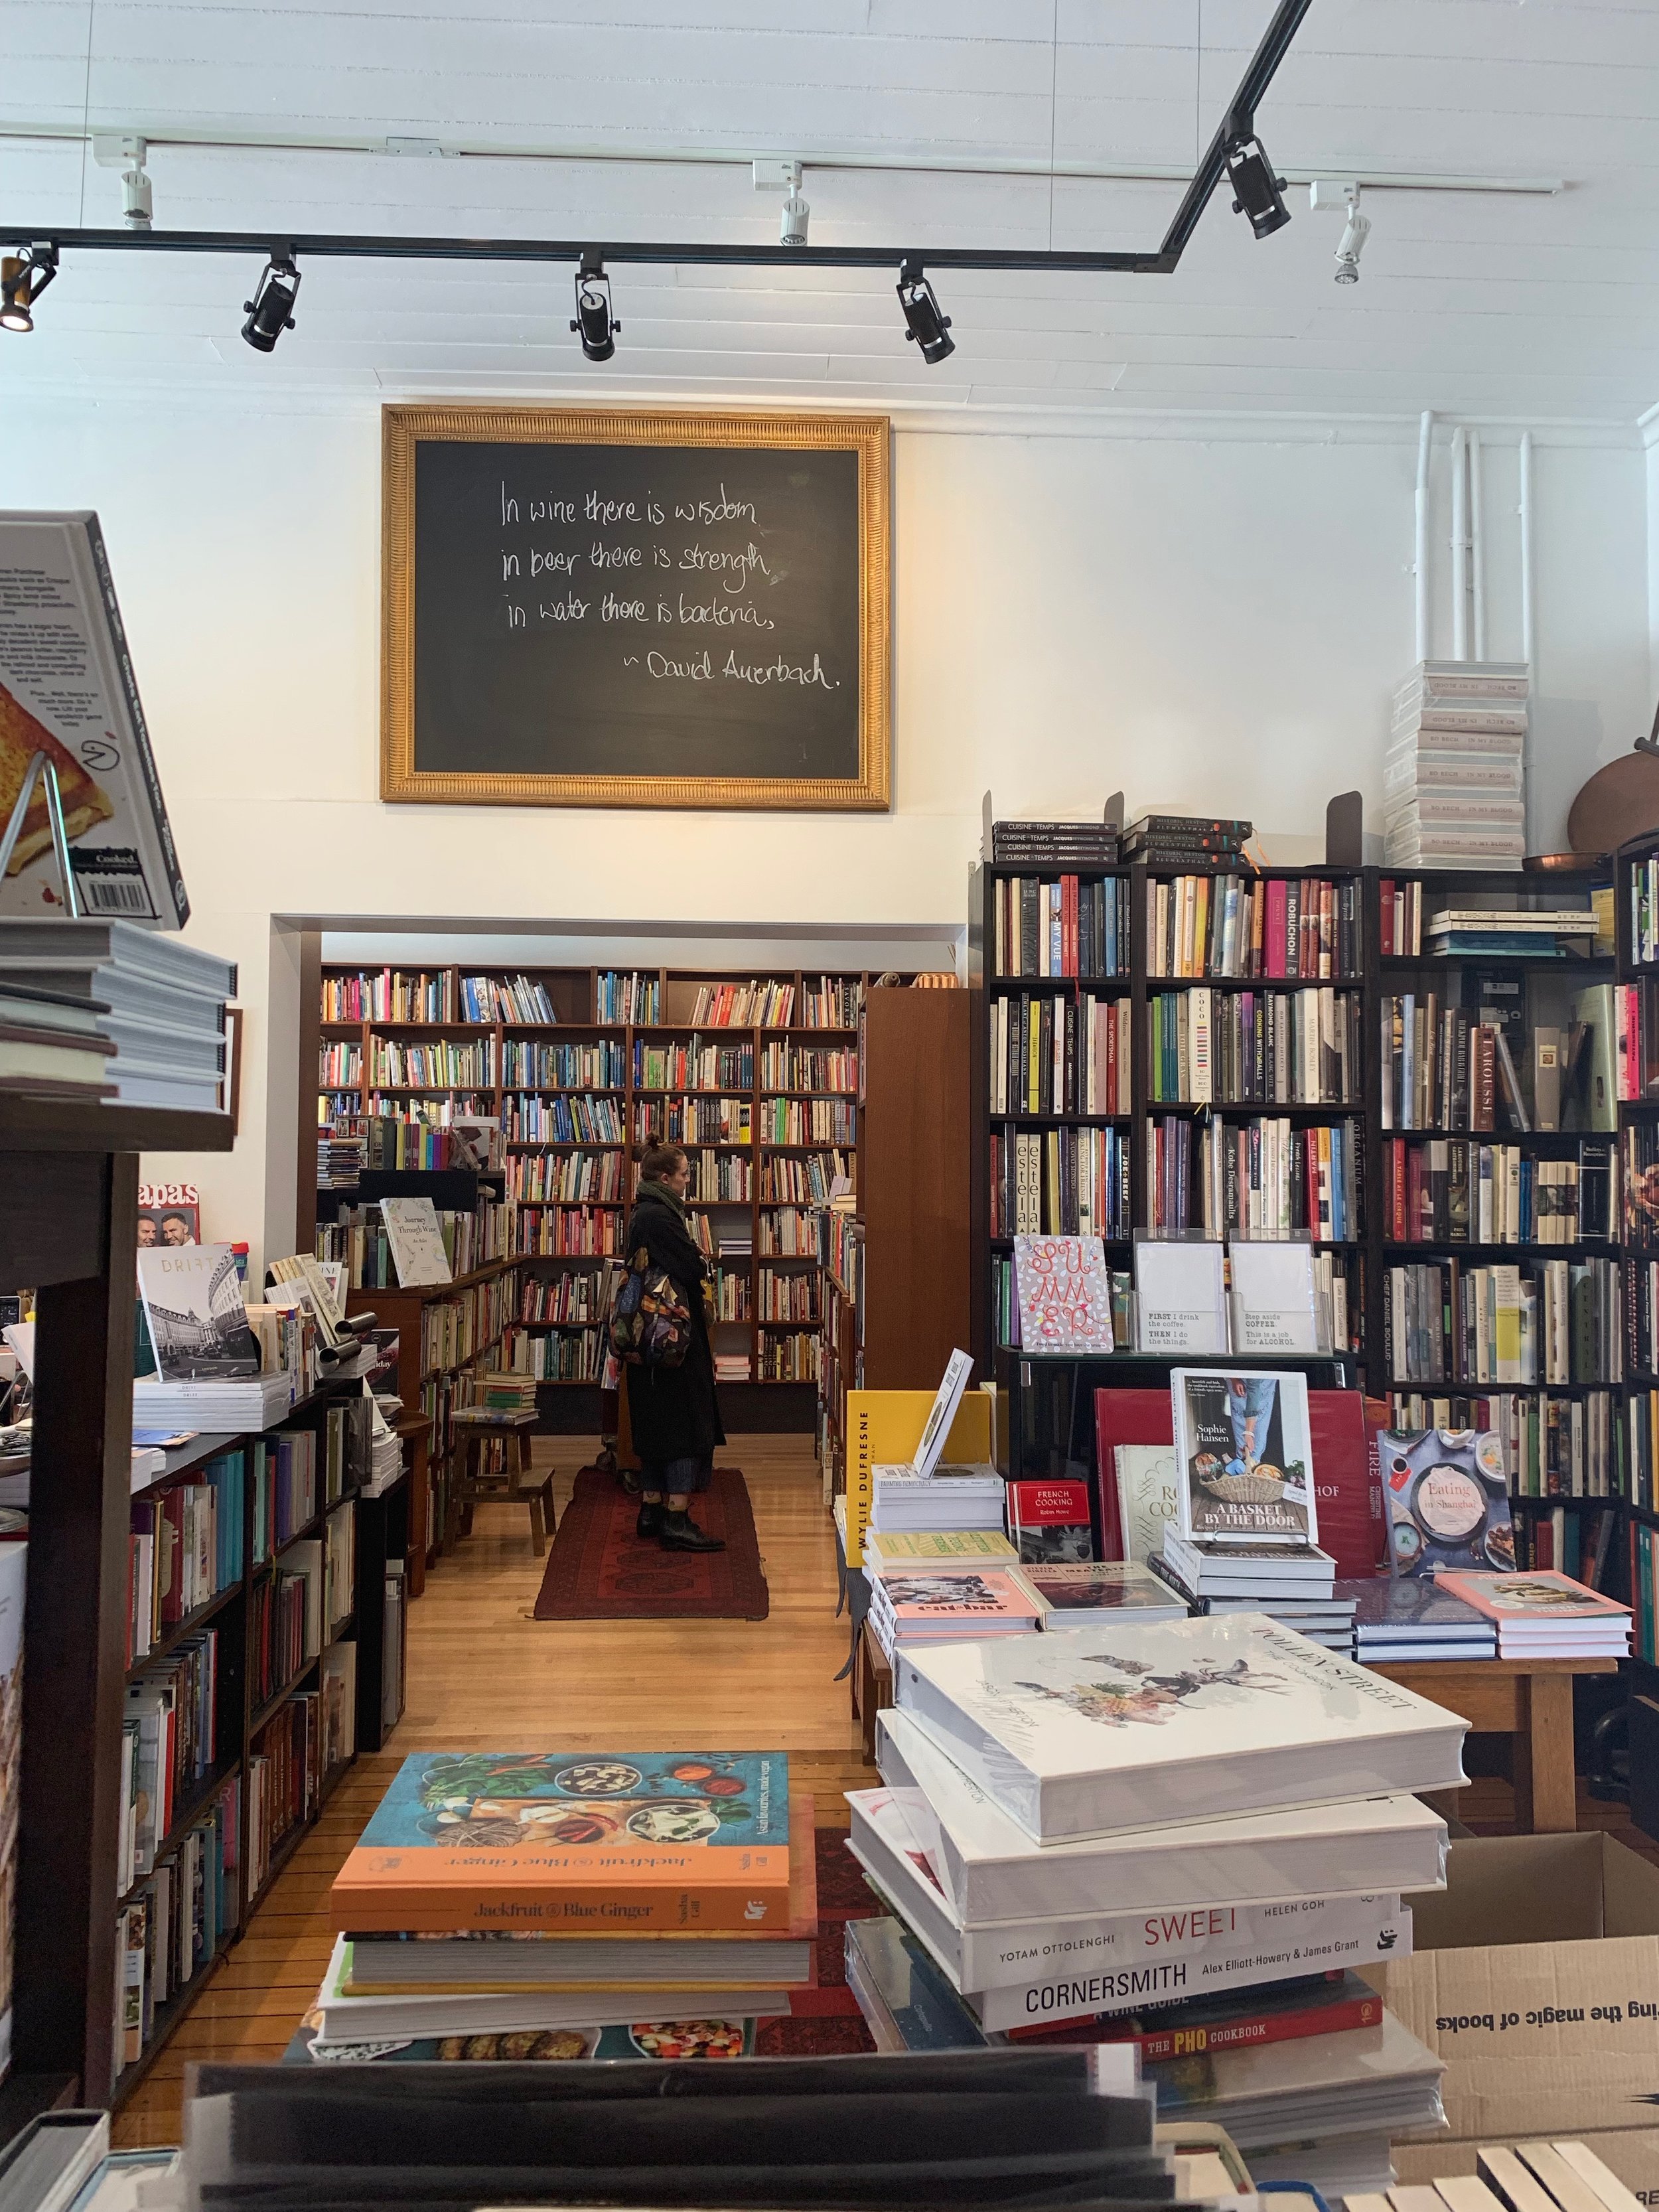
I had another recipe up my sleeve to try, which I found in the same book I found the pistachio paste recipe, À La Mère de Famille - Artisanal Recipes by Julien Merceron (too read my Off The Shelf post on this book click here). This book has been a wealth of information on making confectionary and the like, and it seems to have those hard to find recipes I have been looking for. I’m not sure if things have been lost in translation in this cookbook, but the instructions for each recipe are quite scant and I often find myself having to improvise or just guess what sized tin I need for something. 

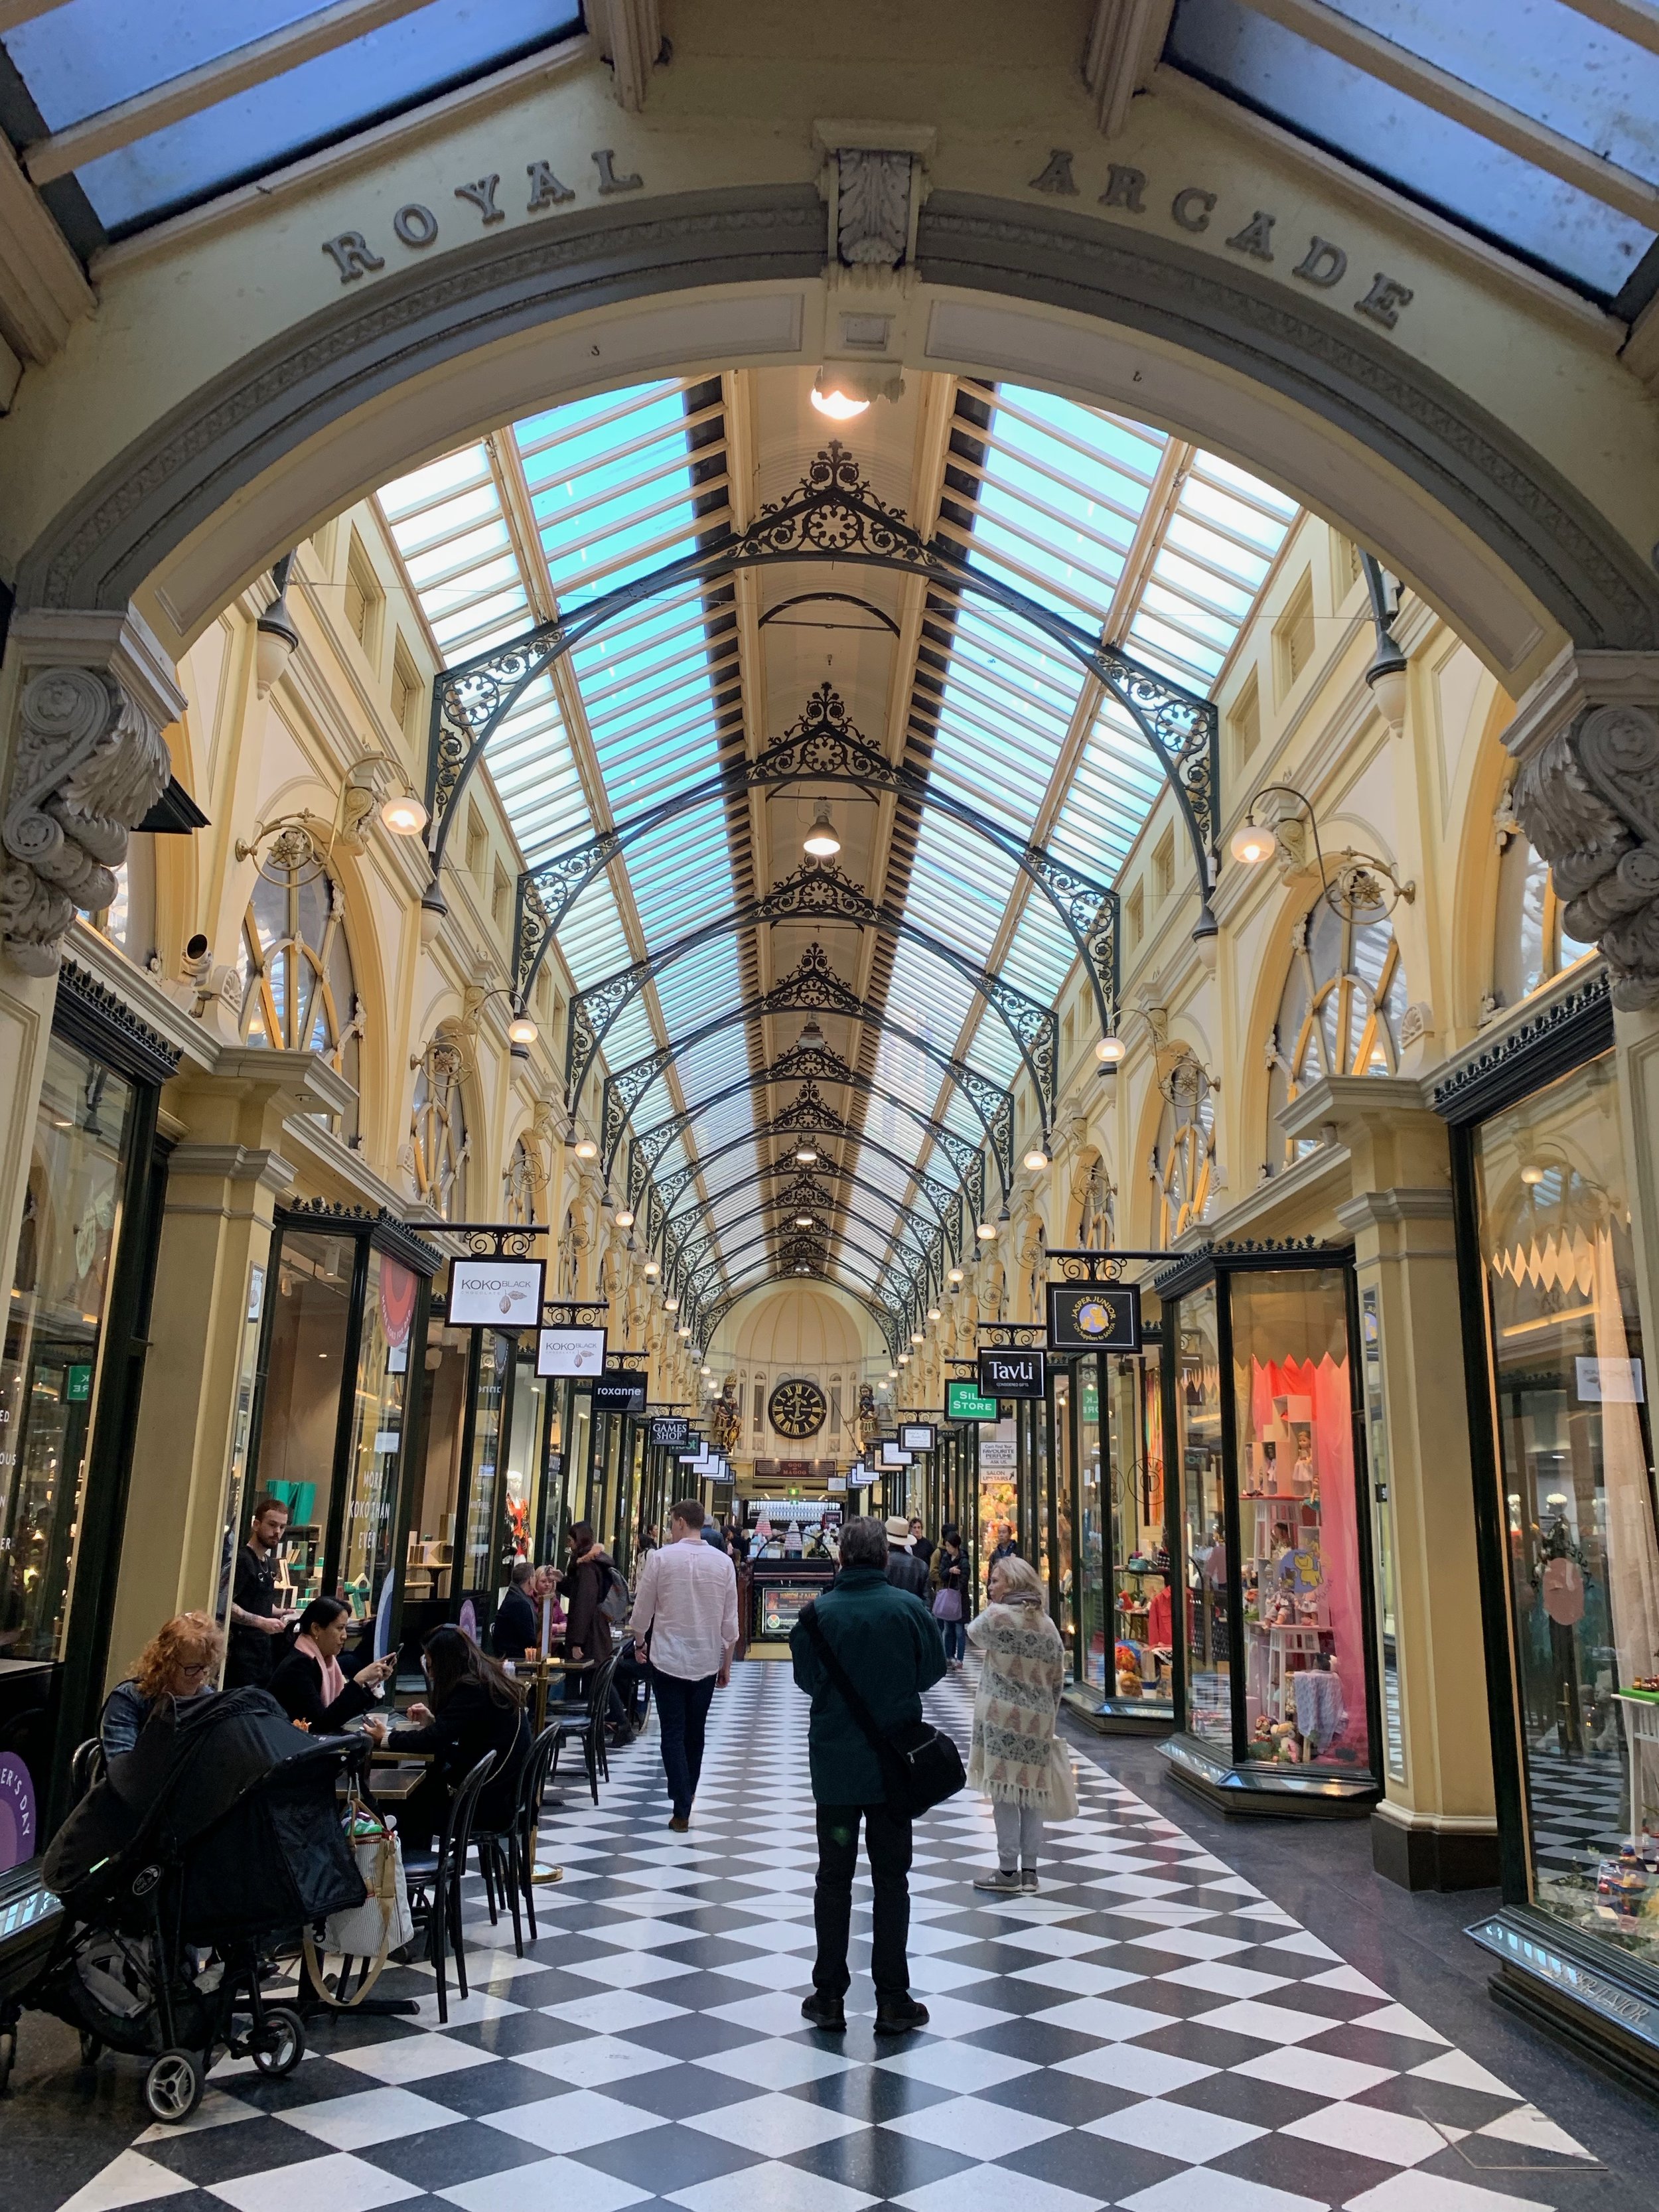
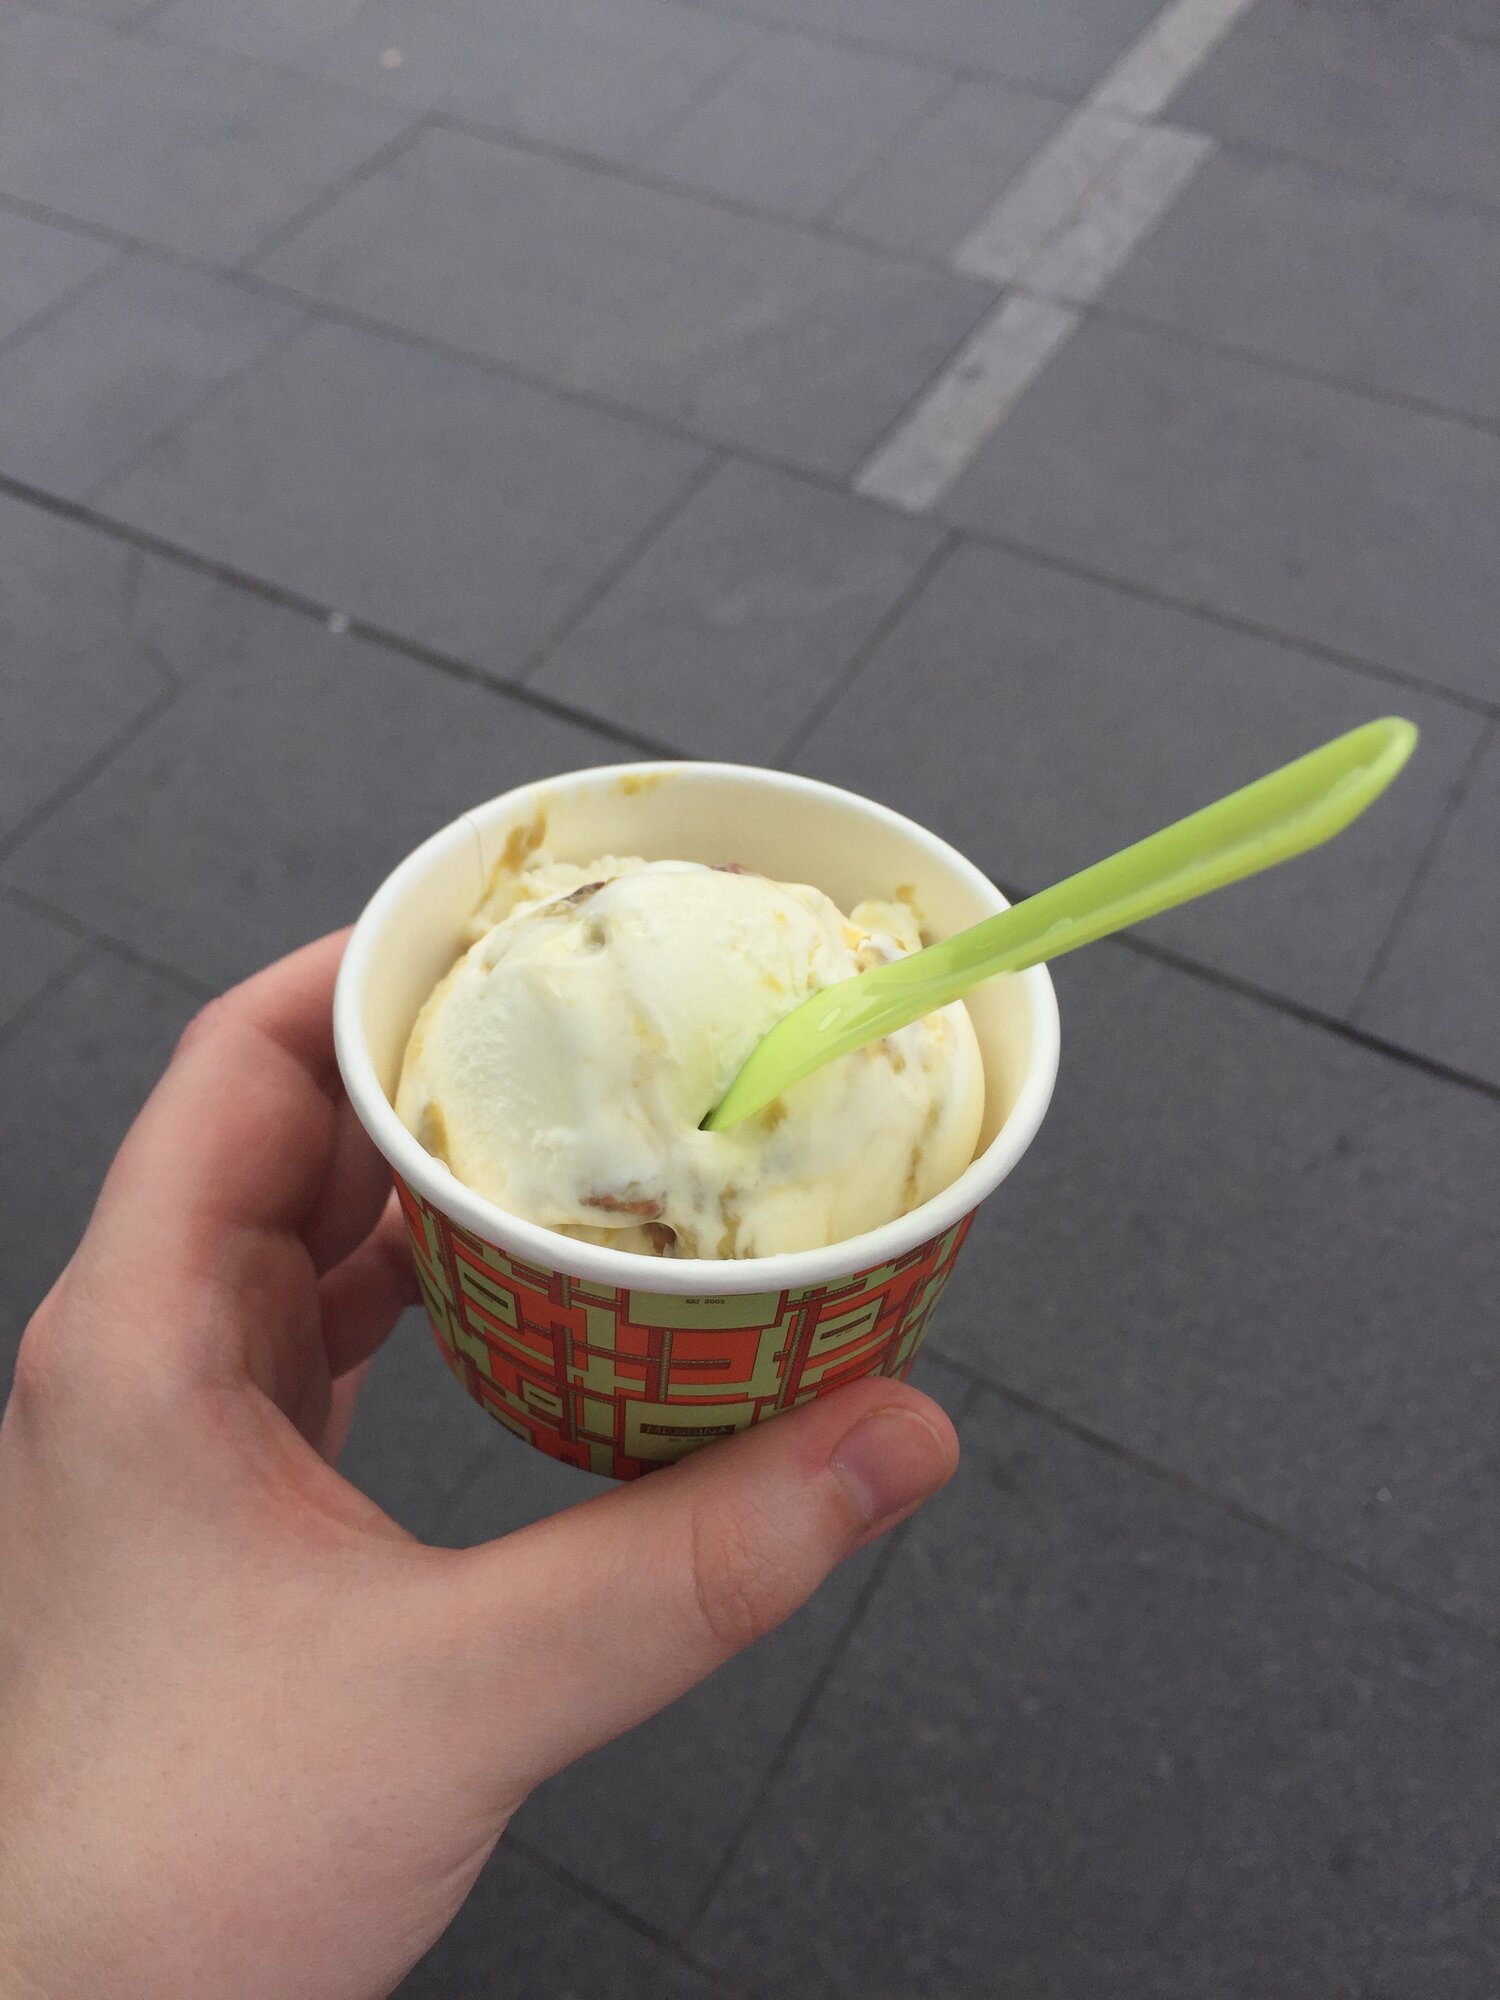
Nevertheless the recipes from À La Mère de Famille have been super useful, and instrumental in me finding a great make at home pistachio ice cream! I have ever so slightly adapted their recipe for Pistachio Ice Cream Popsicles below, and used my version of their Pistachio Paste to flavour the ice cream. While I am very happy with the end result, I somehow doubt my obsession with making pistachio ice cream is over. I am now on the hunt for a good pistachio gelato recipe (notably after having a really good one at Piccolina Gelateria in Melbourne a couple of weeks ago!). 

Homemade Pistachio Ice Cream
Homemade Pistachio Paste

Homemade Pistachio Paste

How to Make Pistachio Paste

Ingredients: 

250g raw or blanched pistachios 

100g white sugar 

30ml water

60ml (4tbsp) pistachio oil 

Method: 

Pre heat oven to 160 degrees Celsius, and place the pistachios on a baking tray. Roast in the oven for 10 minutes. Once done set aside to cool a little. 

Place the sugar and water into a small/medium saucepan and heat until it reaches 120 degrees on a sugar thermometer. Whilst the sugar syrup is heating, place the roasted pistachios on the bowl of a food processor and blitz until they form a fine crumb. 

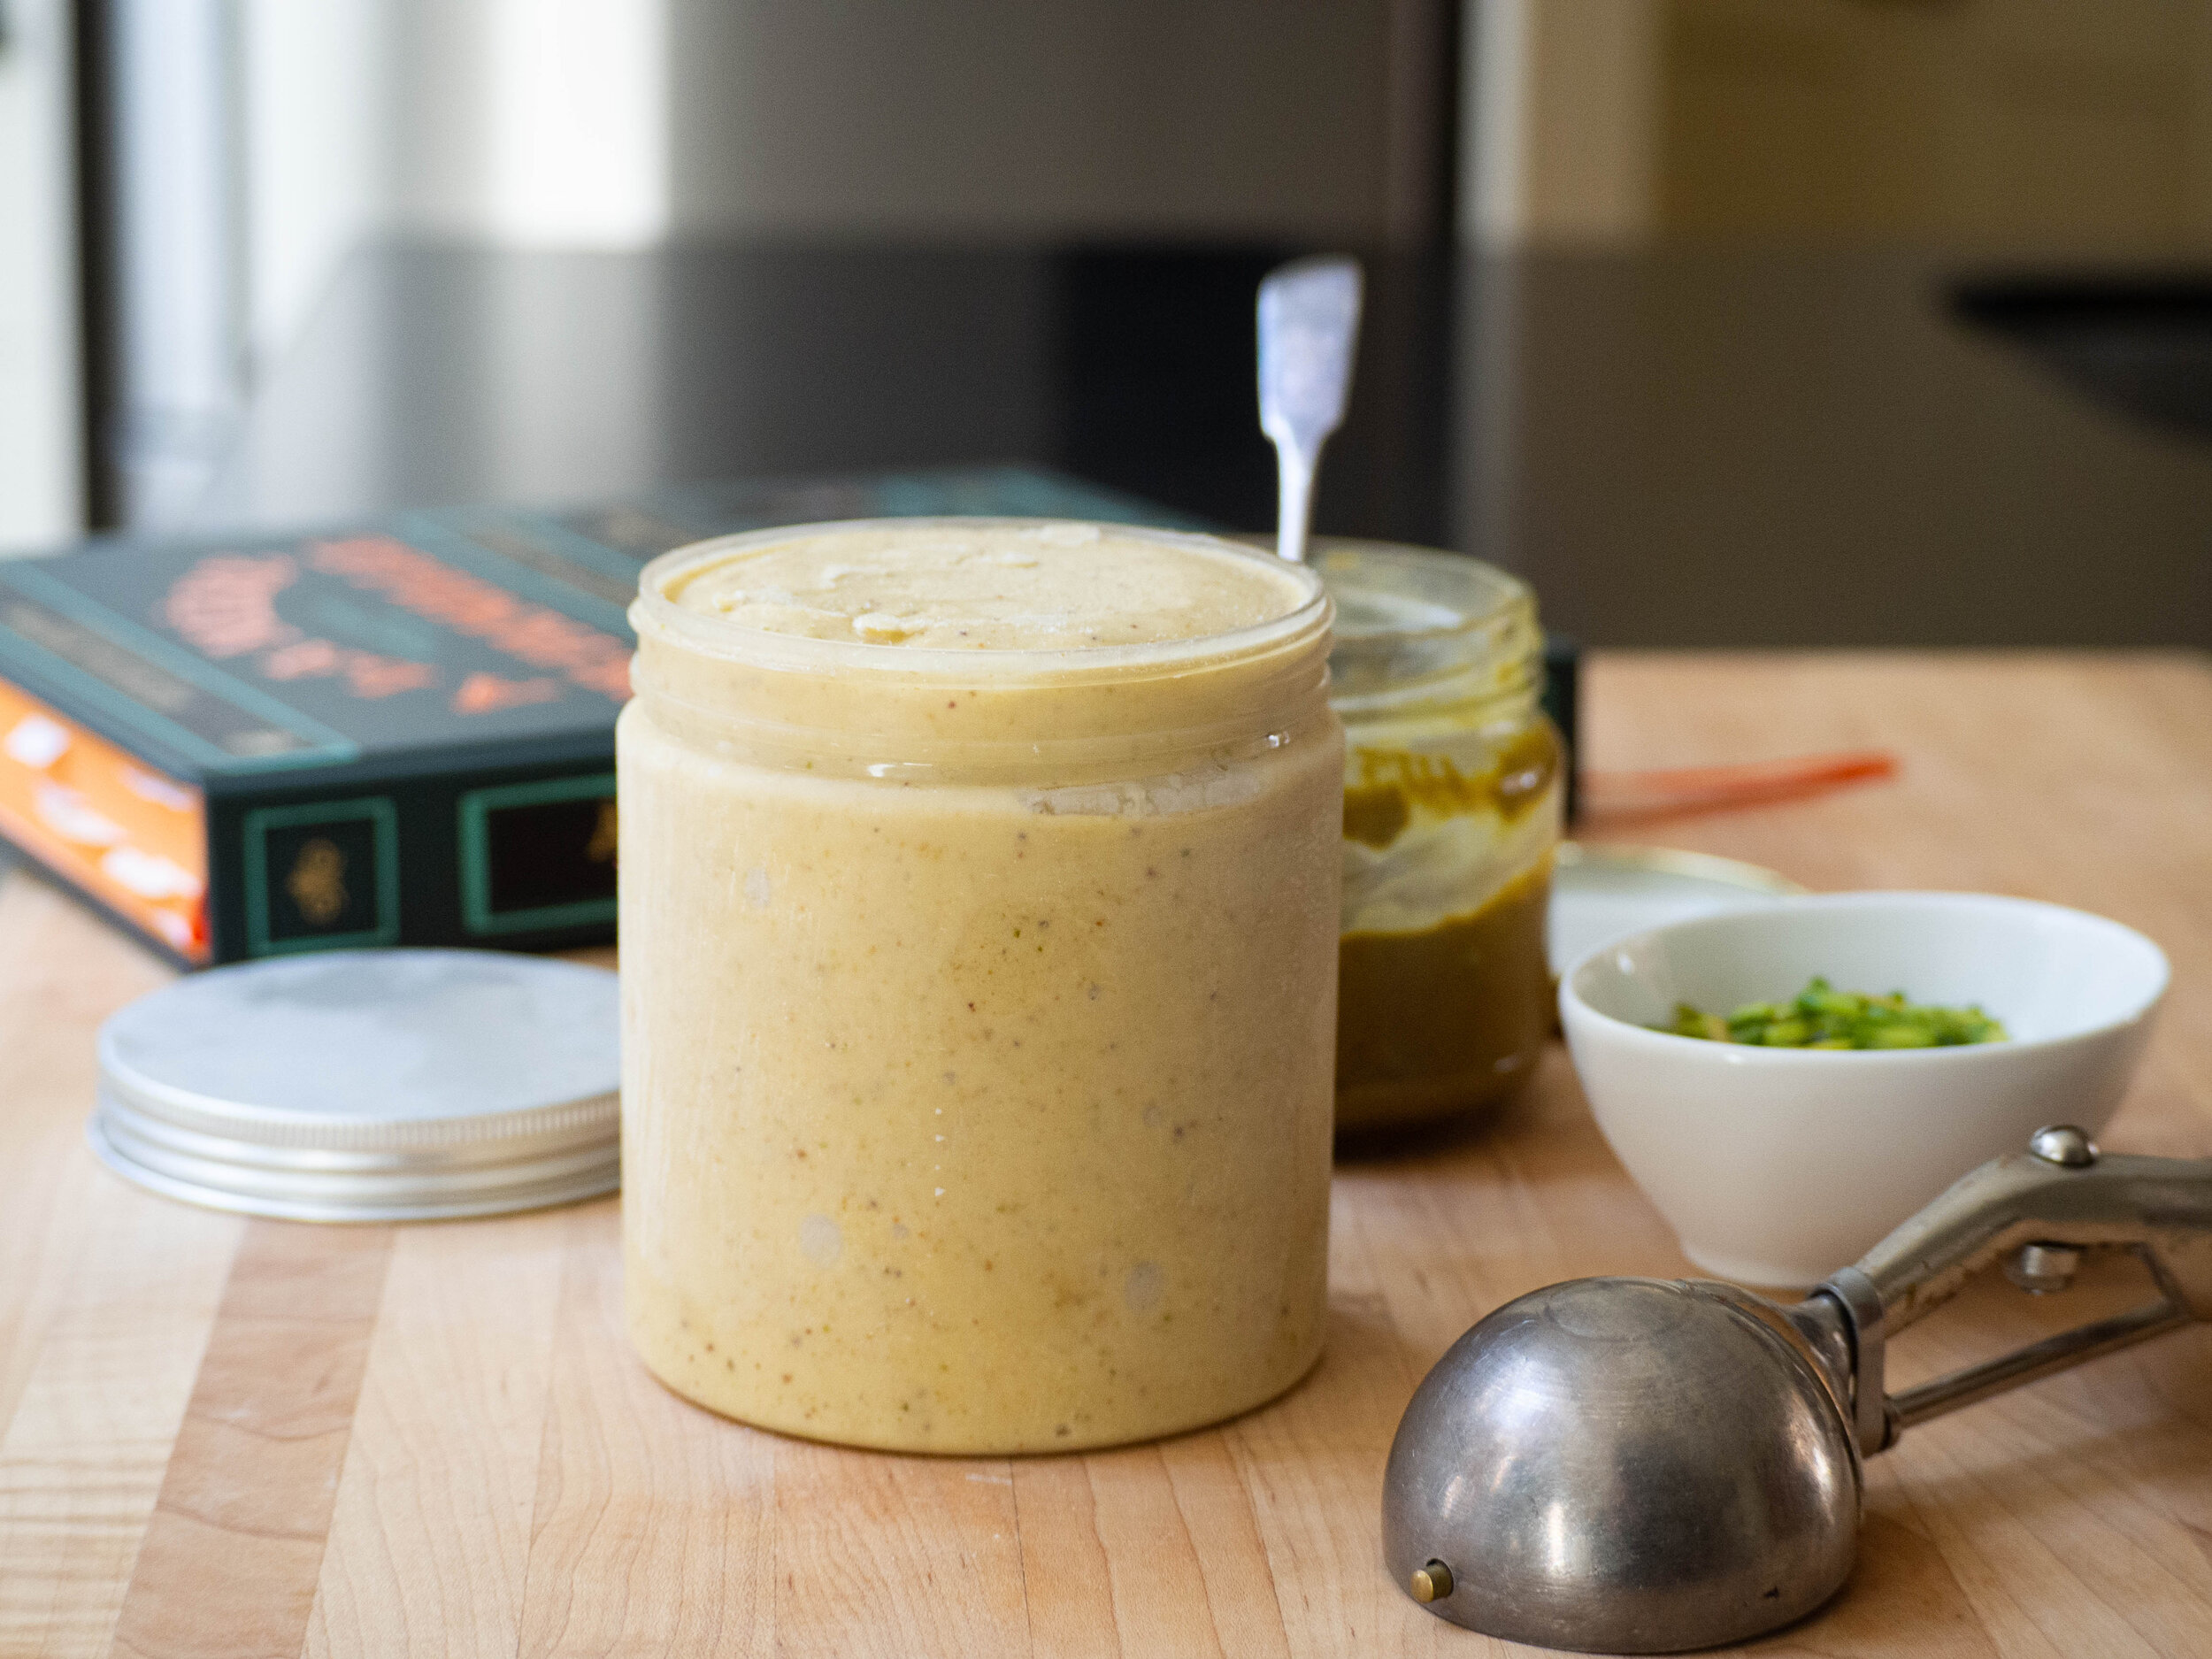
Once the sugar syrup has reached 120 degrees Celsius, gradually pour into the food processor whilst it is running. Gradually add the pistachio oil, and continue to process until a smooth paste forms. This should take between 5 and 10 minutes. Scrape down the sides of the food processor bowl at regular intervals if necessary. The finished product will be a smooth paste, similar to a nut butter. When the paste initially combines it will form a smooth ball, continue processing until a more paste like consistency is reached. 

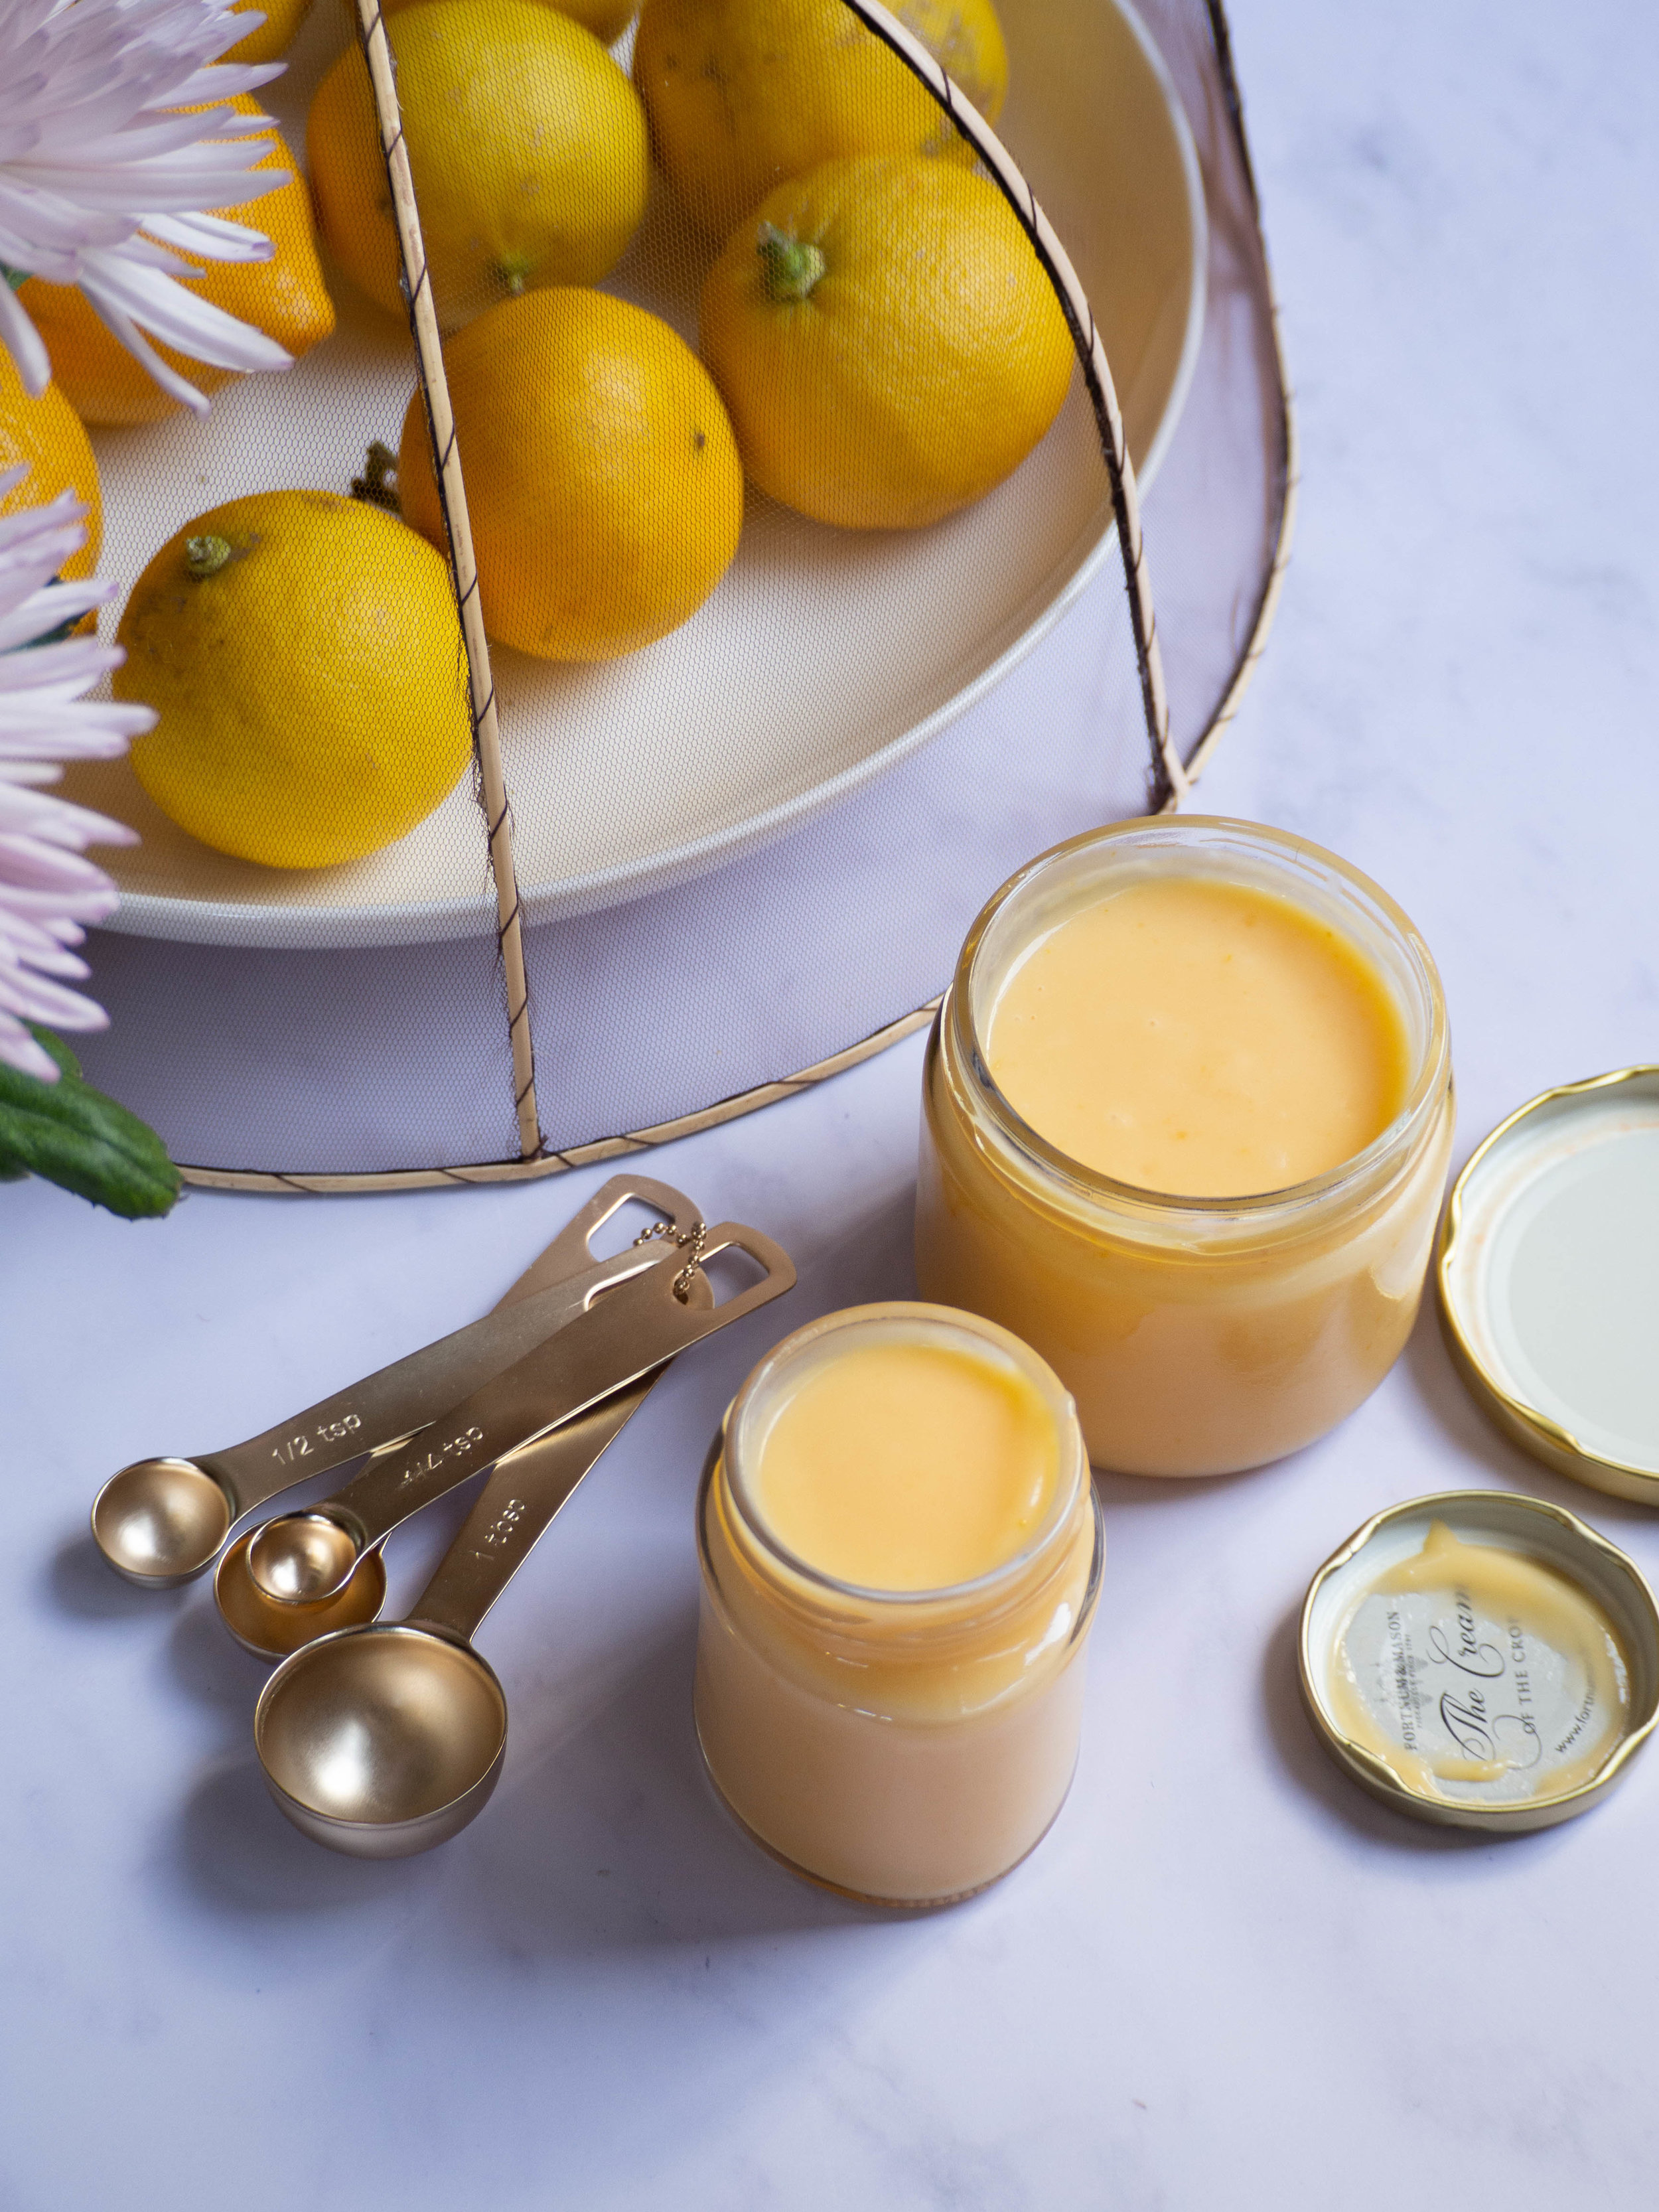
Once a smooth paste has formed, decant into plastic containers or glass jars and store in the fridge until needed. It should last about 1 month refrigerated. If the oils in the paste separate a little during storage, mix the paste briefly before using.

Makes about 390g.

Homemade Pistachio Paste

Homemade Pistachio Paste

Homemade Pistachio Ice Cream

Pistachio Ice Cream

Ingredients: 

600ml milk 

30g cornflour 

50ml pouring cream

140g caster sugar

20g mild flavoured honey

3 egg yolks

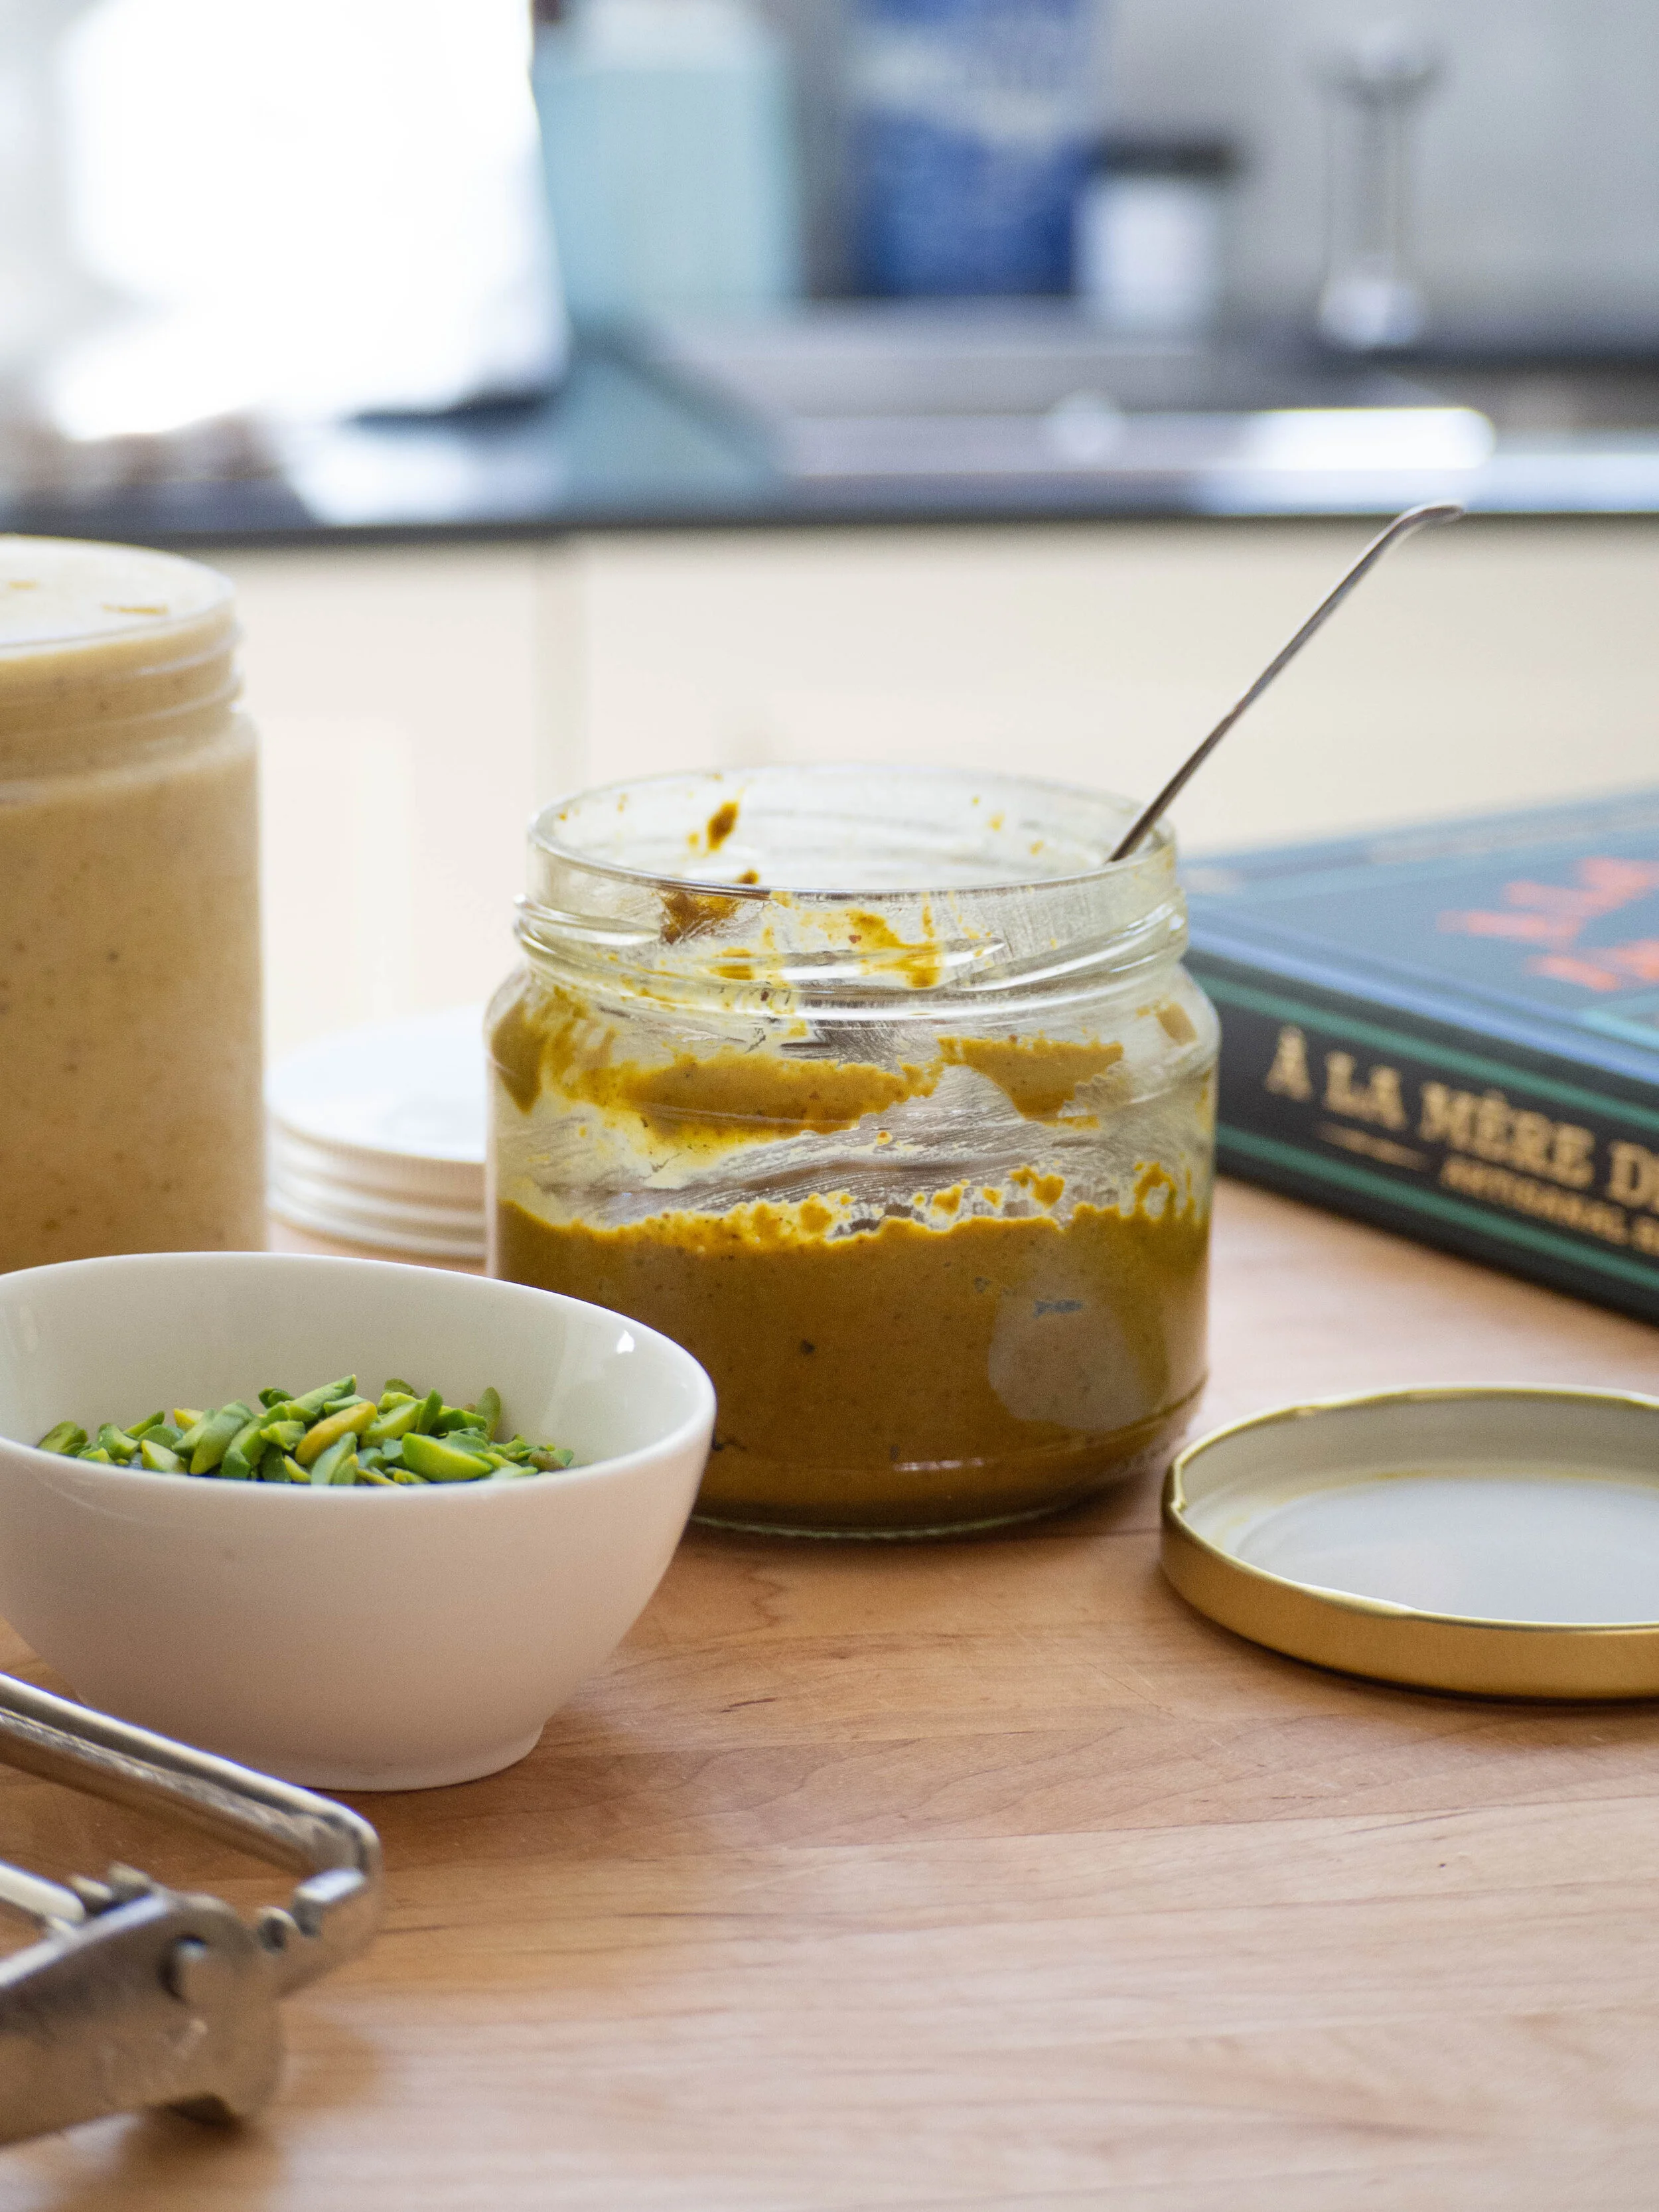
100g pistachio paste (see above)

Method: 

Heat the milk in a medium saucepan over low/medium heat until it reaches 40 degrees celsius on a candy thermometer. 

Whisk in the cornflour, cream, sugar, honey, egg yolks and pistachio paste. Continue to whisk until all the ingredients are well combined, then use a wooden spoon or a spatula to stir for the remainder of the time. Continue to gently stir the mixture until it reaches 83 degrees celsius in a candy thermometer. The mixture will thicken up, most noticeably as it gets closer to the 80 degree mark. 

The mixture now needs to be strained (to remove any lumps etc) and then blended in a blender or food processor. If your sieve can comfortably fit over your food processor, strain the mixture straight into the food processor. If not strain into a medium/large bowl and then transfer to your food processor or blender. 

Whizz the ice cream base in the food processor/blender for one minute, then transfer to a container (at least 1L capacity). Place in the fridge to cool. 

Once the ice cream base has had some time to chill in the fridge, it can be transferred to the bowl of an ice cream maker to churn (according to your machine’s instructions). I found it took only a few minutes, and the ice cream will be ready once it has firmed up a bit and is clinging to the paddle of the ice cream maker. 

Transfer the ice cream into a container to freeze (you can use the same one as before), and allow to freeze for a few hours before serving. If the ice cream has been frozen for some hours, allow the ice cream to sit out of the freezer for a few minutes before serving. 

Makes a little under 1L of ice cream. 

Homemade Pistachio Ice Cream

References: ‘À La Mère de Famille’ by Julien Merceron (Hardie Grant Books, 2013), p.160 & p.250.

Homemade Pistachio Ice Cream
In Ice Cream, Other Desserts Tags Pistachio, Pistachio Paste, Pistachio Ice Cream, A La Mere de Famille, Ice Cream, Dessert
Comment
Melbourne Tram Card by Natalie Grantham

A Long Weekend in Melbourne + Where to Eat!

Kath September 12, 2019

A couple of weeks ago I spend a few days in Melbourne. I had never been there before, and I was so looking forward to not only going there and having some time away, but also going to some of the cafes and restaurants I have heard about for so long!

Thanks to Instagram and some lovely suggestions from readers of this blog, I had a nice list of places to try while I was there. I have compiled all the places I visited in this (rather lengthy!) blog post, and in a brief guide which can be downloaded here.

Now onto the food!

. . .

Our first proper meal in Melbourne was at Gazi on Exhibition St. Despite all the controversy around this restaurant lately, I had heard really good things about the food here. We were not disappointed and both nights we ate dinner here the restaurant was packed. So much so that on the second night we went there we were seated in an overflow area which we later realised was The Press Club. We actually enjoyed being sat here as it was quieter and calmer than the main restaurant.

View fullsize Ceiling of the Main Gazi Restaurant
View fullsize Gazi Overflow/The Press Club
View fullsize Taramosalata with Pita
View fullsize Prawn Kataifi

At our first dinner here we ordered the Taramosalata with pita, prawn kataifi, the wood fire spit chicken with black garlic and labneh and chips with oregano, garlic oil and feta. We loved the Taramosalata so much that the second time we went we order it again (but with extra pita that time!). The prawn kataifi were two large prawns wrapped in kataifi pastry with almond, honey and Aleppo mayo. The combination was really tasty, with the sweetness of the honey balancing the subtle spiciness of the Aleppo mayo. We also ordered this again on our second visit!

The chicken with black garlic and labneh was nice, but honestly could have fed four people. There was so much meat on the plate it was almost overwhelming, but I’m glad we tried it as it’s not often we’d eat something cooked on a wood fire spit! The chips were delicious as I predicted. With both Nigella Lawson and Yotam Ottolenghi having recipes in their books attempting to recreate these chips I knew they would be good! We also ordered these again the second time we went!

View fullsize Taramosalata with Pita, Chips + Prawn Kataifi
View fullsize Saganaki
View fullsize Loukoumades

A couple of nights later when we returned to Gazi, we also tried the Saganaki which is fried Kefalofraviera cheese. It was really good, and something I had never tried before. We also ordered a dessert this time too, trying the Loukoumades, which are Greek halloumi donuts paired with lemon curd and spiced cream. They were delicious, even if I did eat too many of them!

For breakfast on our first full day in Melbourne we ate at Pope Joan on Collins St. This cafe was really close to where we were staying, and as we had an early start that day we decided to try somewhere close. I had the Boiled egg, bacon bits and soldiers and Mum had scrambled eggs on toast. My breakfast wasn’t too big, which was good as I was heading over to the bakery Beatrix not long after. It was a little hard to eat as it was all served in an egg holder, and it didn't feel like it was anything terribly special. While the location was convinient, I don’t think I would rush back for breakfast here. I would love to try lunch or dinner however, and if you are planning on visiting Pope Joan keep in mind it’s only open Monday to Friday.

View fullsize Breakfast at Pope Joan
View fullsize Lune Croissanterie

After breakfast we quickly walked about five minutes to the CBD Lune Croissanterie, and waited in line to buy a couple of croissants. The line wasn’t long and moved quickly, and I ordered a traditional croissant and an almond croissant. Both were stunning and, the best we’ve ever had.

I then took a taxi to North Melbourne to meet my Insta friend Sally at Beatrix. I have been wanting to go to Beatrix for ages, and so many people suggested it as a must see when in Melbourne too, so I was really happy Sally was able to meet me there. The bakery is small, though on a weekday it didn’t feel busy and overcrowded. It really felt like Melbourne’s answer to the Sydney institution Flour and Stone. While the cakes they make are quite different to the offerings at Flour and Stone, the attention to detail, cosiness and small scale of the bakery made me feel like it was the best place to be. I had a slice of a pistachio and lemon cake, which I am hoping to try and recreate soon as it was so good. Sally had an apple pie cake, which looked amazing and she said it tasted really good! I also got a gingerbread to take away as well, which I very much enjoyed having later that evening.

View fullsize Beatrix, North Melbourne
View fullsize Pistachio & Lemon Cake

After meeting with Sally I walked to Queen Victoria Markets, where I had been dying to go to the bookshop Books for Cooks for years. I discovered them via Instragram ages ago, and it has been top of my Melbourne to do list ever since. I spend a good 45 minutes looking around the shop, there is so much in there, a great mixture of new and second hand titles. I walked away with a copy of ‘Simple’ by Diana Henry, which has been on my wishlist for a while, Piri Piri Starfish by Tess Kiros (which I have to admit I’d never seen or heard of before!) and the 4th issue of Peddler magazine.

I then took a look around the markets and sighed at the amazing produce on offer, that I couldn't really buy as I had no access to a kitchen in Melbourne and I doubt any of it would survive the flight home! I was particularly envious of the stand selling all types of fresh eggs, even duck eggs which I am always looking out for. I then walked back to our hotel, made myself a cup of tea and enjoyed my almond croissant from Lune.

View fullsize Books for Cooks, Queen Victoria Markets
View fullsize My purchases from Books for Cooks
View fullsize Selection of Eggs for Sale at Queen Victoria Markets
View fullsize Fresh Produce at Queen Victoria Markets
View fullsize Almond Croissant from Lune

When Mum and I met up in the afternoon we went to a little French tea shop we had stumbled across on Collins St the day before. La Belle Miette, specialises in the French tea Mariage Frères, having the largest range of it in Australia. Mum and I loving that brand and having great memories of going there in Paris years ago, we knew this place was for us! La Belle Miette also sell gorgeous macarons and chocolates. We enjoyed a couple of macarons each, and Mum had the Mariage Frères Earl Grey Impérial while I tried a green tea called Vert Provence (which I liked so much I bought a tin of it). The shop assistant was super helpful and lovely at this shop, and Mum and I both enjoyed the tea and macarons after a long day of walking (for me) and working (for Mum). I also really loved that Taylor Swift’s new album Lover was playing while we were in the shop too. It’s funny sometimes when music is on that I really like, it makes me think I’m just meant to be there. The whole combination of the music, decor, beautiful tea and delicious macarons was just perfection. The whole atmosphere of the shop really made us feel like we were back in Europe, and again we loved it so much we visited again the next day.

View fullsize La Belle Miette, Collins St
View fullsize Tea and Macarons at La Belle Miette

We then walked around the city a little deciding where to have dinner. Quite a few places had been recommended, but the pasta bar Lello really stood out to me (thanks Sally!). We luckily got a table, and ordered the barbequed calamari with caper anchovy dressing to start. I love capers and anchovies so I really loved this dish. For mains we ordered pasta. Even though I was pretty set on ordering pasta before we arrived, even the waiter we had recommended it over the pizzas. I ordered the Ravioli Alla Norma which was absolutely delicious, and Mum ordered the Culurgiones which is a potato and mint filled Sardinian ravioli. I really enjoyed our dinner at Lello, and definitely want to go back again when I’m next in Melbourne.

View fullsize Laneways of Melbourne
View fullsize Lello Pasta Bar
View fullsize Barbequed Calamari
View fullsize Pasta Alla Norma
View fullsize Culurgiones

The next morning we walked a couple of minutes to Cumulus Inc on Flinders Lane. While the lunch and dinner menu didn’t really grab me, when I heard they did breakfast I looked it up again and decided we had to go there. They had homemade crumpets and shakshuka on the menu, and in my mind any place that does either of those is a cafe worth visiting! As it was a Saturday morning it was quite busy, but the cafe is quite organised and well staffed so we got a seat at the bar fairly quickly. We both ordered the house made crumpets with whipped ricotta and rooftop honey, and we both thoroughly enjoyed it. We also ordered two made to order Madeleines with lemon curd as well, just because they sounded so special. And they were! Apart from homemade, I’ve never had such a good madeleine, it really made the difference that it was freshly baked. They even topped ones I’ve had in Paris. We came back to Cumulus Inc on the day we left Melbourne for an early breakfast before heading to the airport. I ordered the shakshuka that time, which I liked (but maybe not as much as the shakshuka from Shuk in Sydney), but honestly nothing beats those crumpets!

View fullsize Cumulus Inc
View fullsize House made crumpets
View fullsize Freshly made Madeleines with lemon curd
View fullsize Shakshuka

After breakfast we walked around the CBD, stopping in at the lovely bookshop Hill of Content, wandering around Bourke St Mall and the surrounding arcades and laneways, walked around Flinders St Station and along the Yarra, then stopped for lunch at Hopetoun Tea Rooms. The highlights for me were stopping in at the chocolate shop Chocamama, the spice shop Gewürzhaus and magazine shop Mag Nation.

View fullsize Hill of Content Bookshop
View fullsize Bourke St Mall
View fullsize Royal Arcade
View fullsize Flinders St Station
View fullsize Yarra River
View fullsize Crossing the Yarra towards Flinders St Station

On our final full day in Melbourne we caught at taxi down to the South Melbourne Markets. The markets were bustling as it was a weekend, and Father’s Day. I had hoped to get something from Agathe Patisserie but the line was so long! I had heard about how good these markets were from Emmylou who I follow on Instagram, however the cafes I had heard about were really packed. There are other shops and cafes in the streets around the Markets, so we headed to one of those. We ate at Panette which was a lovely cafe, a great place for brunch as they had so many great options on their menu. I had the Pancakes with Caramelised Banana and they were so good.

View fullsize IMG_8851.jpeg
View fullsize South Melbourne Markets
View fullsize Panette Eatery, Cecil St South Melbourne
View fullsize Pancakes with Caramelised Banana

After breakfast we headed back to to CBD and took a look around the old Treasury on Spring St, and walked around the gardens there too.

For lunch I had booked Mr Wolf in St Kilda. I had been wanting to go there for ages, and it really didn’t disappoint. We shared some calamari to start, then a Diavolo pizza (tomato, mozzarella, anchovies, olives, capers, chilli, oregano, basil) and a rocket salad. By this point of the weekend food coma was seriously starting to set in so a whole pizza each was out of the question! However since the pizza bases were really nice and thin, if you were hungry you could definitely have one to yourself. I would definitely come back to Mr Wolf as the pizza menu had some really great options on it, and it was quite a calm place to be.

View fullsize Mr Wolf, St Kilda
View fullsize Diavolo Pizza

After lunch we walked down to the main shops in St Kilda as I wanted to check out Piccolina Gelateria. I had seen this on Nigella Lawson’s Instagram feed earlier in the year, and thought if Nigella liked it enough to post about it, then we had to go there! St Kilda was super busy as there was a car show on, so Piccolina was quite packed. I got a scoop of White Chocolate Gelato and a scoop of Pistachio. Both were delicious and I honestly really wanted to go back for more, but my stomach just couldn’t handle more food by that point!

View fullsize Piccolina Gelateria, St Kilda
View fullsize Pistachio Gelato
View fullsize Pistachio Gelato (White Choc Gelato is Underneath!)
View fullsize That Melbourne weather
View fullsize Luna Park, St Kilda

Thanks again to everyone who gave me suggestions for where to eat and go in Melbourne! I definitely have a list of places to visit next time as well!

For a short and sweet guide to my favourite places to eat in Melbourne, download my Melbourne Eats Guide here. Print it out or save it on your phone for your next trip!

Don’t forget to let me know in the comments where your favourite places to eat in Melbourne are!

In Travel Tags Melbourne, Melbourne Eats, Gazi, Pope Joan, Lune Croissanterie, Beatrix, Queen Victoria Markets, Books for Cooks, La Belle Miette, Mariage Frères Tea, Lello Pasta Bar, Cumulus Inc, Hill of Content Bookshop, South Melbourne Markets, Panette Eatery, Mr Wolf, Piccolina Gelateria
Comment
Homemade Yuzu Curd

Homemade Yuzu Curd

Yuzu Curd

Kath August 15, 2019

This recipe came about because I found fresh yuzu in my local fruit market and I needed something to make with them! I had never seen fresh yuzu before, so I couldn’t pass up the opportunity to buy some. 

Considering I only bought two (they were quite expensive!), this curd turned out to be the perfect thing to make. I used some of it to fill some mini tarts with (using this cheats pastry recipe). I still have some curd left, and have dreams of making Flour and Stone’s Lemon Dream cake with it. We’ll see if time permits with that one. 

Bottled yuzu juice could also be used for this recipe, or another citrus entirely! 

The recipe comes from Catherine Phipps’ book Citrus, which I turn to for all my citrus questions and when I have something unusual like yuzu to use - I highly recommend it.

View fullsize Fresh Yuzu
View fullsize Juicing the Yuzu
Homemade Yuzu Curd

Yuzu Curd

Ingredients: 

200ml yuzu juice (approx. 2 large yuzu)

finely grated zest of two yuzu (if using fresh yuzu)

150g caster sugar

125g unsalted butter

2 eggs

3 egg yolks 

Method: 

Place all the ingredients into a medium saucepan and place over low heat. Stir often until the sugar has dissolved and the butter has melted. 

Continue to cook over low heat, stirring constantly for about 20-30 minutes, or until the curd has thickened (it should coat the back of your spoon). 

Remove from the heat and pour through a fine sieve into another bowl. 

Store in sterilised glass jars (about 2 medium sized jars), and leave to cool at room temperature. Once cooled, store in the fridge for 2-3 weeks. 

Makes approx. 530g.

View fullsize Yuzu Curd + Tarts

Reference: ‘Citrus - Recipes That Celebrate The Sour and The Sweet’ by Catherine Phipps (Quadrille Publishing, 2017), p.224.

Yuzu Curd
Yuzu Curd Tart with Crushed Freeze Dried Raspberry

Yuzu Curd Tart with Crushed Freeze Dried Raspberry

In Other Desserts, Jams Preserves & Spreads, Tarts & Pastry Tags Yuzu, Citrus, Citrus Curd, Mini Tarts, Citrus by Catherine Phipps
8 Comments
Molly on the Range by Molly Yeh

Molly on the Range by Molly Yeh

Off The Shelf - 'Molly on the Range' by Molly Yeh

Kath July 31, 2019

Bought from: Booktopia. I preordered this one, as I had met Molly at a Local is Lovely Workshop in 2016 (not too long before the book was due to be released), and knew it would be a good addition to my cookbook shelf!

Recipes Made: Shakshuka Couscous p.25-27, Quinoa Carbonara p.110, Pistachio Loaf Cake p.220-21 and Brown Sugar Cookies p.229-30

Molly on the Range by Molly Yeh

For the Shakshuka Couscous I didn’t follow the recipe to the letter, but it gave me (along with seeing Molly make shakshuka at the Local is Lovely Workshop) the idea to add quinoa to shakshuka. I cooked the quinoa separately, and added it in before I added the eggs. It was great, and exactly what I wanted as at the time I wanted to take the leftovers to work for lunch the next day, and the criteria for leftovers for work lunches are that it needs to be tasty and something I will look forward to eating, and also something that is filling enough (no one likes being hungry at work do they?!). This recipe ticked both of those boxes, and I am happy to report that even the egg from the shakshuka was really nice reheated the next day! 

View fullsize Shakshuka with Quinoa
View fullsize Shakshuka made by Molly at a Local is Lovely Workshop in 2016

Continuing with the quinoa theme, I decided to try the Quinoa Carbonara recipe. Again wanting leftovers for work lunch the next day, I made it and felt the flavour left me a little disappointed. It wasn’t as tasty as I had hoped, but took it for lunch the next day anyway. Well, that extra time seemed to do something as it was significantly more tasty the next day! So I can highly recommend this one to make ahead! 

The Pistachio Loaf Cake is definitely my favourite recipe from the whole book! I have never tried the cake Molly is recreating in this recipe, but I feel I probably don’t have to as this one is so good. I wrote a blog post a while back about this cake, and I have continued to make it since. I have also made it with a rosewater icing and decorated with freeze dried raspberries which was also realllllyyy nice. 

Pistachio Loaf Cake

Pistachio Loaf Cake

View fullsize Pistachio Loaf with Rose Icing + Freeze Dried Raspberries
View fullsize Pistachio Loaf

Brown Sugar Cookies (aka Chocolate Chip Cookies without the Chocolate Chips) - I definitely feel Molly on this recipe! I was always the kid who wanted a Chocolate chip cookie without the chocolate chips (thanks Mum for obliging on this for so many years!). I now know I can’t eat chocolate, but even as a kid I just didn’t really like it that much (controversial!!!). At friends birthday parties we would play that game where you had to cut the block of chocolate with a plastic knife and eat it (there was some time pressure to this whole thing but I really can’t remember the whole premise of the game now!), and I would always get another friend to eat the chocolate while I frantically tried to cut bits of a chocolate bar with a pathetic plastic knife. Same goes for cookies, I always appreciated them sans chocolate chips, or maybe with white chocolate.

When I made Molly’s recipe I didn’t refrigerate the dough - mostly because as far as I was concerned baking cookies should be a fairly instantly gratifying process and leaving the dough to rest for at least a day was just to much to handle. I probably would have had a better cookie if I had done so, but the instant gratification of a warm cookie was too hard to pass up. 

Molly on the Range by Molly Yeh

Favourite Things About the Book: The variety of recipes, and their uniqueness to Molly! Molly has such great and diverse recipes that really are a reflection of her Chinese and Jewish heritage and her life on the farm in the Upper Mid West of America. You really won’t find some of these recipes in other cookbooks, and it makes owning this book all the more special. 

I really like the snippets of Molly’s life and context around certain recipes or chapters as well. Through reading and cooking through this book, you really get to know Molly, how these recipes came about and why her style of cooking is so unique to her. Molly’s fun and bright personality shines through in her writing and recipes, and it’s like having a friend there with you in the kitchen.

Bookmarked Recipes (to make later!): Mum’s Matzo Brei p.13, Smoky Bacon Mac and Cheese p.99, Pizza Dough p.120, Cardamom Cupcakes with Lingonberry Filling and Cream Cheese Frosting p.262-3, Party Trick Peanut Butter Cake (thinking I could use another type of nut butter for this one!) and Funfetti Cake p.271-3.

Molly on the Range by Molly Yeh
In Off the Shelf Tags Molly On The Range, Molly Yeh, shakshuka, Pistachio Cake
Comment
Bergamot Marshmallows

Bergamot Marshmallows

Bergamot Marshmallows + A New eBook!

Kath July 26, 2019

To celebrate the release of my second eBook, Cosy Winter Bakes, I decided to share another seasonal Winter recipe that I love to make. 

I think I have mentioned before that I have always loved marshmallows. So many flavour combinations are possible. And when our bergamot tree is fruiting I am always trying to think of something different to make with them. I love making the same cakes and biscuits with our bergamot each year as I look forward to their season so much, however this year after making the Bergamot Loukoumia from Georgina Hayden’s book Taverna, I thought I would have another go at using bergamot in confectionary. 

View fullsize Homegrown Bergamots

I was pleasantly surprised that the bergamot flavour in the marshmallows worked, for some reason I wasn’t 100% sure it would. The flavour actually gets better a couple of days after the marshmallows have been made and cut. 

These marshmallows are super fluffy, and end up being very white in colour as bergamot juice does not have a really strong colour and all homemade marshmallows turn quite opaque as they are whipping anyway. You could add some yellow or green food colouring as the marshmallow is whipping, but I personally prefer to avoid using artificial colours as much as possible in my baking.

I took a few of these, along with some of the passionfruit marshmallows that are in my eBook, to work and I was quite surprised that my colleagues tried the bergamot ones and liked them. Bergamot is quite an unknown citrus, but that didn’t stop everyone trying them! I was super happy about this as not only is bergamot such a delicious flavour if you are willing to give it a go, but each marshmallow recipe makes quite a few marshmallows and with two batches at home I really needed to give some away!

Also, if anyone knows were to easily buy beef gelatin in Sydney (or online), please let me know! These marshmallows are not suitable for anyone who keeps kosher or halal and I would love to make sure they are in future!

For more seasonal cakes, confectionary and cookies check out my new eBook Cosy Winter Bakes! 

View fullsize New Recipe eBook - Cosy Winter Bakes
View fullsize Bergamot Marshmallows with a White Hot Chocolate
BUY EBOOK!
Bergamot Marshmallows

Bergamot Marshmallows (Gluten + Dairy + Egg Free)

Ingredients: 

275g fresh bergamot juice

50g gelatine powder

115ml water

820g white/granulated sugar 

320g glucose 

50g potato flour/starch

50g icing sugar (pure or confectioners)

cooking spray

Method: 

Spray a slice tin or lamington tray (at least 30x20cm) with the cooking spray and set aside.

In the bowl of a stand mixer, briefly mix together the bergamot juice and the gelatine powder. Leave for now, ensuring the whisk attachment is fitted and everything is ready to go once your sugar syrup is ready.

In a medium/large saucepan place the water, then the sugar, then the glucose. Place over high heat and cook until the syrup reaches 120 degrees Celsius on a candy thermometer.

With the mixer on low, gradually pour the sugar syrup into the bergamot mix. Whisk on medium speed for about 3 minutes, until the mixture turns a more opaque colour. The mixture will also start to thicken. Then increase mixer to high speed for about 8 minutes, until the marshmallow has tripled in volume and has thickened. 

Pour marshmallow into the prepared tray, tapping it down on the bench to remove any air bubbles and to ensure it is sitting in the tray evenly. 

Leave to set overnight before cutting (room temperature is best, preferably covered with a food net or cover).

Once the marshmallow is ready to cut, in a small bowl whisk together the potato flour and the icing sugar (sift if necessary). 

Dust some of this mixture onto your clean work surface. Remove the slab of marshmallow from the tin, use a spatula to pull the sides away from the tin and tip it onto the dusted work surface. 

Dust more of the icing sugar mix over the top of the marshmallow slab, and around the sides. Using a large sharp knife, cut into cubes, by cutting the slab into rows, then cutting rows in the other direction. Dust your knife regularly with the icing sugar mix, and continue to dust the marshmallows as they are cut.

Ensure every part of the cut marshmallows are covered in the potato flour and icing sugar mix. Toss them around on the bench to remove any excess.

Store in an airtight container. The marshmallows will keep for about 3 weeks. 

Bergamot Marshmallows

Reference: Heilala Vanilla Sweetness Vanilla Bean Mallow

Homegrown Bergamots

Homegrown Bergamots

In Confectionary Tags marshmallow, Bergamot
Comment
Lumberjack Cake (aka Queen Elizabeth Cake)

Lumberjack Cake (aka Queen Elizabeth Cake)

Lumberjack Cake

Kath July 11, 2019

To celebrate the imminent arrival of my new eBook, Cosy Winter Bakes, I am sharing one of my favourite Winter cake recipes here on the blog. This new eBook is filled with recipes just like this one - cosy, using seasonal ingredients, and best enjoyed with a warming cup of tea! To be the first to know when this eBook is released, click here to sign up to my mailing list.

The Lumberjack Cake is a cake made up of apples and dates, with a crunchy maple coconut topping. I first heard of this cake a fair few years ago when I worked at a cafe. One of my colleagues baked for the cafe and a Lumberjack Cake was one of the things she often made. I seem to remember her saying it was something she picked up while she was in Canada, and that it was a Canadian recipe (also known as Queen Elizabeth Cake). It was the perfect cake for a cold Winters day, and I soon found myself a recipe and began creating it at home too. 

One of the tips my colleague gave me at the time for this cake was to use golden syrup and maple extract in the topping, rather than maple syrup as is more customary. Not only is golden syrup less expensive than maple syrup, but from previous experience I found that pure maple syrup doesn’t work well in this cake as it is too runny. You really need the thickness of a golden syrup, or one of those maple flavoured syrups, to keep the coconut topping from sliding right off the cake! 

Pure maple extract can be found at gourmet food stores, or online.

Lumberjack Cake
Lumberjack Cake

Lumberjack Cake (aka Queen Elizabeth Cake)

Ingredients: 

230g apple (about 2 small/medium apples, I use Pink Lady variety), cored and roughly chopped

185g pitted medjool dates, roughly chopped

250ml boiling water

1 tsp bicarb soda

260g plain flour

1.5 tsp baking powder

2 eggs

145g Panela sugar

125ml canola oil 

1 tsp vanilla extract

Ingredients for the Topping: 

70g unsalted butter, roughly chopped

60ml pouring cream

50g Panela sugar 

120g golden syrup

1 tsp vanilla extract

2 tsp pure maple extract

100g shredded coconut 

Method: 

Preheat oven to 180 degrees Celsius and grease and line a 22cm round springform or loose bottomed cake tin. 

In a medium bowl, place the apples and dates, sprinkle over the bicarb soda and cover with the boiling water. Set aside for about 10 minutes, this will allow the fruit to soften up a bit. 

In another medium bowl, whisk together the plain flour and baking powder as set aside. 

In a large mixing bowl, whisk together the eggs, panela sugar, oil and vanilla extract until well combined. 

Add the soaking apples and dates (including the water) to the oil mix, and stir to combine. Finally add the flour mix and stir until just combined. 

Pour the mixture into the prepared cake tin and bake for about 50 minutes, or until a skewer inserted into the centre comes out clean. 

While the cake is baking make the topping by, placing all the topping ingredients except the coconut into a small saucepan. Place over low/medium heat and stir, allowing the butter to melt and the sugar to dissolve. Allow to mixture to bubble and thicken a little, then turn off the heat and stir in the coconut. Set aside until needed. 

Once the cake has finished baking, remove from the oven and spoon the coconut mixture evenly over the top of the cake. Return to the oven for a further 20 minutes, or until the coconut topping has turned golden brown. 

Allow the cake to cool in its tin for a few minutes, then carefully remove the cake from the tin and leave to cool completely on a wire rack. 

Lumberjack Cake

Reference: Not Quite Nigella. 

Lumberjack Cake
In Cakes & Slices Tags Lumberjack Cake, Queen Elizabeth Cake, Winter Baking
2 Comments
  • The Blog
  • Older
  • Newer

recipes

  • Biscuits/Cookies 39
  • Breads Etc. 9
  • Breakfast 7
  • Cakes & Slices 68
  • Confectionary 5
  • Drinks 6
  • Events 14
  • Food Photography Tips 3
  • From The Mailing List 24
  • Heirloom Recipes 12
  • Holidays 44
  • Ice Cream 9
  • Jams Preserves & Spreads 9
  • Muffins 4
  • Off the Shelf 48
  • Other Desserts 25
  • Savoury Dishes/Meals 15
  • Scones 4
  • Tarts & Pastry 9
  • Travel 13

Sign up to Friday Food Chat with Kath, a weekly newsletter for more food, baking, cookbook chat and more!

Sign Up Here!
instagram-unauth pinterest facebook url

Website Accessibility: To enable text to speech function on the blog, click the sound button to the right of each blog post.

All images & content are the property of Kathryn Vincent, unless stated otherwise. Please do not use without permission.

Kulinary Adventures of Kath

Food Photography, Recipes & Baking

instagram-unauth pinterest facebook url