Bought at: it was a Christmas gift in 2018.
Recipes Made: Garlic and Anchovy Butter Toasts p.31, Arugula Salad with Lemon, Pine Nutes and Pecorino p.35, Celebration Chicken with Sweet Potatoes and Dates p.54 and Baked Saffron Rice p.55.
I made the Garlic and Anchovy Butter Toasts in a whim recently, and they were divine. I ended up using a whole tin of anchovies, as I couldn’t bare to waste them (and my family and I love them! A lot!). I would make this again in a heartbeat, and will anytime I want to have a super tasty bread based side dish. Though having said that, I could definitely eat this as a main. Most definitely!
For Christmas lunch last year, we were looking for a nice simple yet tasty salad to go with out main meal of ham, hot smoked salmon and a baked rice dish (the Ottolenghi one I have made from ‘Simple’ many times). I was looking through some of my cookbooks, came across Julia’s Arugula (Rocket!) Salad with Lemon, Pine Nuts and Pecorino. It was just the simple yet tasty salad we were looking for. We have made it a few times since, and often use grana padano instead of pecorino as that is a cheese we always have at home.
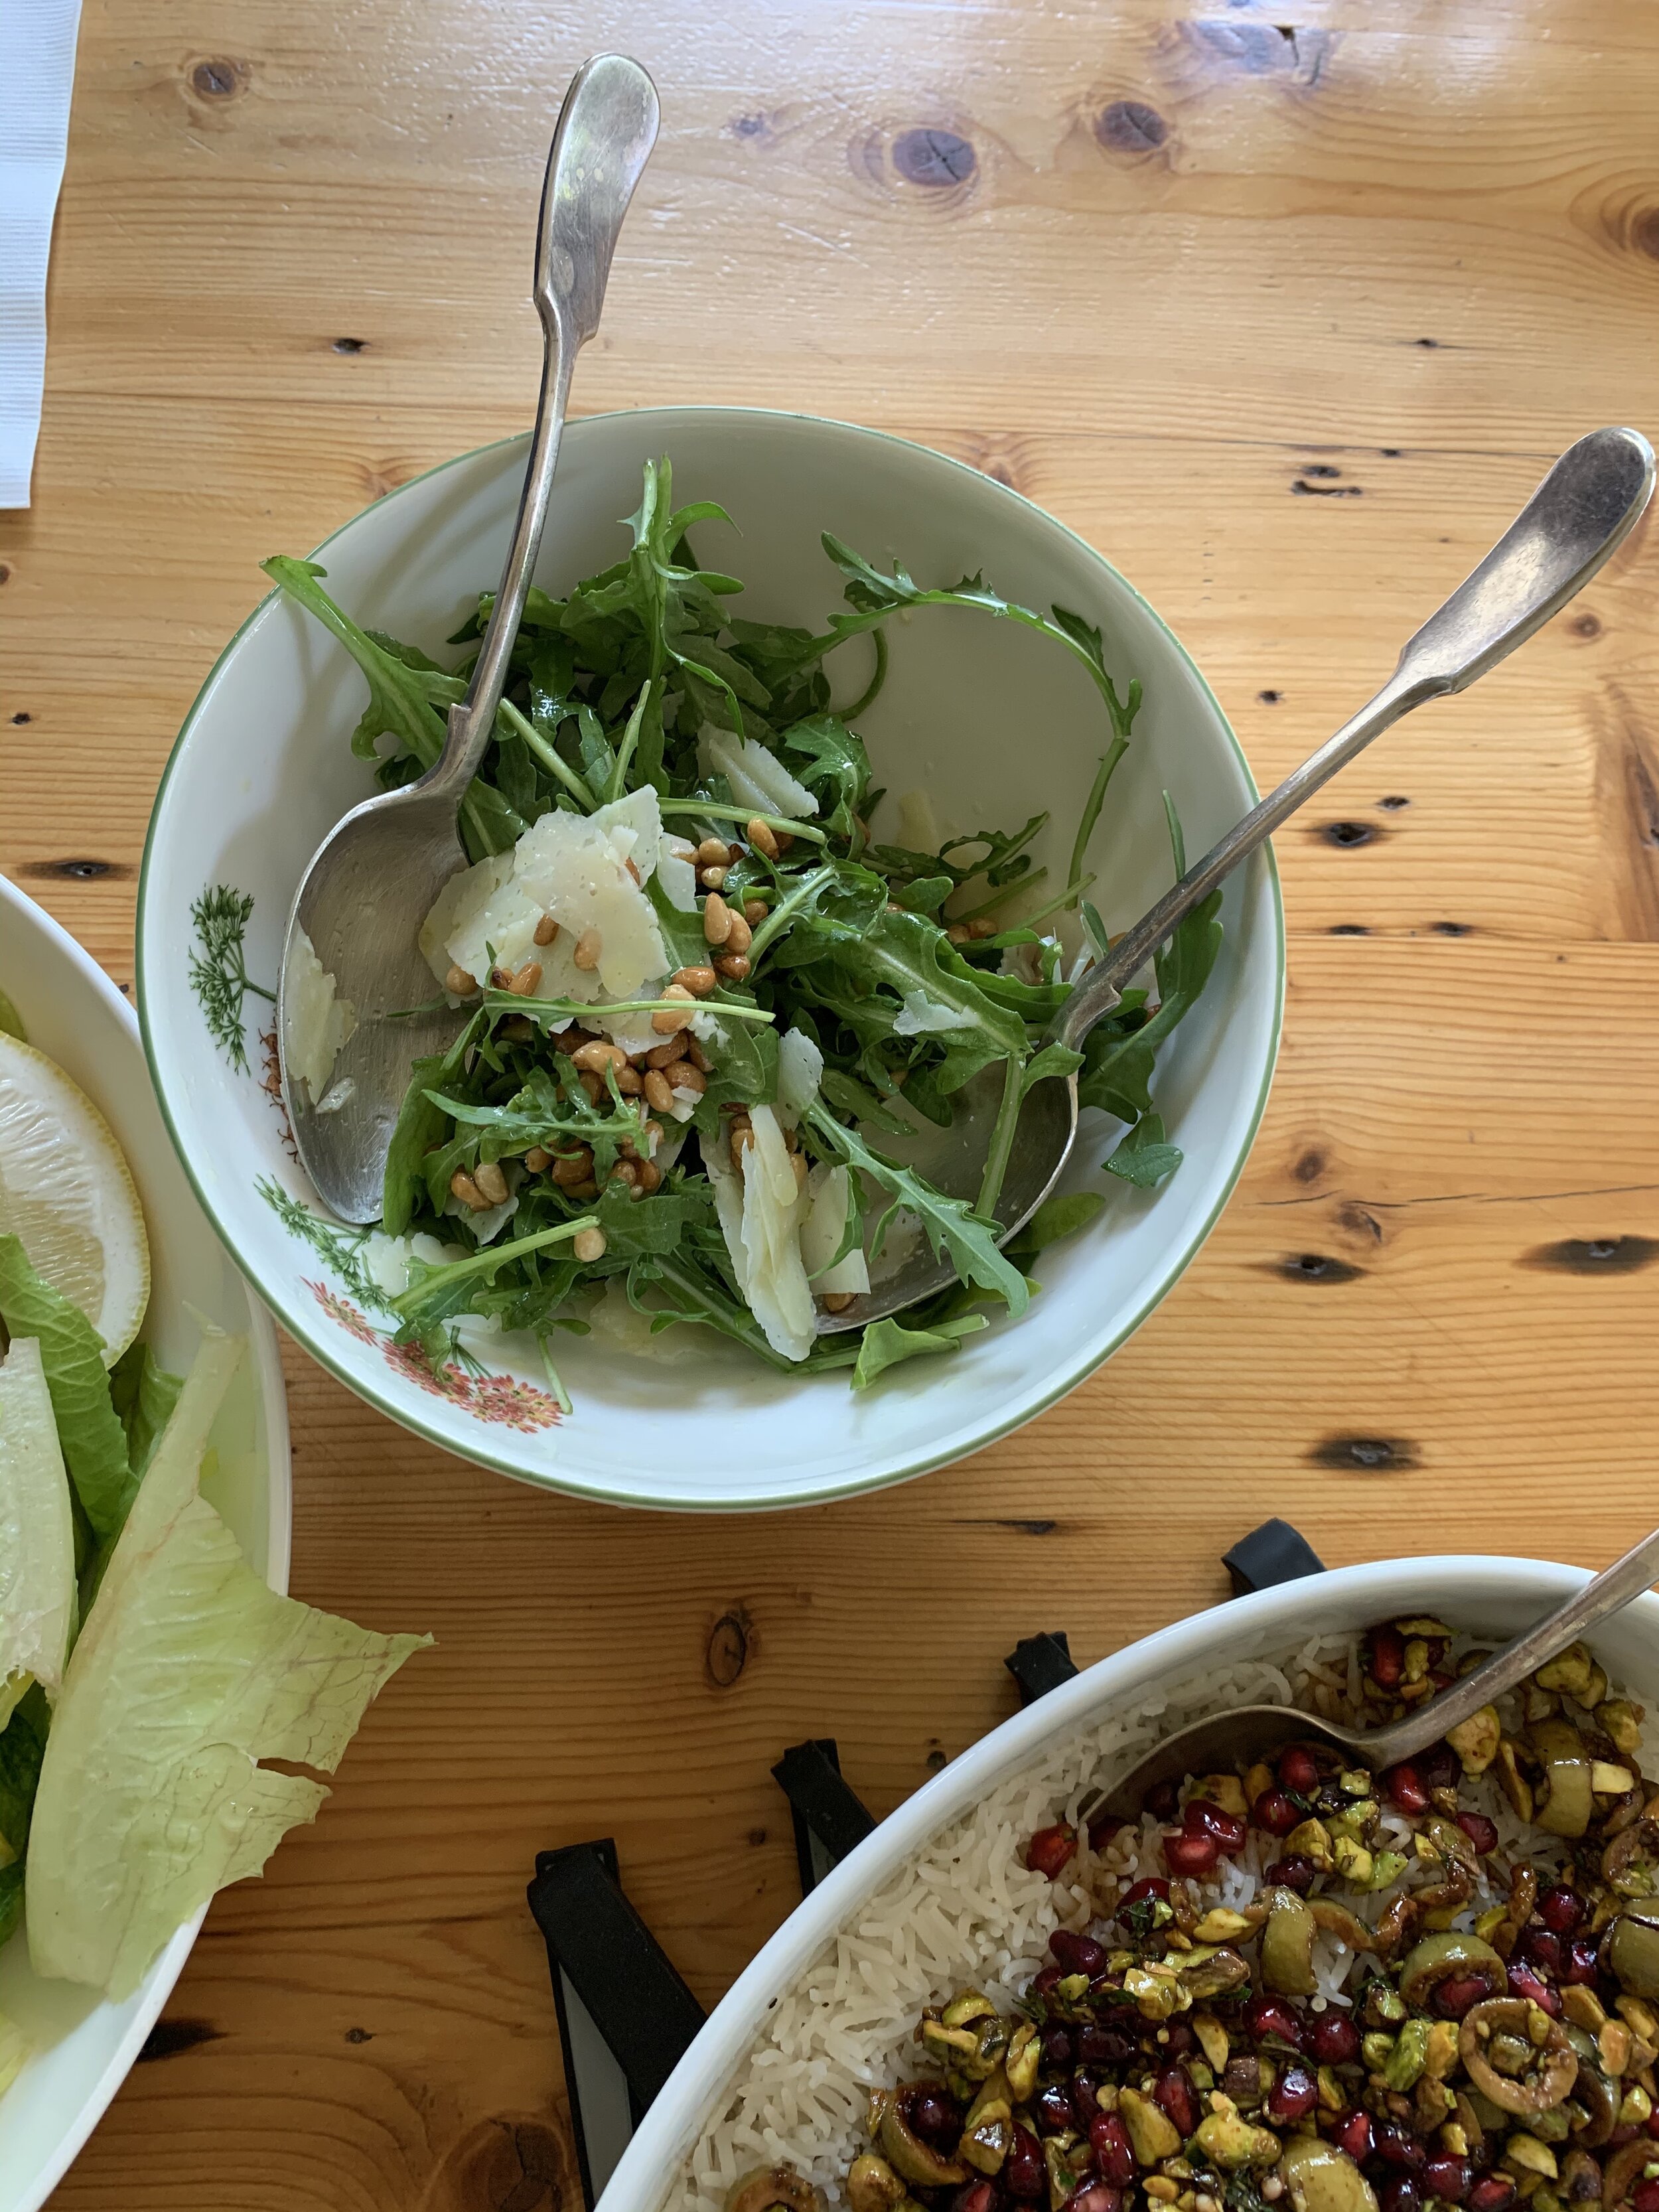
Arugula Salad with Lemon, Pine Nuts and Pecorino
Julia’s Celebration Chicken is a riff of a recipe, Chicken Marbella, that many cookbook authors seem to take inspiration from. I adore Ottolenghi’s version of this (see my Off the Shelf post on ‘Simple’), so I knew I had to give this version a go. I liked Julia’s version, however it did lack that intense moorish tastiness that Ottolenghi’s version has. I always find recipes that ask for water, instead of something more tasty like wine or chicken stock, are always a little underwhelming. I now see a red flag when I read recipes that ask for water in this way, as I always find them lacking in flavour. Despite this, I did make Julia’s Celebration Chicken as the recipe says, with water, and when I make it again I will definitely be adding 1/4 cup of white wine or chicken stock instead.
I also made the Baked Saffron Rice to serve with the chicken, which is an adaptation of the Ottolenghi recipe I mentioned above. I really like baking rice this way, it cooks really evenly and is very stress free. I didn’t find this version nearly as tasty as Ottolenghi’s, but that would probably be because his recipe has a delicious green olive salsa that would make anything taste good. If I made this recipe again, I think I would cook the saffron with the rice, rather than adding the saffron infused water at the end before serving. The saffron was really lost on me in this recipe, and I think the flavour would be more obvious if it had time to cook in with the rice.

Favourite Things About the Book: Similar to Julia’s first book ‘Small Victories’, ‘Now & Again’ contains Julia’s genuinely lovely writing, and very thoughtful recipes. This book is based on the premise that many aspects or leftover ingredients of the recipes can be used for something else, and Julia gives some great suggestions. I also really like how the book is organised. The book is divided by the seasons, then within that into menus such as, ‘Red-Checkered Tablecloth Late Saturday Lunch’, ‘Rosh Hashanah Dinner’ and ‘A Not-Kosher Jewish Christmas’.
Bookmarked Recipes (to make later!): Italian Flag Baked Pasta p.33-34, Applesauce Cake with Cream Cheese and Honey Frosting p.58-60, Striped Bass with Butter Verde p.142, Pistachio Mandelbrot Cookies p.148, Best Matzo Ball Soup p.166-167 and Hikers’ Cookies p.220.