These cookies came about as I have had in my mind for the past year that a dried cherry and pistachio nougat would be an excellent Christmas recipe, but as it always does by this time of the year, time did not allow for a thorough testing of the recipe.
As it started to become clear that my nougat Christmas dreams weren’t going to come true, I decided my Plan B for a new Christmas recipe would be a cookie with the same flavours.
Of course, a cookie and nougat are hardly comparable, but what cookies lack in finesse and wide eyed compliments on how much effort you went to, they gain on the fact that they don’t take much effort but are extremely delicious.
Like the Caramilk Cookies I posted this year on which this recipe is based, these cookies require very little prep, and need no time to chill in the fridge. You could make these in about half an hour. Which at this time of year, sounds pretty good to me.
You can swap the dried cherries (also labelled as sour cherries sometimes) for dried cranberries and you can use any type of chocolate you wish if you don’t have Caramilk - though I do highly recommend Caramilk for baking as it tastes so good and is considerably cheaper to buy than better quality caramelised white chocolates which I personally find can be a bit lost in baking (save those ones for snacking!).
So if you have unexpected guests this festive season, or want to drop off homemade goodies if you are socially isolating still, these cookies will have your back and won’t eat up all your time!

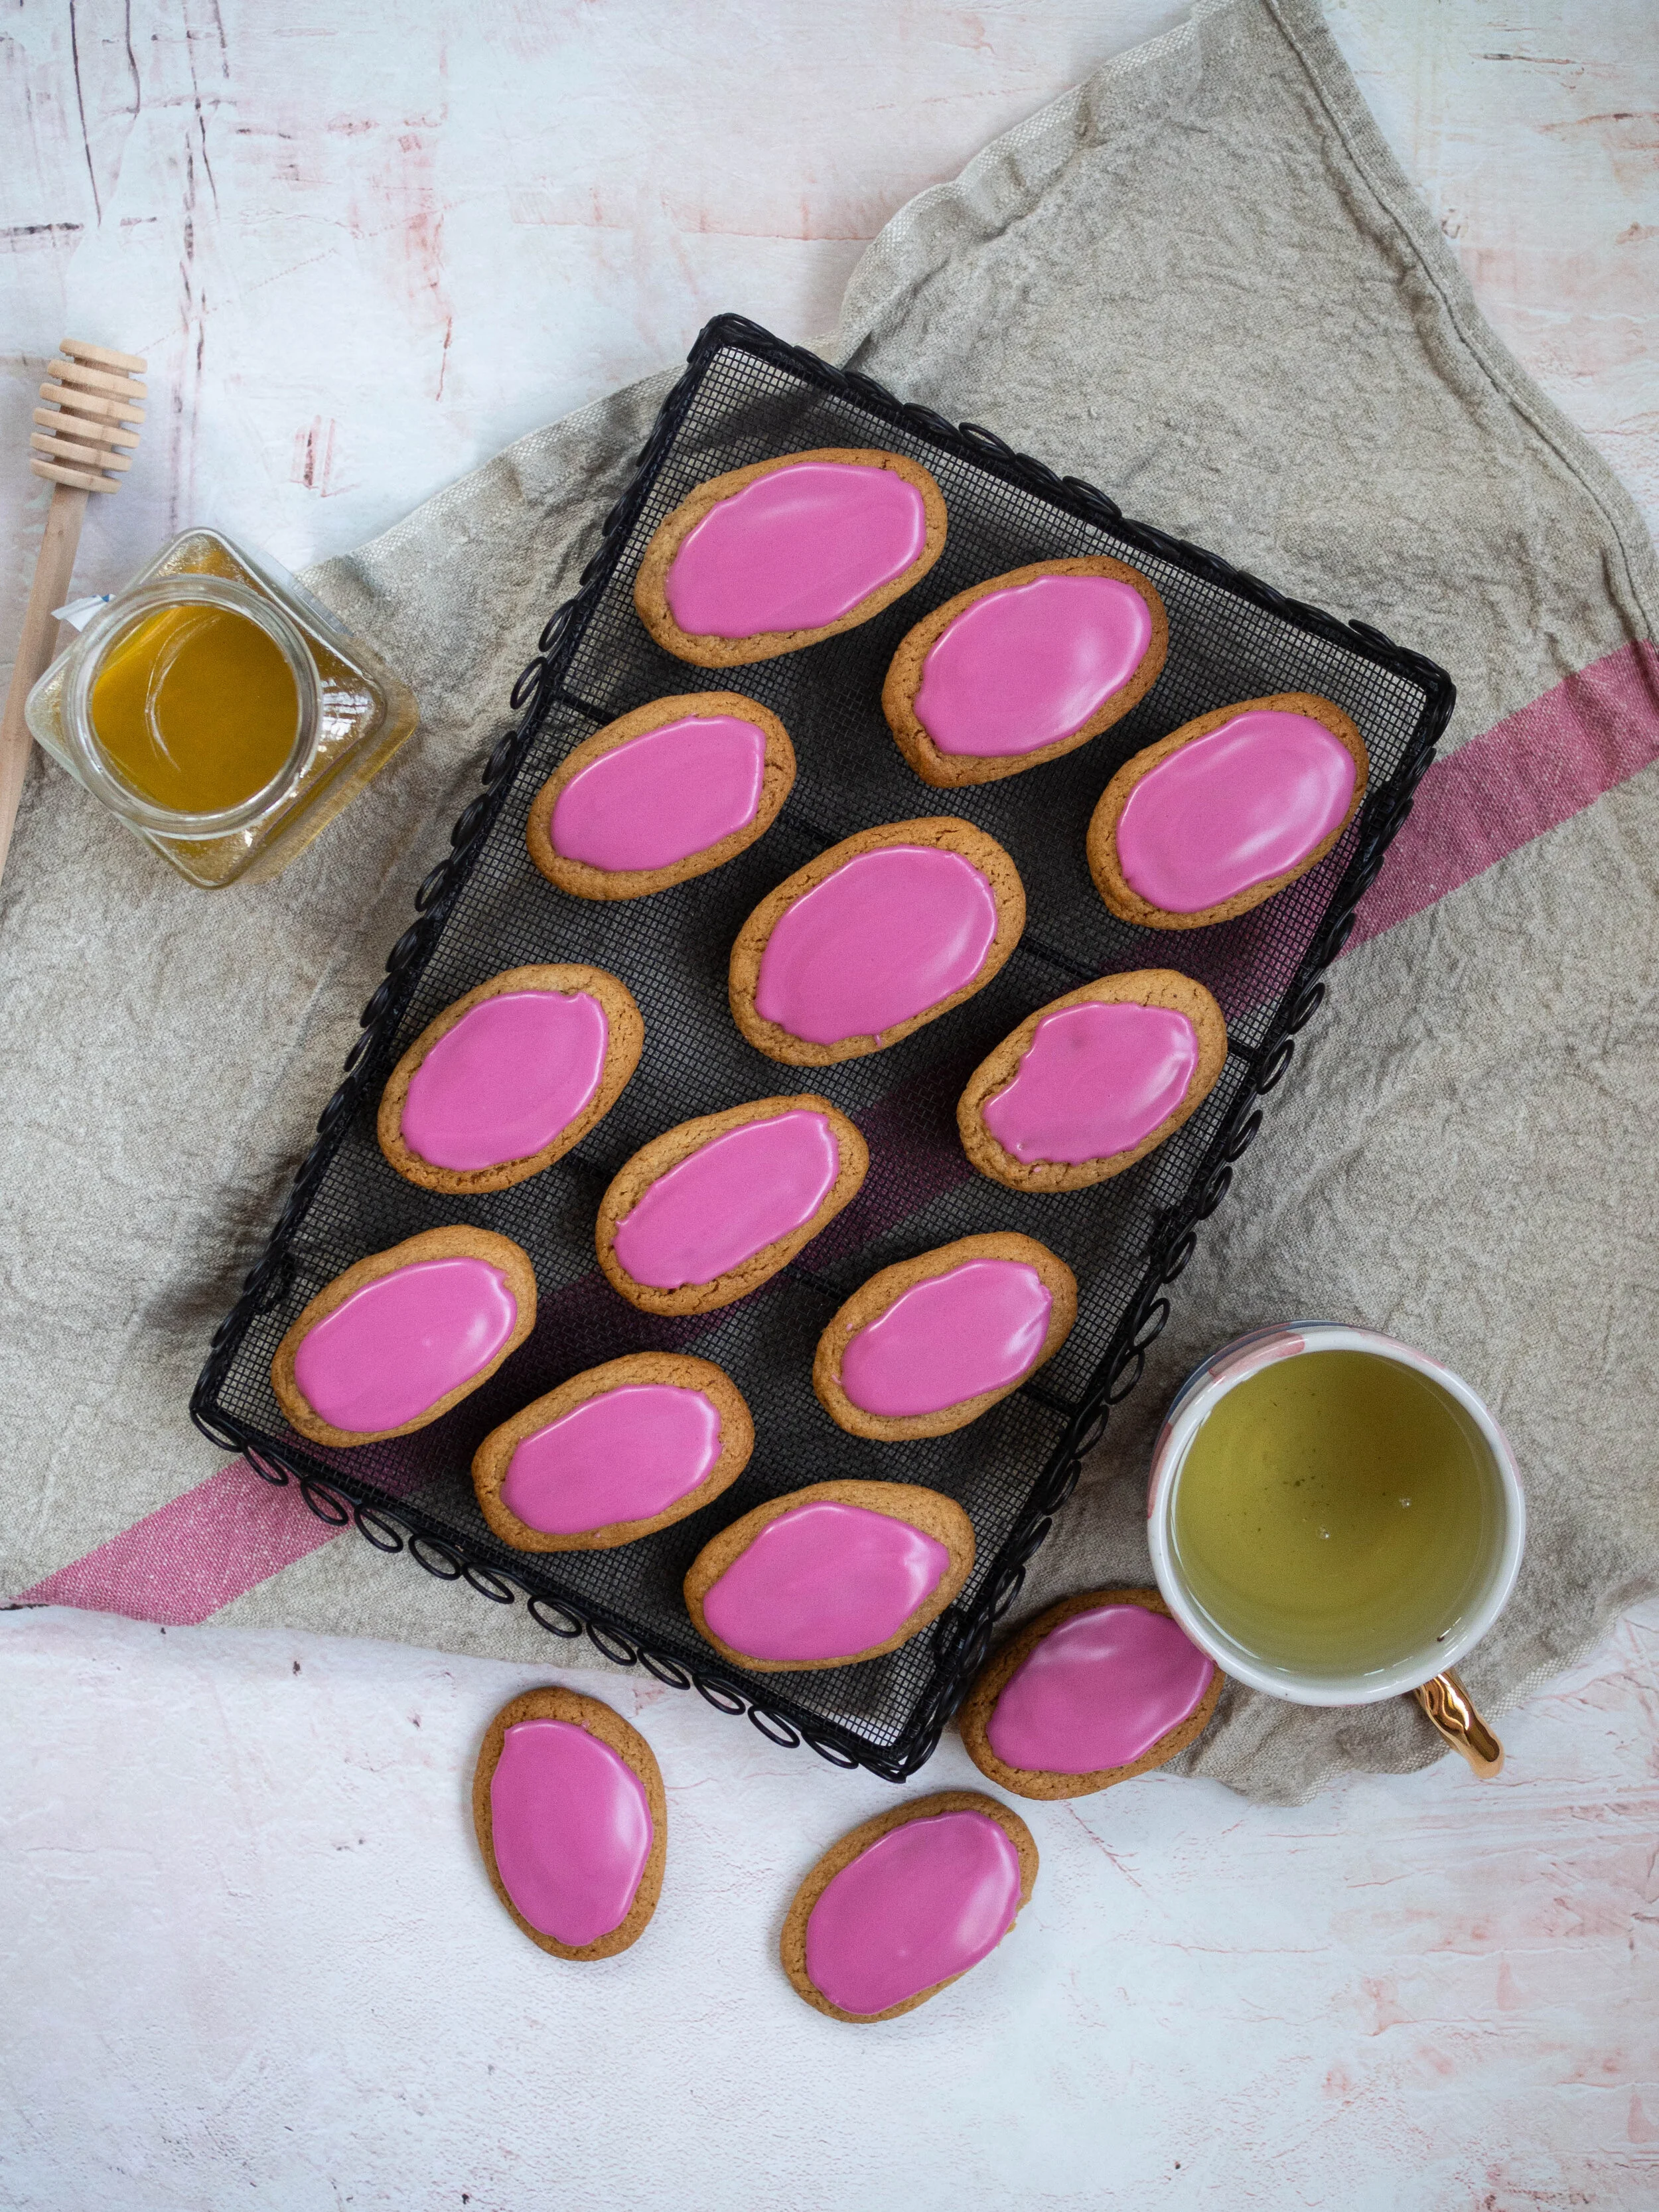
Caramilk Dried Cherry and Pistachio Cookies
Ingredients:
120ml canola oil
225g caster sugar
2 tbsp golden syrup
1 tsp vanilla bean paste
1 egg, beaten
290g self raising flour
120g Cadbury Caramilk, roughly chopped
120g dried cherries, roughly chopped
1-2 tbsp slivered or roughly chopped pistachios
Method:
Preheat oven to 170 degrees Celsius and line three large baking trays with baking paper.
In a large bowl whisk together the oil, sugar, golden syrup, vanilla and egg.
Then add the flour and the chopped Caramilk and cherries, and mix to combine with a wooden spoon.
Roll heaped teaspoonfuls of the dough into balls and place on the trays. The cookies will spread as they bake so leave enough room in between.
Sprinkle the tops of each cookie with some of the pistachio, pressing it in gently so they don’t fall off.
Bake for 12-15 minutes or until golden brown. Rotate the trays in the oven about halfway through to ensure the cookies cook evenly.
Allow to cool on their trays, then store in an airtight container (they will last 5-7 days).
Makes about 30 cookies.