For this post I wanted to do a little re-cap of the Easter weekend, particularly the baking! Any recipes mentioned will be or are posted on the blog.
This year I made it my mission to try as many different types of hot cross buns as I could. I didn’t get to every bakery I wanted (fingers crossed for next year), but I tried a few, as well as making my own.
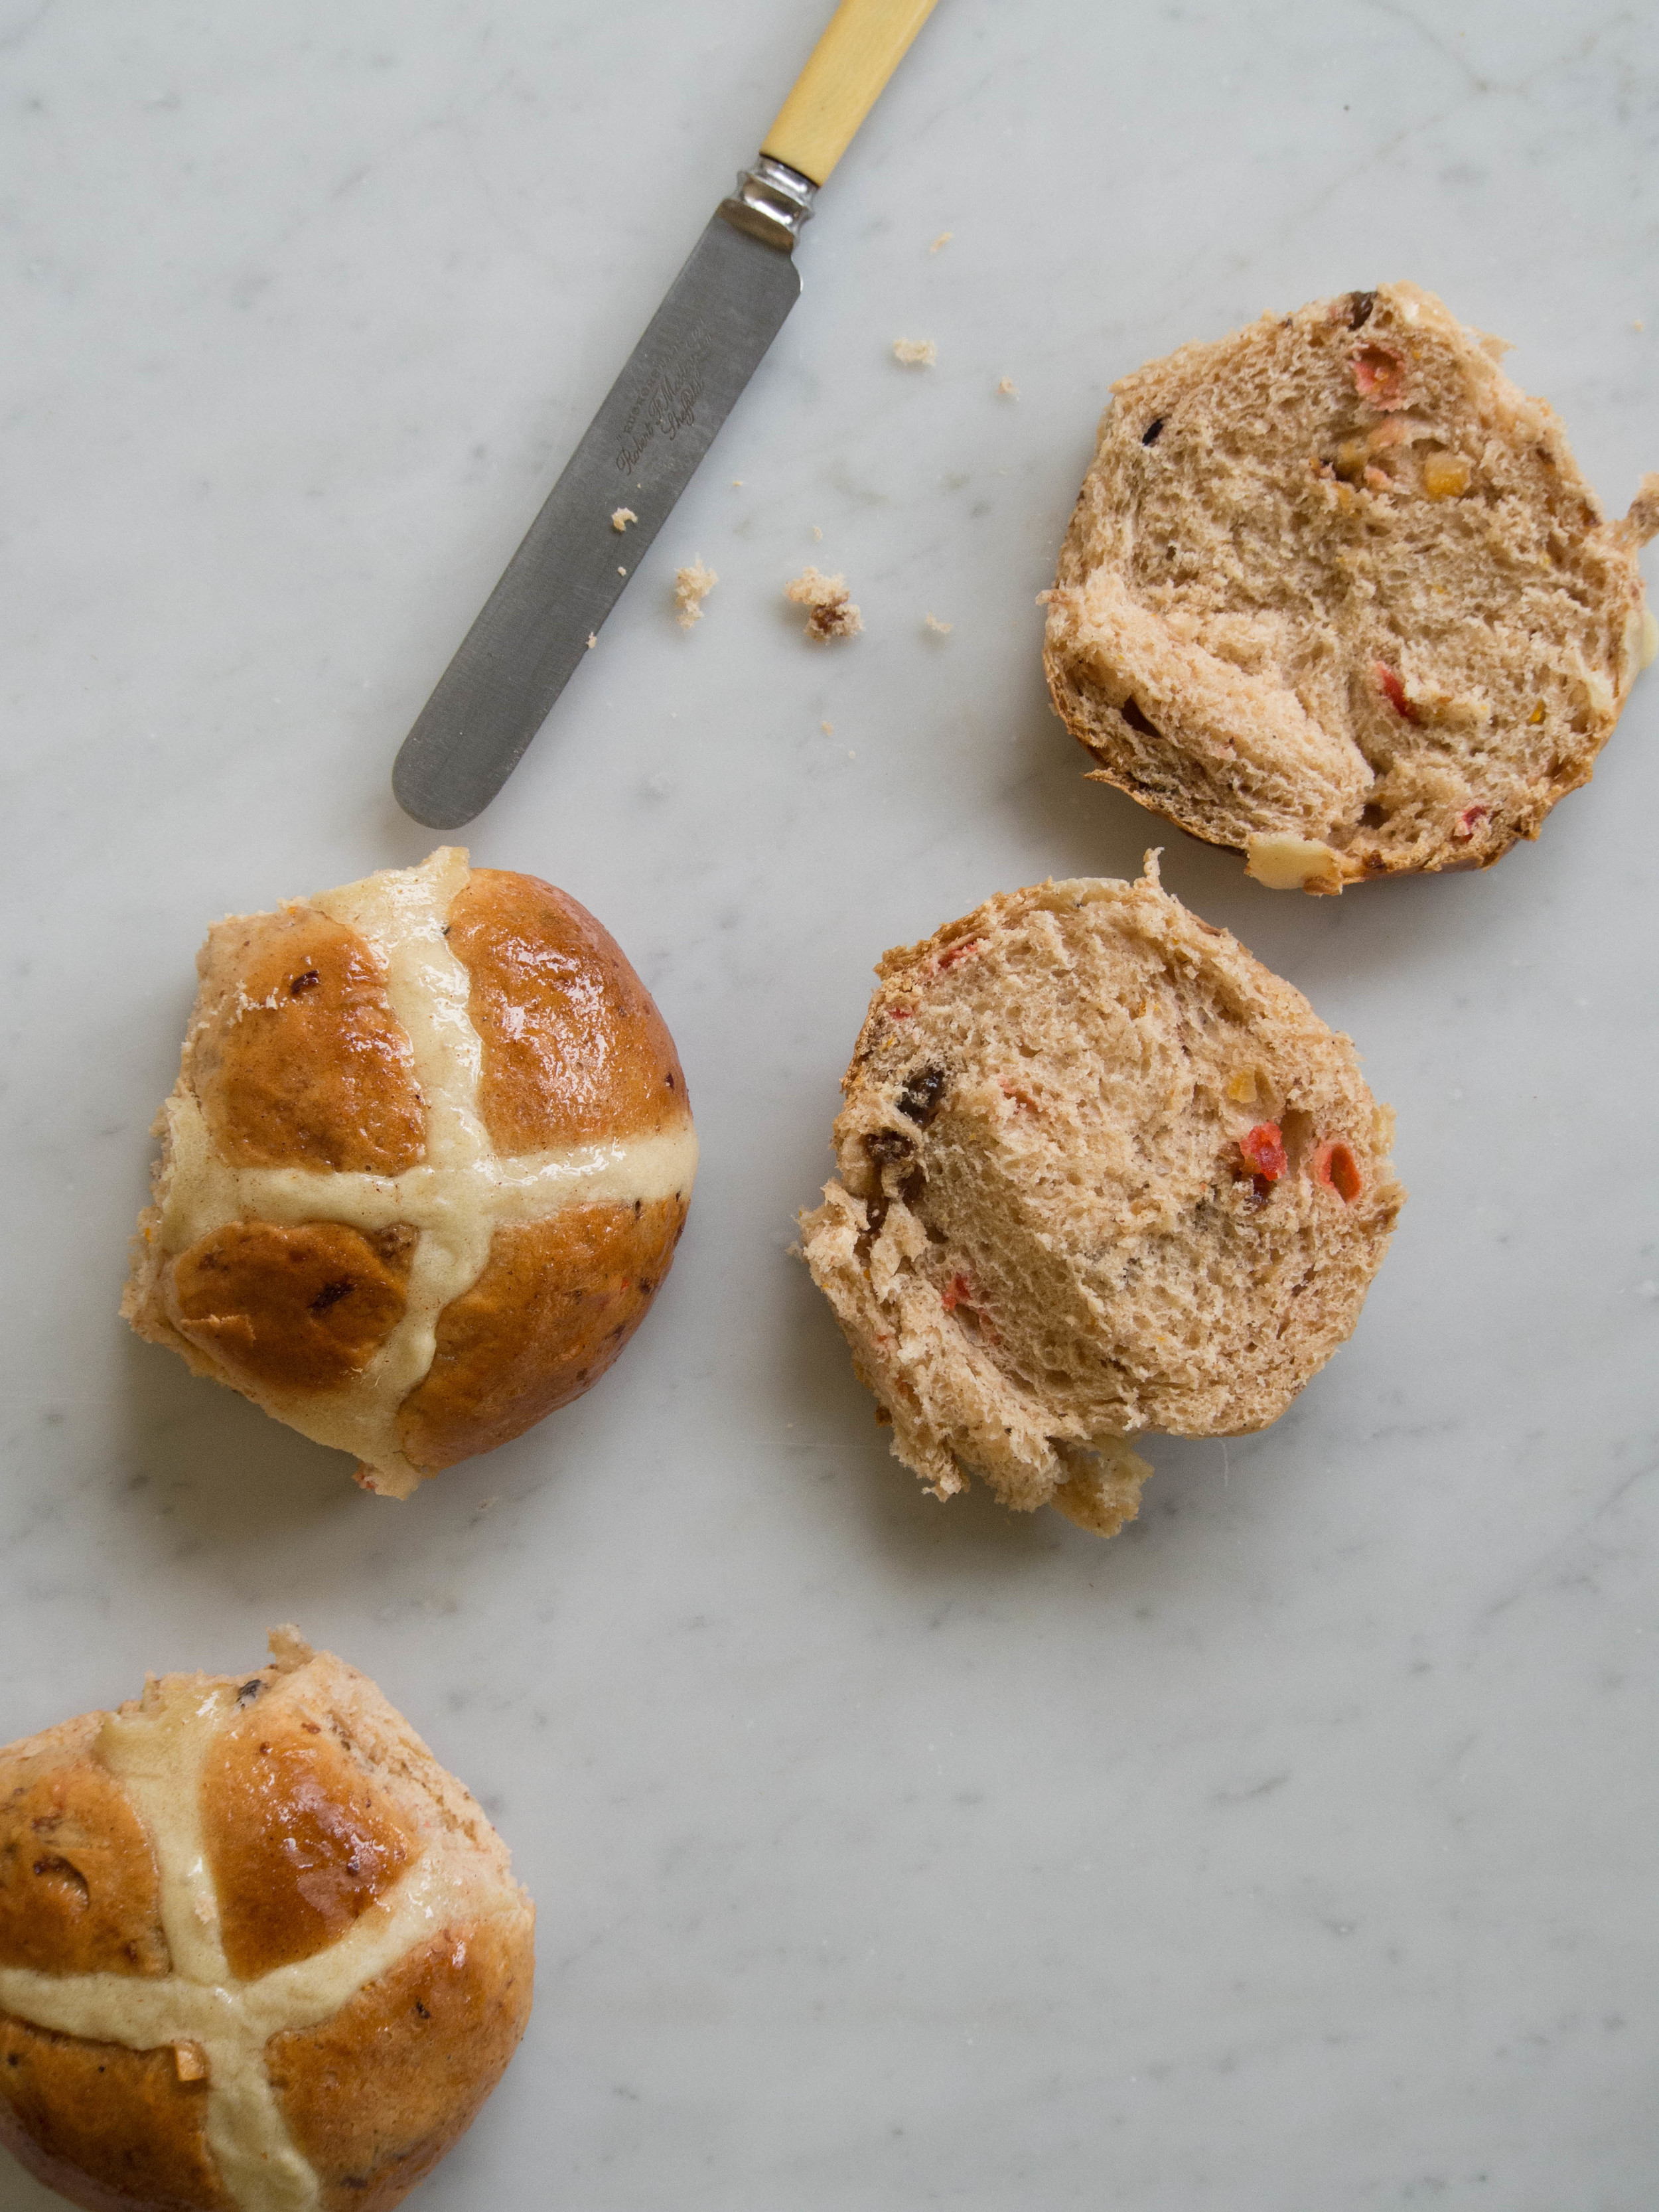
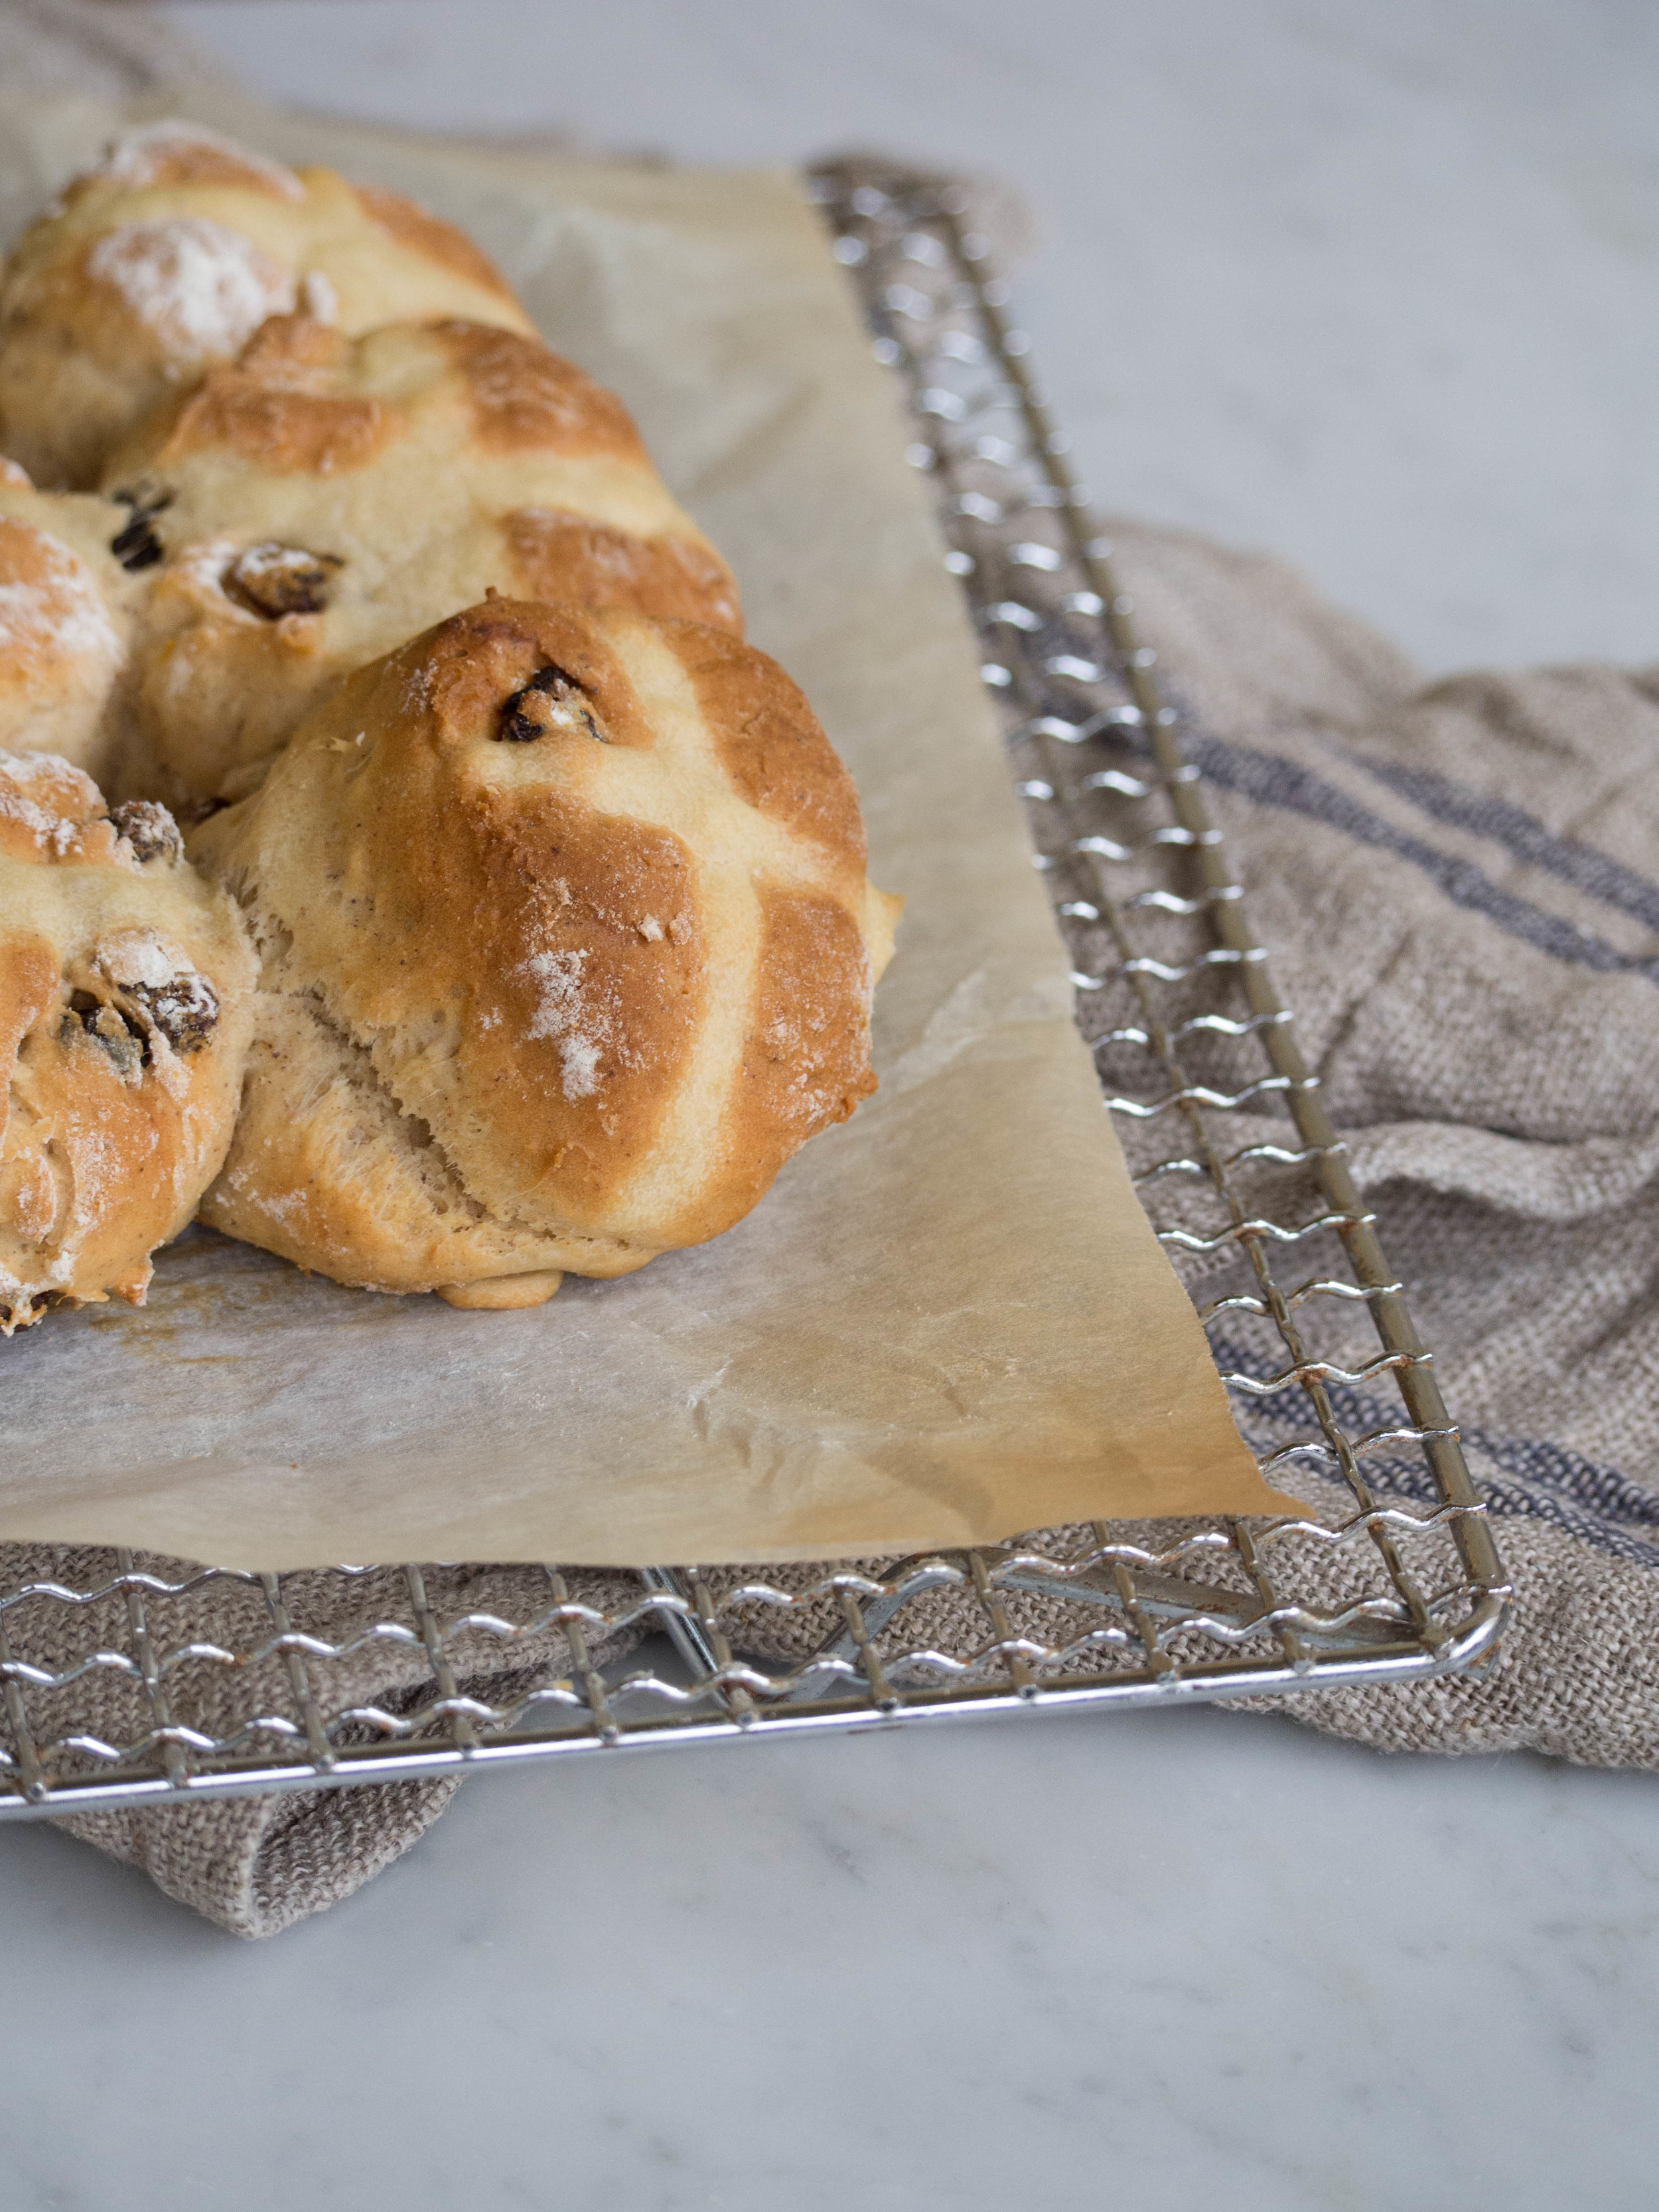
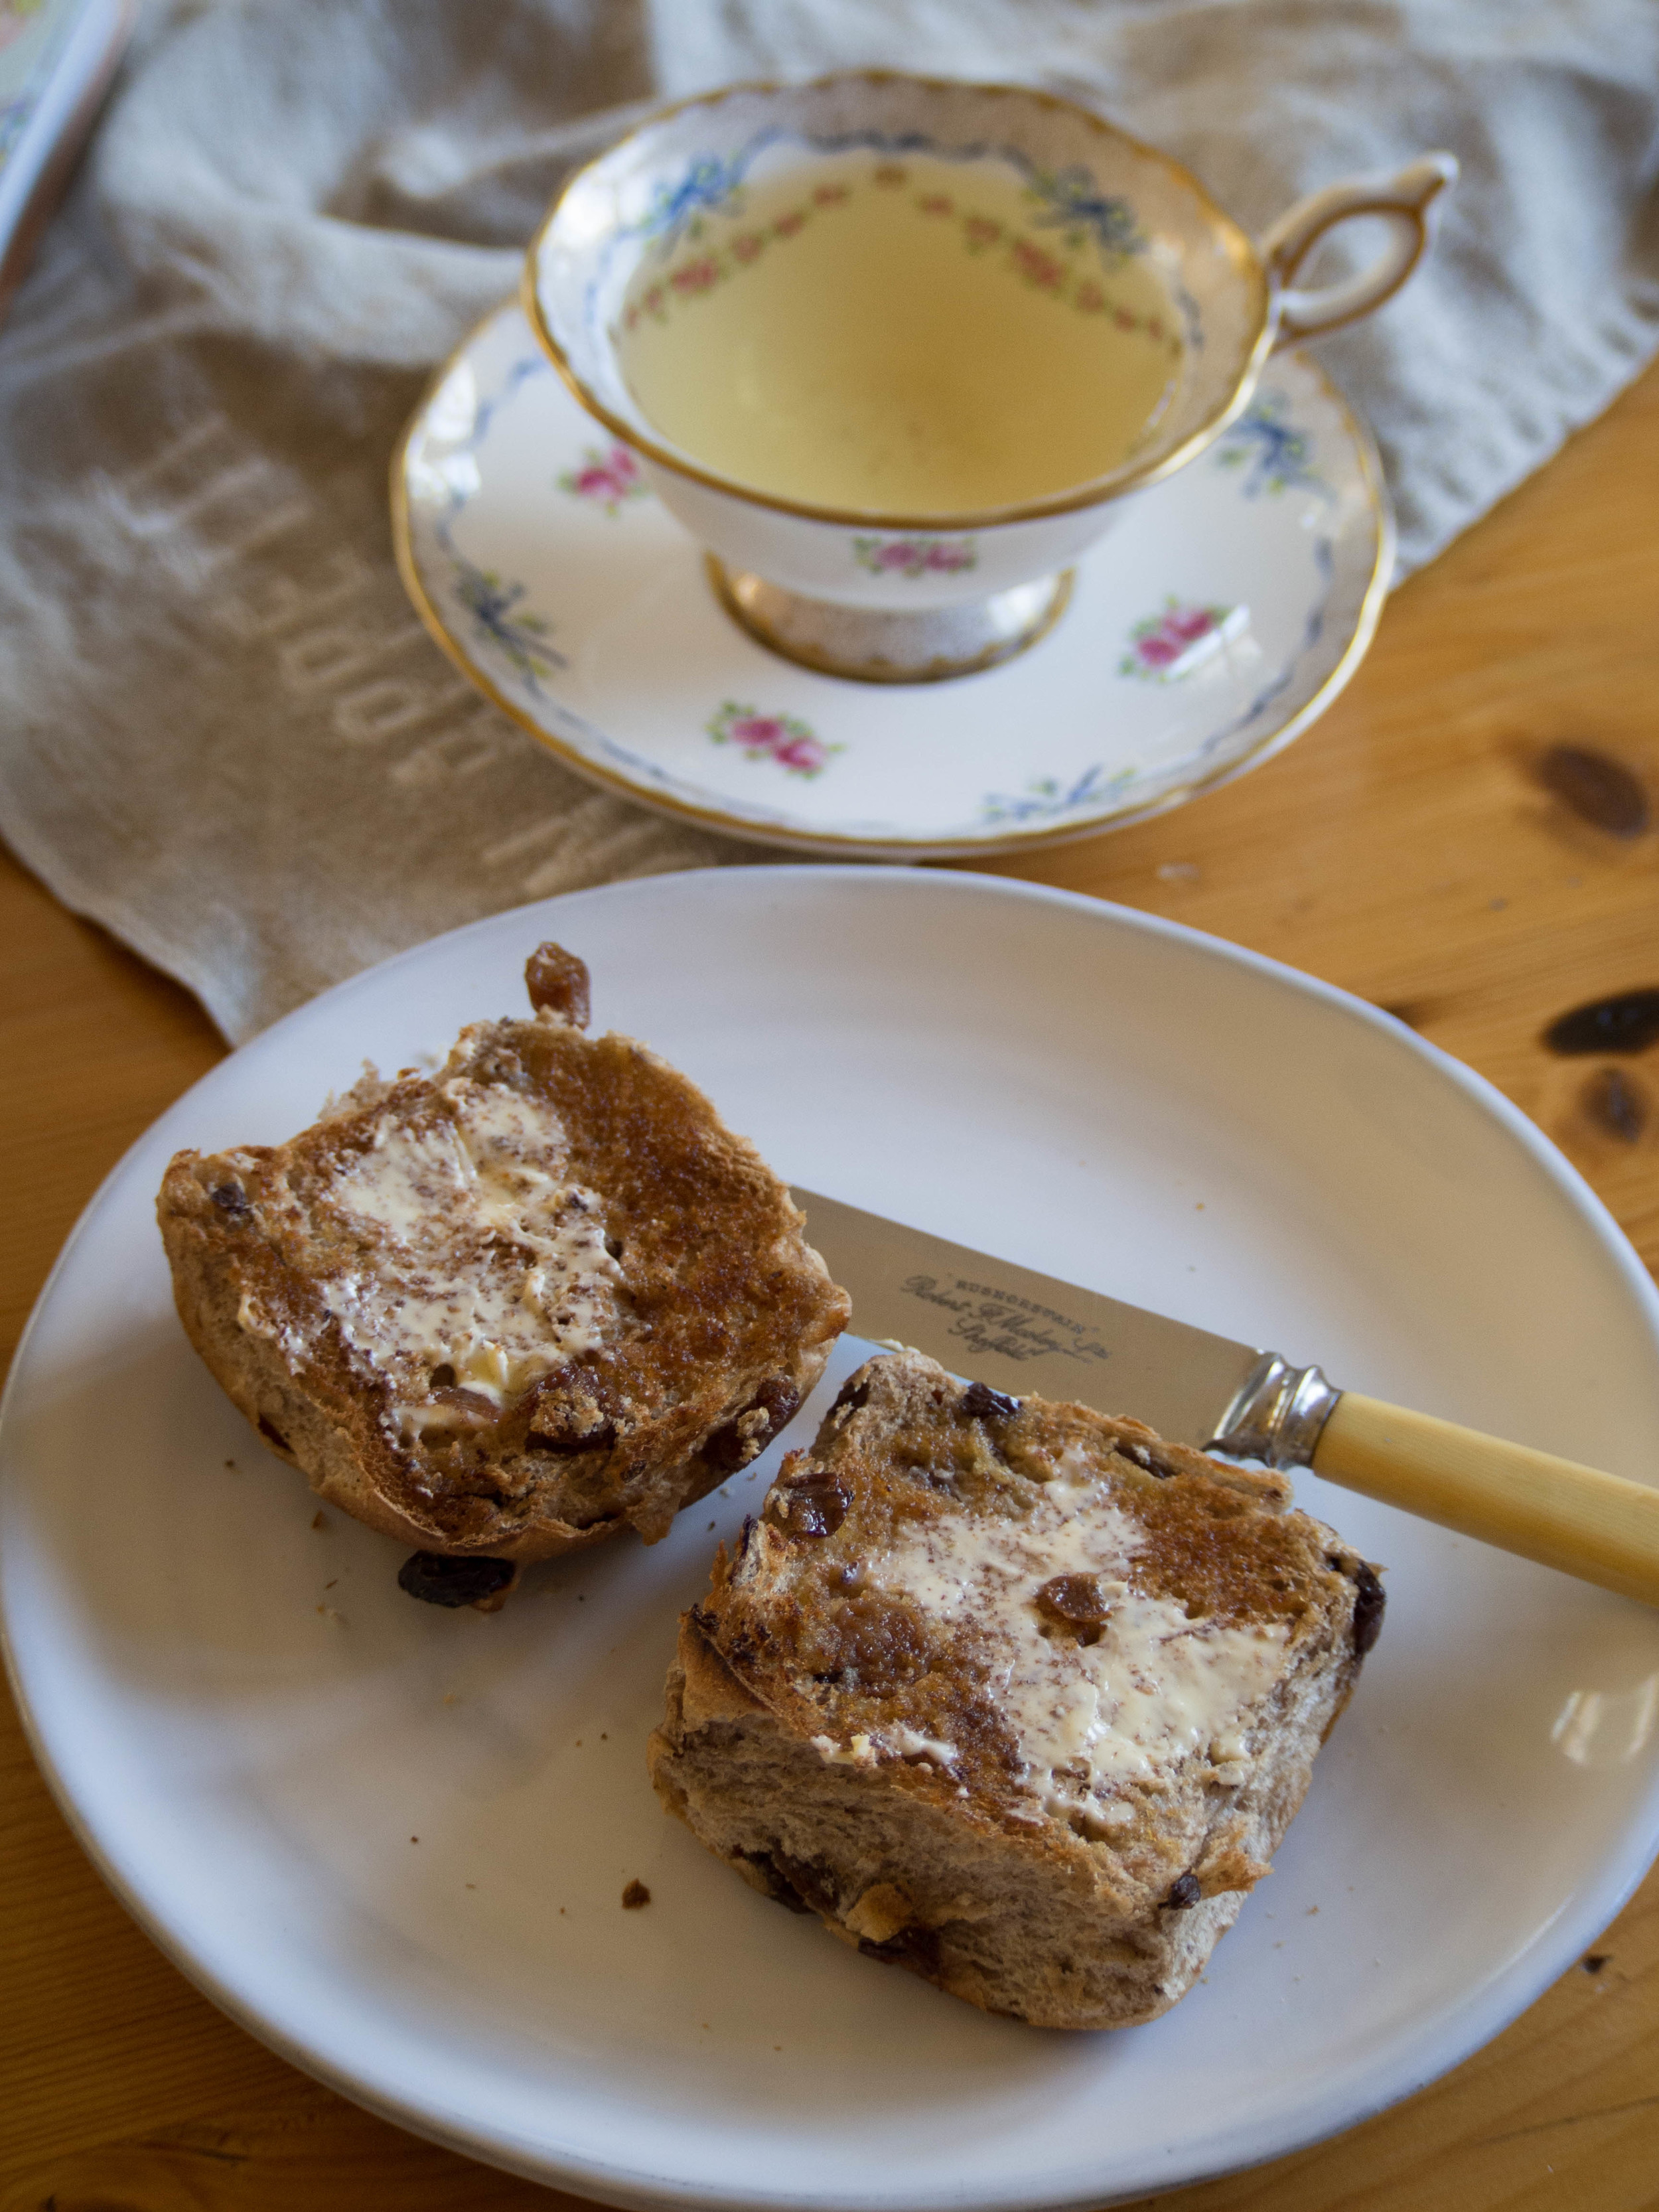
Homemade Hot Cross Buns - Recipe Here
I went to Black Star Pastry at the Powerhouse Museum a couple of times, and tried their Frankincense glazed hot cross buns. They were full of fruit and flavour, and well worth the walk to get them!
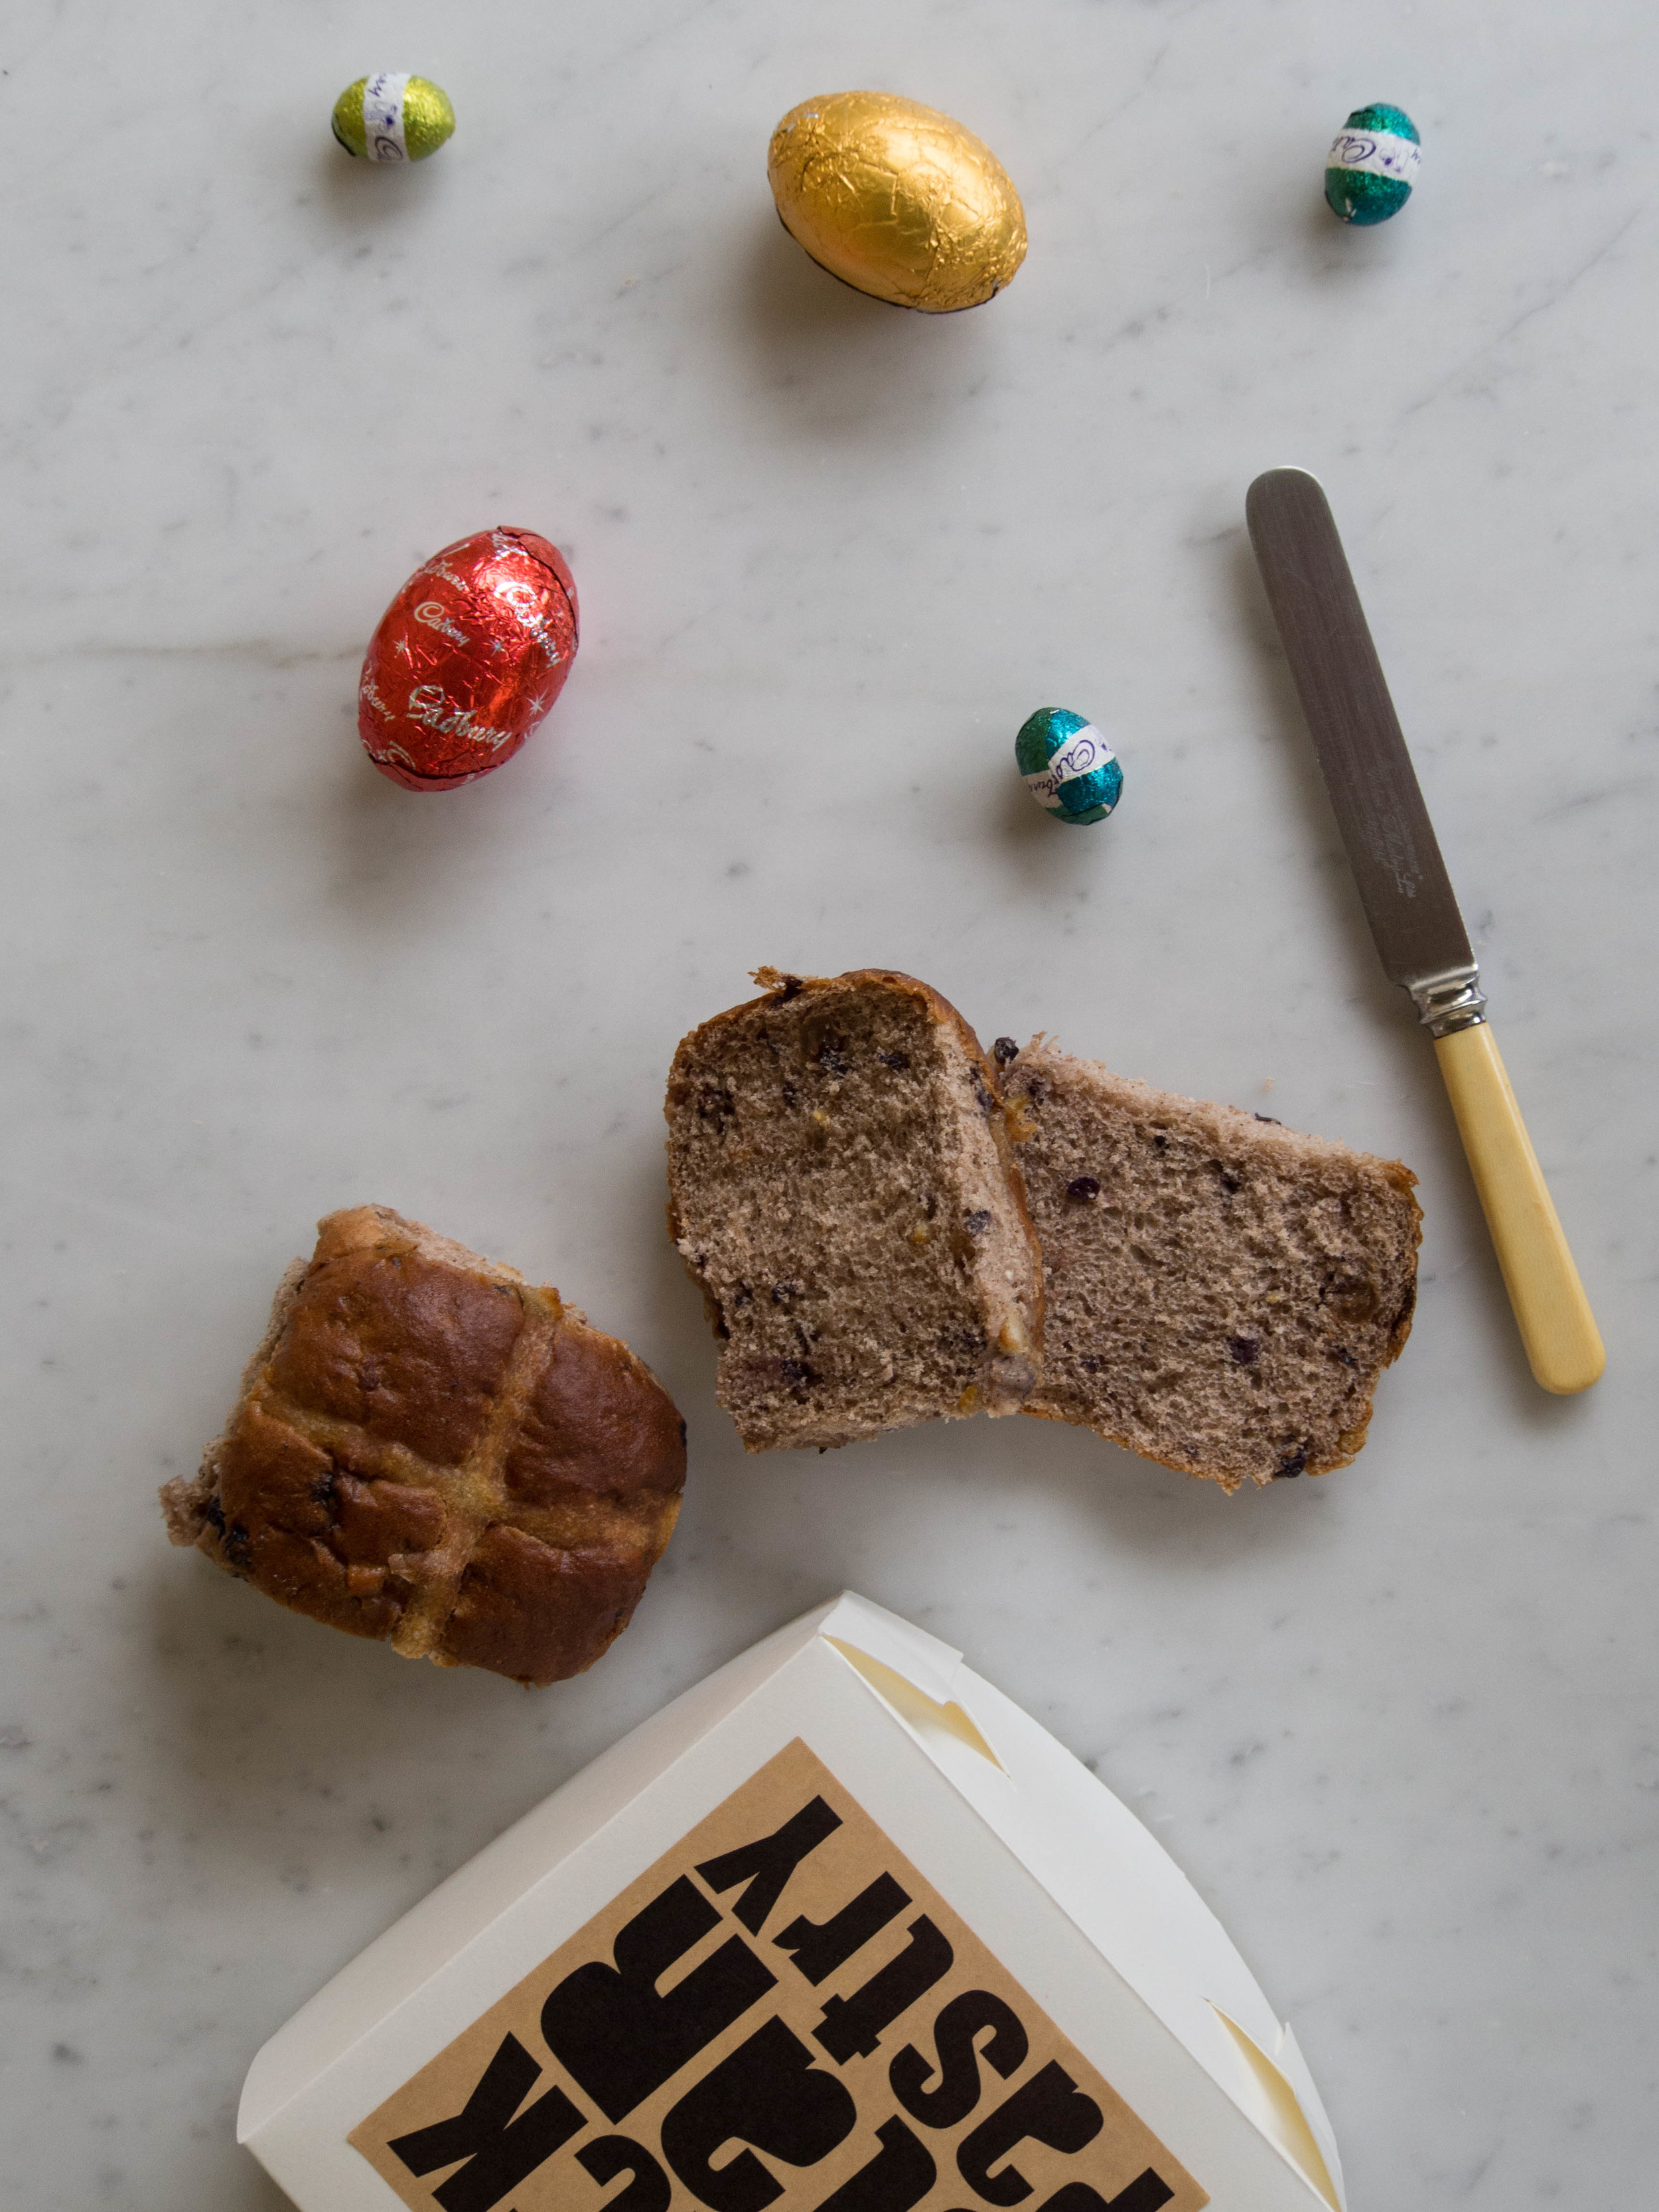
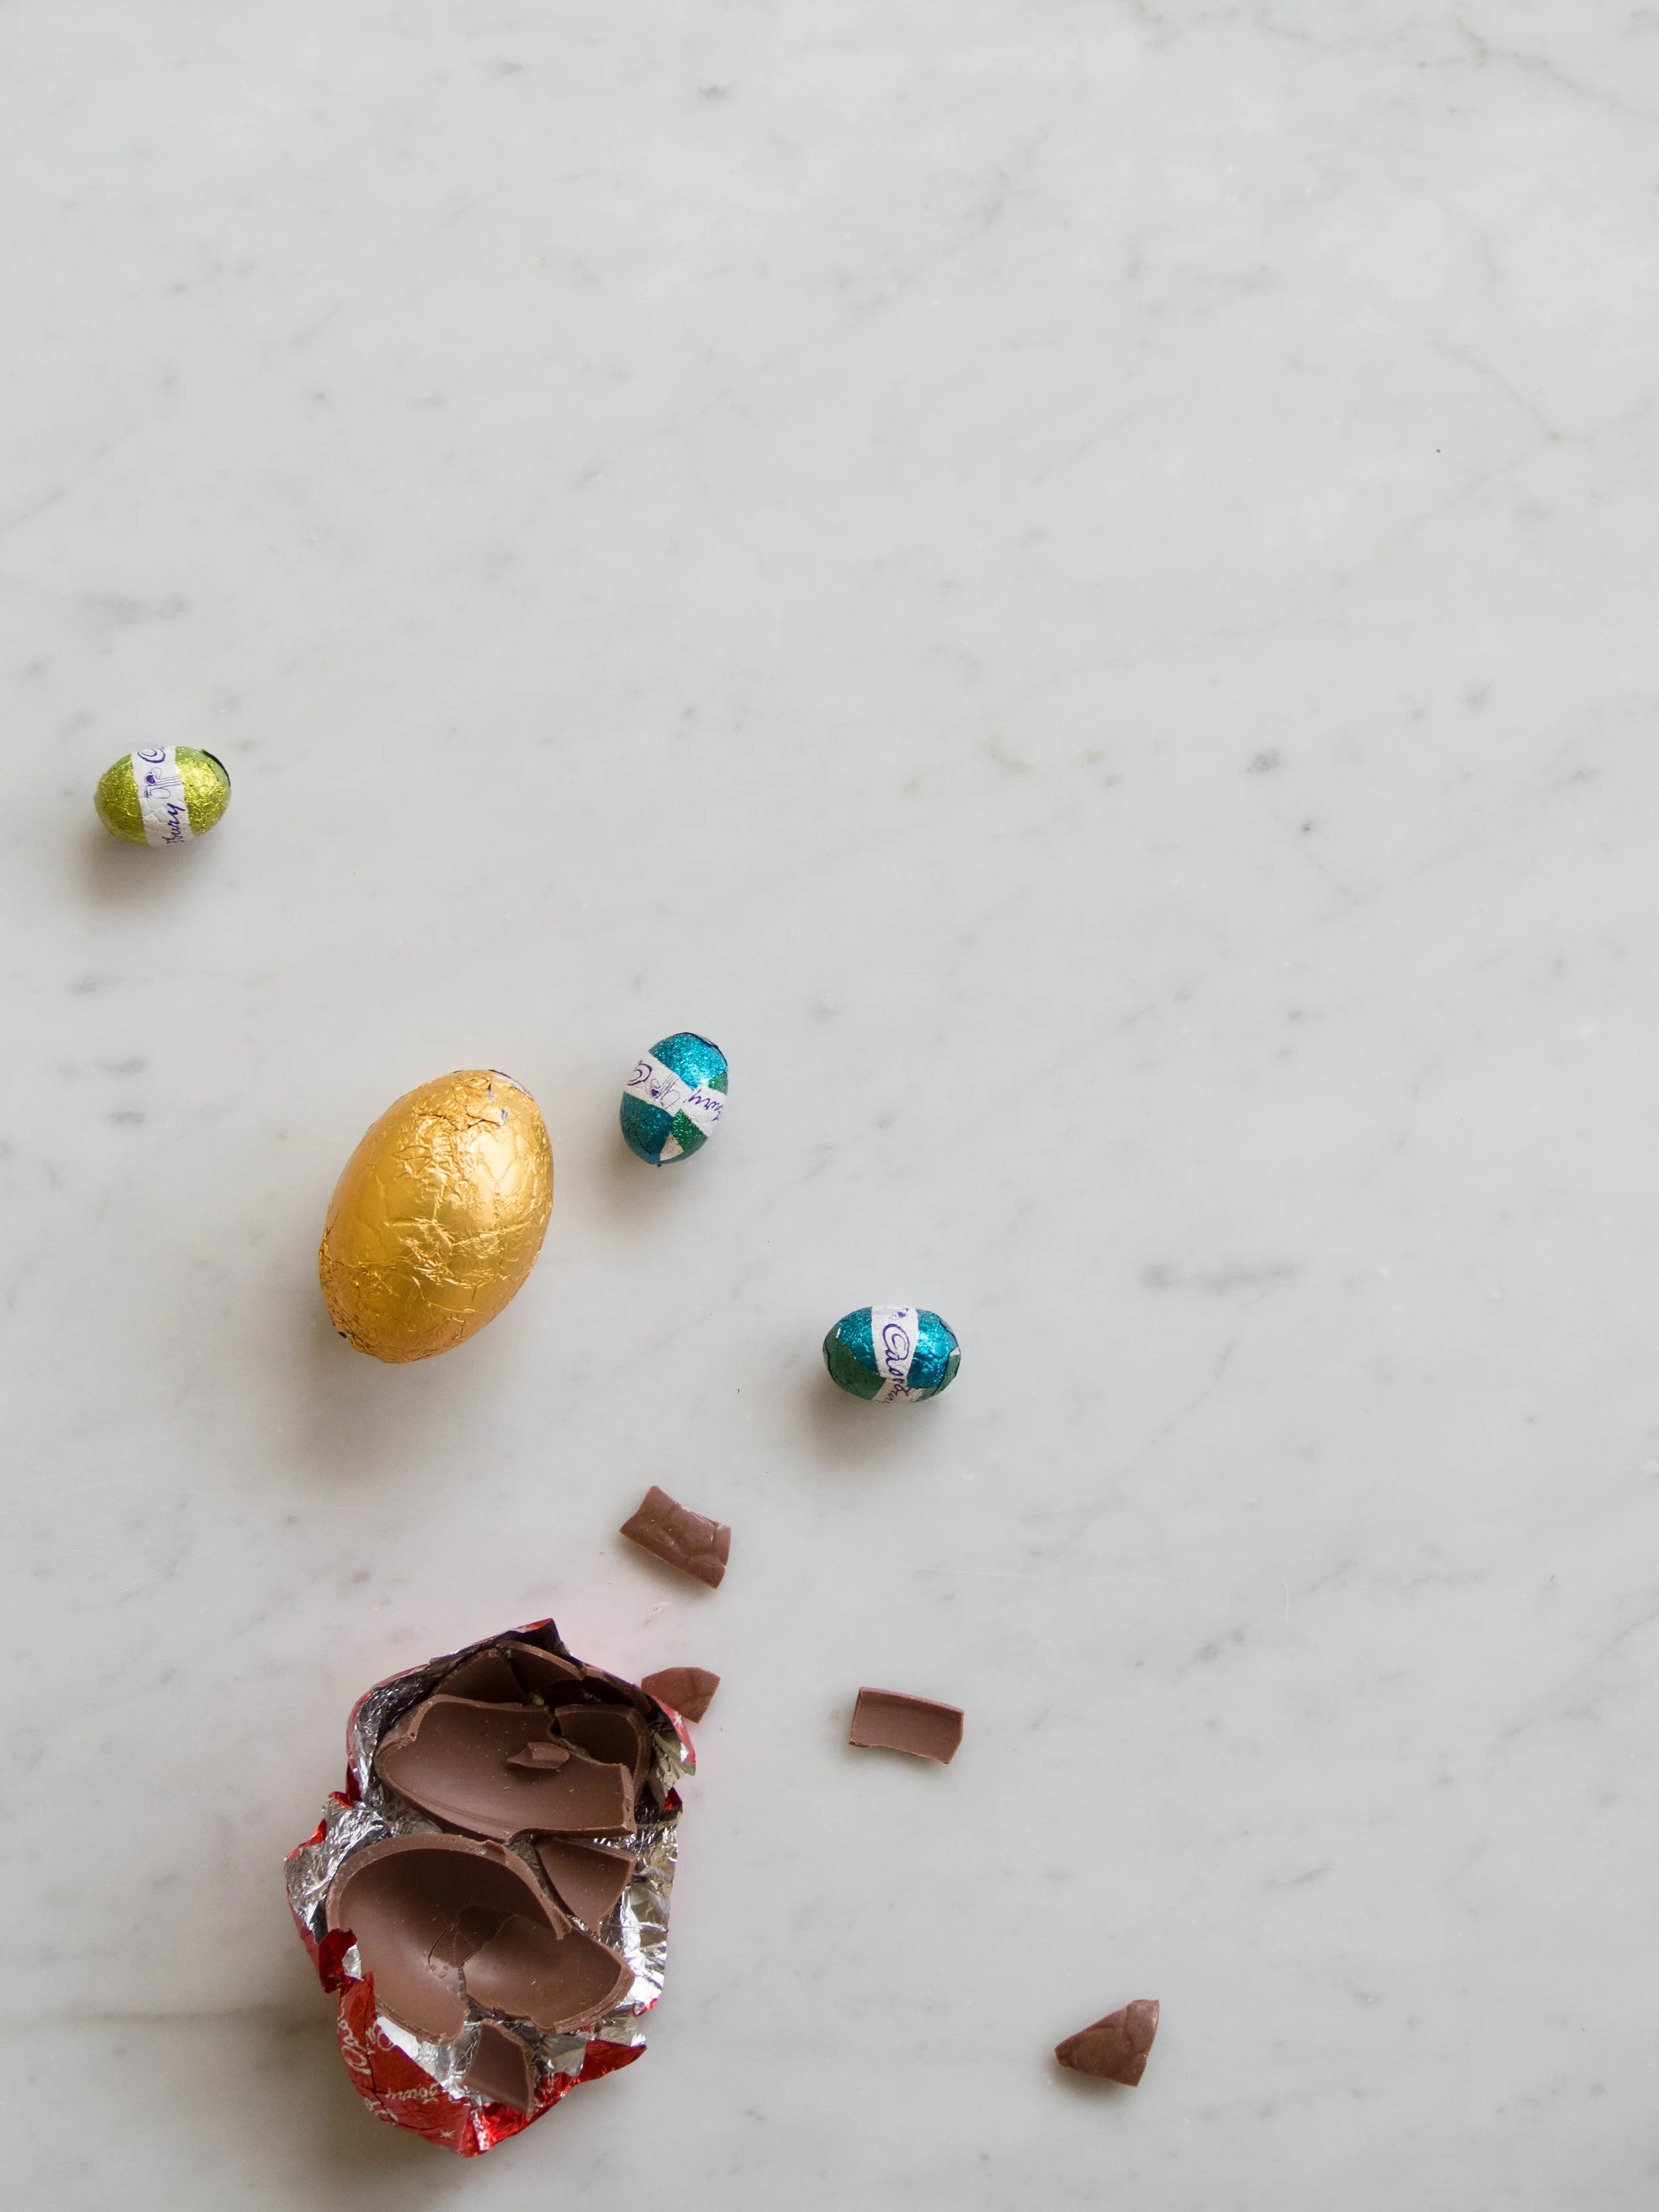
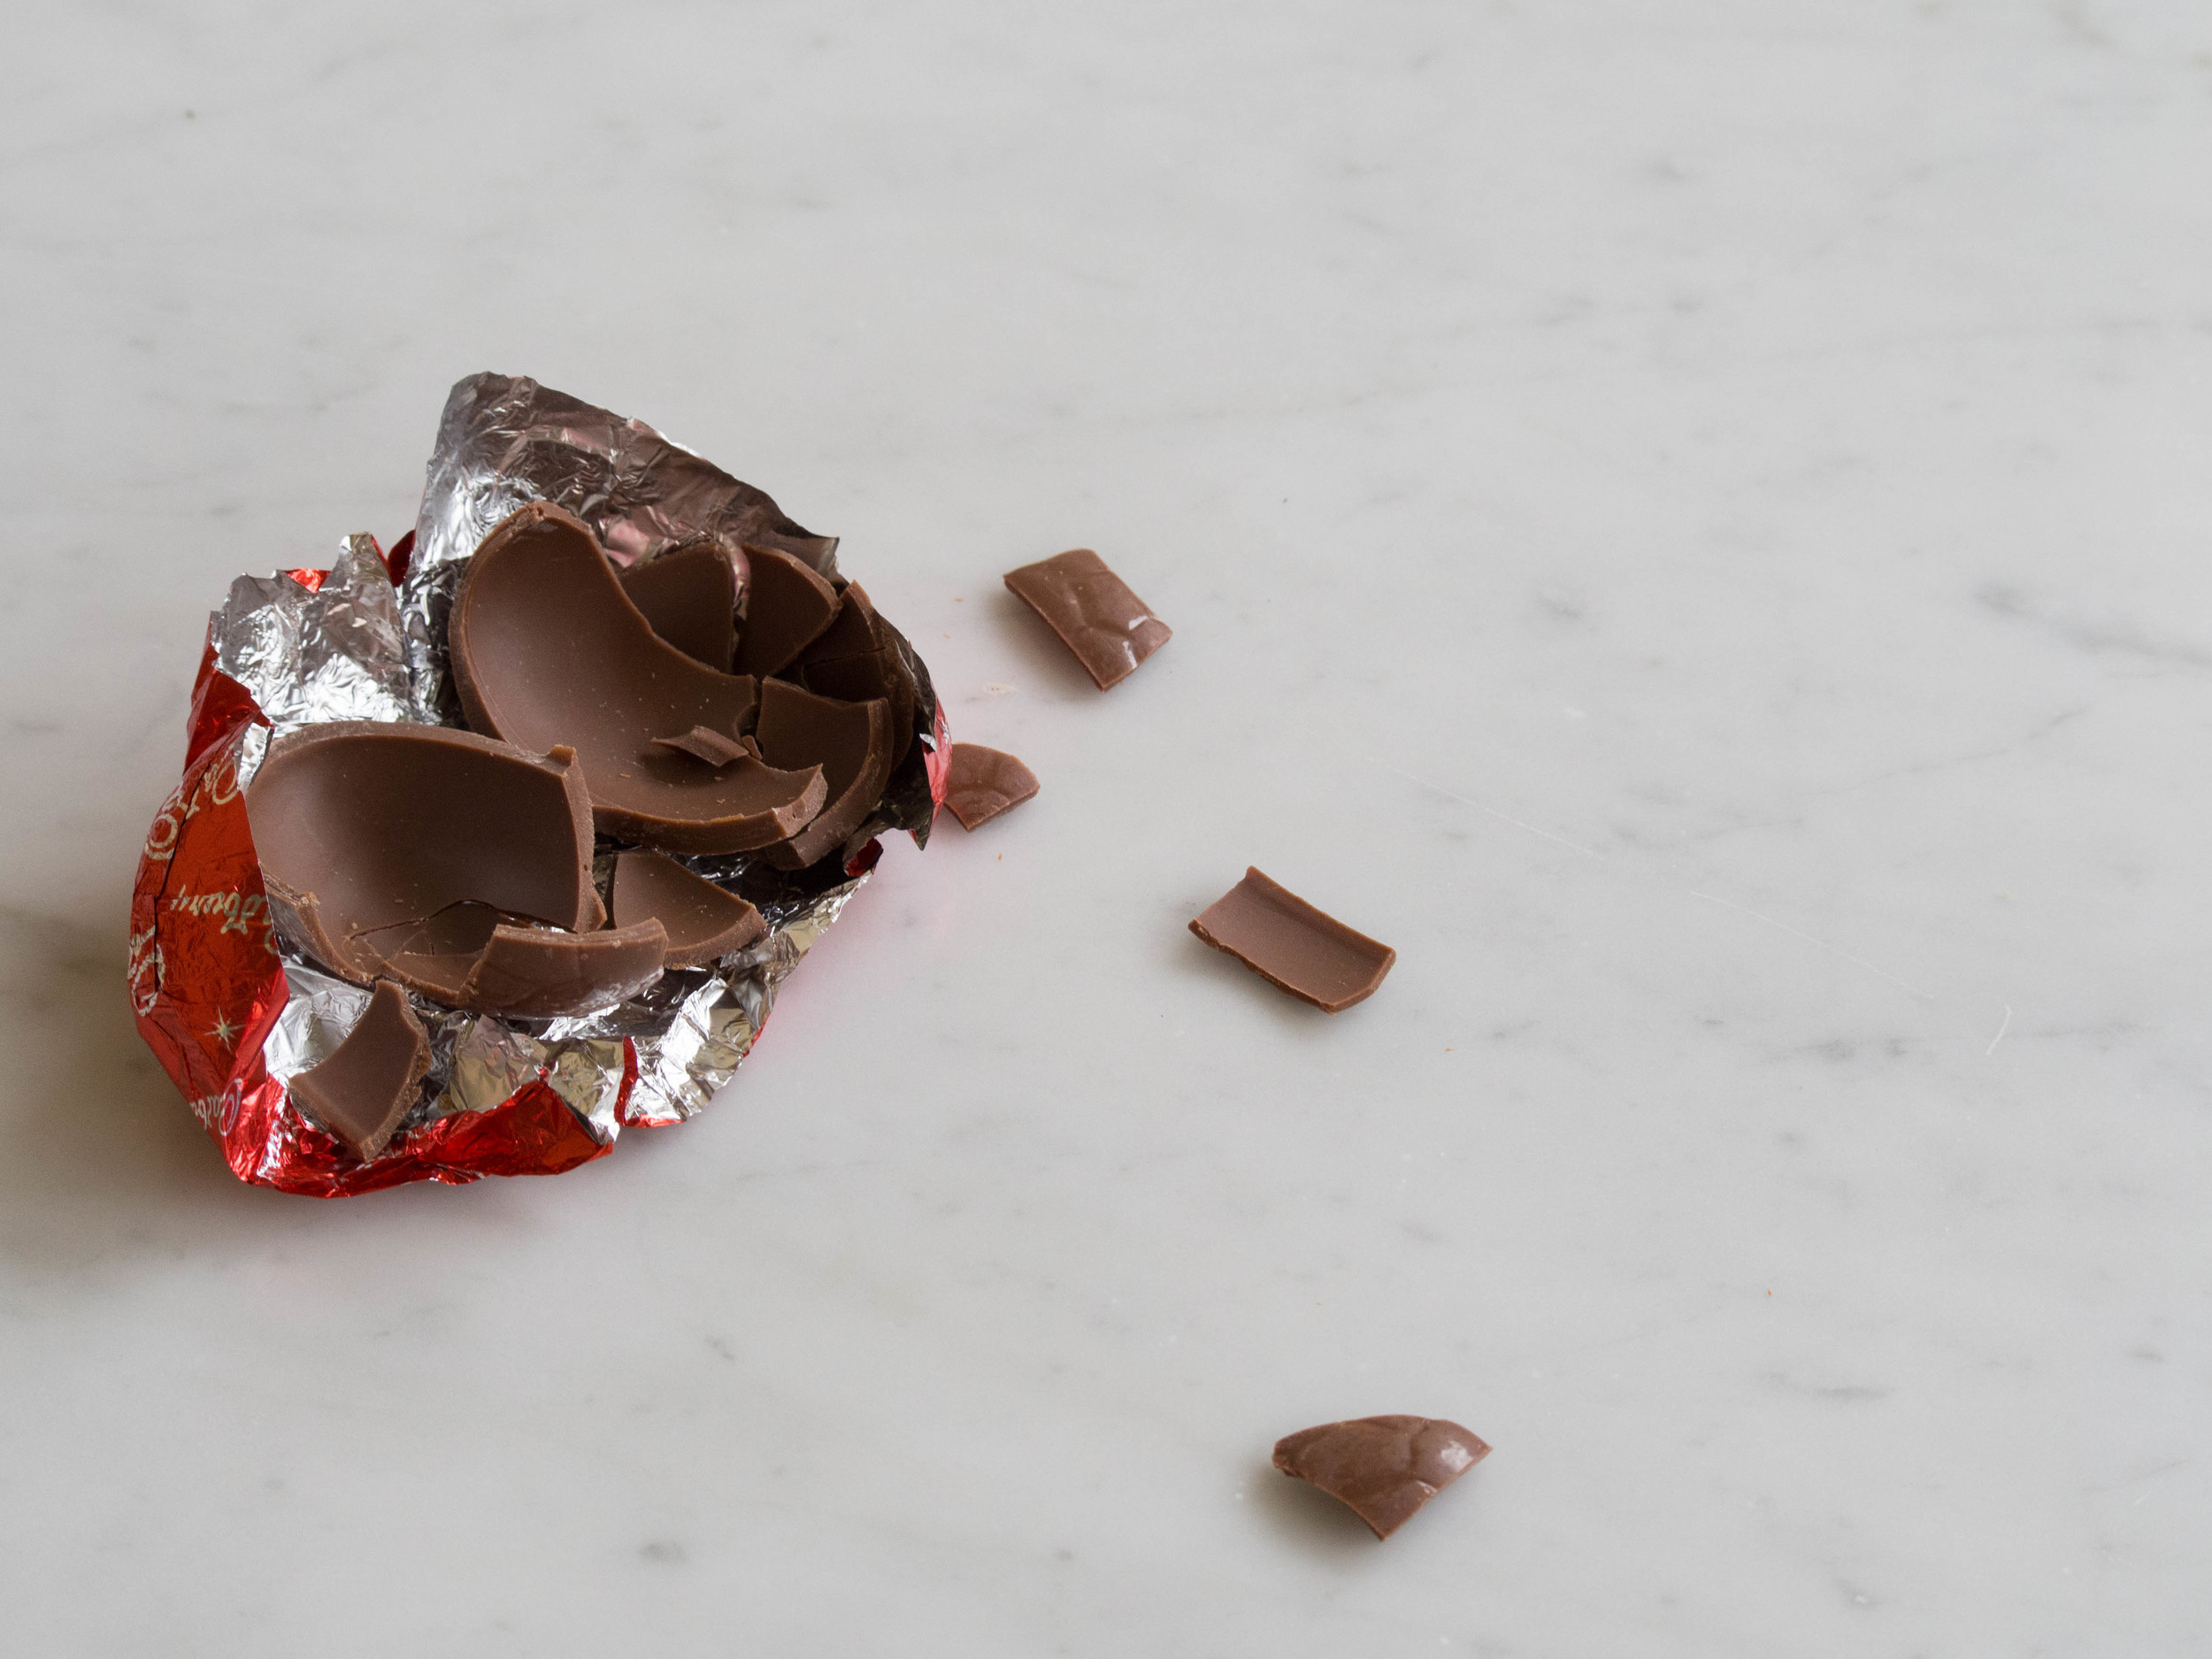
Some Easter eggs and the Hot Cross Buns from Black Star Pastry.
I also bought a few from Baker’s Delight, because how could you not? These are probably my favourites, as while they have fruit in them, they are not quite as jam packed with it, which I prefer. I think I also like them because they are very easy to go and buy!
On Easter Saturday, whilst braving the shops with every other person in this part of Sydney, I managed to get some of Jamie Oliver’s Stem Ginger Hot Cross Buns from Woolworths. I had heard about these, but had never managed to get any. They were nice, and I’m glad I got to try them! I found the ginger quite subtle whilst I eating the bun, but then after the spiciness of the ginger really hit me!
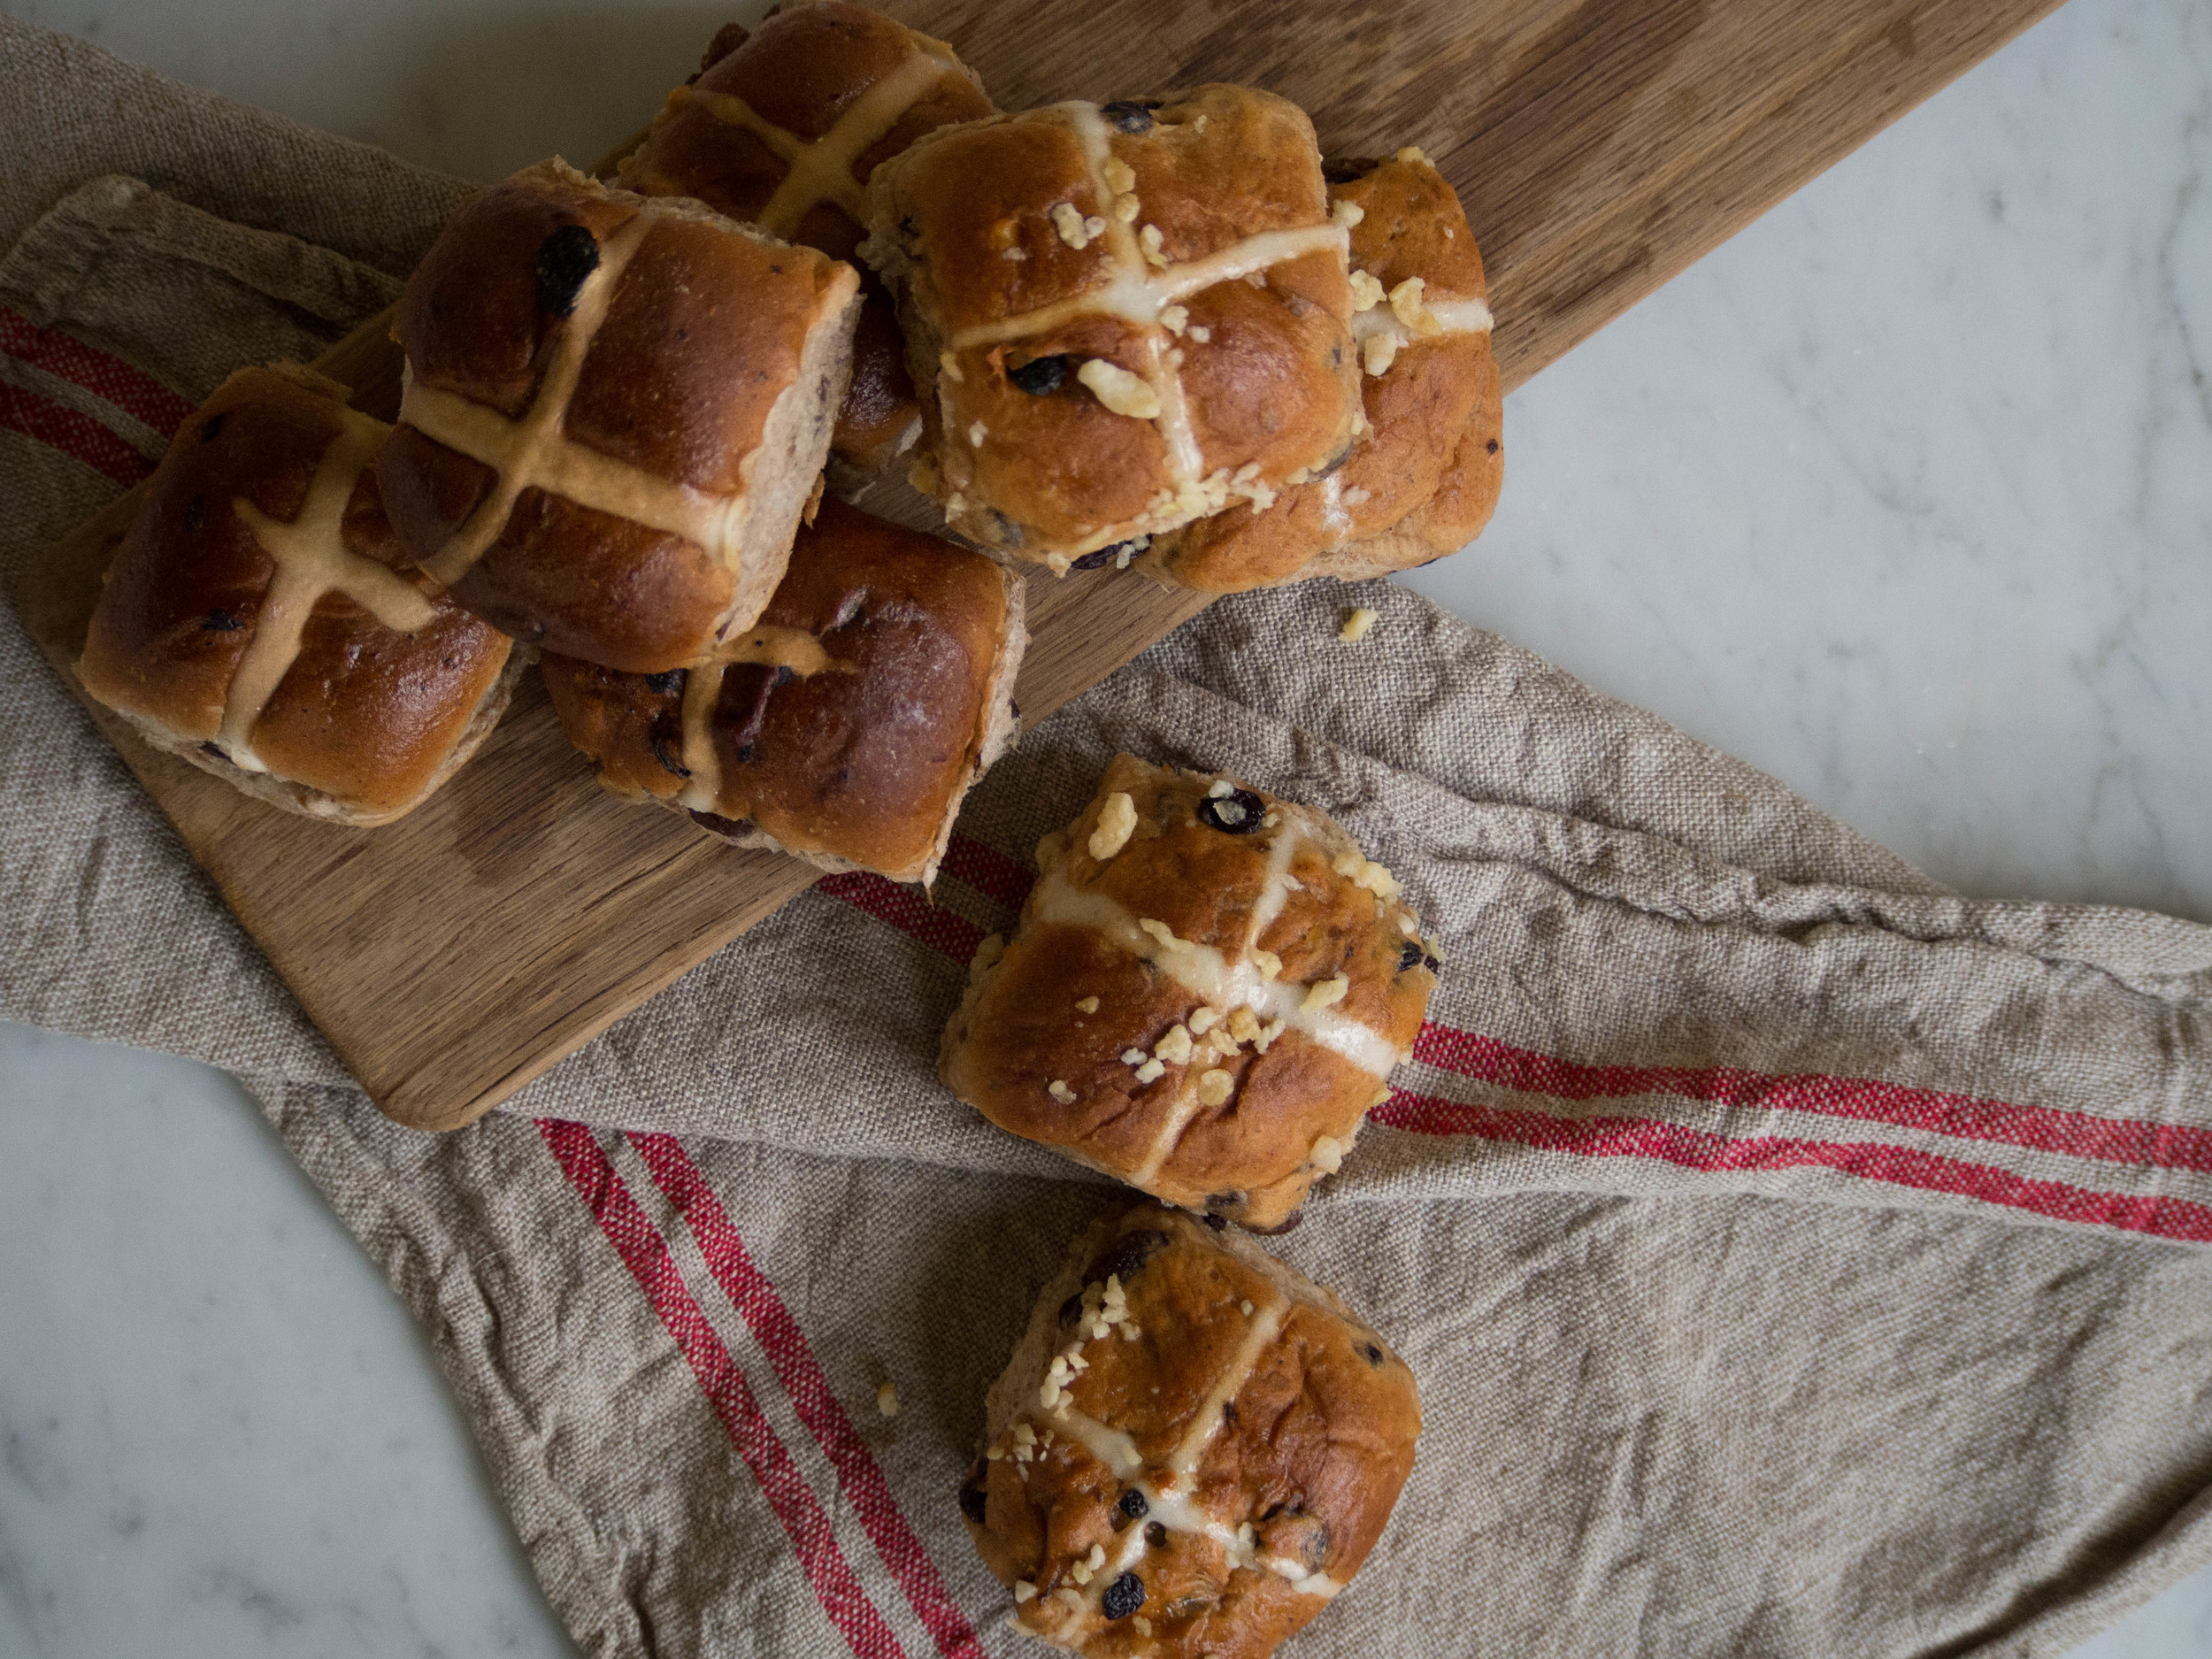
Hot Cross Buns from Baker's Delight (left) and Jamie Oliver's Stem Ginger Hot Cross Buns from Woolworths (right).
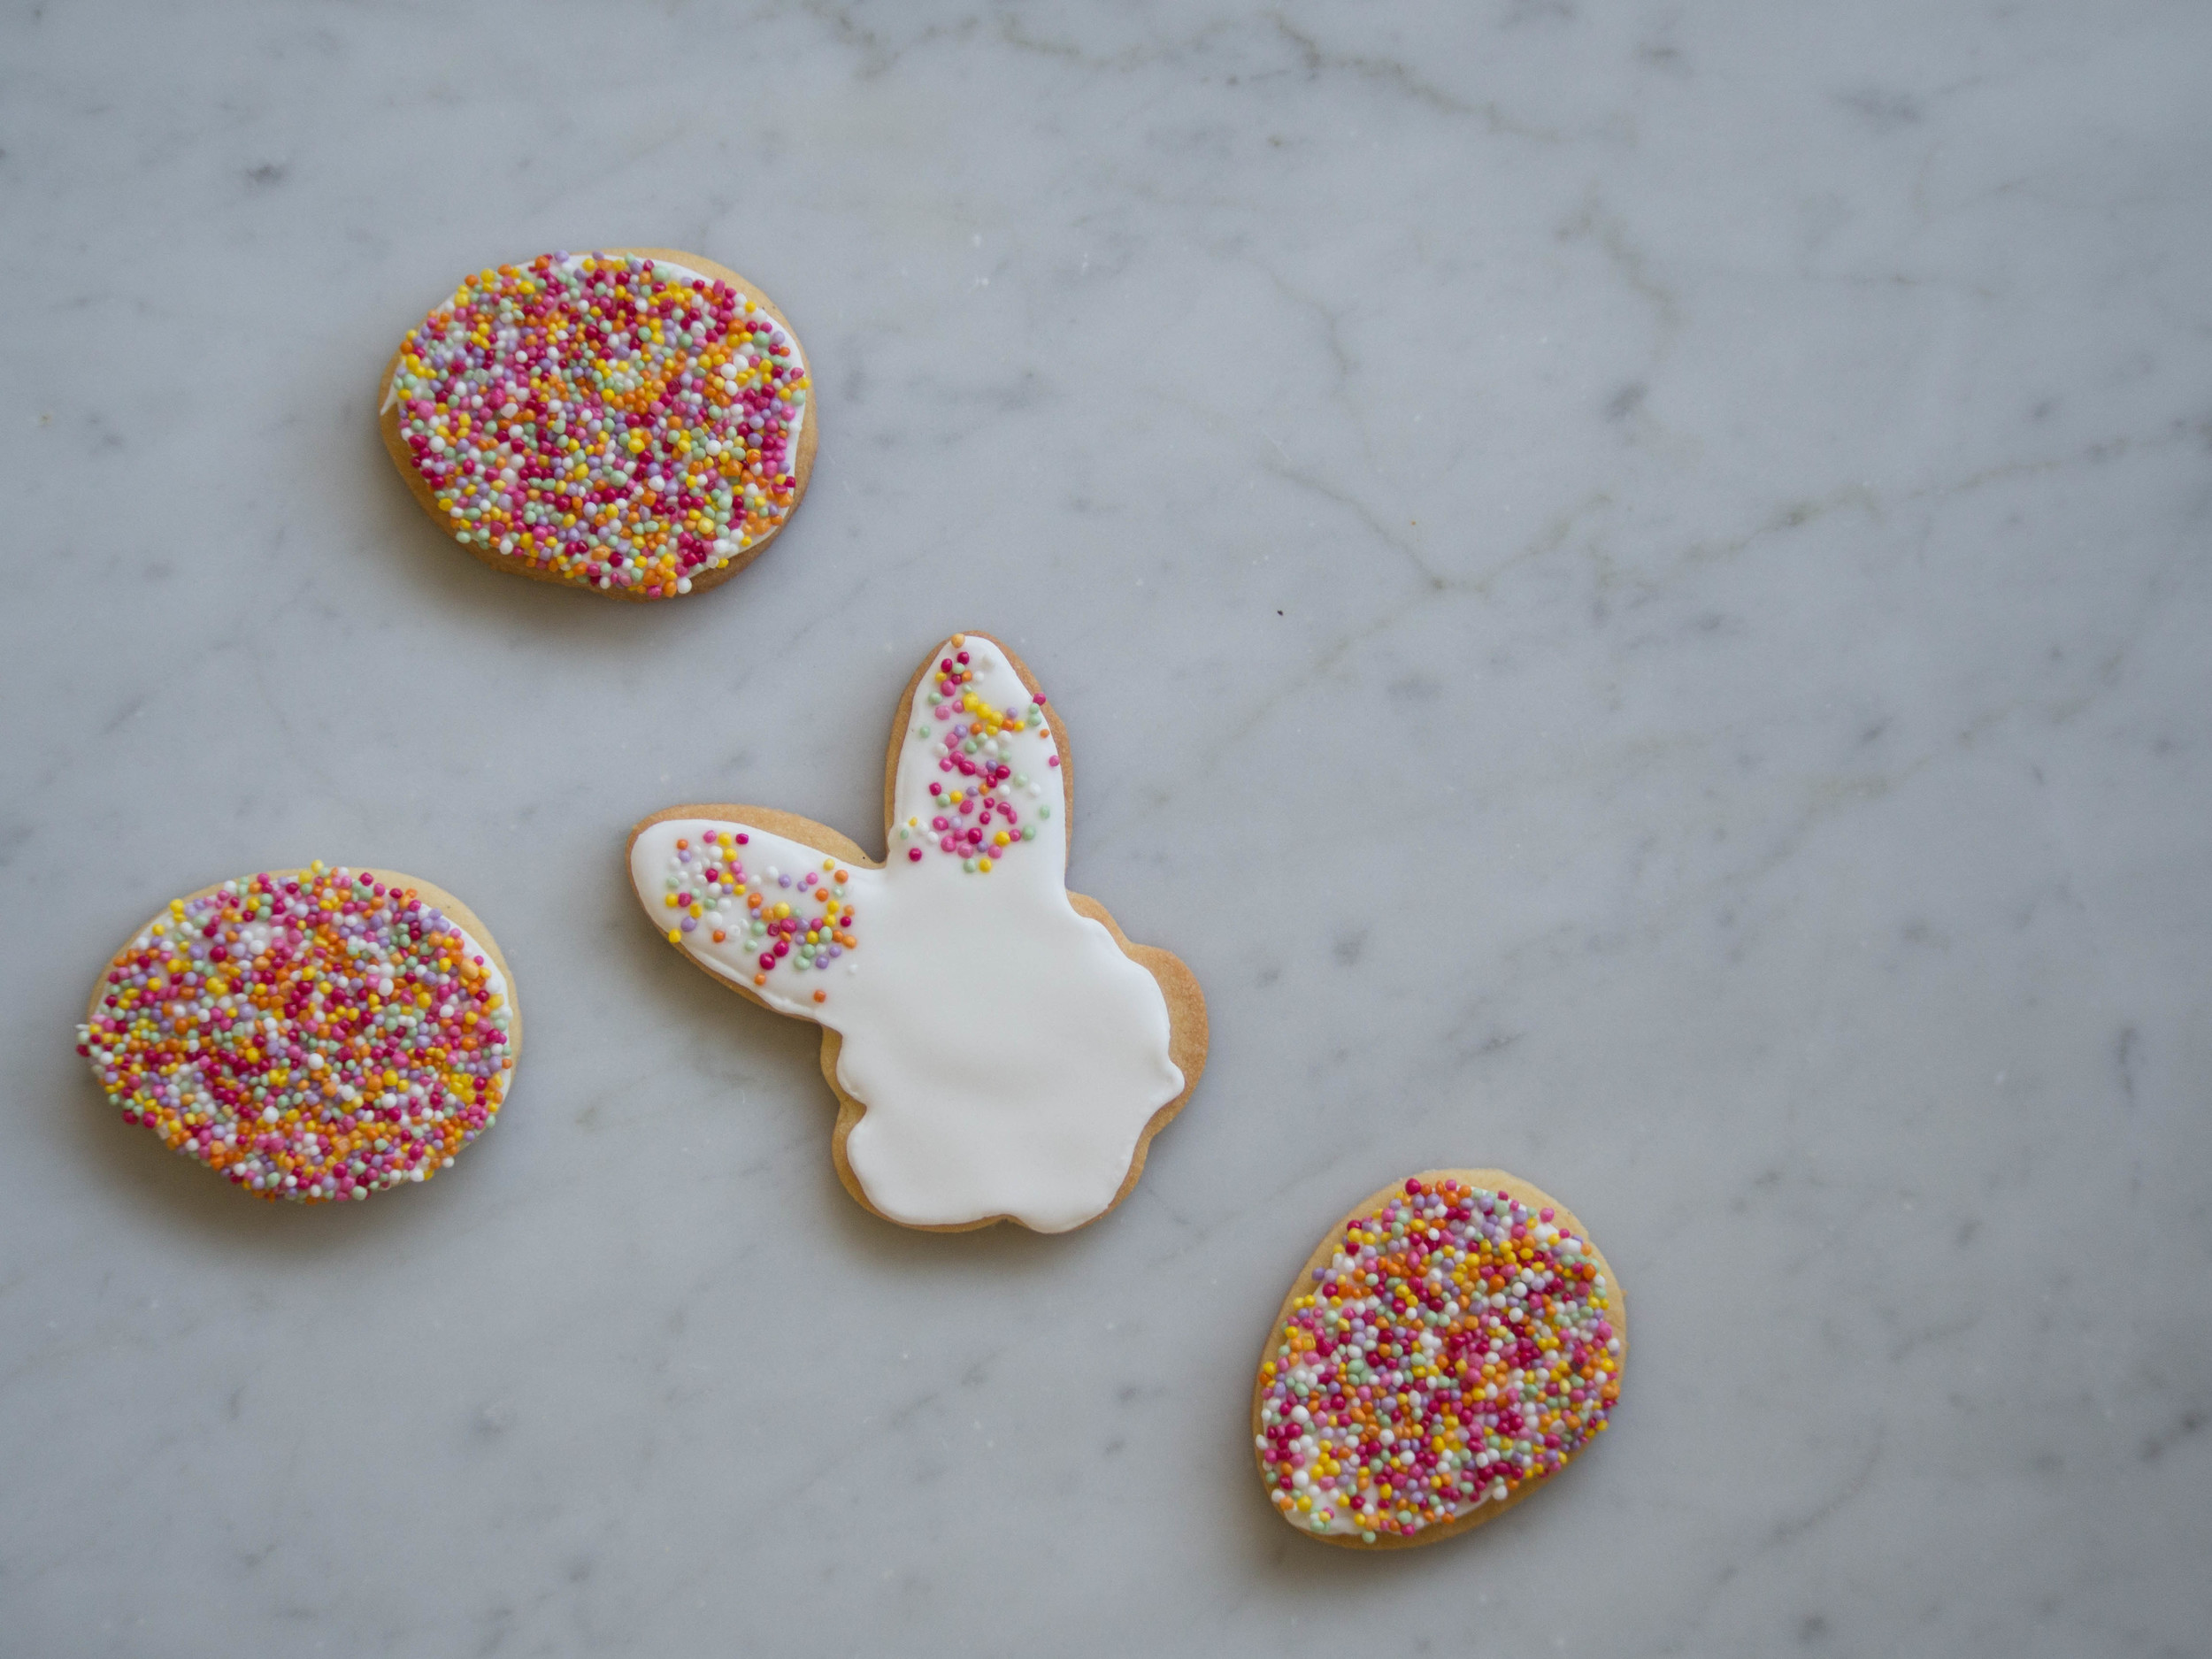
Over the Easter long weekend I decided to make some Easter biscuits. I had a couple of Easter themed biscuit cutters, that I had never used, so I thought it was time to use them! I had also not long been gifted the book ‘Cookies’ by Peggy Porschen, so it was also a great chance to continue with my cookbook challenge!
The recipe for the biscuits and icing will be posted over on the blog soon.
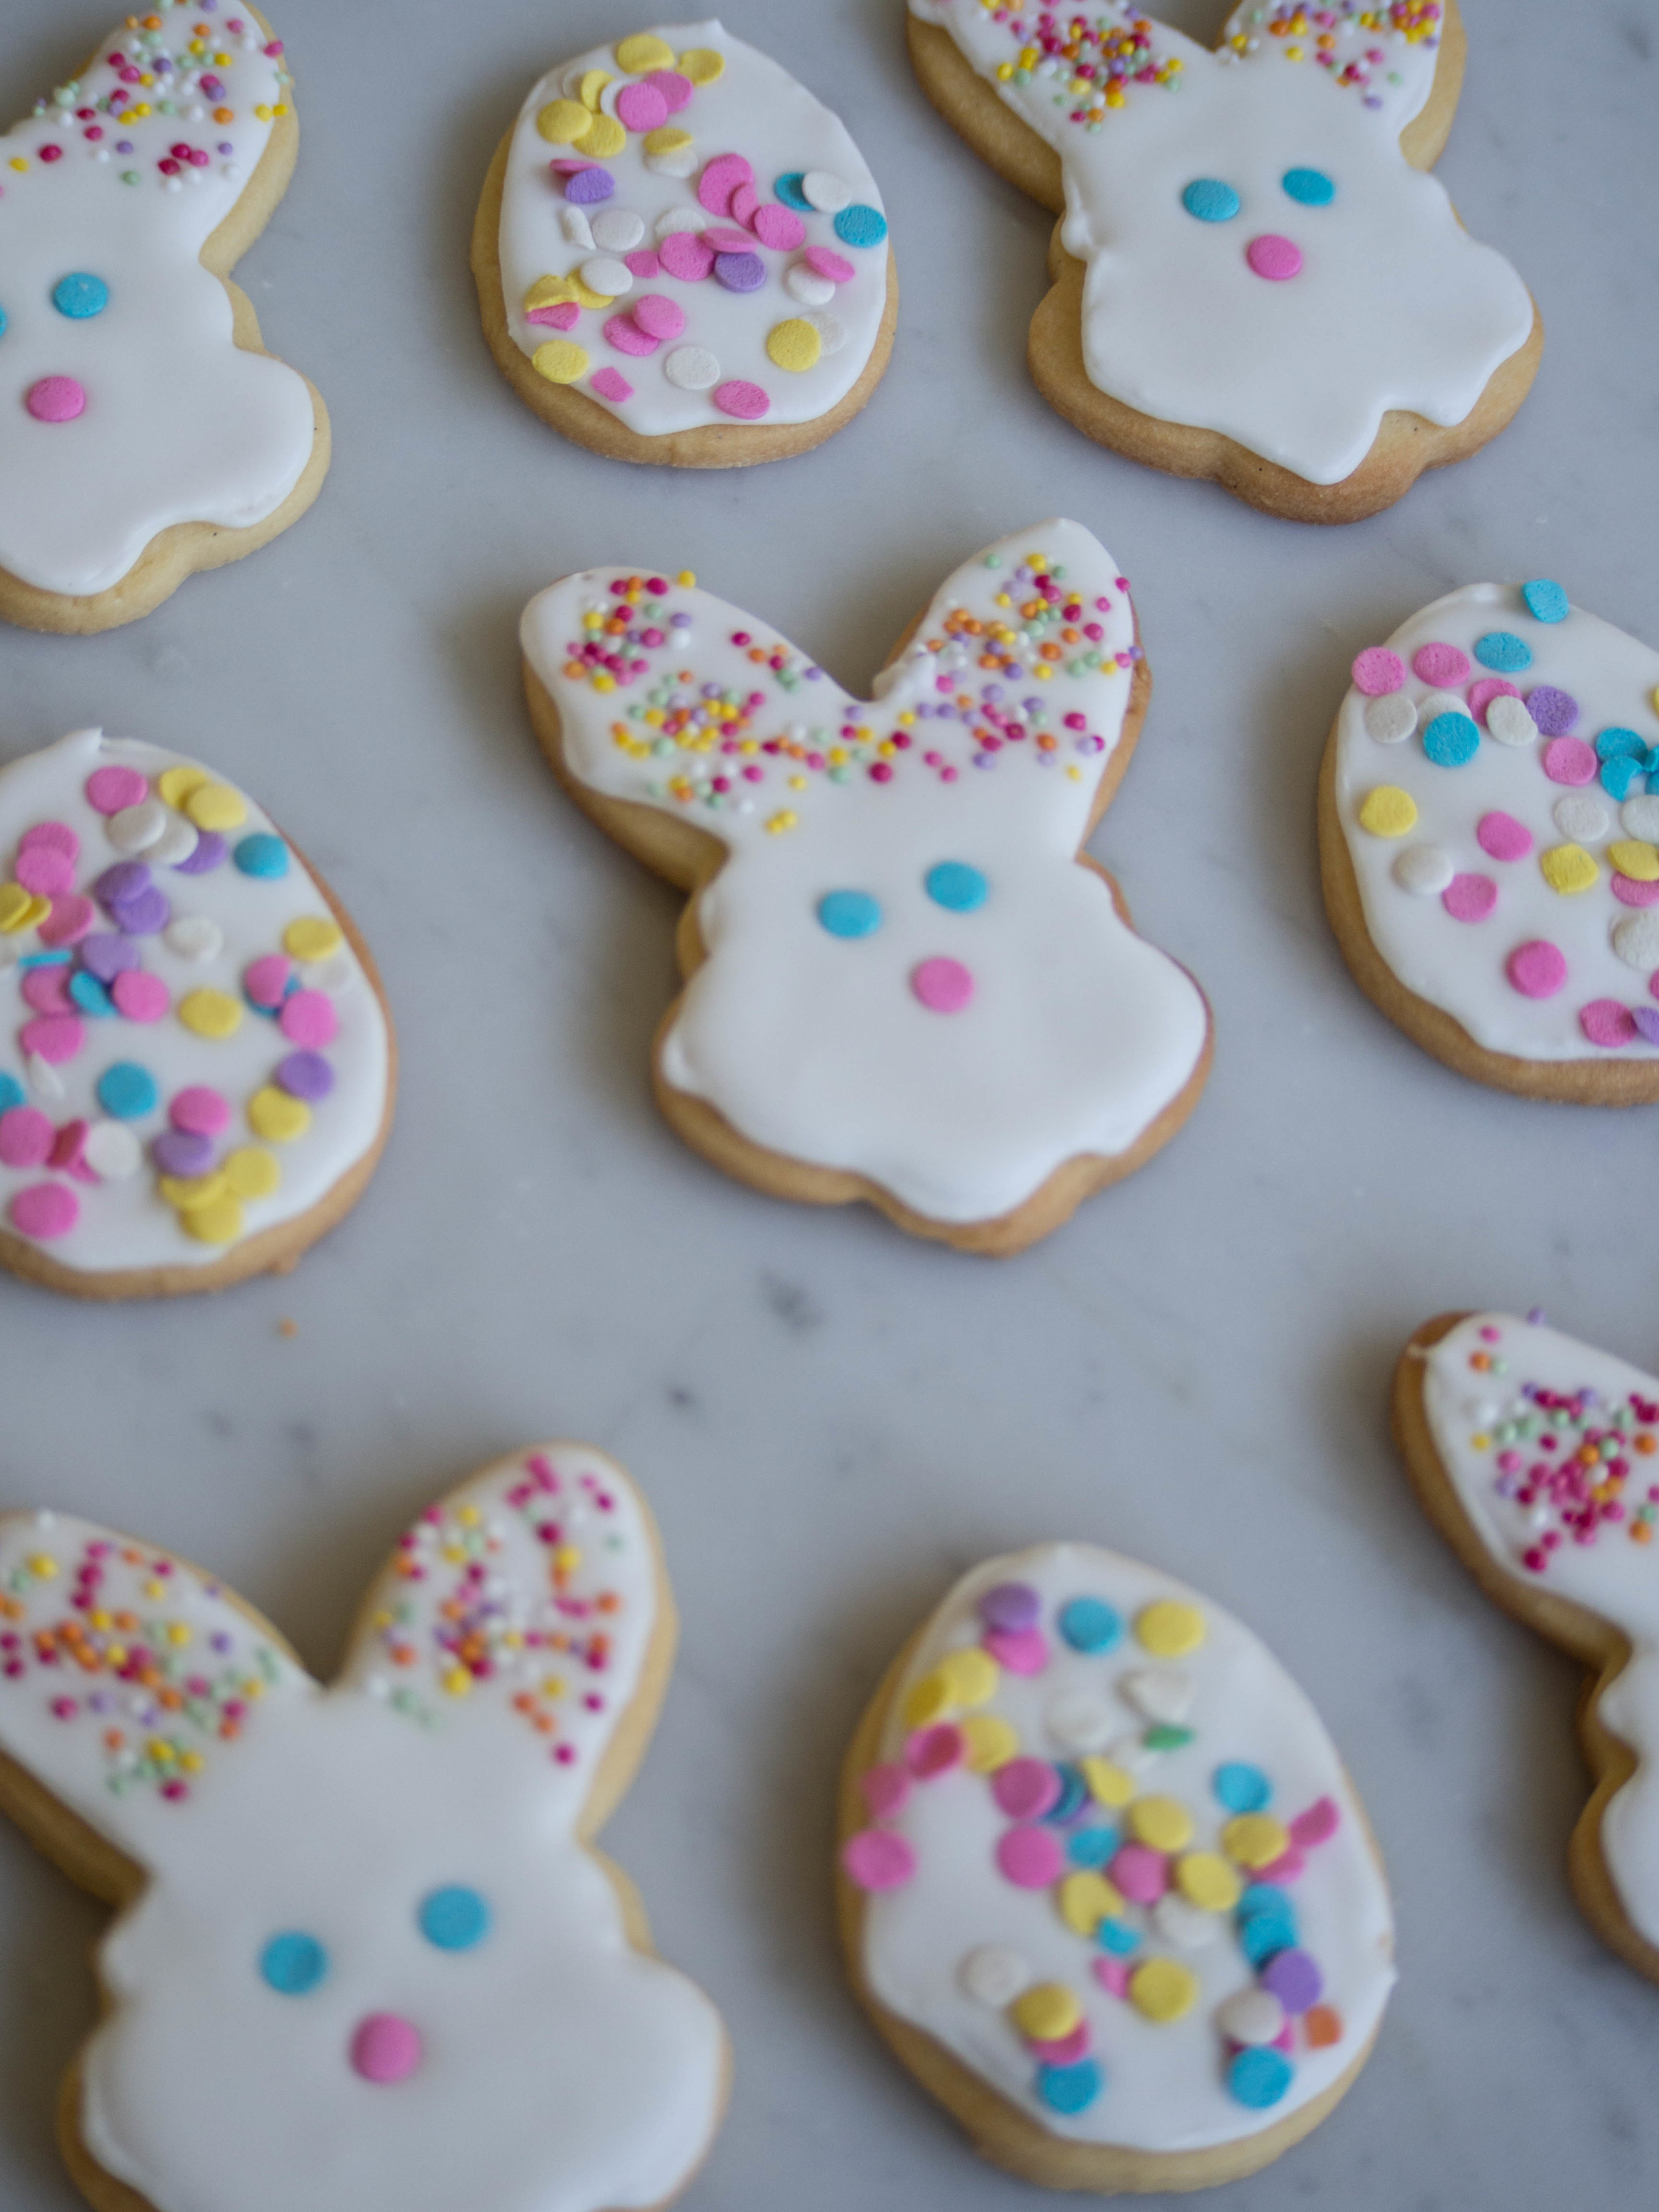
Easter Biscuits.
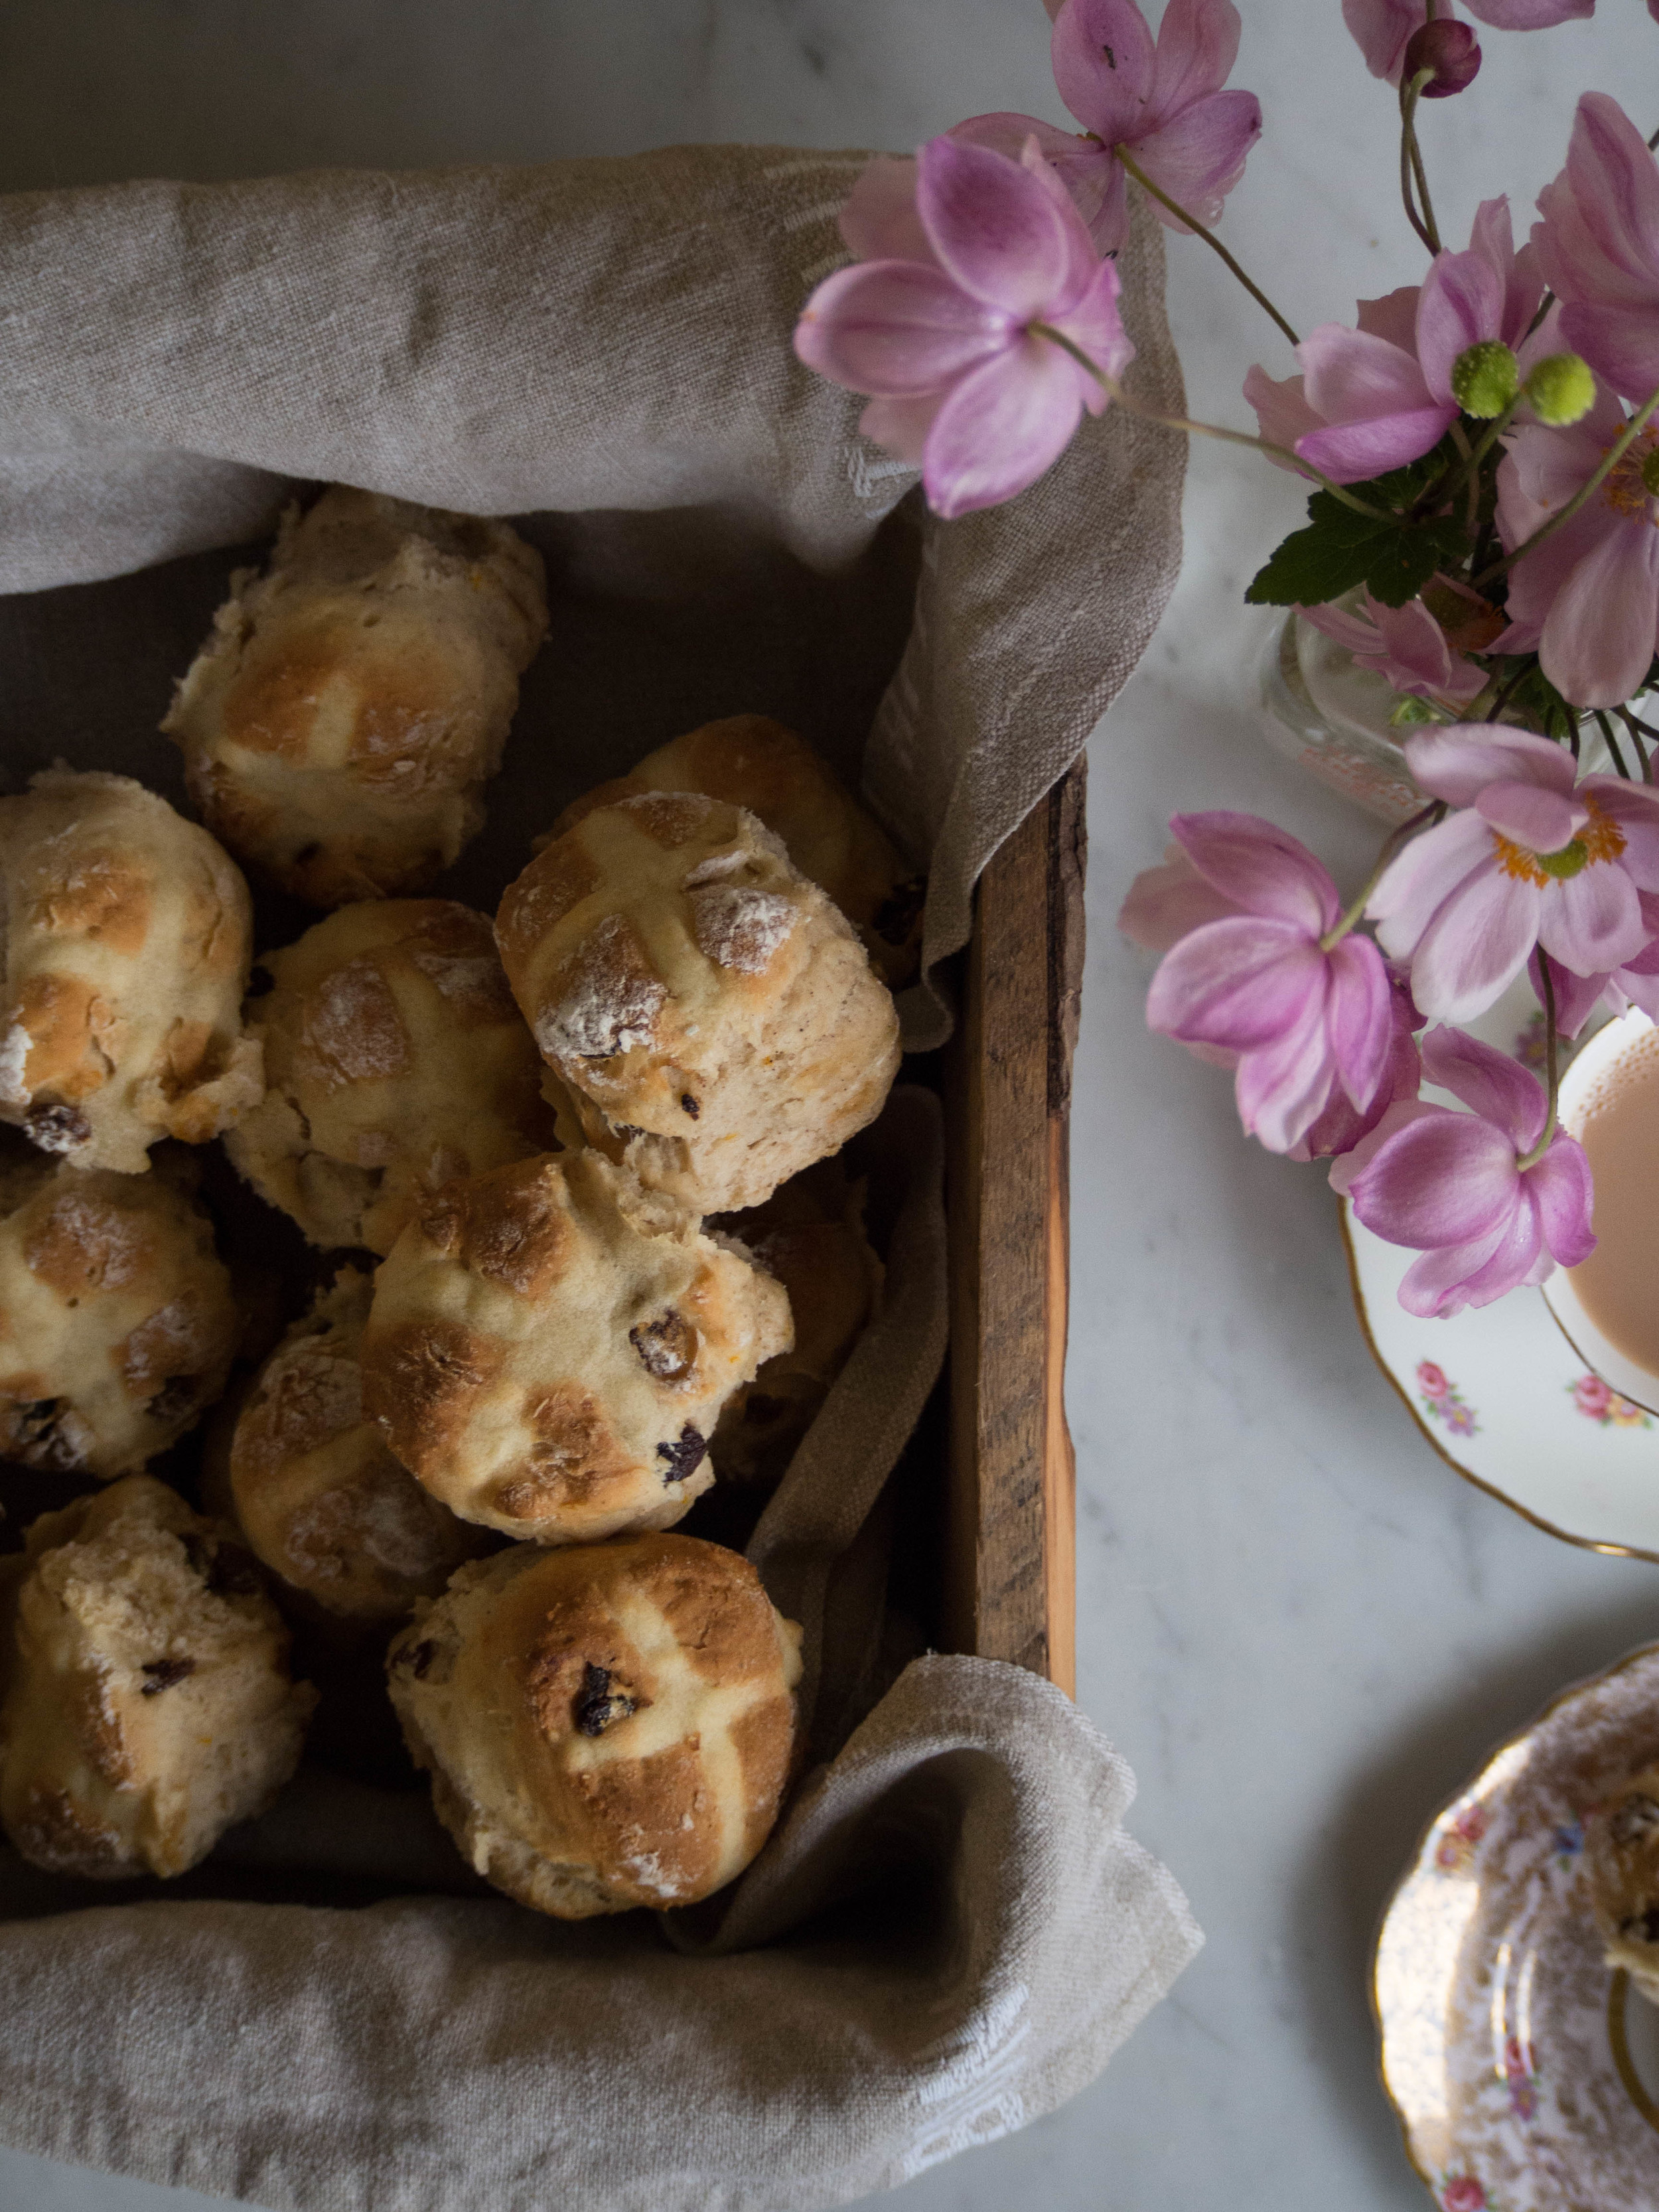
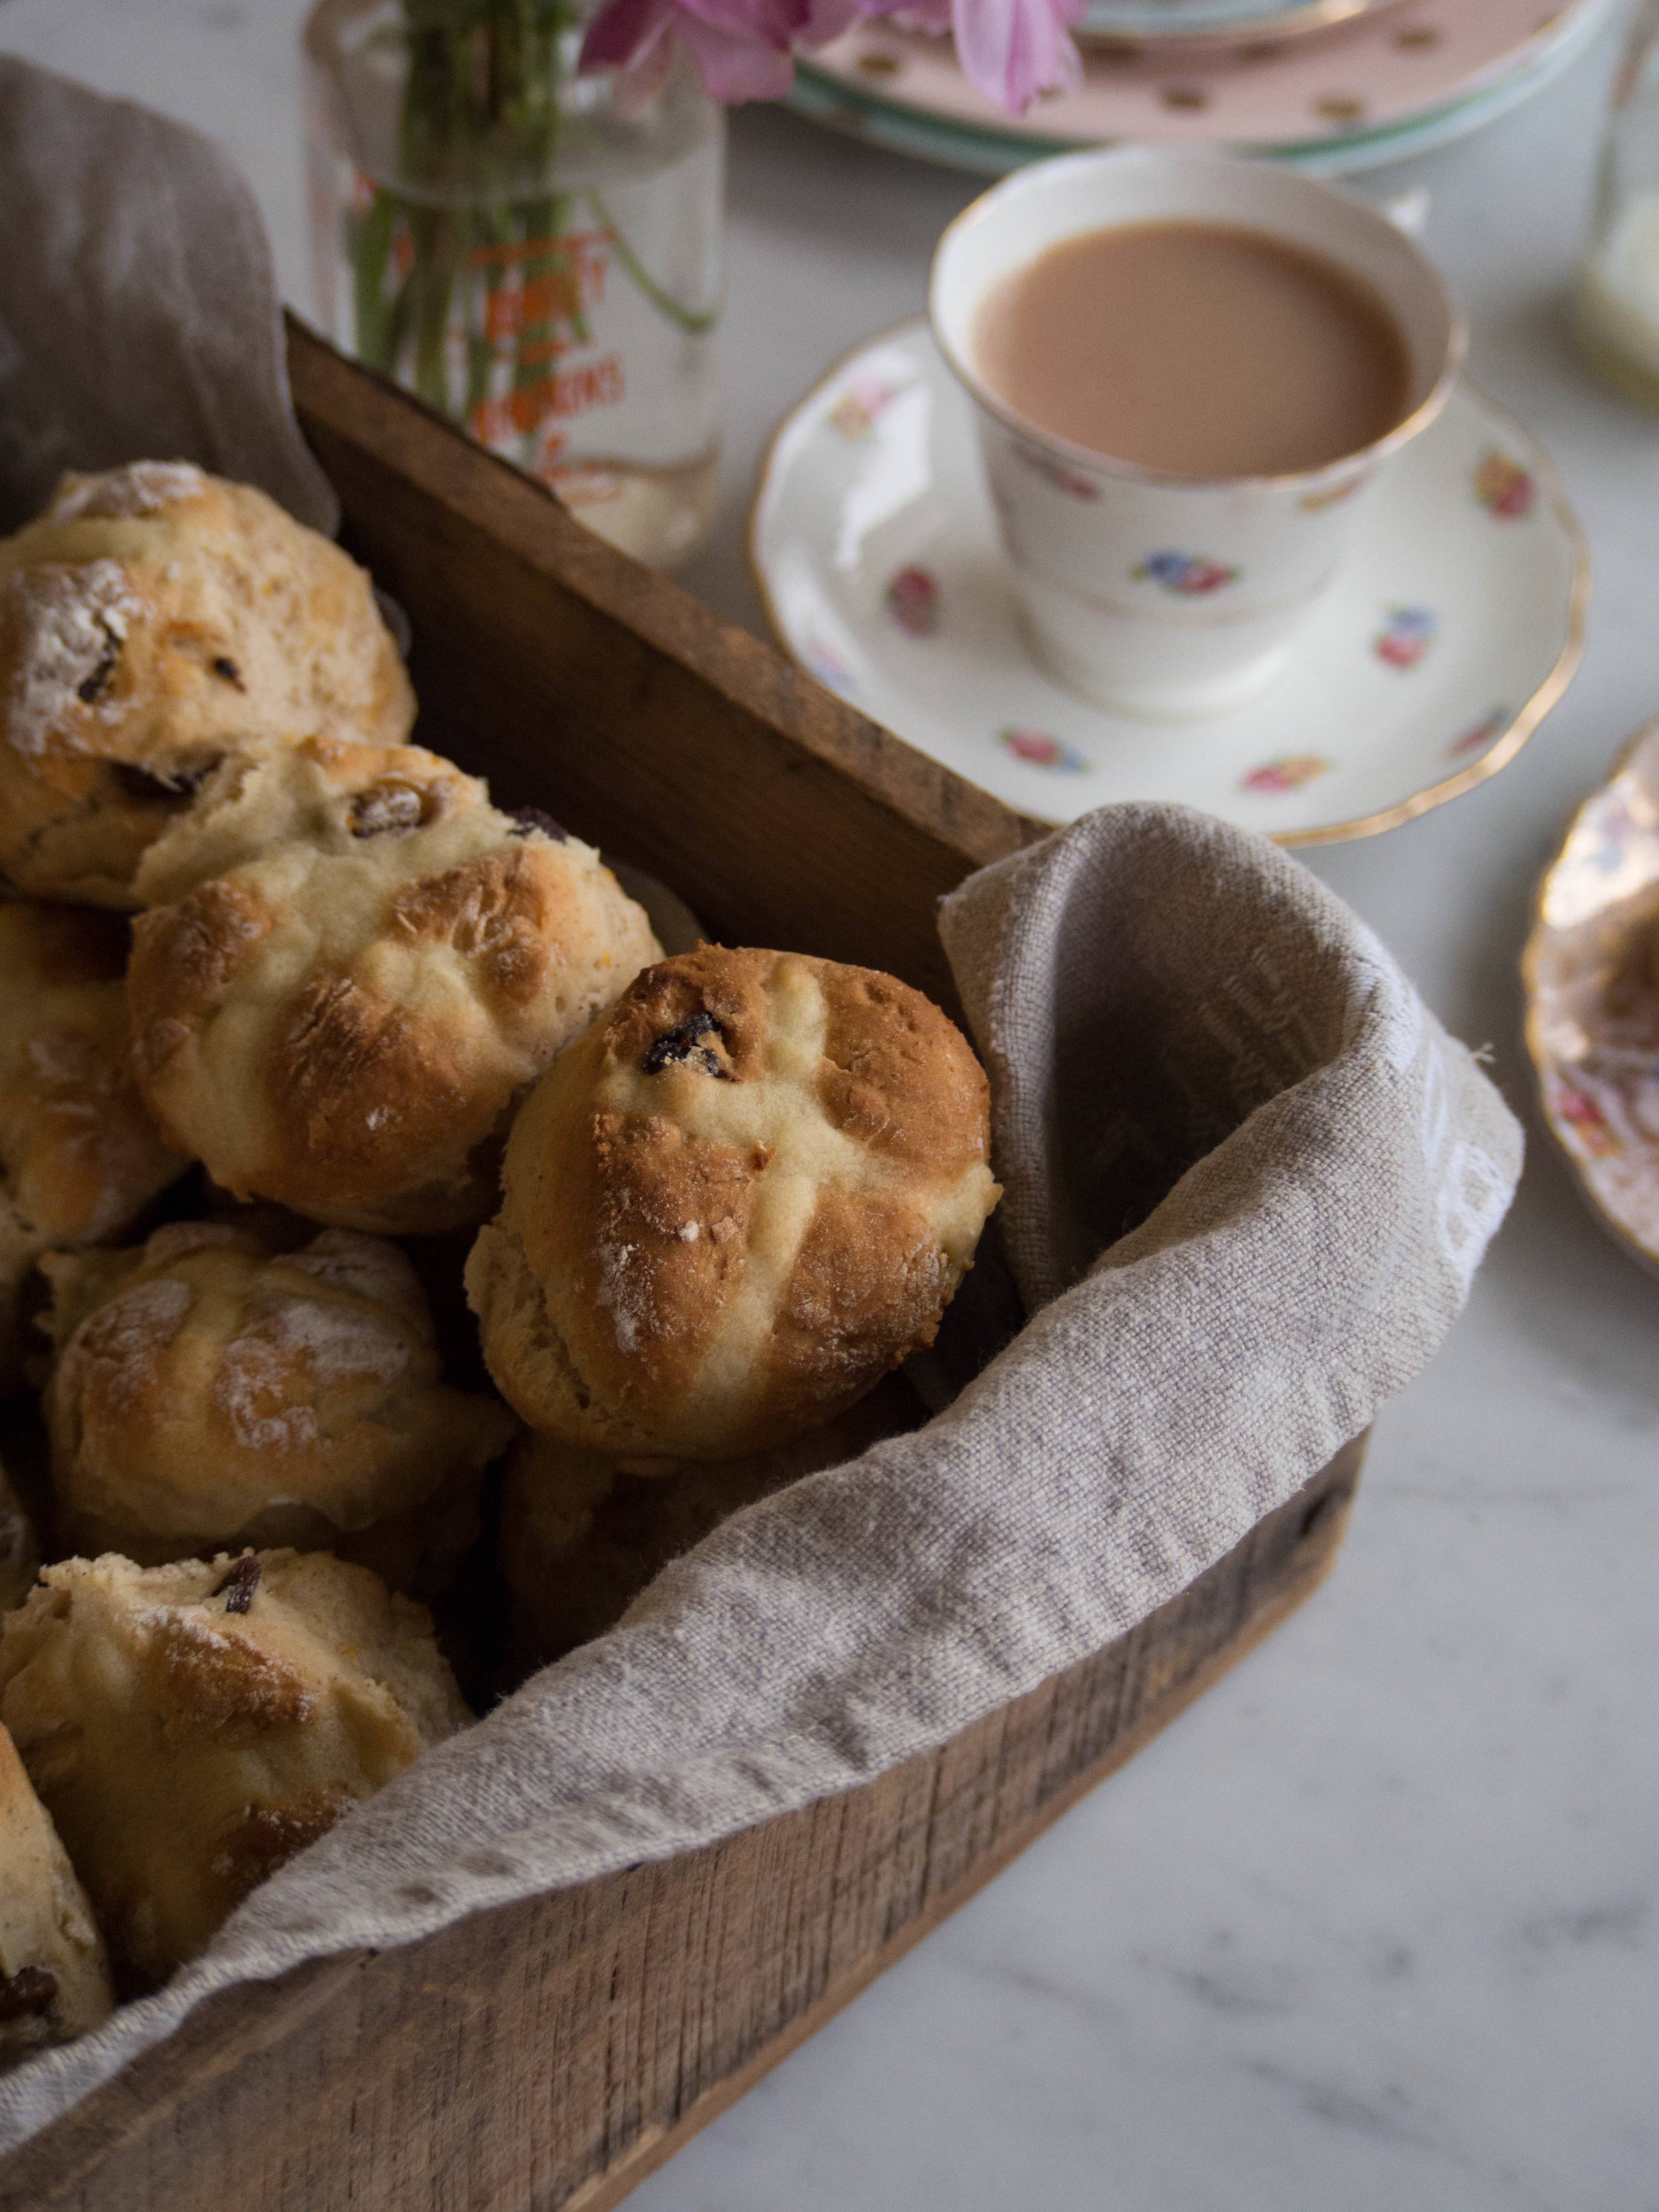
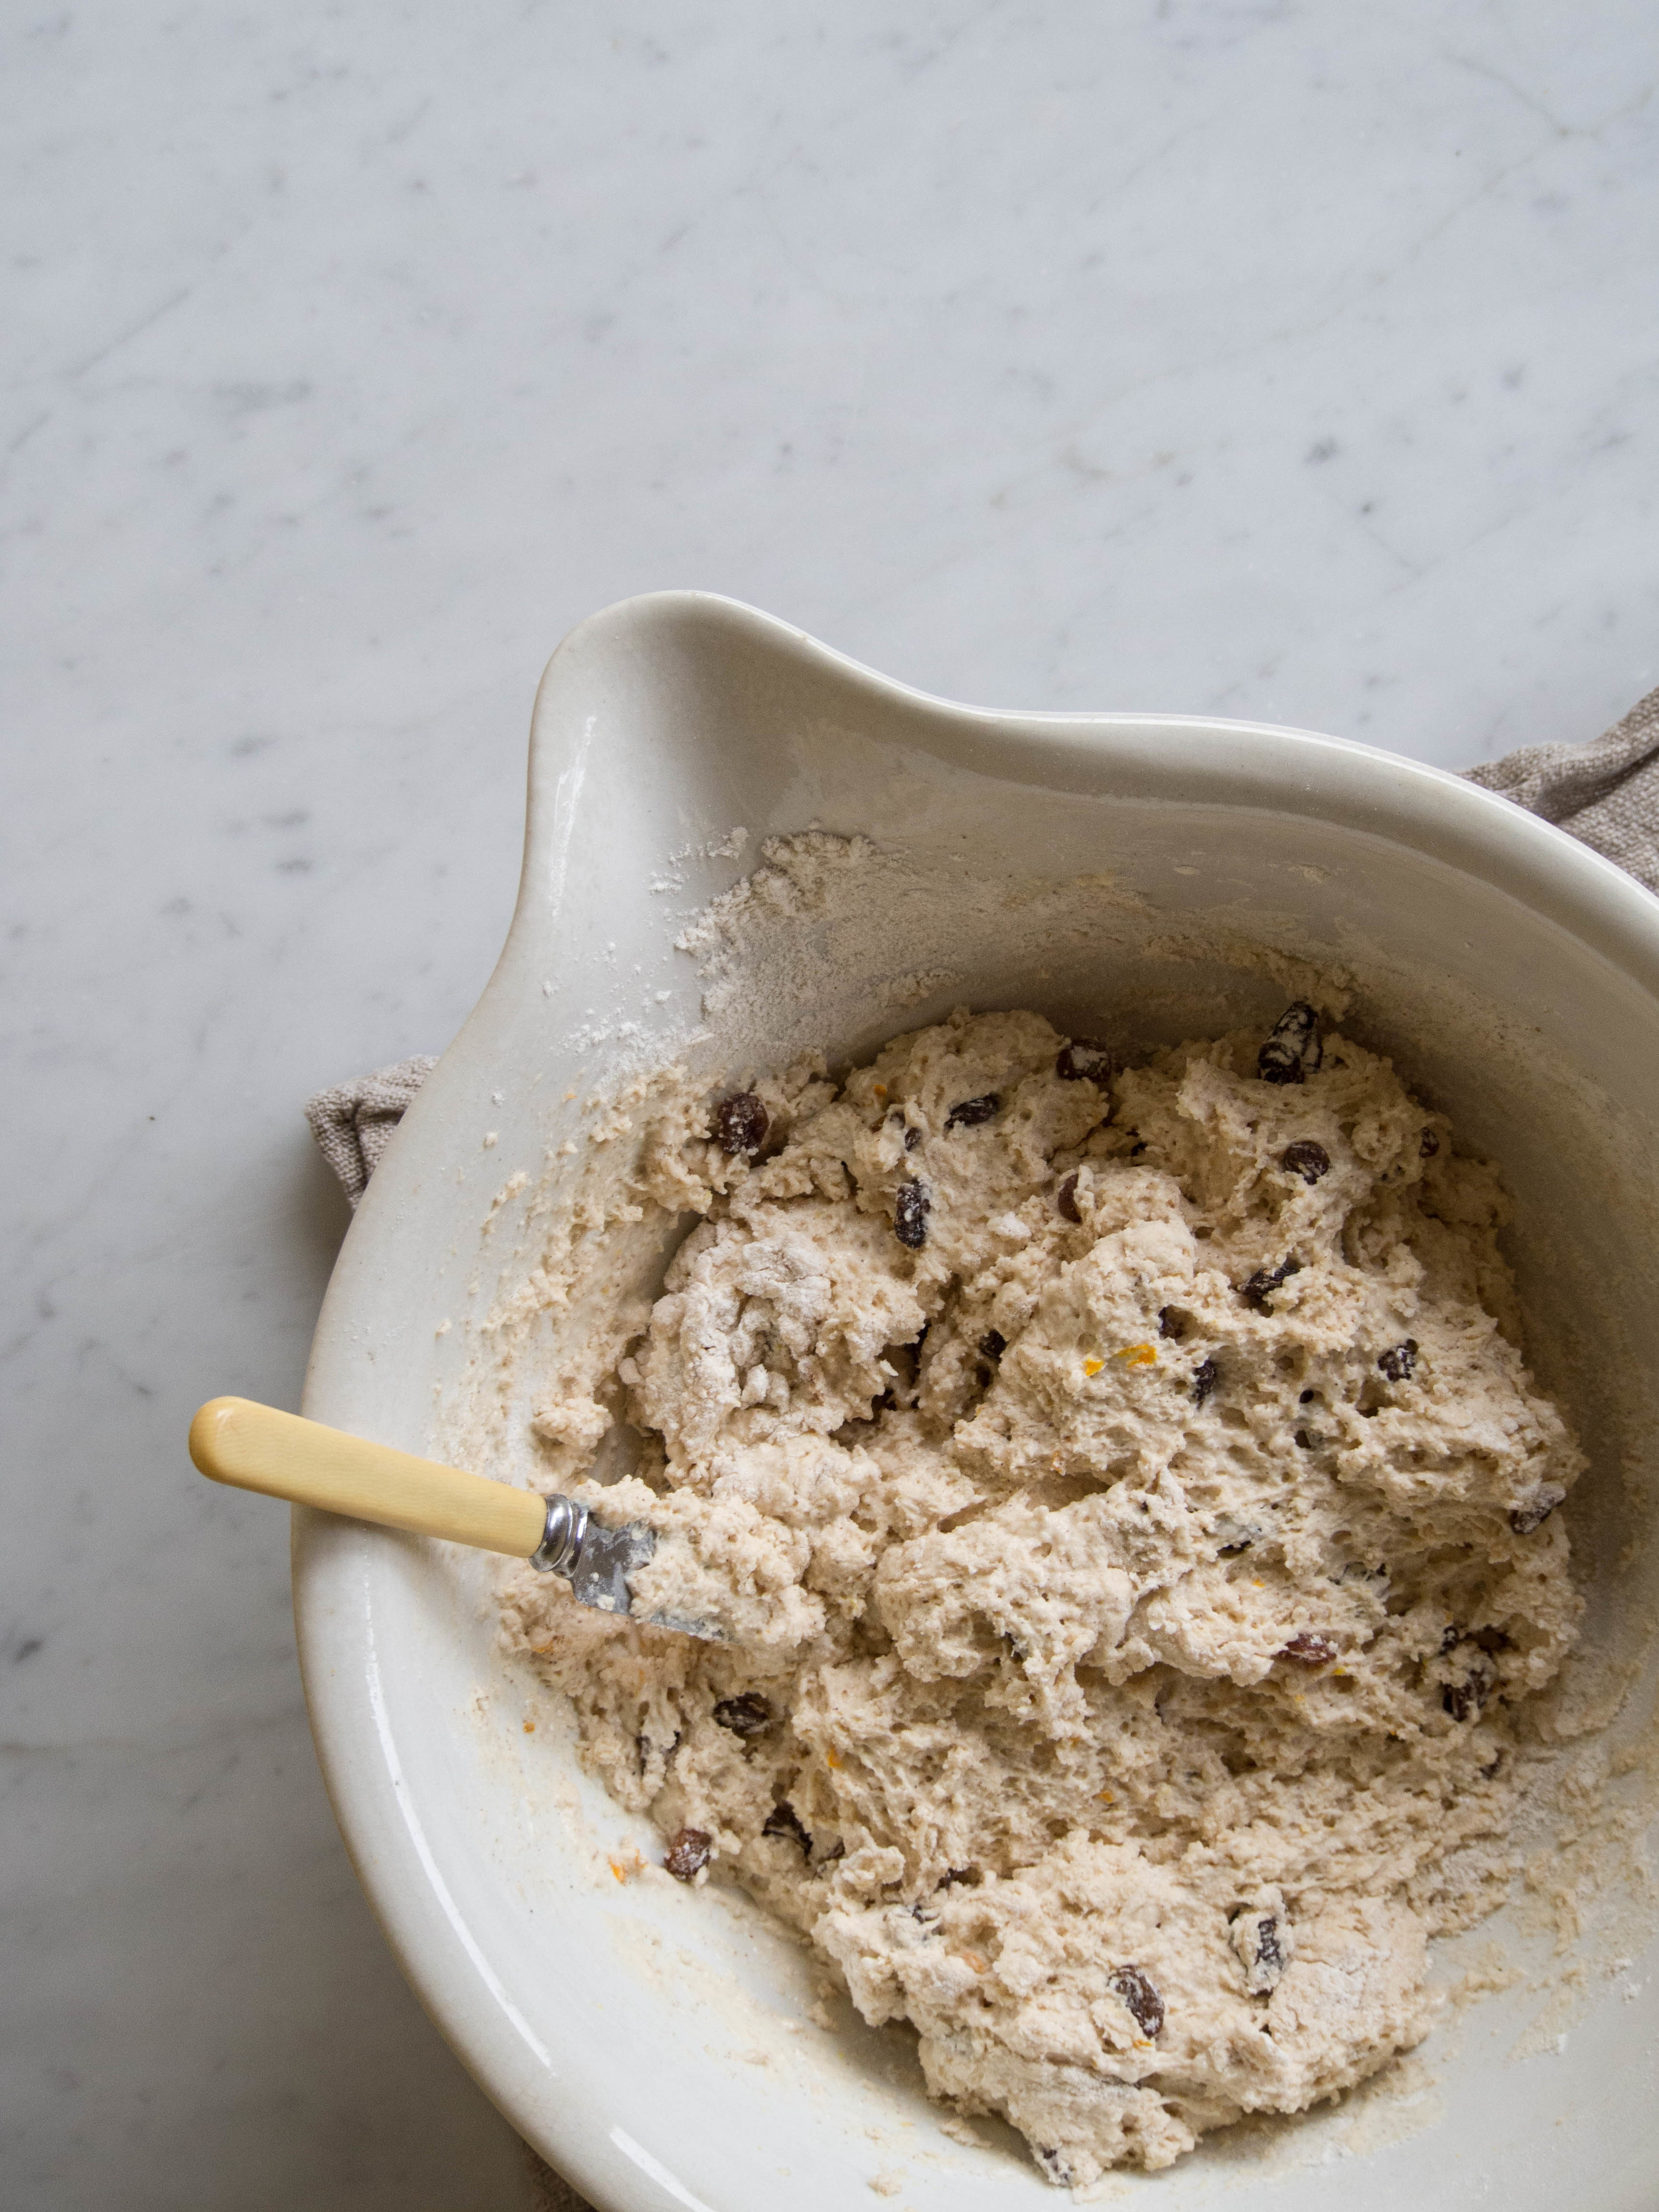
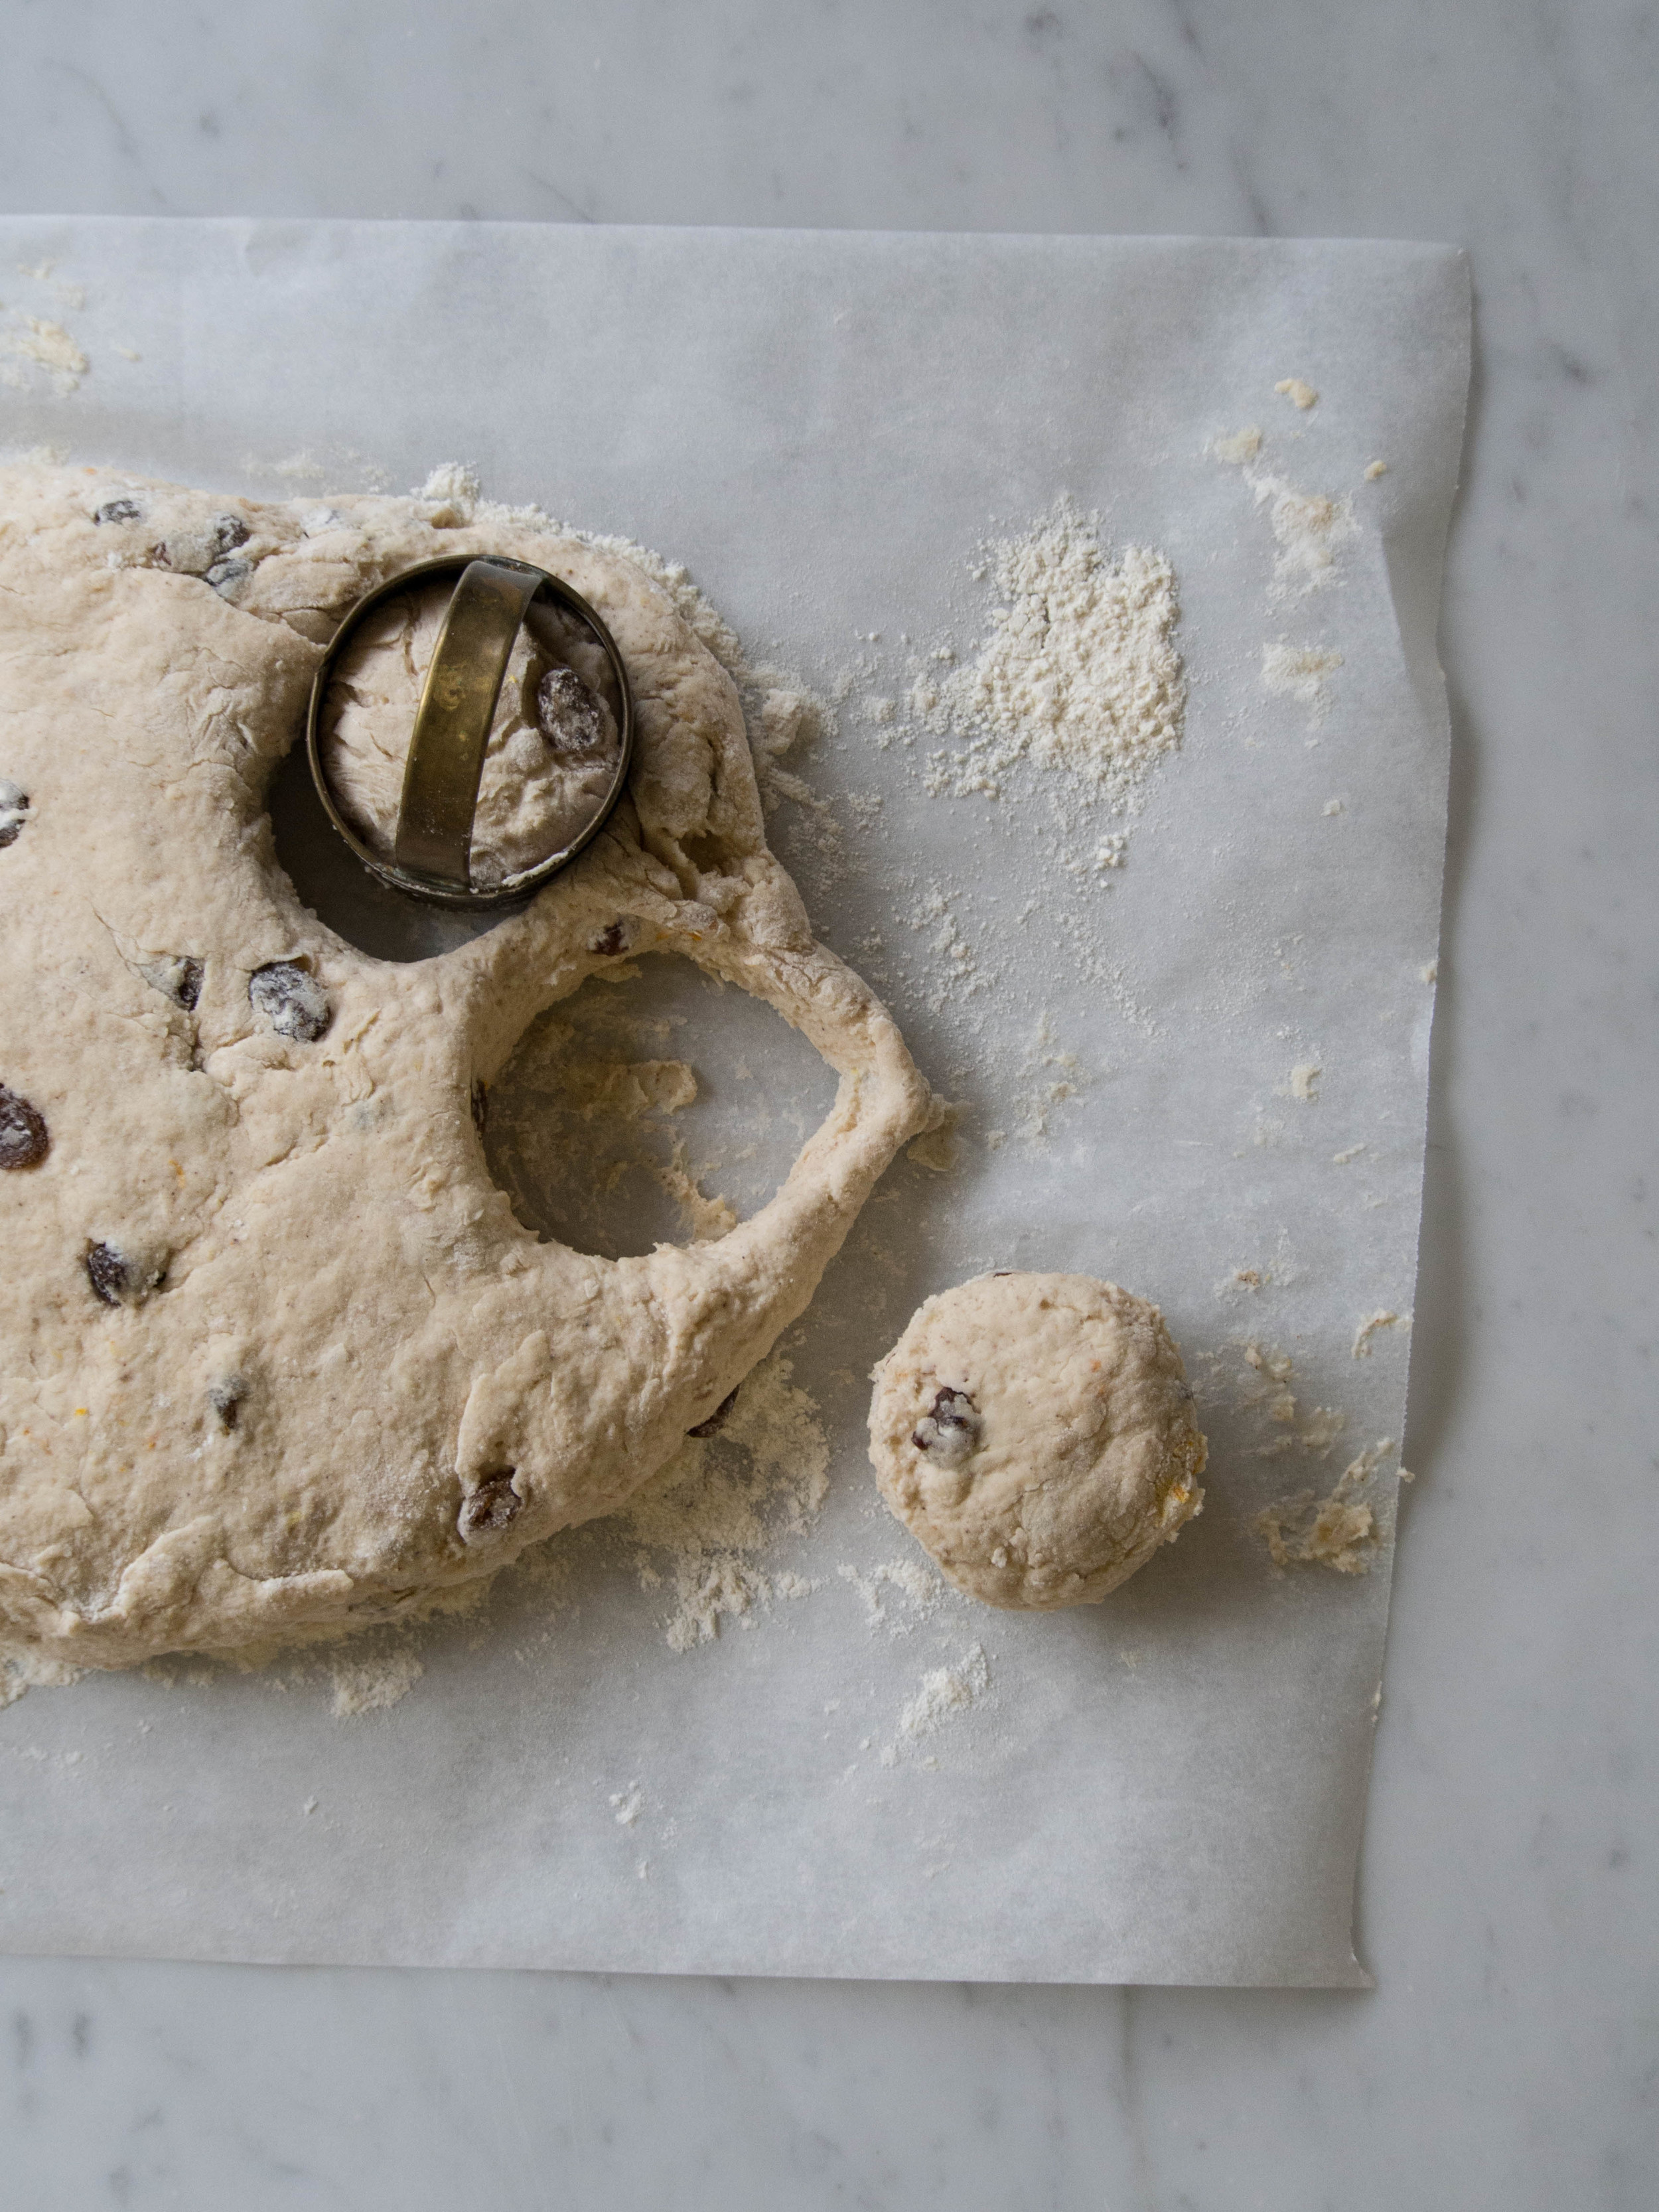
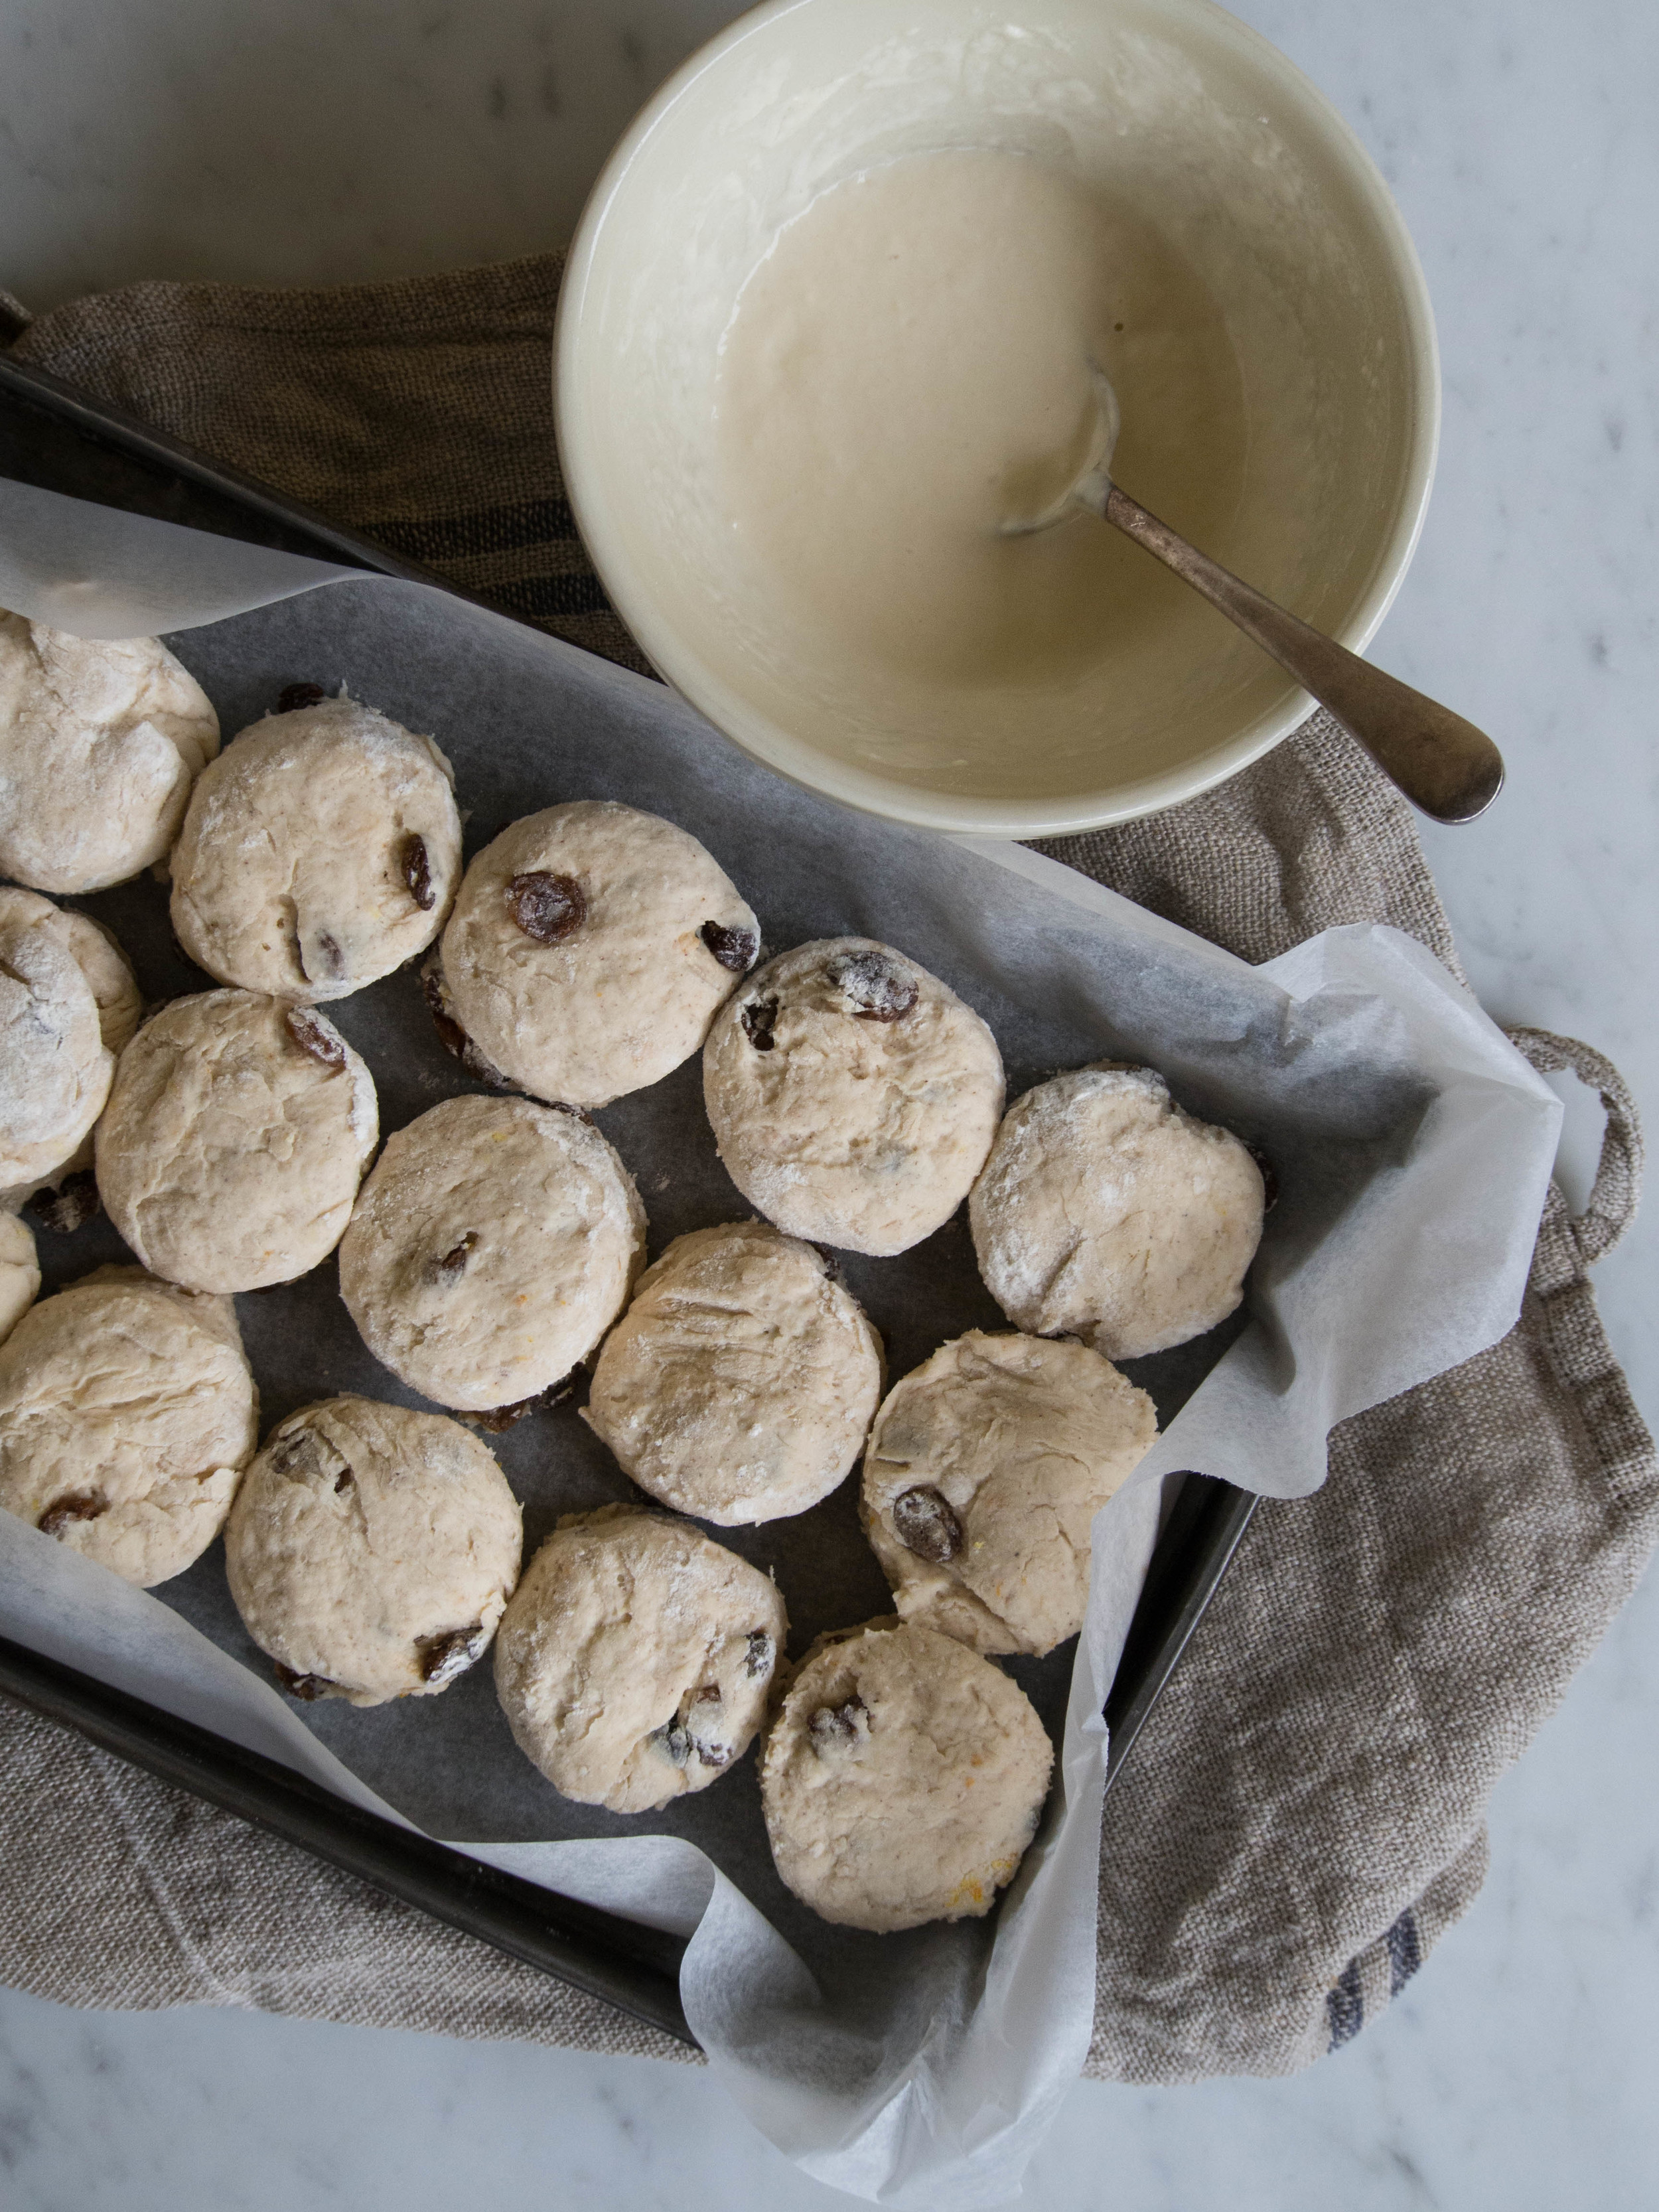
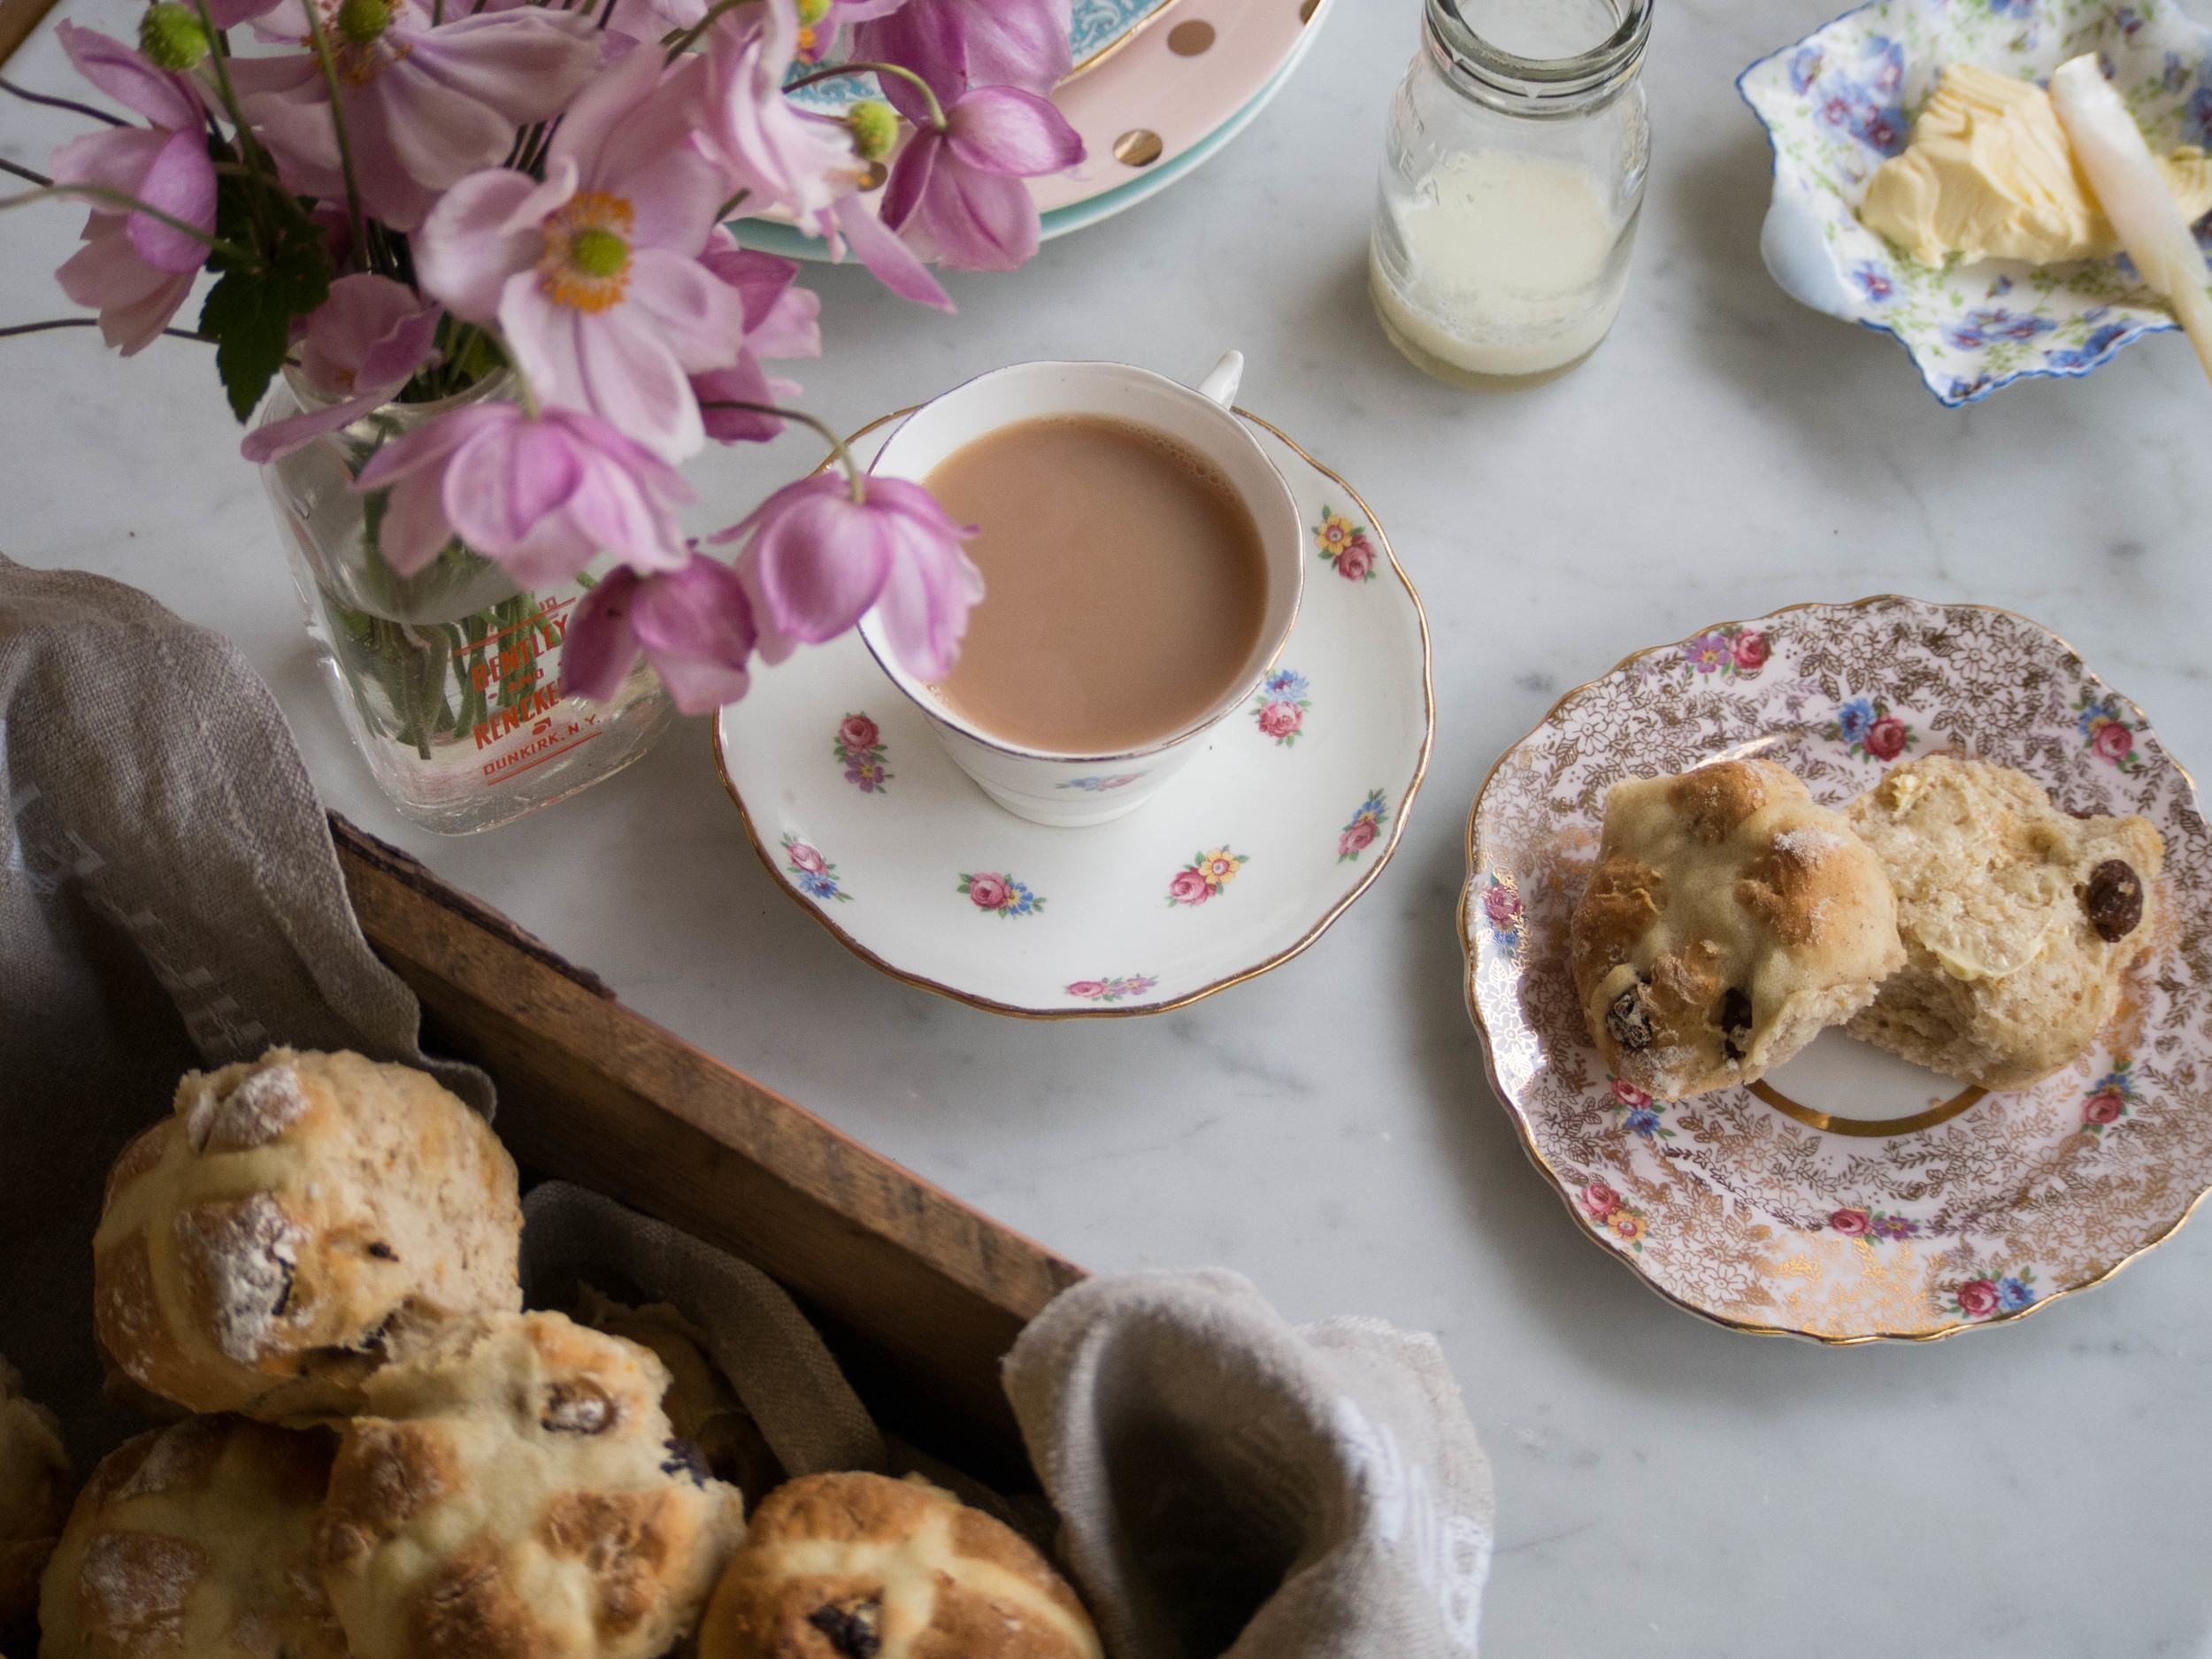
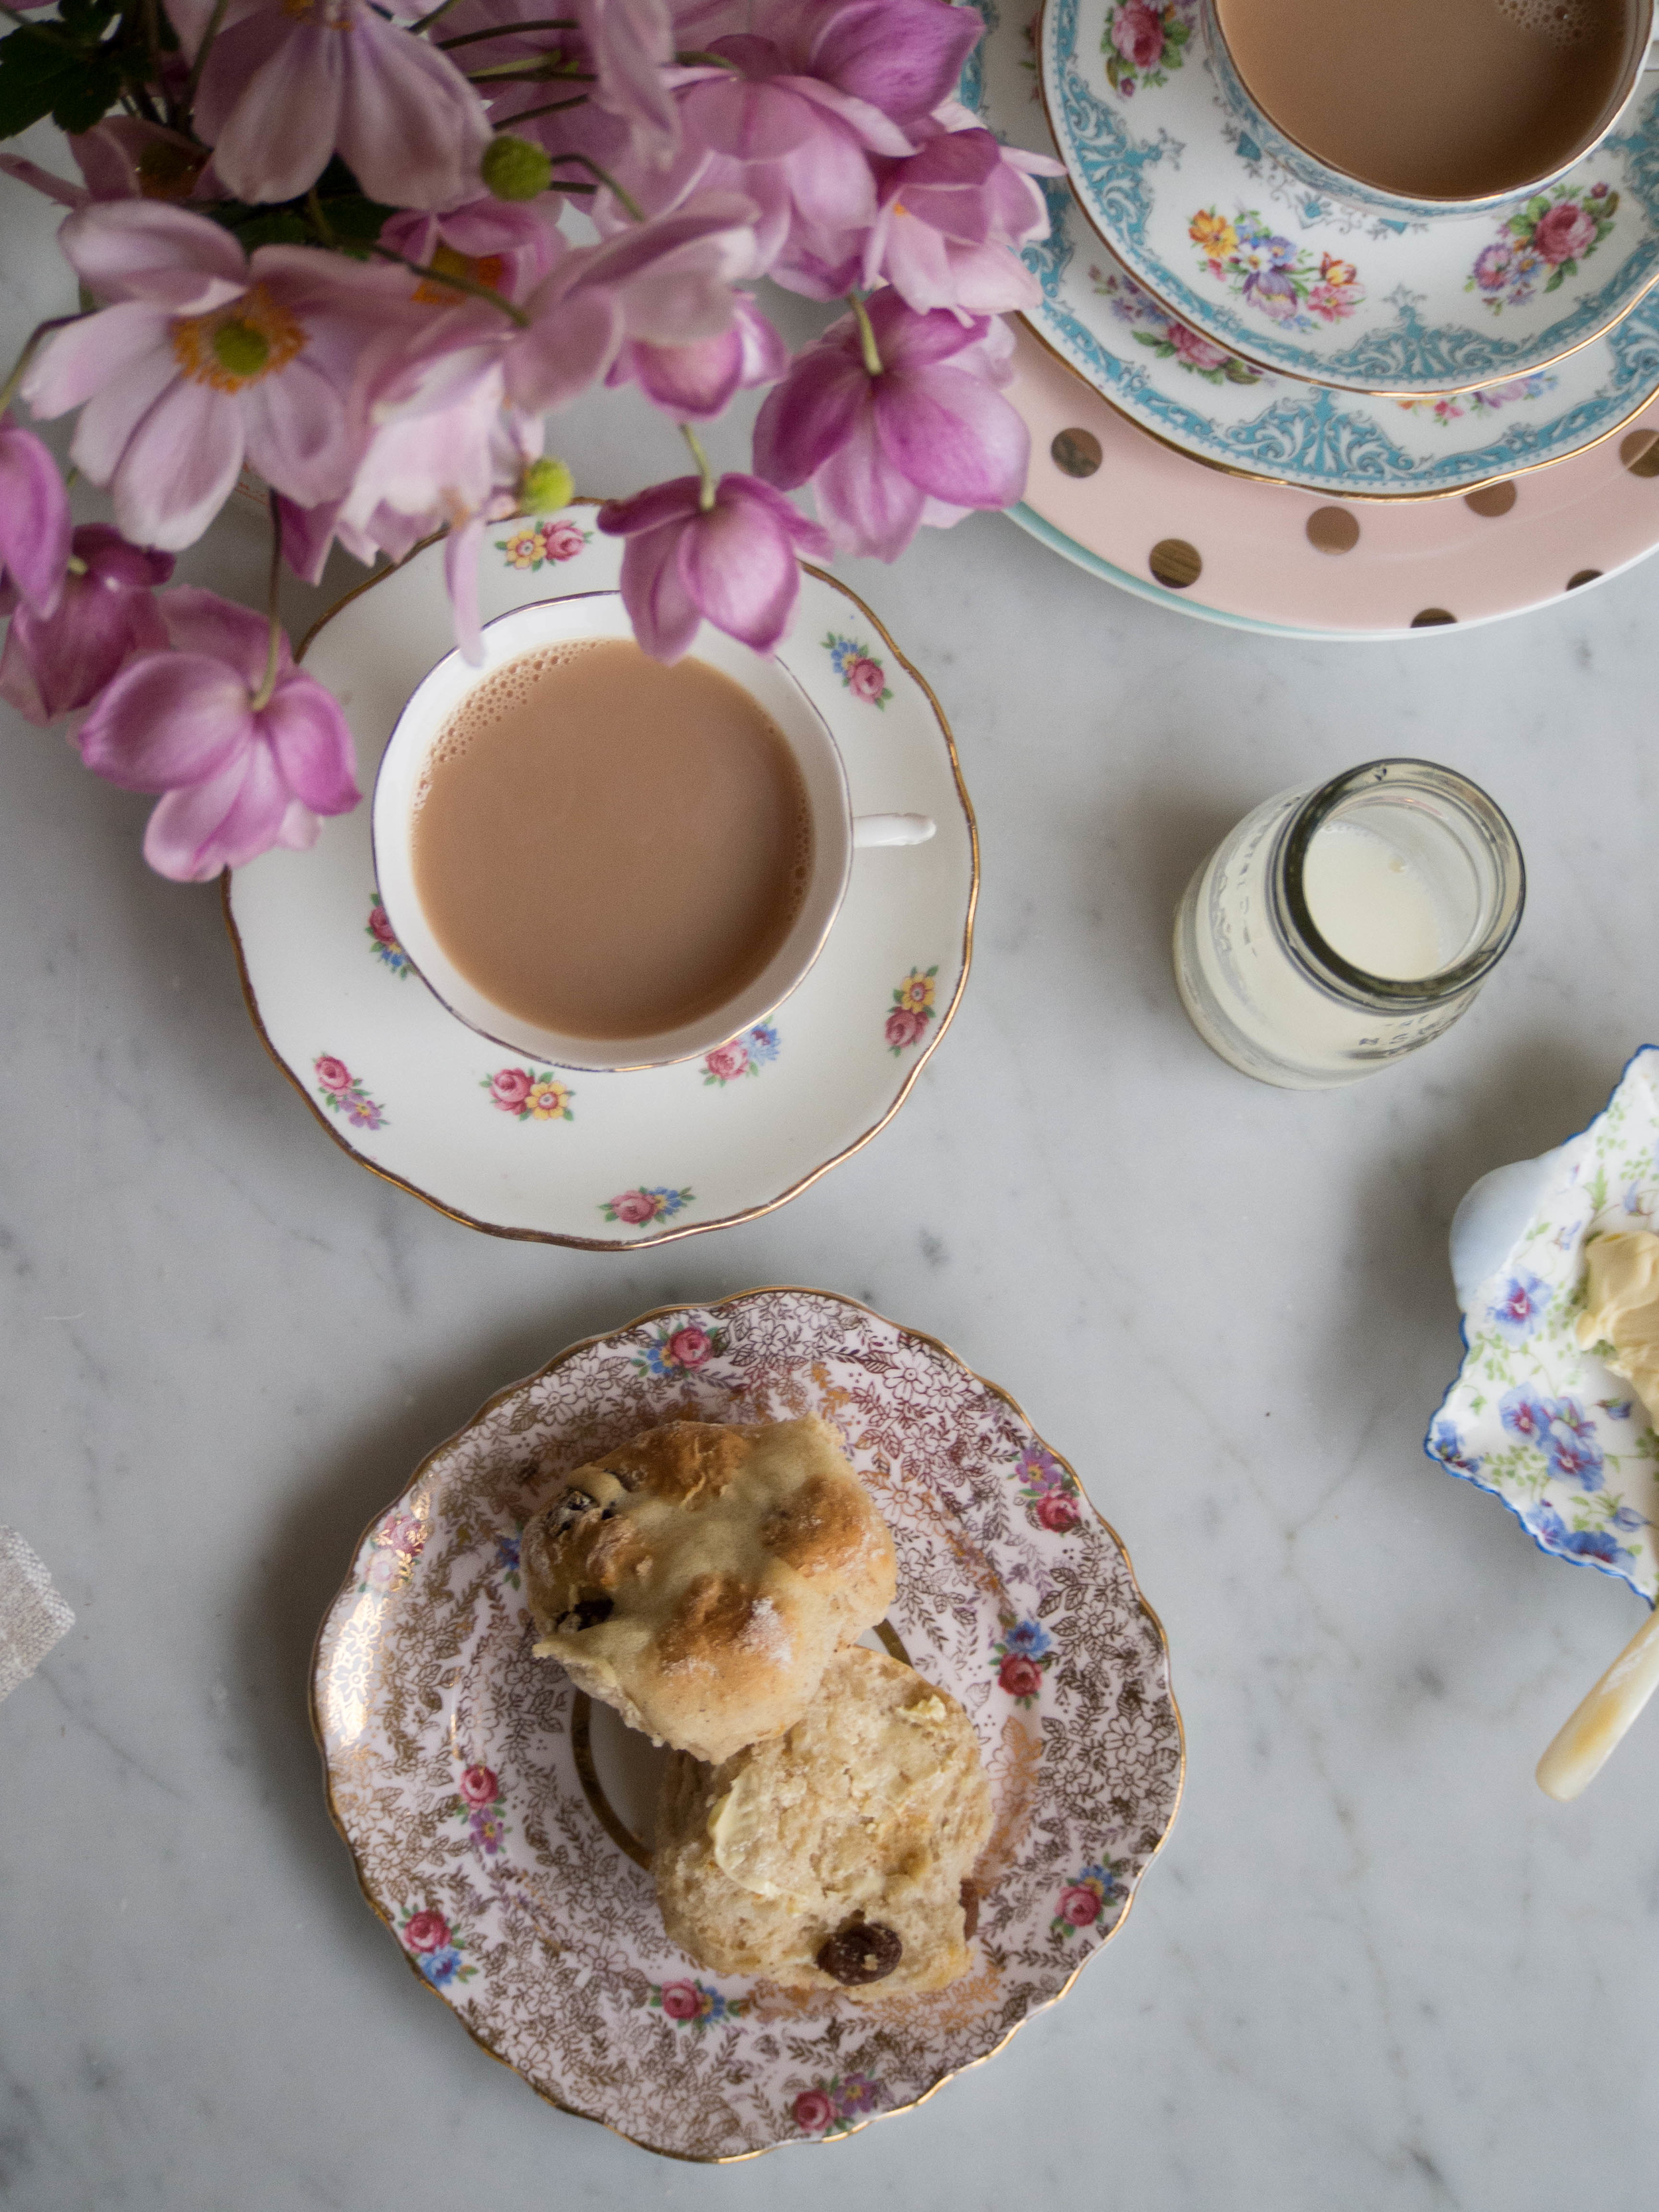
Hot Cross Scones.
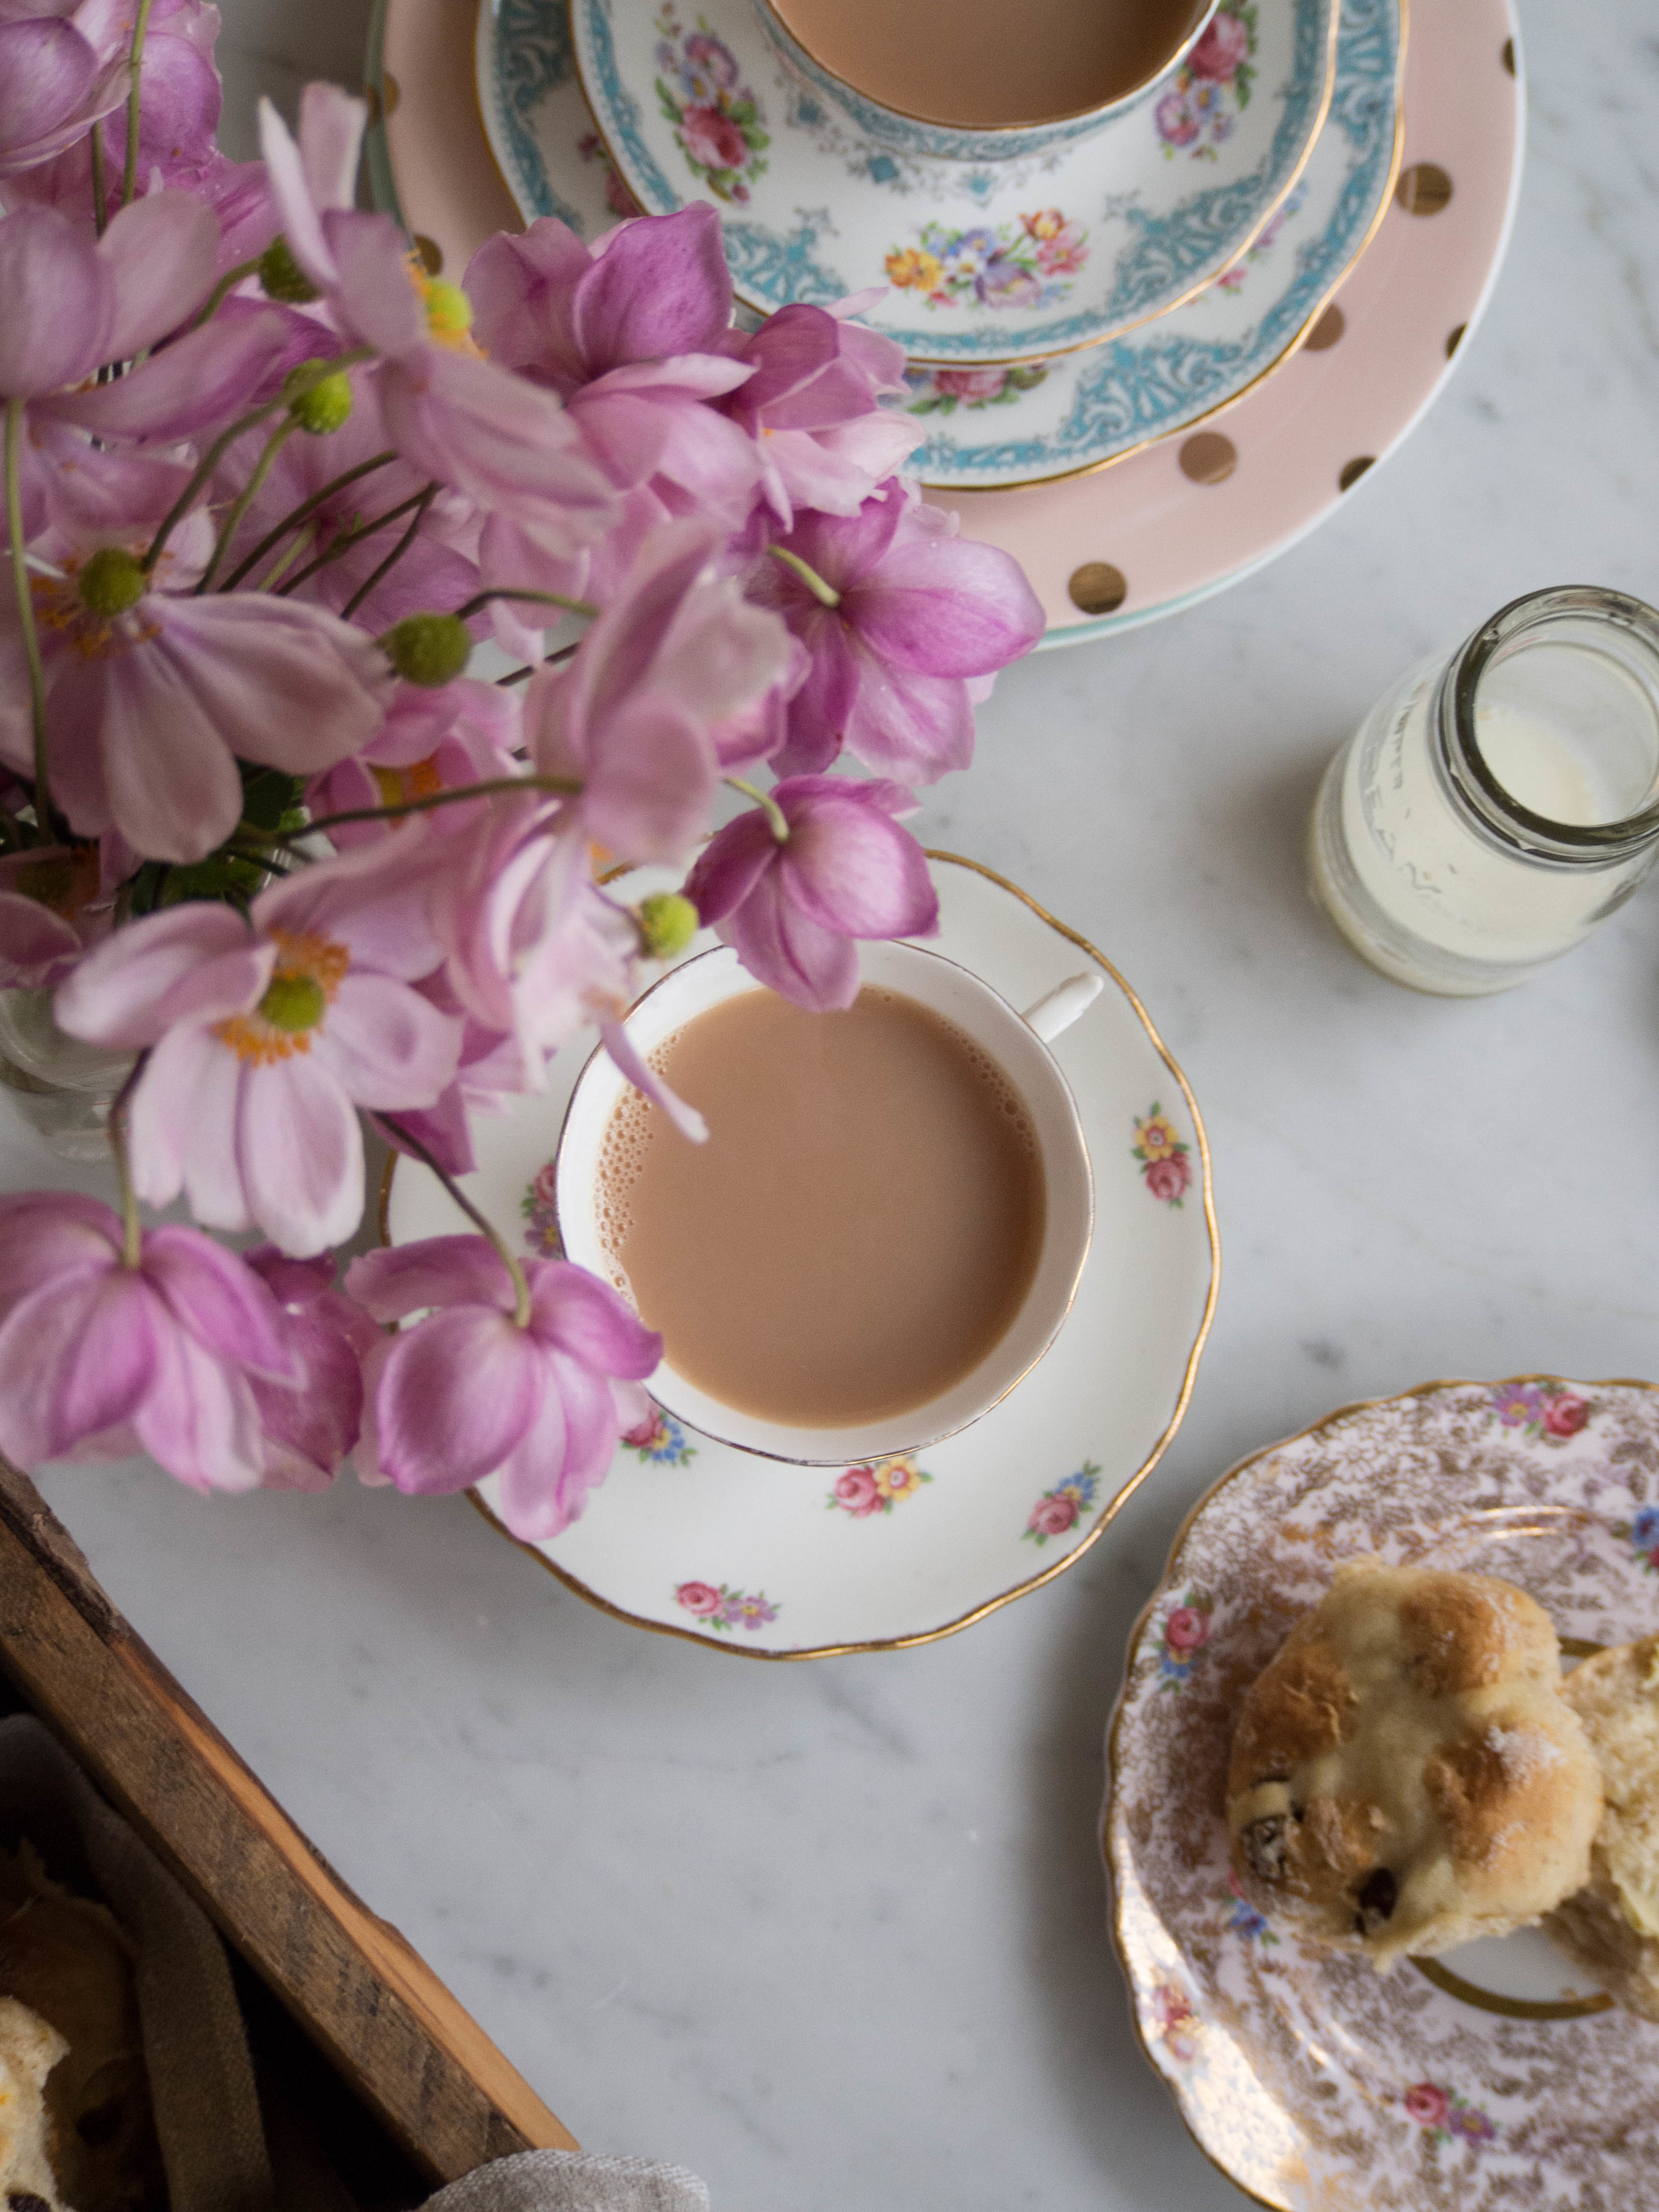
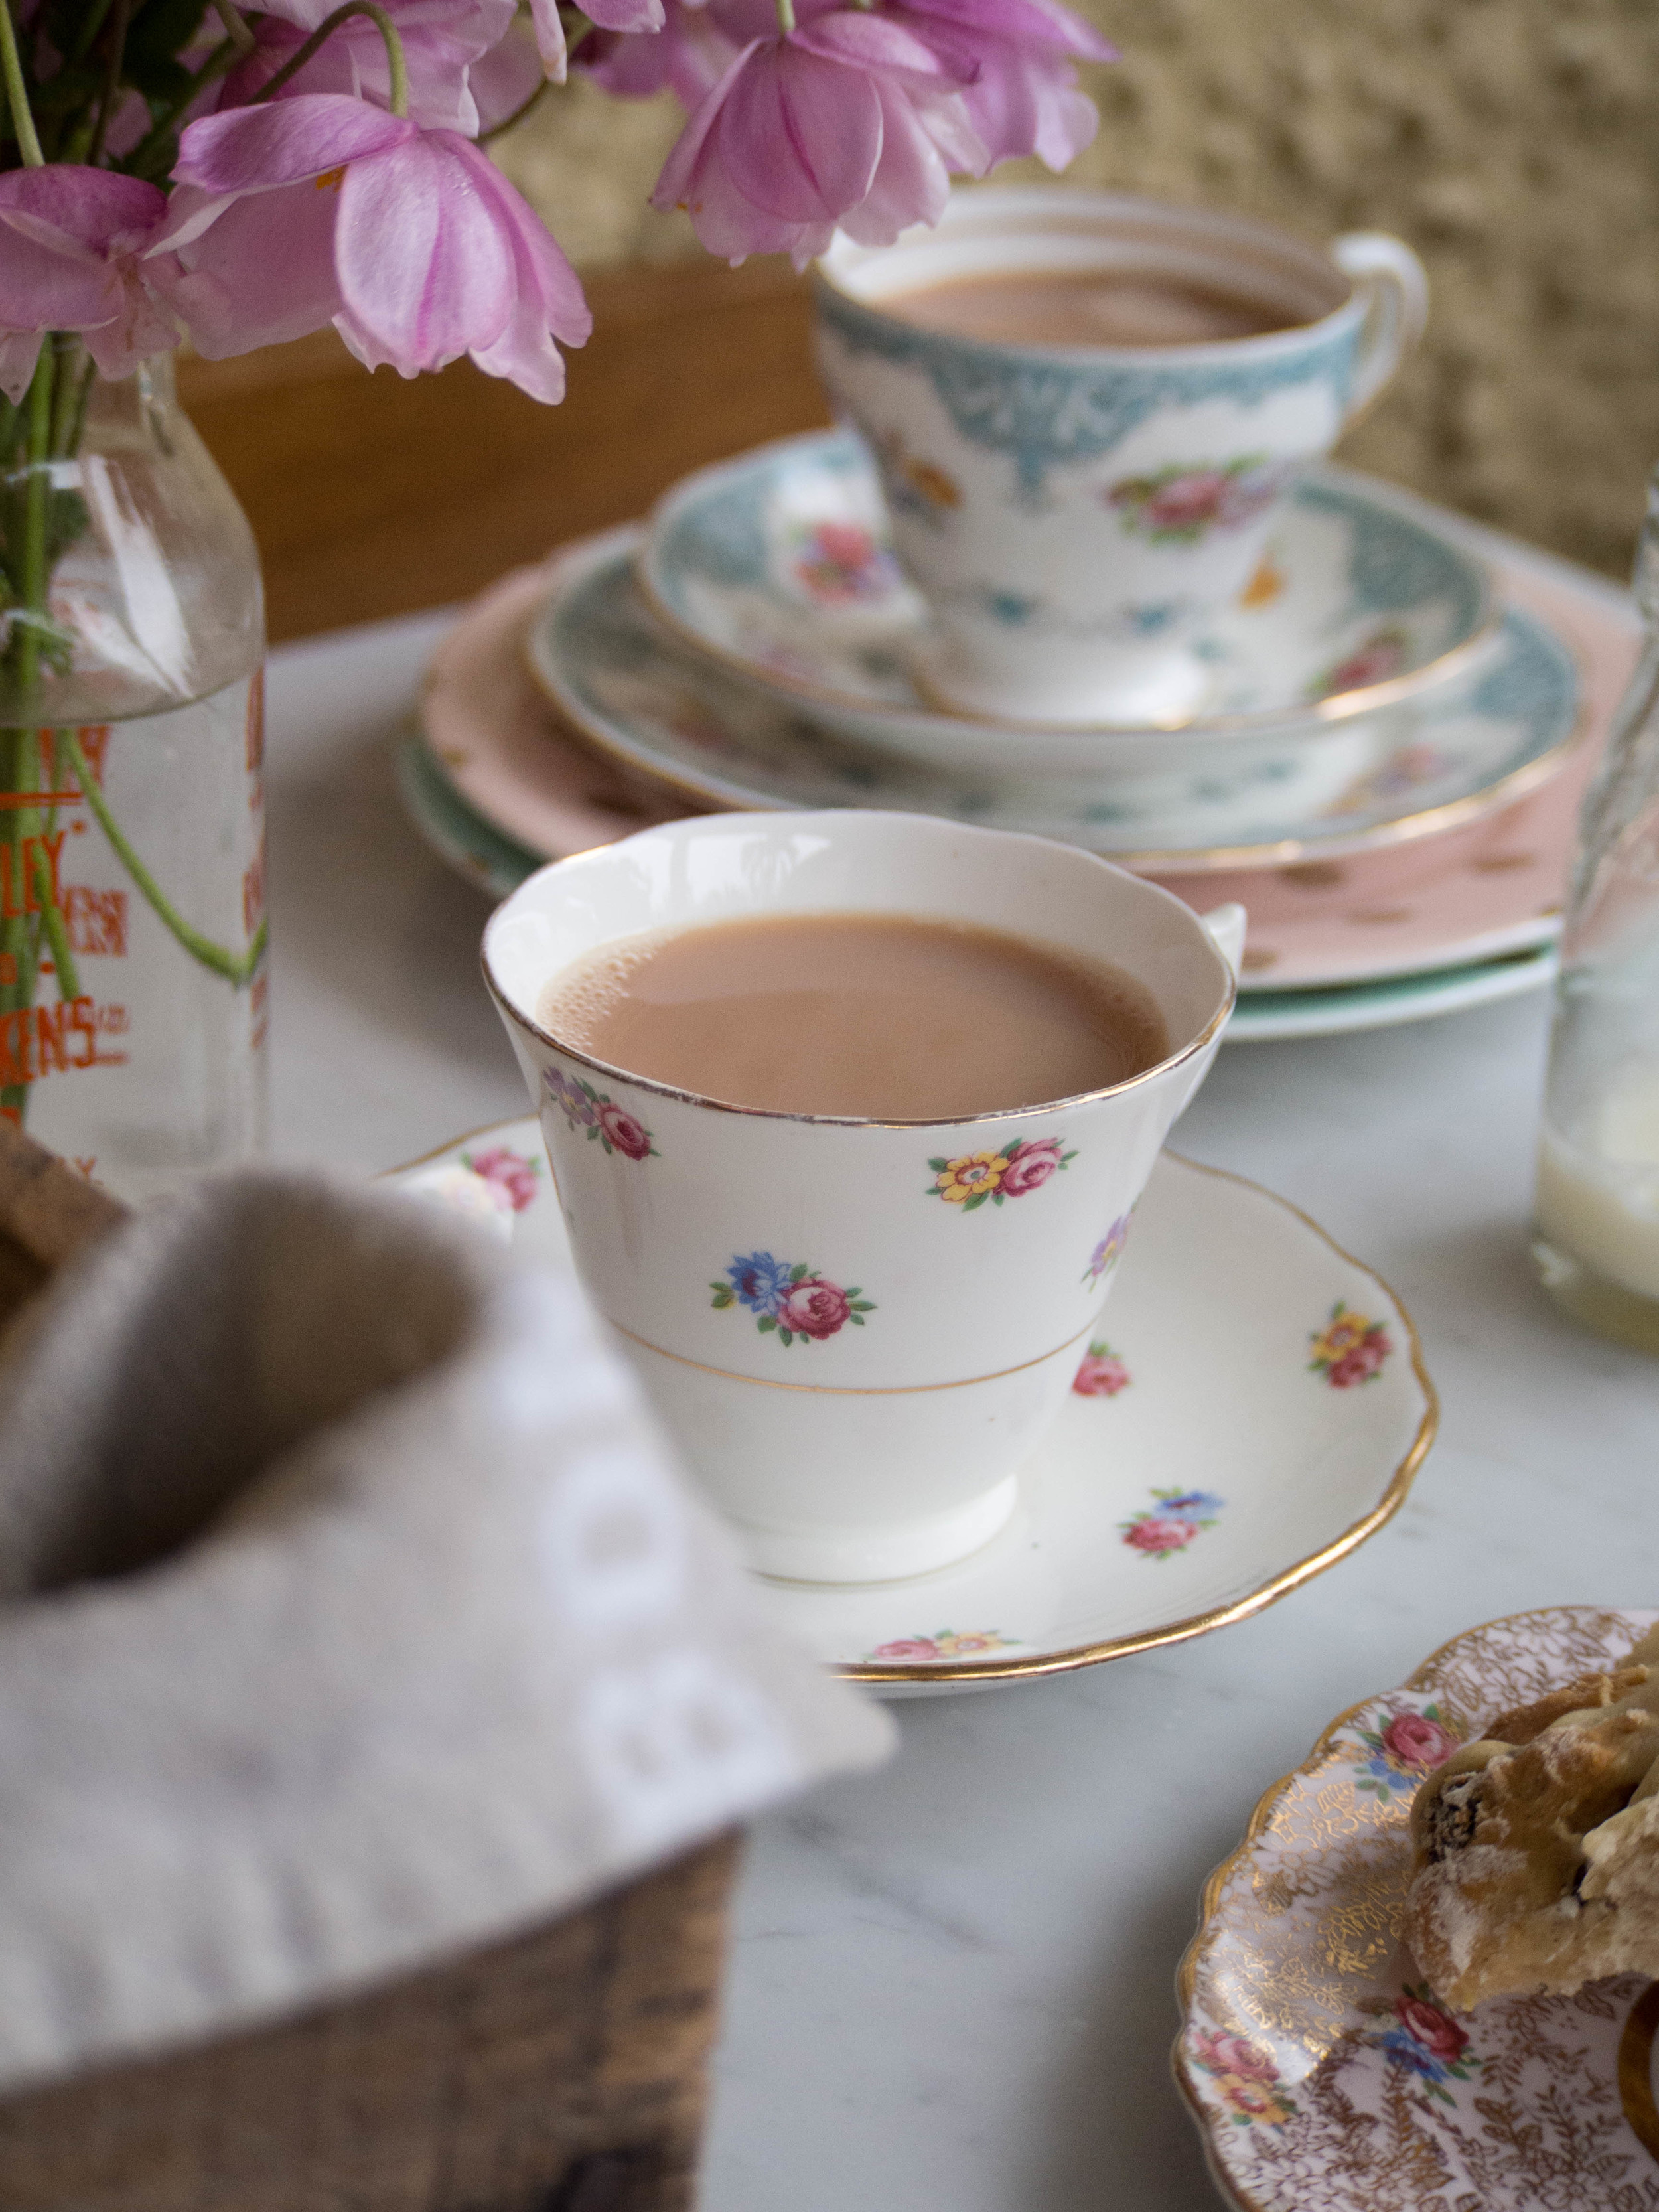
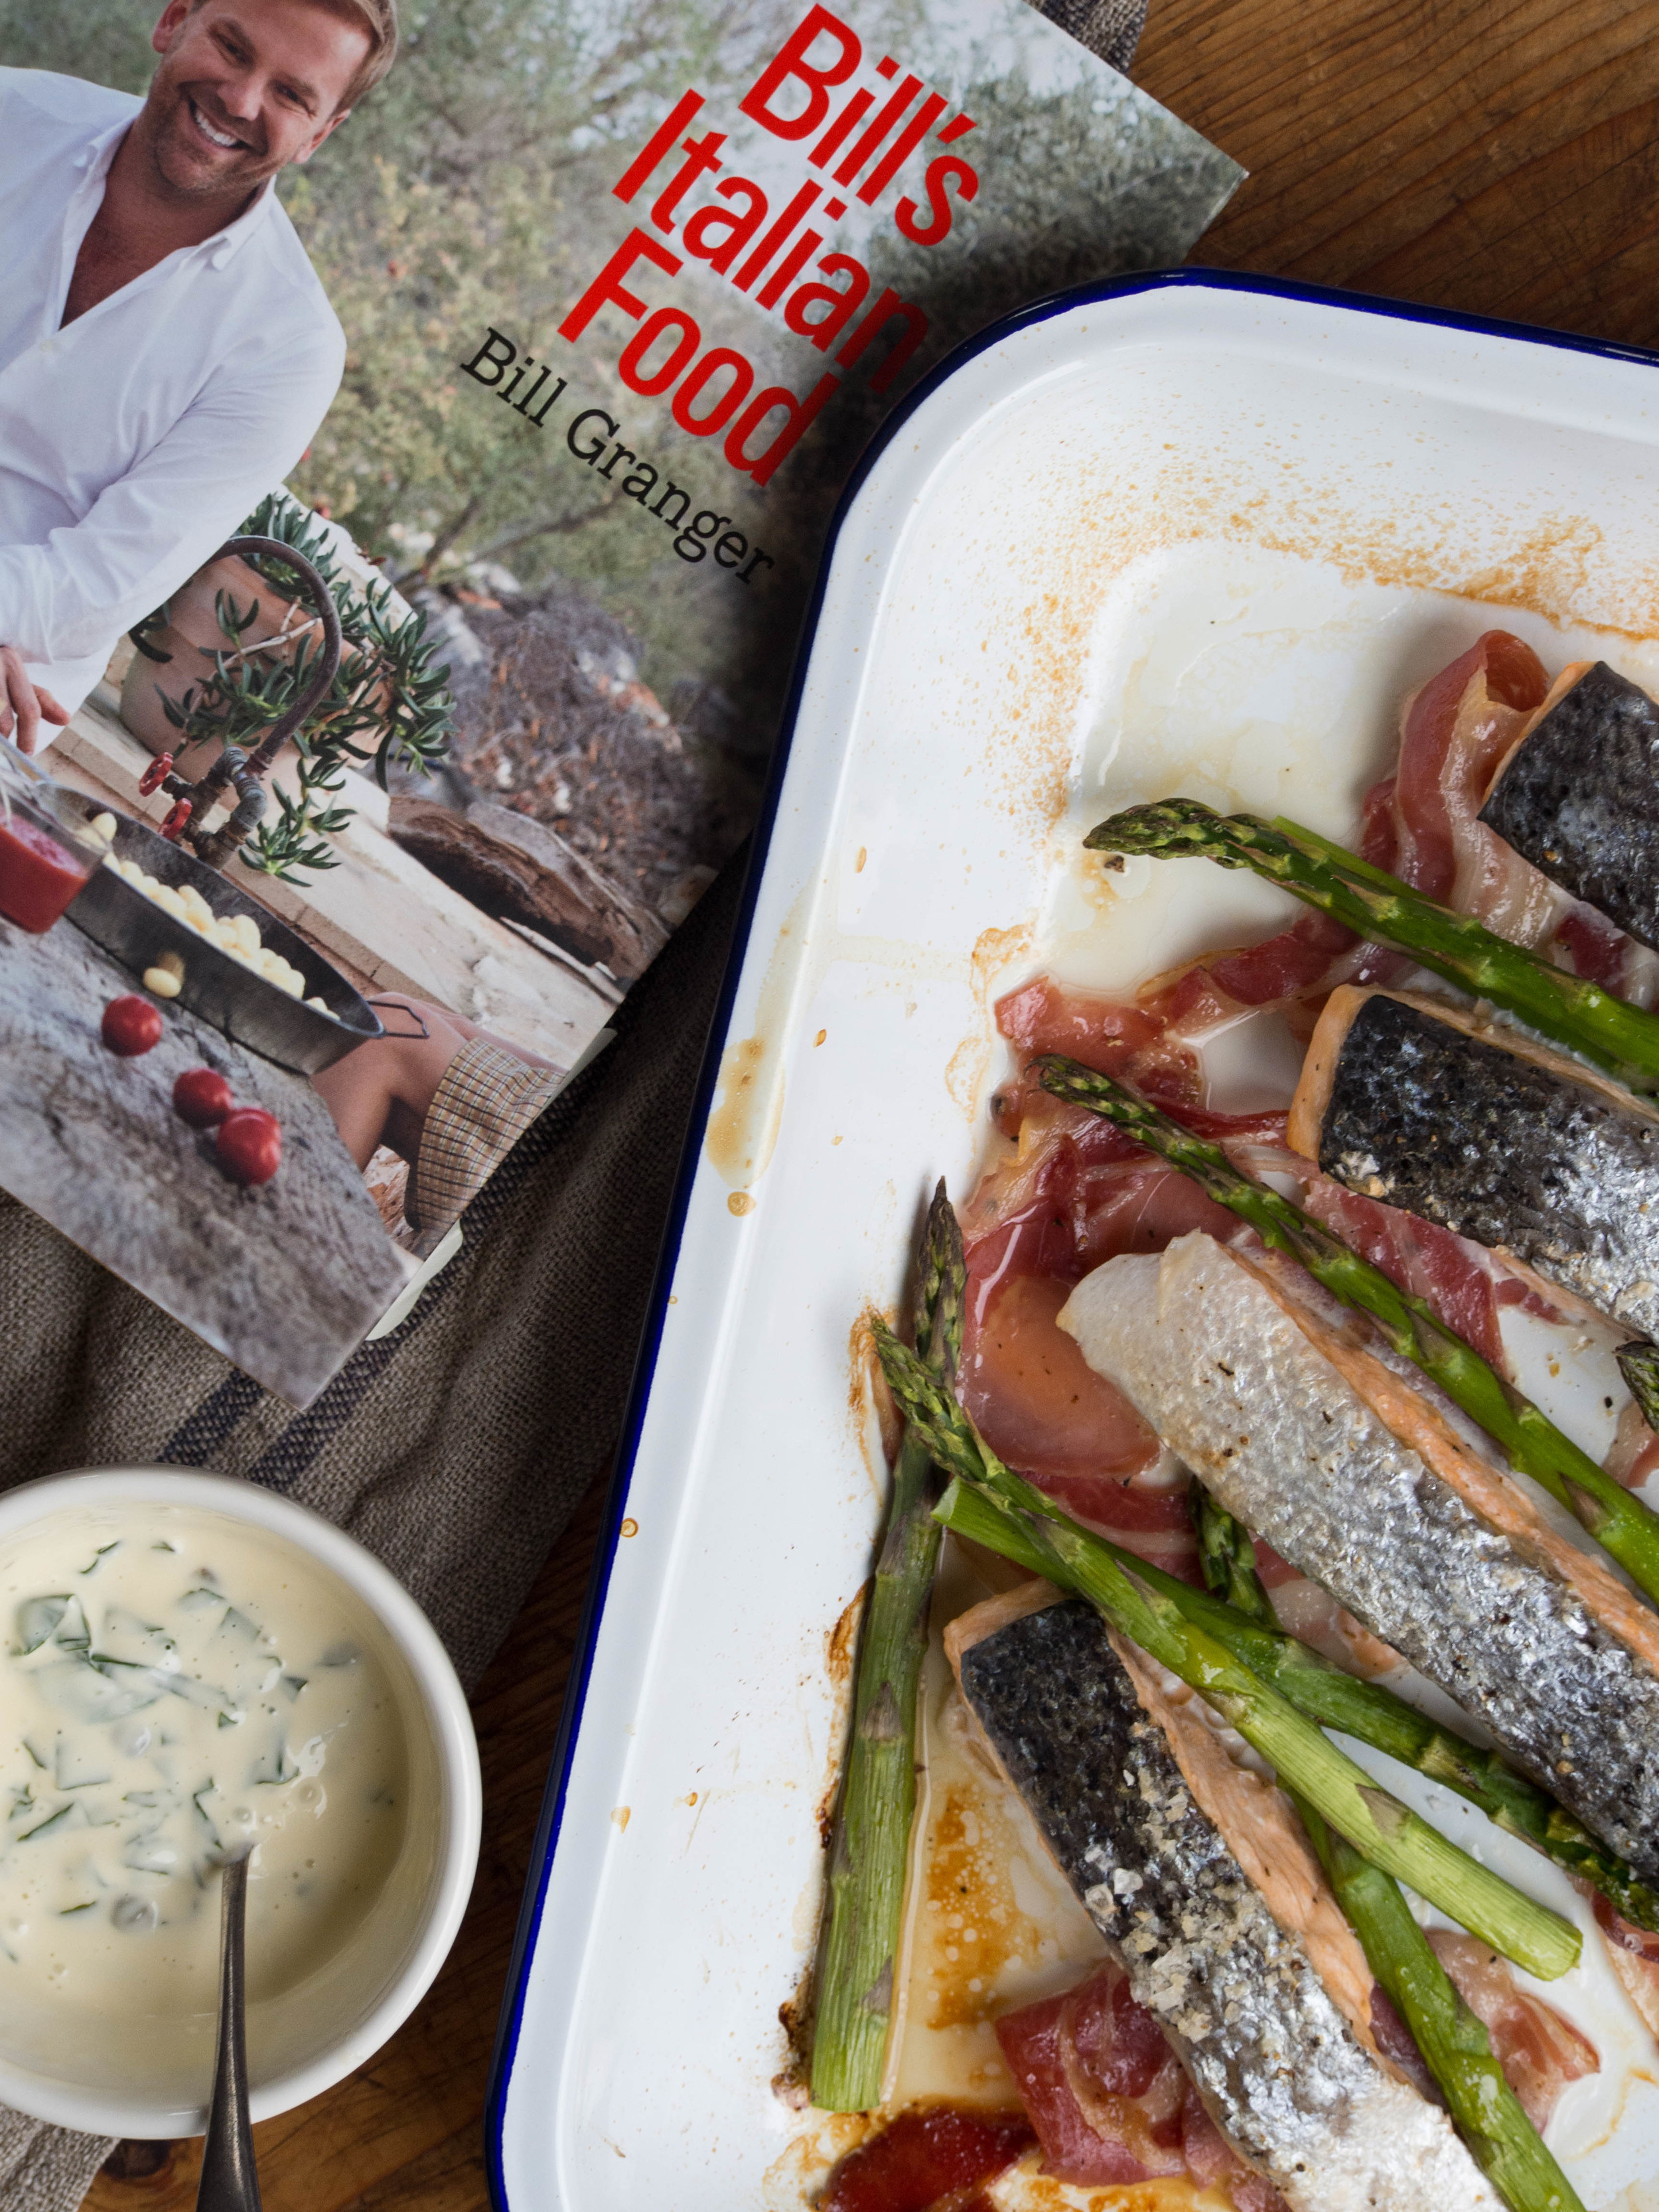
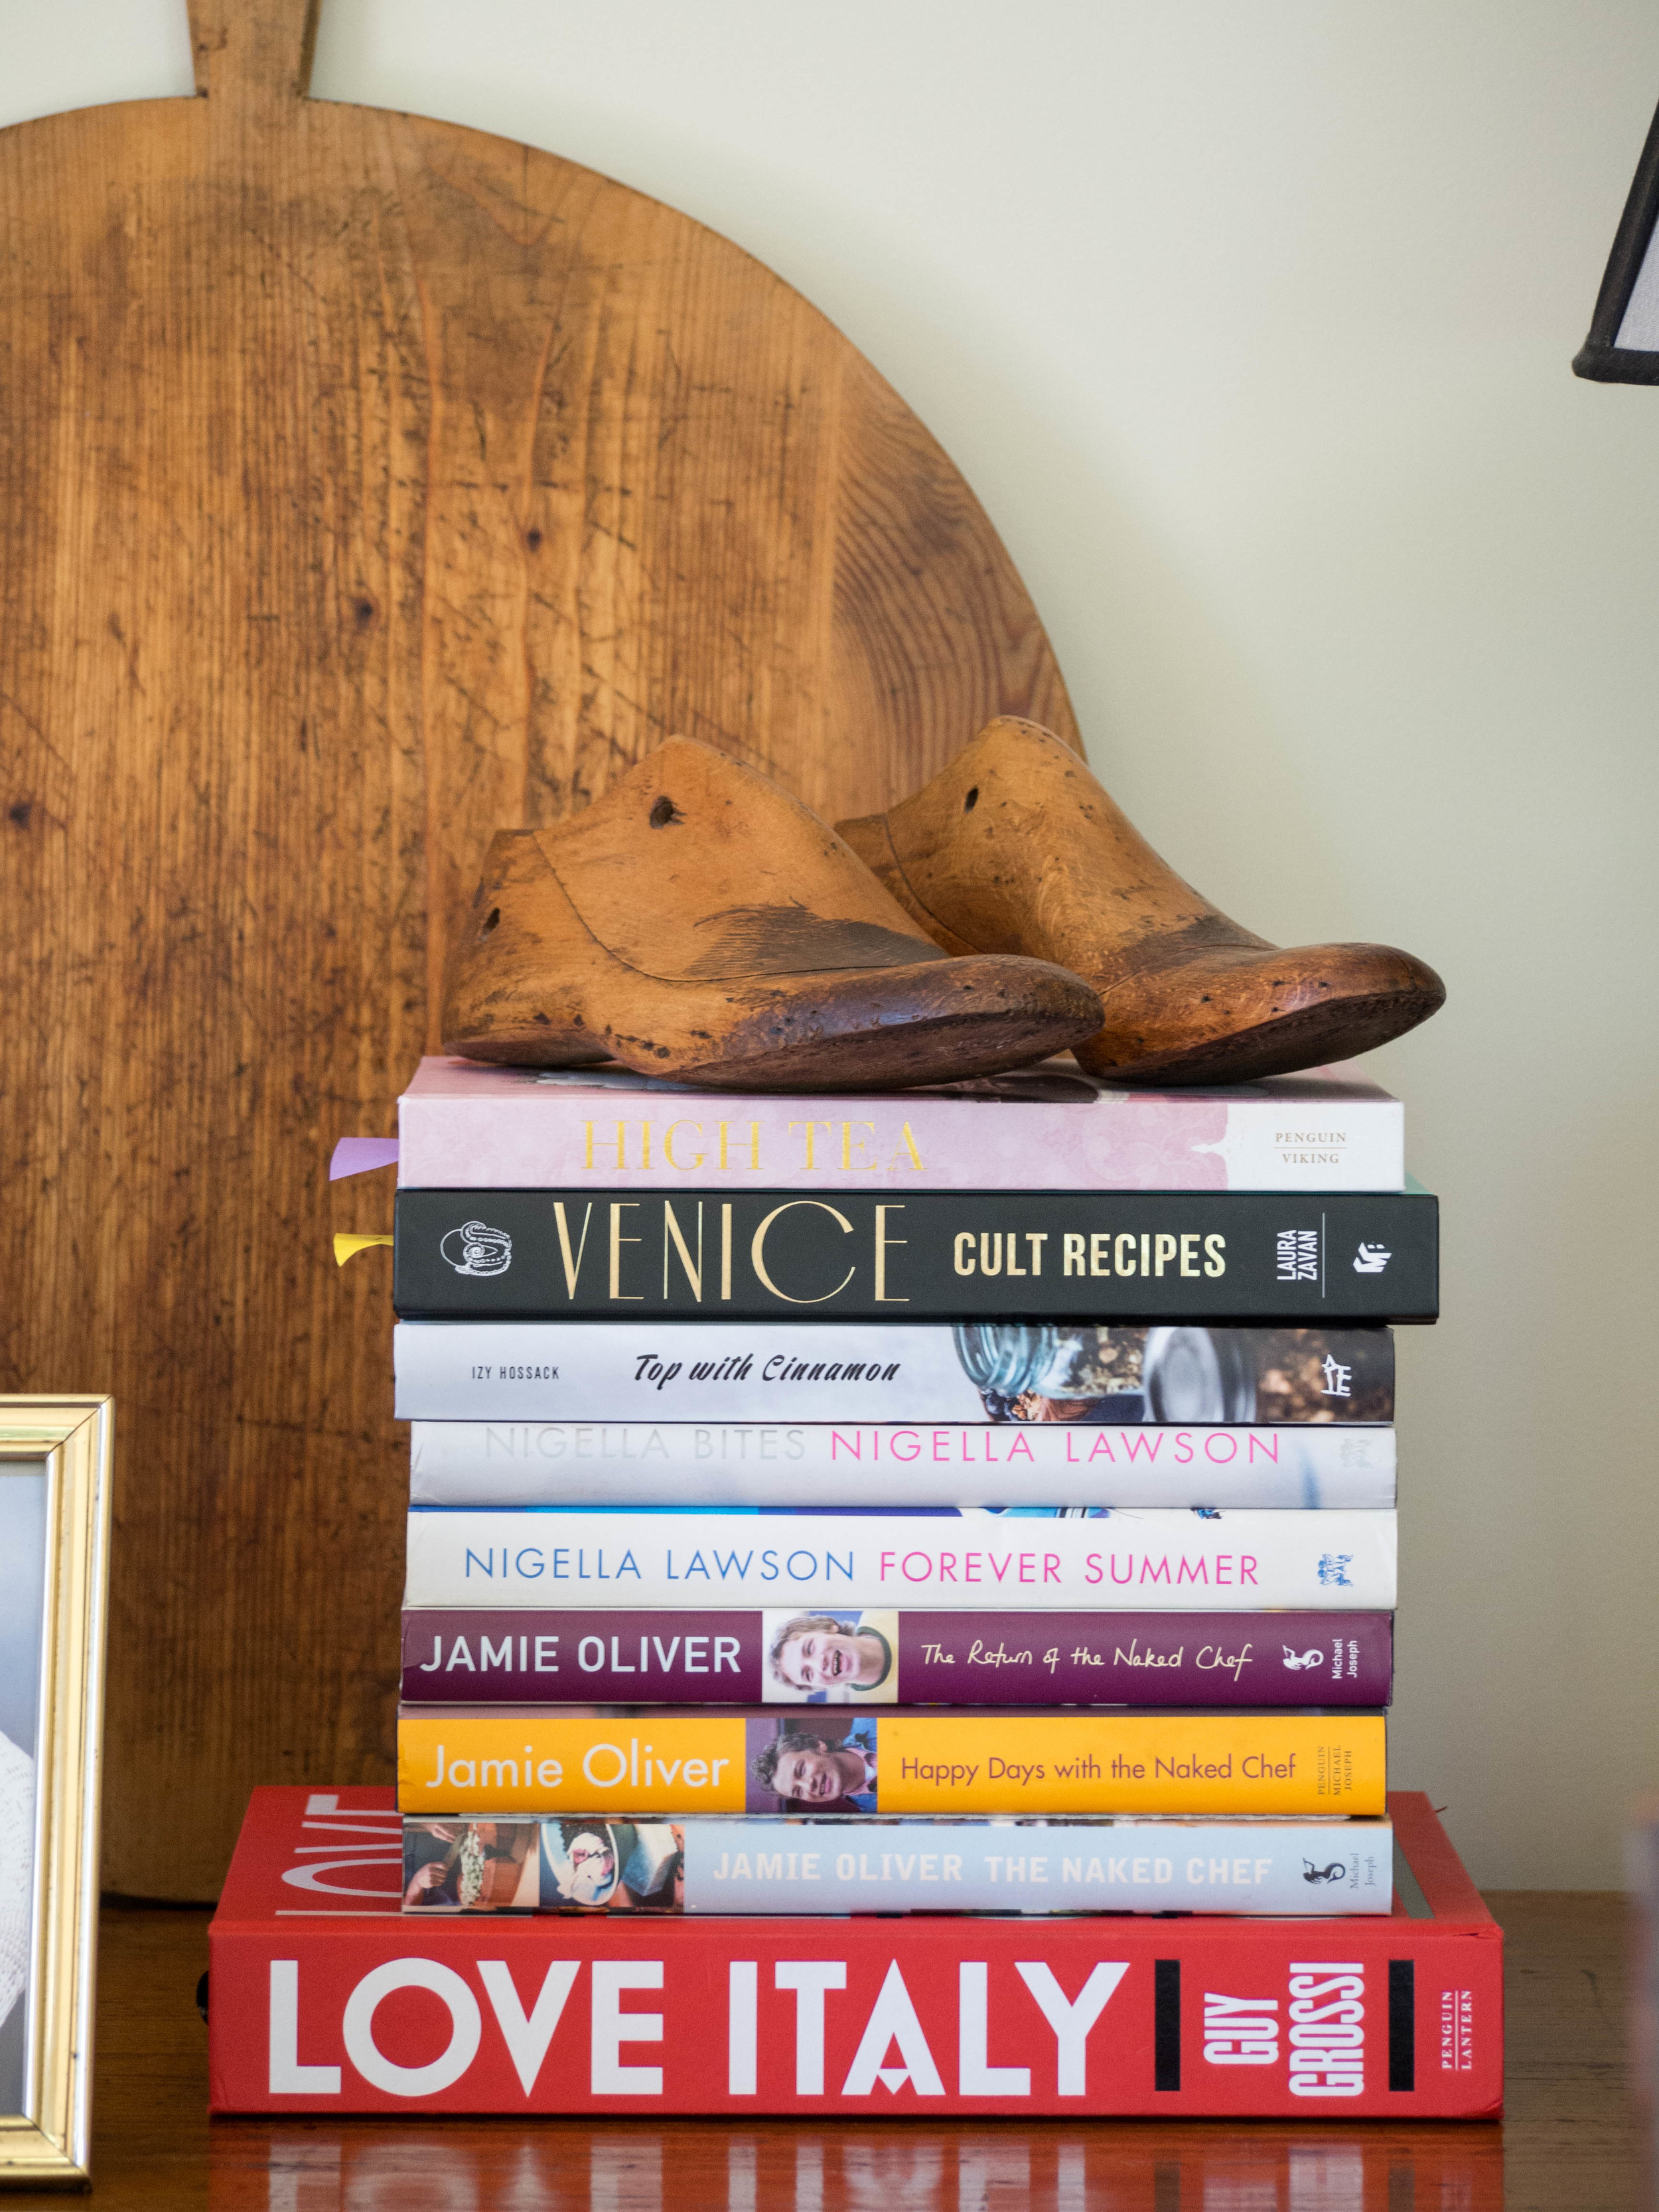
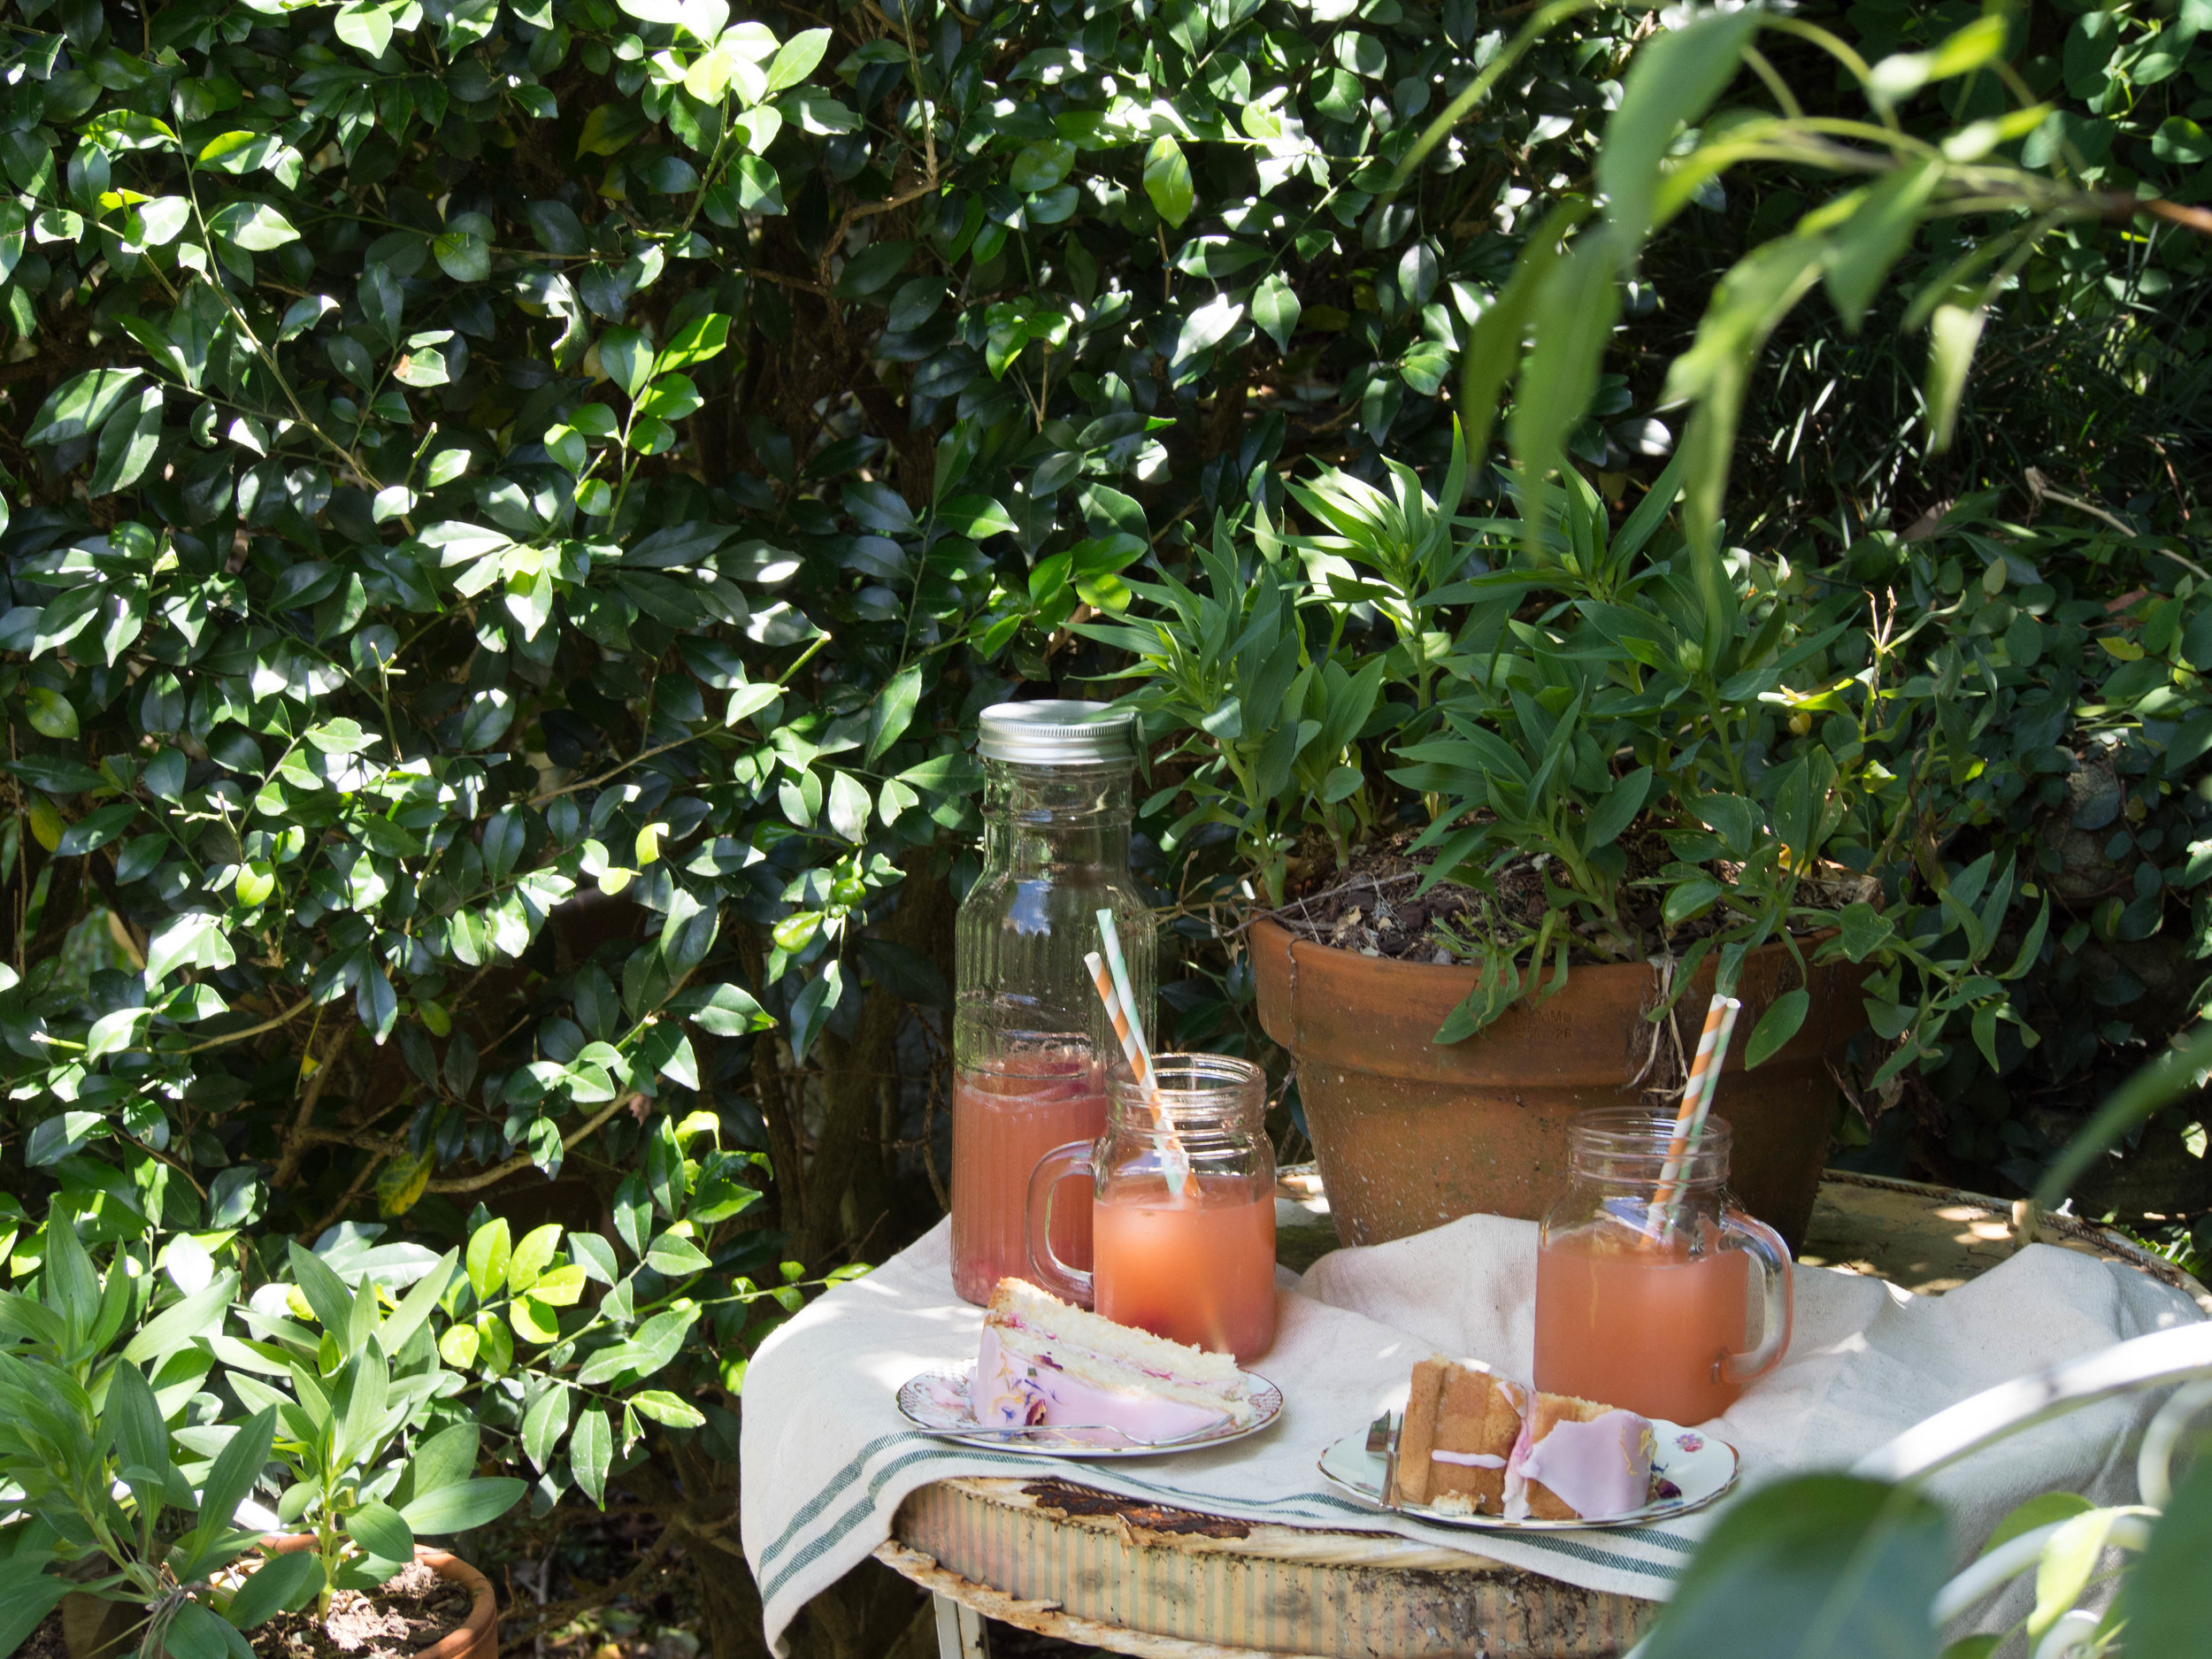
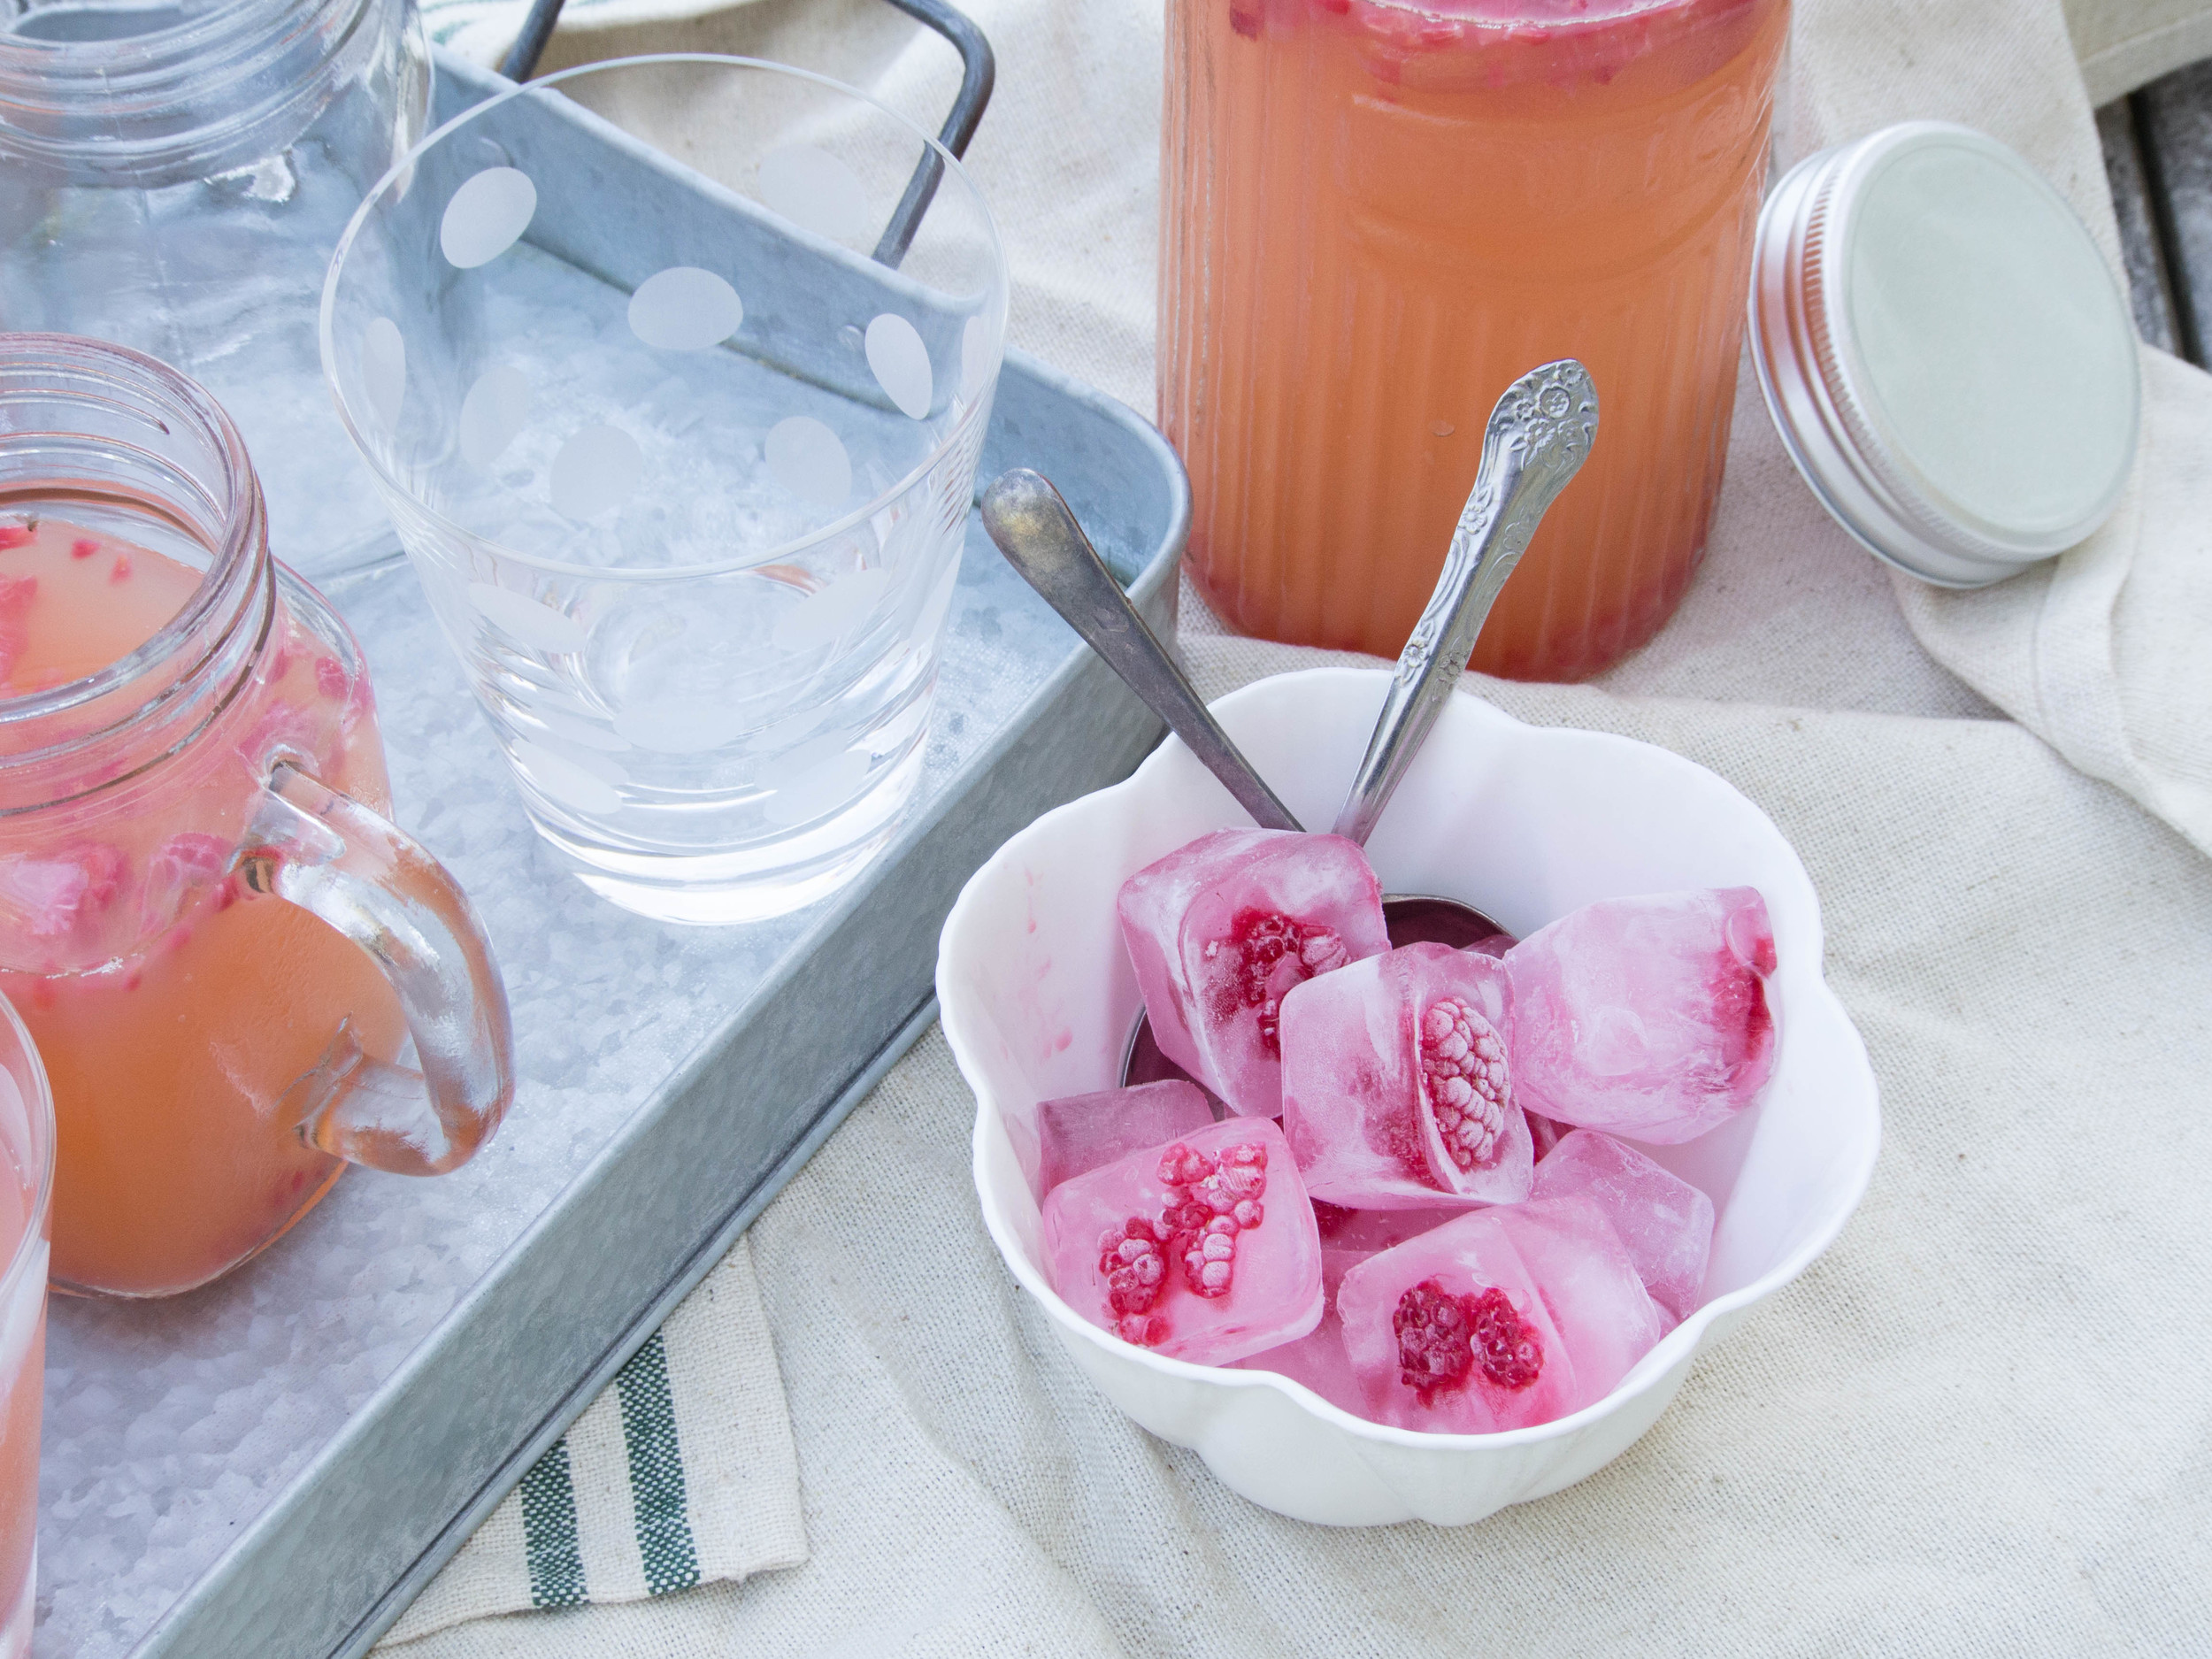
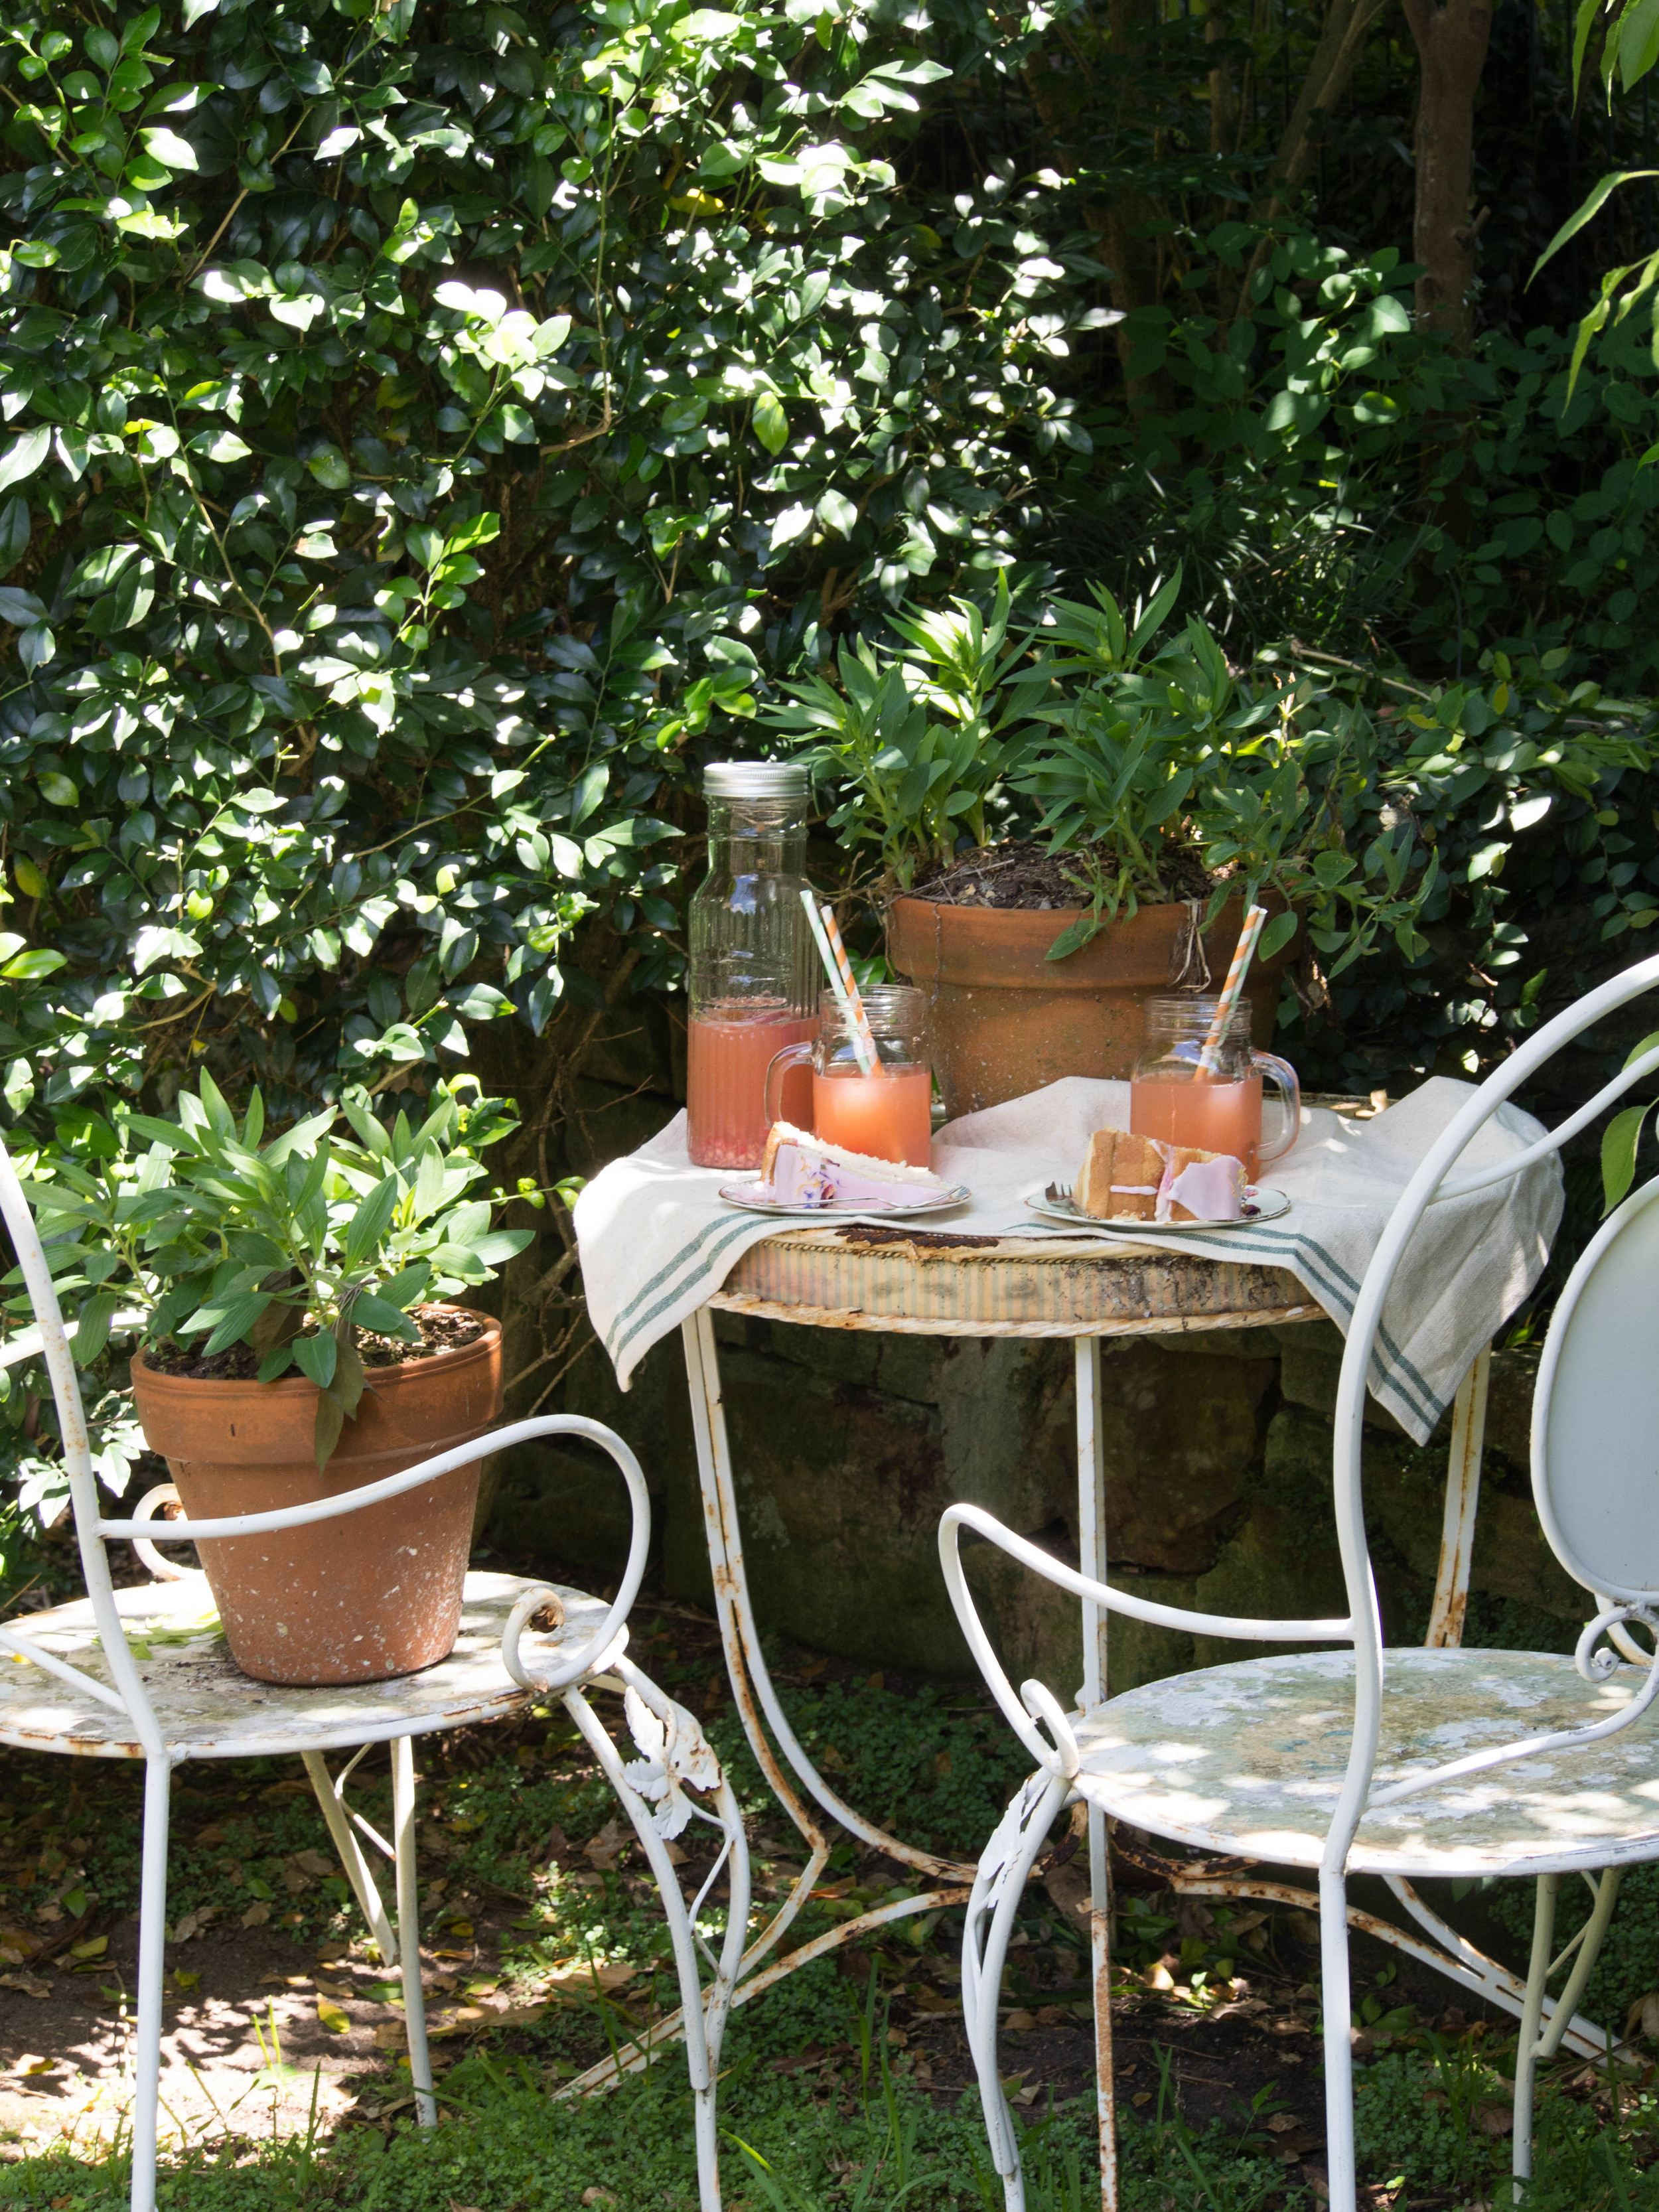
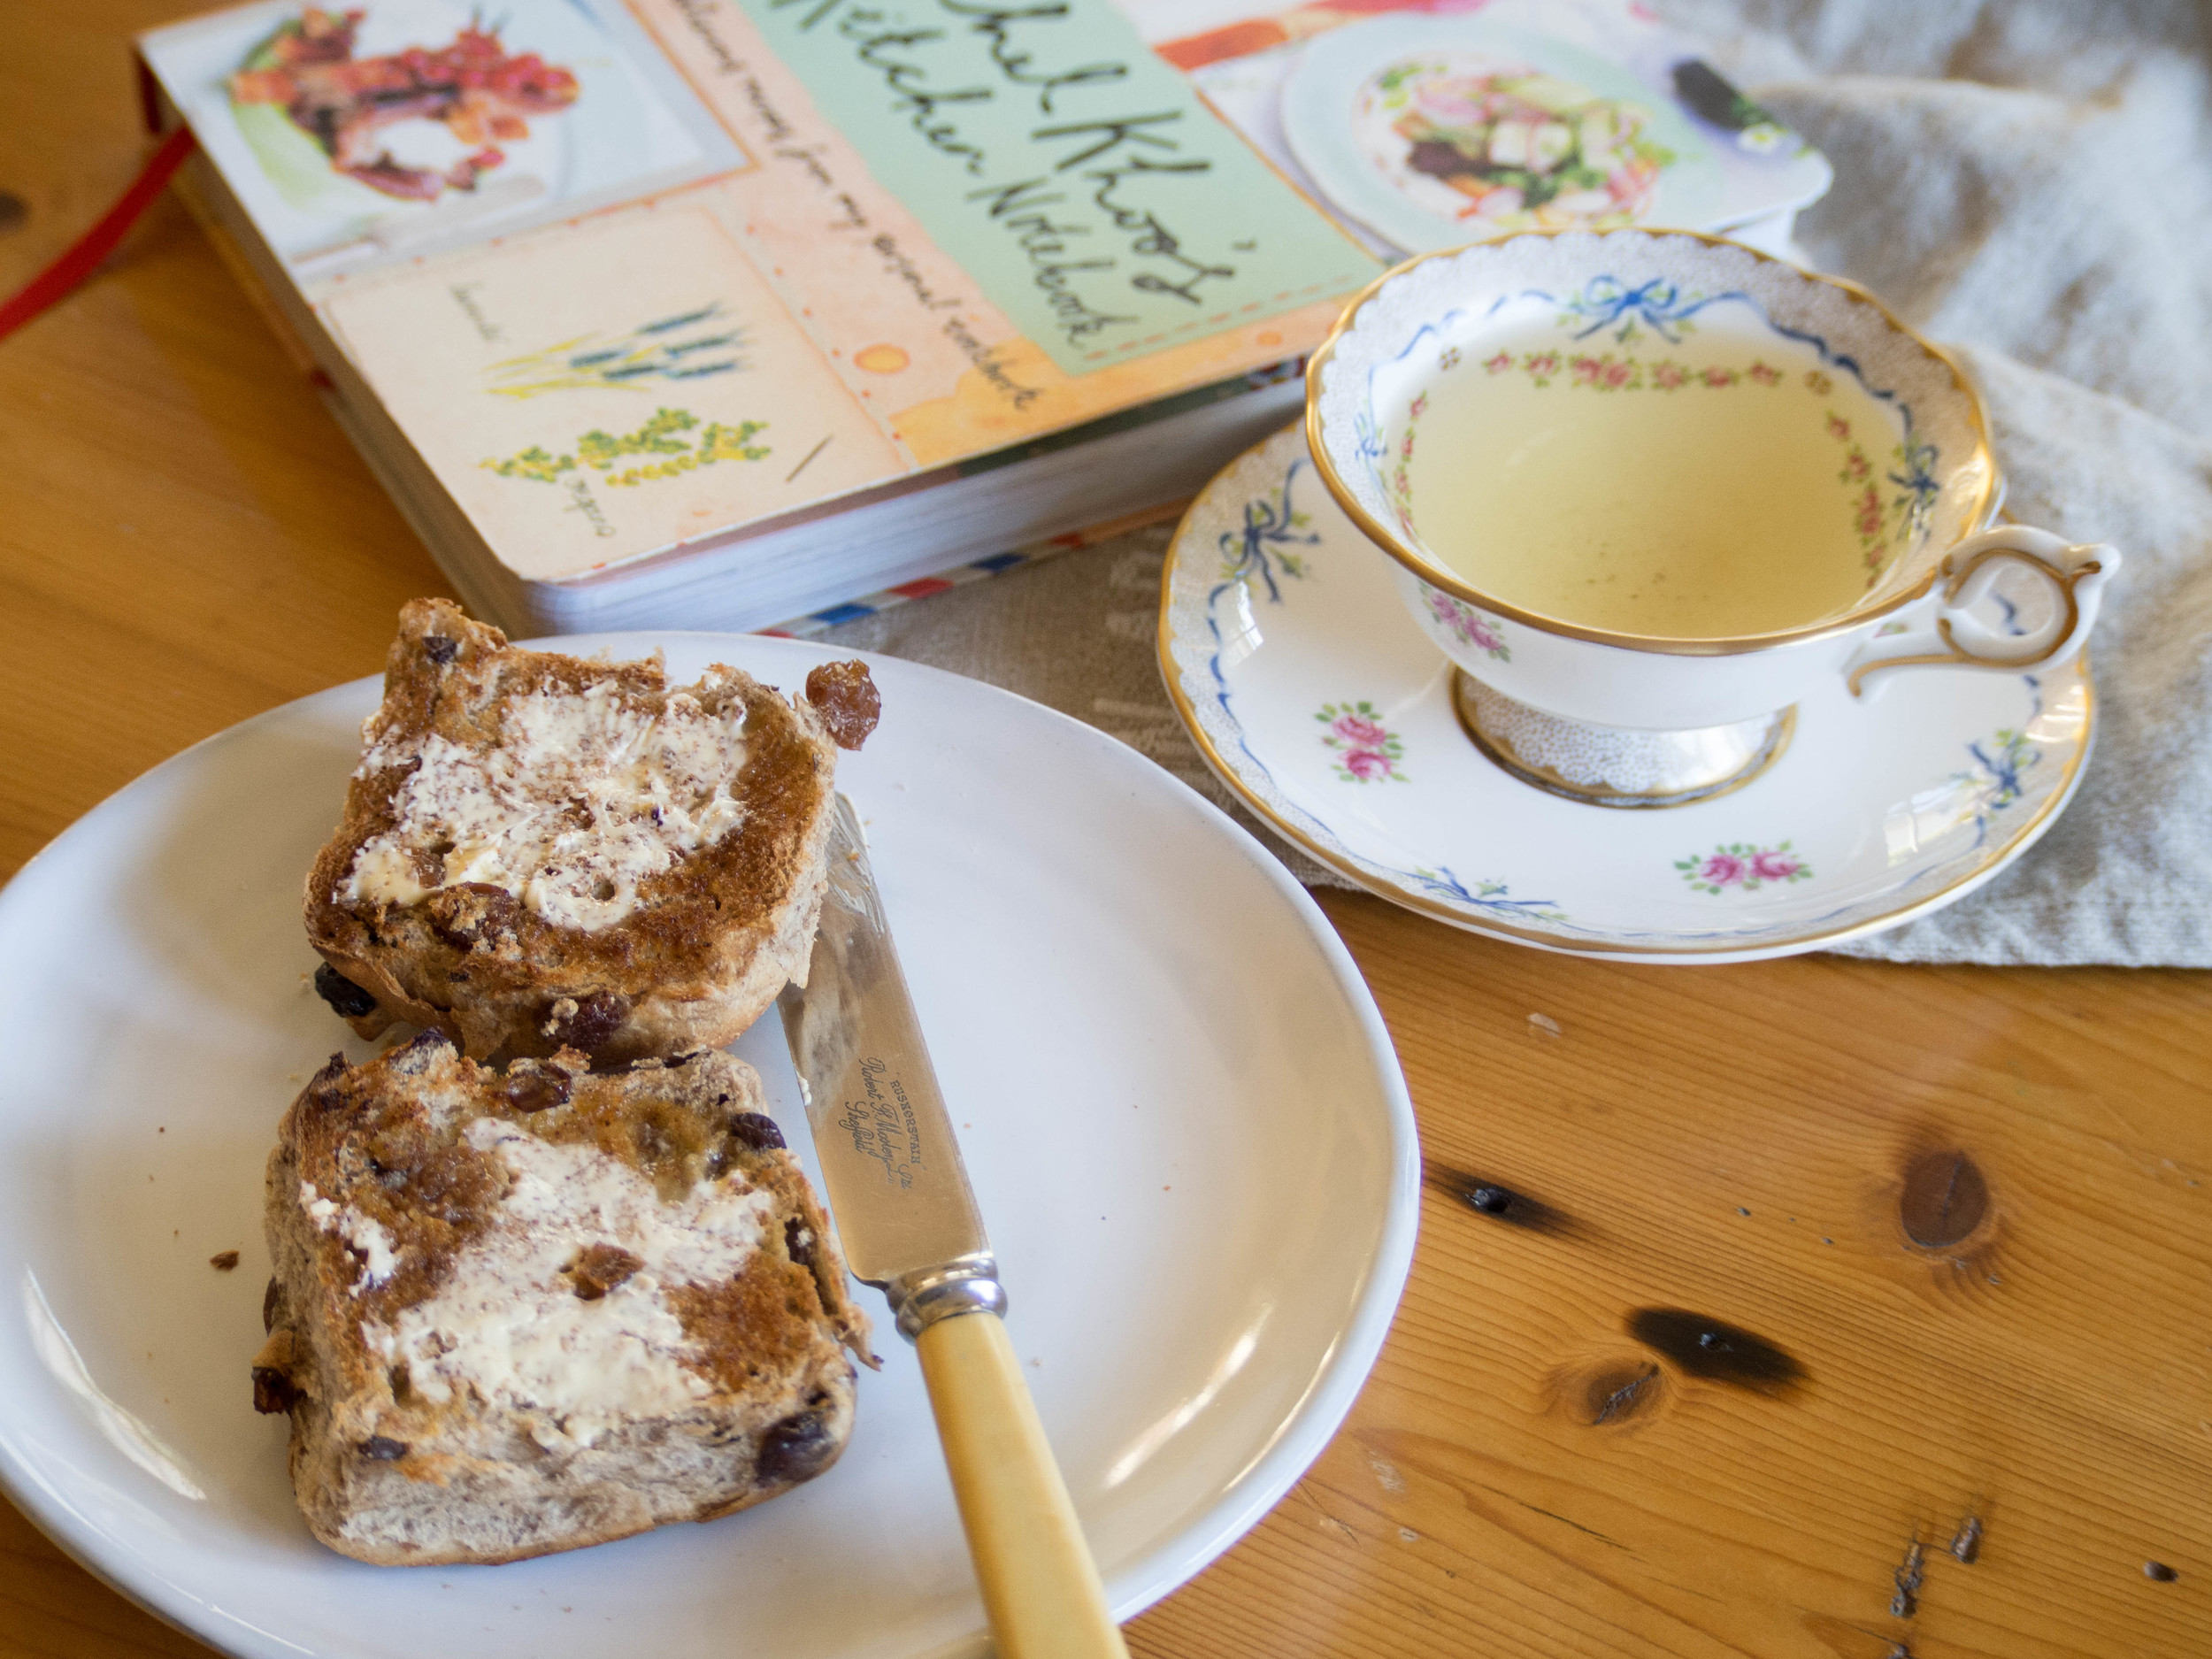
Here are a few snaps from the long weekend, including one featuring the newest addition to the cookbook collection, thanks to the Easter Bunny!
Hope everyone had a lovely long weekend.


All baking, styling and photography for this post by Kathryn Vincent of Kulinary Adventures of Kath.