Kulinary Adventures of Kath

Food Photography, Recipes & Baking
  • home
  • About
  • Work with Kath
  • Shop
  • Blog
    • The Blog
    • Recipe Archive
  • Newsletter
  • Contact
  • home
  • About
  • Work with Kath
  • Shop
    • The Blog
    • Recipe Archive
  • Newsletter
  • Contact
Raspberry Pistachio Rose Cake (23 of 25).jpg

The Blog

Recipes and Food Photography by Kath Vincent.

  • The Blog
  • Recipe Archive
  • All
  • Biscuits/Cookies
  • Breads Etc.
  • Breakfast
  • Cakes & Slices
  • Confectionary
  • Drinks
  • Events
  • Food Photography Tips
  • From The Mailing List
  • Heirloom Recipes
  • Holidays
  • Ice Cream
  • Jams Preserves & Spreads
  • Muffins
  • Off the Shelf
  • Other Desserts
  • Savoury Dishes/Meals
  • Scones
  • Tarts & Pastry
  • Travel

Peggy Porschen London + How to Make Peggy Porschen Style Easter Biscuits

Kath April 27, 2015

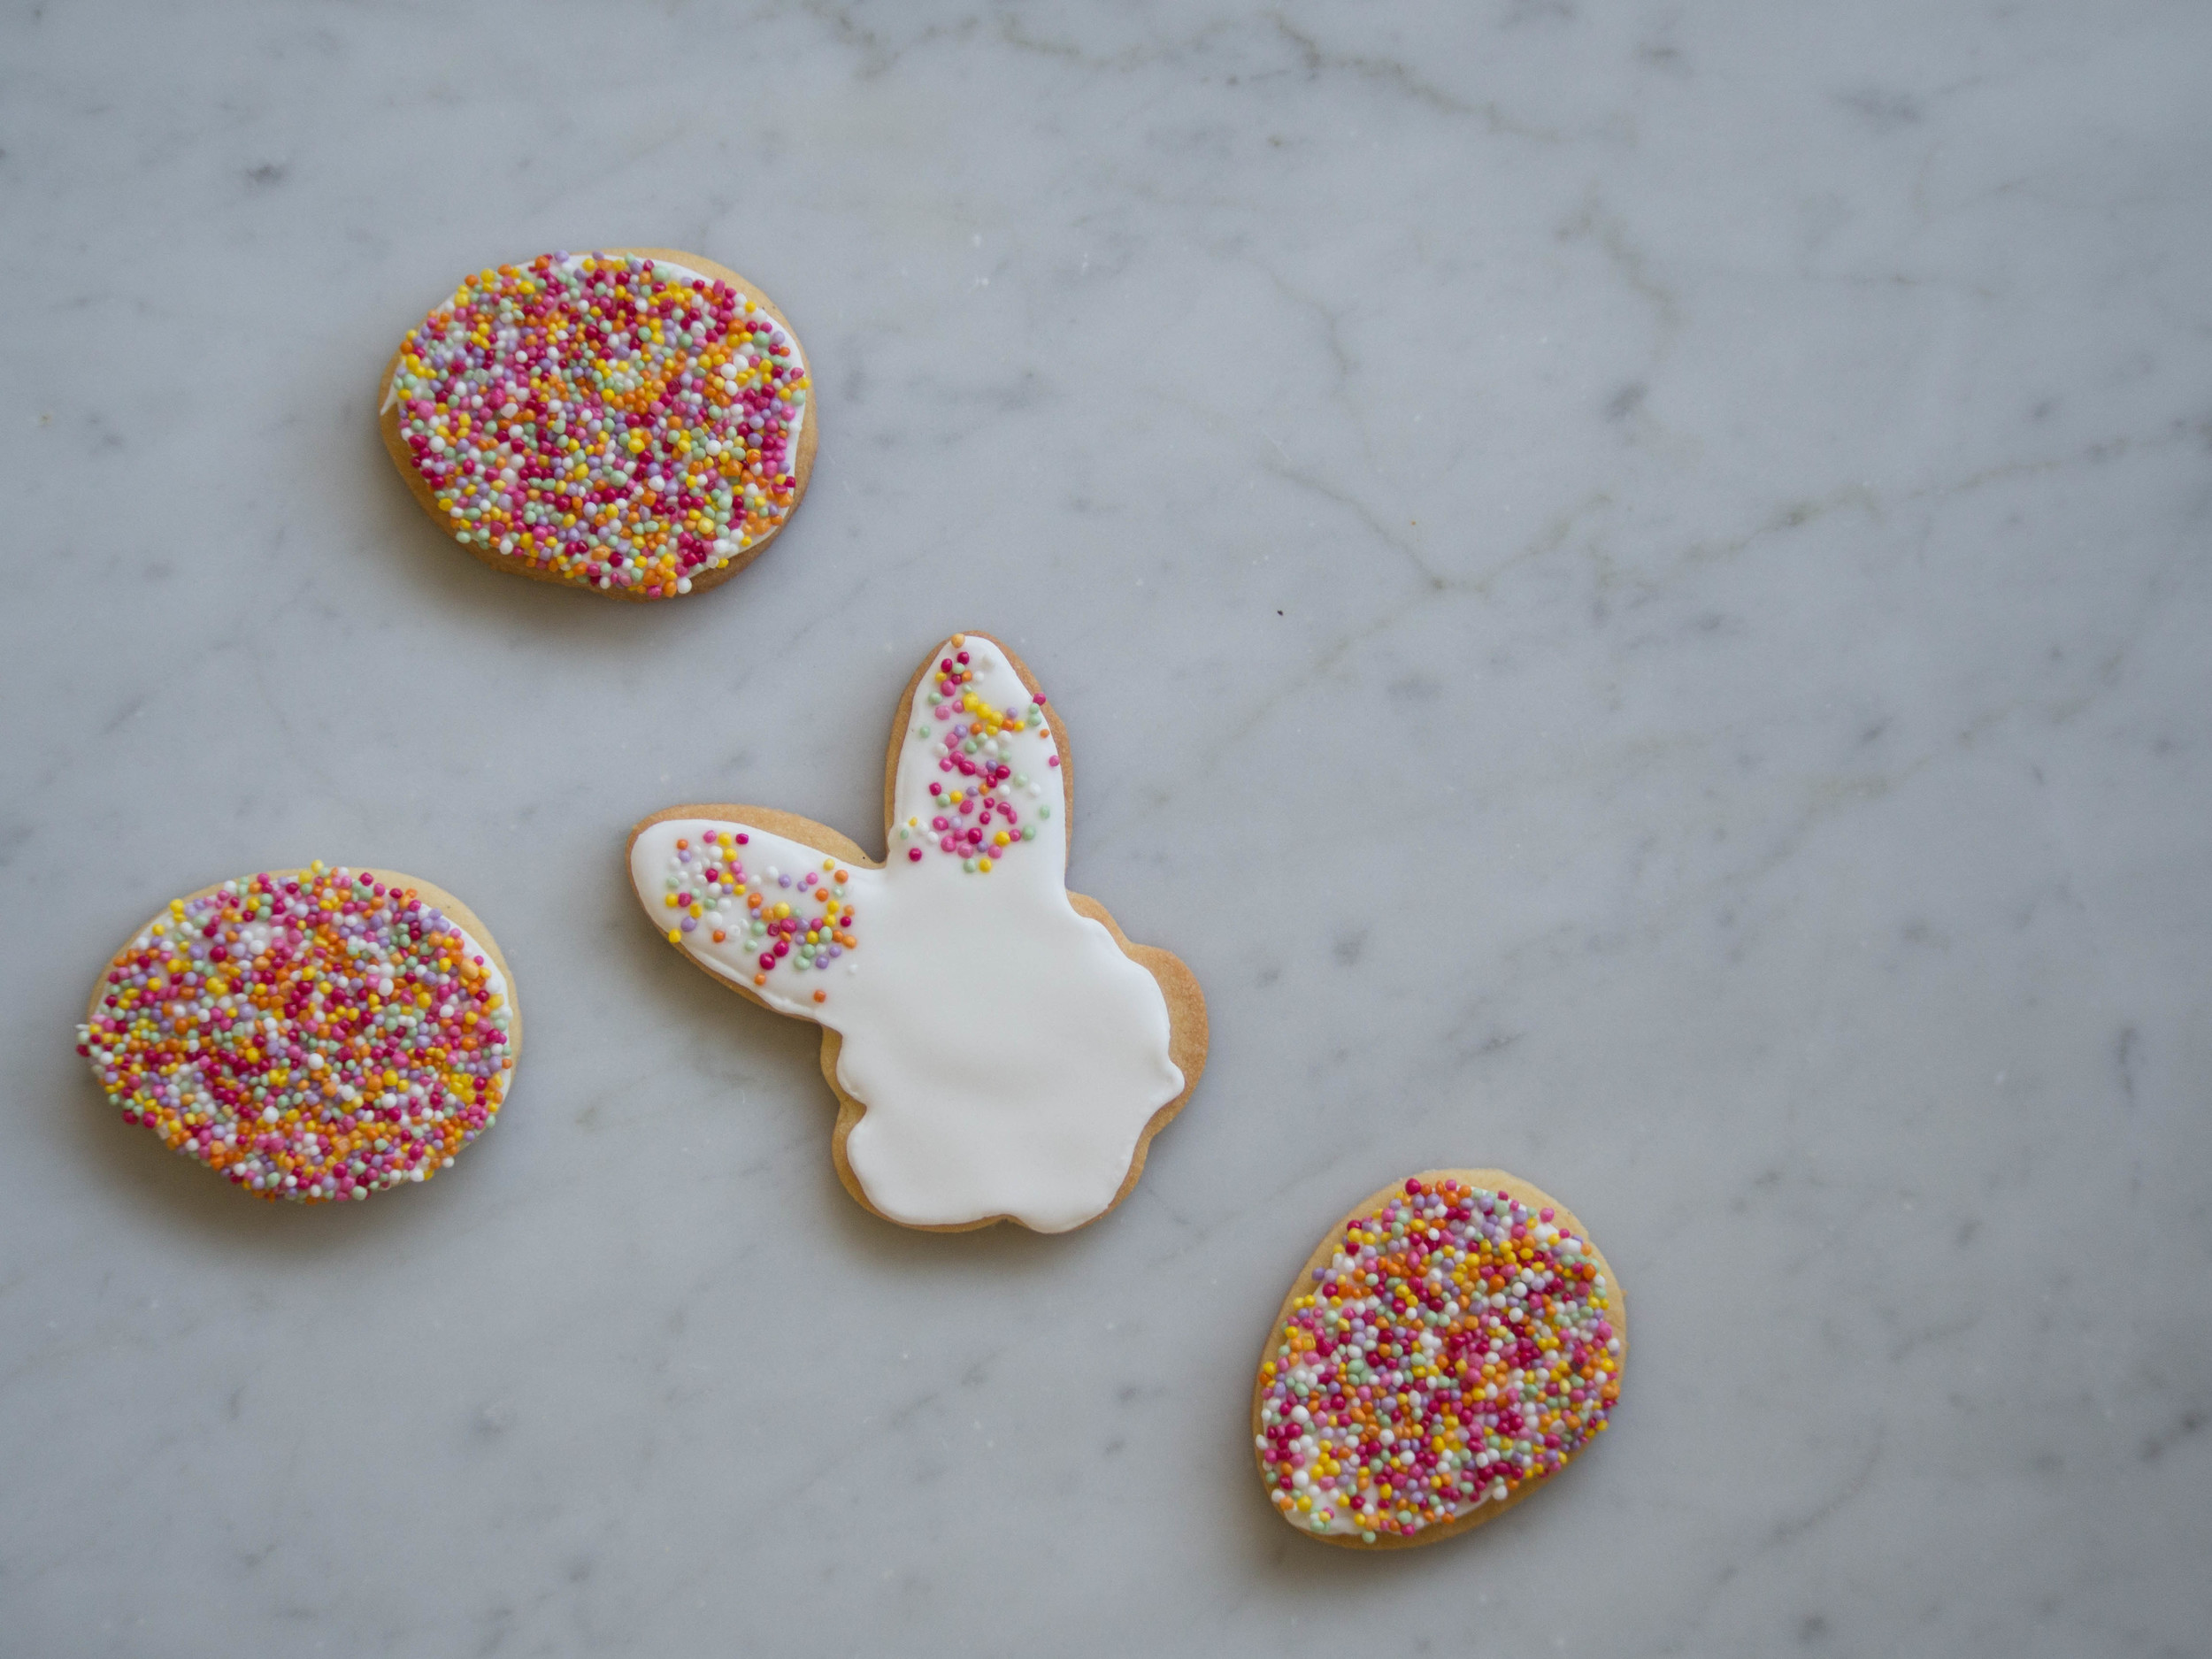
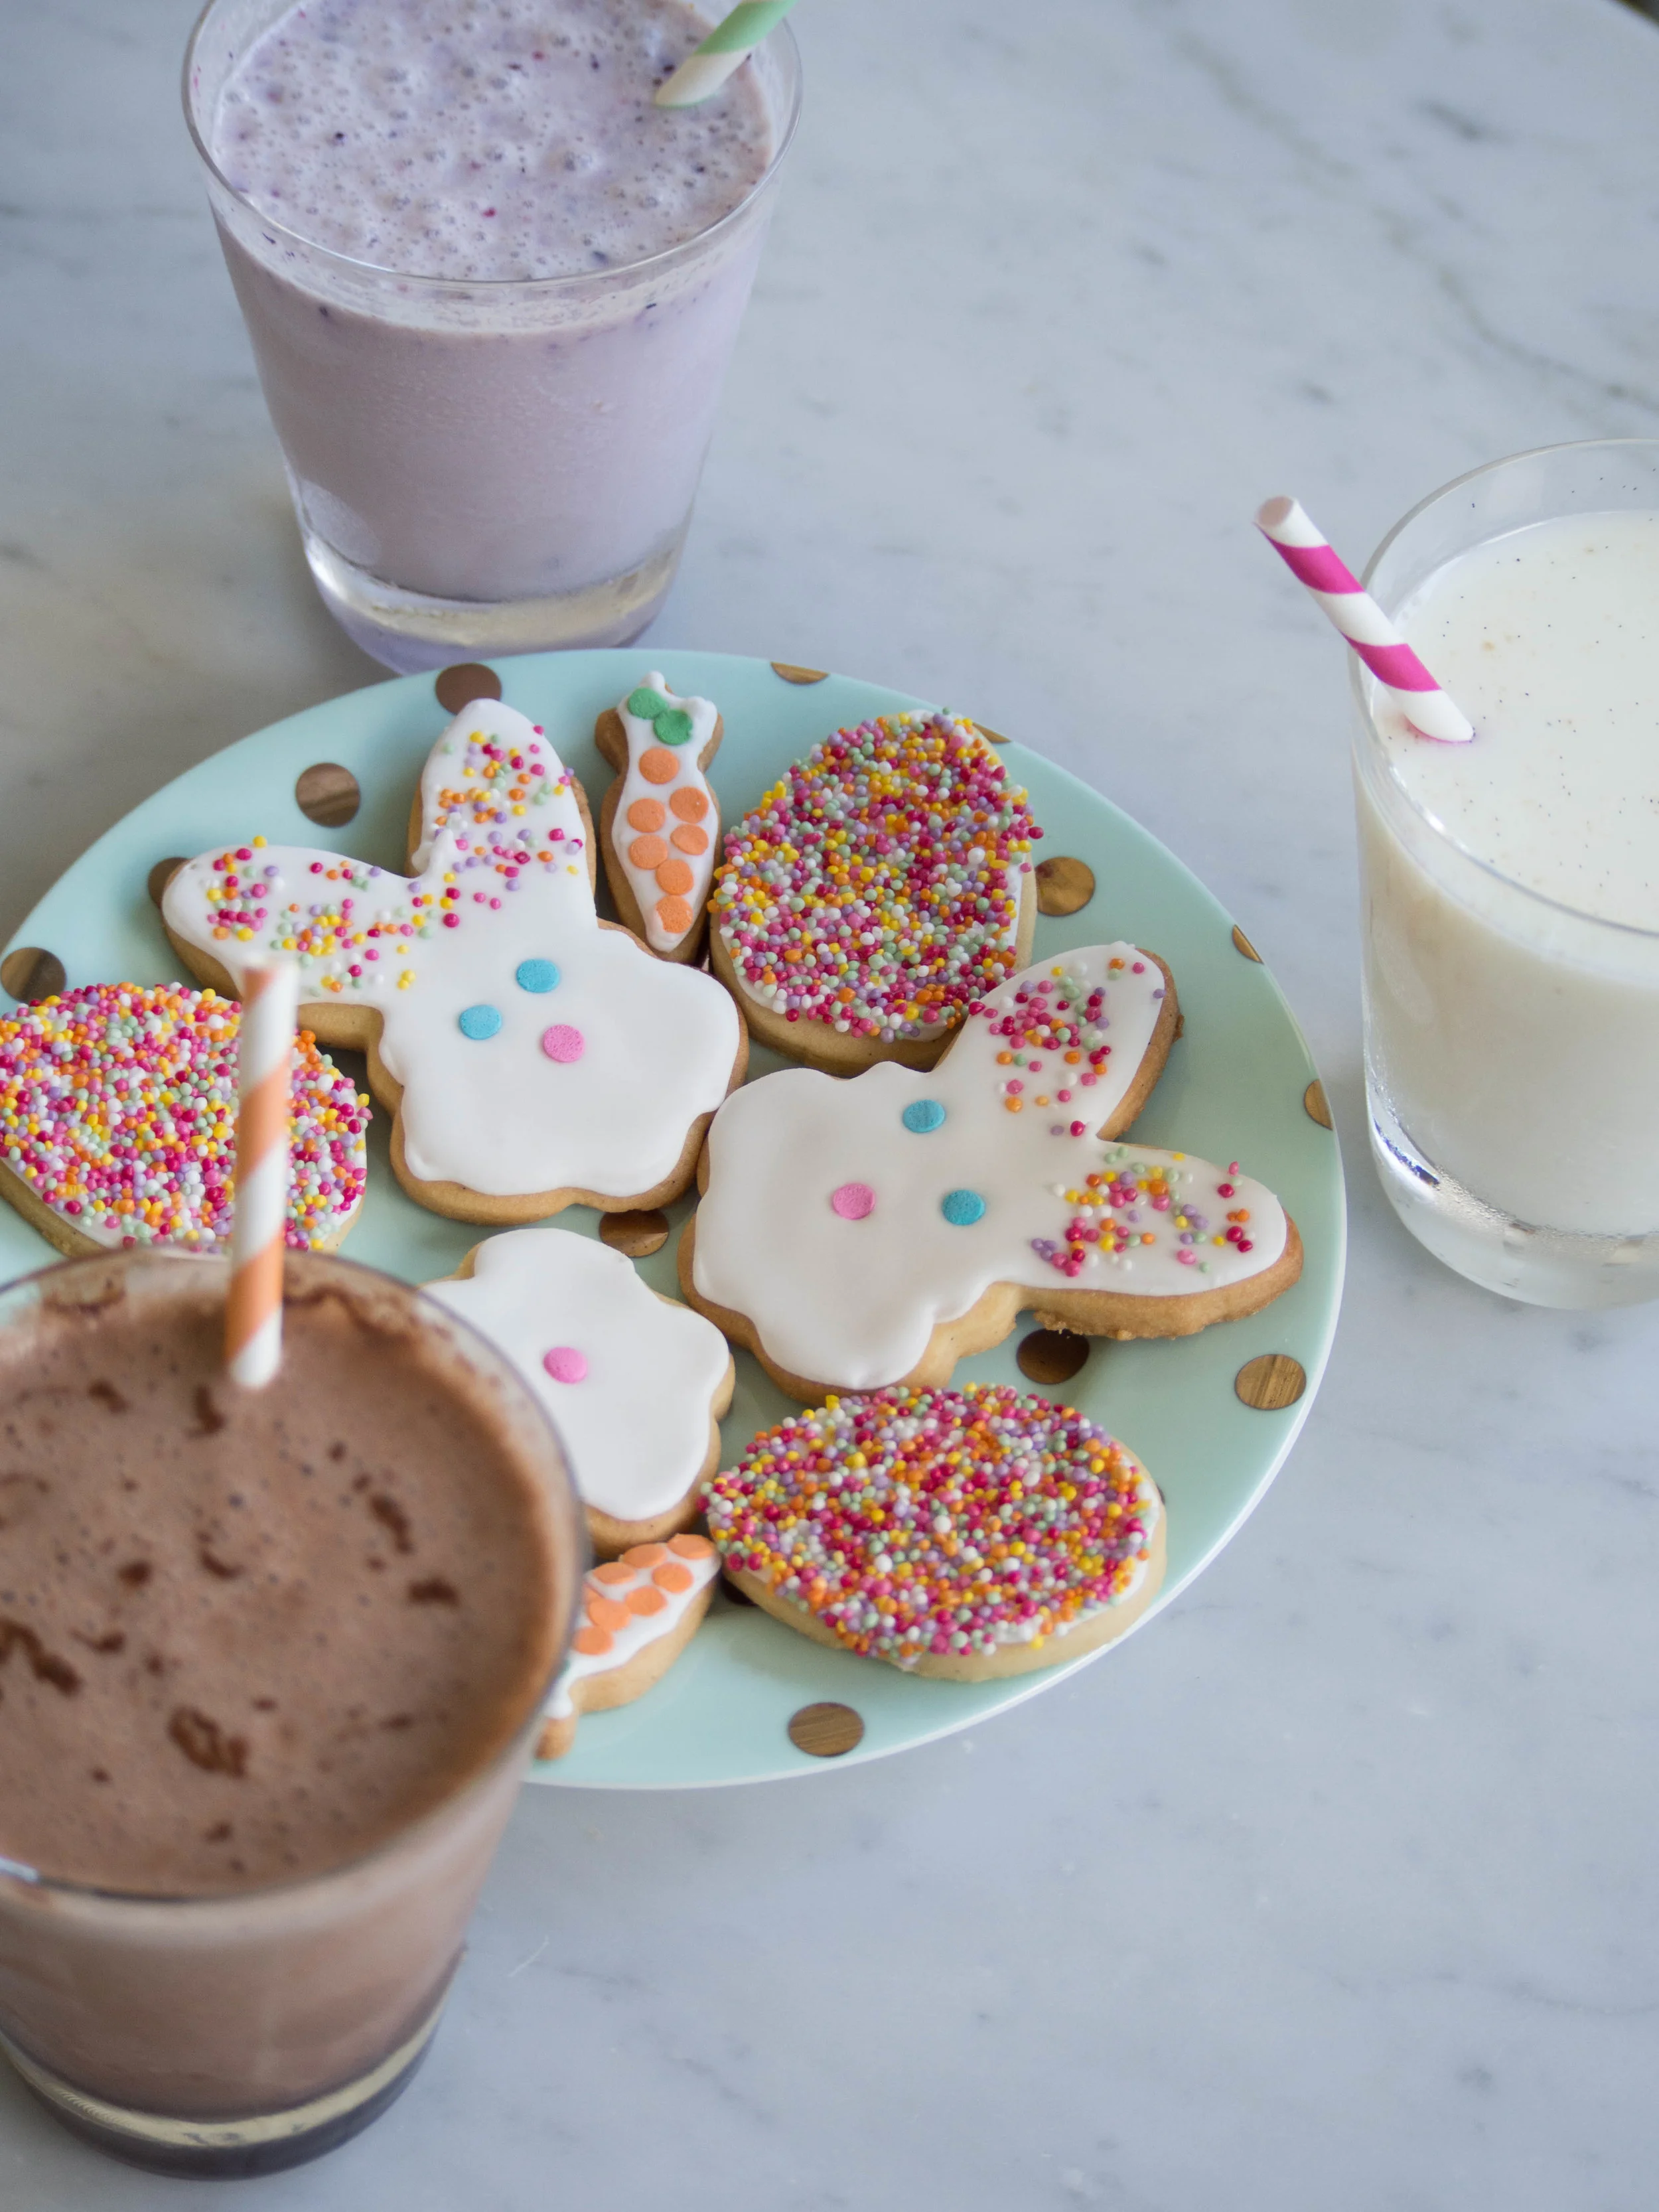
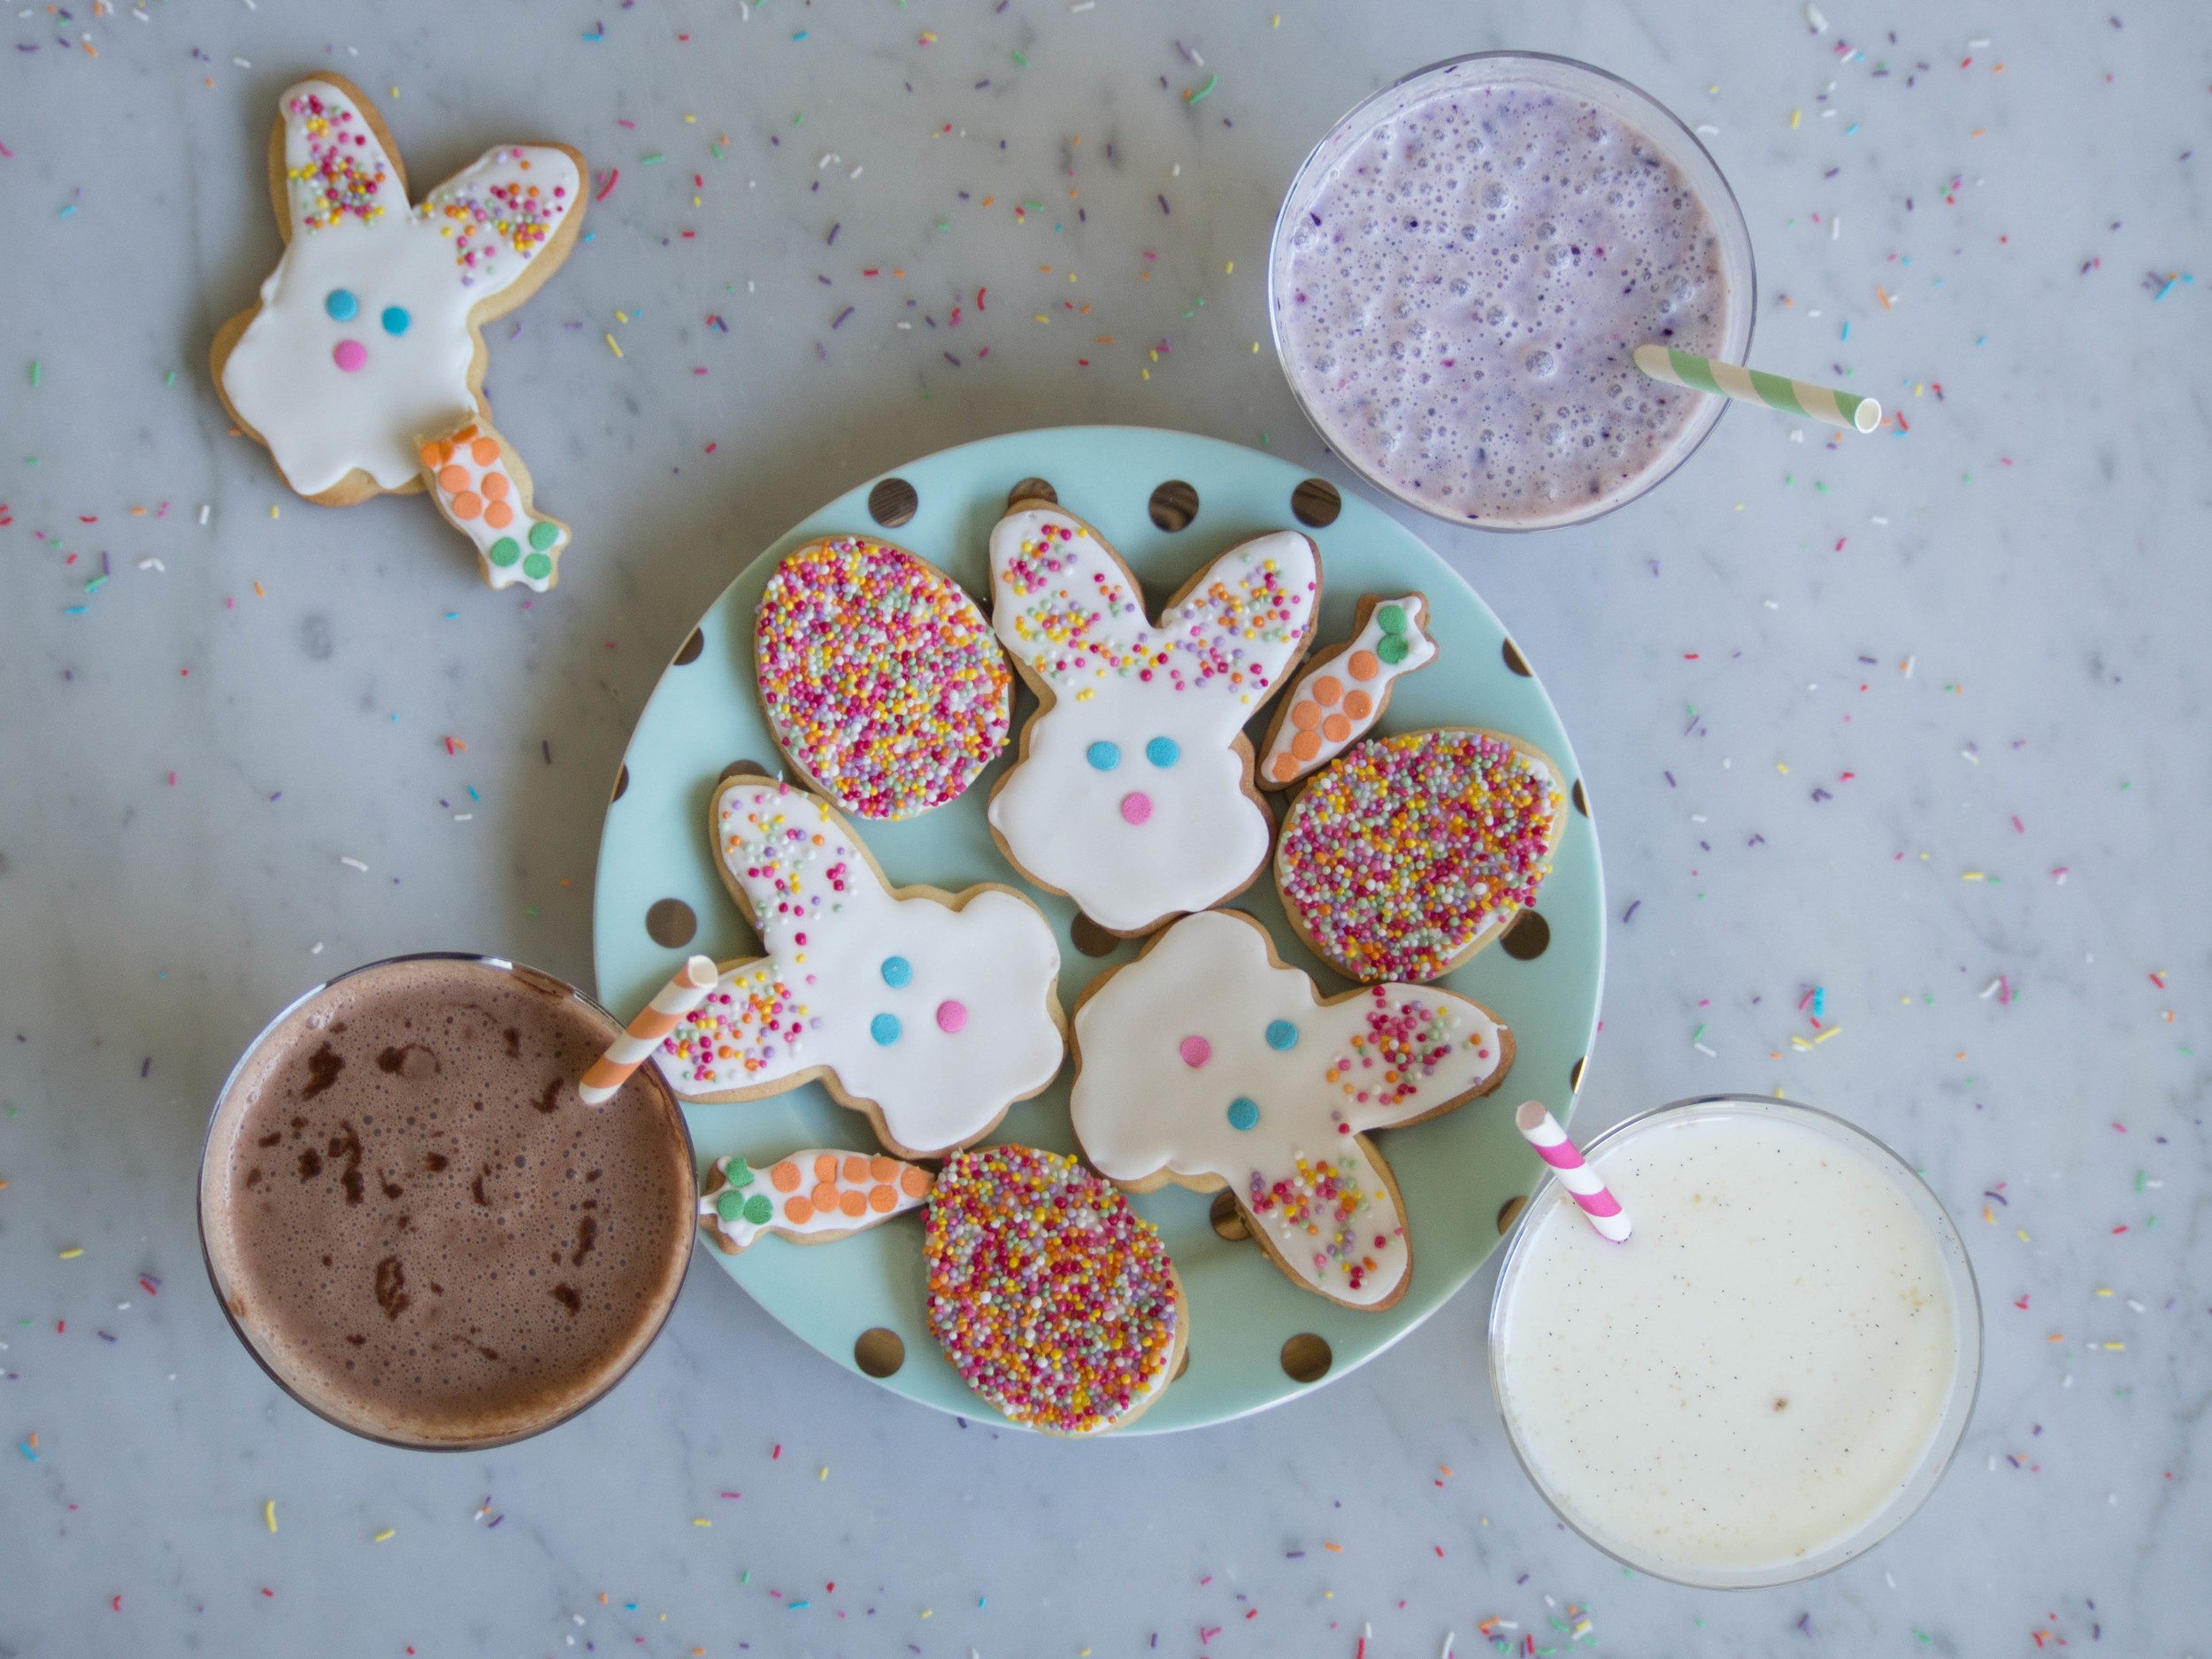
I made these biscuits over Easter, hence the Easter egg and bunny shapes. But they would be lovely in any shape you would like! The book the recipe is from ‘Cookies’ by Peggy Porschen, has many wonderfully suggestions on what shapes to use and how to decorate the biscuits. Most of the biscuits are intricate and probably require a bit more skill and patience than I am will to provide, so I decided to use sprinkles to decorate the biscuits (and hide any evidence of poor piping skills!). 

I came across Peggy Porschen, her cookies, shop and books, via Sweet Bake Shop, who now has her own store in Canada. Peggy is based in London, and when I was there just over a year ago, Mum and I walked all the way to Belgravia to go to her shop. 

Peggy Porschen's Parlour - 116 Edbury St Belgravia, London.

Peggy Porschen's Parlour - 116 Edbury St Belgravia, London.

I think we both agreed the walk was worth it. The shop was very cute, the cakes were lovely and the tea was good too. The areas of Chelsea and Belgravia are also quite nice to have walk around in as well. We ate cupcakes and sipped on tea, on some outside seats in the cold, but thoroughly enjoyed the experience! 

I walked away with one of Peggy’s iced biscuits, a biscuit cutter and a copy of her ‘Cupcakes’ book. This ‘Cookies’ book came out later, as was given to me for my birthday last year. There are lots of hints and tips in the book about making the biscuits and icing them, and gives step by step instructions on how to do all of it. I used the vanilla biscuit recipe, and learnt that for such ‘sugar cookies’, you should chill the cut biscuits on their trays before baking for at least 30 minutes to ensure they don’t spread in the oven. 

Tea and cake at Peggy Porschen, London.

Tea and cake at Peggy Porschen, London.

I kept the icing for these biscuits white, as I wanted to decorate them with sprinkles. If you want to add colour, add it at the first stage of the icing, before you add more water to create soft peak icing for piping the edges or flooding icing to fill the biscuits. Add a small amount of colour to the mixture, and gently mix together with a palette knife. If you want multiple colours for the biscuits, you will have to divide the royal icing up at the first stage, and add the colours separately, and continue on with the following stages for each colour. Keep a bit of the white royal icing to the side (covered with a damp cloth), so you can adjust the shades of the icing colours. 

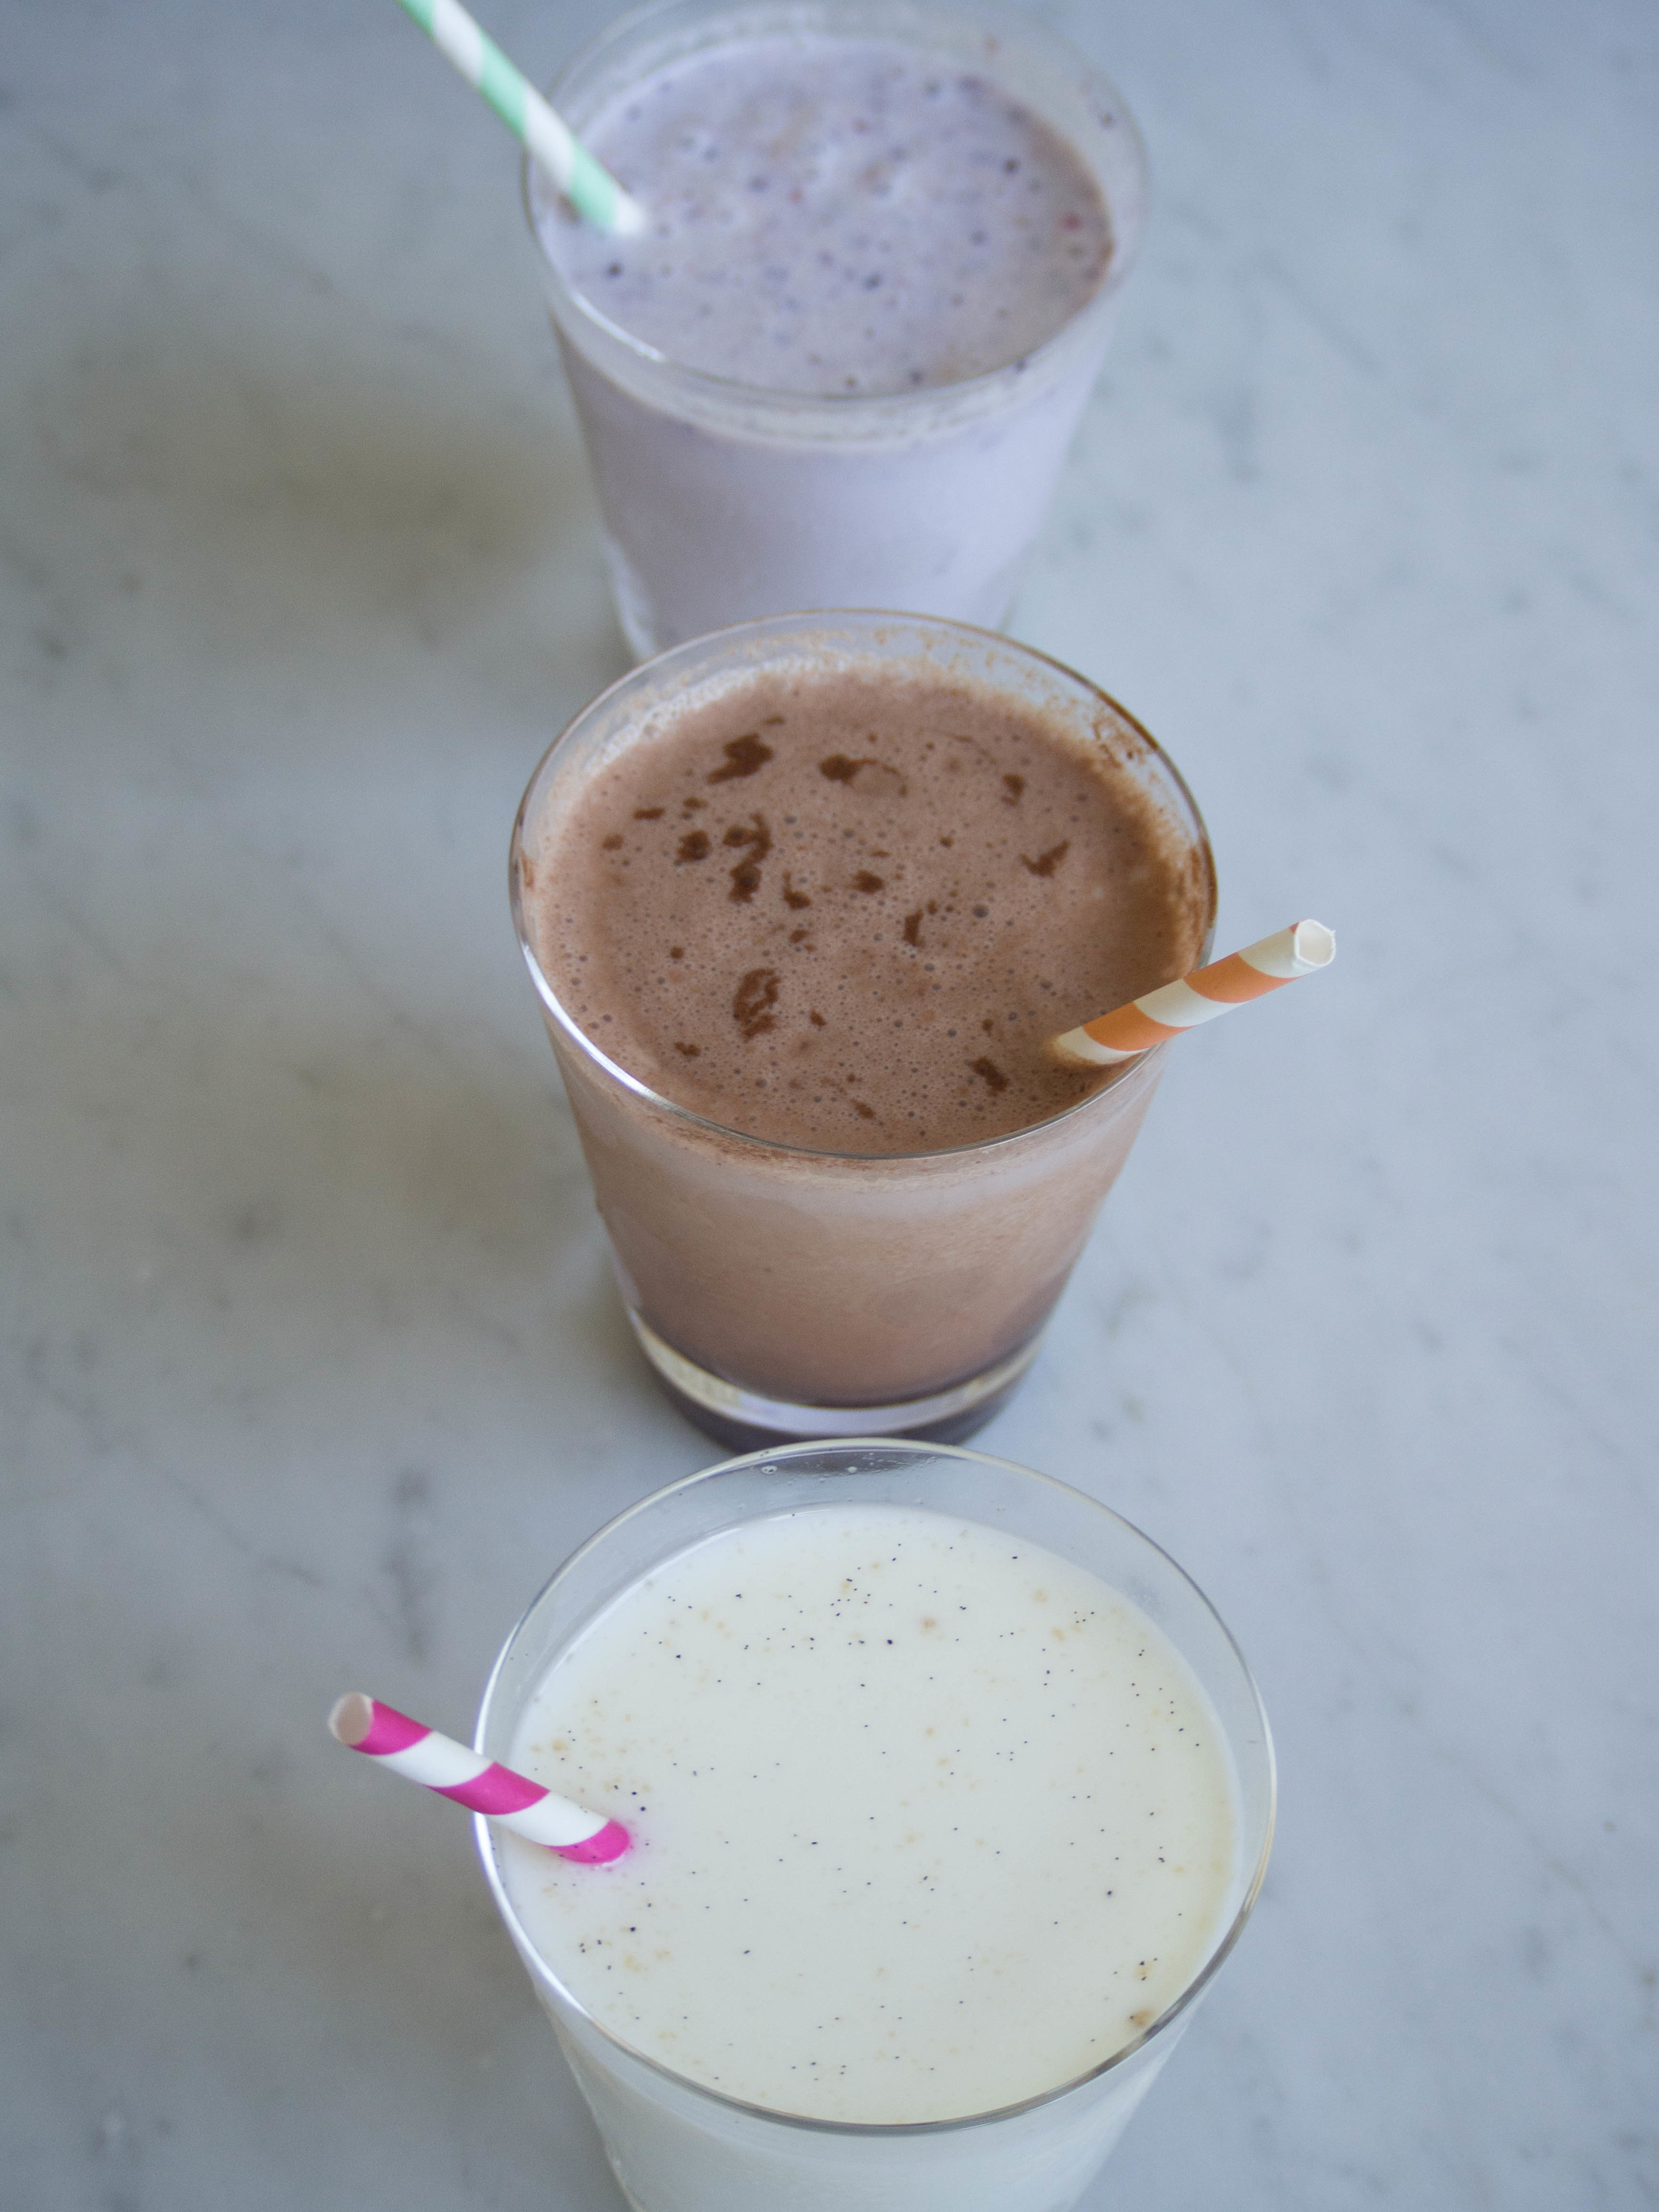
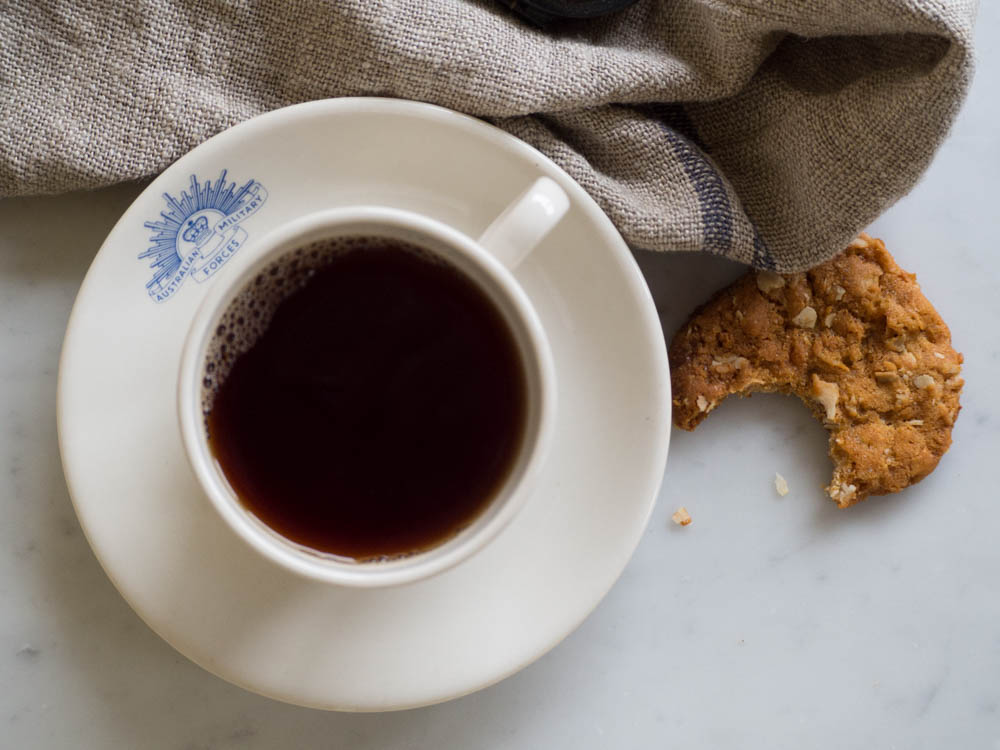
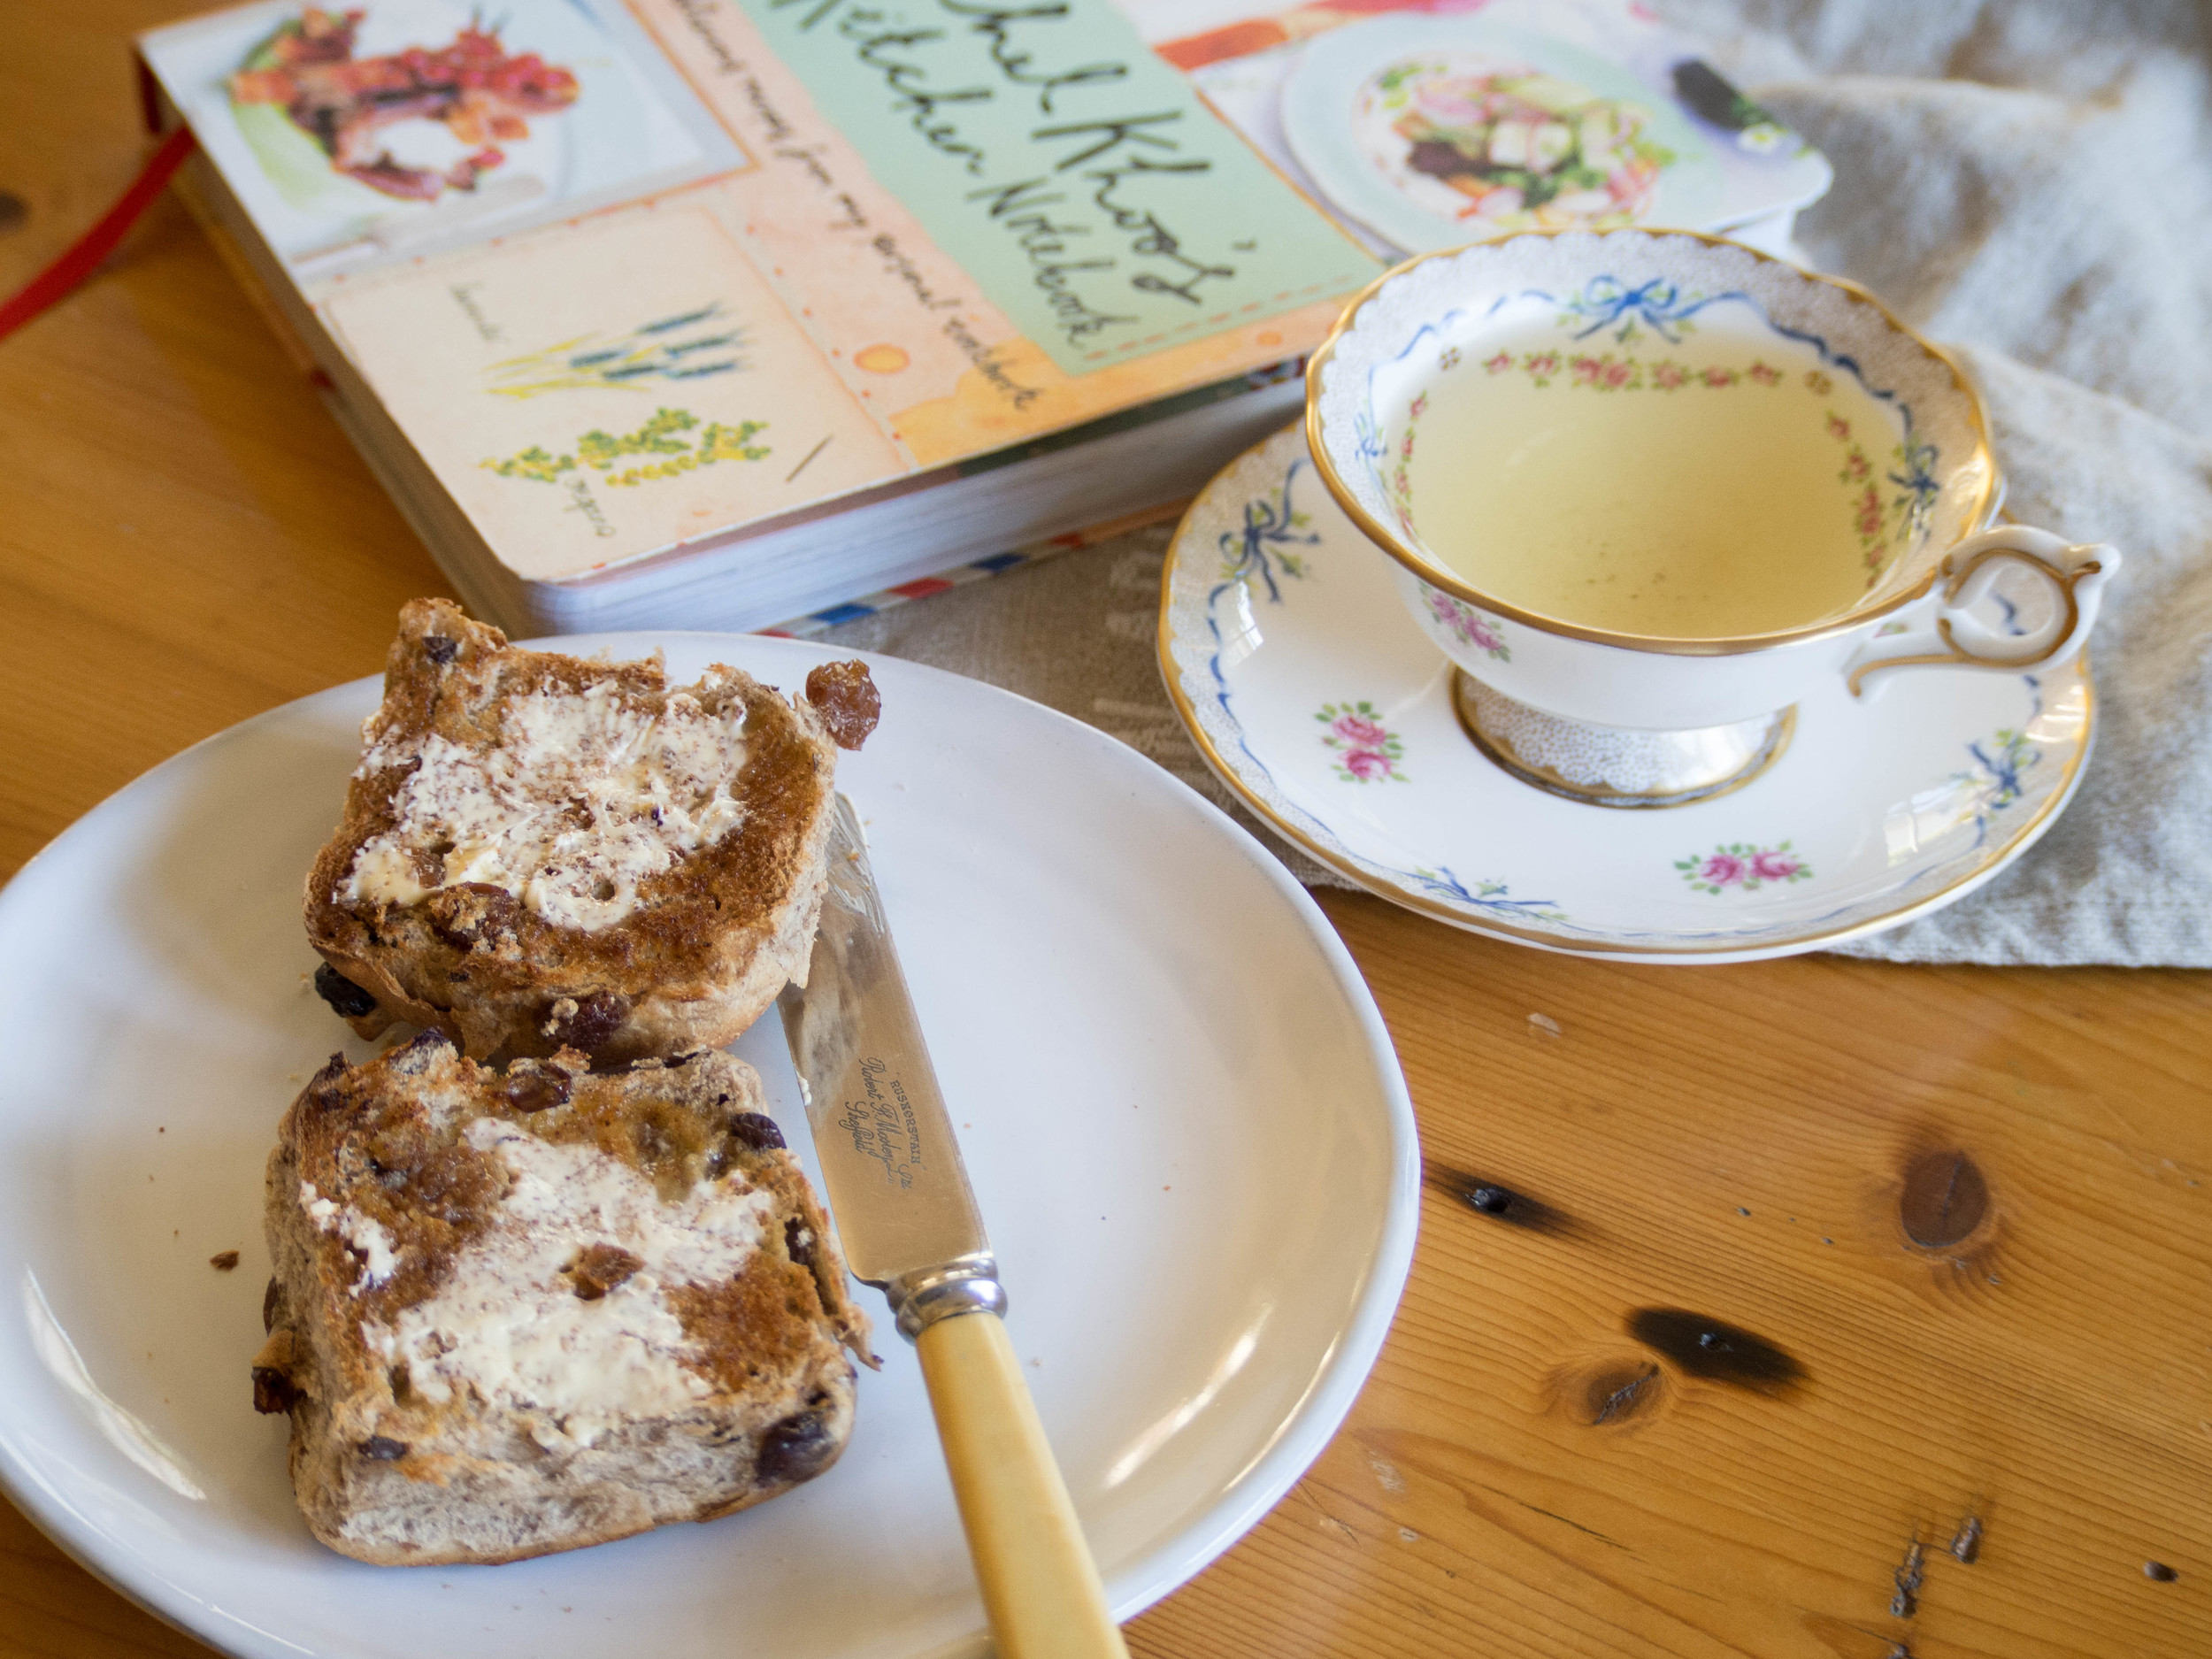
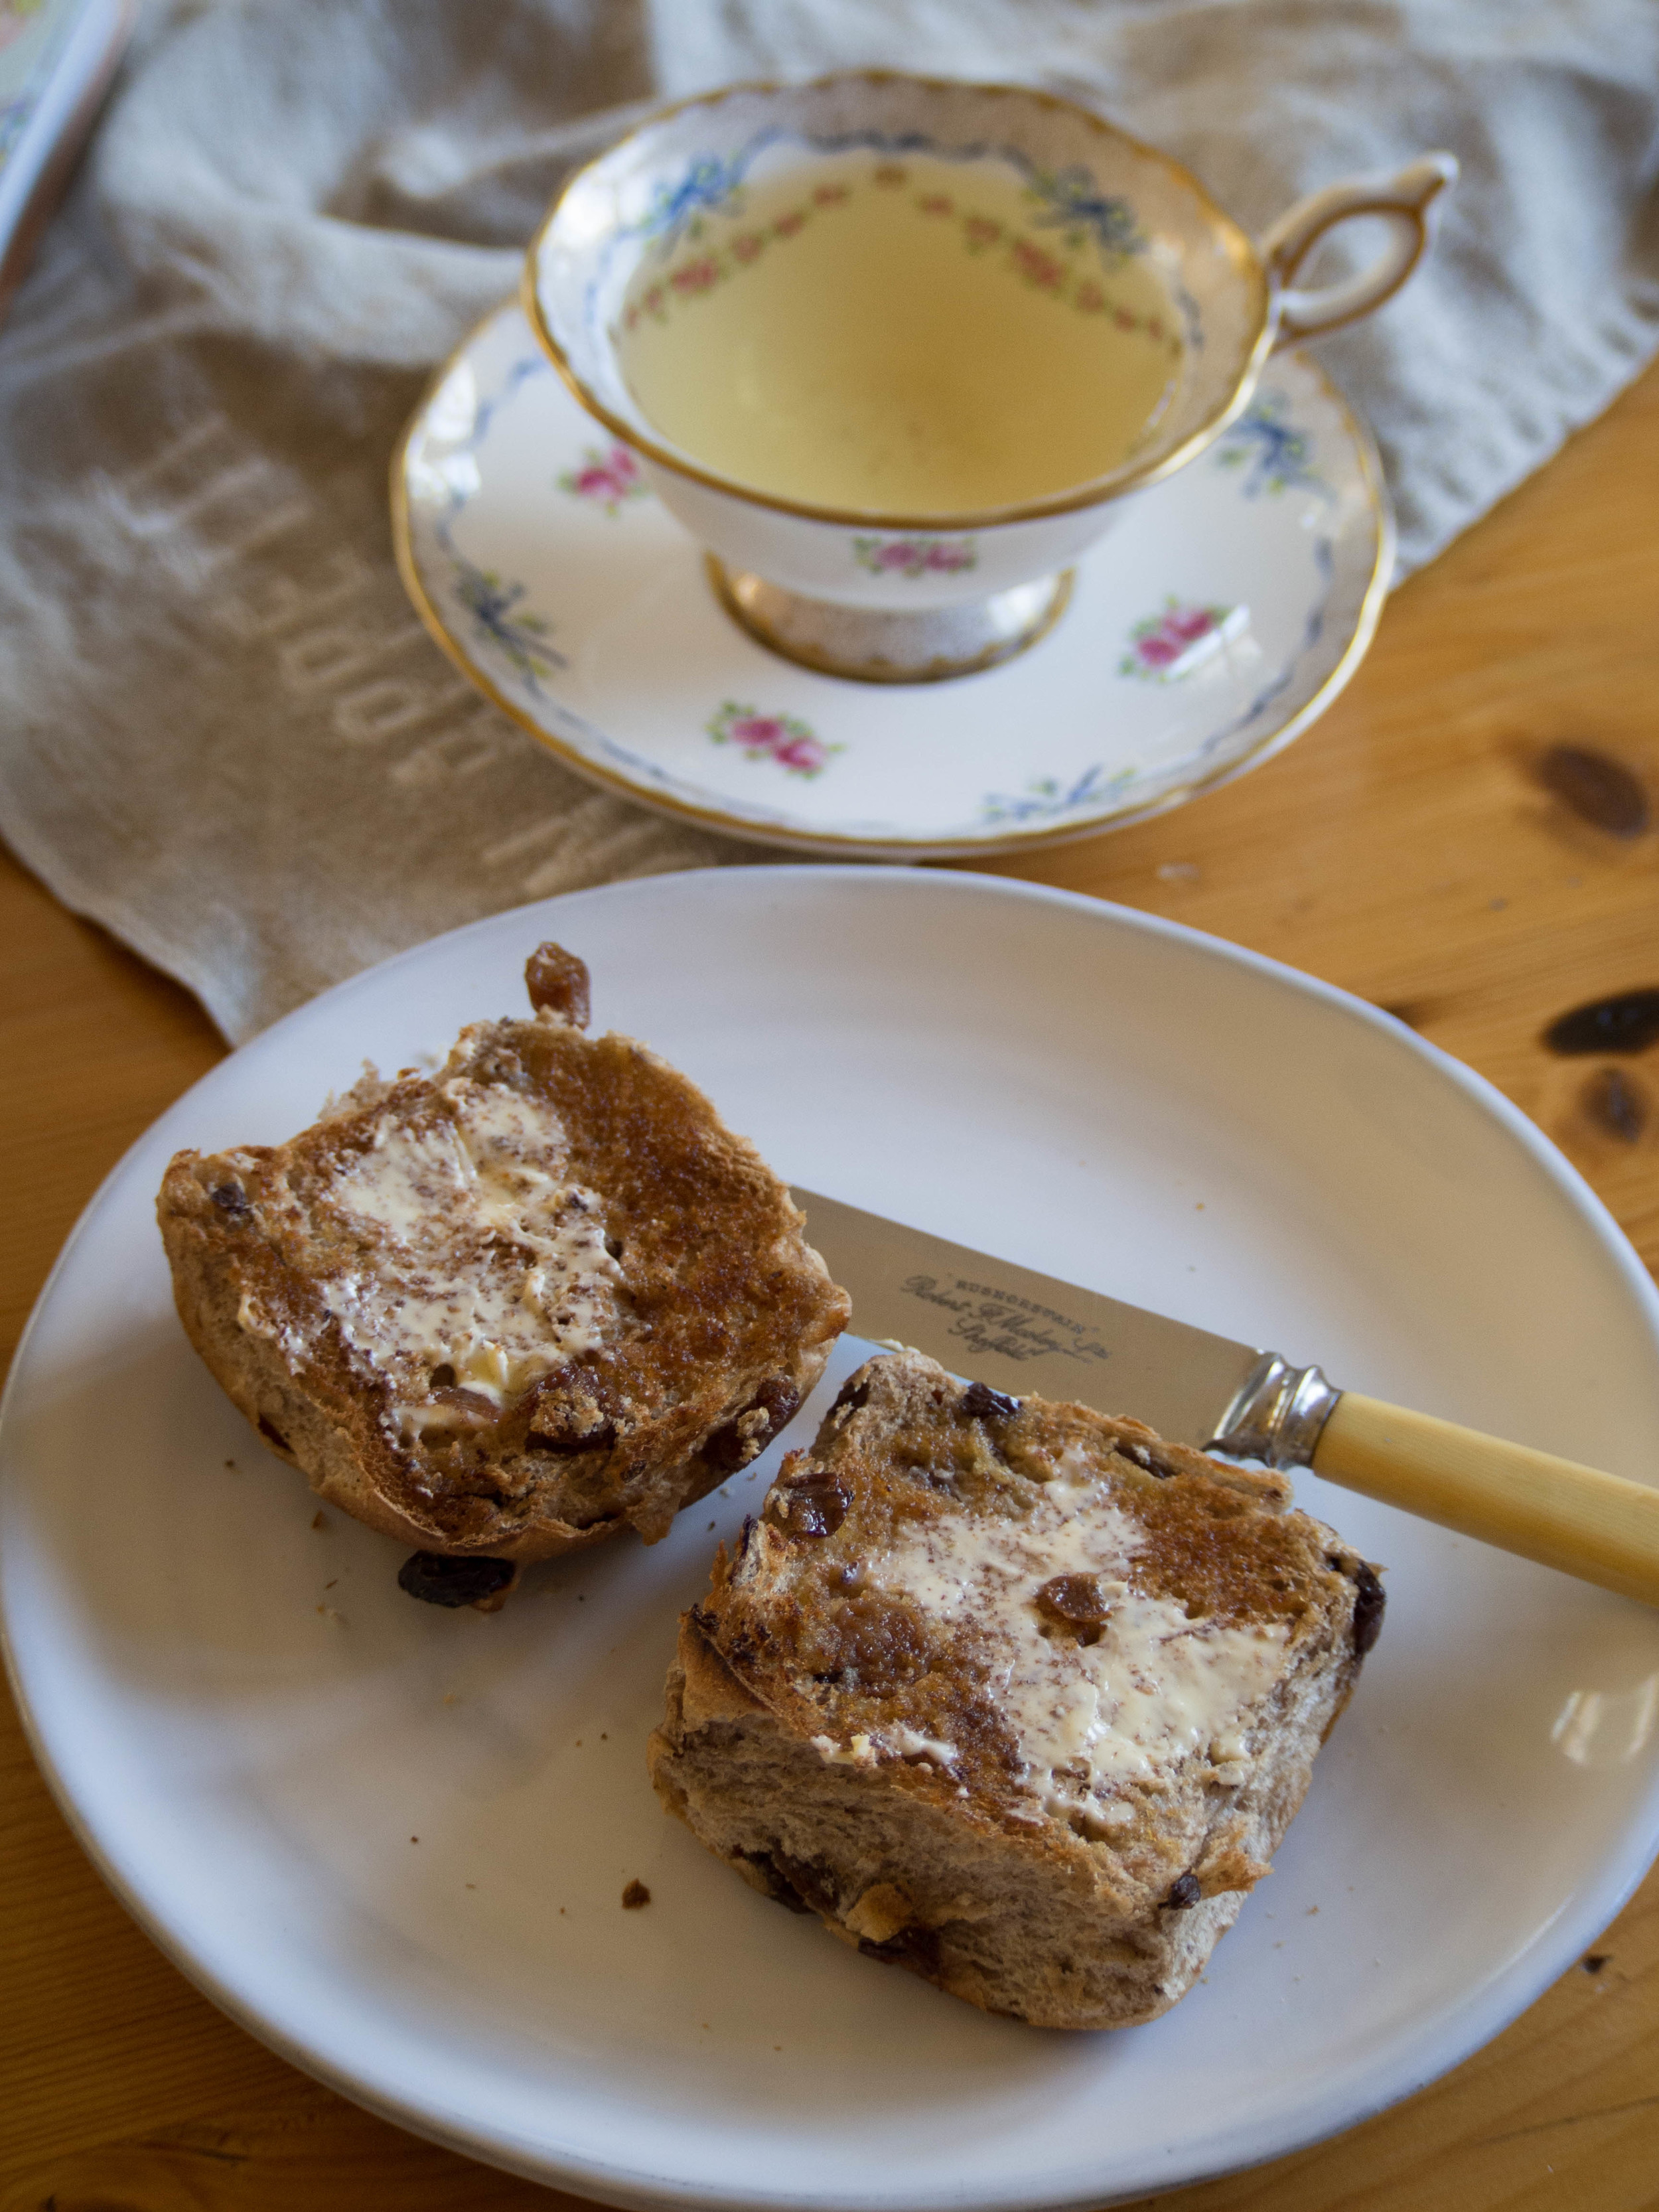
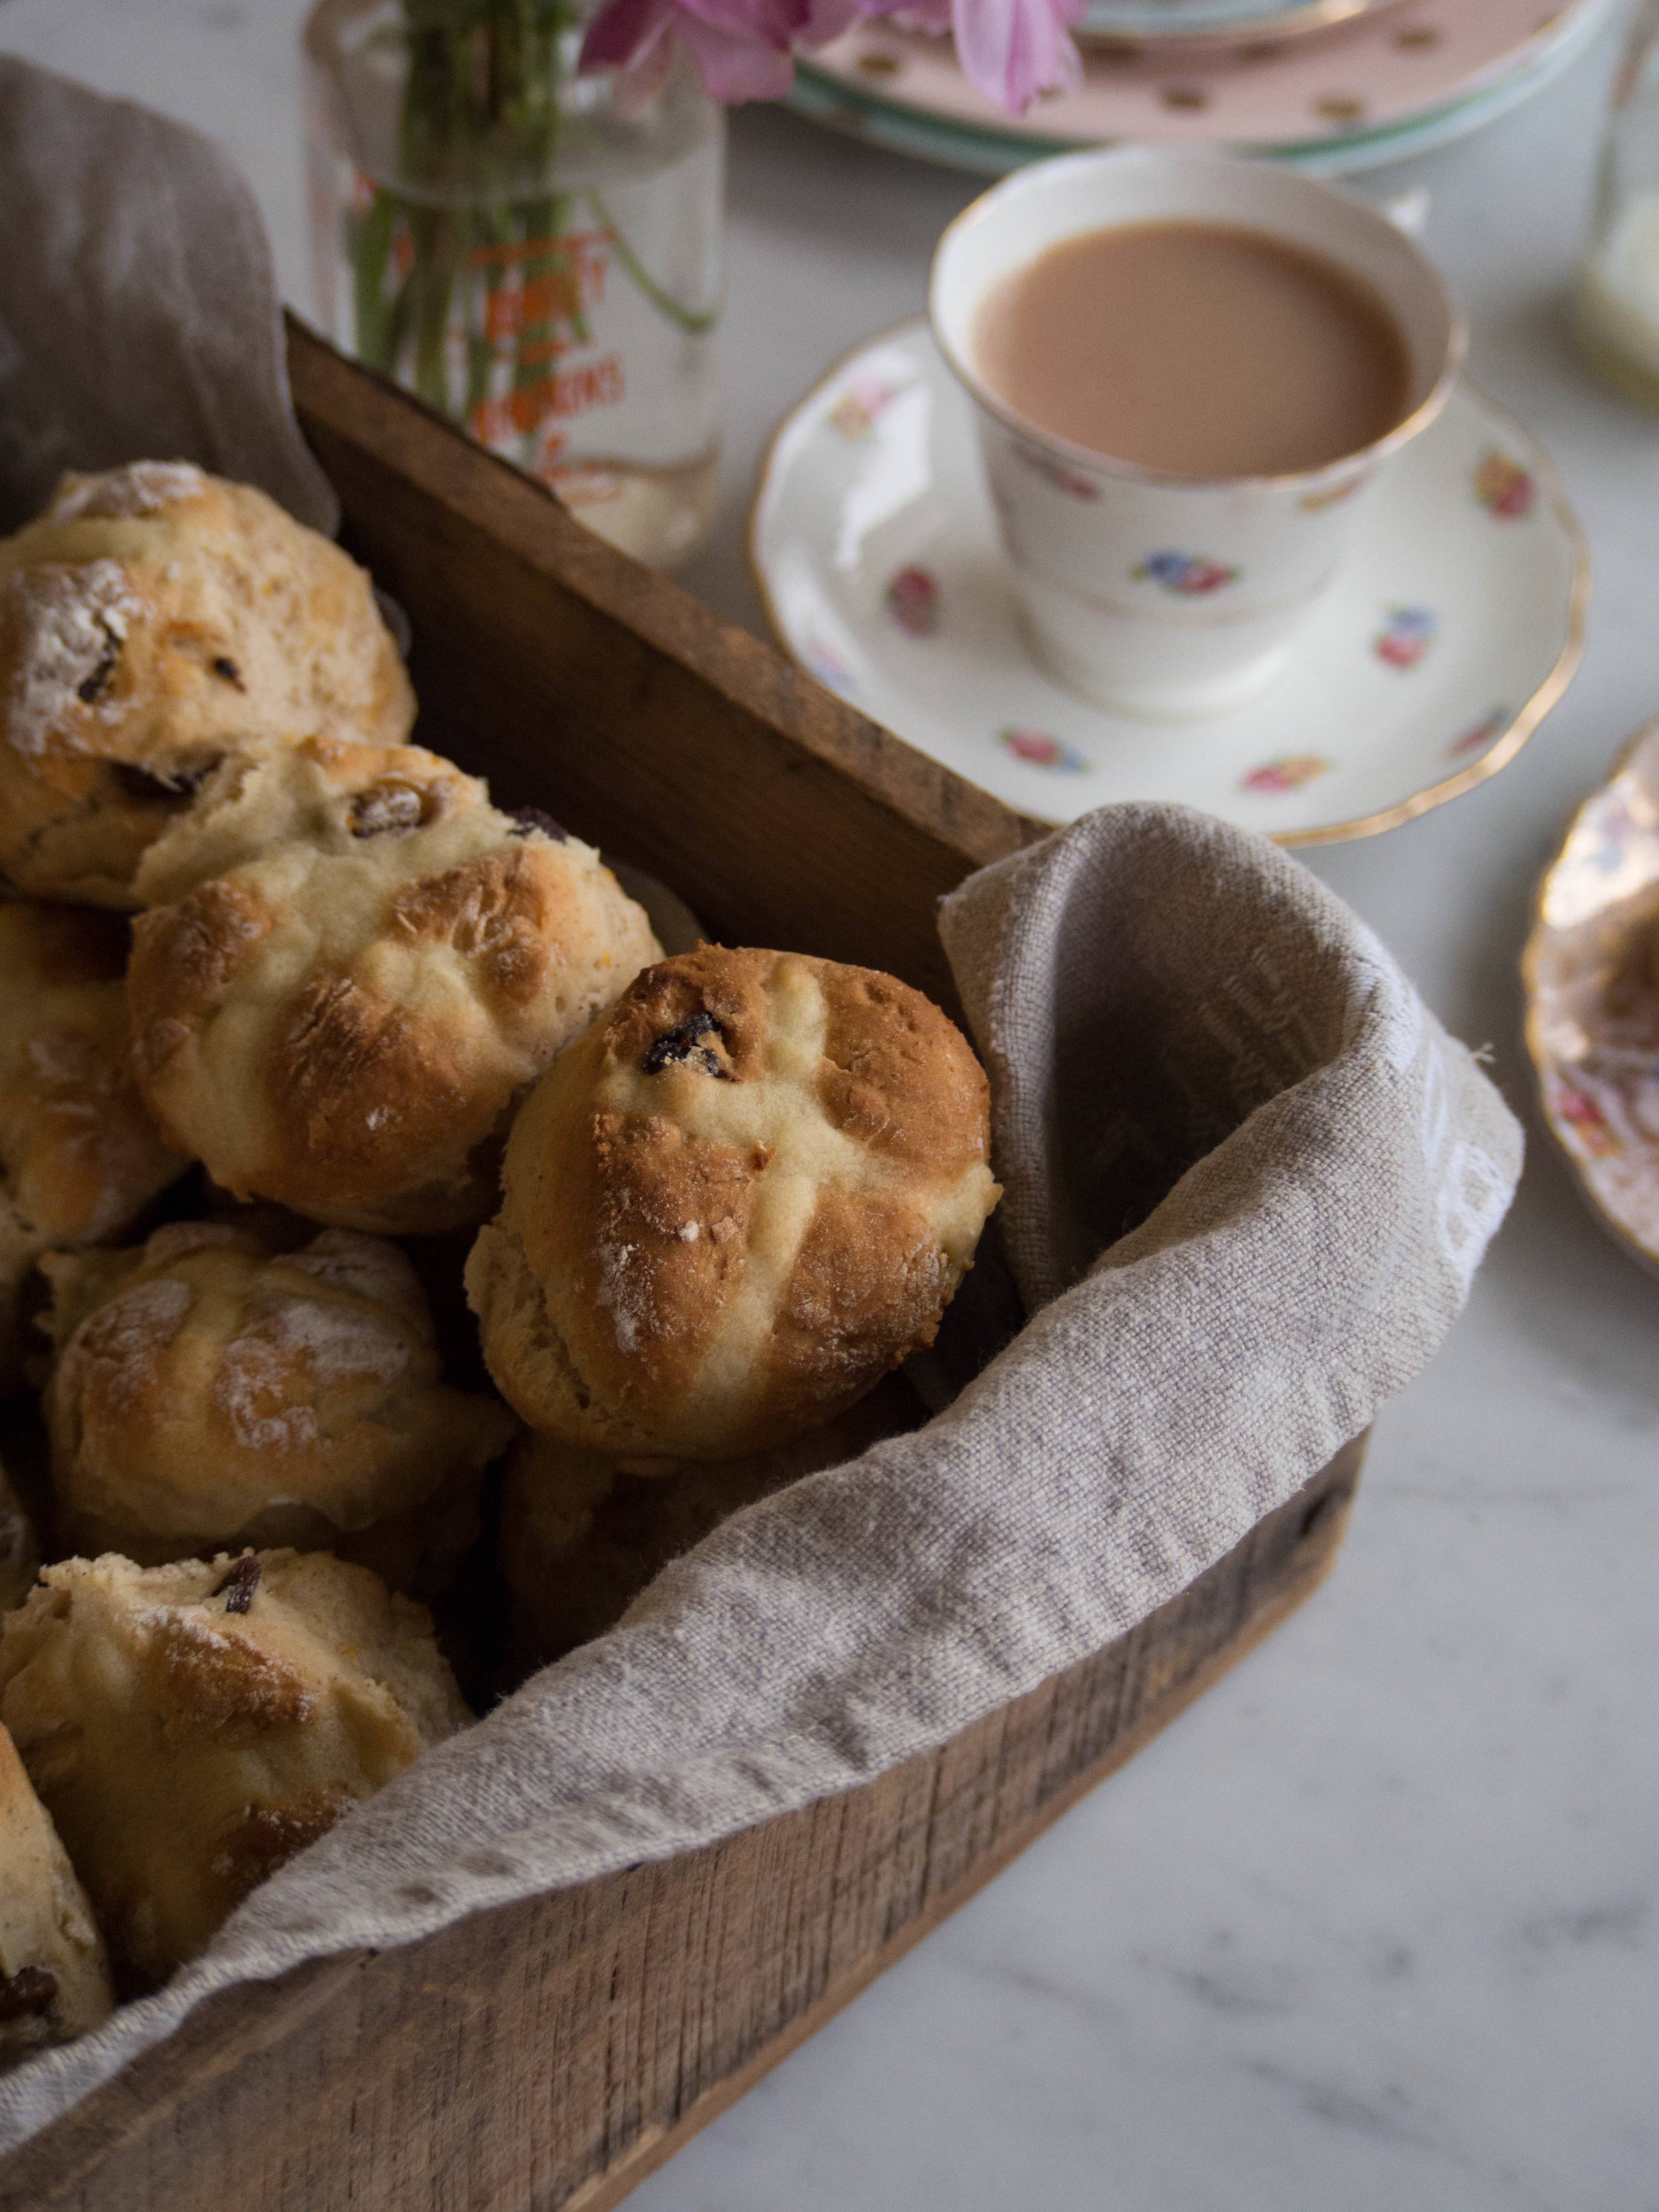
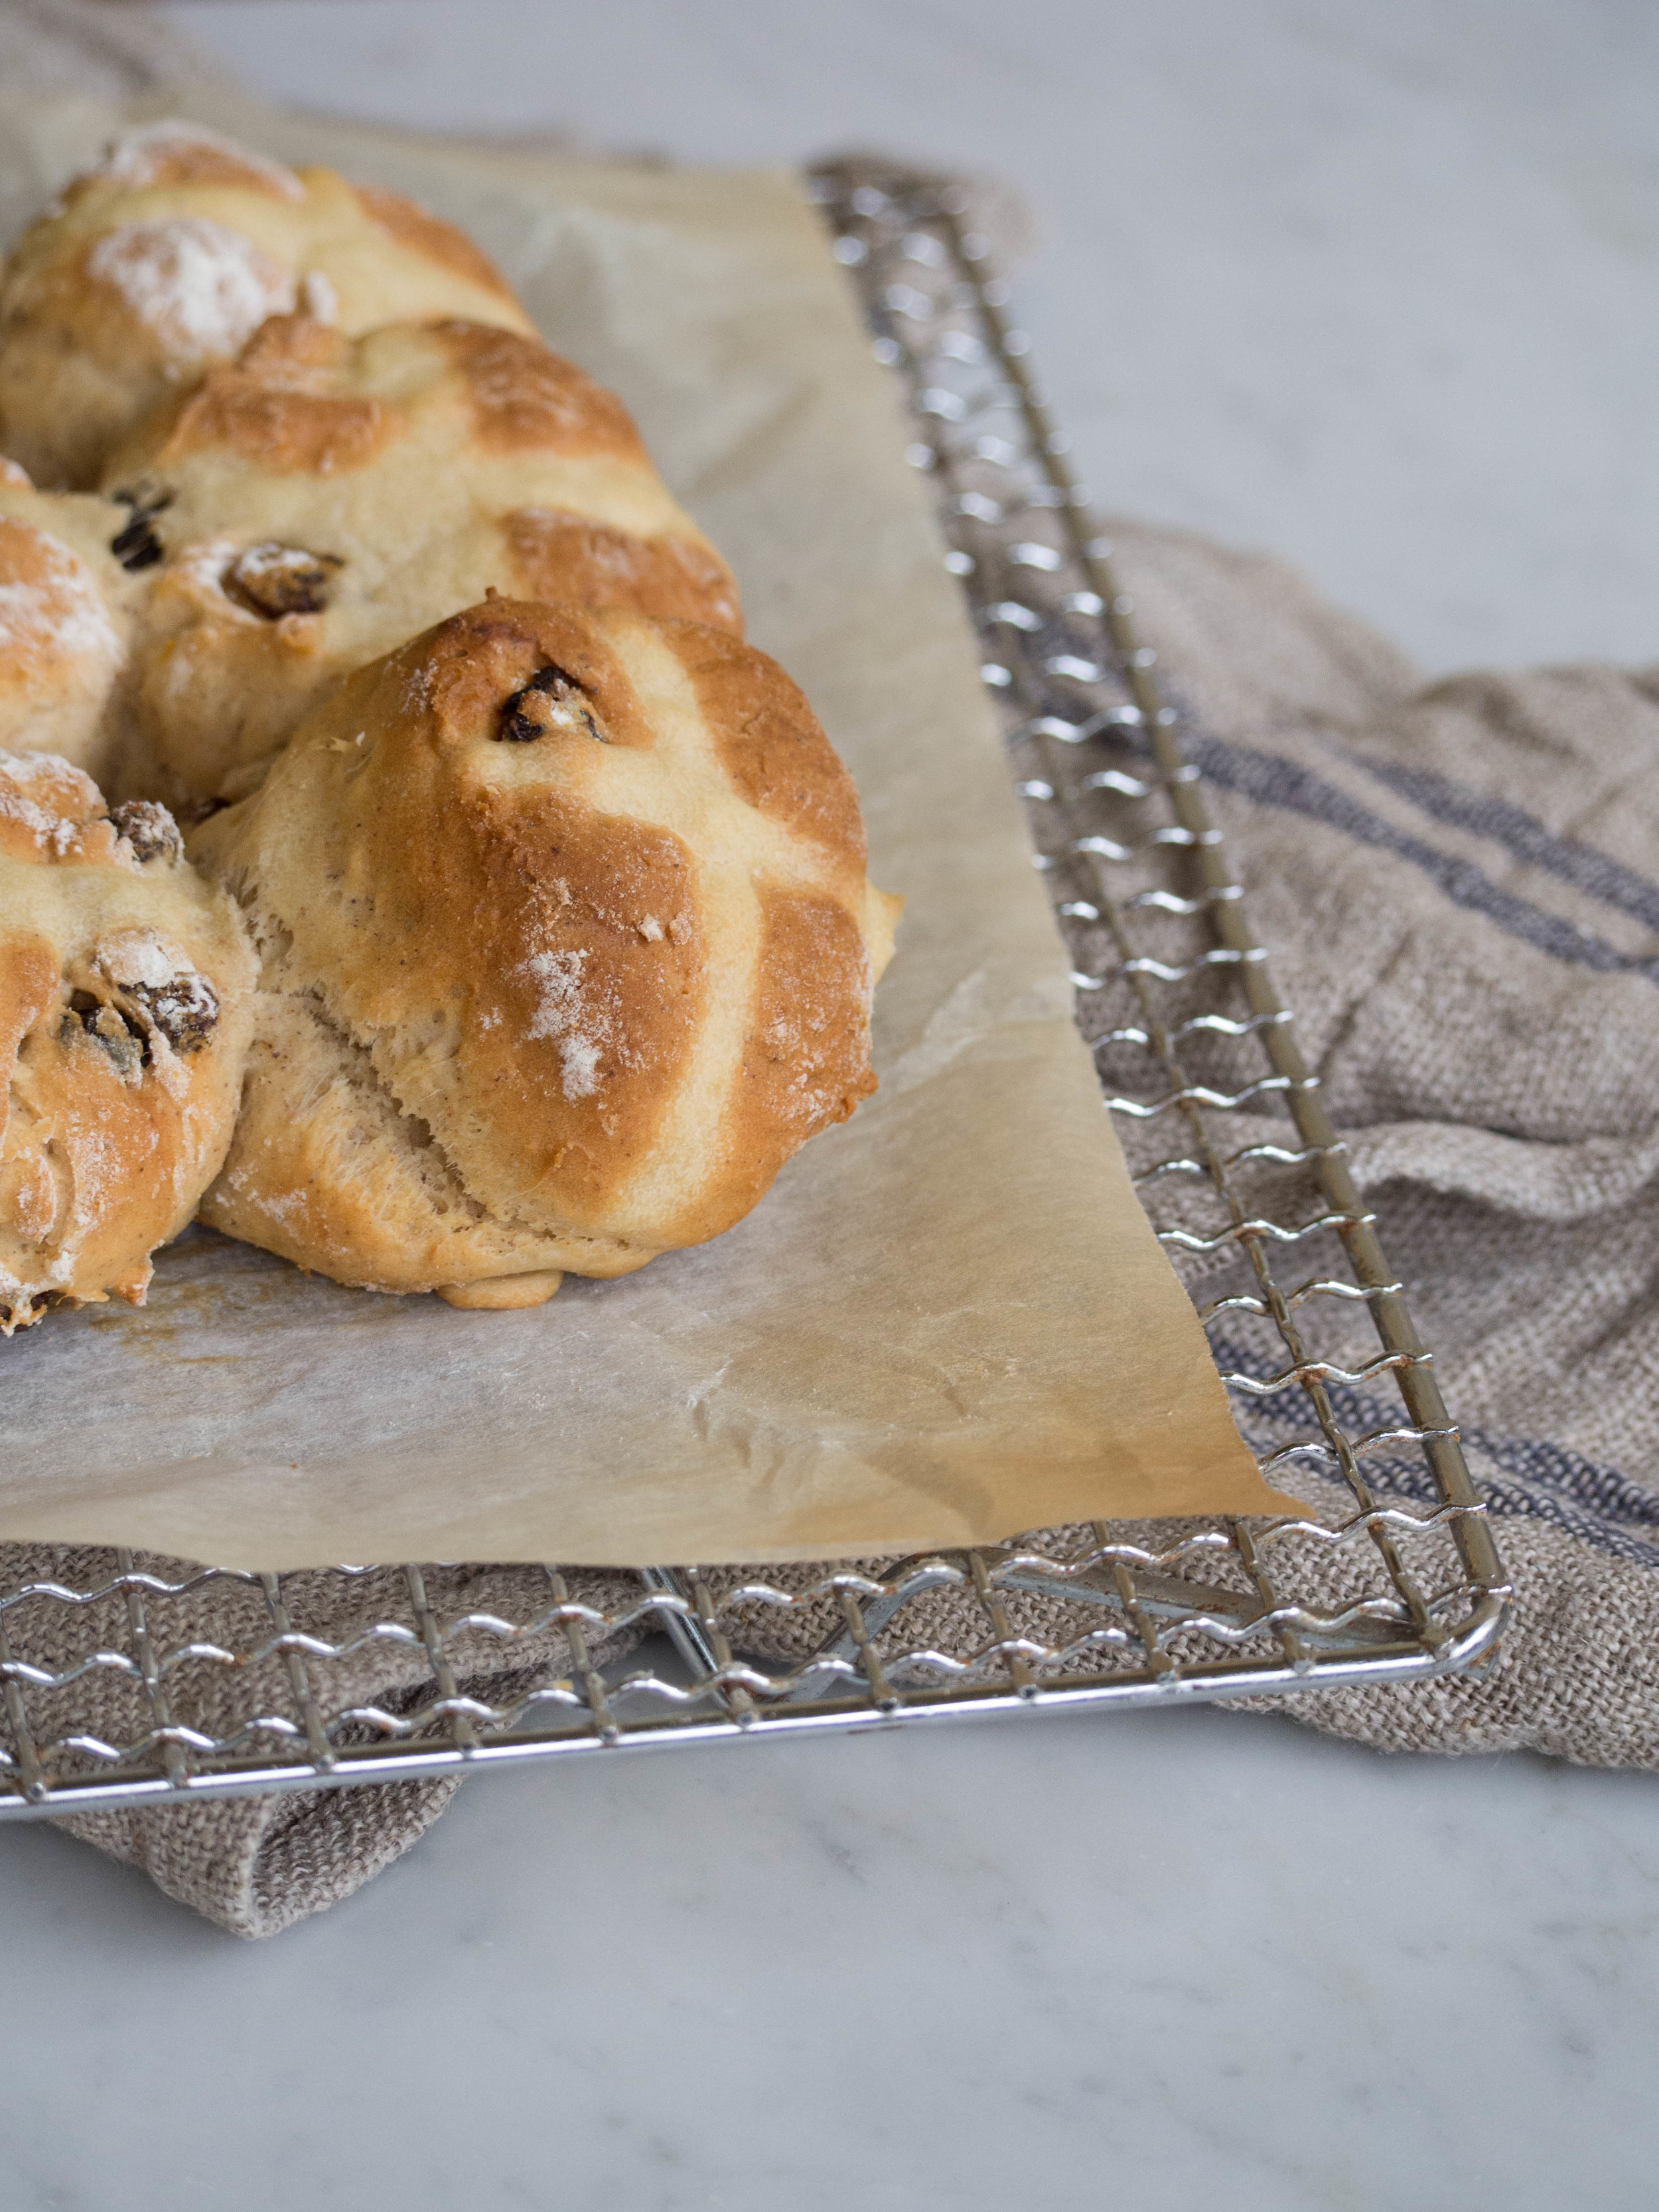
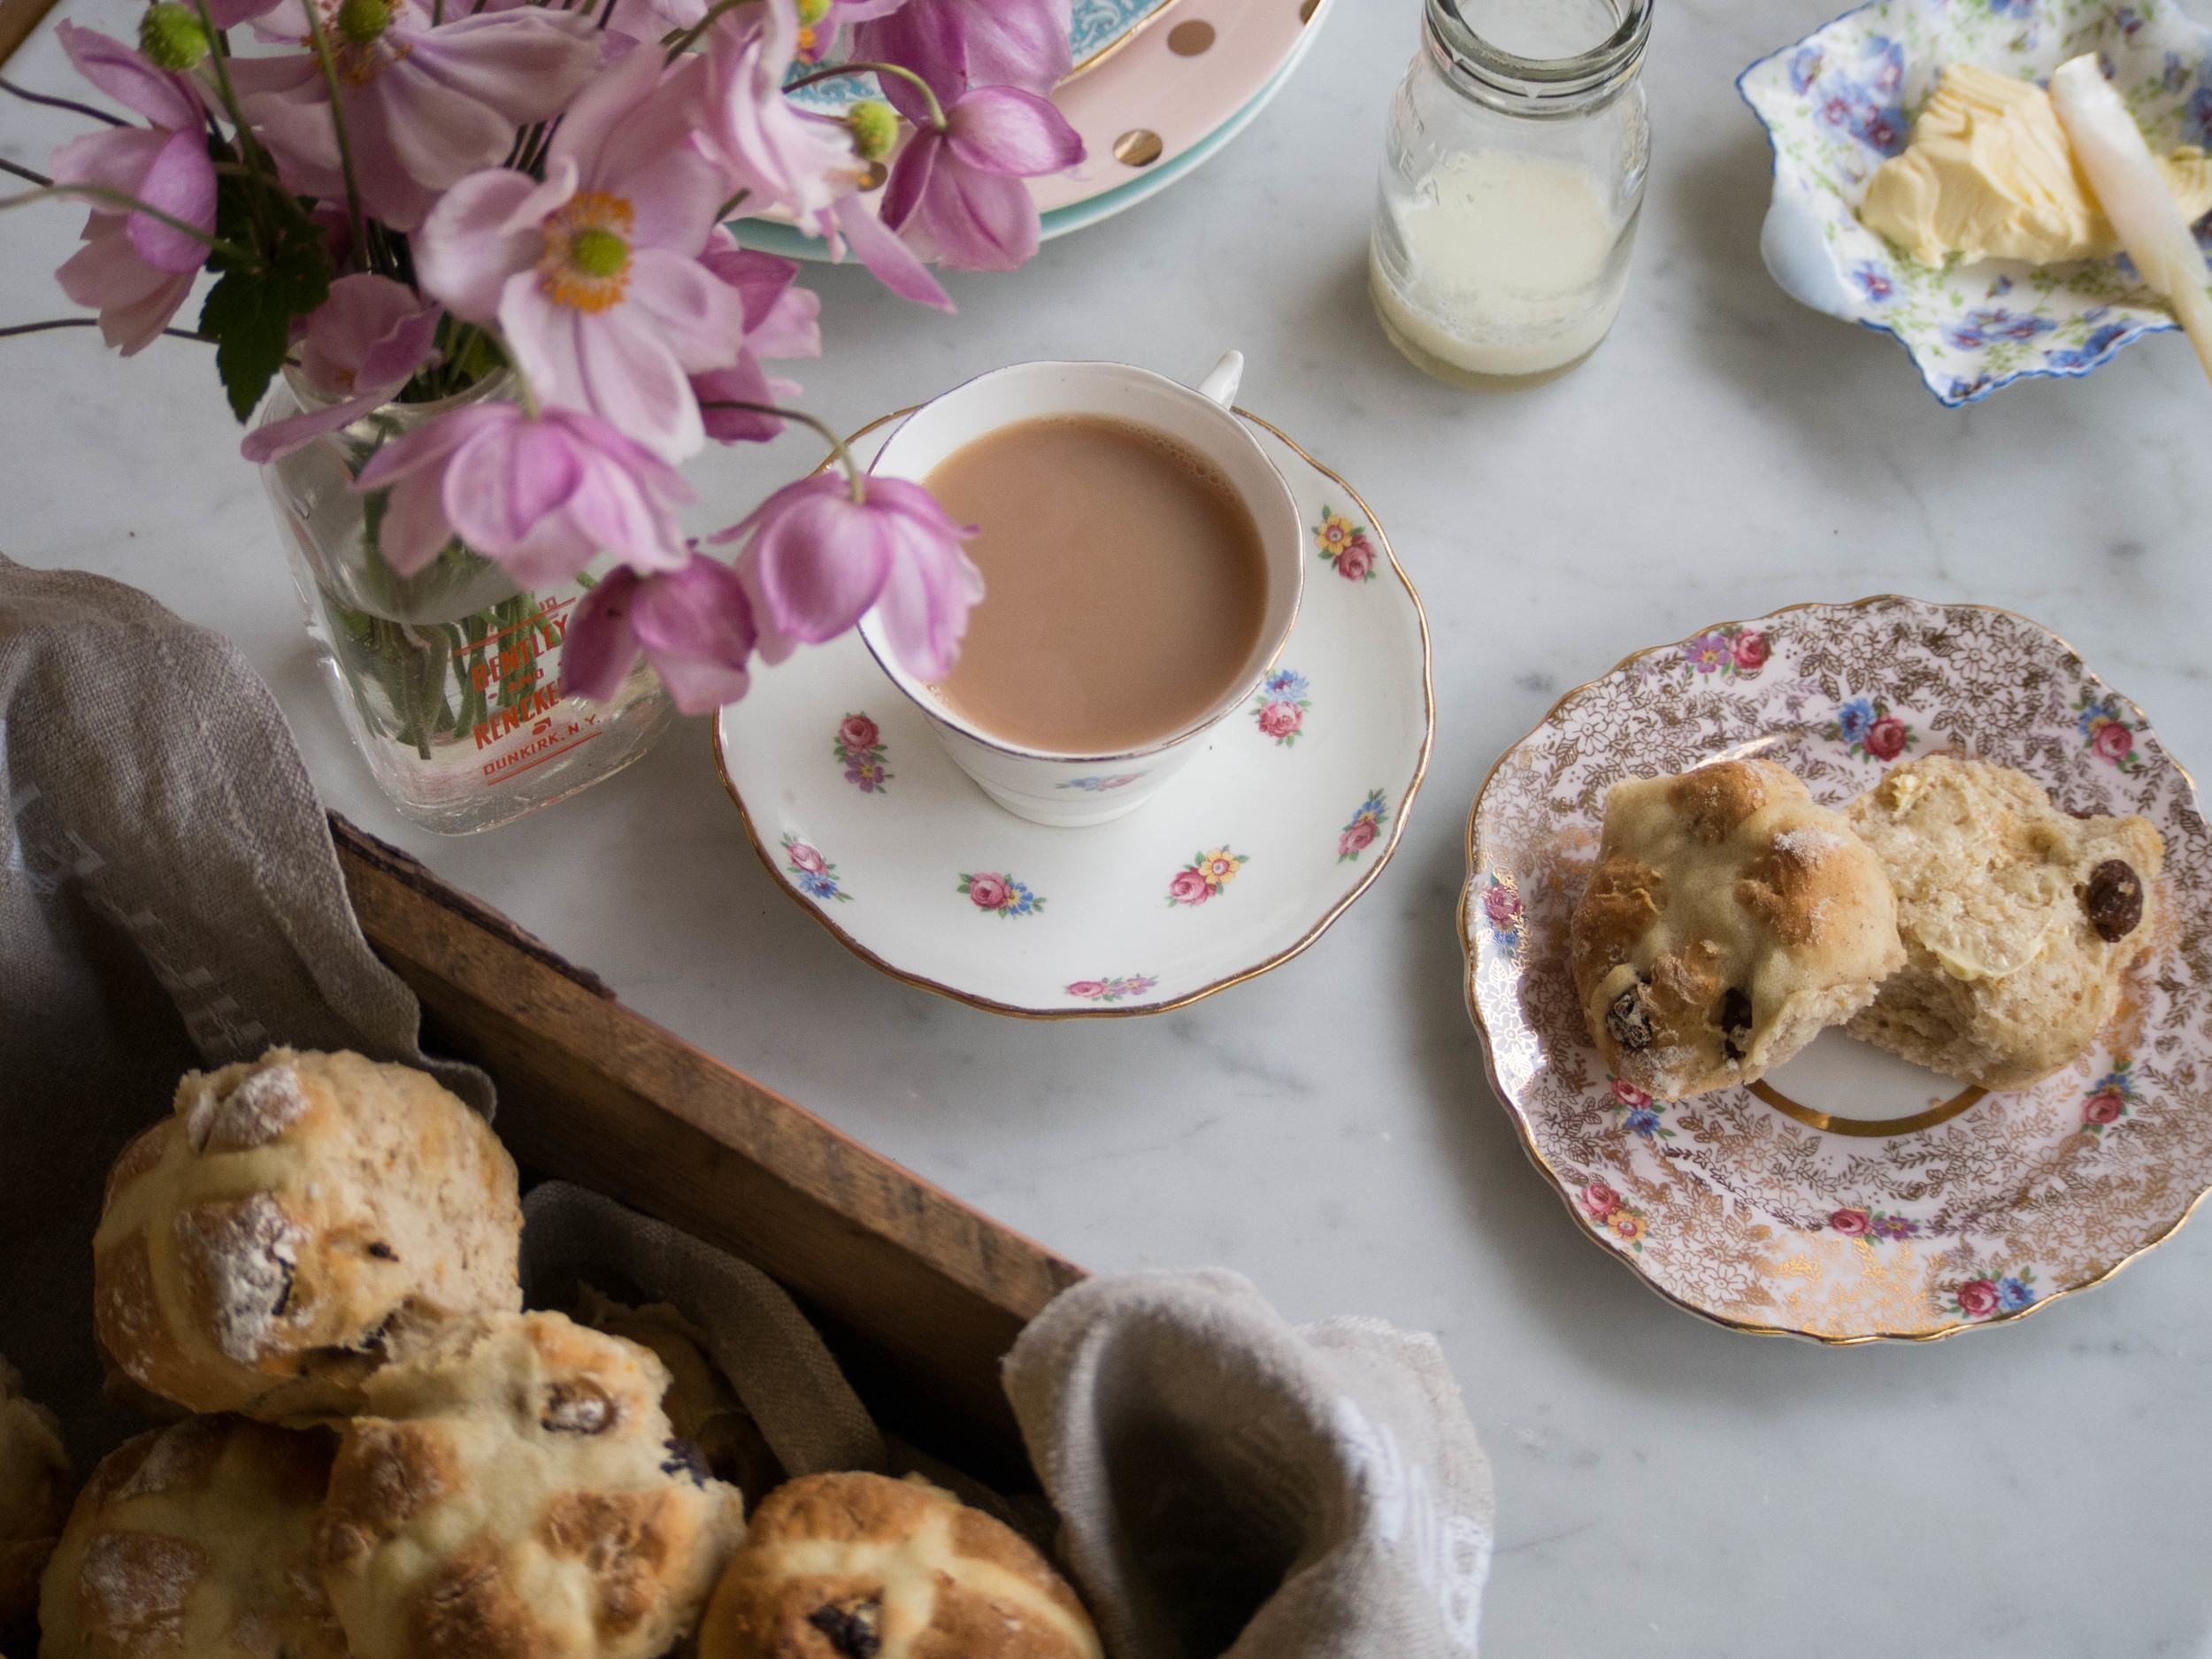
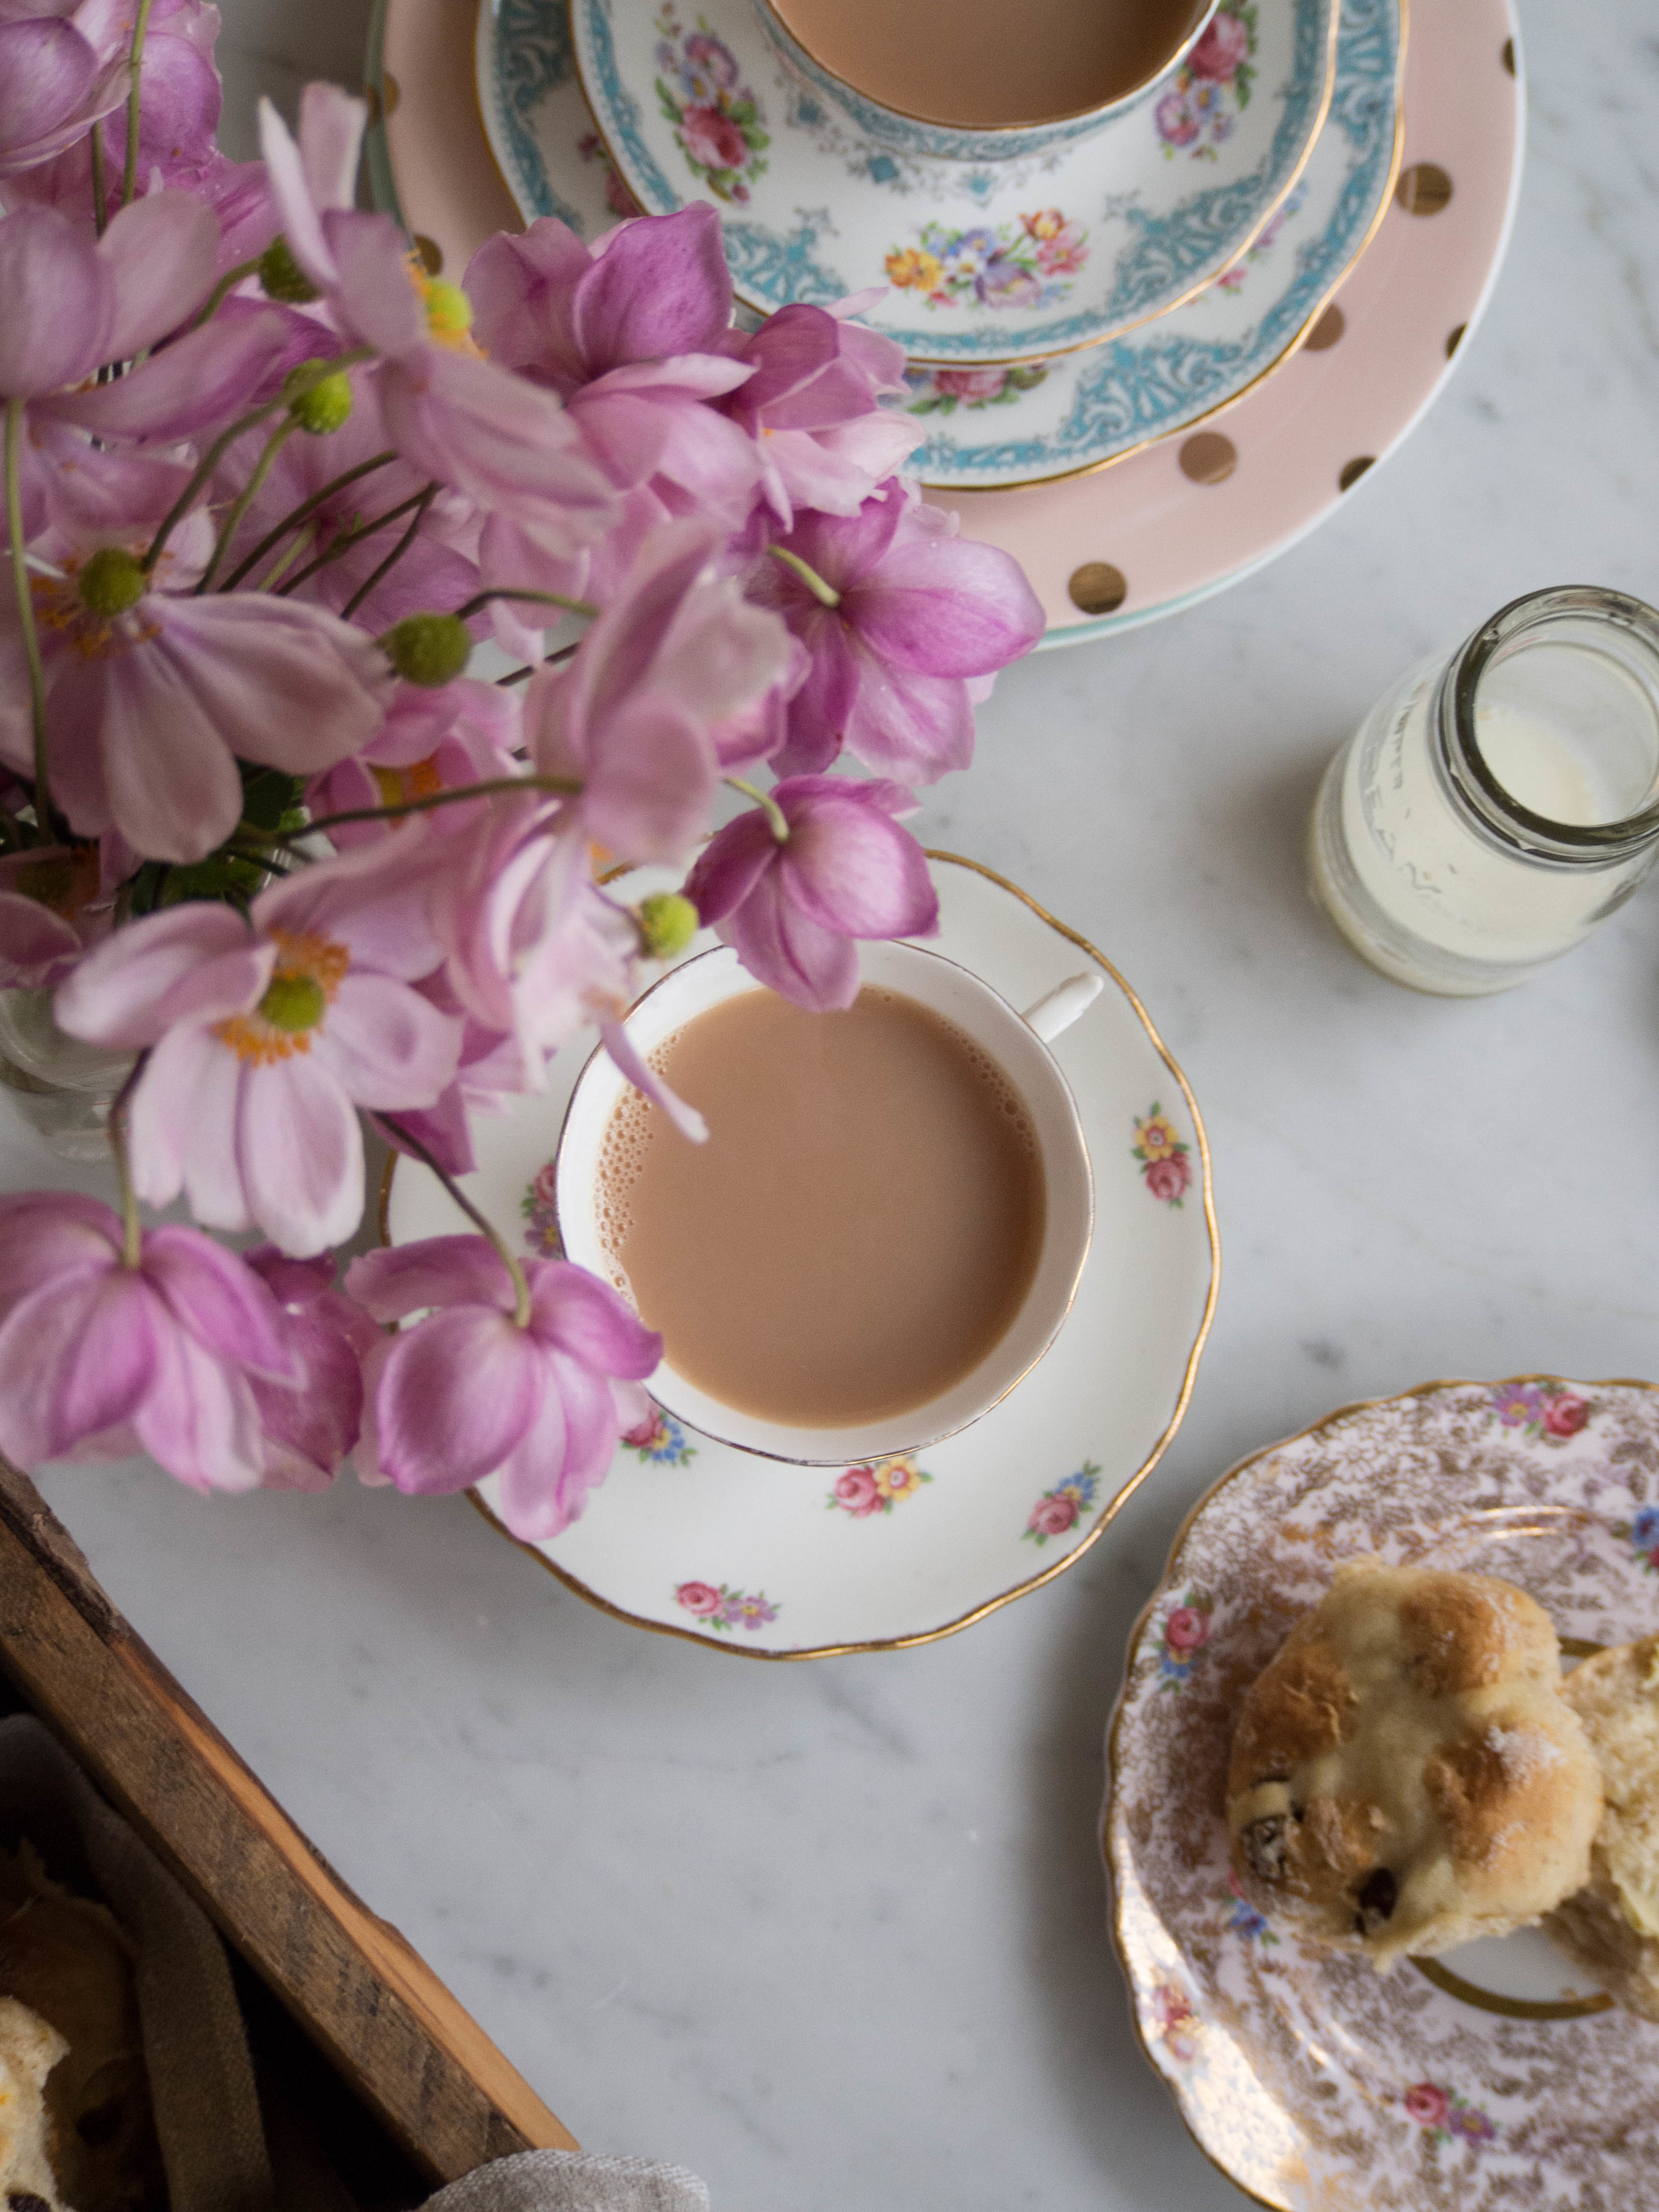
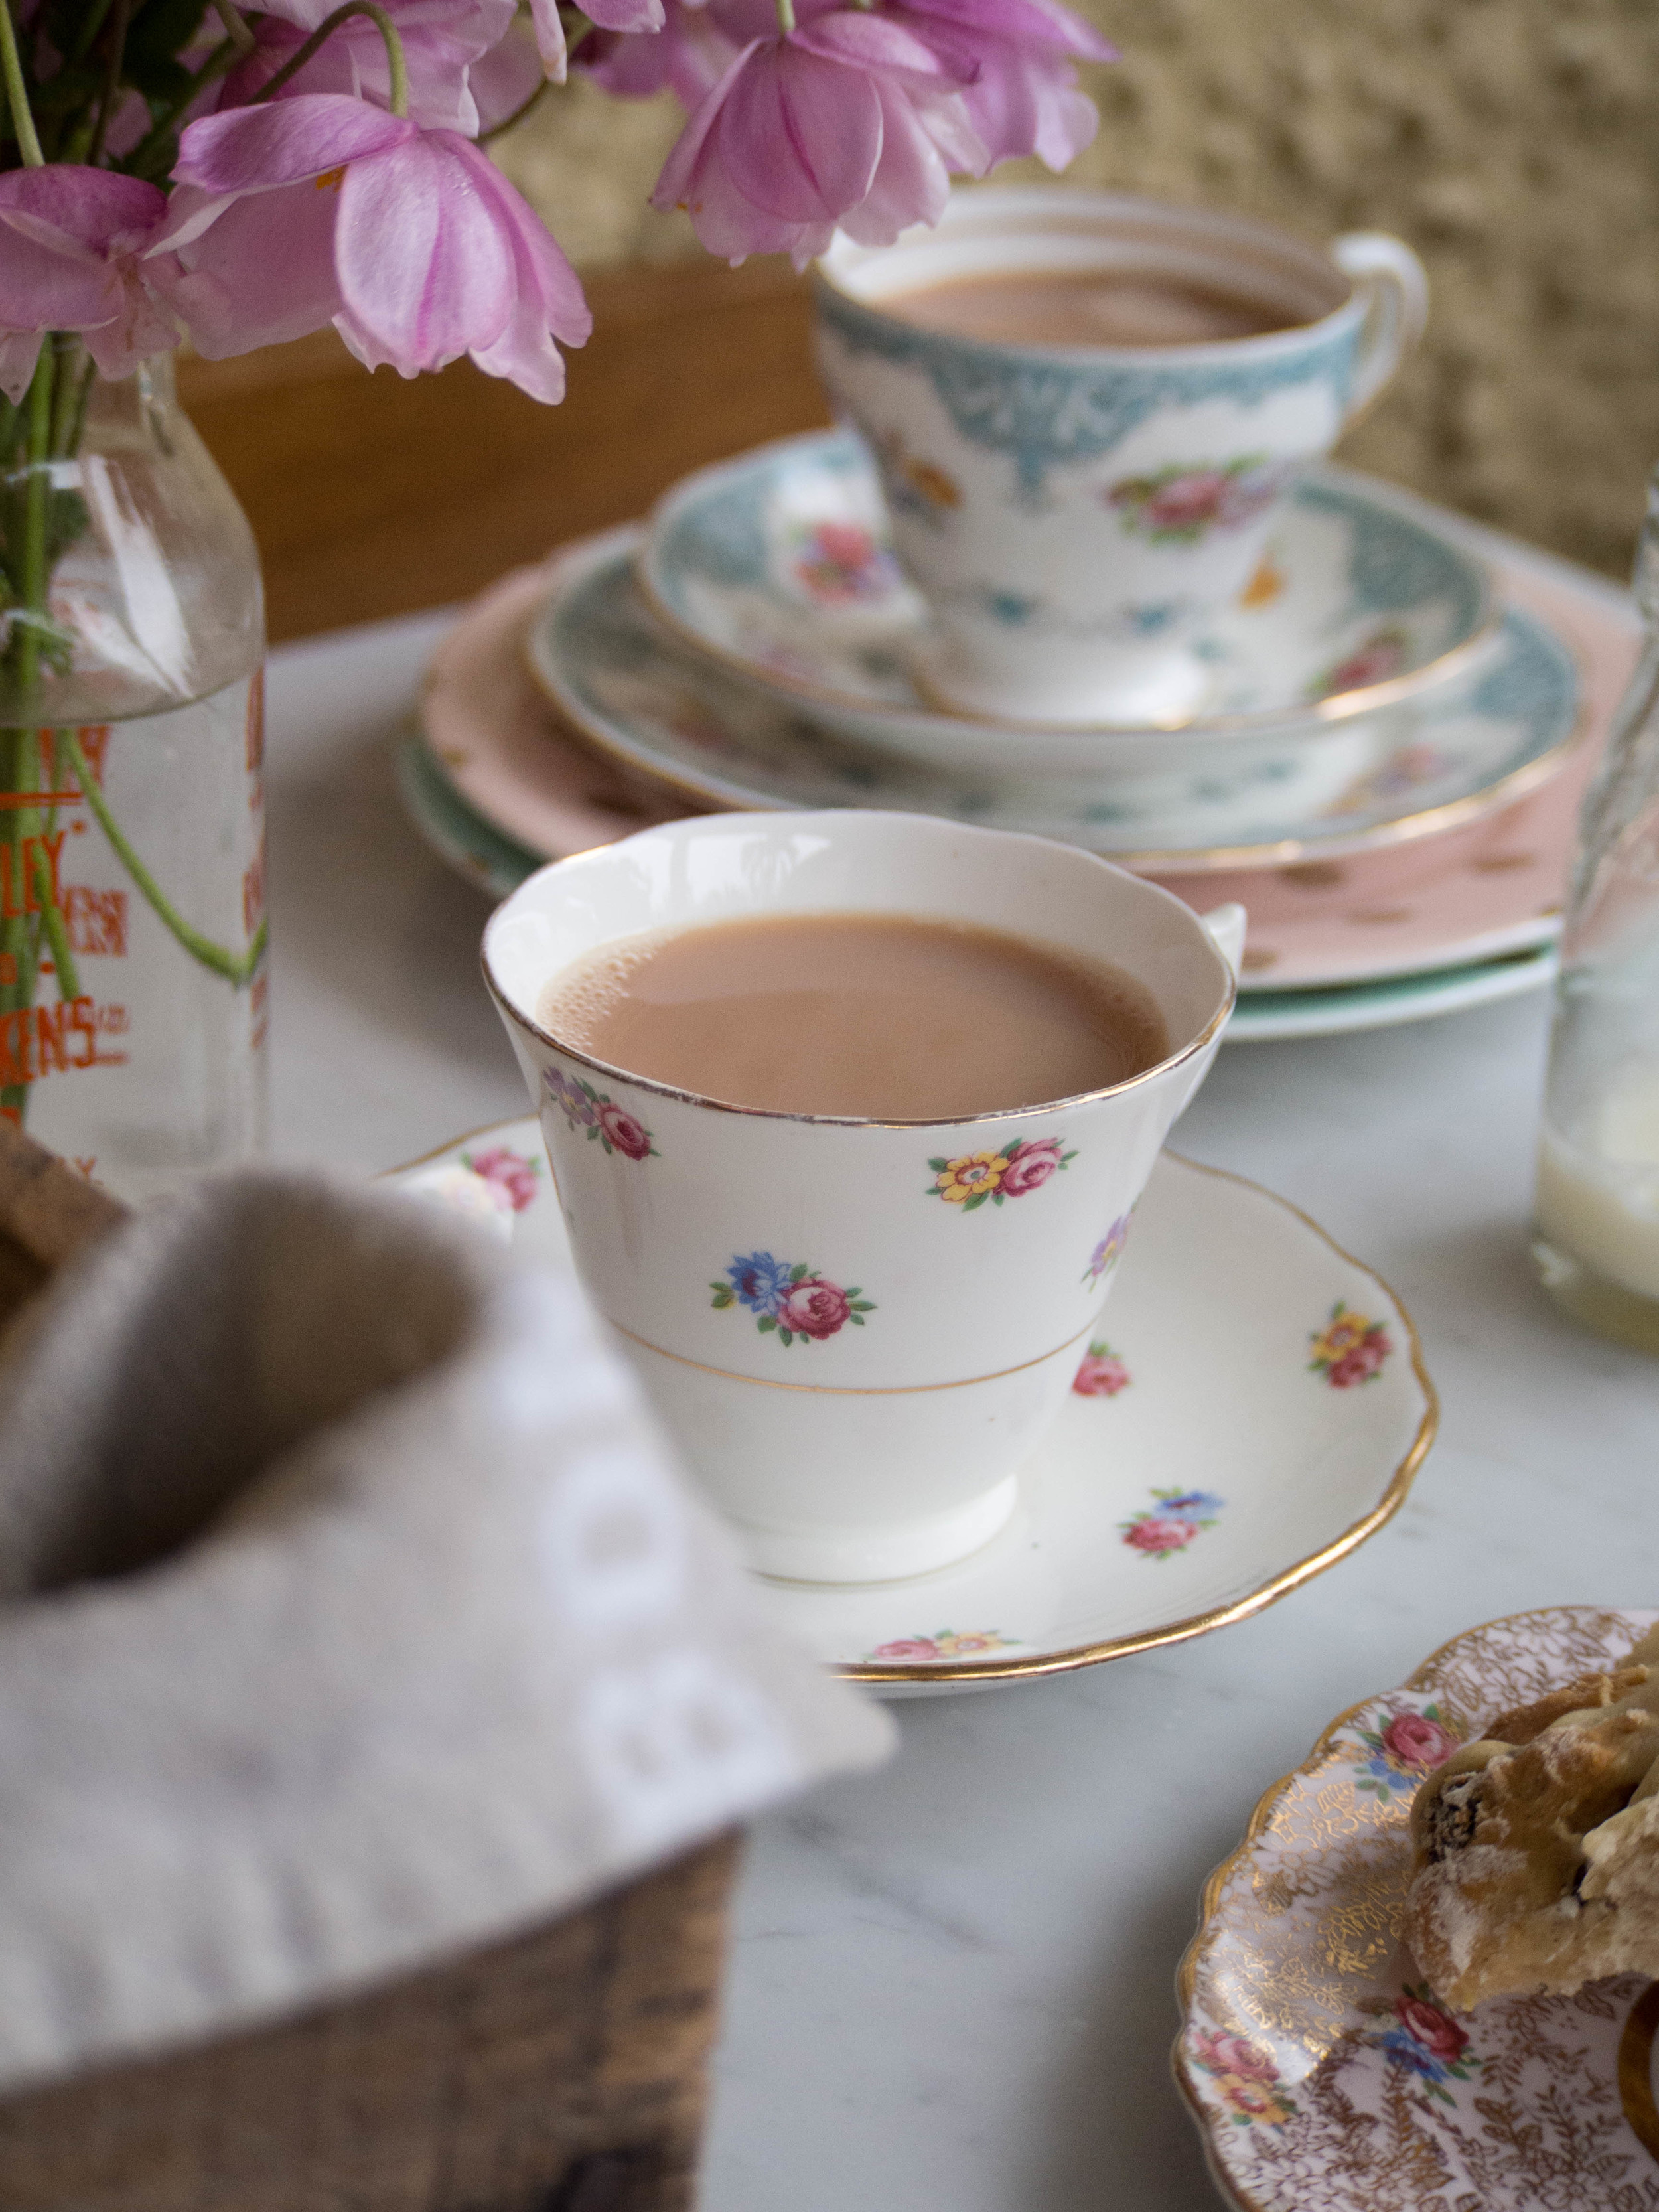
I served these biscuits with simple flavoured milks, but now that the weather has got chillier, they would probably be best with a nice hot chocolate! 

Ingredients for the Biscuits: 

200 g unsalted butter, softened

200 g caster sugar

1 tbsp vanilla bean paste 

pinch of salt

1 egg, lightly beaten 

400 g plain flour, plus extra for dusting 


Method: 

Line 3 baking trays with baking paper. 

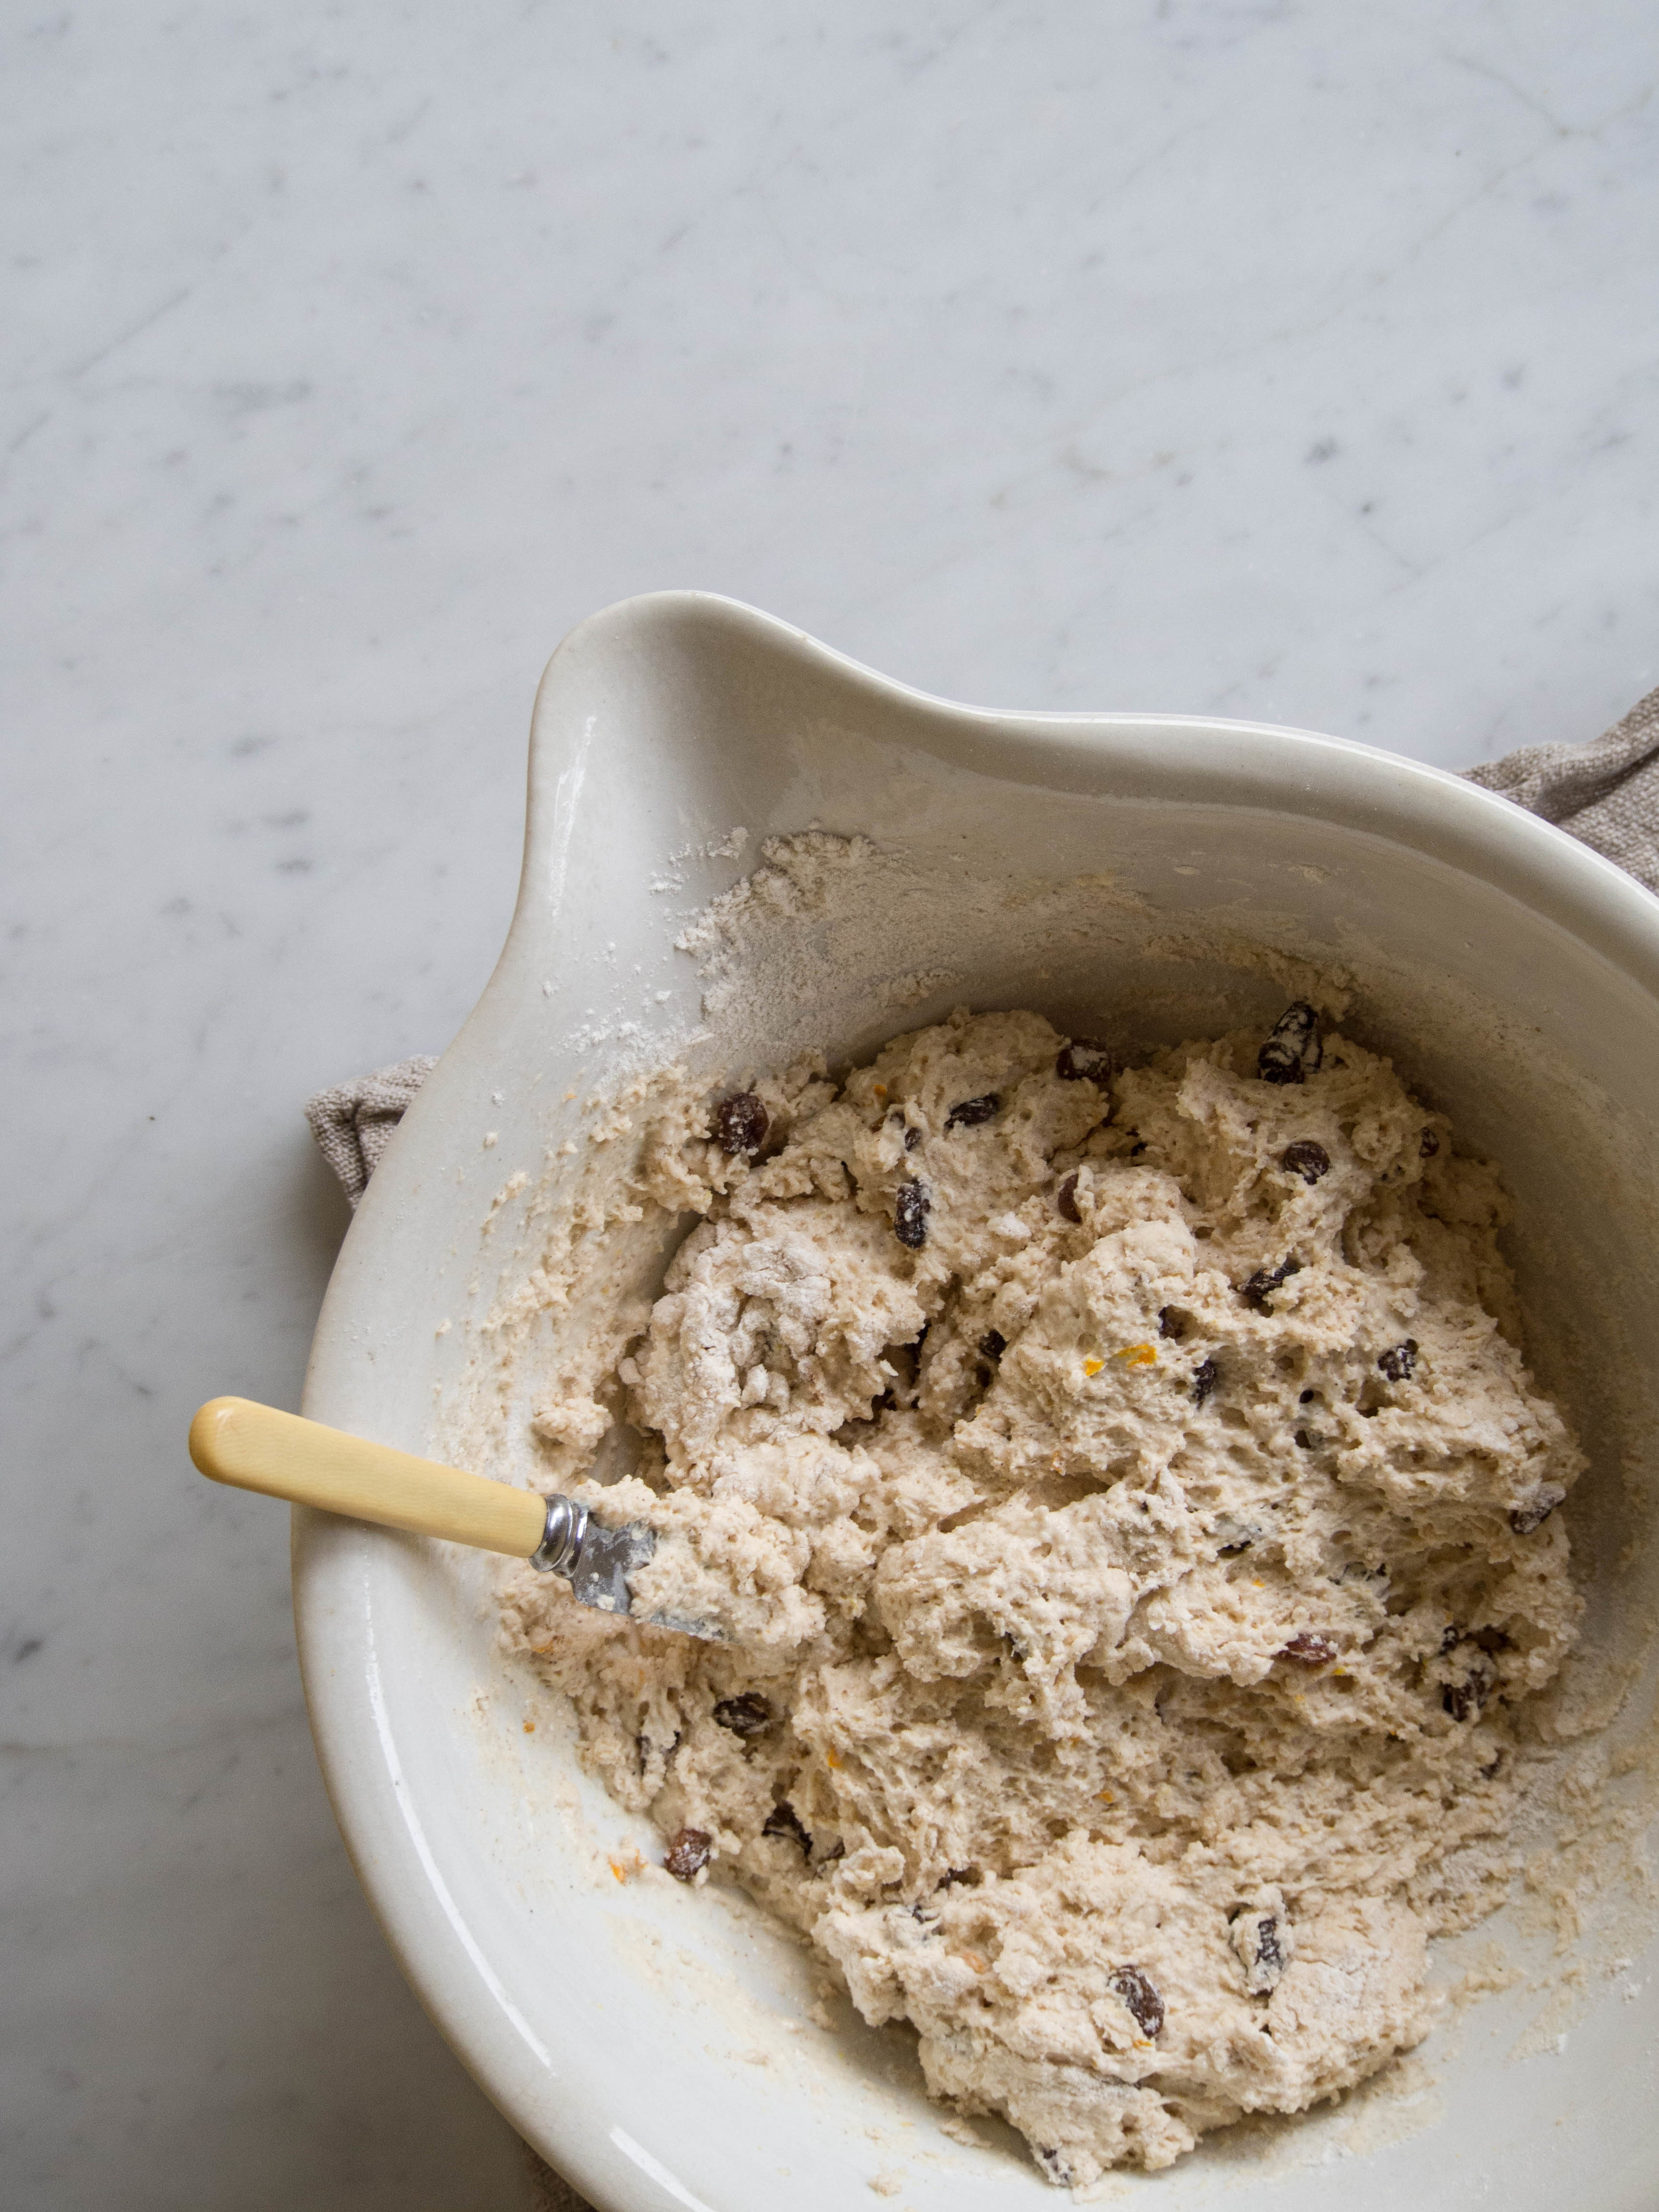
Cream the butter, sugar, vanilla and salt in a large bowl until combined. Beat the egg in a glass or jug, and add slowly to the butter mixture. Mix until well incorporated. Sift in the flour and mix until just combined. Pull the dough together, and wrap in cling film and chill in the fridge for at least 30 minutes. 

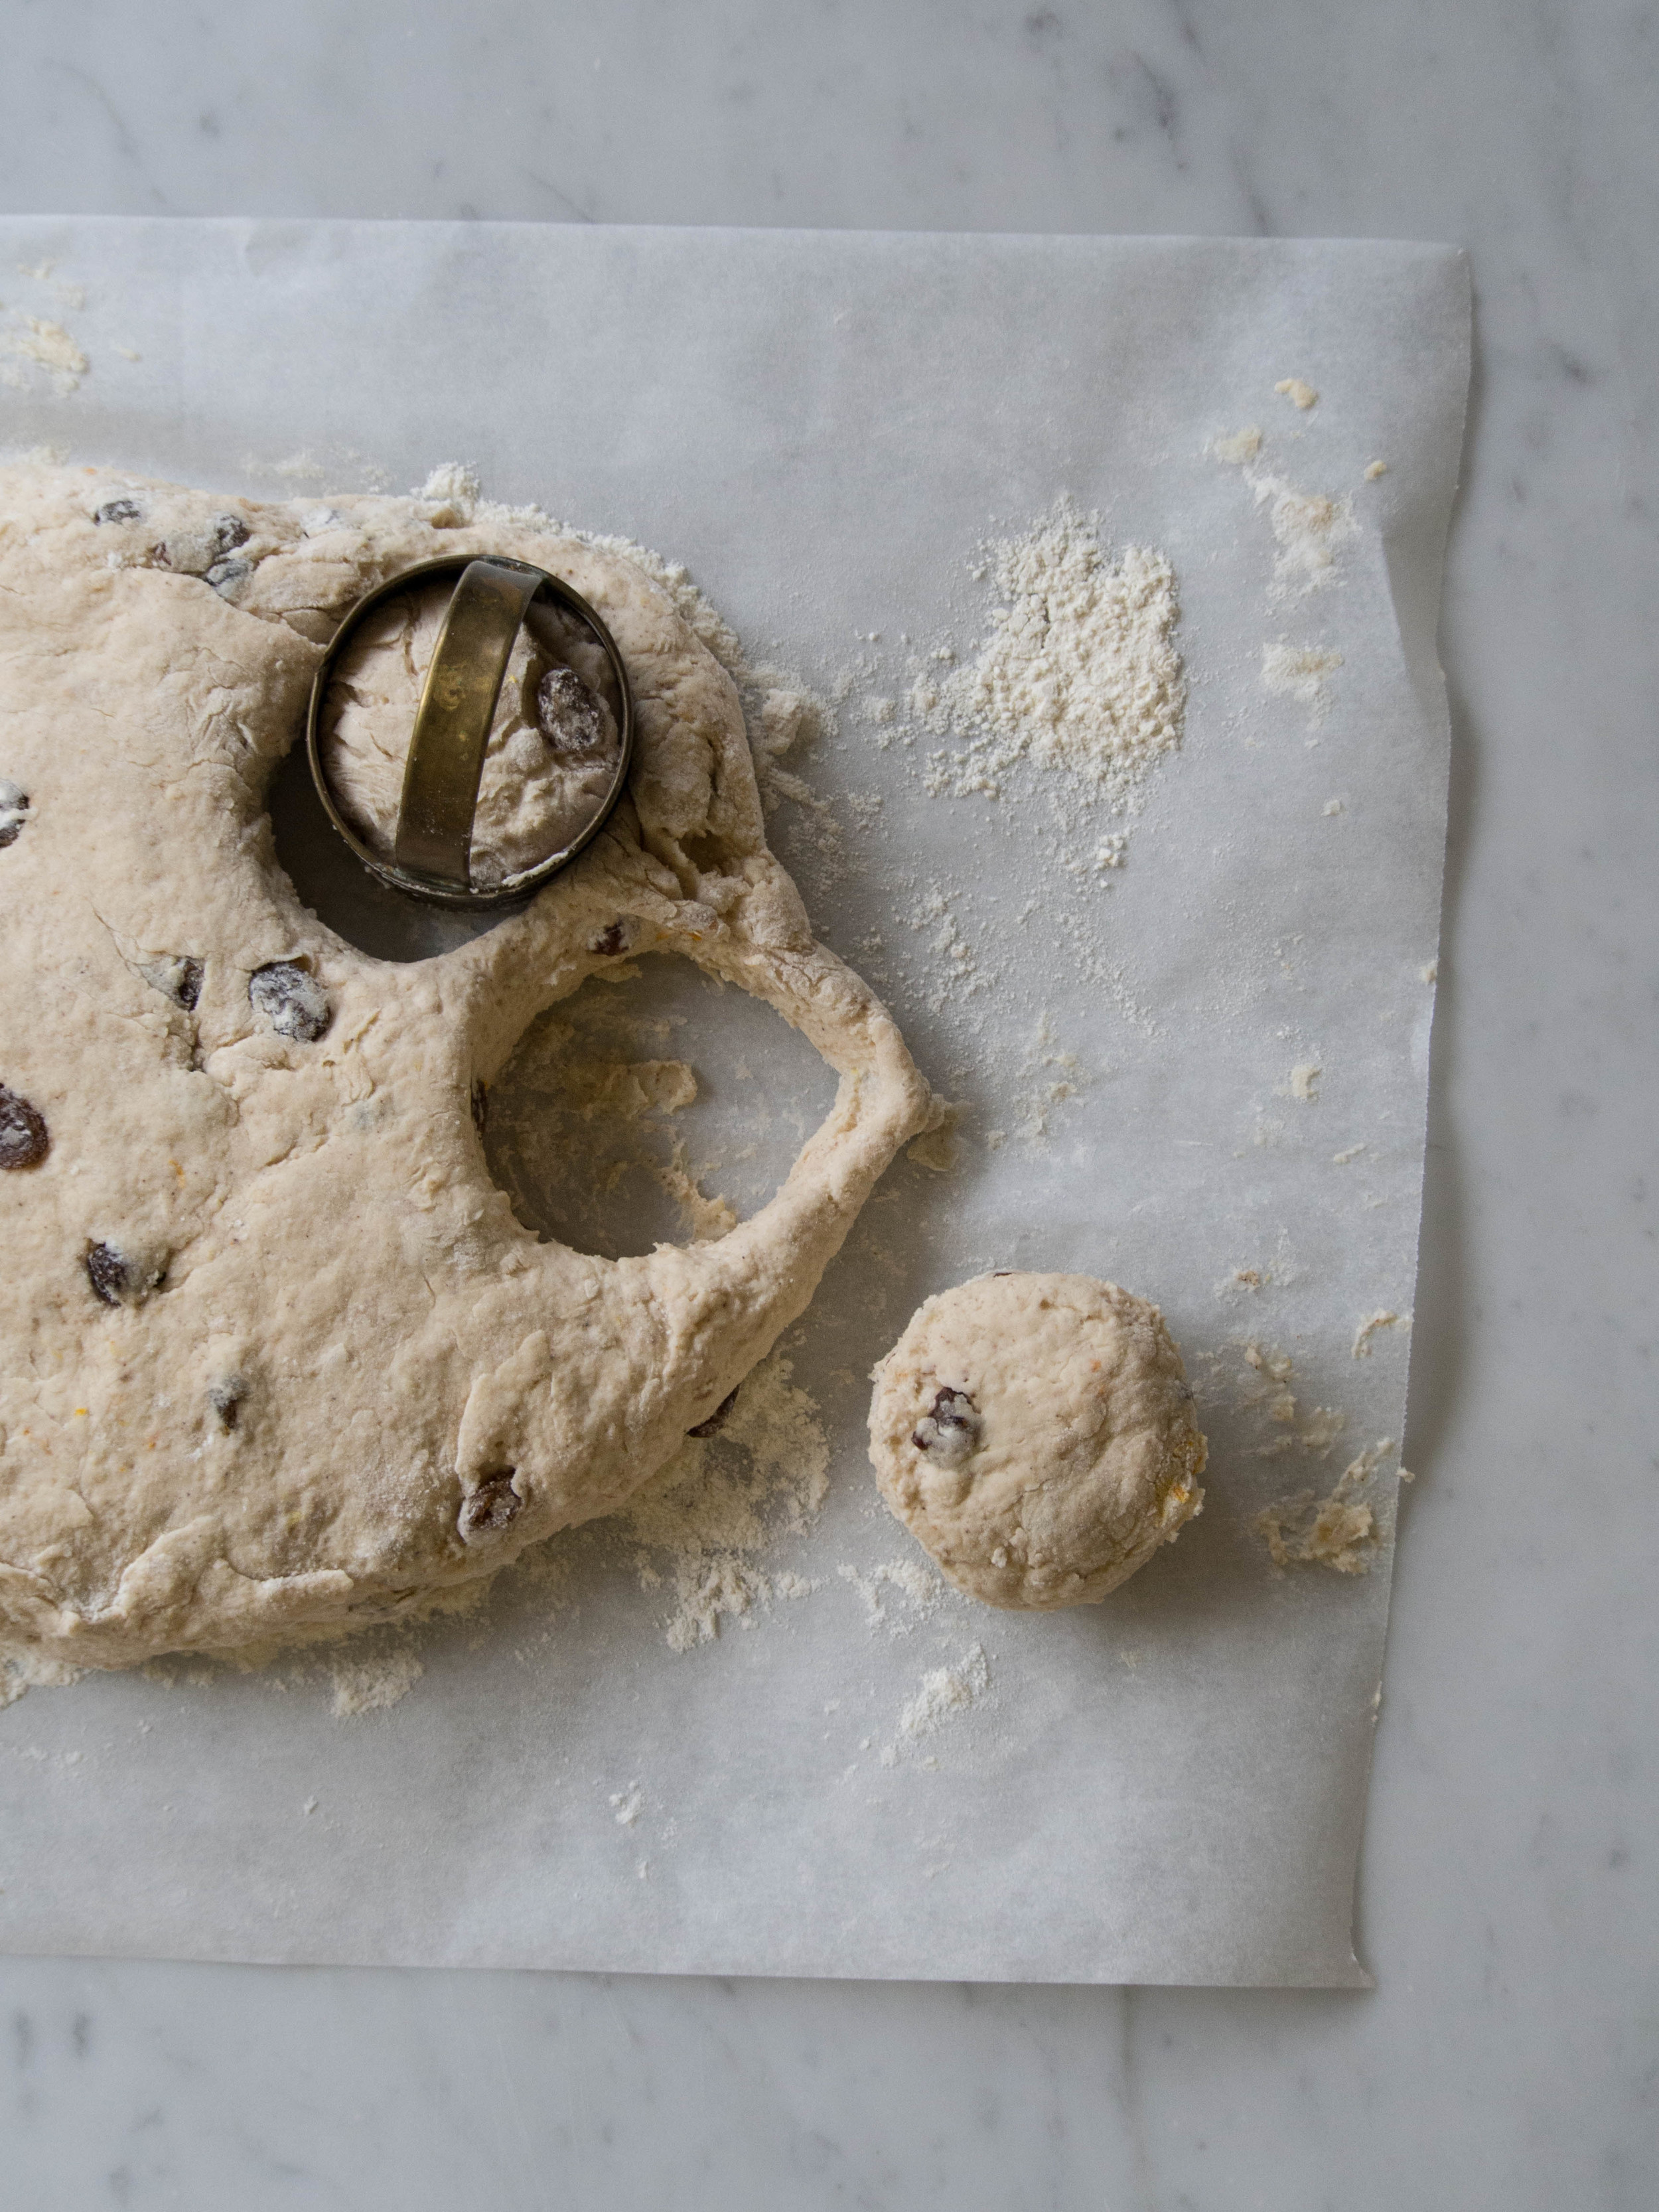
Place the dough on a lightly floured surface and knead briefly. Roll the dough out, until it’s about 4-5mm thick. 

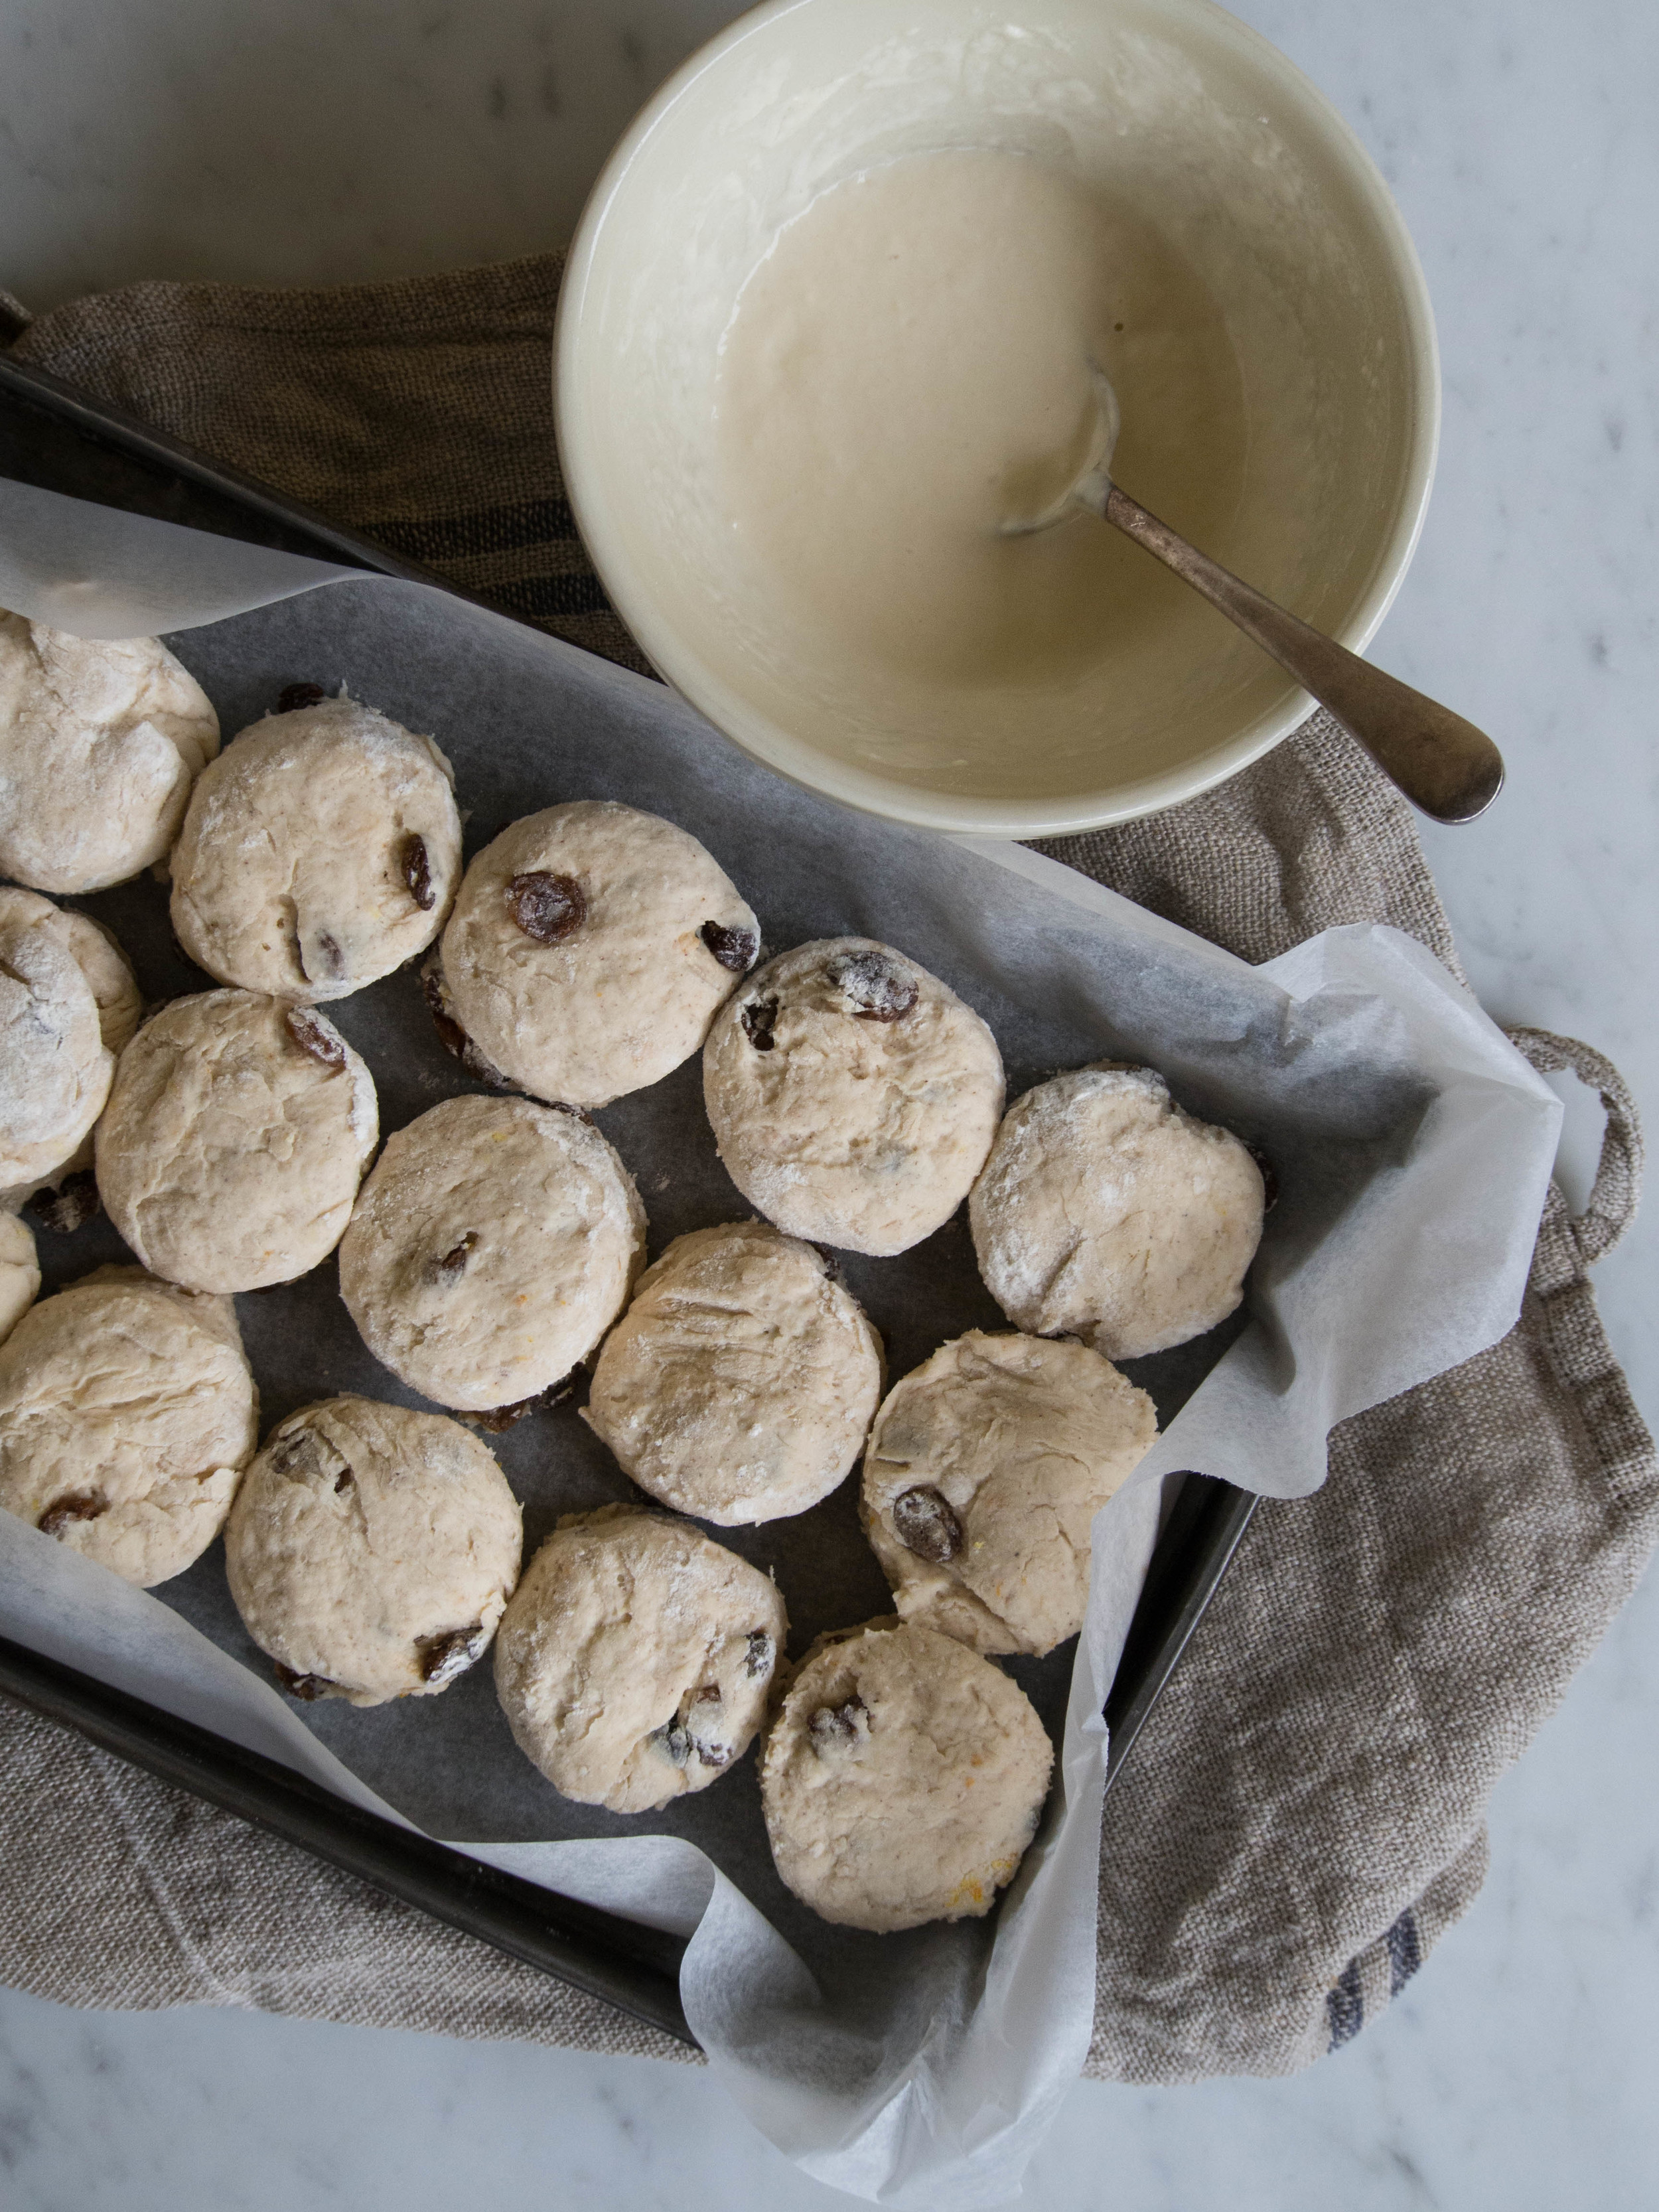
Cut out shapes with biscuit cutters, and place on the prepared trays. Once all the dough has been used, place the trays in the fridge so the dough can chill for a further 30 minutes before going into the oven. 

Pre-heat oven to 200 degrees Celsius. 

Bake the biscuits for 8-10 minutes, or until they are slightly golden around the edges and spring back when lightly touched. You may need to rotate the trays in the oven to evenly bake all the biscuits. 

Place on a wire rack to cool. 

Ingredients for the Icing: 

500 g icing sugar, sifted

small squeeze of lemon juice 

2 egg whites 

sprinkles to decorate


Method: 

In a large clean bowl of an electric mixed, place the icing sugar, lemon juice and three-quarters of the egg whites. 

Mix on the lowest speed until the ingredients are well combined. If the mixture is too dry add more egg white. The mixture should be smooth but not wet. Scrape down the sides of the bowl after a couple of minutes, to ensure all the ingredients mix together properly. If the mixture is too runny, add a little more sifted icing sugar. 

Continue to mix on the lowest speed for 4-5 minutes, ensuring the mixture doesn’t become too aerated. The mixture will be ready when stiff peaks form around the edges of the bowl, and has a smooth satiny texture. 

To get the icing to a pipe-able consistency, run a palette knife under water and use to mix the icing. The icing should become glossier and the peaks should be softer. 

Place some of the royal icing in a piping bag, with either a small nozzle or a small cut at the end. Cover the remaining royal icing with a damp cloth so it doesn’t dry out. 

Draw an outline around the edge of each biscuit shape with the icing in the piping bag. 

Now the remaining royal icing needs to be made into ‘flooding’ icing. Add a little water to the mixture, and mix with a spatula. The icing will flow, become shiny and flatten out within a few seconds after it has been mixed (i.e. it will no longer ‘hold its peak’ in any way). Tap the bowl on a bench or table to remove any air bubbles, then fill another piping bag with the icing. This piping bag should have a slightly bigger nozzle, or a slightly larger hole cut at the end. 

If decorating with sprinkles, have a shallow bowl filled with the sprinkles ready, so you can dip the biscuits into it while the icing is still wet.

Flood each biscuit with the icing, keeping within the border you have already piped. Don’t over fill the bordered area of the biscuit with flooding icing or it may run over the piped outline. You may need to use a small palette knife or cocktail stick to push the icing in to small corners of the biscuit. Dip the biscuits (icing side down) in to the sprinkles.

Leave to dry for a few hours (or overnight), or until the icing has dried hard. 

Original recipes from ‘Cookies’ by Peggy Porschen (Quadrille Publishing, 2014), pp.8 & 56-60.

In Travel, Biscuits/Cookies, Holidays Tags Peggy Porschen, Biscuits, Cookies, London, Easter, Sprinkles, Royal Icing
Comment

ANZAC Biscuits Revisited

Kath April 24, 2015

I have posted a fairly similar version of this recipe before. It is one of my favourite recipes from my Grandma’s collection, and often I adapt it to suit what types of ingredients we have or to try some new ingredient I have found. 

More recently, I wanted to play with the ingredients to alter to final texture of the biscuit. The type of sugar you use will determine whether these ANZAC biscuits are crisp and crunchy or softer and chewier. I like to try gain some kind of middle ground between these two opposites, by using a combination of caster sugar and raw sugar. If you like a more chewy biscuit use a combination of caster and brown sugar. 

I also found coconut chips in a deli a while back, and they are great in this recipe. The bigger chunks of coconut give the biscuits a litter more substance and highlight the coconut amongst all the other ingredients just that much more. Any coconut will do, but it’s nice to try something different every once in a while! 

I am posting this recipe again, not just because of my adventures in experimenting with it. It is of course ANZAC Day tomorrow, and a very significant one at that. I’ve said before that the main way I tend to mark these kind of significant holidays or events is with food. Not to lessen the significance of the occasion, but to mark it in my own way. I’m not one, especially on this occasion, for immersing myself in it all too much. Being a modern history major and the relative of some who have served and are currently serving, often makes the connection of the day a little too overwhelming for me. 

So I bake, look through family photos and reflect on the lives of those to whom this Day has real significance. 

Ingredients: 

1 cup rolled oats

1 cup plain flour

1/2 cup caster sugar

1/2 cup raw sugar

3/4 cup coconut chips

1 tbsp golden syrup

110 g unsalted butter

1 tsp bi-carb soda

2 tbsp warm water 


Method:

Pre-heat the oven to 150 degrees Celsius and line three large baking trays with baking paper. 

Mix the oats, flour, sugar and coconut in a large bowl. Melt the golden syrup and butter on a medium-low heat, then mix the bi-carb soda and warm water together and add to the butter. The butter mixture should froth a little. 

Take the butter mixture off the heat and add to the dry ingredients and mix together. 

Place teaspoon sized balls of the mixture on the trays, leaving room for the biscuits to spread. Bake for 10 - 20 minutes, or until golden. 

Makes approx. 32 biscuits.

In Heirloom Recipes, Biscuits/Cookies Tags ANZAC Day, ANZAC, Australia, Biscuits, ANZAC Biscuits, heirloom baking, Grandma
Comment

Nigella Lawson's Italian Roast Chicken

Kath April 13, 2015

I’ve never been much of a roast chicken fan. Really, I’m not a fan of meat in general. Which is why over this cookbook challenge, when it comes to savoury options, there will be few red meat dishes (possibly none), and lots of chicken dishes. Now that I’ve said that, most of you will probably stop reading, because I’ve just told you I don’t eat almost a whole food group! 

Never fear, baking will remain the focus of this blog, so there will always be a satisfying sweet recipe around the corner. I am however, trying to add a few more savoury recipes to the blog whilst I am doing my cookbook challenge. Not only does it help out with deciding what to make for dinner on the weekend, but some cookbooks in our collection don’t have sweet or baking sections and some just don’t appeal to me. So with using ALL the cookbooks in mind, sometimes a savoury dish here and there will have to be tolerated. 

Having said that, if anyone could brighten up dinner and change my mind about roast chicken it’s Nigella. I know I’ve said this before (probably more than once), but I really love Nigella, her recipes and her love of food. I know in the past I have heard Nigella talking about how roast chicken is such a comforting dish, and up until I tried this recipe, I found it hard to agree. But now, I definitely do! 

This dish is one of those that you just know is going to be good. And once you’ve made it a couple of times, it suddenly becomes a family favourite, requested over and over again. My Mum made this recipe originally, in an attempt to actually have all members of the family eat the same thing for dinner I suspect. I was suspicious at first, but I was soon eating my words, and the chicken with gusto. 

For a while when this dish was first made, we couldn’t find the dried olives specified in the recipe. It was still a great dish, and if you haven’t tried it with the olives you won’t know what you’re missing out on. But, if you can find them, use them! They absolutely make this dish! We eventually found them at a local deli, so they are out there, and not too hard to find. 

As this recipe has been made a few times at home, we have inevitably altered it slightly. We use two small chickens, and divide the stuffing between each. One chicken of the same total weight will also be perfect. Orange capsicums can sometimes be hard to find, so substitute another yellow one to make up the difference. We often serve this chicken with garlic roast potatoes, which should be prepared and put in the oven about 30 minutes or so after the chicken goes in, so they are ready together. 

Ingredients: 

x 2 small chickens (approx. 1.5-2kg total weight), or one larger 1.5-2kg (approx.) chicken 

1 lemon, halved

4 sprigs of rosemary

3 leeks, washed and trimmed 

2 red capsicums 

1 orange capsicum 

1 yellow capsicum 

100-200g dried black olives*, (pitted if possible)

60 ml olive oil 

sea salt and pepper 


Method: 

Pre-heat oven to 200 degrees Celsius. 

Cut each leek into three (length ways), and add to a large baking/roasting pan. De-seed the capsicums, and cut into thick strips, and add to the pan.

Sit the chickens on top of the vegetables in the pan, and place half a lemon in each chicken cavity, and two sprigs of rosemary. If using one whole chicken, place both halves of the lemon, and all the rosemary in the cavity of the chicken. 

Drizzle the chickens and vegetables with the olive oil (ensuring the vegetables are fairly evenly coated), and scatter in the dried olives amongst the vegetables. Sprinkle the tops of the chickens with a little salt and pepper. 

Place in the oven for 1 - 1 1/4 hours, until the chicken is cooked through and the juices of the chicken run clear when the flesh is cut at the thickest part of the thigh joint. 

Transfer the chickens to a carving board or plates, cover with foil and allow to rest for 10 minutes. Place the vegetables back in the oven (reducing the oven temperature if they are well cooked), to keep warm. 

Remove the vegetables from the oven, and cut the chicken up into pieces. Toss the chicken with the vegetables in the pan and serve. 


*Nigella’s original recipe specifies 100g of olives. We often buy up to 200g as a few of us are obsessed with them! If you aren’t so keen on black olives, keep it to 100g.

P3080079.jpg

Original Recipe from ‘Nigellissima’ by Nigella Lawson (Chatto & Windus, 2012), p.96 or via Nigella's website.

All cooking, styling and photography for this post by Kathryn Vincent of Kulinary Adventures of Kath. 

In Savoury Dishes/Meals Tags Chicken, Nigella Lawson, Dinner, Italian
1 Comment

Easter 2015

Kath April 9, 2015

For this post I wanted to do a little re-cap of the Easter weekend, particularly the baking! Any recipes mentioned will be or are posted on the blog. 

This year I made it my mission to try as many different types of hot cross buns as I could. I didn’t get to every bakery I wanted (fingers crossed for next year), but I tried a few, as well as making my own. 

Homemade Hot Cross Buns - Recipe Here

Homemade Hot Cross Buns - Recipe Here

I went to Black Star Pastry at the Powerhouse Museum a couple of times, and tried their Frankincense glazed hot cross buns. They were full of fruit and flavour, and well worth the walk to get them! 

Some Easter eggs and the Hot Cross Buns from Black Star Pastry.

Some Easter eggs and the Hot Cross Buns from Black Star Pastry.

I also bought a few from Baker’s Delight, because how could you not? These are probably my favourites, as while they have fruit in them, they are not quite as jam packed with it, which I prefer. I think I also like them because they are very easy to go and buy! 

On Easter Saturday, whilst braving the shops with every other person in this part of Sydney, I managed to get some of Jamie Oliver’s Stem Ginger Hot Cross Buns from Woolworths. I had heard about these, but had never managed to get any. They were nice, and I’m glad I got to try them! I found the ginger quite subtle whilst I eating the bun, but then after the spiciness of the ginger really hit me! 

Hot Cross Buns from Baker's Delight (left) and Jamie Oliver's Stem Ginger Hot Cross Buns from Woolworths (right).

Hot Cross Buns from Baker's Delight (left) and Jamie Oliver's Stem Ginger Hot Cross Buns from Woolworths (right).

Over the Easter long weekend I decided to make some Easter biscuits. I had a couple of Easter themed biscuit cutters, that I had never used, so I thought it was time to use them! I had also not long been gifted the book ‘Cookies’ by Peggy Porschen, so it was also a great chance to continue with my cookbook challenge! 

The recipe for the biscuits and icing will be posted over on the blog soon. 

Easter Biscuits.

Easter Biscuits.

I also adapted my favourite scone recipe (originally posted here), and made them into ‘hot cross scones’ for Easter. The full post and recipe can be found here. 

Hot Cross Scones.

Hot Cross Scones.

Here are a few snaps from the long weekend, including one featuring the newest addition to the cookbook collection, thanks to the Easter Bunny! 

Hope everyone had a lovely long weekend.

All baking, styling and photography for this post by Kathryn Vincent of Kulinary Adventures of Kath.

In Holidays Tags Easter, Holidays, Chocolate, Hot Cross Buns, Biscuits, Baking, Scones, Black Star Pastry, Jamie Oliver, Woolworths, Baker's Delight, Long Weekend
Comment

Hot Cross Scones

Kath April 5, 2015

Having made hot cross buns last year and posted the recipe here, I was slightly at a loss as how to celebrate Easter with baked goods (which is clearly the only way I celebrate anything). Not being able to eat chocolate, also messes with the whole Easter/Easter baking thing too. 

However, inspiration struck last weekend, whilst out with friends. My friends and I are regulars at The Tea Salon in Sydney Westfield. We love it, and nine times out of ten we will end up there when we meet up in the city. We were there in February, and they had a scone of the month which was rose and white chocolate, to celebrate Valentine’s Day. It was so good, that I now actually look at what the specials are! 

While we were there last weekend, one friend immediately saw the new scone of the month, and pointed it out to me. The scone was a ‘hot cross scone’ to celebrate Easter. In that moment, I suddenly thought, I could make something like this! This could be exactly the Easter baking I had been looking for. 

I ordered the hot cross scone, and needless to say it was great. It was served with orange marmalade, which although I’m not a fan of marmalade, a very small scraping of it definitely complemented the spices and sultanas in the scone. 

On the train journey home all I could think about was how to recreate this scone. I decided on merging my favourite scone recipe (recently posted here) and the hot cross bun recipe I like to use.

They are quite quick and easy to make, and would make a nice last minute Easter baking treat. Without the cross piped over the top, they become less hot cross scones, and more spiced sultana scones, making them great year round. Once cooled they freeze well in a zip-lock bag. 

Ingredients: 

4 cups self-raising flour 

1/2 tsp salt

1 cup pouring or thickened cream 

375-400 ml milk 

1 tsp ground cinnamon

1/2 tsp mixed spice

1 tsp lemon zest

1 tsp orange zest 

120 g sultanas 


Ingredients for the Cross: 

75 g plain flour

1/2 tsp sunflower or vegetable oil 

105 ml cold water 


butter or margarine, to serve 


Method: 

Pre-heat oven to 250 degrees Celsius, and line a large baking tray with baking paper. 

In a large bowl, combine the flour, salt, spices, zests and sultanas, then add the cream and 375 ml of the milk. Stir using a flat bladed knife or icing spatula to form a soft dough, adding more milk if the dough is too dry. 

Dust a work surface with flour, and turn the dough out. Lightly knead until the dough comes together. 

Press the dough out to 2cm thick. Using a 5 cm (approx.) round cutter, cut out scones from the dough and place onto the prepared tray so they are just touching. Pull dough scraps together and press out to 2.5cm thick. Cut out remaining scones, and continue to use the scraps (adding .5cm to the thickness each time when pressed out), if necessary. 

In a small bowl mix together the oil, flour and most of the water to form a smooth, slightly runny paste. If the mixture is too dry gradually add more water and mix well. 

Spoon the paste into a piping bag, and pipe a cross over each scone.

Bake for 12-15 minutes. Scones will be risen and golden when ready. Serve warm with butter or margarine.

References to original versions of both recipes can be found in earlier posts, linked in above text.  

All baking, styling and photography for this post by Kathryn Vincent of Kulinary Adventures of Kath. 

In Scones, Holidays Tags Scones, Easter, Hot Cross Scones, Baking
Comment

Chicken Sliders

Kath March 24, 2015

I have made these once before, a couple of years ago and they were great. At the time I couldn’t find mini brioche buns, so I used small bread rolls instead. This time as luck would have it, I walked into Woolworths to get some of the ingredients I needed for this recipe, and a whole rack of mini Brioche buns were right in the entry to the shop. Though I doubt that they are the best quality (particularly as on the front of the packet it said ‘Baked by us Today’, then on the back of the packed, in much smaller writing, ‘this product has been frozen from fresh and thawed for your convenience’ - hmmm …. *insert confused emoji face*), I was excited to finally make sliders actually using mini brioche buns for once. 

If you find normal brioche buns (the ones from Brasserie Bread are particularly good), make the patties bigger to suit. 

This recipe is full of flavour, and would make a great weekend dinner. The recipe is from the book ‘Home Cooking’ by Valli Little, a book which I can actually say I have used a few times since I got it! There are some great recipes in here, notably this one. There is also a Sticky Date Tart (p.168) which is a great alternative to a sticky date pudding in the colder months. 

Valli calls these sliders ‘Bombay Sliders’, probably because of the use of spices and mango chutney in them. They are a fiery alternative to a traditional burger (or slider), and are well worth a try. 

Ingredients for the Patties:

500g chicken mince

1/4 cup coriander leaves, chopped, plus extra to serve

1/3 spring onion, finely chopped

1 tsp ground cumin 

1 small red chilli, seeds removed and chopped

2 cm piece of ginger, grated

1/4 cup whole egg mayonnaise

1 1/2 tbsp mild curry powder


Ingredients for the Curry Mayonnaise: 

1/2 cup whole egg mayonnaise

2 tsp mild curry powder 

1 tbsp tomato sauce/ketchup

1 tbsp Greek-style yoghurt

1 garlic clove, crushed 


olive oil, for cooking

12 mini brioche buns, cut in half and toasted (optional)

Mango chutney, to serve

Micro Salad leaves or Mixed salad leaves (chopped), to serve


Method: 

In a bowl, mix together the chicken mince and the remaining patty ingredients. Mix well, then shape into 12 small patties. Line a baking tray with baking paper, cling wrap or foil, and place patties on to the tray. Loosely cover, and chill in the fridge for half an hour. 

While the patties are in the fridge, prepare the curry mayonnaise by adding all the mayonnaise ingredients in a small bowl and mixing together. Set aside in the fridge until needed. 

Heat olive oil in a frypan over medium-high heat. Cook the patties 2 or 3 at a time (depending on the size of your pan) for 2-3 minutes per side or until cooked through. 

To serve, spread some mango chutney over the base of each bun and top with a chicken patty. Drizzle some of the curry mayonnaise over the patty and top with extra coriander, salad leaves then the remaining half of the bun. 

Use a skewer or toothpick to secure the bun together if needed. 

Recipe originally from ‘ABC Delicious Home Cooking’ by Valli Little (HarperCollins, 2012) p.14.

All baking, styling and photography for this post by Kathryn Vincent of Kulinary Adventures of Kath.

In Savoury Dishes/Meals Tags Chicken, Sliders, Valli Little, ABC Delicious, Home Cooking, Dinner
Comment
  • The Blog
  • Older
  • Newer

recipes

  • Biscuits/Cookies 40
  • Breads Etc. 9
  • Breakfast 7
  • Cakes & Slices 68
  • Confectionary 5
  • Drinks 6
  • Events 14
  • Food Photography Tips 3
  • From The Mailing List 24
  • Heirloom Recipes 12
  • Holidays 45
  • Ice Cream 9
  • Jams Preserves & Spreads 9
  • Muffins 4
  • Off the Shelf 51
  • Other Desserts 25
  • Savoury Dishes/Meals 15
  • Scones 4
  • Tarts & Pastry 9
  • Travel 13

Sign up to Friday Food Chat with Kath, a weekly newsletter for more food, baking, cookbook chat and more!

Sign Up Here!
instagram-unauth pinterest facebook url

Website Accessibility: To enable text to speech function on the blog, click the sound button to the right of each blog post.

All images & content are the property of Kathryn Vincent, unless stated otherwise. Please do not use without permission.

Kulinary Adventures of Kath

Food Photography, Recipes & Baking

instagram-unauth pinterest facebook url